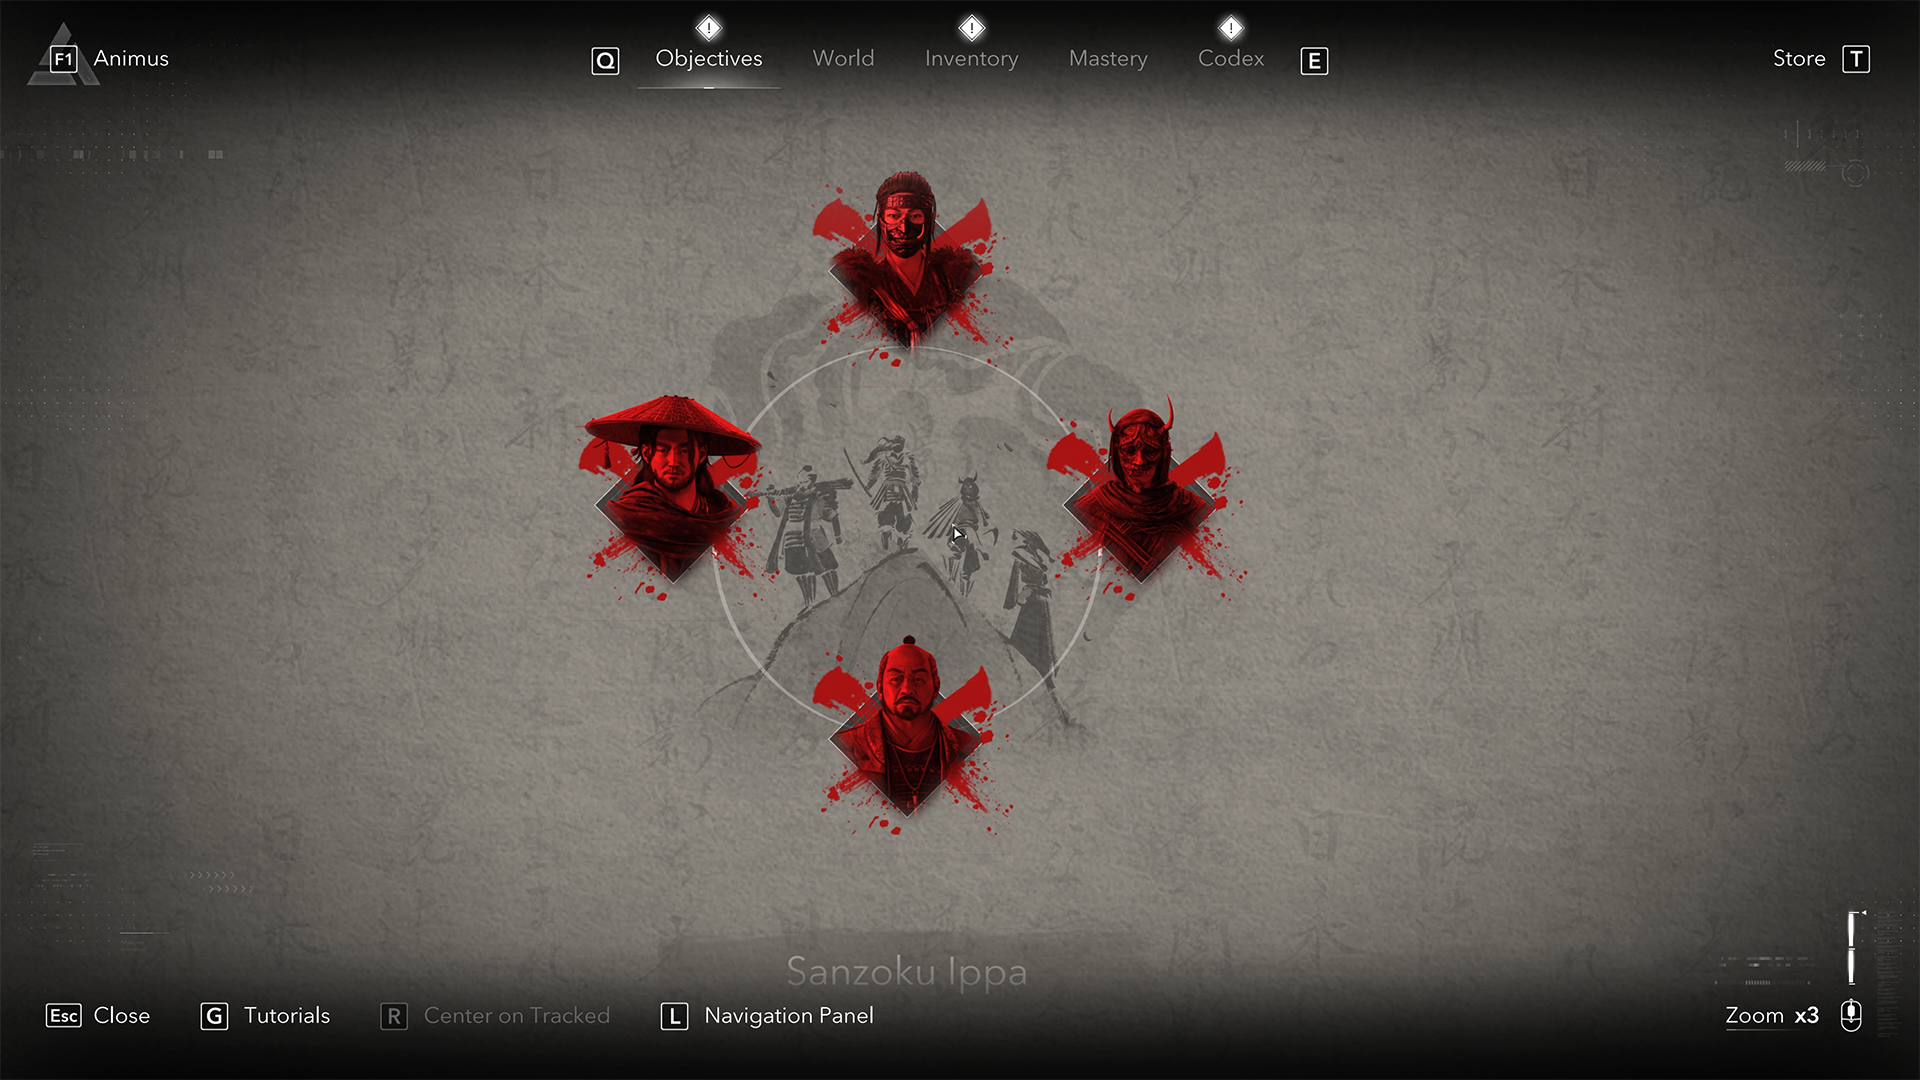
All enemies from the Sanzoku Ippa clan are featured in this video. This is the main task you will receive in the Claws of Awaji expansion for Assassin’s Creed Shadows. There are four challenging enemies, each with their own characteristics. Let’s review the sequence of quests to defeat this powerful clan. This is the main storyline in the Claws of Awaji expansion, so there is a lot of information and additional tasks here. To avoid getting confused and to follow the entire quest chain, I recommend watching the video review.
Spymaster Yasuhira Claws of Awaji AC Shadows
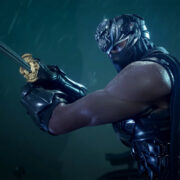
The first target is The Spymaster Yasuhira. The enemy itself is not difficult, but to find him, you will have to complete a number of additional quests to track down his location.
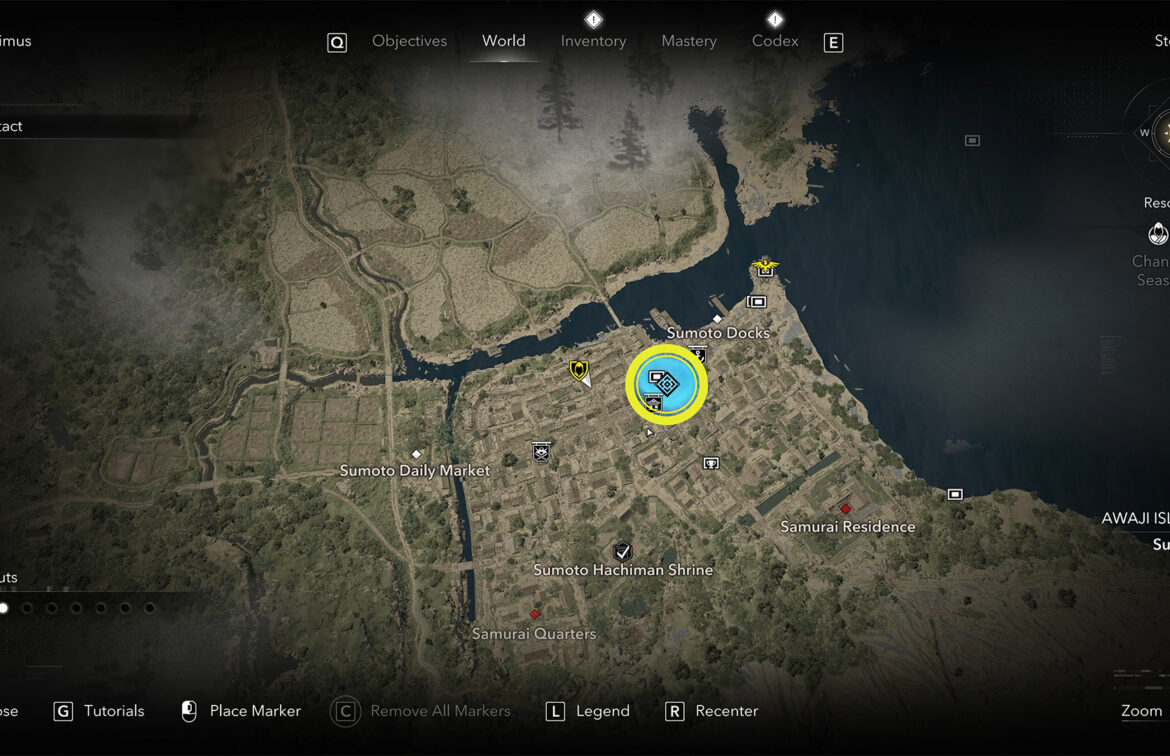
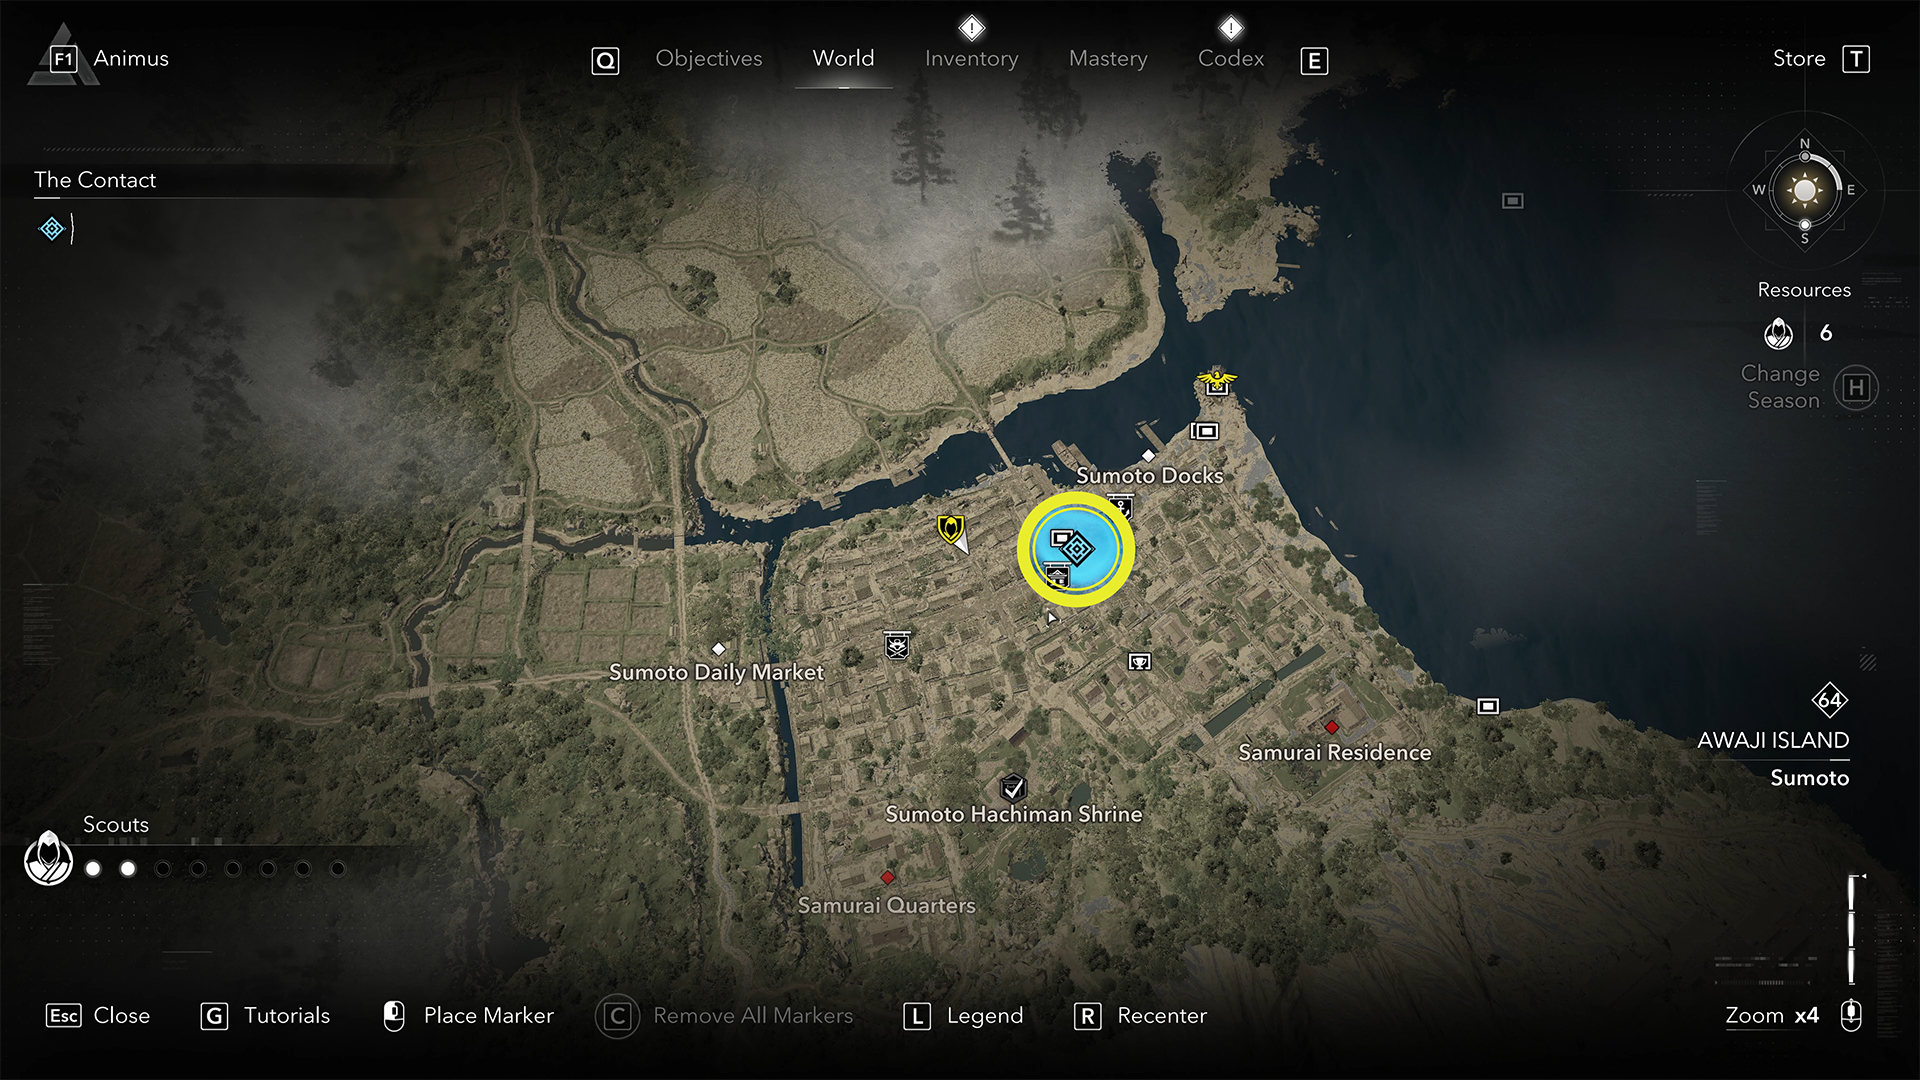
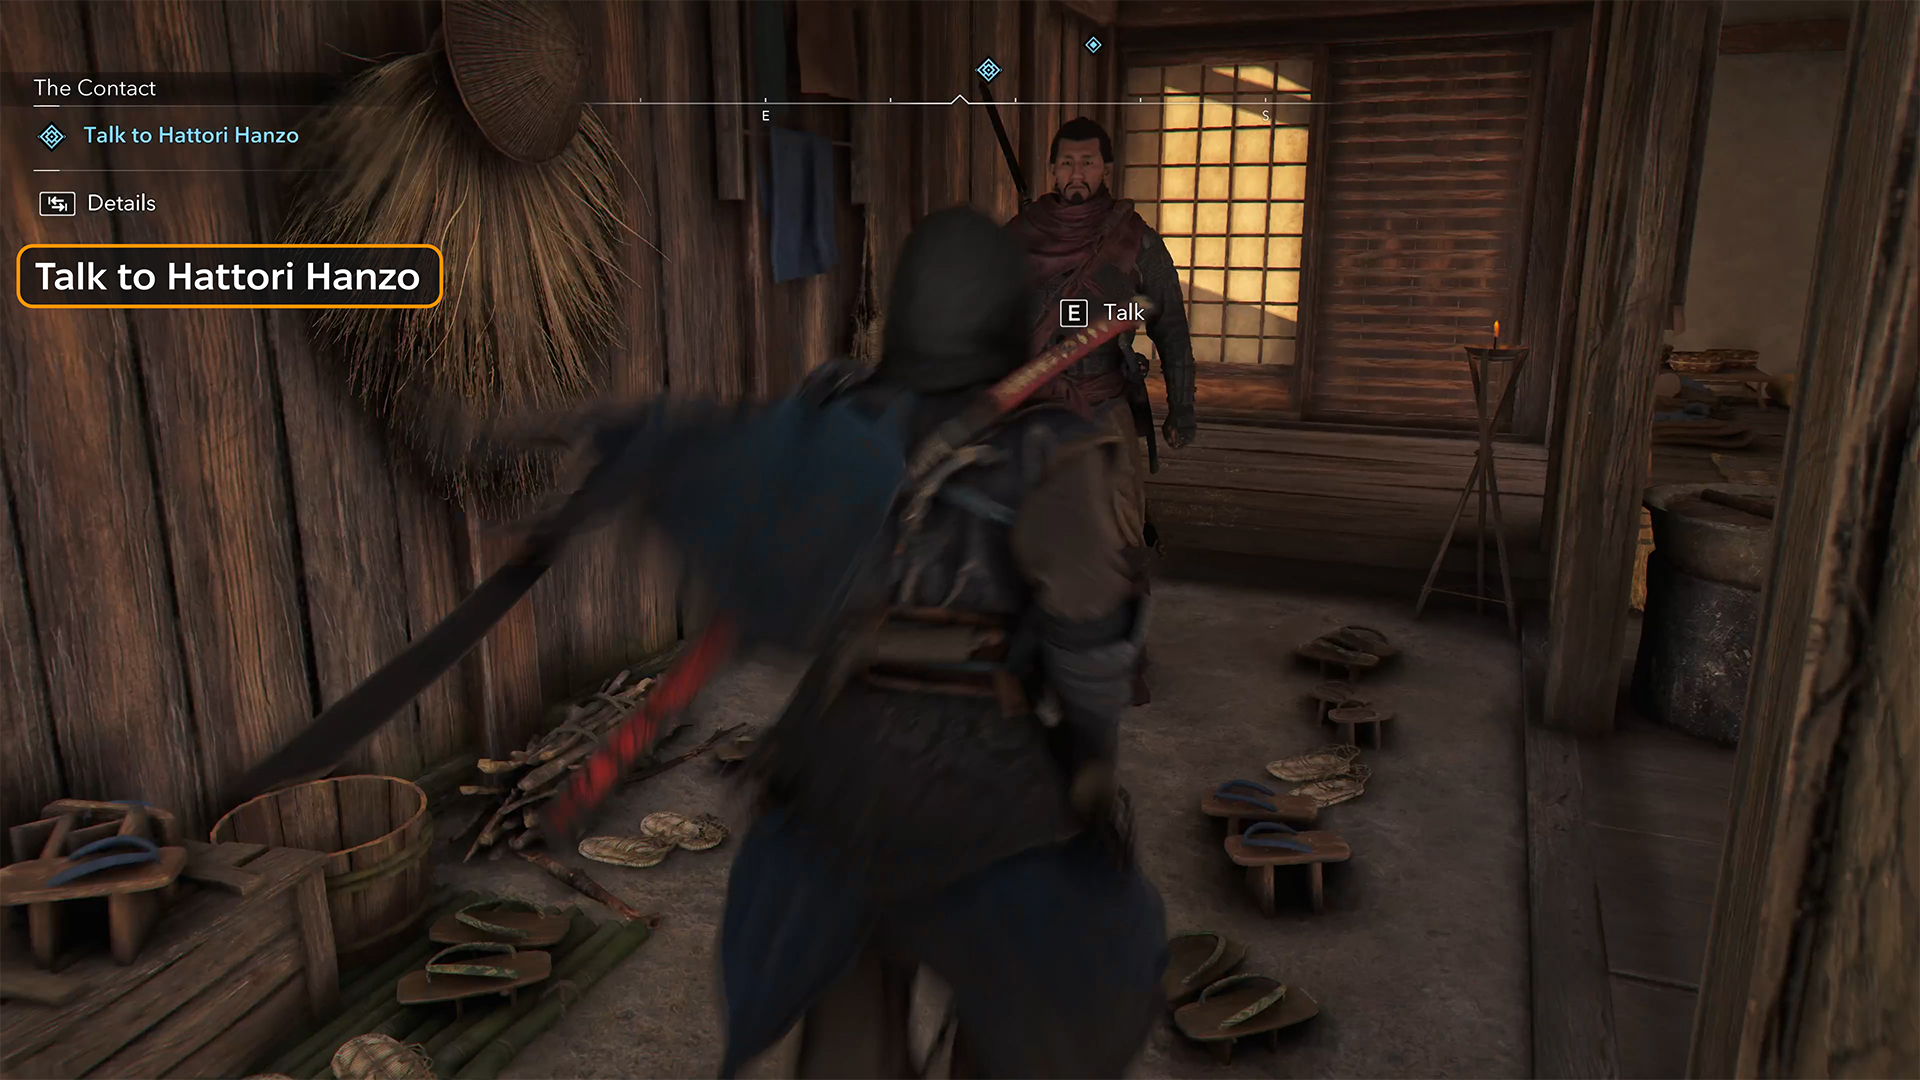
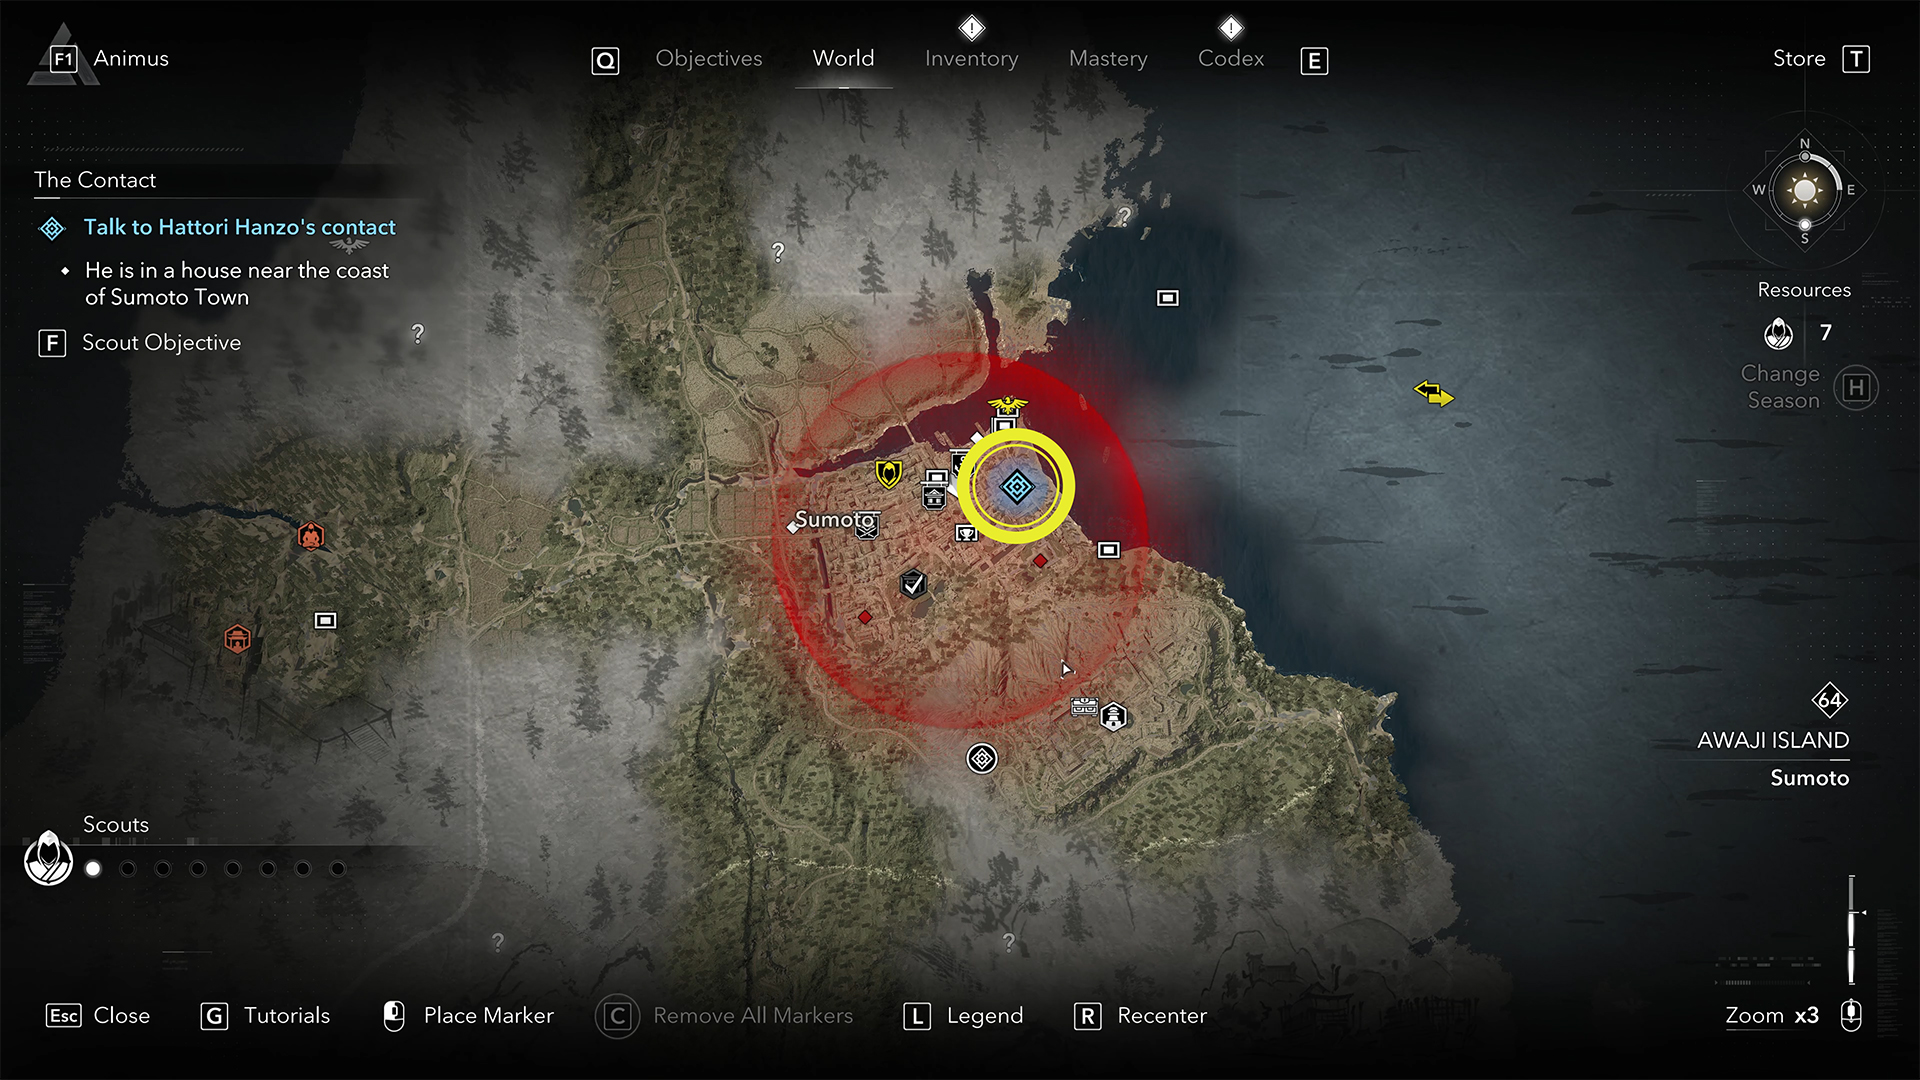
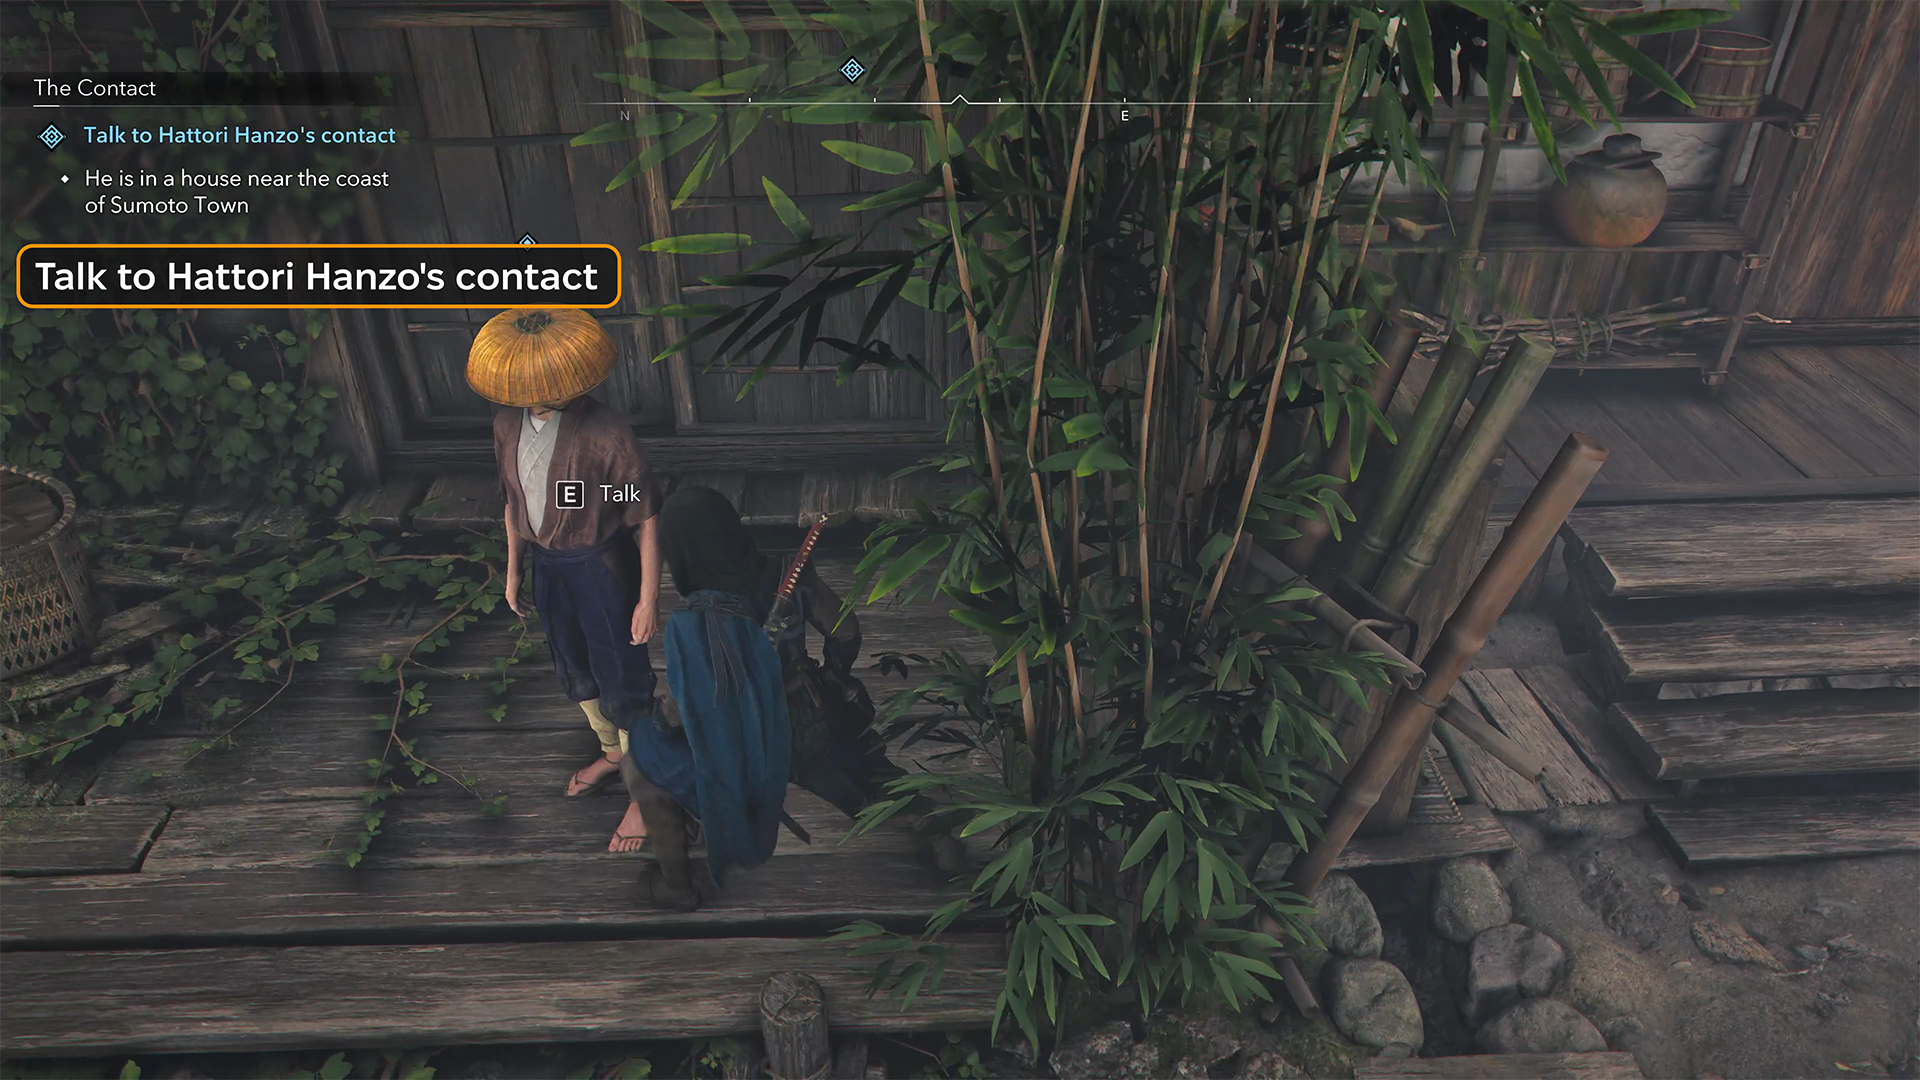
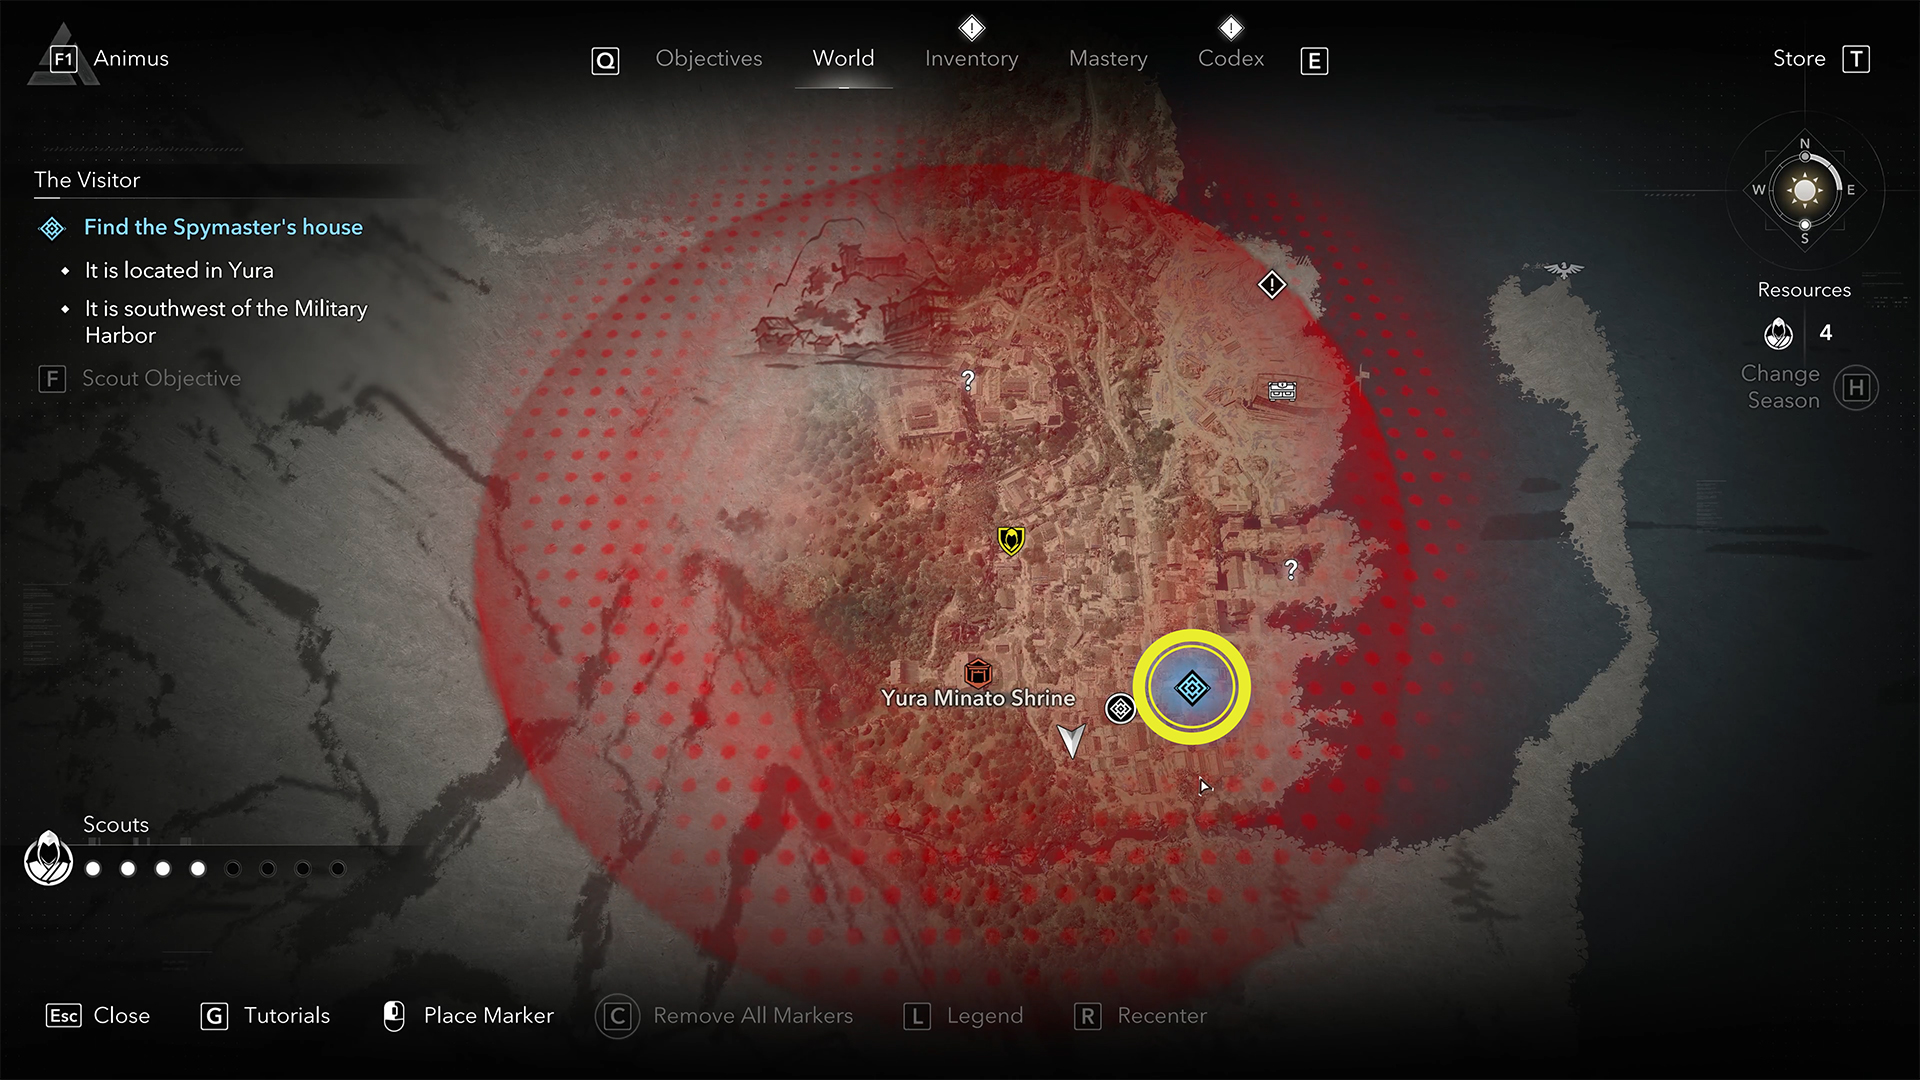
First, Hattori Hanzo will point you to a person who will give you information for your search. I have marked the location of this contact on the map. After you talk to him, it will seem like you’re done, but this person will tell you where to find The Spymaster Yasuhira. And on the task board, you will see an update to the task to assassinate Yasuhira.
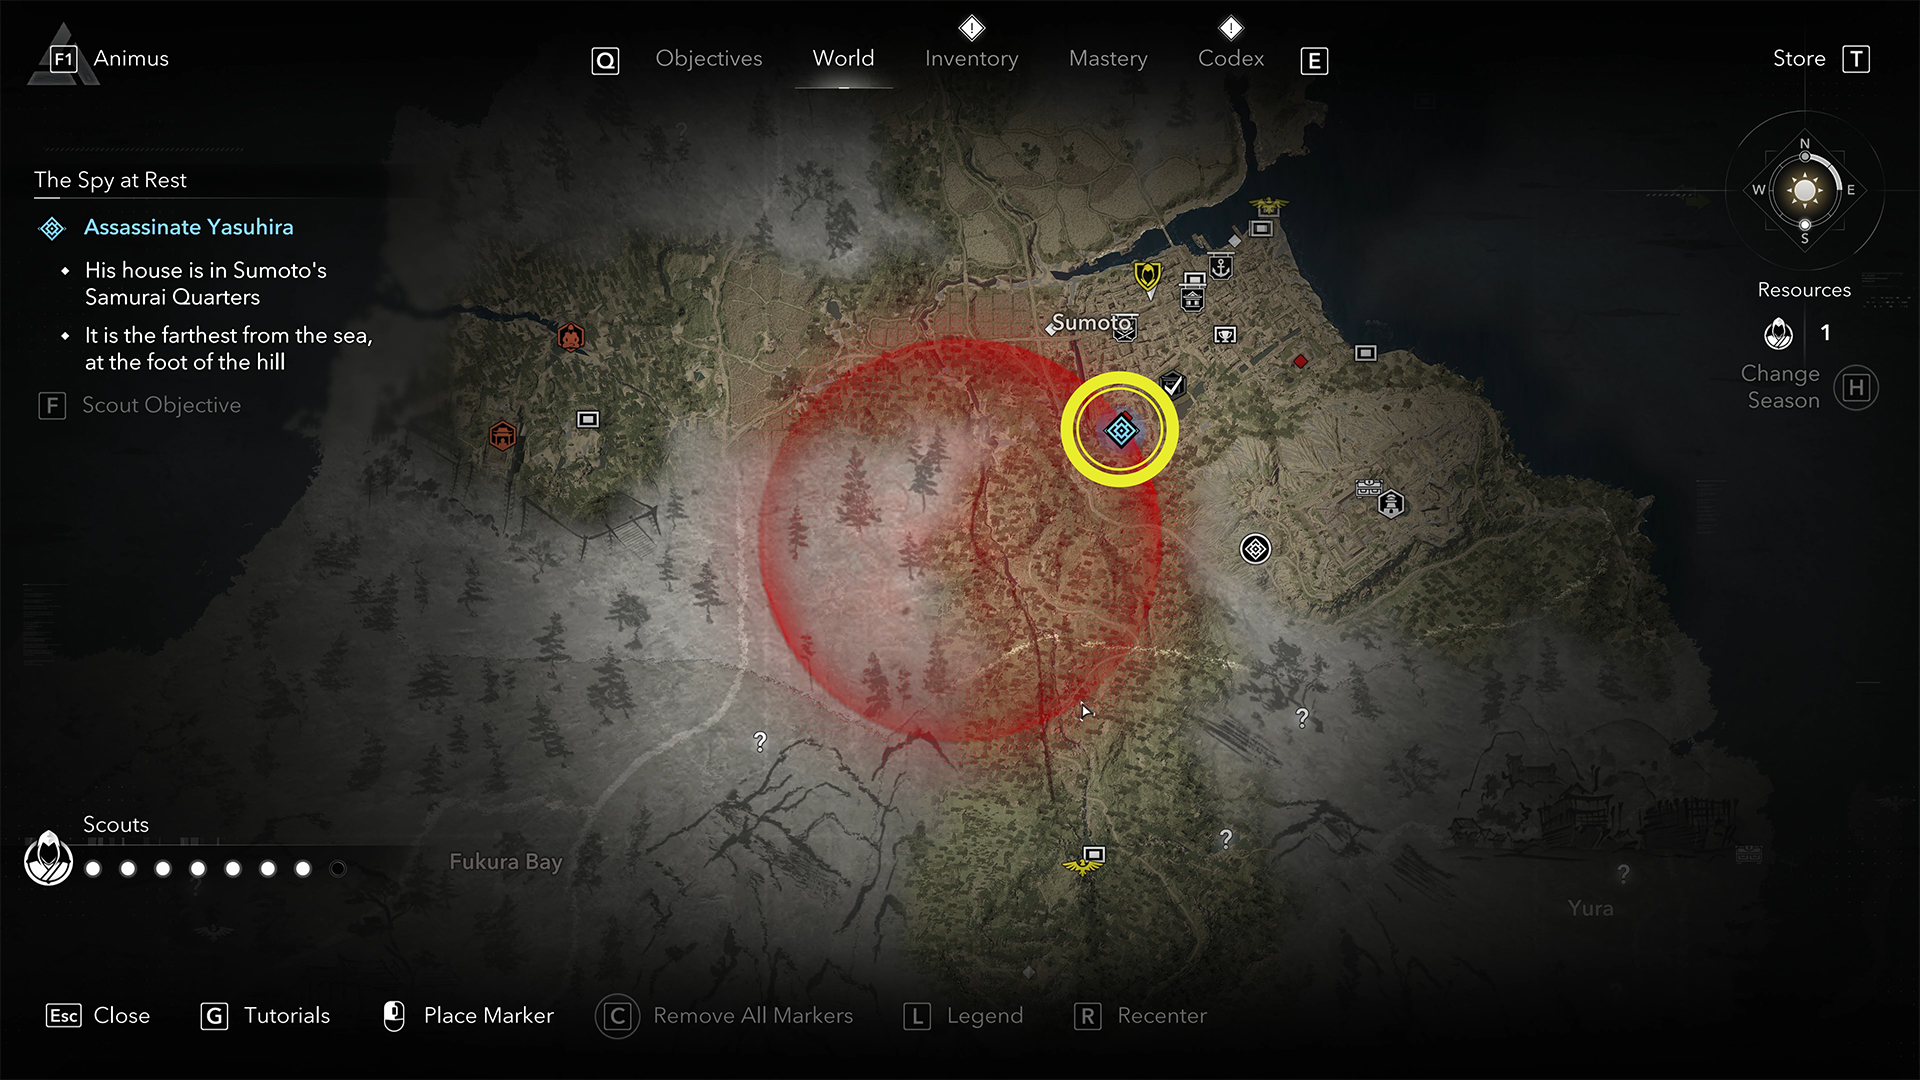
The location is nearby. You can see it on the map right now. When you arrive at this place, you will enter an empty building and will have to explore Spymaster’s house. Of course, to get inside, you will either have to sneak past the guards or neutralize them. Inside, you need to open three chests with clues that will generally indicate the location of Yasuhira. After that, Spymaster Yasuhira will enter the building, and you will need to defeat him in combat.
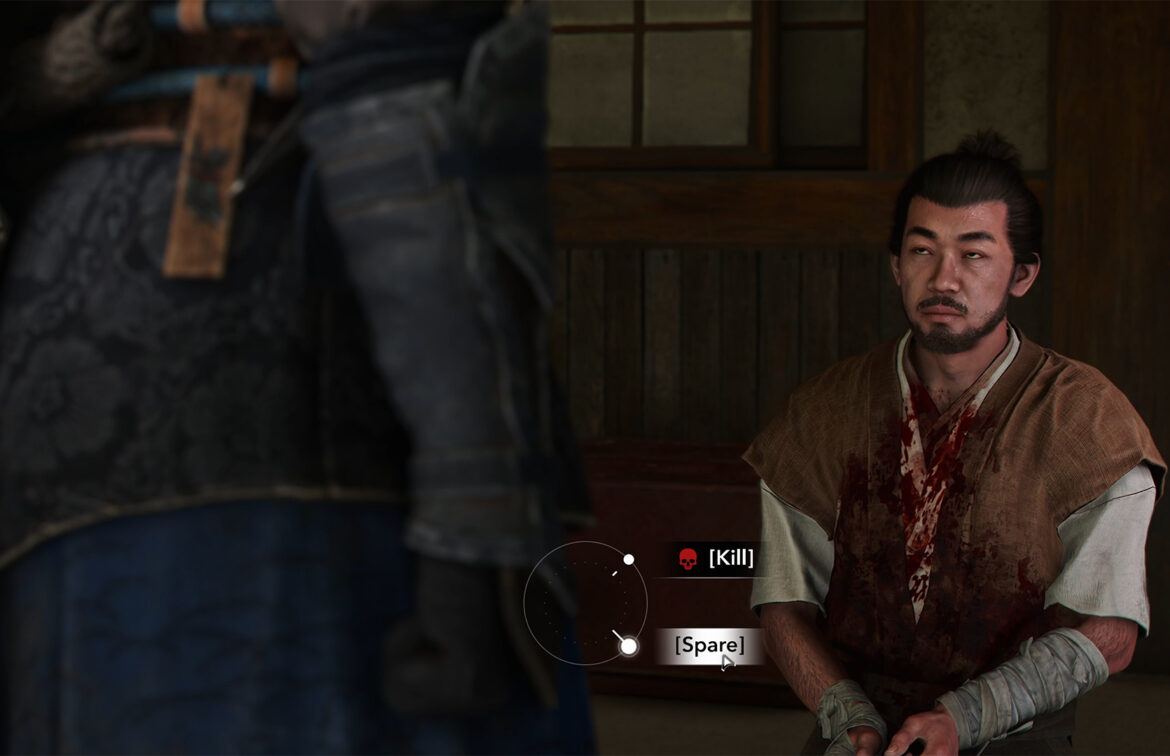
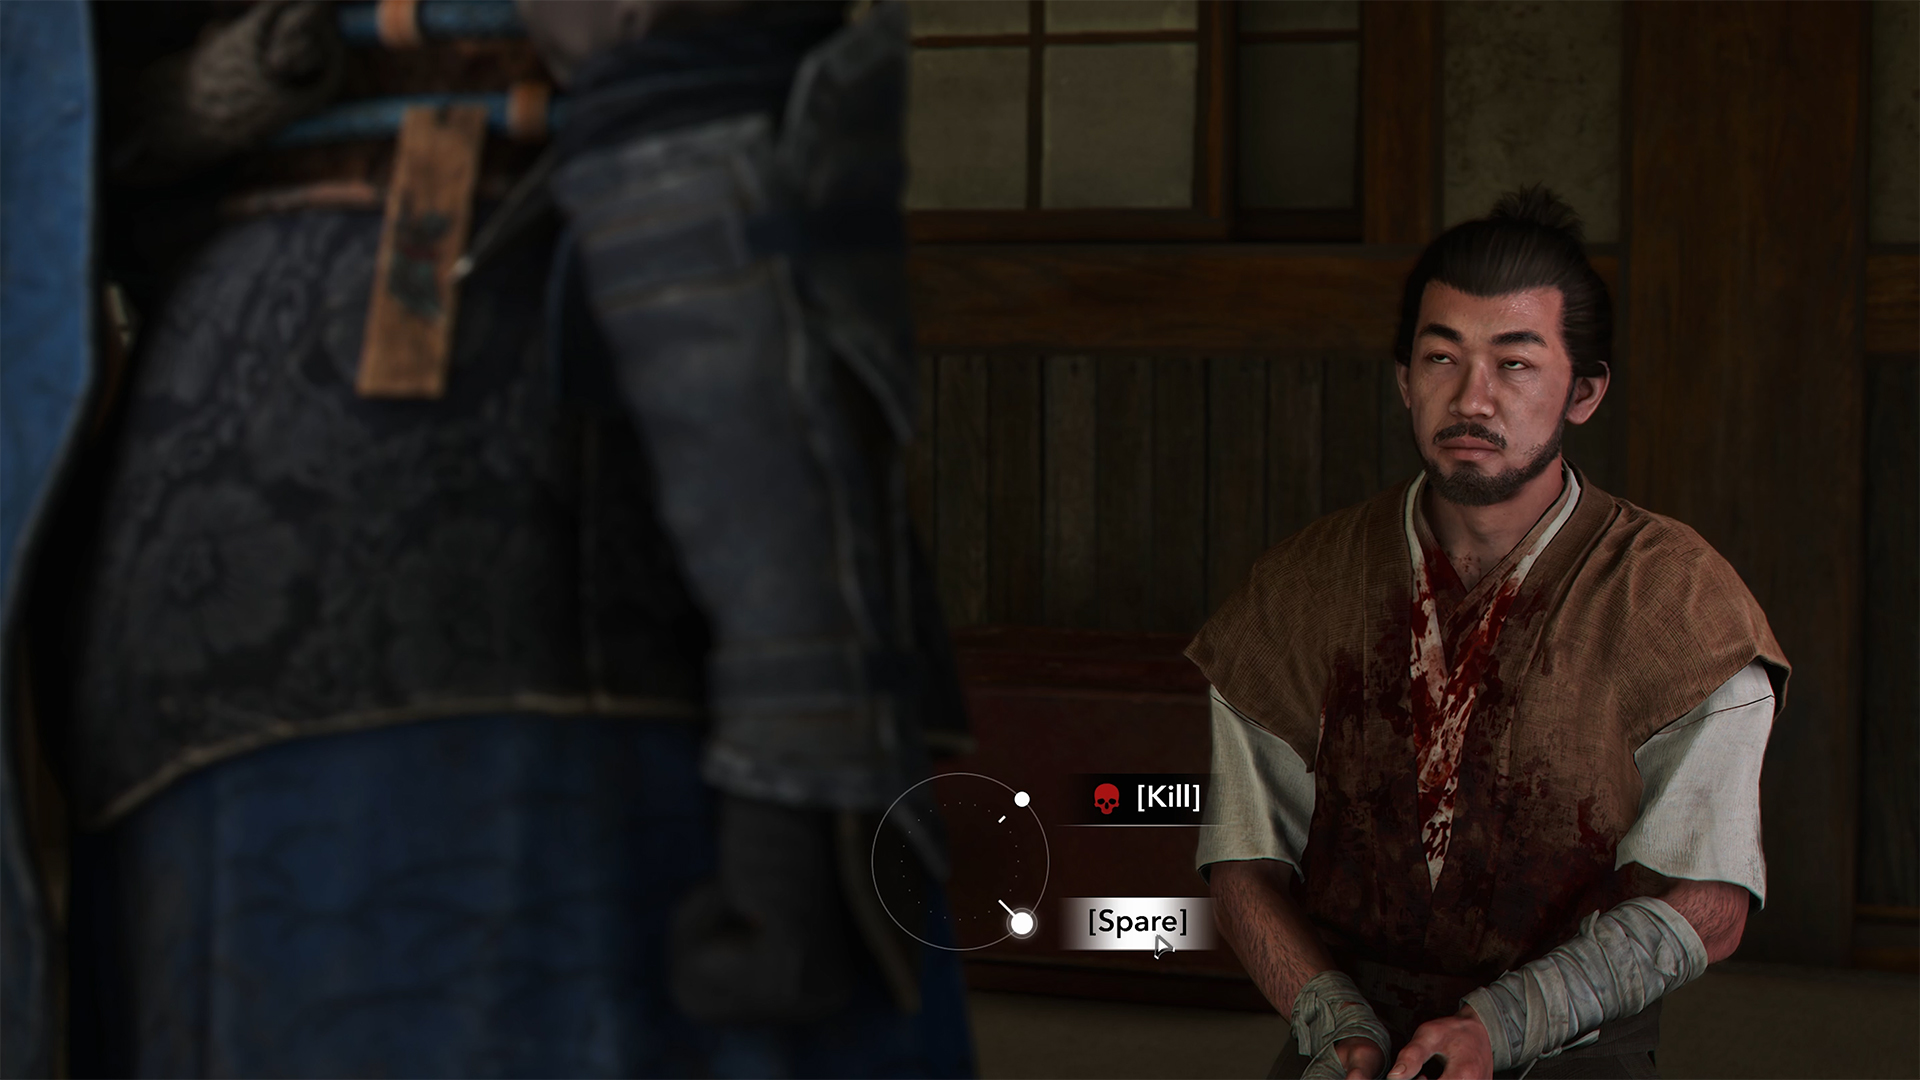
The battle is not difficult, nor is the enemy himself. However, after the battle, a surprise awaits you. The defeated man will tell you that he is not the person you are looking for. I recommend choosing Spare in the dialogue here. After all, this is really not the person you need. You have been set up and given the wrong target. You need to start your search from the beginning.
-
- Hattori Hanzo location
-
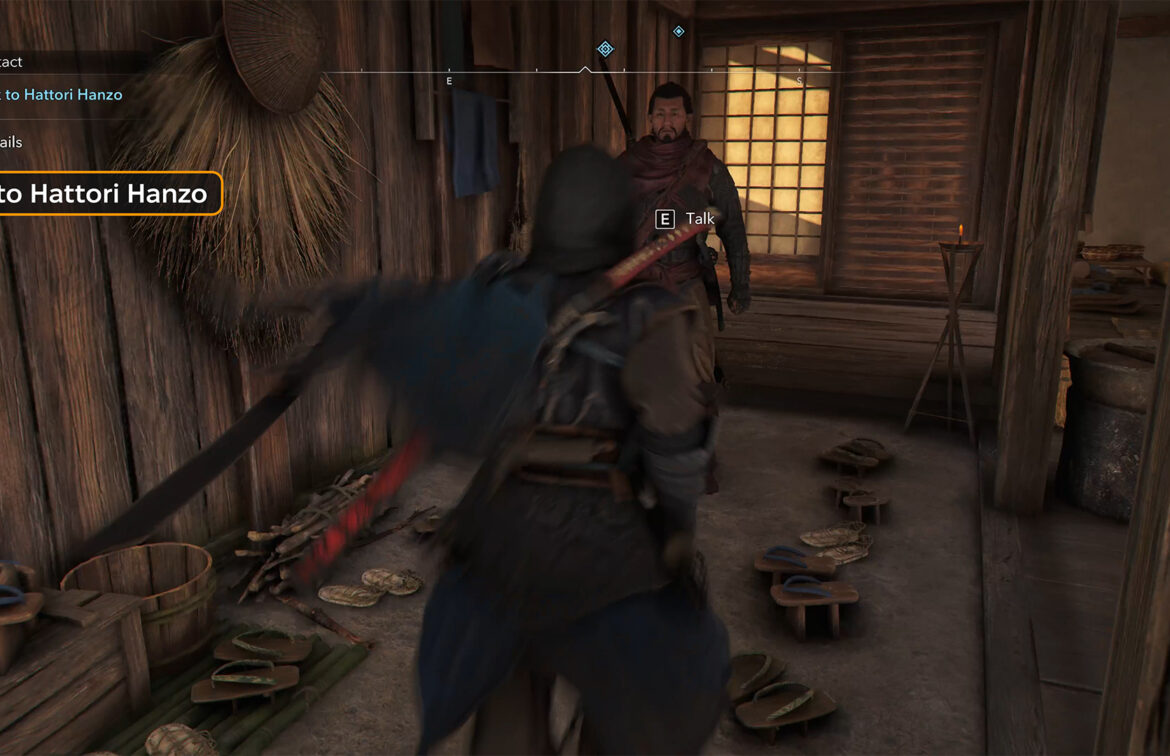
- Talk to Hattori Hanzo
-
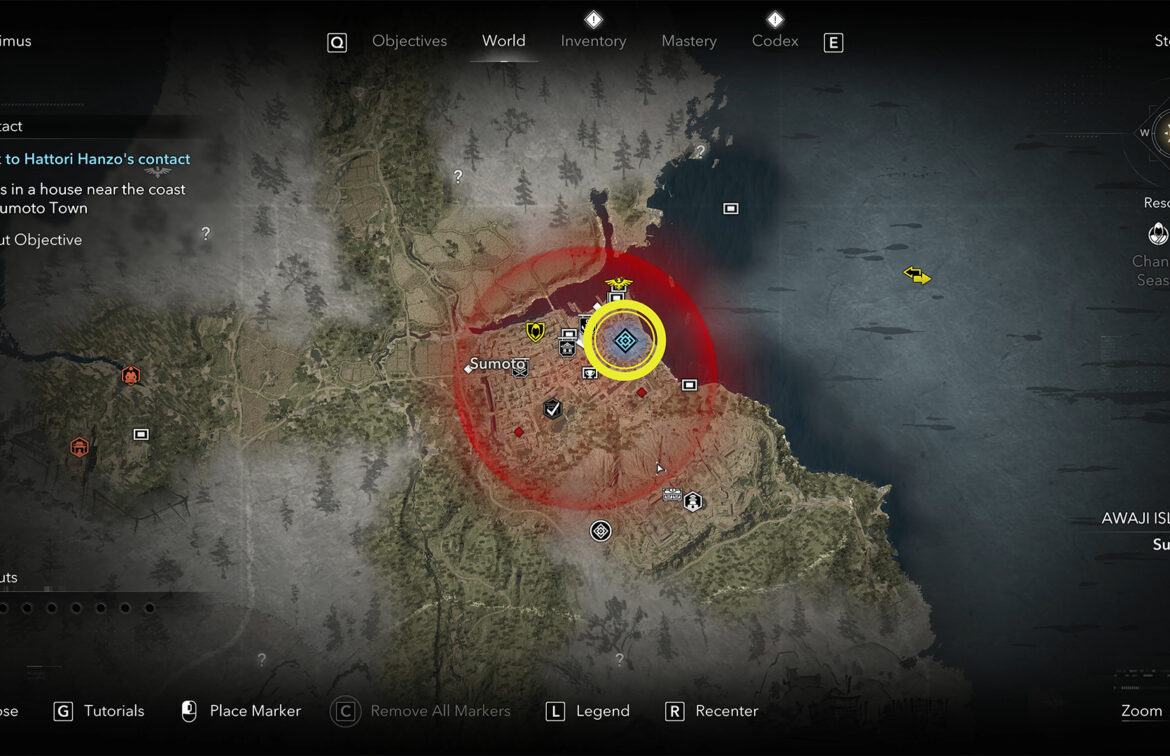
- Hattori Hanzo’s contact location
-
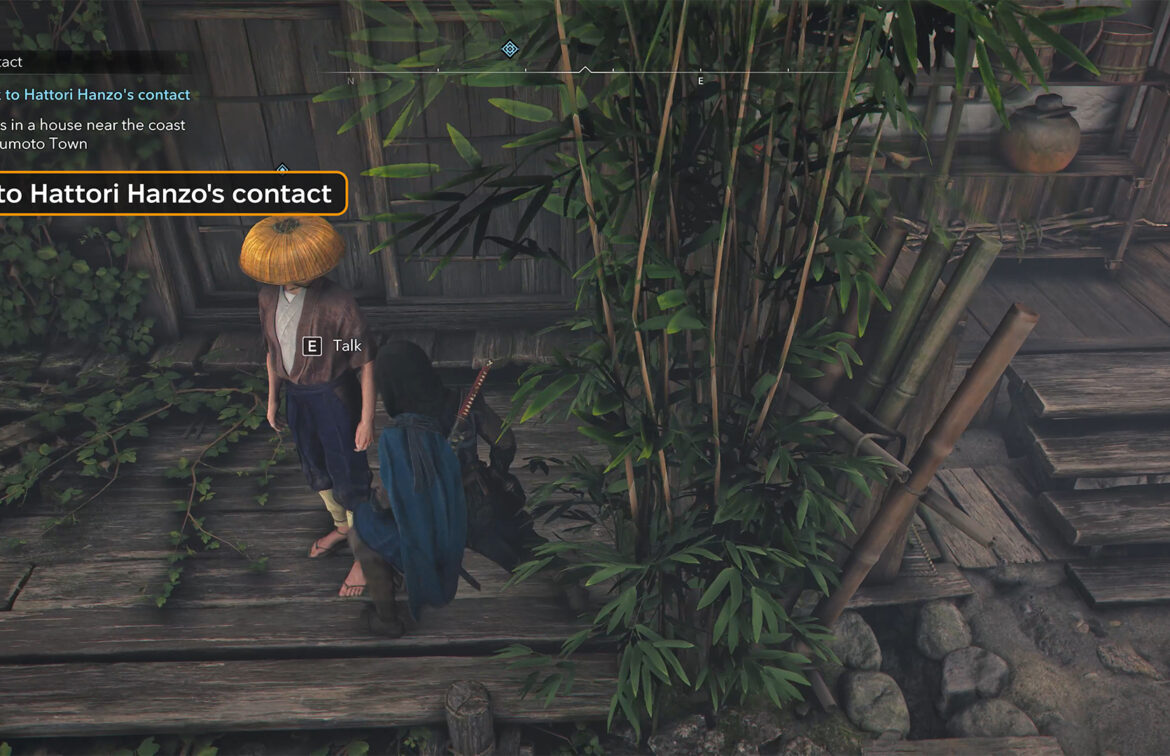
- Talk to Hattori Hanzo’s contact
-
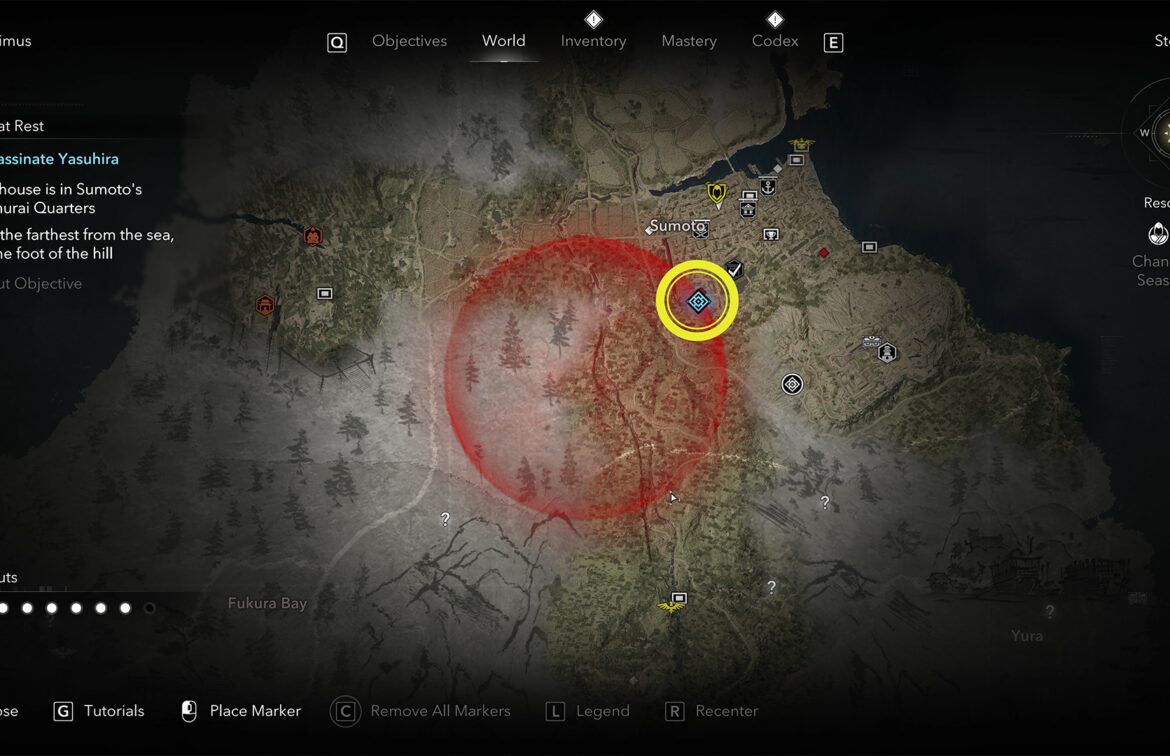
- Assassinate Yasuhira location
-
- Assassinate Yasuhira
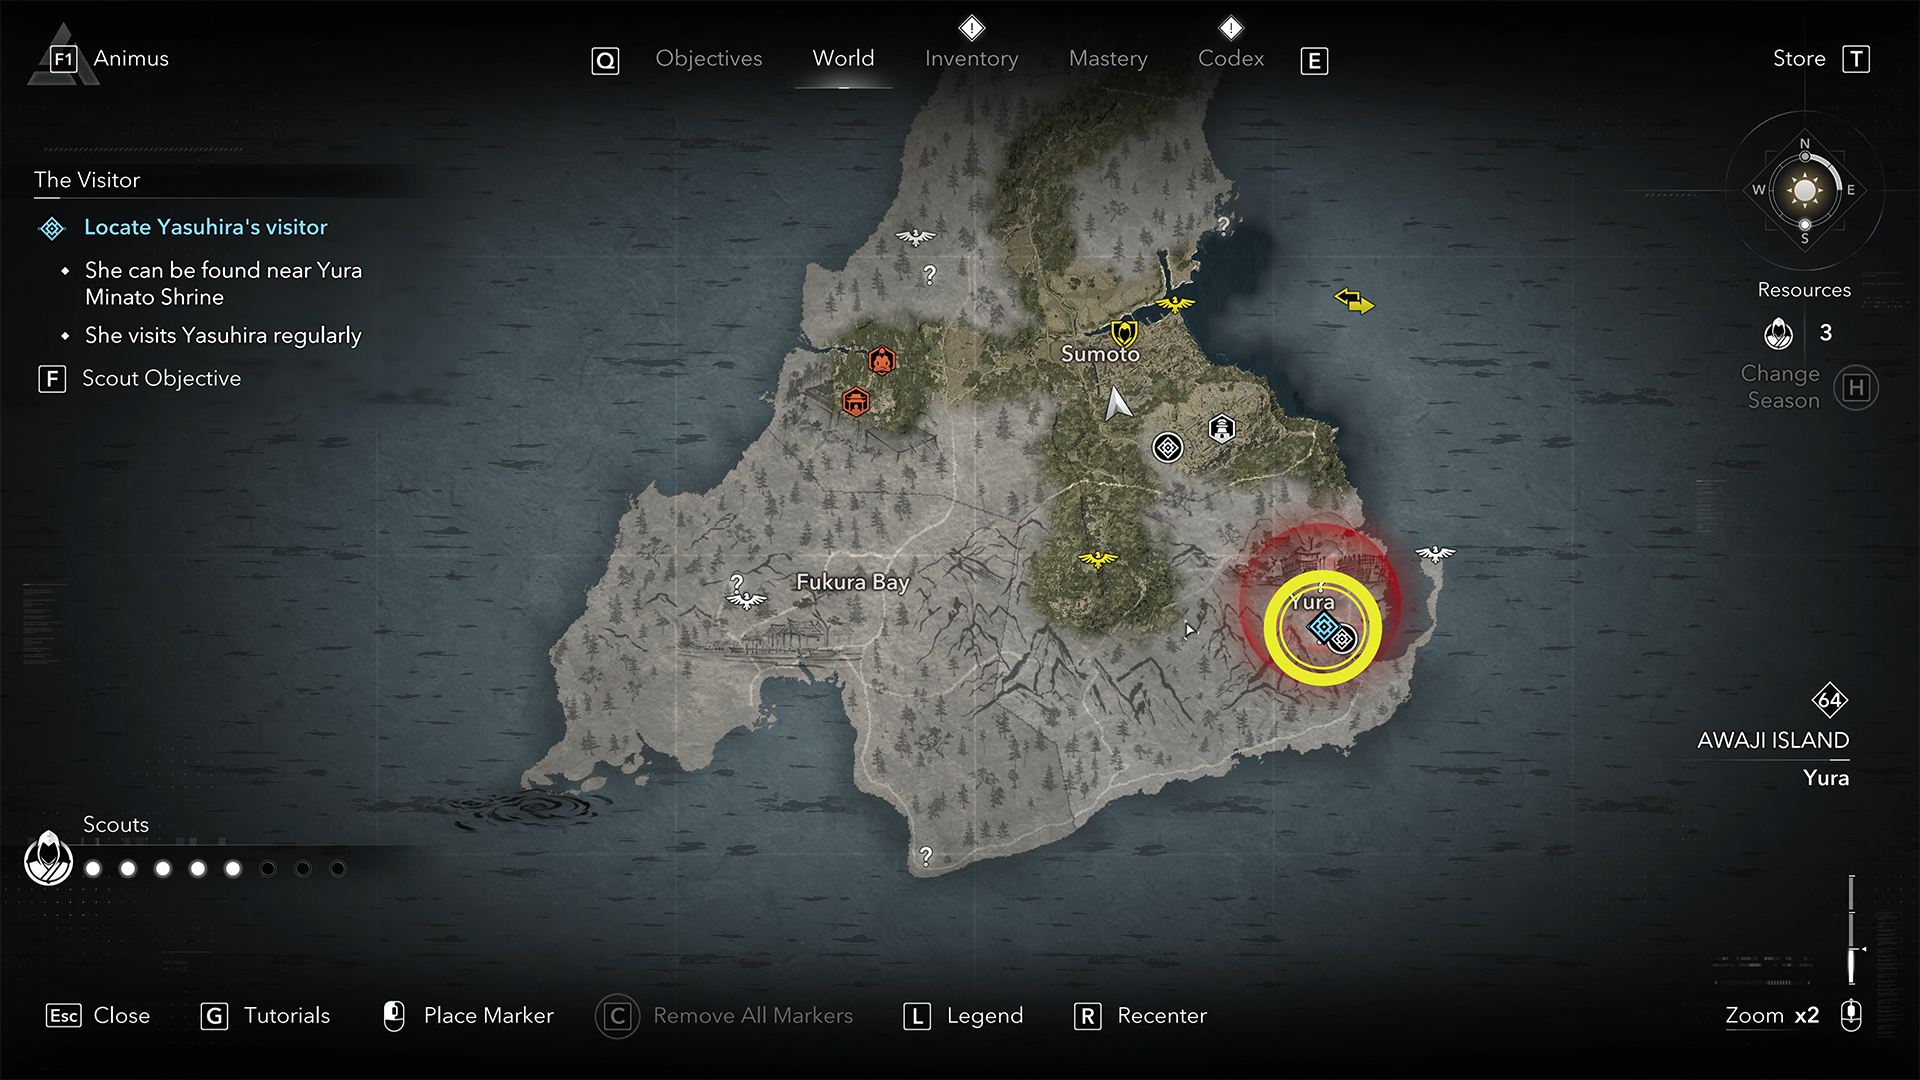
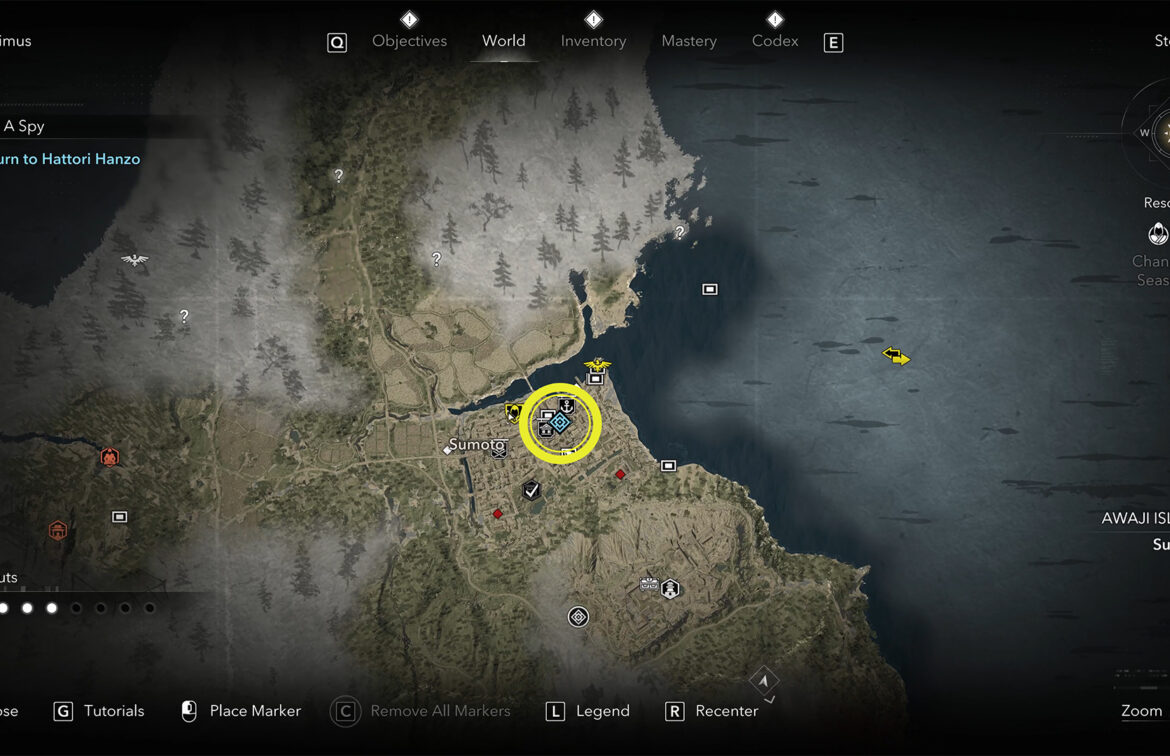
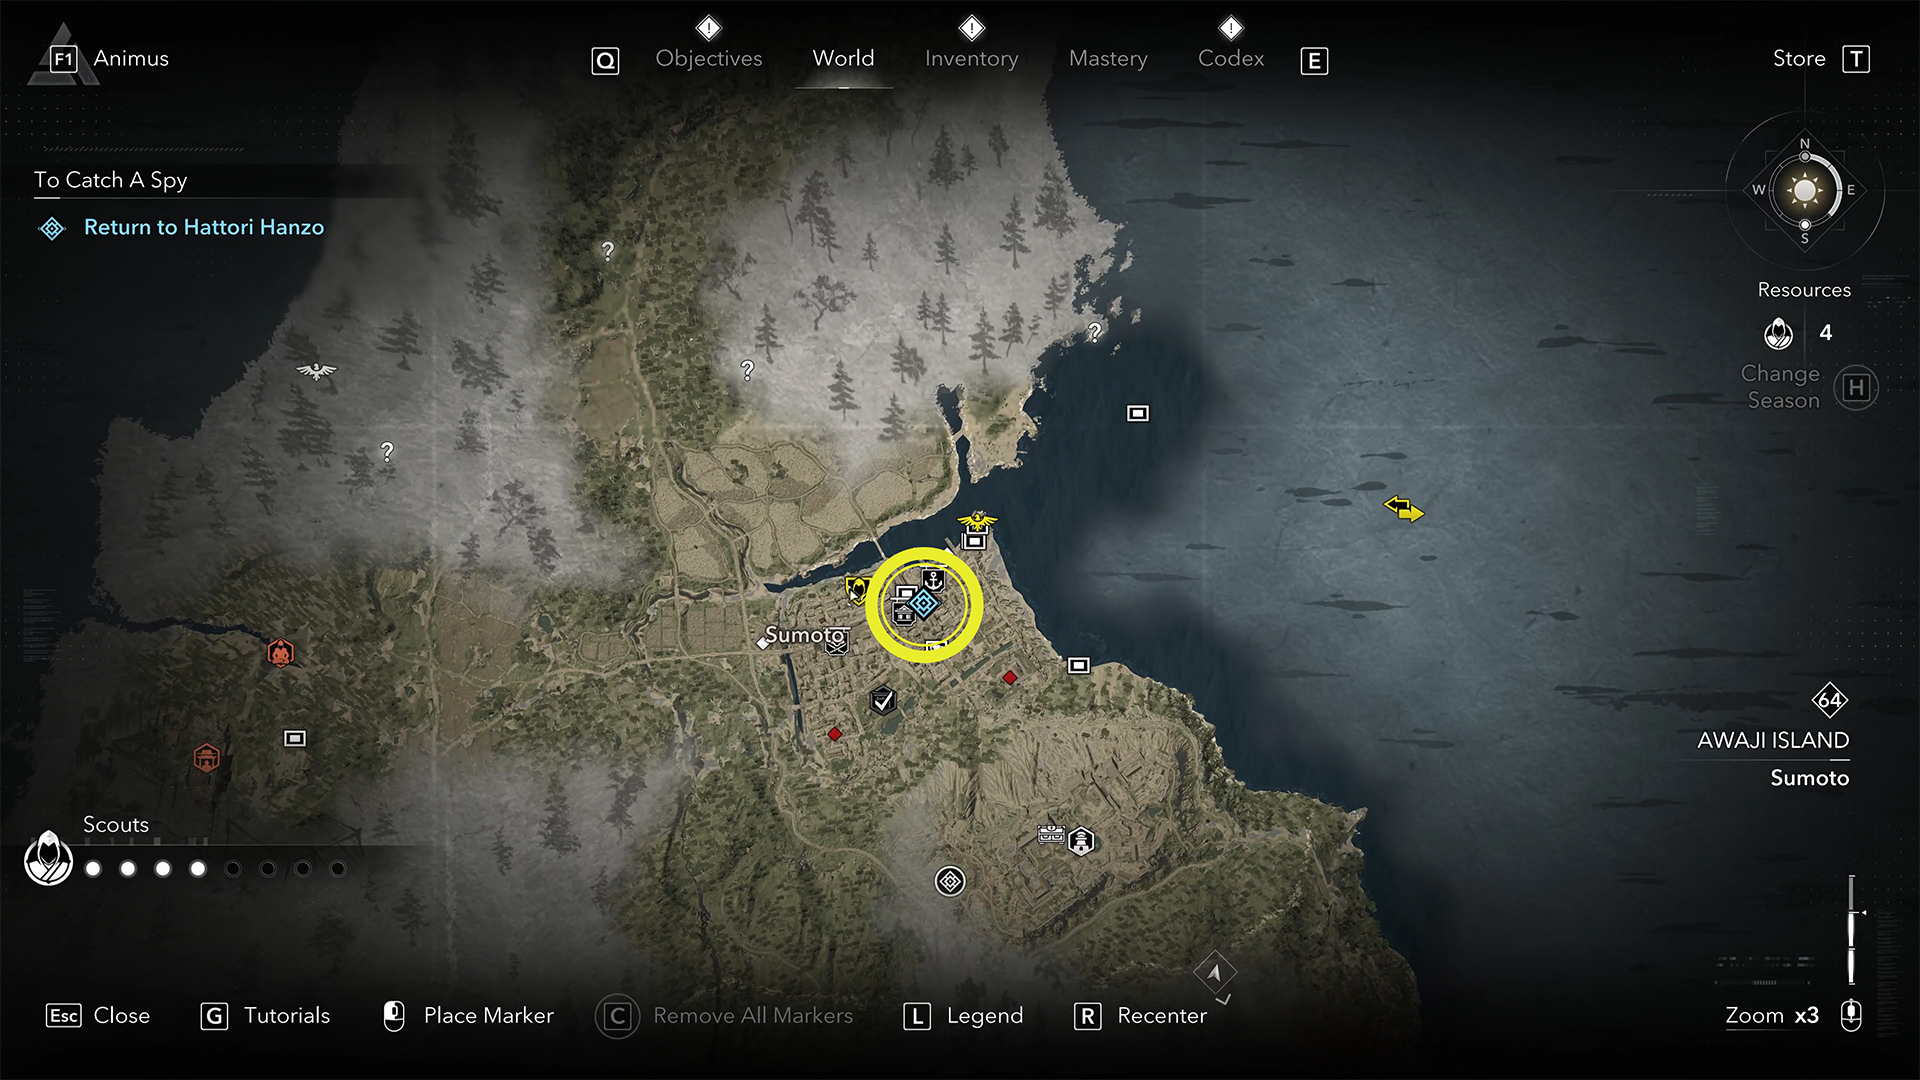
When you look at the task board, you will see a new quest. You need to find Yasuhira’s visitor. You can also see the location on the map. Next, you will need to follow her, but I was caught following her and threw a kunai at this character. Maybe I shouldn’t have done that. Next, you need to find the Spymaster’s house and explore it. Inside, you will find a chest containing Yasuhira’s notes. Now you need to go back to Hattori Hanzo, tell him about your adventures, how you almost killed someone else, and get instructions for further action. Hattori Hanzo will send you to find another chest, where you will find a special kosode. You will need it not only to infiltrate Yasuhira, but also in the final quest on Awaji Island, so let’s do it. Especially since it’s not difficult.
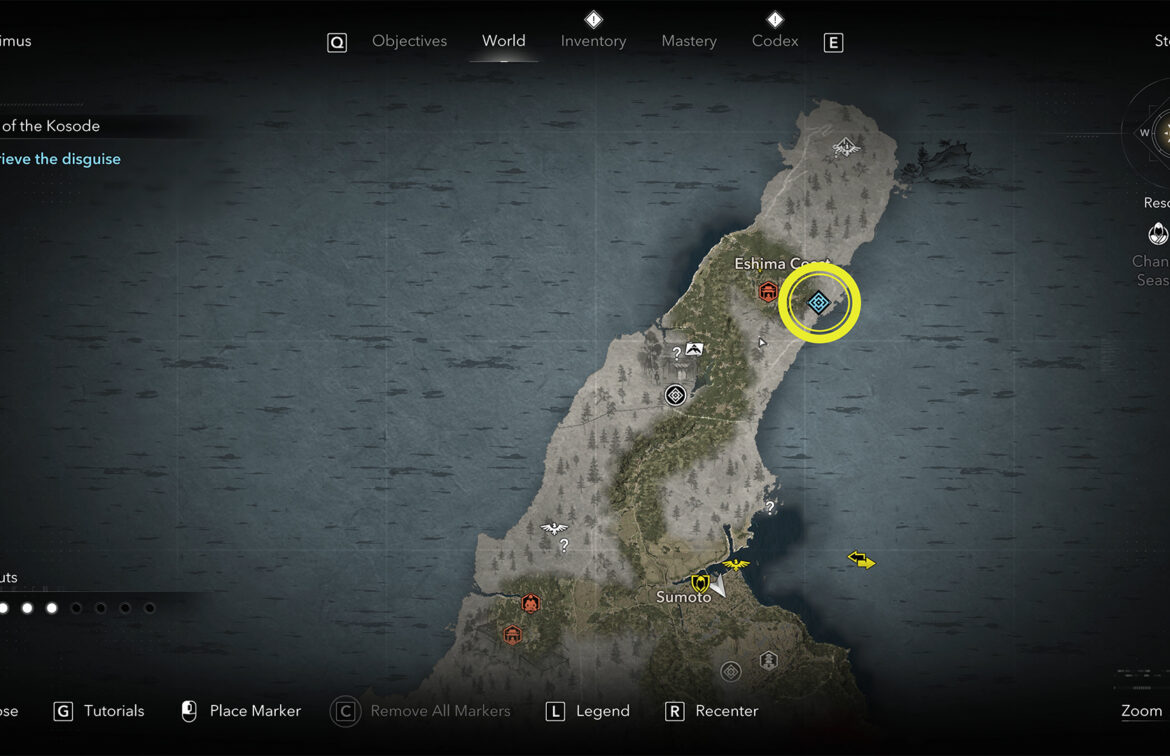
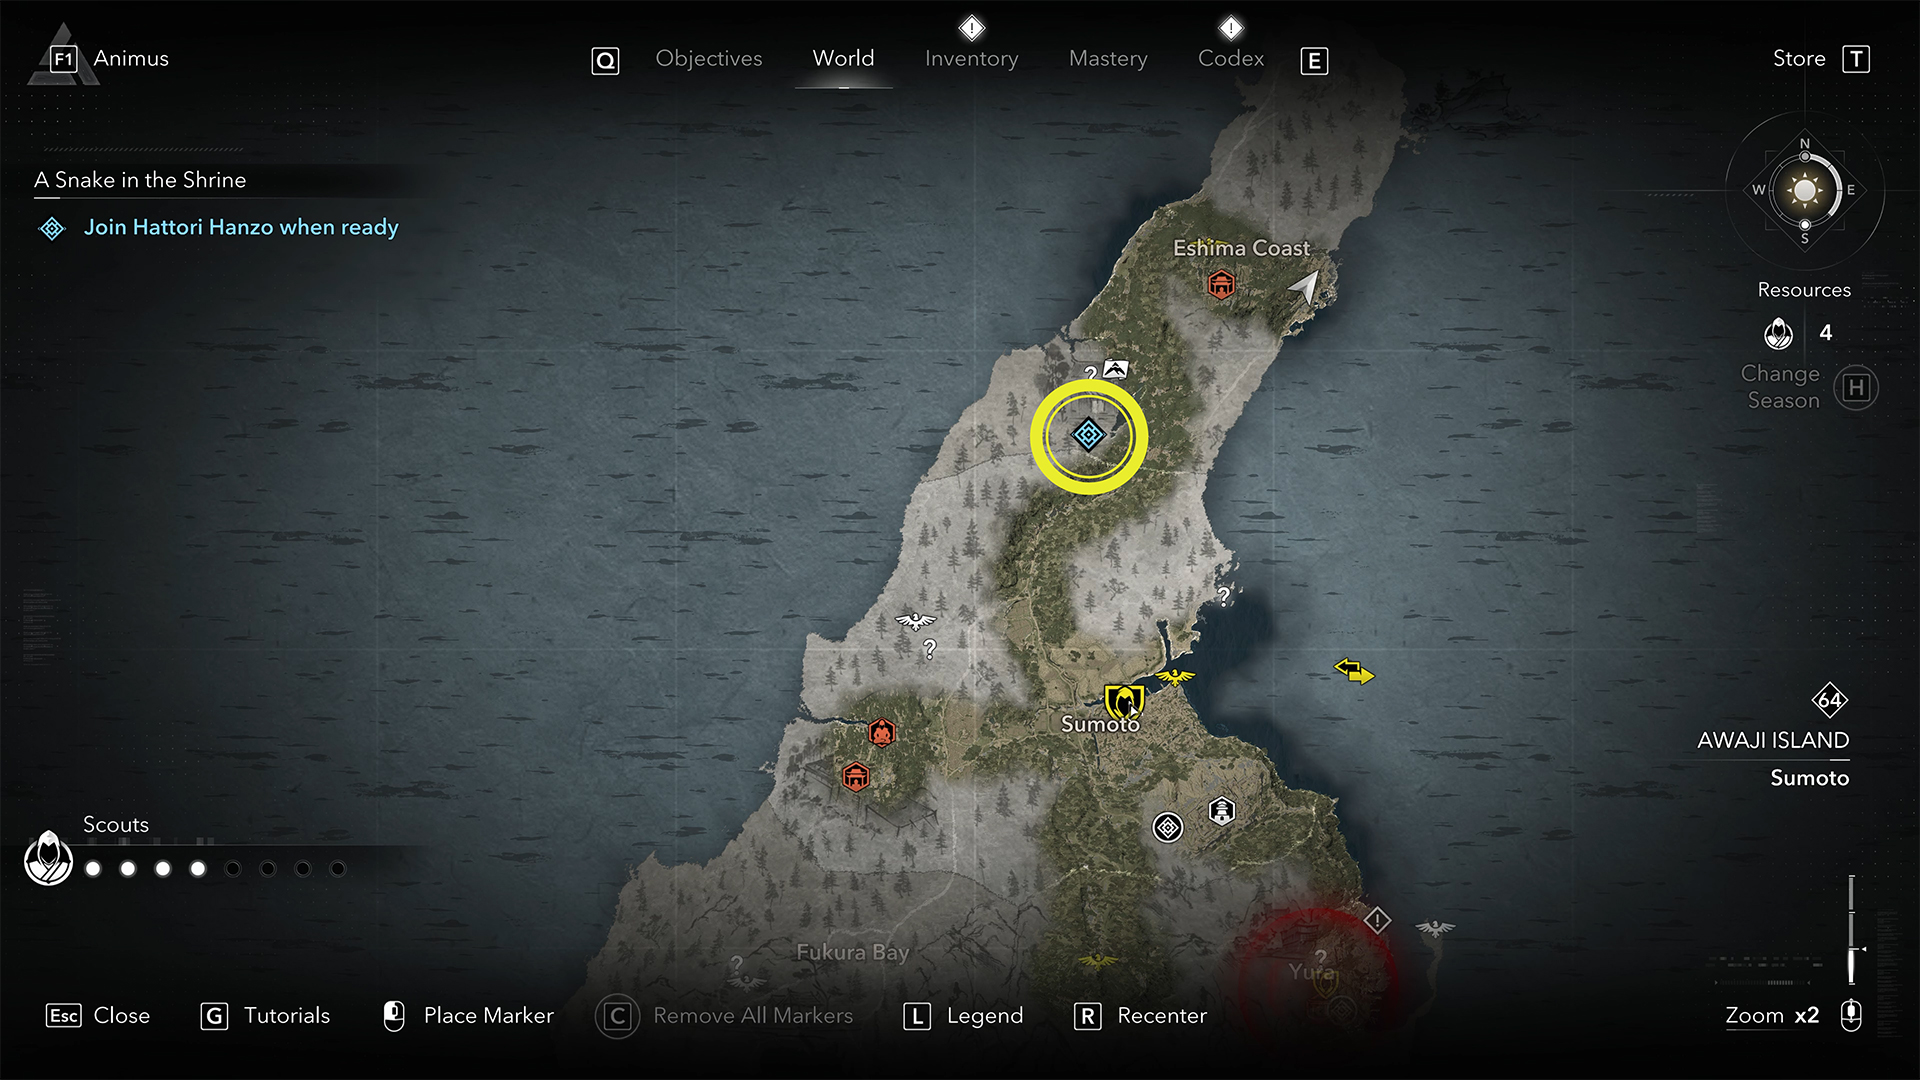
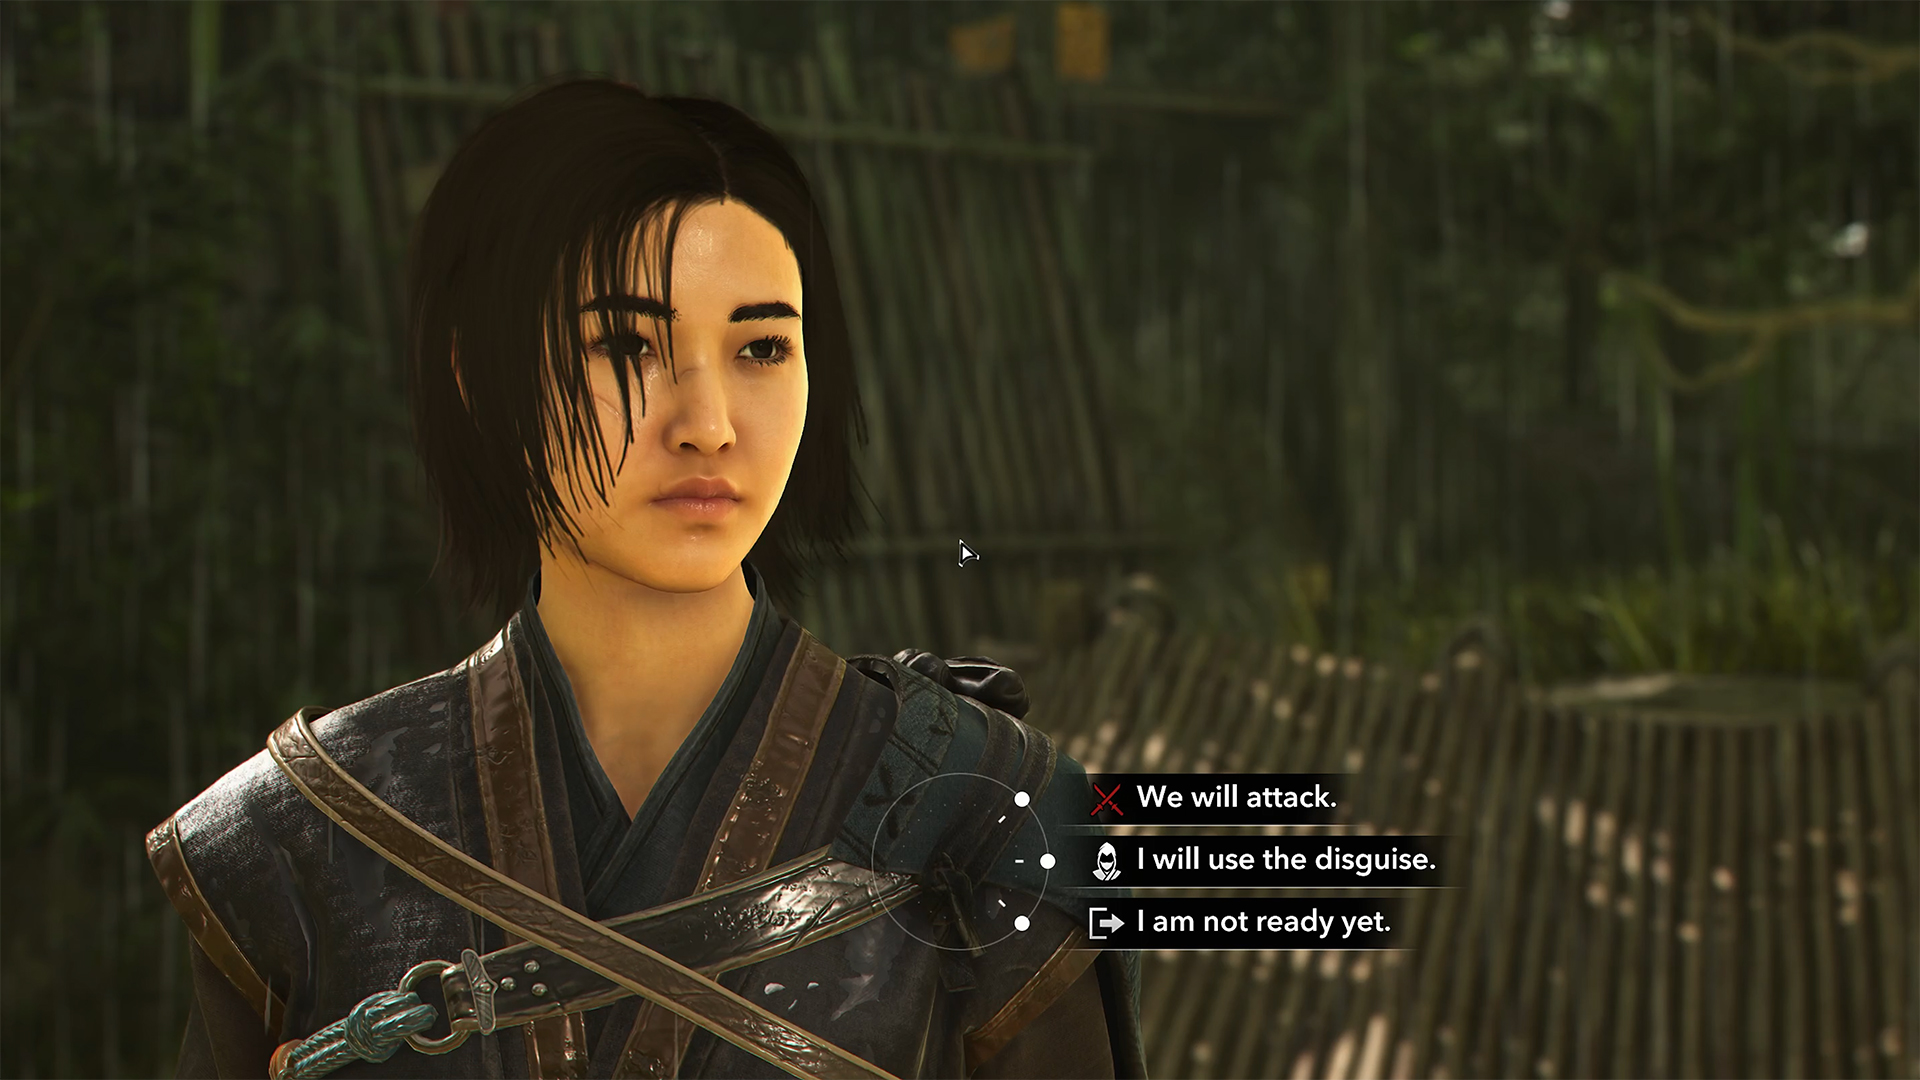
I showed you the location of the chest on the map. It is guarded by several simple enemies, so you can easily deal with them. Take the kosode and let’s move on with the quest. You need to meet Hattori Hanzo again, but in a different location. I also showed you that location. Here you have to choose how to proceed. Probably the more interesting option is to use disguise, which is what I did. But while completing this task, I encountered a bug where the button that should perform blend in to eavesdrop on the conversation was simply unavailable. I tried restarting the quest several times, but the result was the same.
So I went back to the stage of choosing a plan of action and eventually chose a direct attack on the enemy’s lair. The battle turned out to be easy. I easily defeated the real Spymaster Yasuhira. Also, one of the captains, who must be destroyed in order to defeat Imagawa Tomeji without hindrance, came running at the sound of the battle, so I was satisfied with the result of my attack. Opening the quest board, we see that the first target has been destroyed.
-
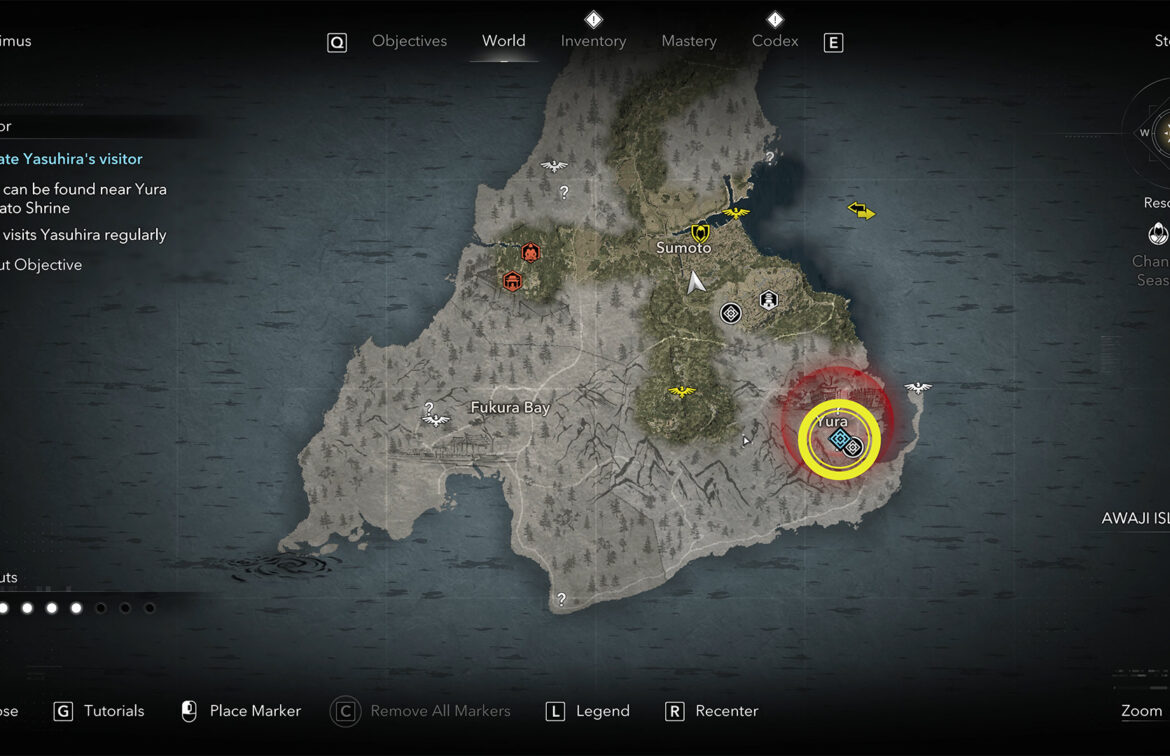
- Yasuhira’s visitor location
-
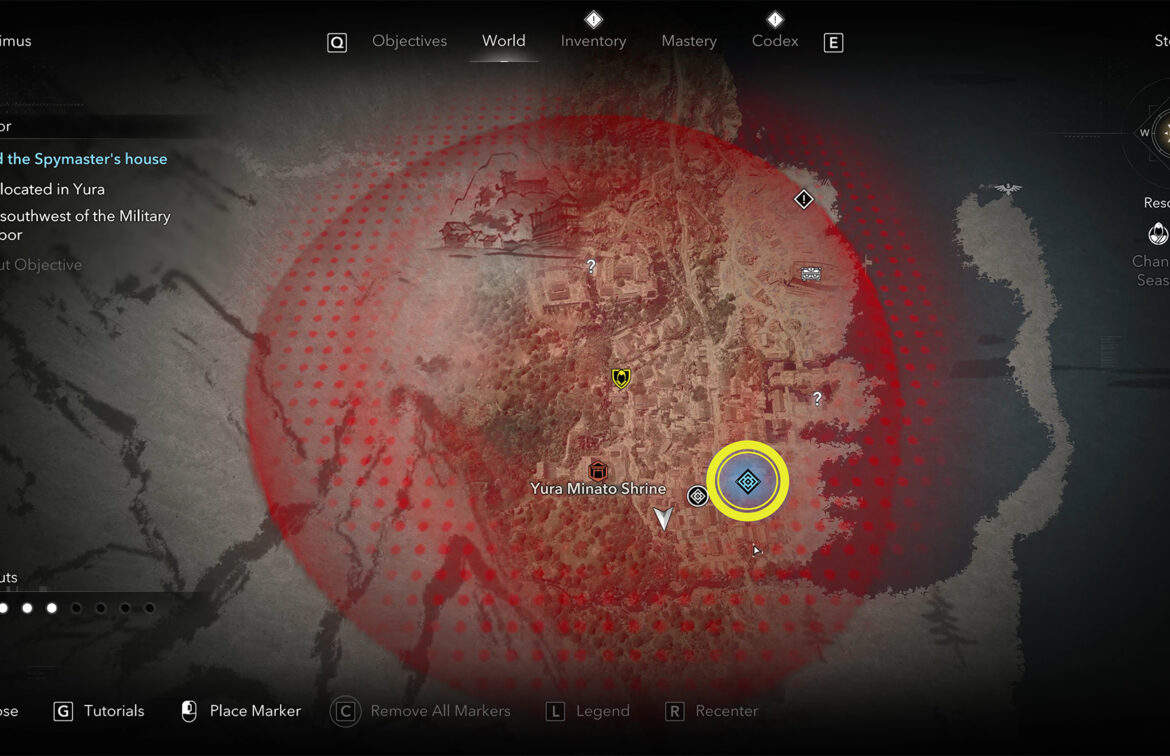
- Spymaster’s house location
-
- Return to Hattori Hanzo
-
- Retrieve the disguise location
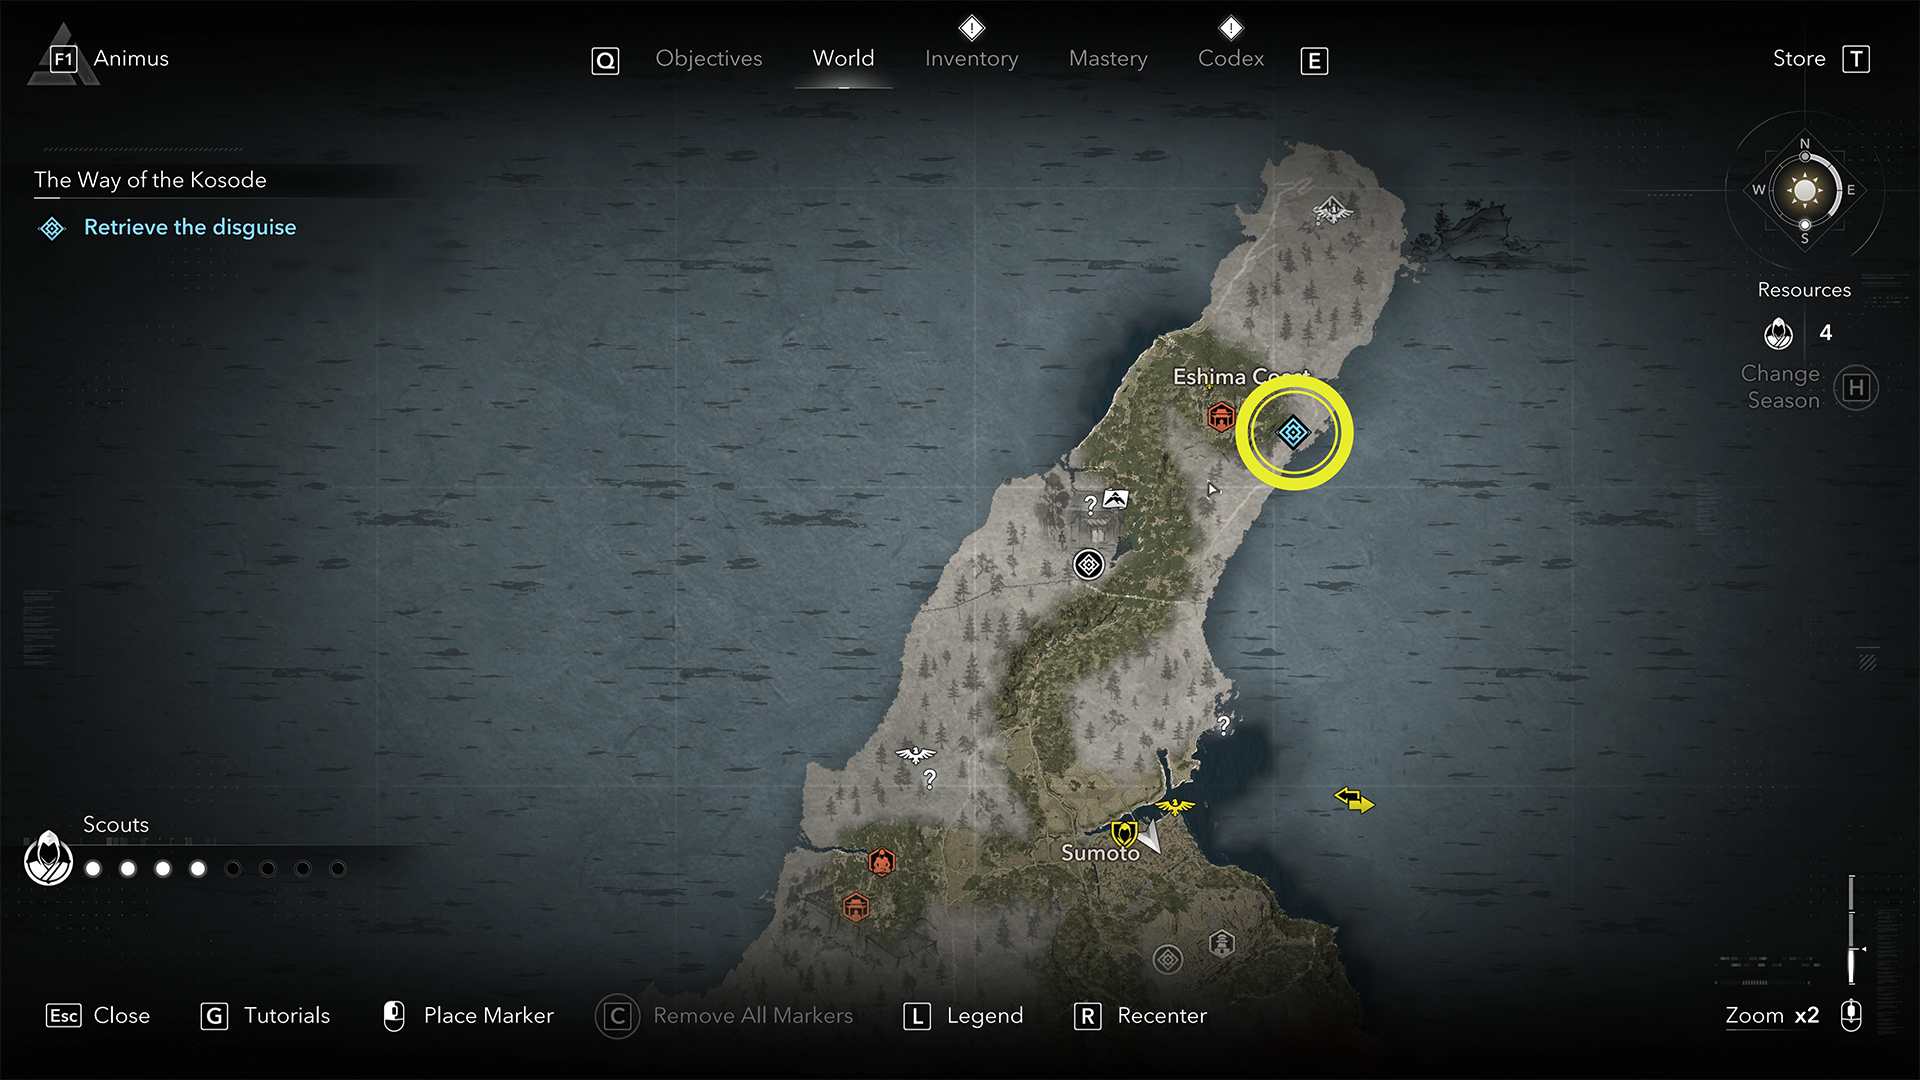
-
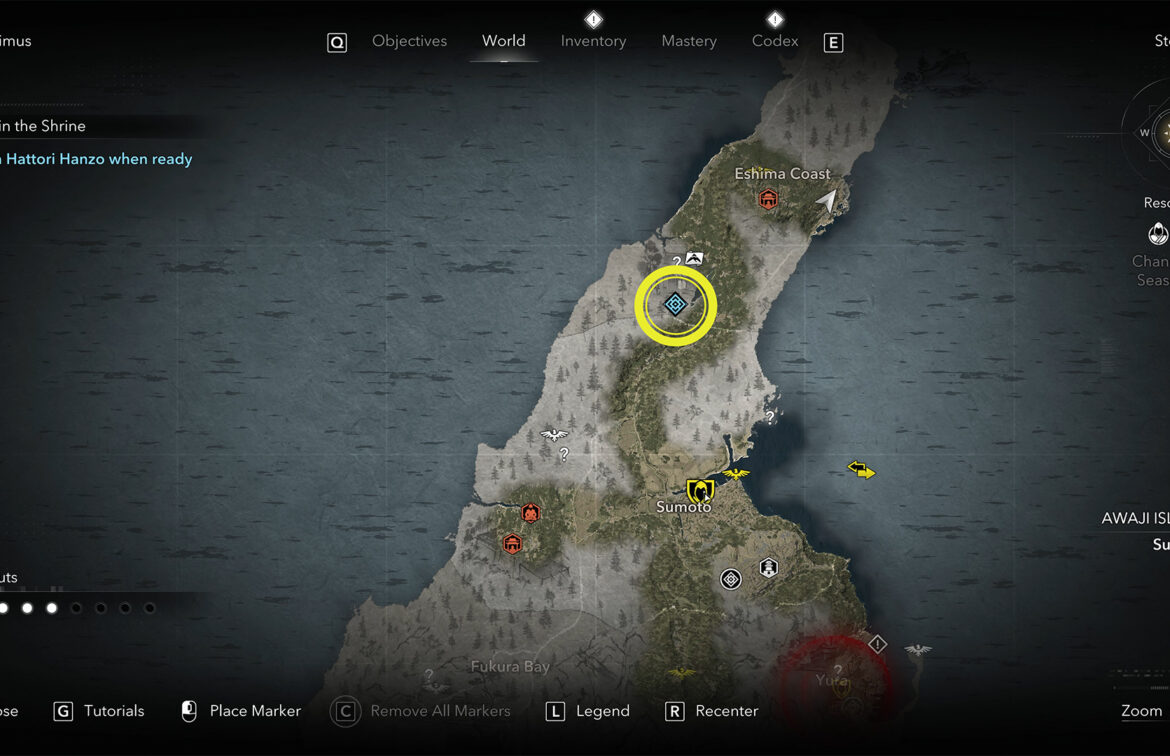
- Join Hattori Hanzo when ready
-
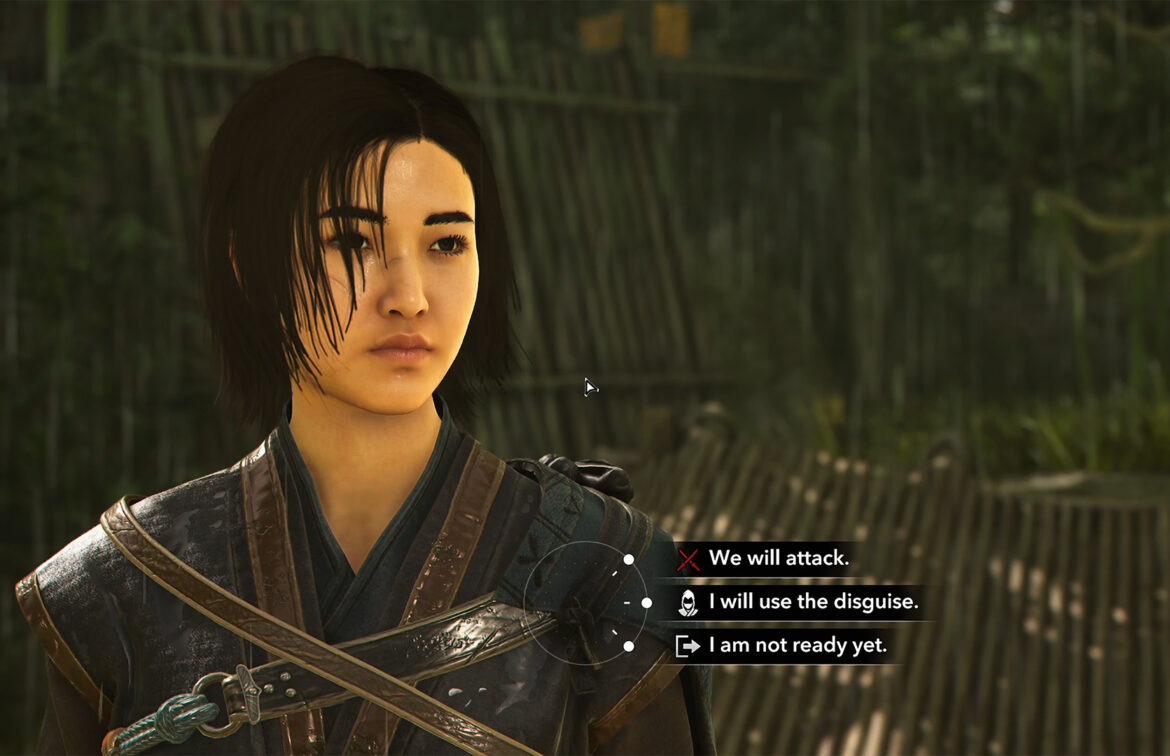
- Choosing an option, how to approach Yasuhira
Nowaki Claws of Awaji AC Shadows
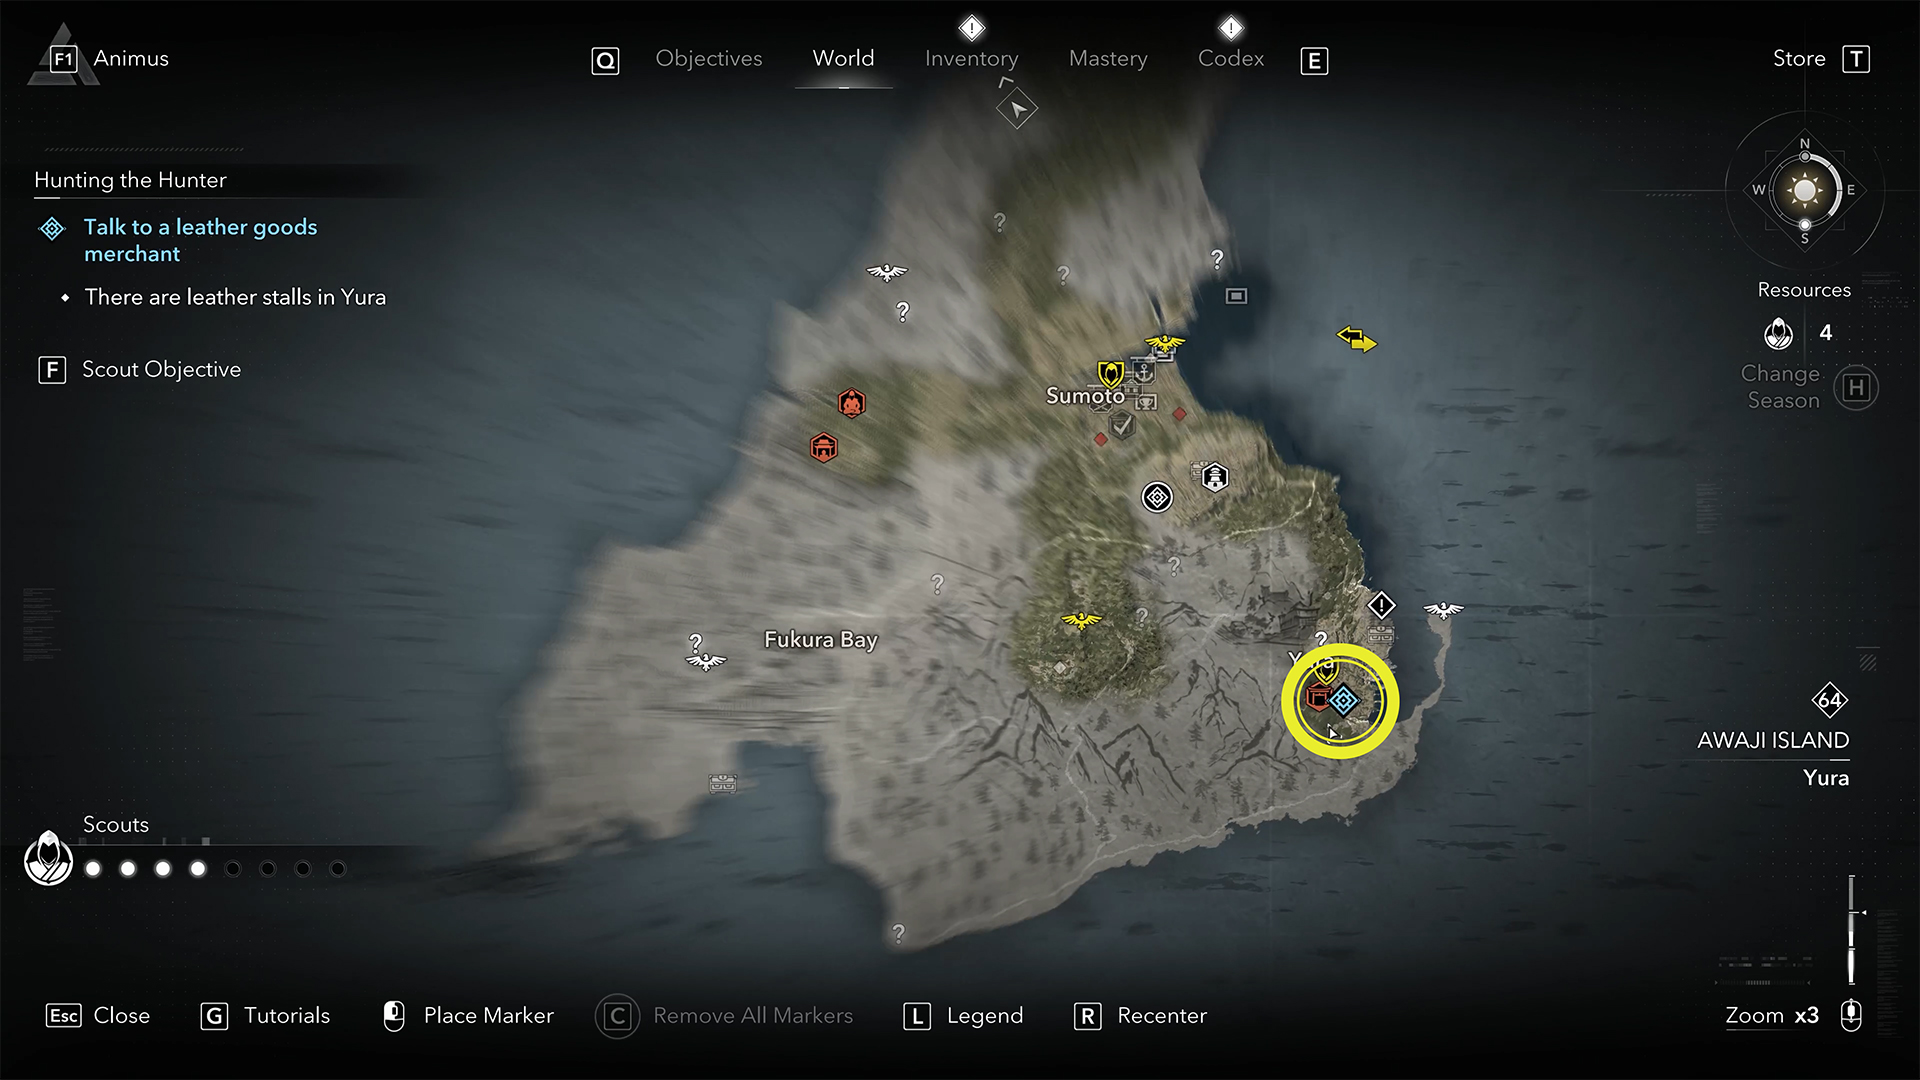
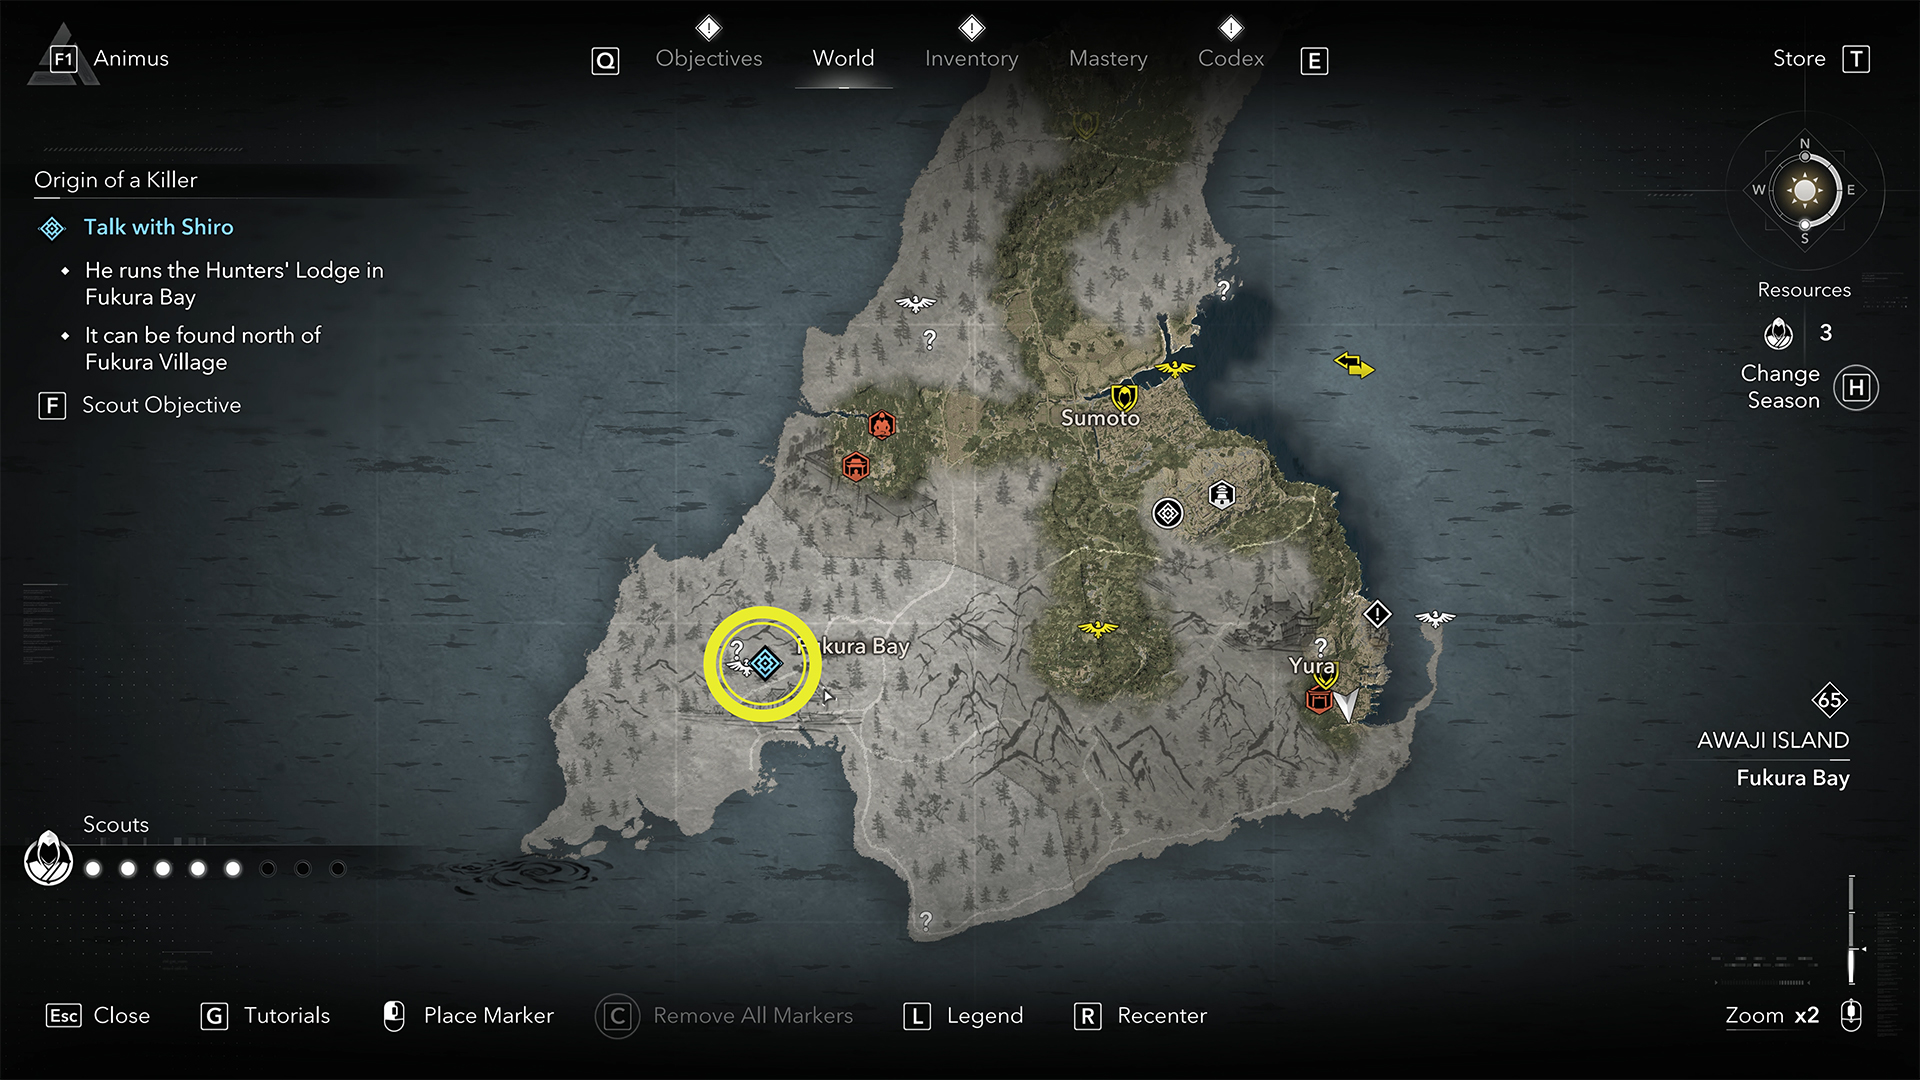
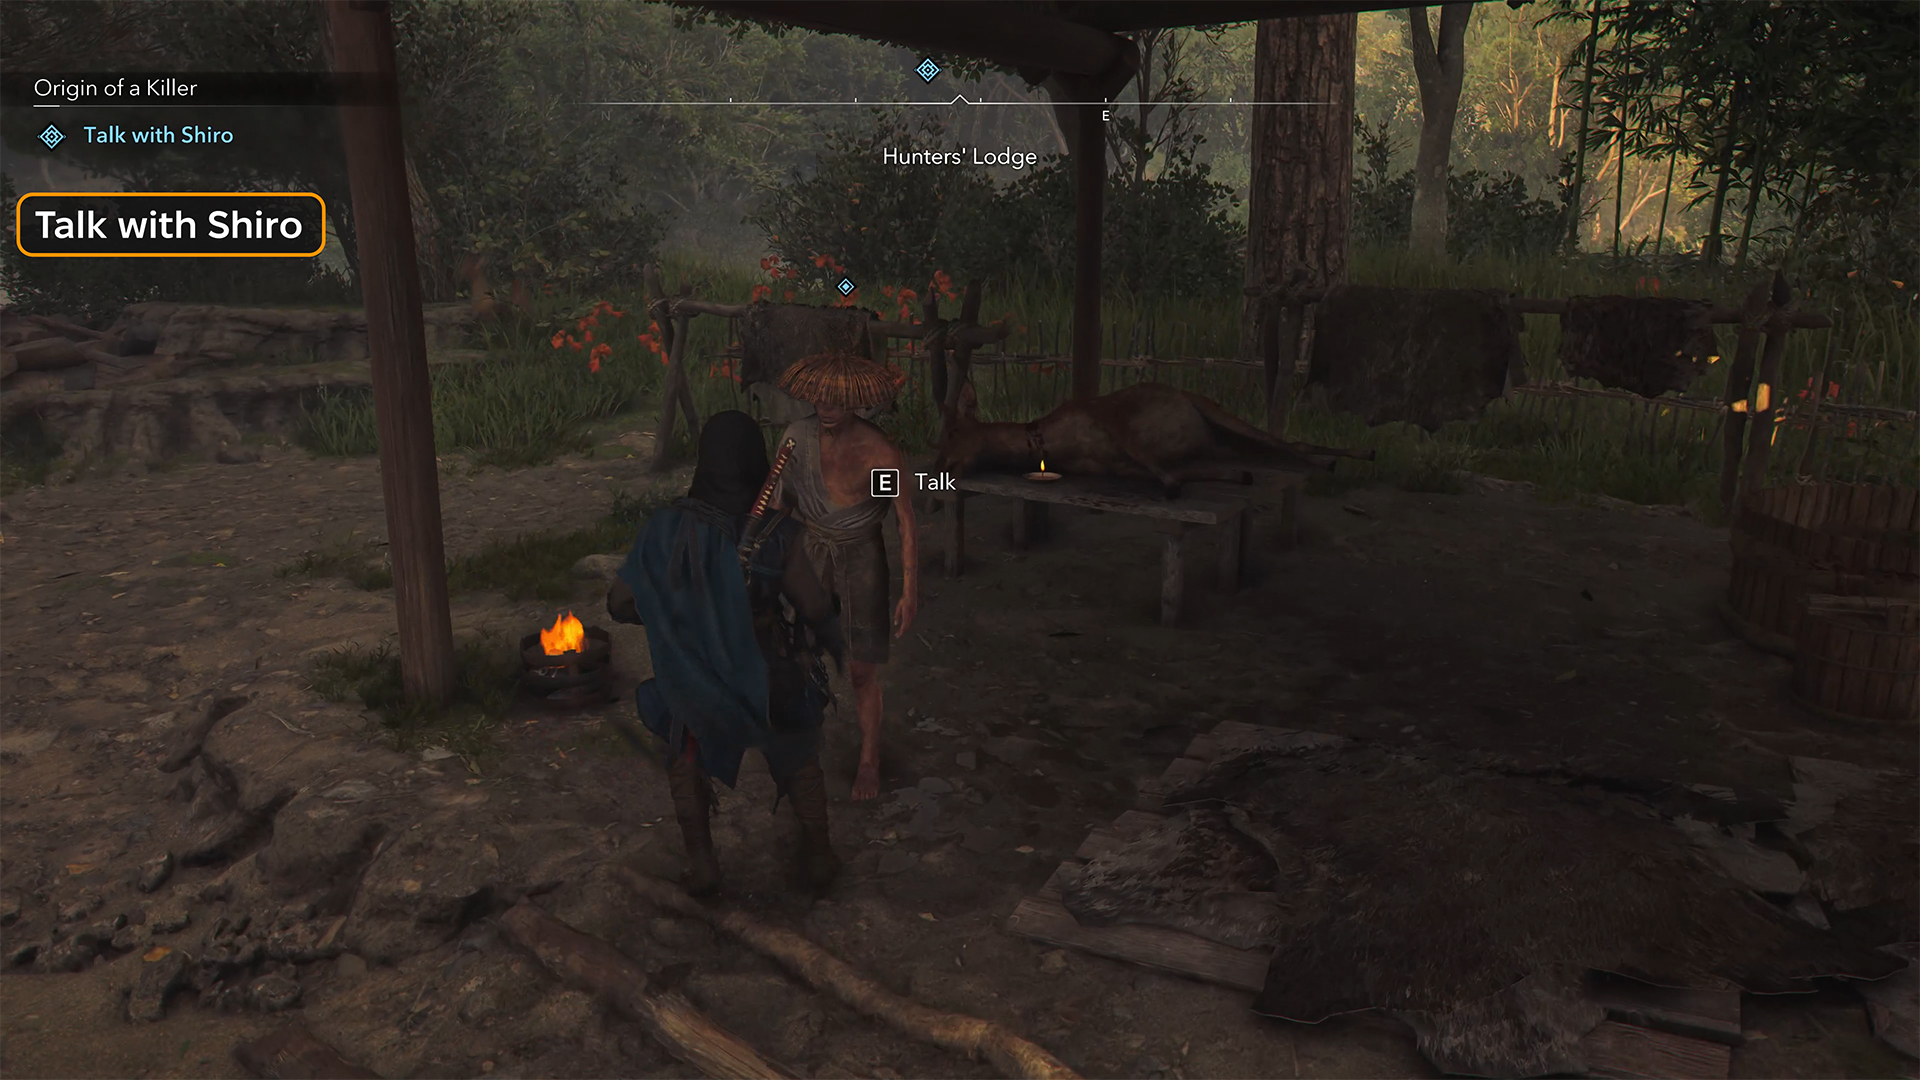
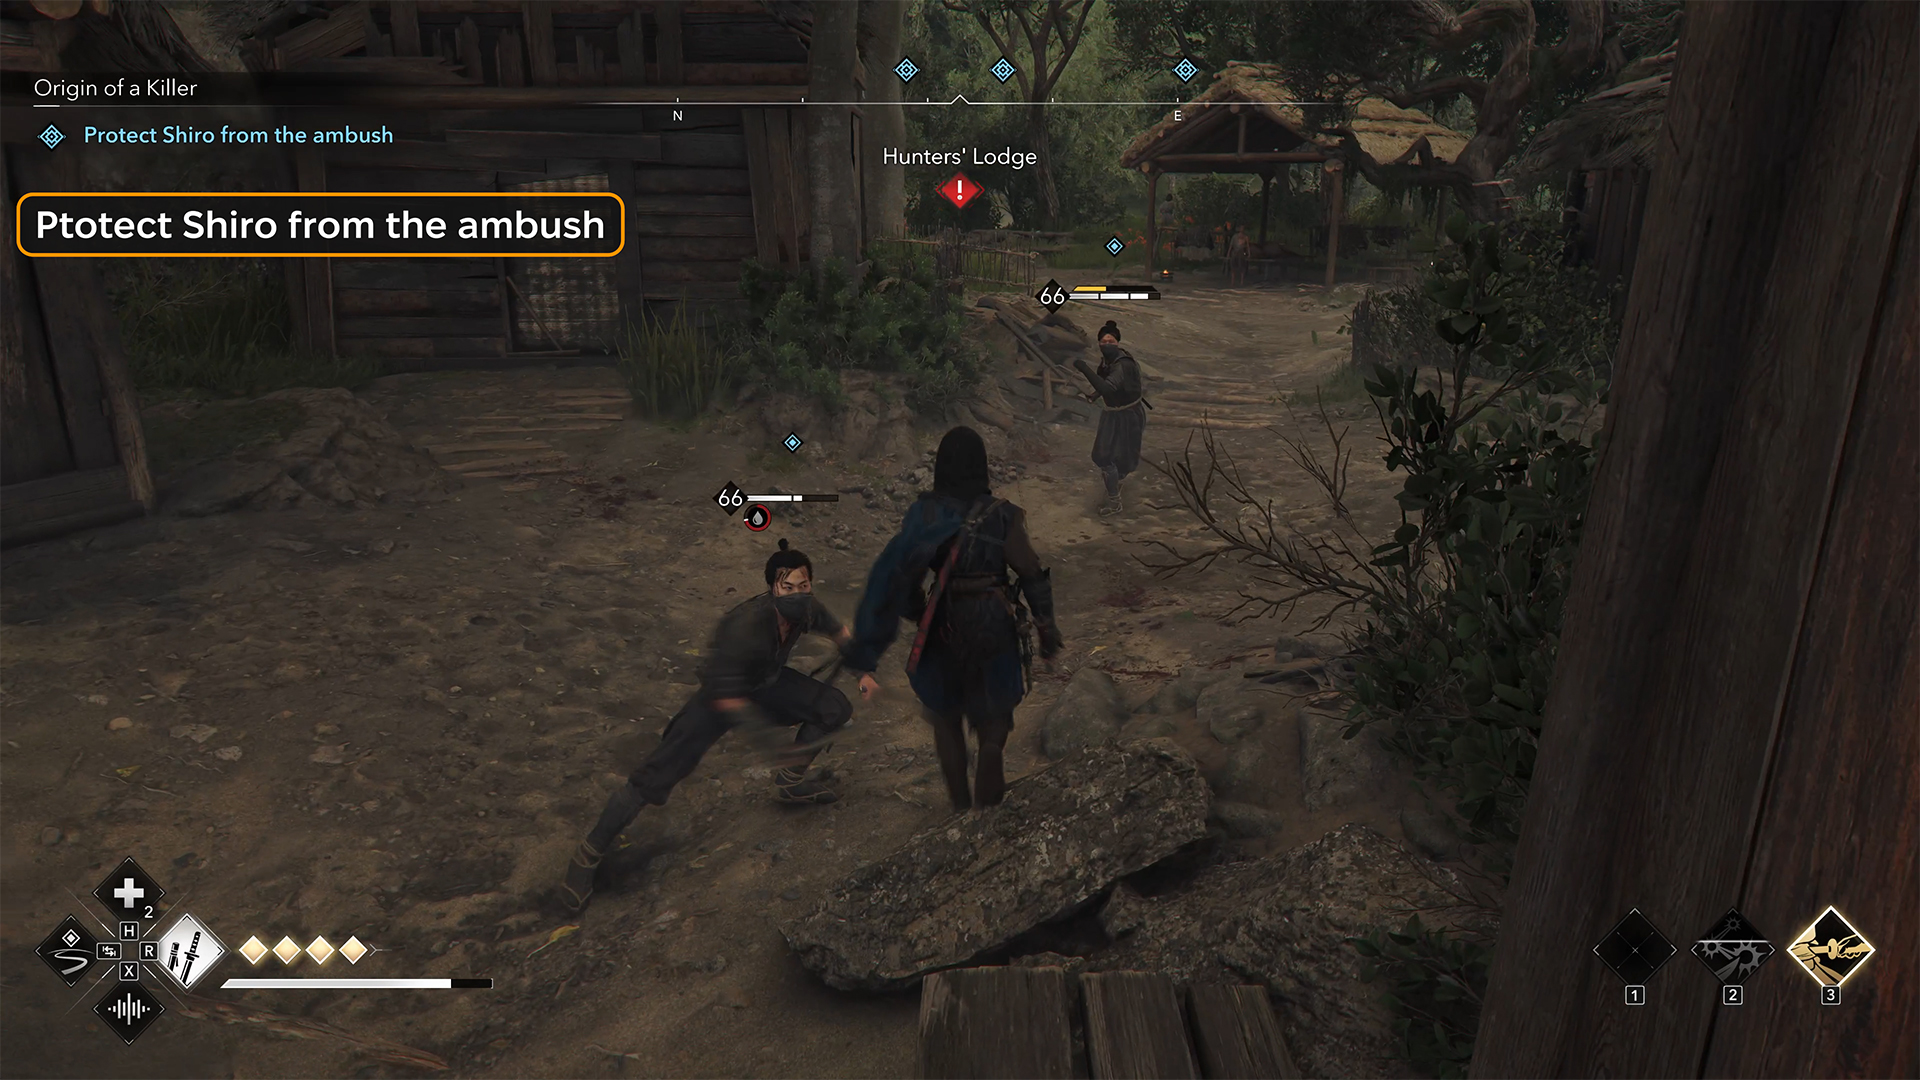
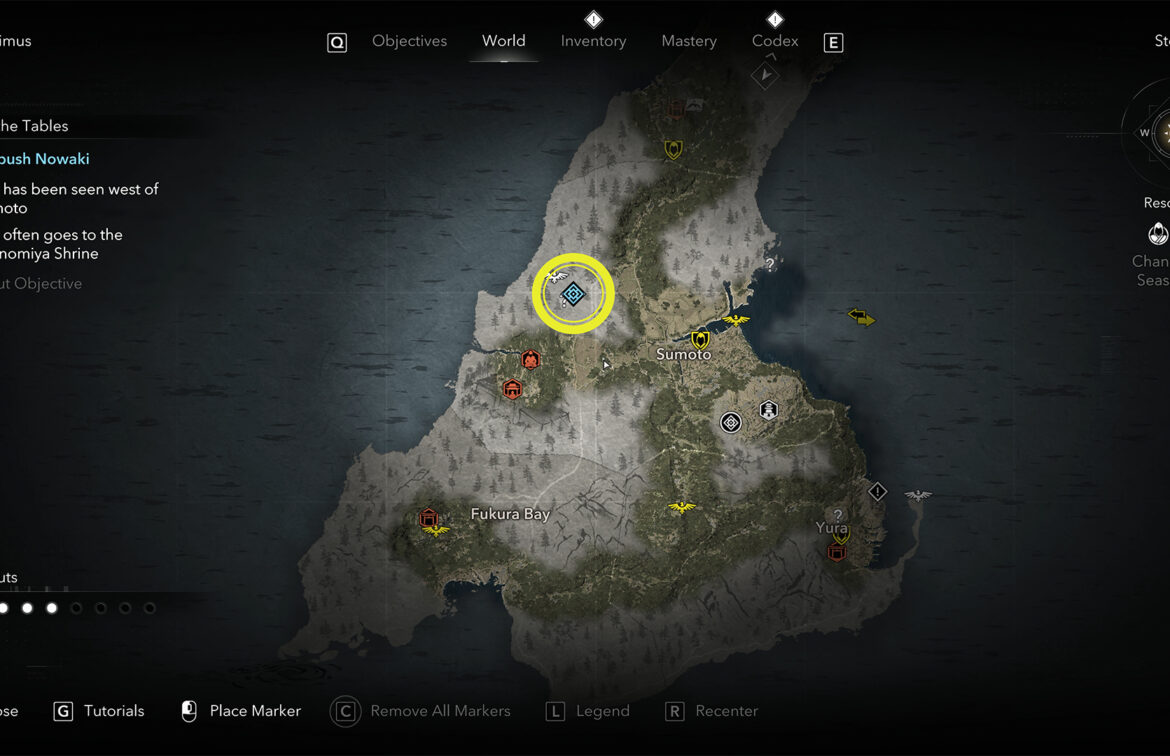
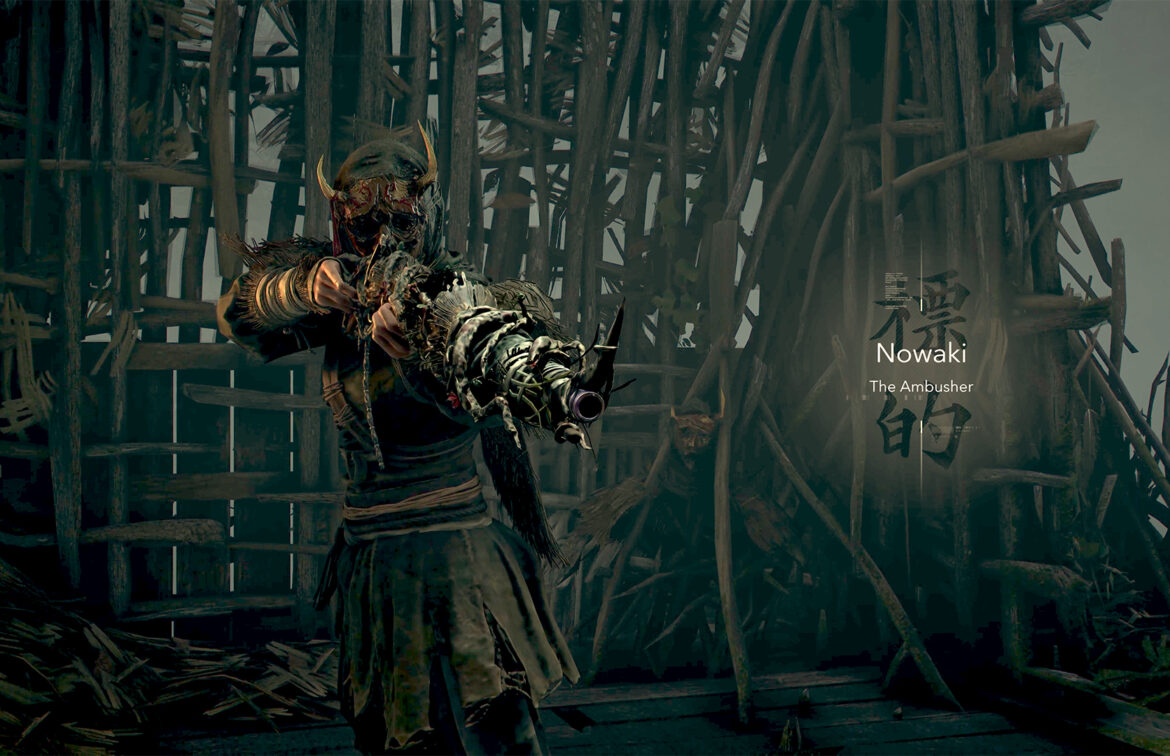
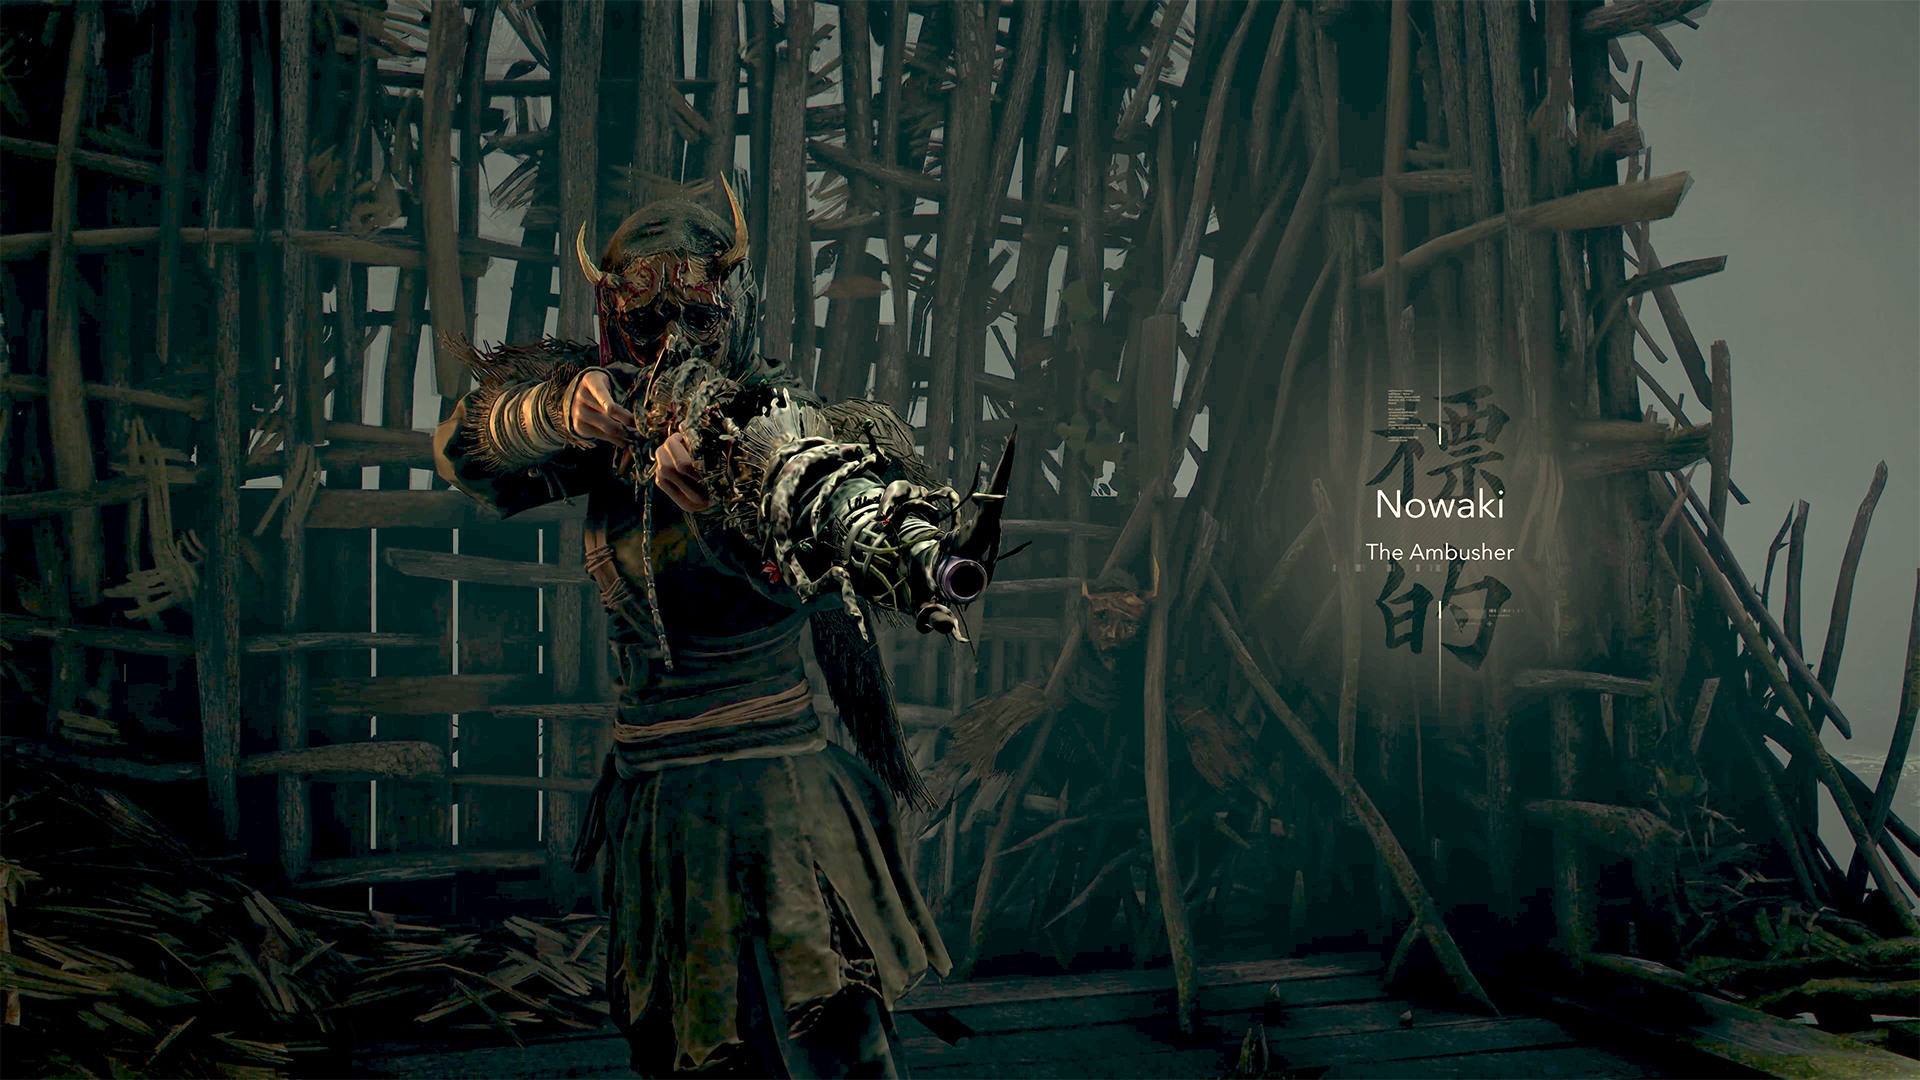
The next target is Nowaki. She is a really tough boss, and she is also difficult to find. First, you need to talk to the leather goods merchant. He is located in the Yura region, and I have marked the location on the map for you. He will tell you about another person who knows Nowaki personally. Or rather, knew her as a child. Now we need to find this person named Shiro. To save you time, I’ll also show you his location on the map. You’ll need to travel quite far to the Fukura Bay region. When you arrive, you’ll find Shiro there. As soon as you start talking to him, Nowaki and his henchmen will appear and attack the village.
Your task will automatically change. Now you need to protect Shiro from the ambush. And don’t expect to defeat Nowaki in this battle. After a few shots, she will disappear, and you will have to fight her assistants. After defeating everyone, you will need to talk to Shiro again. This time, you will learn useful information about the location of Nowaki’s dilapidated house. There are also rumors that Nowaki visits Sannomiya Shrine every morning. This is very important information. First, let’s visit the house where Nowaki lived as a child.
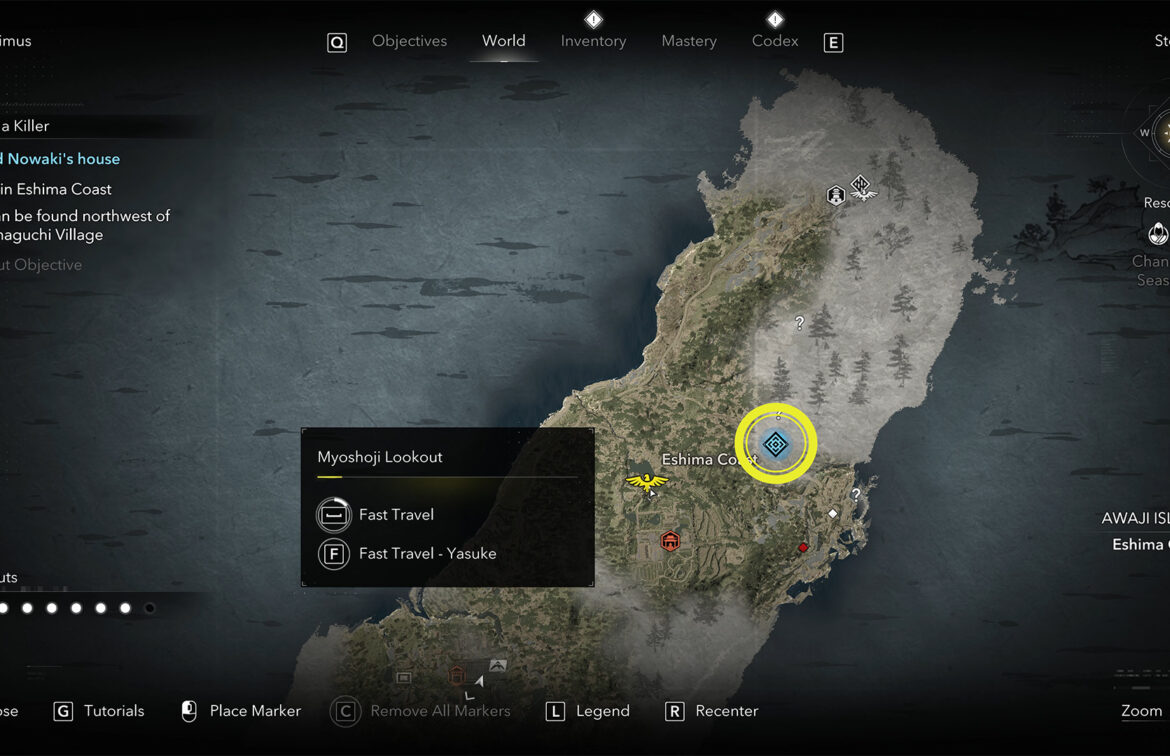
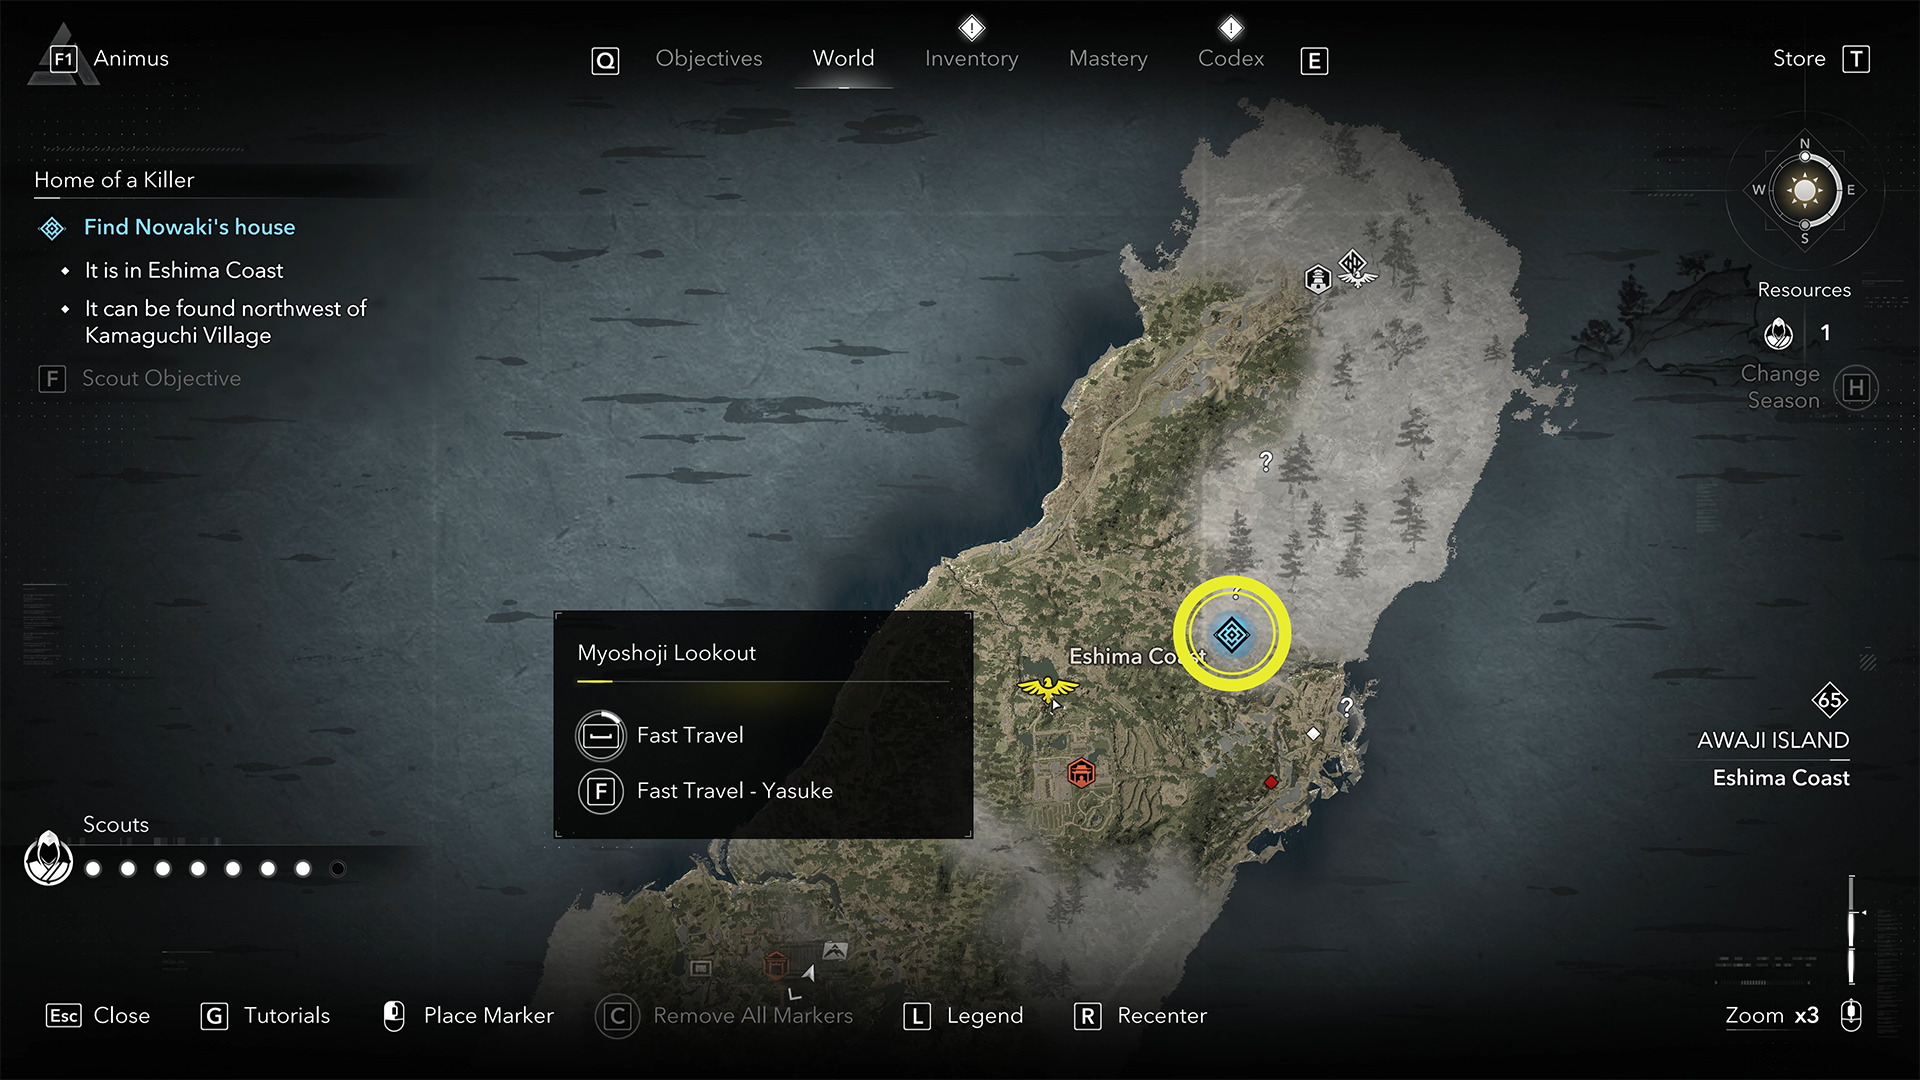
After opening the task board, this quest becomes available to us. So, I have marked the location of the house where Nowaki lived as a child on the map. Let’s head there. I’ll say right away that we won’t find Nowaki there either, but there will be something interesting. The location is indeed abandoned, but an ordinary robber won’t be able to enter this house.
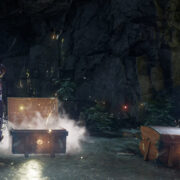
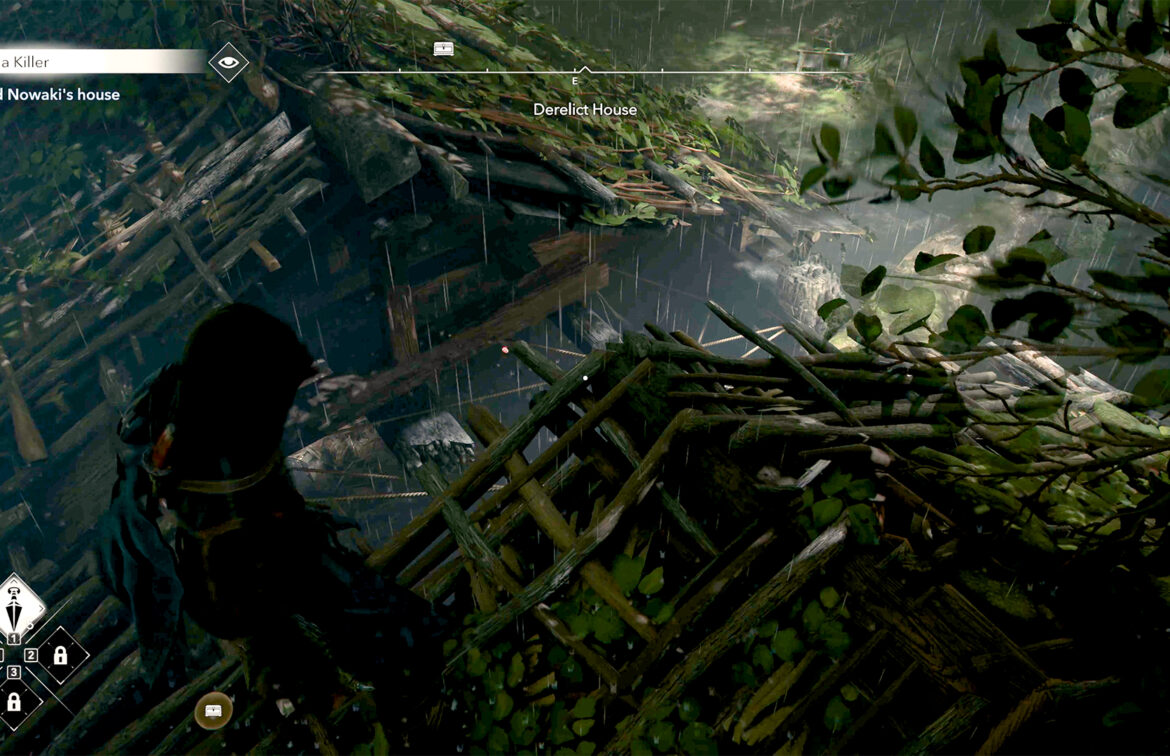
There are many traps around it. Note that the ropes are rigged to explode one after another. That is, if you touch one, they will all explode. It is impossible to survive such damage. Therefore, you need to move very carefully. There are also metal spikes scattered around. If you step on one, you will definitely get hurt. And if you get stuck in these spikes and roll over, you will definitely have to reload the game. So watch where you’re going. There are no enemies in this location, so you have nothing to fear. But the traps are really powerful. It is best to follow the route I indicate. By the way, not all chests inside are safe.
Some are poisoned with gas. When you finally reach the right house, you need to climb onto the roof. From here, you should see a barrel below. Throw your kunai at it to make it explode. This will defuse all the traps inside the building. Don’t rush to jump down right away; wait until the poisonous smoke dissipates. Inside, you will find a letter from Nowaki’s sister, as well as her personal item, which will help you detain Nowaki so she doesn’t run away from you.
-
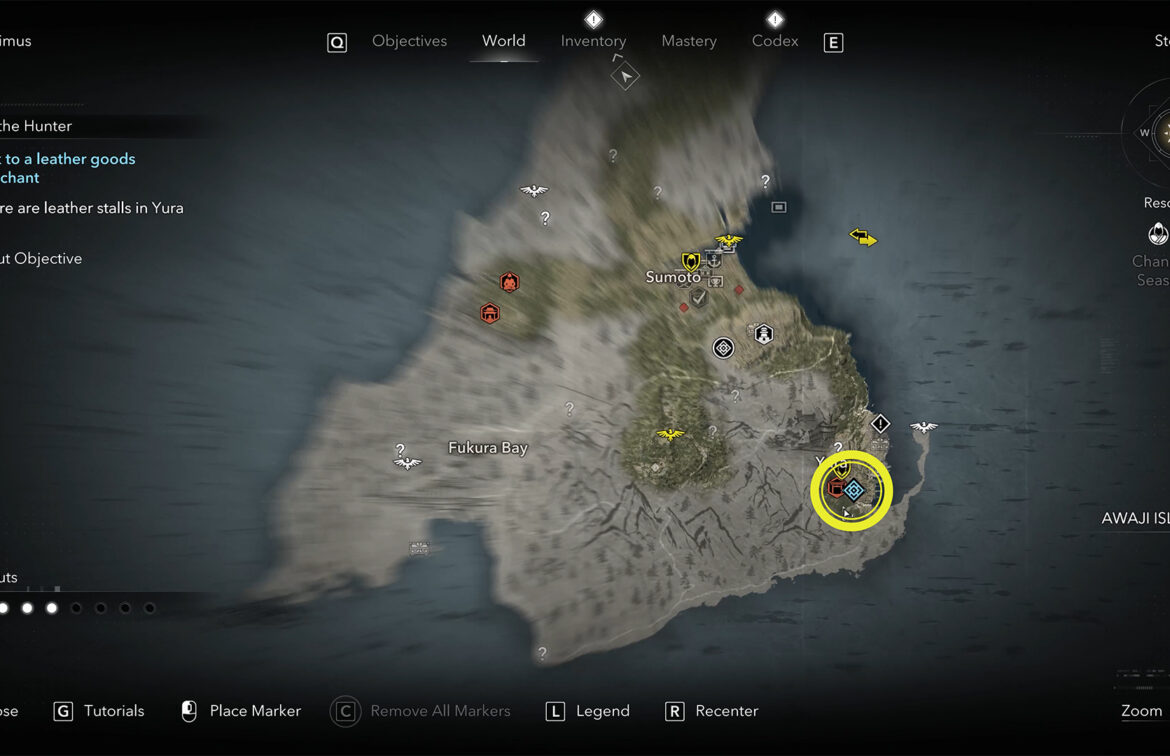
- Talk to the leather goods merchant
-
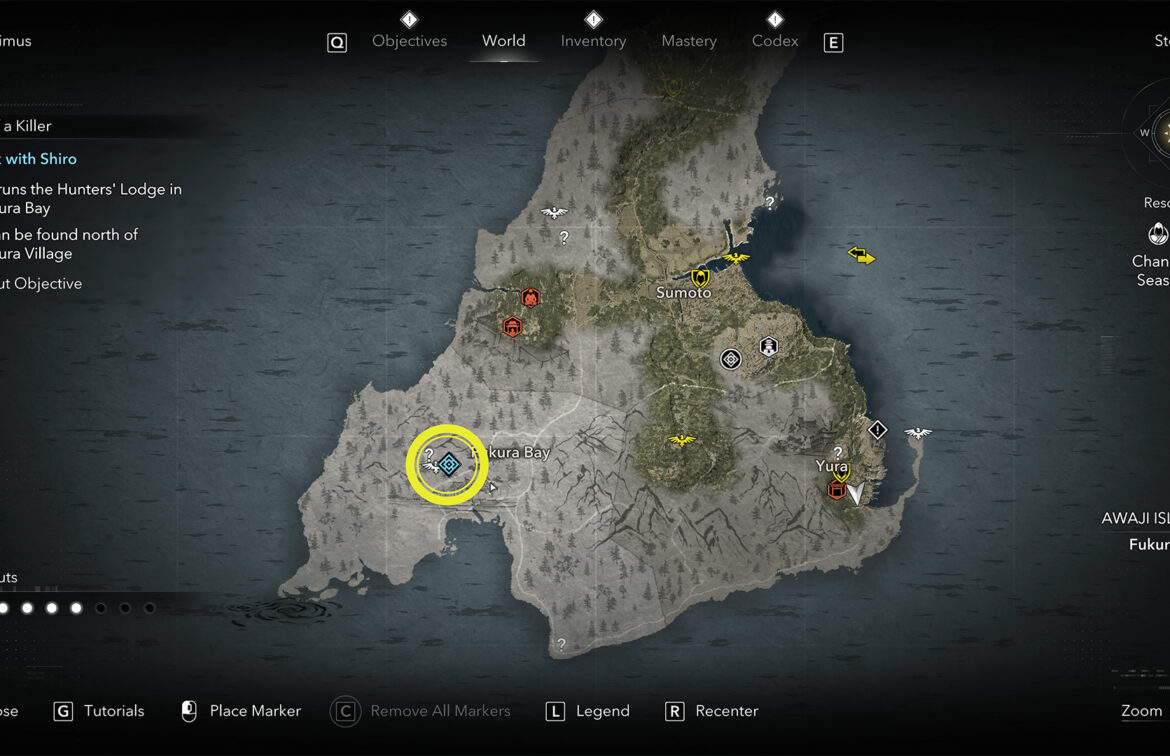
- Shiro location
-
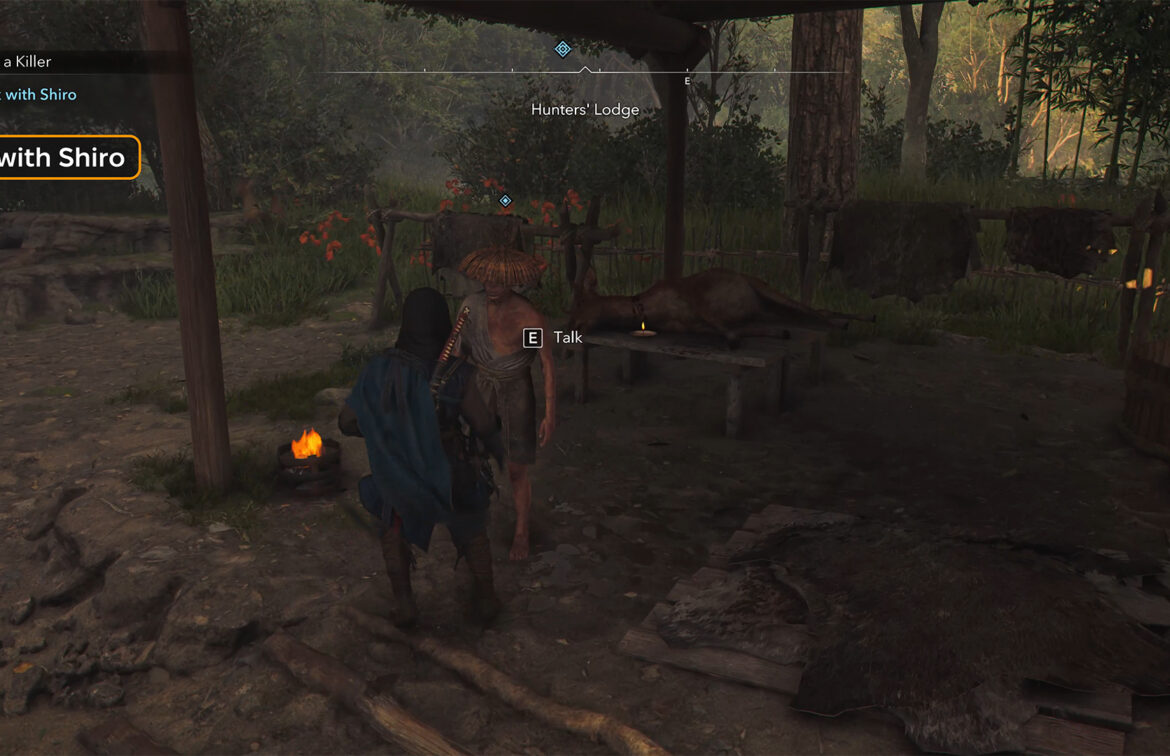
- Talk with Shiro
-
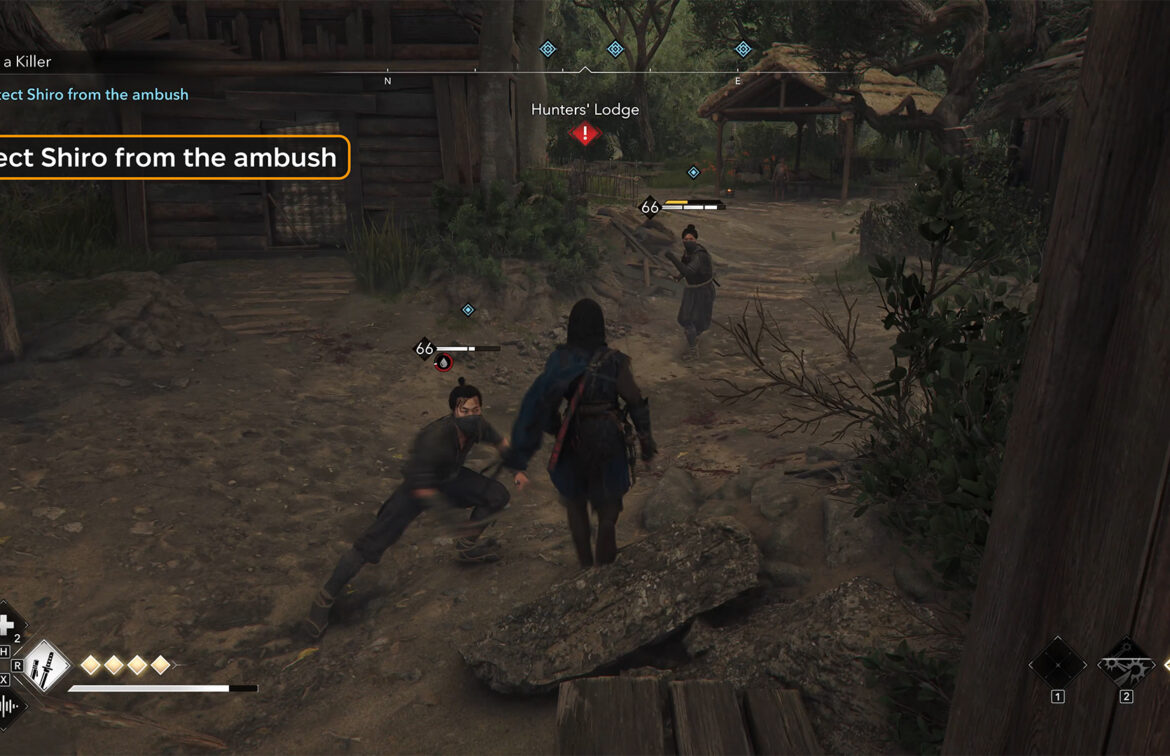
- Protect Shiro from the ambush
-
- Find Nowaki’s house
-
- Many traps around and inside

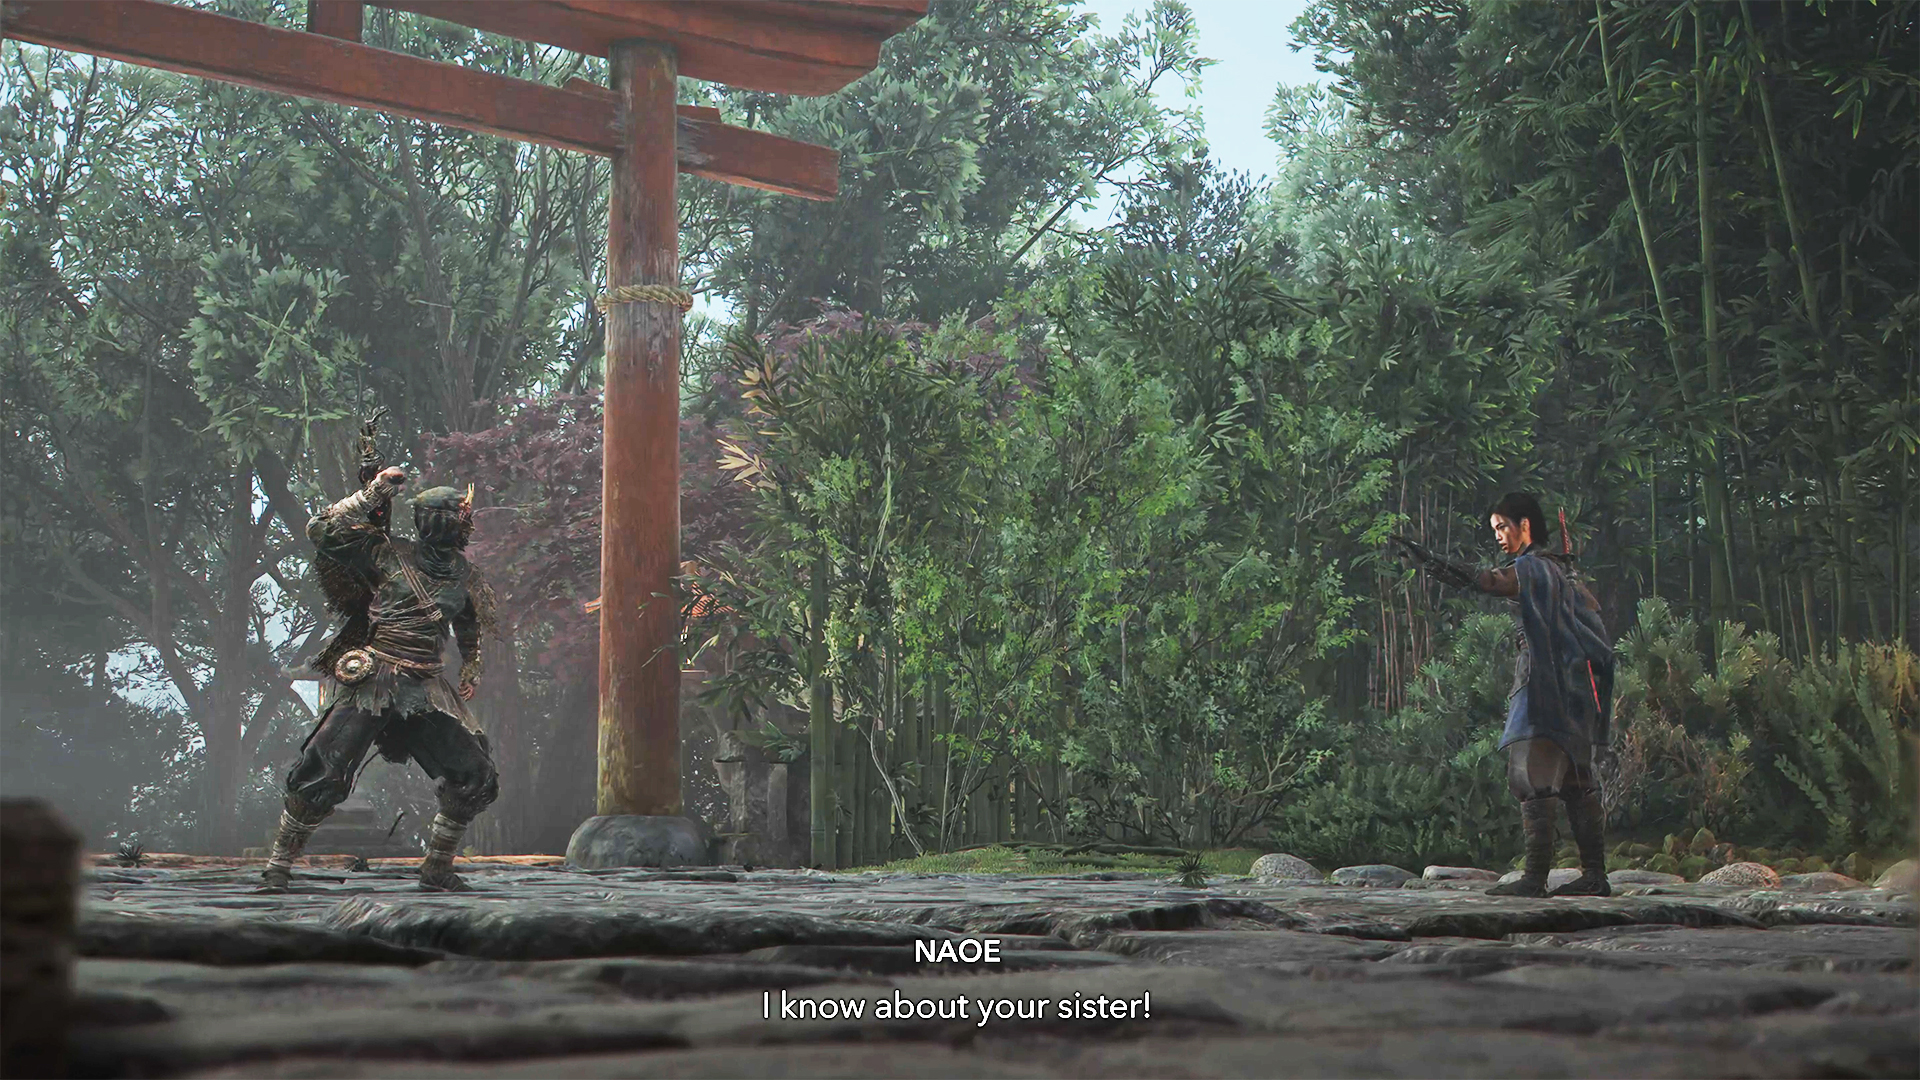
Now you are ready to meet Nowaki. First, go to Sannomiya Shrine. Here you will have to wait for Nowaki to arrive, and as soon as she appears, you will try to talk to her. Of course, she will want to run away from you, and this is where her sister’s item will help you. She will want to take it for herself, so she will not run away without a trace. Instead, she will lure you to another location.
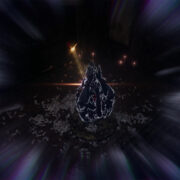
You have no choice, even knowing that it is a trap, you must follow her in order to ultimately defeat this enemy. The process of finding your way to the forgotten swamp will not be difficult for you. It is hard to get lost there, and the blue glow will help you when you use your exploration skill. Here you can learn to follow the blue glow. This will help you in your search for Nowaki later on. I’ll briefly explain how the raven works. Rotate the camera until the glow on your screen fills the entire perimeter. This means that the target is directly in front of you at some distance.
Now go forward and look for the target. When you enter the forgotten swamp, your first experience of this location may upset you. Don’t worry, I’m sure this happens to everyone. It is a really unusual location and you need the right strategy to find and defeat Nowaki. I talk about this in more detail in a separate video. You should now see a link to this video in the right corner. I will also leave a link to this video in the description. So, it’s time to look at the task board. The second target has been defeated. Let’s move on.
-
- Meet Nowaki location

-
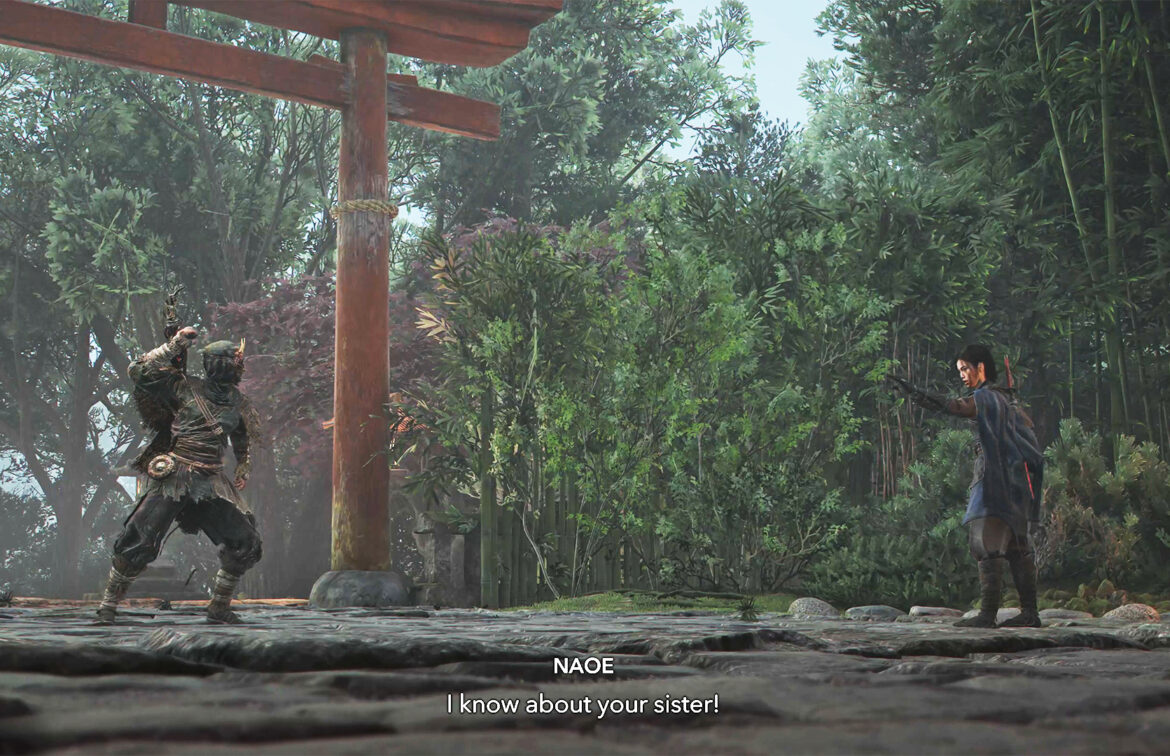
- Knowledge about sister
-
- Nowaki in Hidden Wsamp
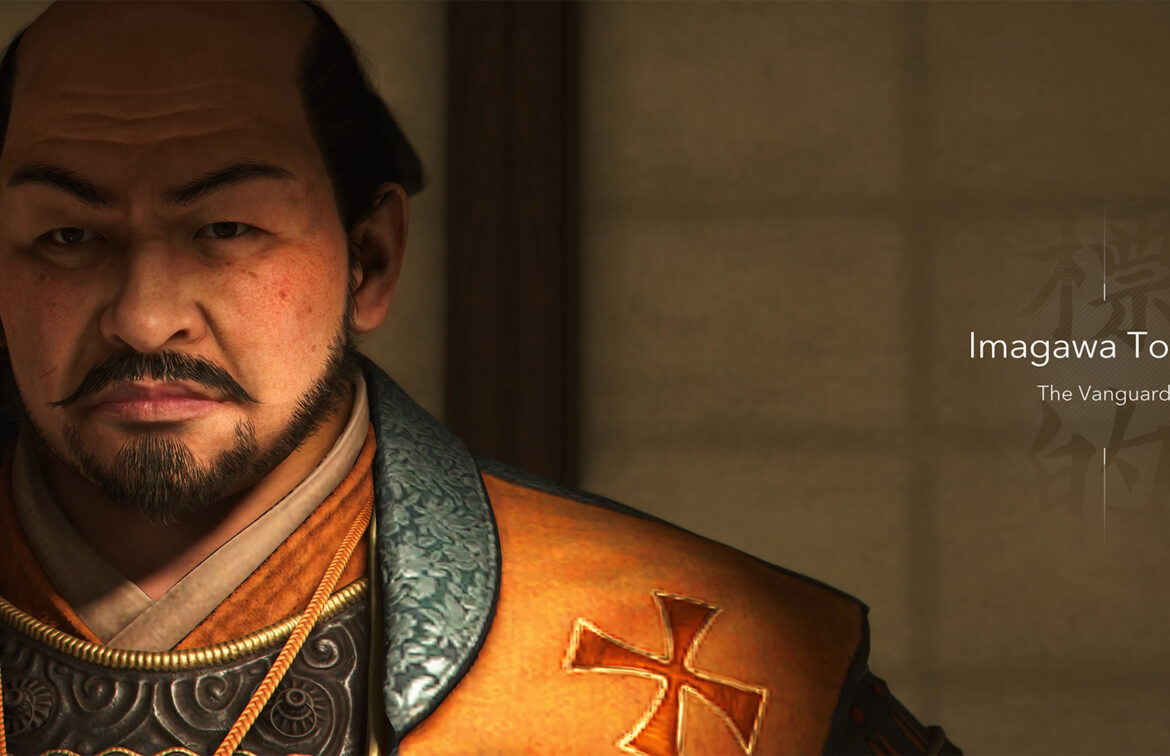
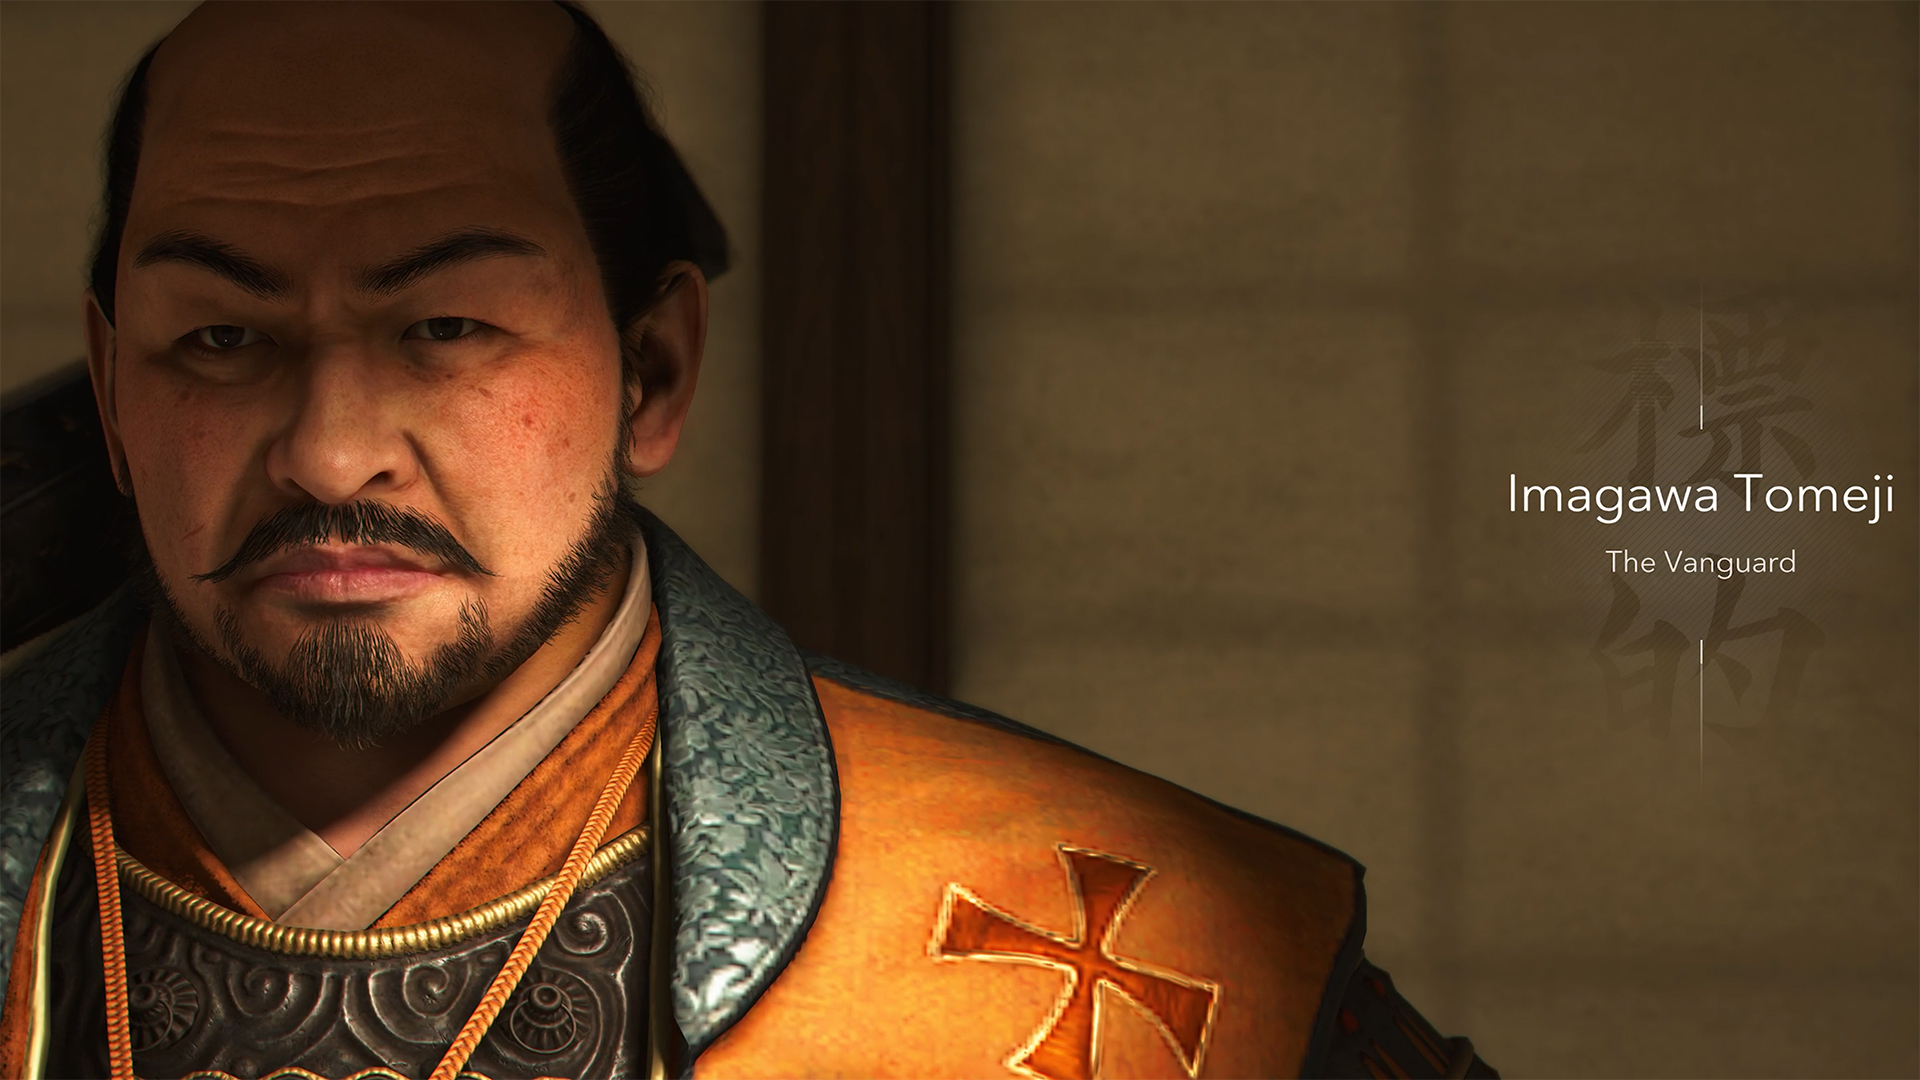
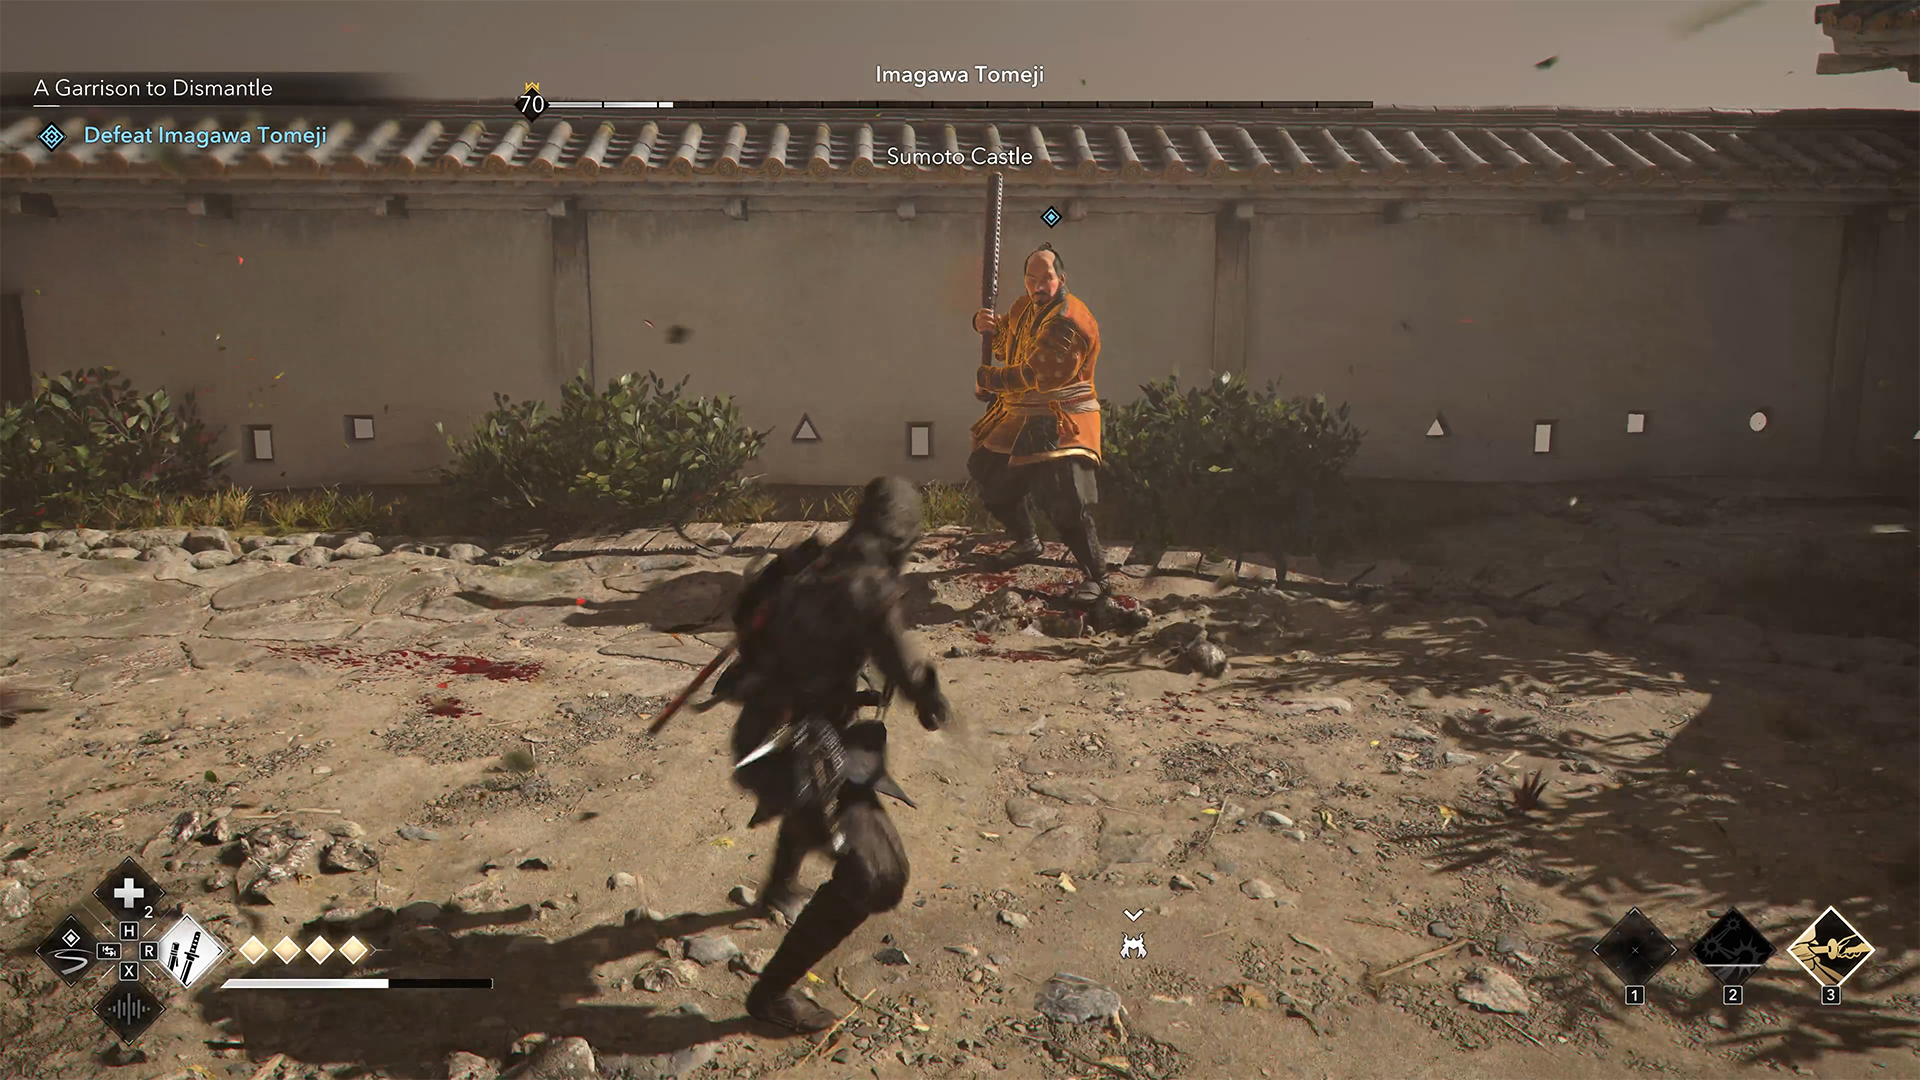
Imagawa Tomeji Claws of Awaji AC Shadows
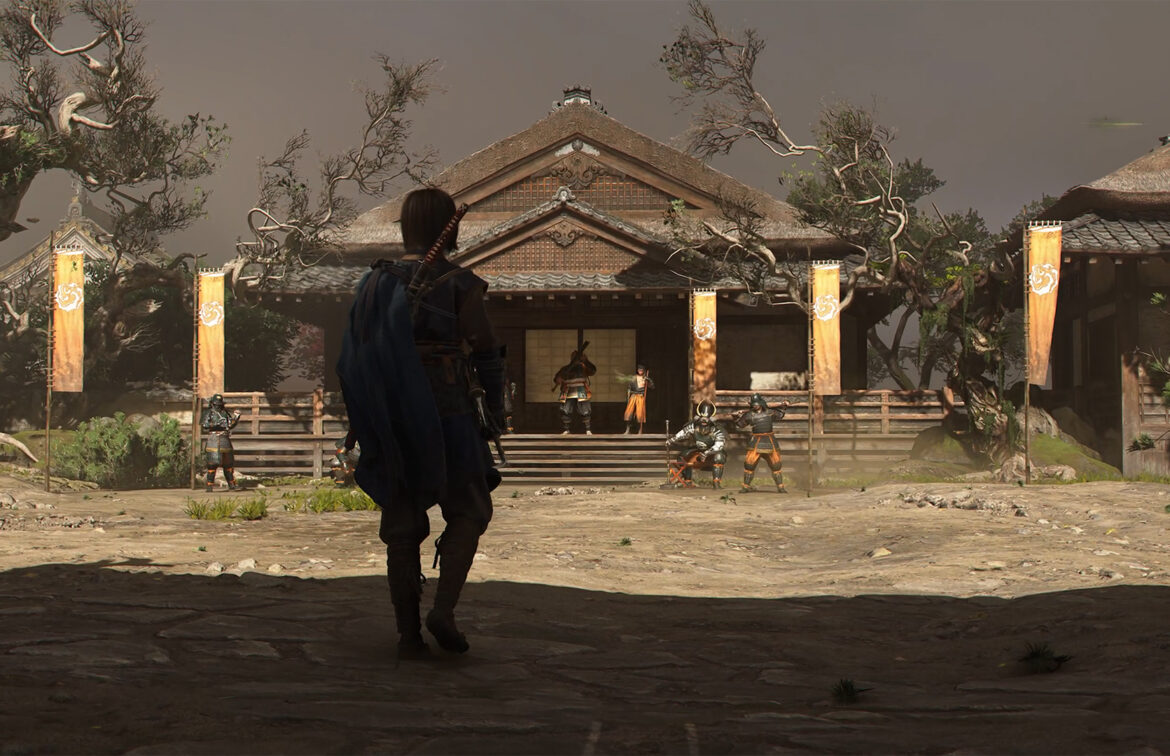
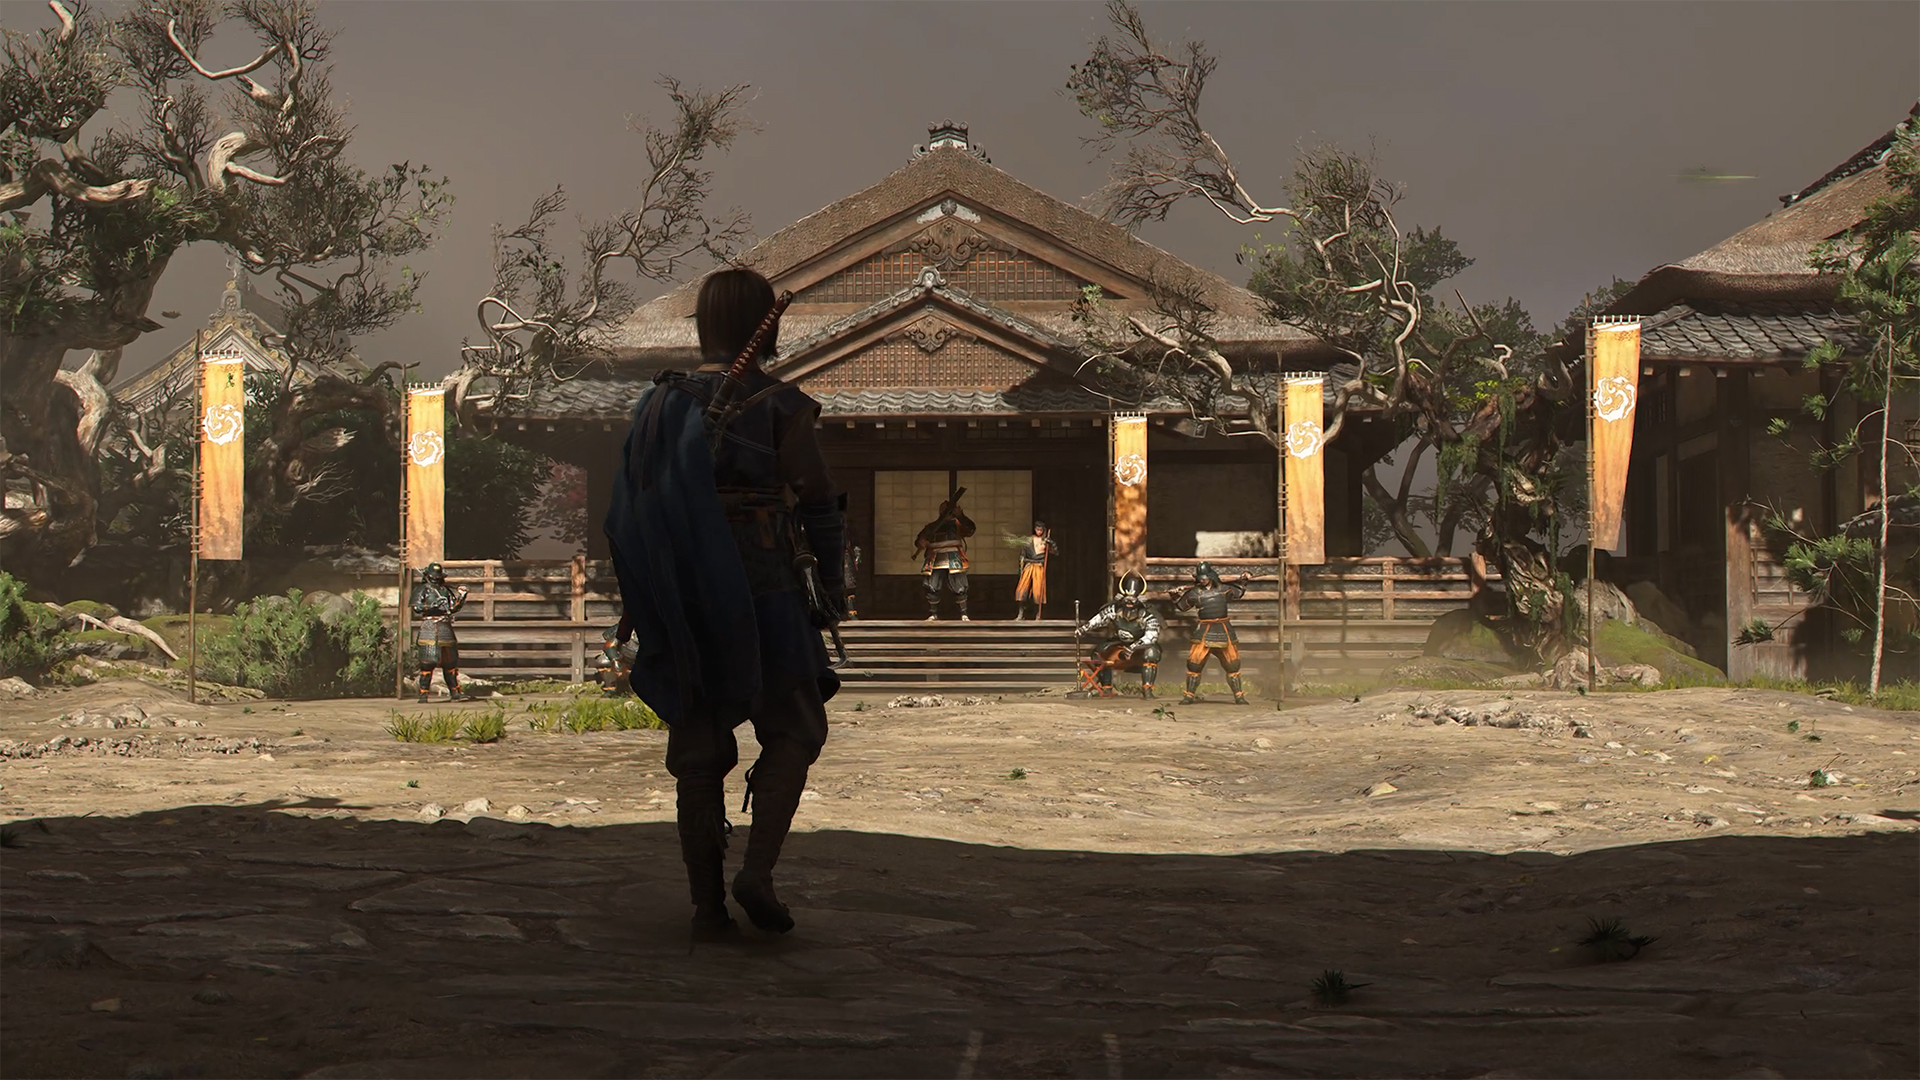
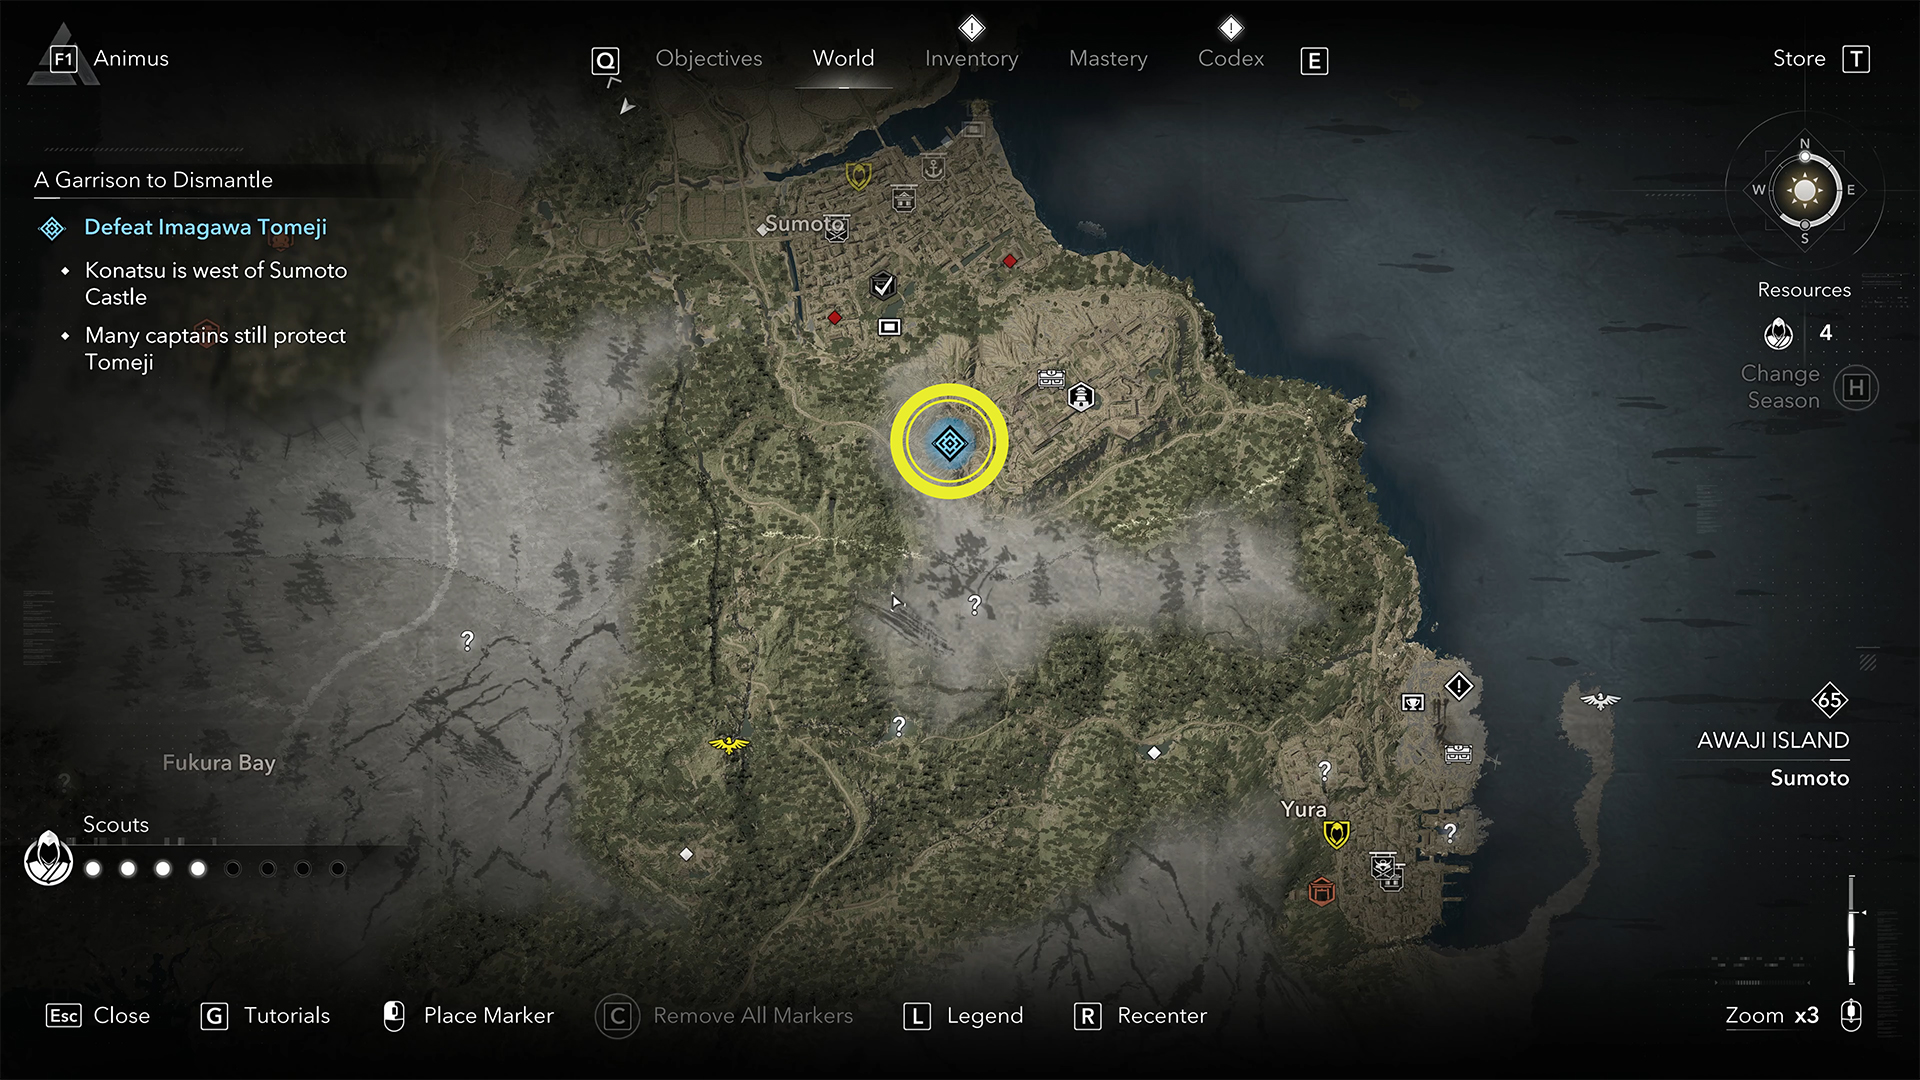
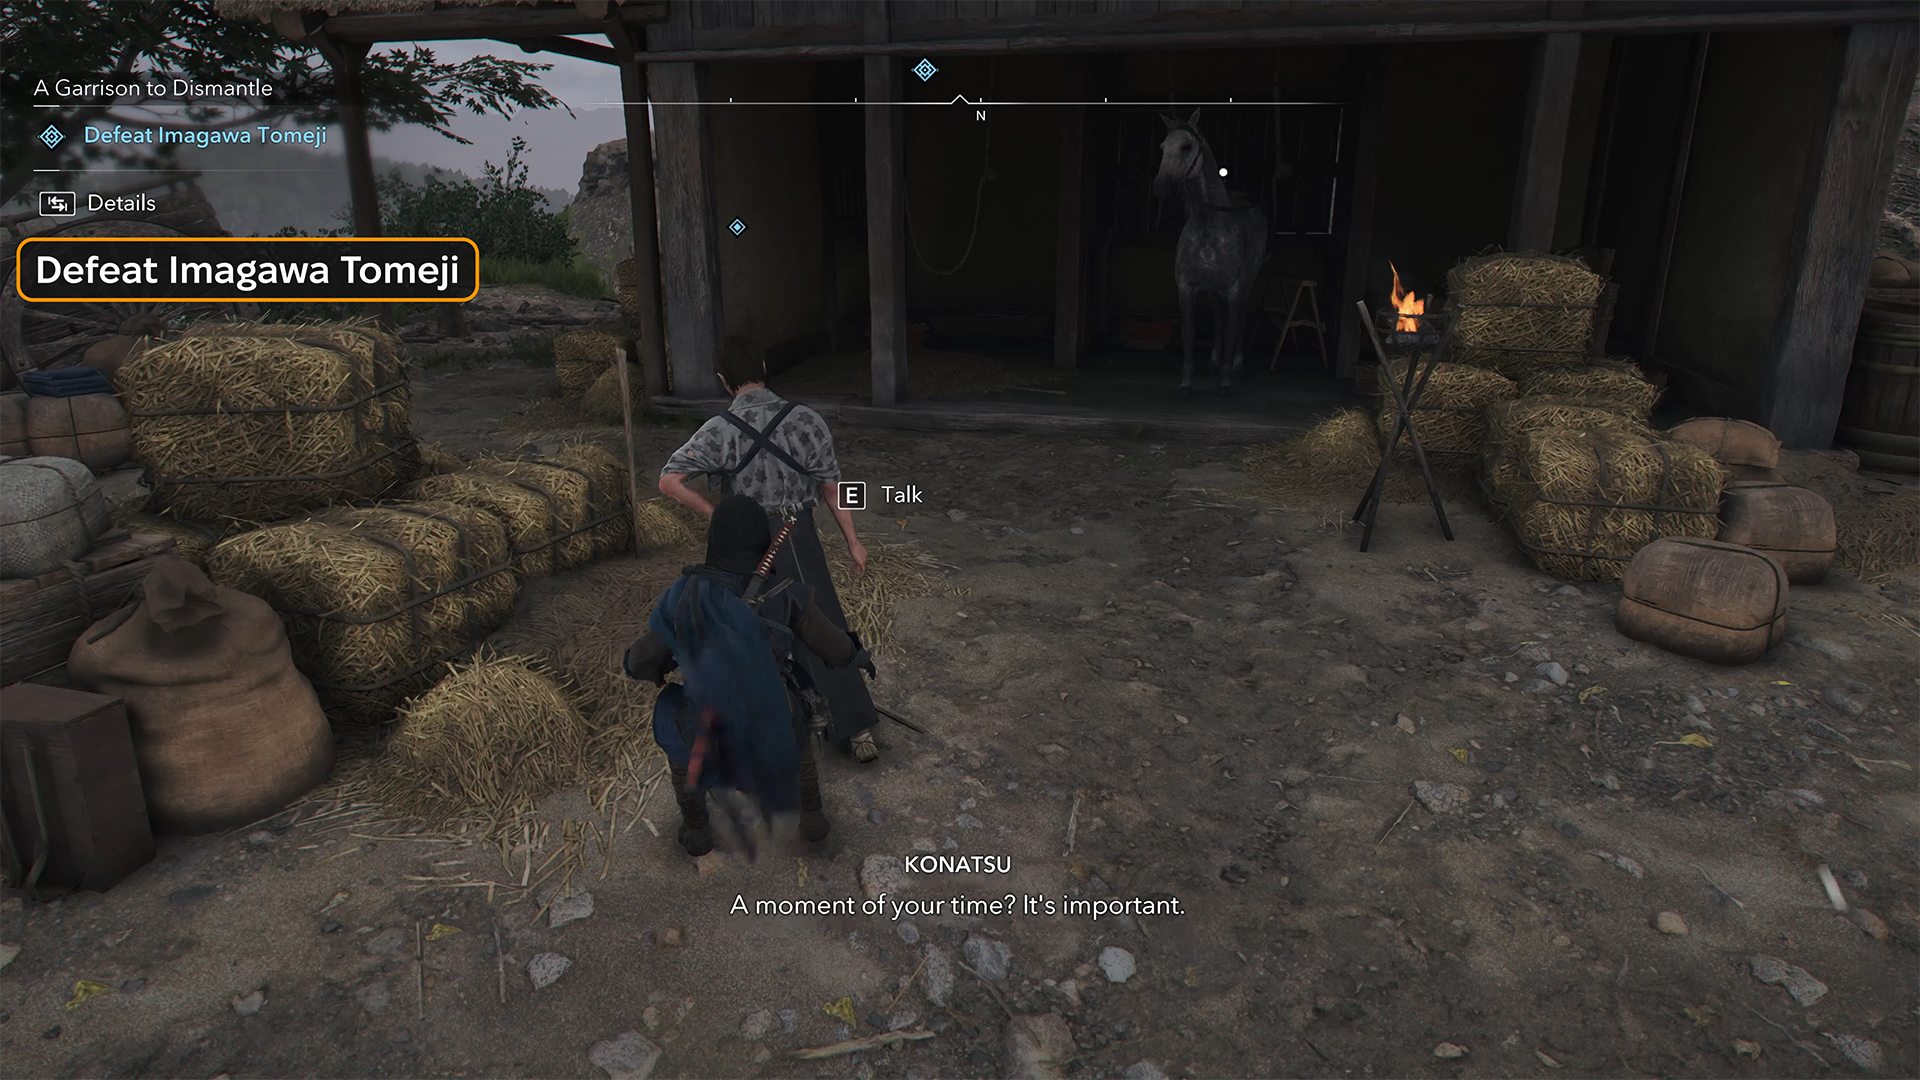
The next target is Imagawa Tomeji. Interestingly, this enemy is not hiding from you, and you can try to defeat him at any time. To do this, you need to go to Konatsu; I have indicated her location to you. Next, there will be a dialogue in which she will warn you that Imagawa Tomeji is not alone, but surrounded by his captains. It is a difficult task to defeat them all at once, and she will suggest that you send Yasuke on this mission.
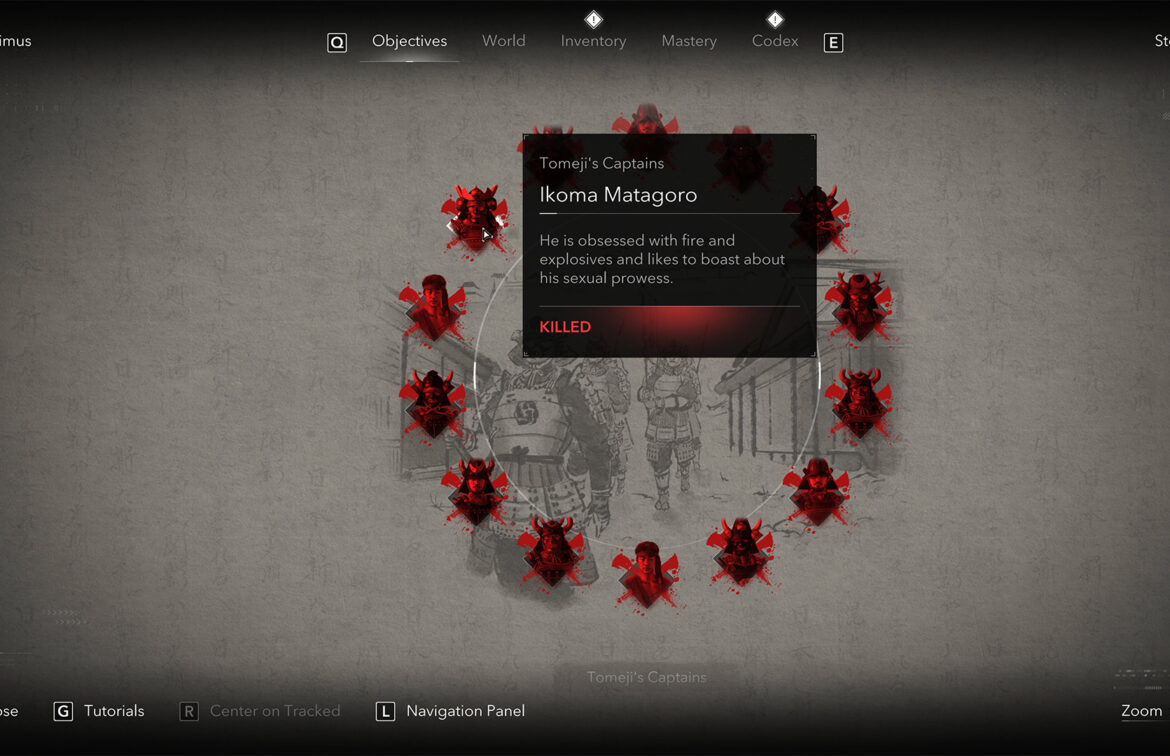
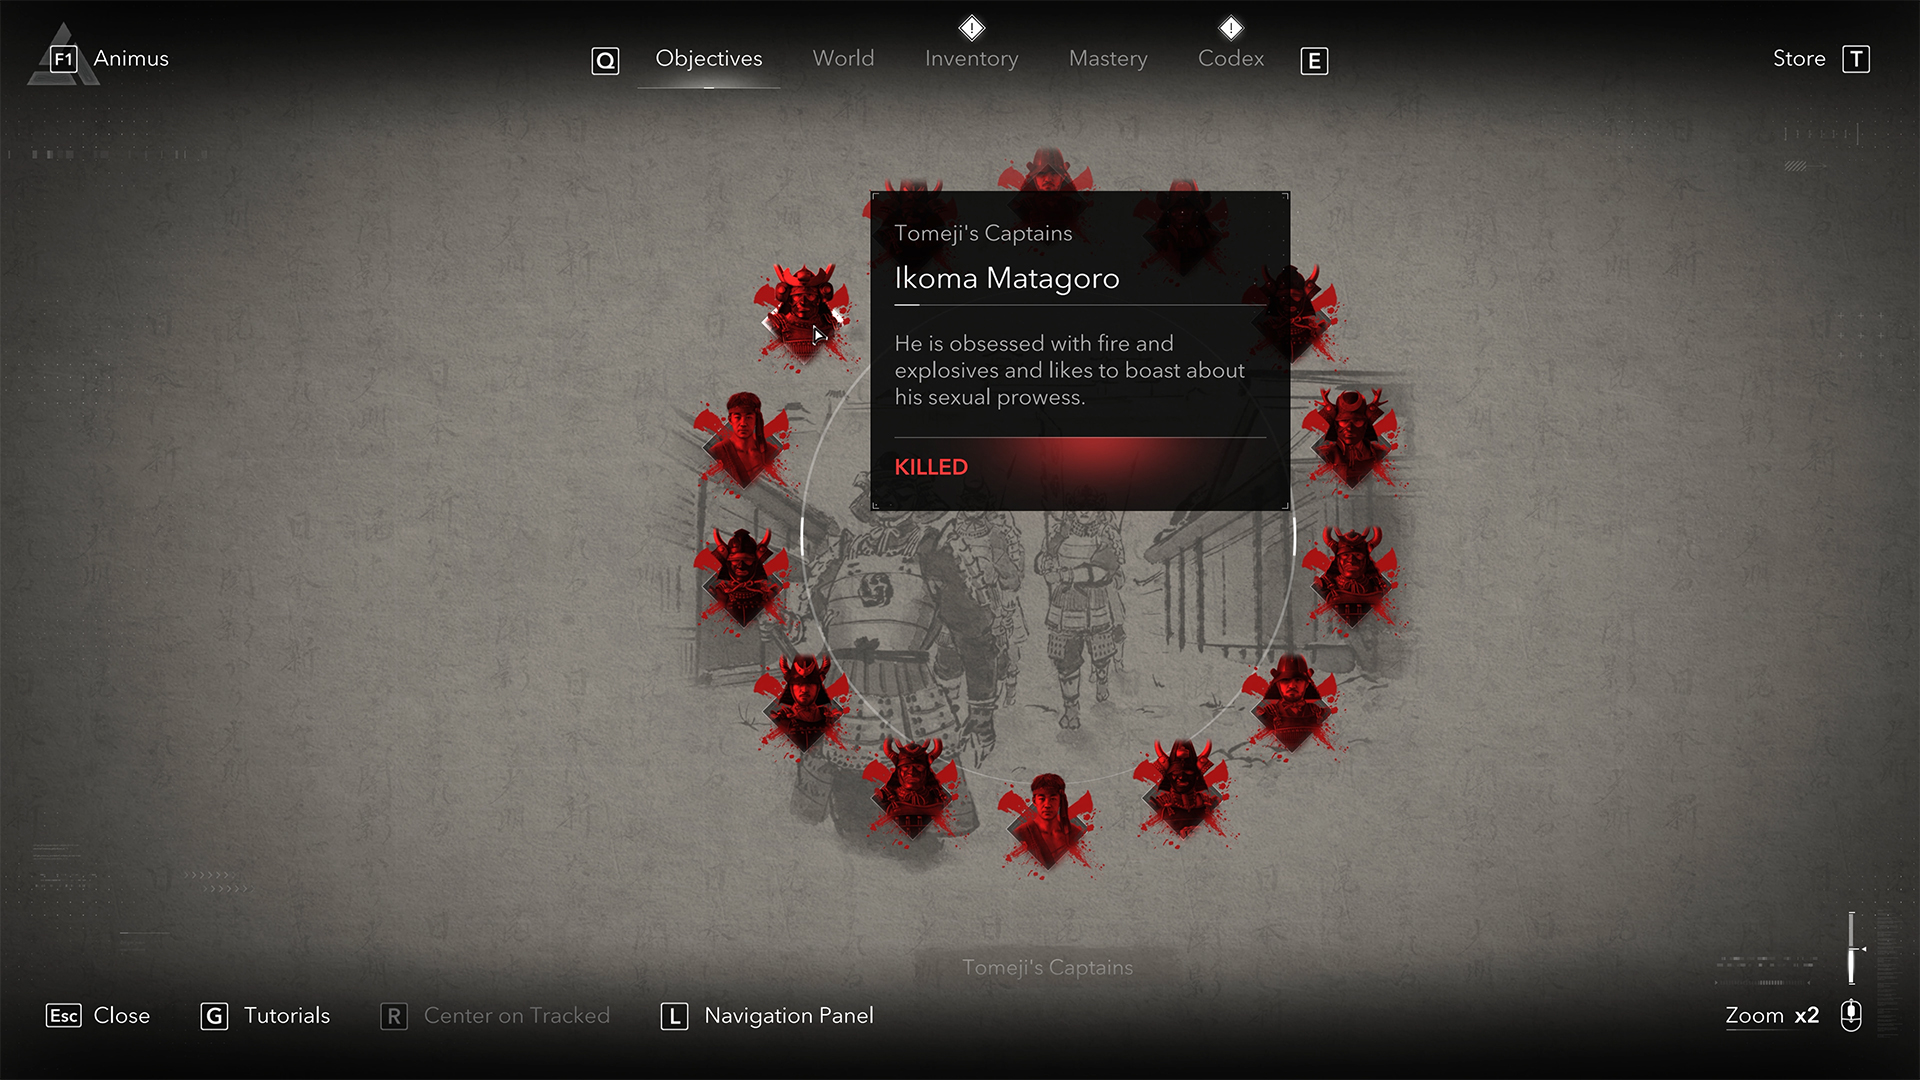
The thing is, even he is unlikely to succeed when all the captains are nearby. You will have to defeat them all in one battle, which is a very difficult task. Not only does each captain have a large amount of armor and health, but there are also 14 of them. It is highly likely that you will lose such a battle. But there is a way out of this situation. You have another quest on your quest board that requires you to defeat each of the captains separately. I talked about this quest in more detail and how to find the captains on Awaji Island in a separate video. If you’re interested, the link to this video is now in the right corner. I’ll also leave a link to this video in the description.
When you find all 14 captains one by one and defeat them, your final target will be less protected, which will help you win. The easiest way to find a captain on the island is to start a fight with the soldiers, and the captain will come running to see what is going on. Do this in different locations on the island, and you will find them all.
-
- Imagawa Tomeji and all captains
-
- Imagawa Tomeji
-
- Quest to kill all captains
Once all the captains have been defeated, the procedure for finding the boss is similar. You need to go to Konatsu, and after talking to her, a meeting scene will begin, followed by a battle with Imagawa Tomeji. According to the plot, when Yasuke rescued Naoe from the fortress, you already had a battle with this opponent. Basically, his abilities haven’t changed. So this time, I decided to defeat him with Naoe’s help. Overall, the battle isn’t difficult if you have a good Naoe build. I use my build, in which my abilities regenerate almost instantly, so I can continuously attack Imagawa Tomeji with powerful attacks.
If you are interested in my build, the link will appear in the upper right corner. I will also leave the link in the description of this video. I am sure that any sensible build for Naoe will work here, because the enemy itself is massive but not difficult. So let’s look at the task board. The last target remains.
-
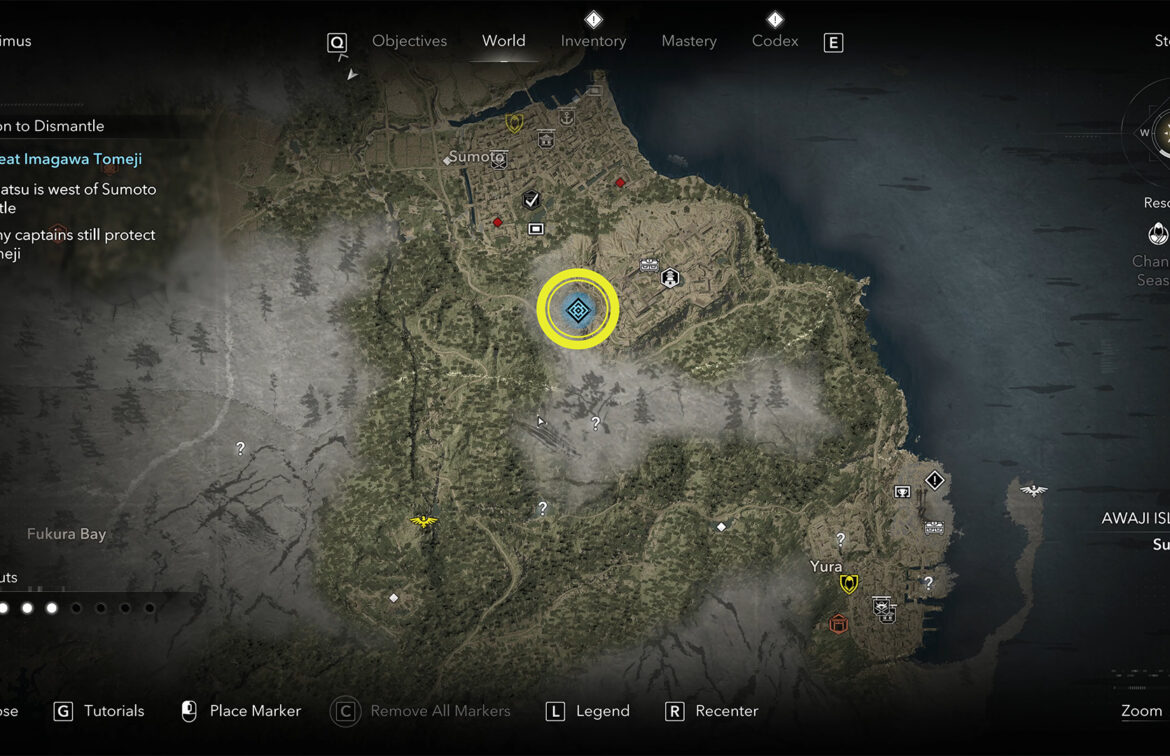
- Imagawa Tomeji location
-
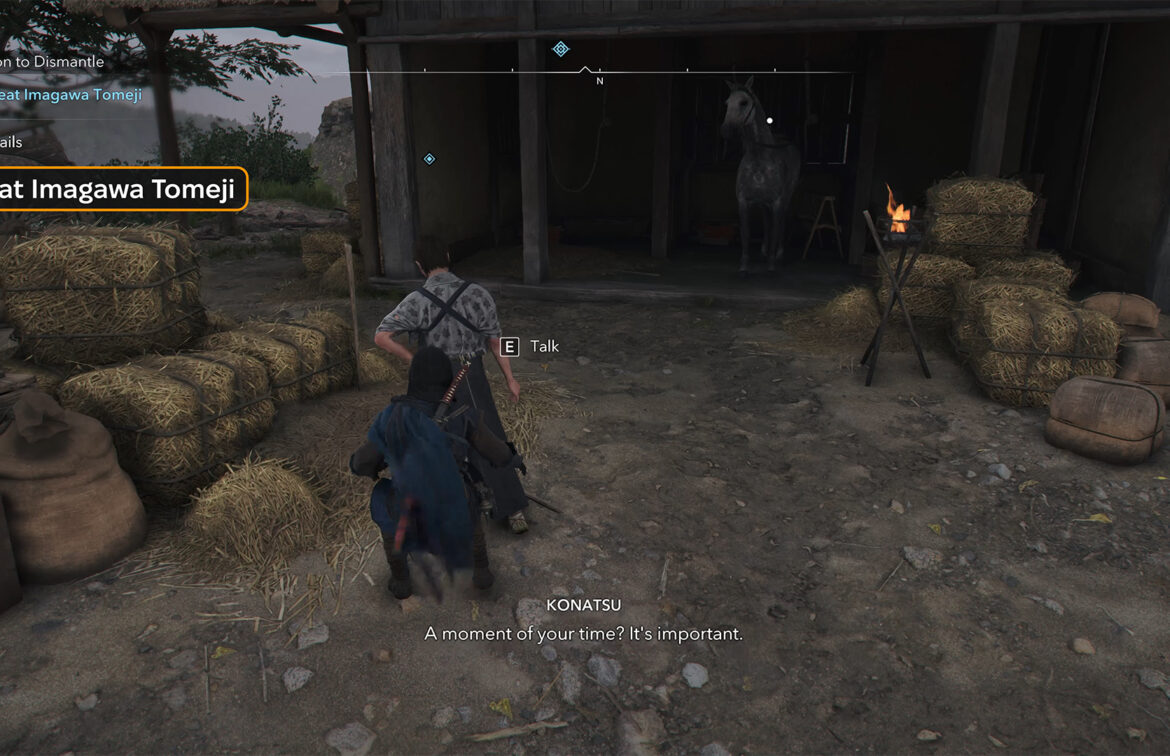
- Talk to Konatsu
-
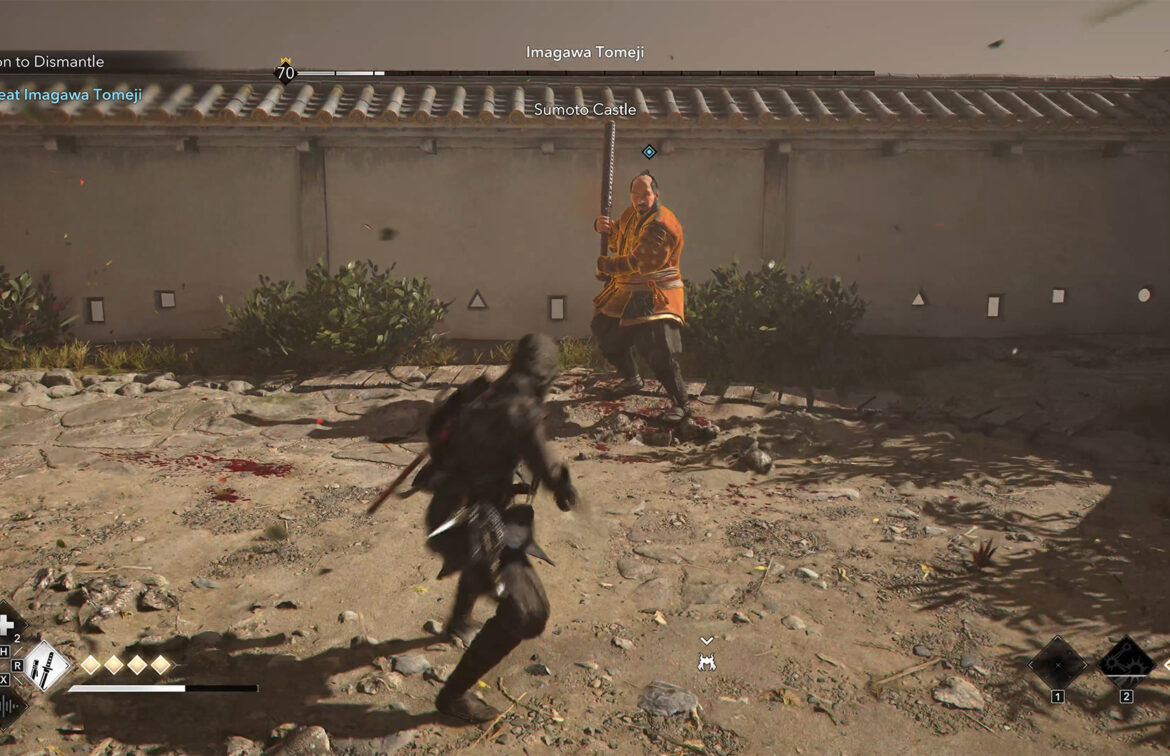
- Battle with Imagawa Tomeji
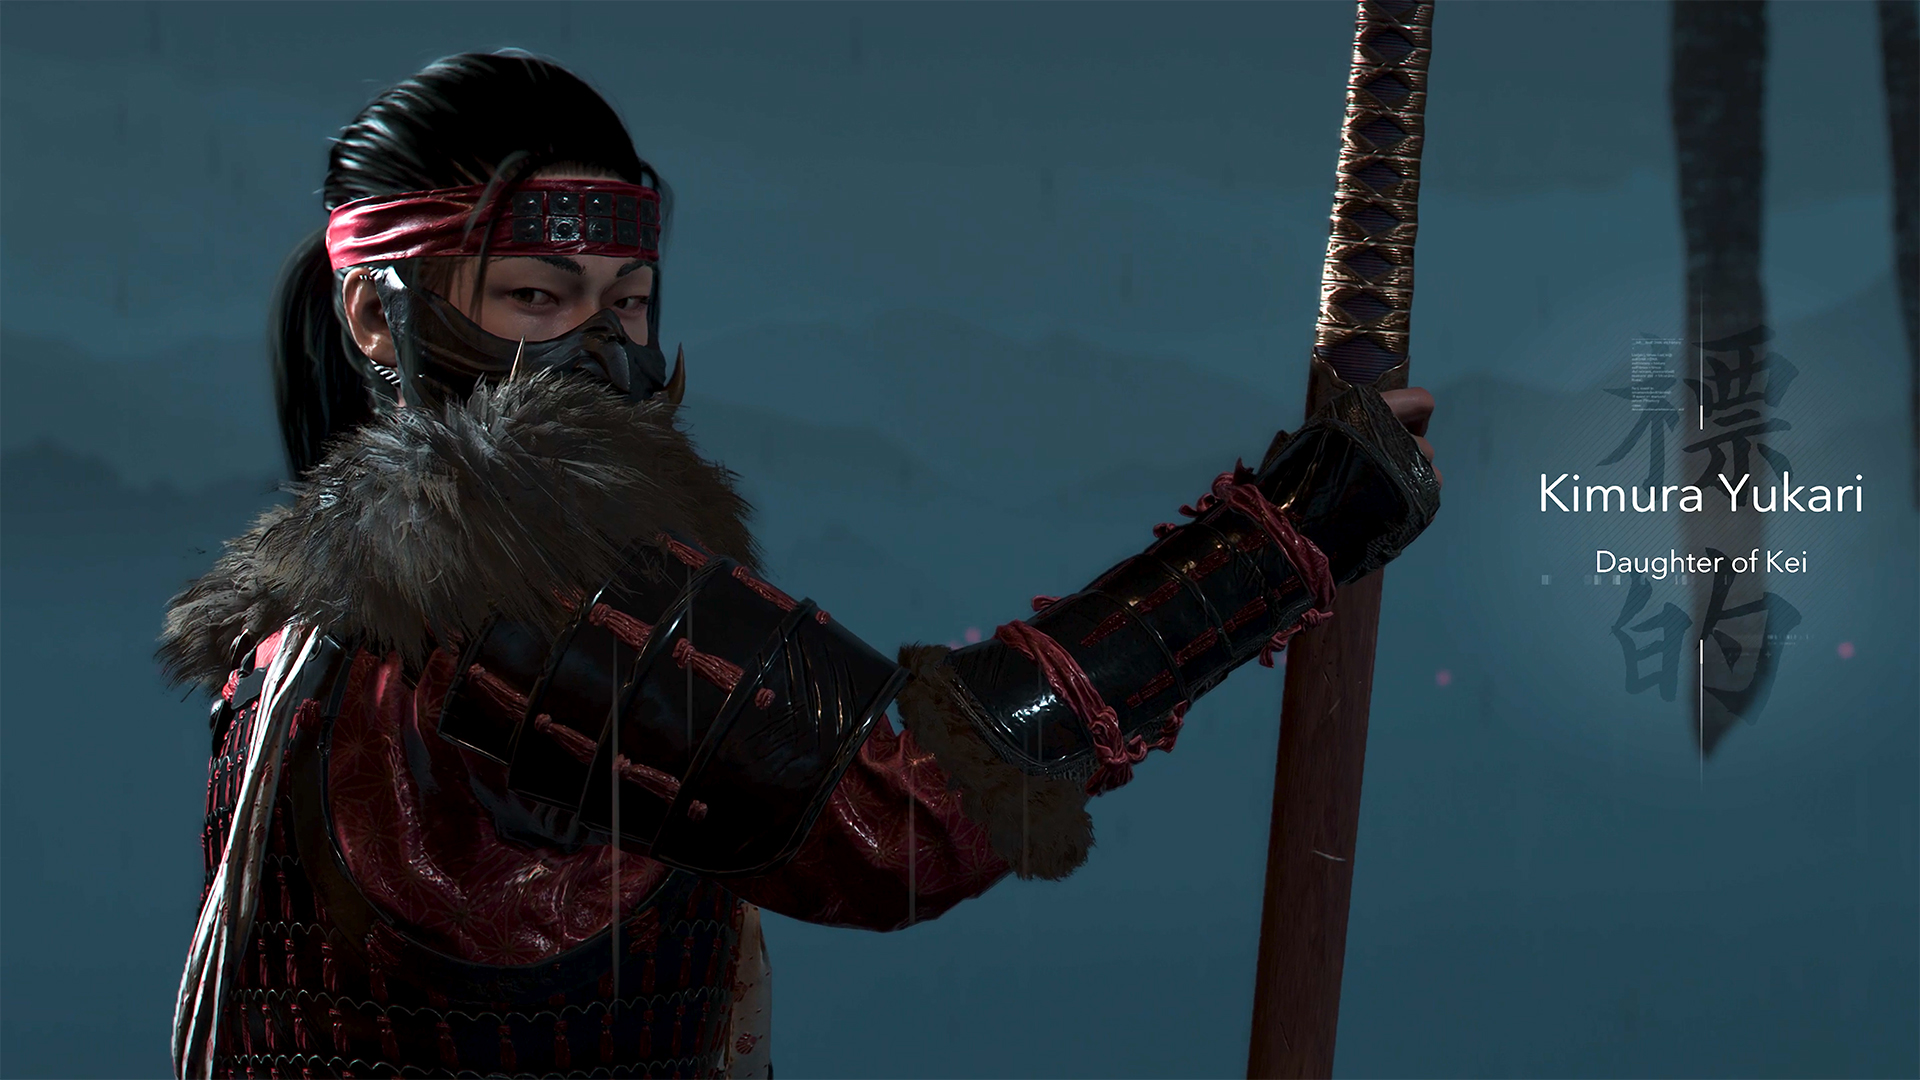
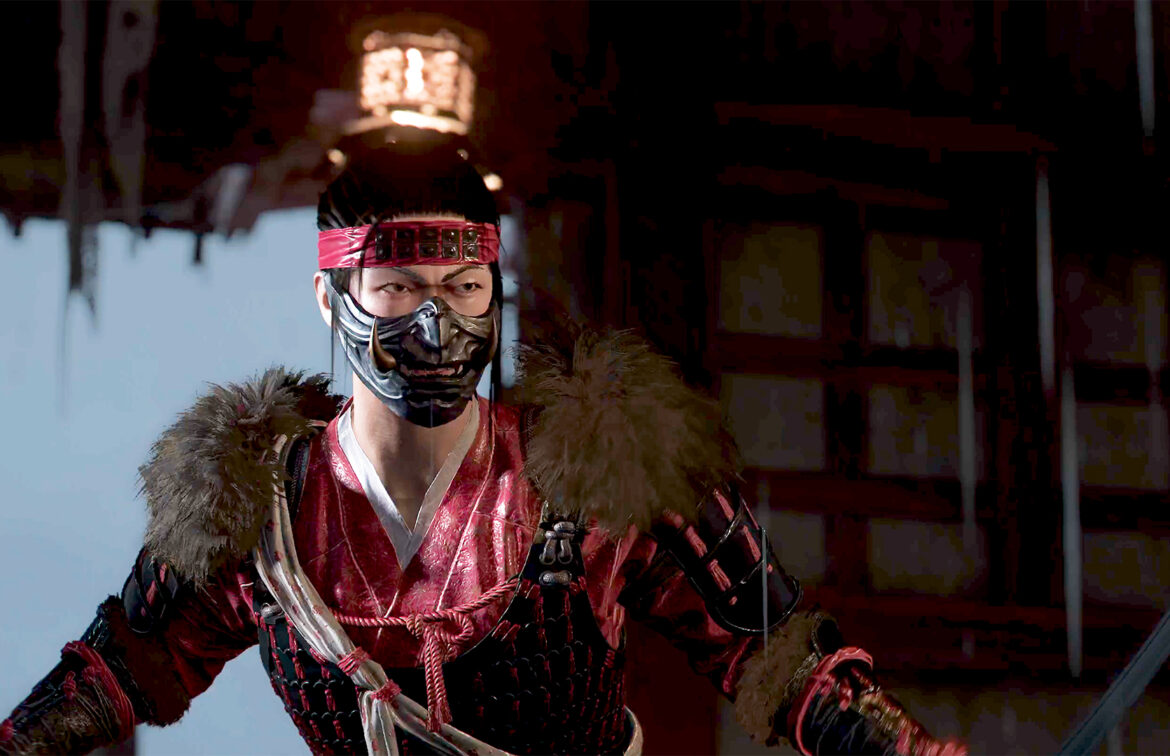
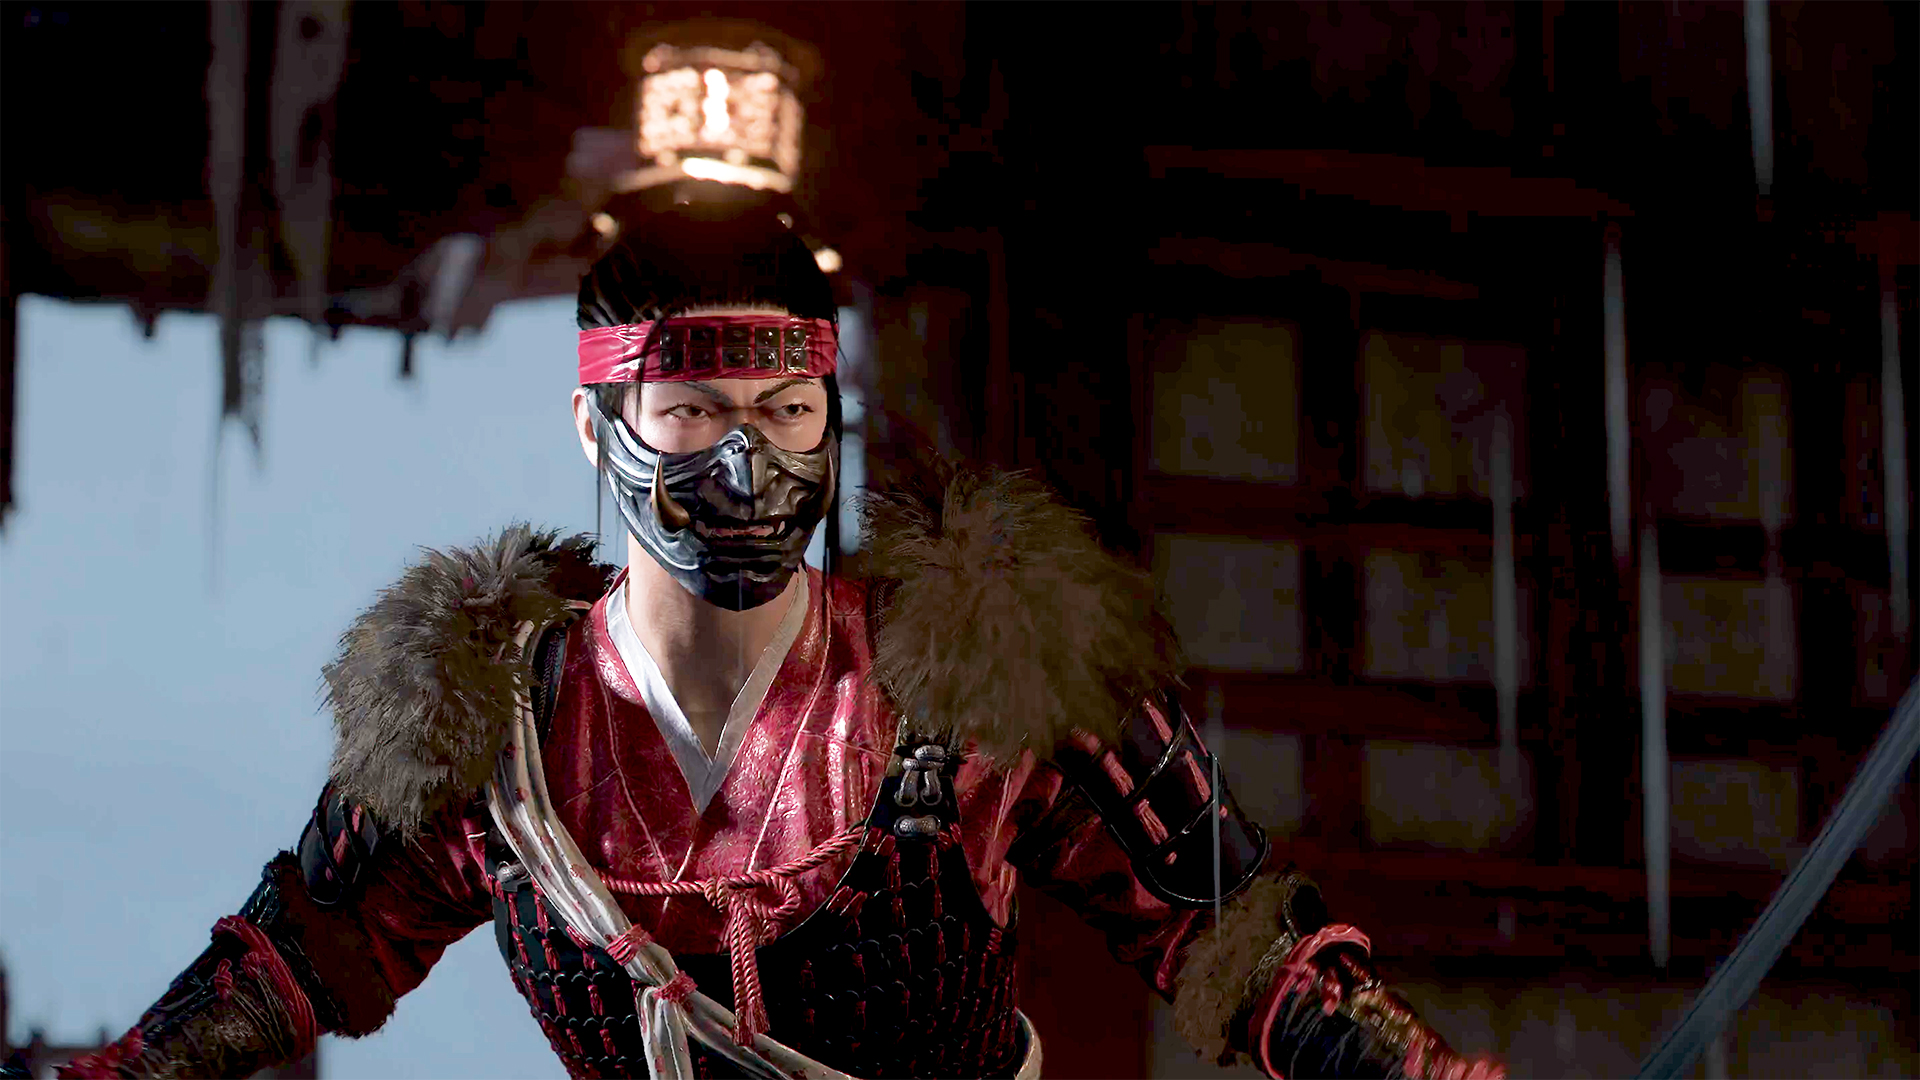
Yukari Claws of Awaji AC Shadows
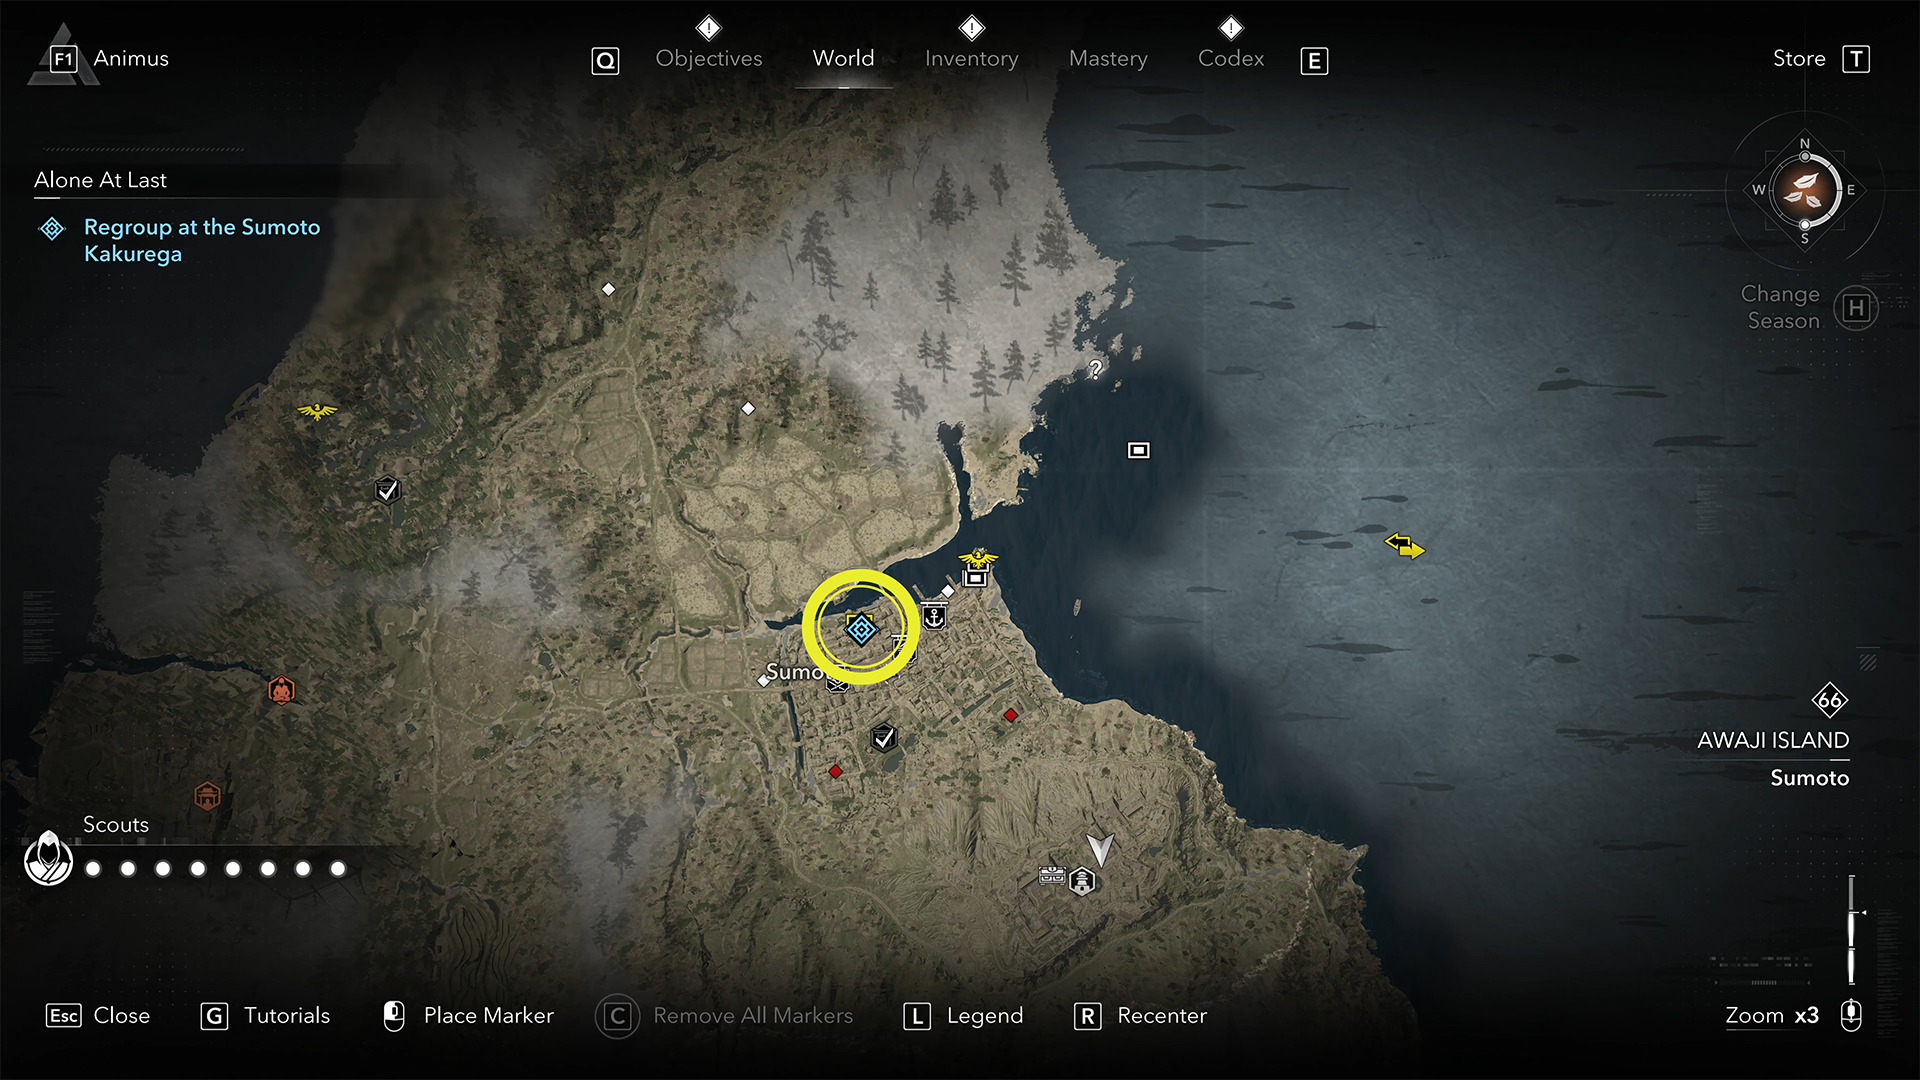
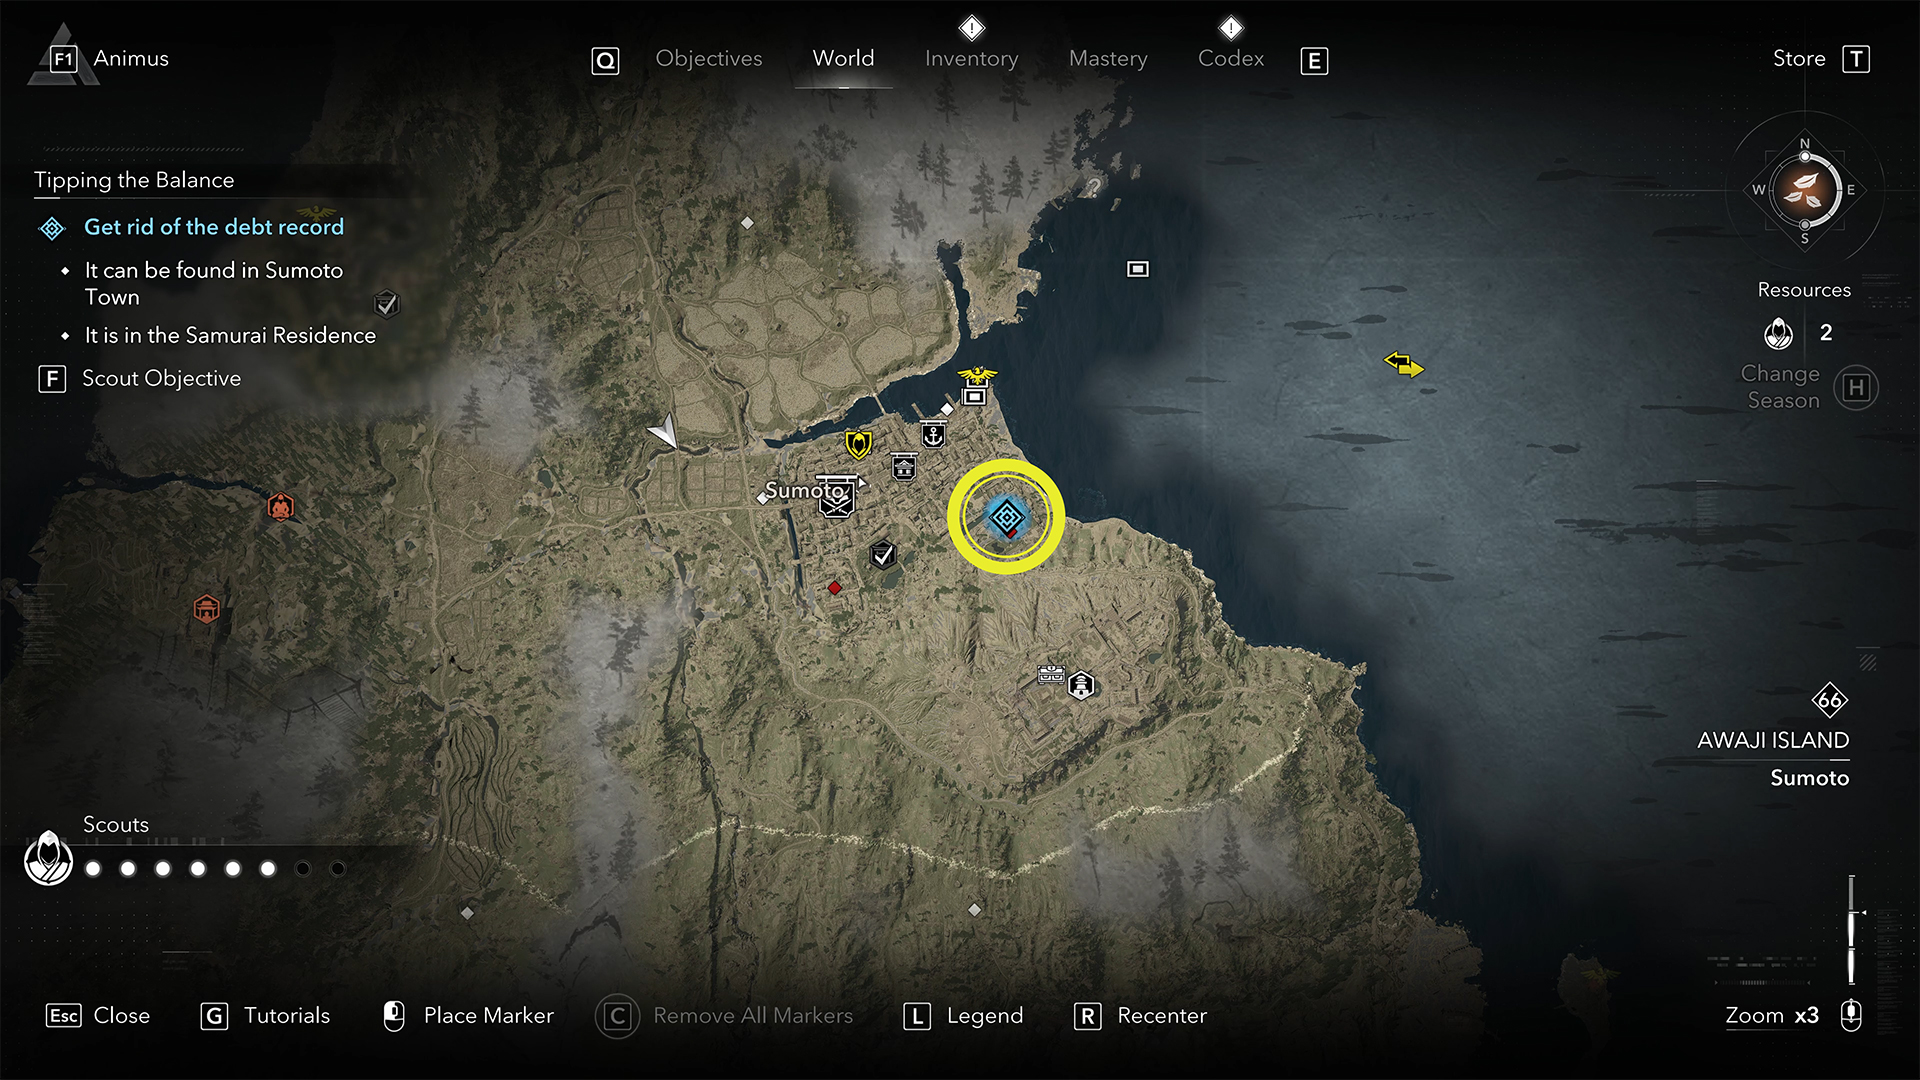
We are steadily approaching the final battle and the completion of the Claws of Awaji expansion. Once all three of Yukari’s assistants have been defeated, you need to prepare for the final assault. First, you need to enlist the support of the locals. To do this, you must complete the Help the indebted ashigaru quest. First, find him, and after a short conversation, you will need to sneak into the Samurai Residence.
You can do this quietly or by taking out everyone in your path. It’s up to you. The main thing is to get the document with the debt history. After that, you need to give this document to the ashigaru. He will be waiting for you just outside the gates of the Samurai Residence, near the tree. This task is complete, so let’s move on to the next one.
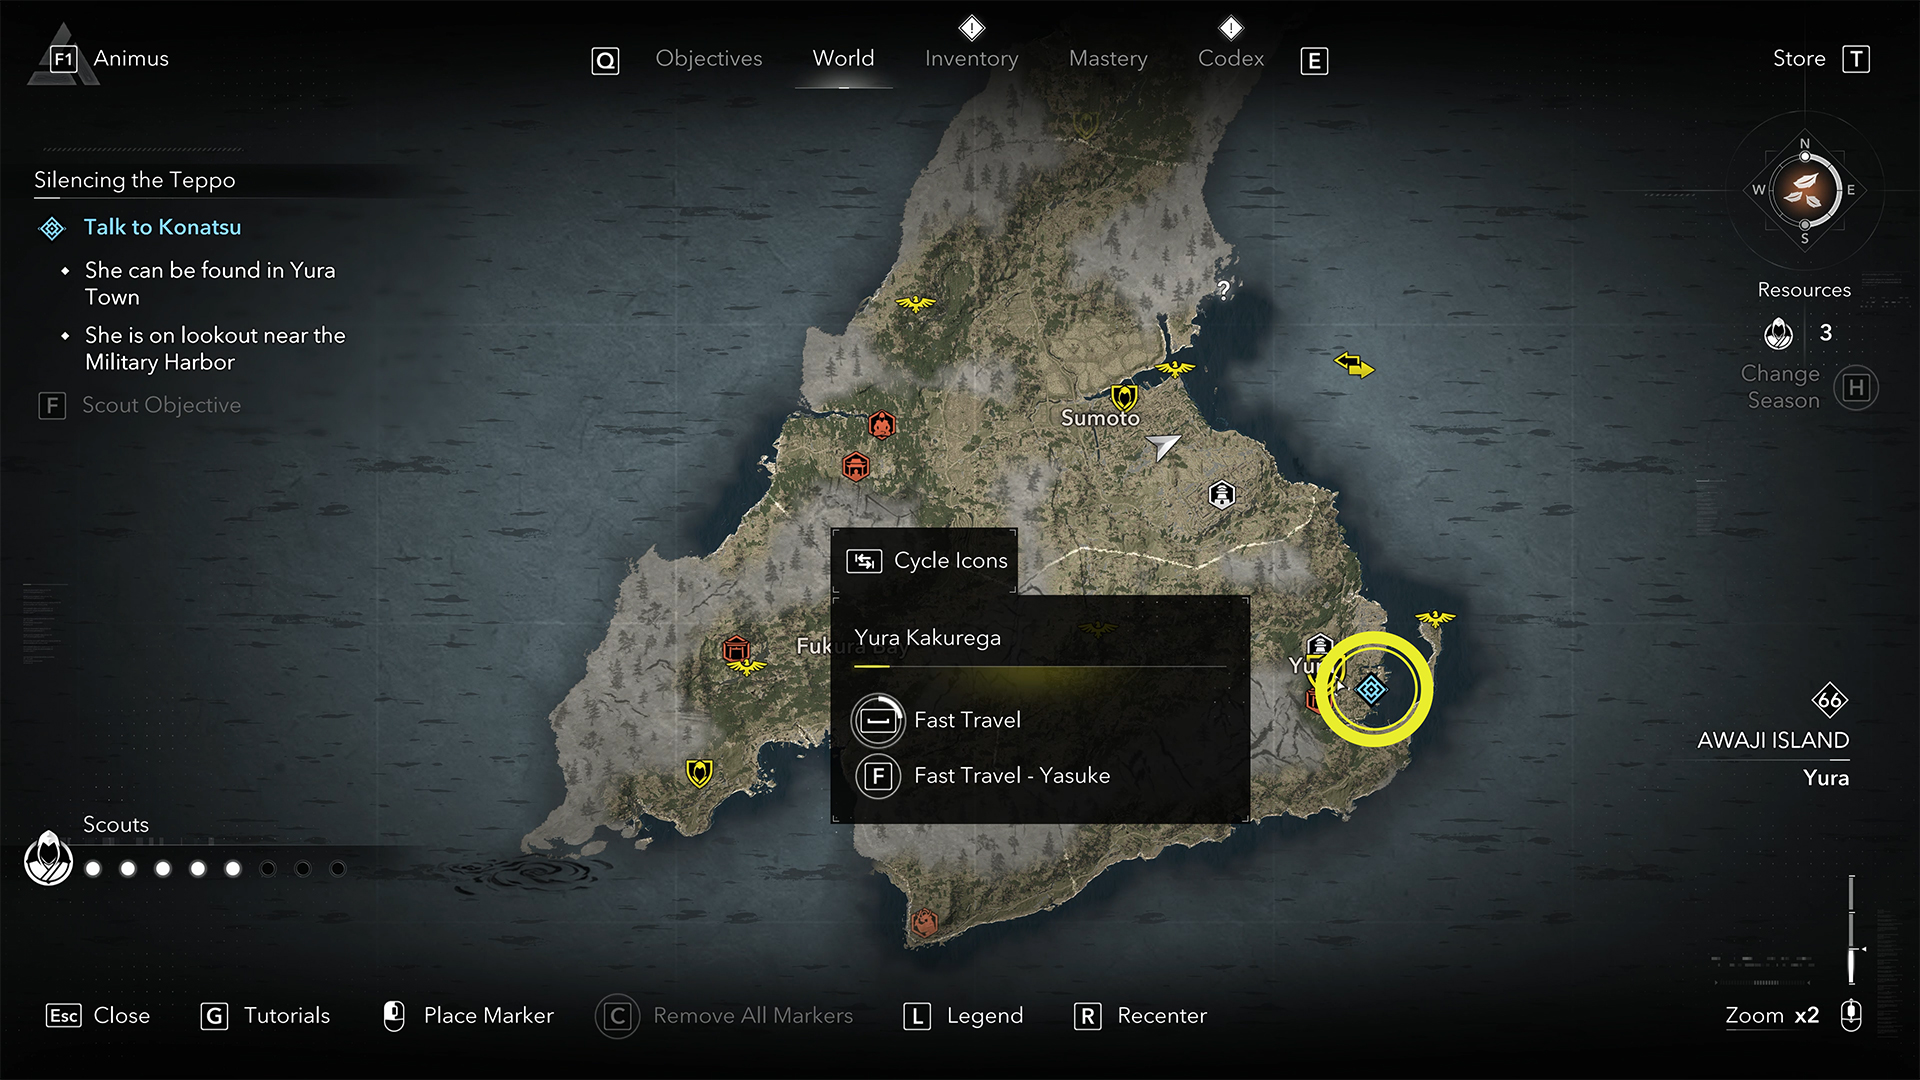
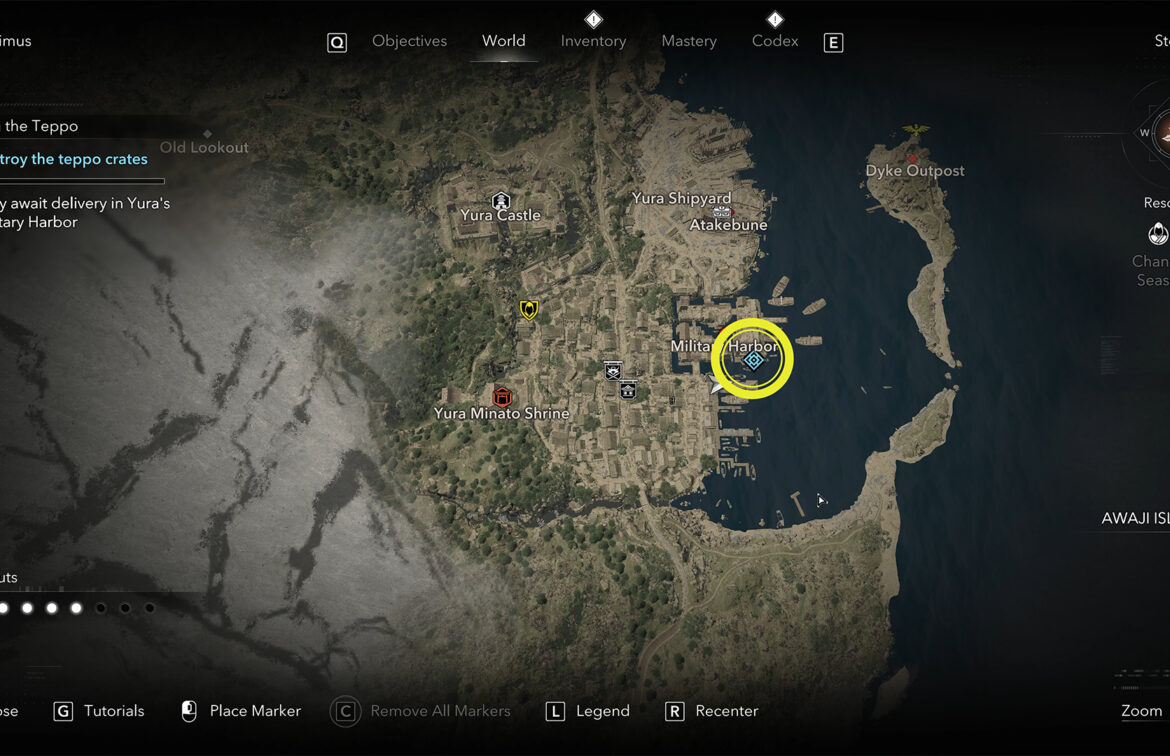
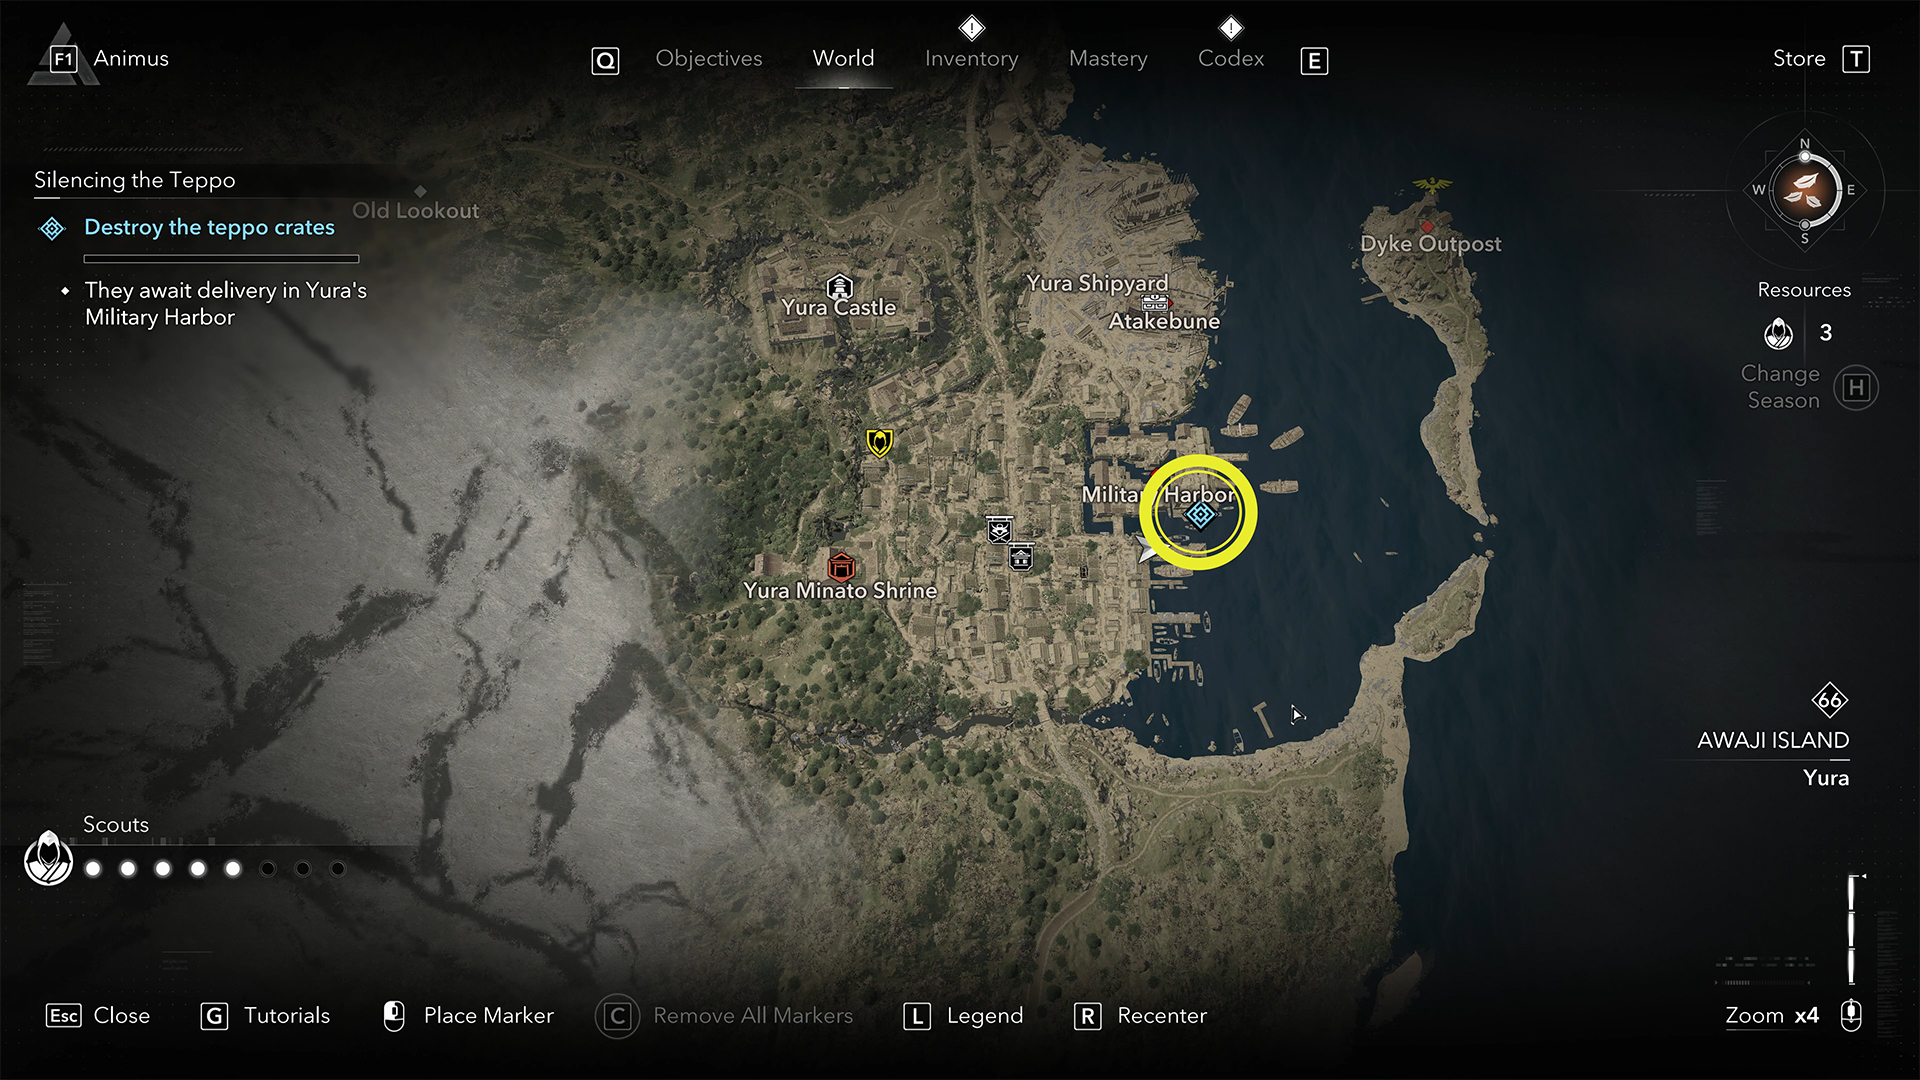
Next, in the Yura region, you need to find Konatsu. I have marked her location on the map near Military Harbor. Another additional task awaits you here. Nearby, in a protected area, you need to destroy the teppo crates. You need to do this four times to complete the entire task. I won’t show you in detail how to find individual cargoes. I’ll just show you how I destroy them in general.
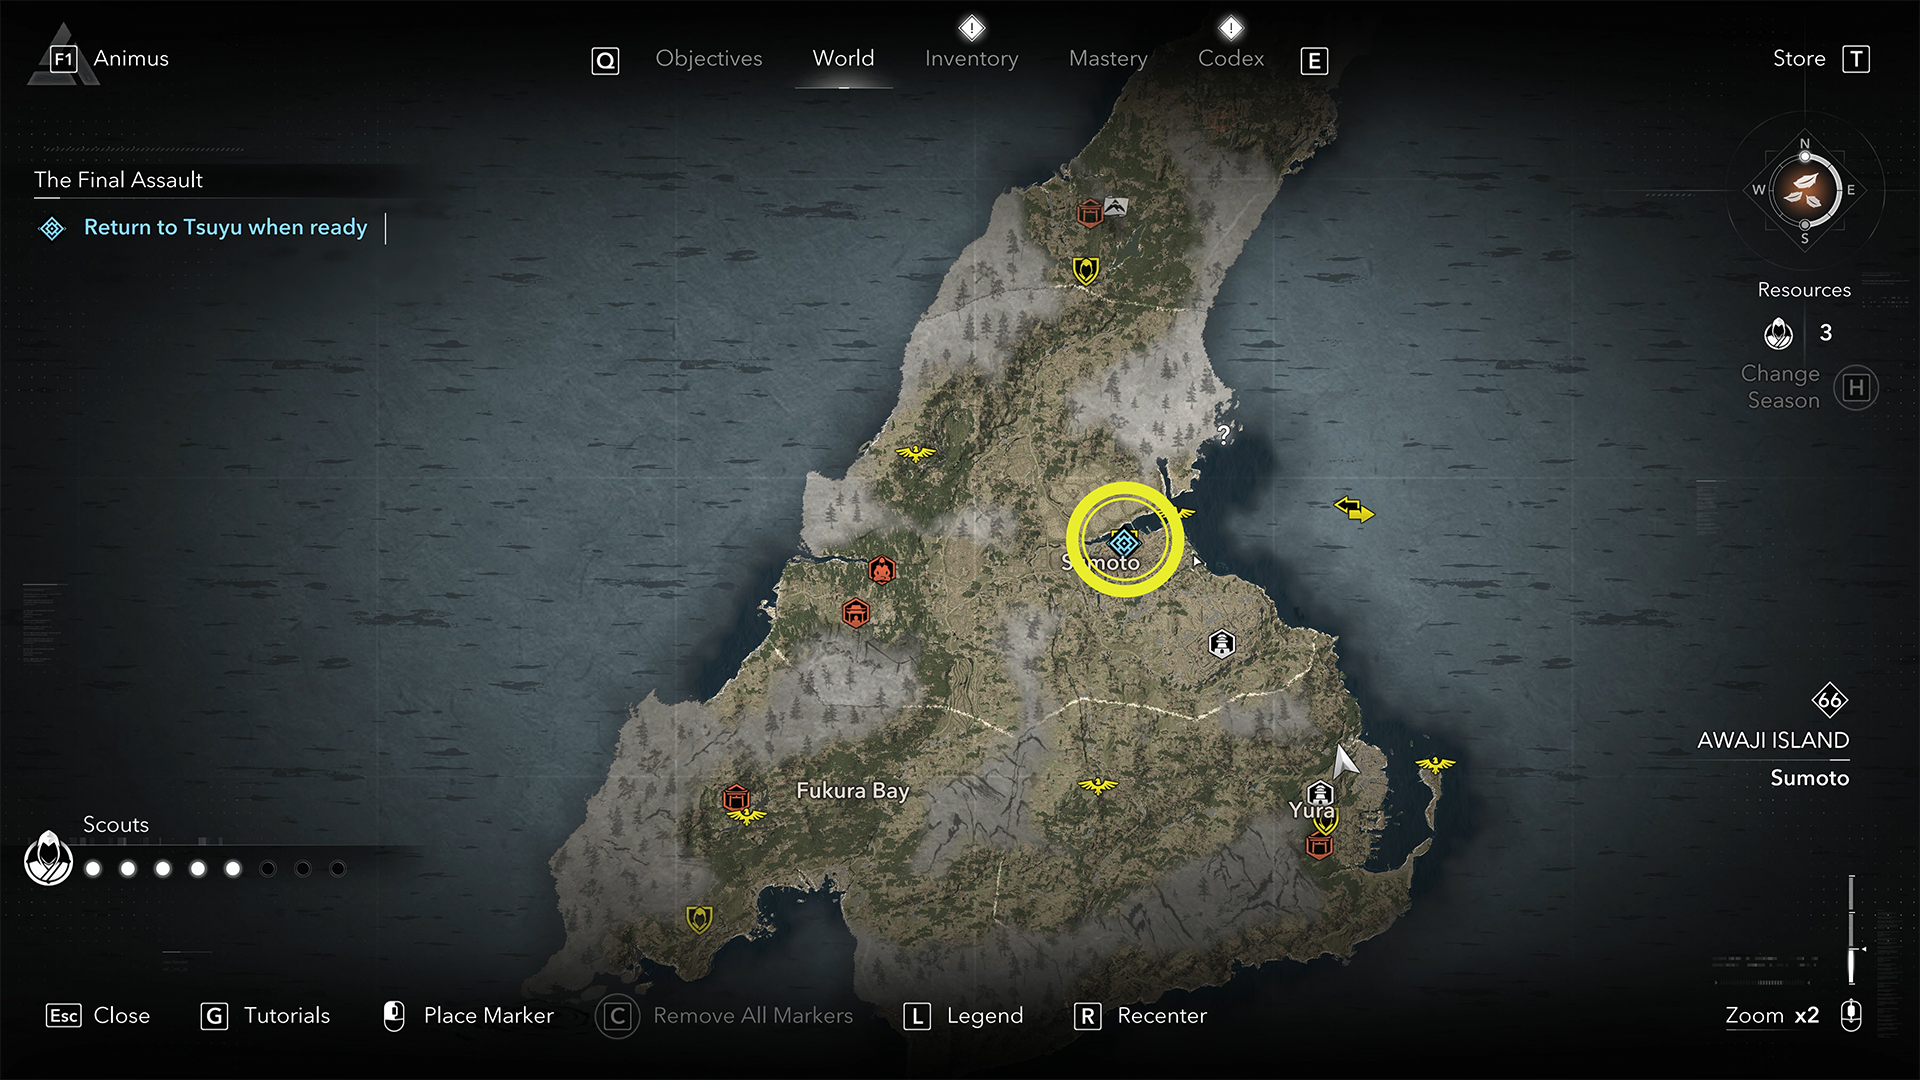
You don’t need to get close and defeat all the enemies. There is an explosive barrel next to each cargo. Just take the right position and you can throw a kunai at this barrel to make it explode and help you complete the task. It’s time to look at the task board. We need to return to Tsuyu when ready to discuss the further plan of attack on the Yukari fortifications.
-
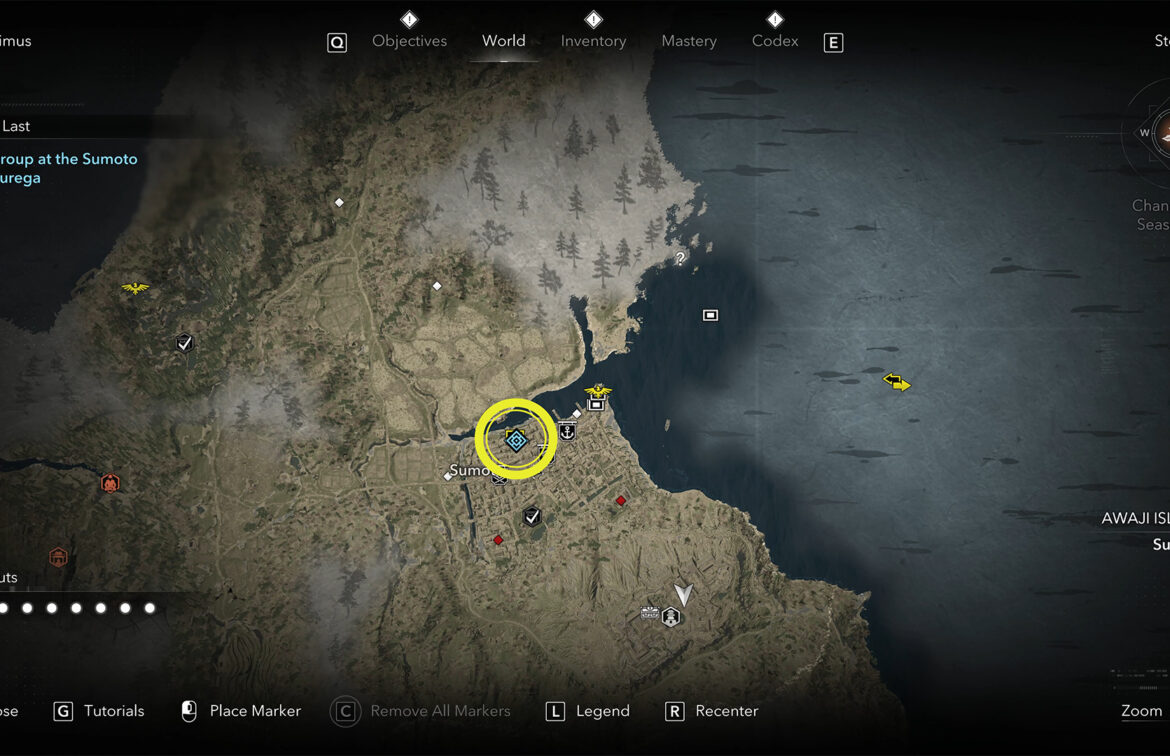
- Regroup at the Sumoto Kakurega
-
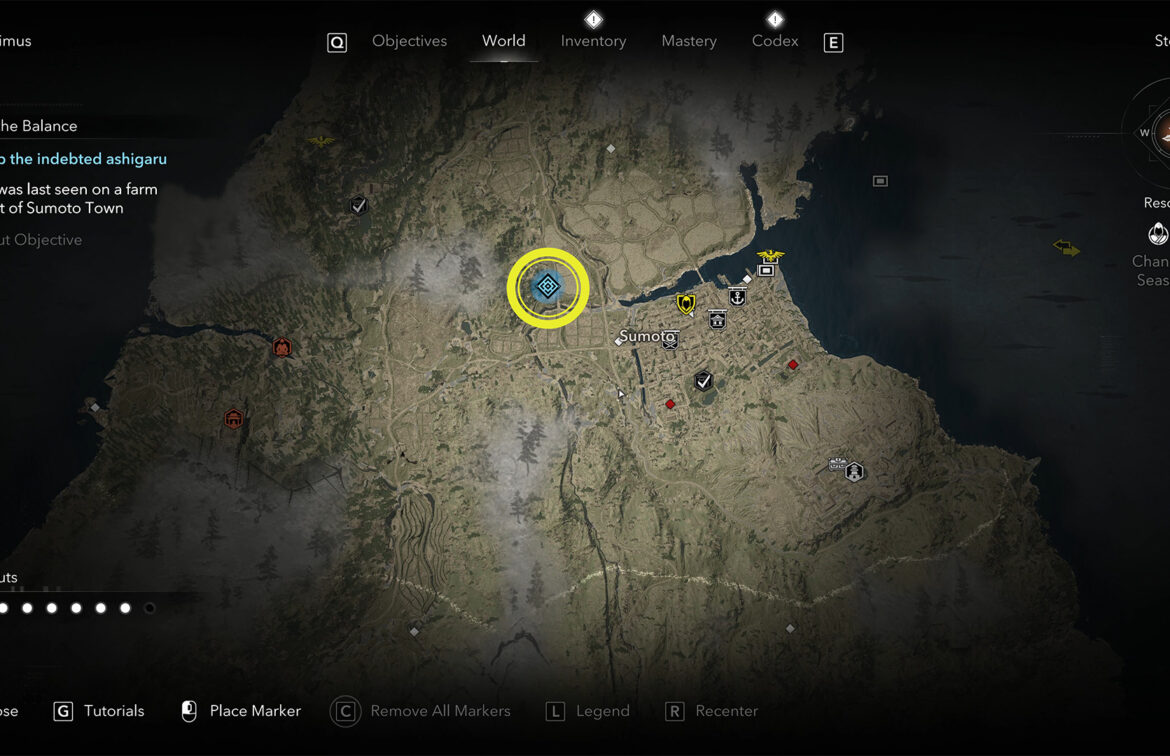
- Help the indebted ashigaru

-
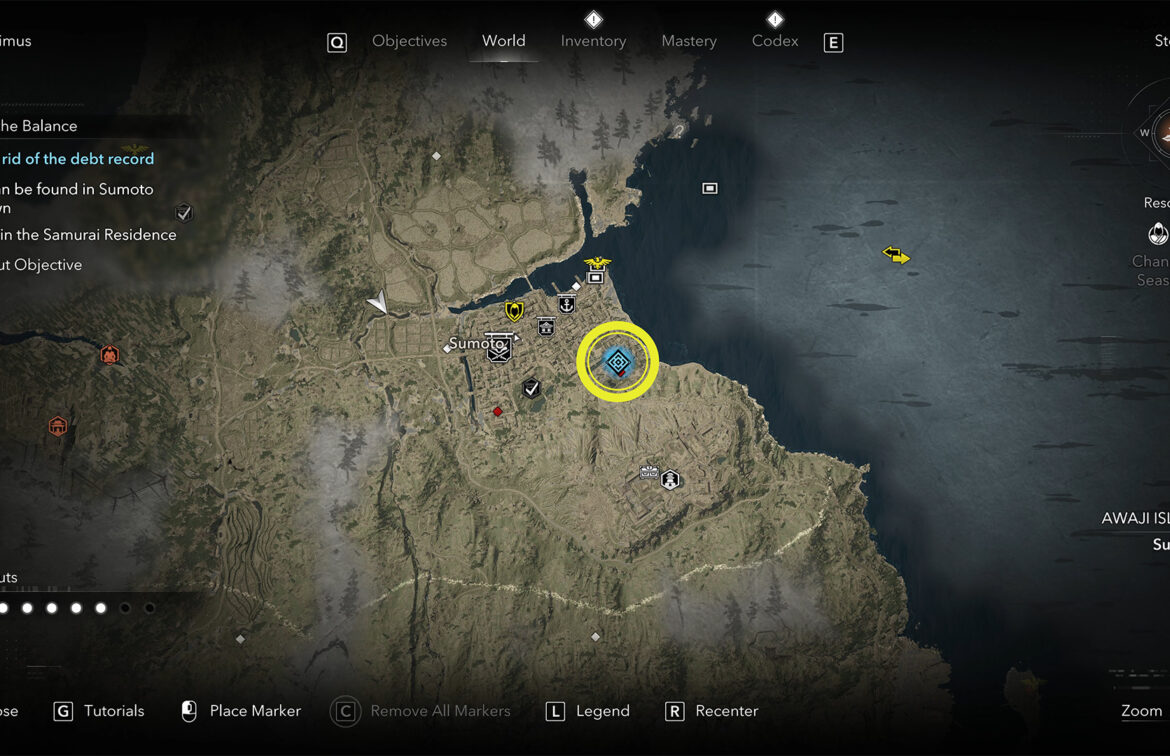
- Get rid of the debt record
-
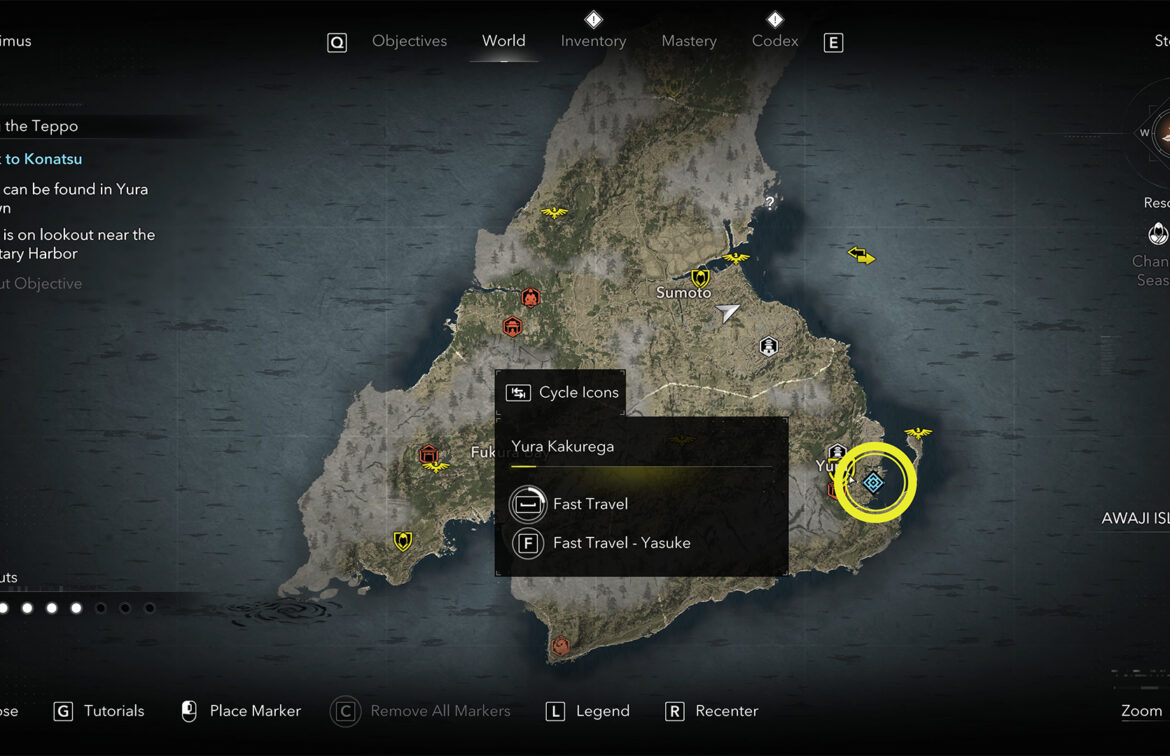
- Talk to Konatsu
-
- Destroy the teppo crates
-
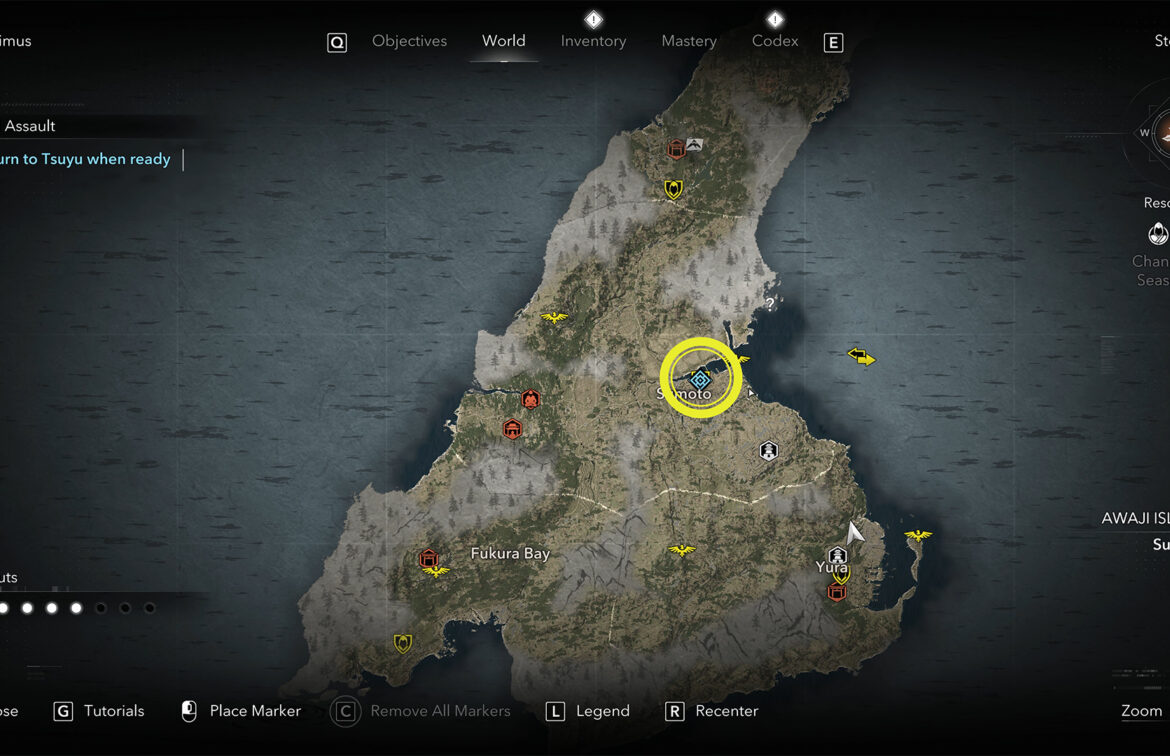
- Return to Tsuyu when ready
Next, you need to discuss your strategy for further action. At this stage, it is worth preparing as much as possible, both Naoe and Yasuke. You may need to visit the blacksmith and improve your weapons and clothing, add engravings, or even choose a good build for both characters. For both, because you will fight the final battle with Yukari as Yasuke, you will have no other choice.
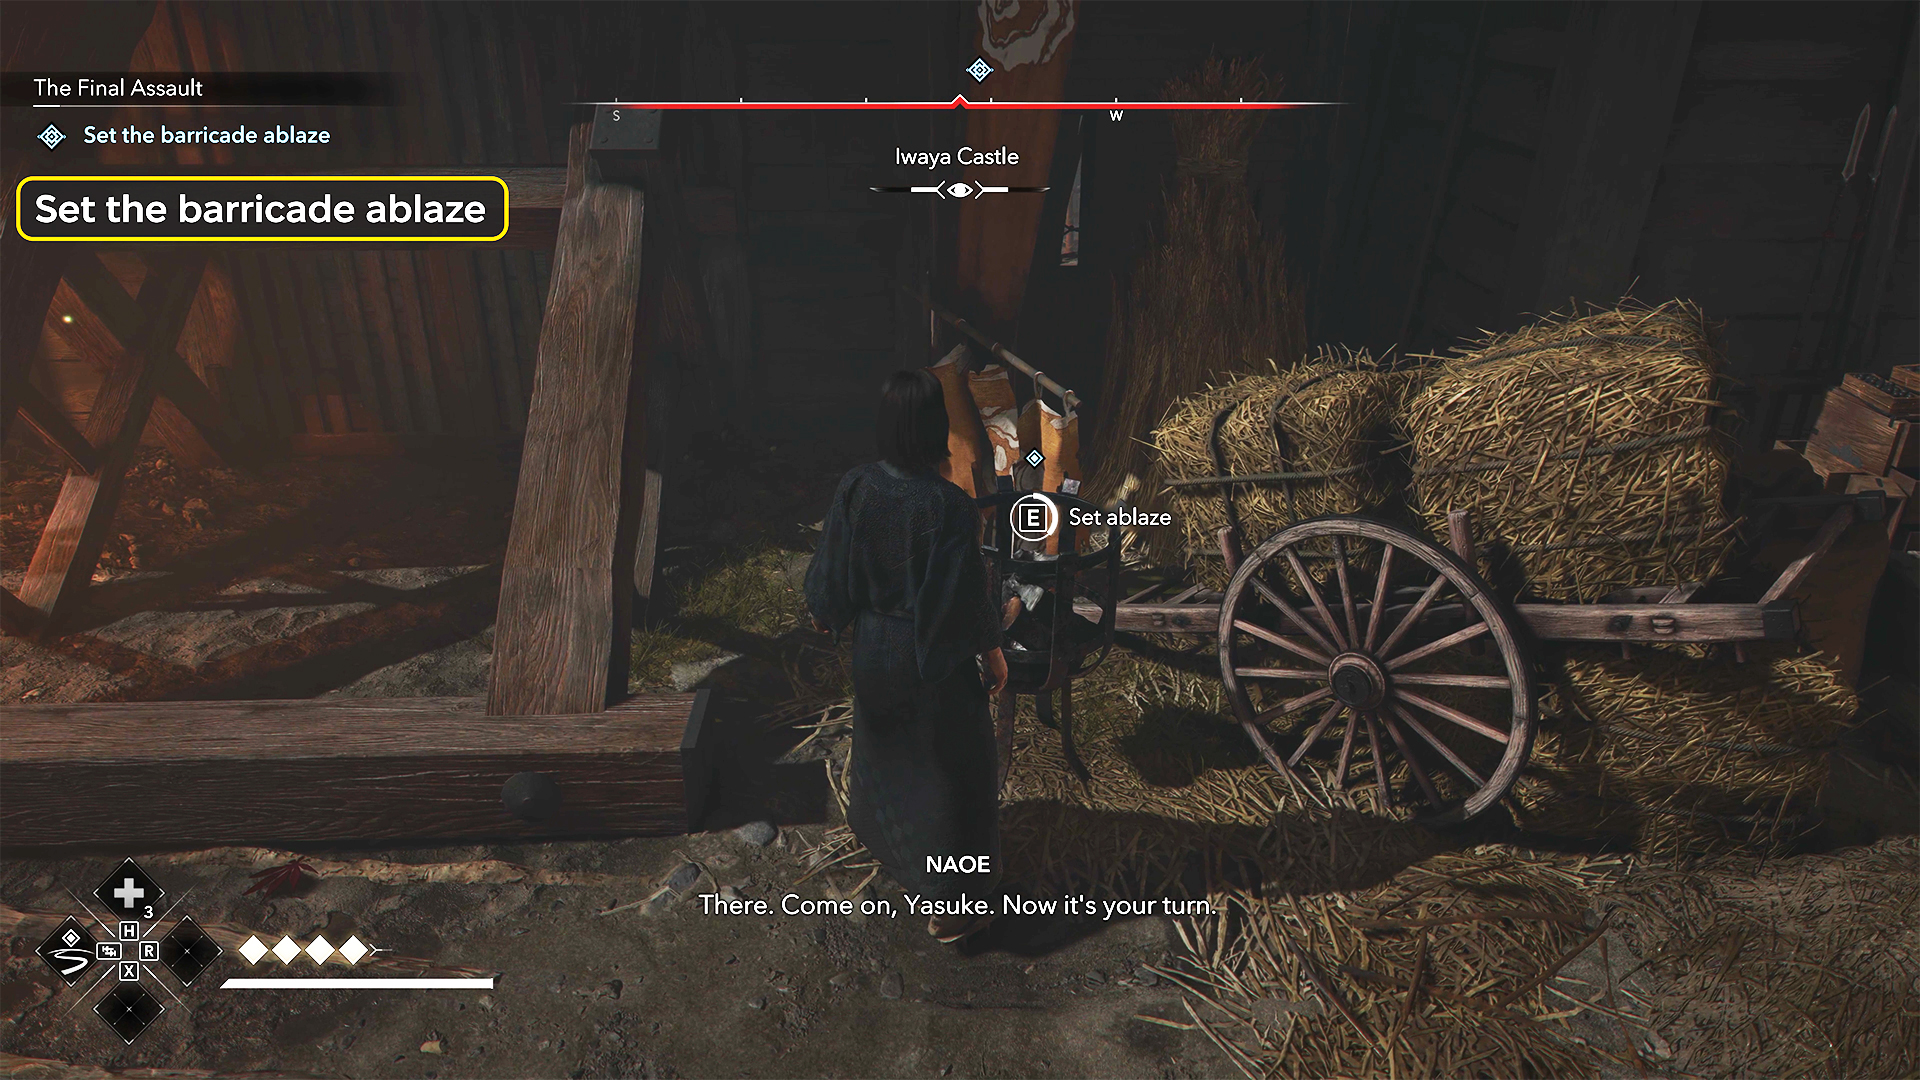
So, to start with, you will need a mask and a kosode, which you found at the beginning of this video when you were looking for a way to get close to Spymaster Yasuhira. This outfit will help you sneak into the fortifications, complete several tasks there, and ultimately sabotage and set fire to the gate so that Yasuke can enter.
Now Yasuke has to play the main role. Along the way, you will have to defeat large groups of enemies. Use all your skills wisely. Make sure you always have a full skill bar, no matter how many slots you have available. You will need them for the final boss. Next, you will meet with your allies and decide that Yasuke will deal with Yukari, while Naoe will go in search of her mother. So, we are interested in the battle between Yasuke and Yukari. This is the last boss in this expansion and your last rather difficult test. You need to enter the building and go up to the second floor, unfortunately not by the stairs.
You will see a place to climb higher. Please note that there are many traps around, so be careful when moving around this room. Ahead, you will see a ladder leading to the upper floor. The final battle will take place there. In front of the ladder, you can replenish your health items. It is also worth distributing your skills correctly and putting on the right clothes.
As for the battle itself, it was difficult for me because I don’t really like playing Yasuke and he wasn’t wearing the right level of clothing. As a result, my attacks did too little damage. On the other hand, my armor could hardly withstand Yukari’s attacks. I had to improvise on the fly. I found clothing that gives 100% active skill recovery when using food. This allowed me to defeat Yukari by using my weapon’s active skill several times in a row. Somewhere in the middle of the battle, when you take away all of Yukari’s armor, she will change weapons. In general, this doesn’t change anything, only her attacks will become faster.
I think you won’t have any problems with this opponent if you prepare properly. Well, a final look at the task board — all goals have been defeated. After that, you will still have a few interesting tasks, but in general, you can consider the DLC completed.
-
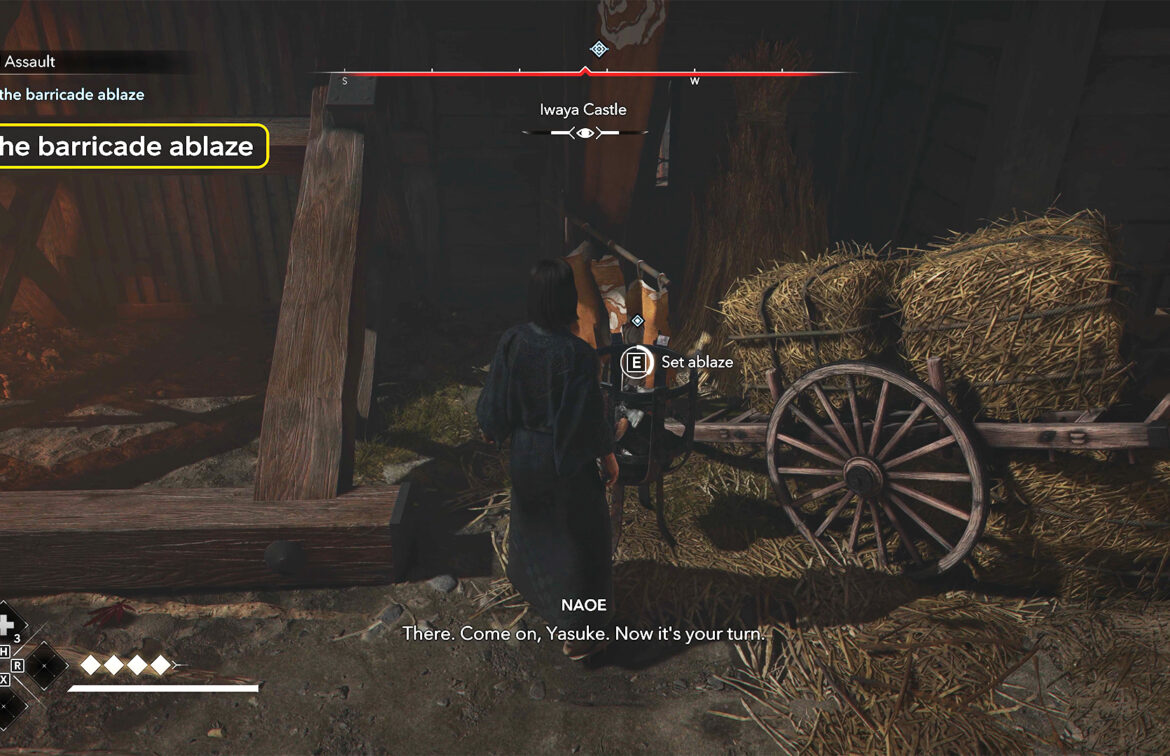
- Set the barricade ablaze
-
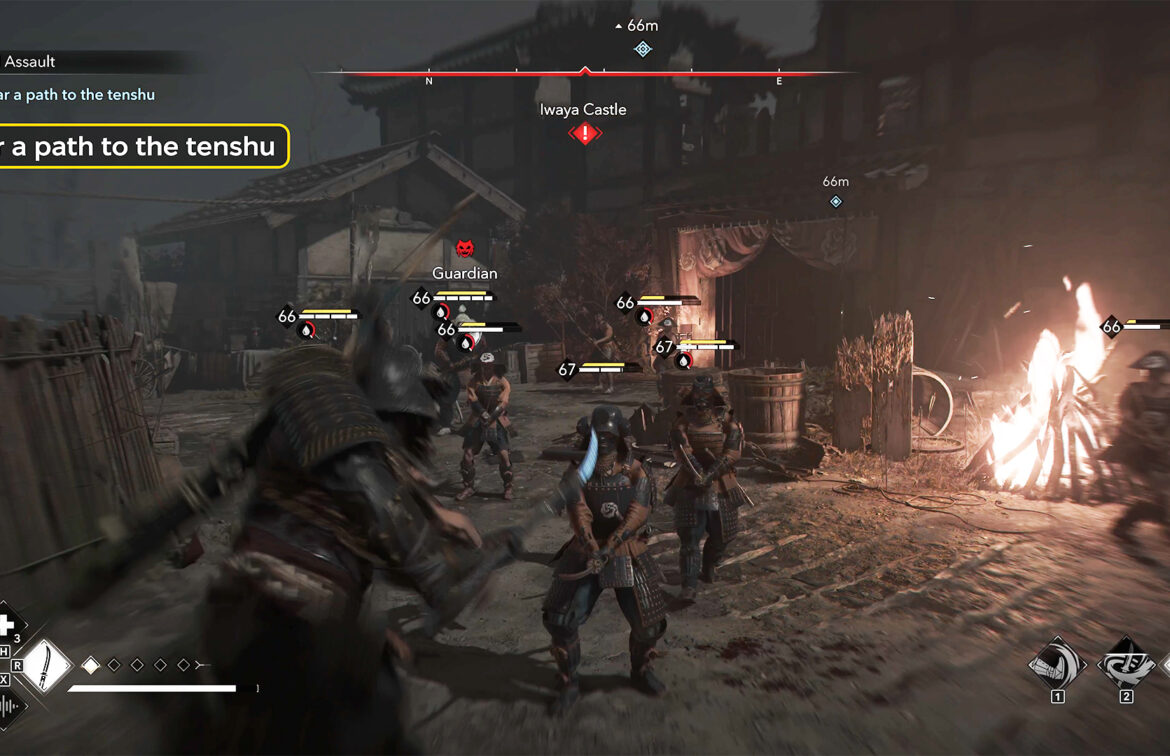
- Clear a path to the tenshu
-
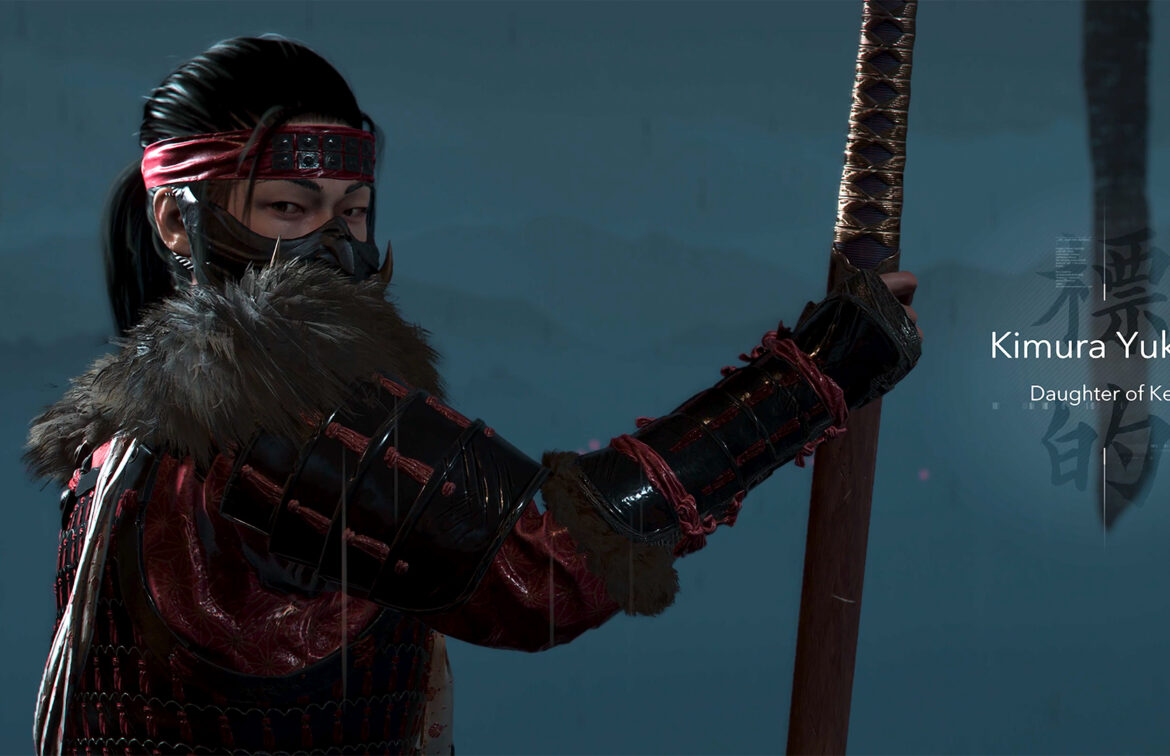
- Kimura Yukari
-
- Changing weapons during a duel
-
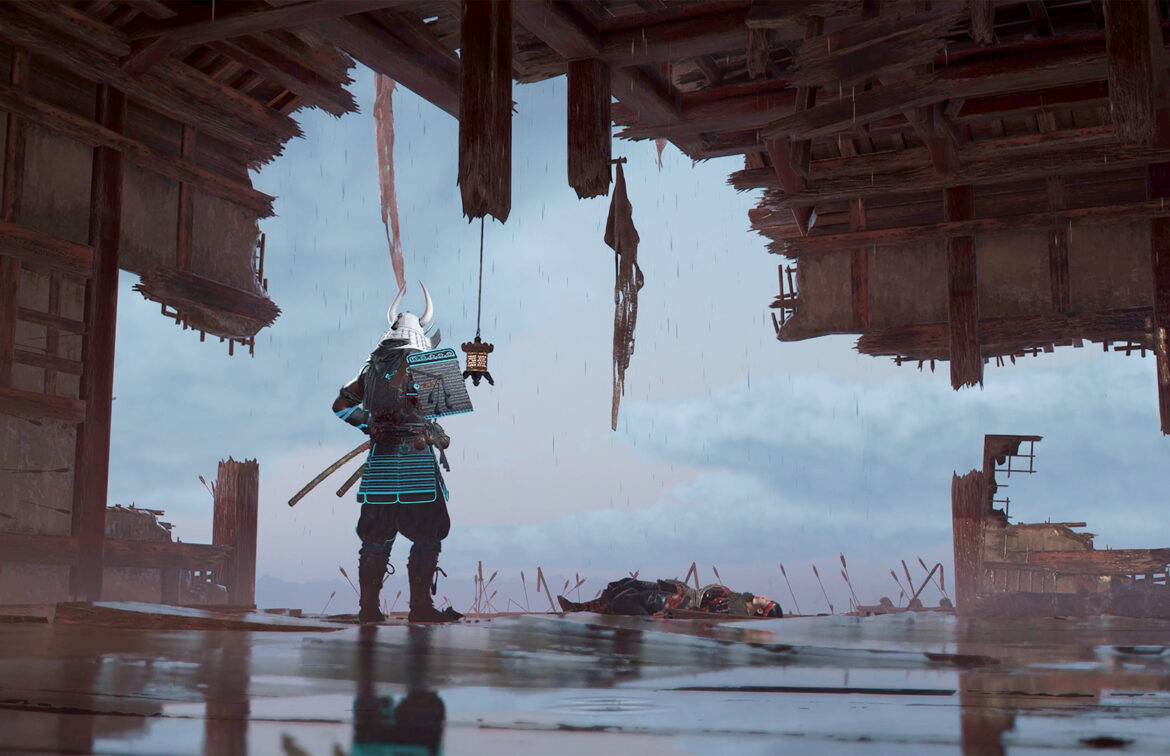
- Yasuke’s victory over his opponent

-

- Completed main quest task board