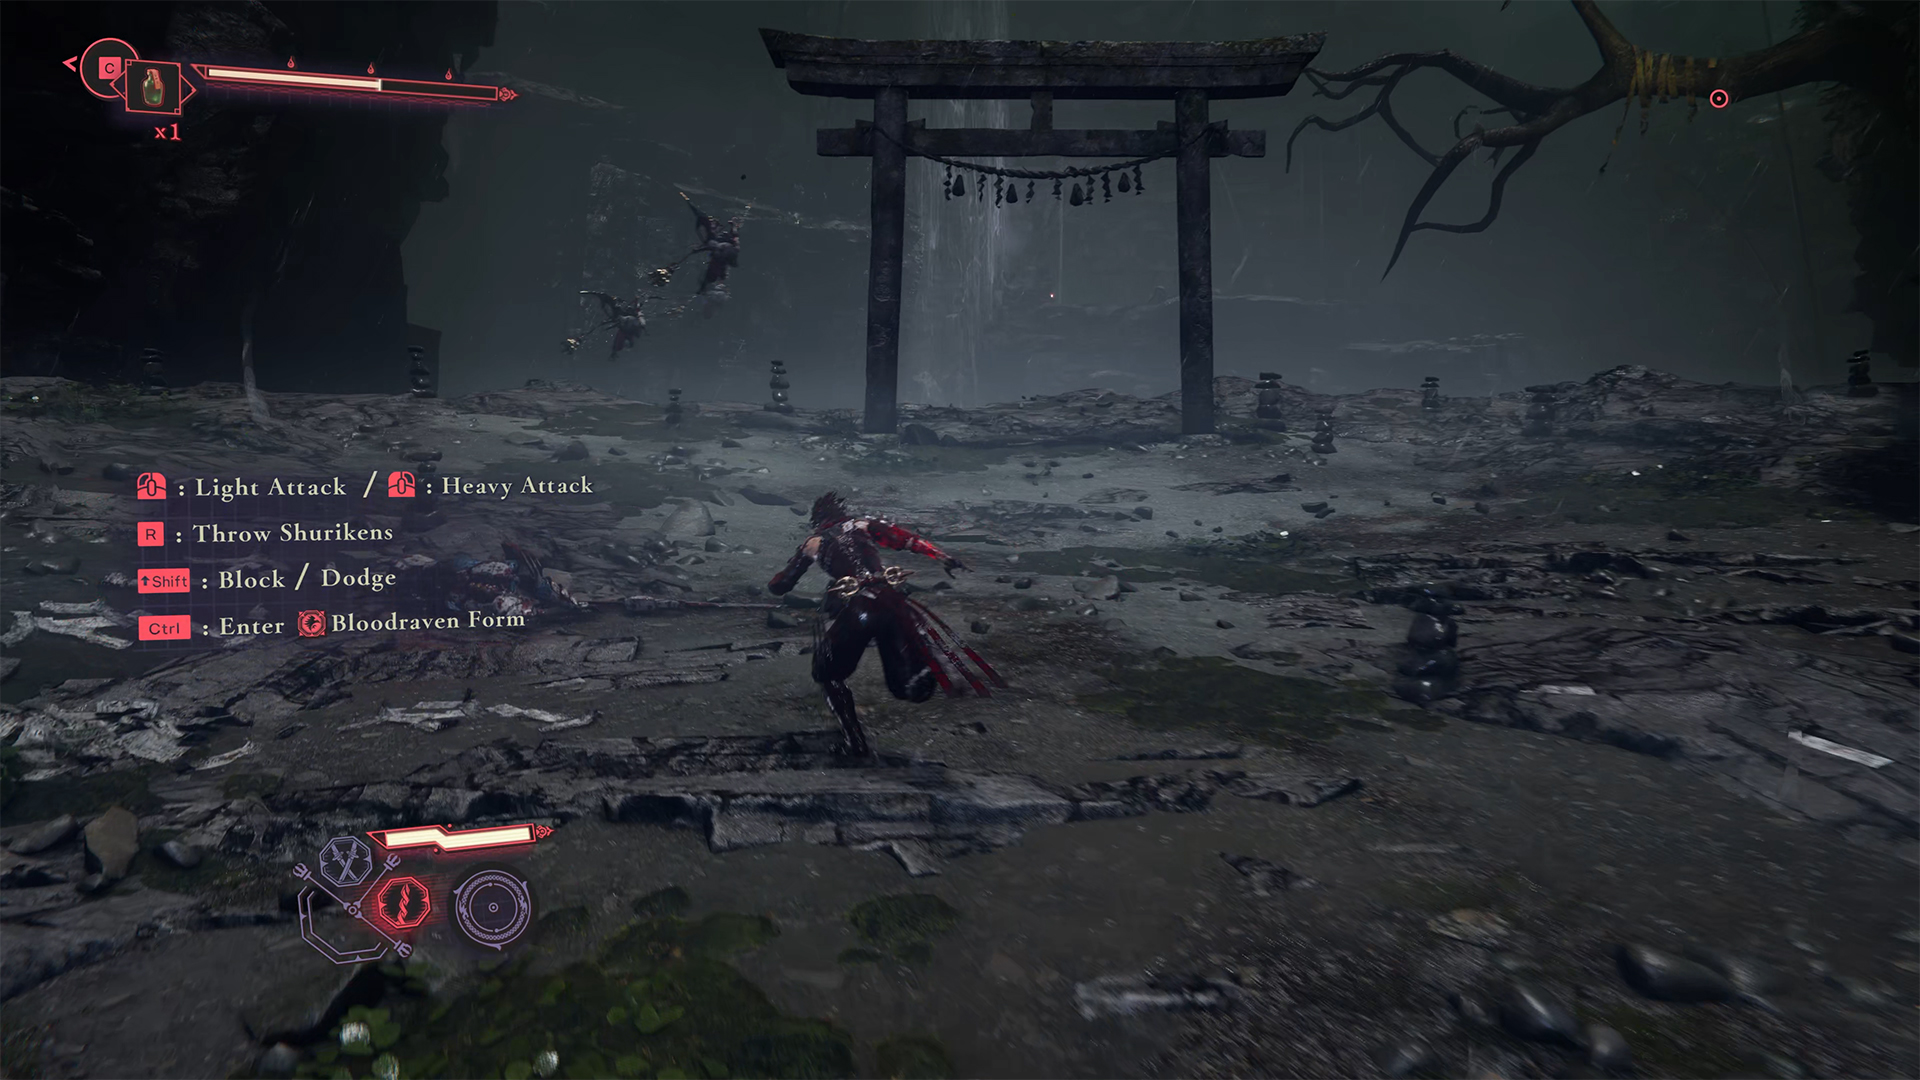
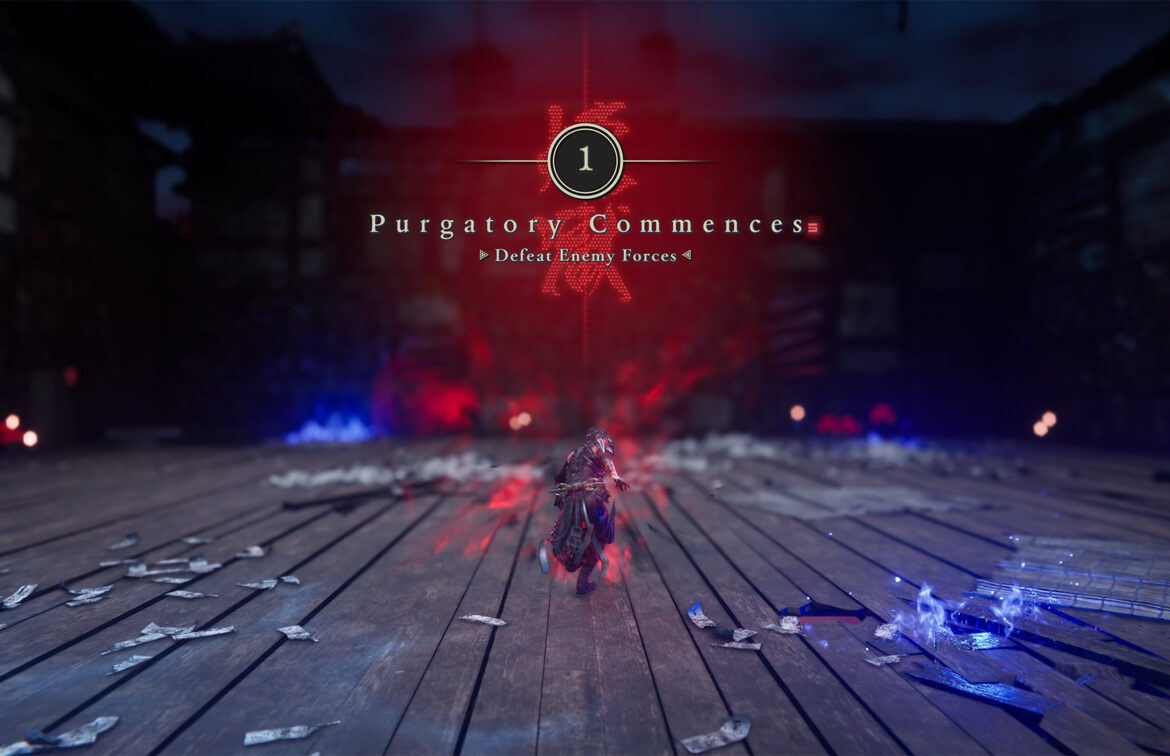
Let’s take a look at Chapter 4 in Ninja Gaiden 4. It’s called Pilgrim’s Windswept Path, and it has some unique features. In this chapter, amazing adventures, new enemies, and interesting challenges await you. I will show you locations where you can complete additional tasks. I will show you where all the chests are hidden, as well as the very important chest with Black Scale. Let’s talk about the available quests and which ones cannot be completed now, and which ones must be completed only in this chapter.
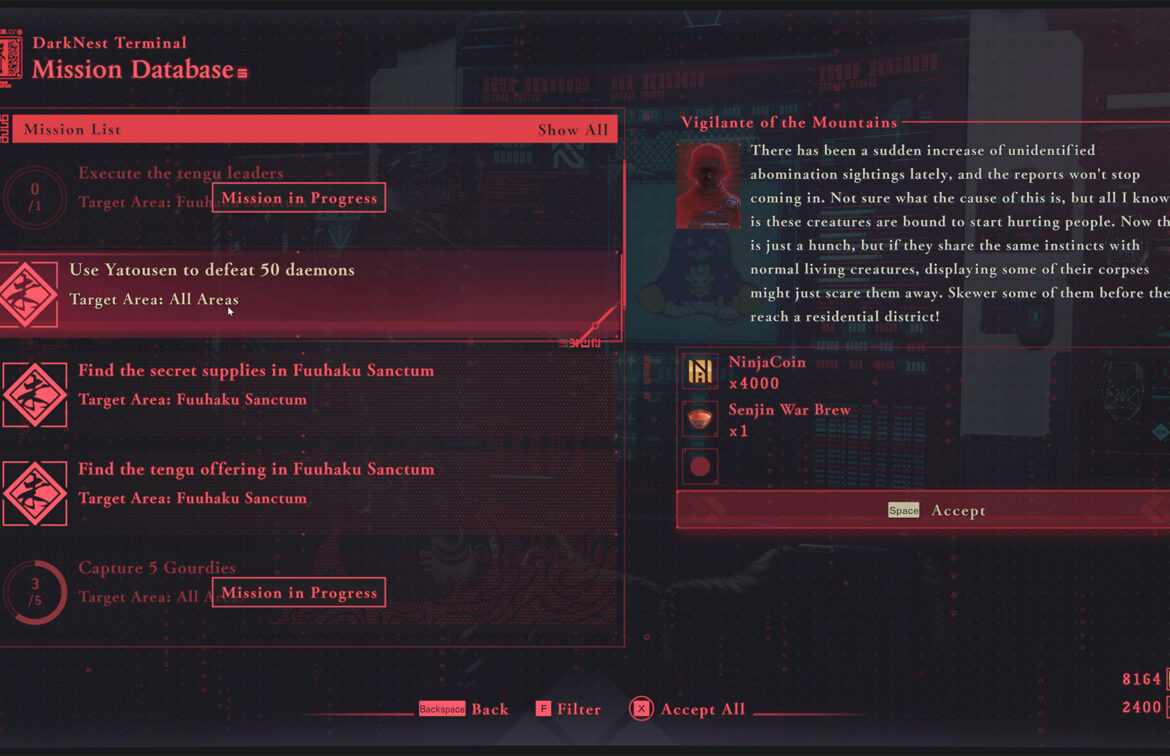
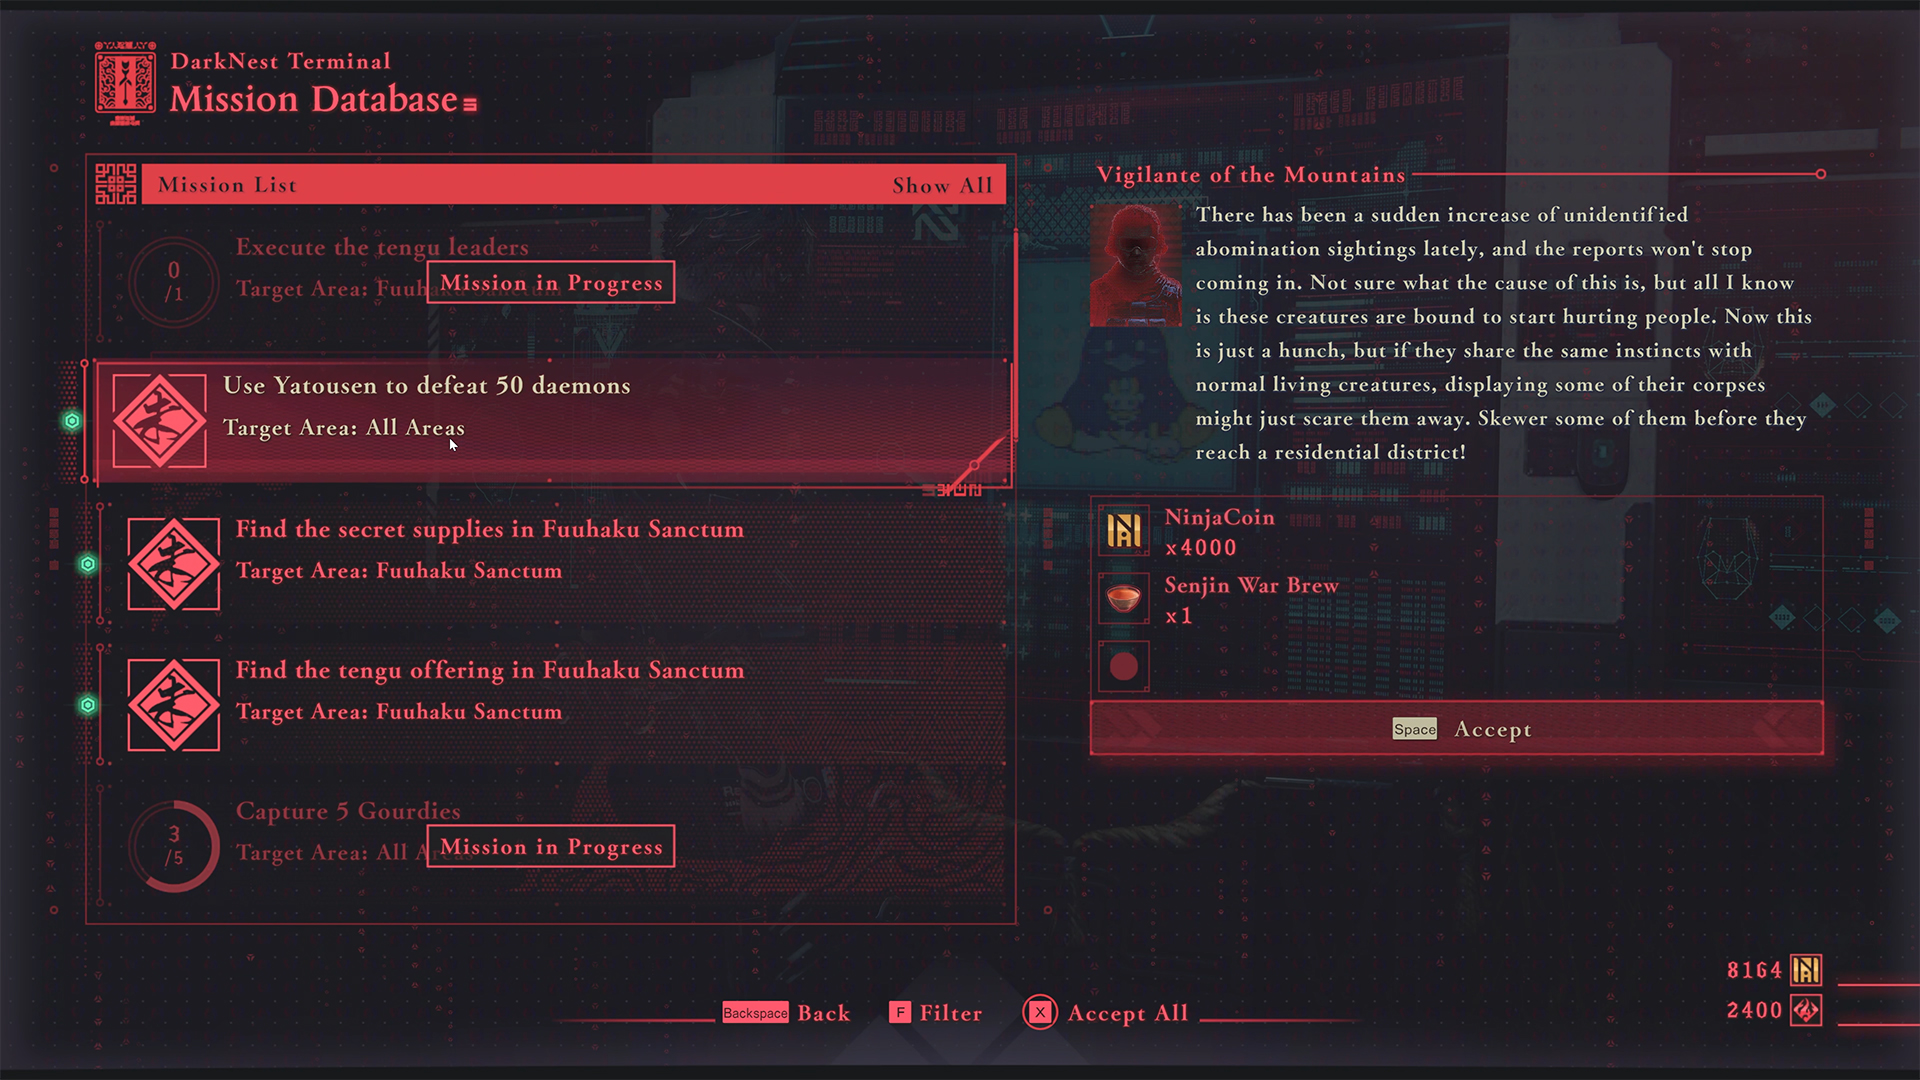
There are also four quests available in this chapter:
- Execute the Tengu Leaders
- Use Yatousen to Defeat 50 Demons
- Find the Secret Supplies
- Find the Tengu Offering (In this chapter, you only need to accept the quest, but you can complete it in the next chapter.)
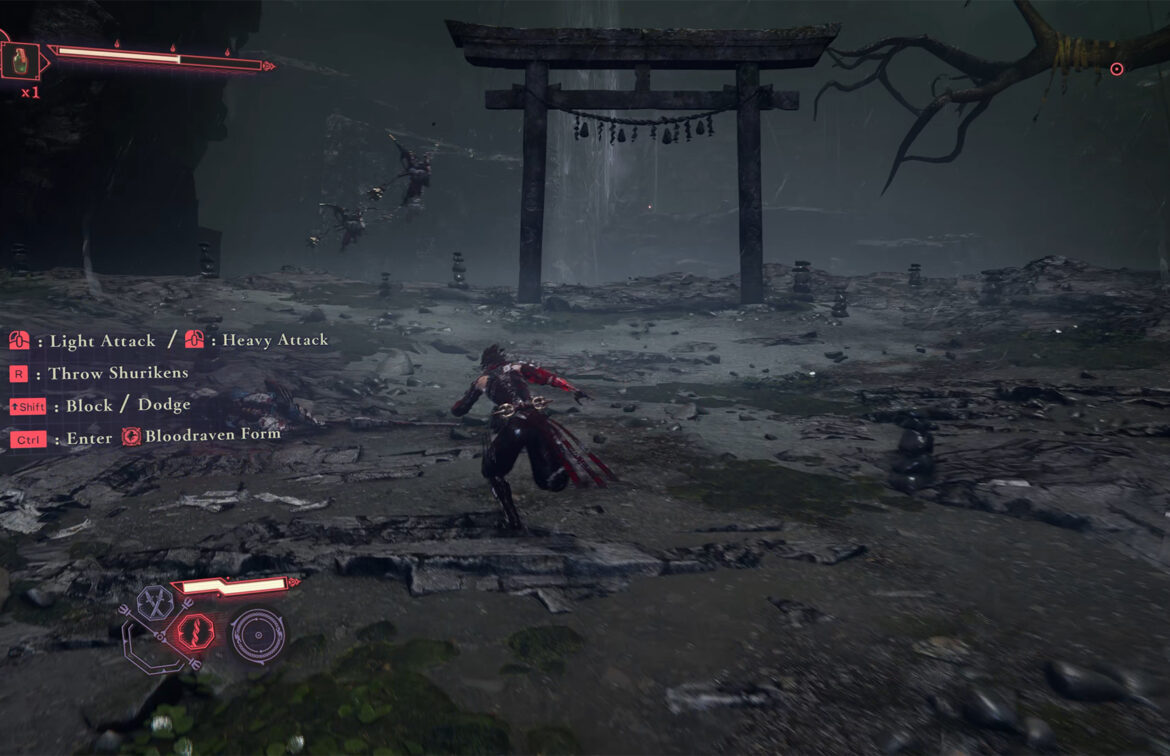
And, as always, before you start, I recommend watching the video, which contains all the information with visual accompaniment in the game:
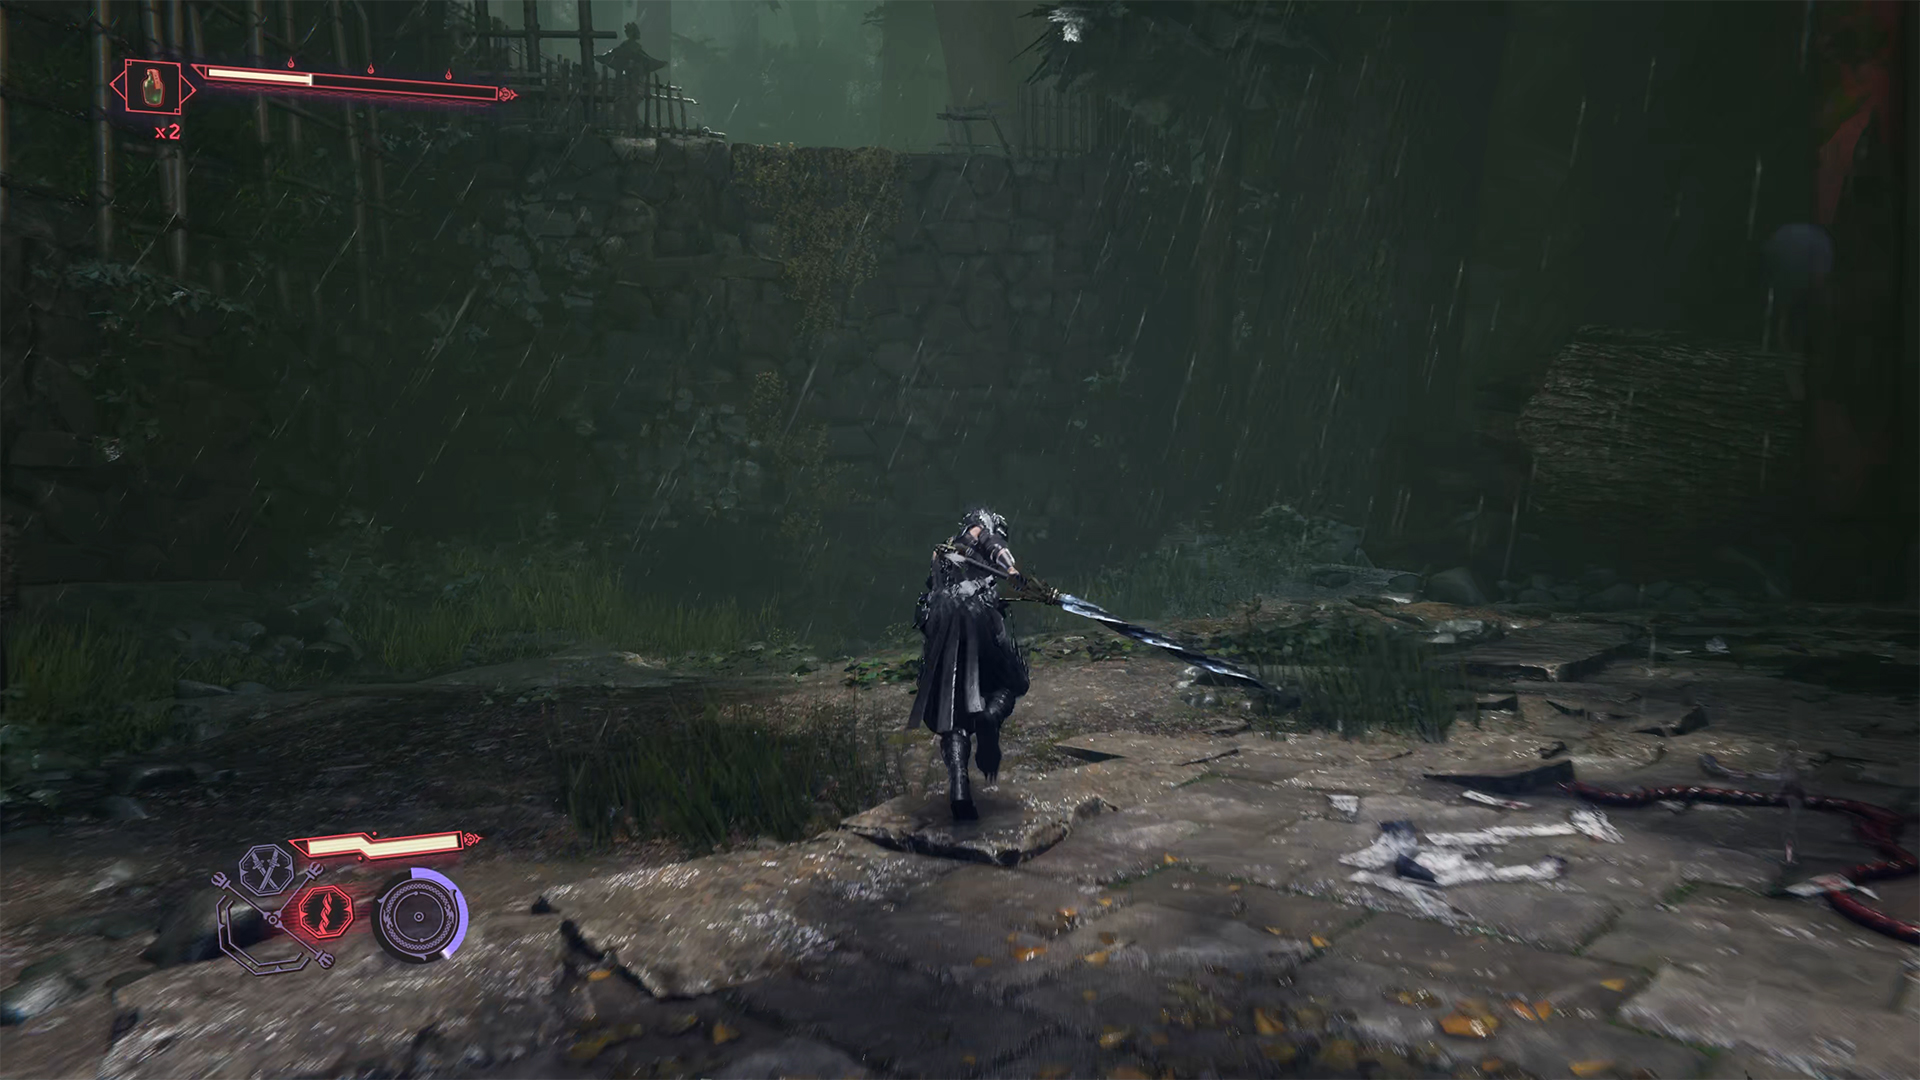
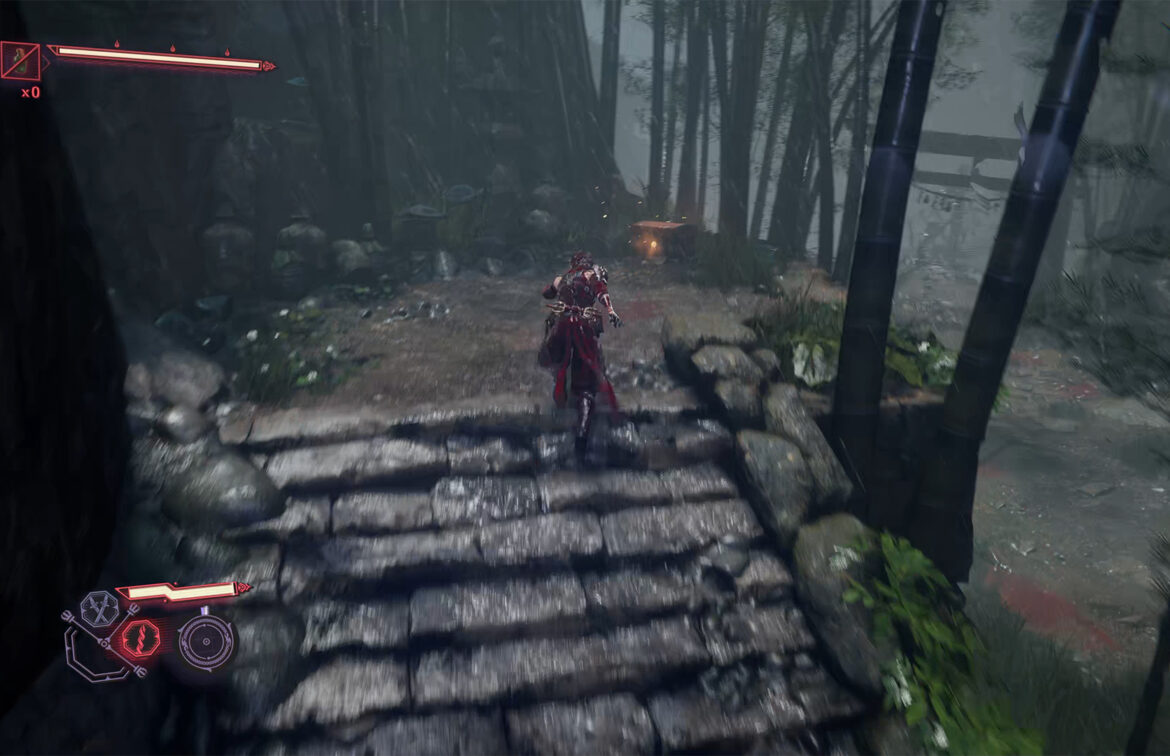
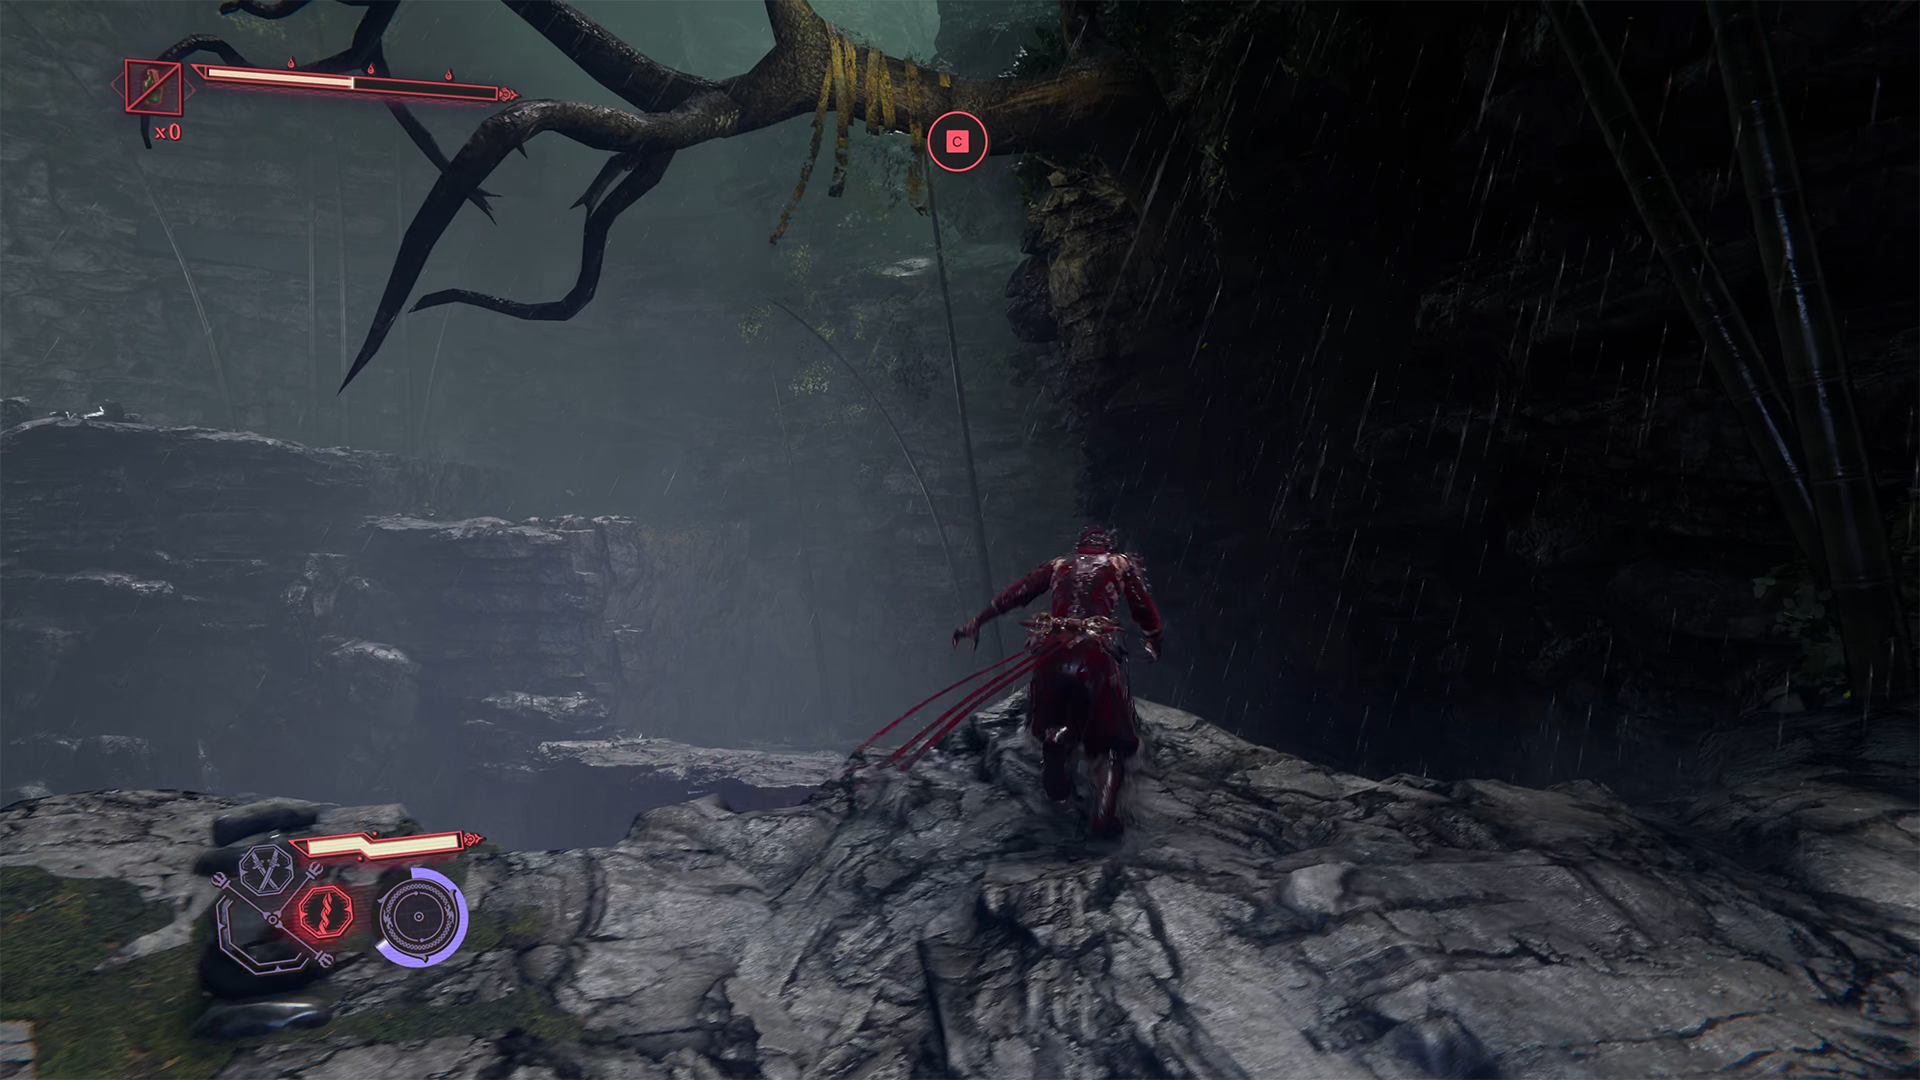
Start missions + Chest #1
As usual, you need to activate all available quests at the first DarkNest Terminal. To the left of the DarkNest Terminal, you will find the first chest with Life Elixir. I also recommend visiting Raven here and learning the Art of Adornment if you have enough NinjaCoins. This will open another accessory slot in your inventory, and you will be able to add Bulwark God’s Orb to it.
-
- Start missions in chapter 4
-

- Chest #1 in Pilgrim’s Windswept Path
Chest #2
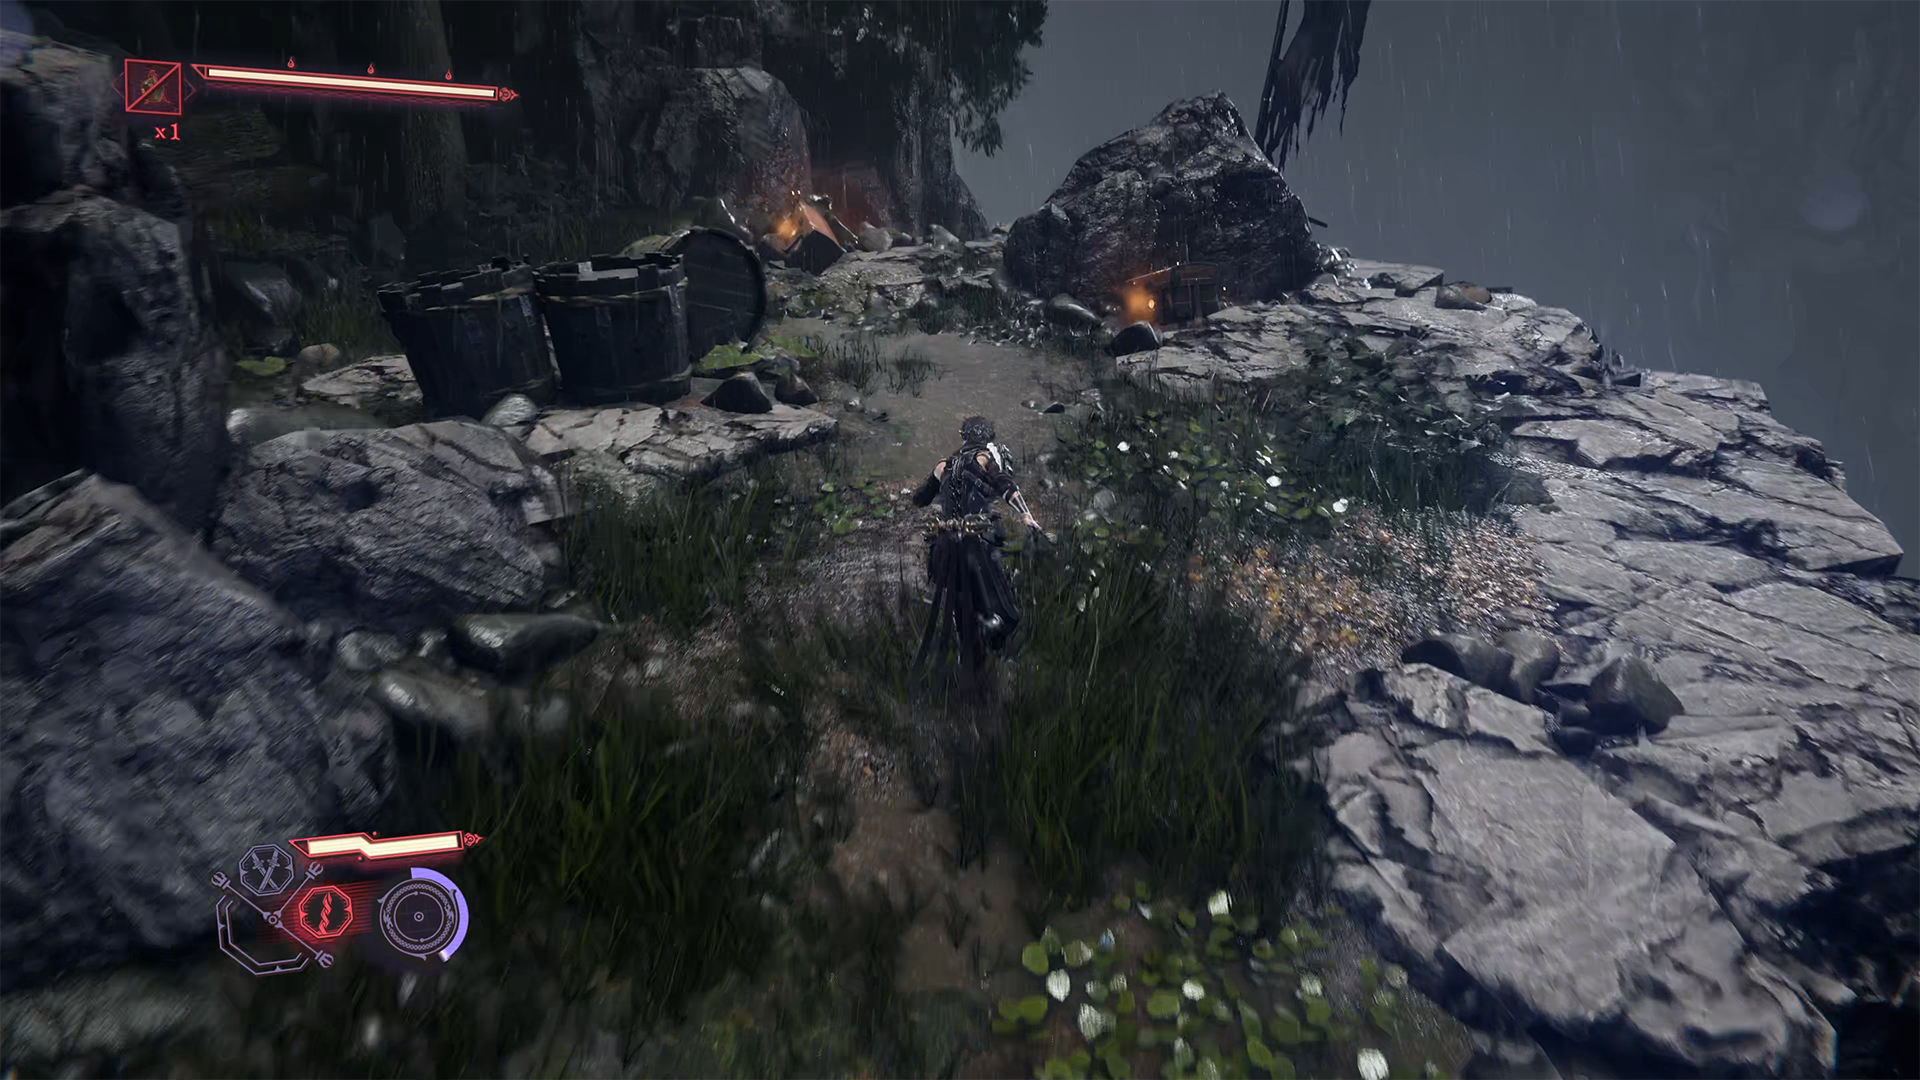
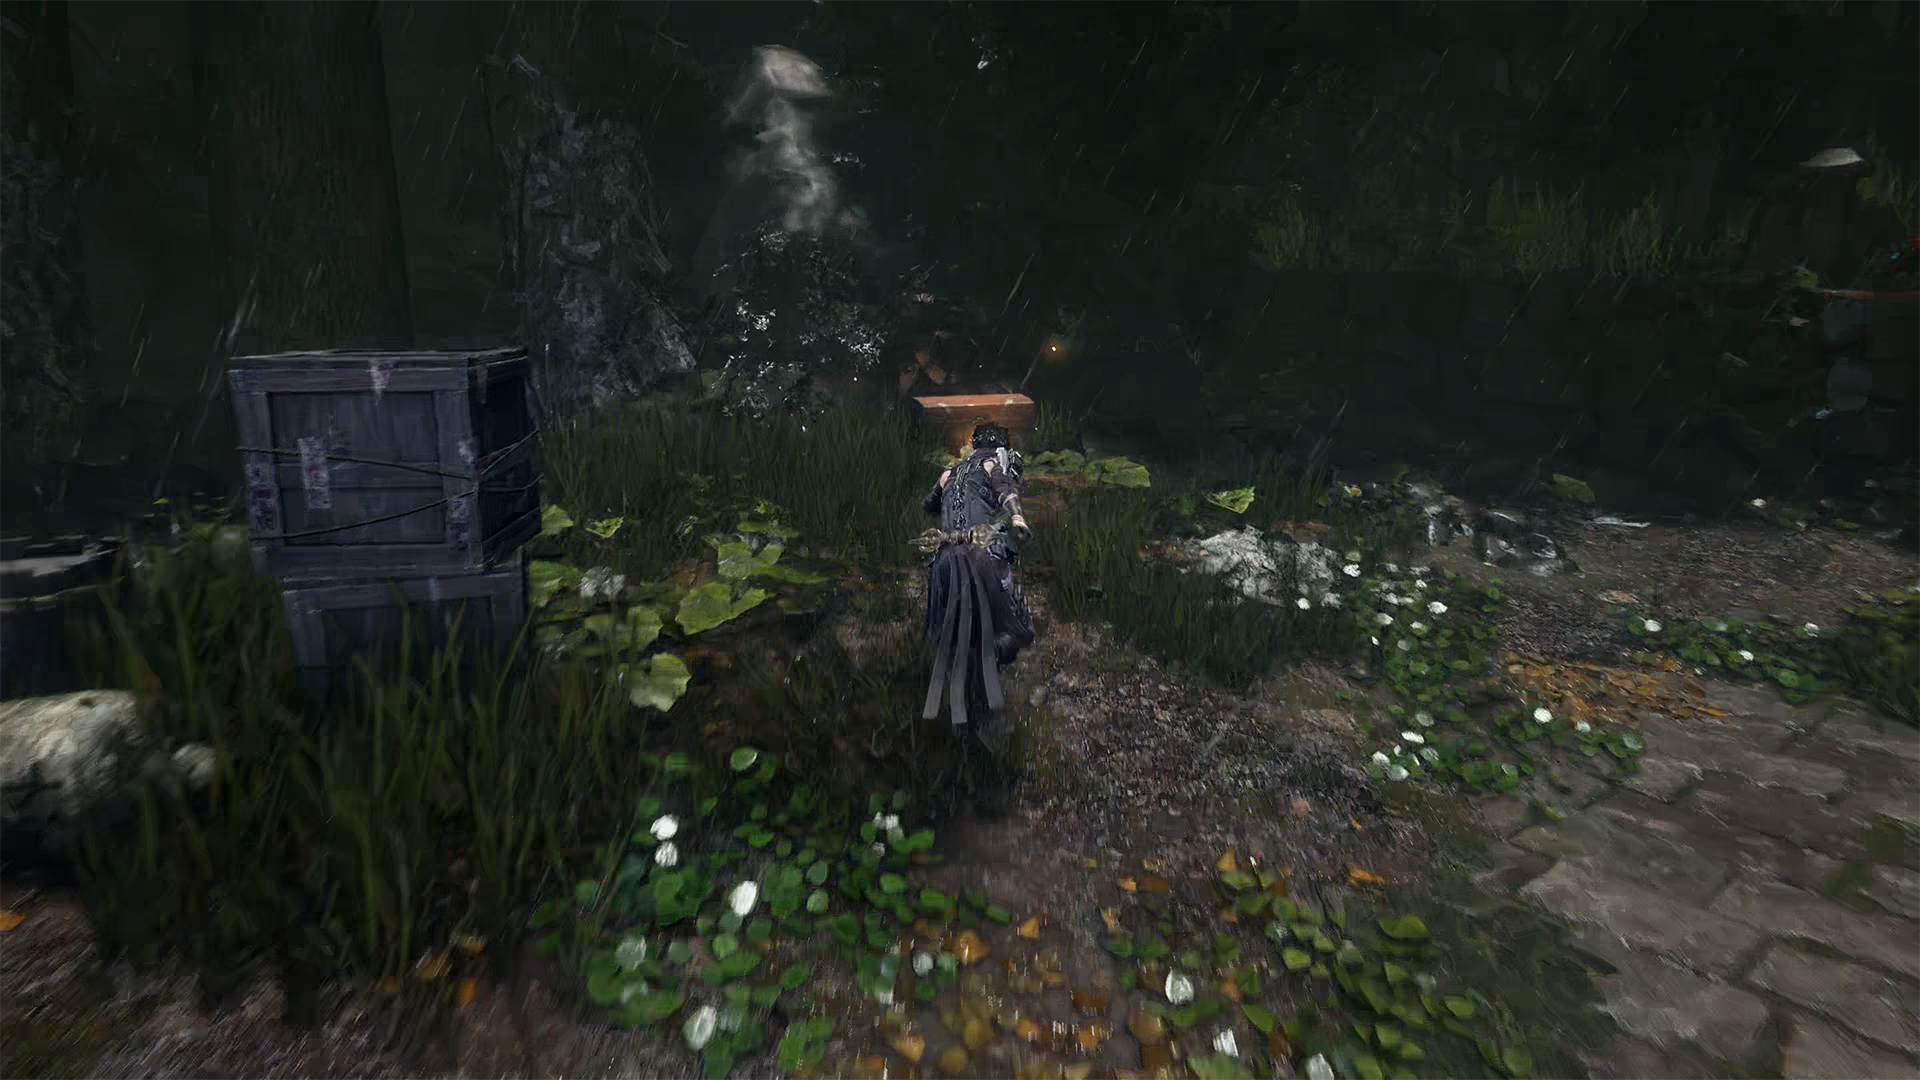
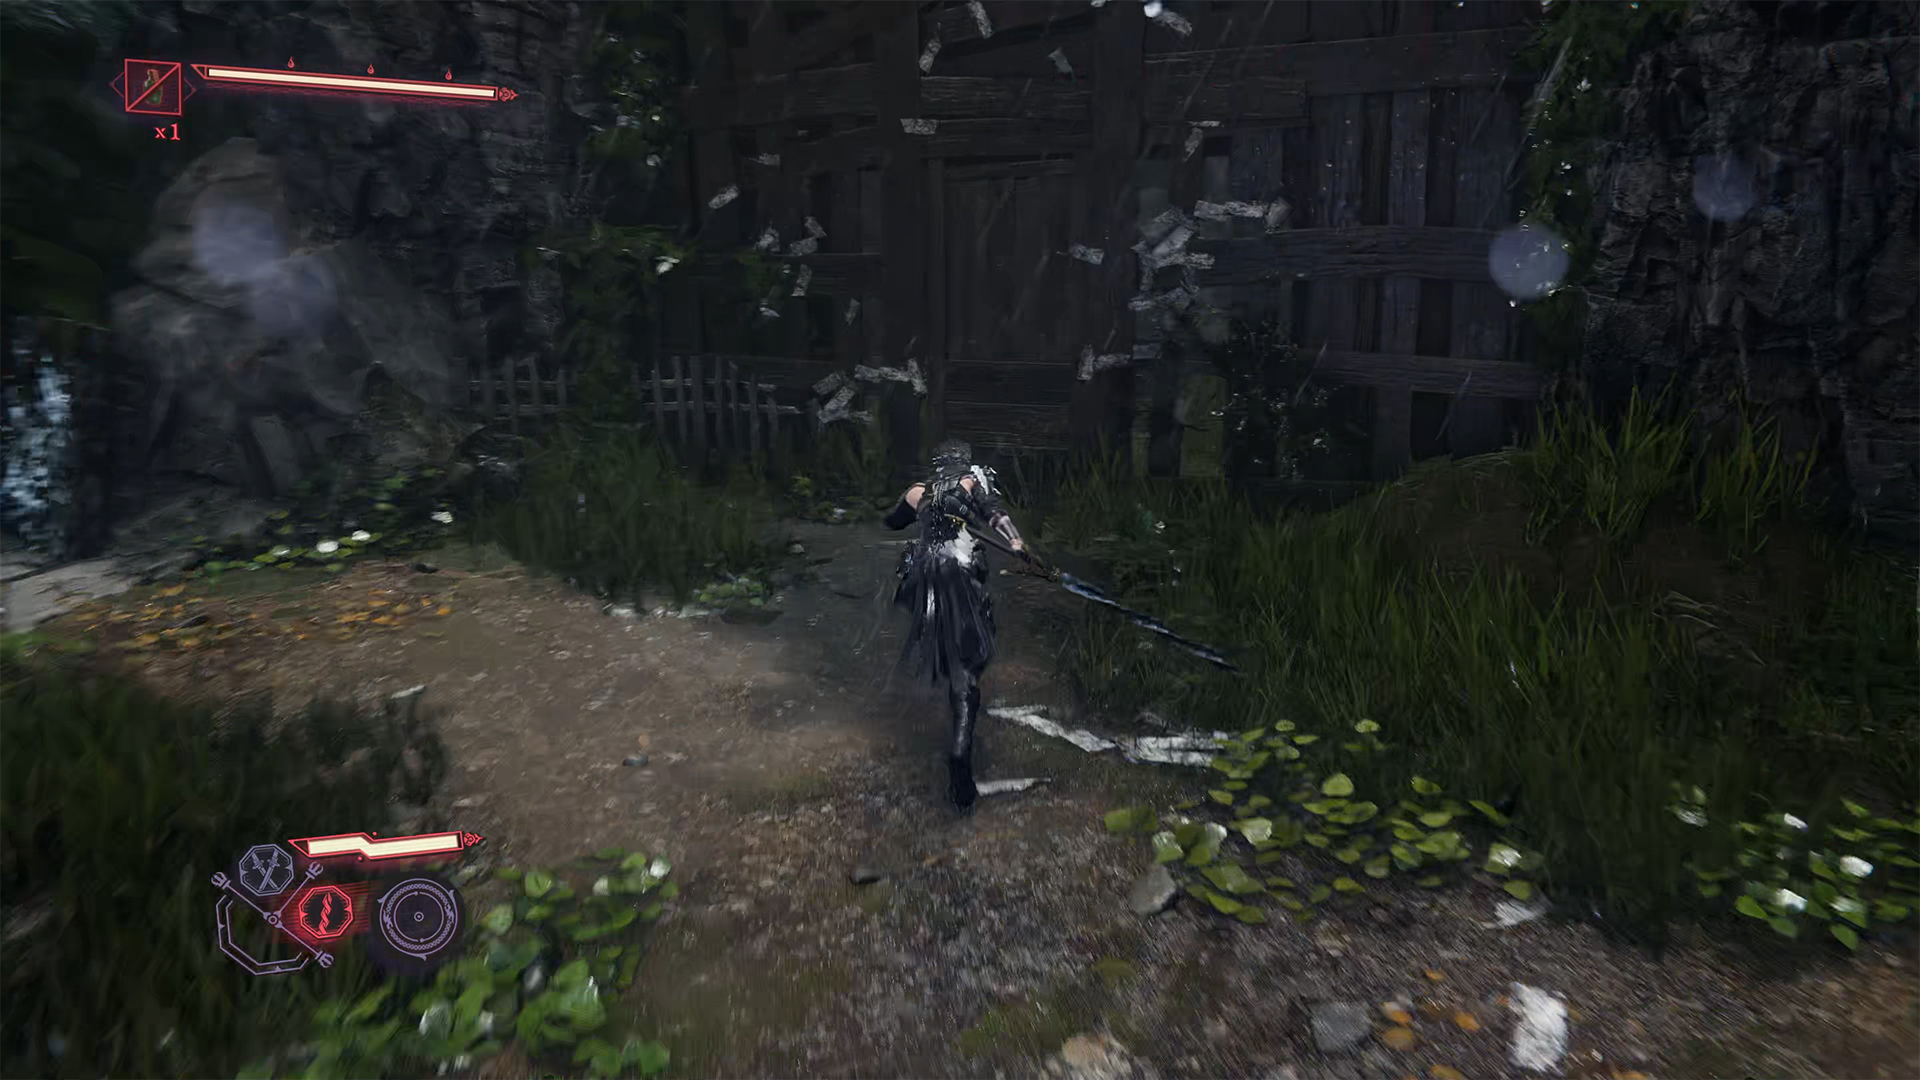
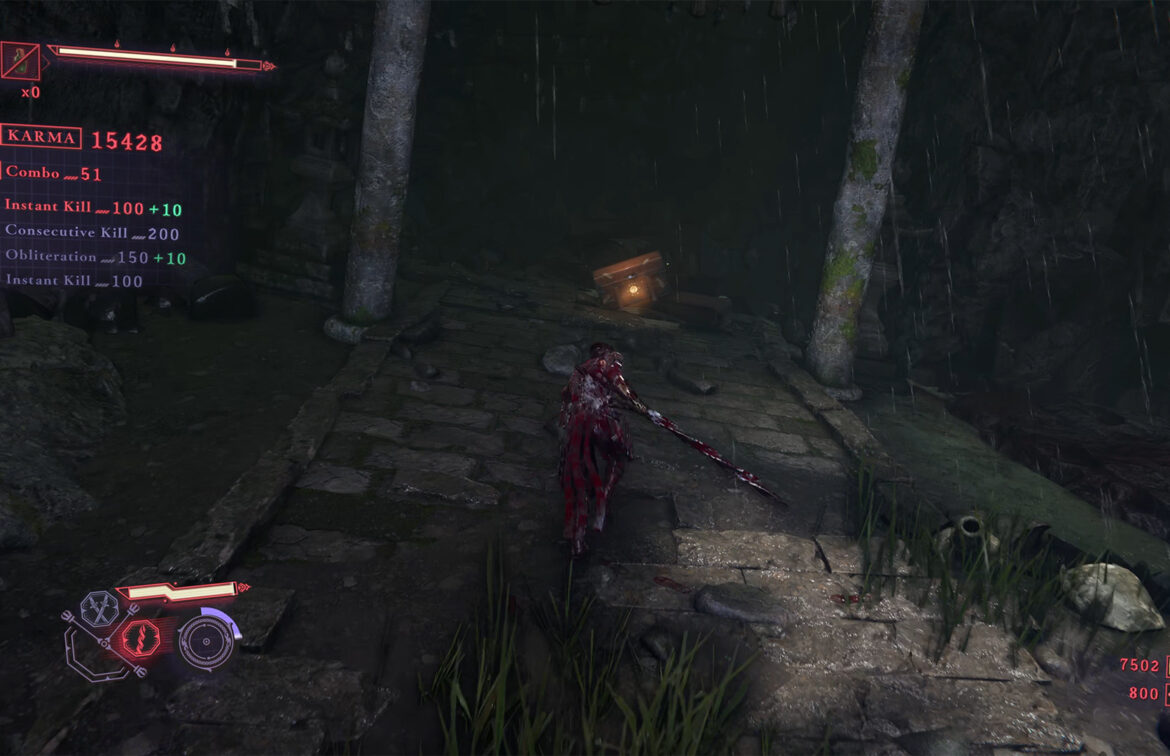
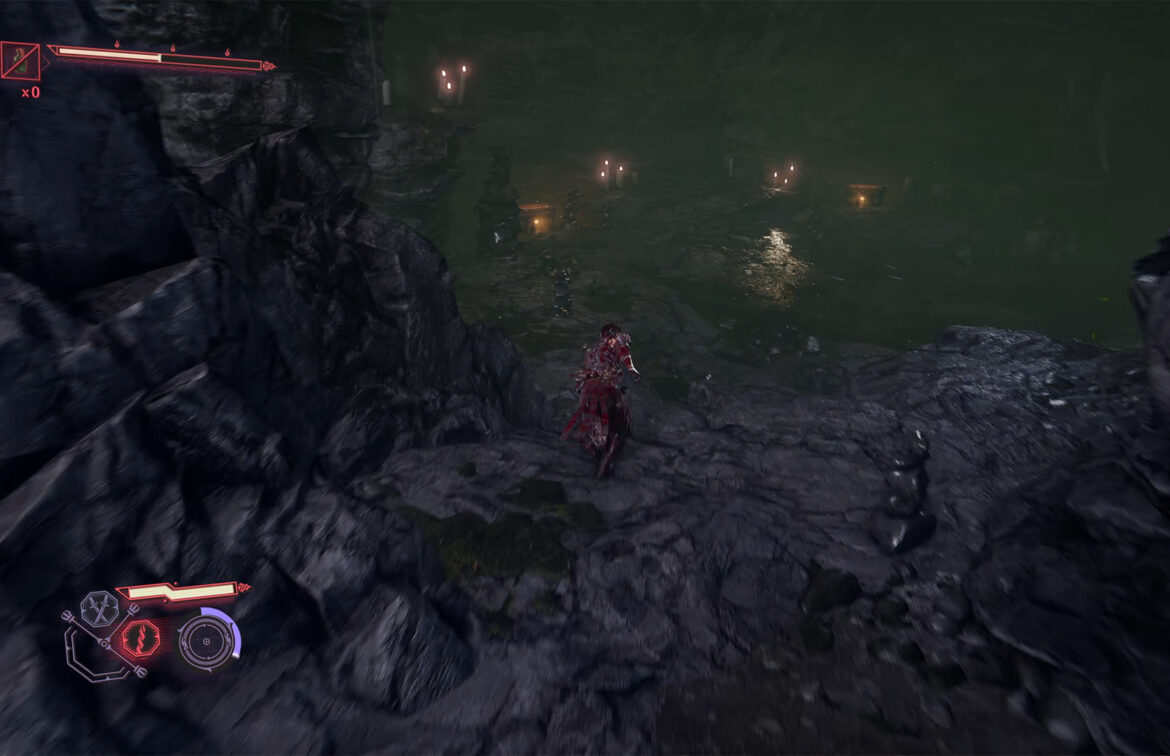
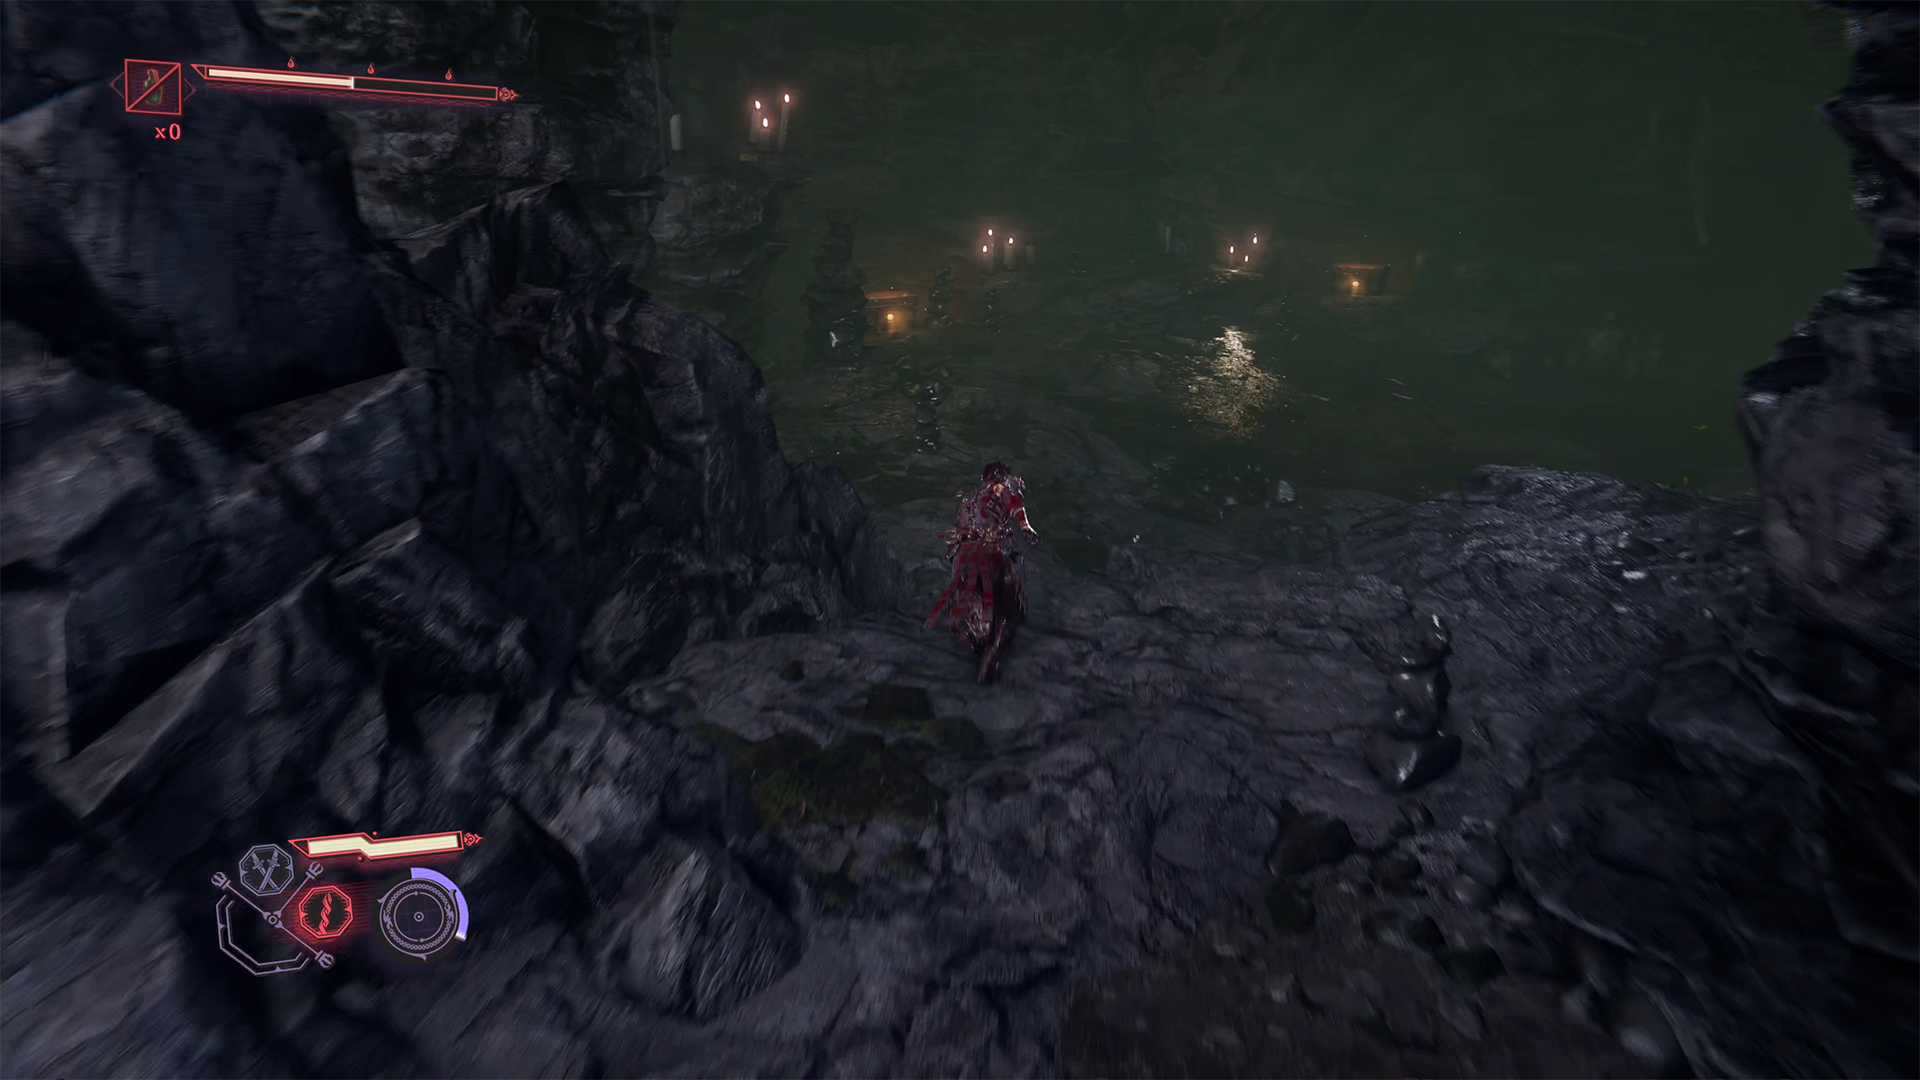
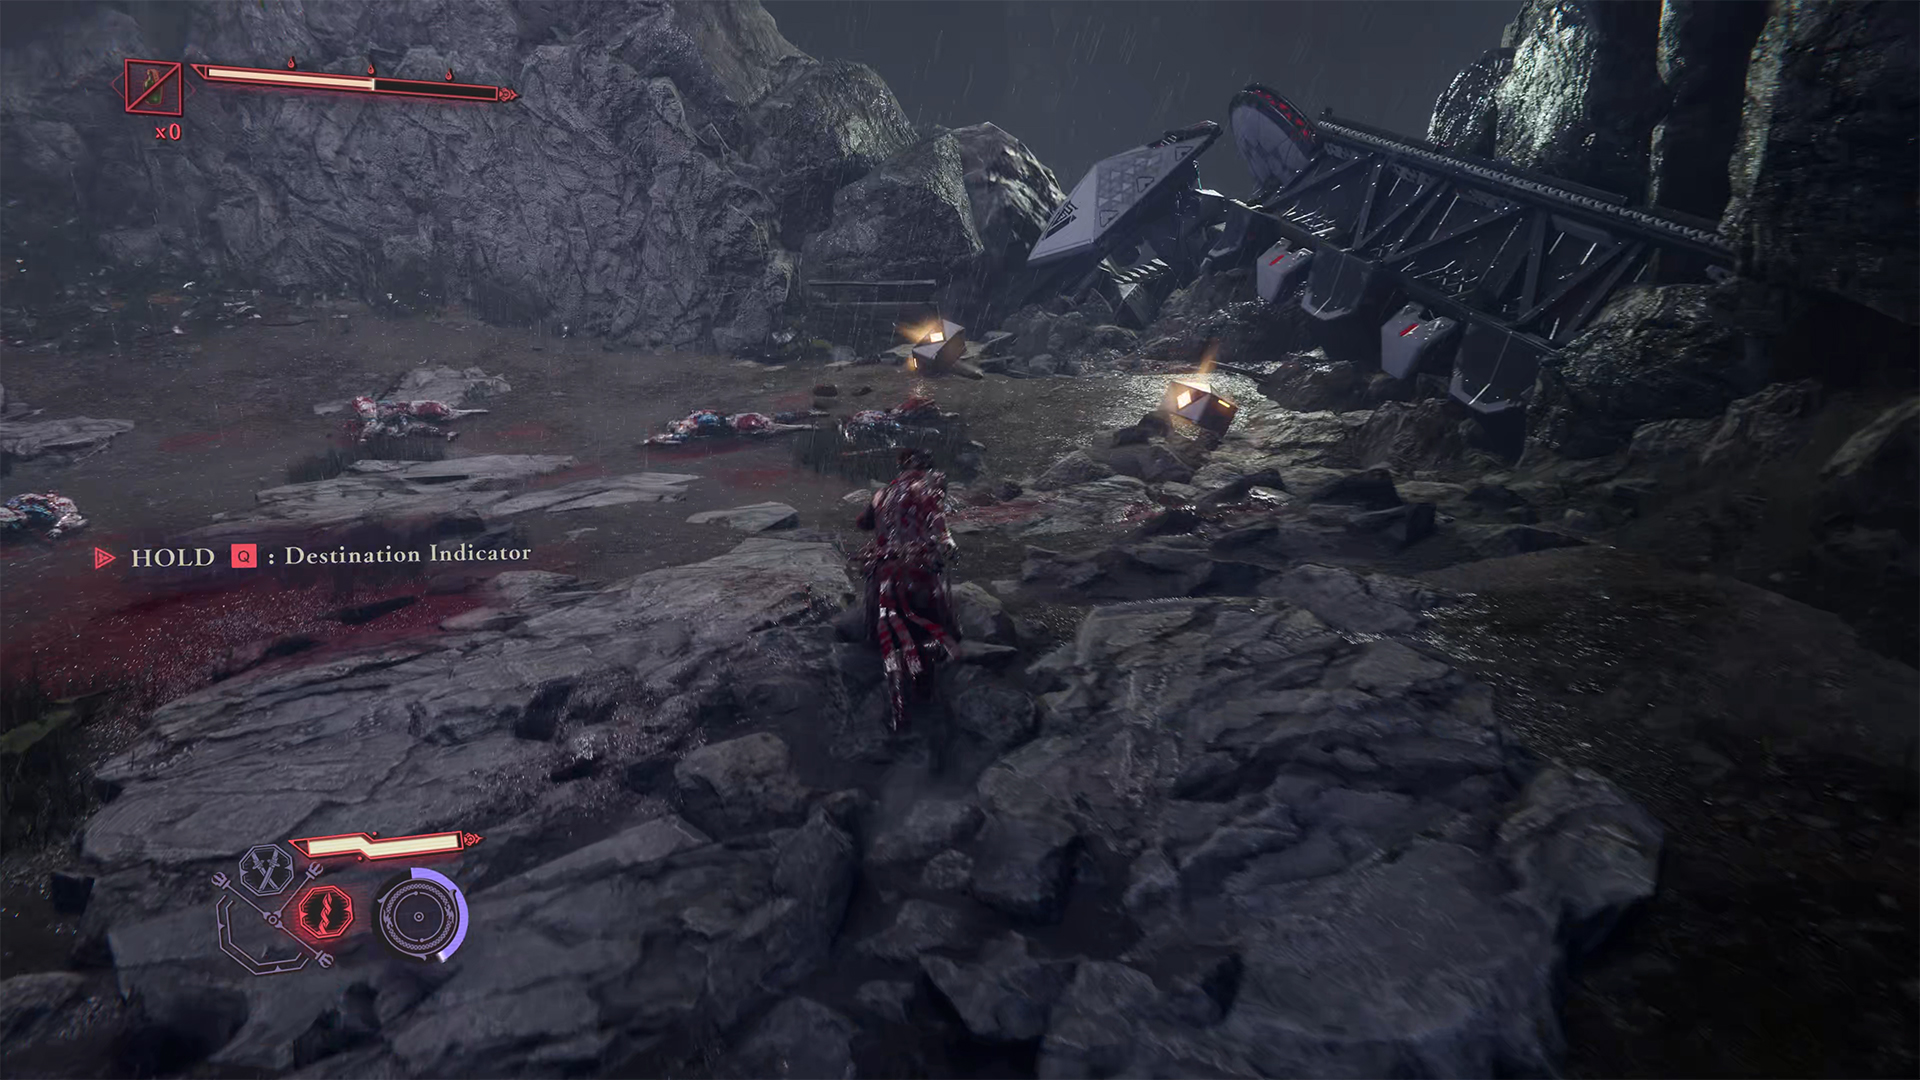
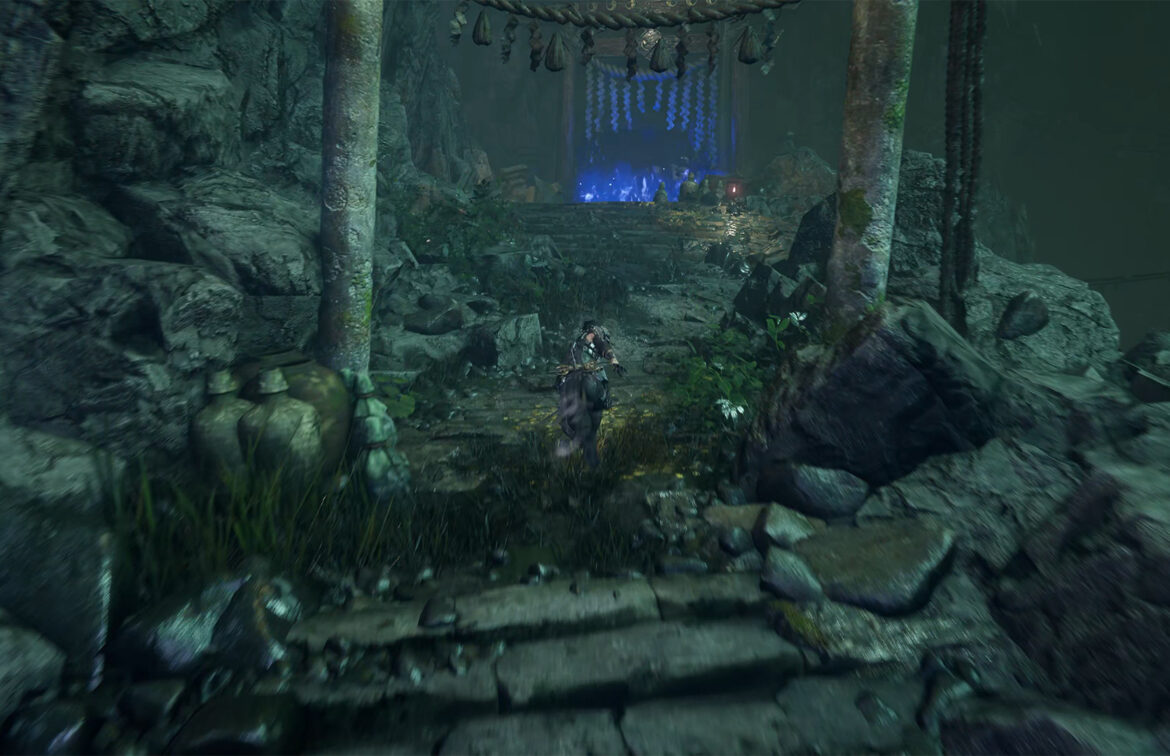
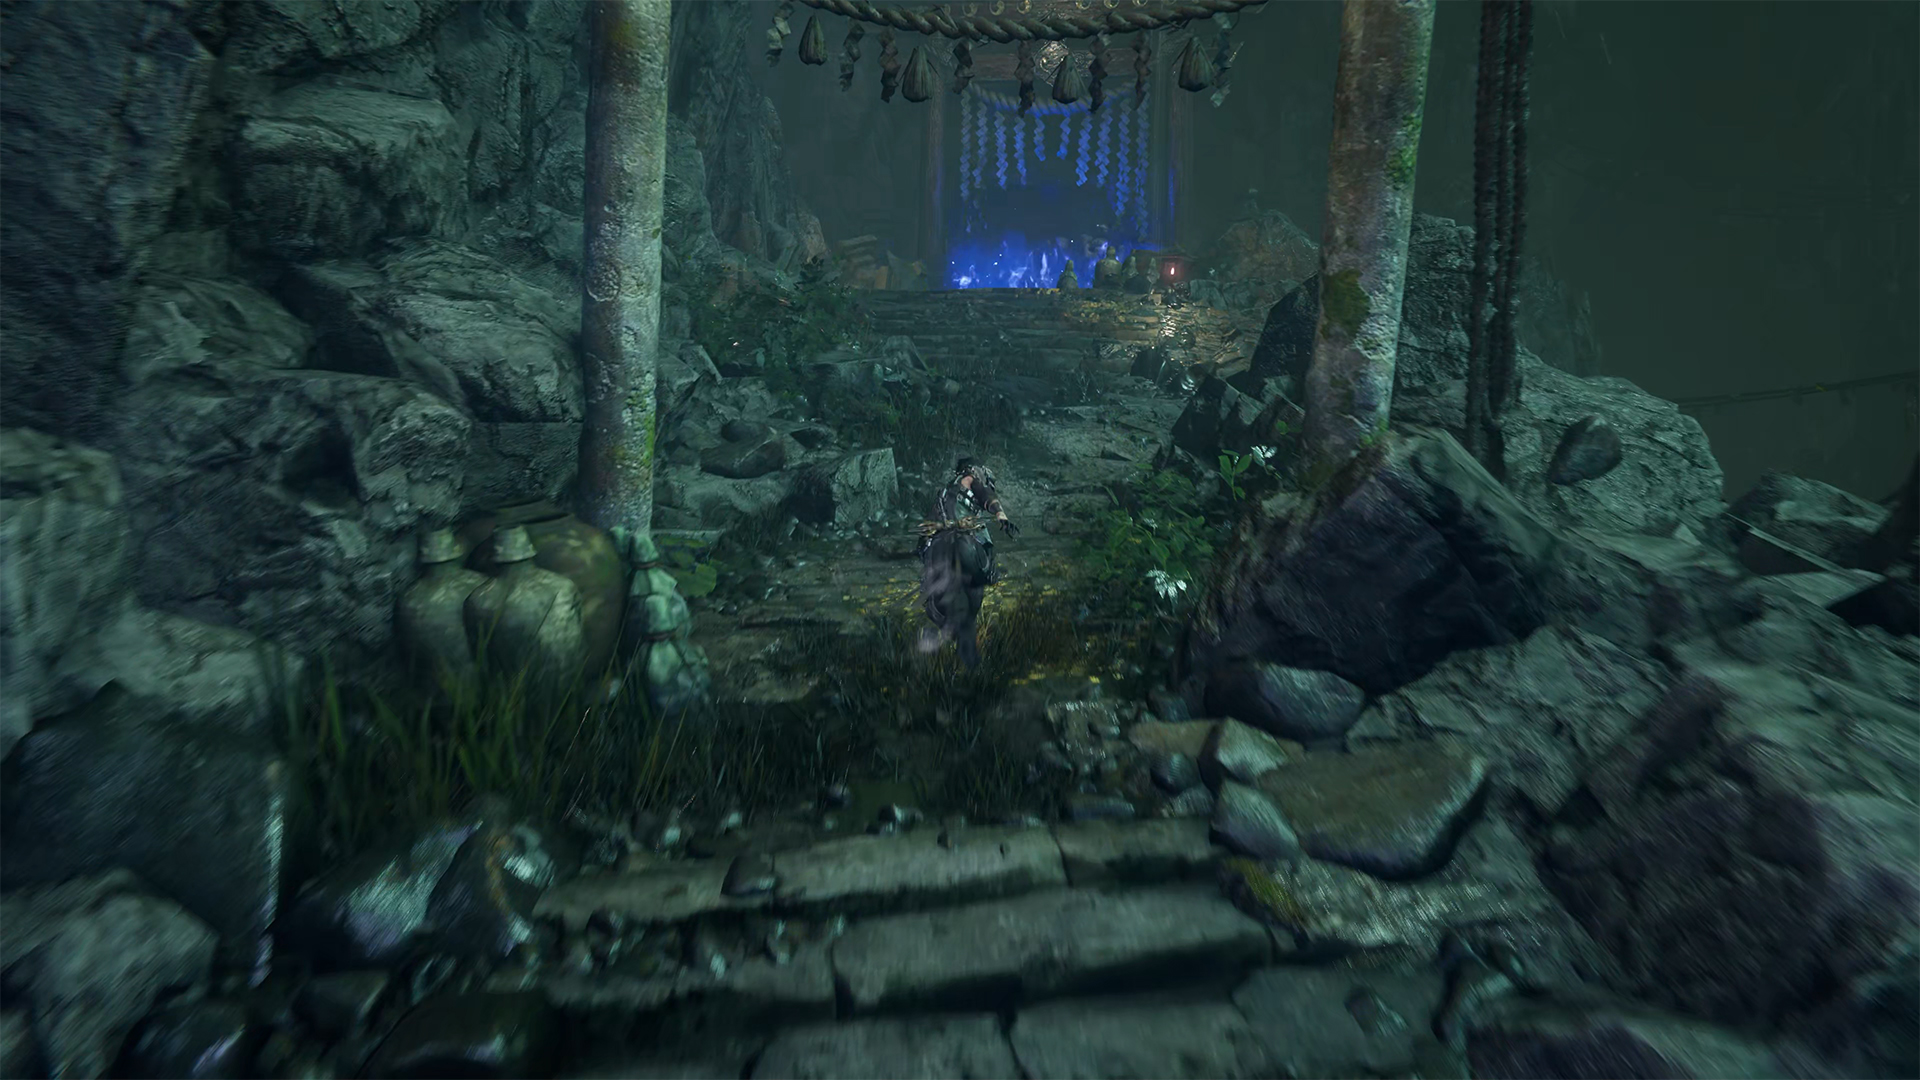
Now you are ready to set off on an adventure, and it awaits you just around the corner. After walking a short distance, you will encounter your first enemies. It is simple and there are no difficult bosses here. This battle is designed to help you learn the capabilities of your new weapon. After the battle, you will come to a place with a closed wooden door. When you open it, you will see a chest in front of you. Open it to get another Life Elixir. Then break down the wooden barrier and you will see that there are many enemies below.
-
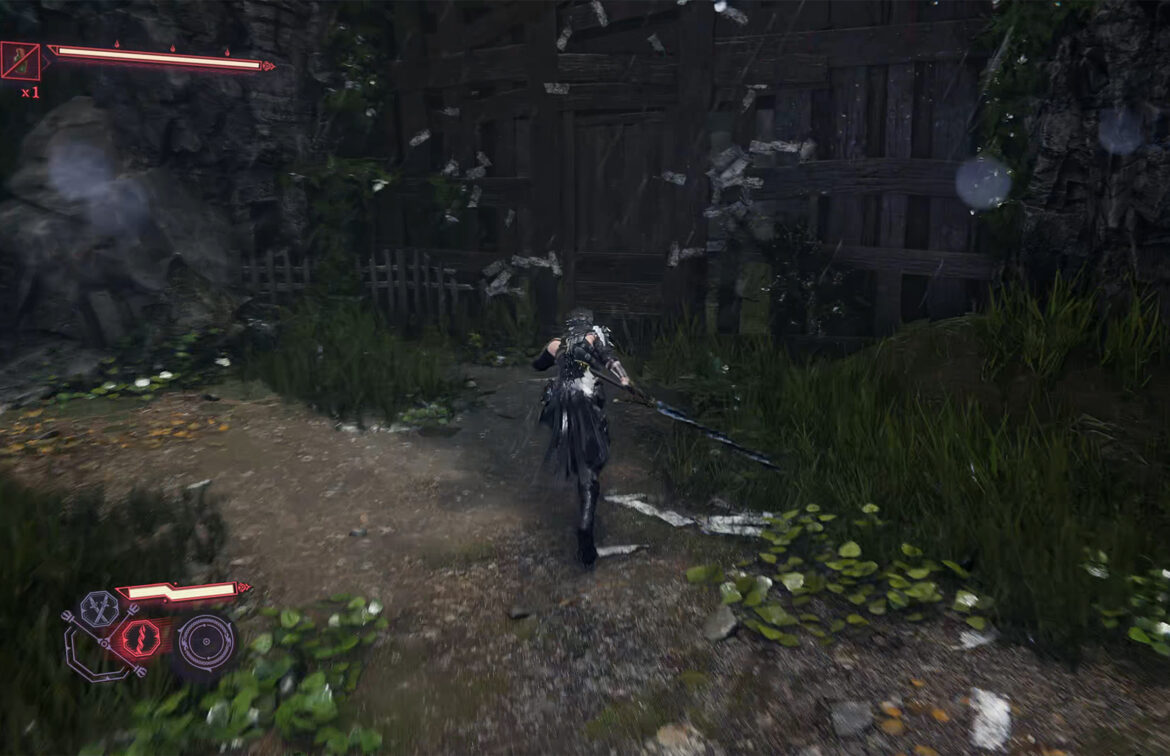
- Entrance to the area with the chest
-
- Chest #2 in Pilgrim’s Windswept Path
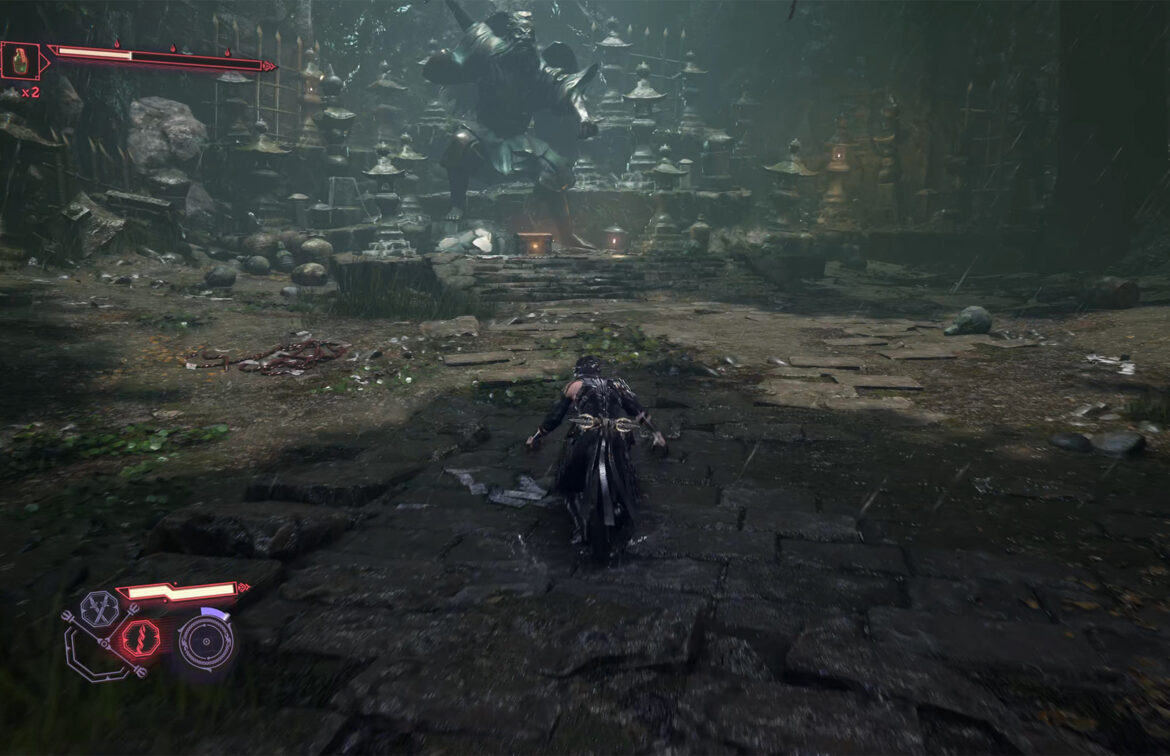
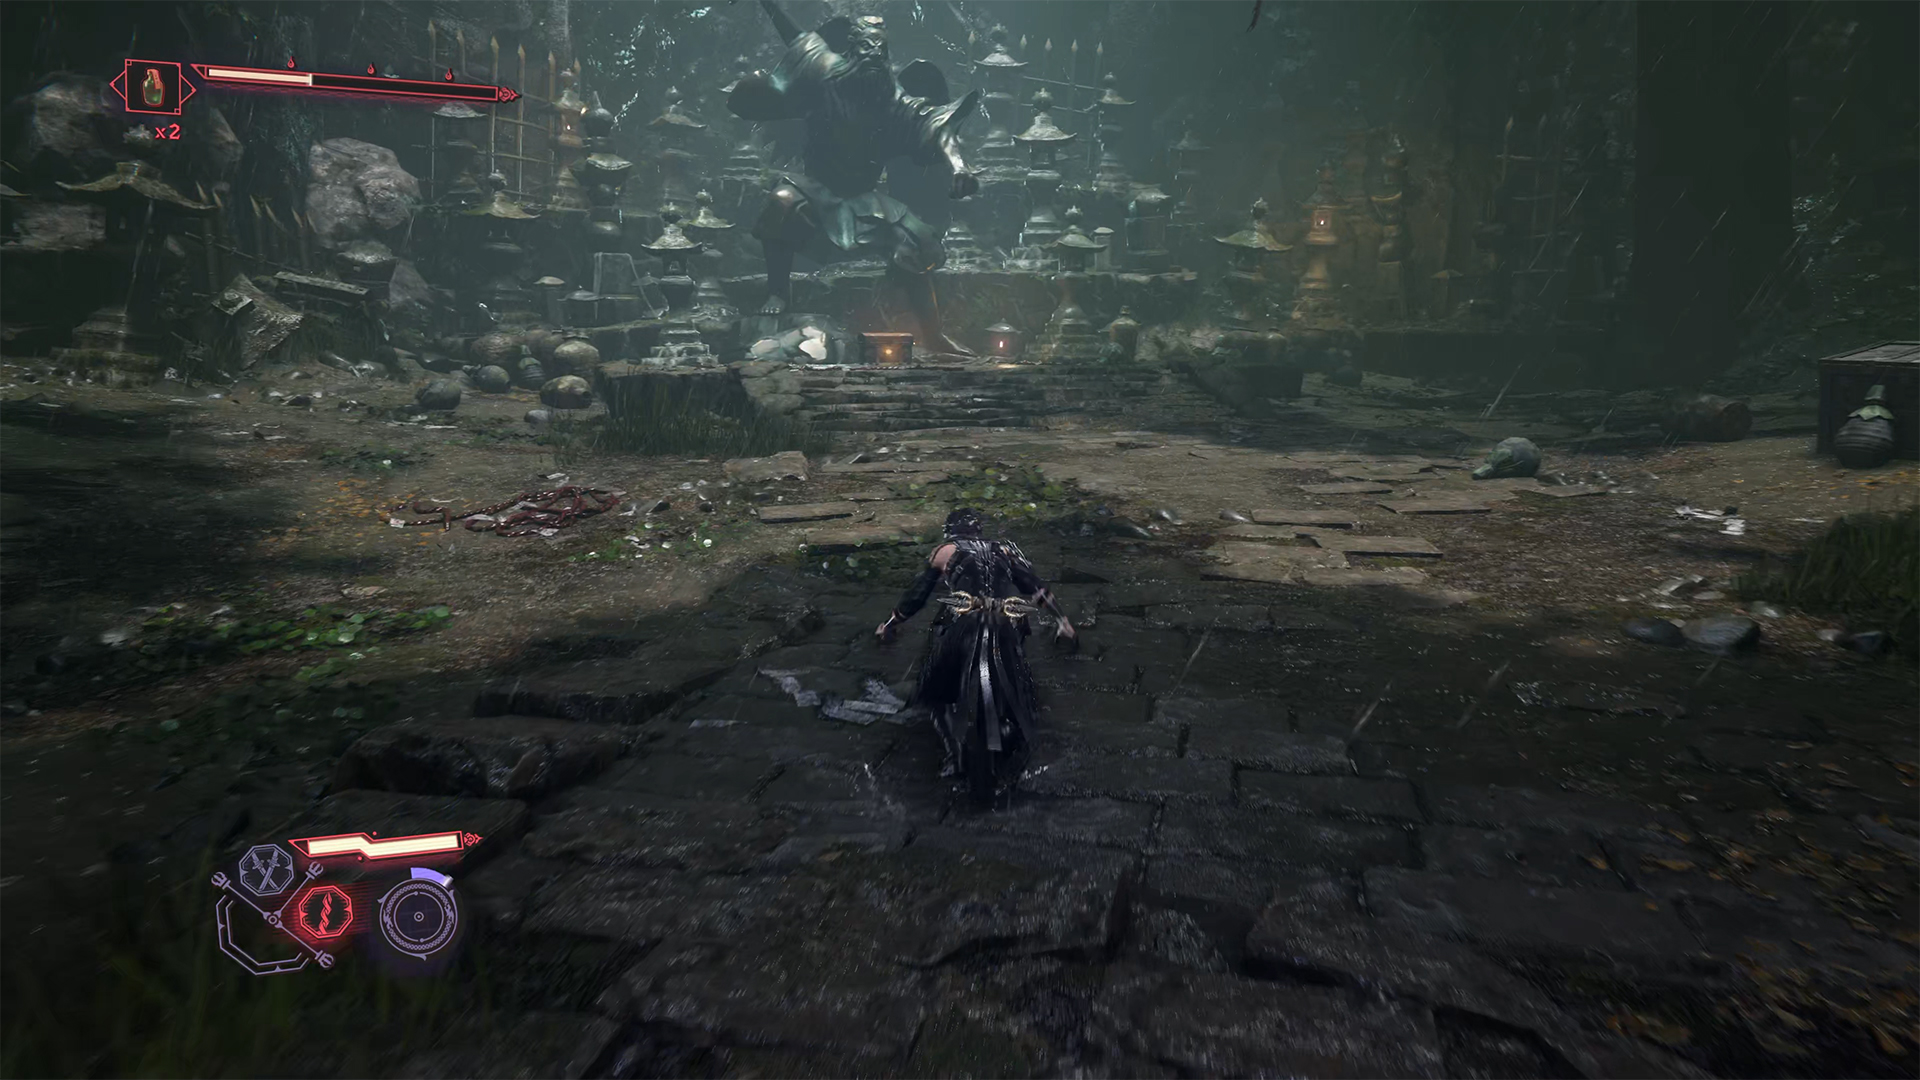
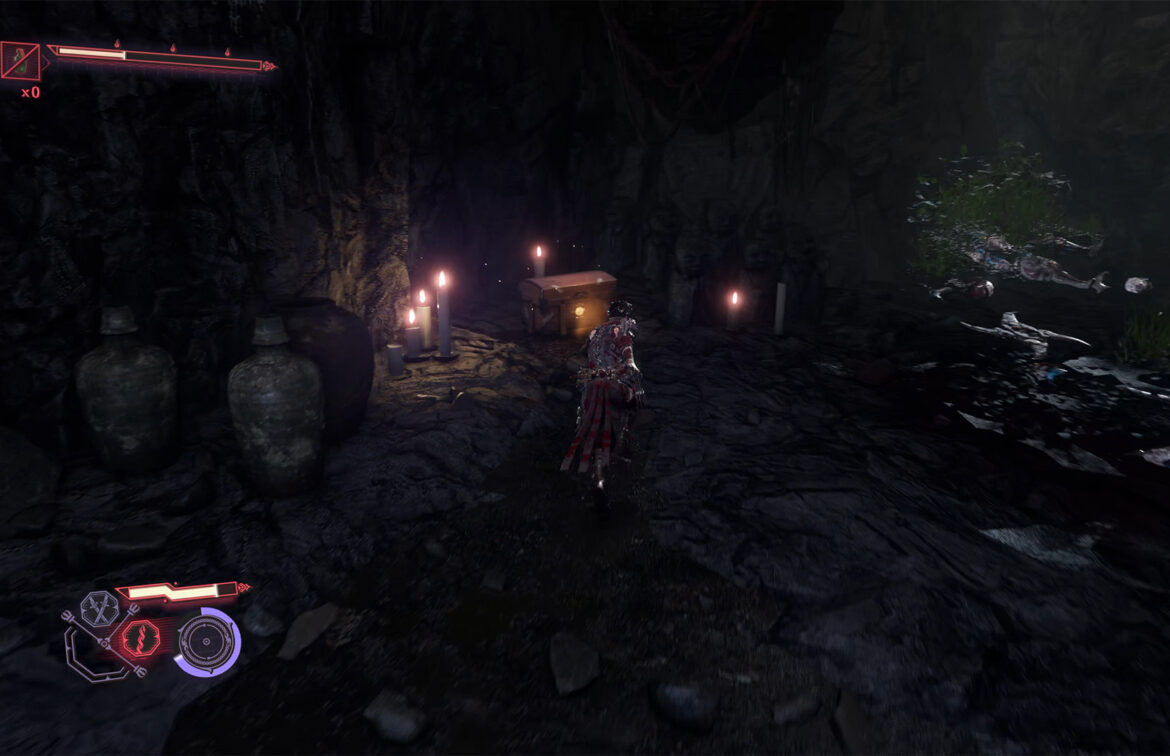
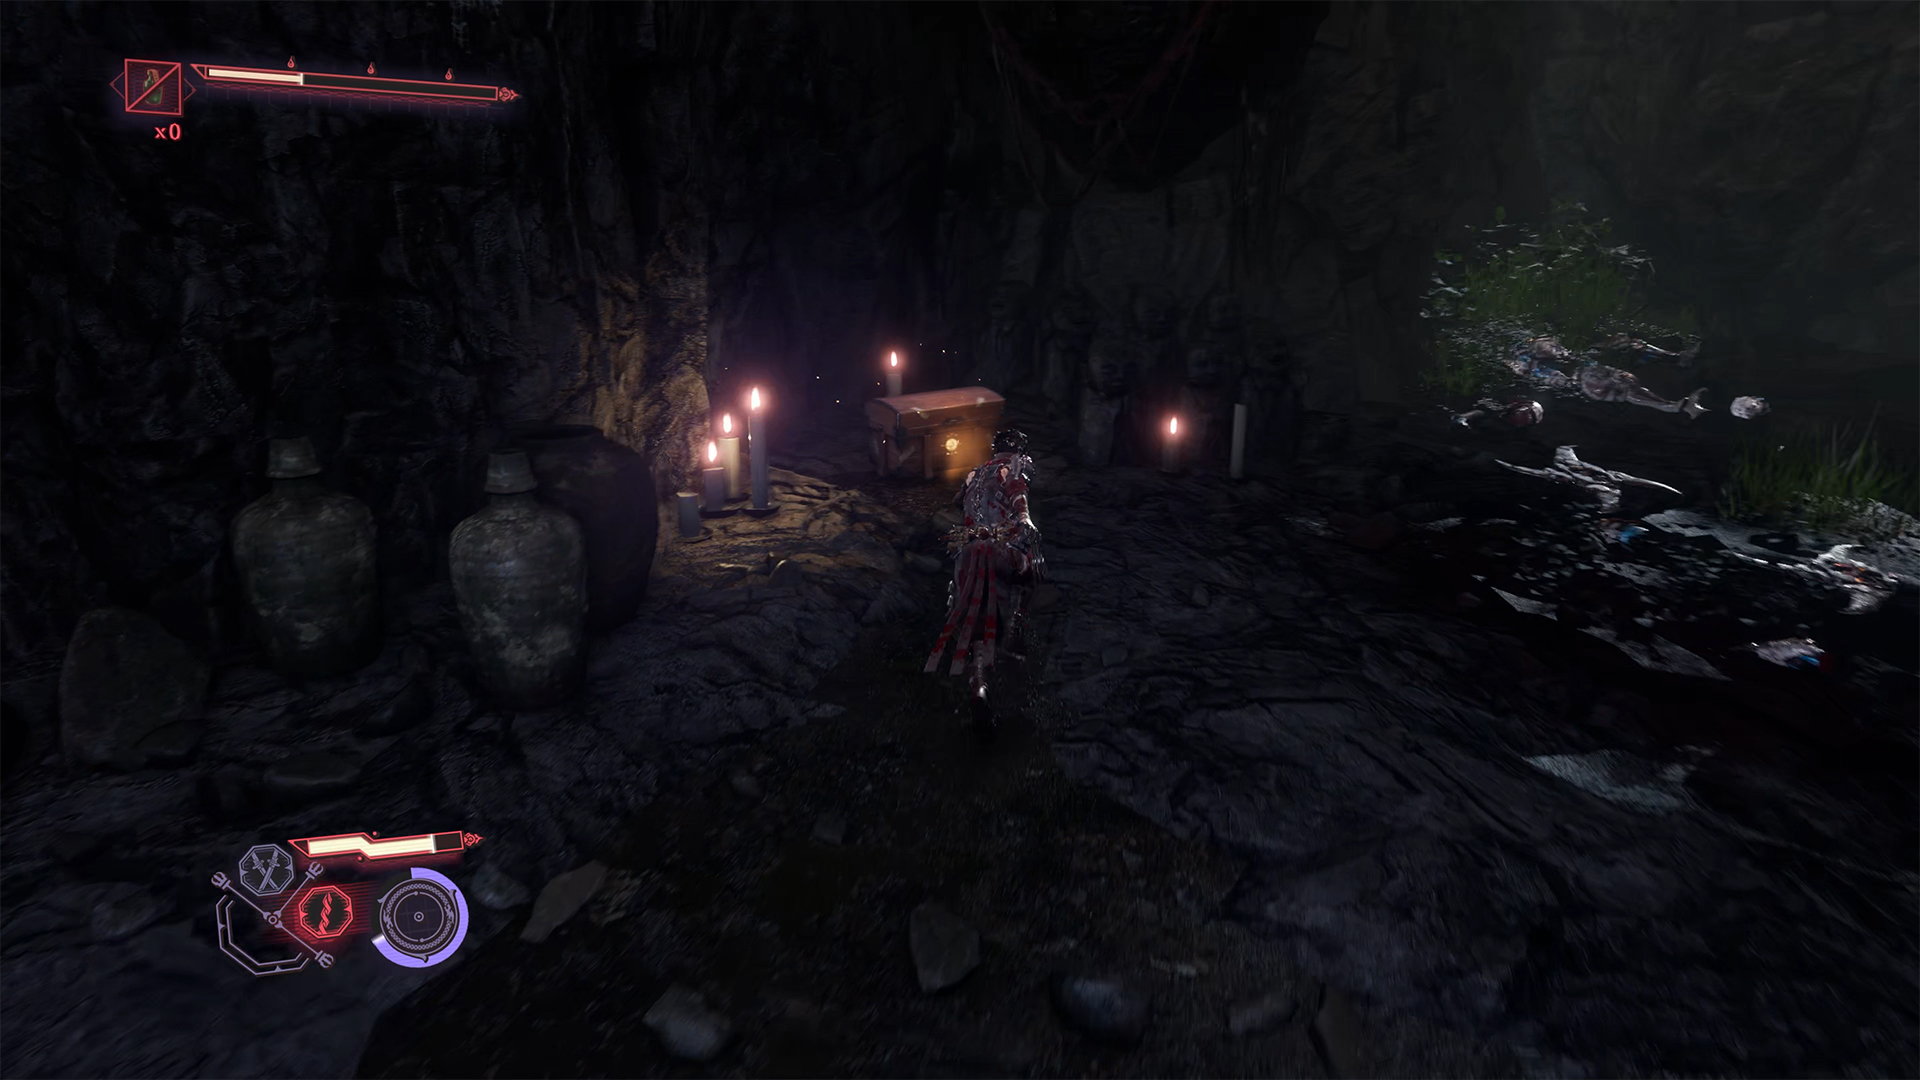
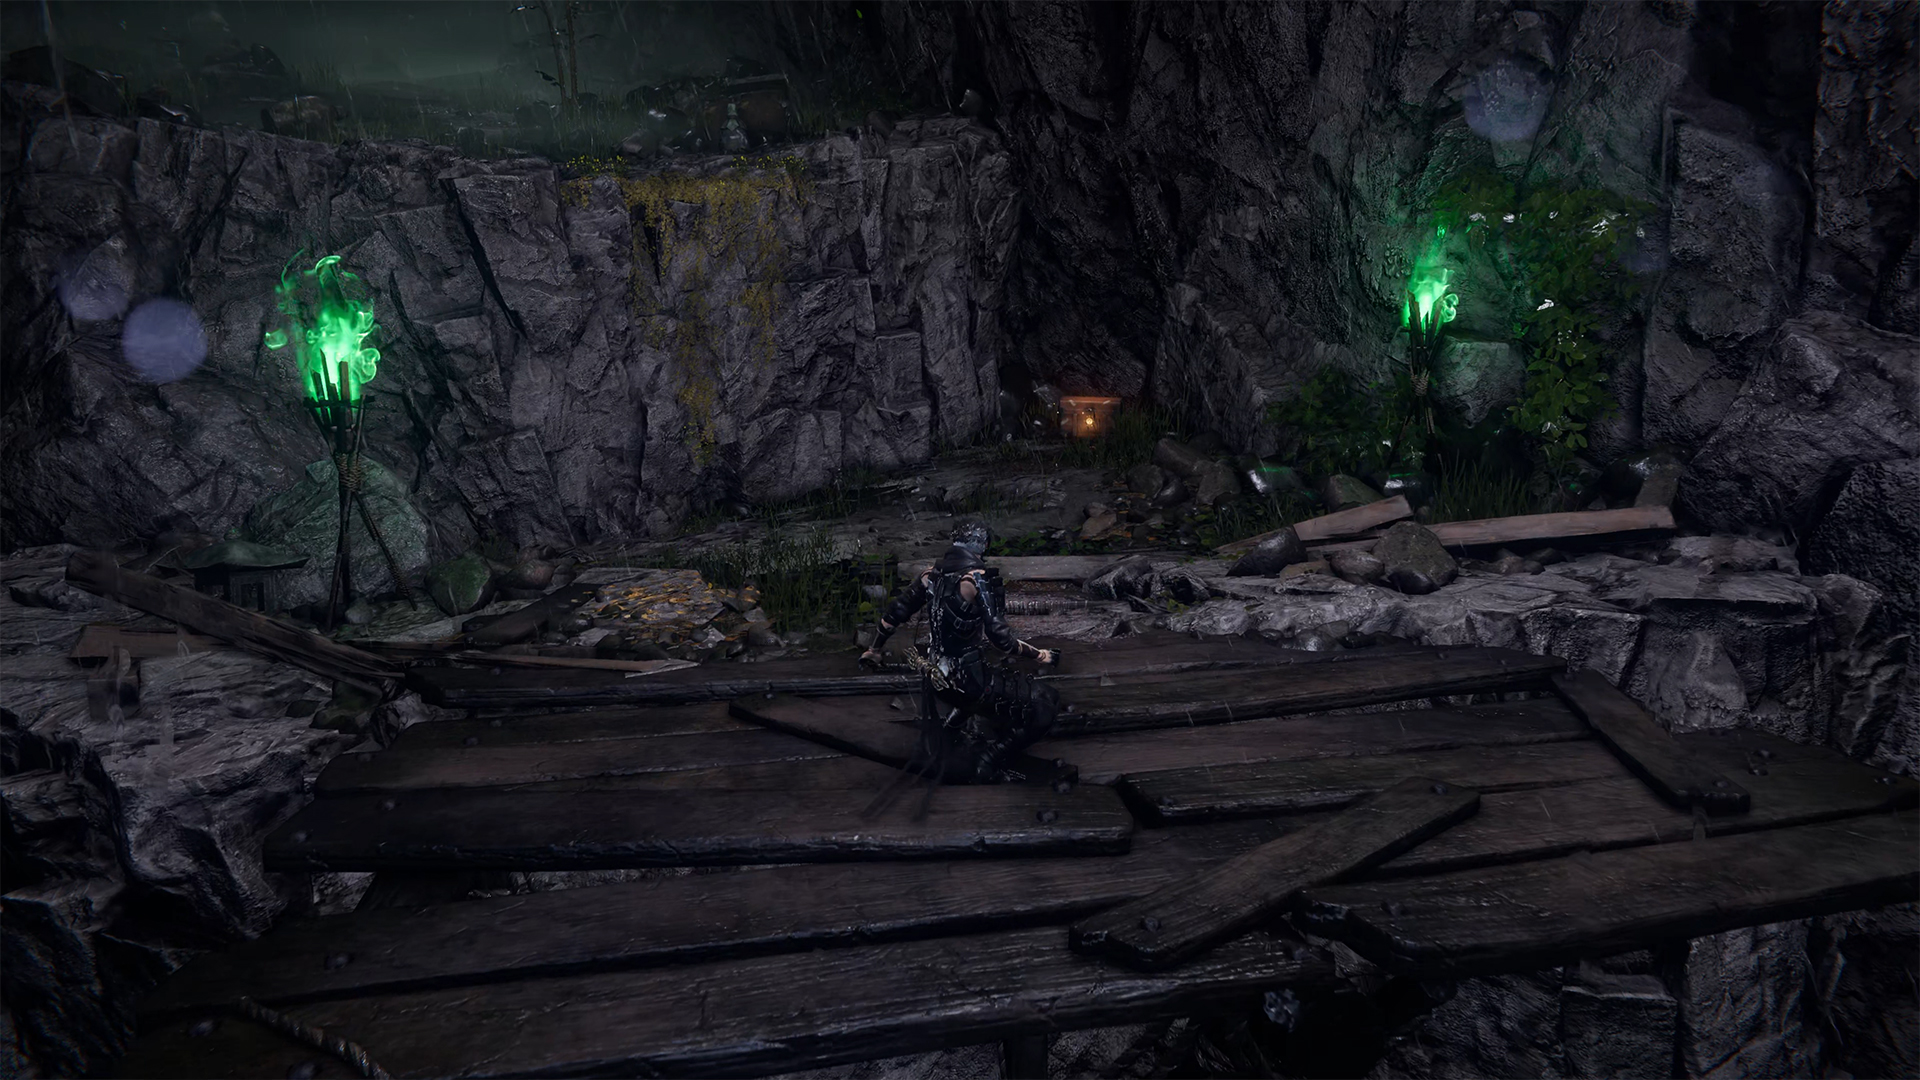
Black Scale (Chest #3)
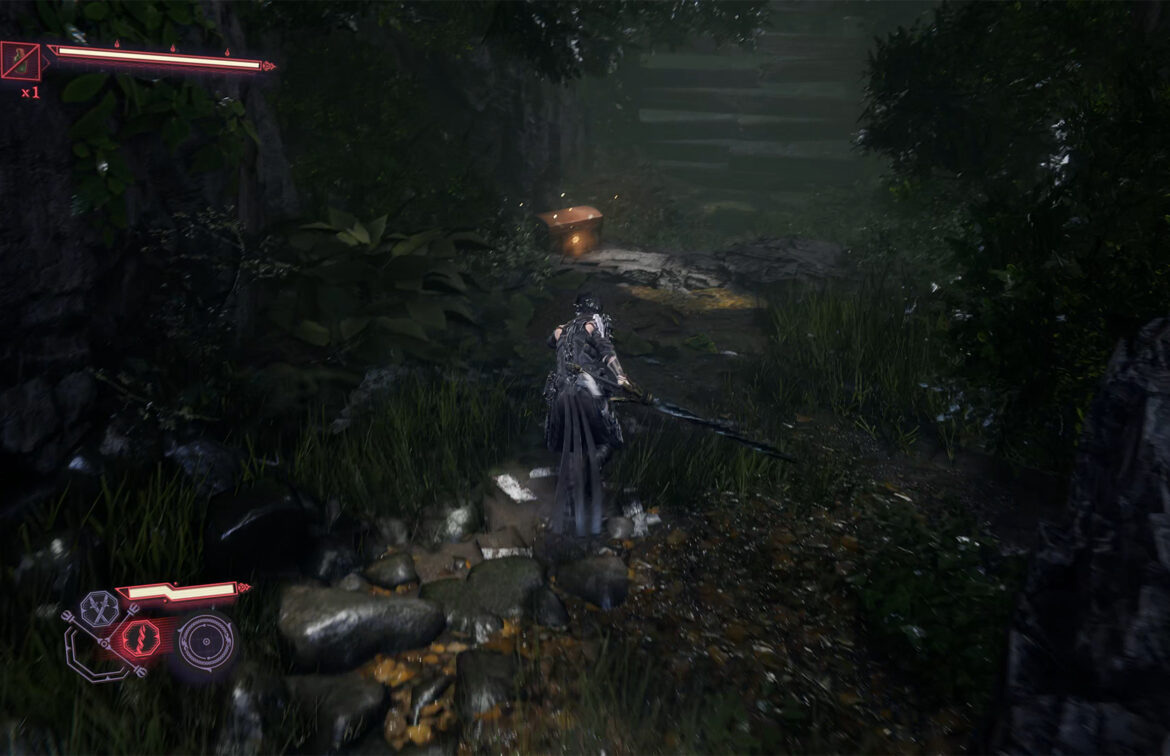
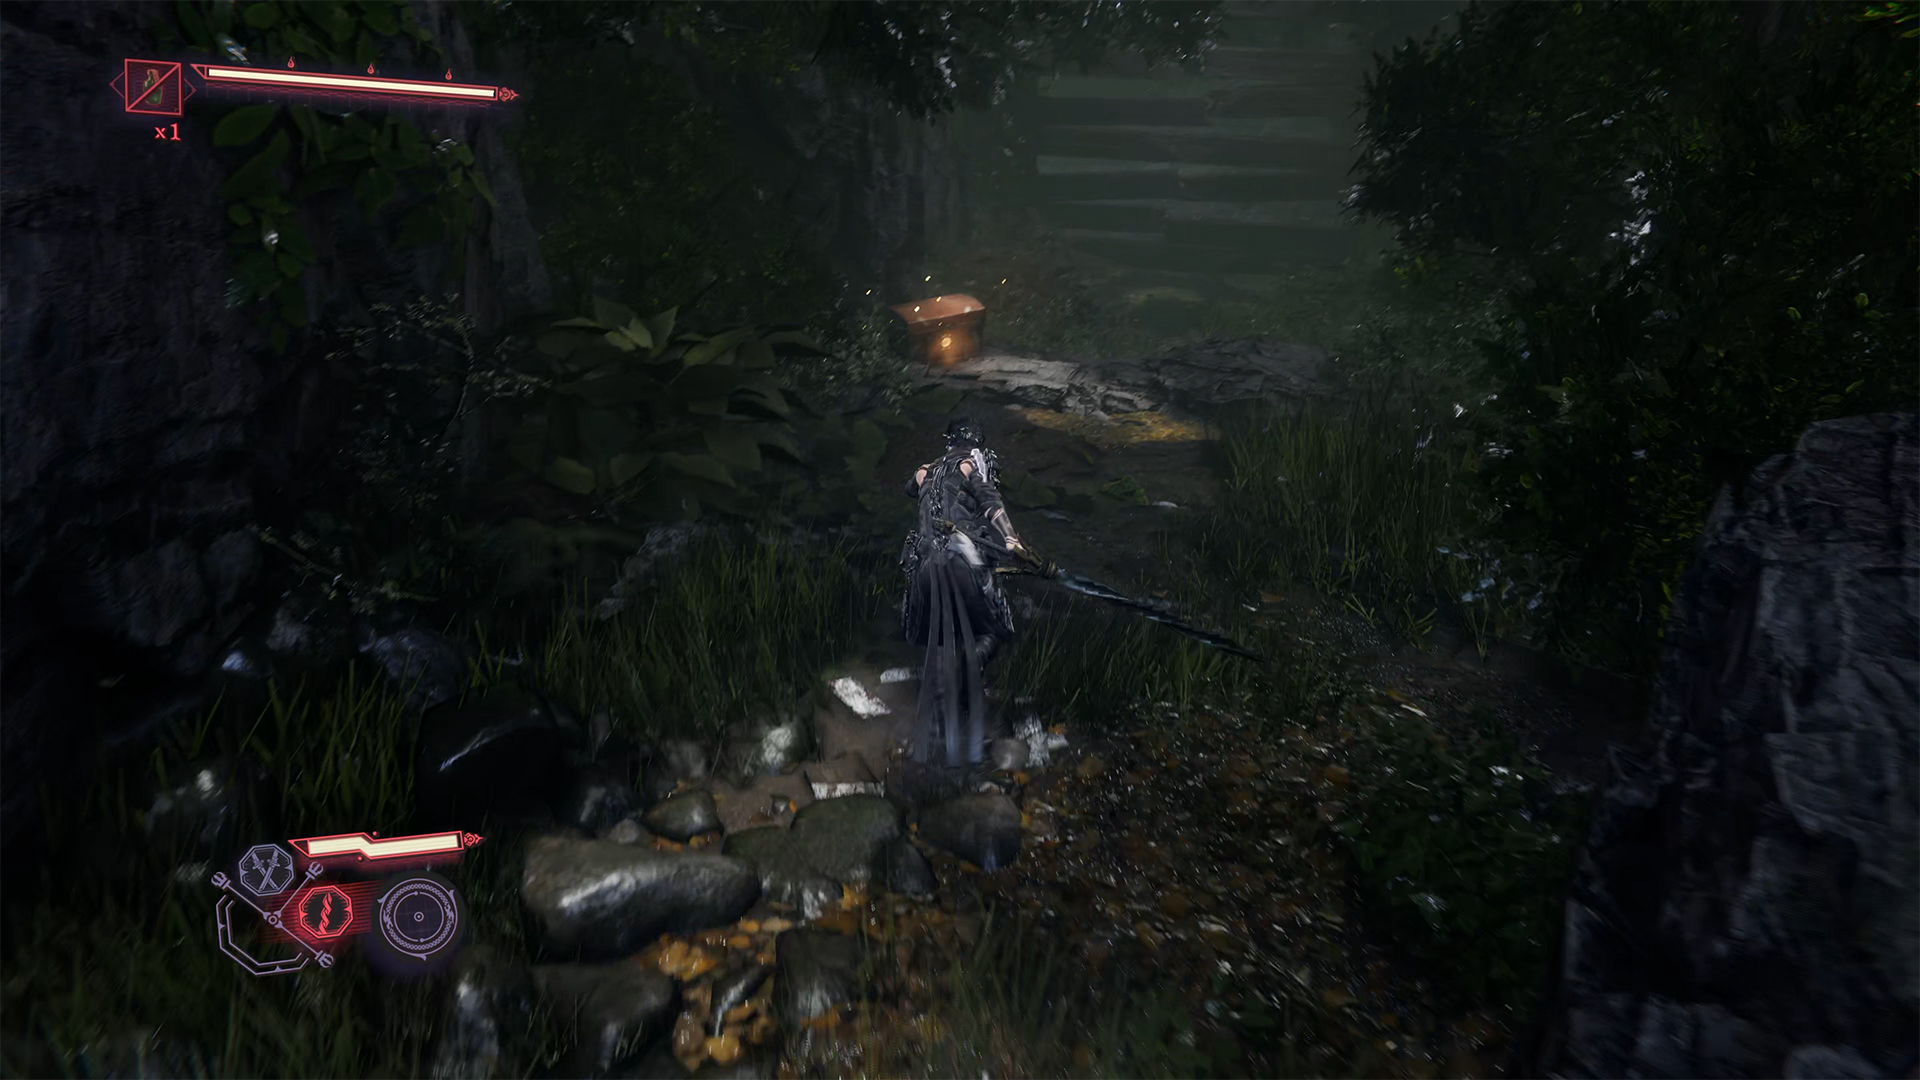
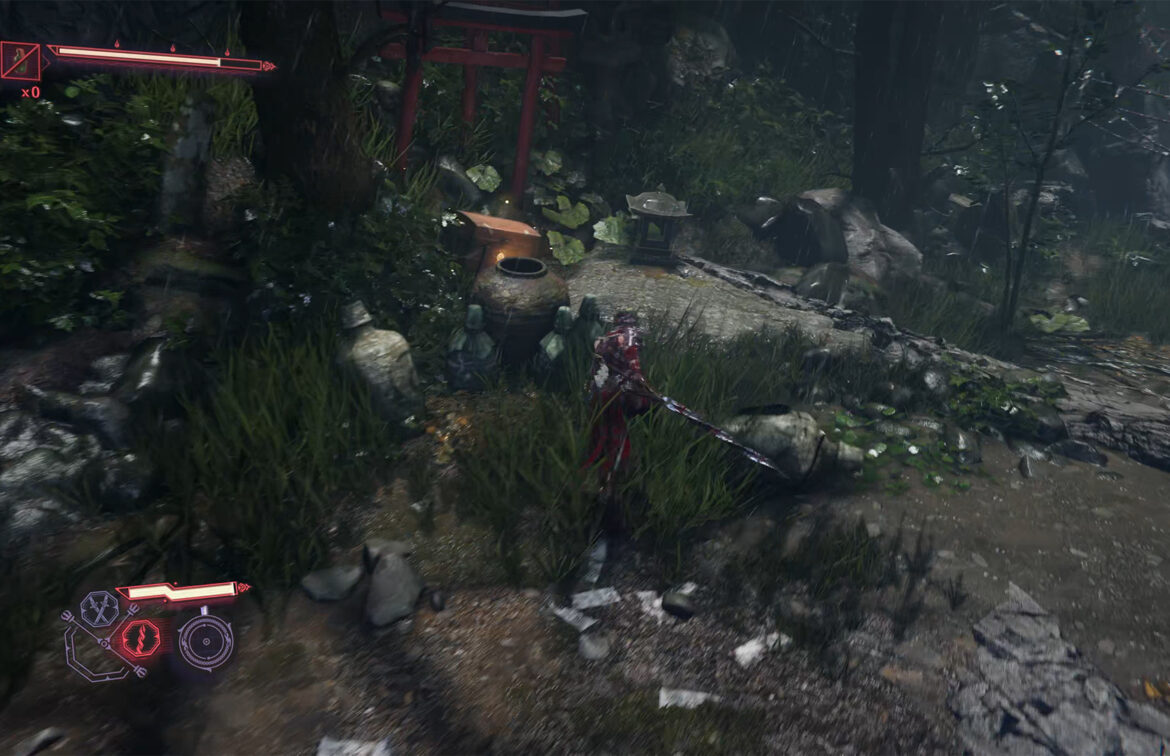
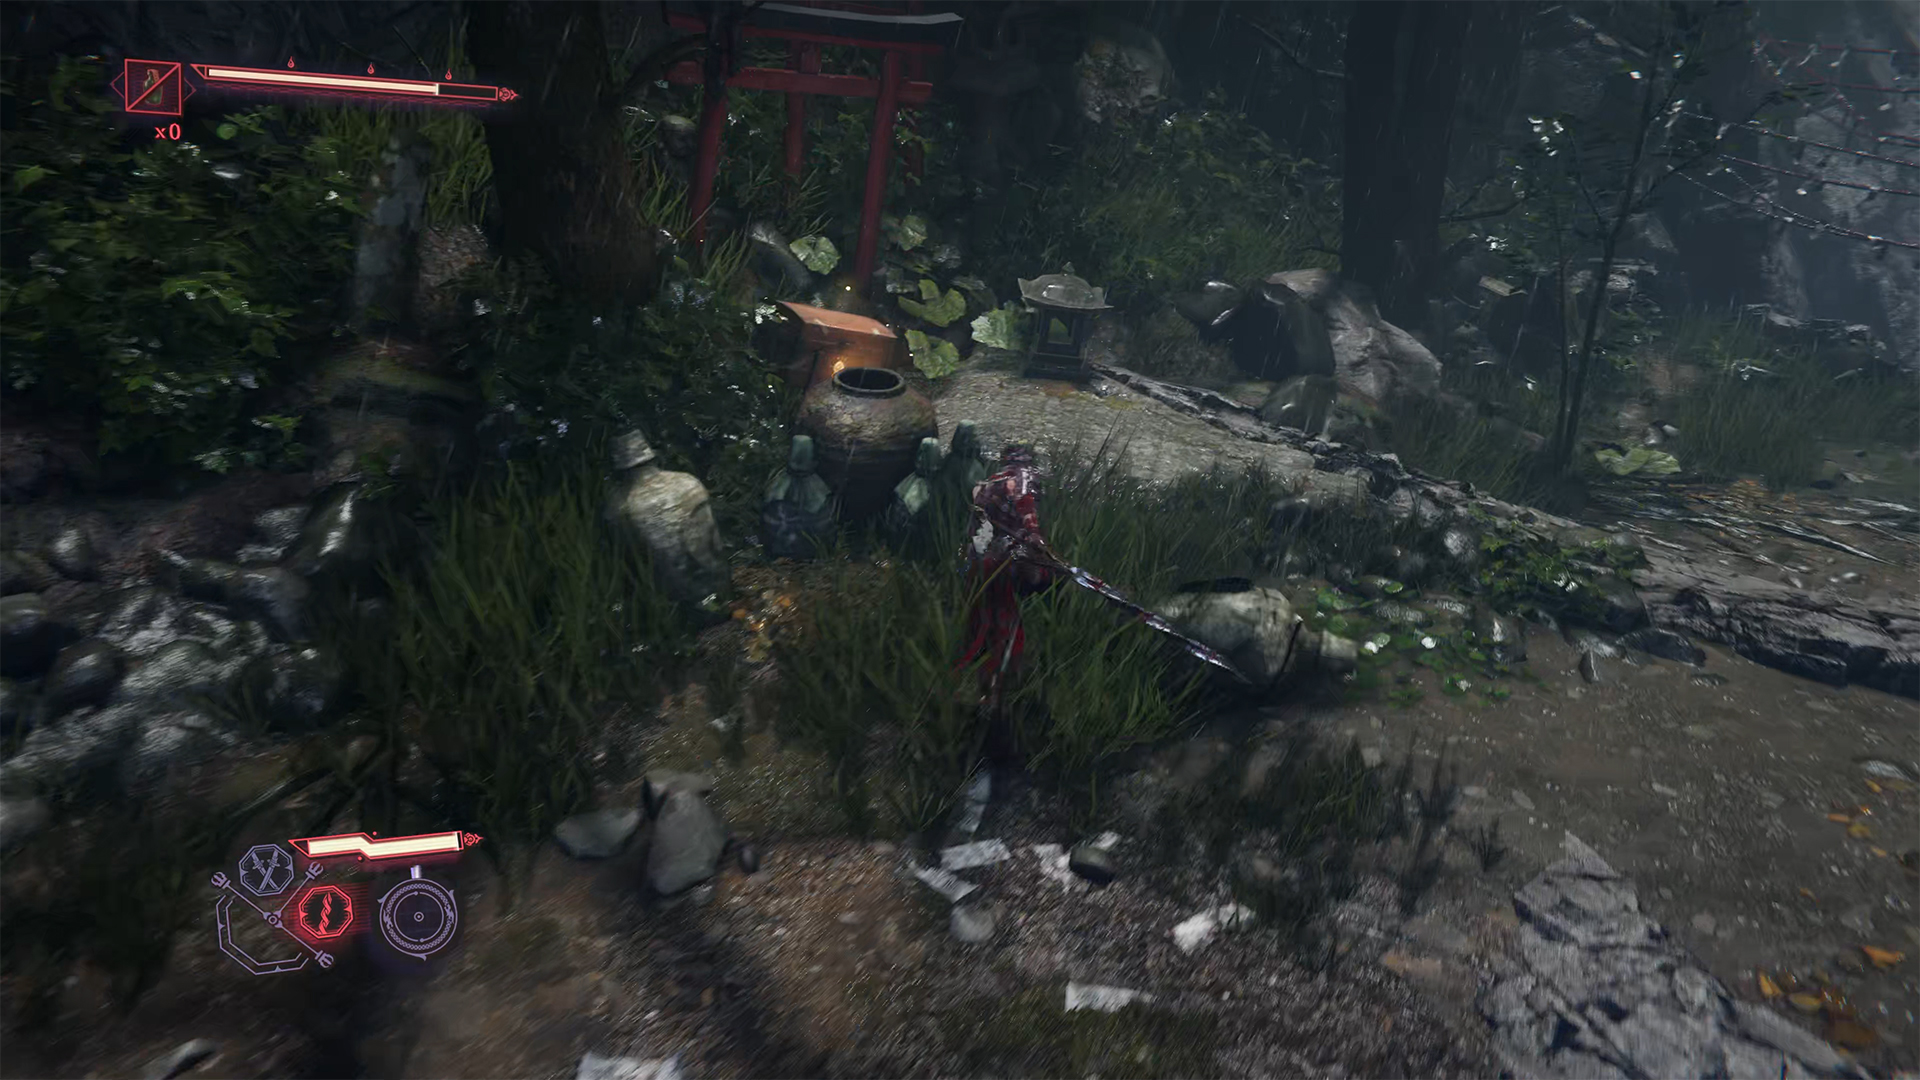
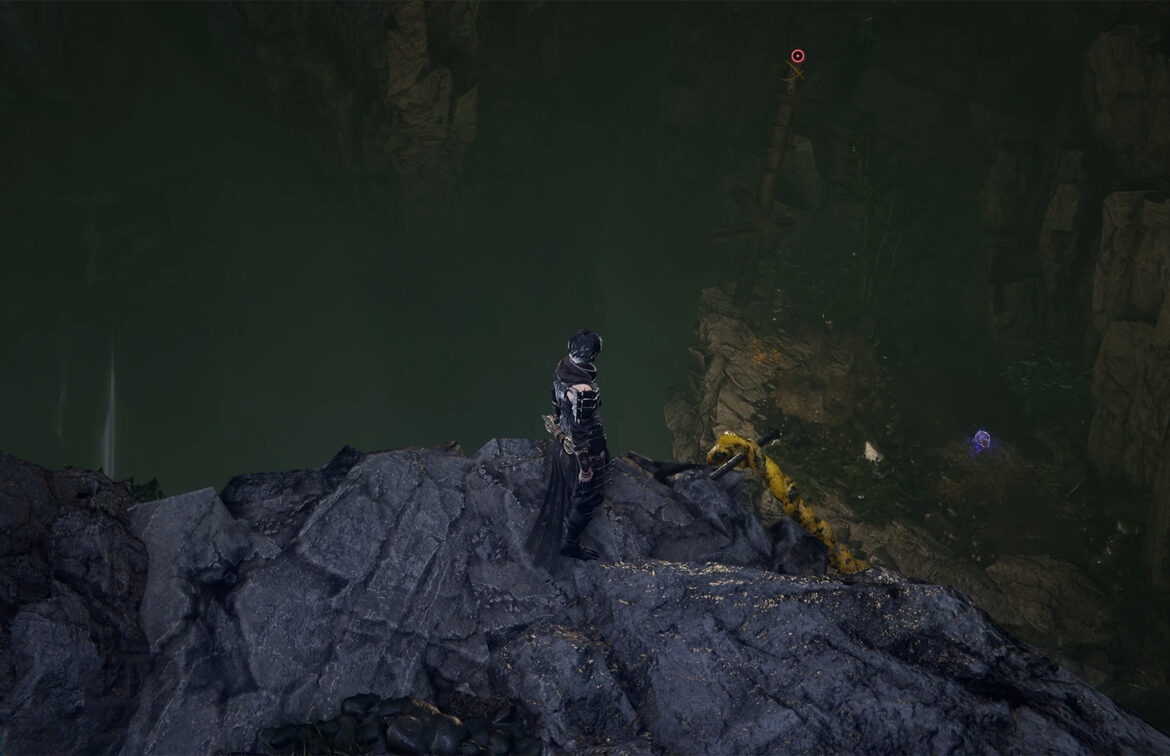
There are quite a few enemies here. You can either assassinate them one by one without being noticed, or engage in open combat and defeat them all. It’s up to you. But after your victory, be sure to go to the right. Here you need to climb up the elevation, and you will see a chest in front of you. Open it and you will receive a Black Scale. This is a very important item, so don’t miss it.
-

- The path to the chest with Black Scale
-
- Chest #3 in Pilgrim’s Windswept Path
Chests #4 – 8
Continue moving forward. After a series of jumps, you will find yourself in this location. There are two soldiers walking below. From above, you can quietly assassinate the first one, and then sneak up on the second one in the same way. Once both soldiers have been neutralized, you can open the nearby chest to obtain Crimson Blood Pellets.
Next, a fairly large location will open up before you. Here you will encounter Tengus for the first time. These are the creatures you saw in the cut scene at the beginning of the chapter. Now you have to fight them. They are not too difficult. The only caveat is that Tengus are in the air and you have to bring them down to fight. The easiest way is to throw a kunai at them several times and then continue the fight on the ground. You can just wait, and after a few attacks, they will come down to you. After the fight, find one chest with Rejuvenation Elixir, then turn around and find a second chest with Divine Life Elixir on the elevation to the left. After that, go forward, but turn left before the arch. At the bottom, after passing along the side wall, you will again engage in battle with two Tengus, and then you will be able to open the chest to get Incense of Rebirth.
Moving forward, you will see one of your opponents crawling away from a new creature you have not seen before. This is the Armored Sickle. The main difficulty in fighting this opponent is that it blocks all frontal attacks, and you need to find a special moment to neutralize it. After the victory, a little ahead on the left, you will see a chest with Kongou Iron Brew.
-
- Assassinate the enemy in this location
-
- Chest #4 in Pilgrim’s Windswept Path

-
- Chest #5 in Pilgrim’s Windswept Path
-
- Chest #6 in Pilgrim’s Windswept Path

-
- Chest #7 in Pilgrim’s Windswept Path

-
- Chest #8 in Pilgrim’s Windswept Path
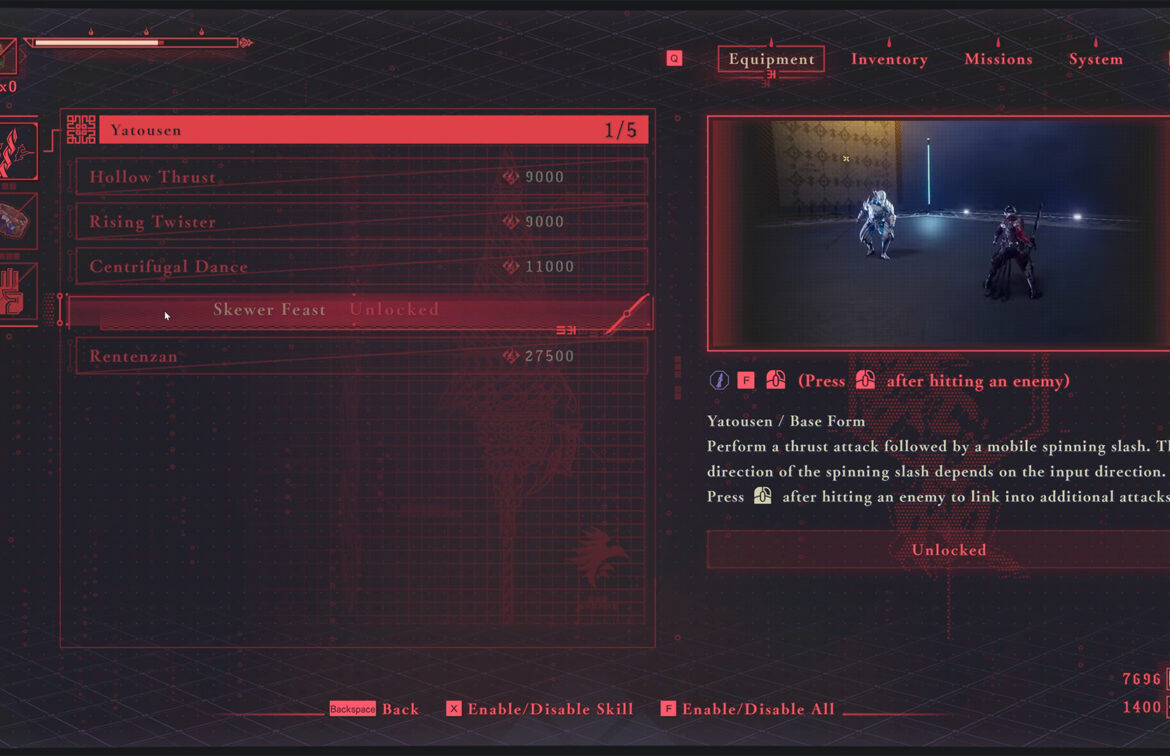
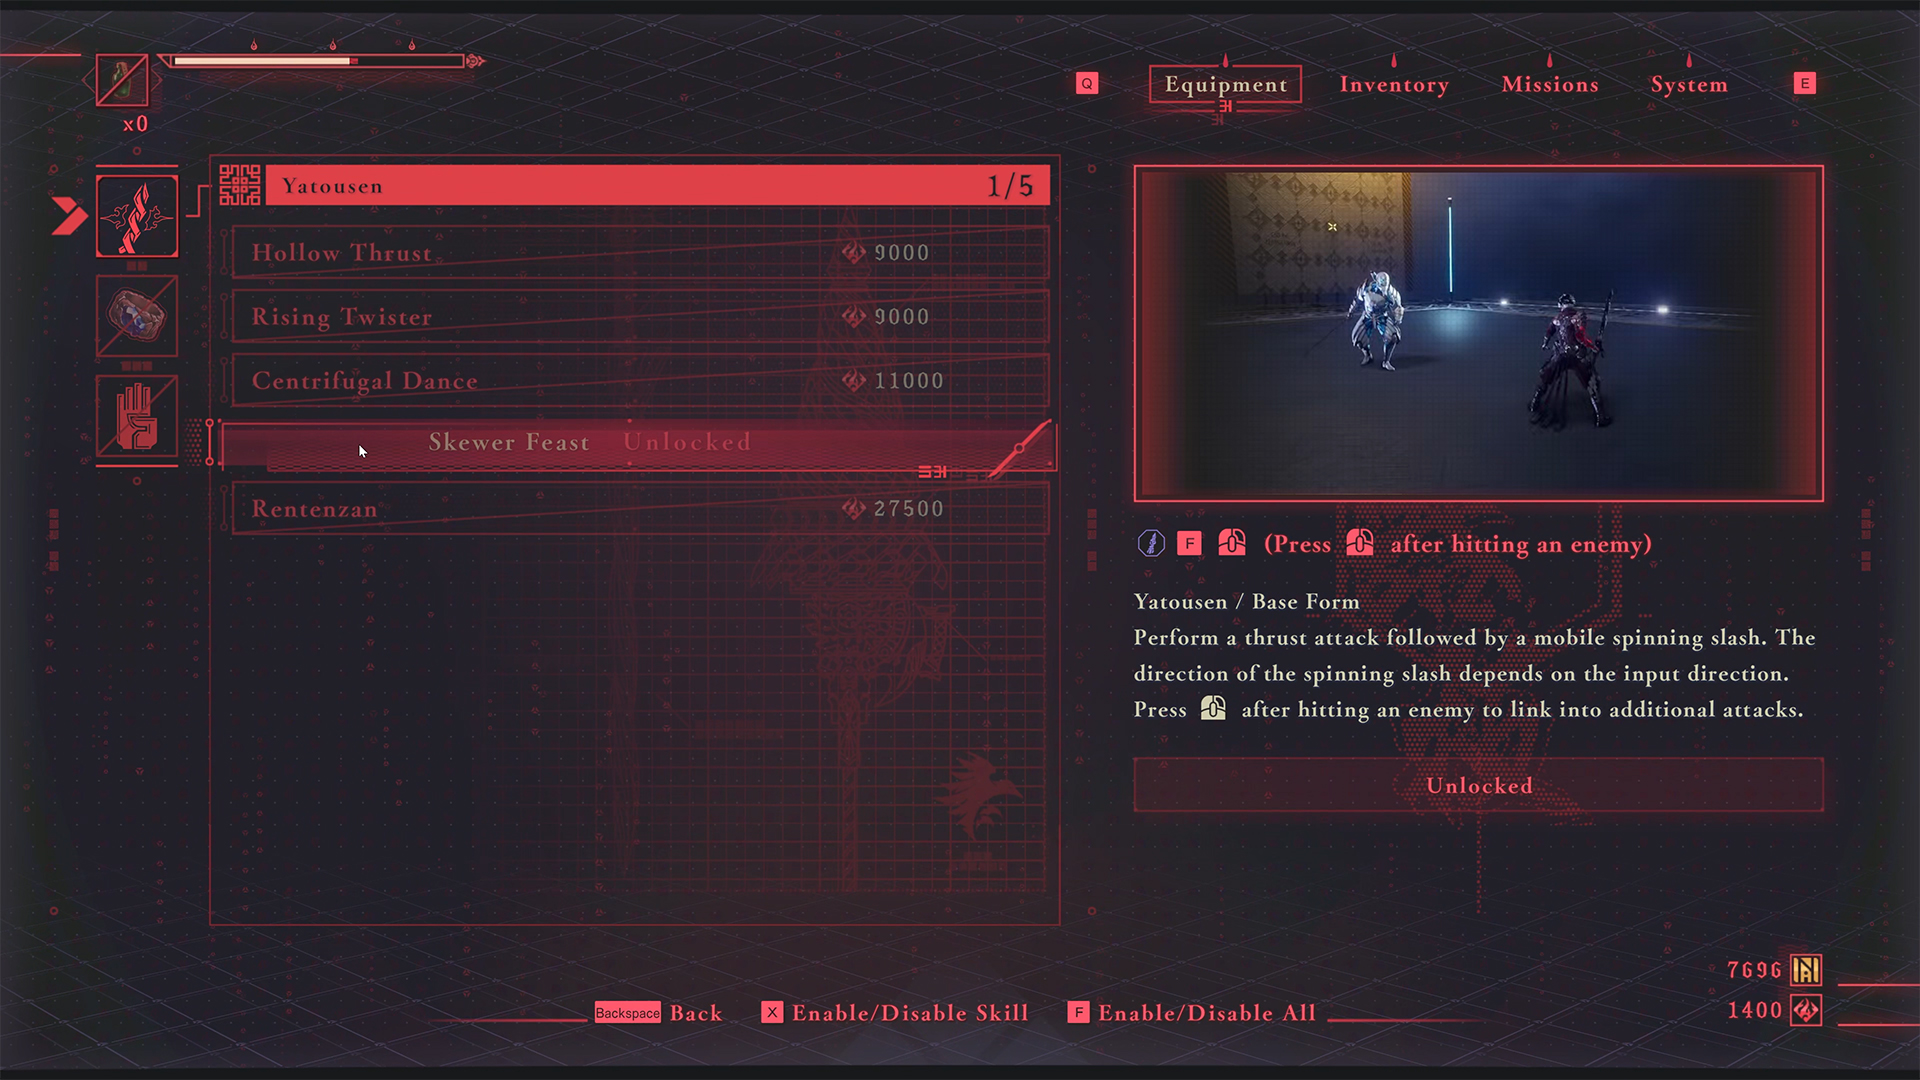
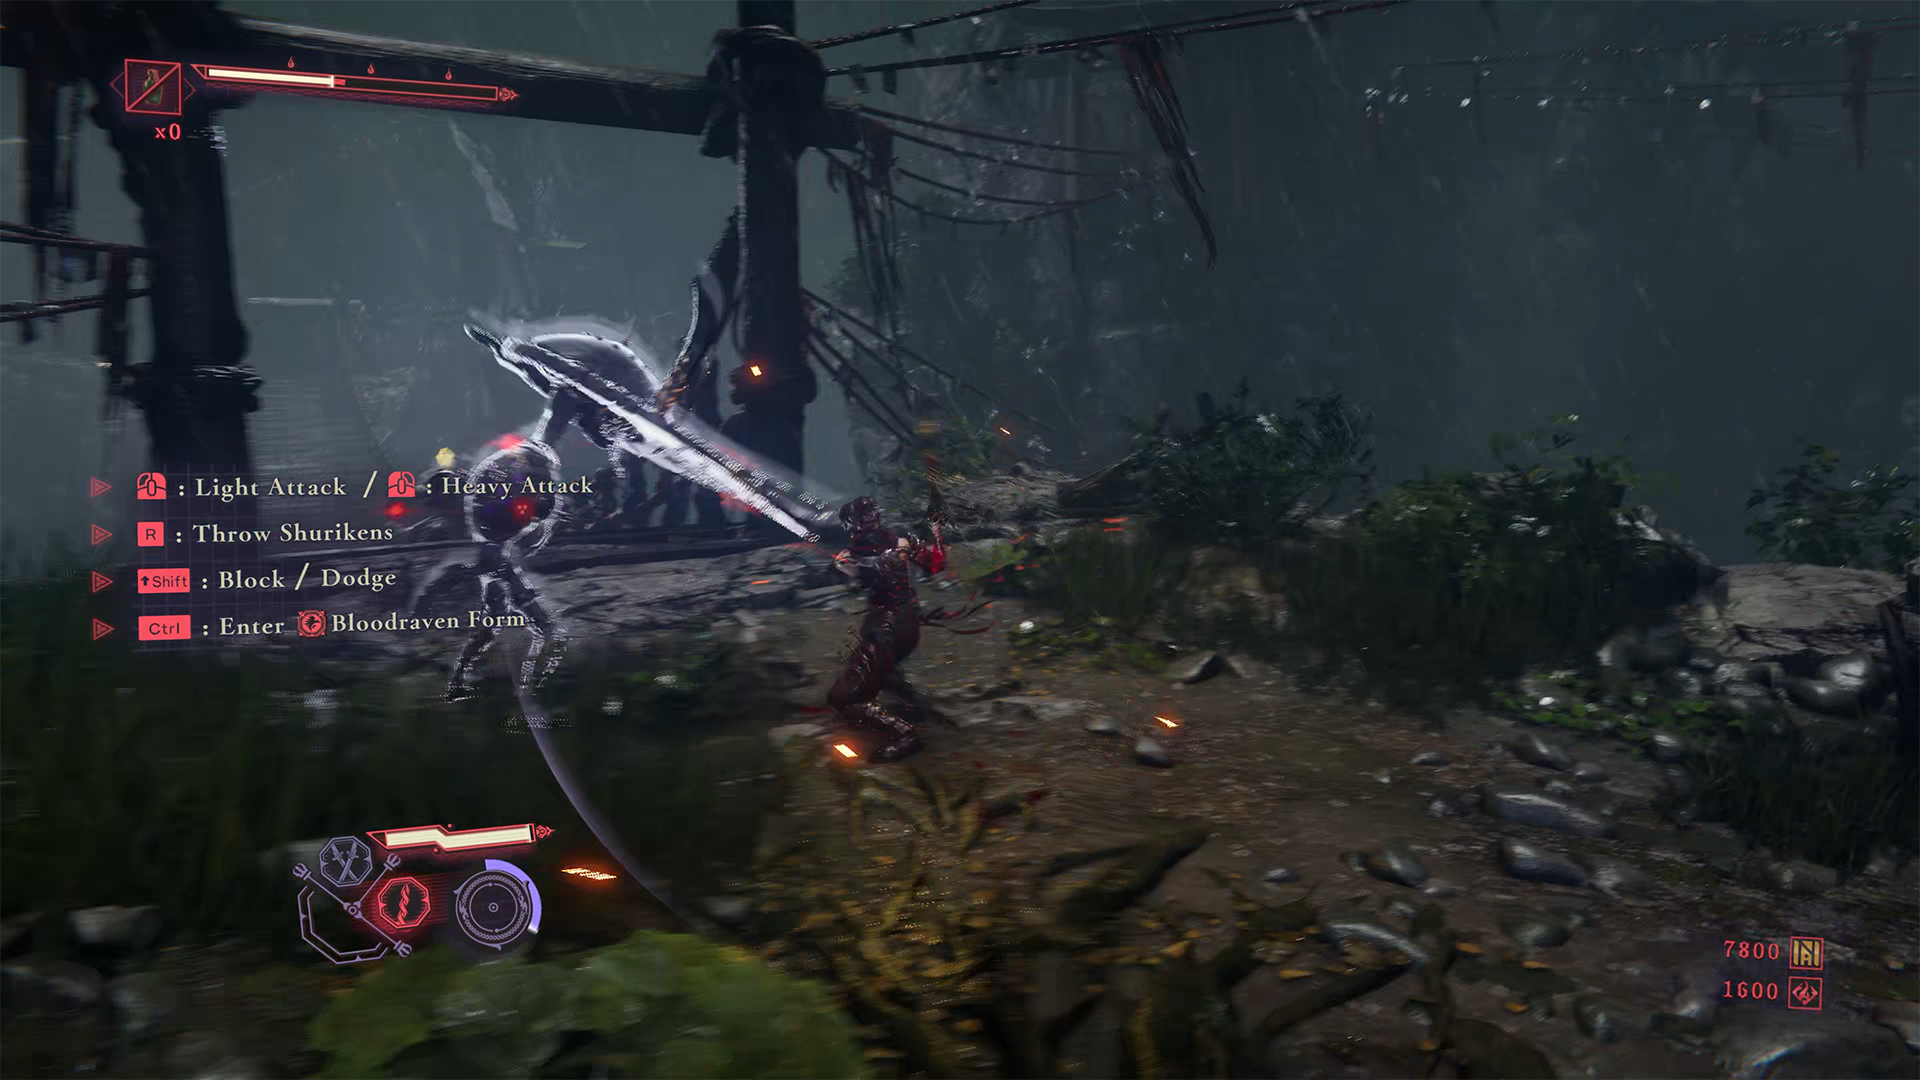
Skewer Feast for Armored Sickles
Next, on the suspension bridge, you will encounter Armored Sickles again. To easily defeat these enemies, you should learn the Skewer Feast skill for Yatousen. Using this skill, you will quickly move away from the enemy. Armored Sickle will not be able to react to your movements, and you will be able to easily attack it from the side or from behind with normal attacks that it cannot block.
-
- Skewer Feast for Armored Sickles
-
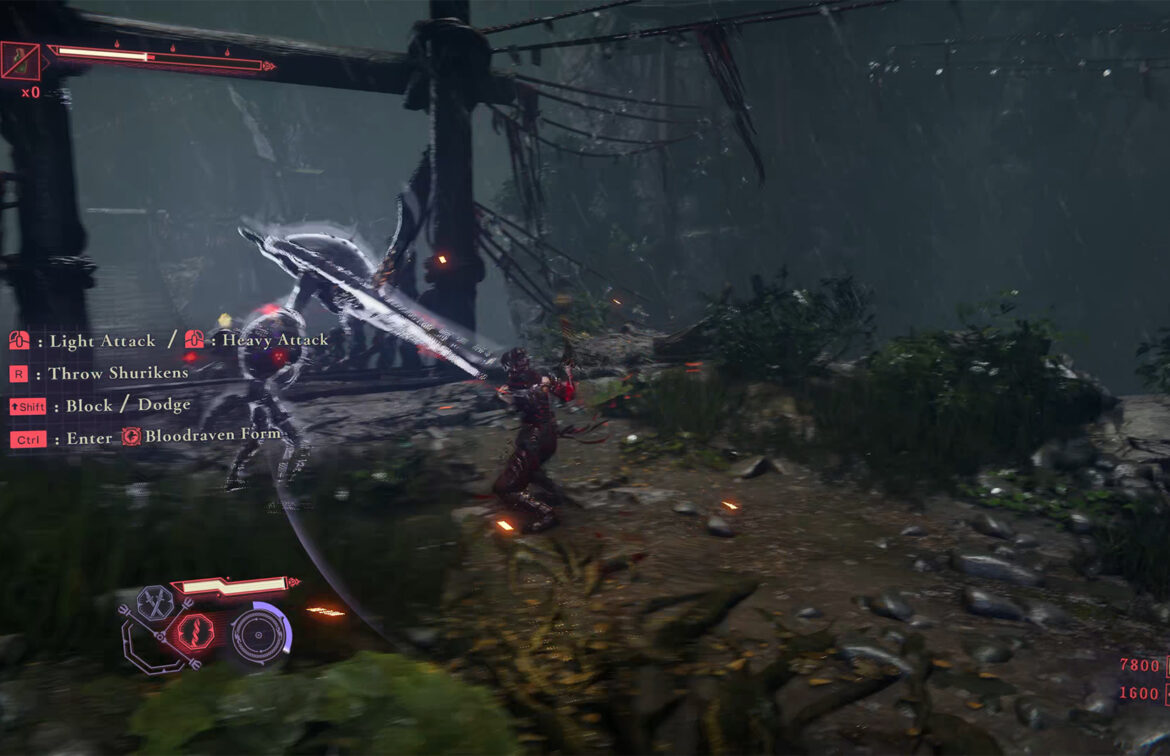
- Fight with Armored Sickles
Chest #9
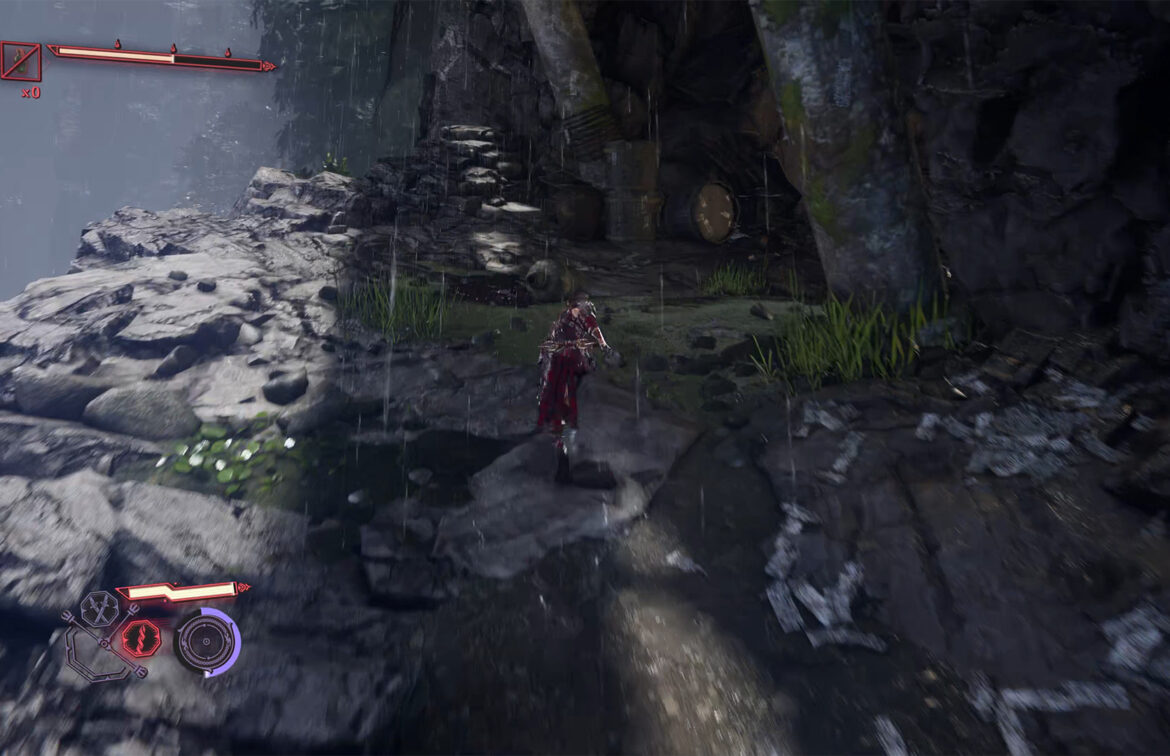
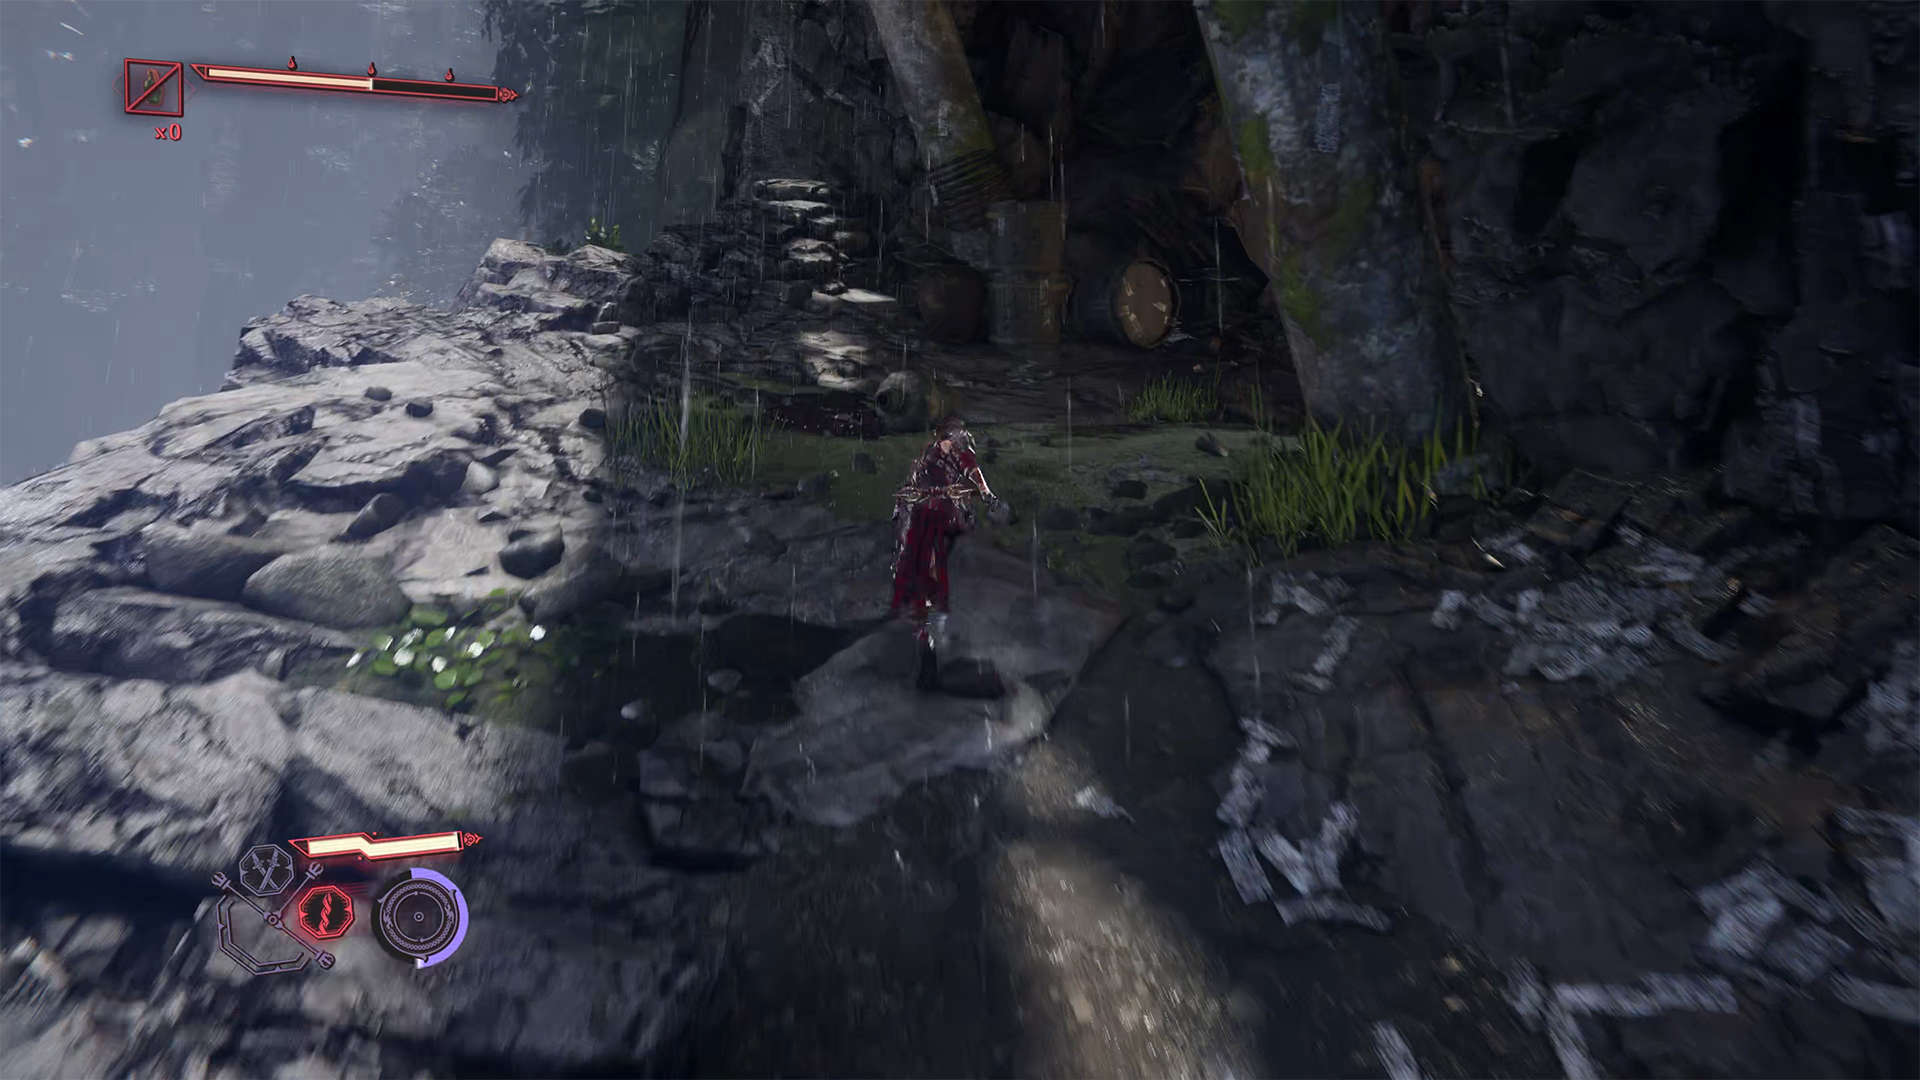
After this battle, cross the bridge to the other side and enter the cave. There you will encounter enemies again. But I am sure they will not stop you. A little further to the left, you will see a chest. Open it to get the Life Elixir.
-
- Entrance to the cave
-
- Chest #9 in Pilgrim’s Windswept Path
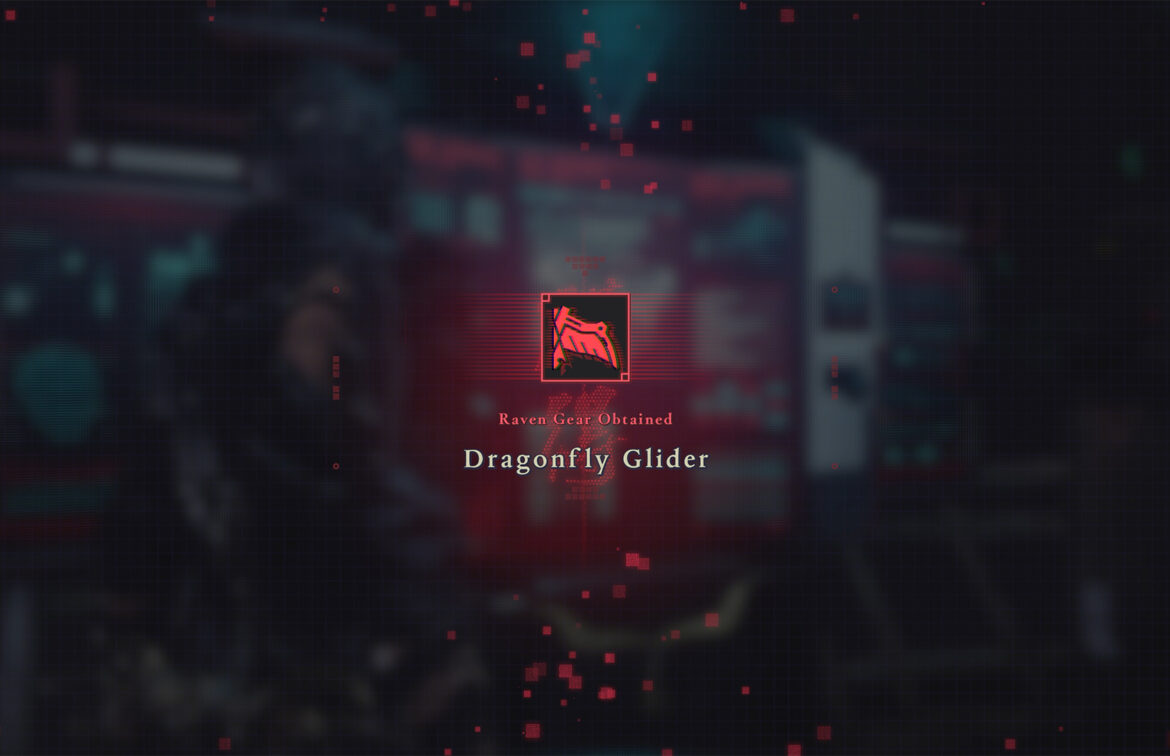
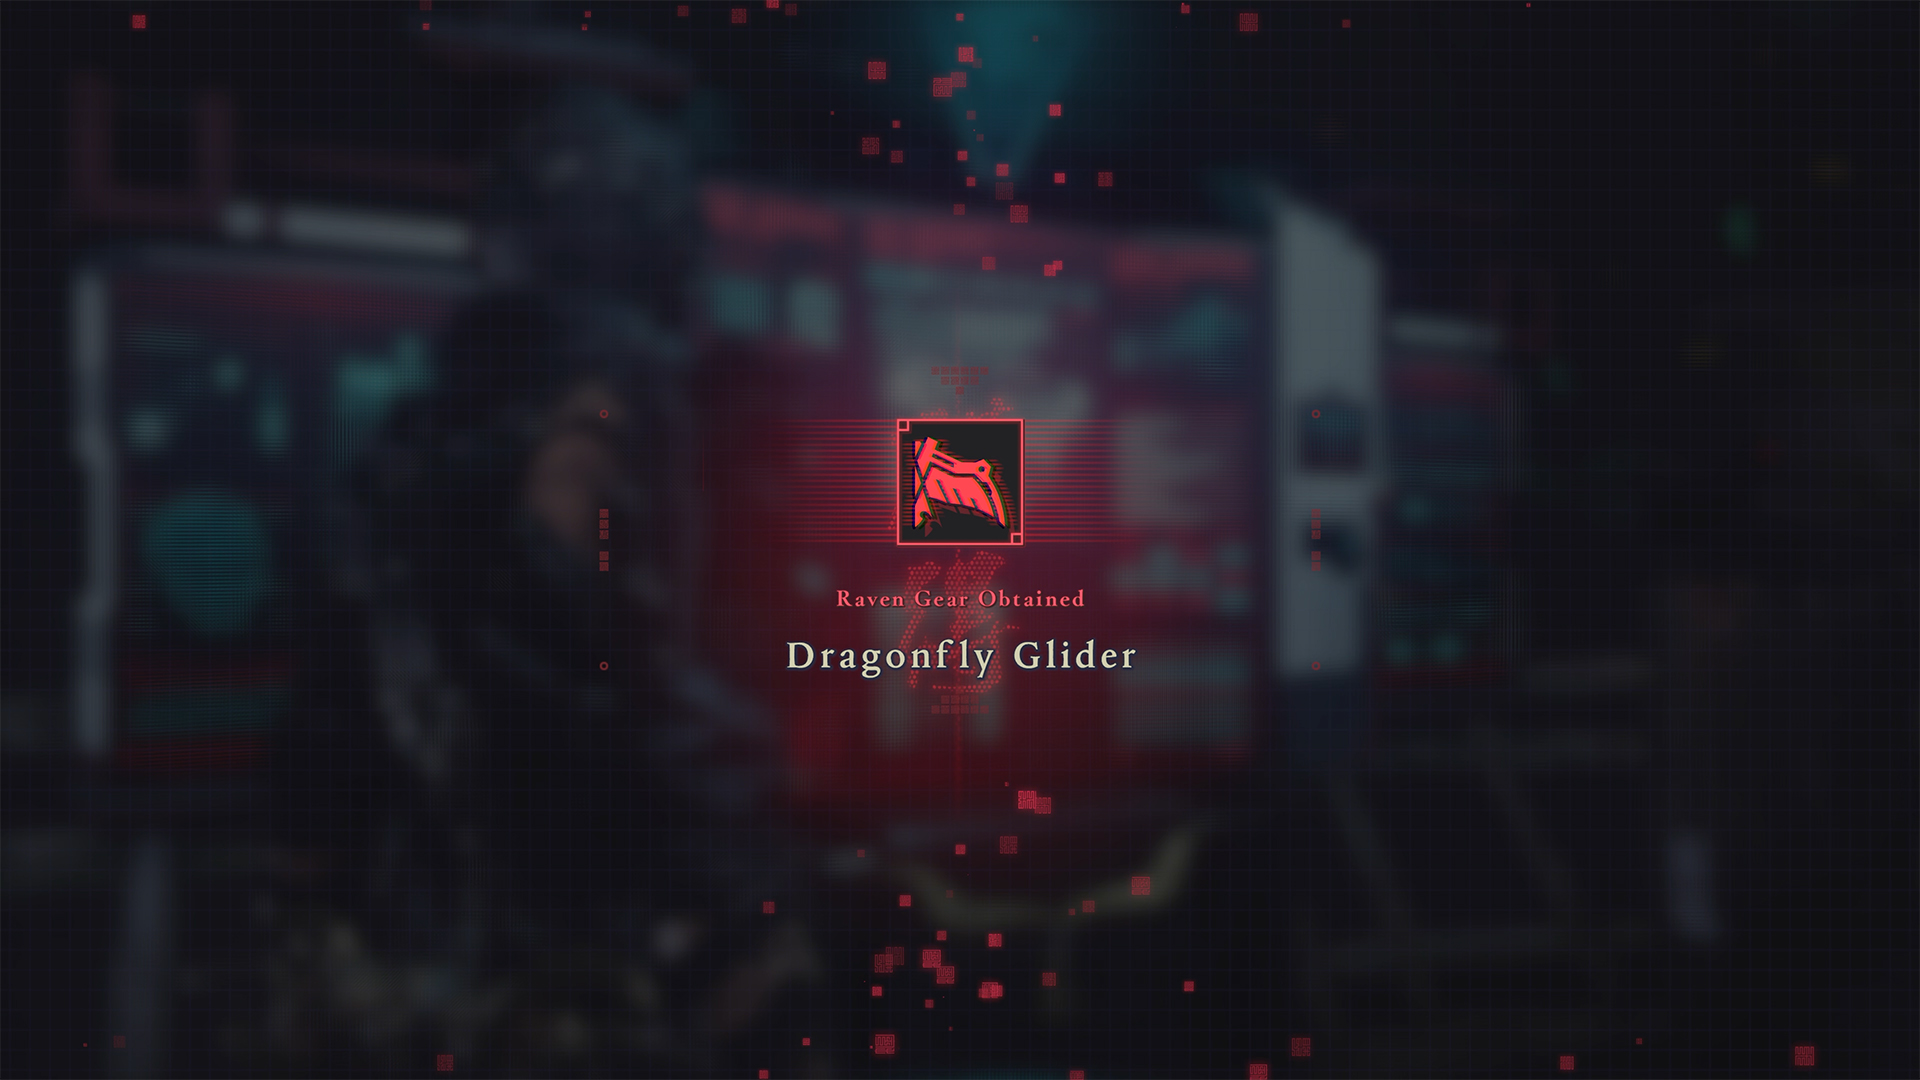
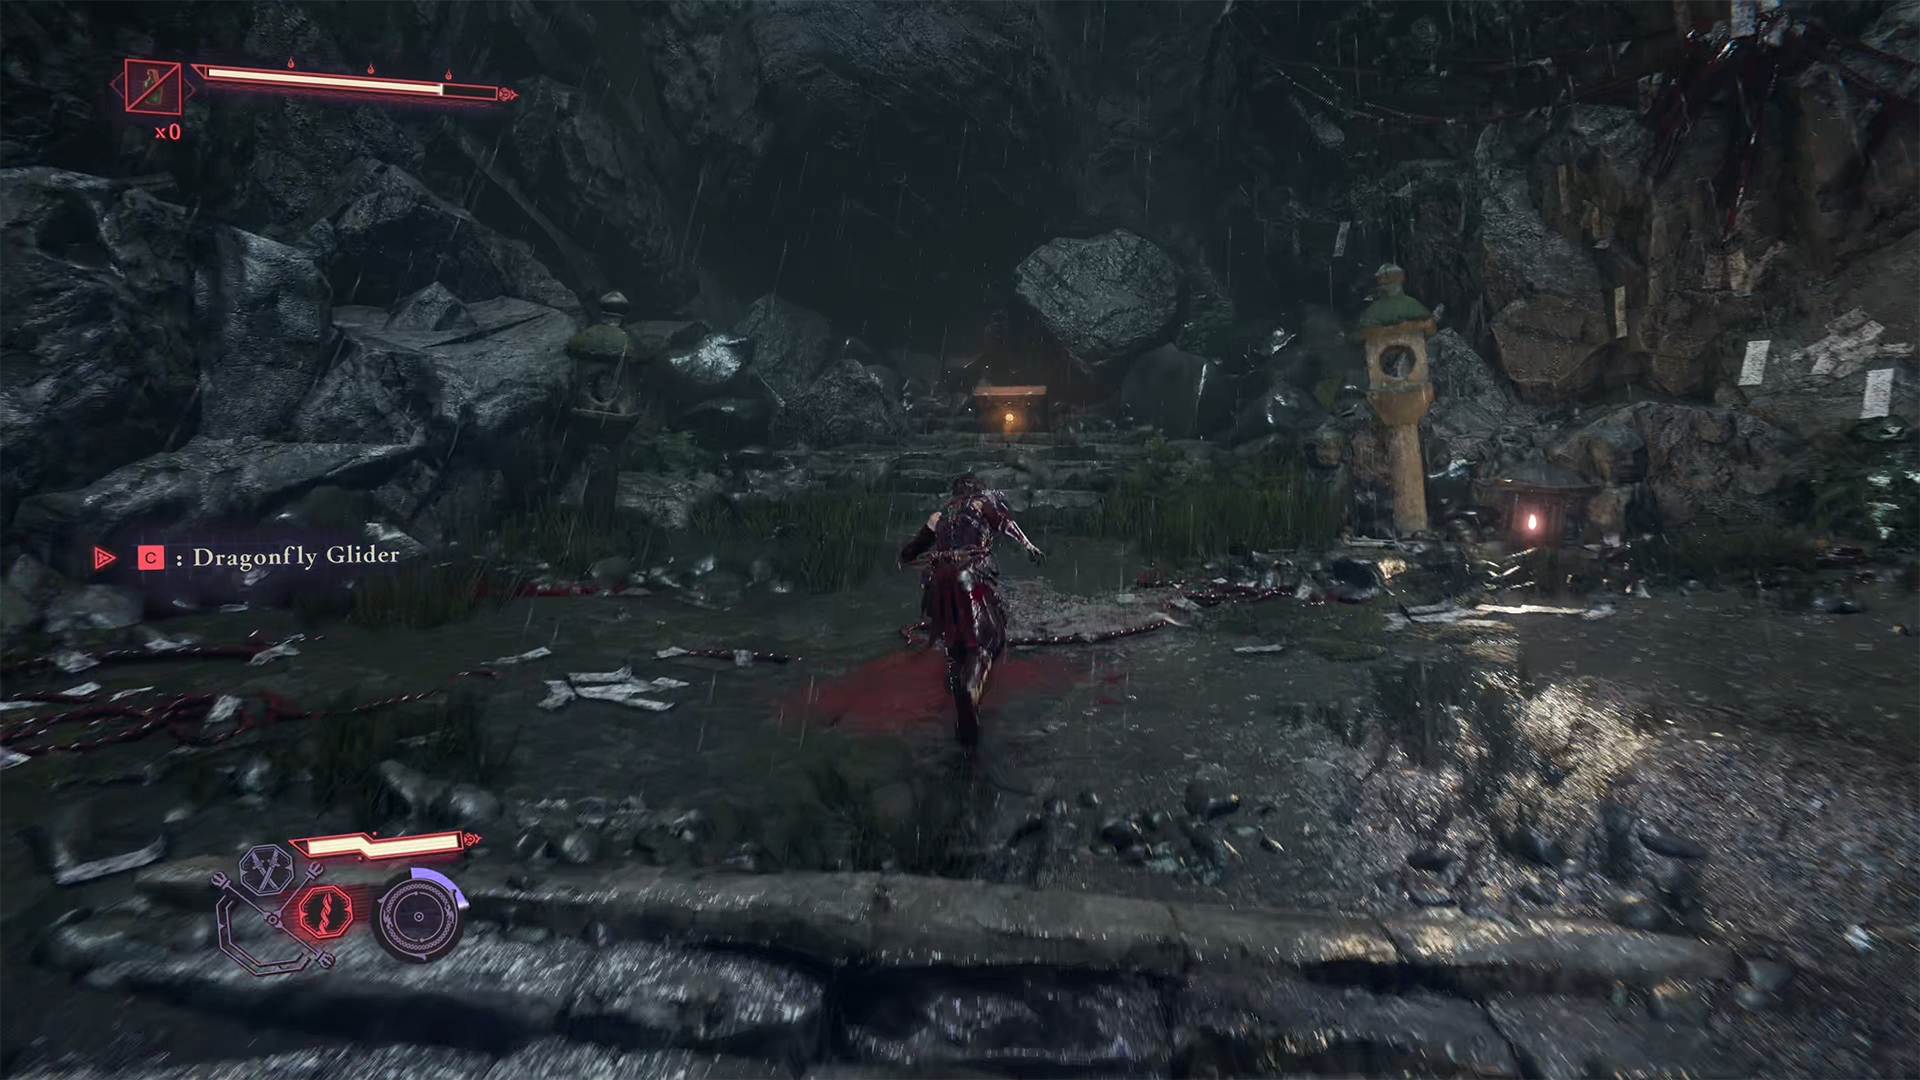
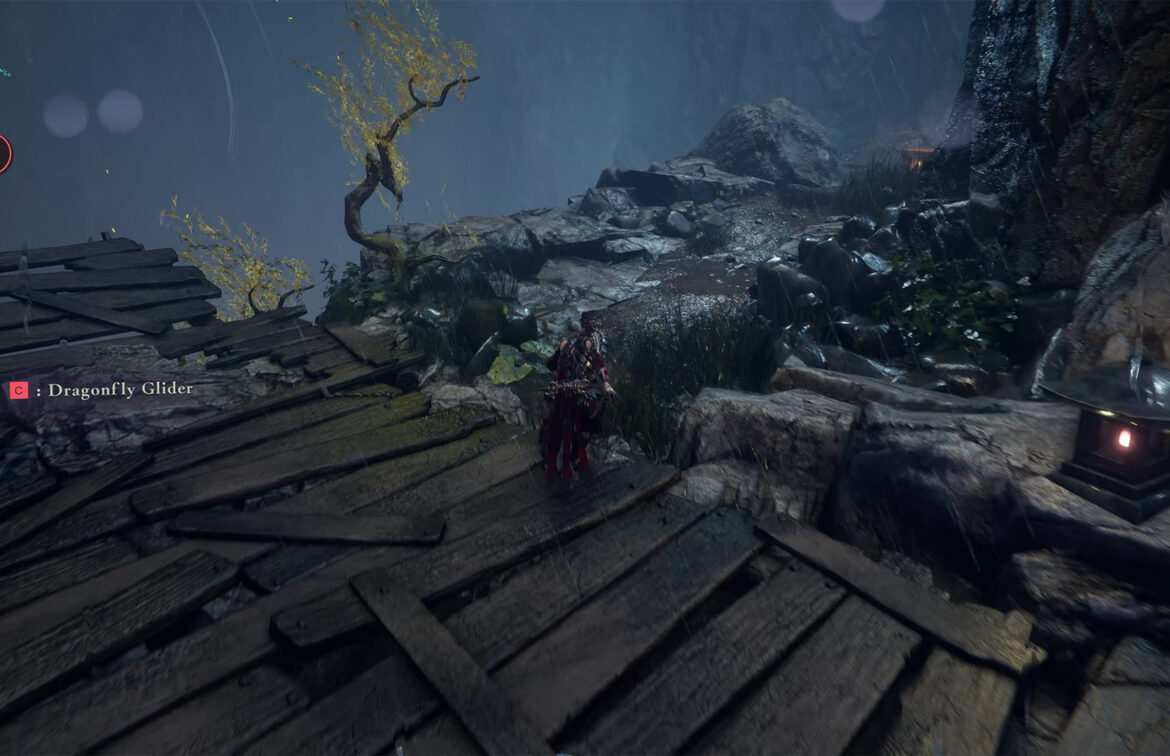
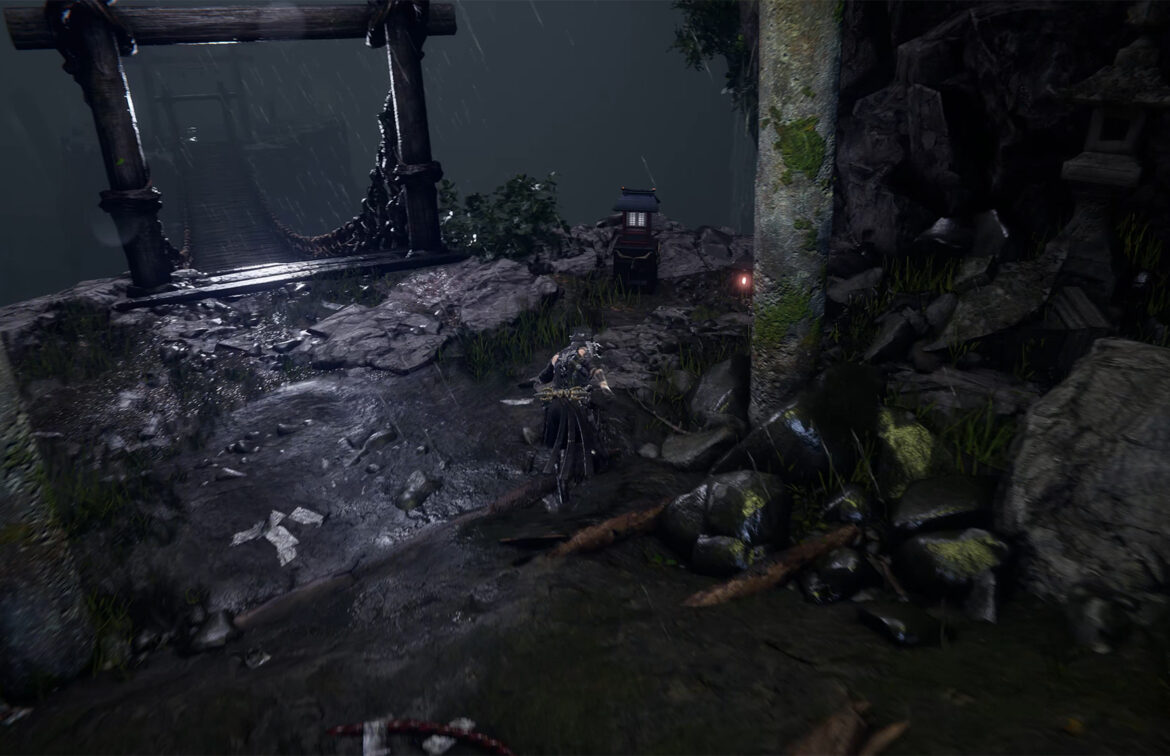
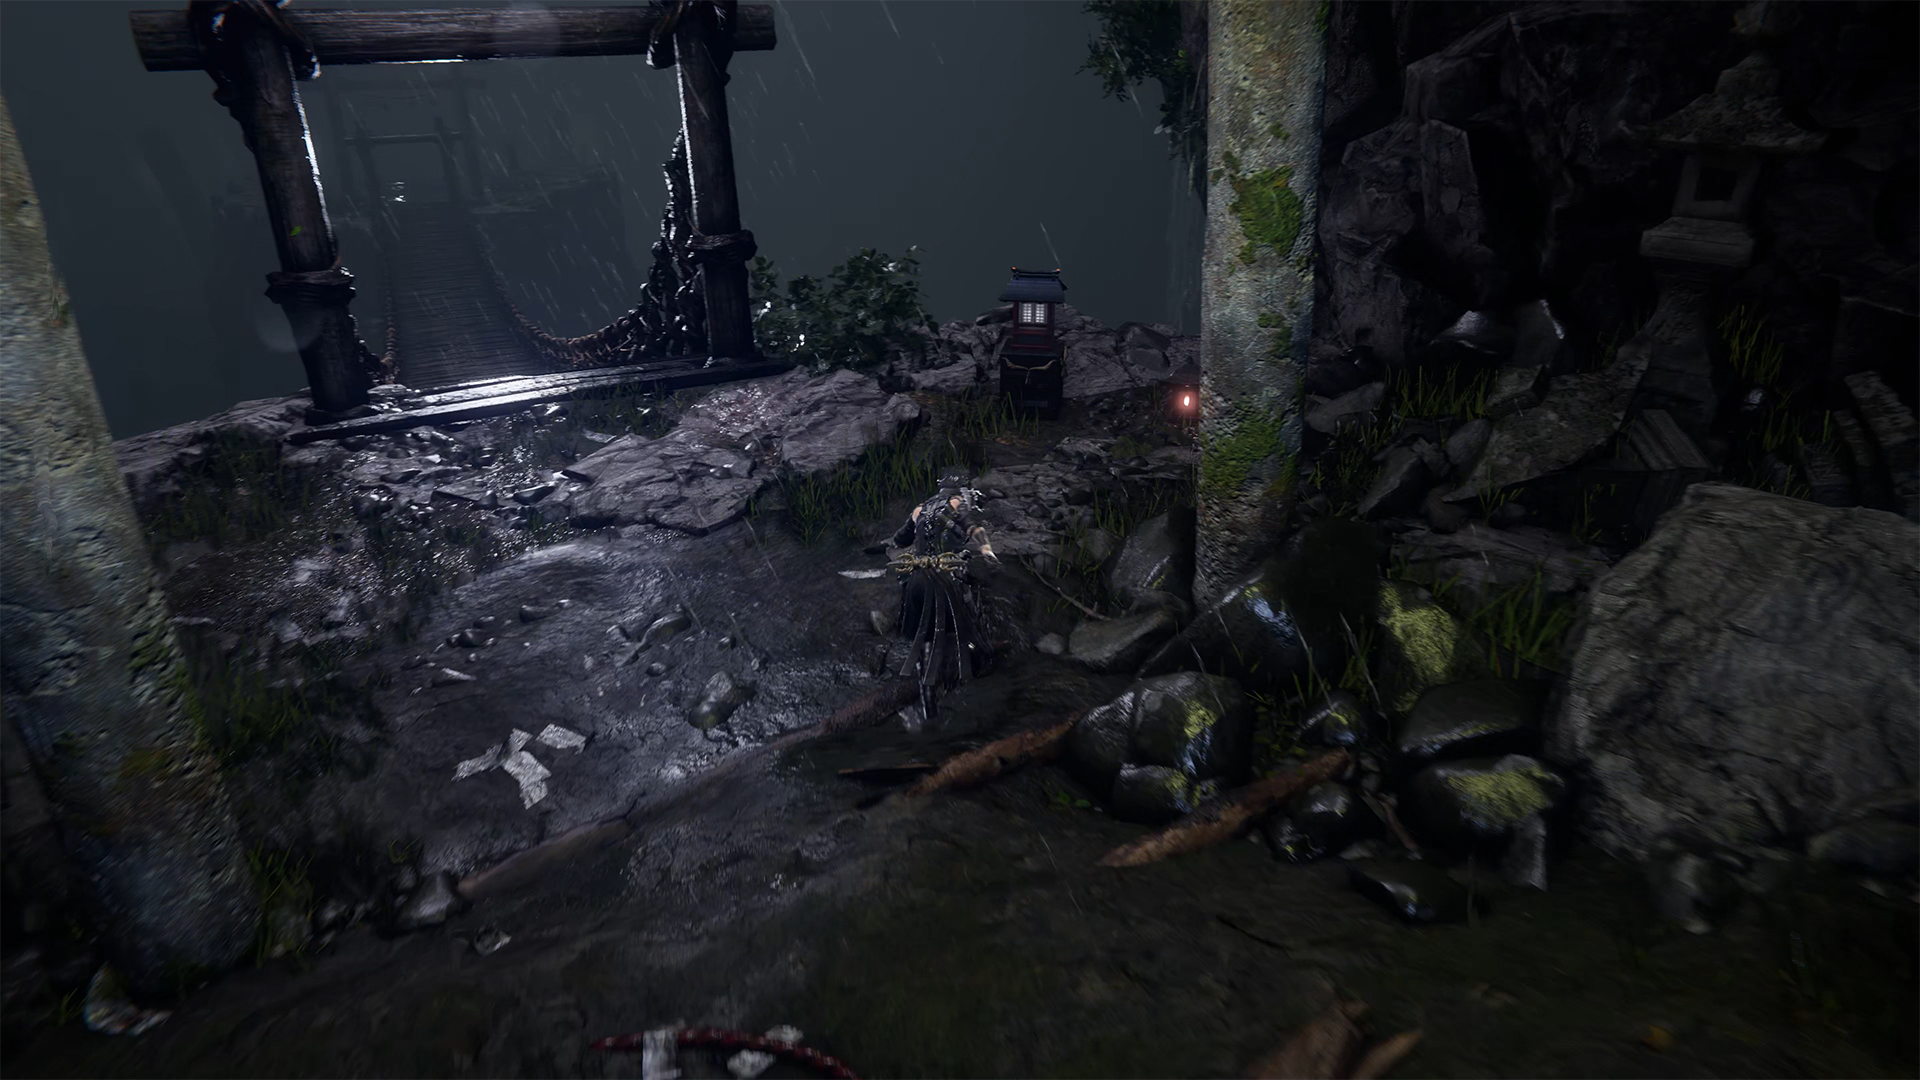
Dragonfly Glider
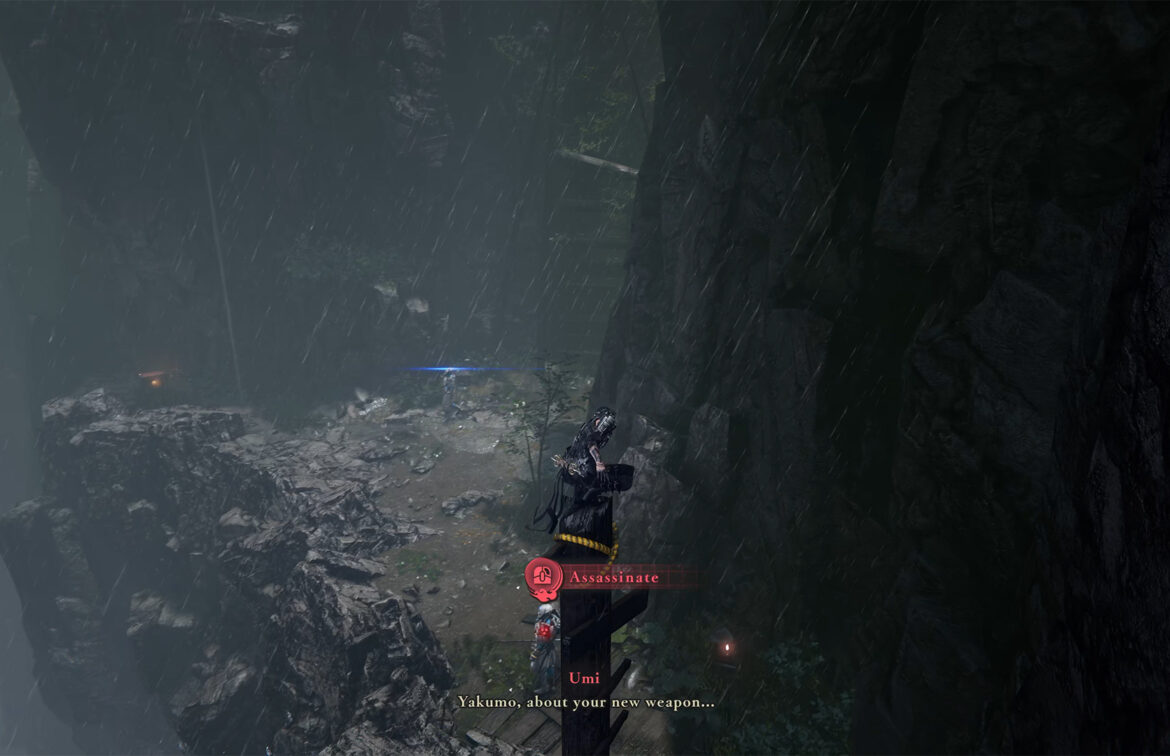
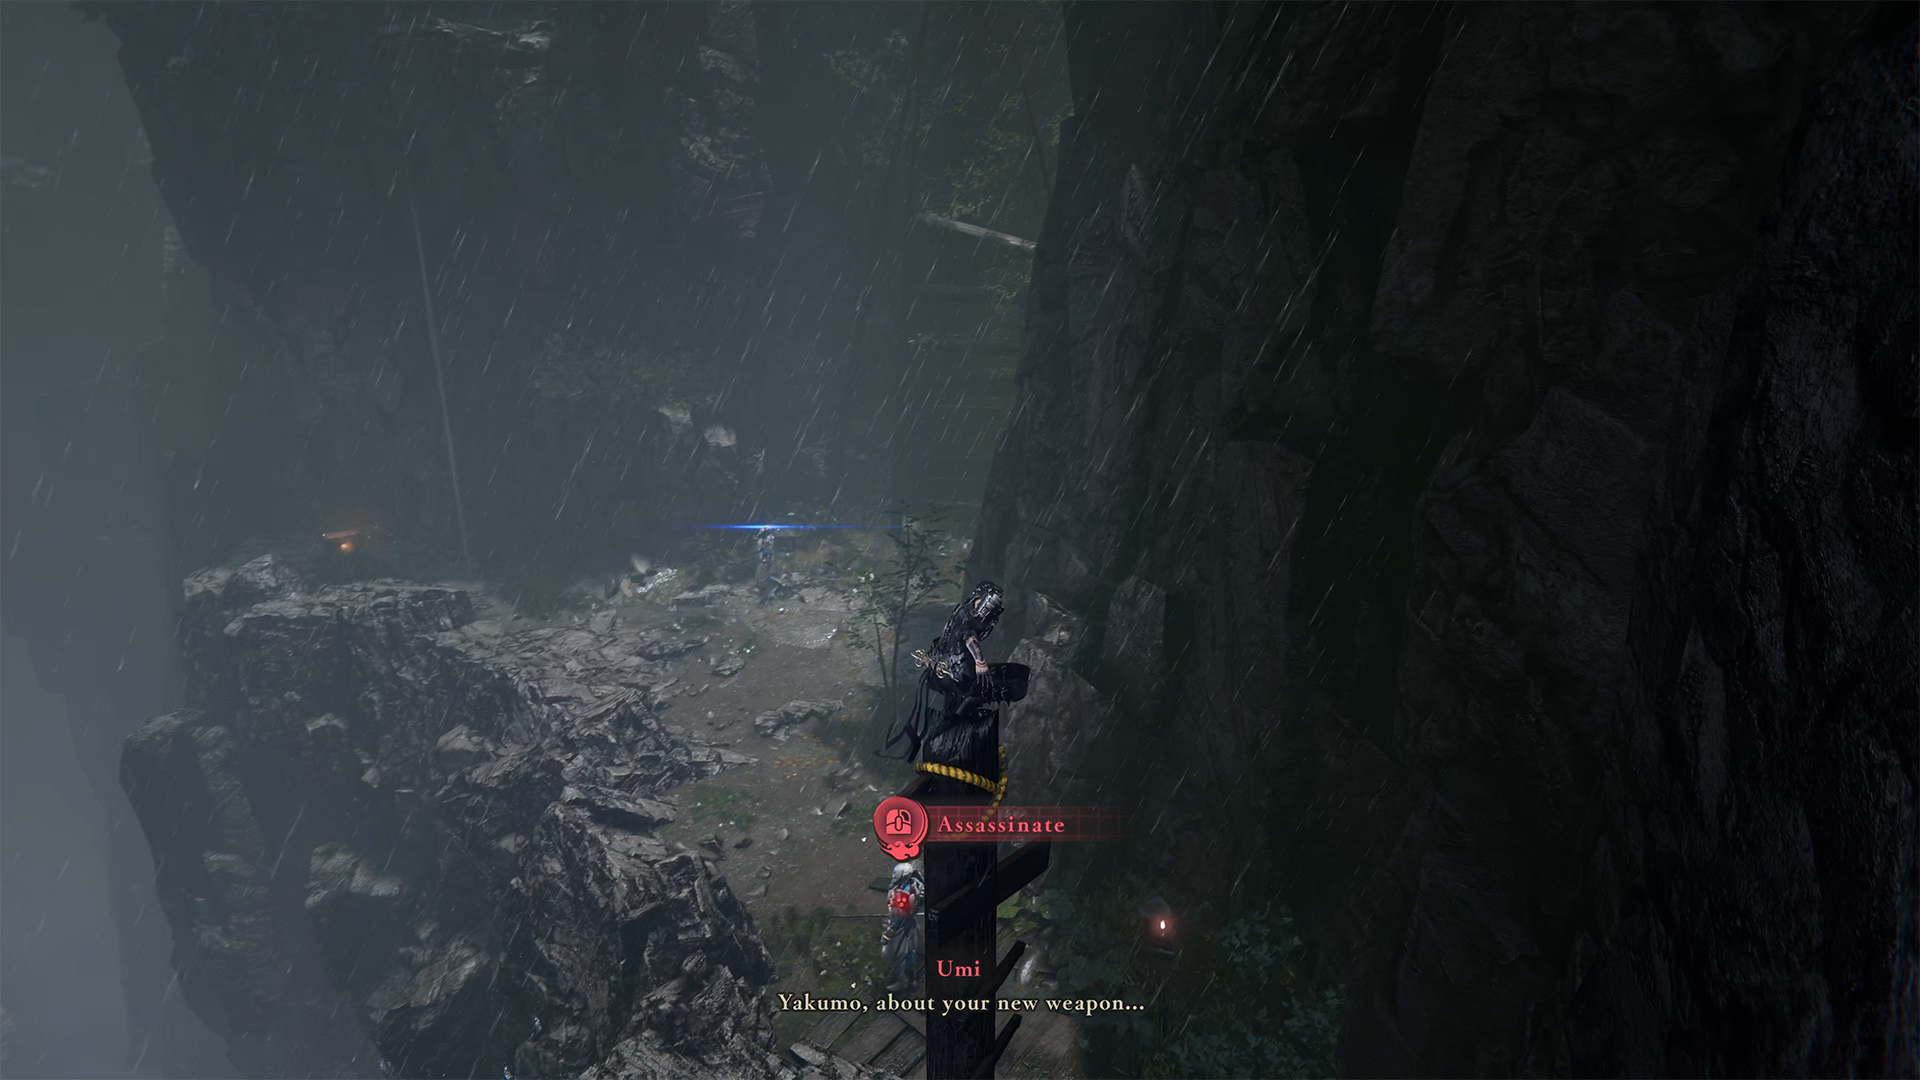
When you exit the cave, you will see an animation of a large air current. Here, you will have a dialogue with Umi, and then you will need to proceed to the second DarkNest Terminal. At this point, you will receive the Dragonfly Glider to traverse the large chasm. On the right is the entrance to the place where you can use your Glider.
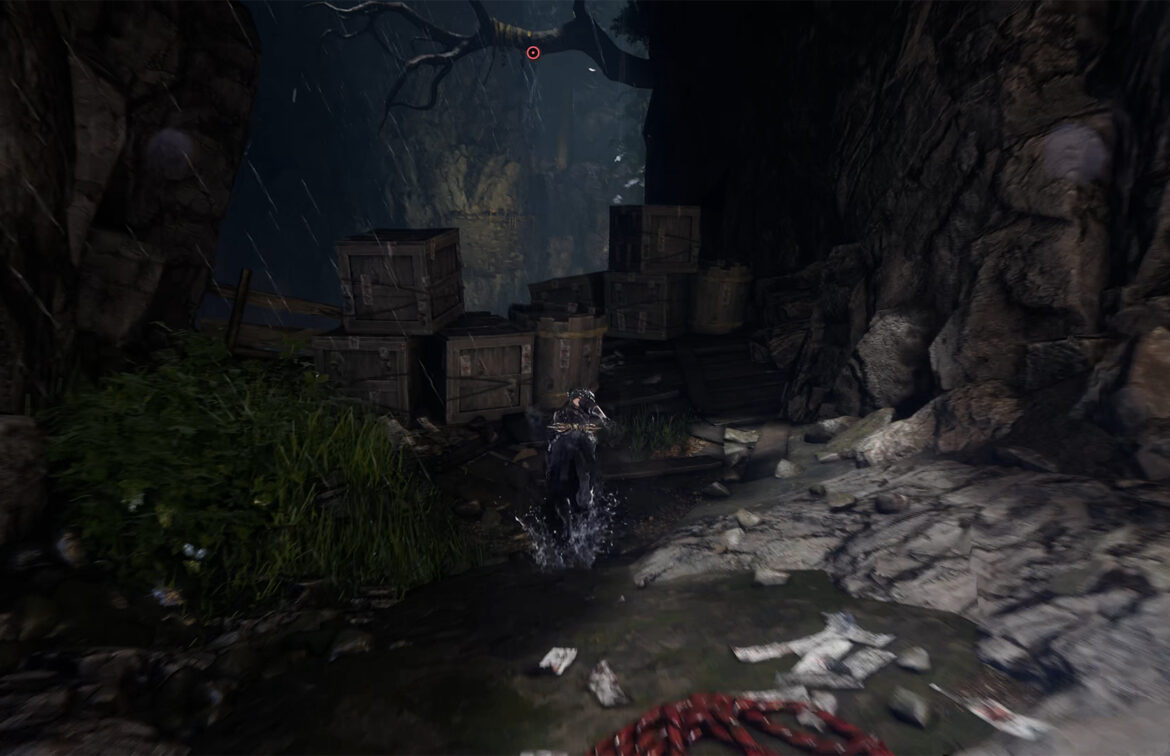
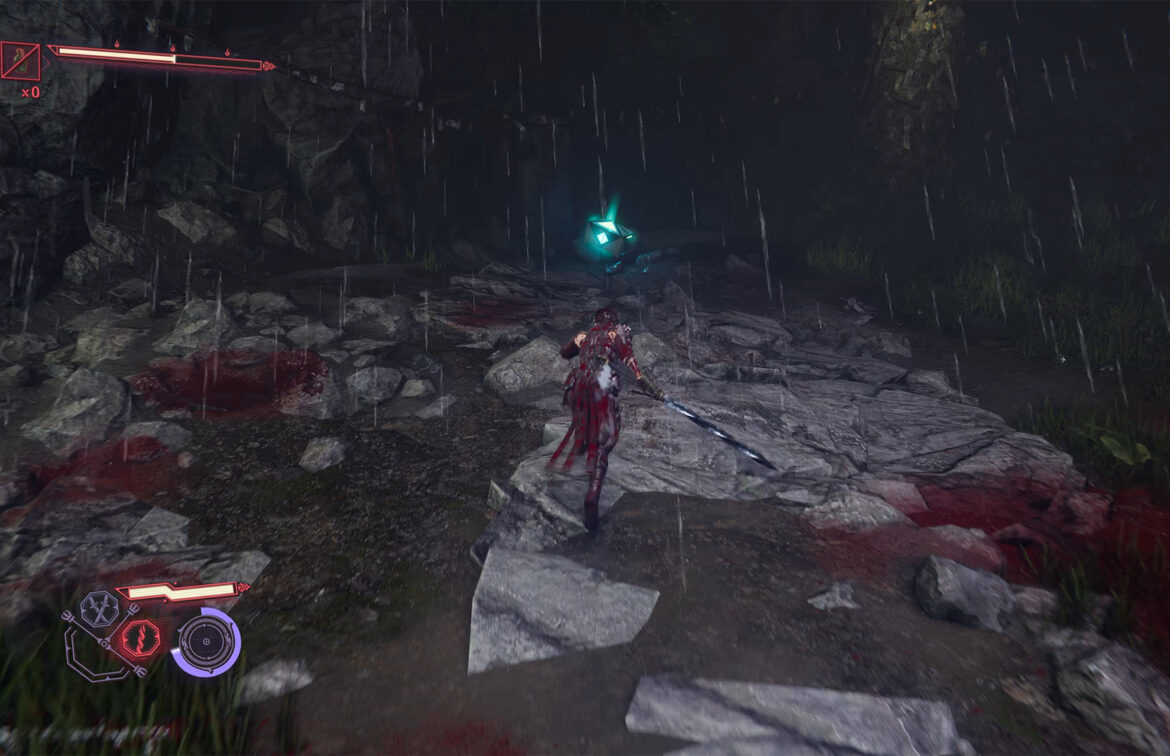
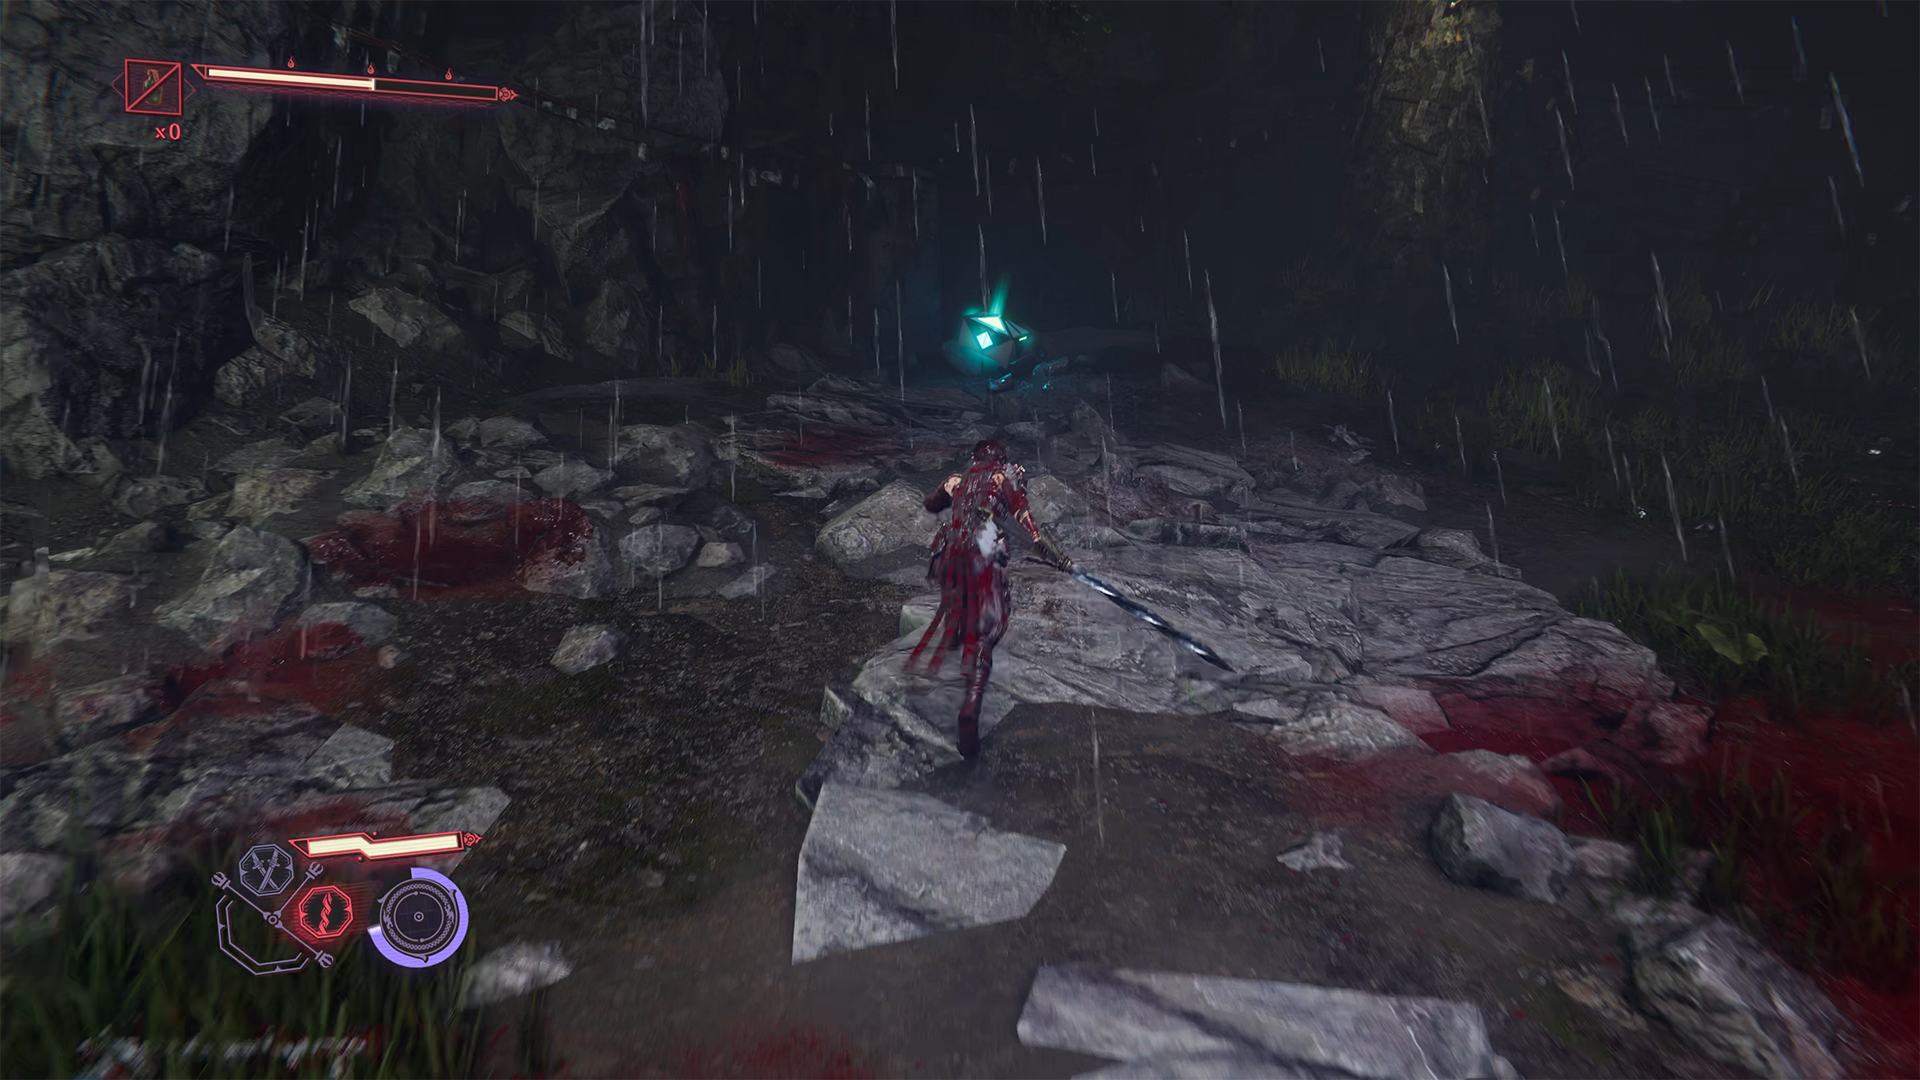
I’m sure you’re curious to see what it will look like, but don’t rush there. Go past this place. In front of you will be a small cave with wooden boxes. You need to go in here to see the way forward. Jump forward and you will find yourself in front of a fallen tree, along which Armored Sickles will run towards you. Accordingly, you need to defeat them all.
-
- Dragonfly Glider
-
- Cave with boxes – don’t miss it

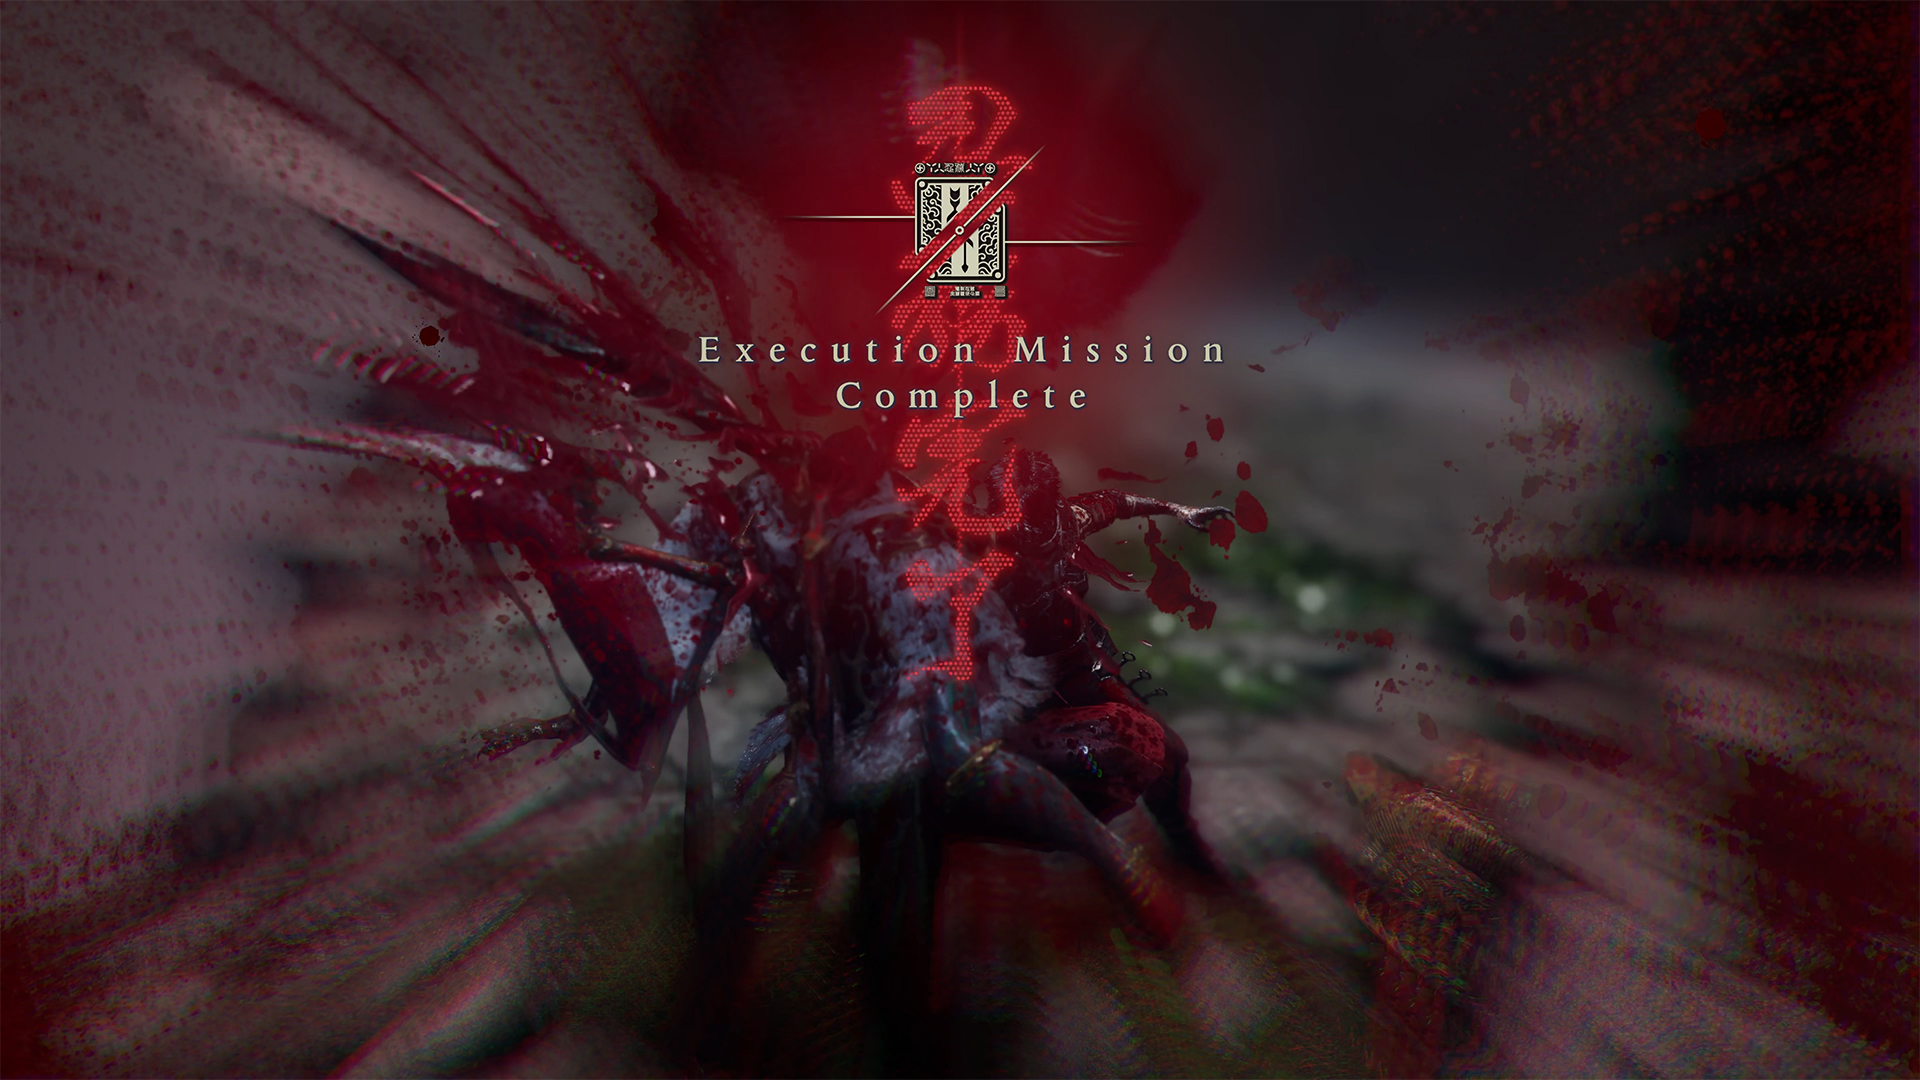
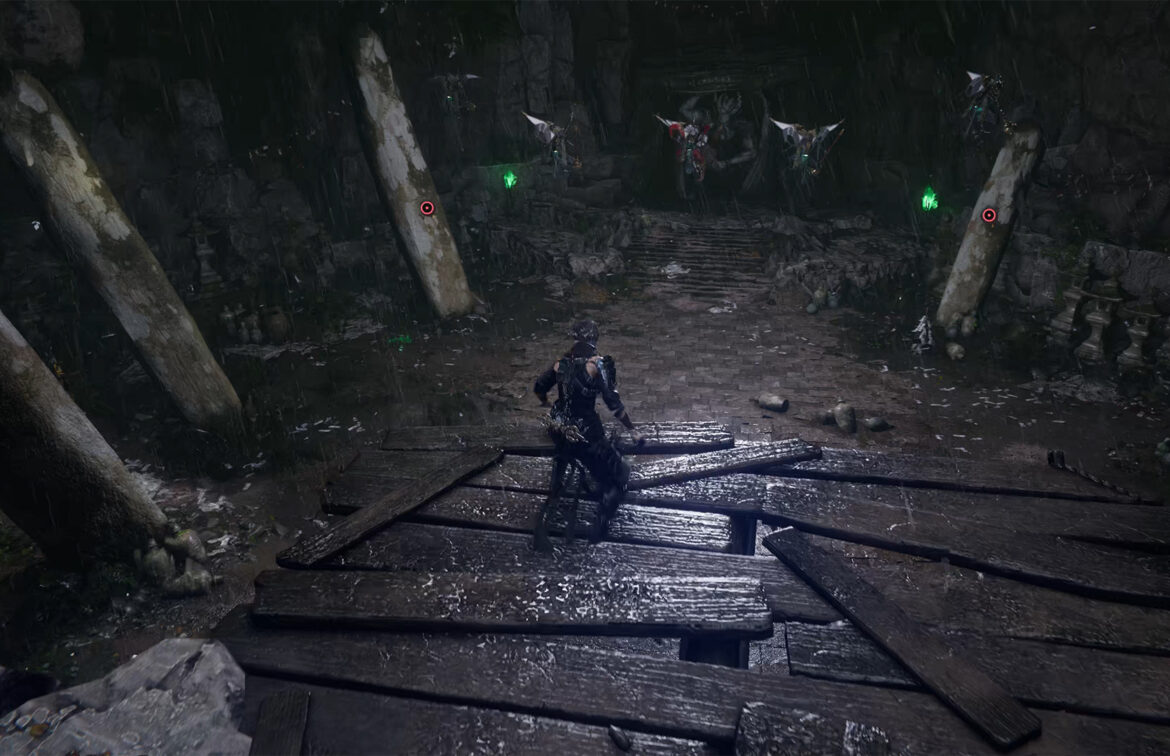
Execute the Tengu Leaders mission
After the battle, you need to move forward. It’s a fairly long journey without any adventures, and then you will come to a large open location where you can complete the Execute the Tengu Leaders mission. Visually, these are the Tengu you already know, but they are more complex and powerful. The Tengu Leaders have new attacks and more armor. You may need several attempts to defeat them. The reward for victory will be the Raven Seal Case when you complete this task at the DarkNest Terminal.
-
- Execute the Tengu Leaders mission location
-
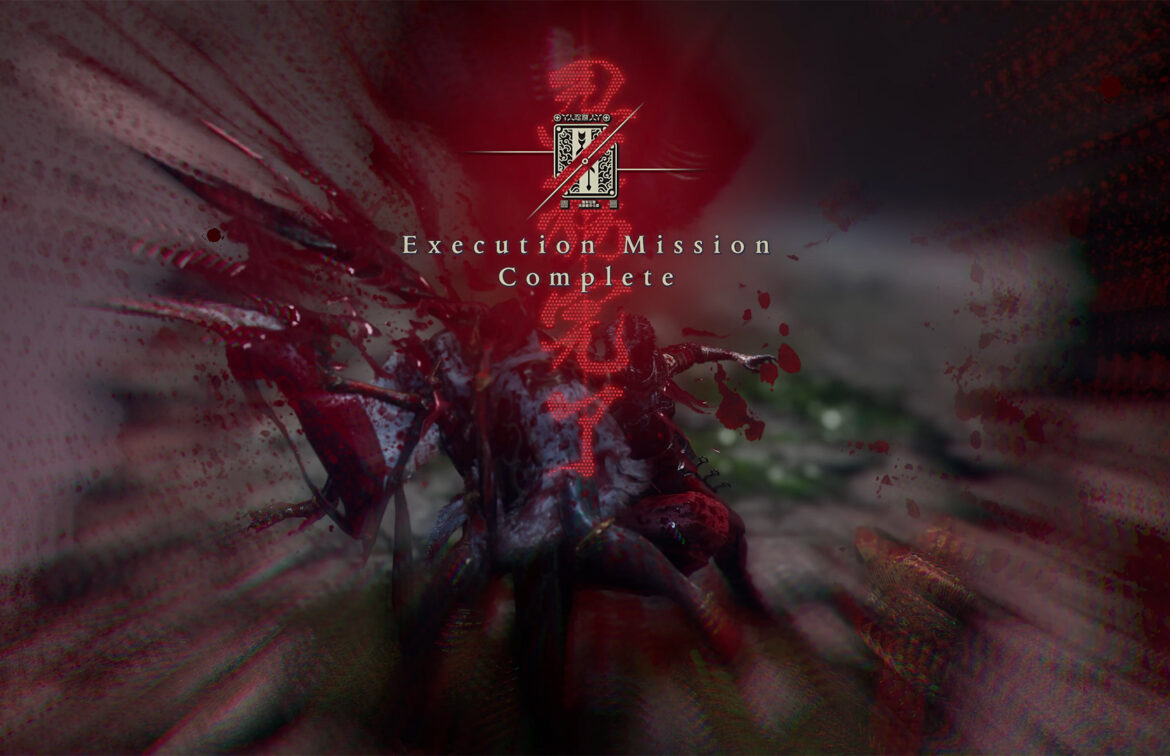
- Execute the Tengu Leaders complete
Chests #10-11
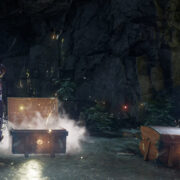
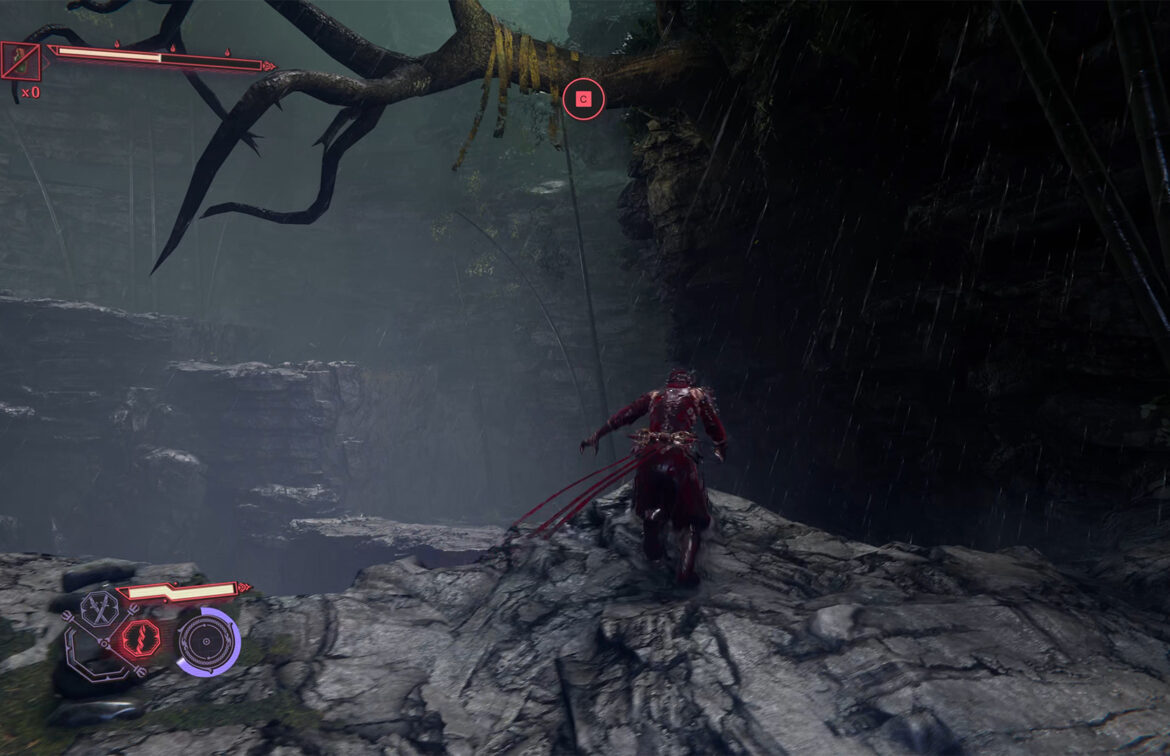
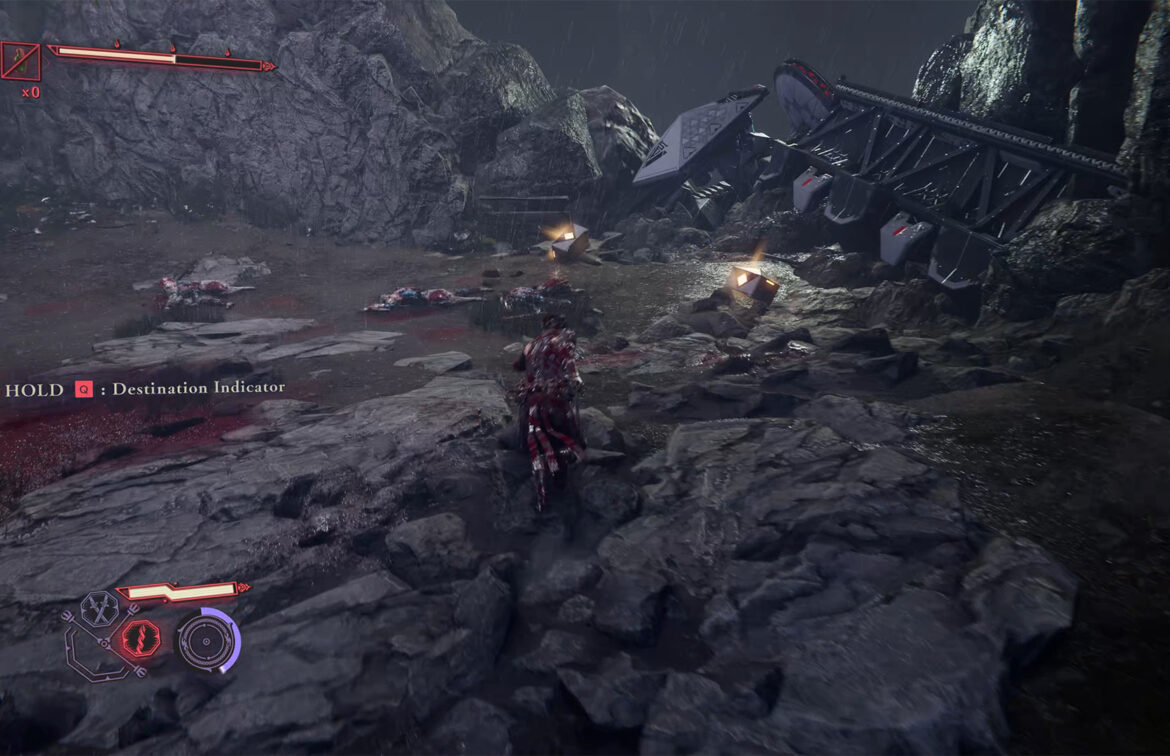
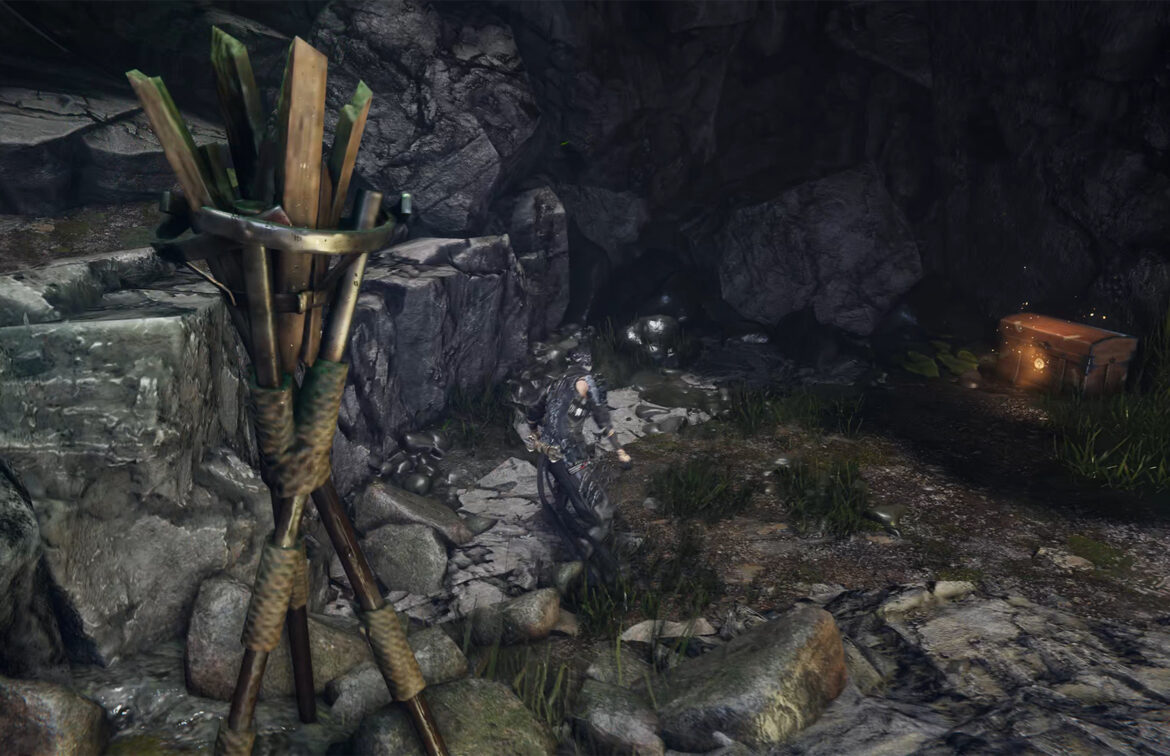
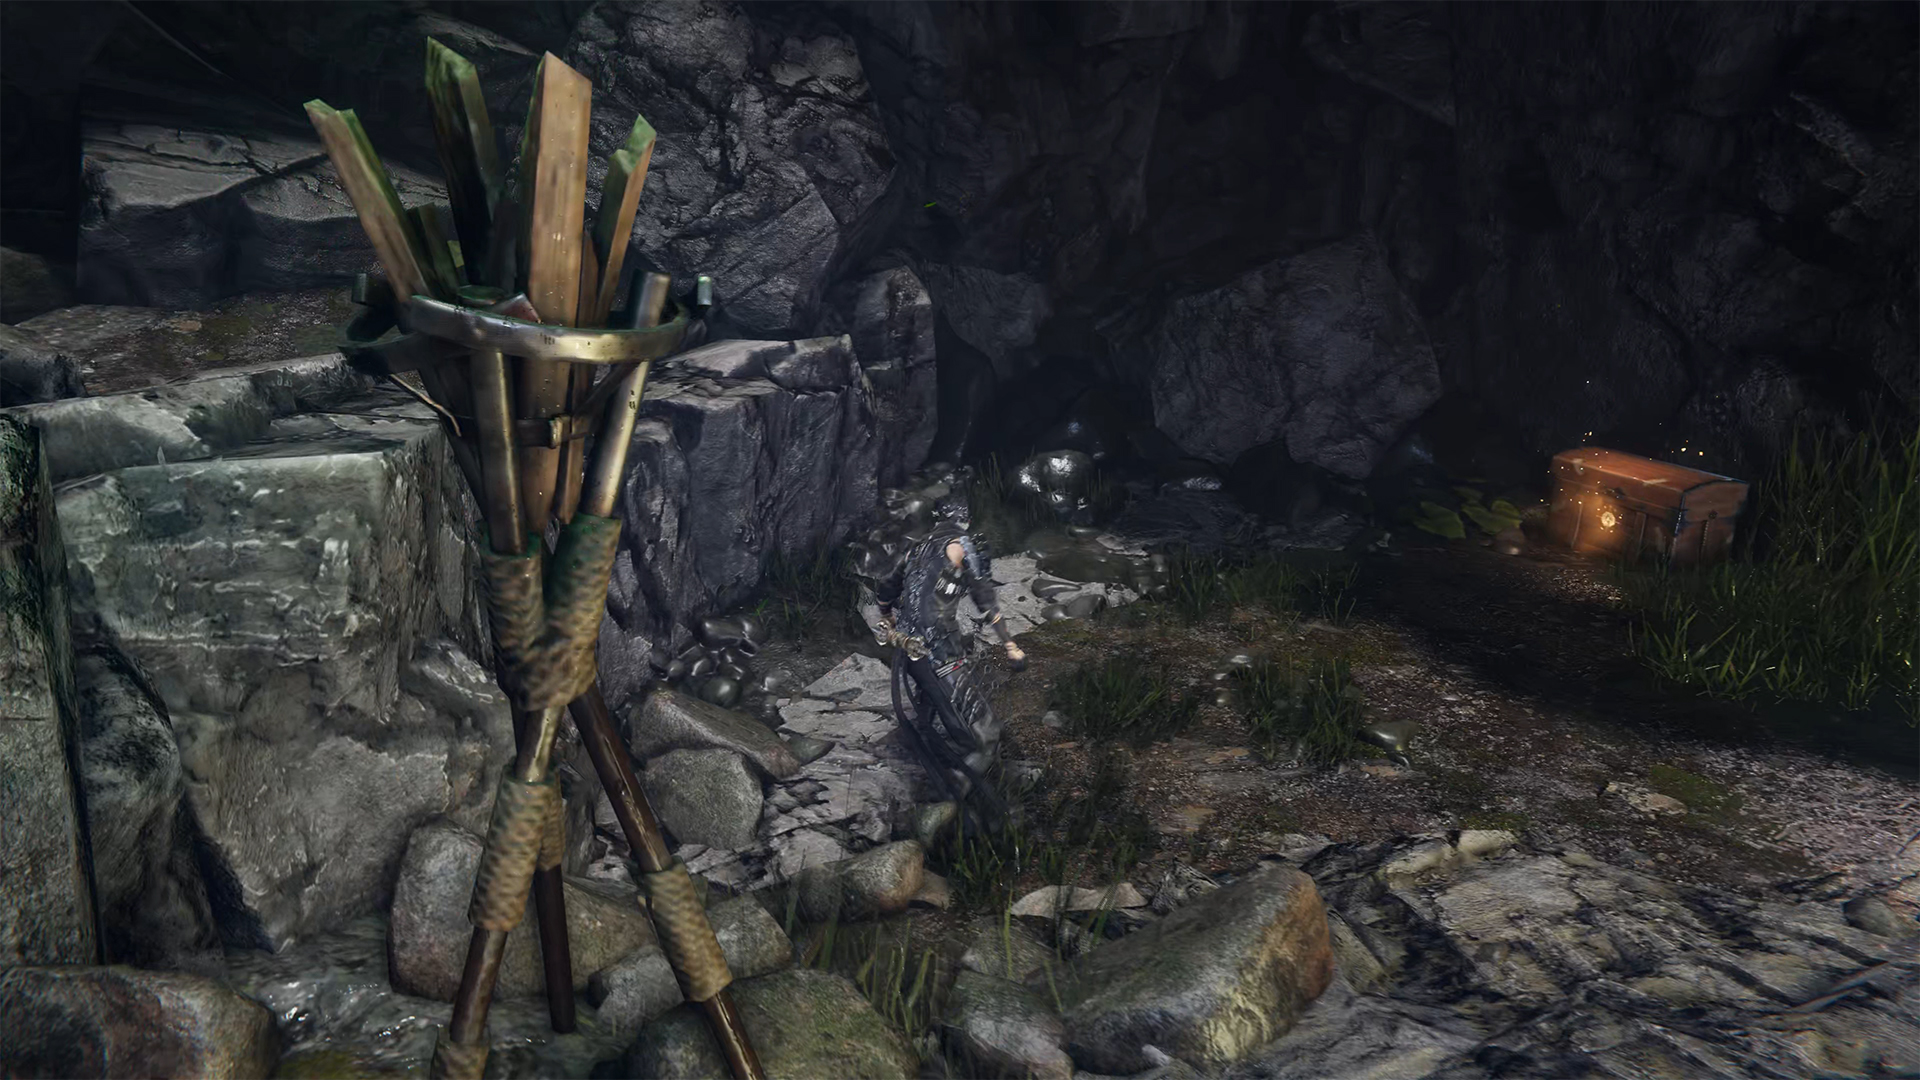
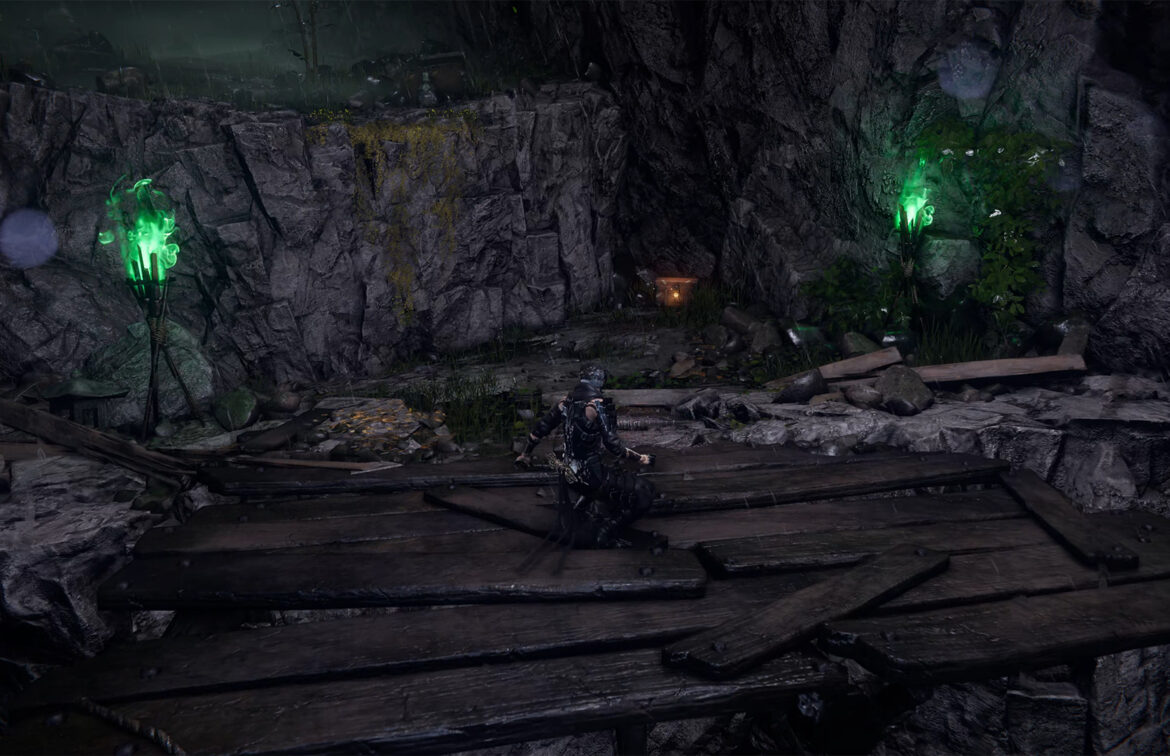
After completing the quest, you must leave this place by a different route than the one you came in. Move forward by jumping onto the tree branch, and you will soon find yourself in a cave. Here you will see two chests. In the first one you will find Life Elixir, and in the second one you will find Incense of Rebirth.
Now go forward and you will come to the familiar path that leads to the DarkNest Terminal where you received the Dragonfly Glider. I suggest you turn in the quest you just completed and receive your reward. Now the entire area has been explored, and you can use your Dragonfly Glider. As soon as you land, you will immediately start fighting enemies. There aren’t many of them.
-
- Exit the location via this route
-
- Two chests next to each other in the cave
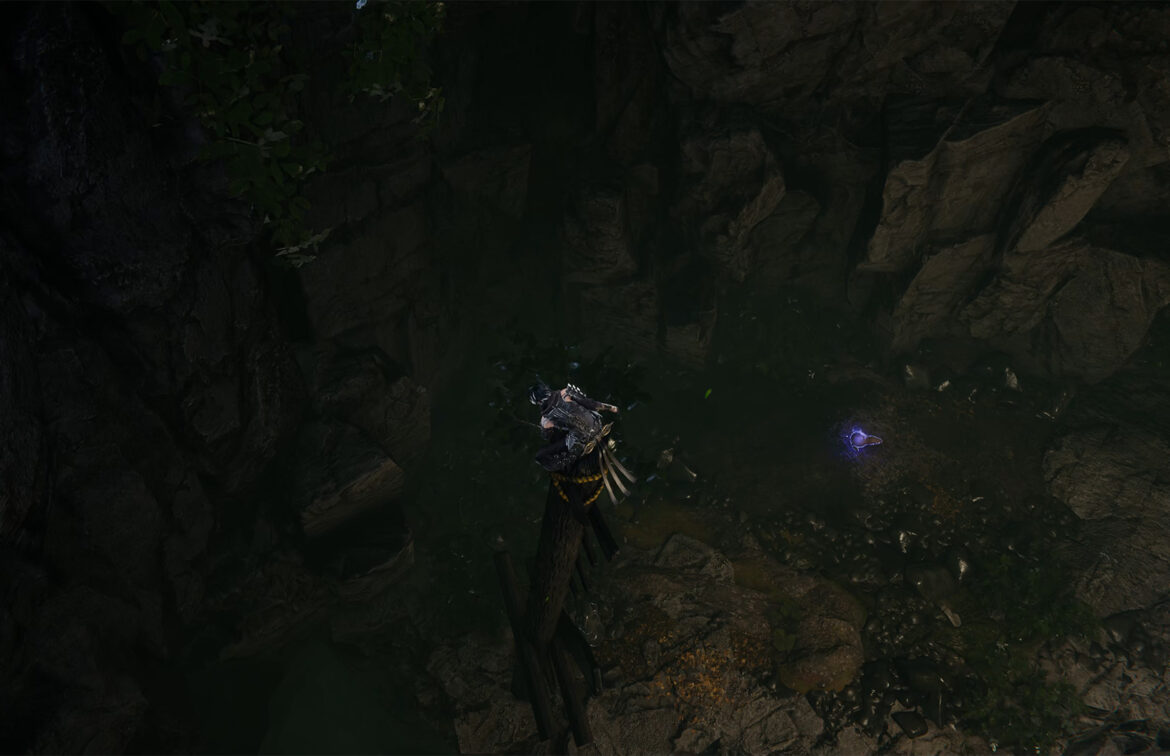
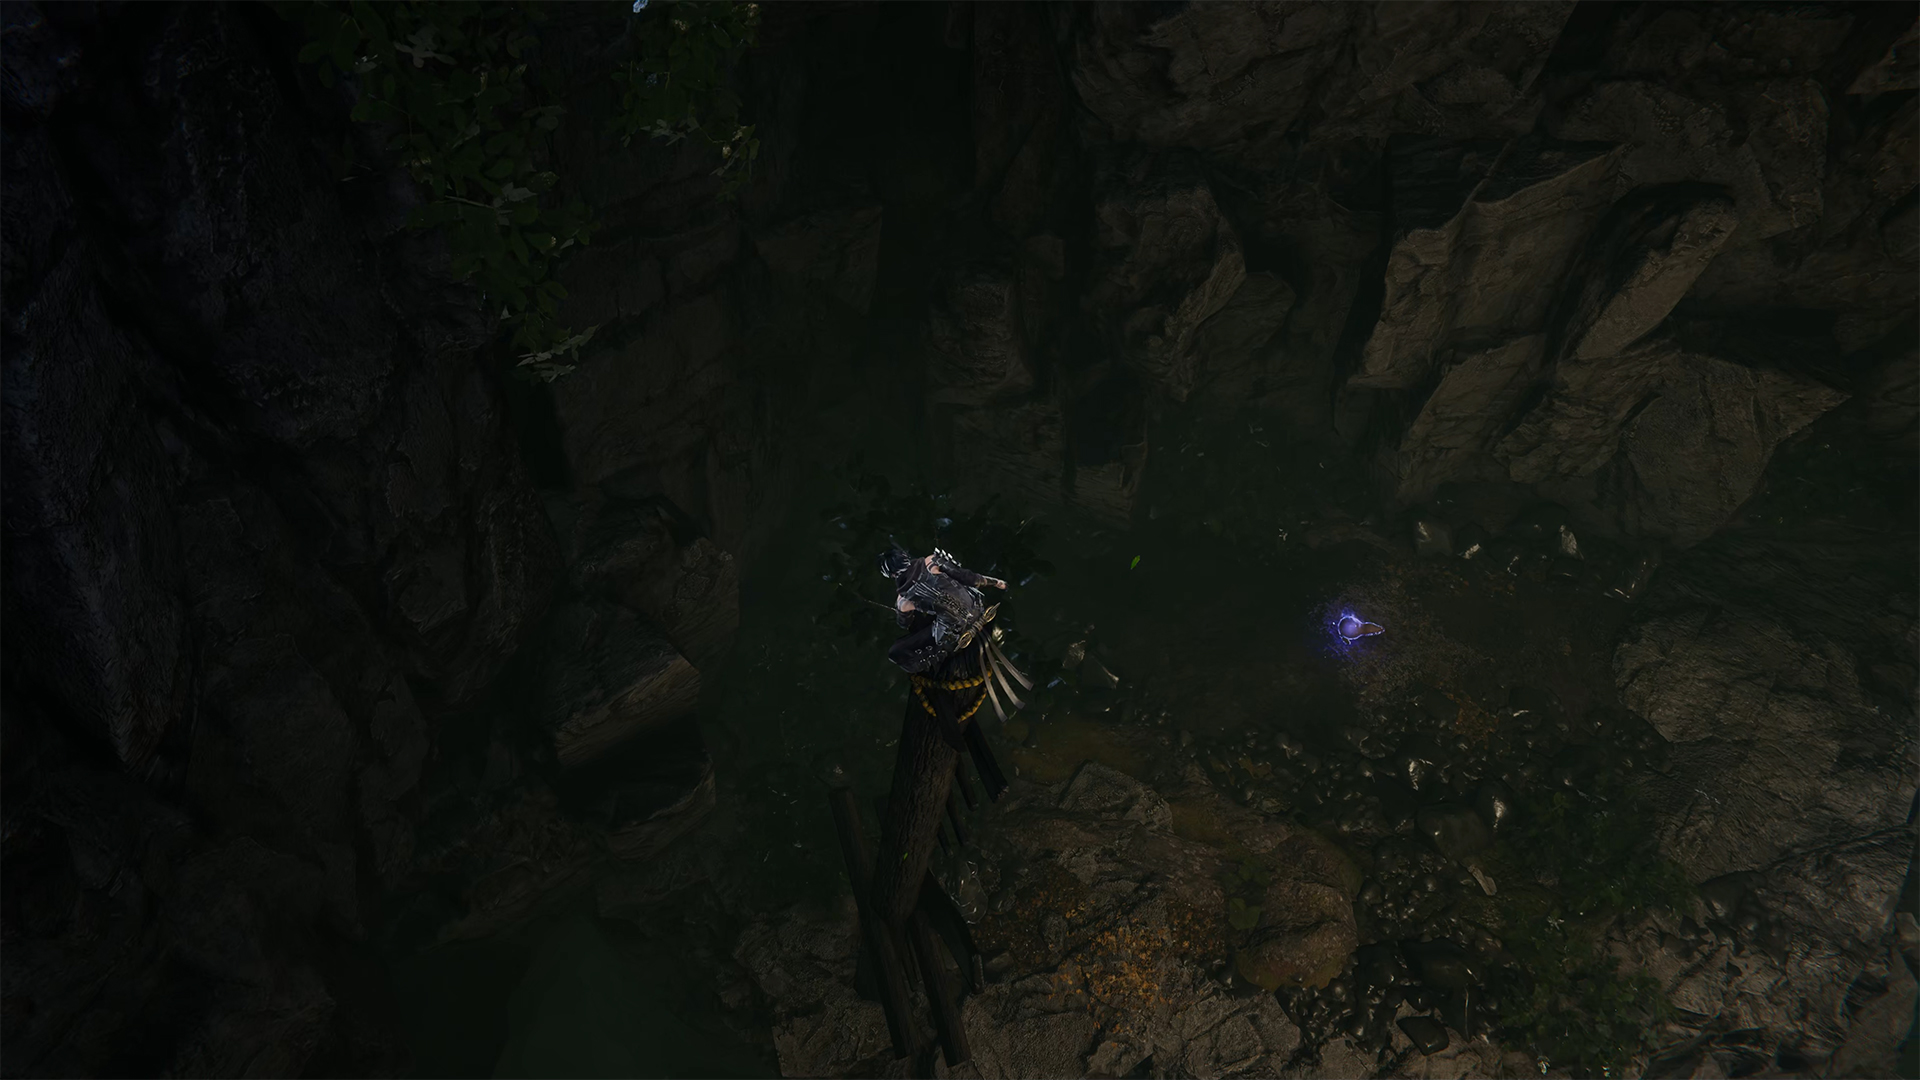
Catch Blue Gourdy
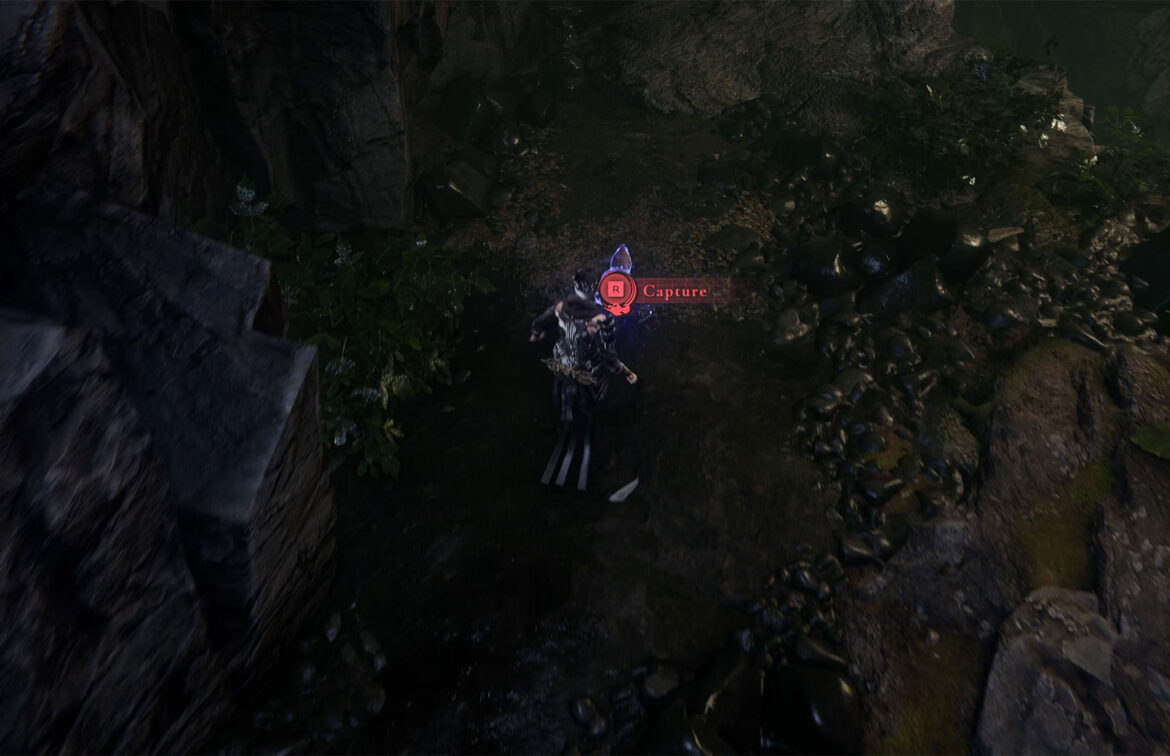
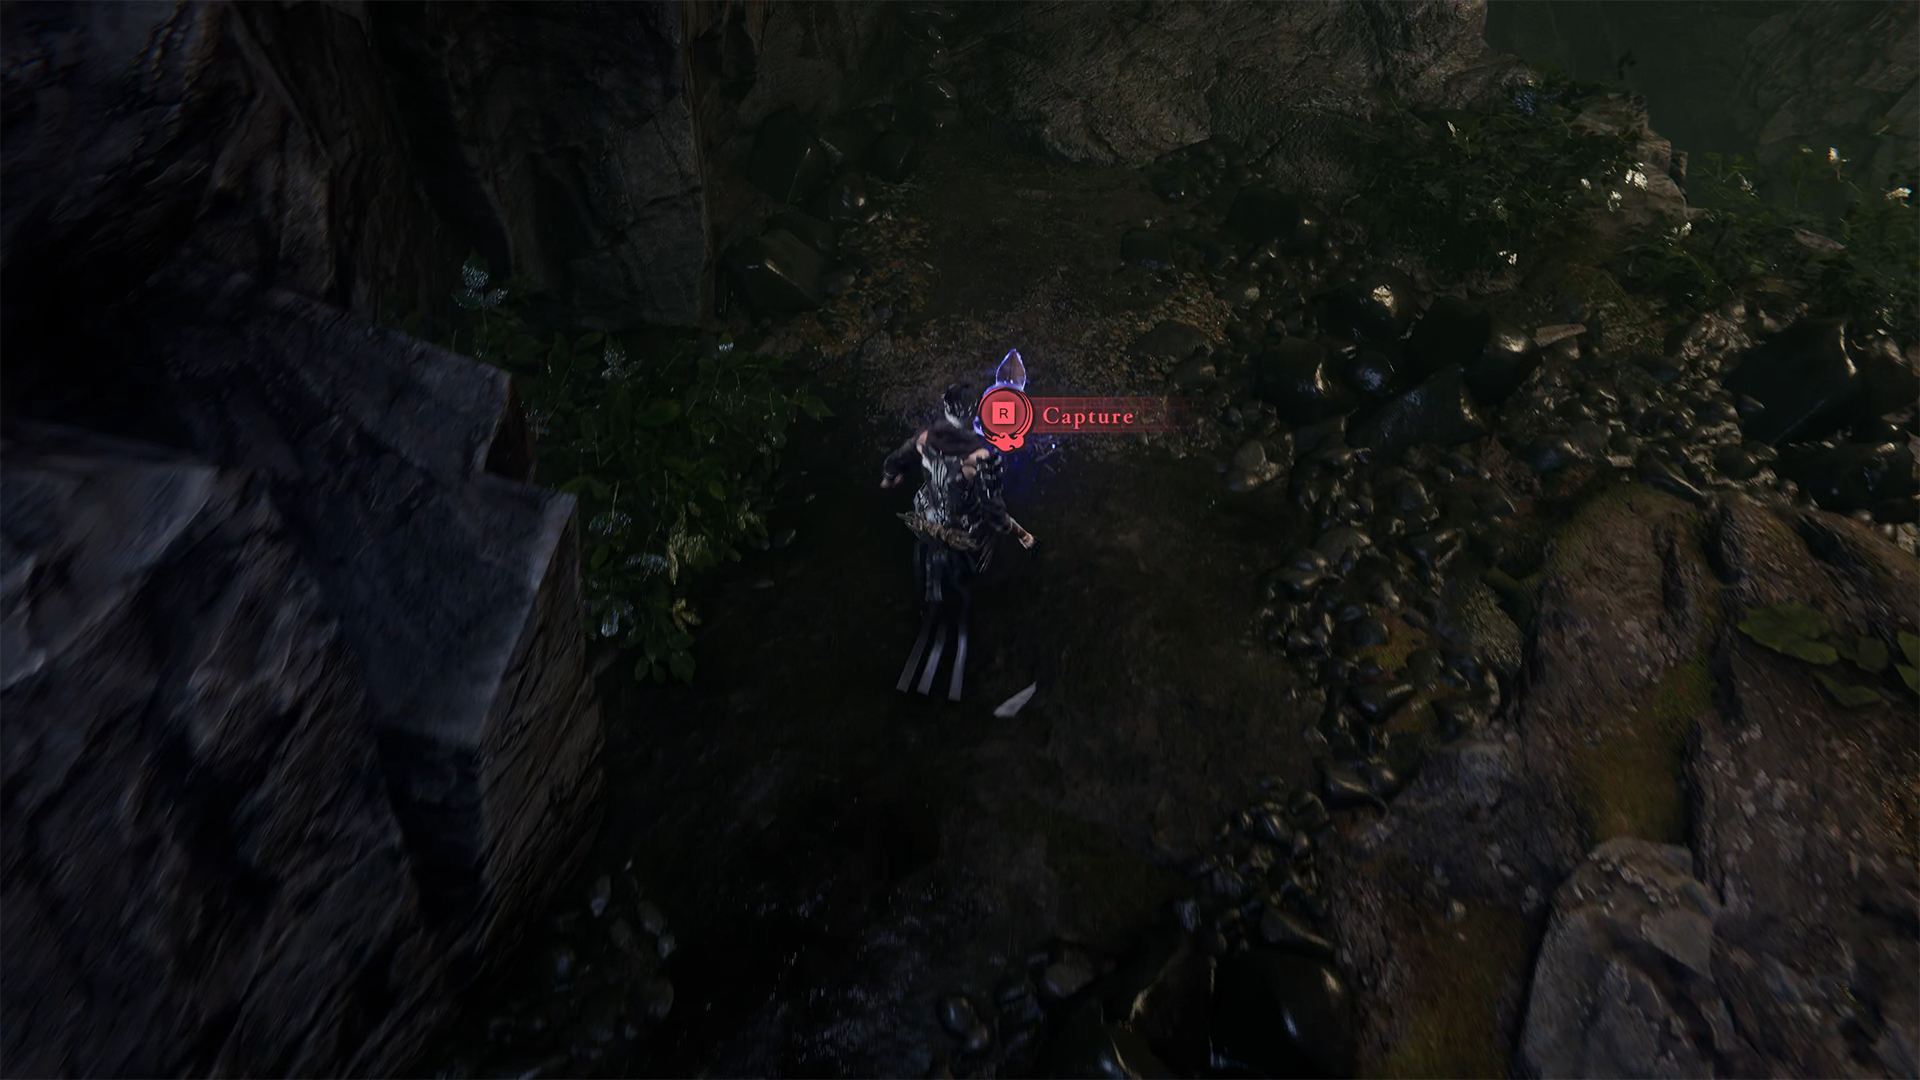
After the battle, you must proceed to your next flight, but first turn right. Here you can catch Gourdy. This time it will be a different kind of interactive interaction. If you look closely, you will see that Gourdy glows blue. This means that he is easily startled, and you need to approach him quietly to catch him. Jump to the side of him and then grab onto the pole in front of you. Now you can jump behind Gourdy and easily catch him.
-
- You need to sneak up on Gourdy

-
- Jump from the pole onto Gourdy’s back
-
- Now you can catch Gourdy and he won’t disappear
Chest #12
Now go to the place where you need to use your Dragonfly Glider. On the way, you will have to defeat the Armored Sickle again, and after the battle, you will see a chest ahead. Open it to get the Divine Life Elixir.
-

- Destroy the guard near the chest

-

- Chest #12 in Pilgrim’s Windswept Path
Find the Secret Supplies (Chests #13-15)
It’s time to use the Dragonfly Glider. You will have a slightly longer flight, and at the end, you will land in an area where enemies will attack you. Here you will encounter Armored Sickles, regular Tengus, and Tengu Leaders. The battle is quite long, but you must complete it.
There are no difficult bosses, so enjoy your victory. After destroying all the enemies, pay attention to the chest glowing with an emerald light. Open the chest to complete the Find the Secret Supplies quest. Nearby, you will find two more chests, but these glow yellow. Open them as well to obtain Divine Life Elixir and Life Elixir. If you have the maximum number of these items, they will be converted into NinjaCoin.
-
- Find the Secret Supplies location
-
- Next to the 14th and 15th chests
Chest #16
As you progress through the story, you will need to use your ninja skills, which you have already done many times, and skillfully navigate the obstacle course. Here, you will use Caddis Wire to cover a long distance and reach the next location unharmed. When you land on the ground, notice that there is a chest on the right. Open it and you will receive Crimson Blood Balm.
-
- Parkour elements on the way to the chest

-
- Chest #16 in Pilgrim’s Windswept Path
Purgatory Gate
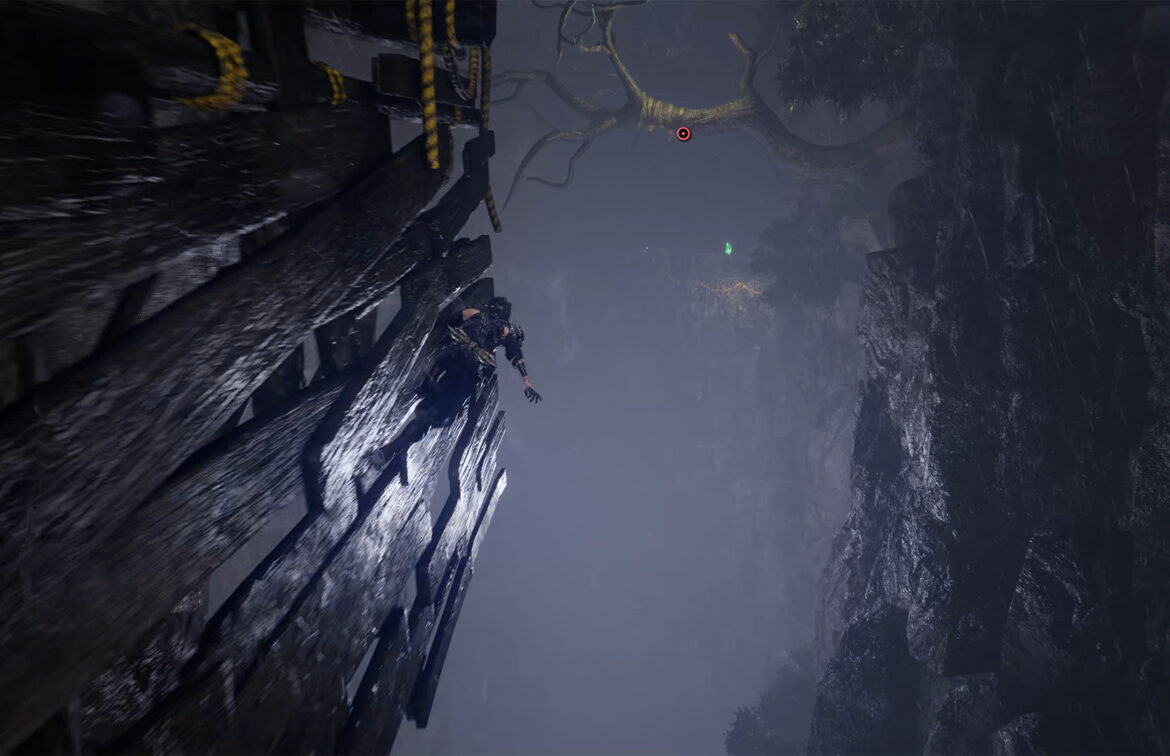
After a series of jumps using Caddis Wire, you will find yourself on a platform where you will encounter two regular Tengus. After that, your storyline path goes uphill. But before that, turn around and follow the path back along the wall.
You will travel a long way without obstacles or opponents. First, you will walk along a wall, then you will see a row of arches. This is a symbolic tunnel that shows you the way. At the end of this race, you will see the familiar blue fire. This is Purgatory Gate, where you can pass the test and receive a pleasant reward. At the entrance, you choose the difficulty level of the confrontation yourself. The more difficult the task you choose, the less health you will have during the battle and the greater the reward will be. Of course, there will be more opponents and they will be more difficult. After victory, you will instantly receive the specified amount of reward. You can only pass this test once per chapter, so I advise you not to skip it. It is an interesting experience of fighting enemies, as well as a nice bonus in the form of game coins.
-
- Purgatory Gate in Pilgrim’s Windswept Path
-
- Entrance to the Purgatory test room
-
- Start of the test in the Purgatory room
Chests #17-18
Next, return to the place where you need to use Flying Bird Flip. Climb up, deal with the enemies, and move forward. Ahead, you will fly again using the glider, but before that, turn right to open the chest and find Rejuvenation Elixir.
Now use the Dragonfly Glider and fly forward. At the end of the flight, you will land near a cave. There will be a chest right there. If you don’t see it, go back and descend a little lower. Open the chest to get the Divine Life Elixir.
-
- Before flying, turn right to the chest

-
- After flying, the chest will immediately appear
Third DarkNest Terminal
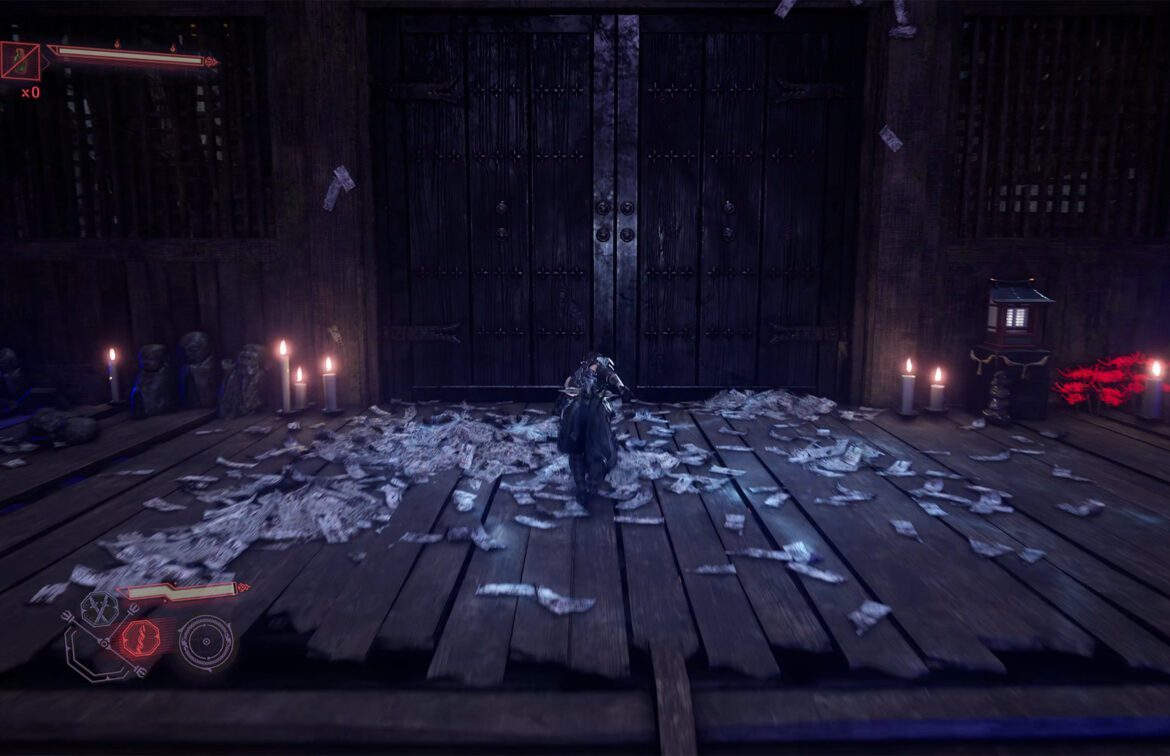
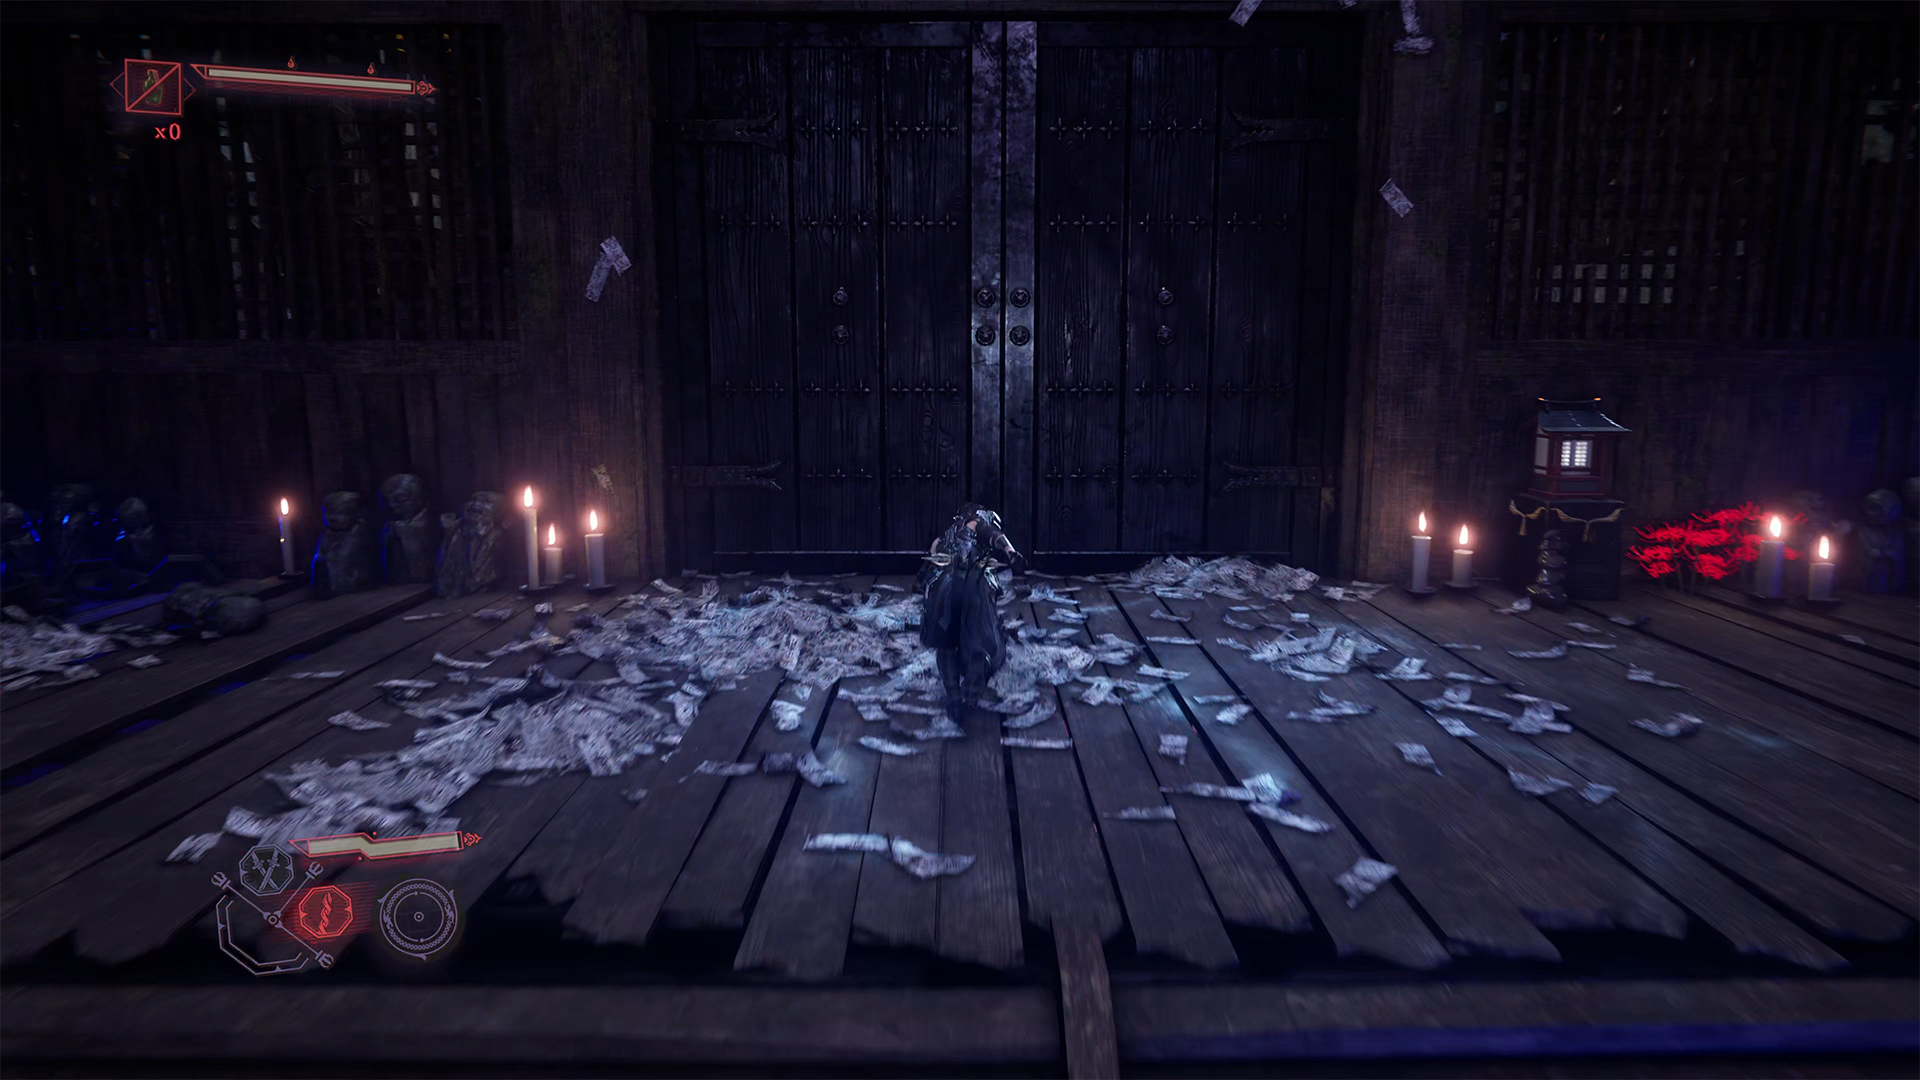
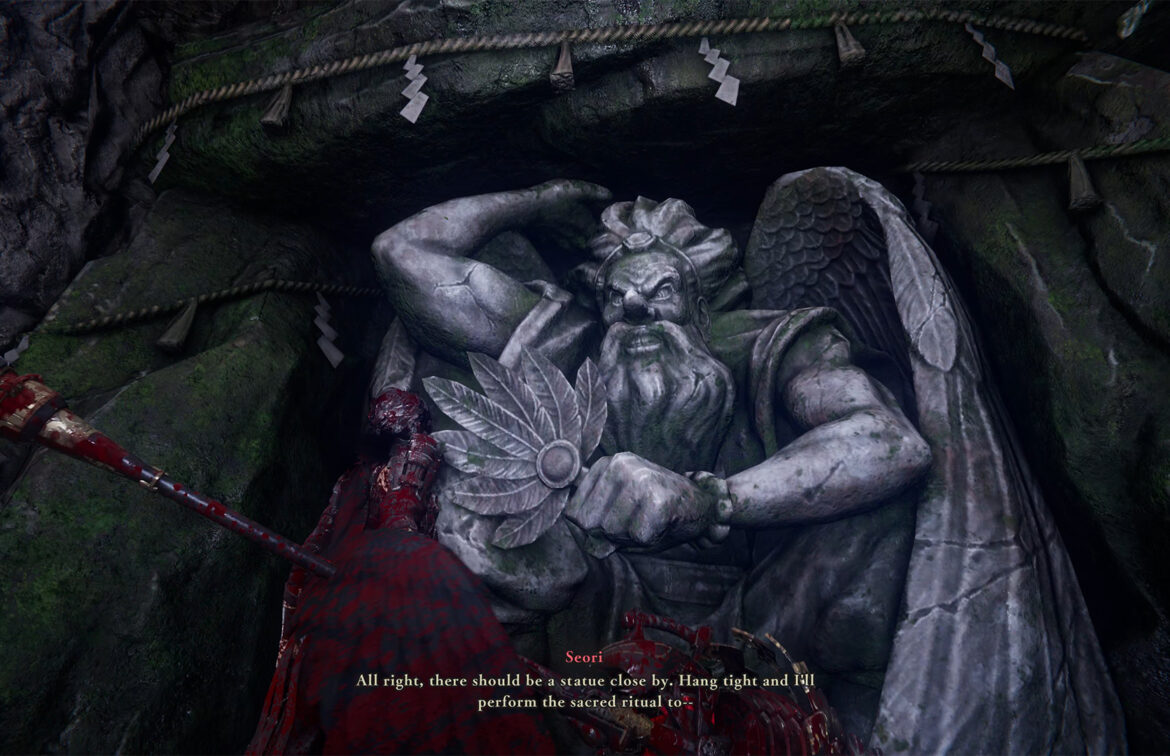
Ahead, you will see the third and final DarkNest Terminal. You are close to completing the chapter. Turn in the completed quest. Please note that you will complete the Use Yatousen to Defeat 50 Demons quest later, but you will be able to turn it in in the next chapter. The Find the Tengu Offering quest will be completed in the next chapter. It will be a continuation of this journey, so don’t think you’ve missed it. Next, you will face a big battle with monsters on the suspension bridge.
-
- Third DarkNest Terminal
-
- Big battle with monsters

Chests #19-21
After you destroy the statue, run forward and turn left before entering the bridge. Here you will find three chests that you can open without any obstacles to obtain the Divine Life Elixir, Life Elixir, and Incense of Rebirth. This is where this chapter ends. As soon as you start running across the suspension bridge, it will collapse and your hero will start falling down. This completes the fourth chapter and you will move on to the fifth chapter.
-
- You need to destroy the statue to proceed
-
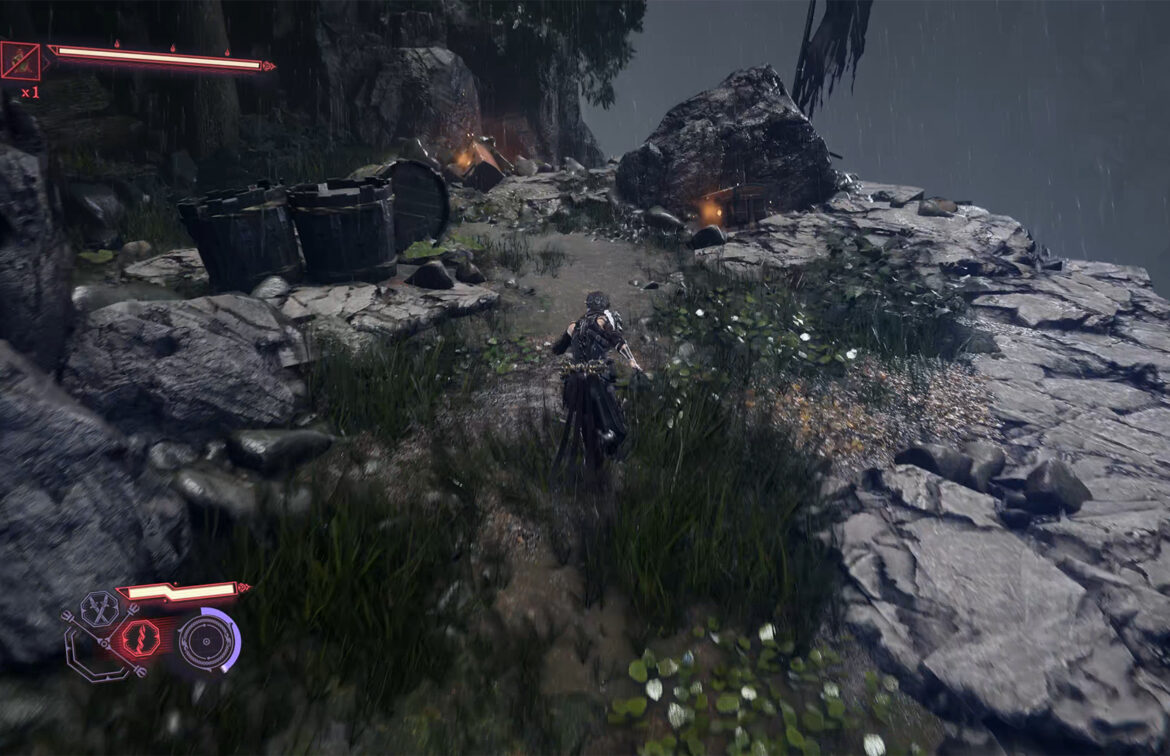
- Turn left before the bridge—there are three chests here