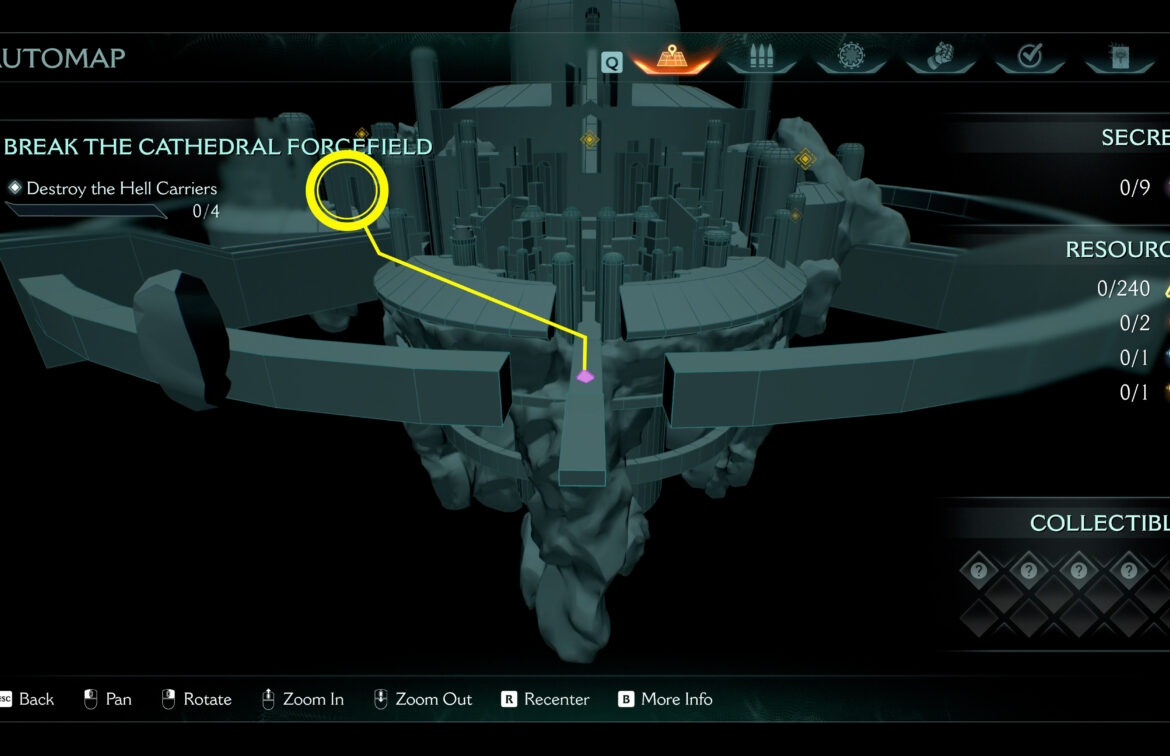
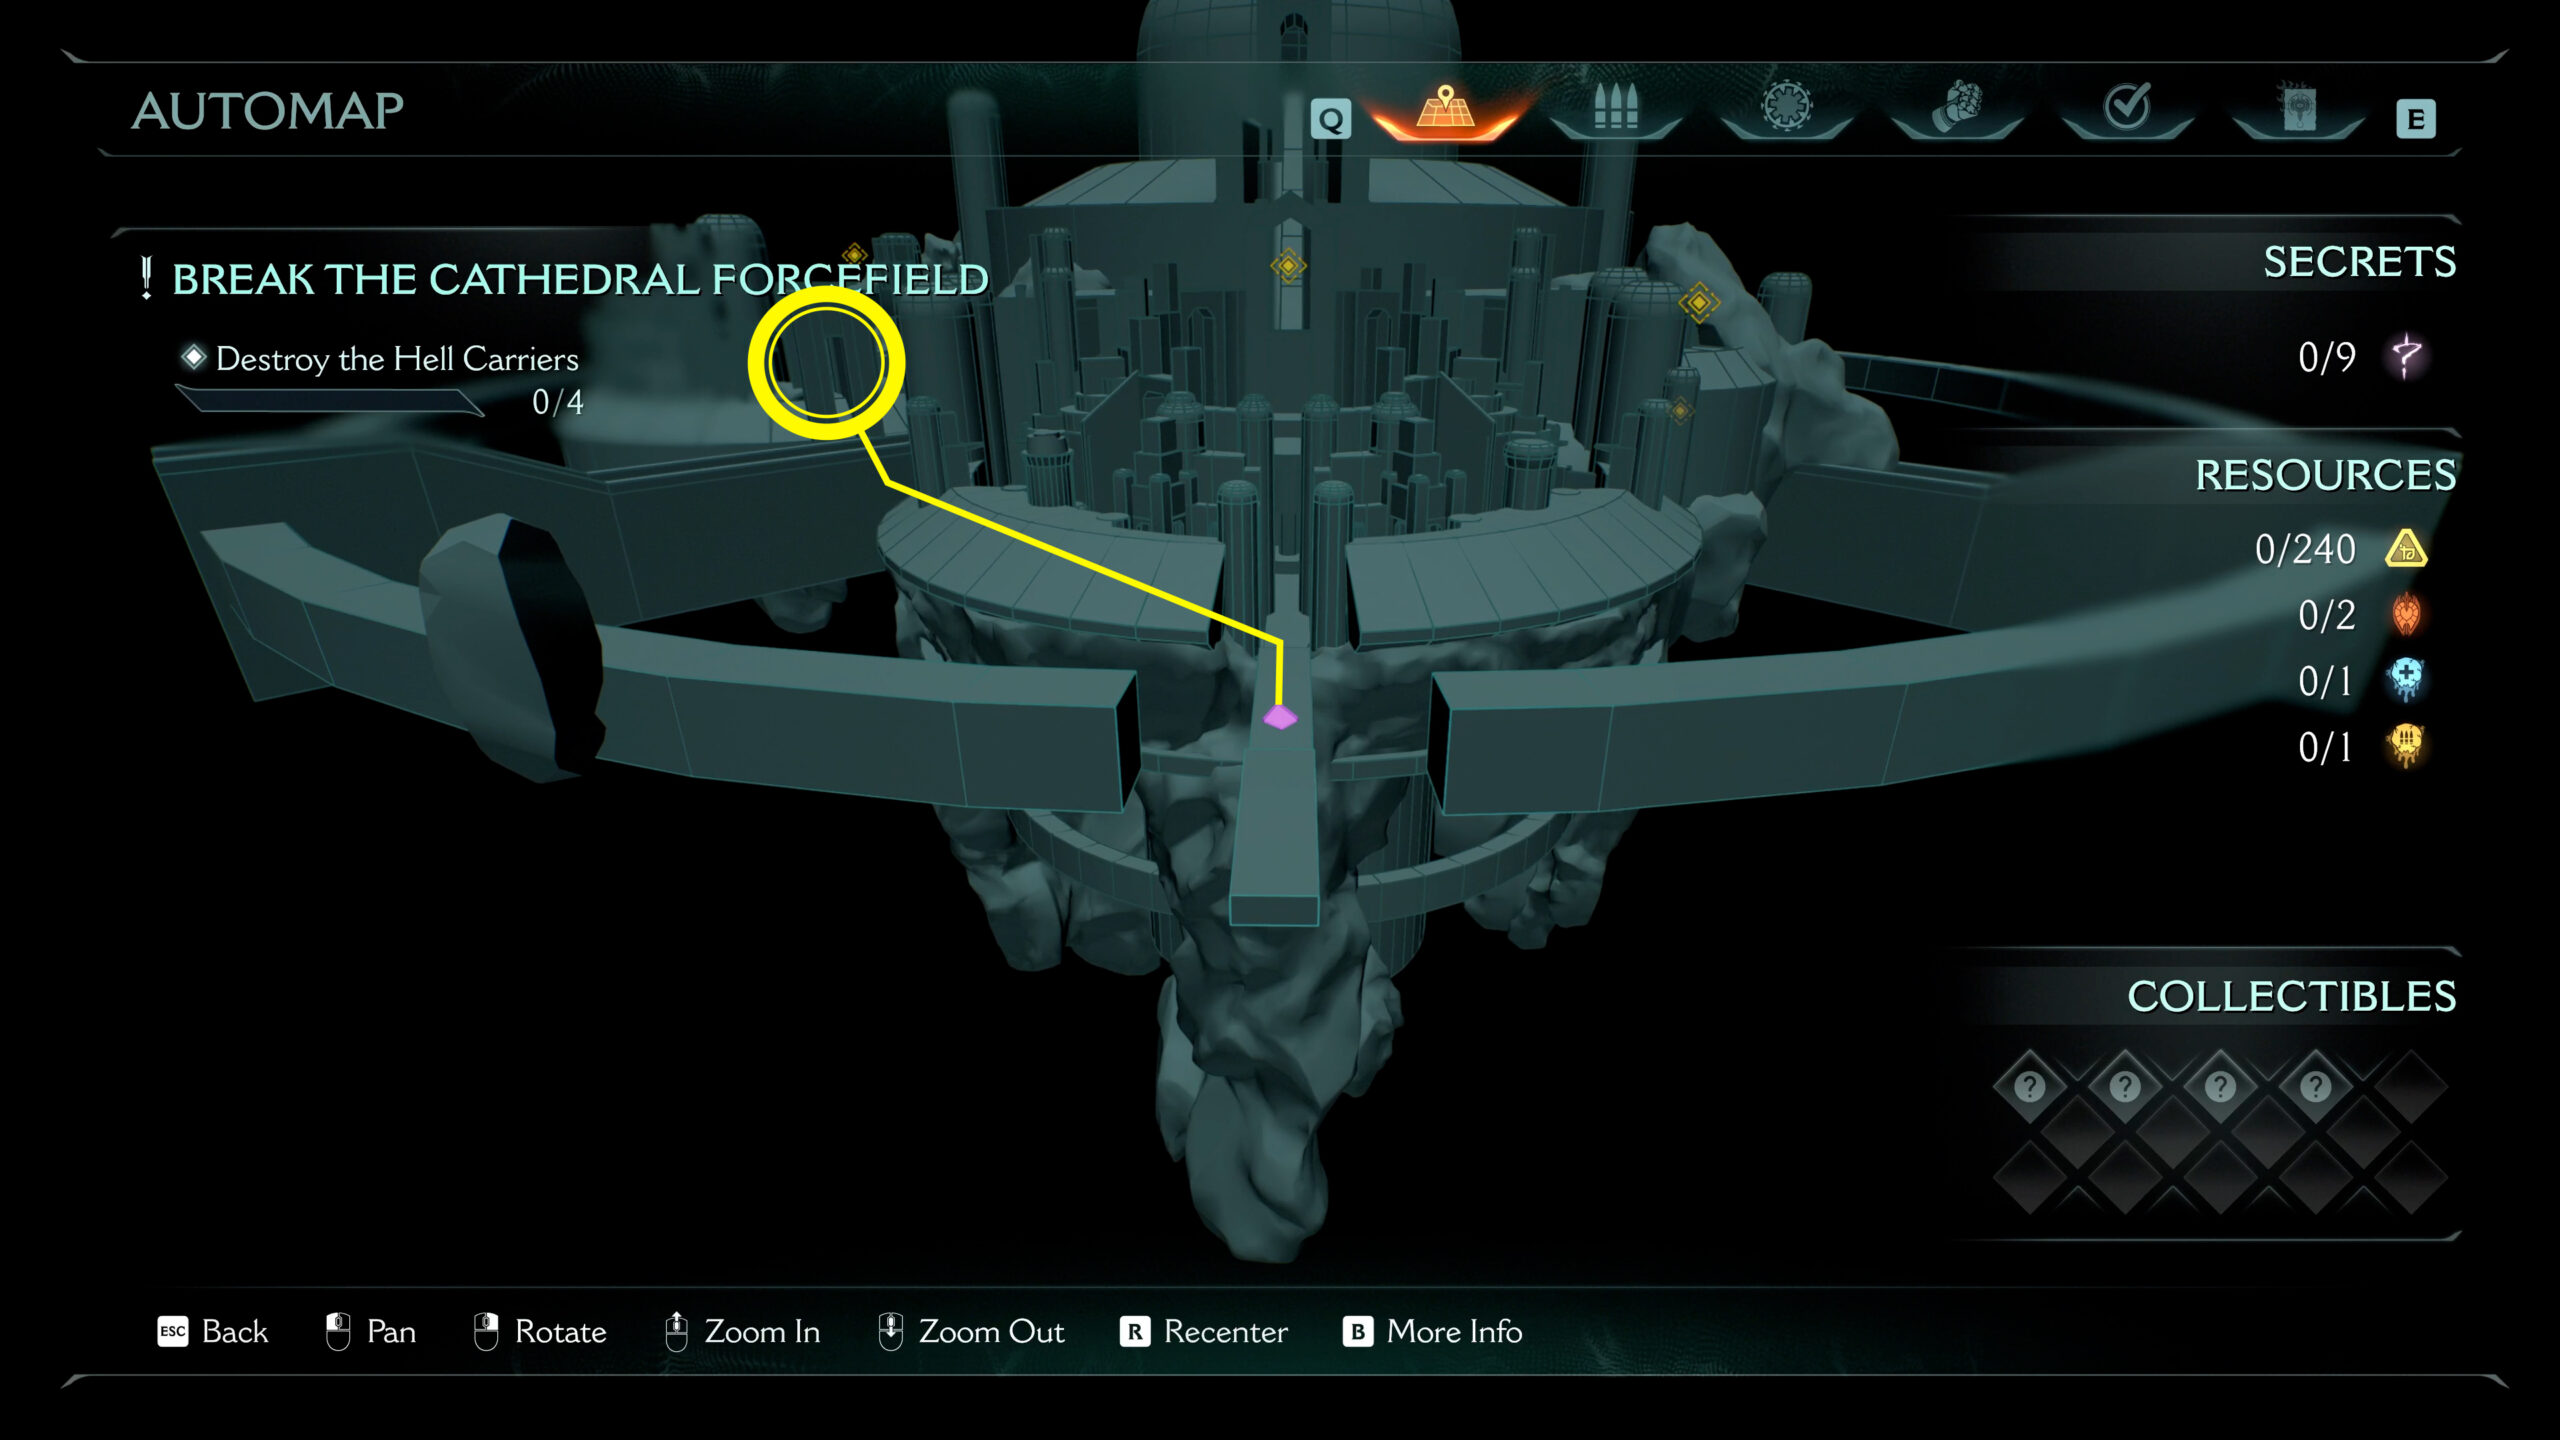
Doom: The Dark Ages is interesting not only for its main mission, but also for its large number of hidden secret locations and various treasures. Today we will analyze all of this in our article. As a result of this guide, you will complete Chapter 5 of The Holy City of Aratum 100% and receive
- Gold: 240
- Ruby: 2
- Demonic Essence – Health: 1
- Demonic Essence – Ammo: 1
- Secrets: 9
- Codex Entries: 2
- Collectible Toys: 1
- Skins: 1
- Quests: 3
Сhallenges: Countercult, Layover, Cat and Mouse
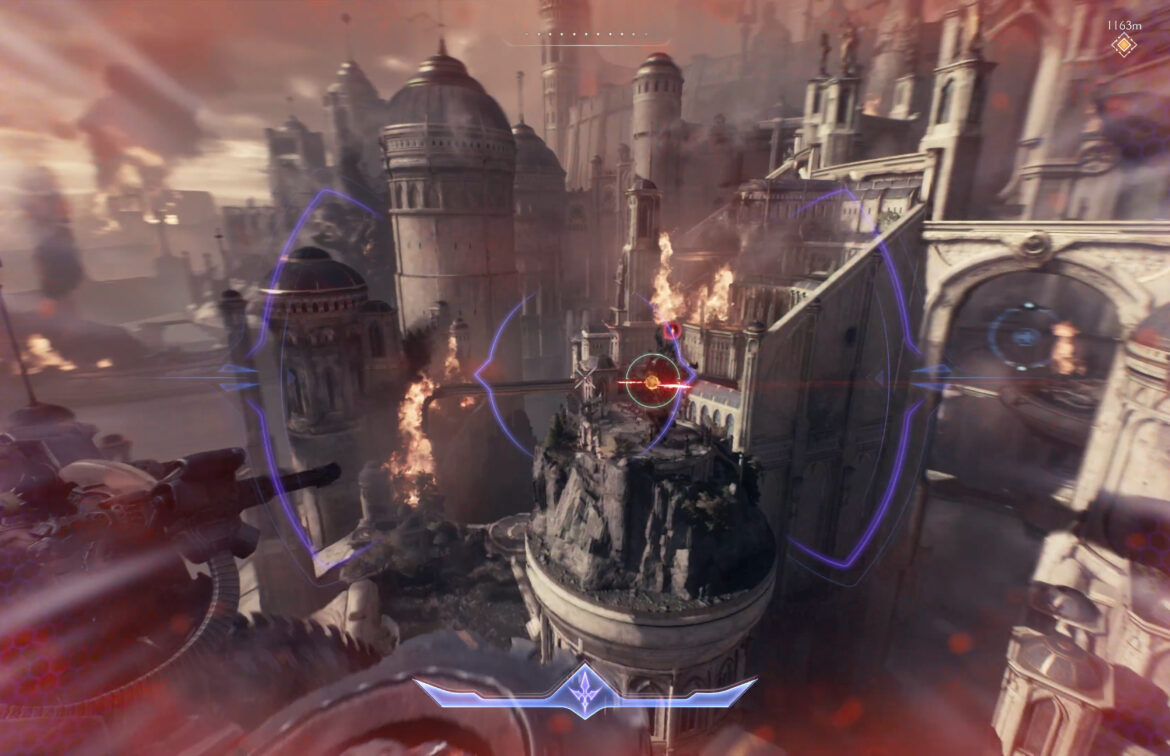
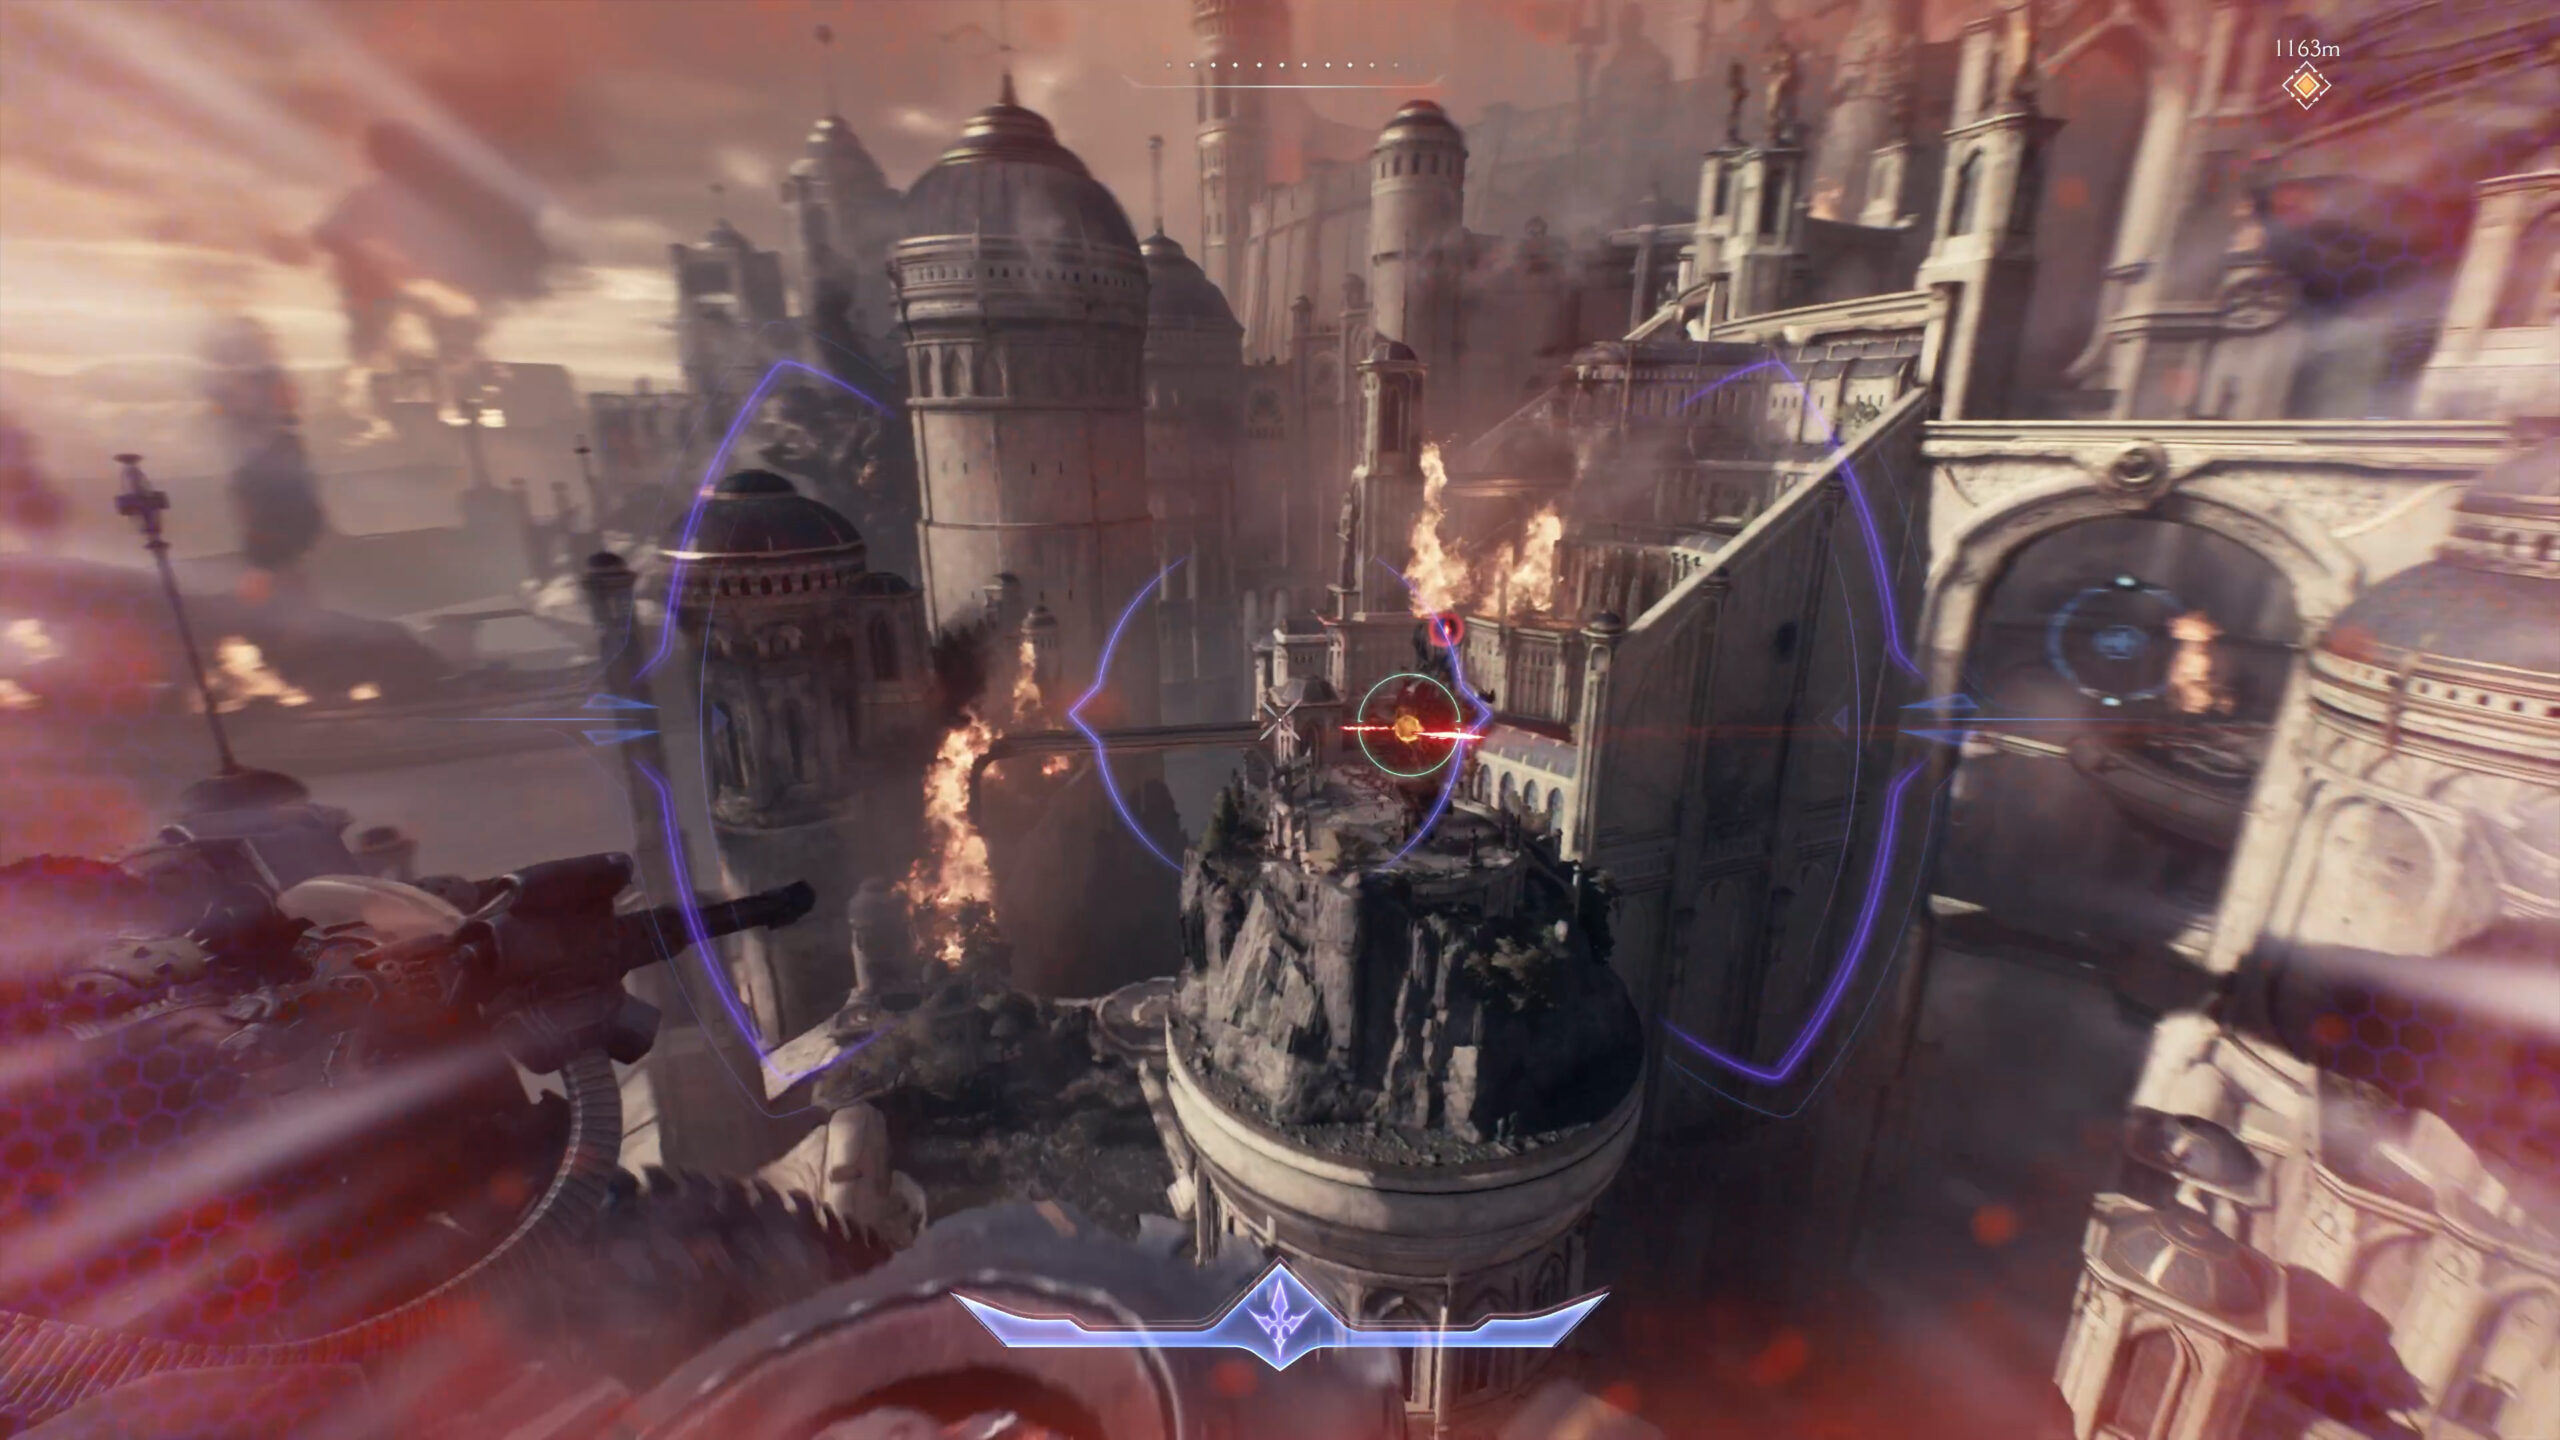
First, I will tell you about the challenges available to you at this level. The first one is called Countercult. You need to find and destroy three cultist circles. The next challenge is called Layover. Here, your character must land their dragons in two secret locations. I will also show you where they are located. The third challenge is called Cat and Mouse. You need to catch up with and destroy 3 Hell Fighter ships. We will also talk about this in the video, and I will gradually show you where to find them.

Cat and Mouse Hell Fighter #1
At the beginning of the level, you will undergo further training. You will need to destroy 5 turrets. After that, as part of your training, you will chase the first Hell Fighter. Catch up and shoot it down.

Layover challenge secret landing #1
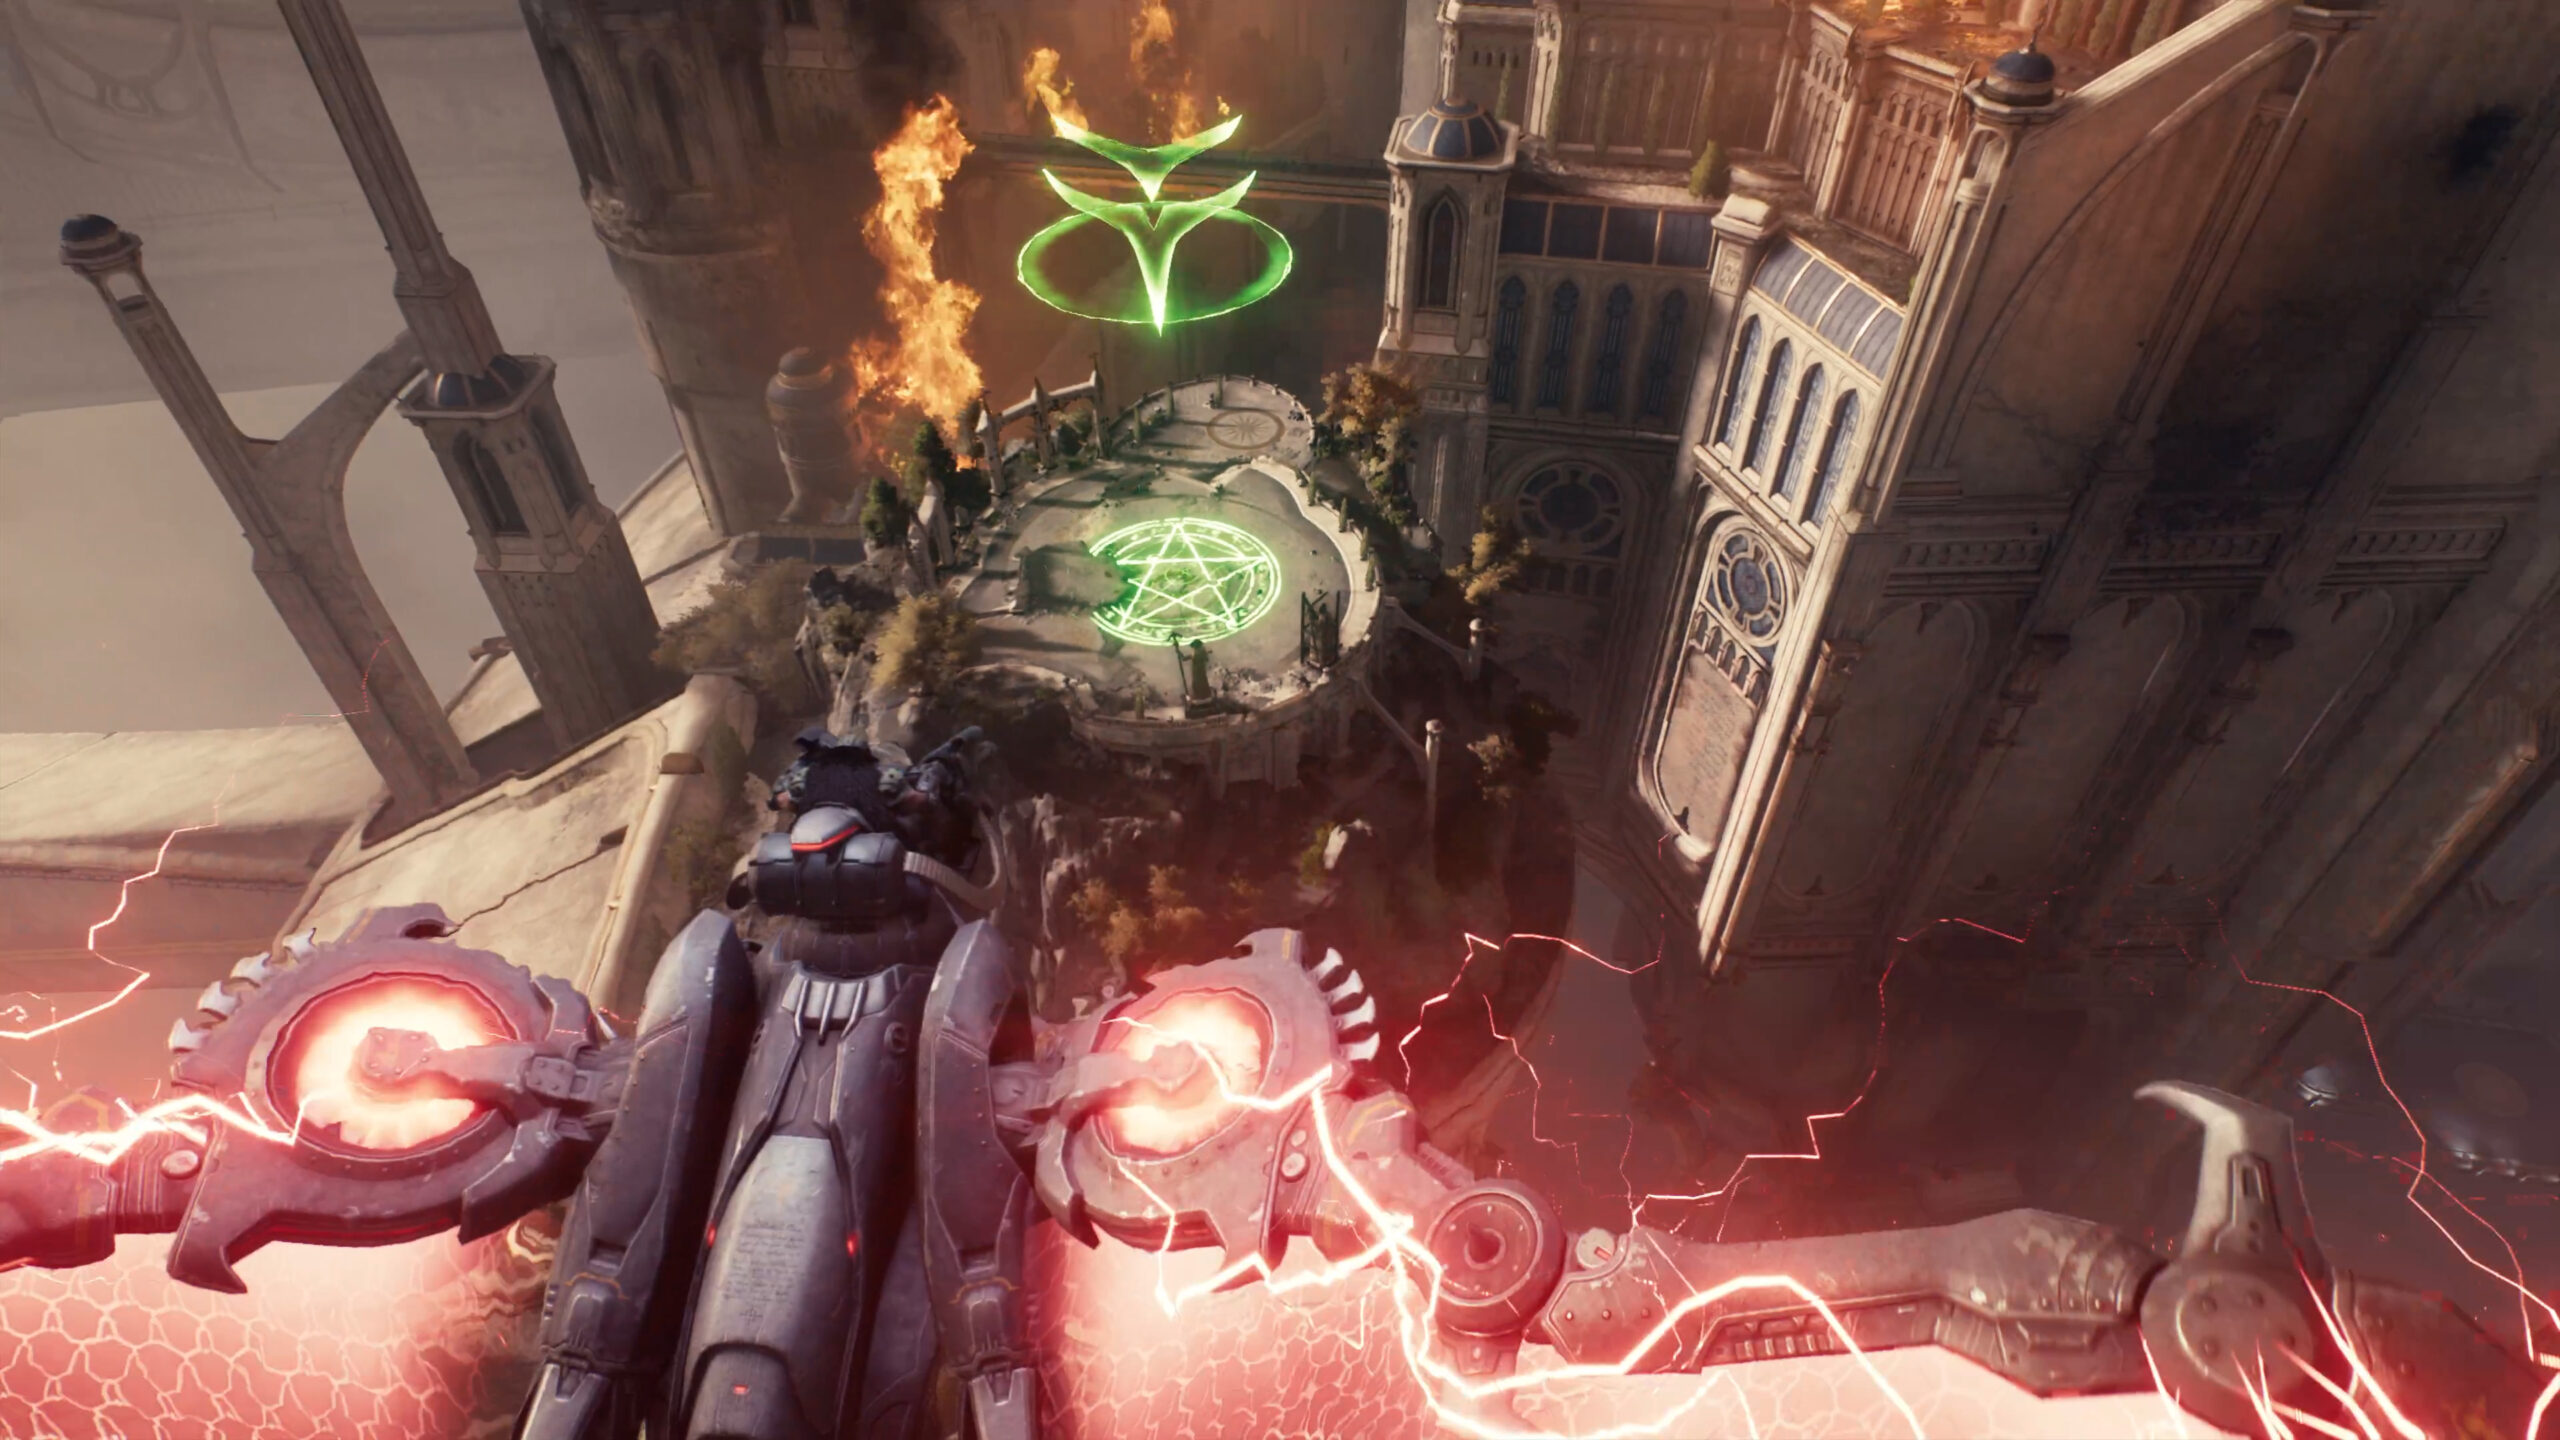
As soon as you fly into the Holy City of Aratum, look to your left. Here you will see a huge demon on one of the towers. You must defeat this demon. Then a platform will appear where you can land your dragon. This is the first location for the Layover challenge. Let’s explore this area, there are several treasures here for you.
-
- Layover challenge secret landing #1
-
- Huge demon on one of the towers
-
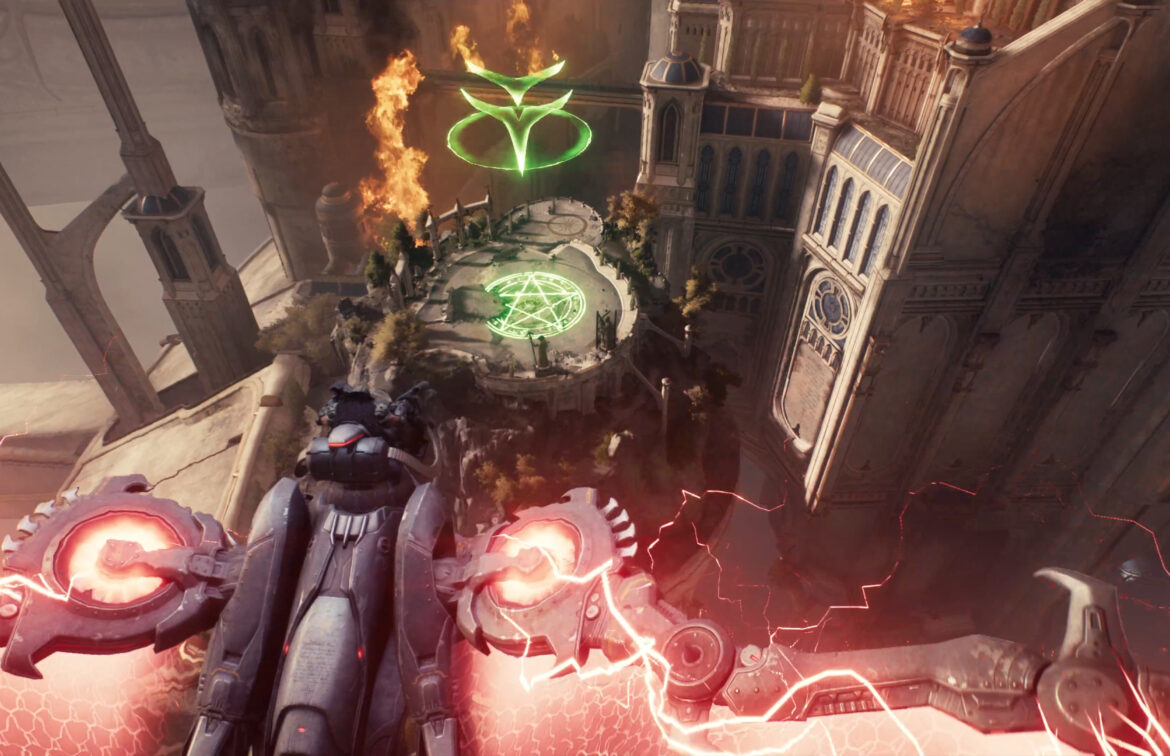
- First location for the Layover challenge
Demonic essence – Health
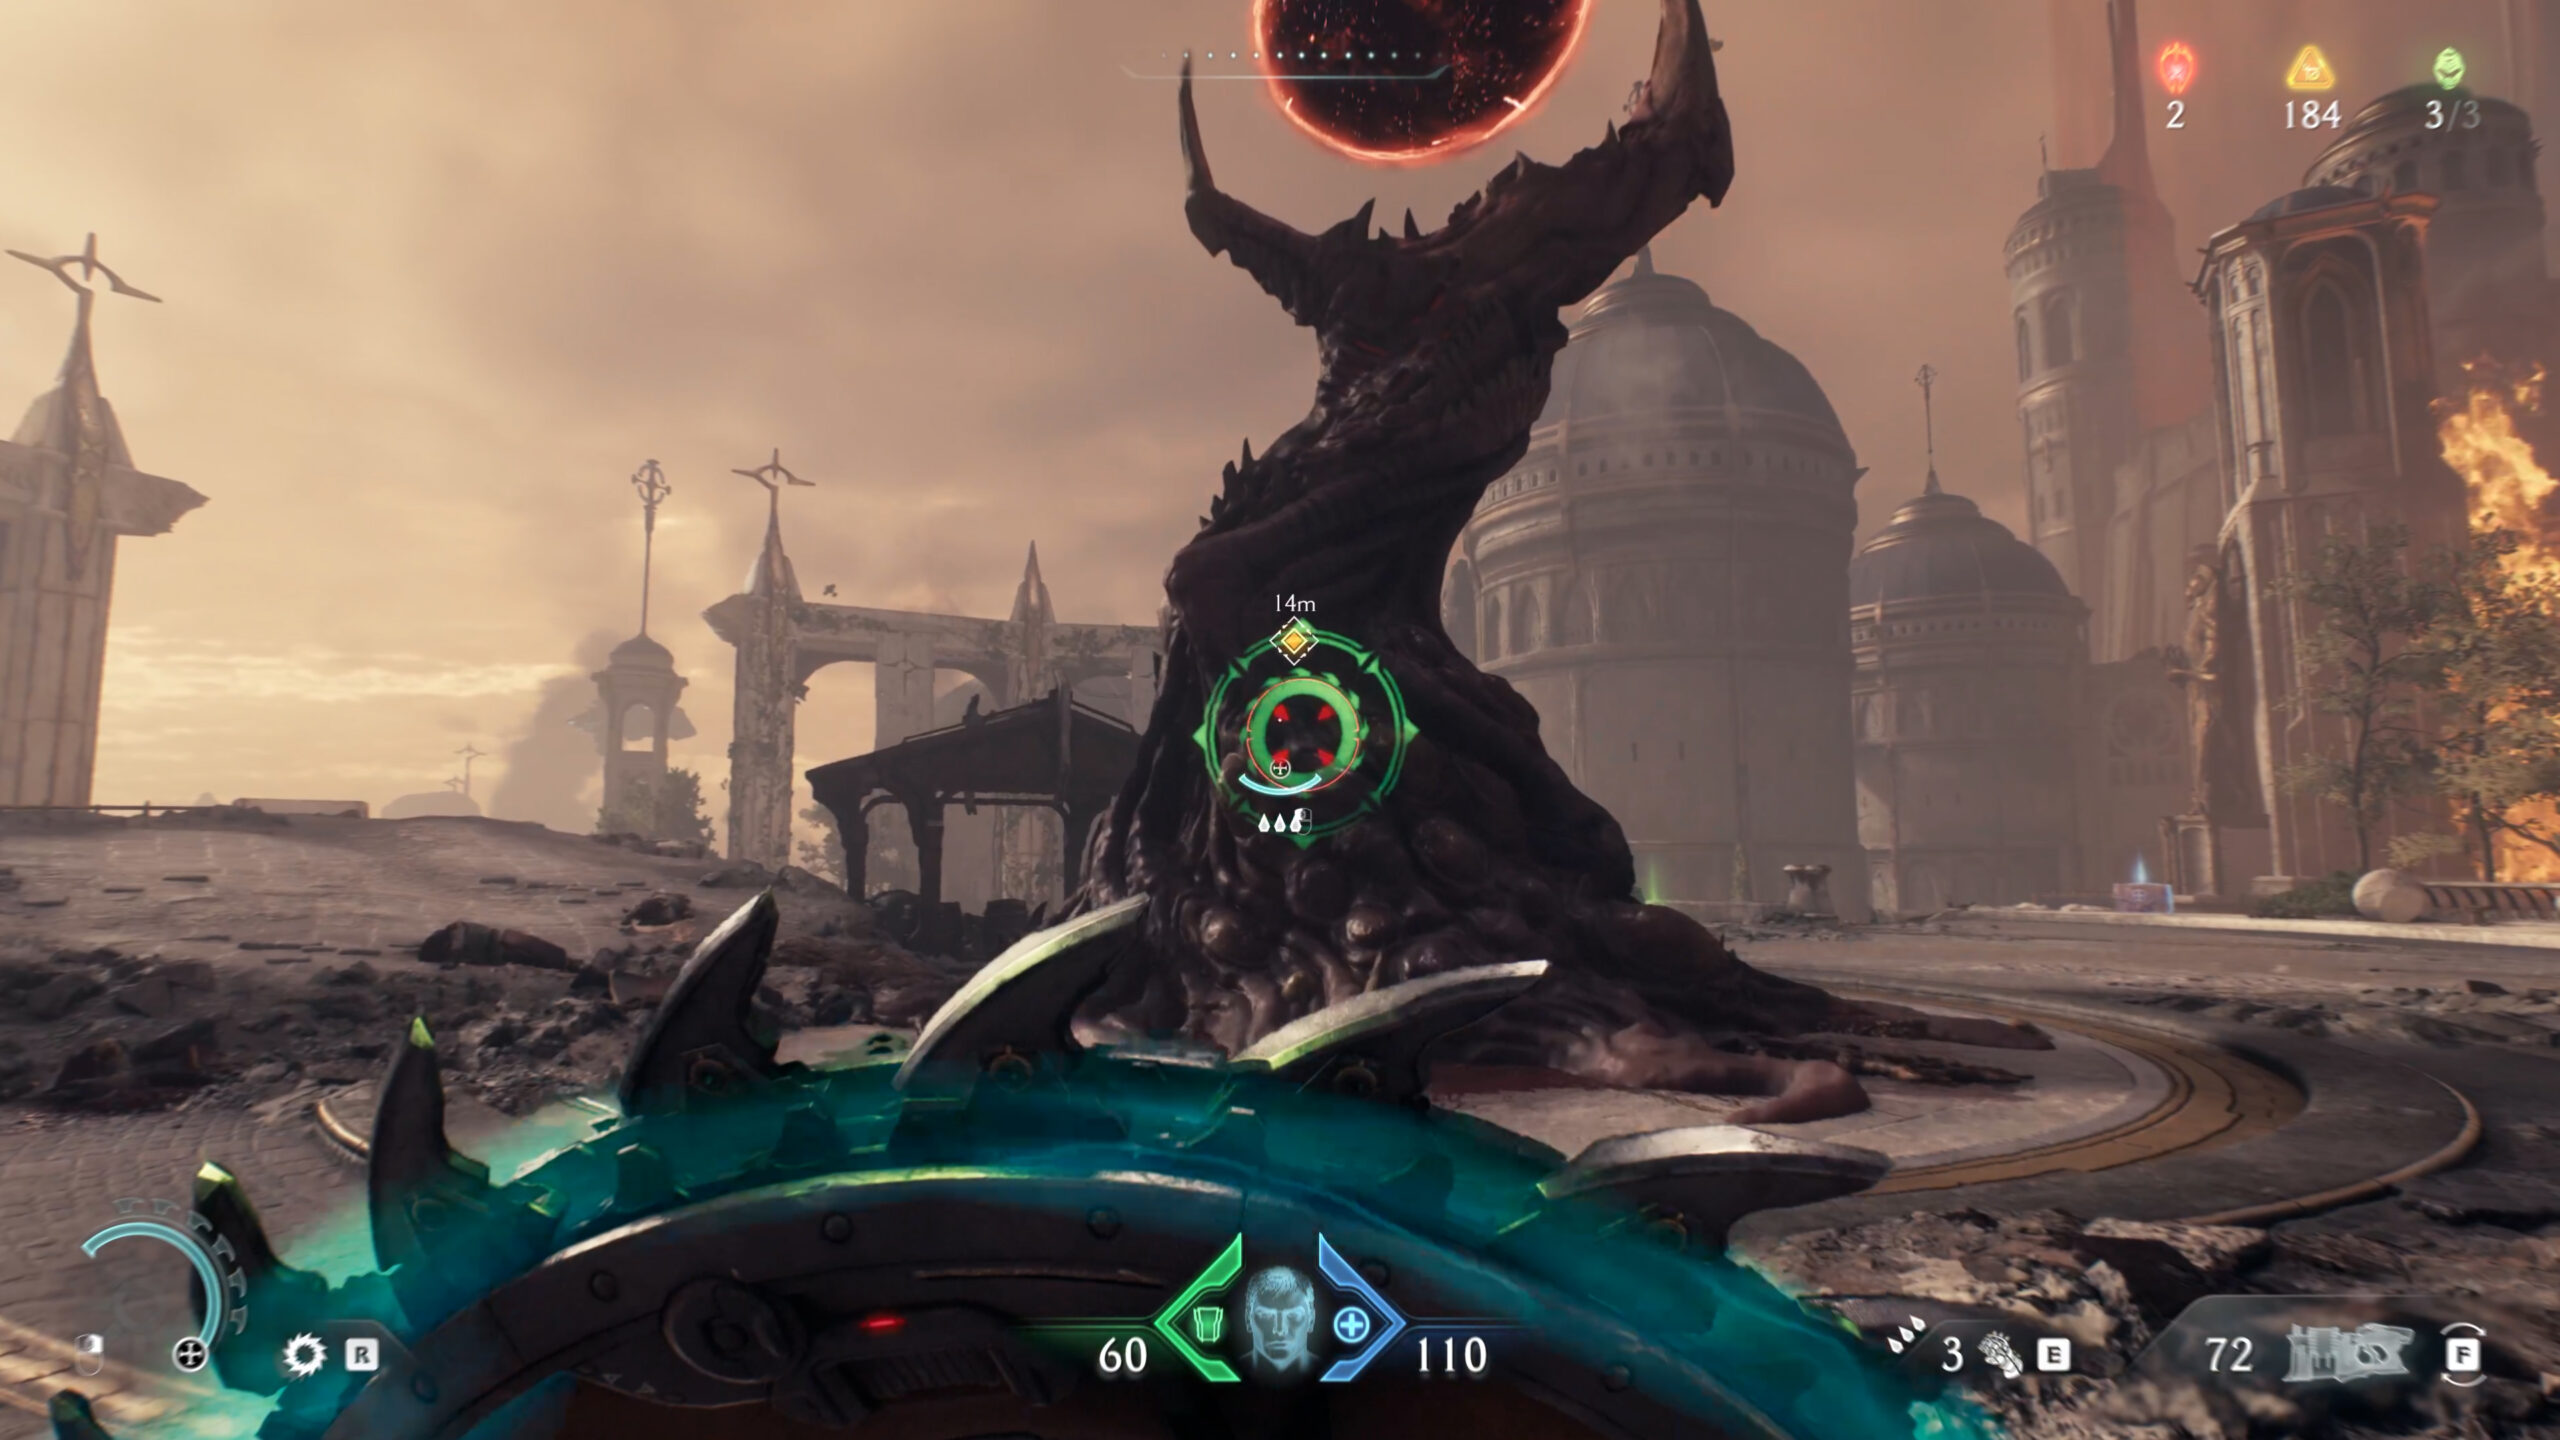
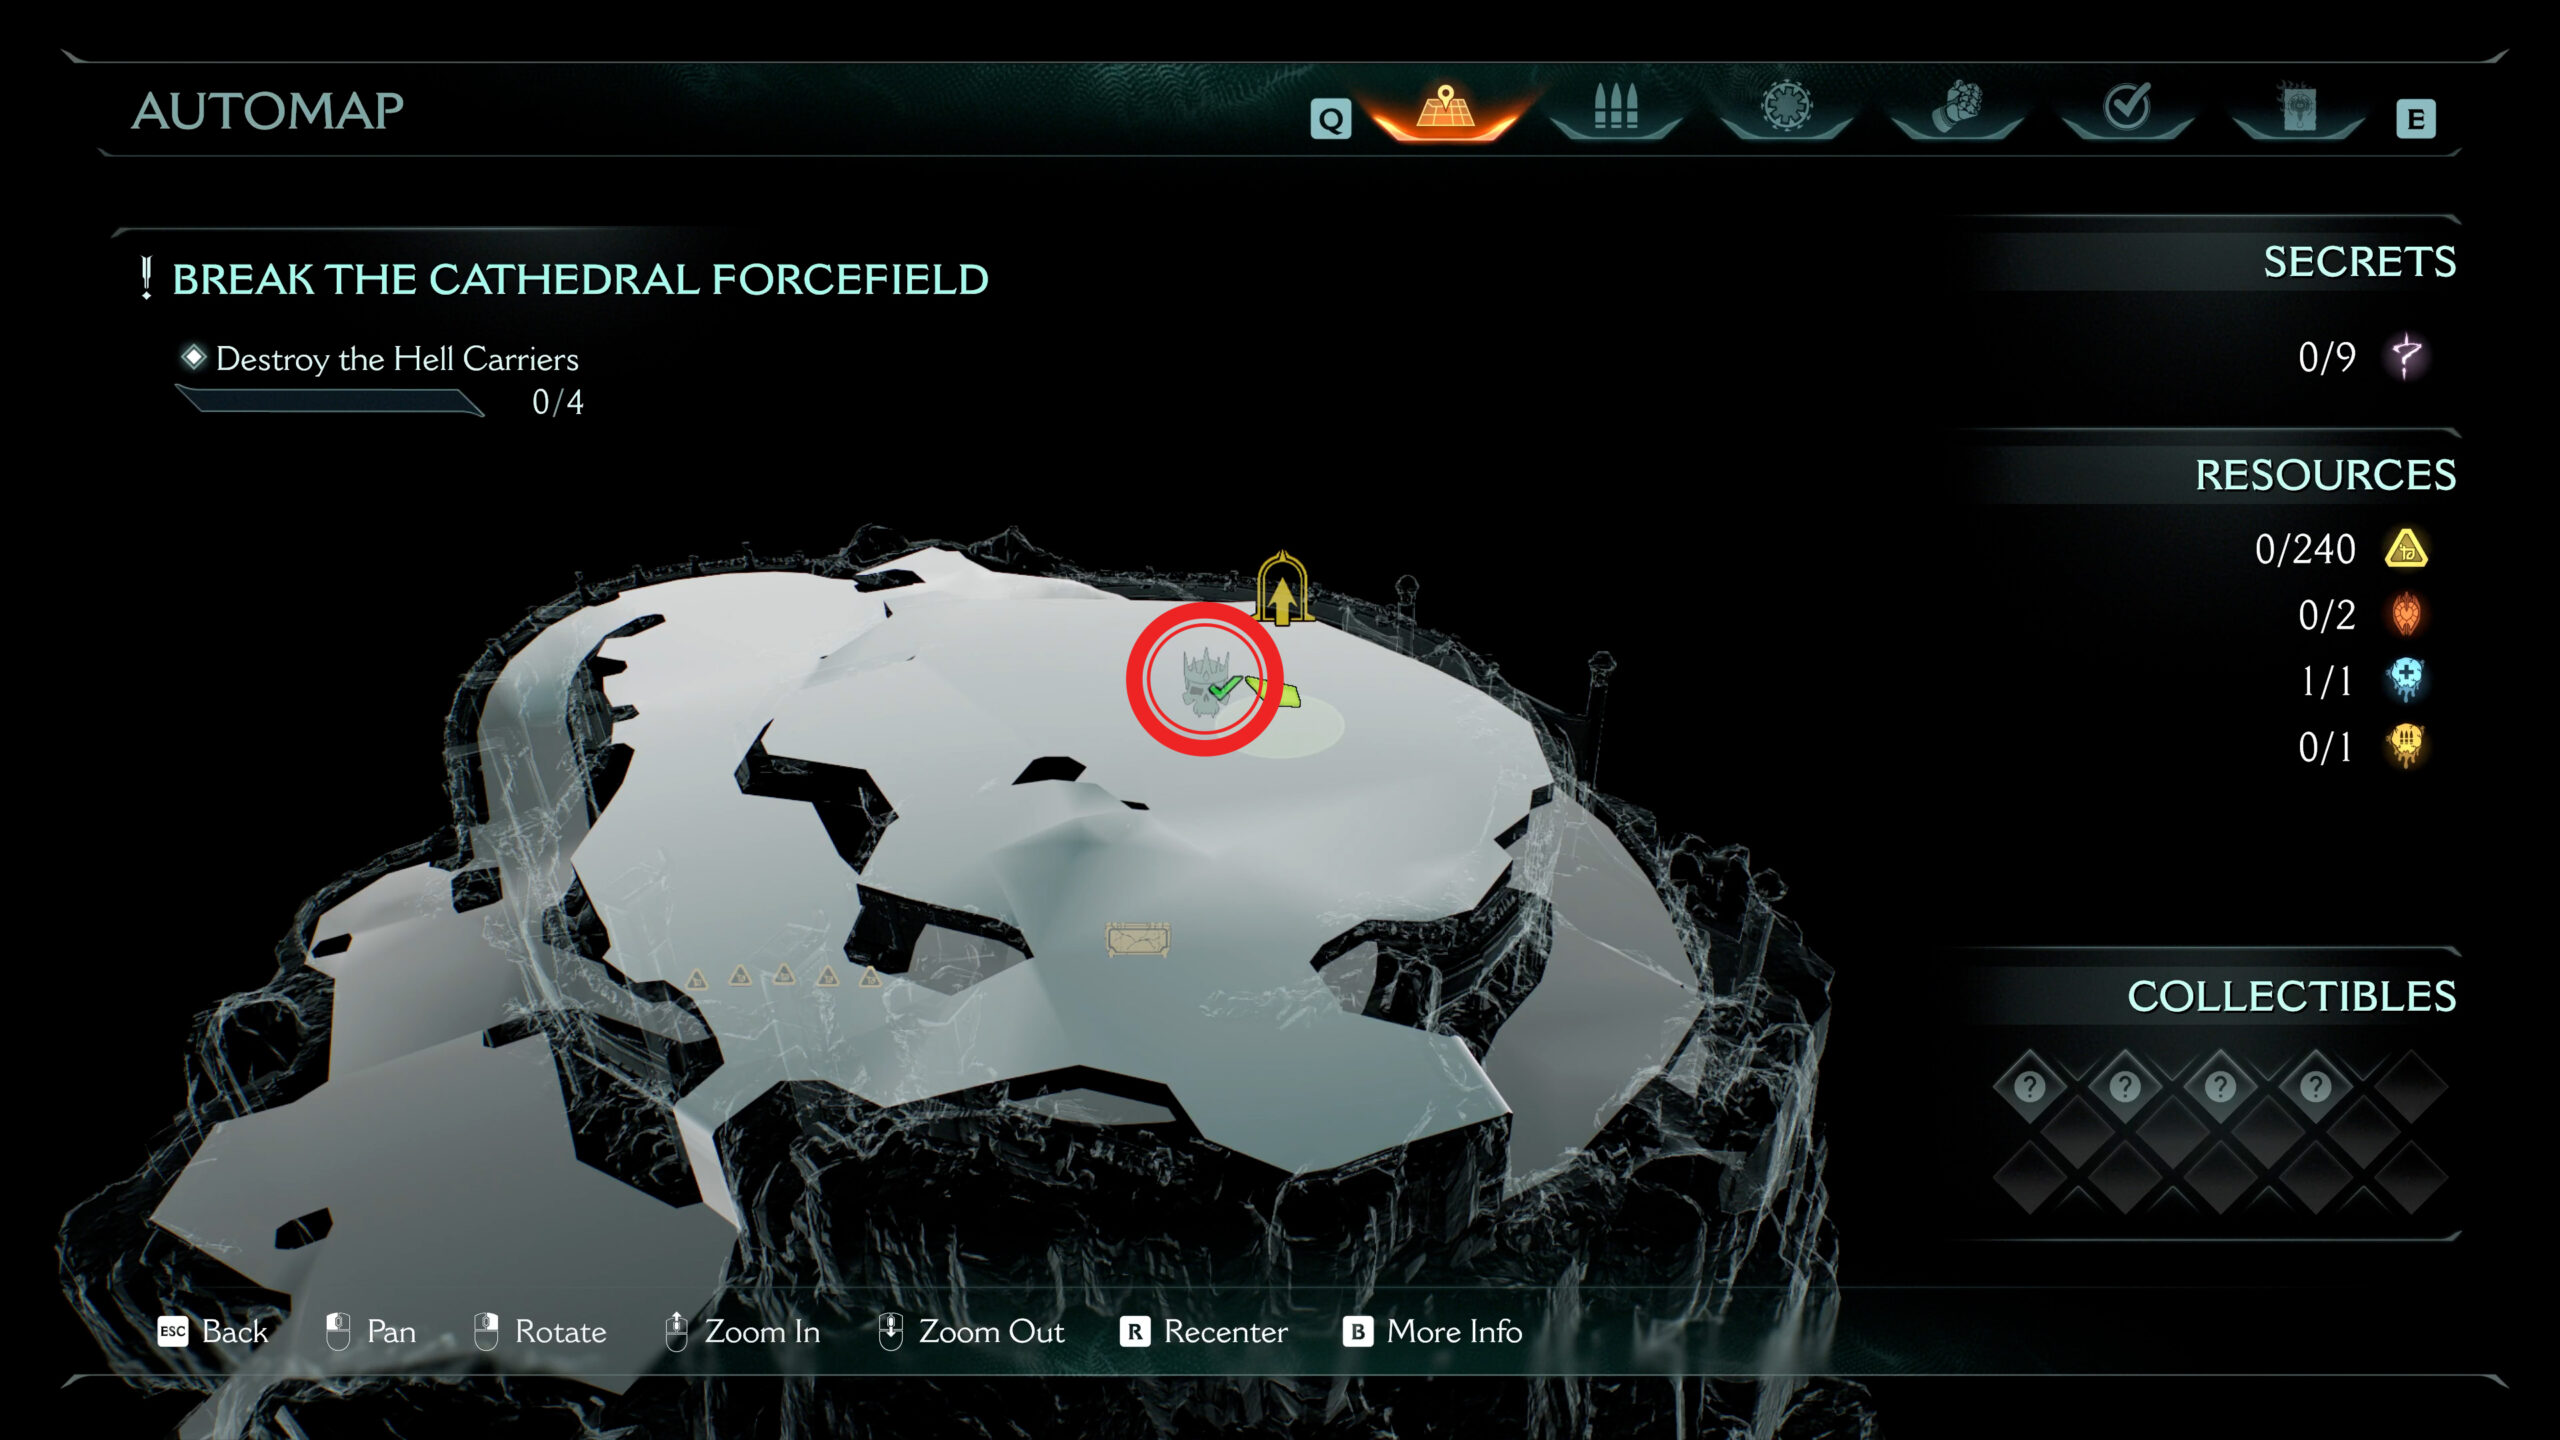
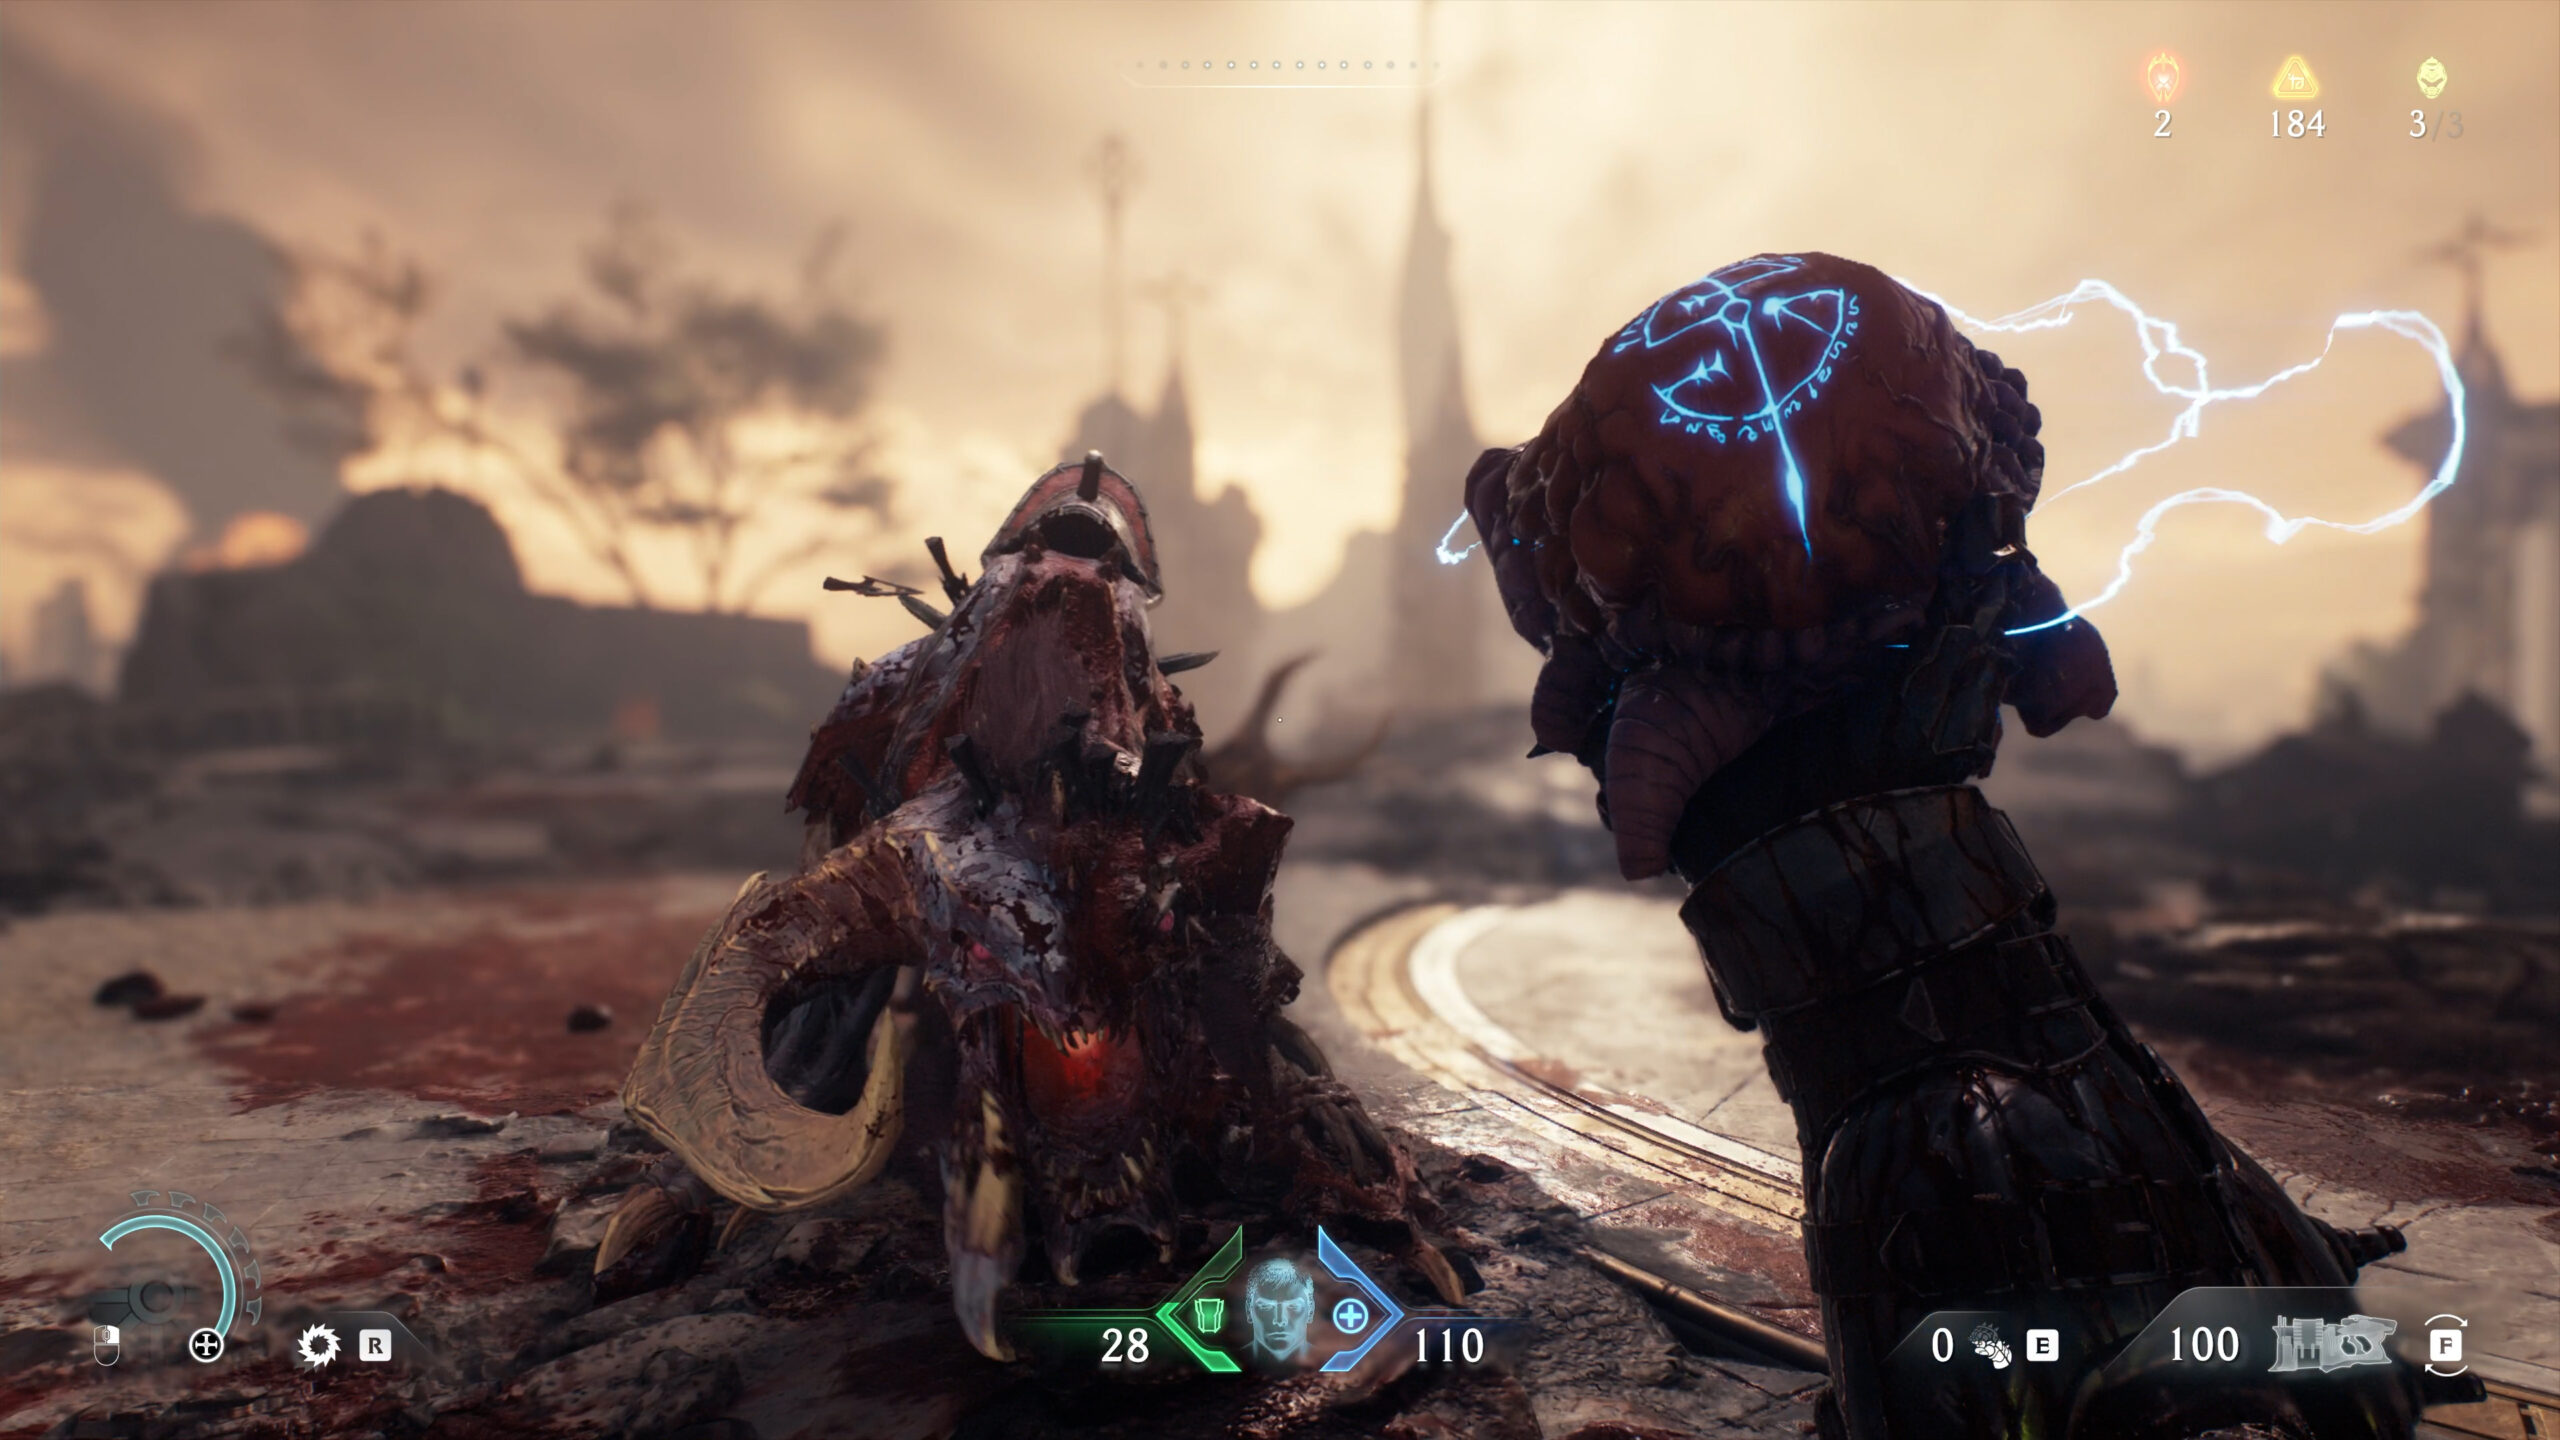
In the center of the area, you will see a tree. As soon as you break it with your shield, monsters will begin to appear. You must destroy them all, and only then will the leader of this pack appear in this location. After defeating him, you will receive Demonic essence – Health. But don’t rush to get on the dragon and fly away.
-
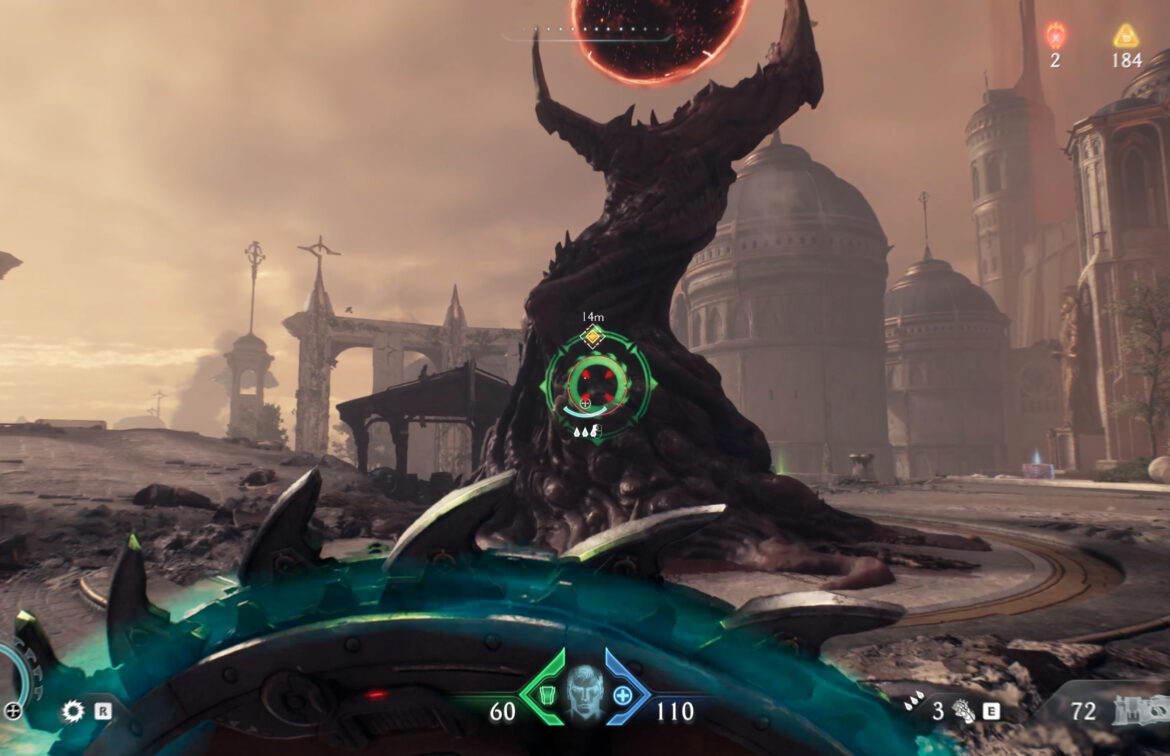
- A tree that must be broken with a shield
-
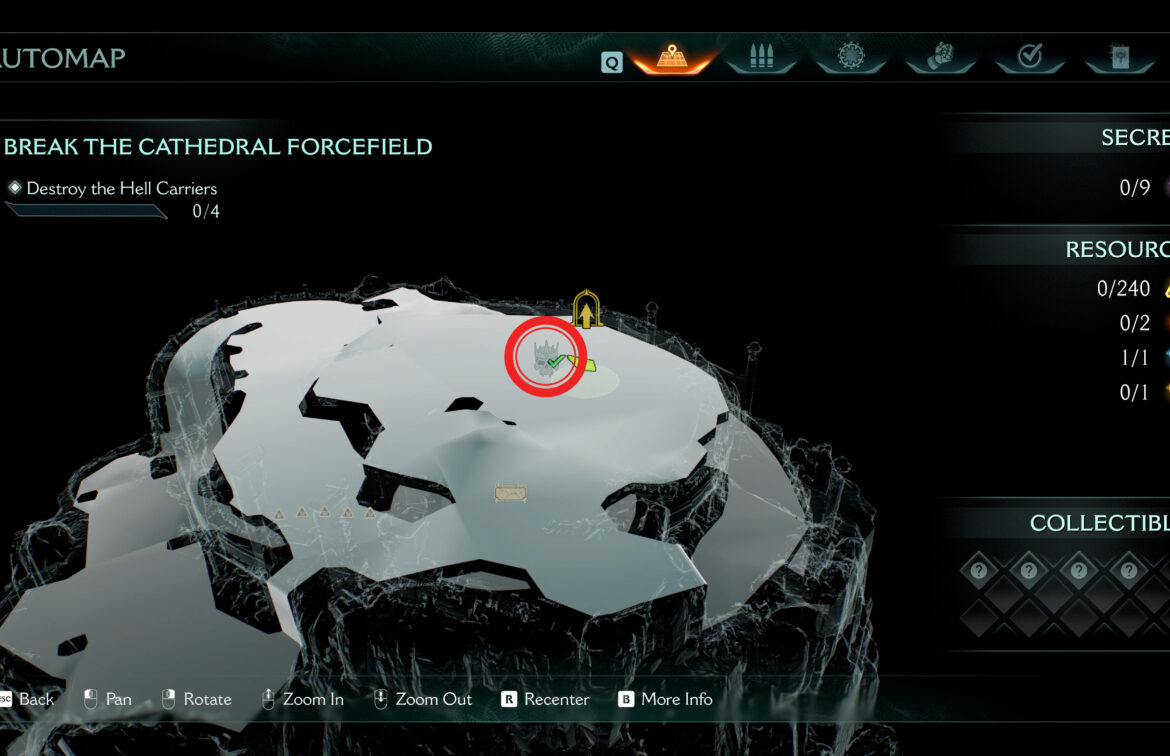
- Location on map Demonic essence
-
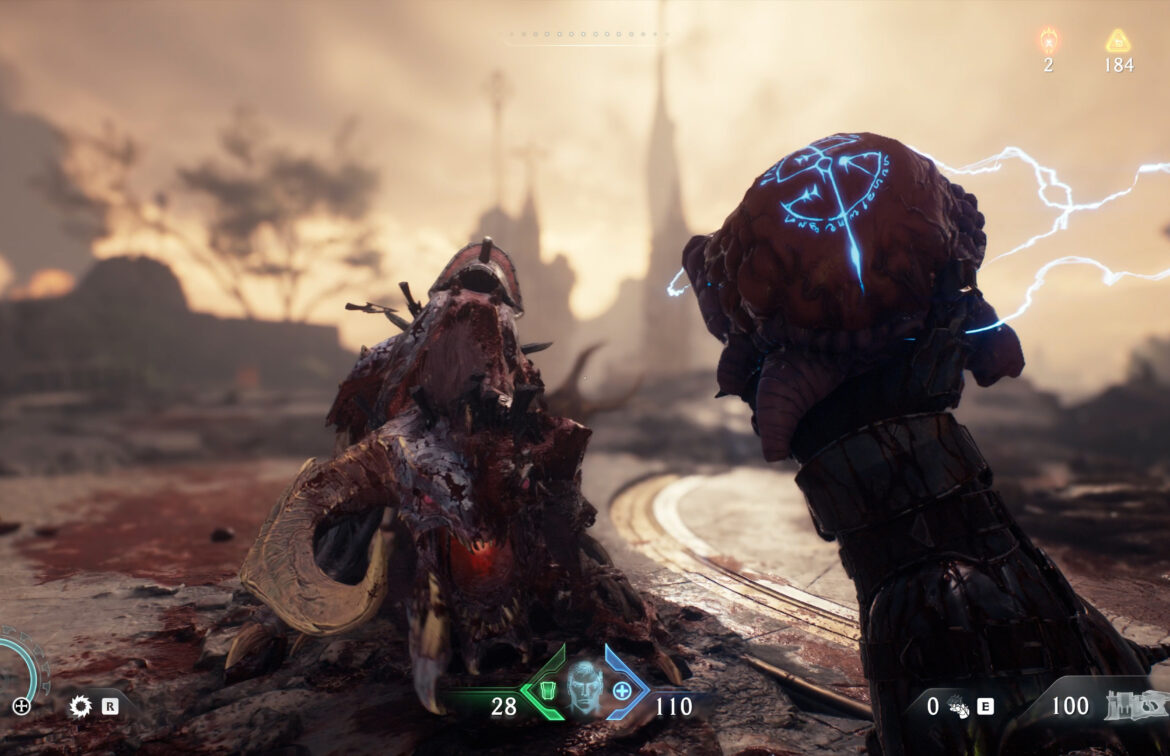
- Demonic essence – Health
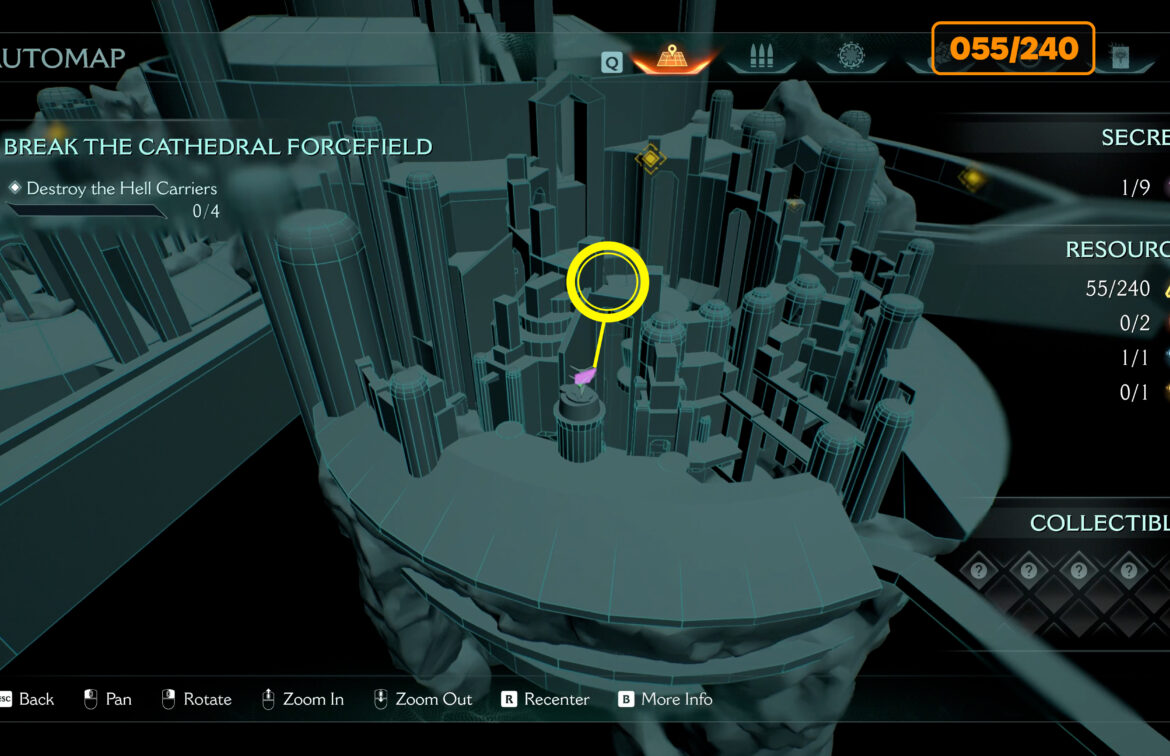
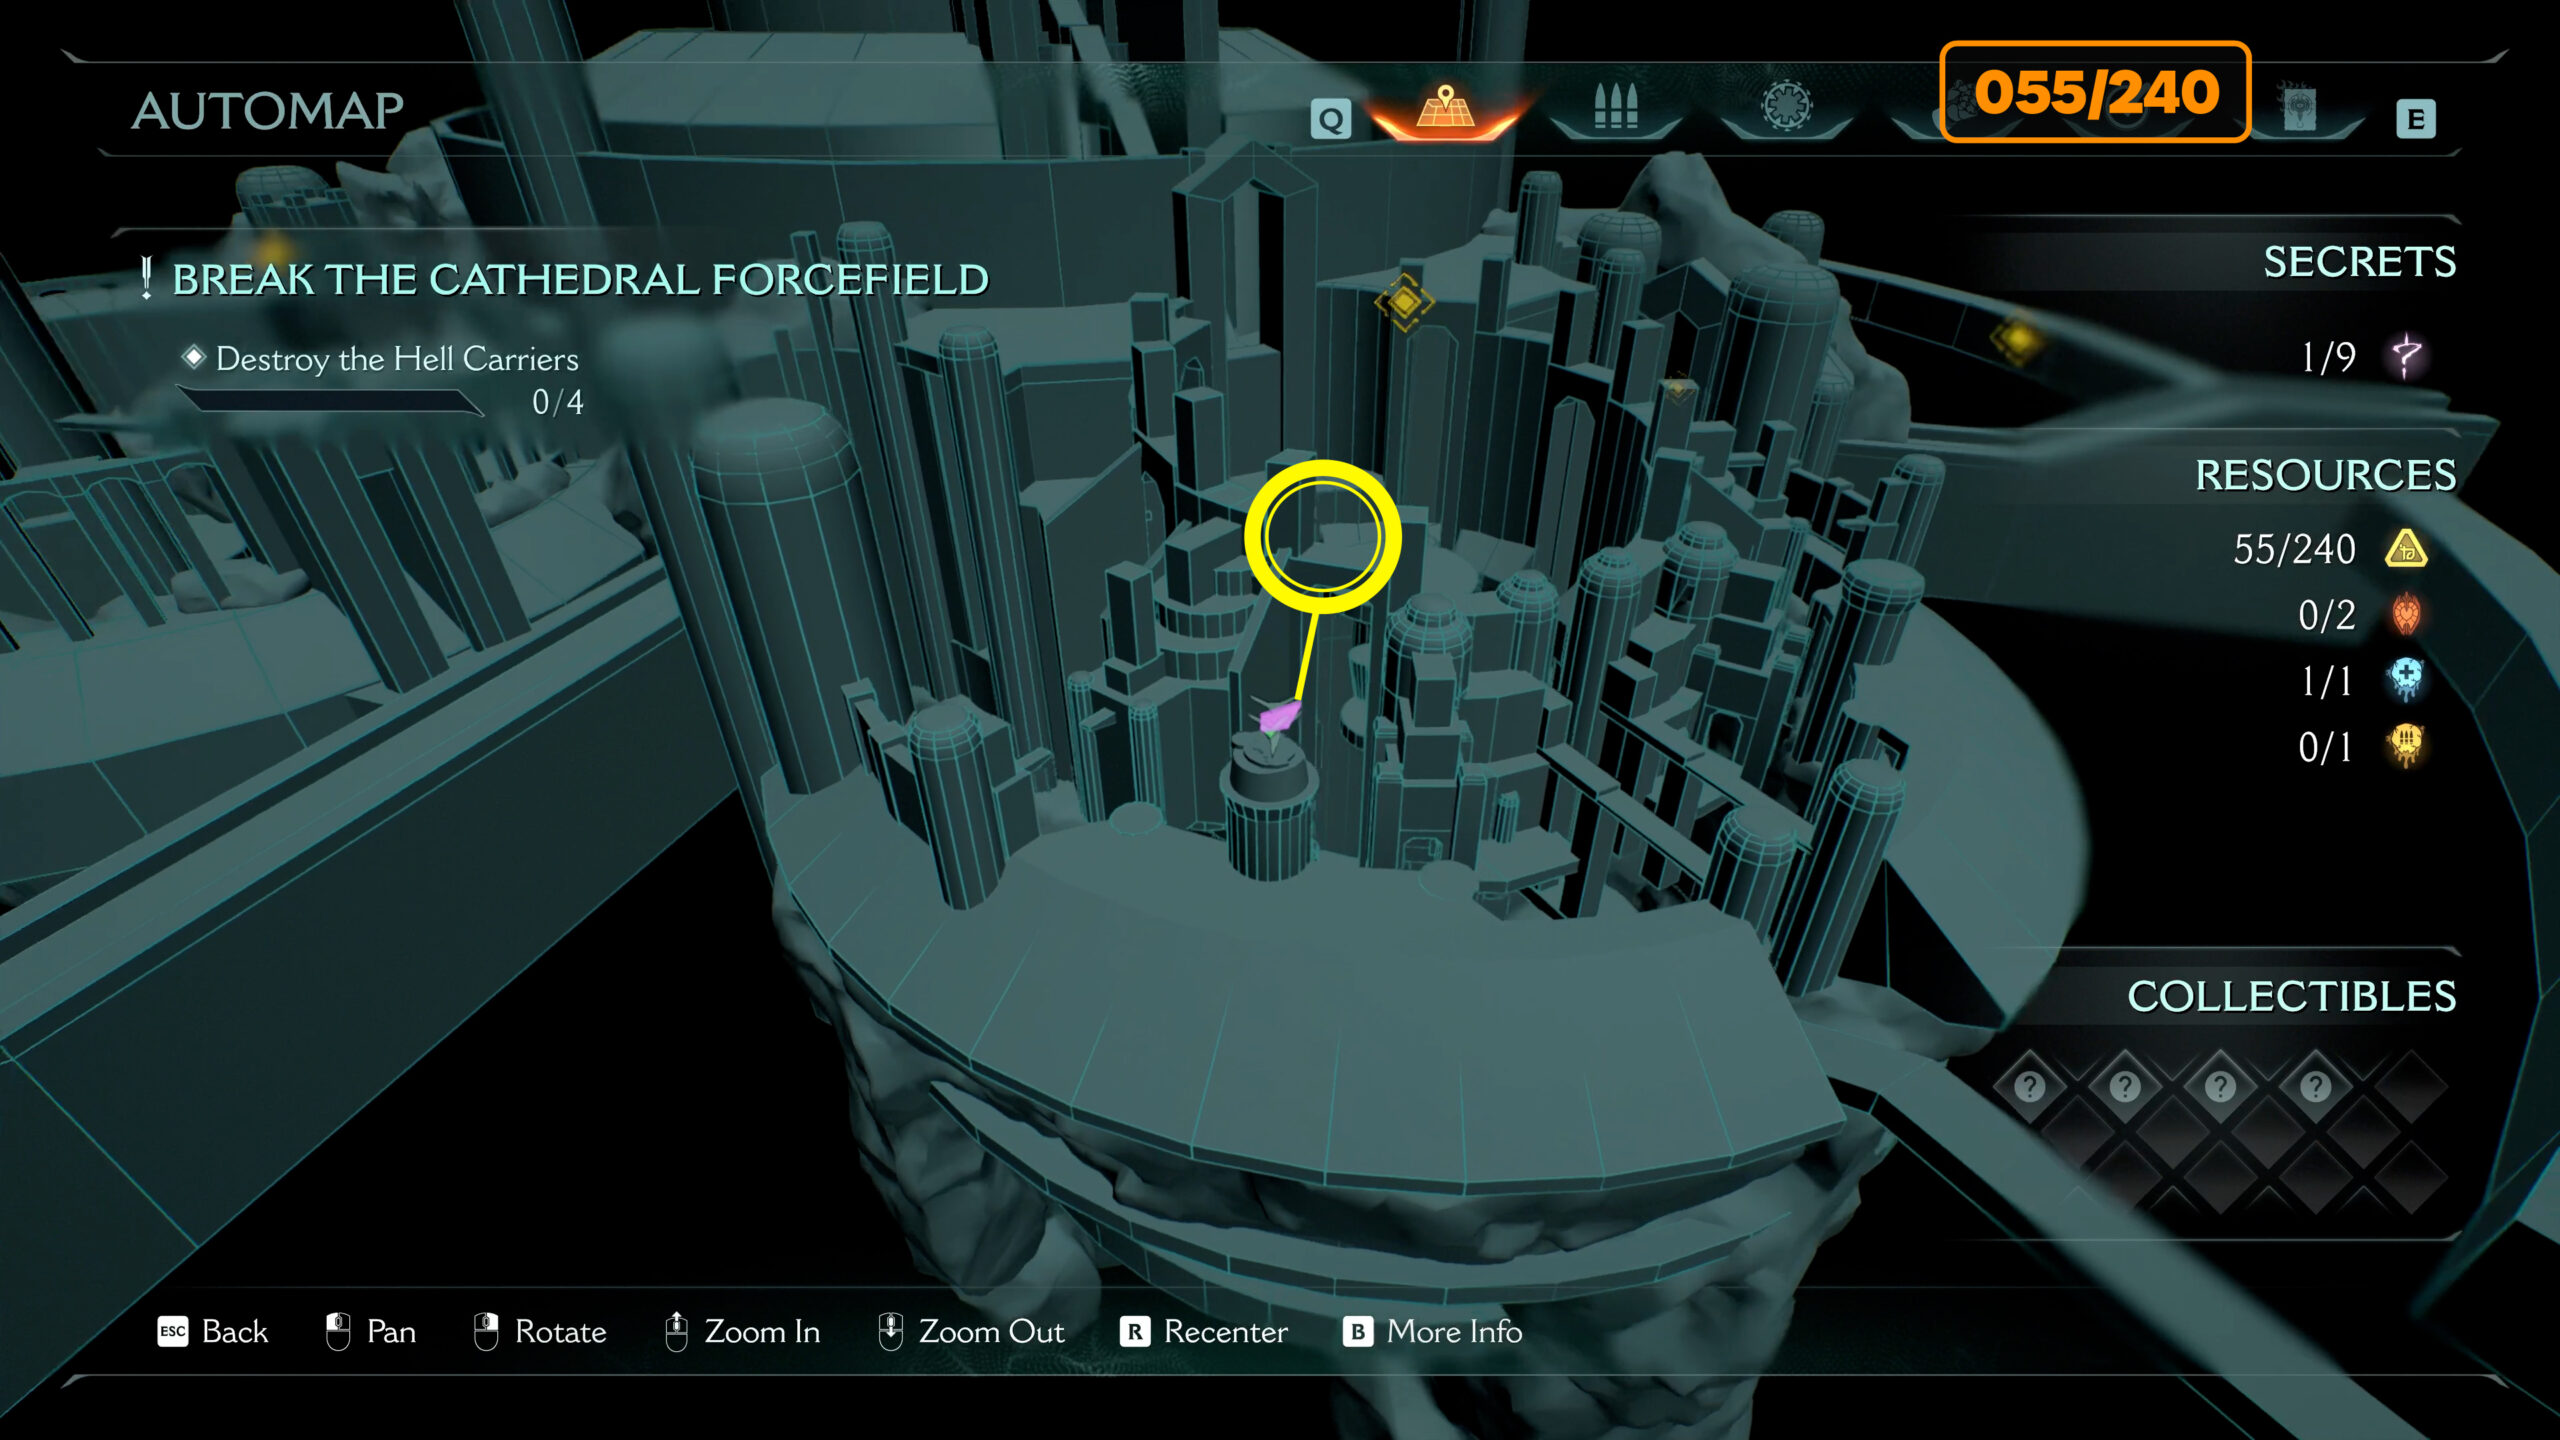
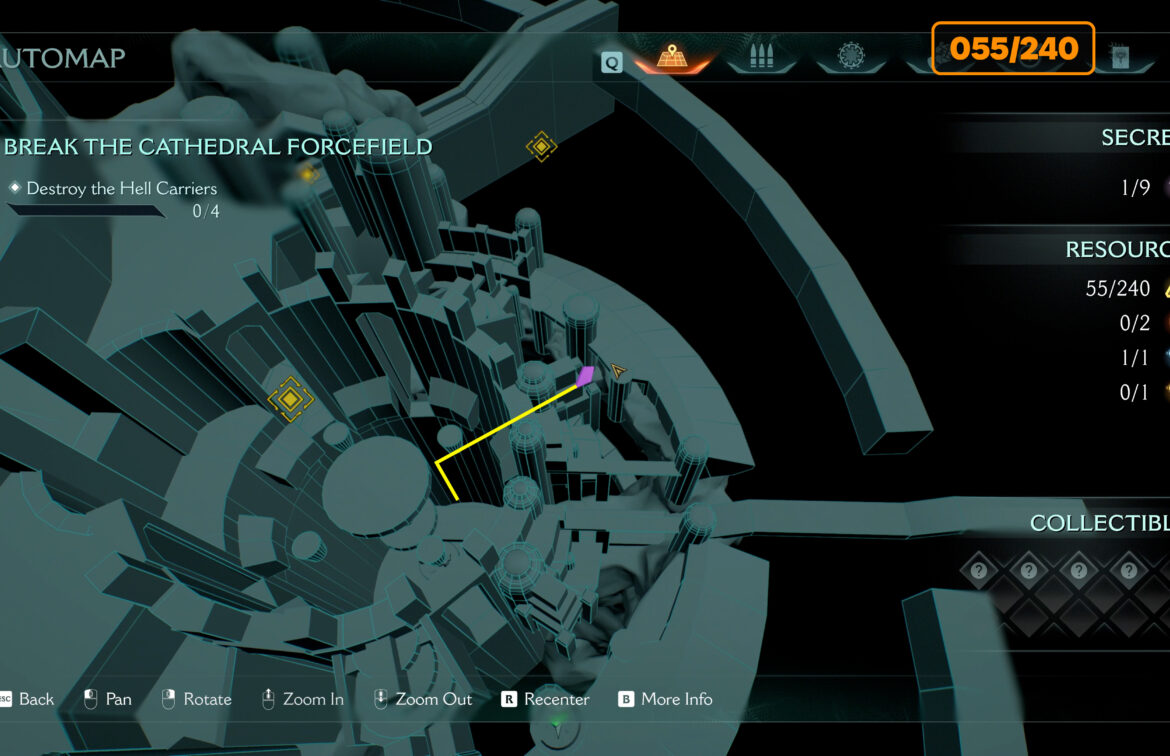
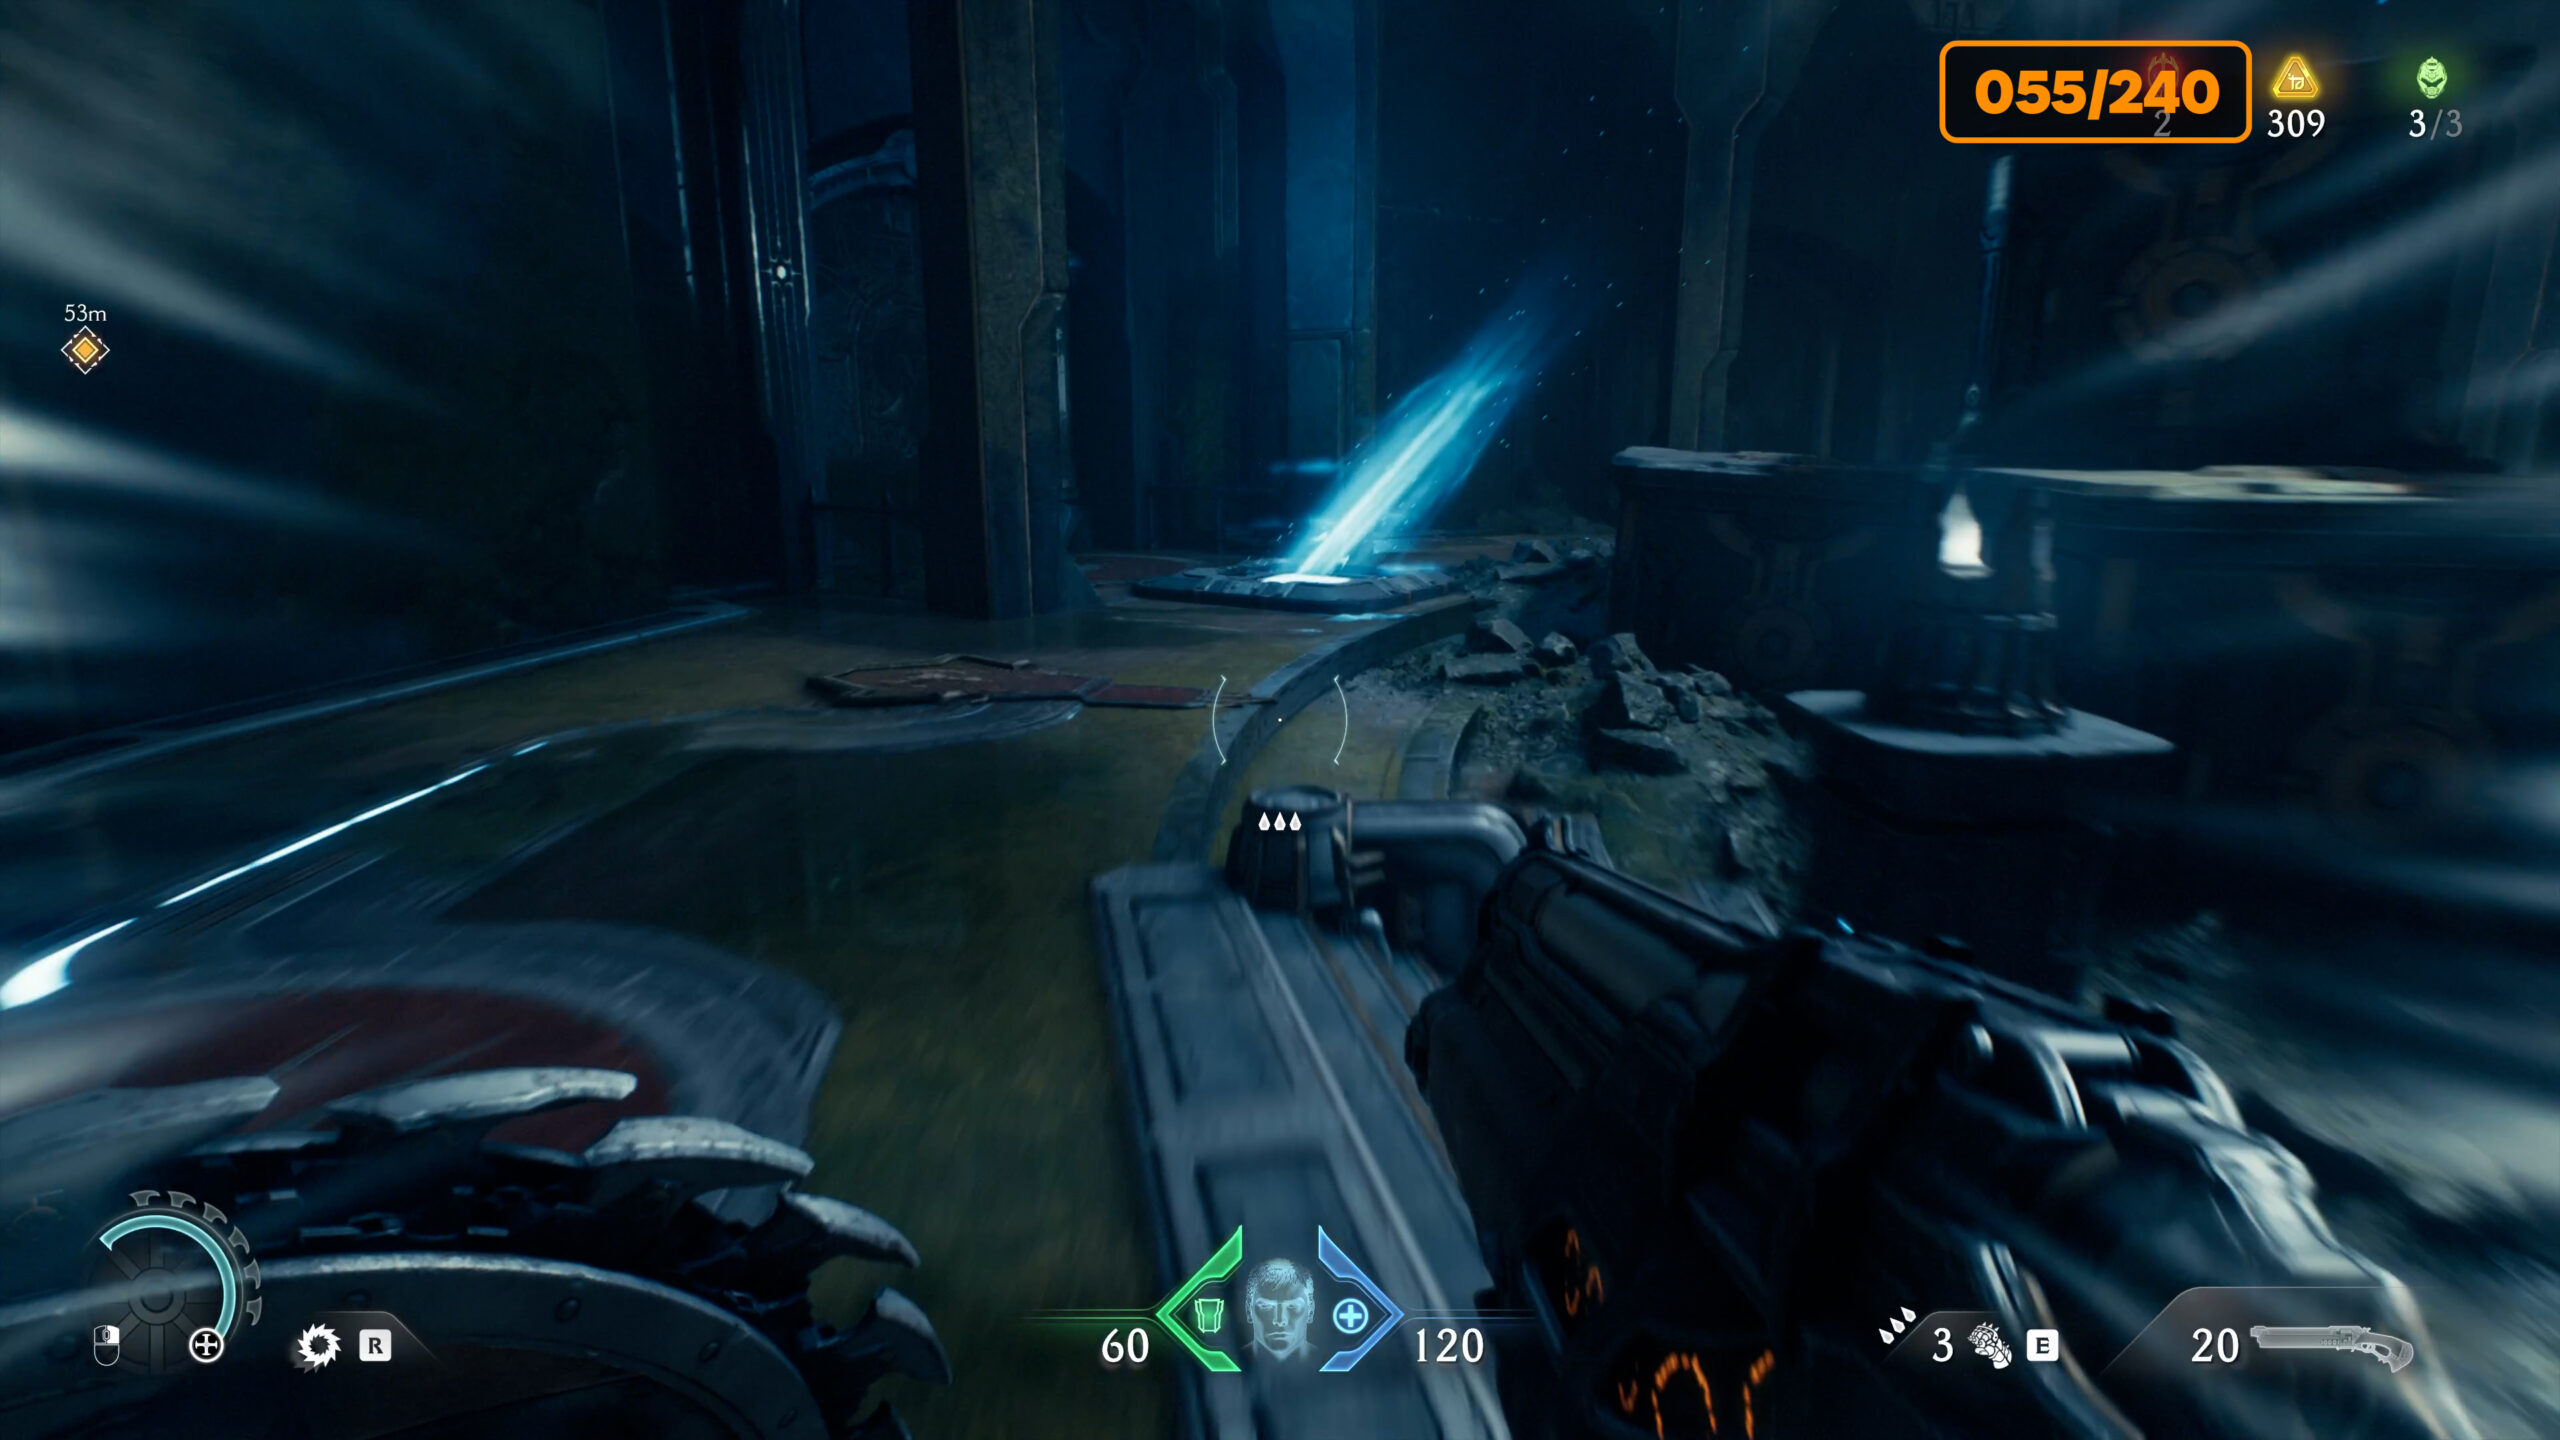
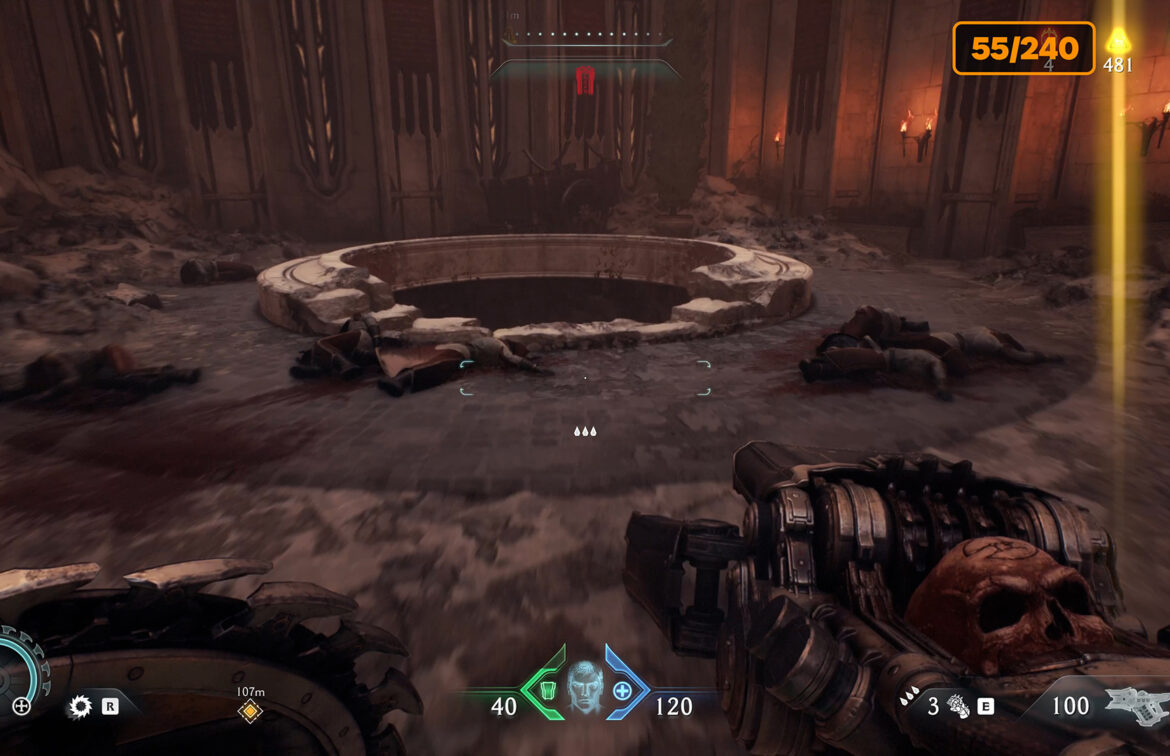
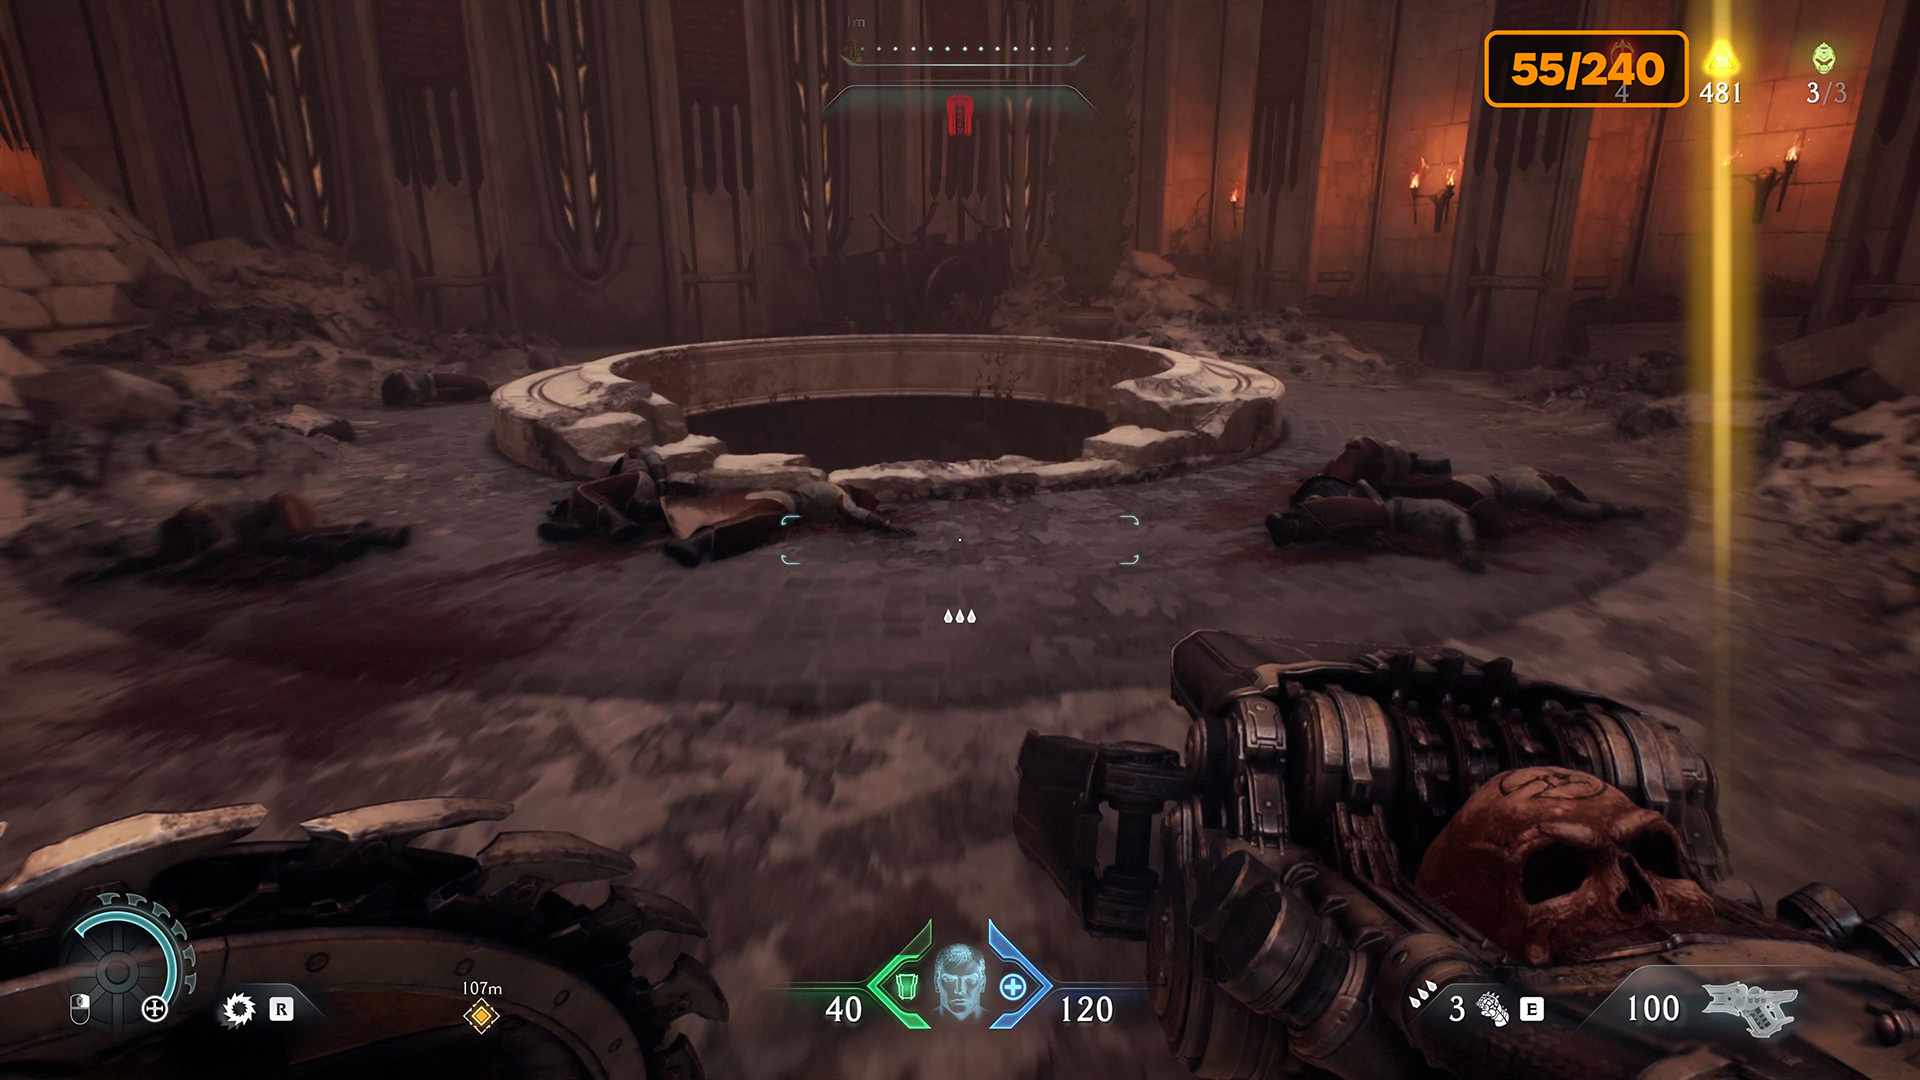
Secret #1 – 55 gold (55/240)
After that you need to go down to the lower level where you will find 5 gold coins, a secret location, and a large chest that will give you 50 gold coins after you break it open.

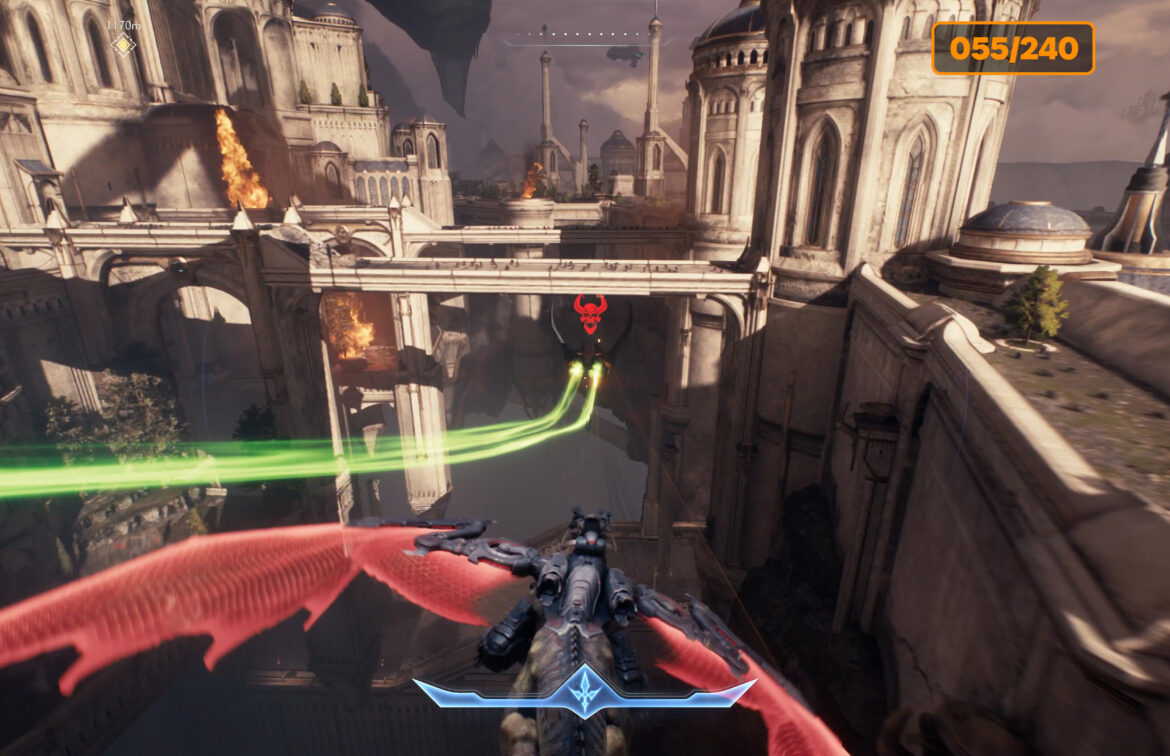
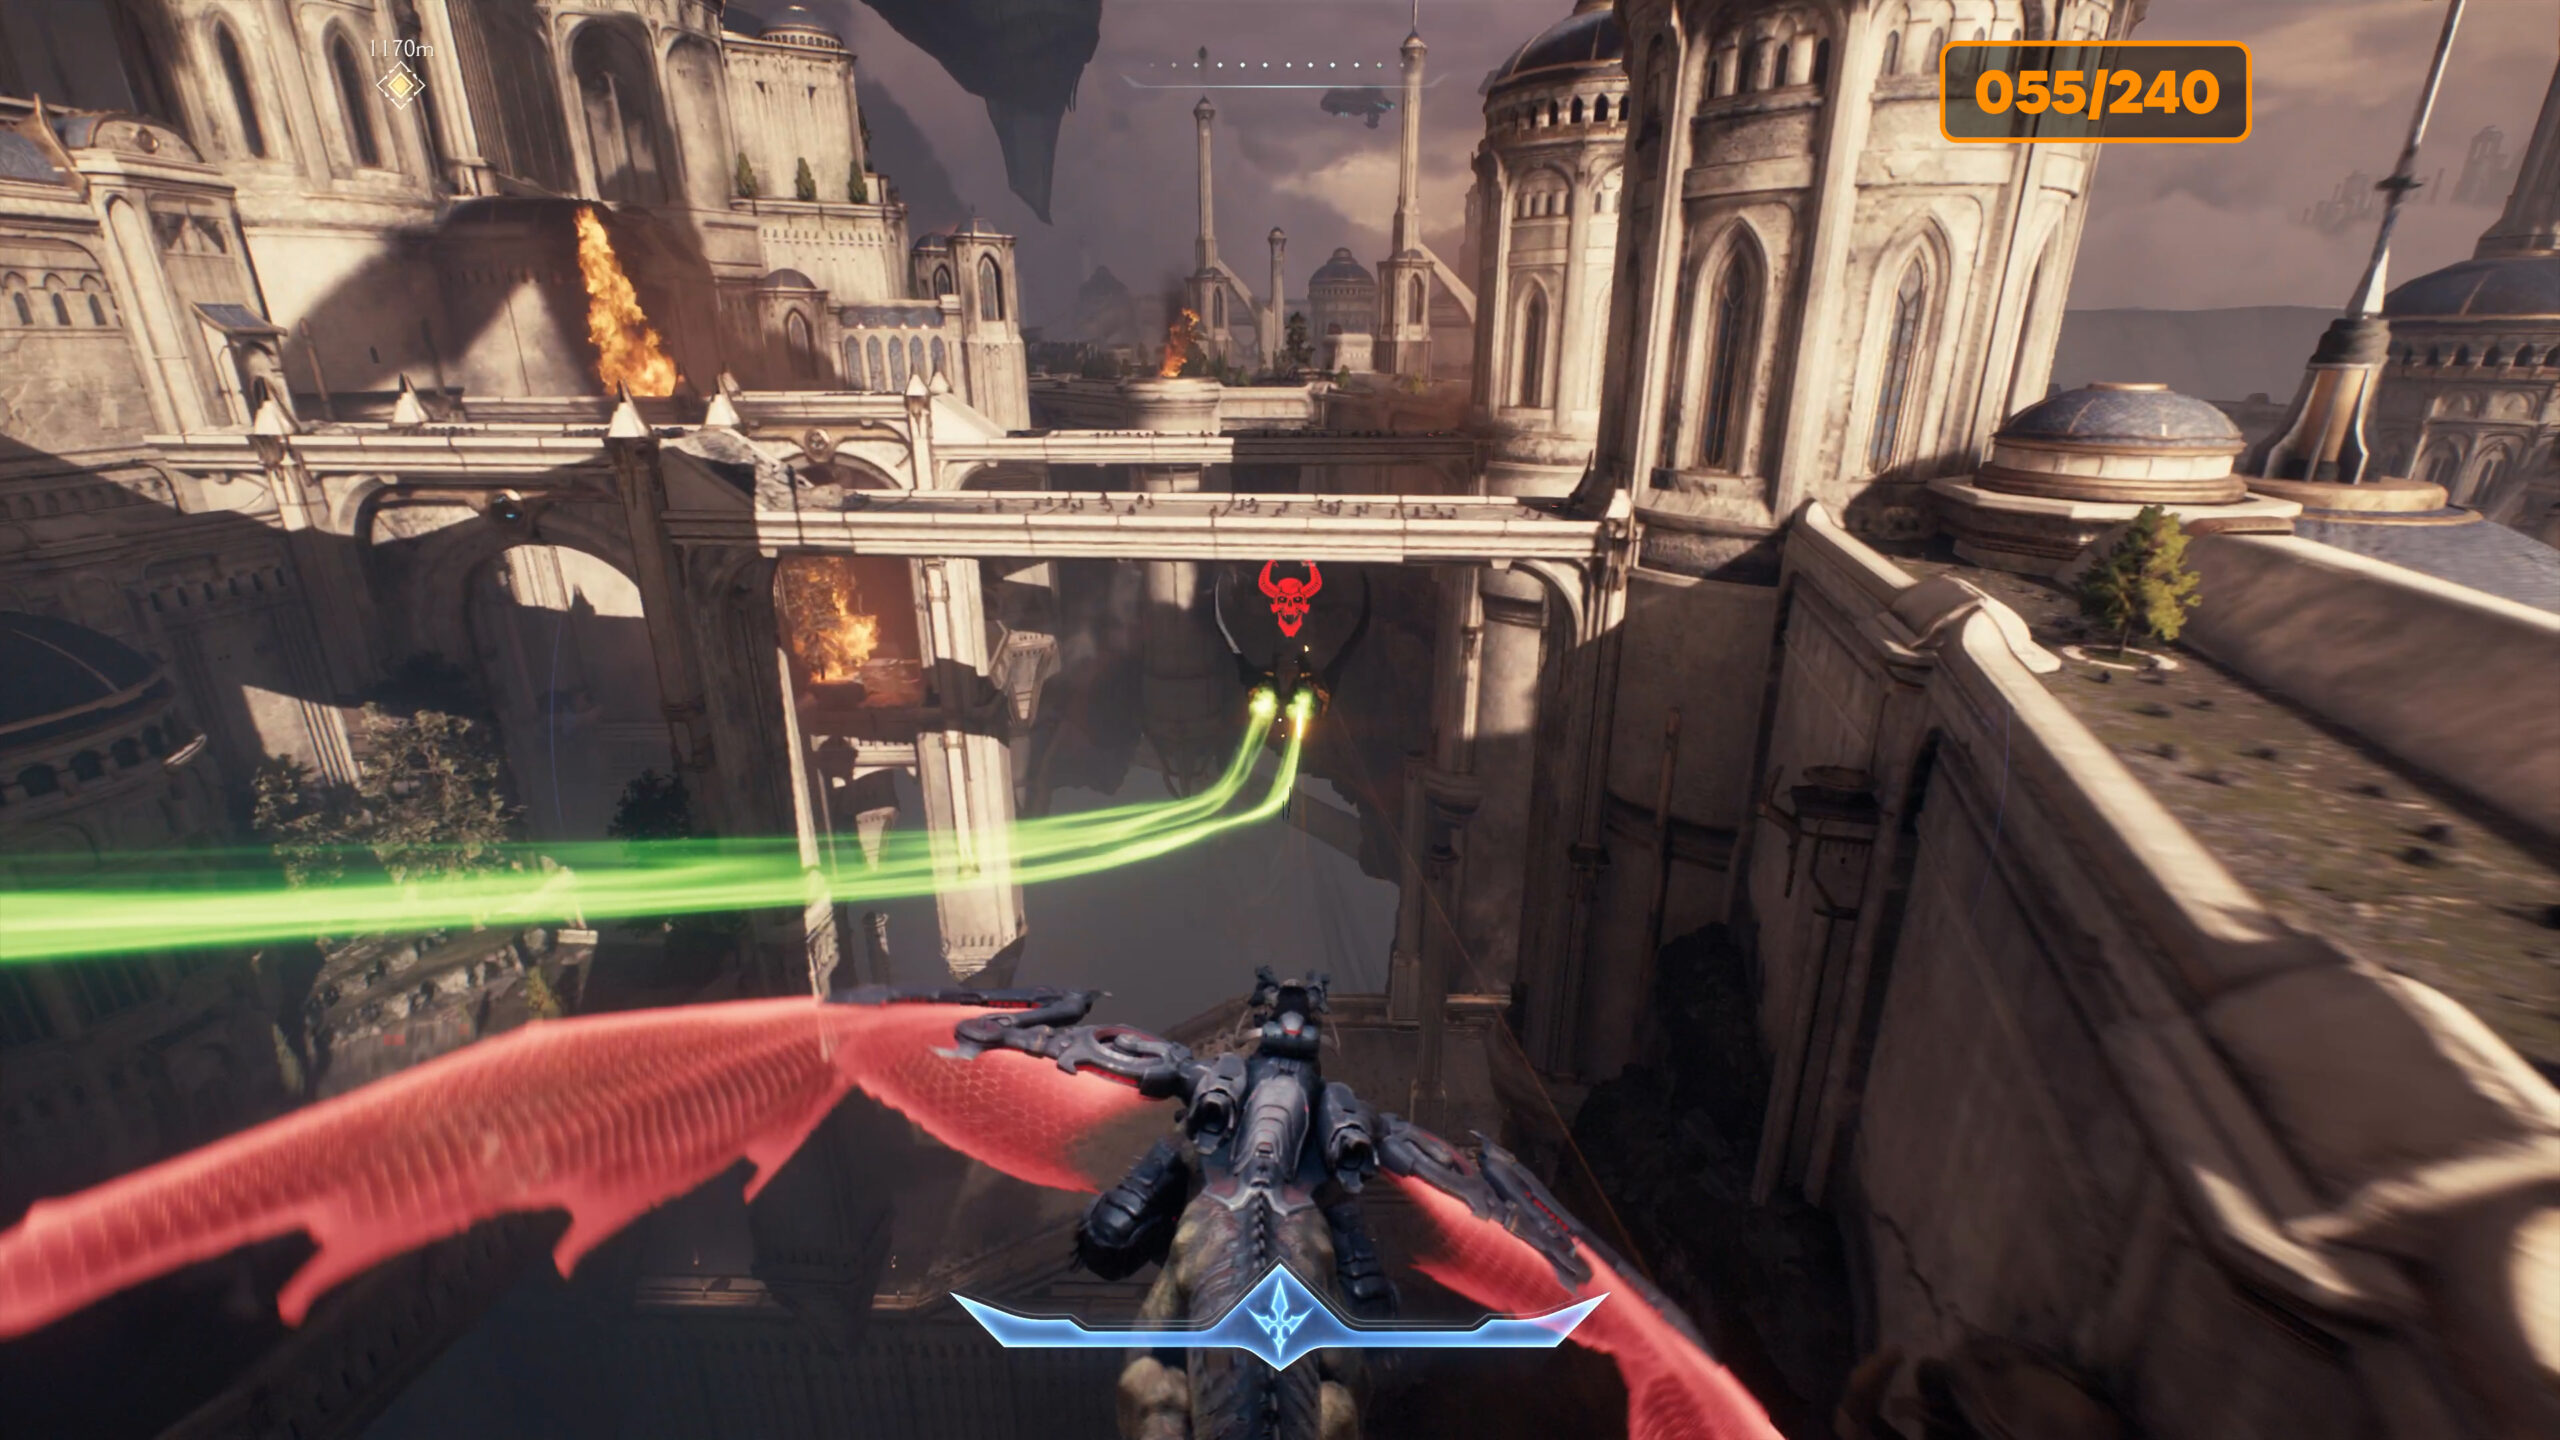
Cat and Mouse Hell Fighter #2
Now you can leave this location. Get back on your dragon, you’ll be back in the Holy City of Aratum. Now you should pay attention to the city center, there is a second Hell Fighter circling there, which you need to catch and destroy. If you don’t see this flying ship right away, fly to the beginning of the location and wait a bit. The Hell Fighter flies along a trajectory, so after a little while you will definitely see it. There is no time limit, fly after the Hell Fighter and shoot it until you destroy it.
-
- Hell Fighter #2 location
-
- Cat and Mouse Hell Fighter #2
Layover challenge secret landing #2
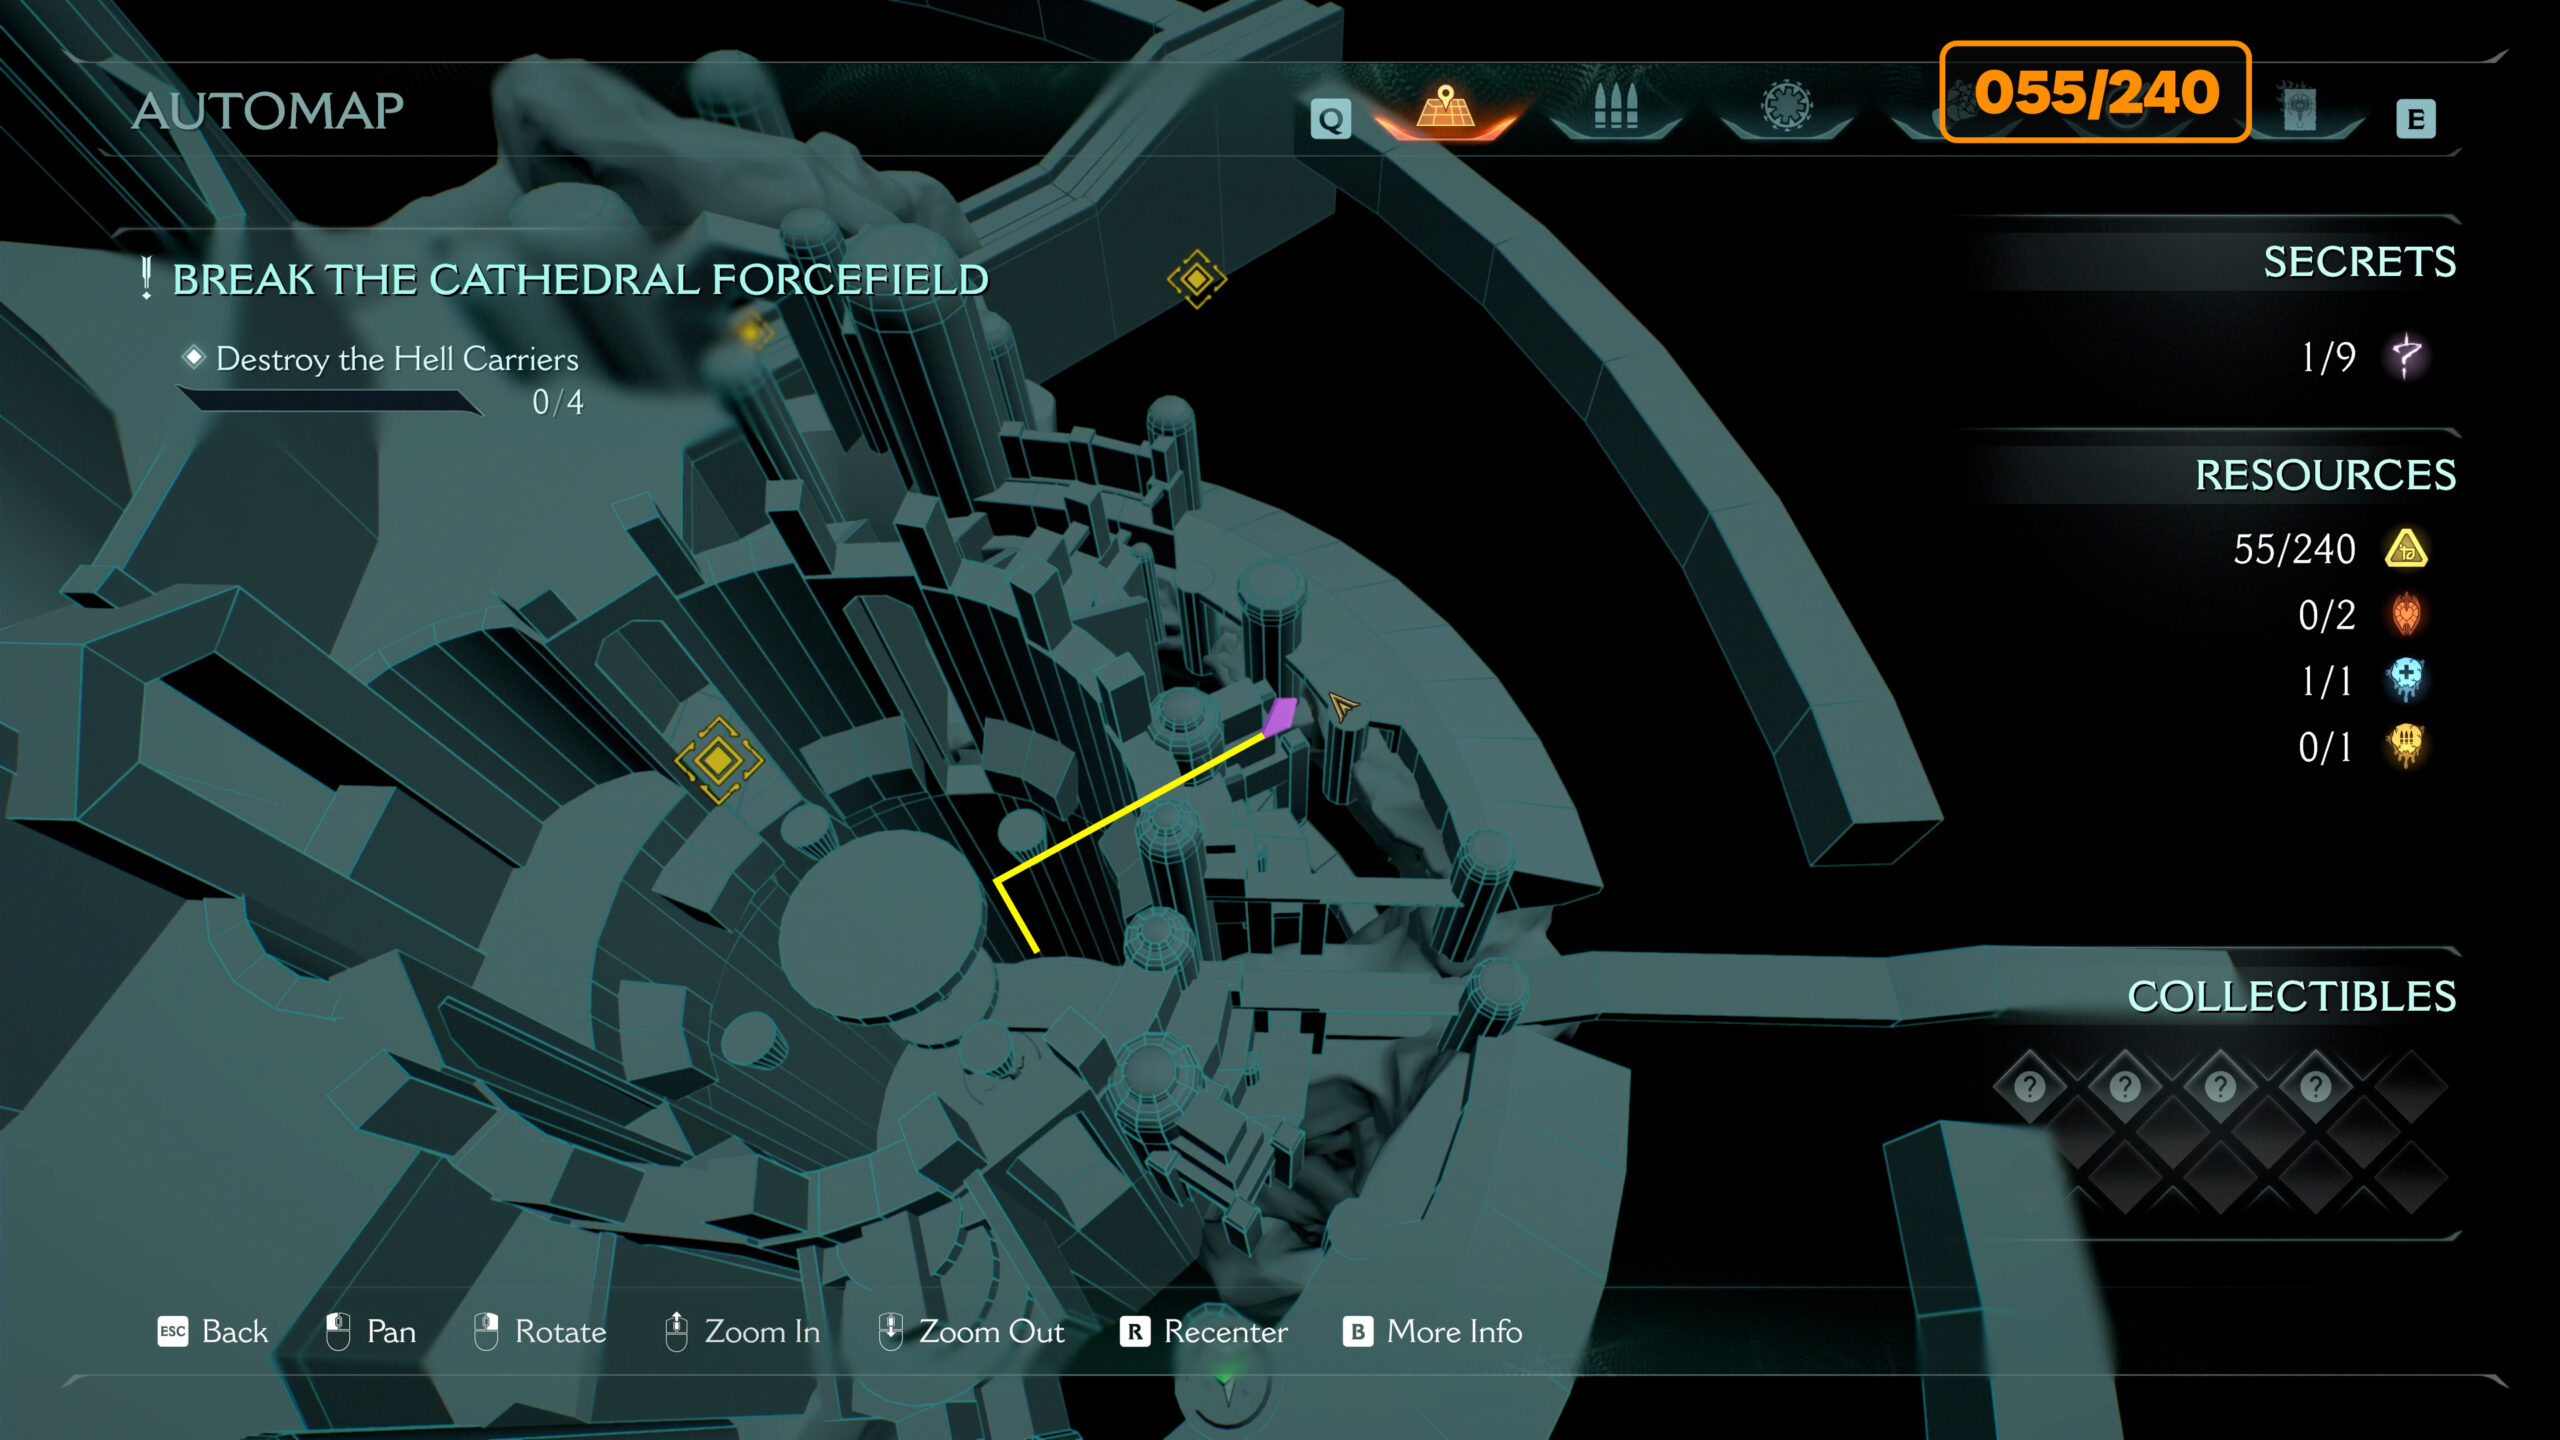
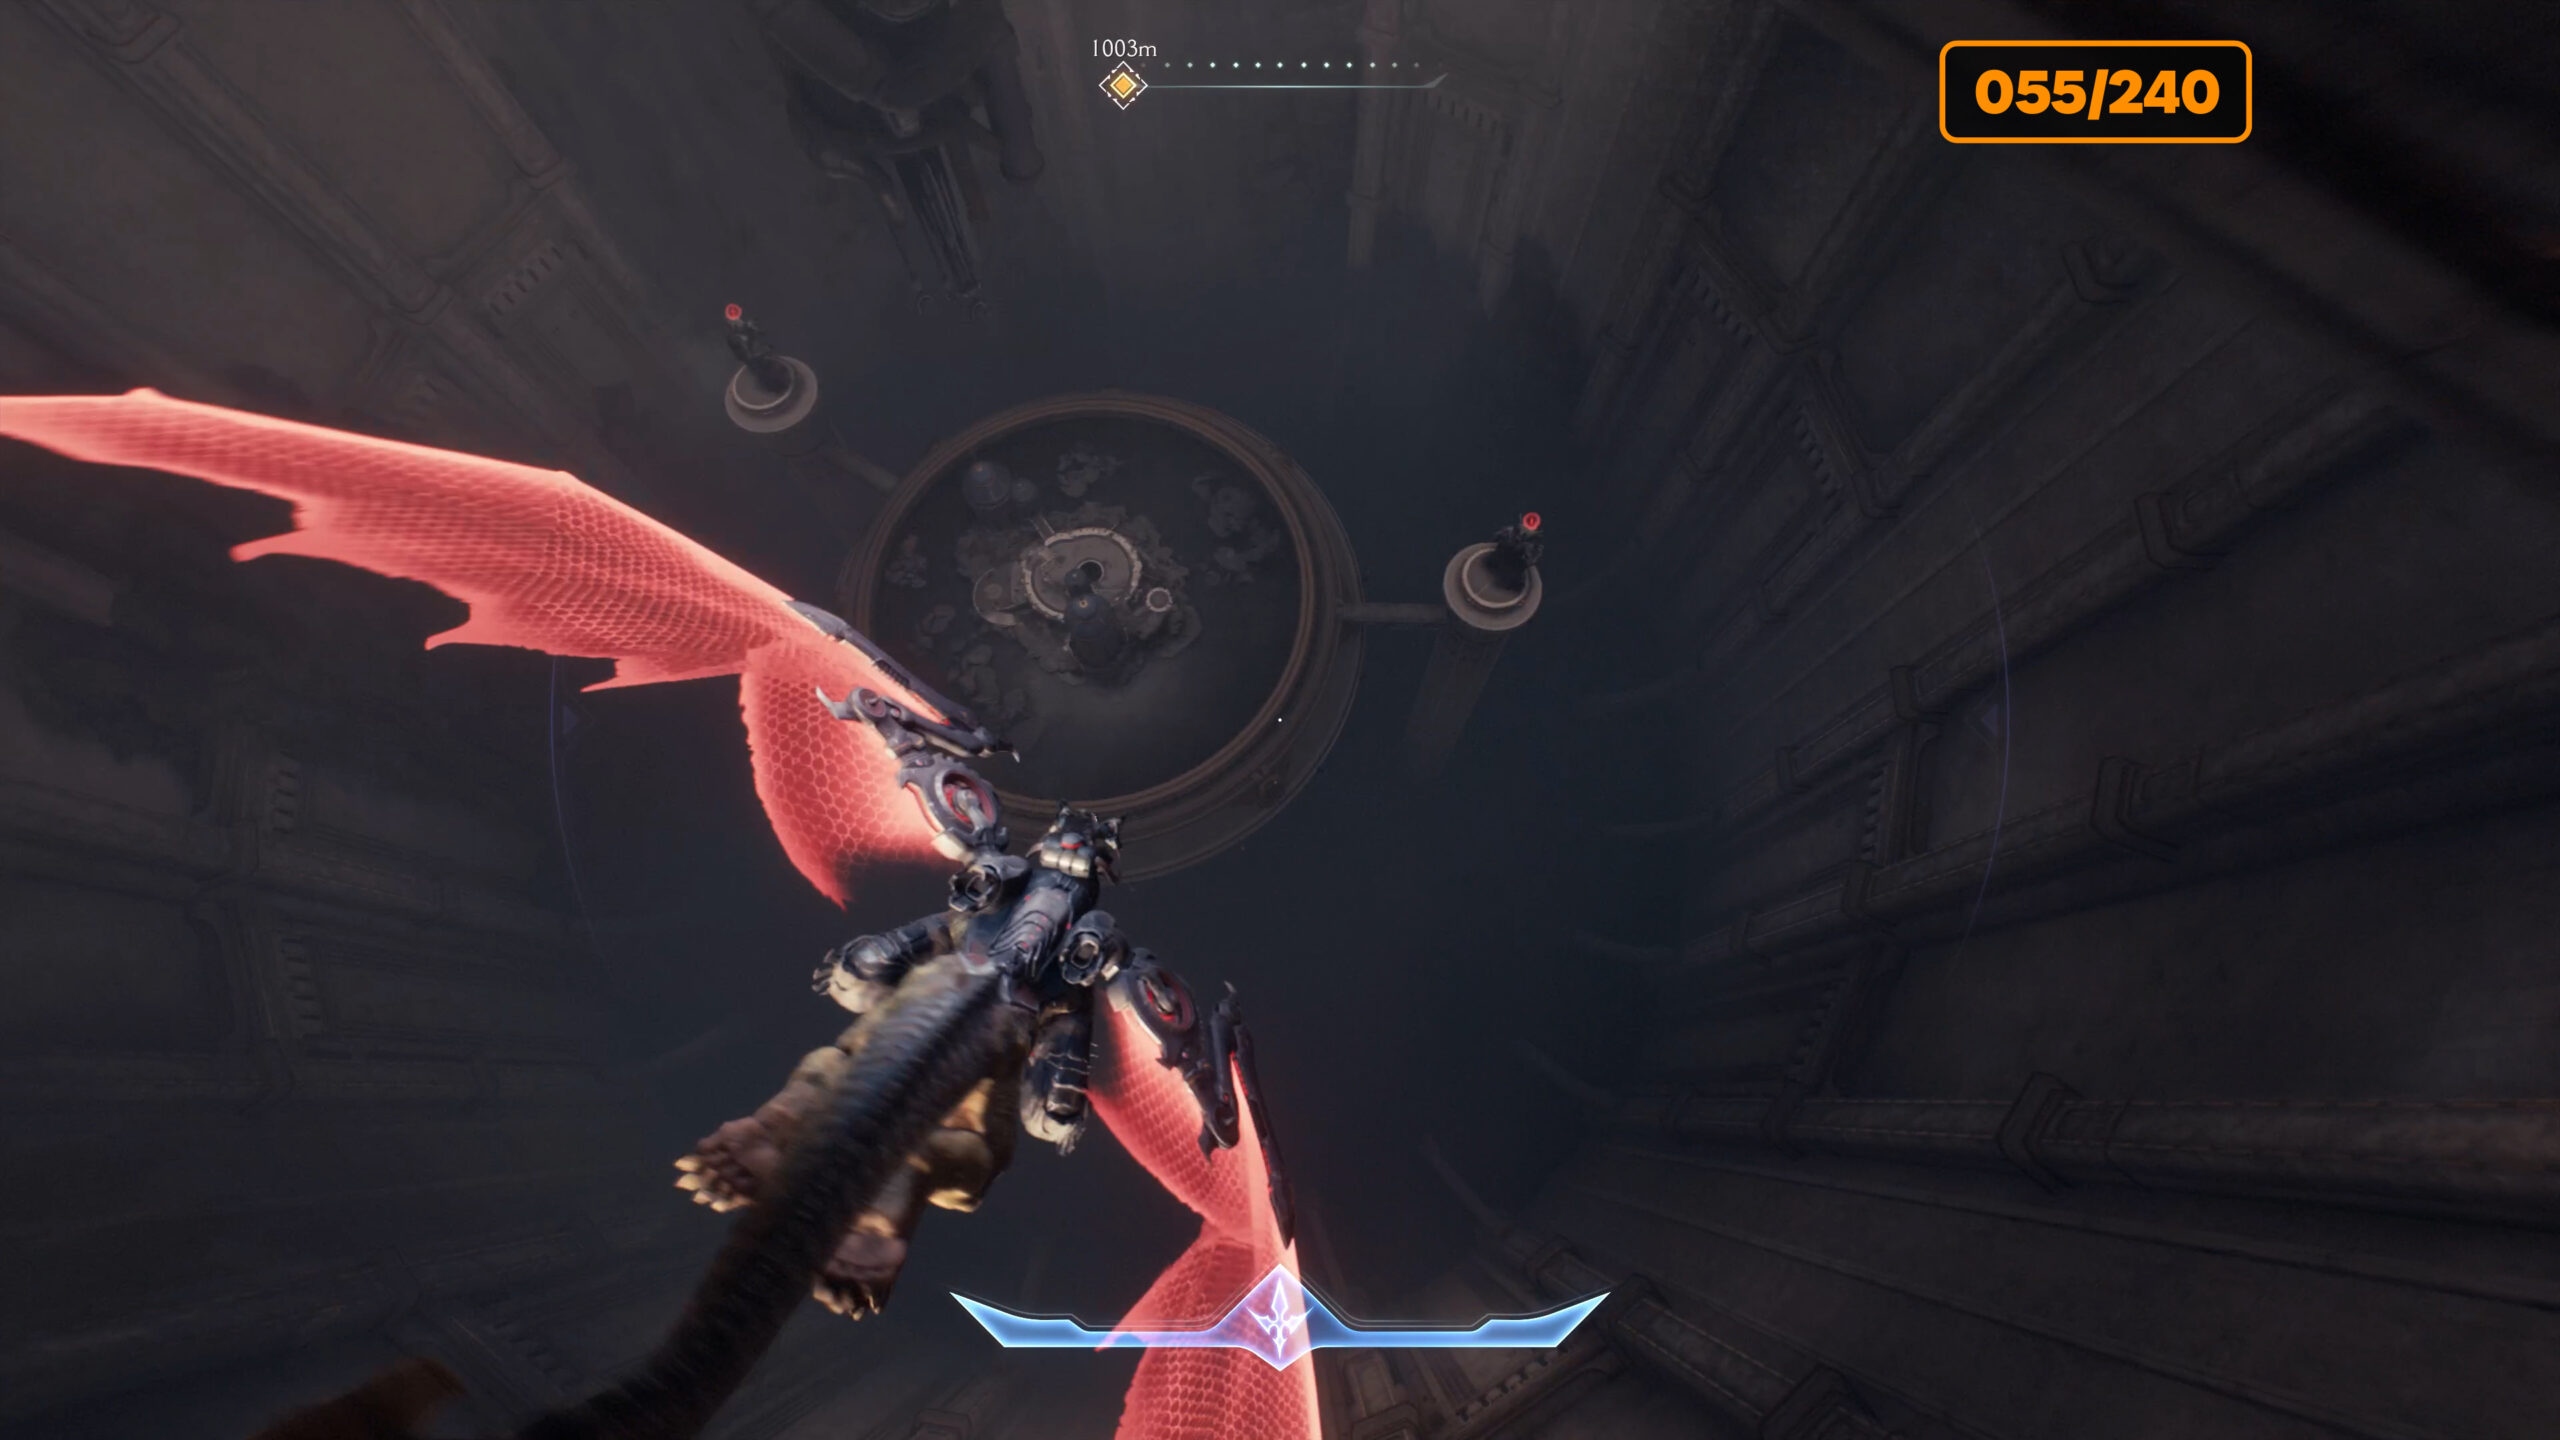
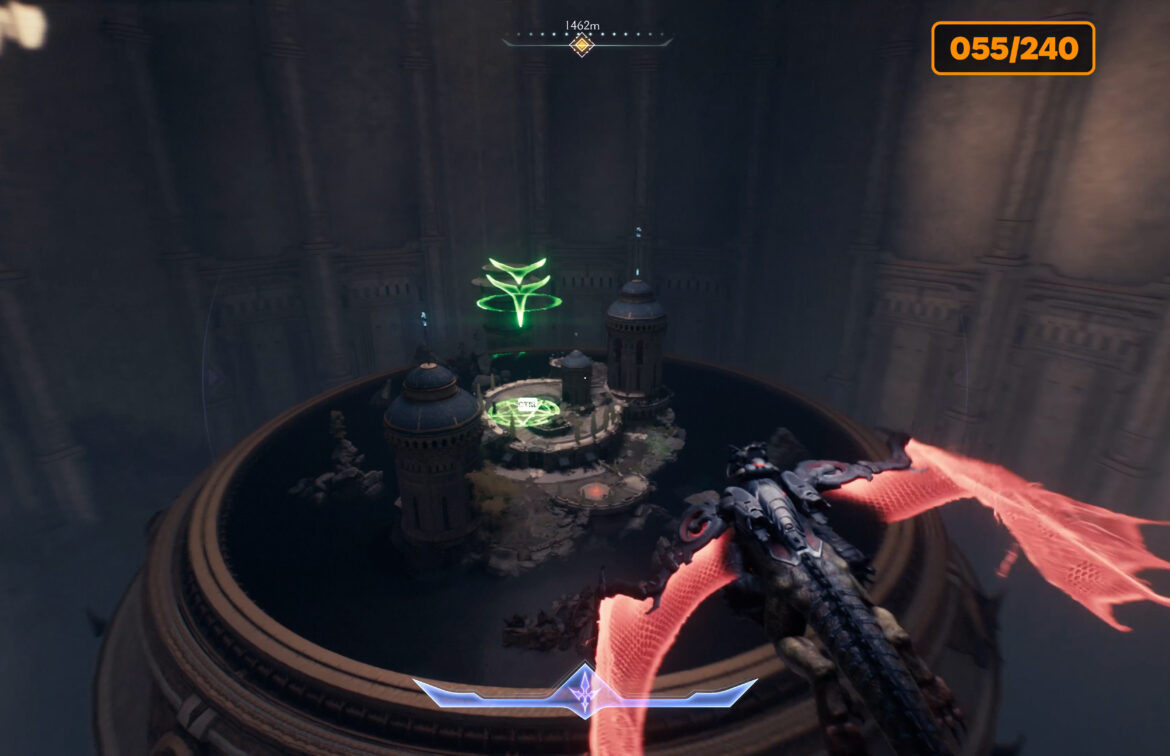
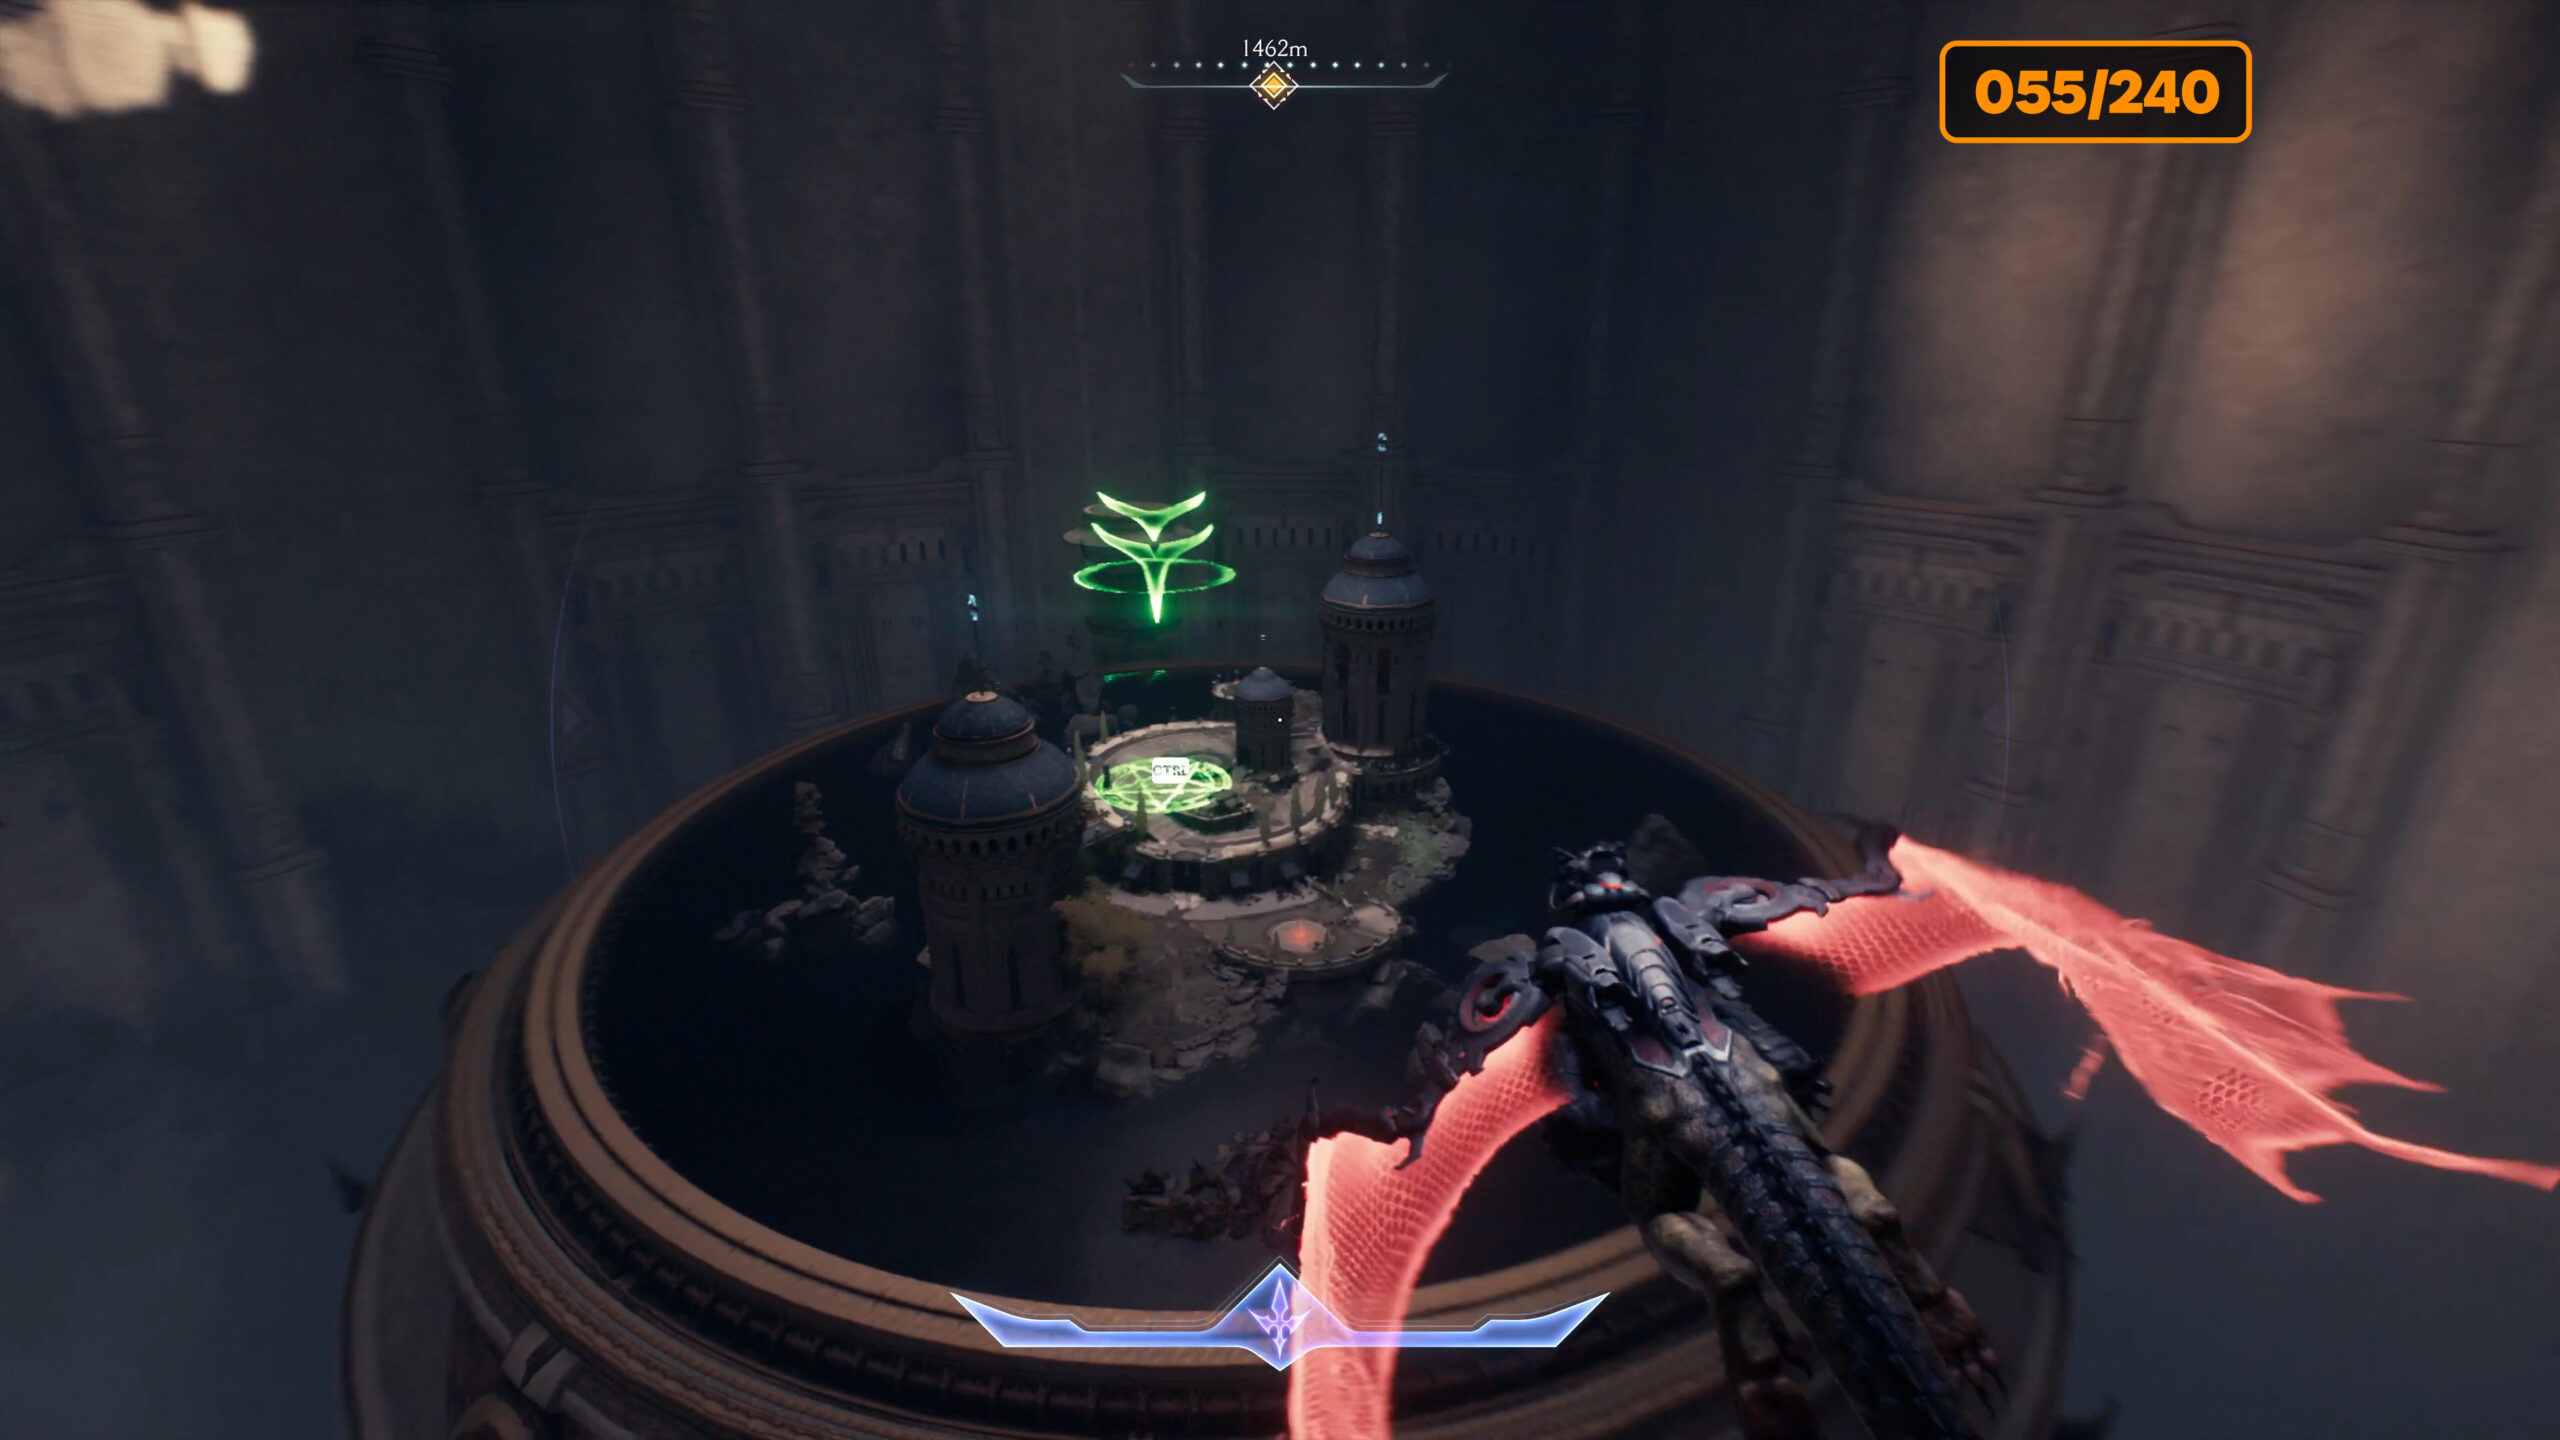
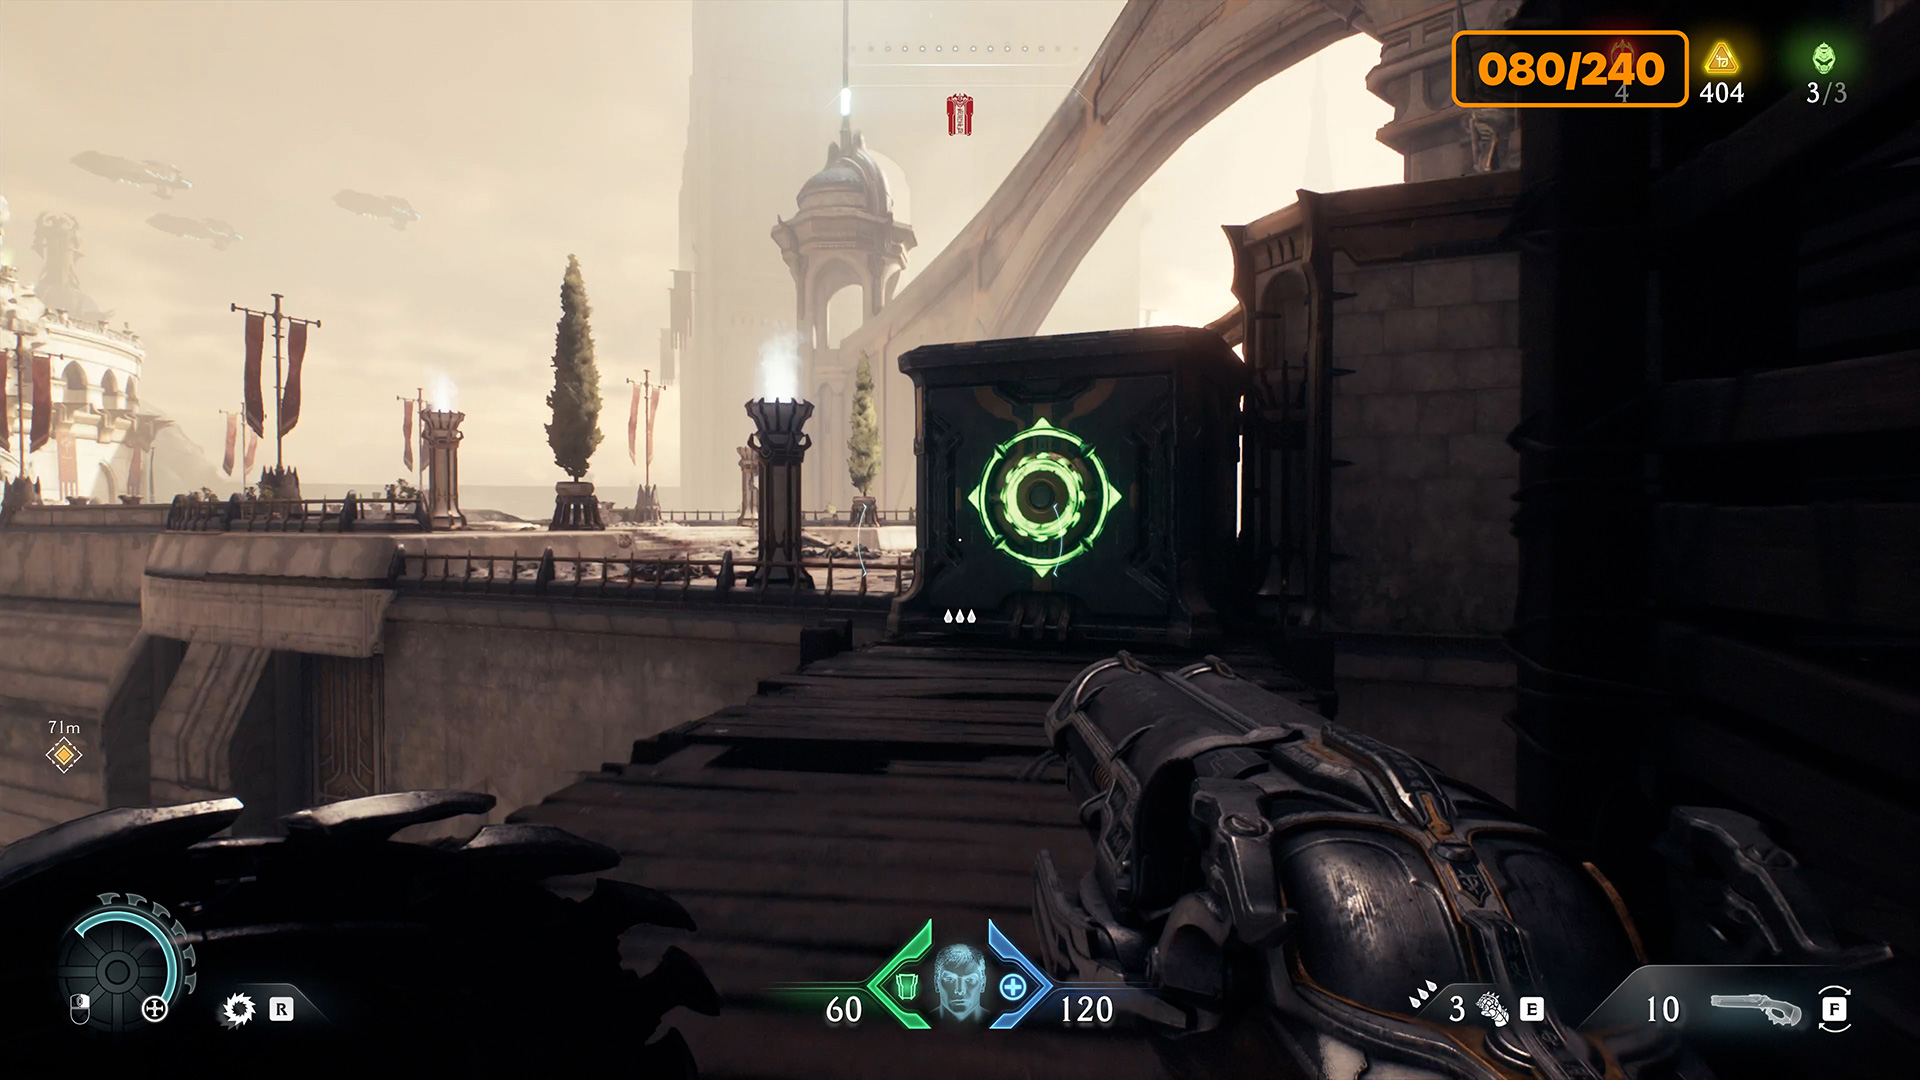
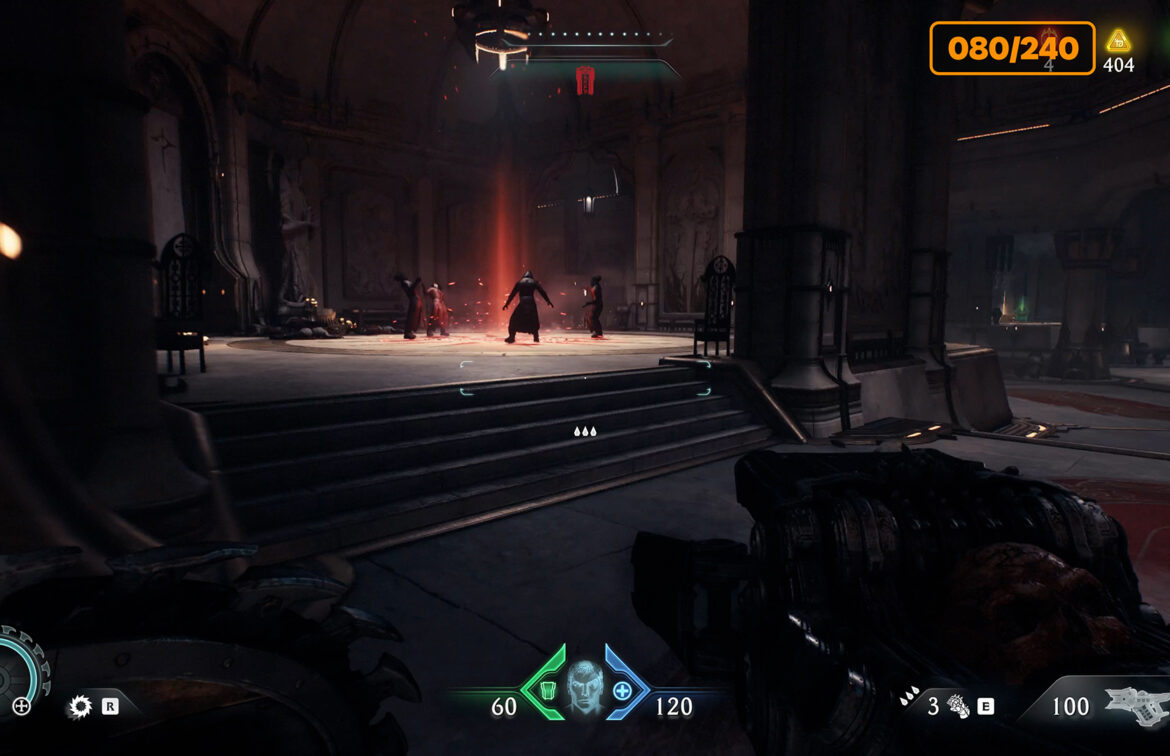
Next, I suggest you find the second secret landing site. This is where you will complete the Layover challenge. This place is located in the center of The Holy City of Aratum. You see a circle in the center, fly to it and go down. On the lower levels you will see two large titan monsters. To open the landing zone, you need to destroy these two monsters. They won’t attack you together, so you can safely deal with one and then the other. After that, a green area will appear where you can land.
-
- Layover challenge secret landing #2 location
-

- Two large titan monsters
-
- Layover challenge secret landing #2
Aratum red keycard – 4 gold (59/240)
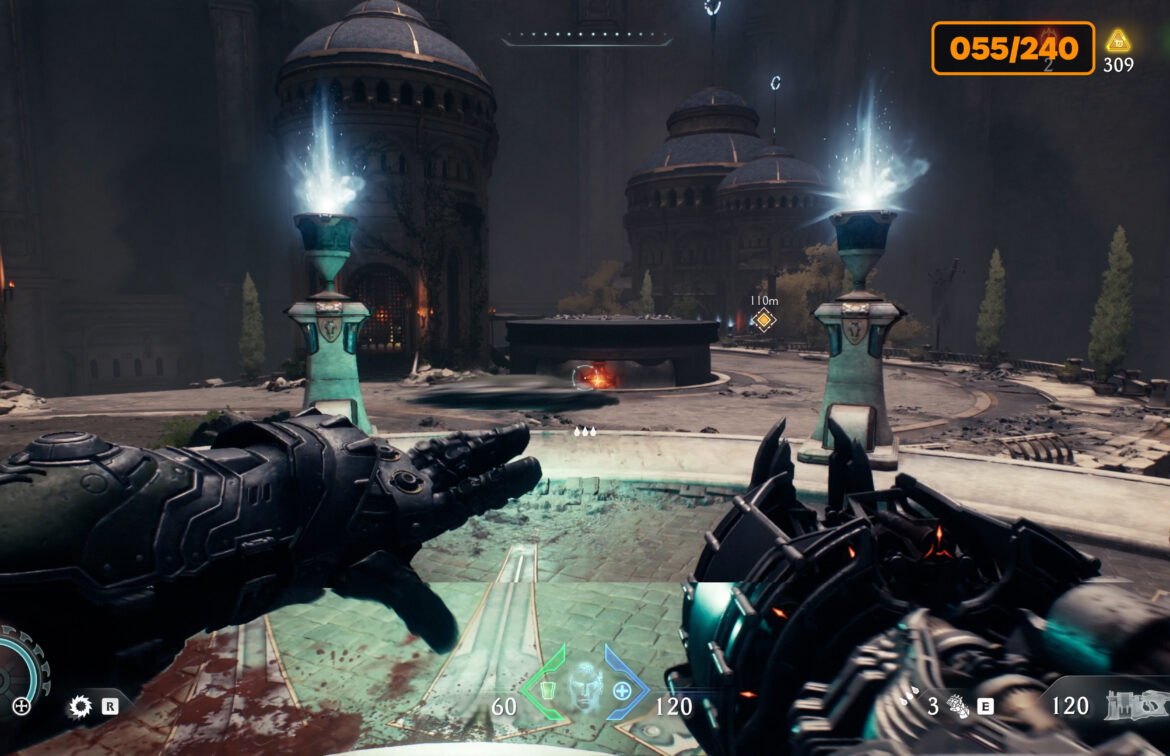
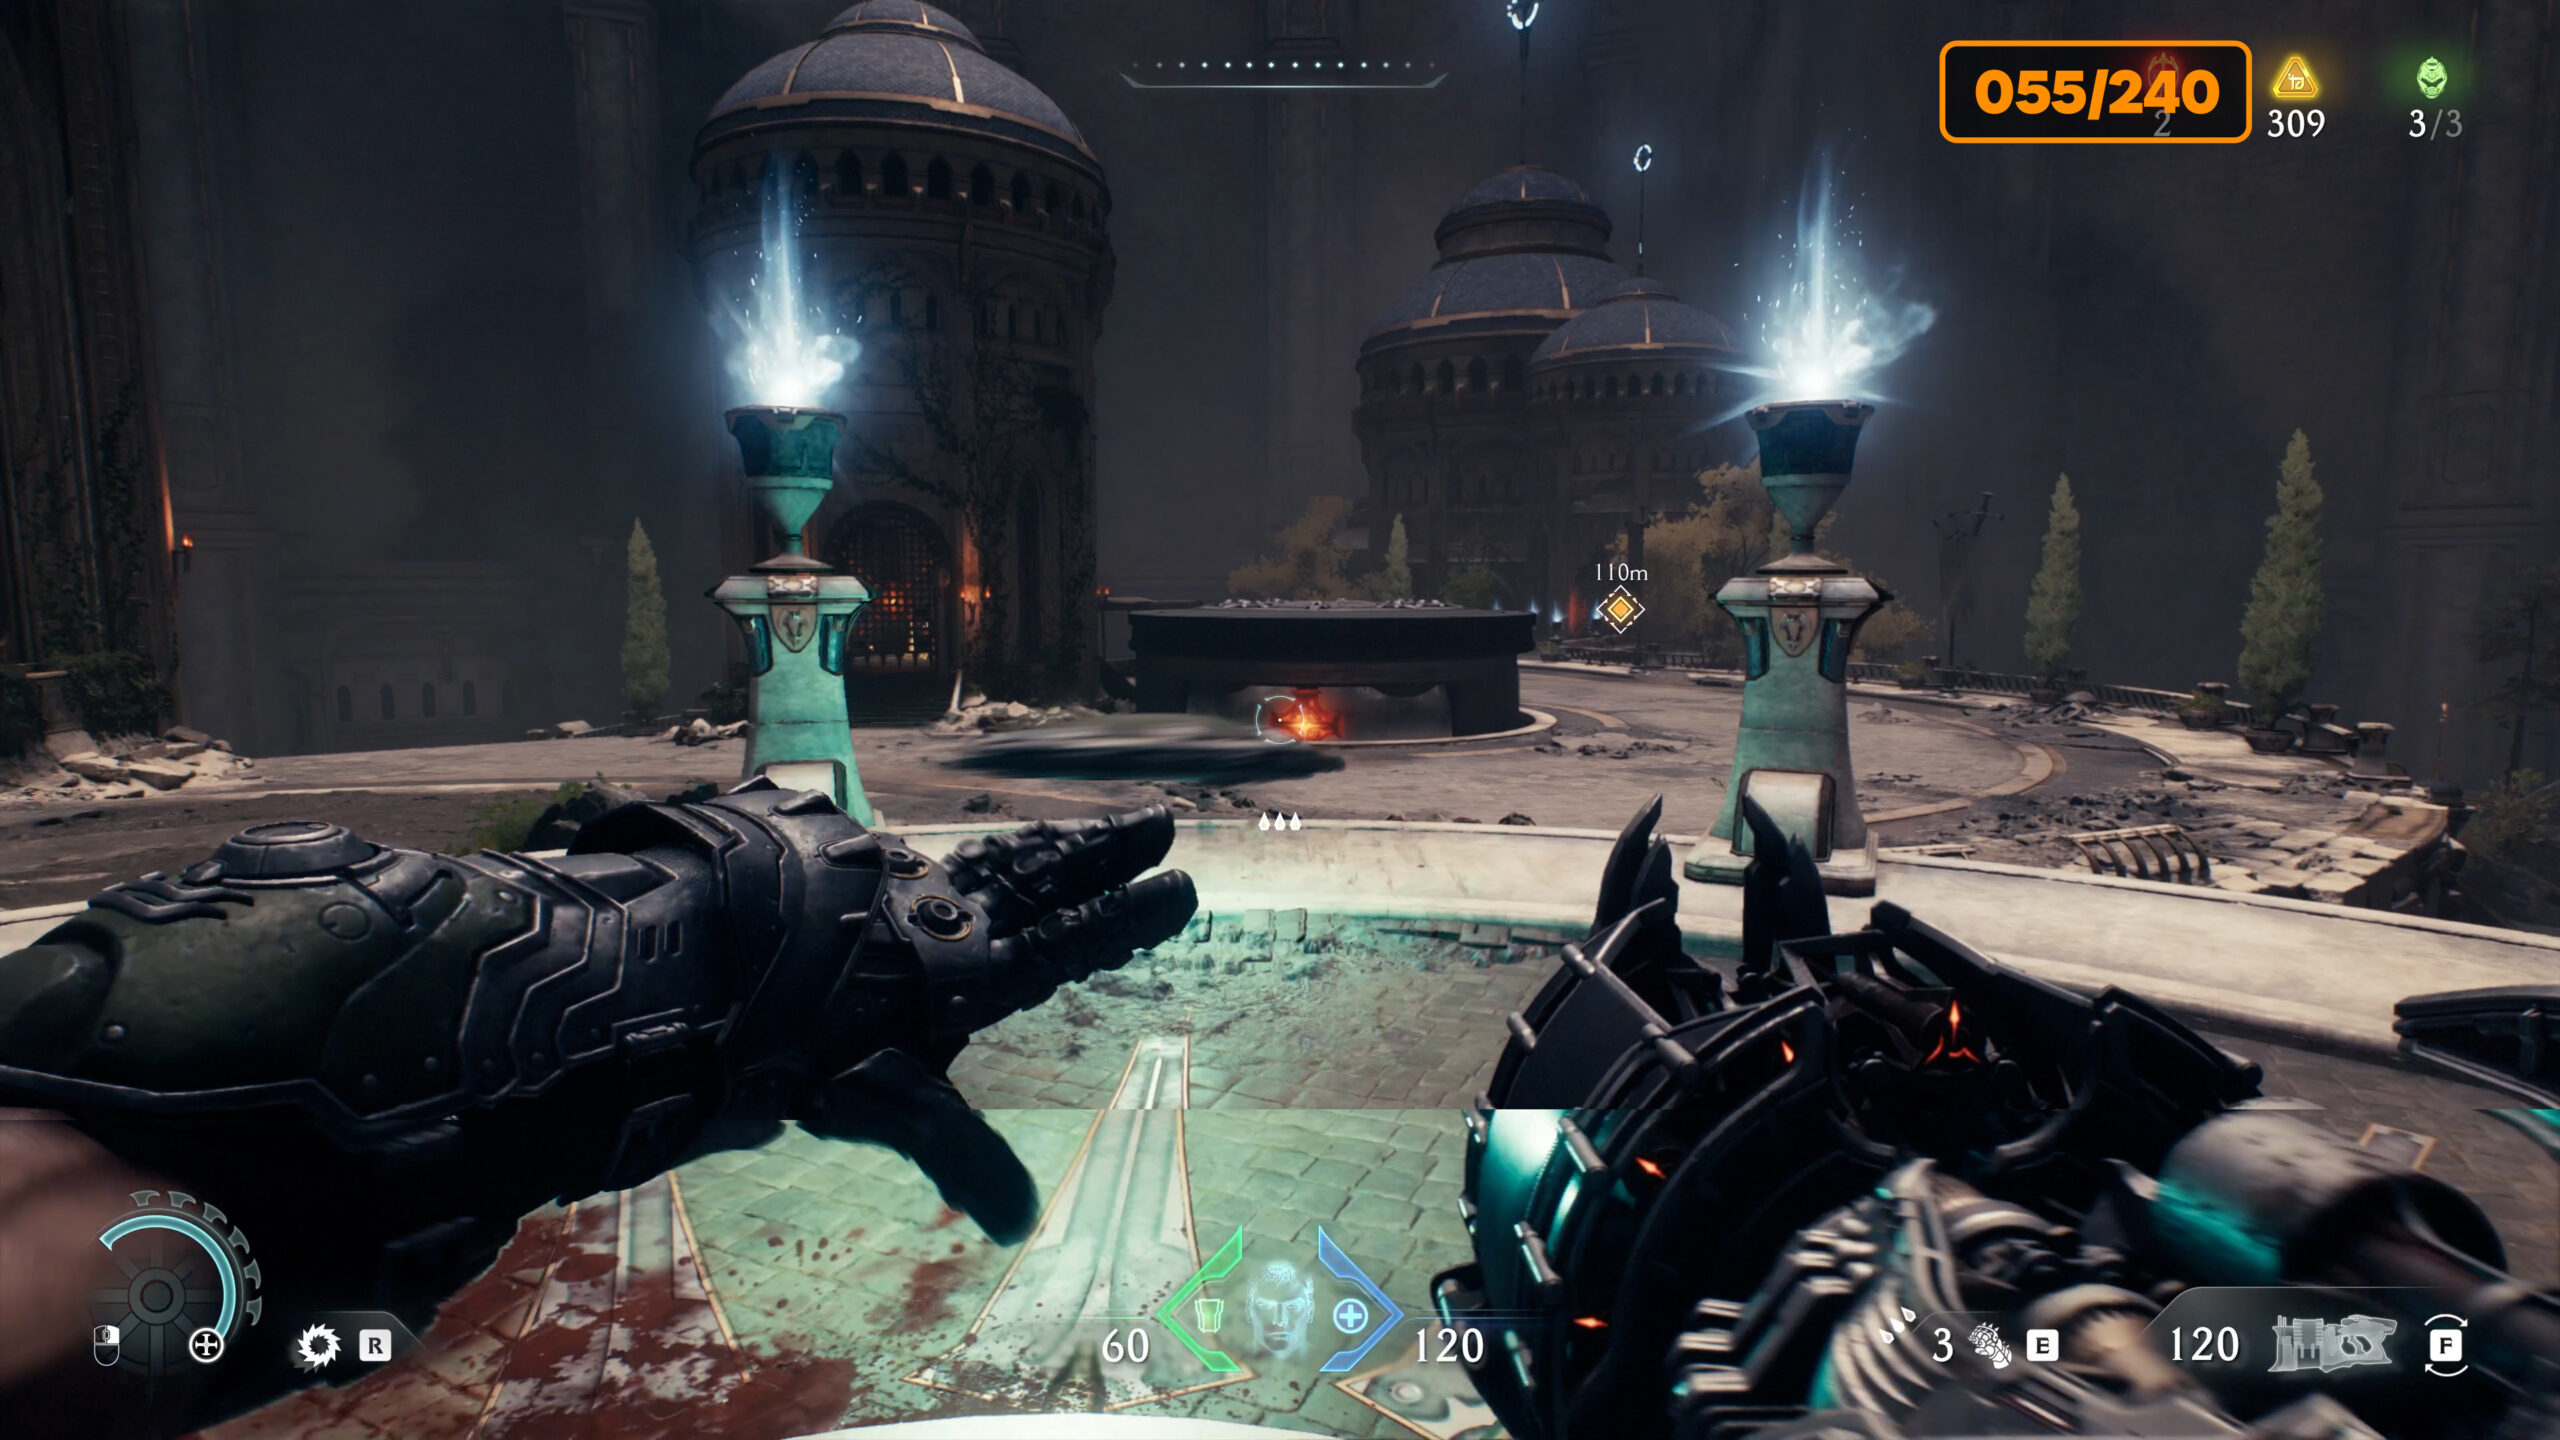
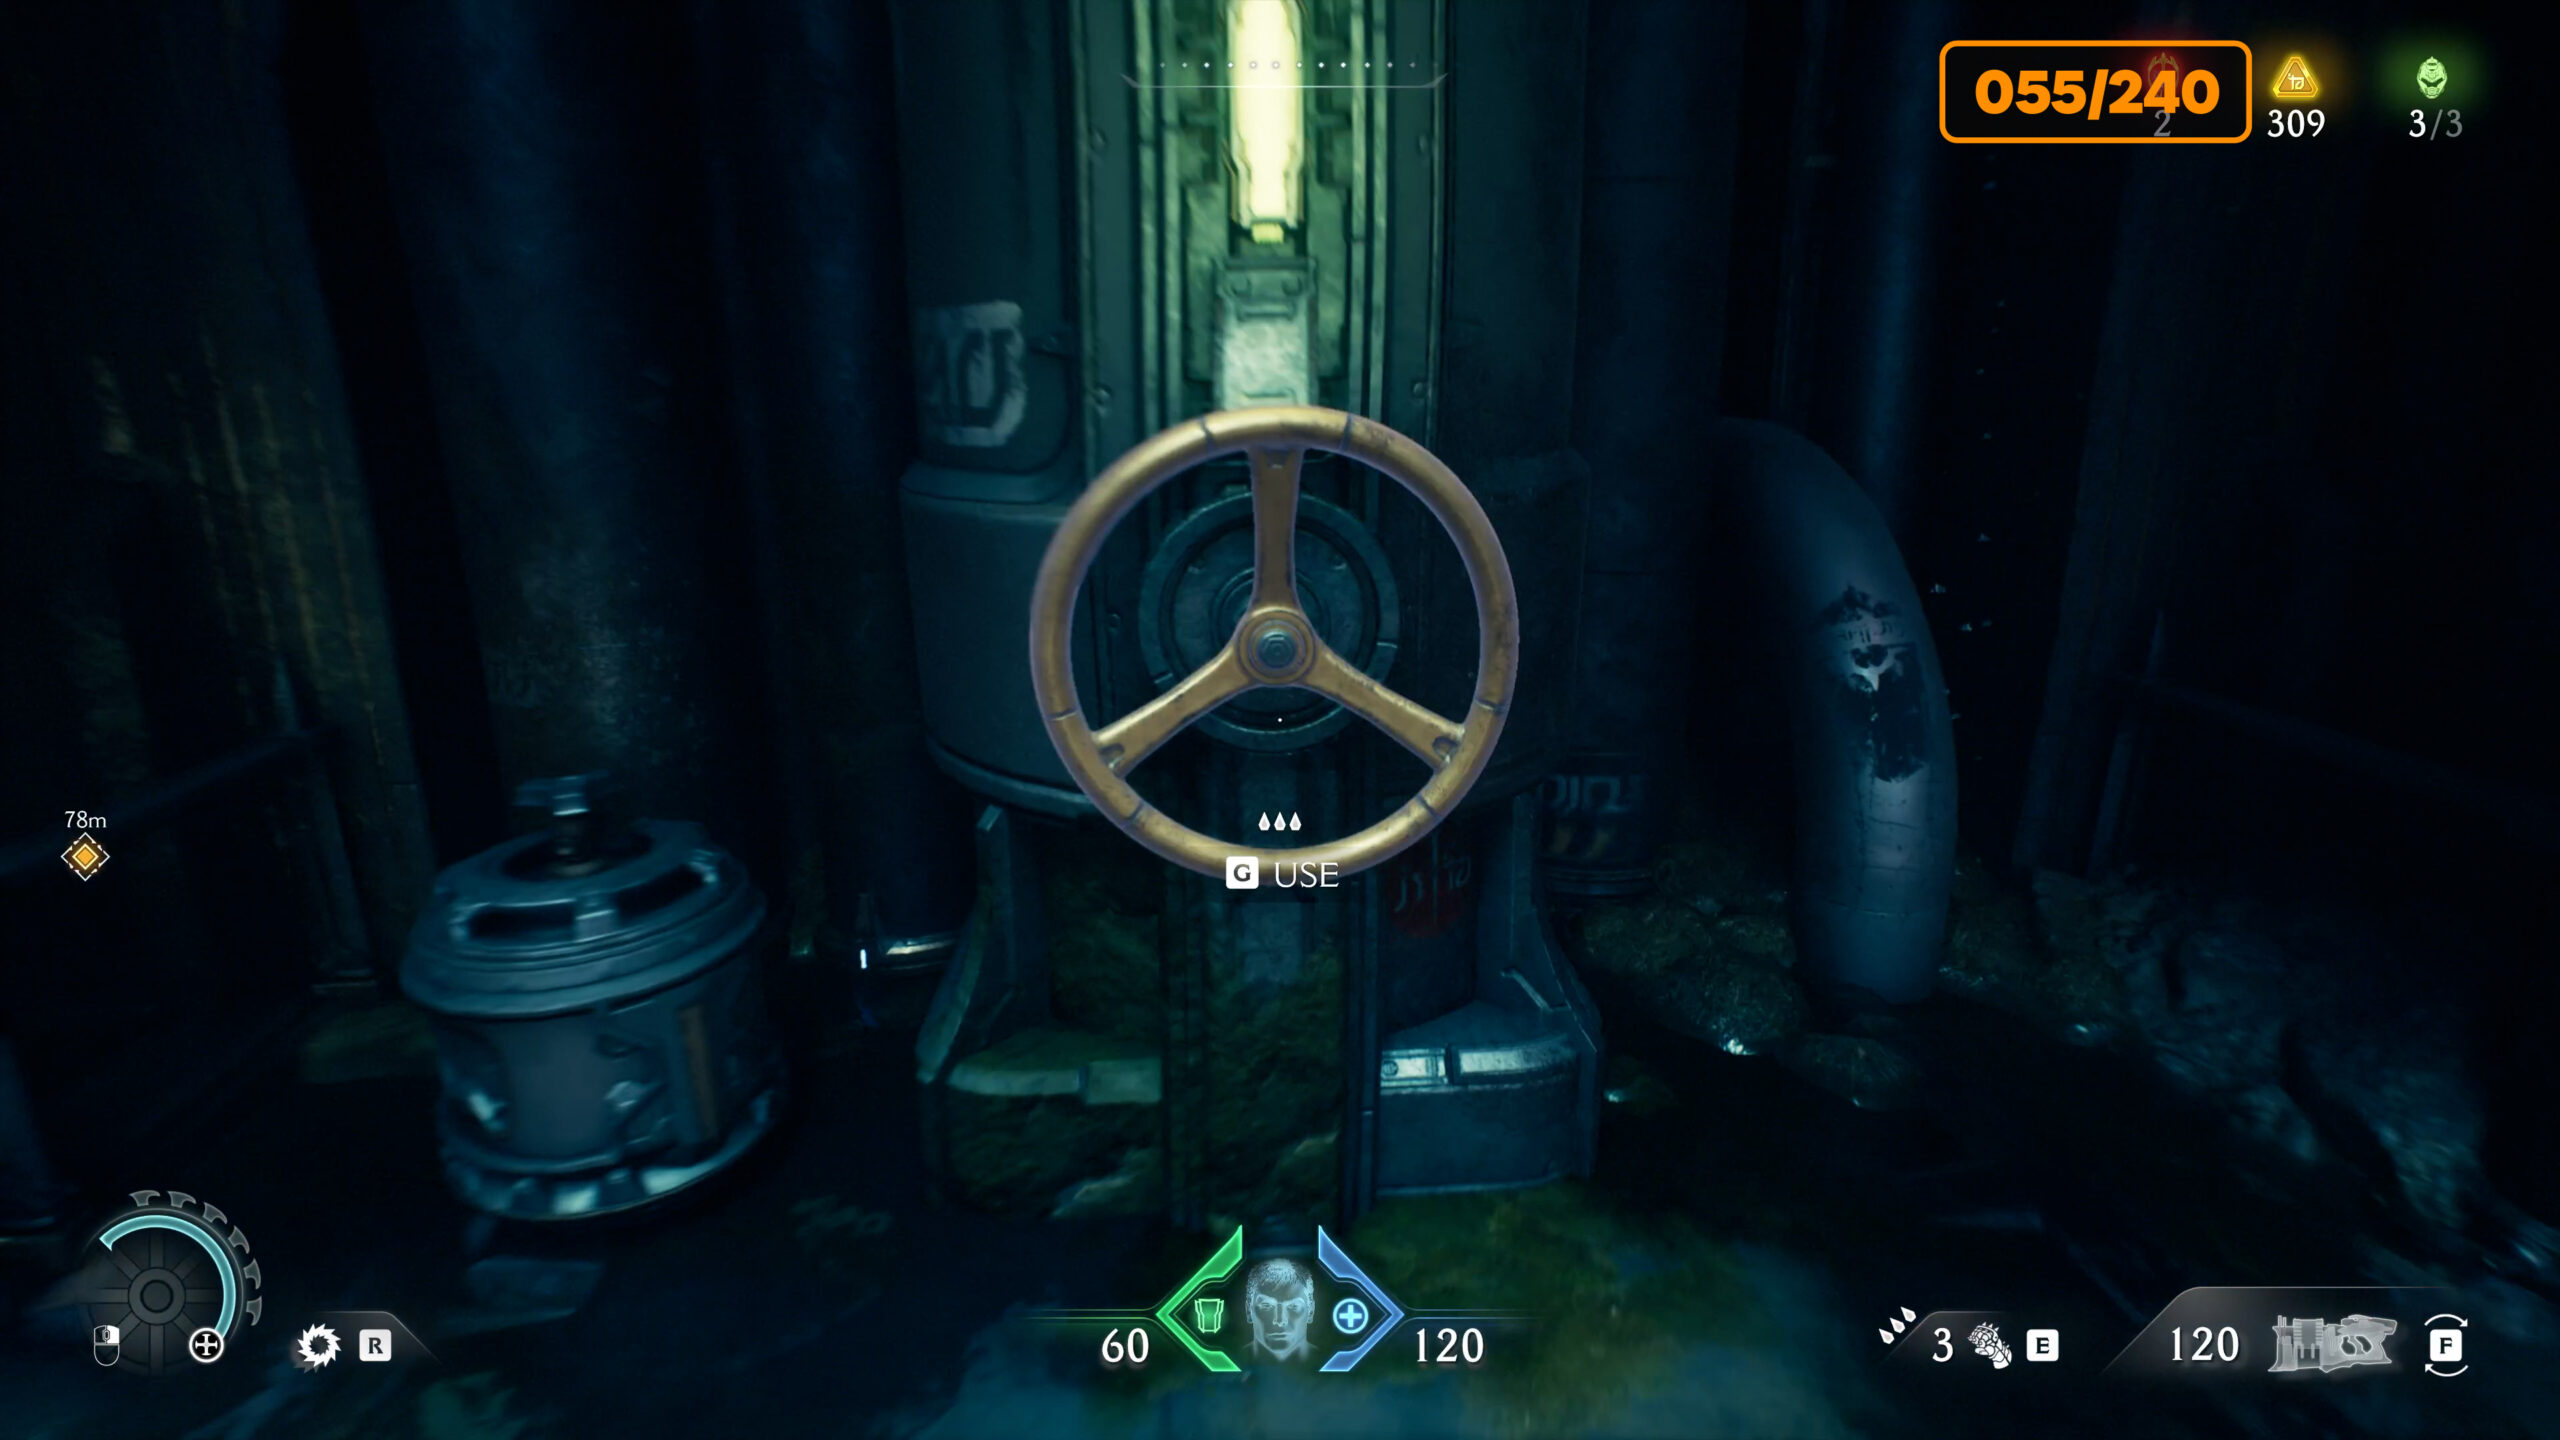
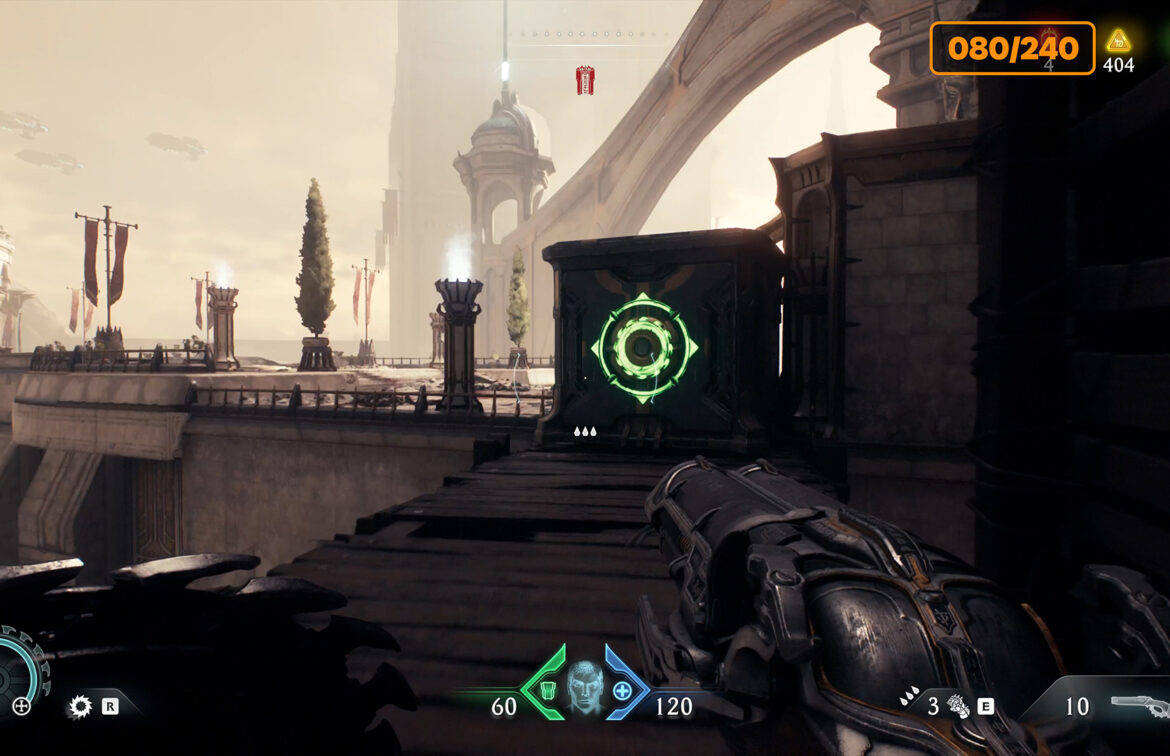
This is an interesting location. Let’s start collecting treasures from here. First, find the platform with the green button, there will be one monster that you need to destroy. When you press the button, you will see the platform in front of you rise. You need to throw the shield in that direction, you’ll see exactly where you need to hit to make the platform fall down. Now run to this platform. It will be filled with water, dive down and look for a tap that will release water from this place. In the center you will see a room, you need to throw the shield again to open the gate to this room. Go into the room and pick up the red key. Now you need to go out of the room to the area where there was water before and find the accelerator platform, which will take you up to the top of the room, where you will automatically get 4 gold coins.
-
- Platform in front of you
-
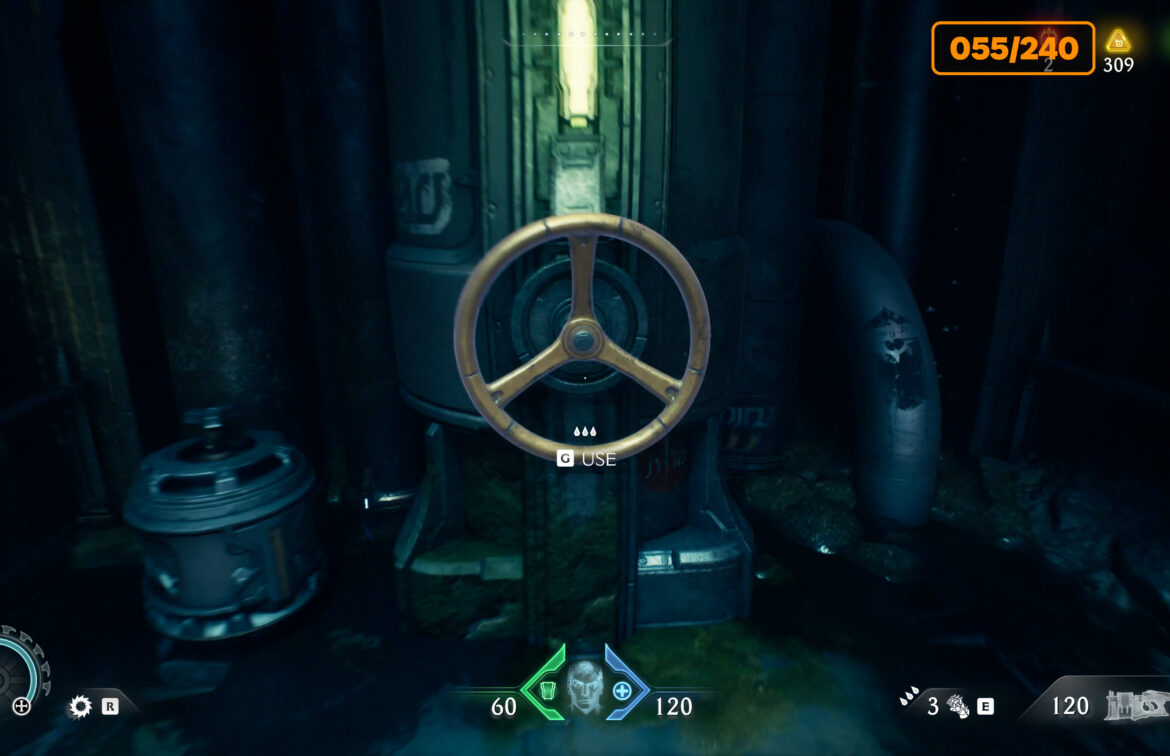
- Tap that will release water
-
- Throw the shield again to open the gate
-
- Accelerator platform
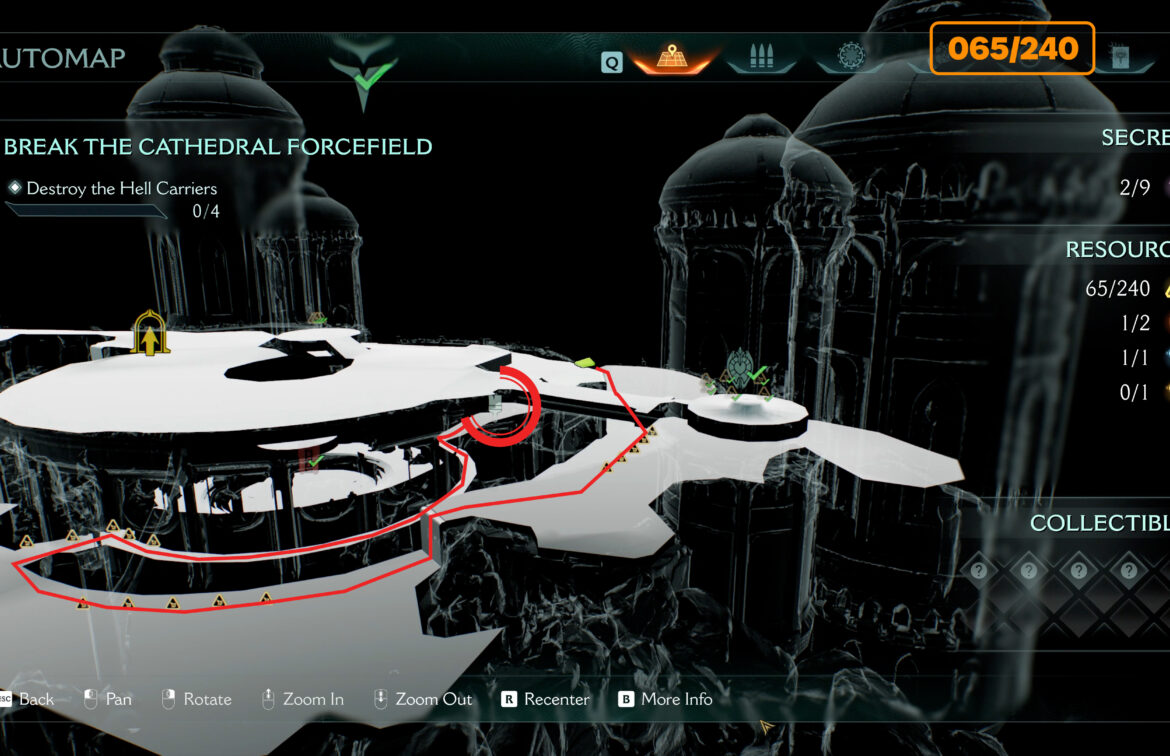
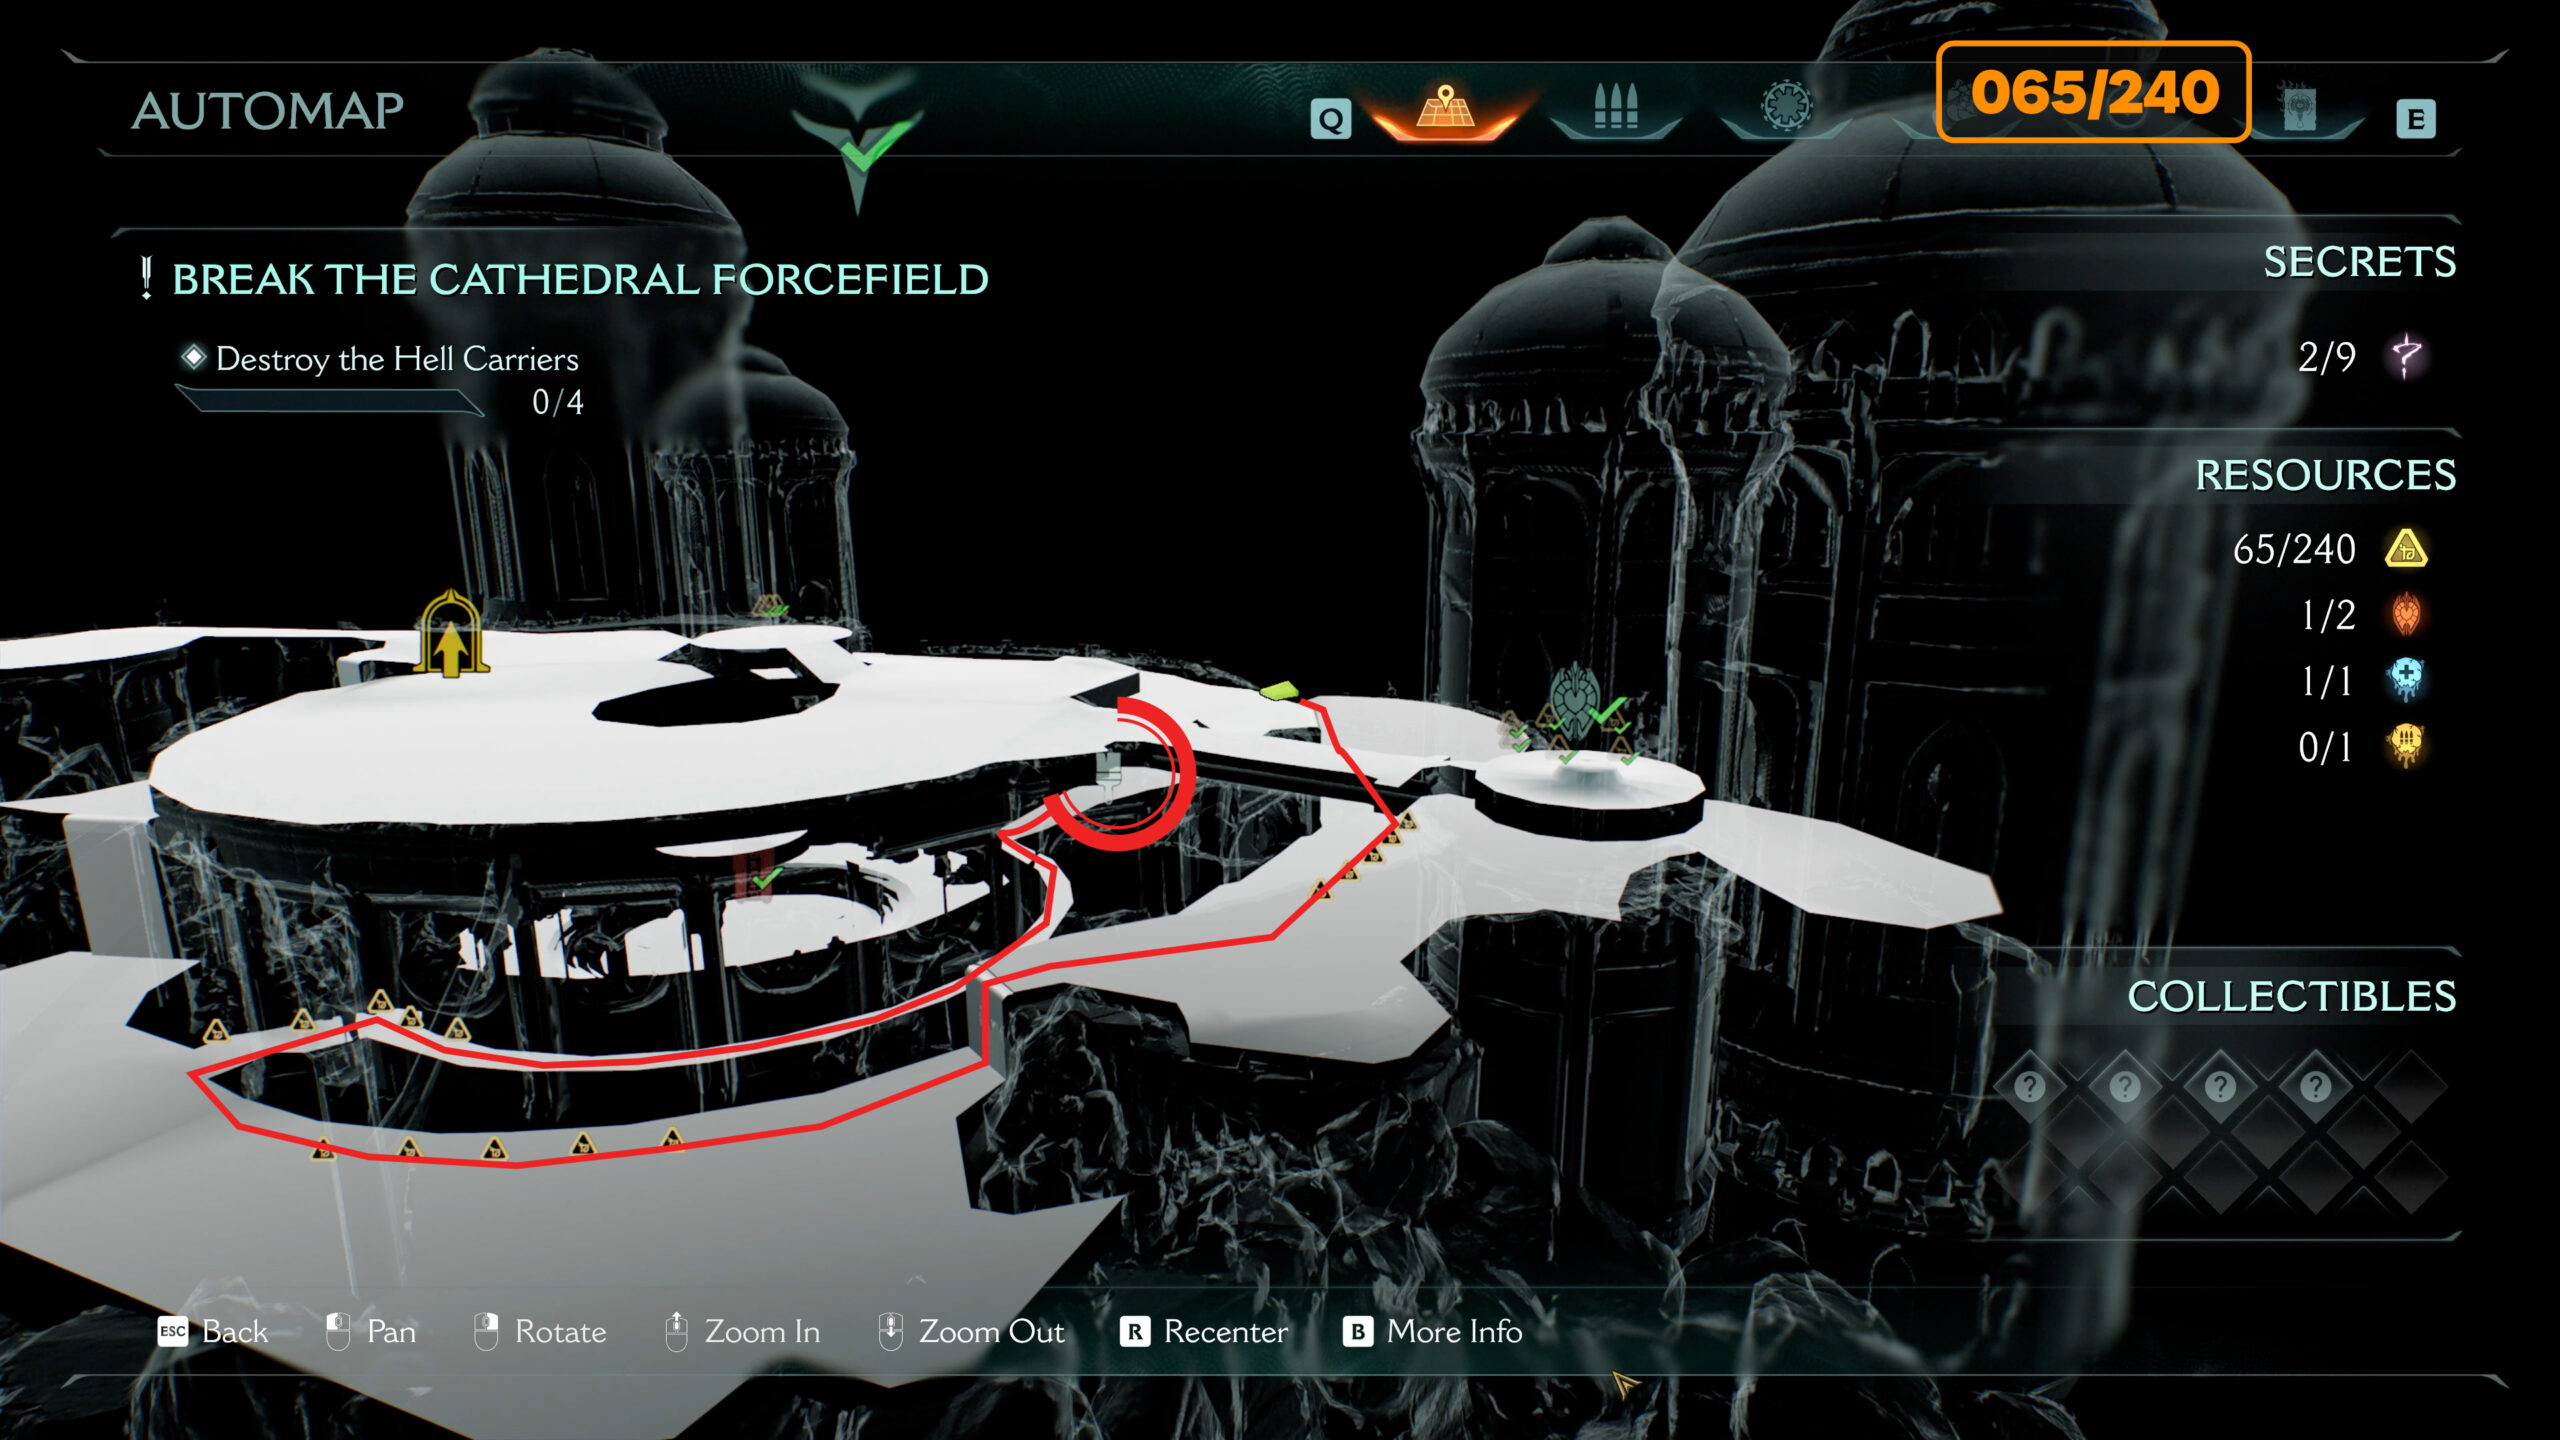
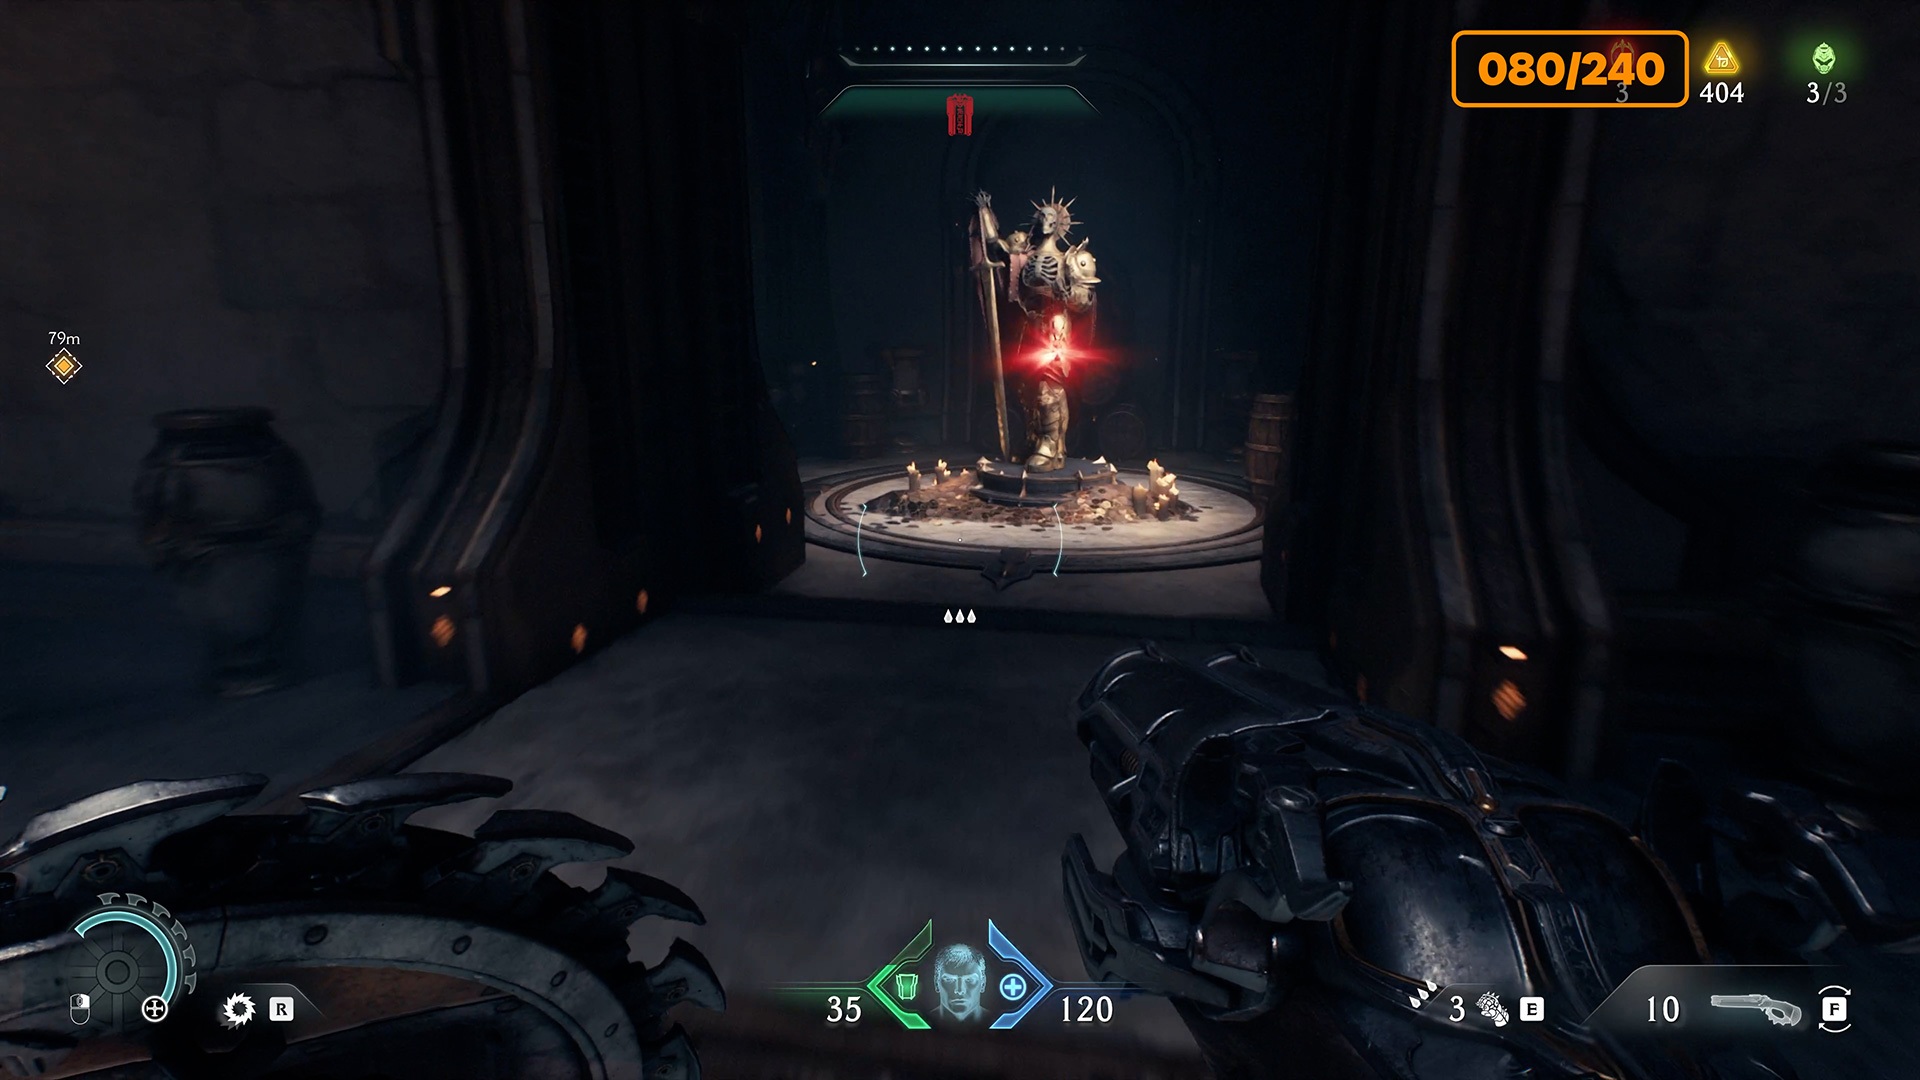
Secret #2 – 6 gold (65/240) – ruby #1
Here is the room where you will need the red key you found. Come here, the locked door will open on its own and you will find the second secret location, 6 gold coins and one ruby inside. The gold is arranged in a circle around the statue of the knight, so be careful and collect all the gold that is here, because it is very easy to miss one or two golds.

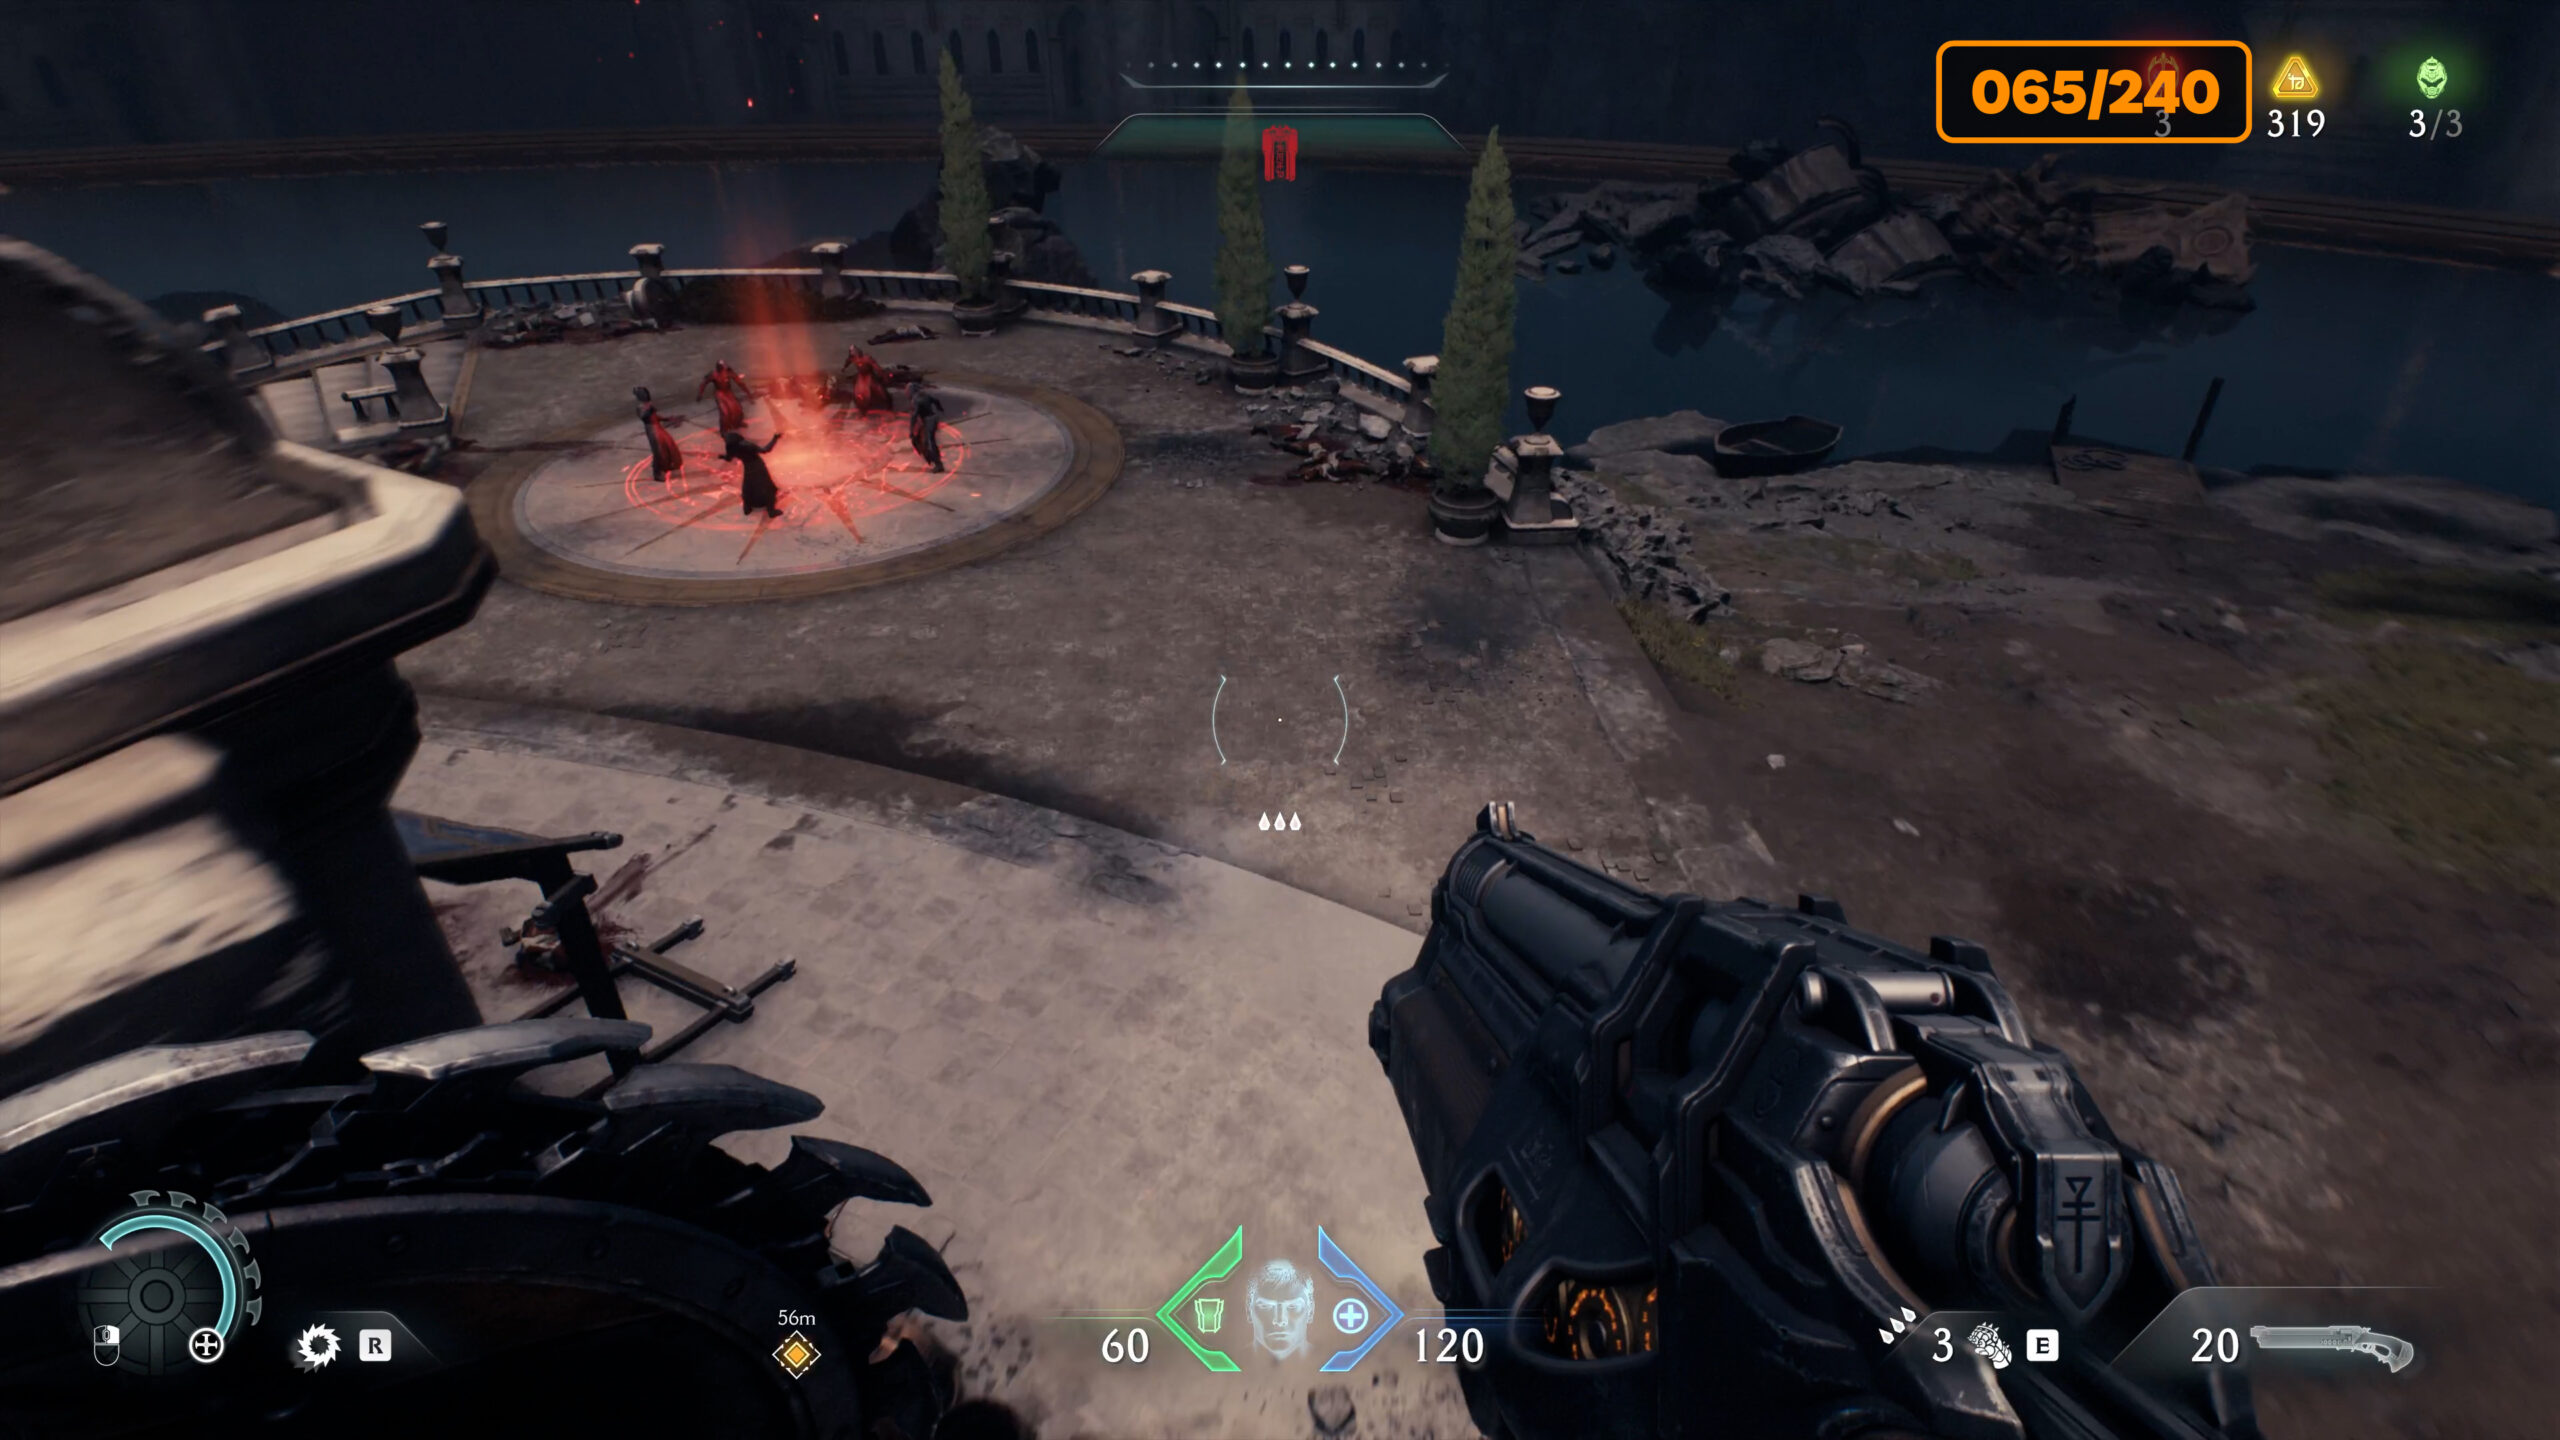
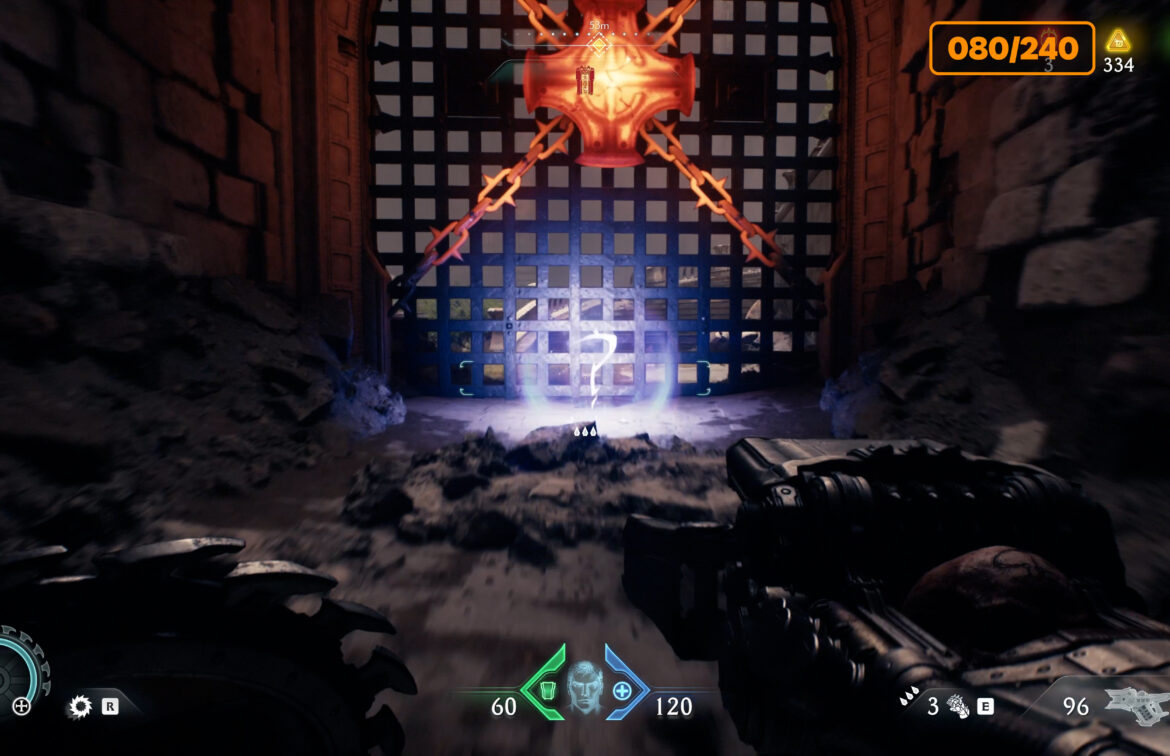
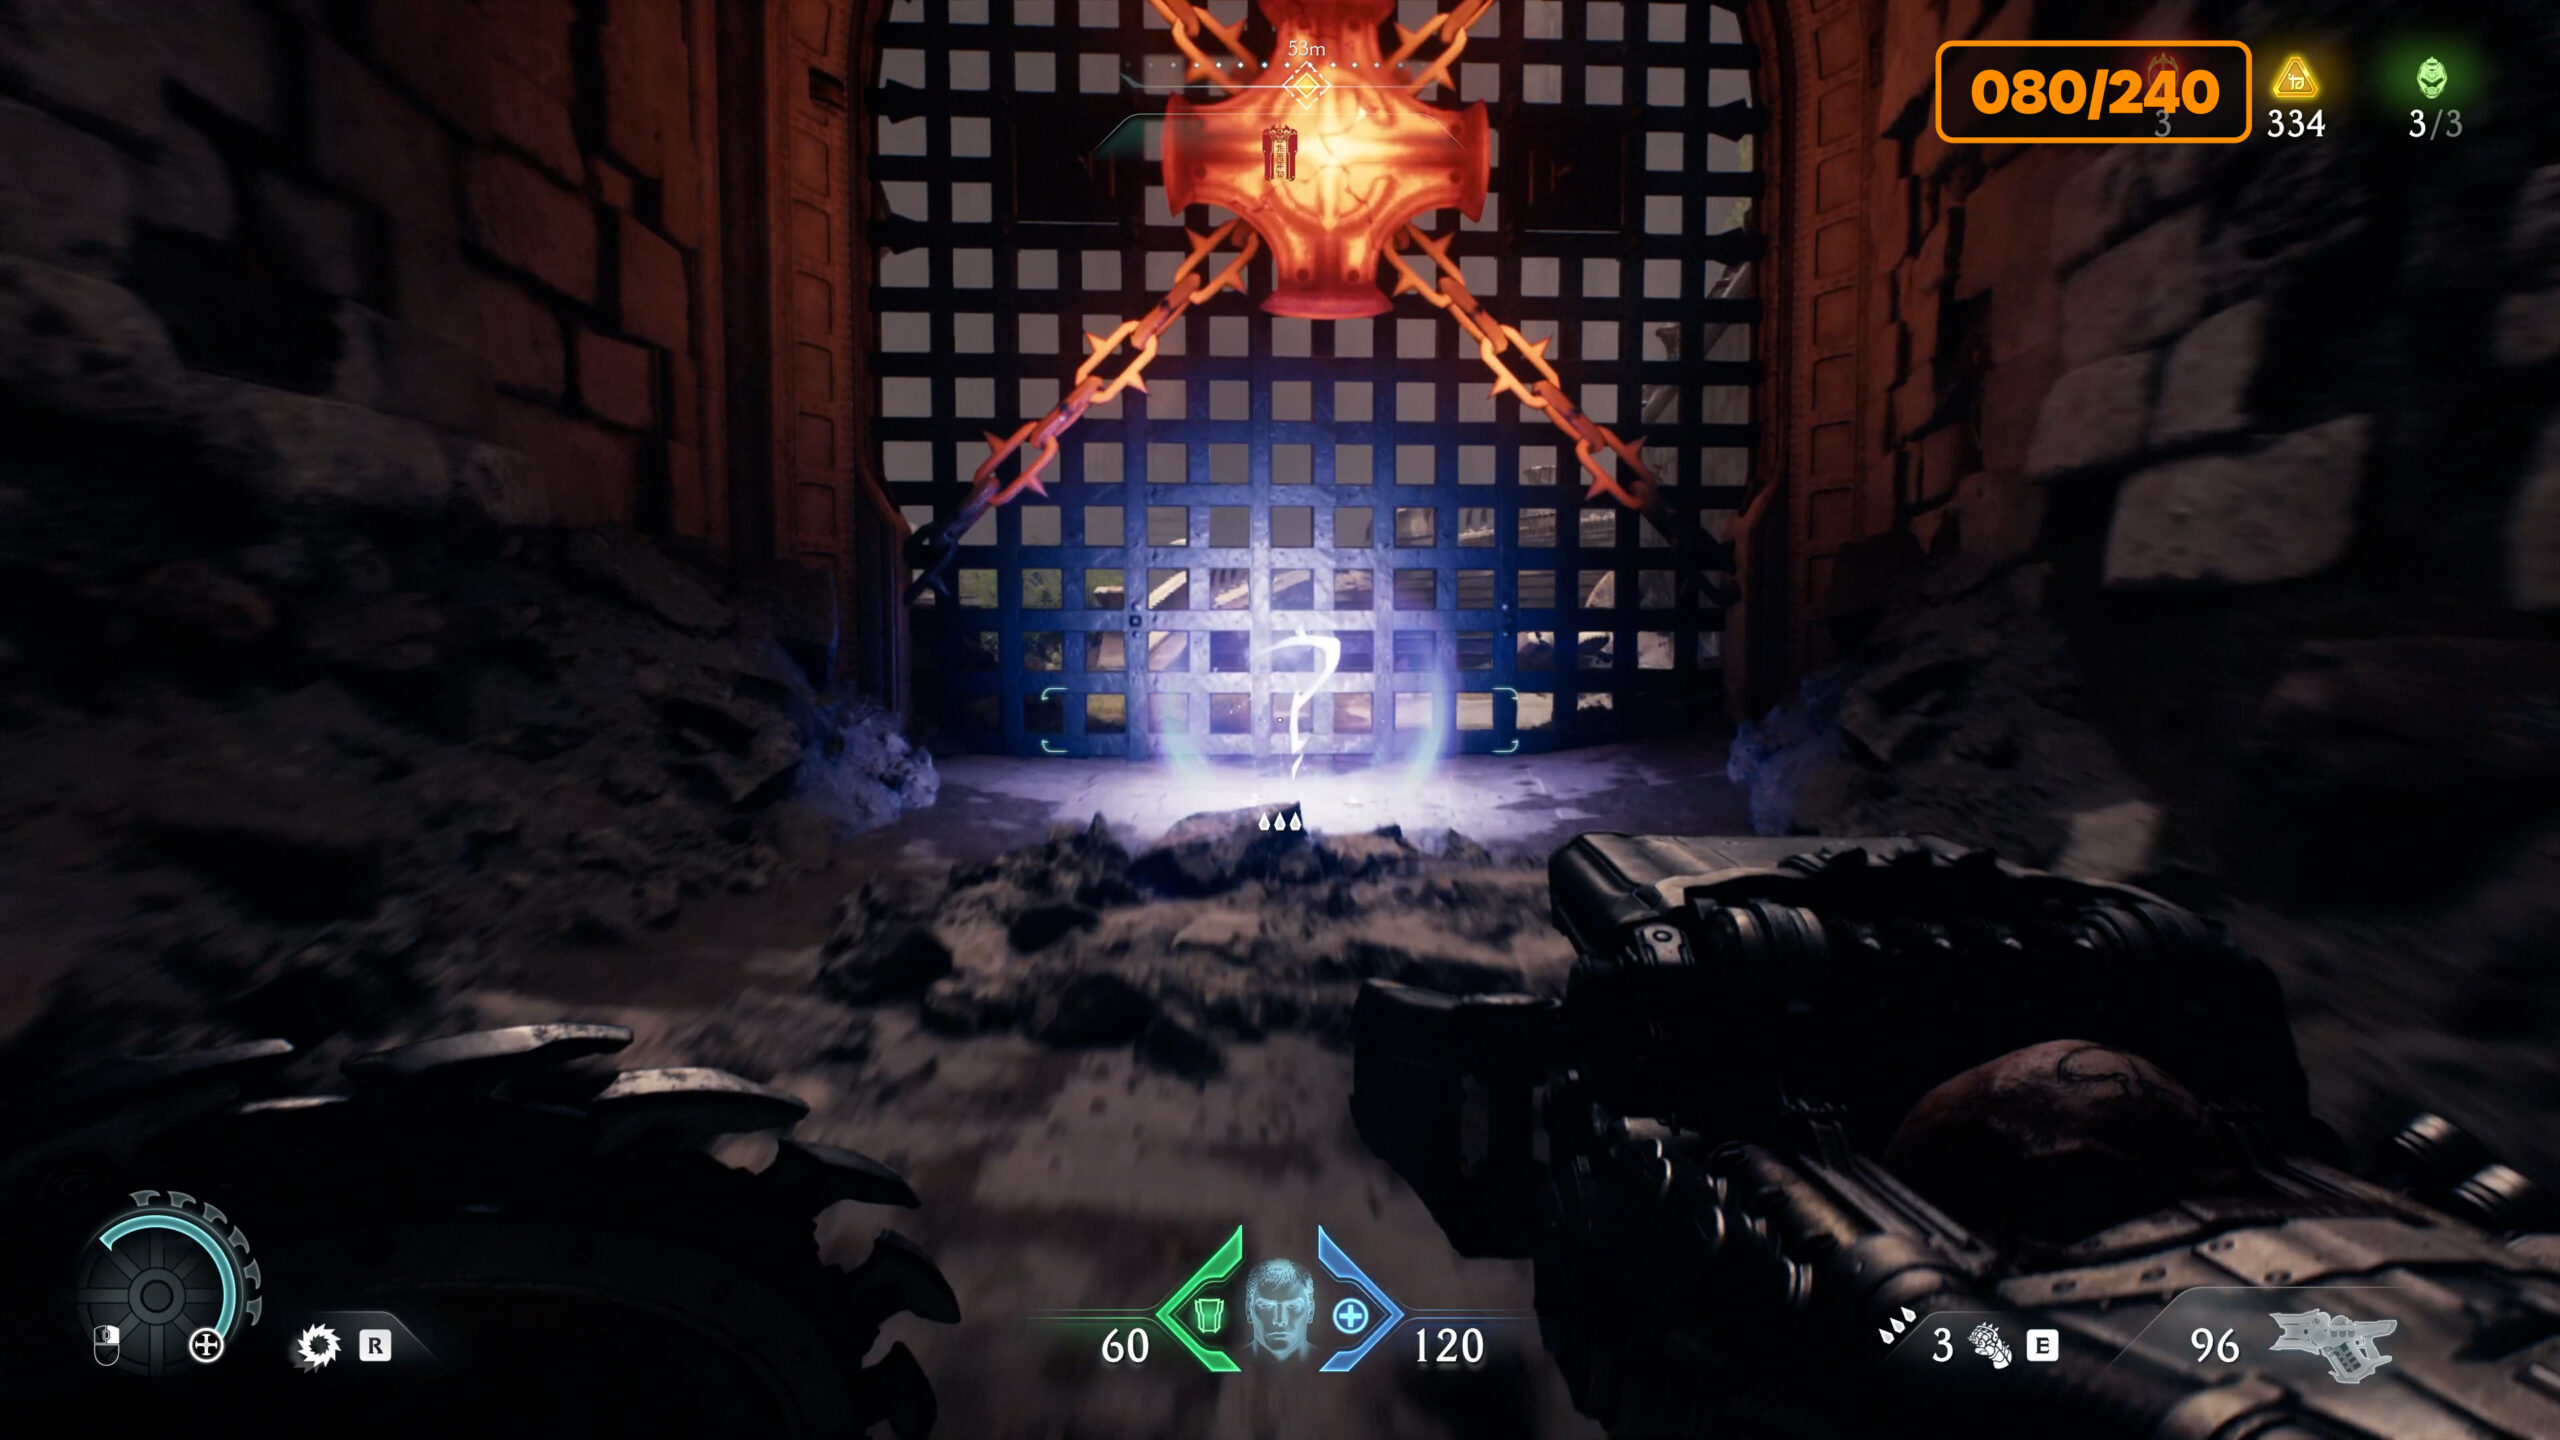
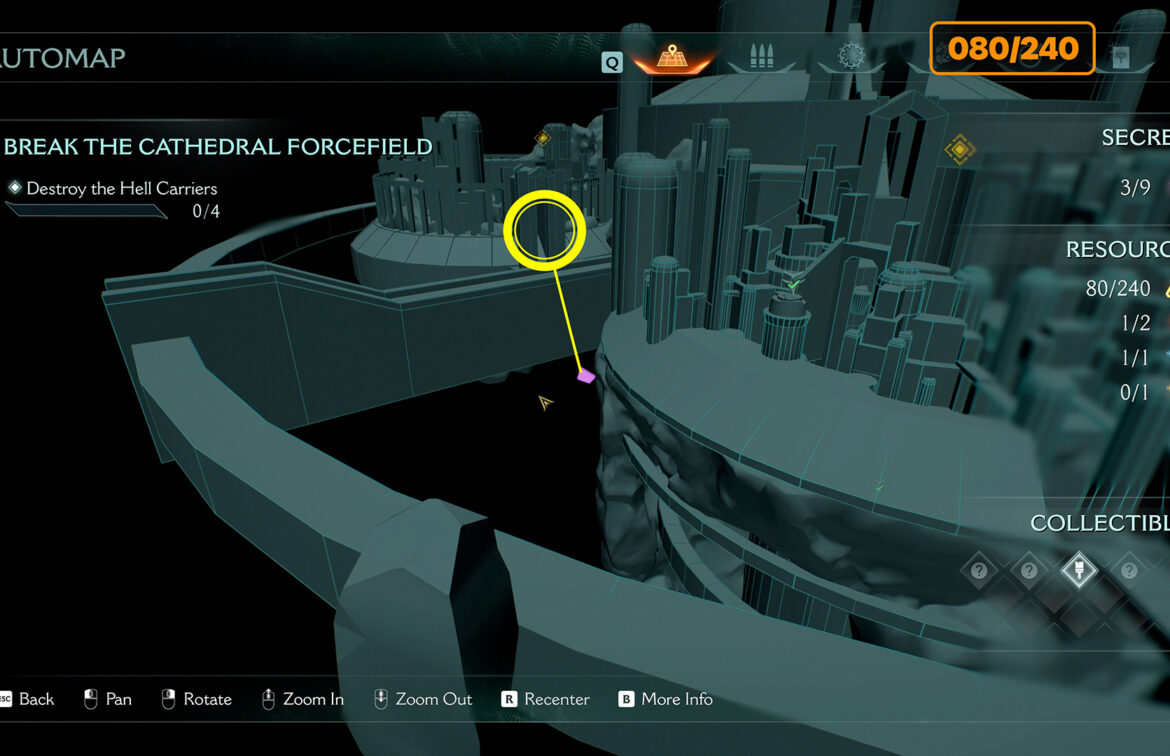
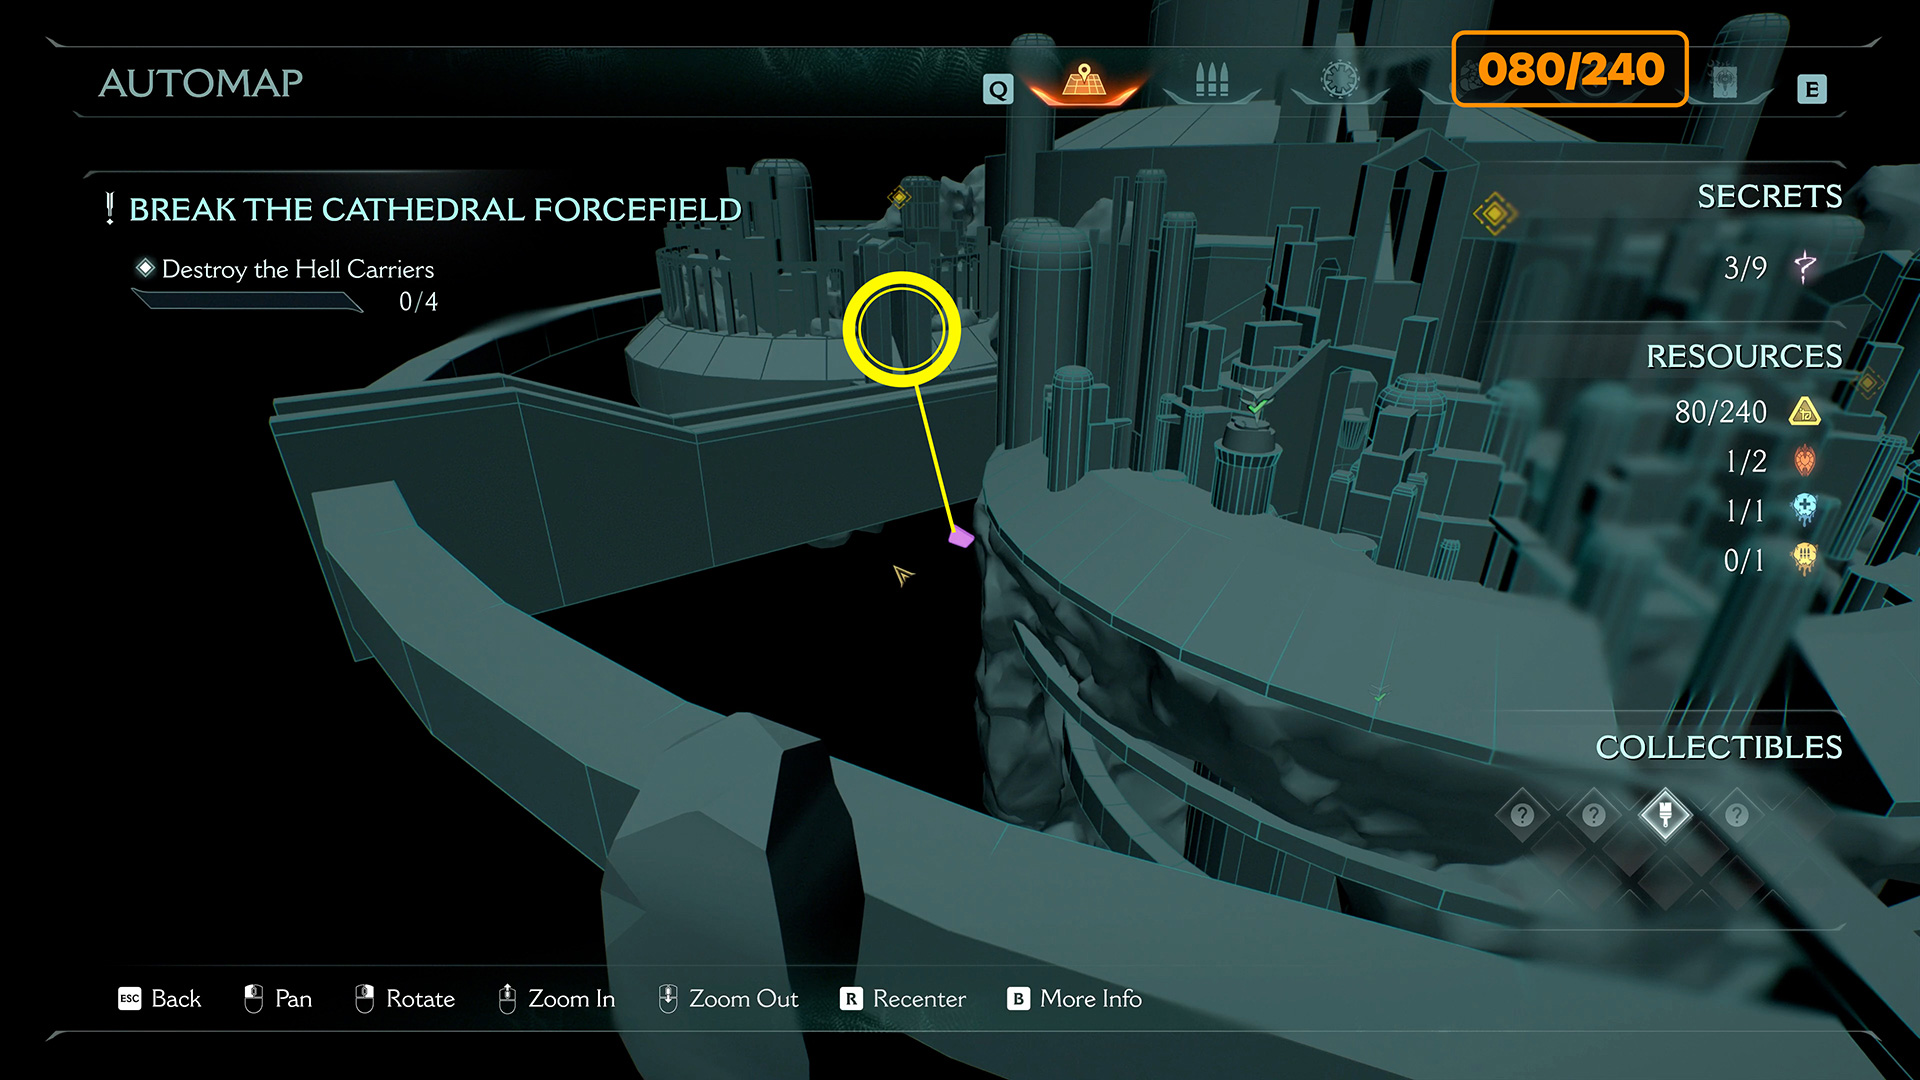
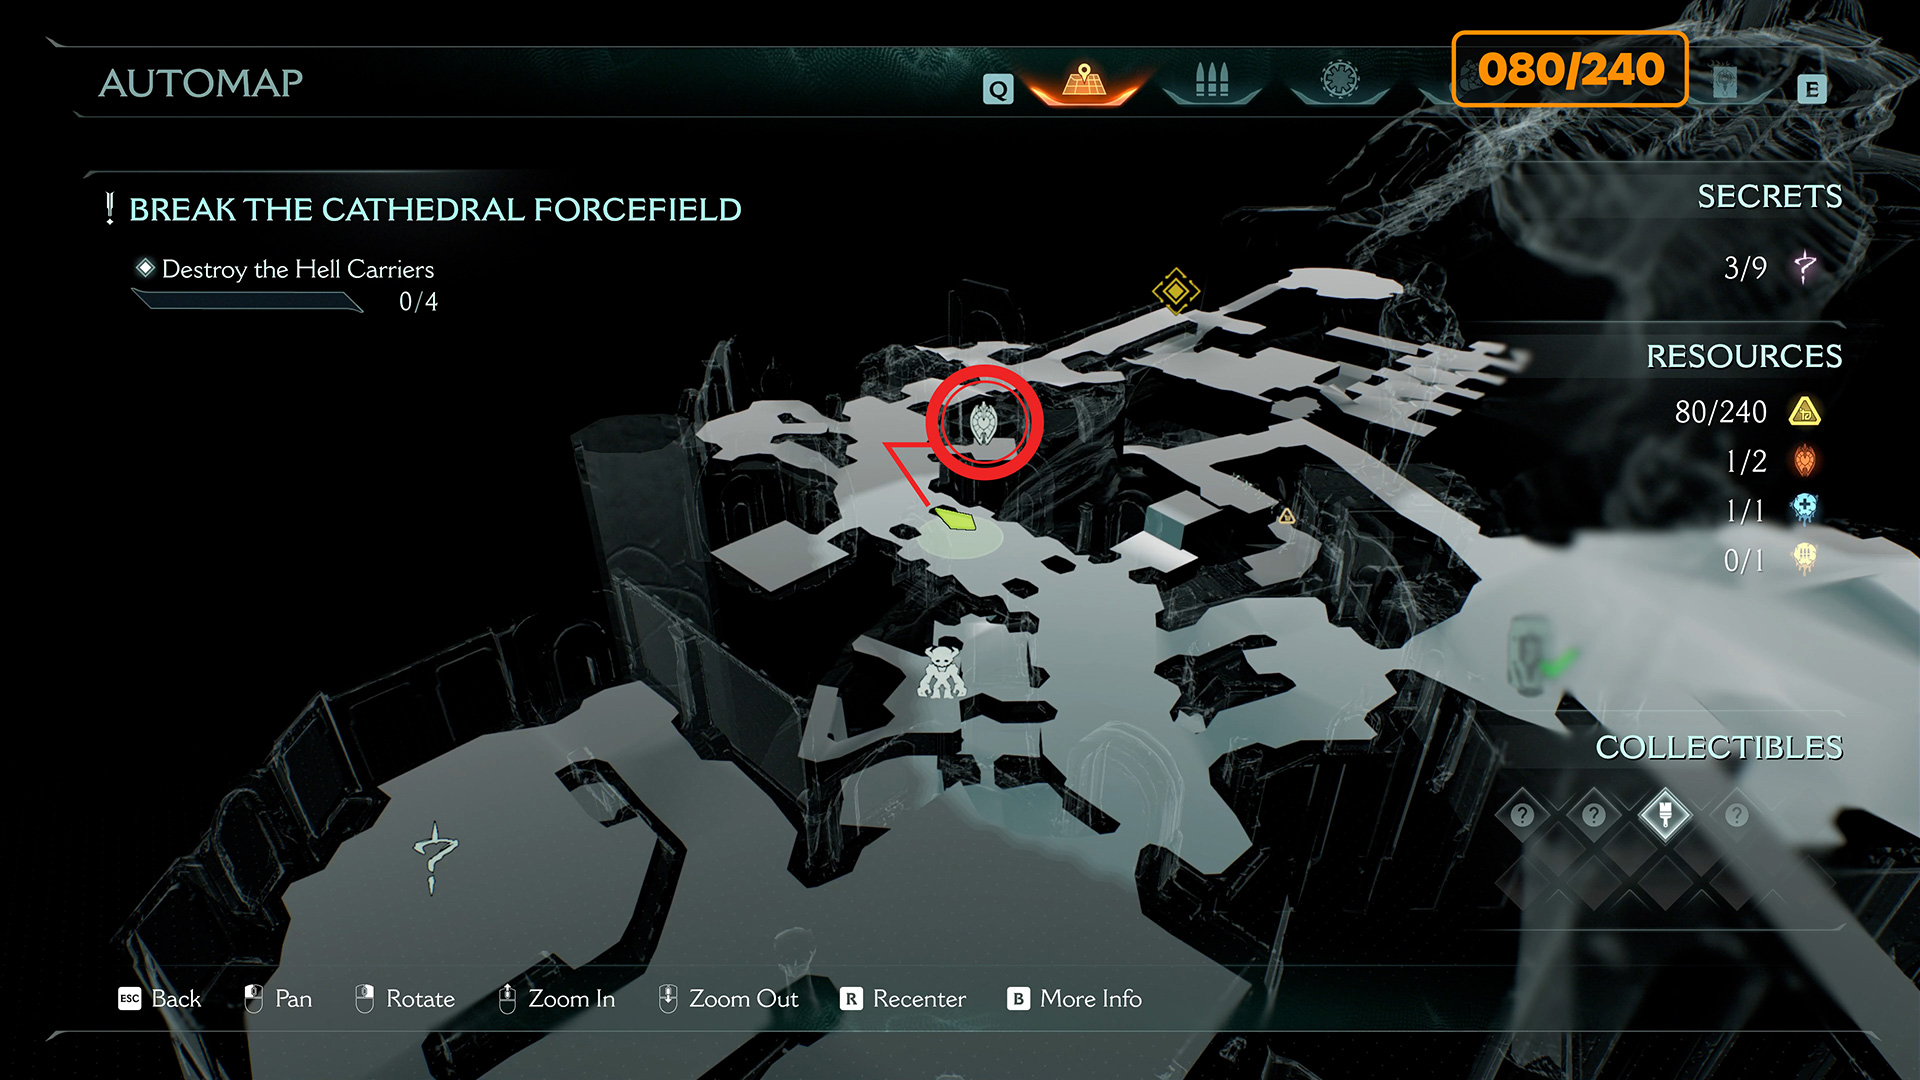
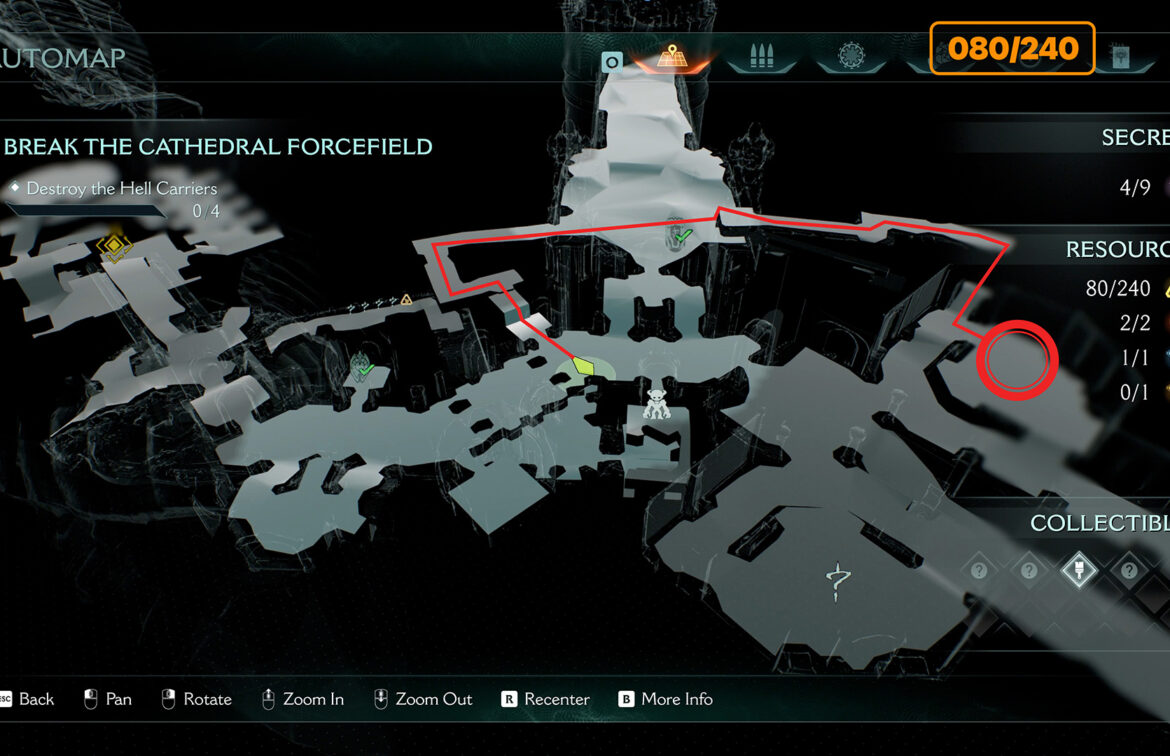
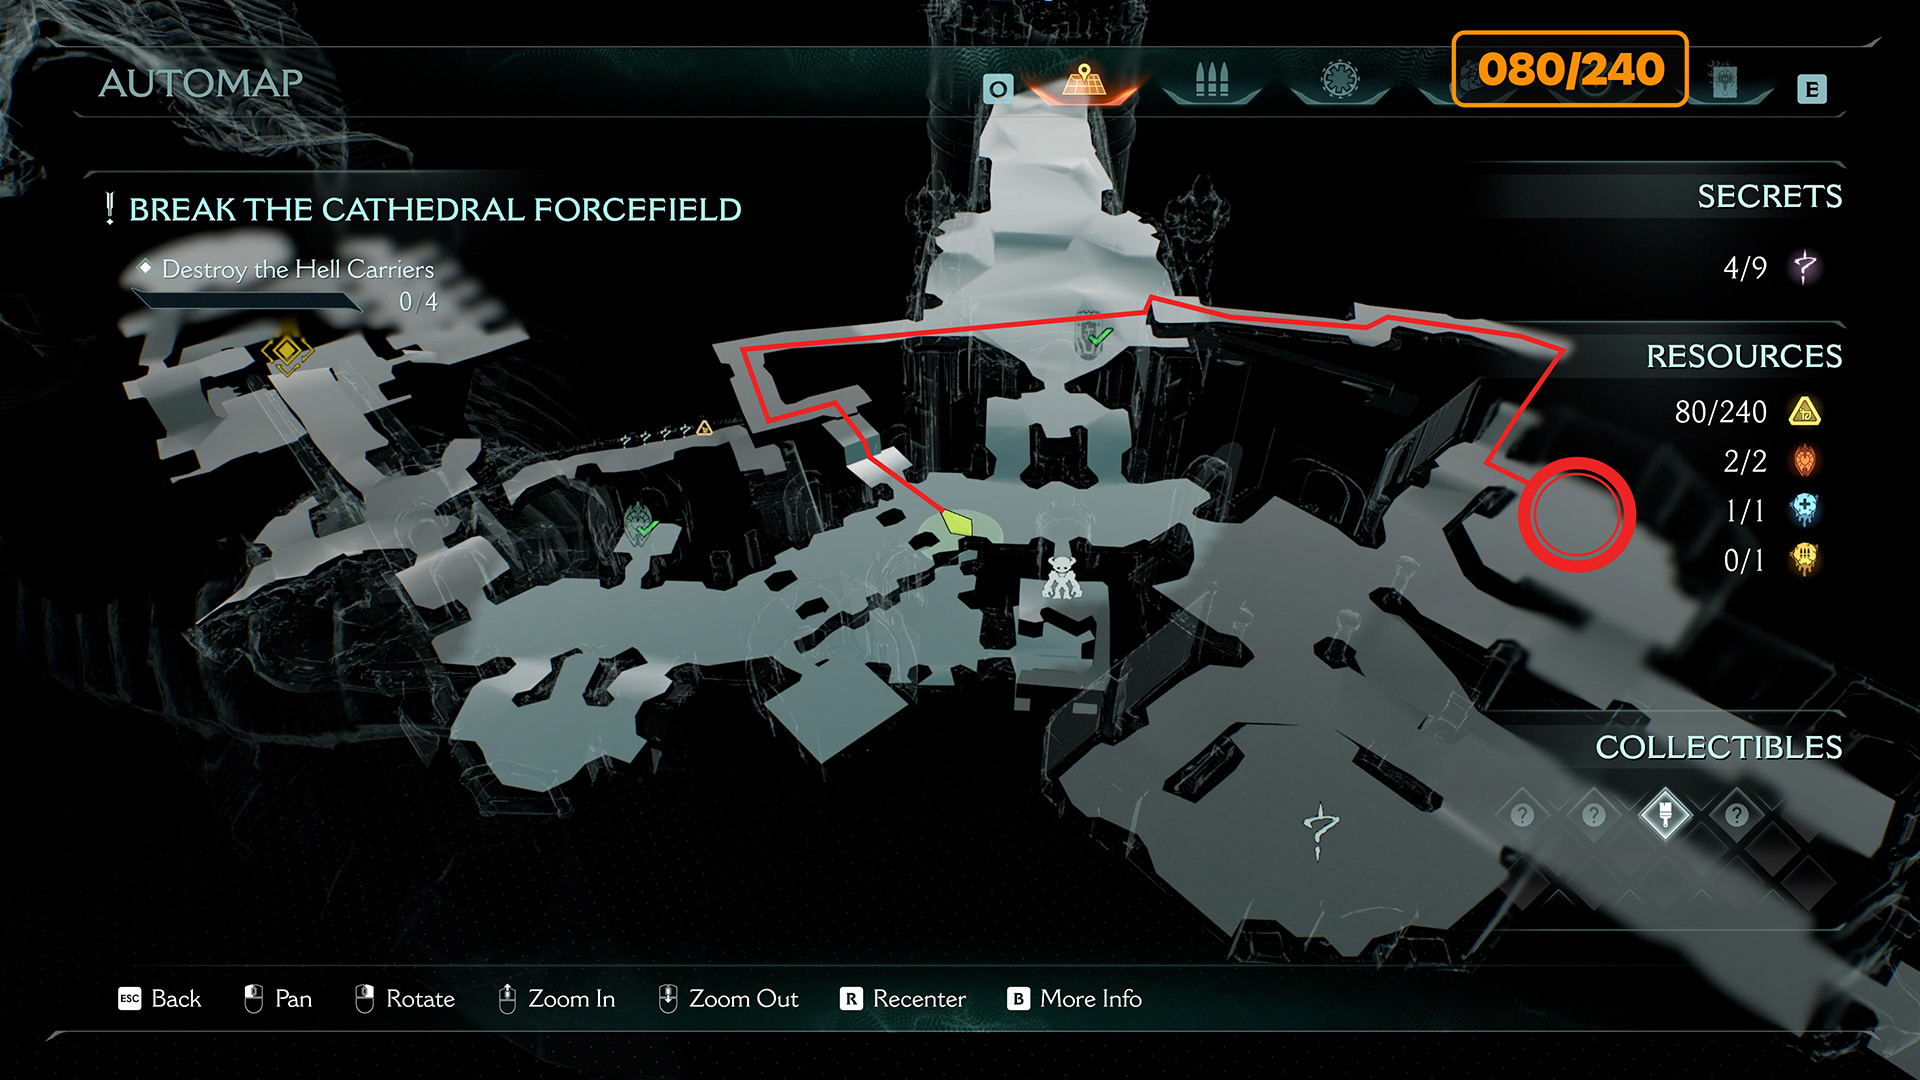
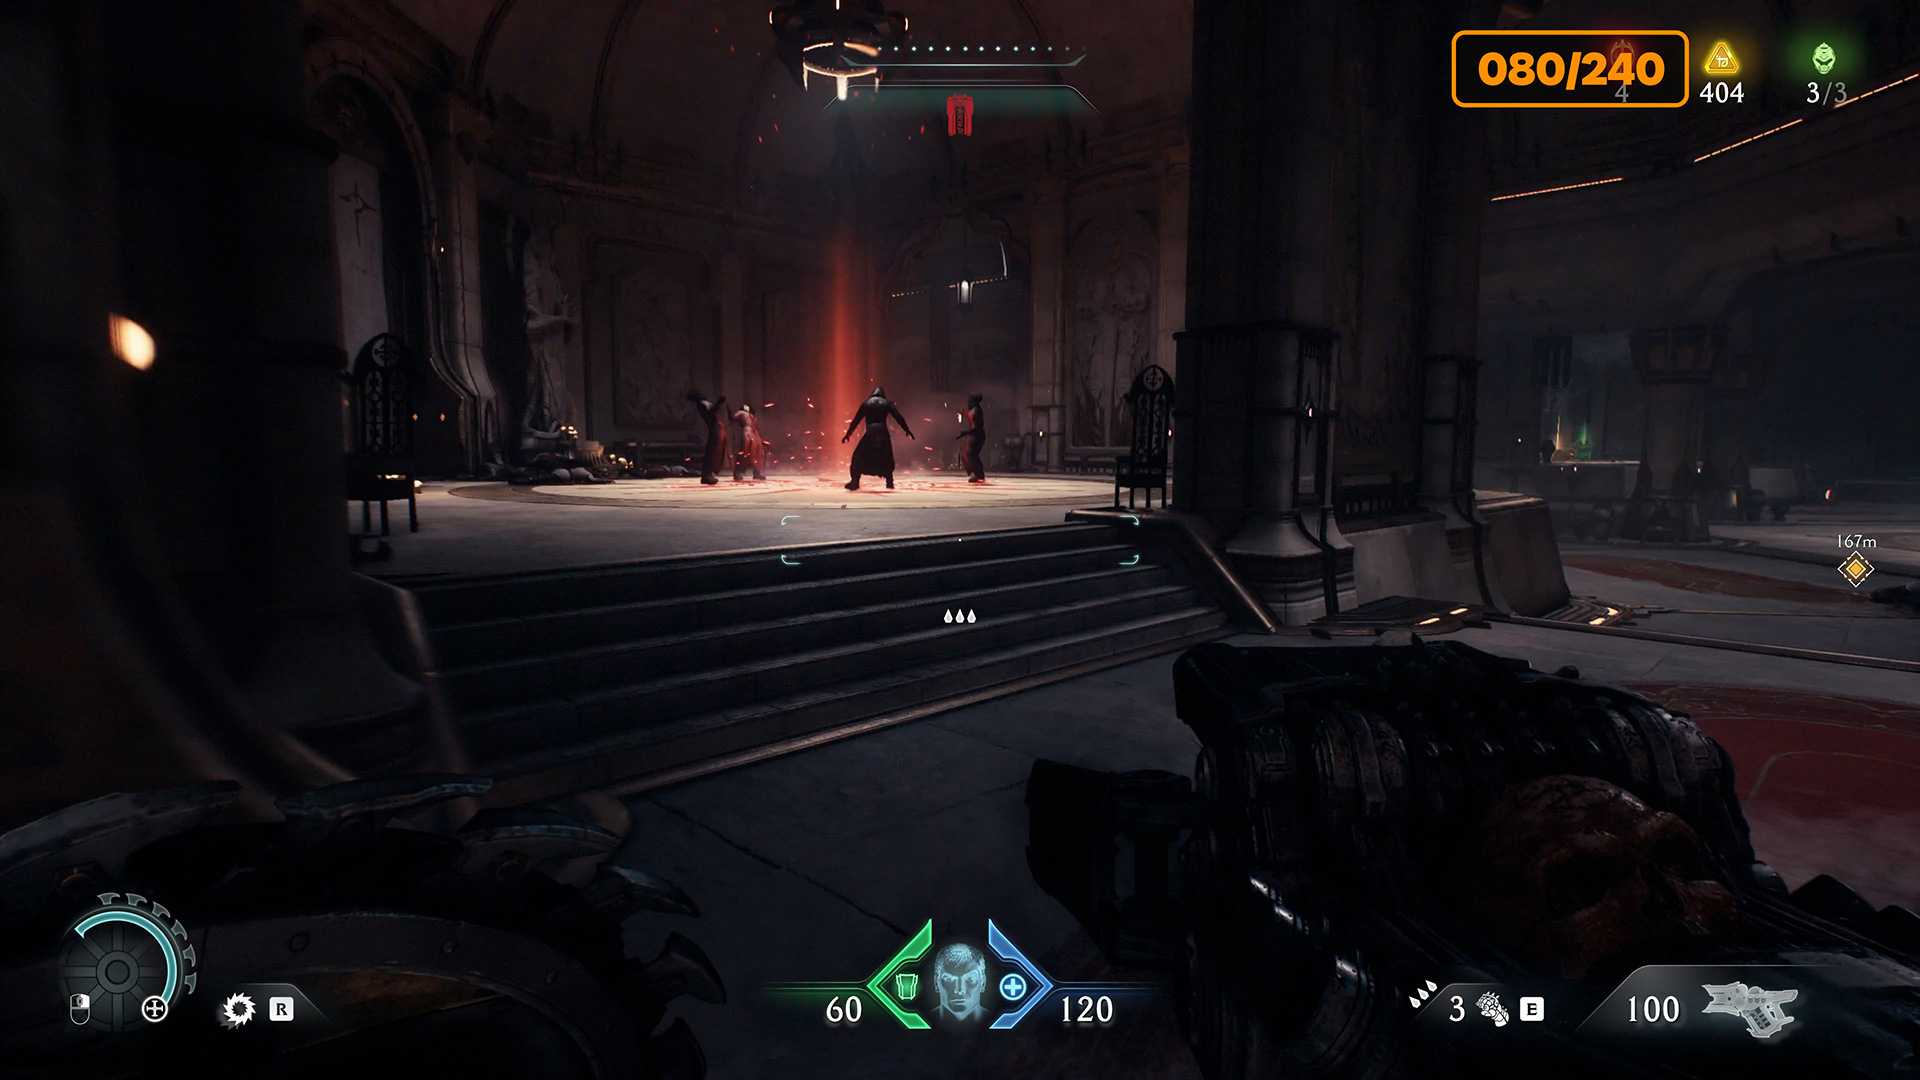
Cultist circle #1 – 15 gold (80/240) – Secret #3 – weapon skin
You need to get to the lower level. On the side you will see a place where you can jump down. The first cultist circle will be your reference point. You need to destroy everyone, this is a necessary part of the task to complete the Countercult challenge. After that, turn around and follow the laid out gold. This is a kind of pointer to your correct route. First, you will find 5 gold coins. Move on and you will see 5 more gold coins. Even further on the right side you will see 3 gold coins. Here you need to turn into this tunnel, around the bend you will find 2 more coins. Follow this tunnel forward, this is the third secret location you’ve found. And at the end of the tunnel, on the right side, there will be a room where you will find Weapon Skin.
-
- Route for collecting everything
-

- Cultist circle #1
-
- Secret #3 – weapon skin
Cat and Mouse Hell Fighter #3
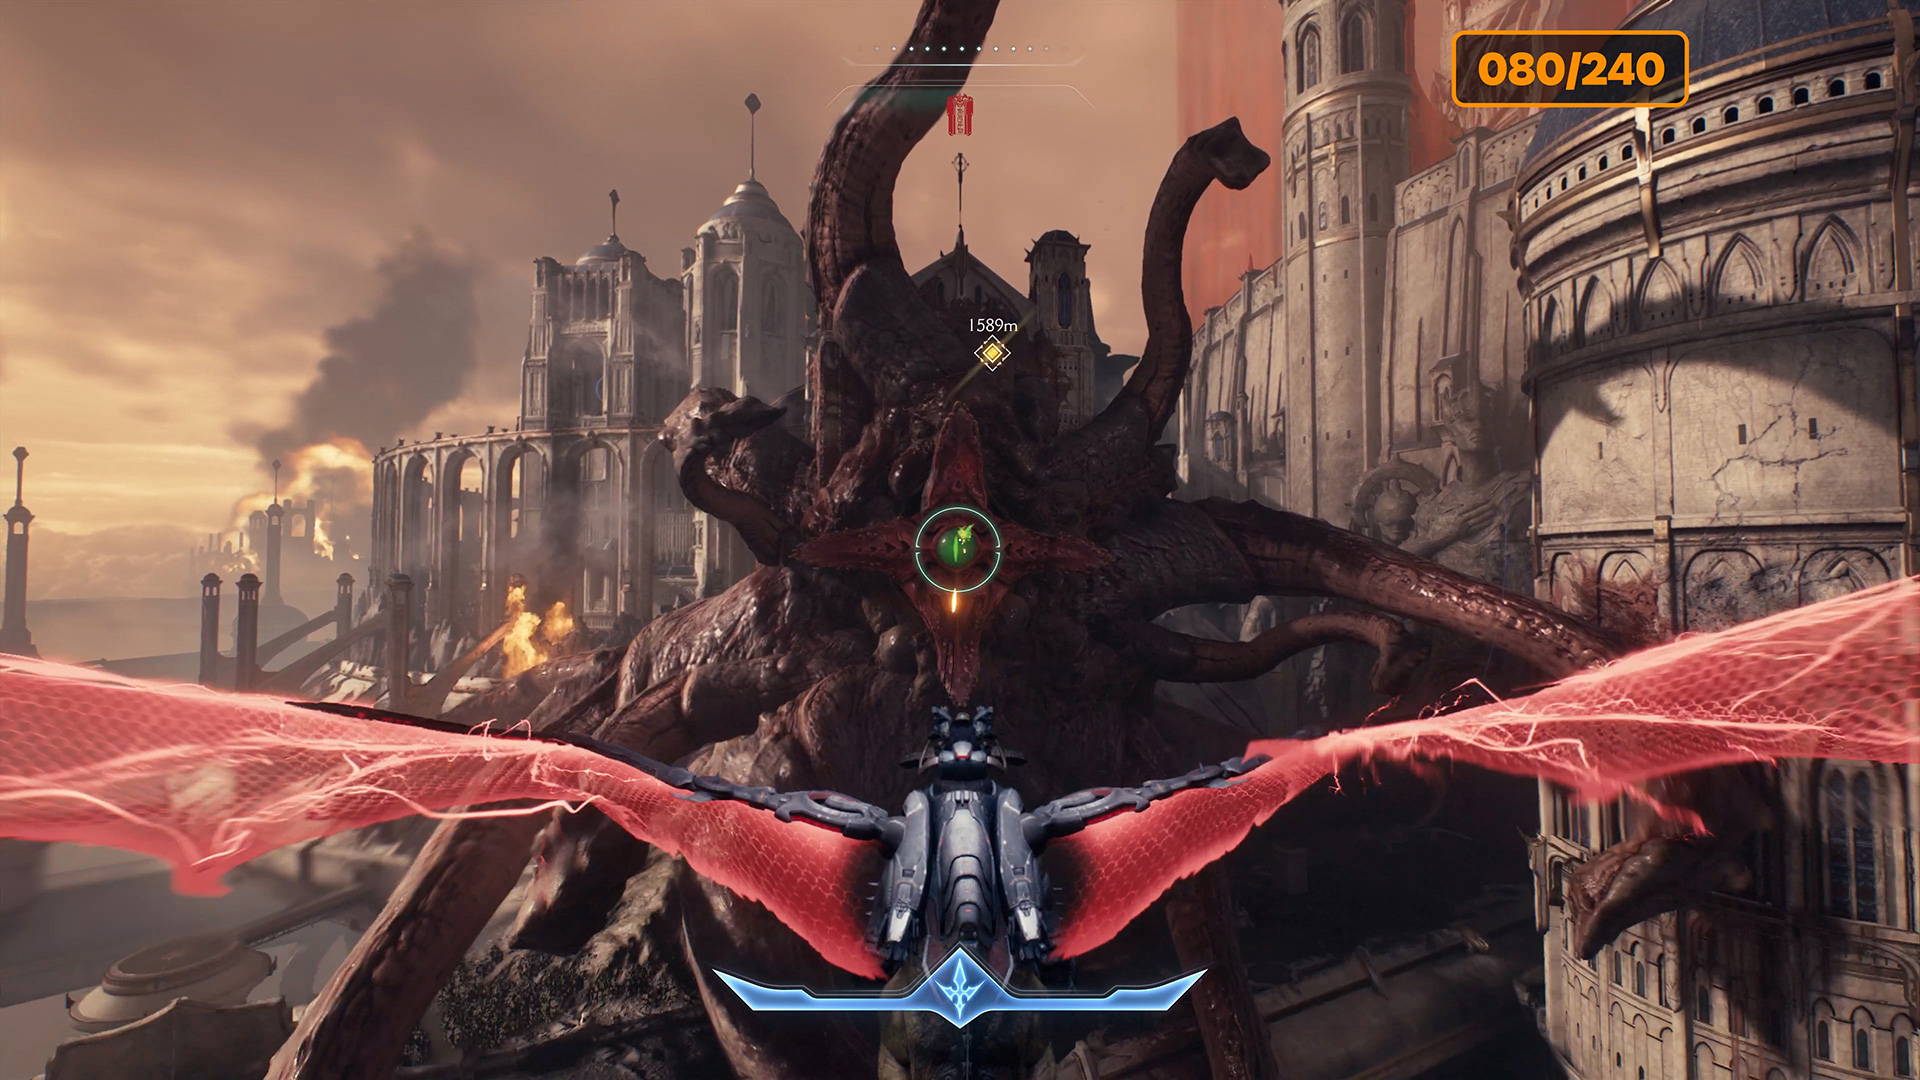
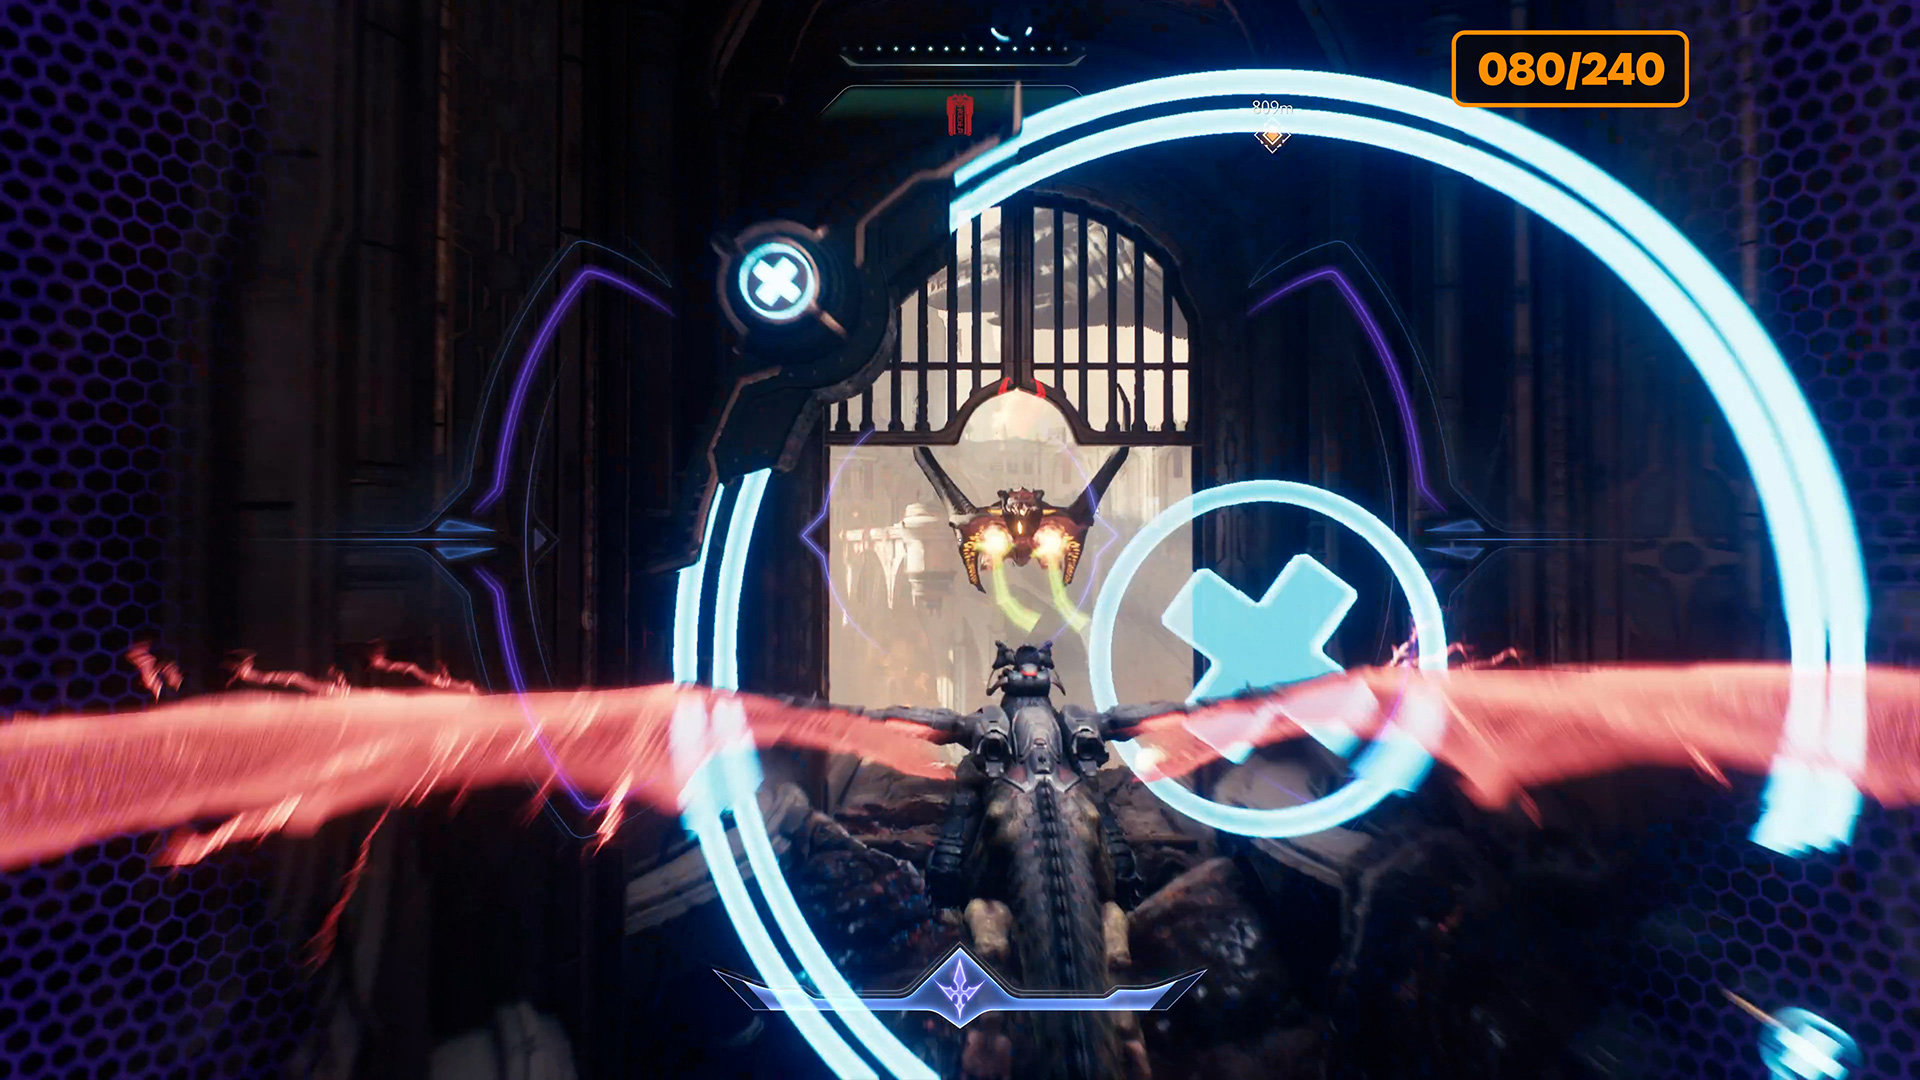
I suggest starting to explore The Holy City of Aratum from the left side. To the left of the first landing pad, you will see a monster that looks like a large octopus. It’s a creature with tentacles. You need to destroy it. I think you will quickly figure out how to deal with it and there will be no problems. After it explodes, you can fly on through the monster. Here, the third Hell Fighter will start running away from you right away. It follows the same trajectory. Your task is to catch up and destroy it. This is the last third target for the Cat and Mouse challenge and you will receive one additional ruby for completing it.
-
- Where to find Hell Fighter
-
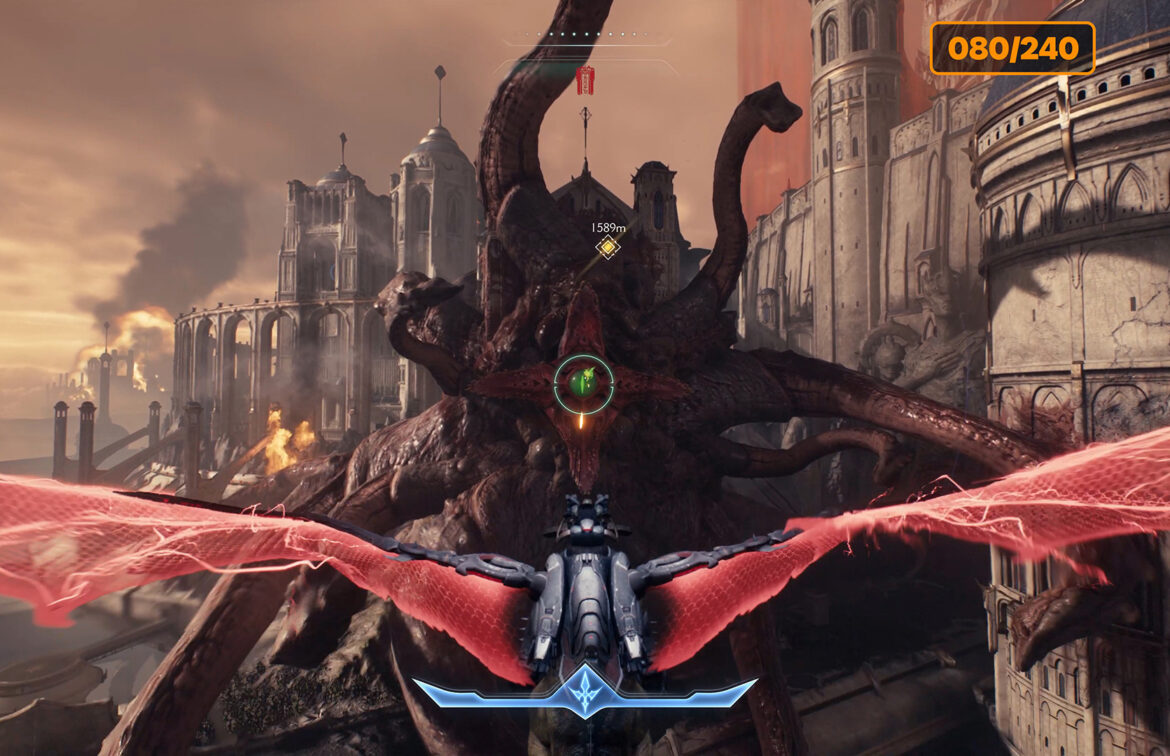
- The big monster looks like an octopus.
-
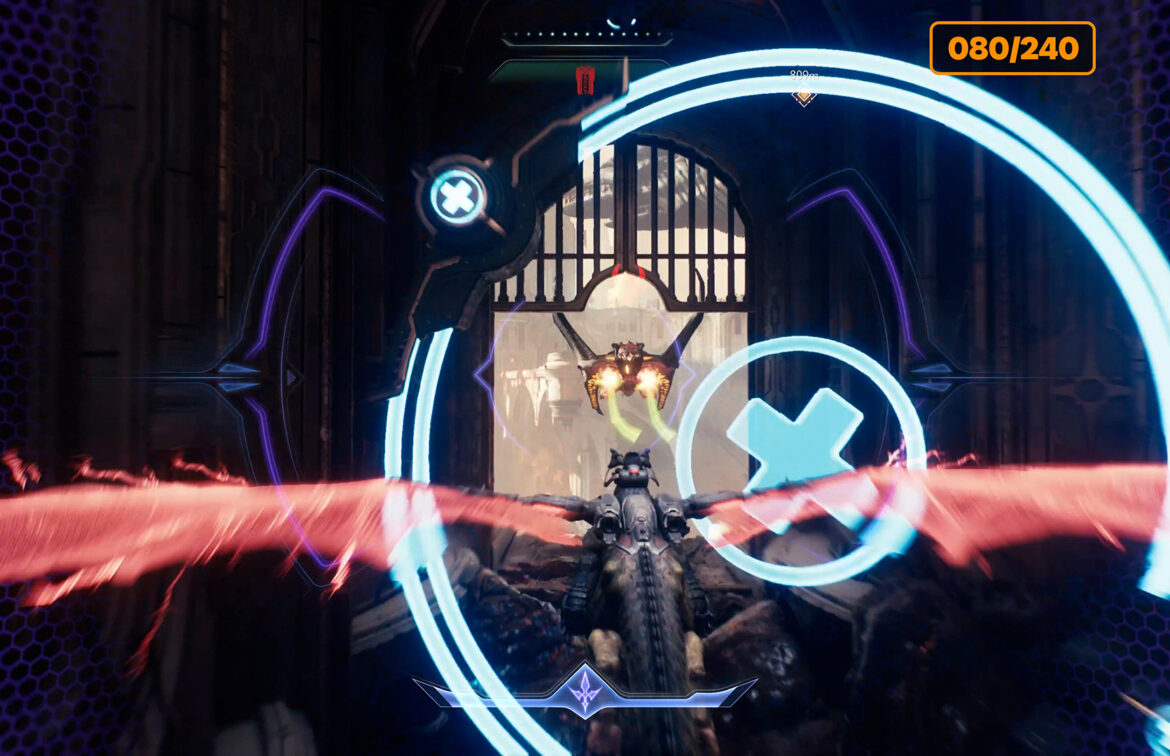
- Cat and Mouse Hell Fighter #3
Hell Carrier #1
Now you can start the main task. You need to destroy 4 Hell Carriers. The plan is simple: first, you need to make a perfect dodge to get the plasma weapon. Then destroy the defense and the main source. Now land on the platform and explore the area.
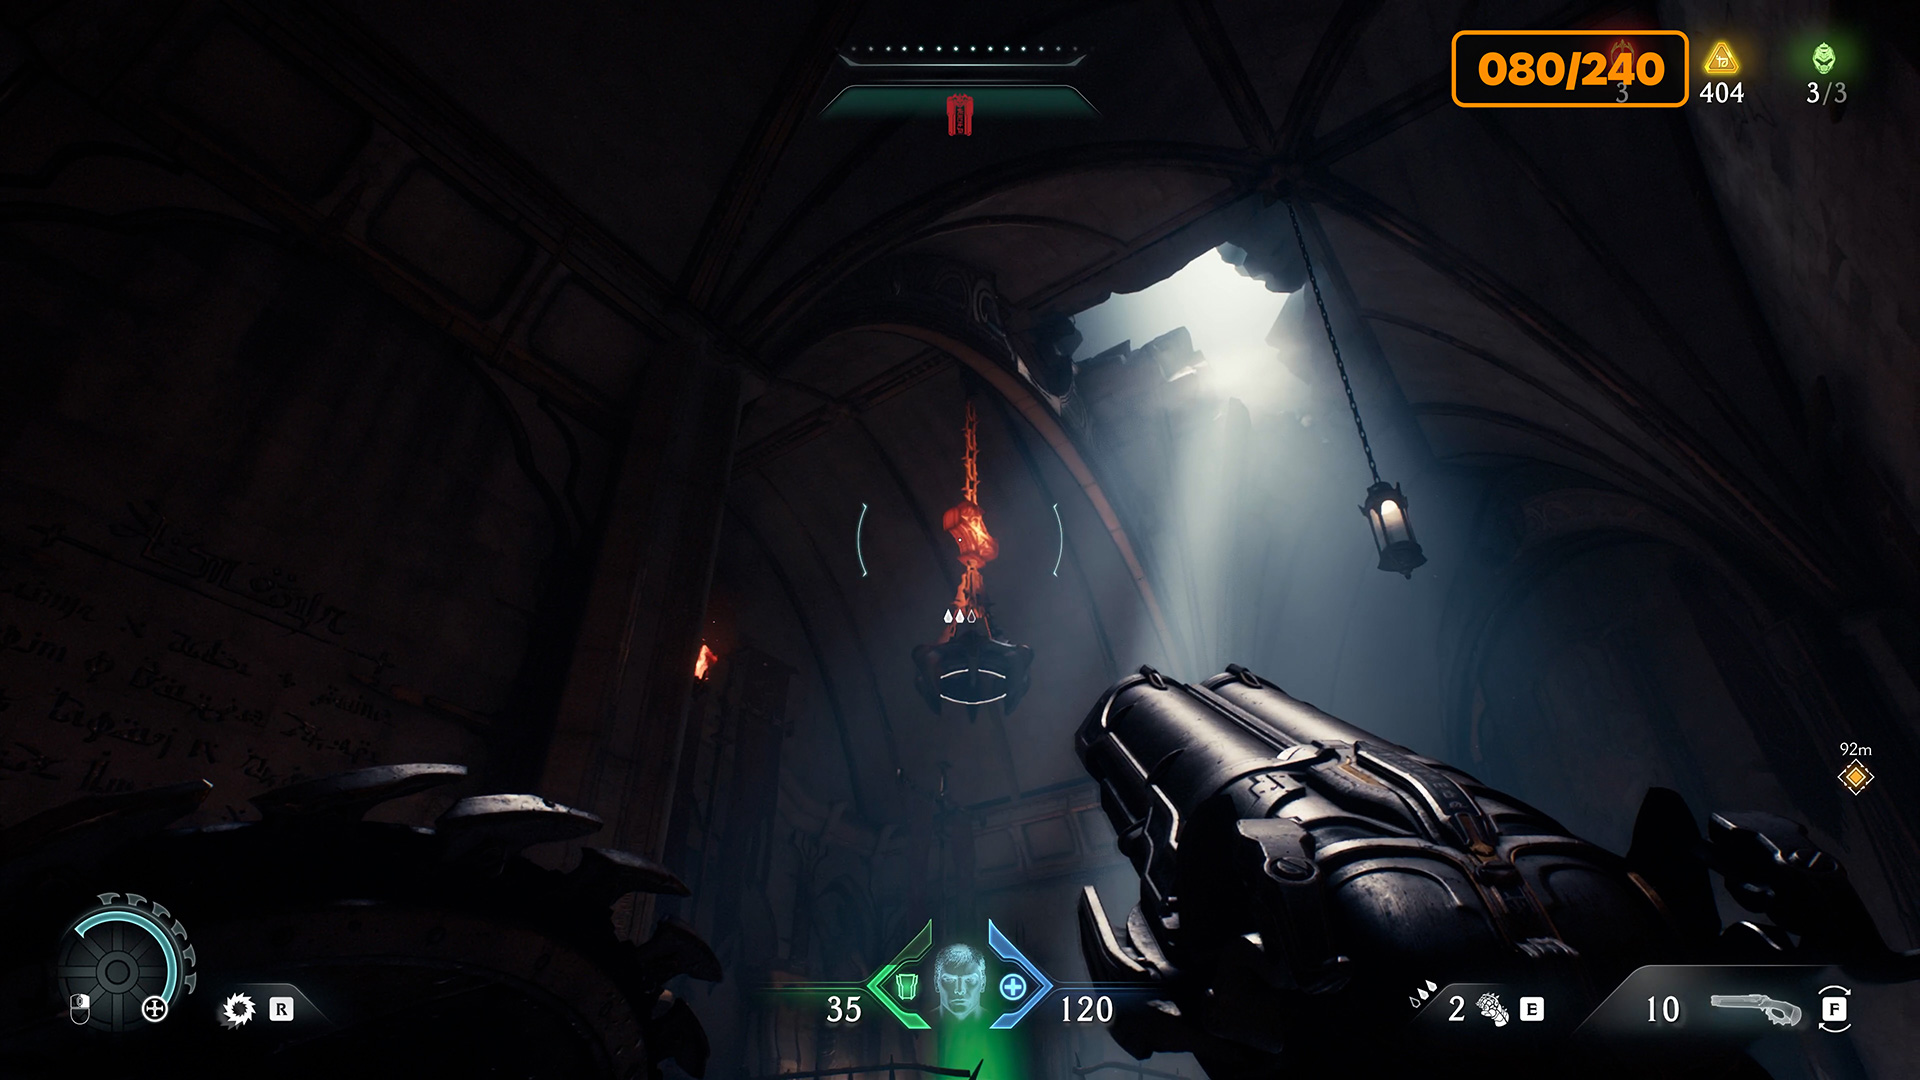
Holy city of aratum Secret #4 – ruby #2
Once you have obtained the Super Shotgun, proceed through the room with the monsters. You will notice a large green button on the floor. There will be a massive object hanging above it. Throw your shield at it so that the object falls on the green button and holds it down. This action will open the gate to the secret room. This is the fourth secret location where you will find the ruby.
-
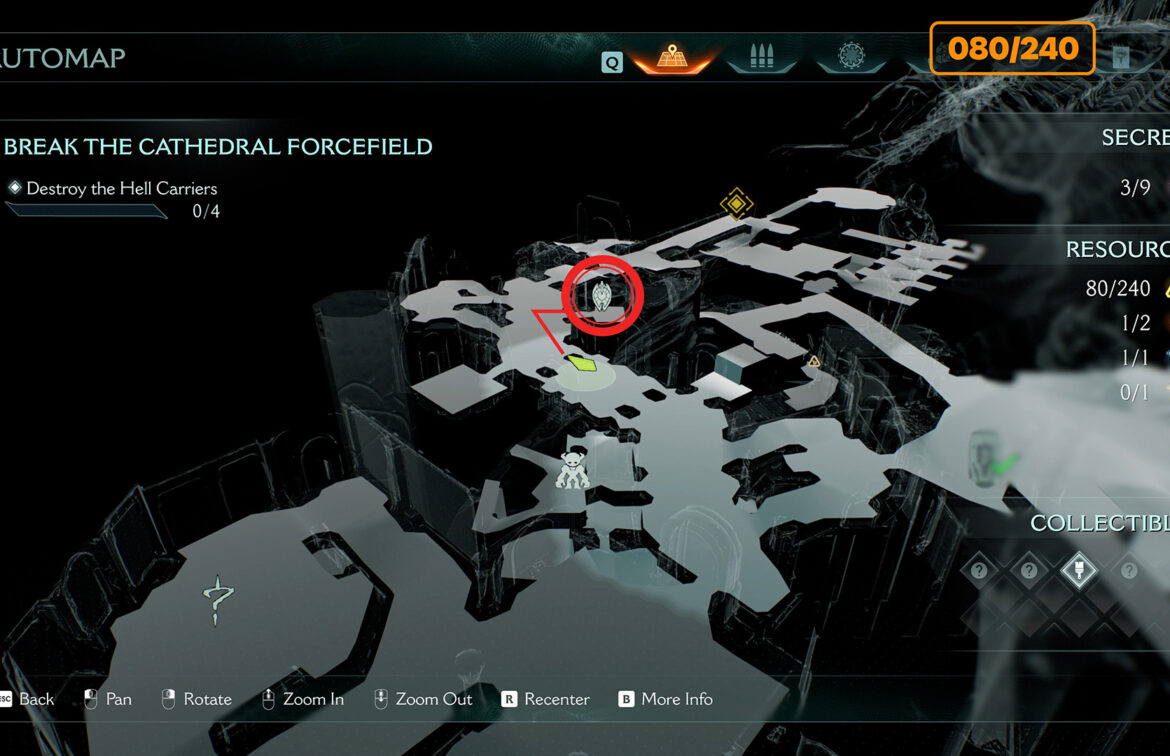
- Holy city of aratum Secret #4
-
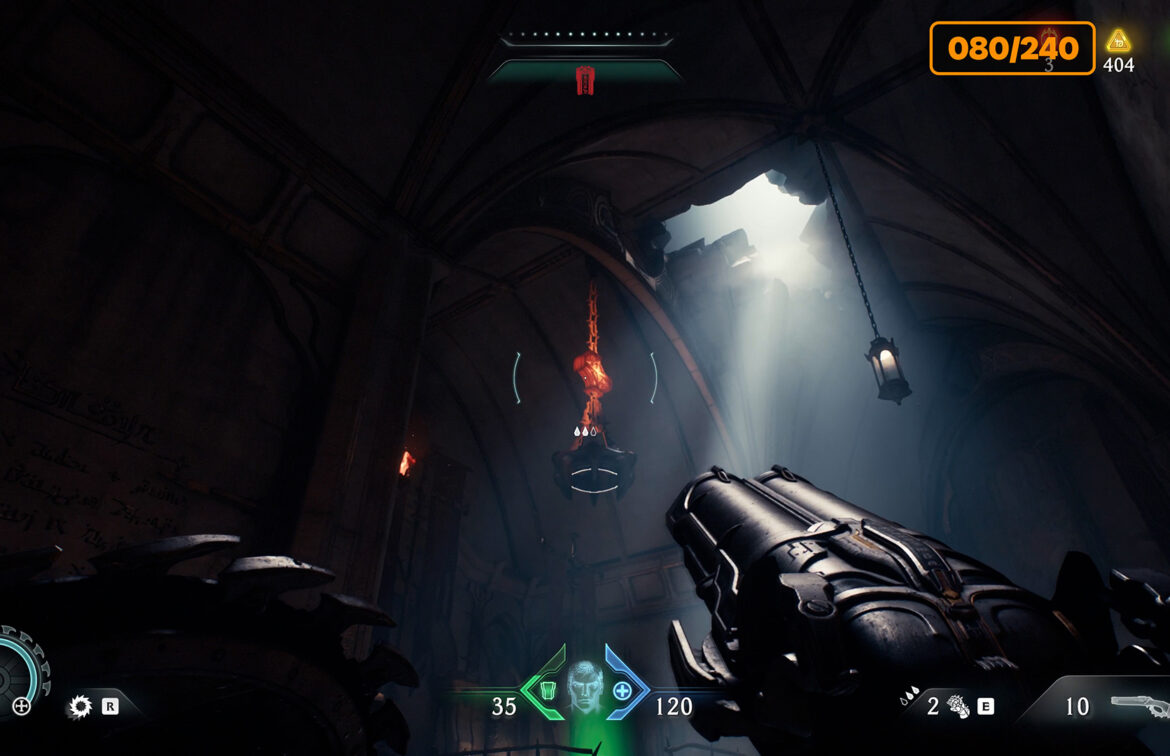
- Throw your shield
-

- You will find the ruby
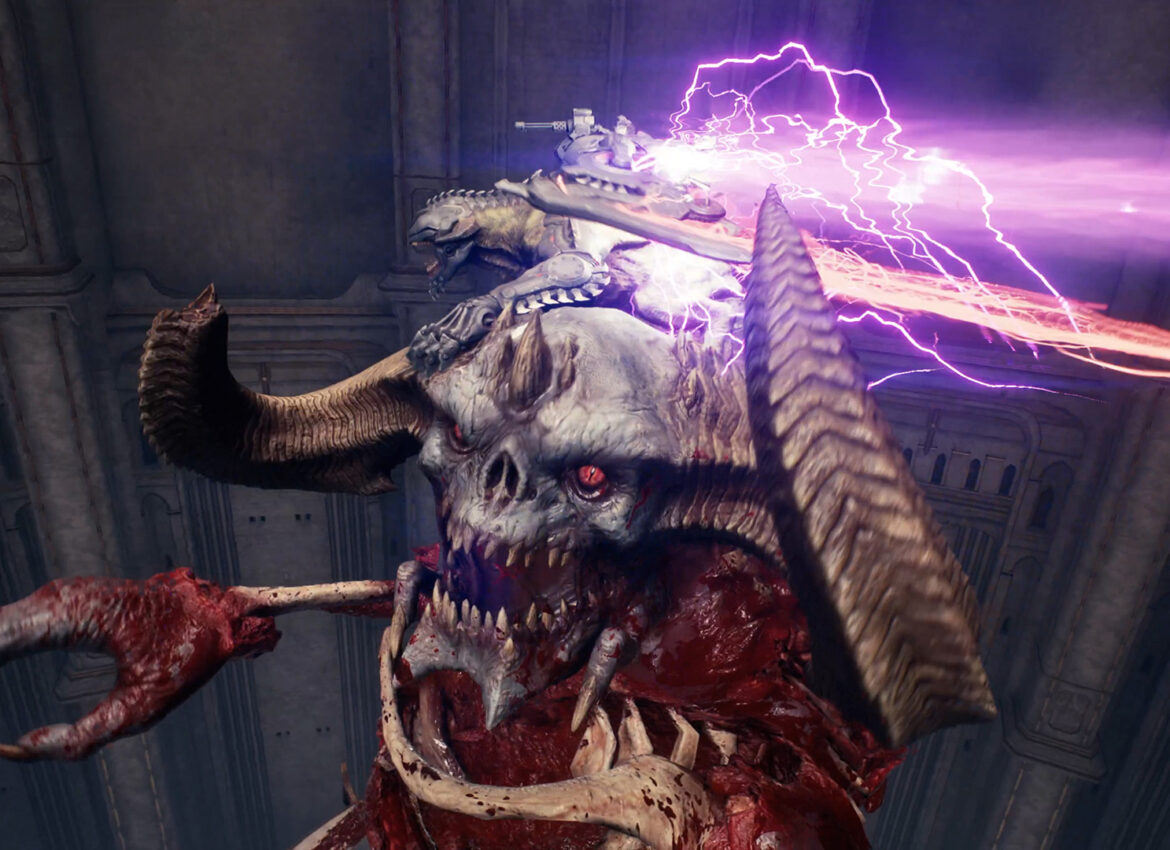
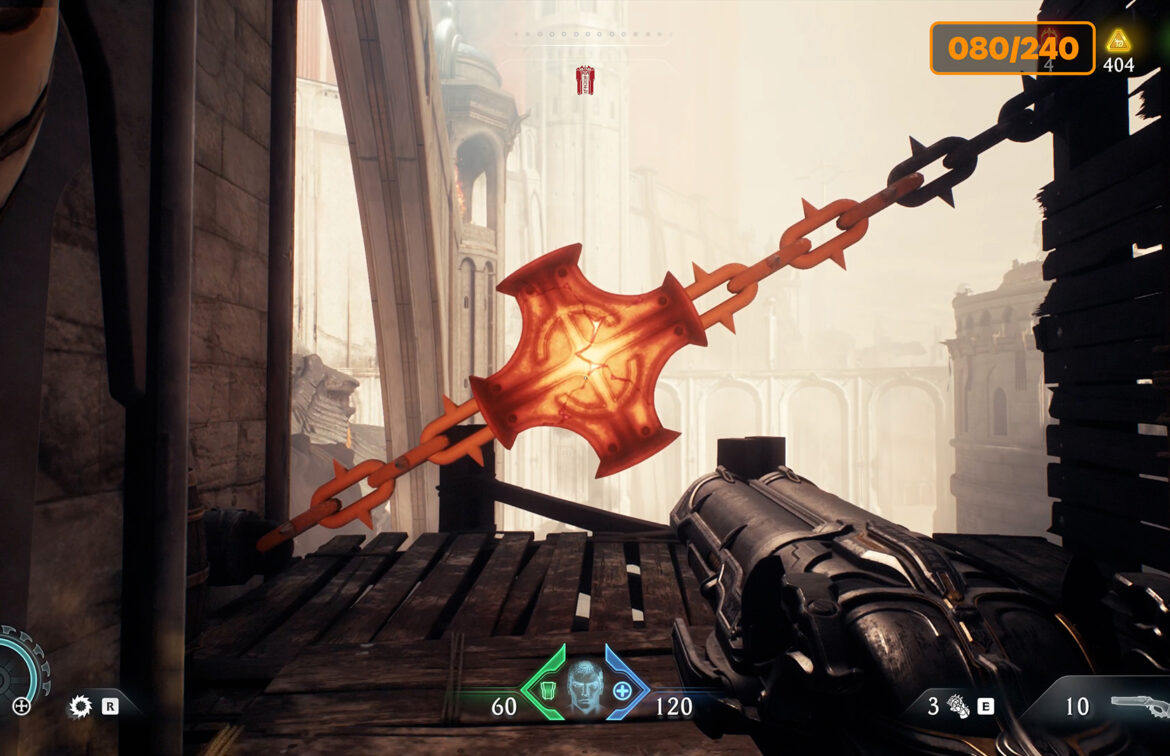
Secret #5 – Holy City of Aratum cultist circle #2
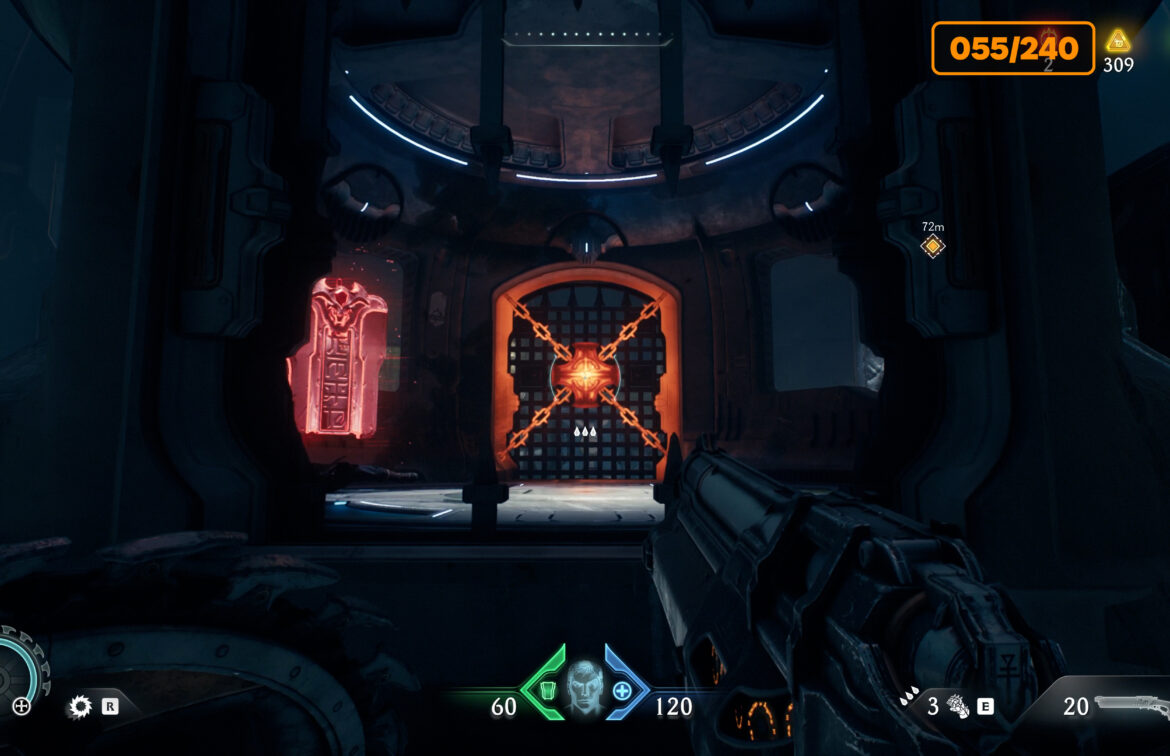
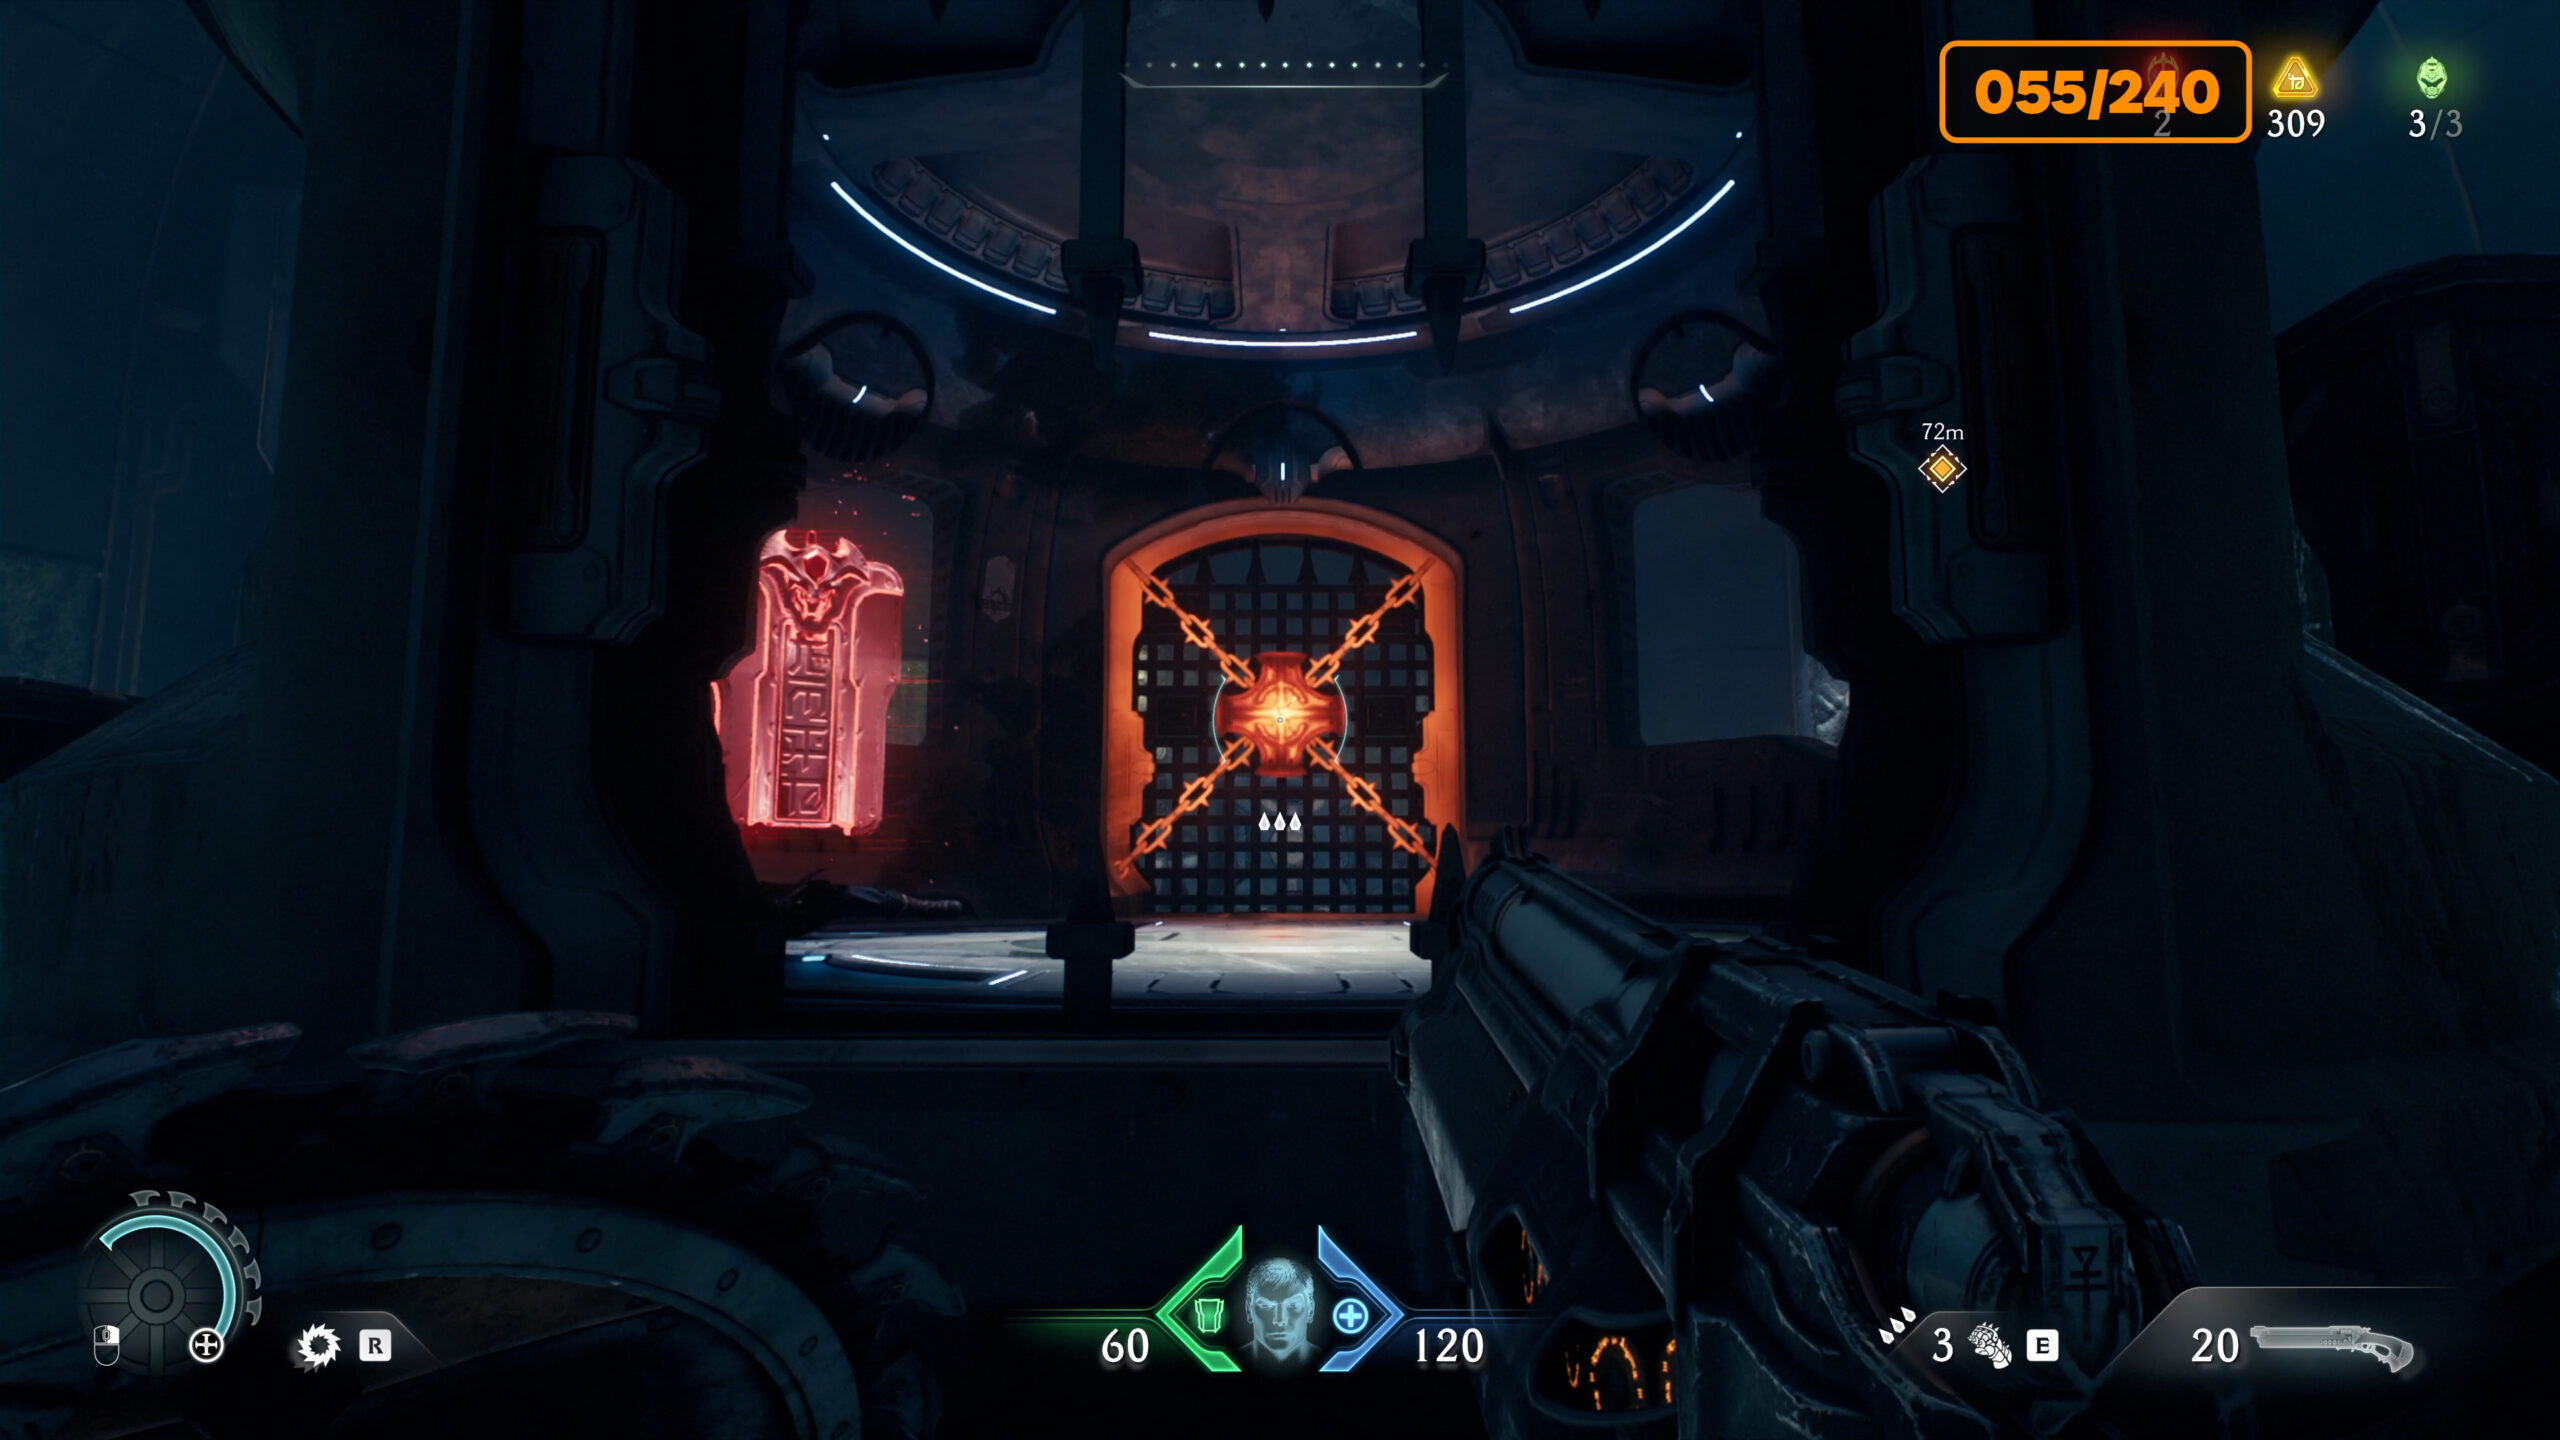
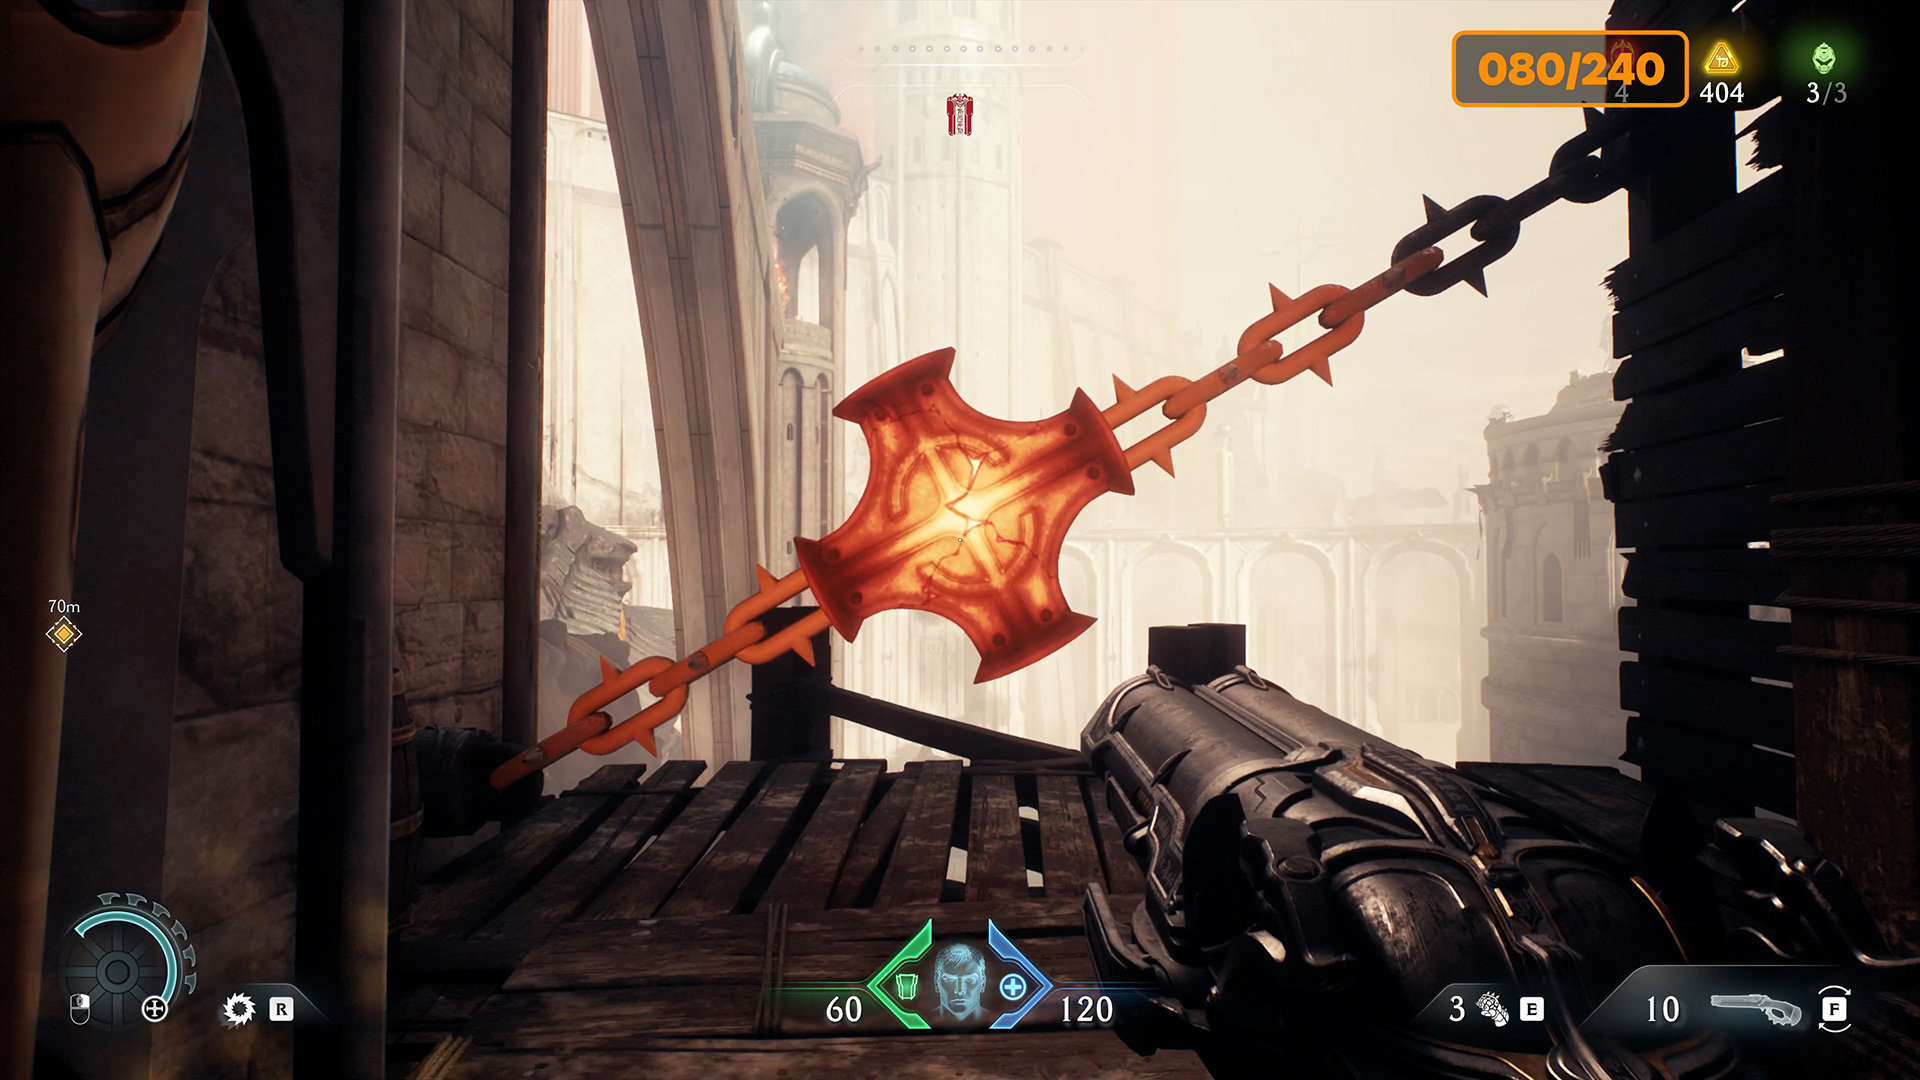
It is easy to miss and walk past, so be careful. Exit through the indicated passage onto the platform, and you will see a massive chain held by a metal cross. You need to break this connection by throwing your shield at it. As soon as the chain breaks, a wooden bridge will lower to your right. This will give you access to a box that you can move forward by pushing it. Also, walk forward on the wooden floor and you will see an arch on your right where you can descend. You will find yourself in a room that hides many interesting things. First, this is the fifth secret area. There is also a second circle of cultists here, which you must destroy.
-
- Secret #5 – Holy City of Aratum
-
- Massive chain held by a metal cross
-
- Access to a box
-
- Cultist circle #2
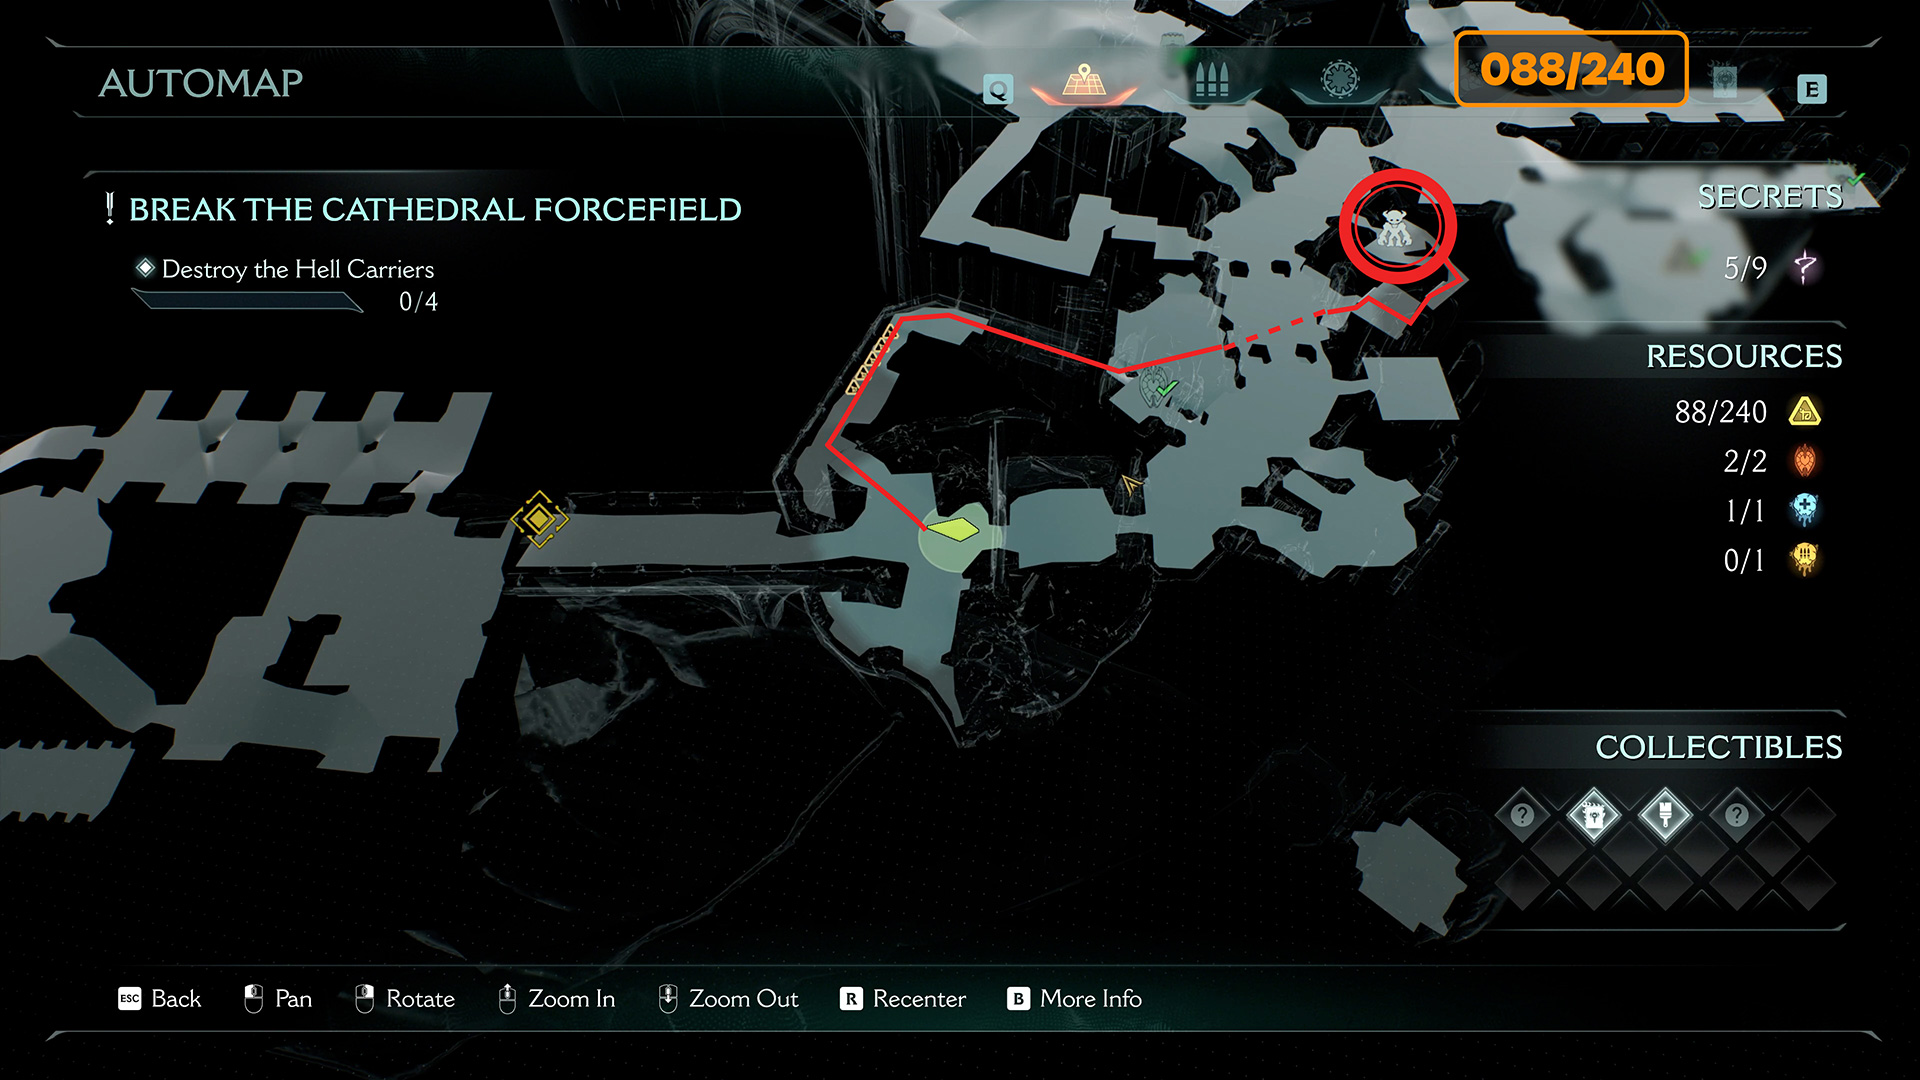
Chapter 5 codex #1 – 8 gold (88/240)
Go down the stairs and take the page of the codex, then go back and you will find 8 gold coins and an ambush of monsters waiting for you on the left side of the platform. I am sure you will have no problem defeating them.
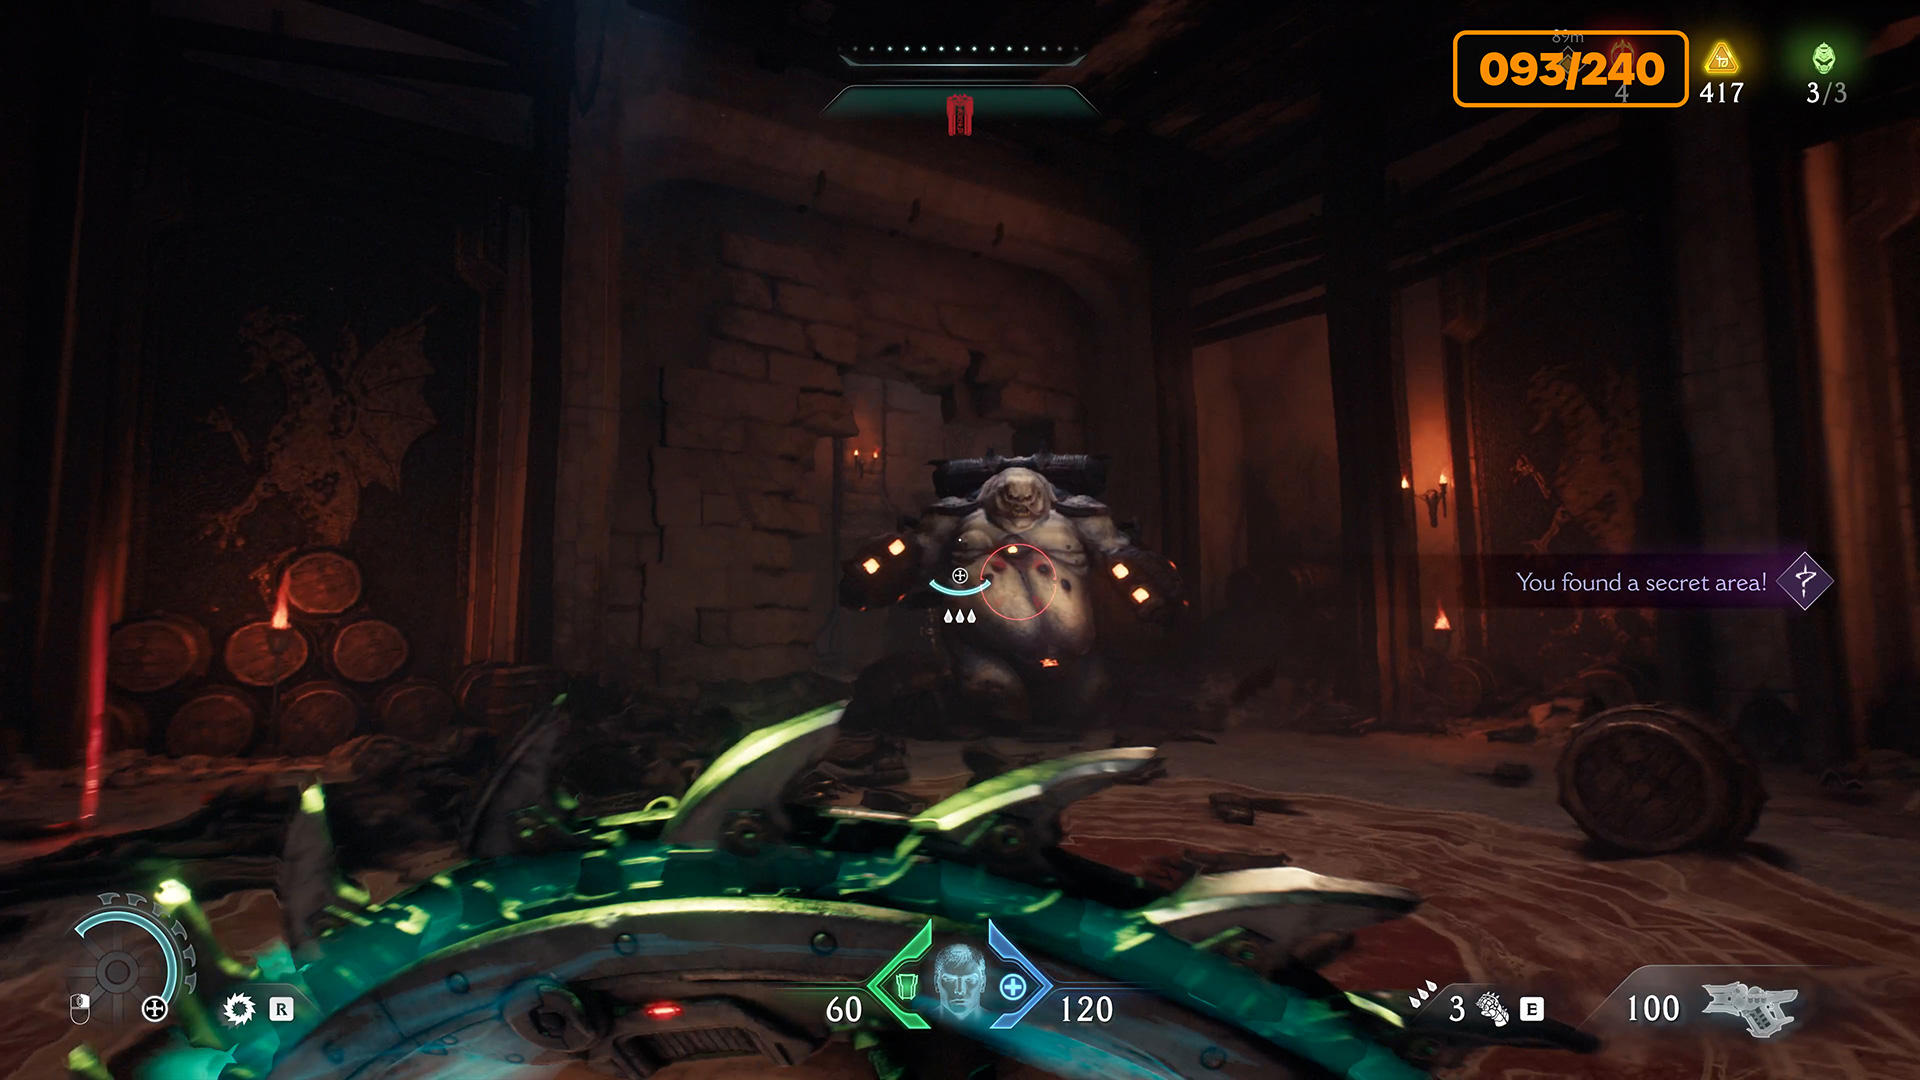
5 gold (93/240) – Secret #6 – aratum toy
The next place where you need to pay attention to the additional path is marked on the map. Here you can jump down and collect 5 gold coins as you move forward. Don’t stop and continue along the wooden walkway. Eventually, you will enter an empty room. This is the sixth secret area. As soon as you enter, the far wall will break and a fat monster will attack you. Accordingly, you need to defeat it and go forward into the breach created by the monster. Here you will see two walls that you can climb to get to the room where the collectible toy, Serrat, is located. It’s an amazingly cleverly hidden toy. But you can’t hide anything from us. Let’s move on.
-
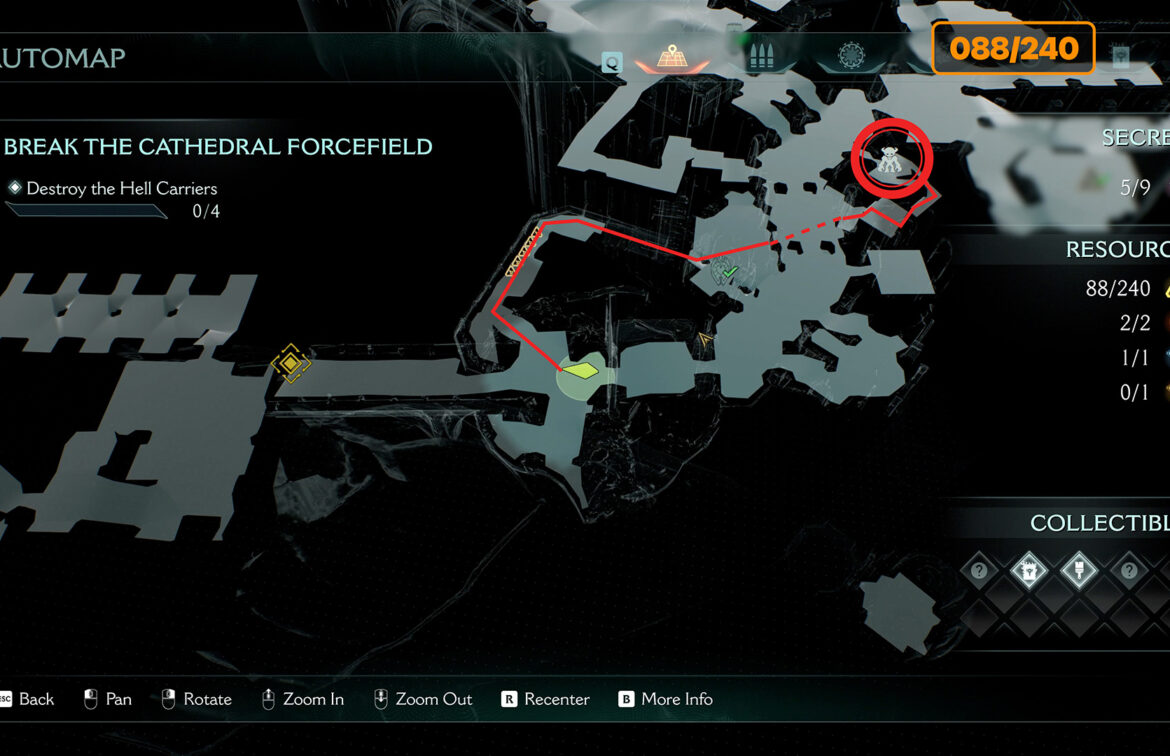
- Additional path is marked on the map
-

- Wall will break and a fat monster will attack you
Secret #7 – 50 gold (143/240)
Now proceed to the final exit of the location. Before reaching the finish line, you will be able to break through the wooden barrier and enter the seventh secret area. Here you will find a chest that will grant you 50 gold.

Hell Carrier #2
Now it’s time to destroy the central Hell Carrier. First, dodge perfectly to get the plasma weapon and destroy the defenses, then hack the target and land on the platform. This is a small location that we will pass through very quickly.
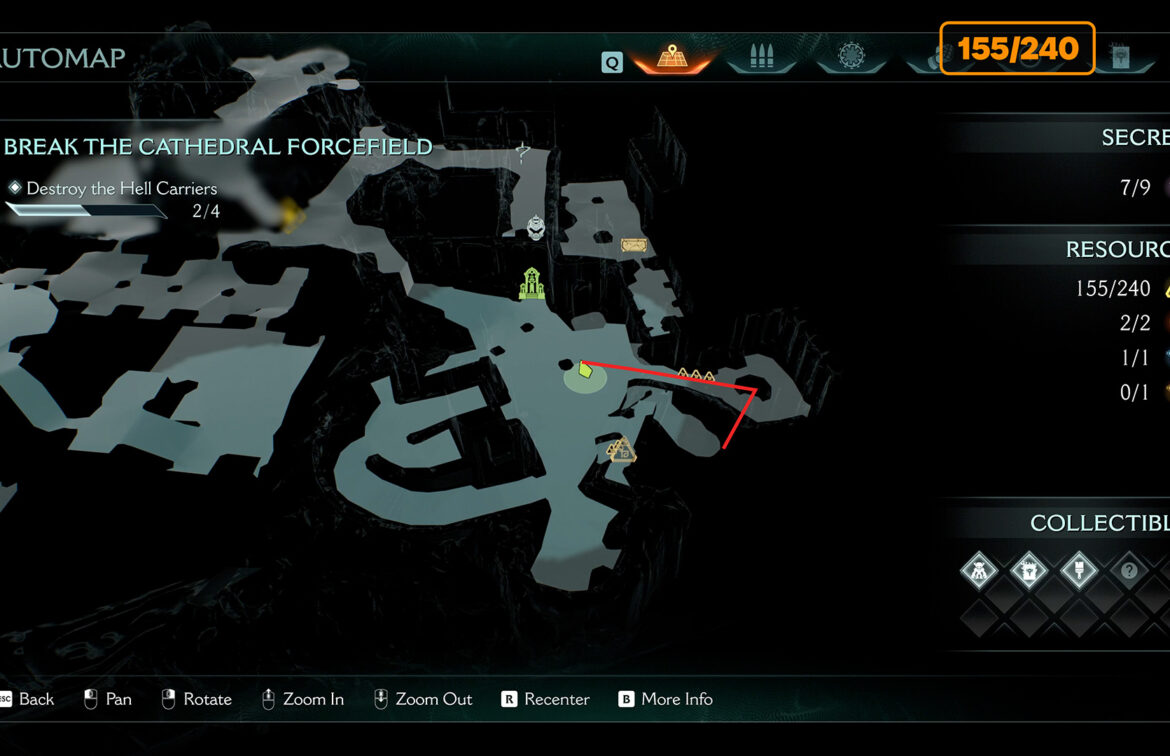
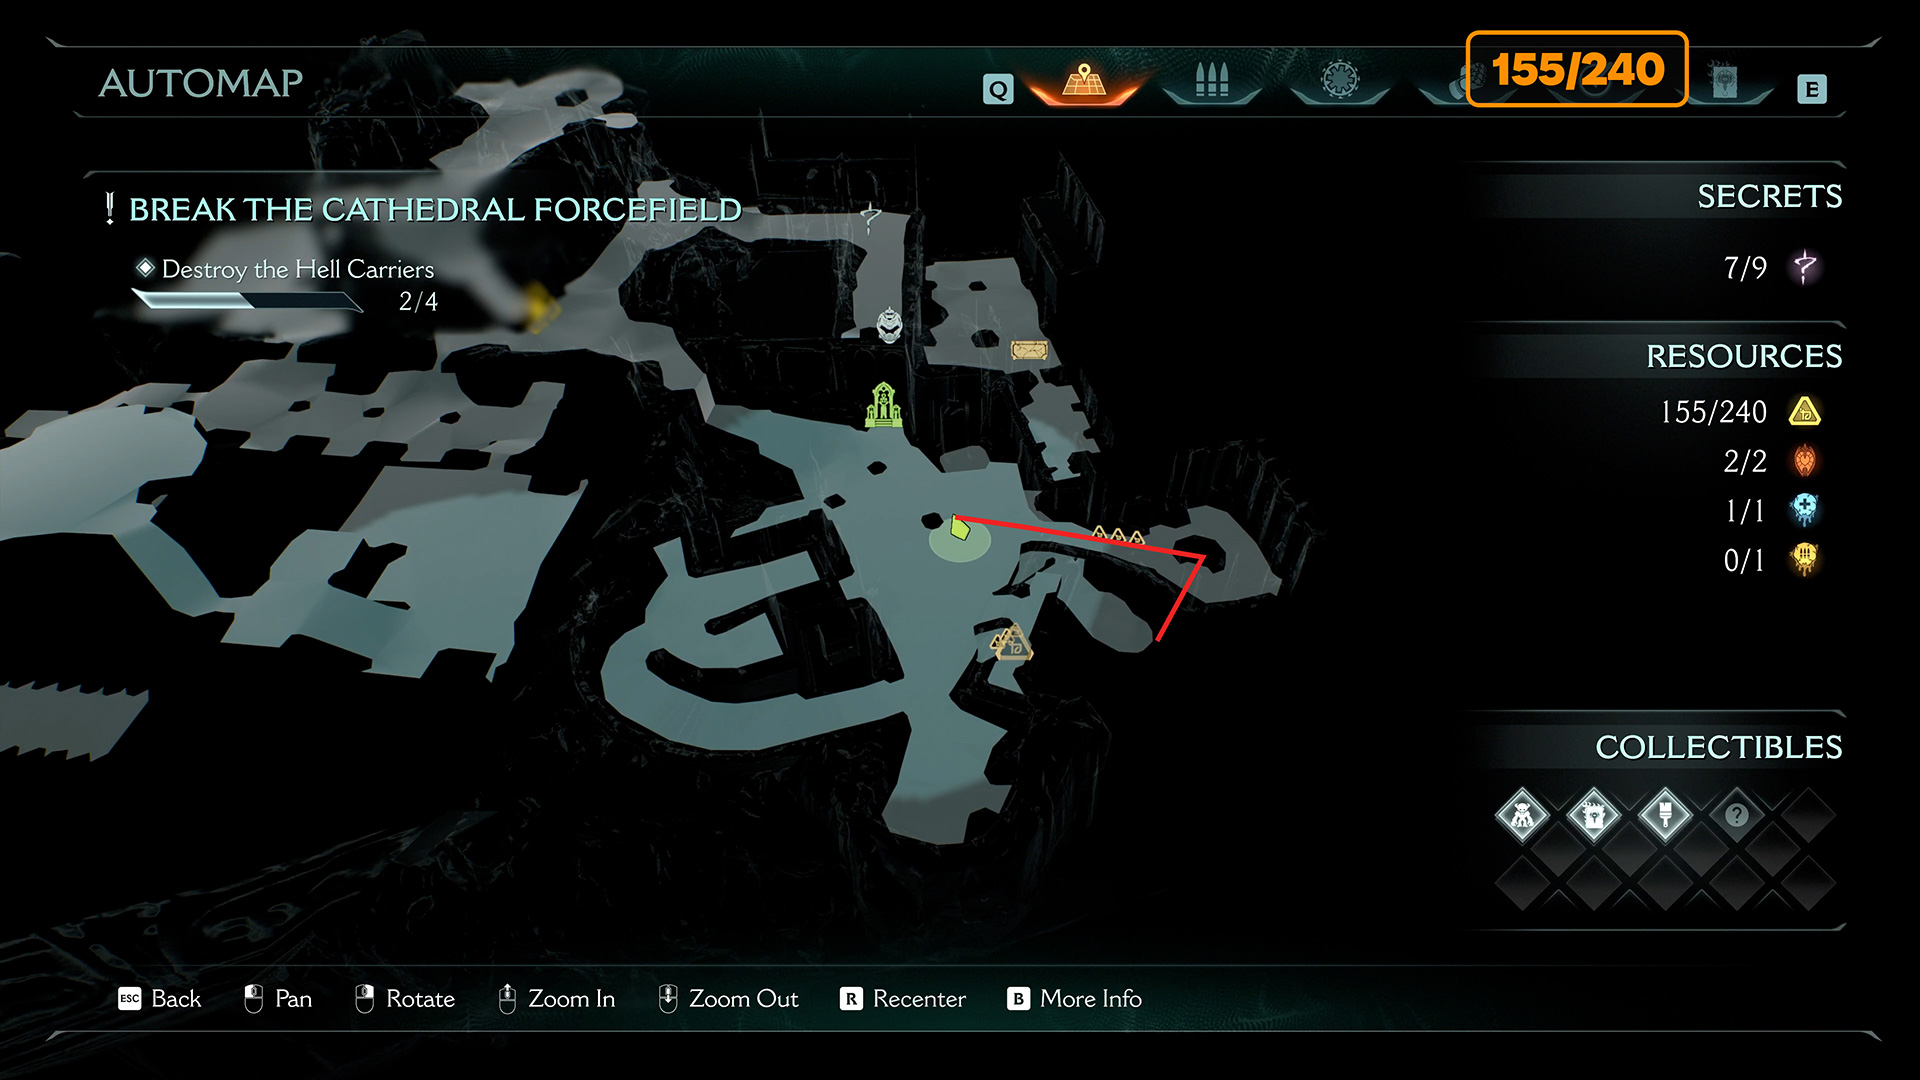
12 gold (155/240)
Almost at the end of the location, when you reach the engine, before breaking it, turn around and pick up 12 gold coins on the platform.

Hell Carrier #3
Two Hell Carriers destroyed, moving on. On the right side of The Holy City of Aratum, you will find the third Hell Carrier. You need to destroy the turrets, destroy the main target, and when the Hell Carrier is accessible, you can land.
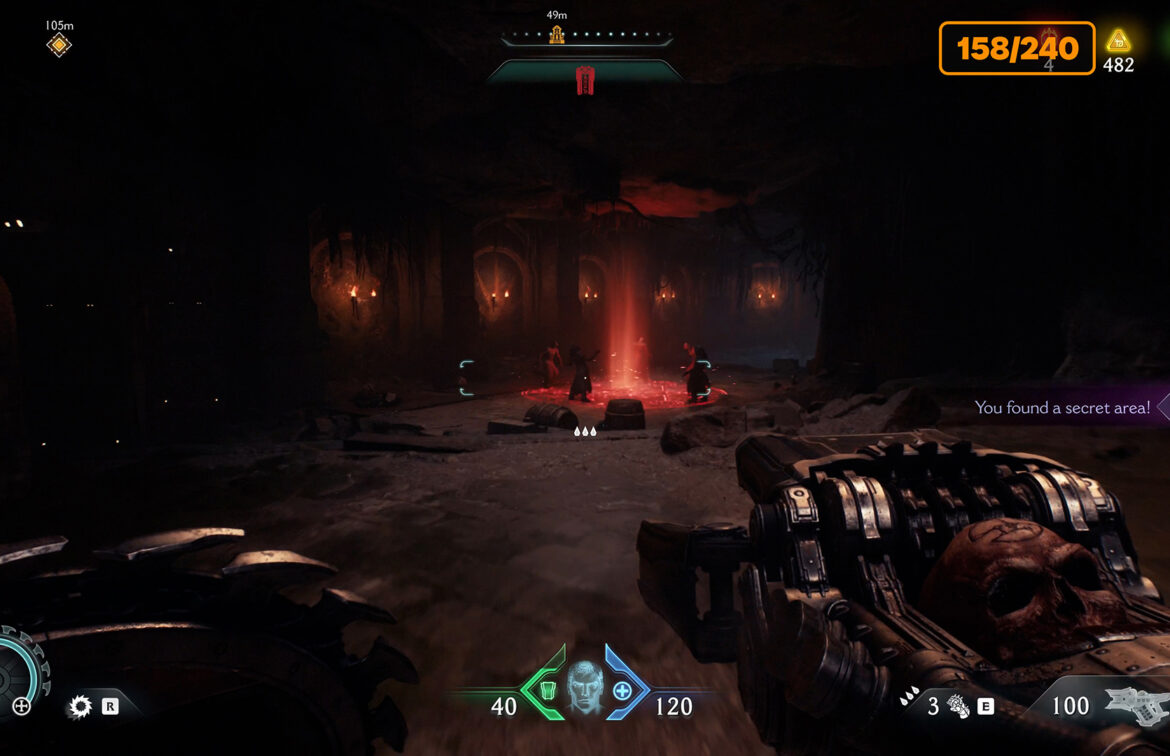
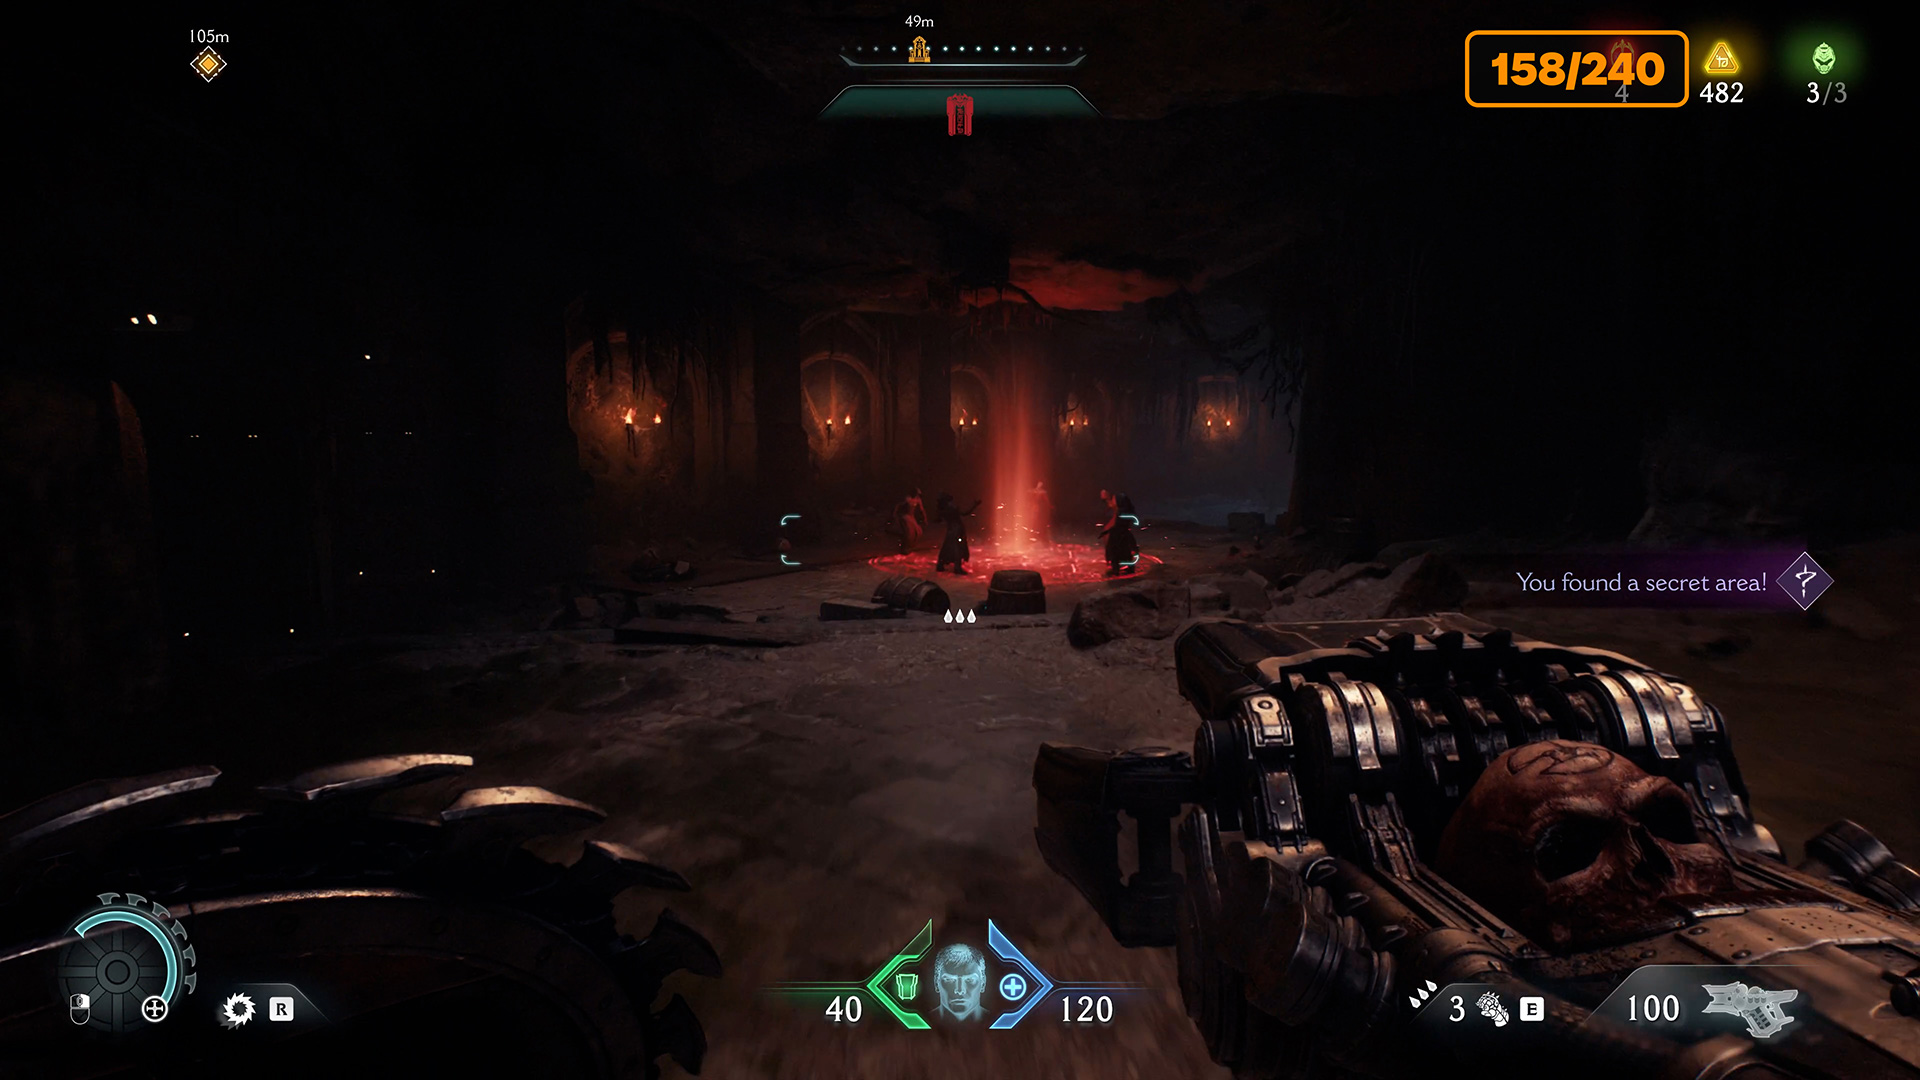
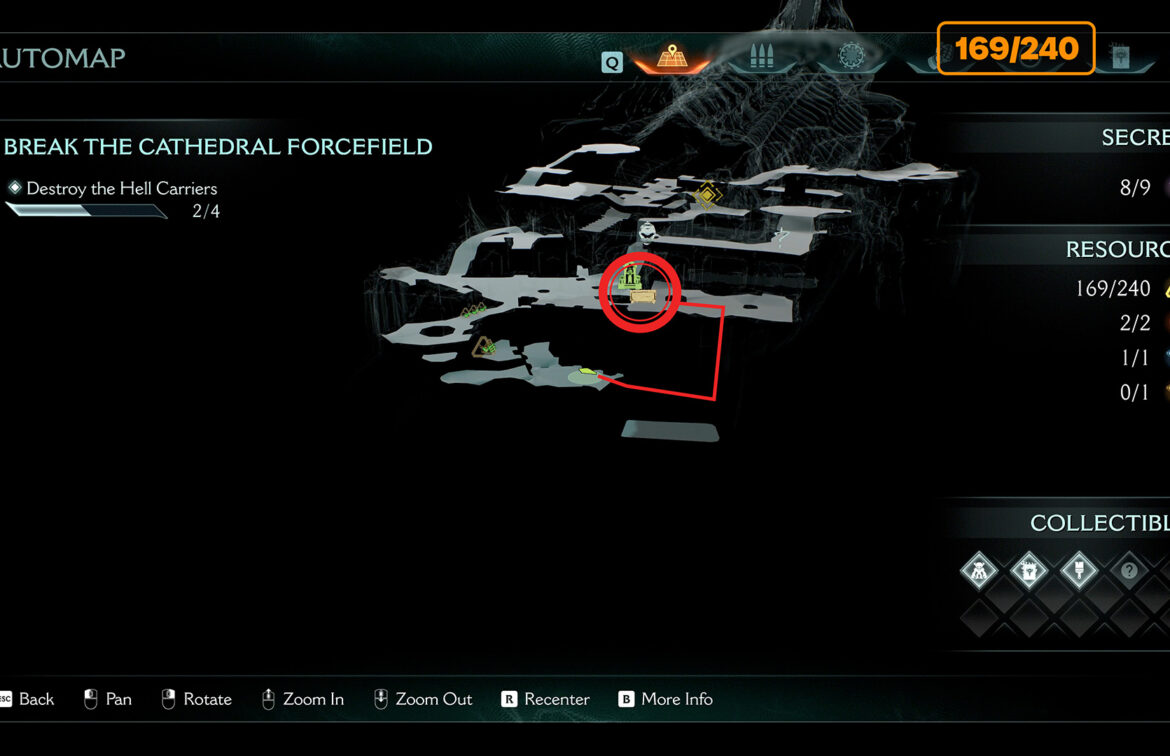
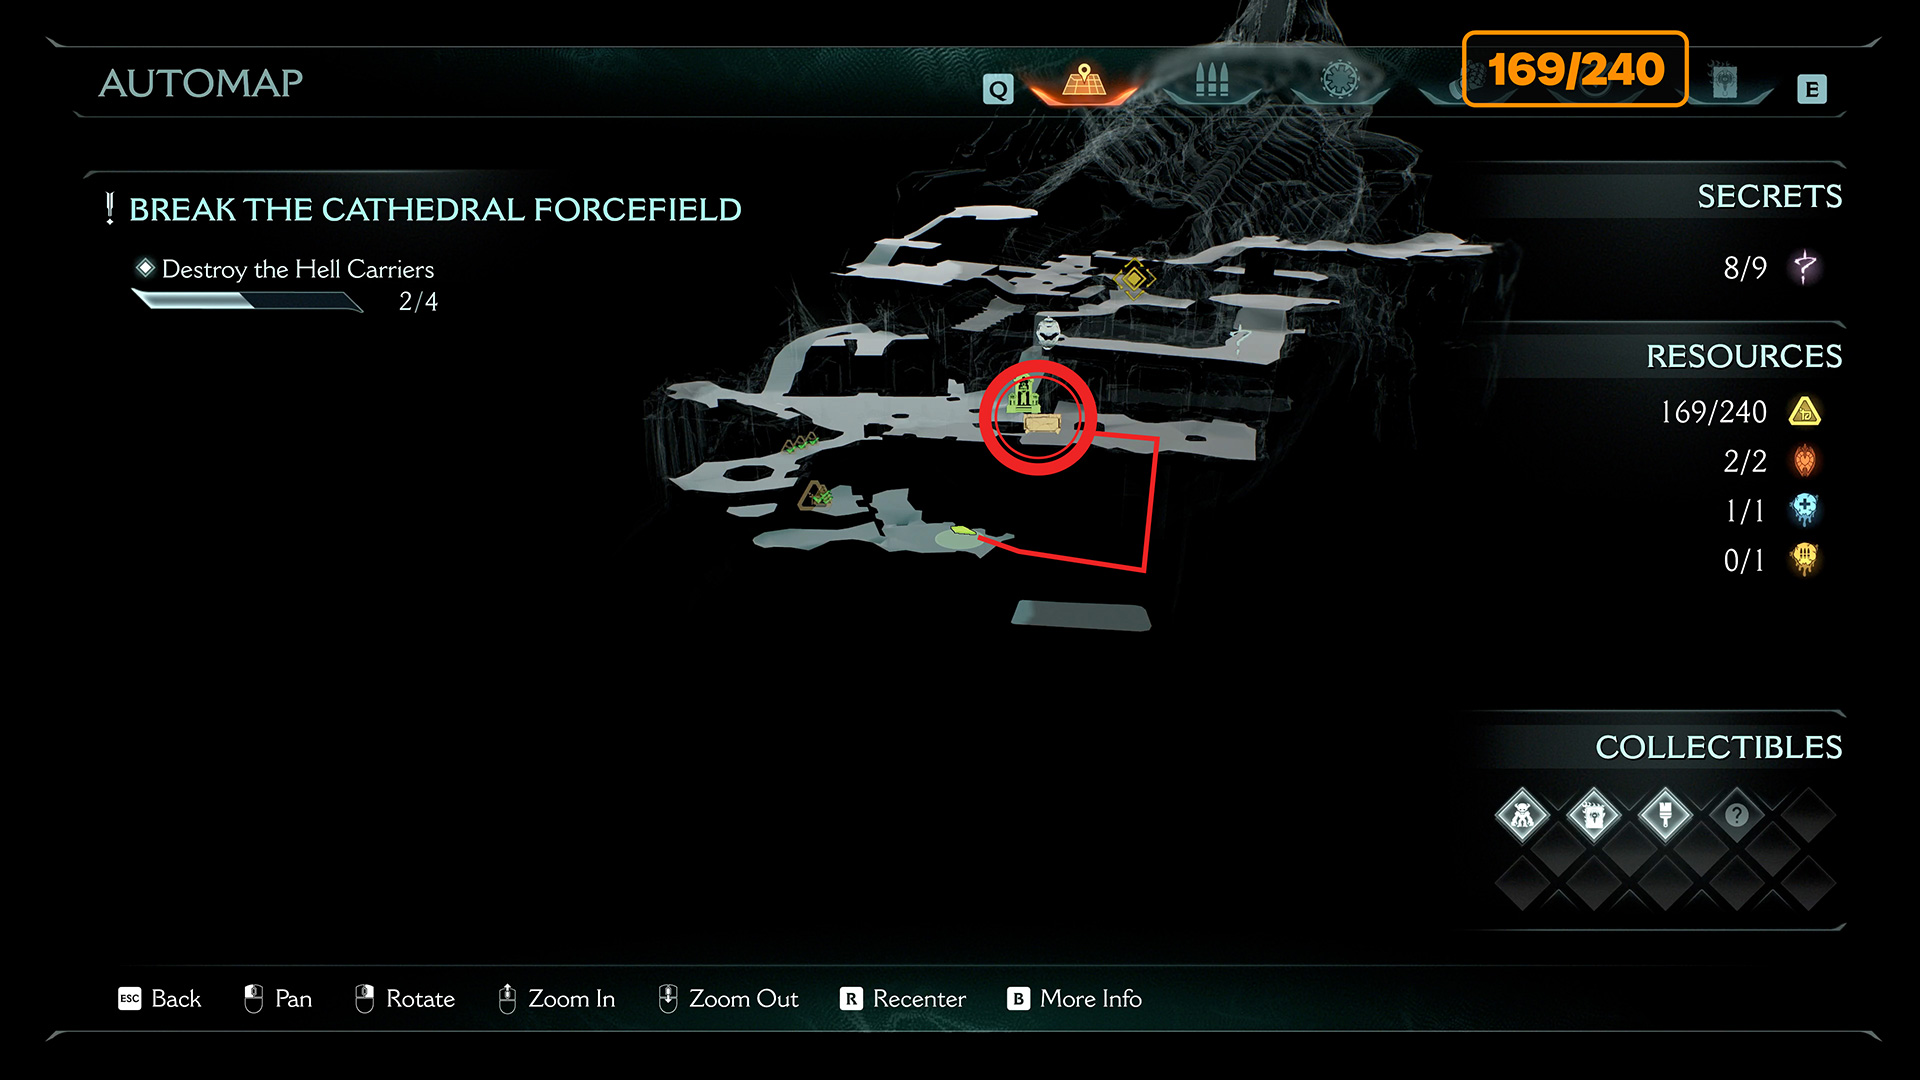
3 gold (158/240) – Secret #8 – Aratum cultist circle #3 – 11 gold (169/240)
Here, destroy all enemies until you reach the place where you will find an altar for upgrading your weapons. Look to the right, where you will find three gold coins. Next, there will be a round pit; jump down into it. This is the eighth secret locations. You will not be able to pass the last circle of cultists. From the circle of cultists, turn left, where you will find a platform with 11 gold coins and many health and armor refill jars.
-
- Aratum Secret #8
-
- Round pit – jump down into it
-
- Aratum cultist circle #3
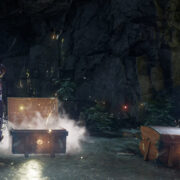
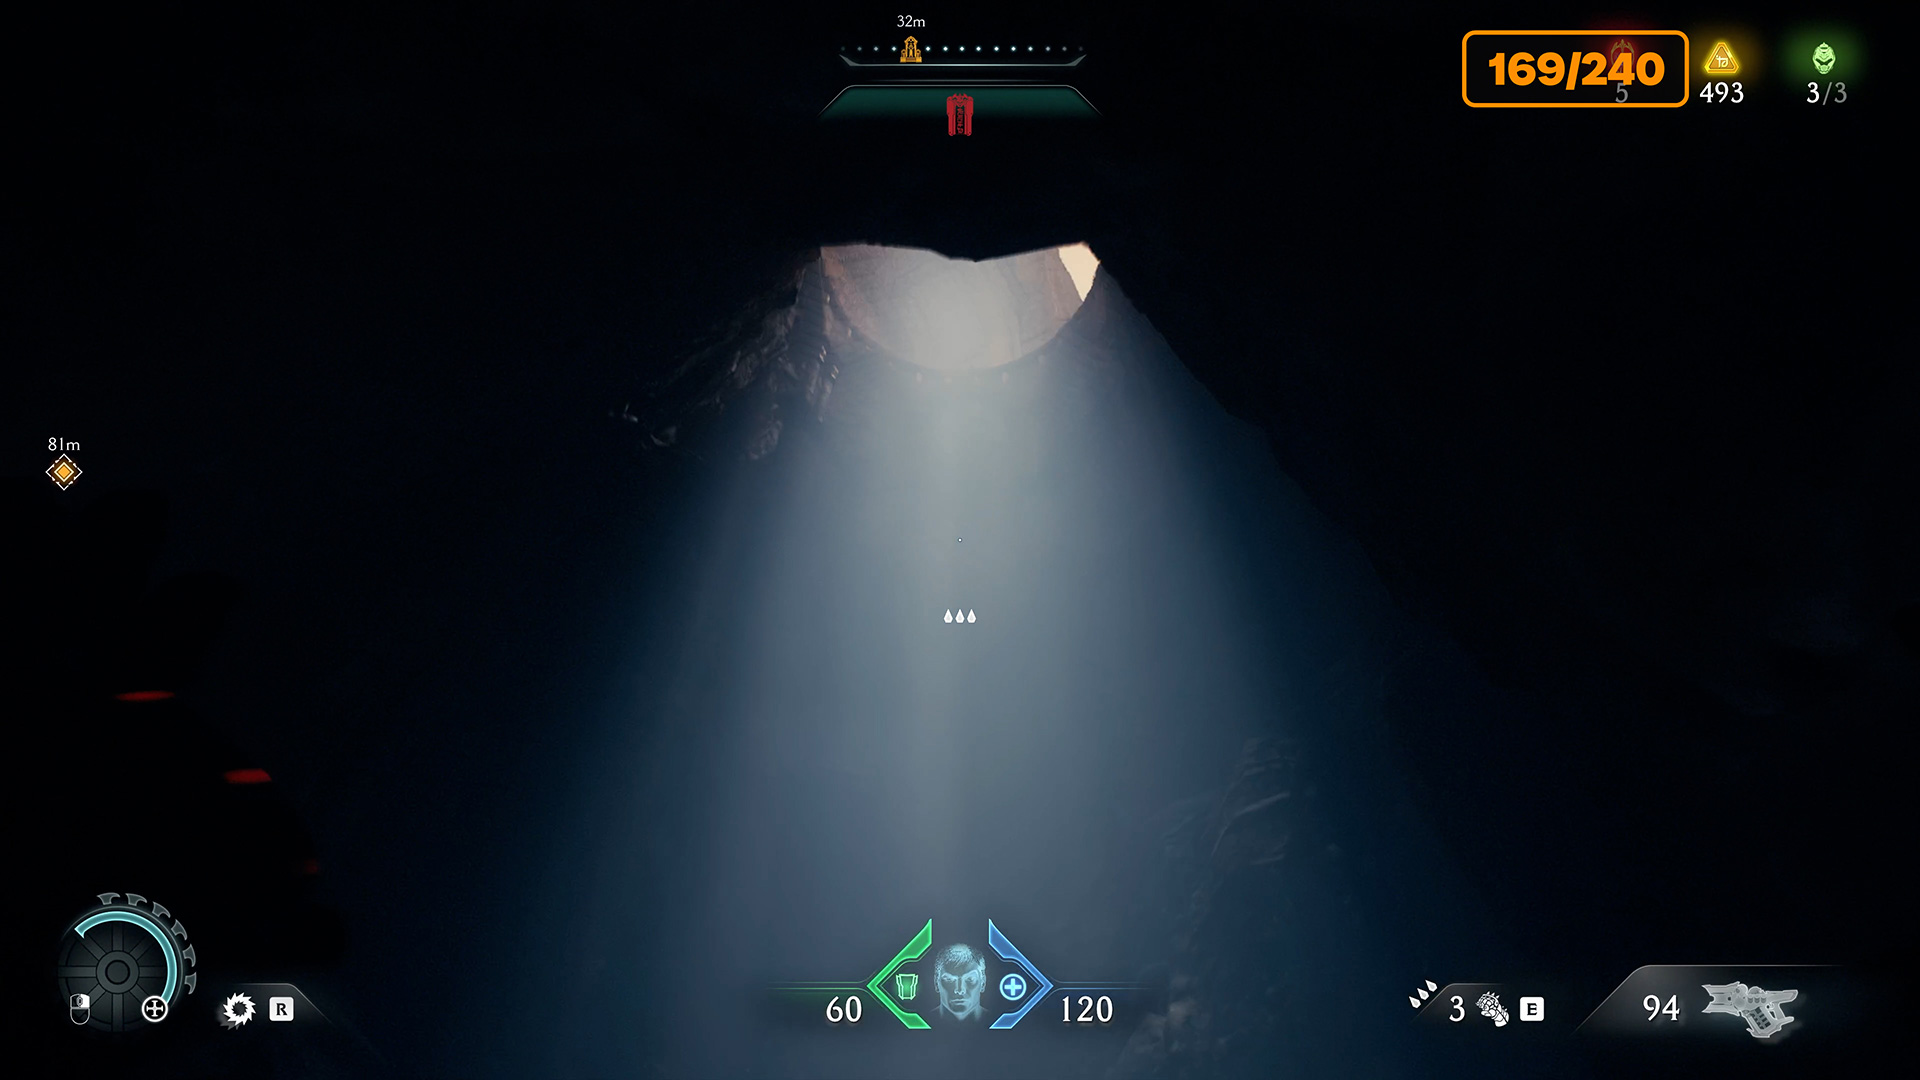
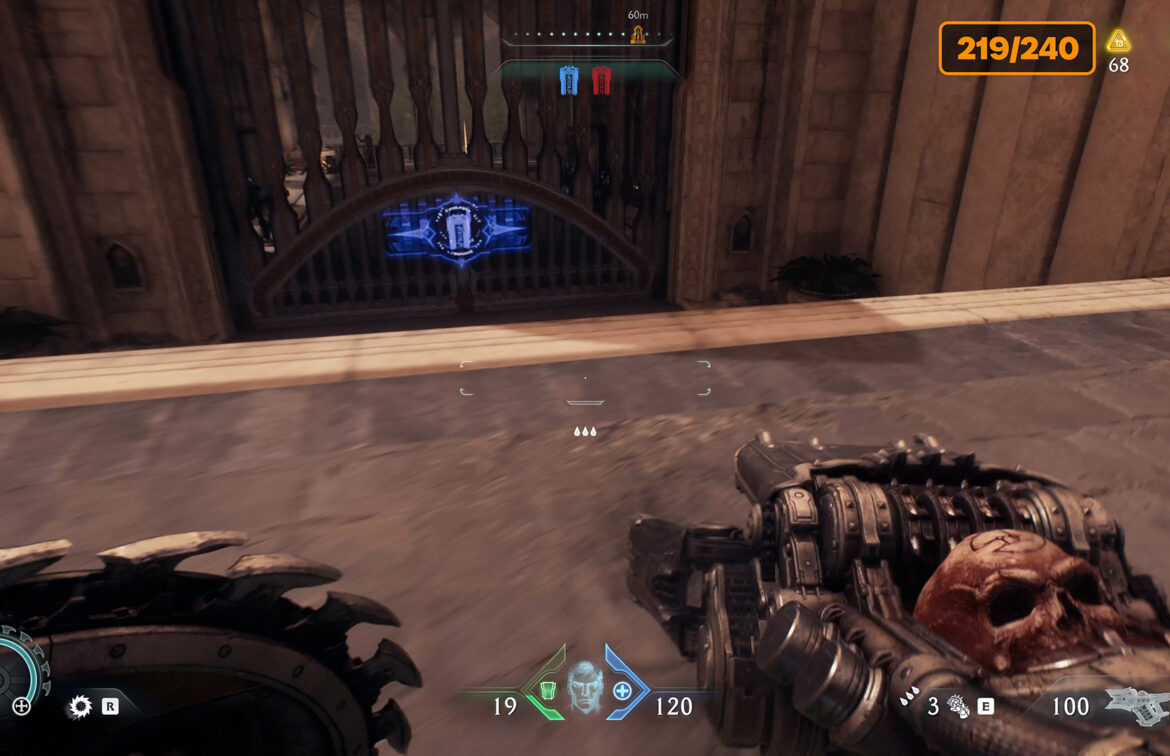
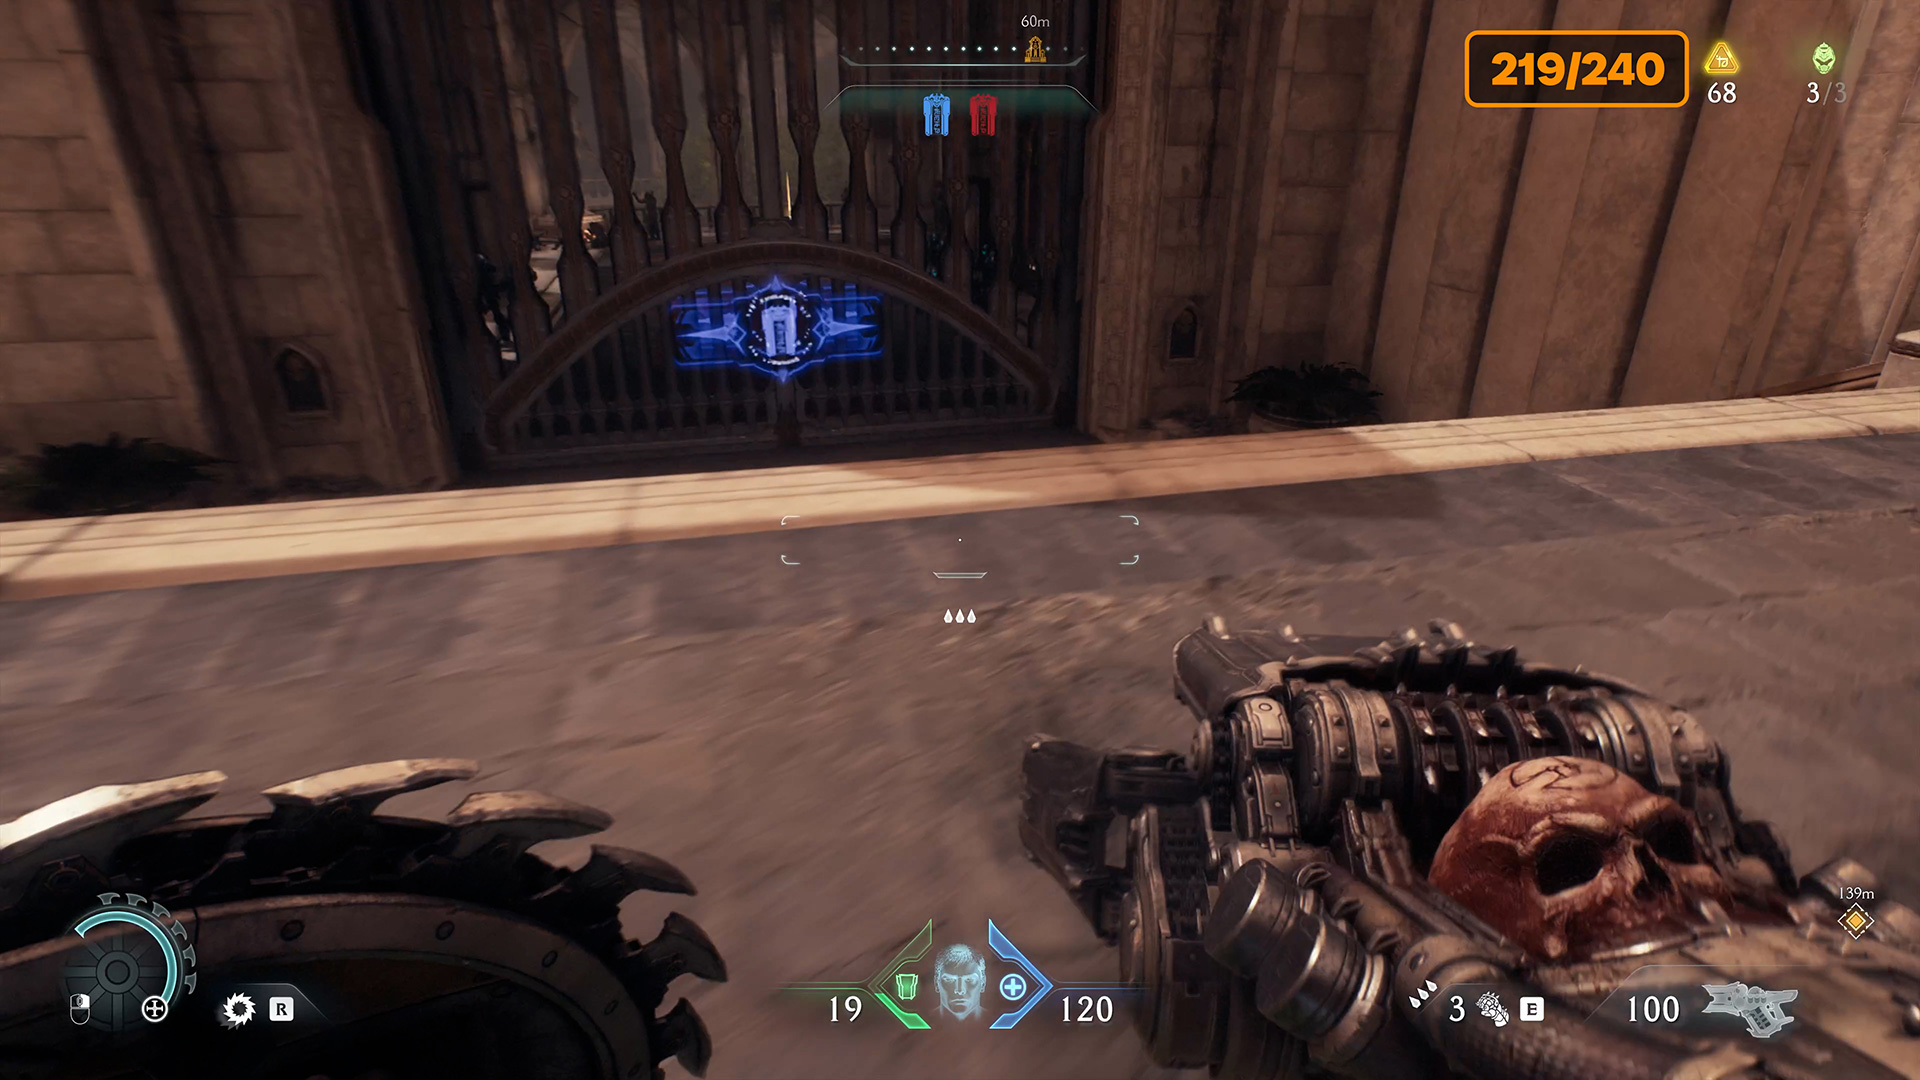
50 gold (219/240)
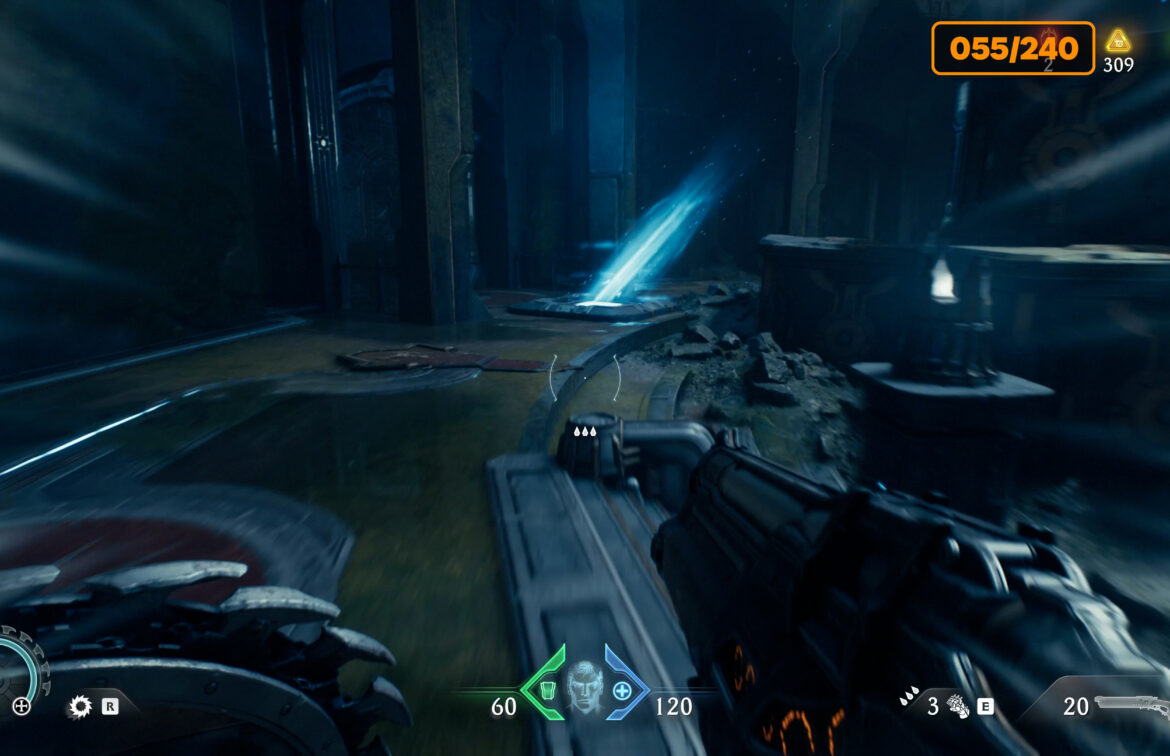
Now go in the opposite direction from where the cultists were. Here you will see a cave filled with water. Dive into it, swim forward, and climb up a wide pipe, which is also filled with water. You will come out onto a platform where you can break a chest that will give you 50 gold coins. There are no enemies here, so you can safely explore the location and collect rewards.
-
- Secret route
-
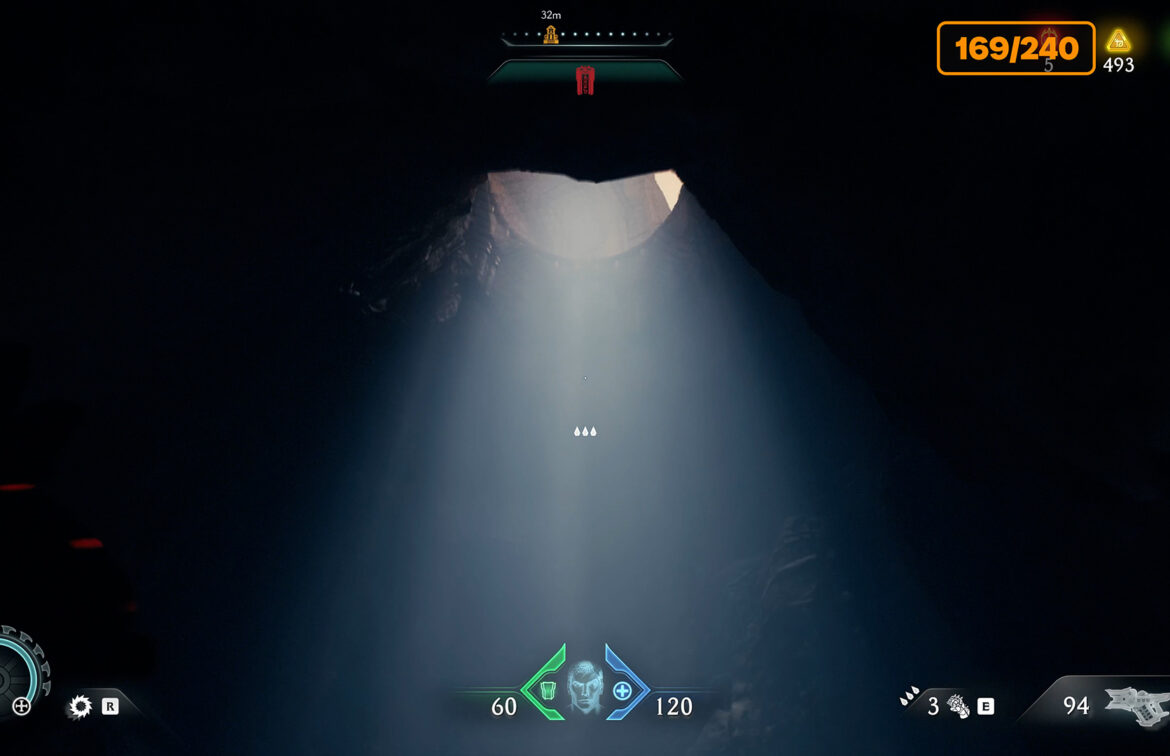
- Swim underwater to the round tunnel that leads upward
-
- 50 gold
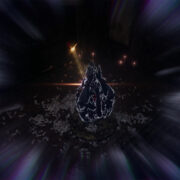
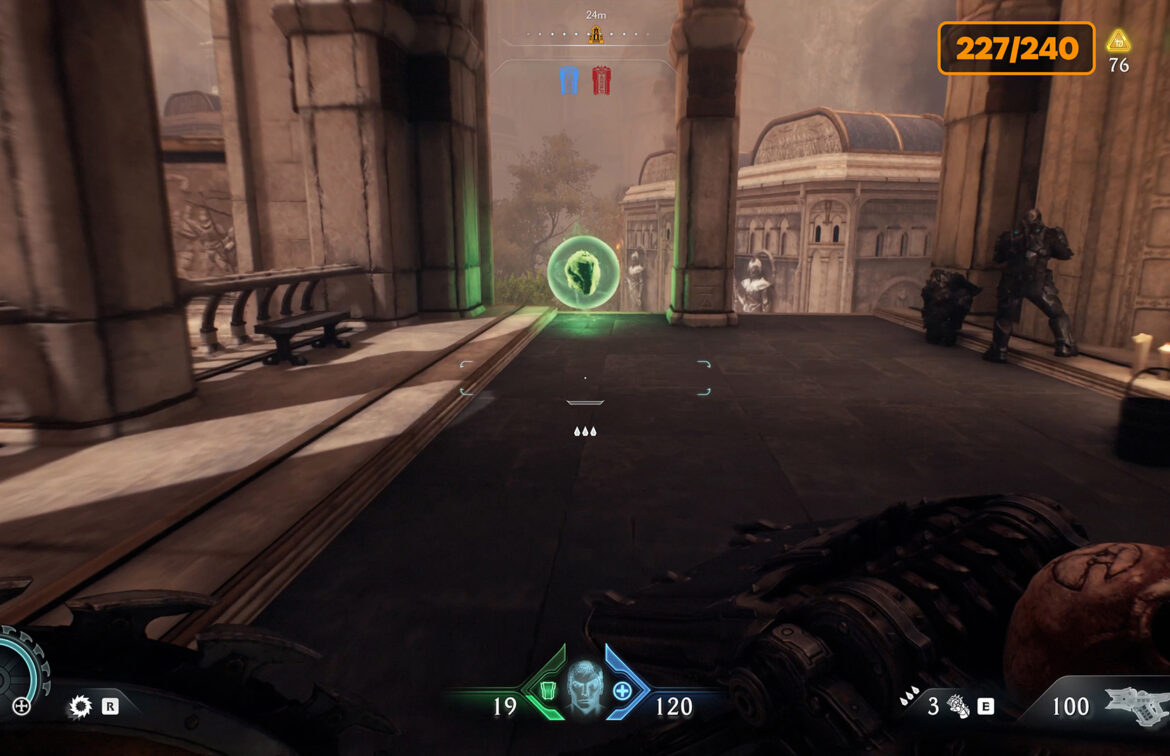
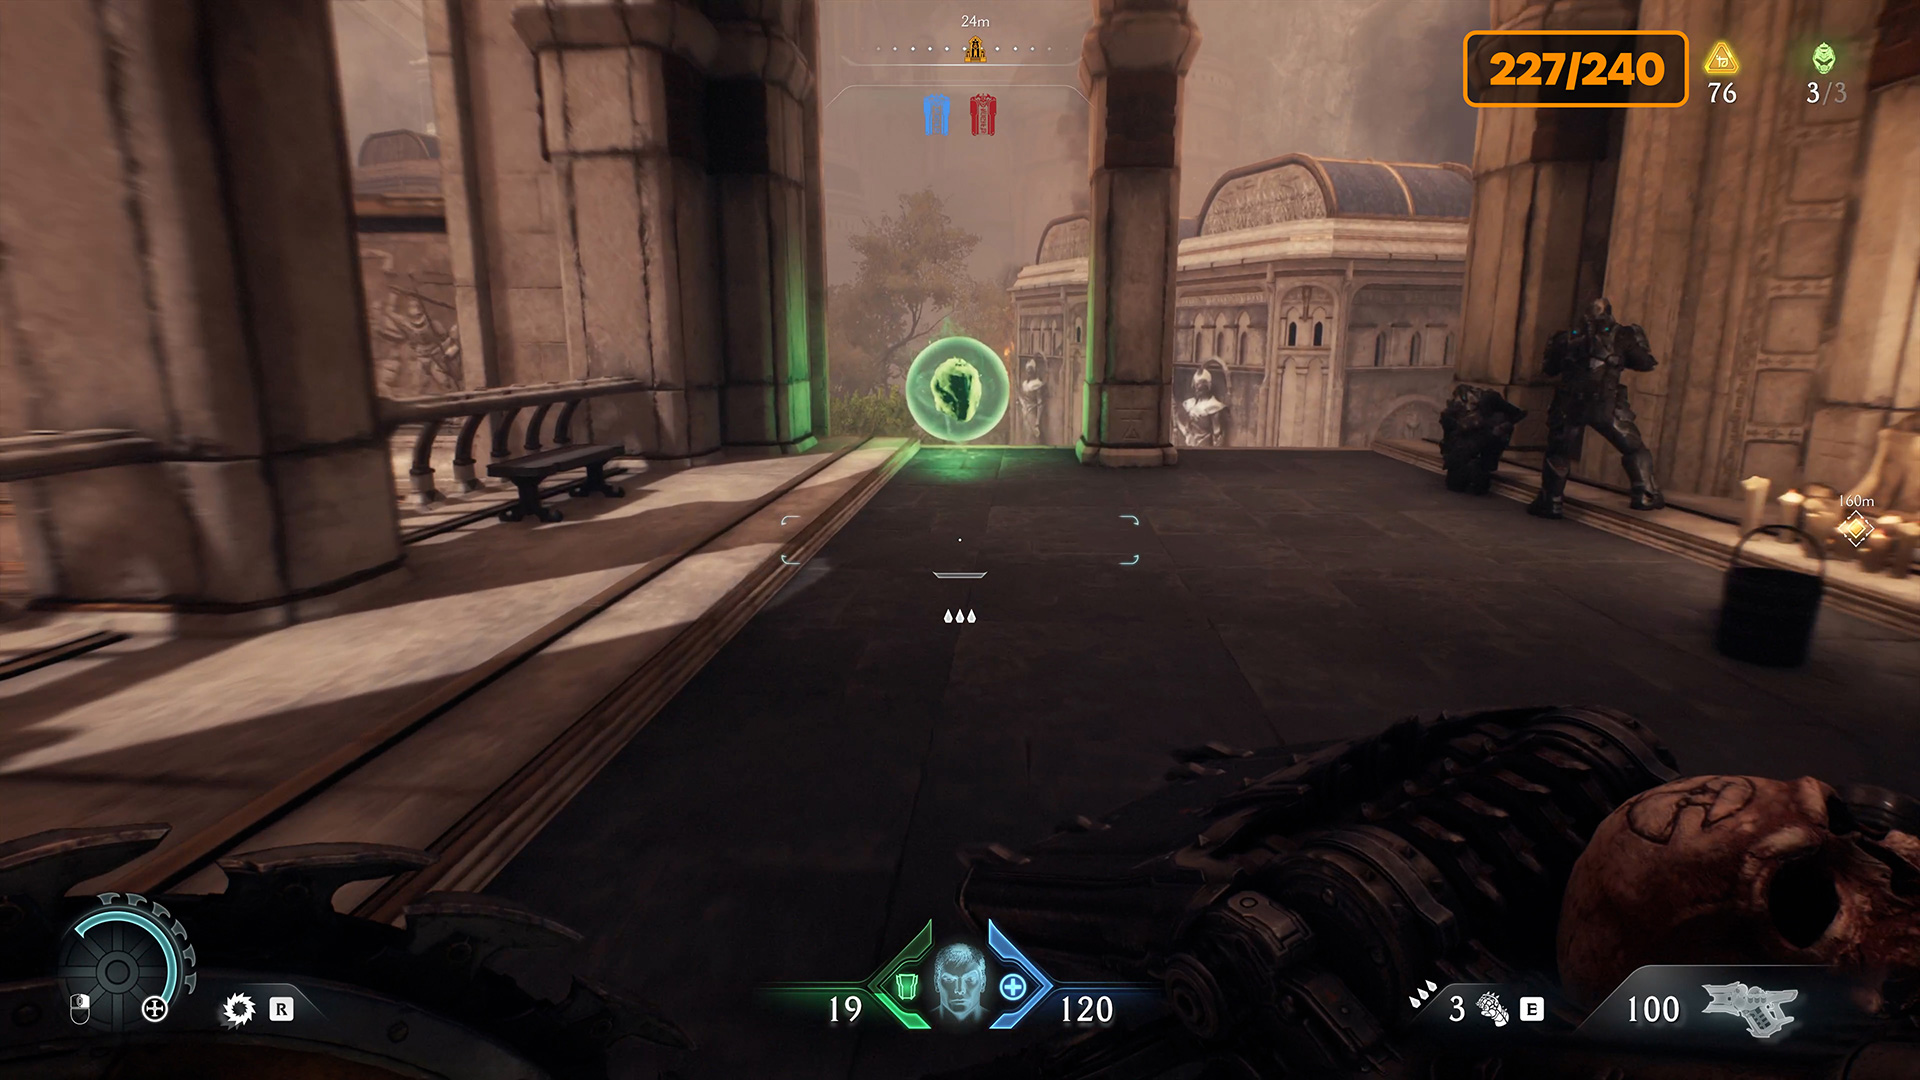
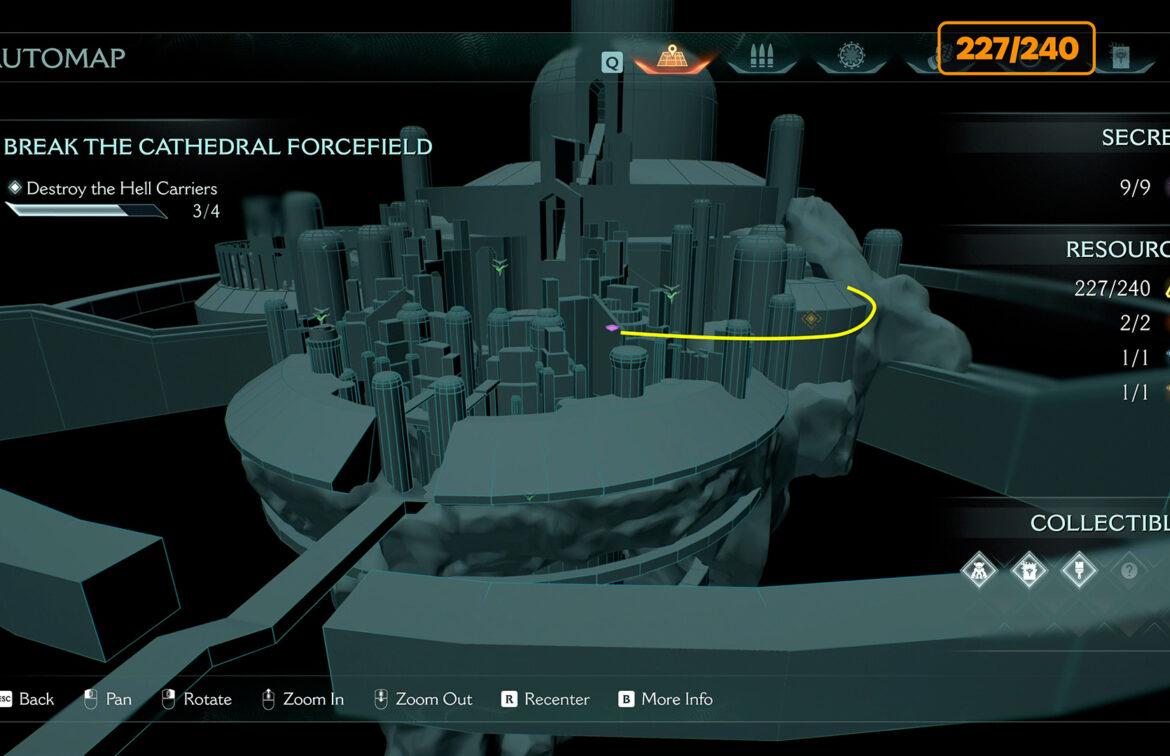
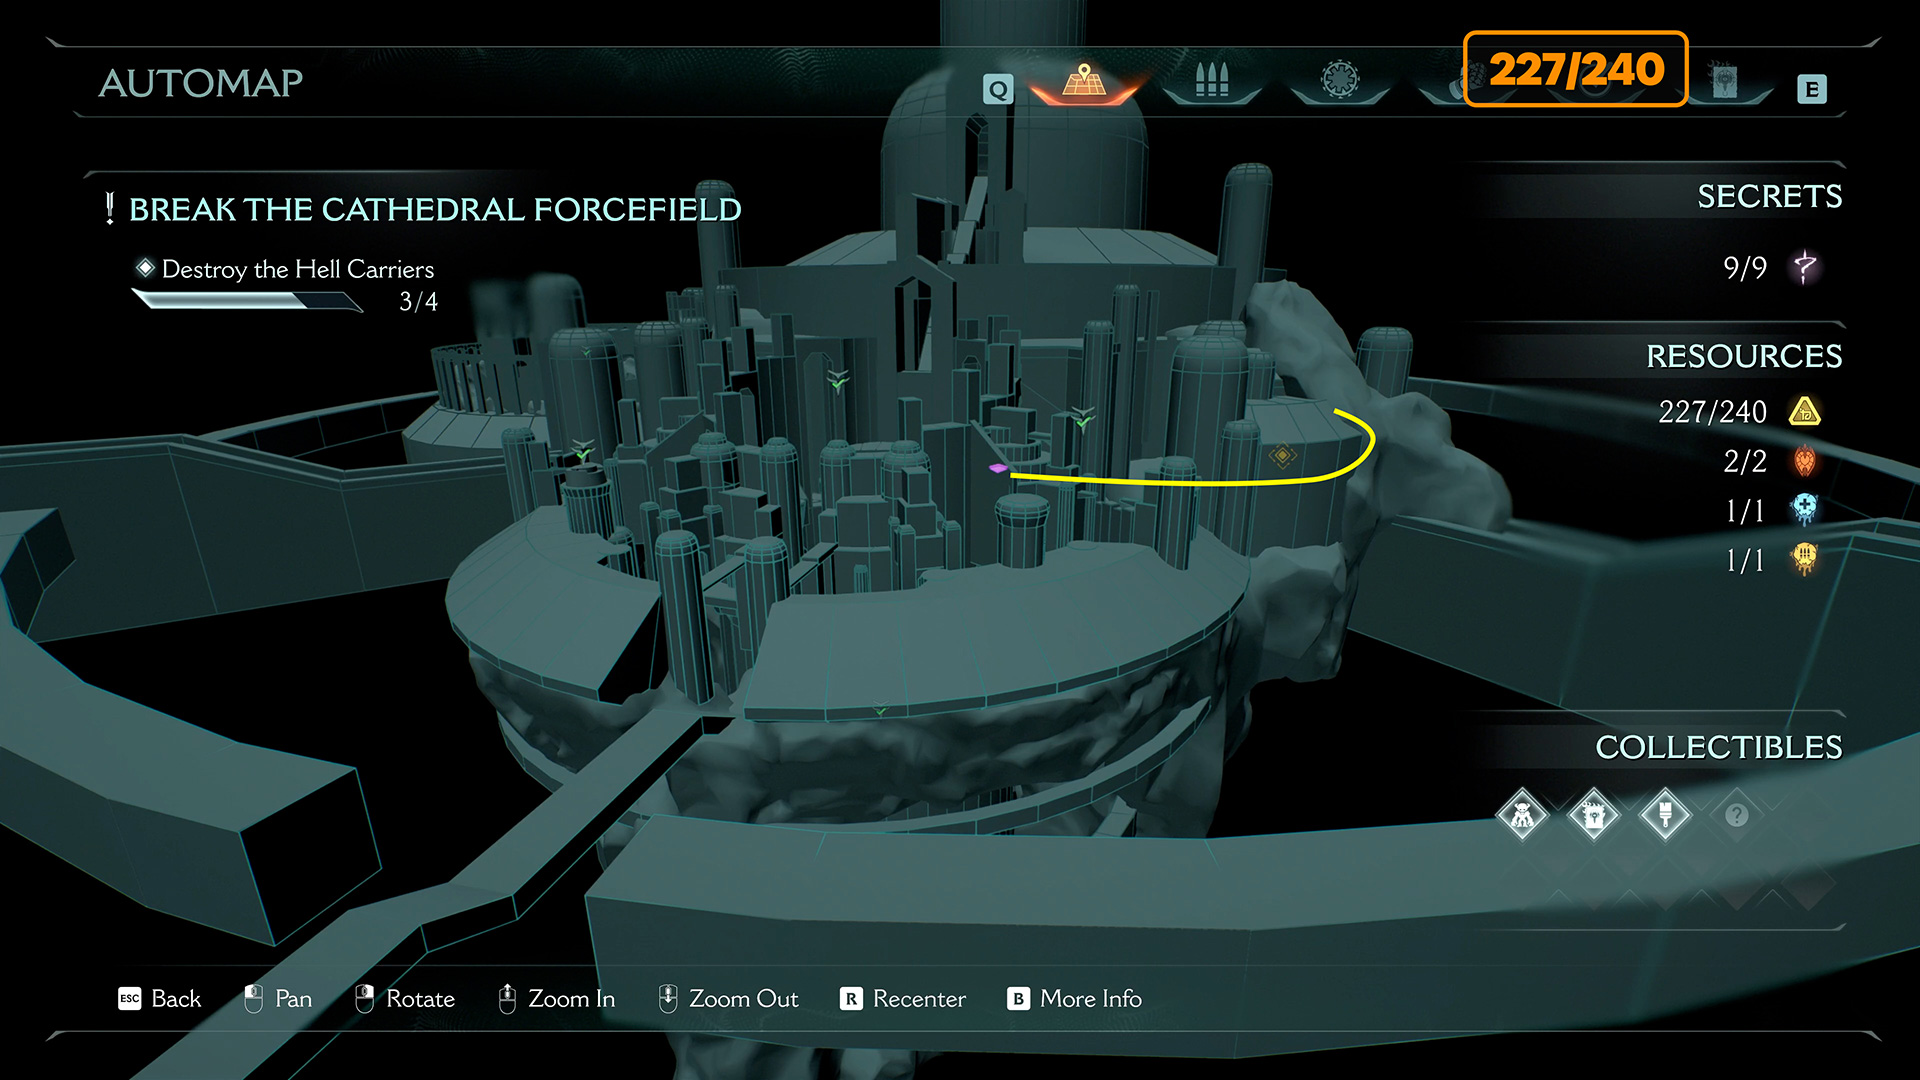
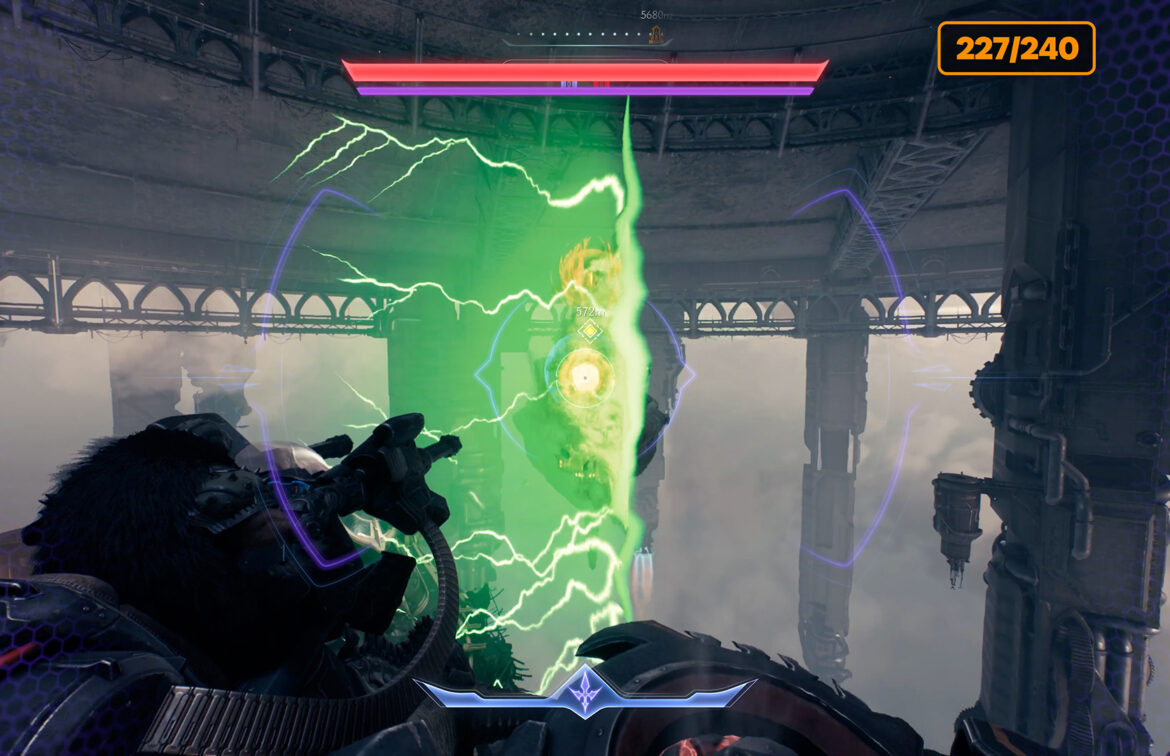
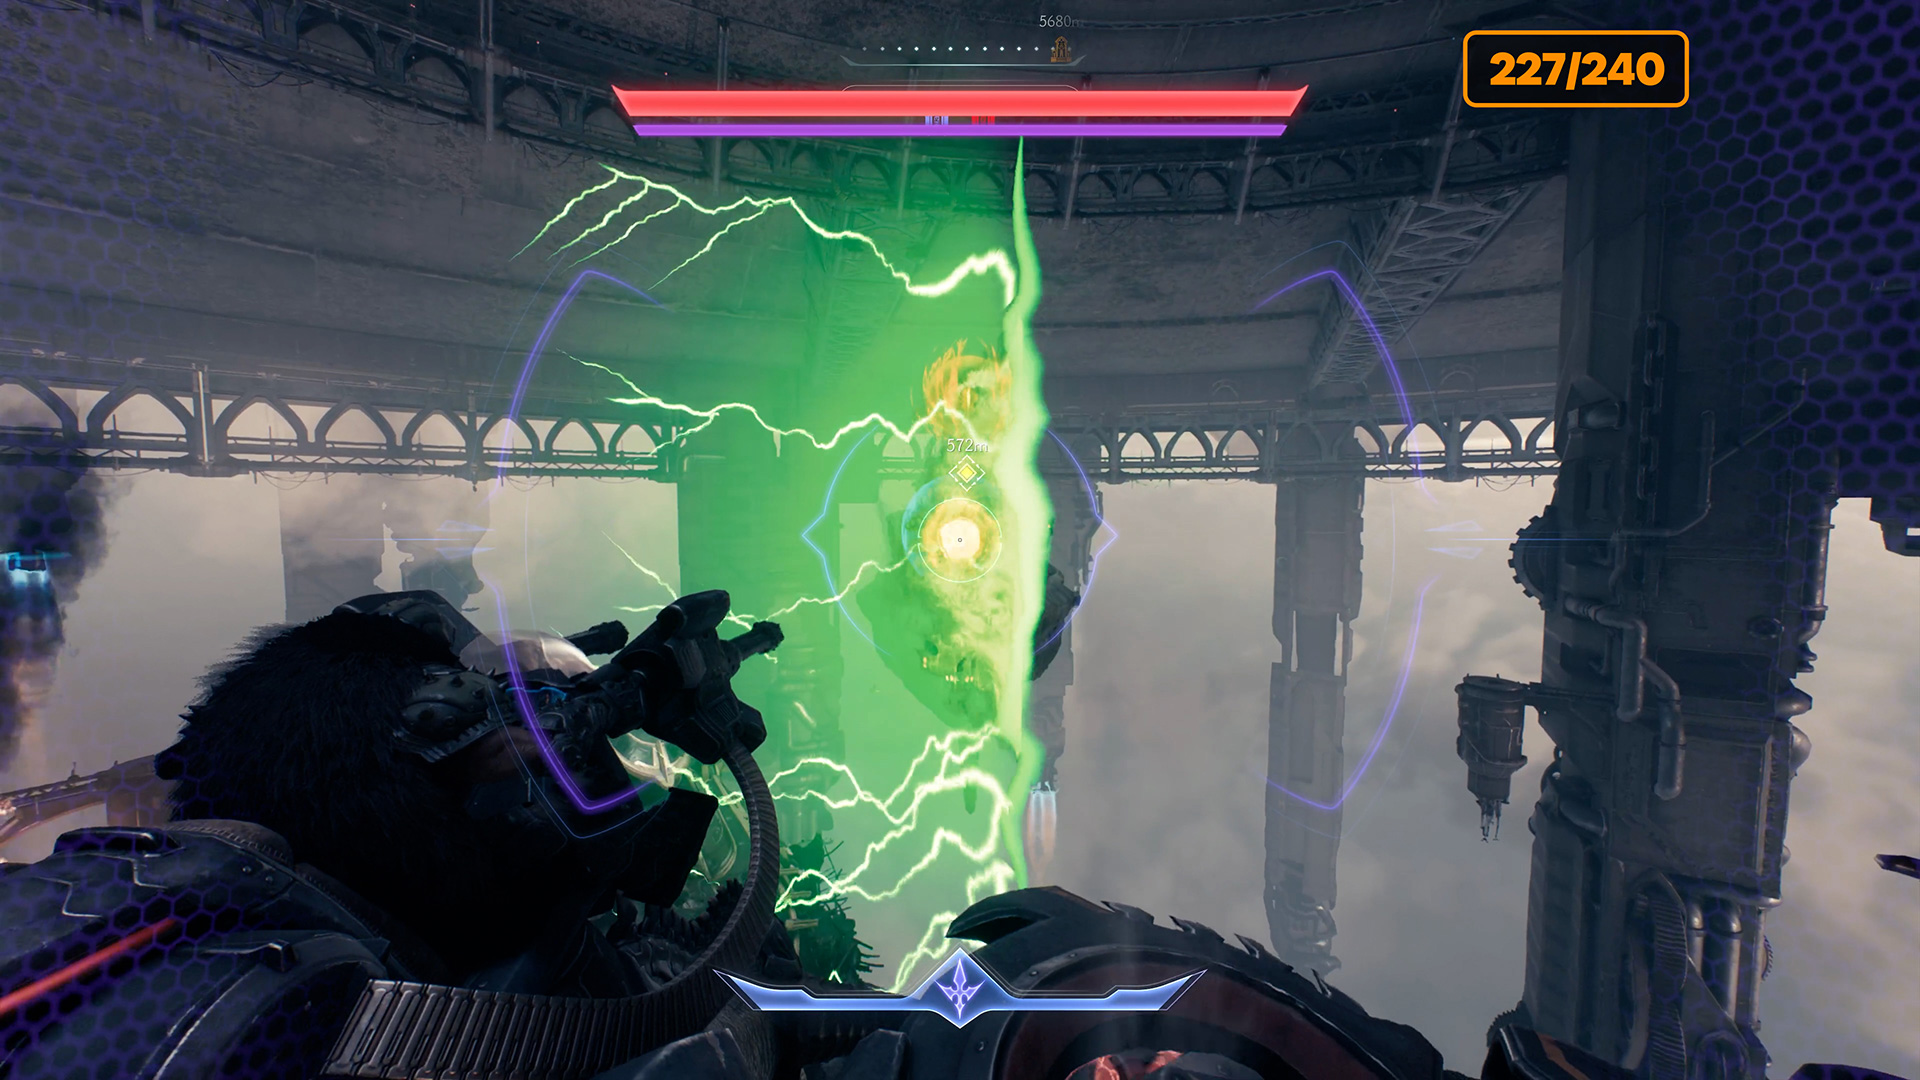
Aratum blue key – Secret #9 – 8 gold (227/240) – Life Sigil
Go left from the Titans’ sanctuary. You will immediately see a closed room with gold hidden behind it. To get to this place, you need to find a blue key. On the map, I have shown you the long route you need to take to get to the key. Along the way, you will encounter rooms with enemies that you must destroy. There will also be quite a few enemies when you exit into the open space. This will delay you for a while. In the video, I show how to quickly pass through the route without enemies in order to speed up the presentation of information. After you pick up the blue key, jump down to the blocked room. When you approach it, the door will automatically open and you can collect 8 gold coins. This is the last of the nine secret locations. Continue down the corridor, turn right, and collect the Life Sigil if you need it.
-
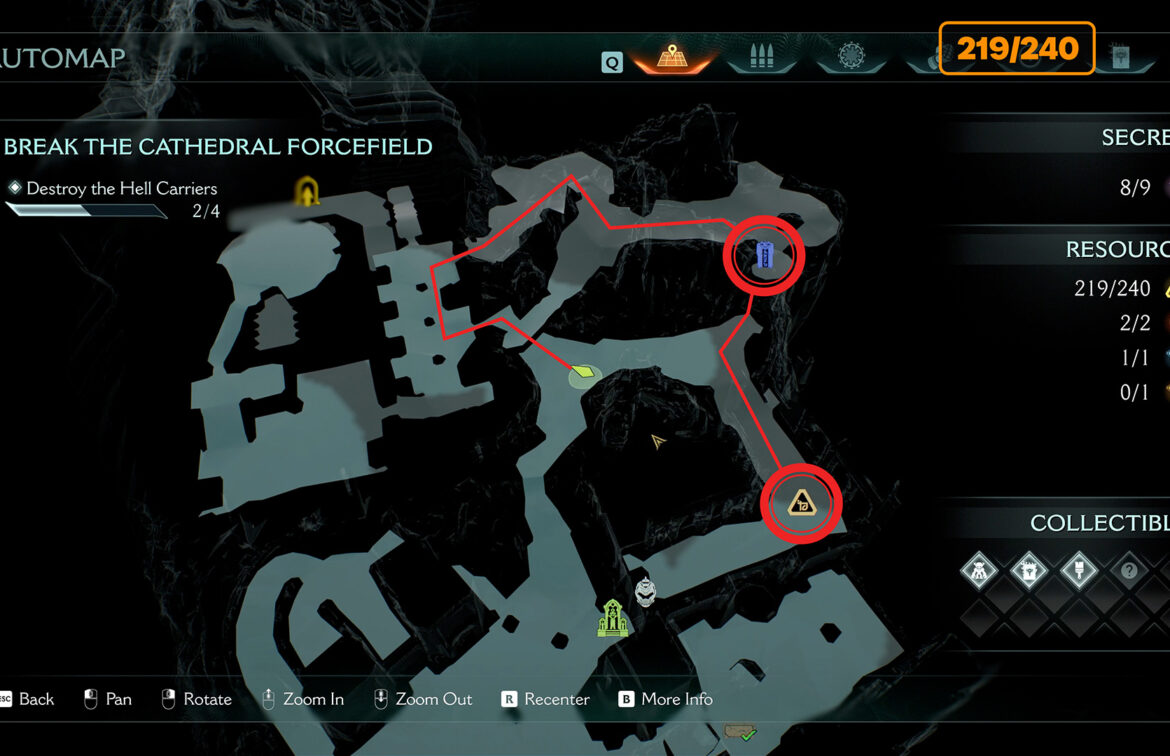
- Secret #9 location
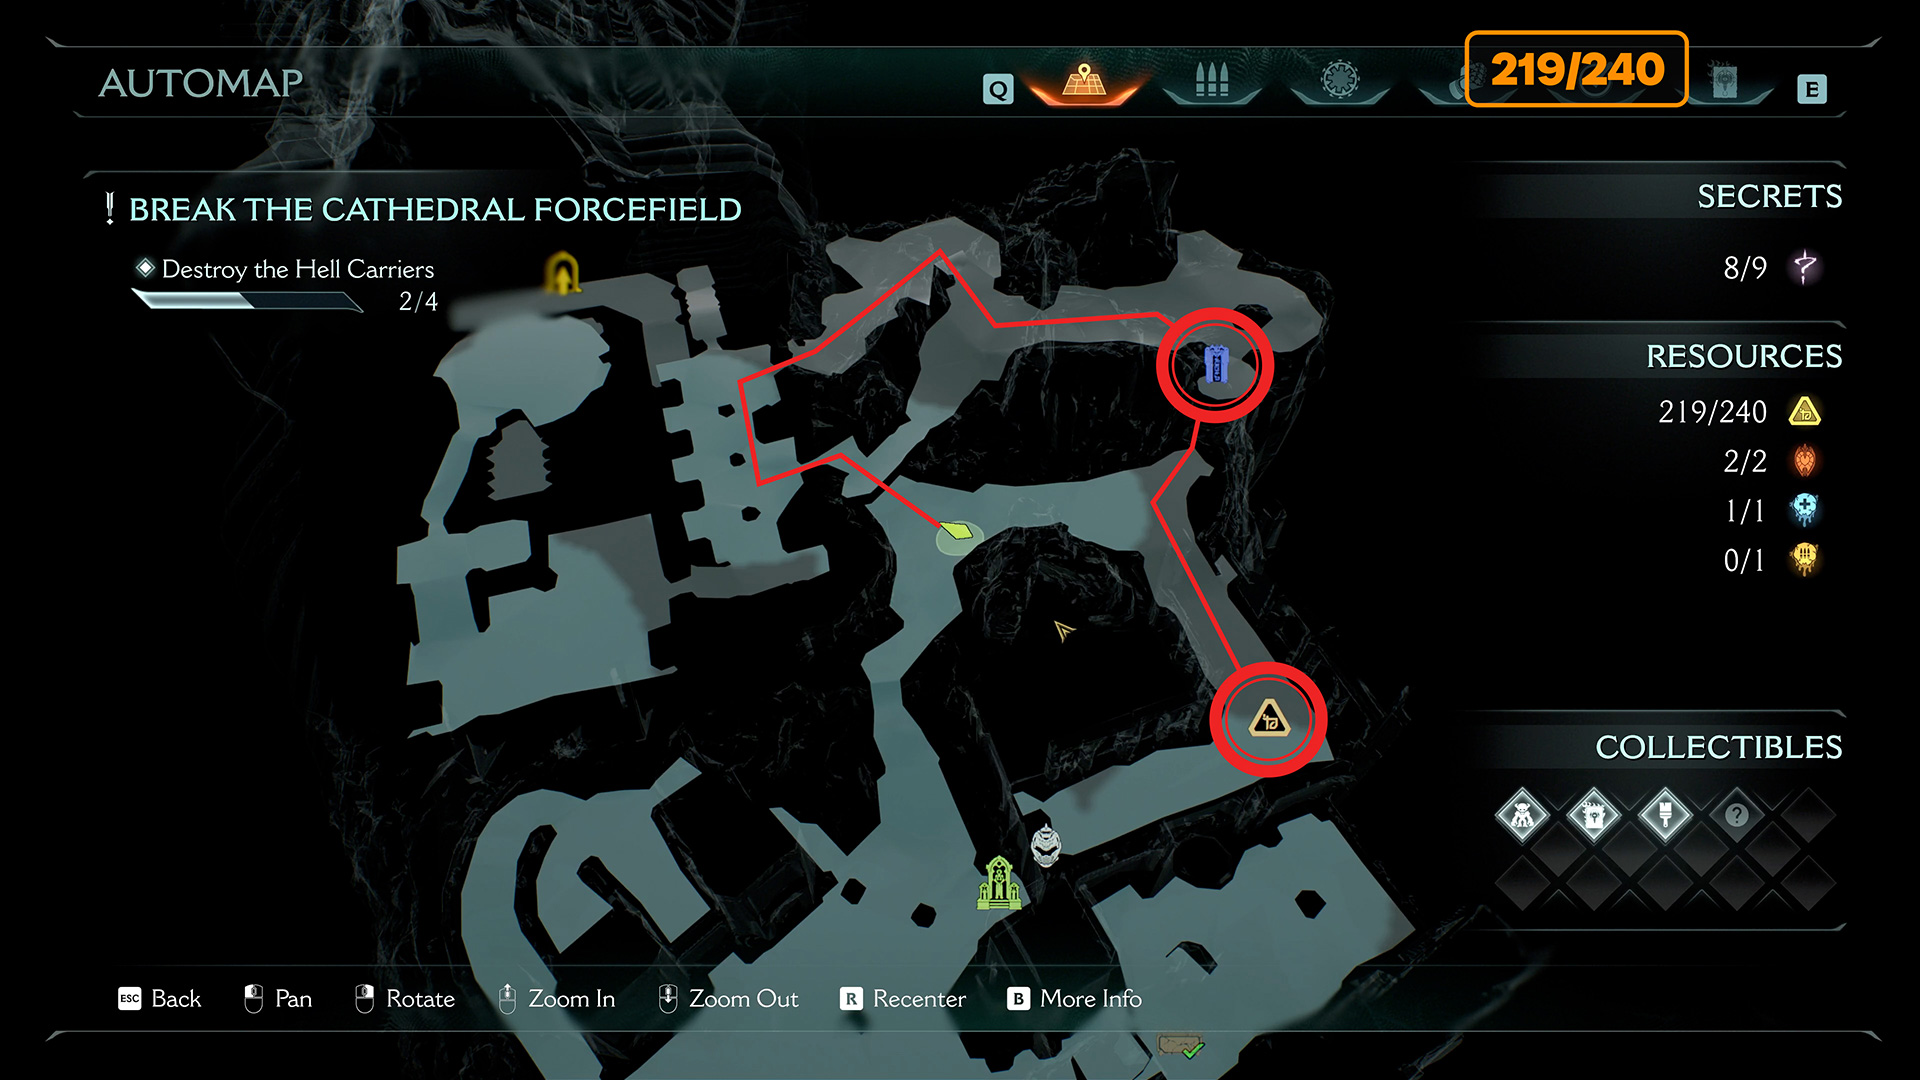
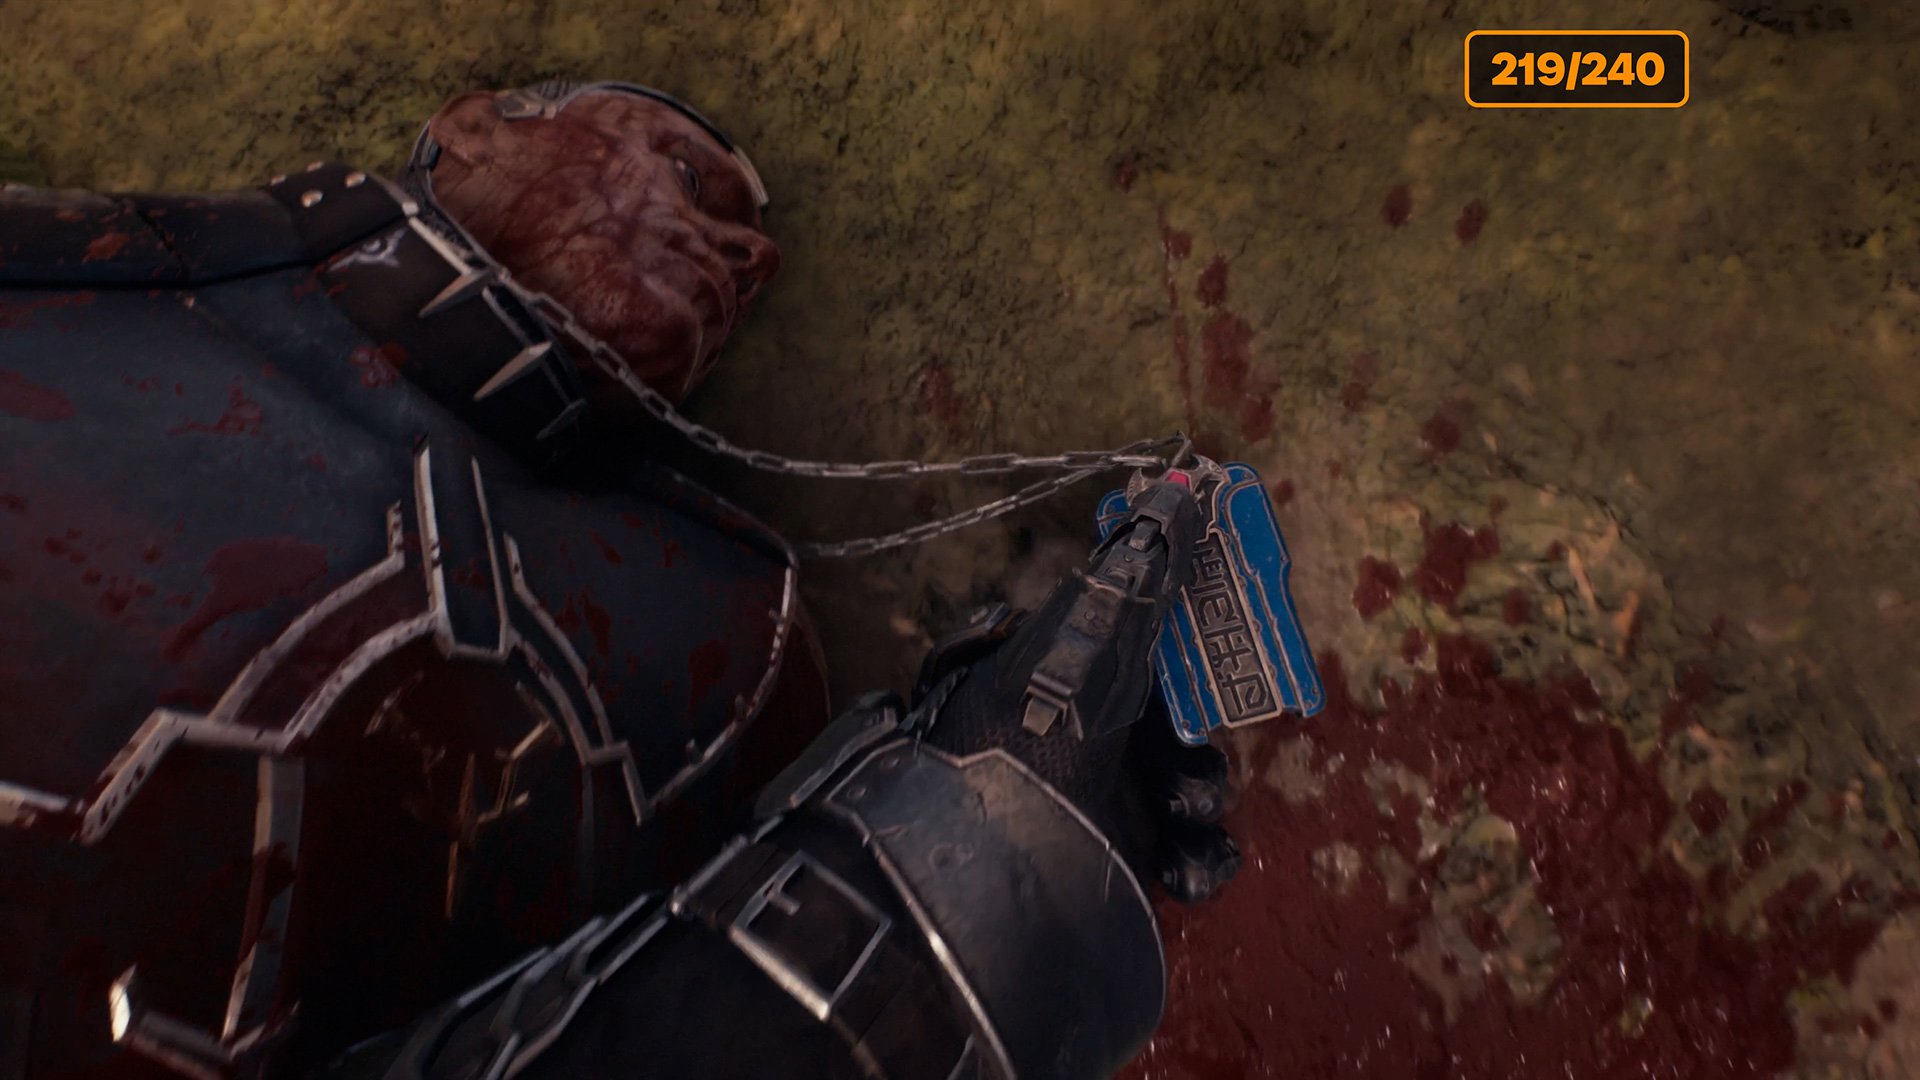
-
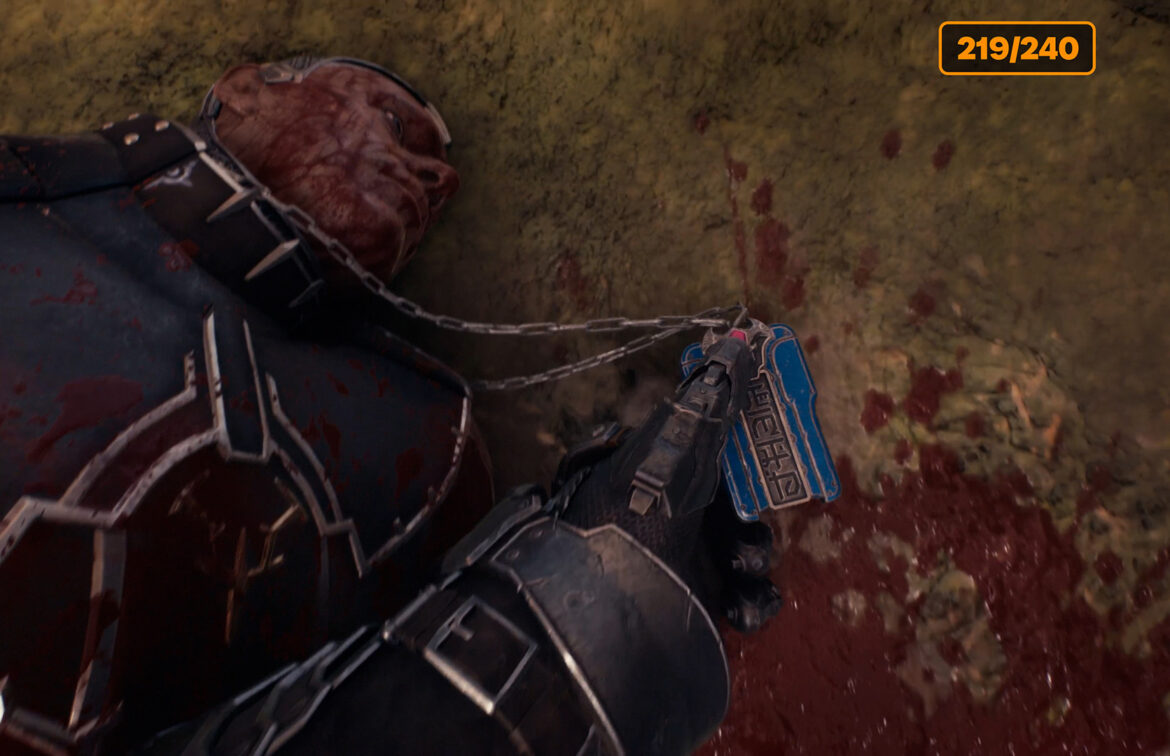
- Aratum blue key
-
- Now the door can be opened.
-
- Life Sigil
Demonic essence – Ammo
Now head to the exit of the location where the engine is located. Here, at the end of everything, you need to defeat the final boss of the location. He is not difficult, you can easily handle him. After the victory, you will receive the second Demonic essence – Ammo. At this point, the third Hell Carrier can be destroyed.

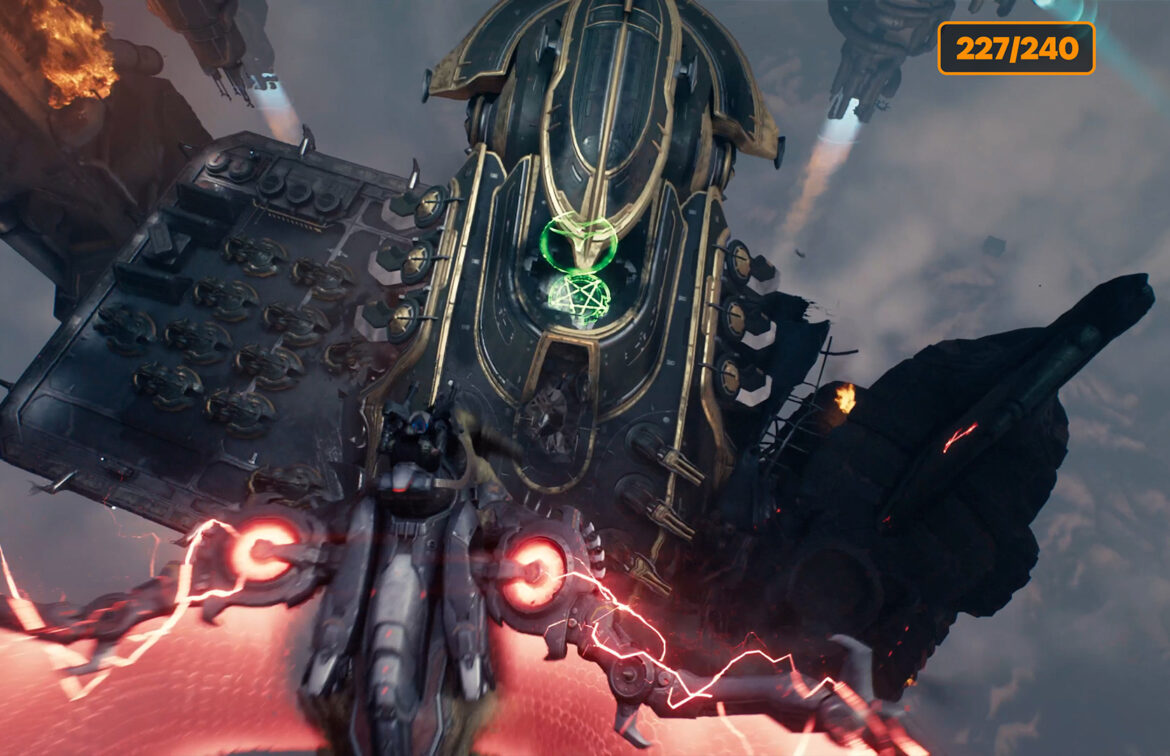
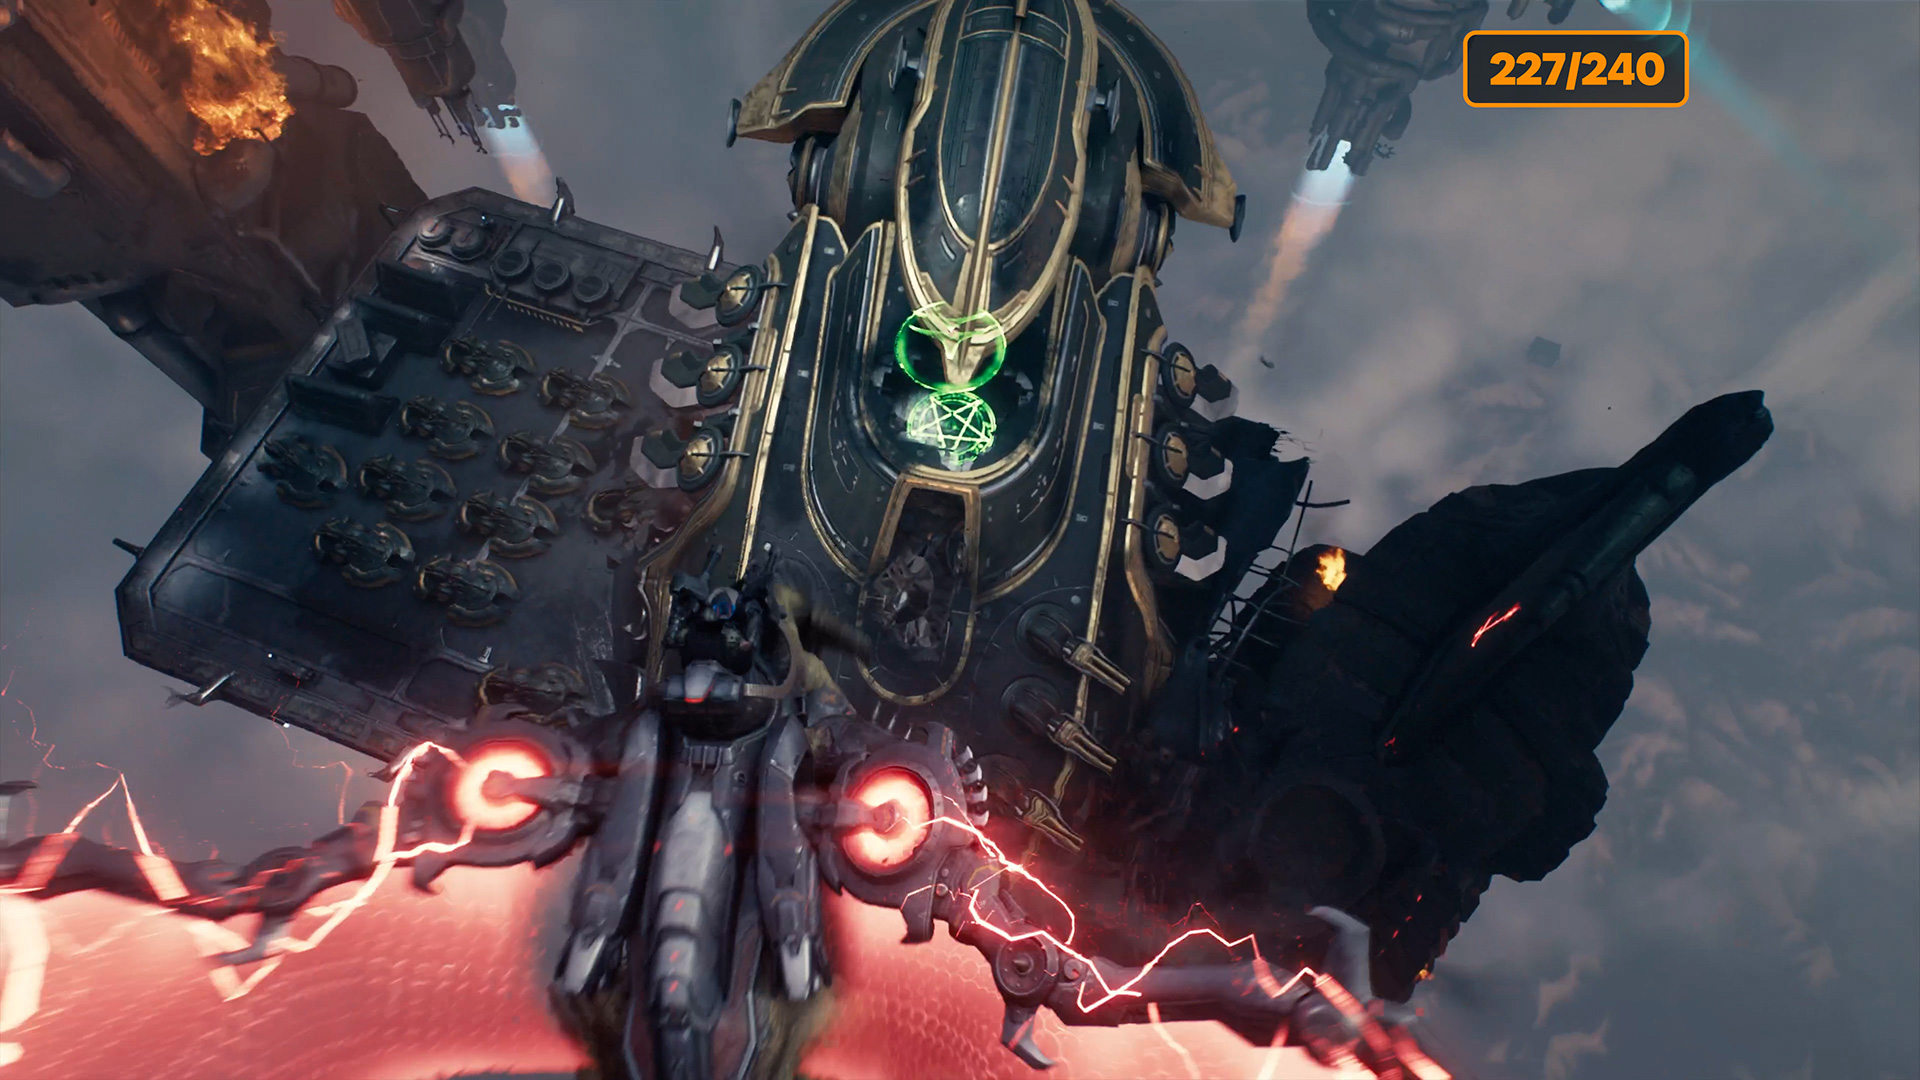
Hell Carrier #4
It’s time for the last fourth Hell Carrier. This is a small location that you will pass through quickly. First, fly to the large monster with tentacles and destroy it. Then fly after the Hell Fighter, it will show you the way to your goal so you don’t get lost. You can destroy it, or you can leave it alone once you reach the Hell Carrier. Here, you will perform the standard actions that you have already performed. Shoot down the Hell Carrier and land on the green platform that will open up in front of you.
-
- Route to the last Hell Carrier
-
- Battle with Hell Carrier
-
- Landing area
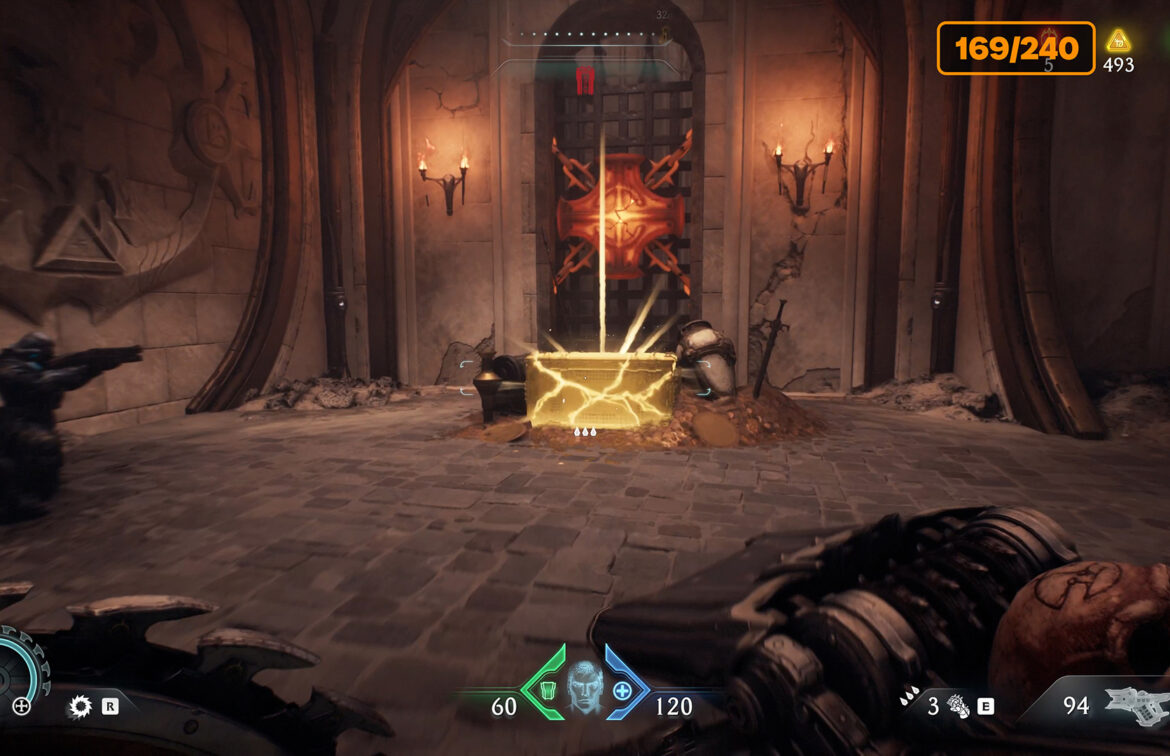
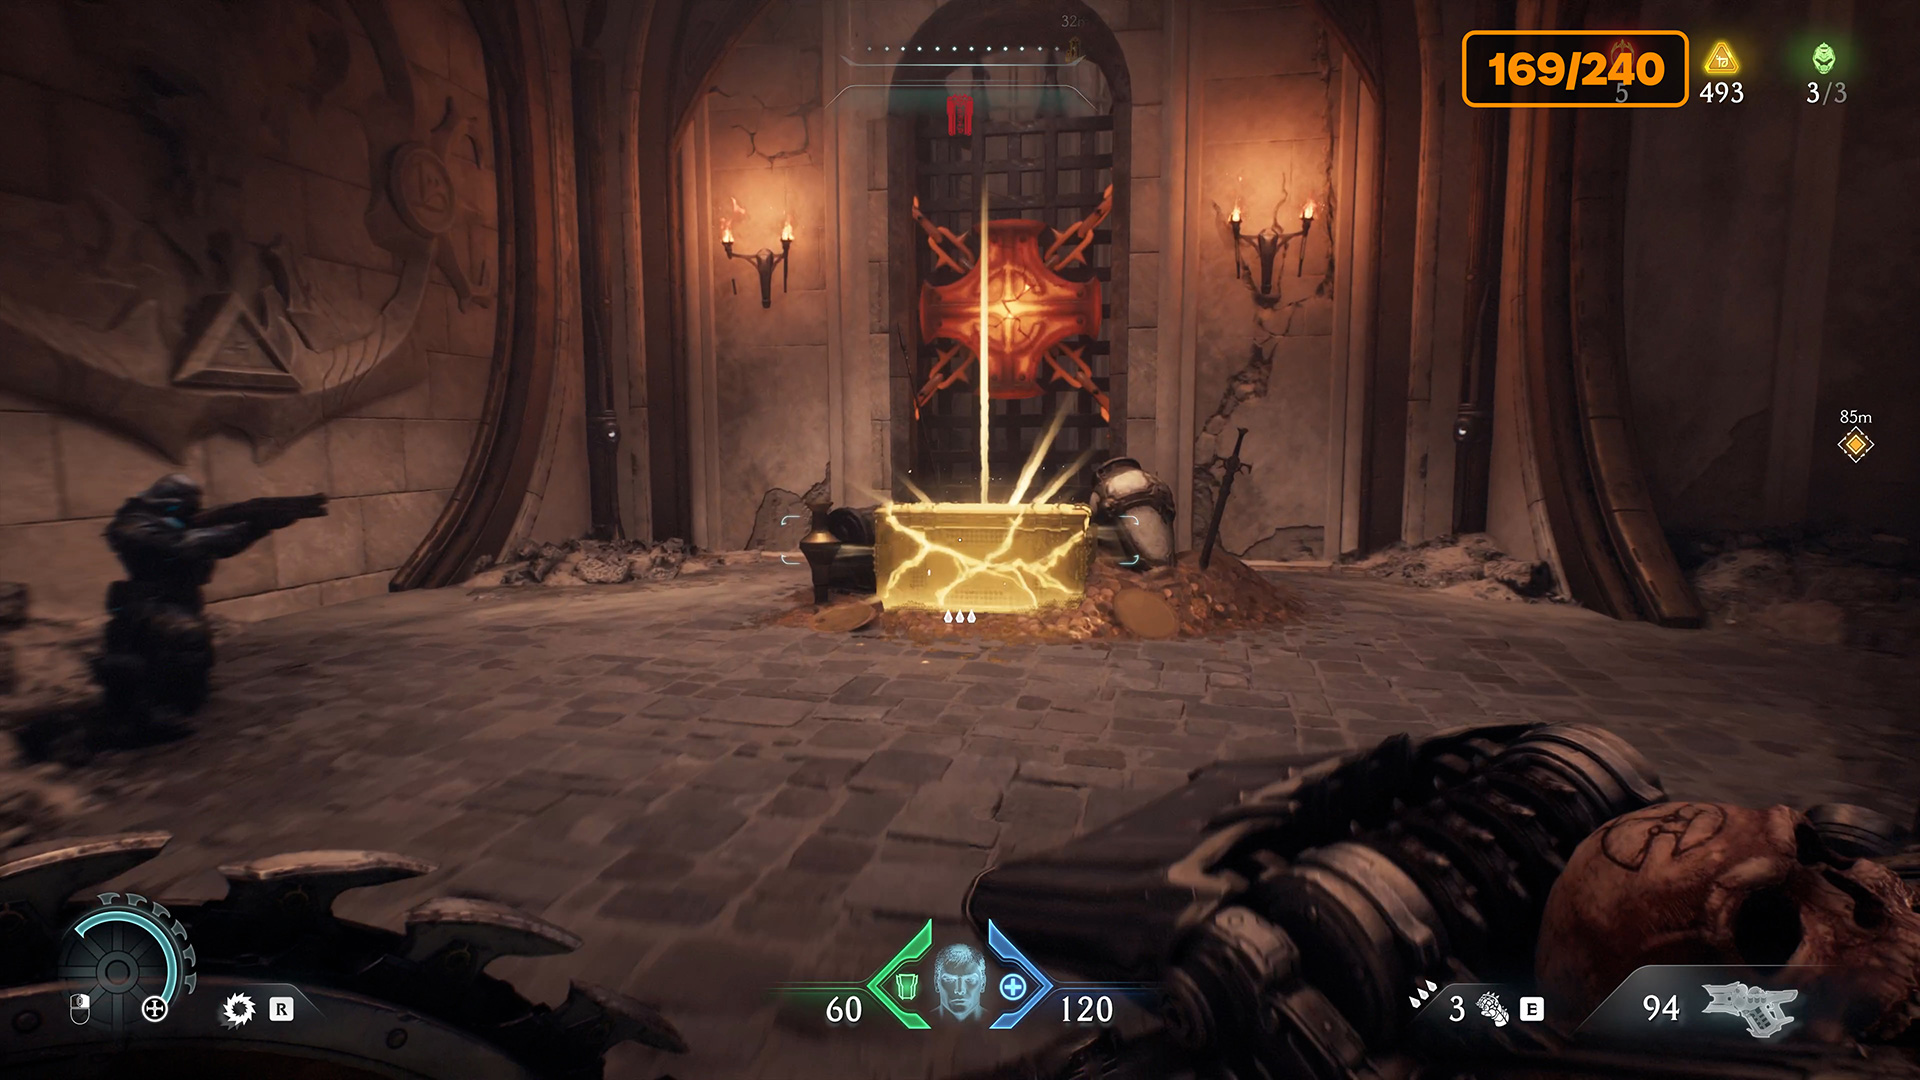
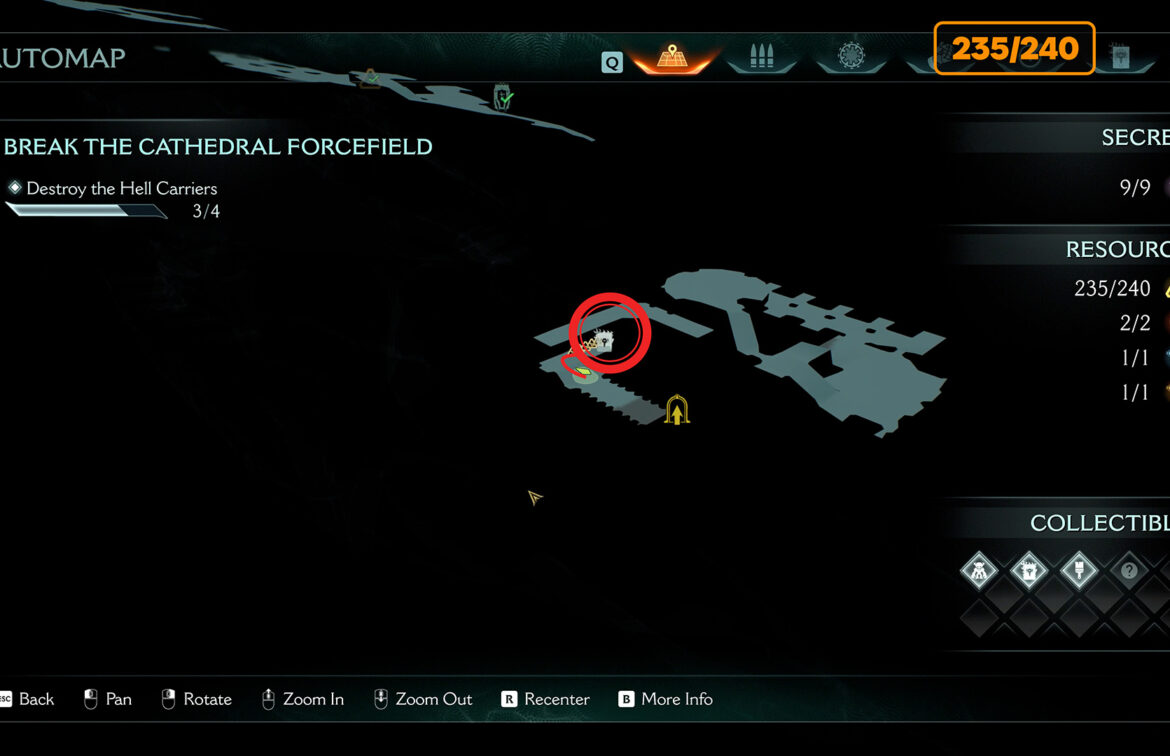
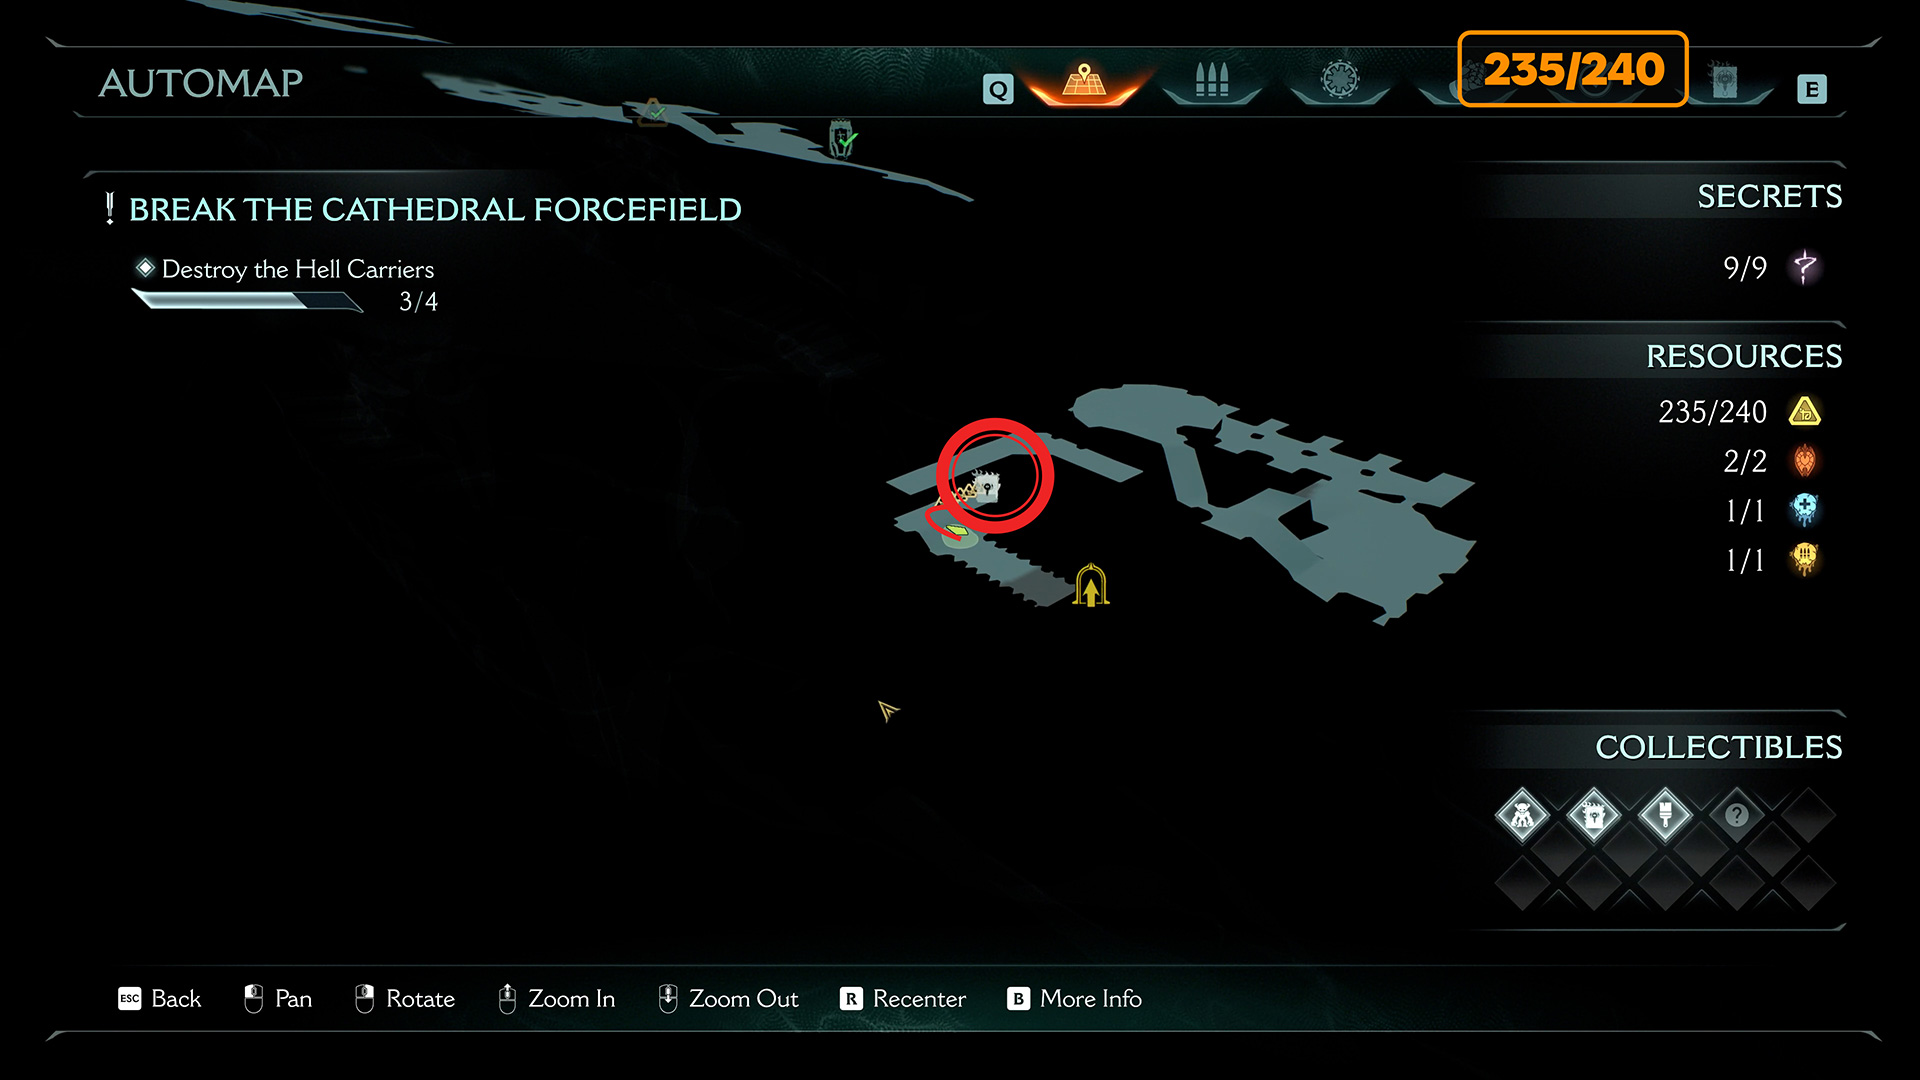
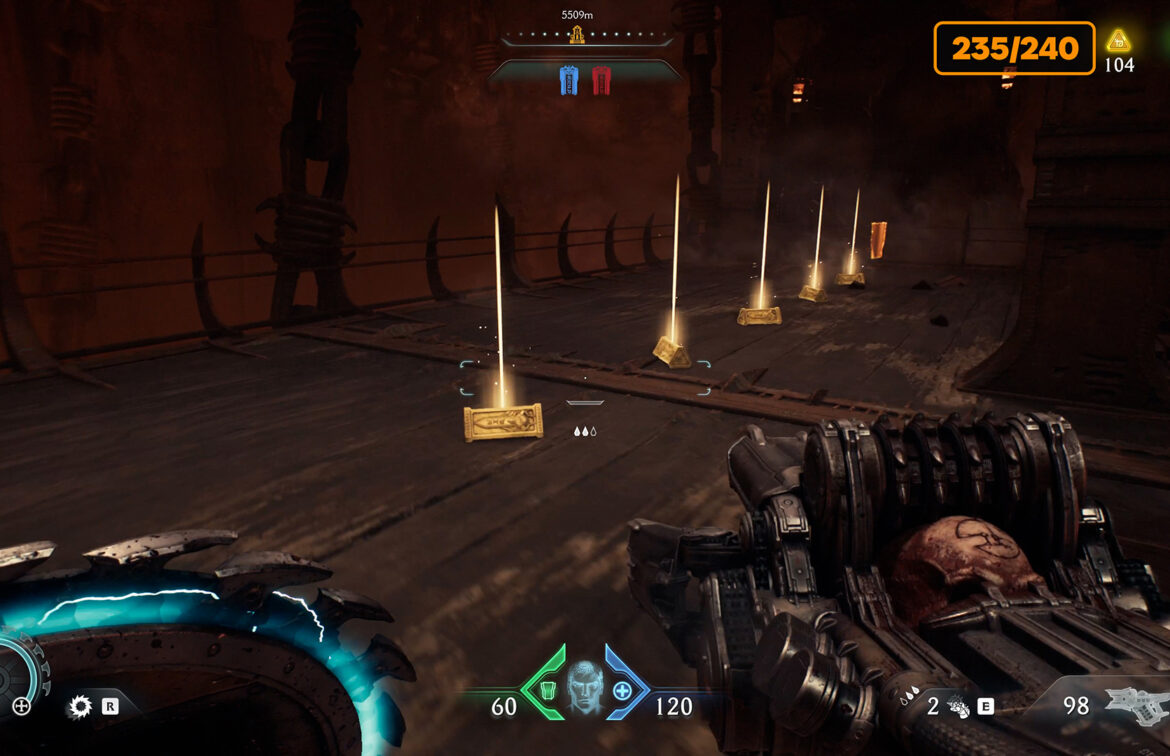
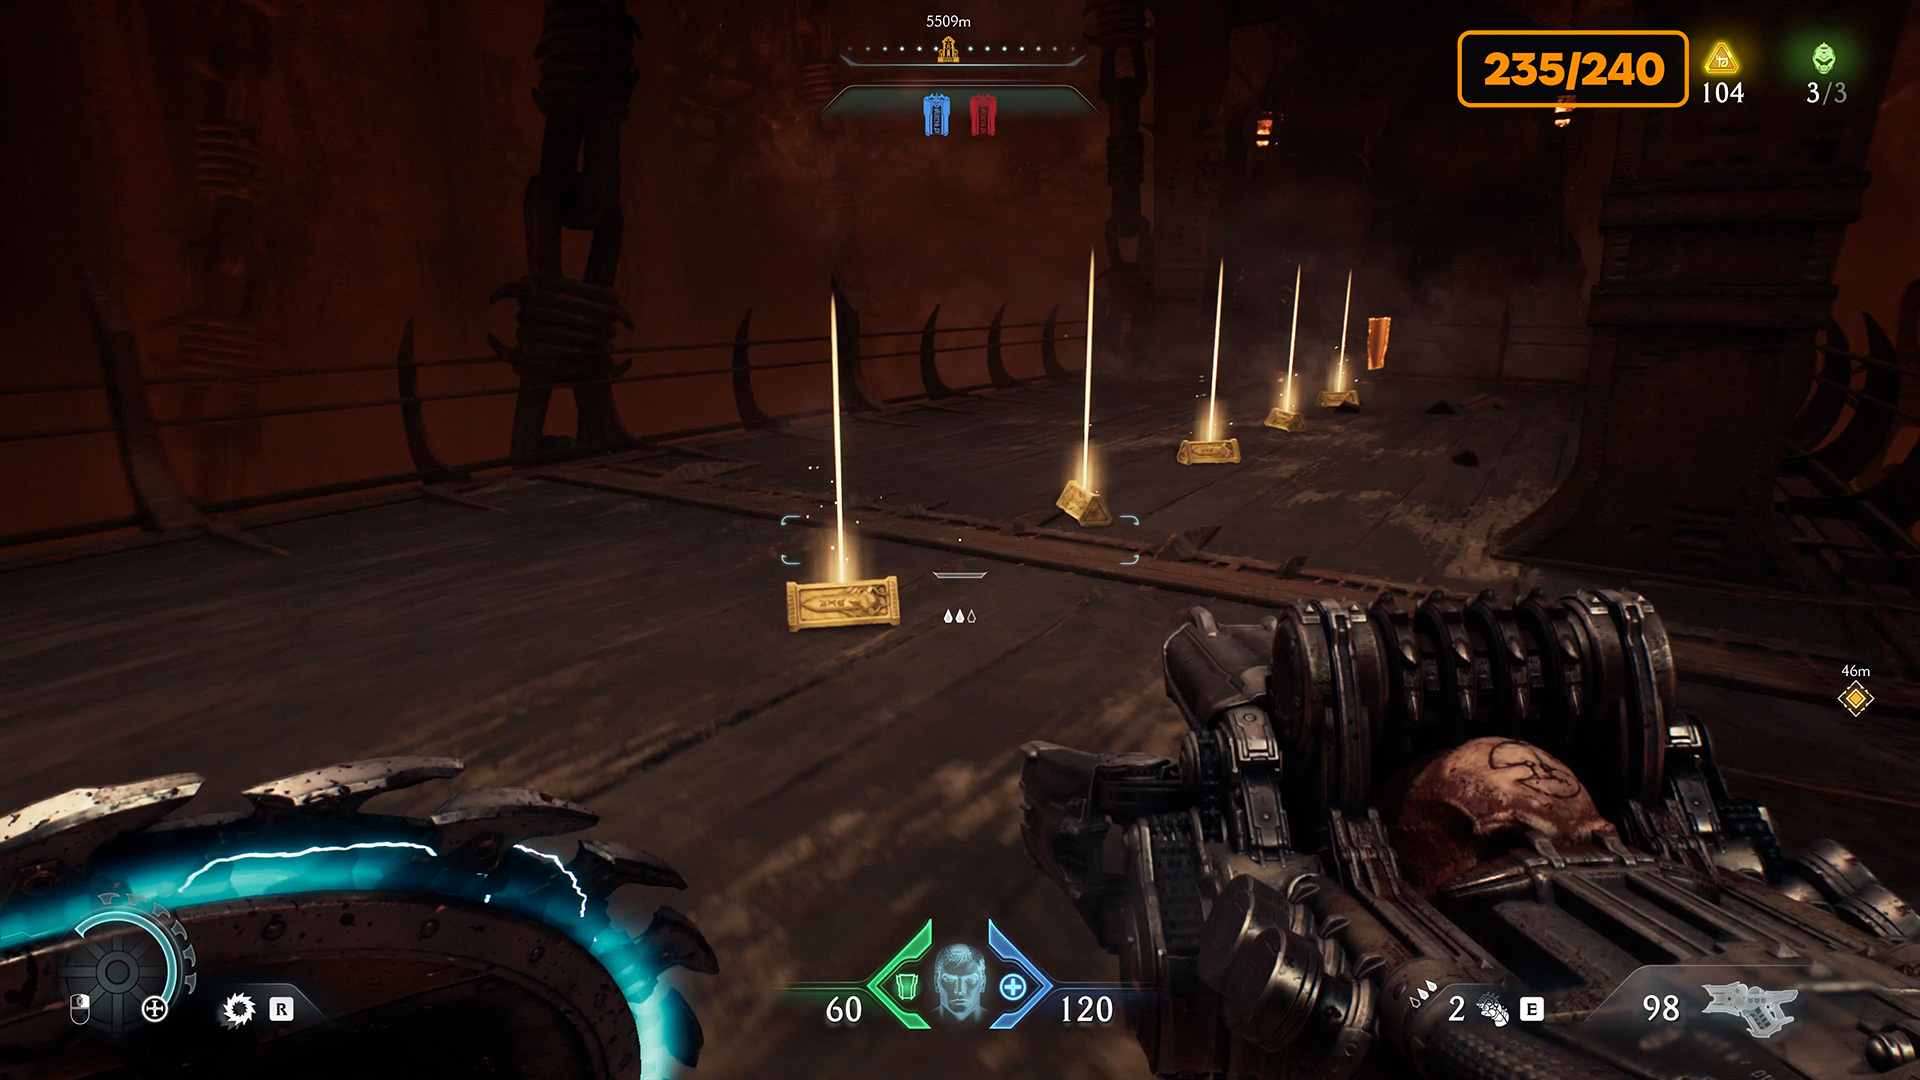
8 gold (235/240)
To disable the barrier blocking access to the gold, you need to kill all the monsters in this location. After victory, the barrier will automatically disappear and you will be able to collect 8 gold coins.

Chapter 5 codex #2 – 5 gold (240/240)
At the end of the location, collect 5 gold coins and one page of the codex.
-
- Codex #2 – location
-
- Codex + gold
That’s all for now – take care.