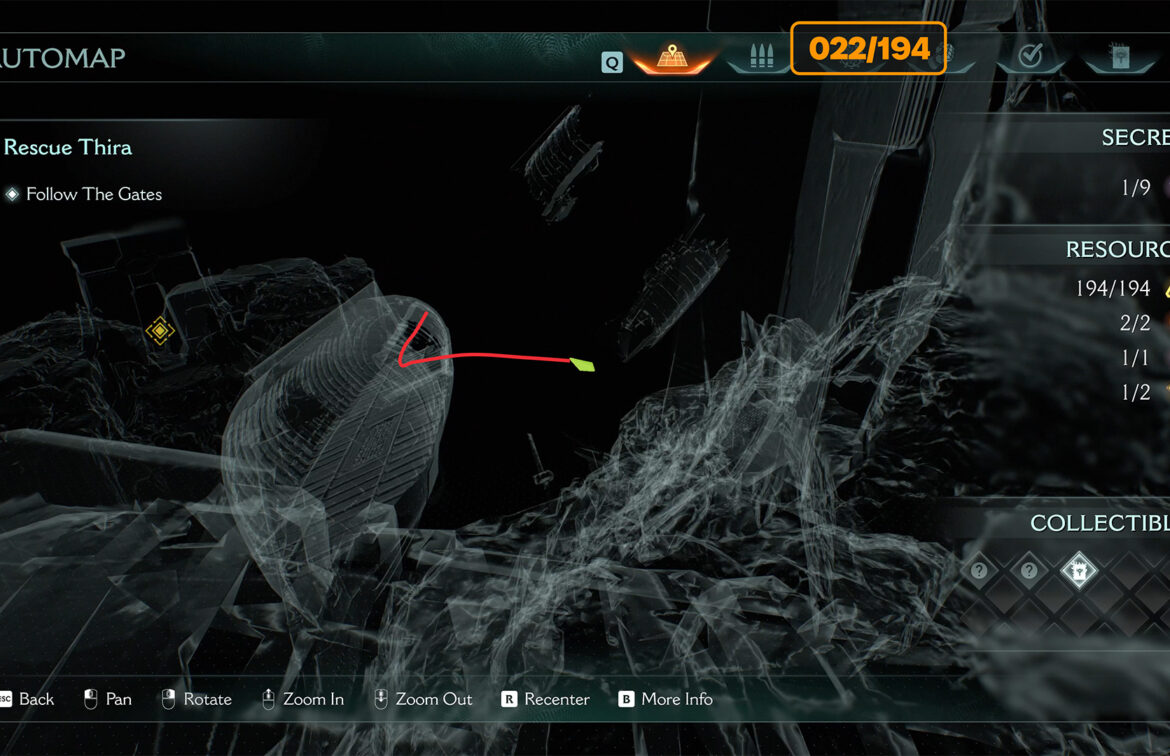
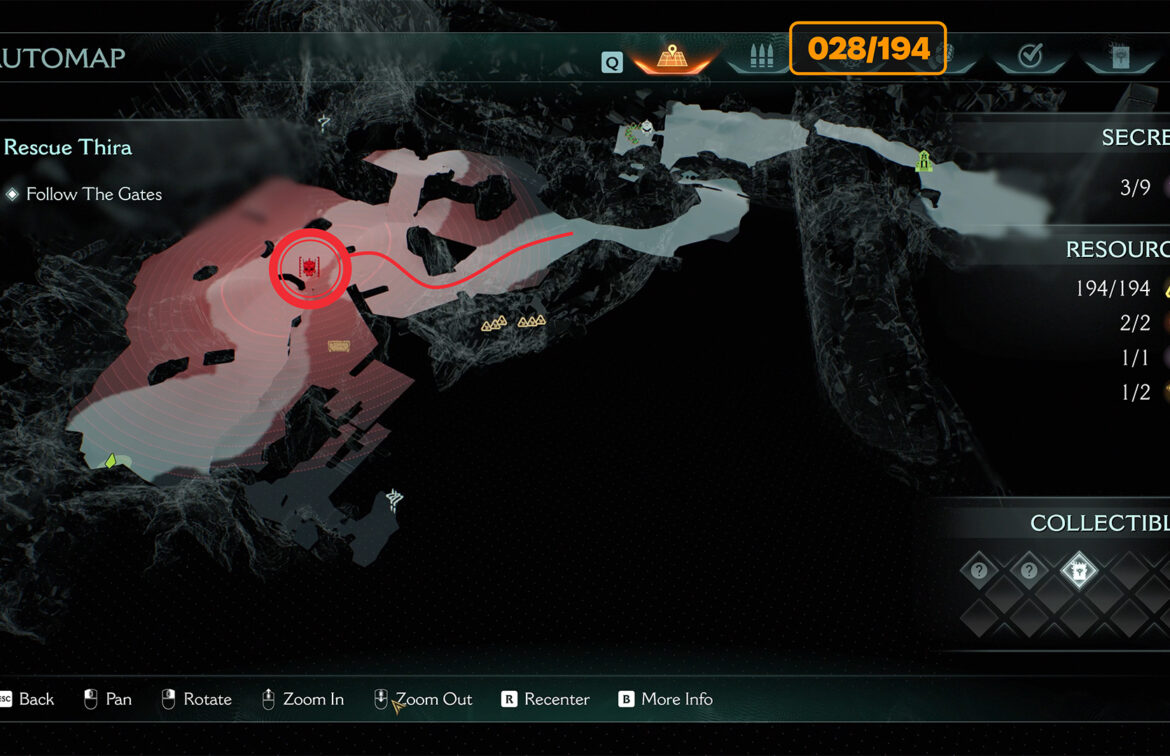
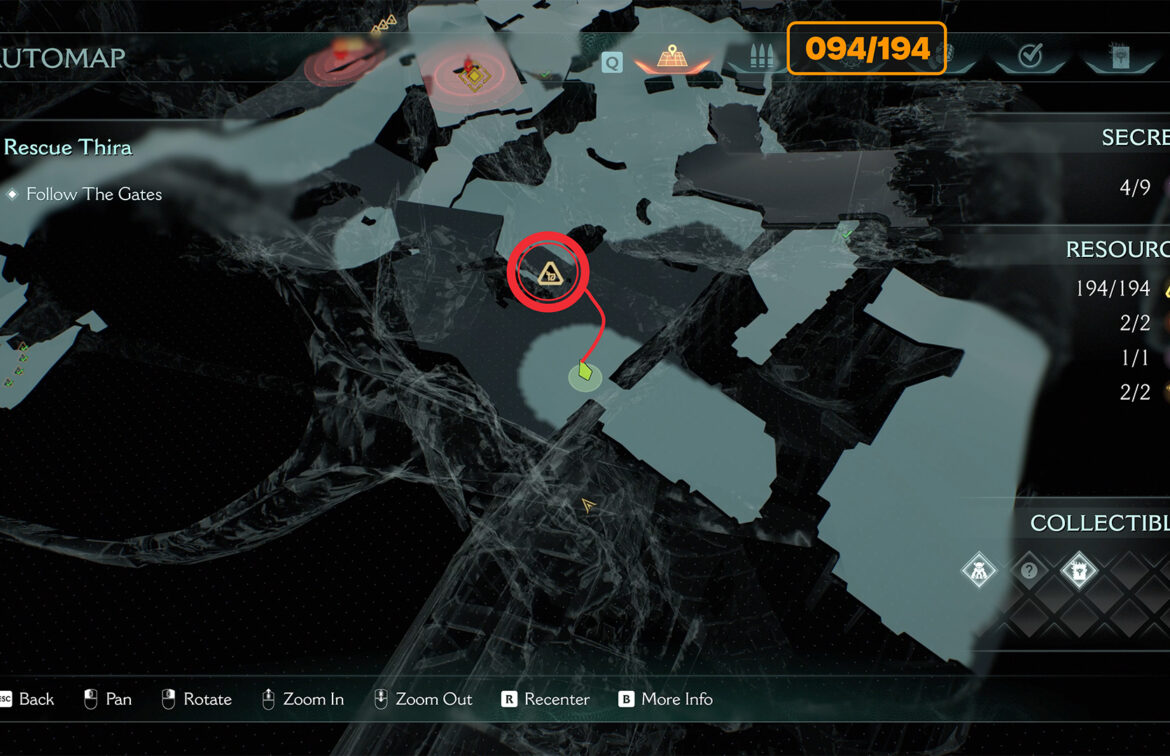
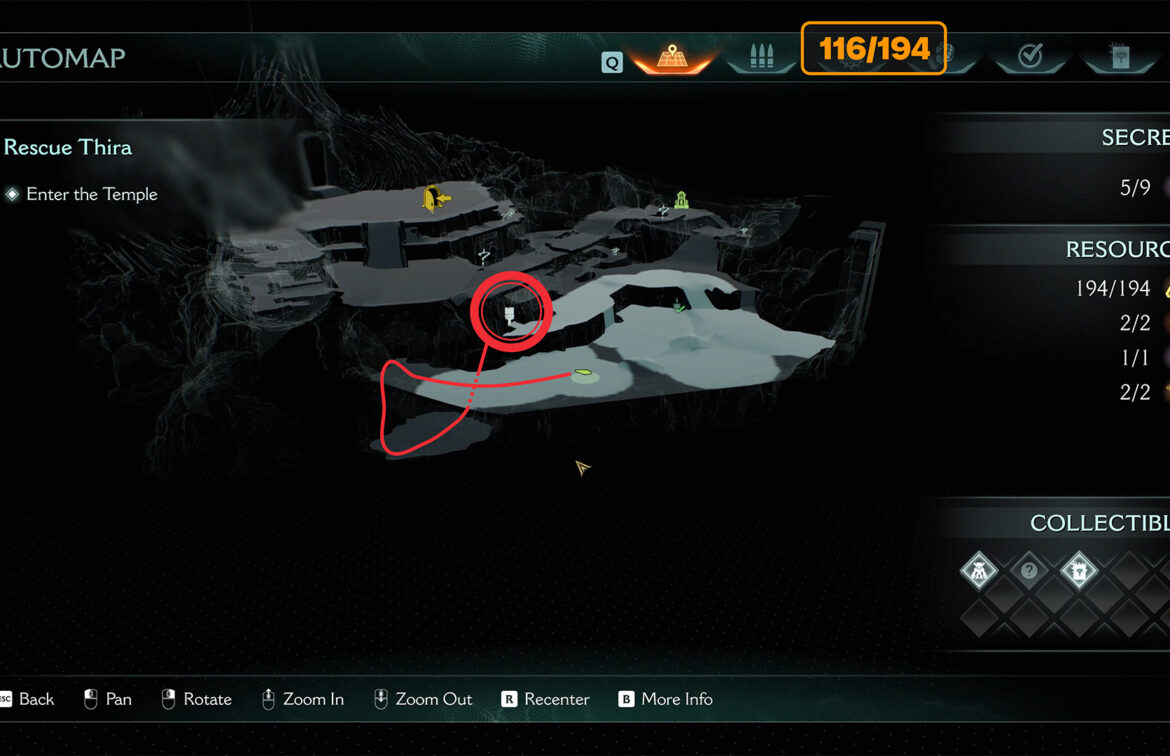
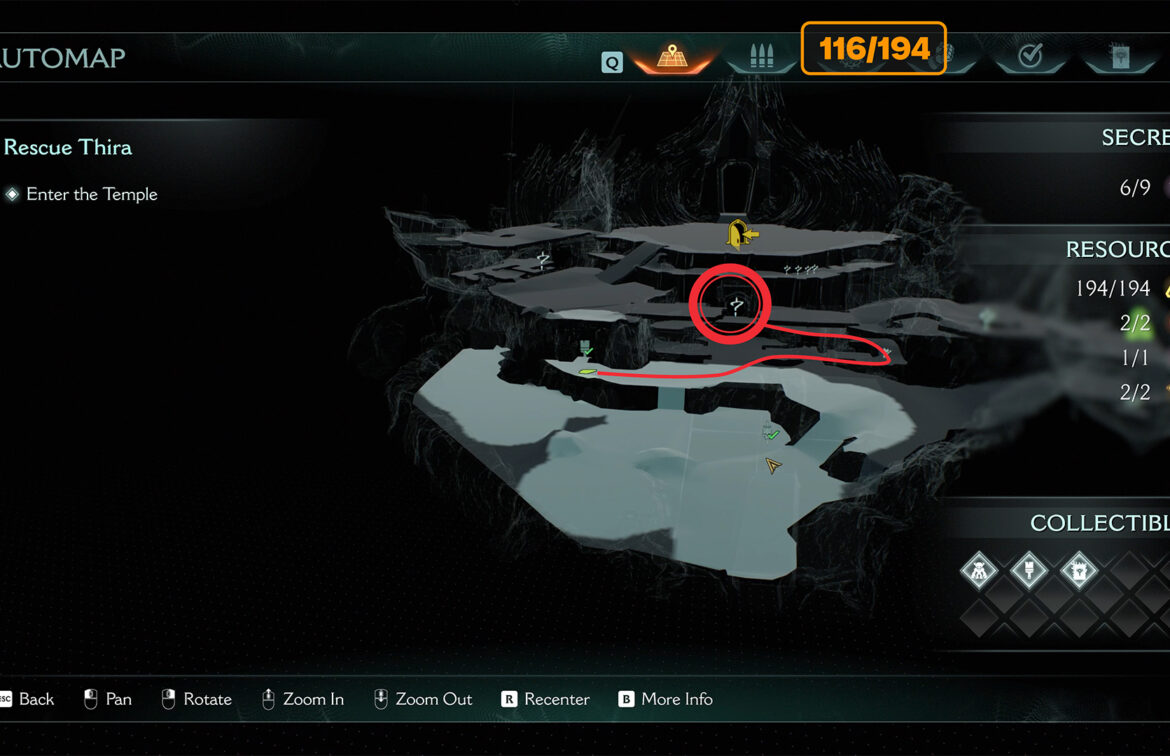
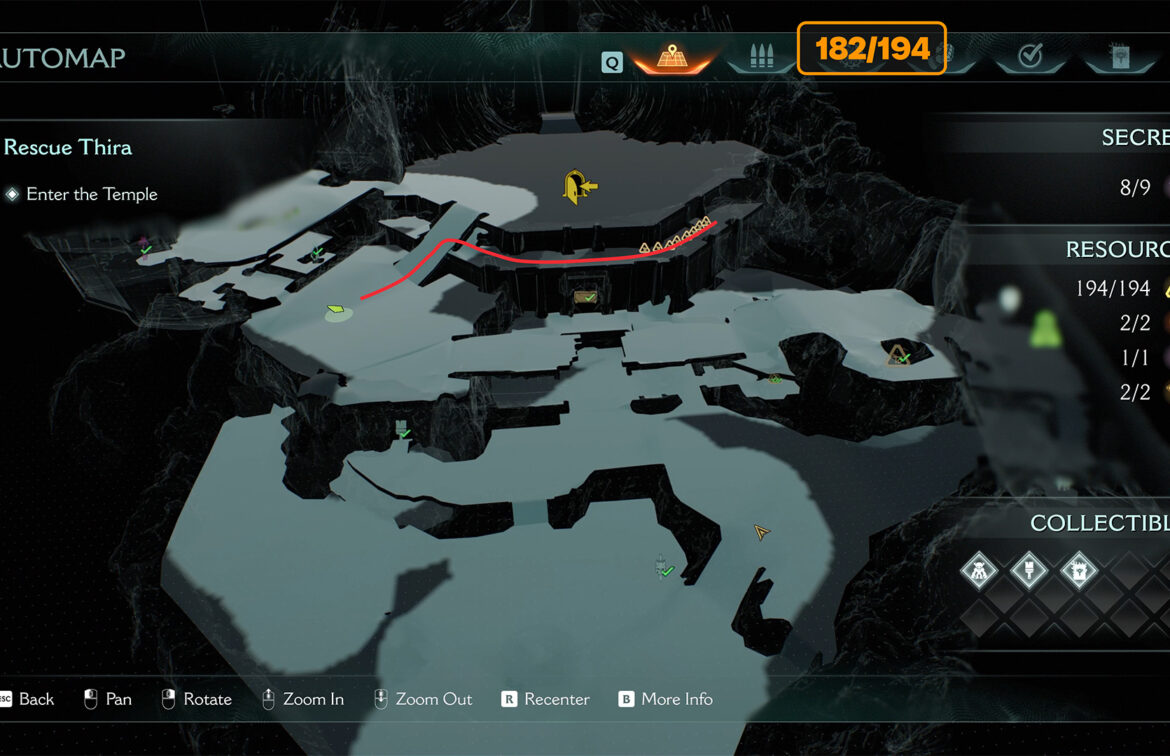
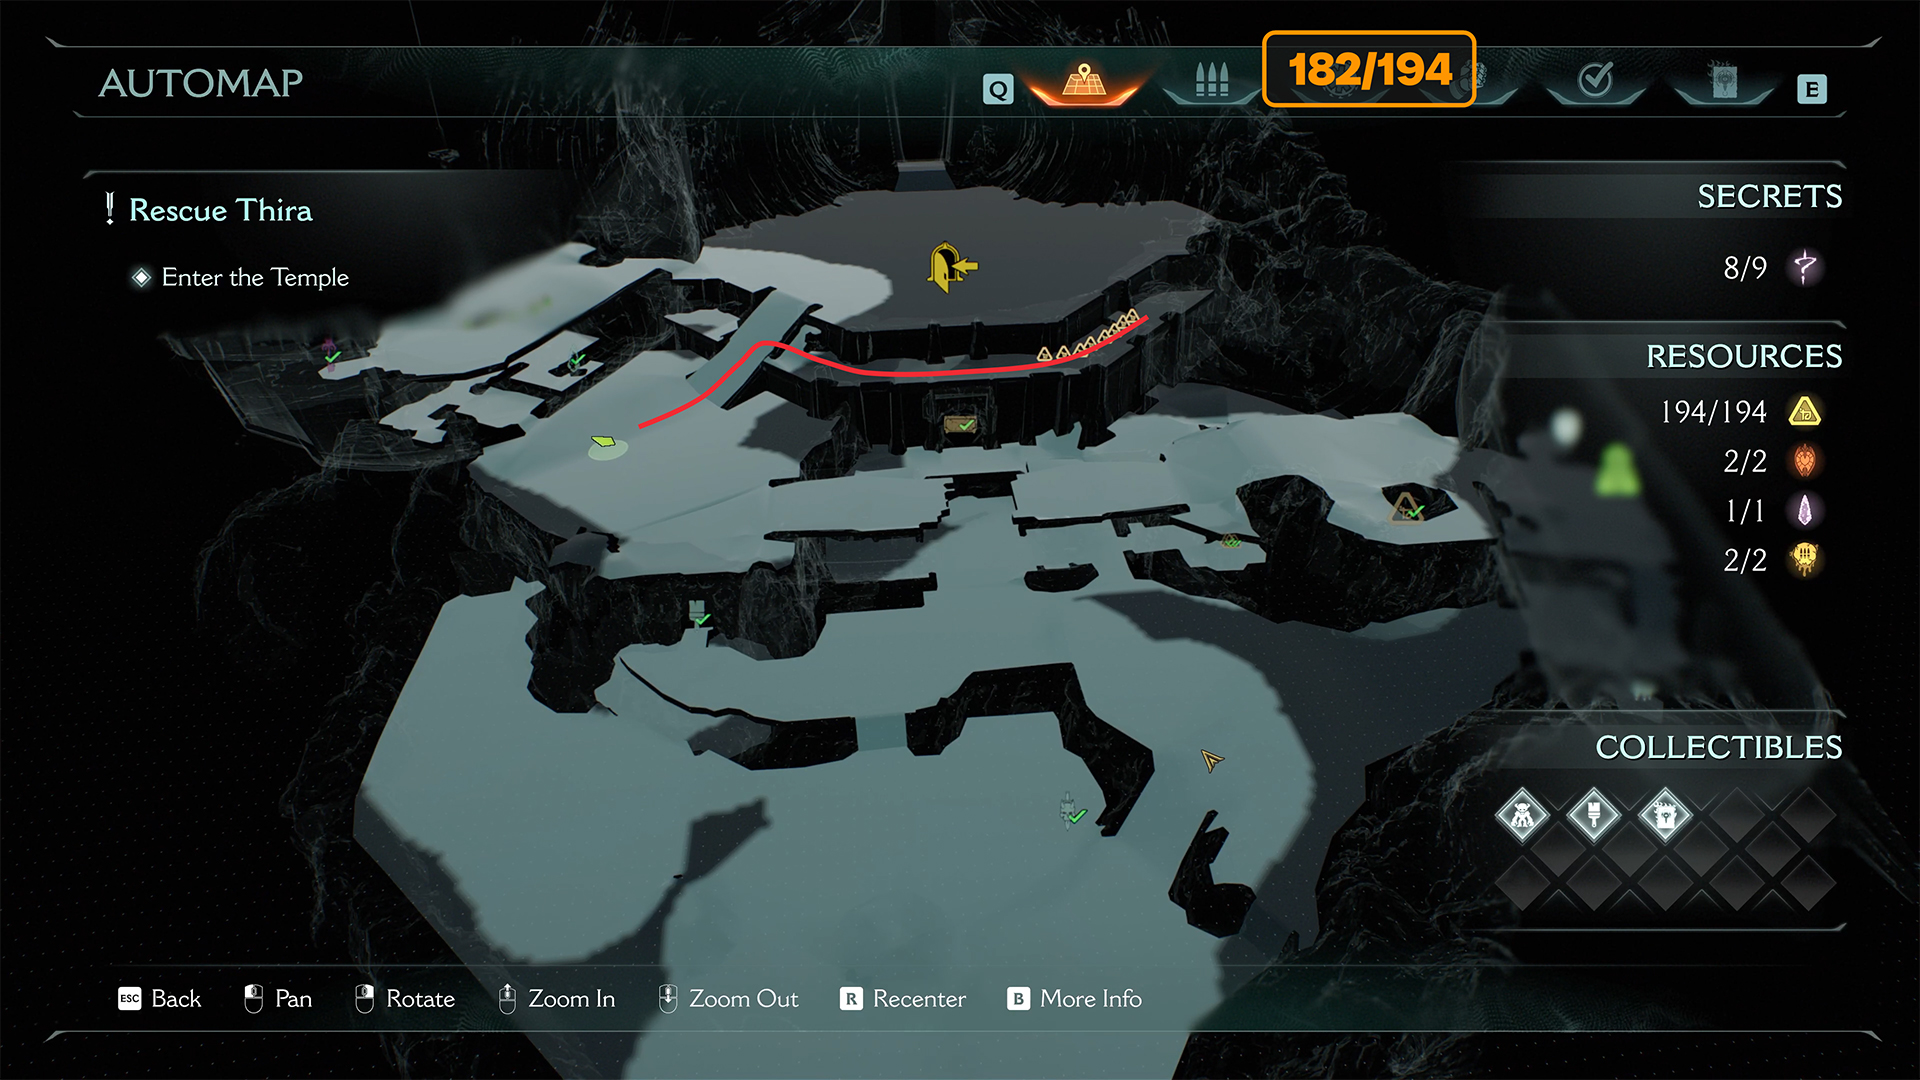
Here are the Chapter 17 collectibles! Continue our journey through Doom The Dark Ages. We will be reviewing all of the collectibles in Chapter 17: Temple of Lomarith. Also, I recommend reading Chapter 16 The Kar’Thul Marshes. You will need to find all the hidden locations in order to complete your mission.
For me, the most interesting chapter is Ancestral Forge. As a result of this guide, you will complete Chapter 17 – Temple of Lomarith 100% and receive:
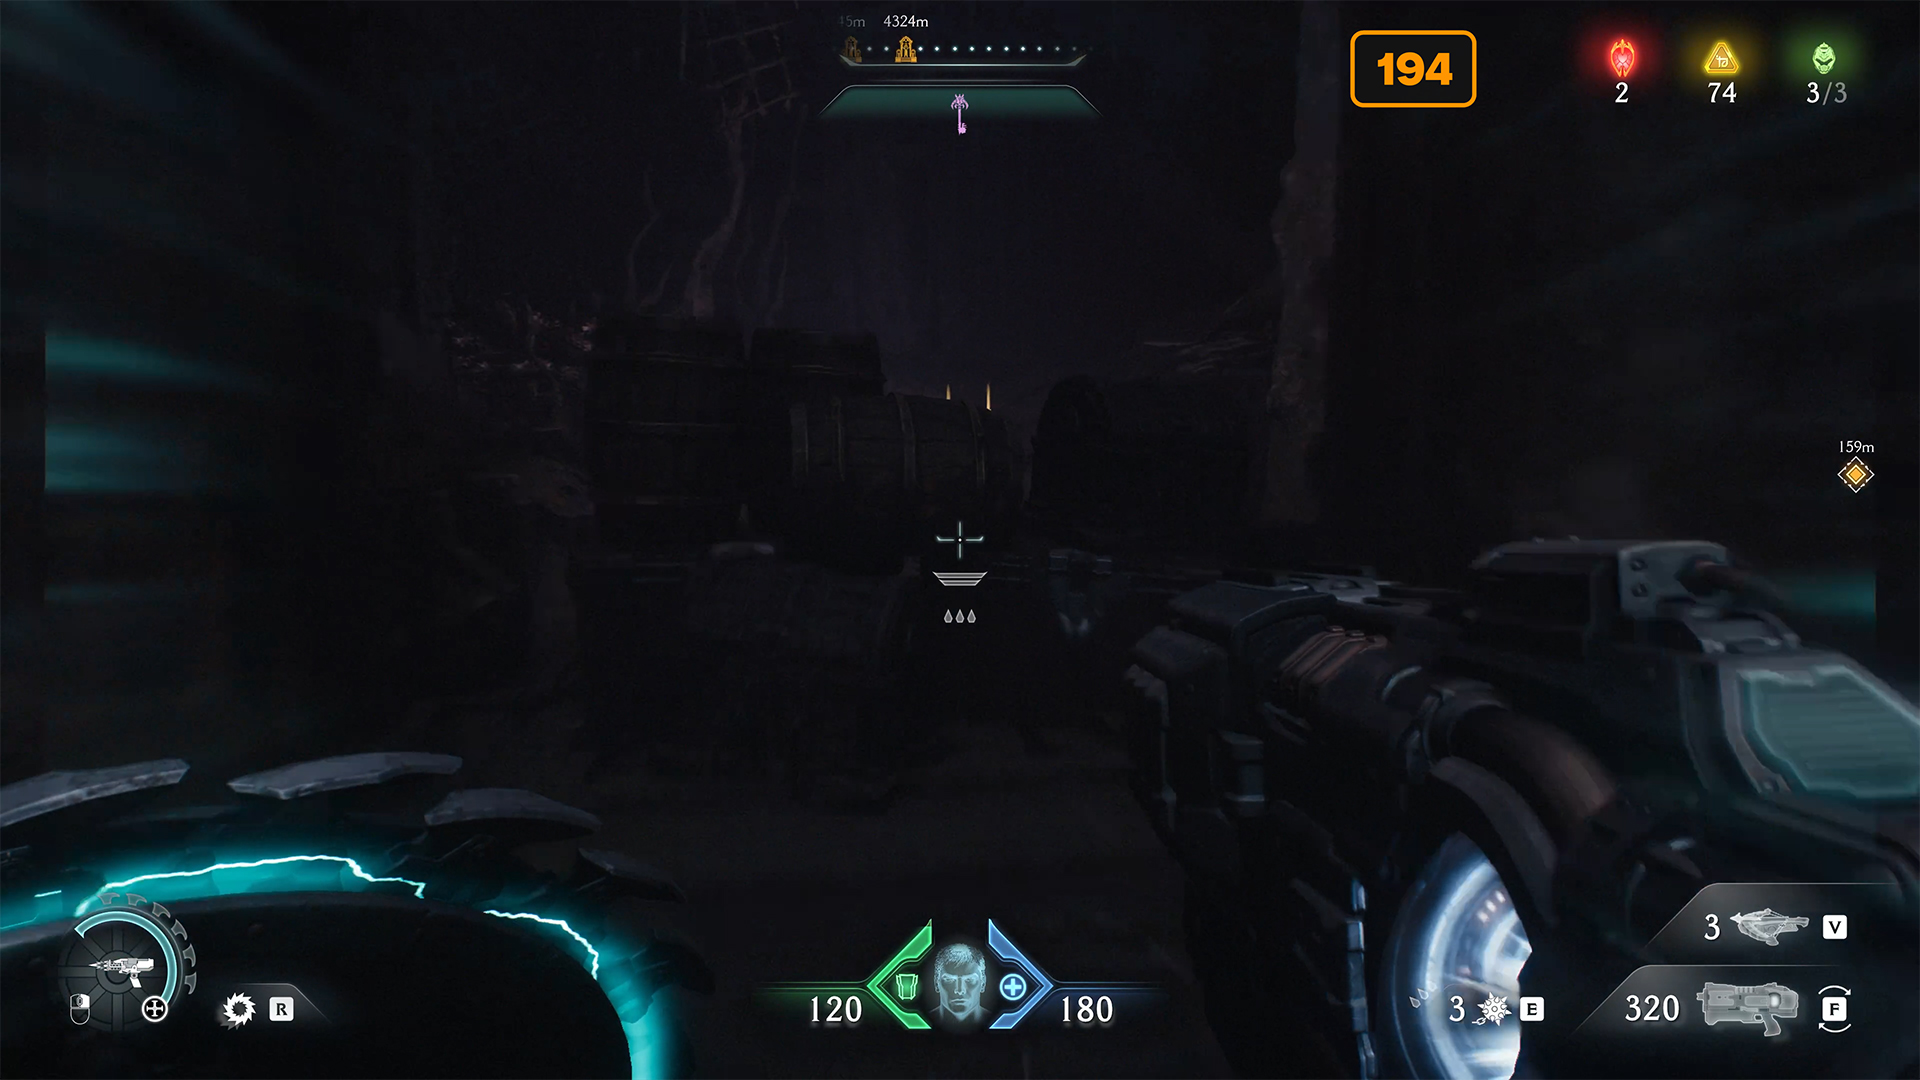
- Gold: 194
- Ruby: 2
- Wraithstone: 1
- Demonic Essence – Ammo: 1
- Secrets: 9
- Codex Entries: 1
- Collectible Toys: 1
- Quests: 3
I also recommend watching the video if you don’t want to search for all the collectibles mentioned in this article. The video shows everything briefly and clearly:
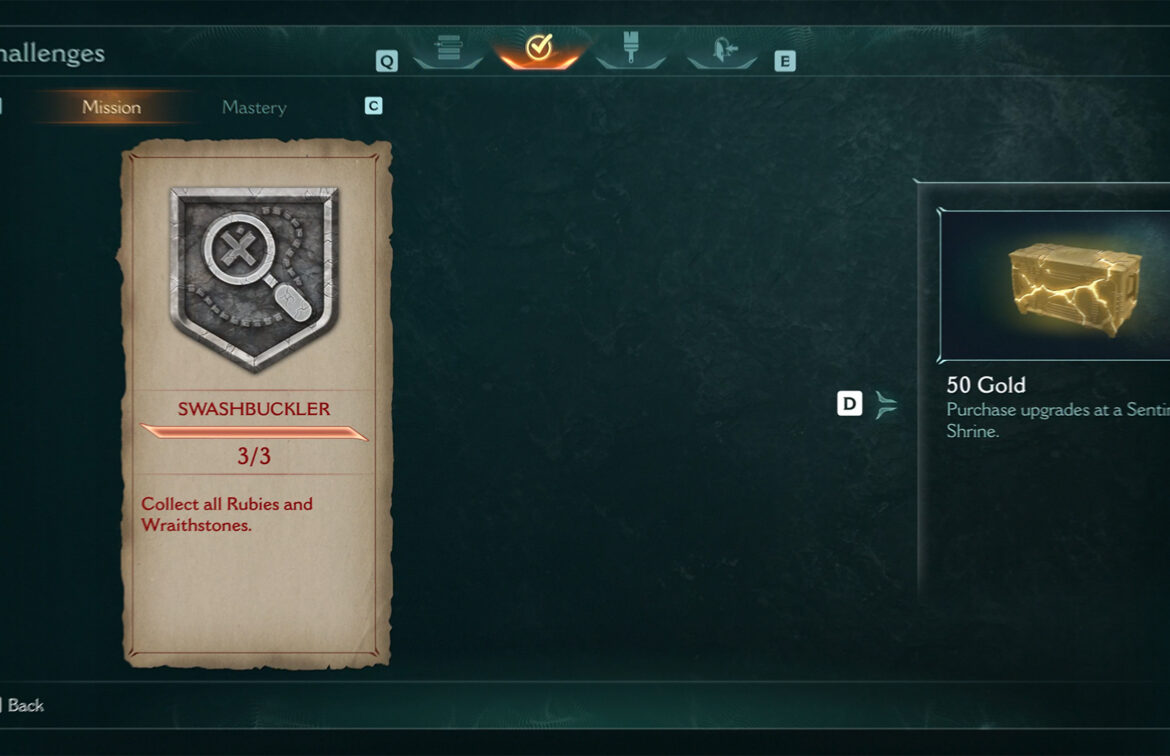
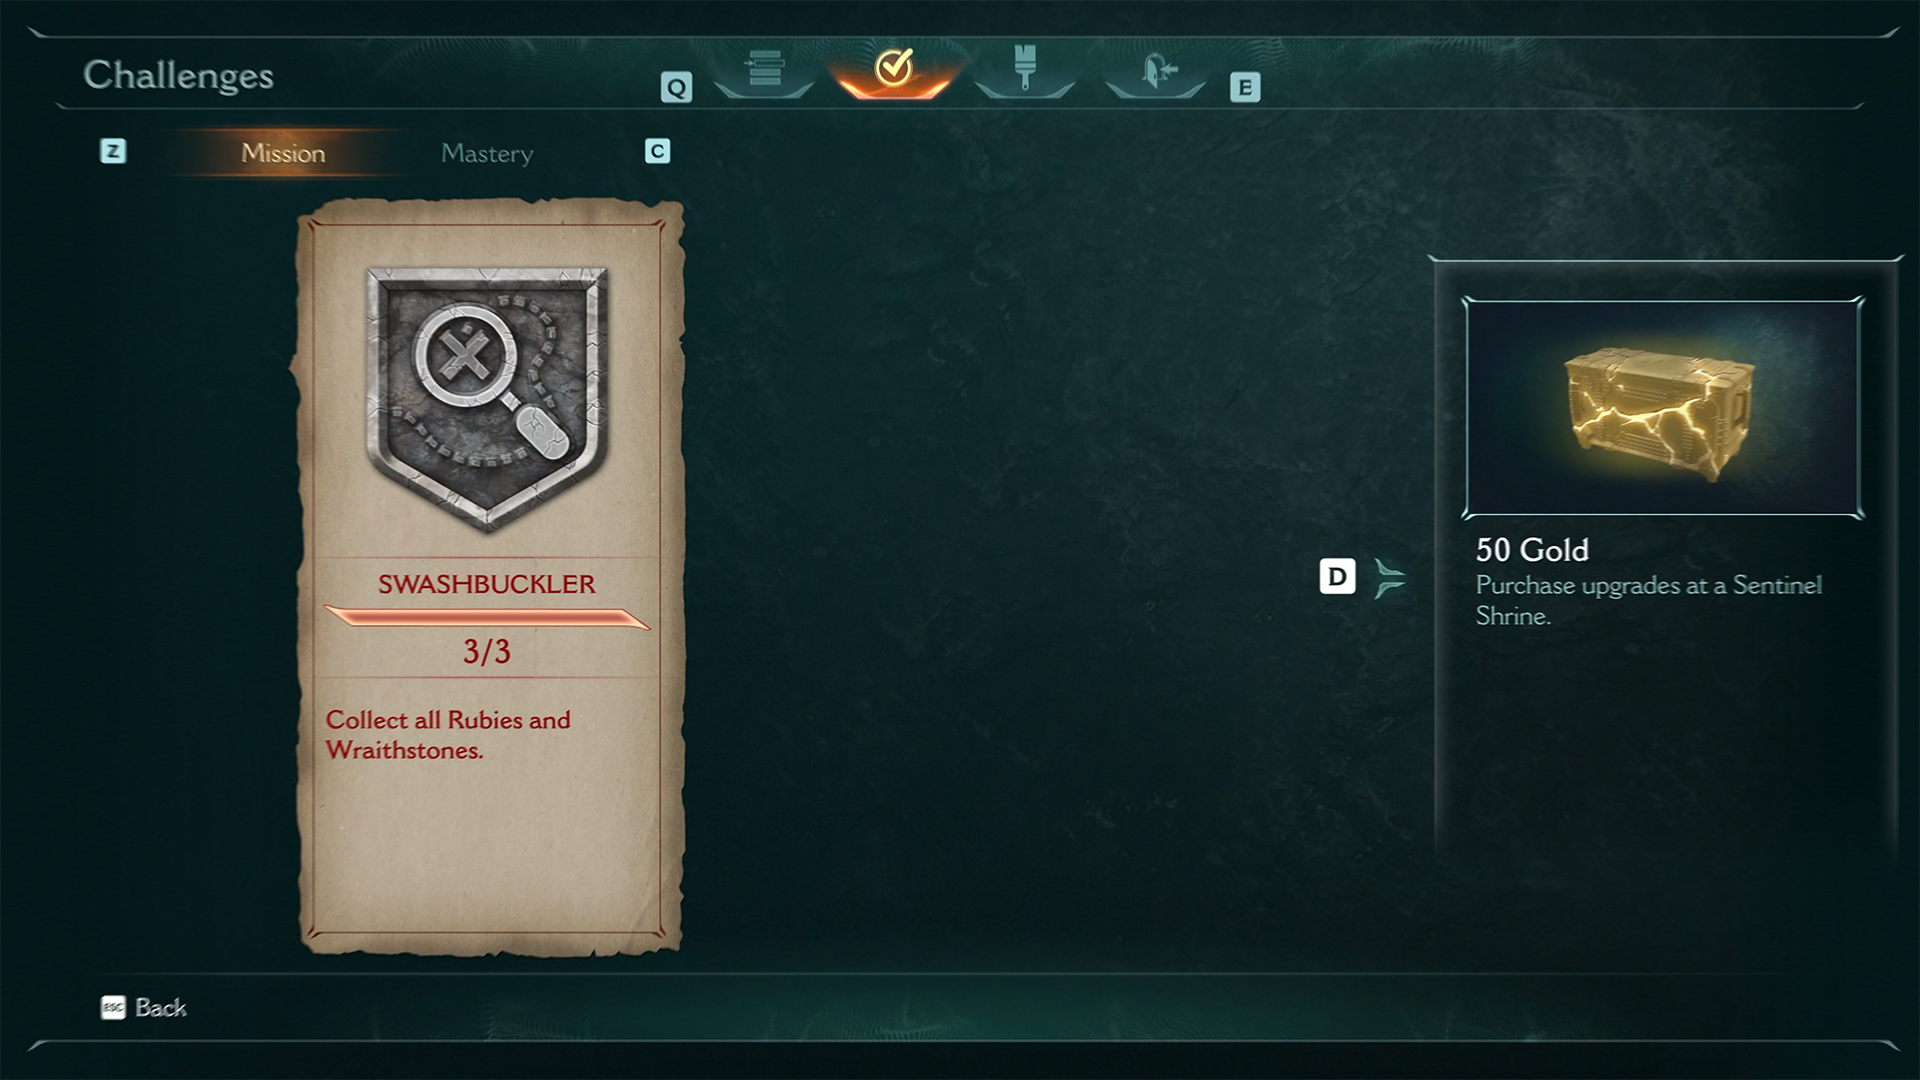
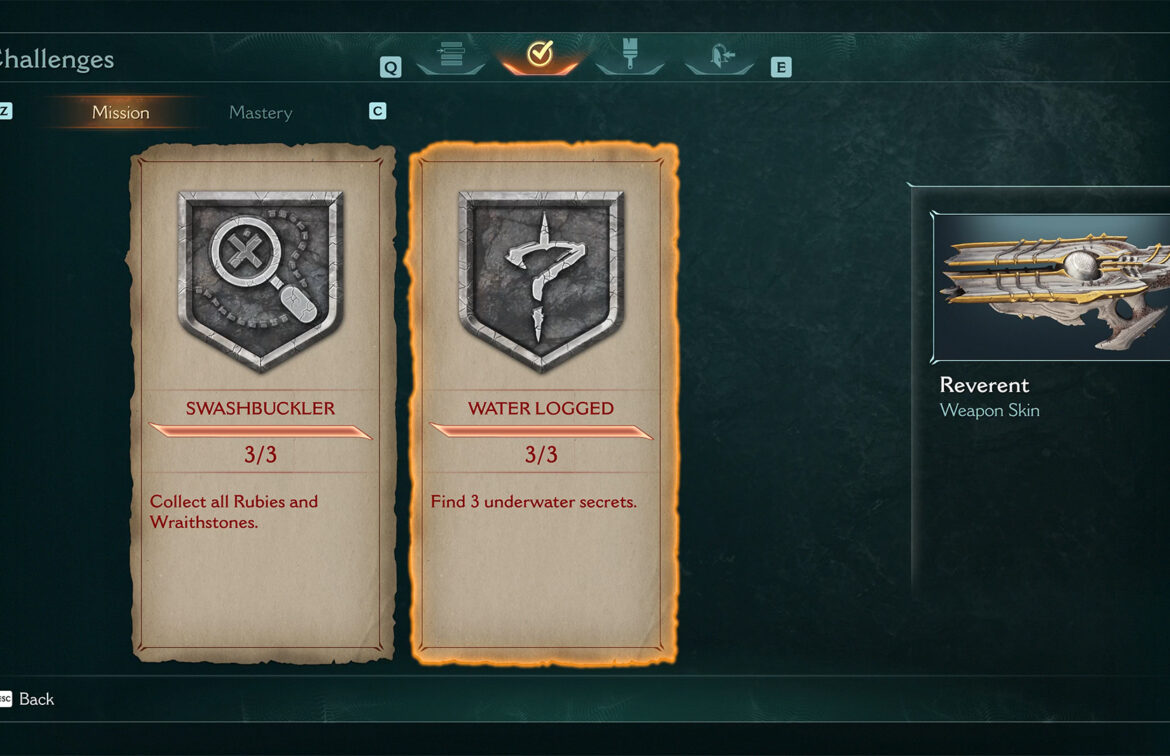
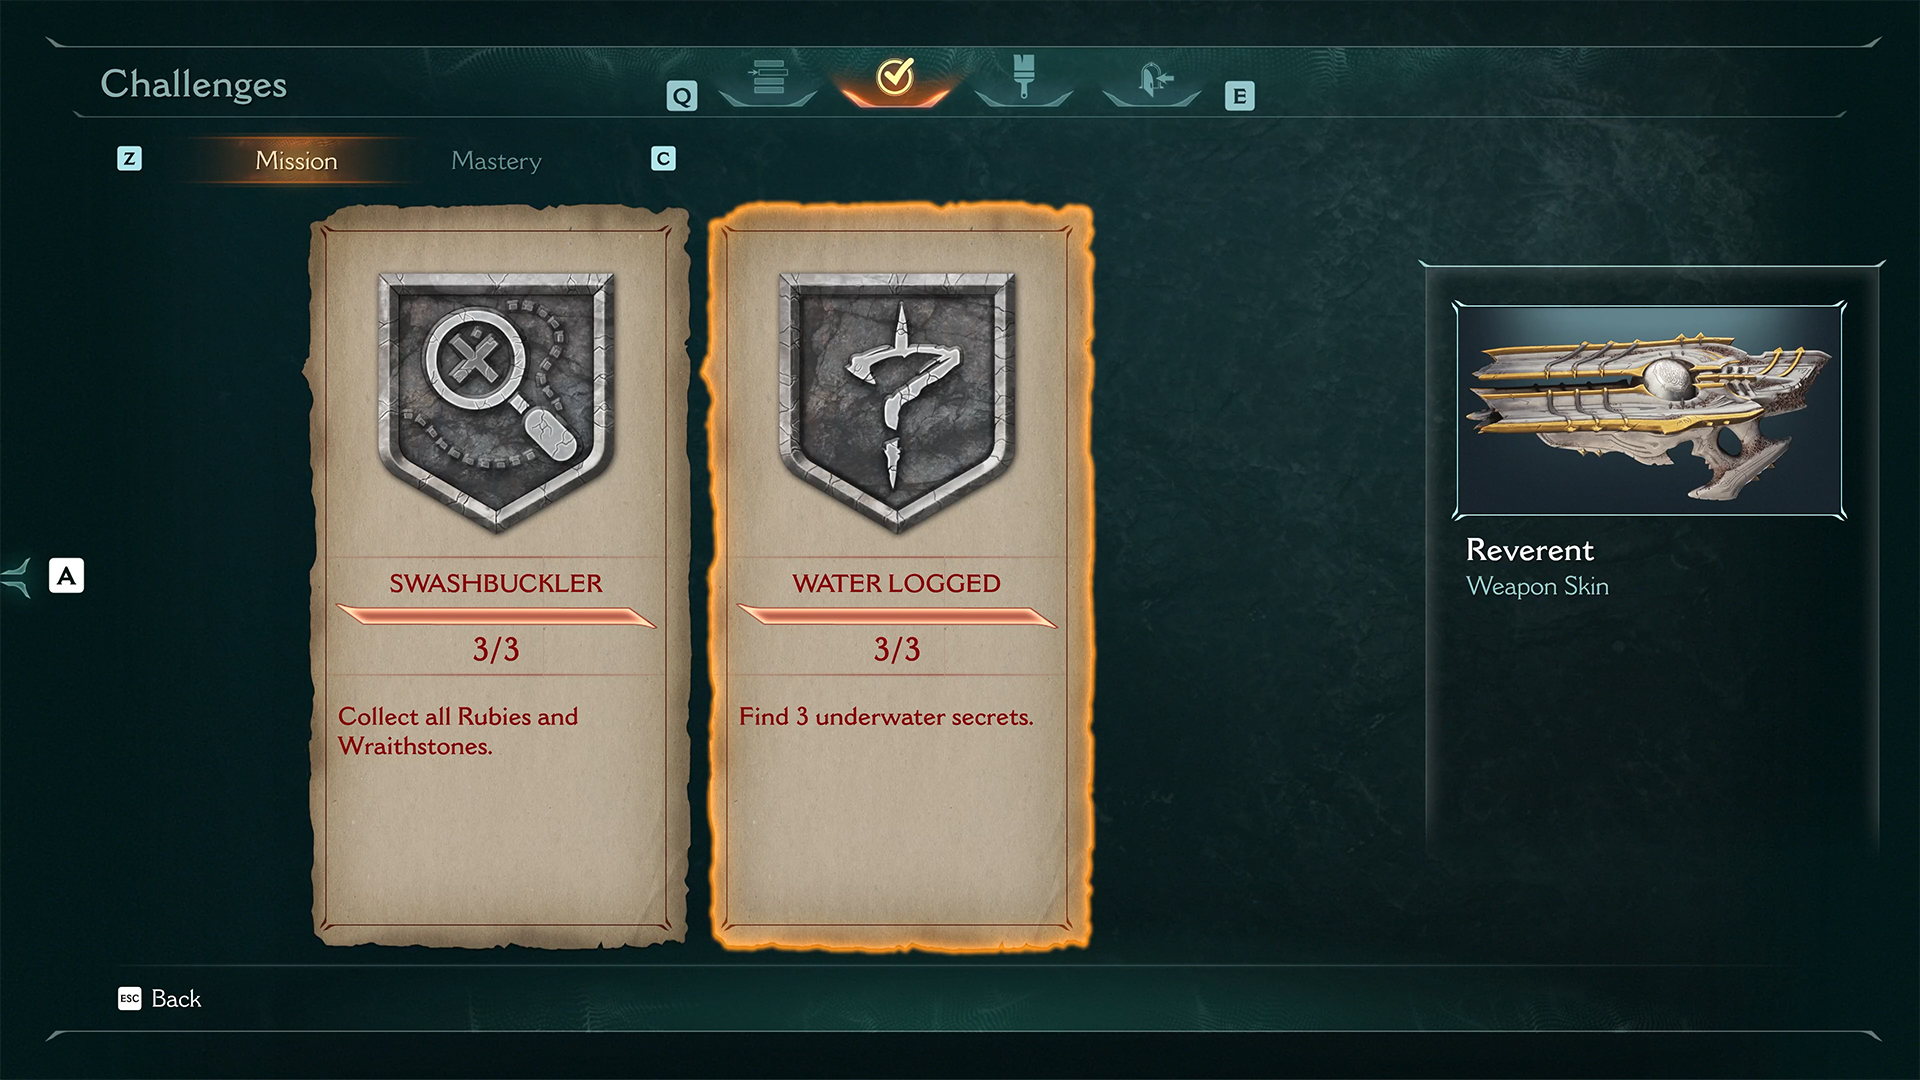
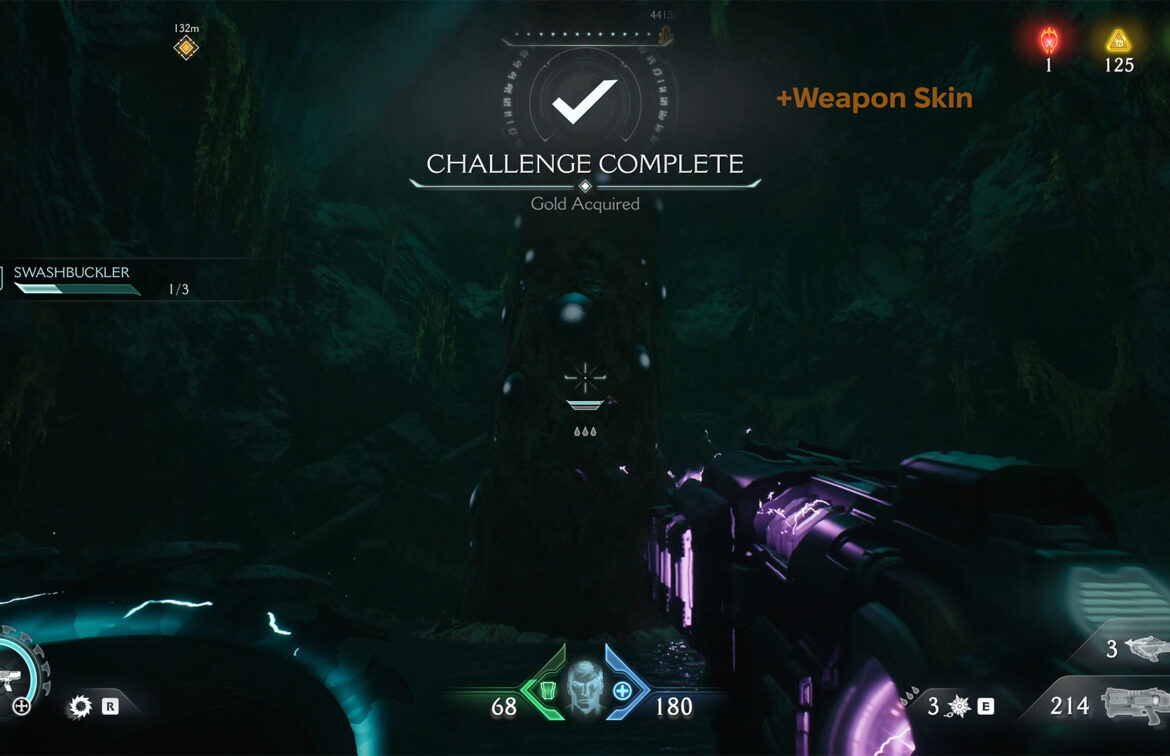
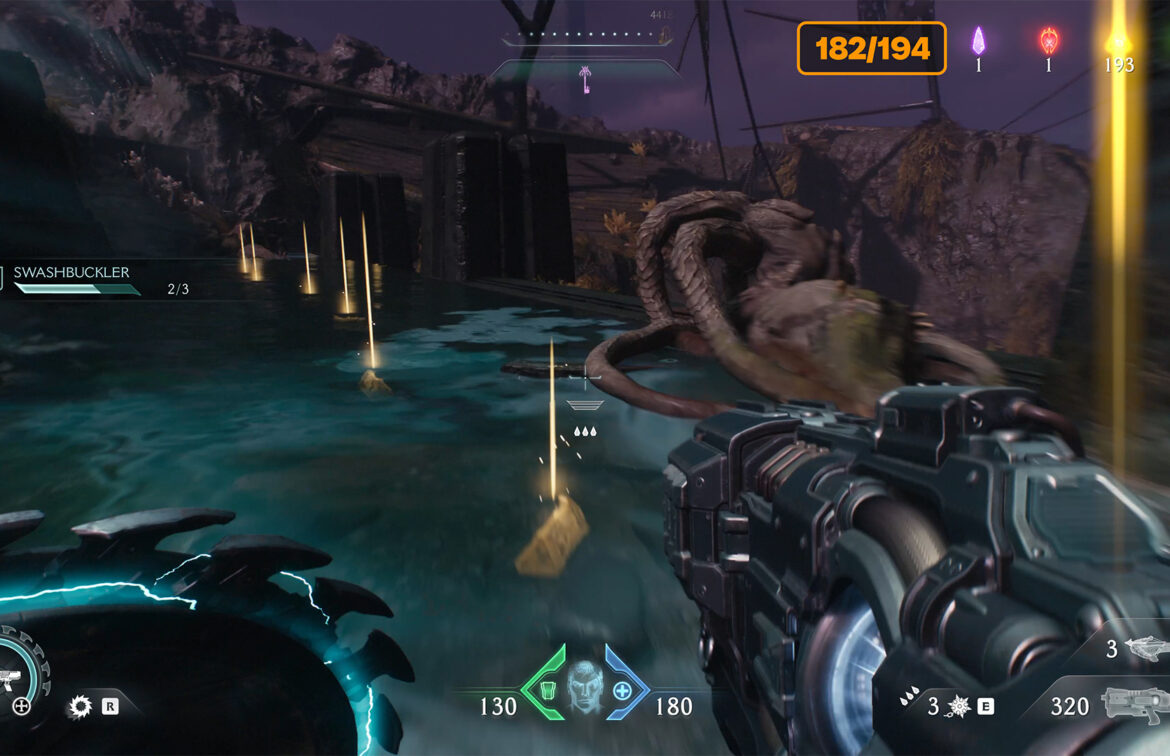
Swashbuckler challenge
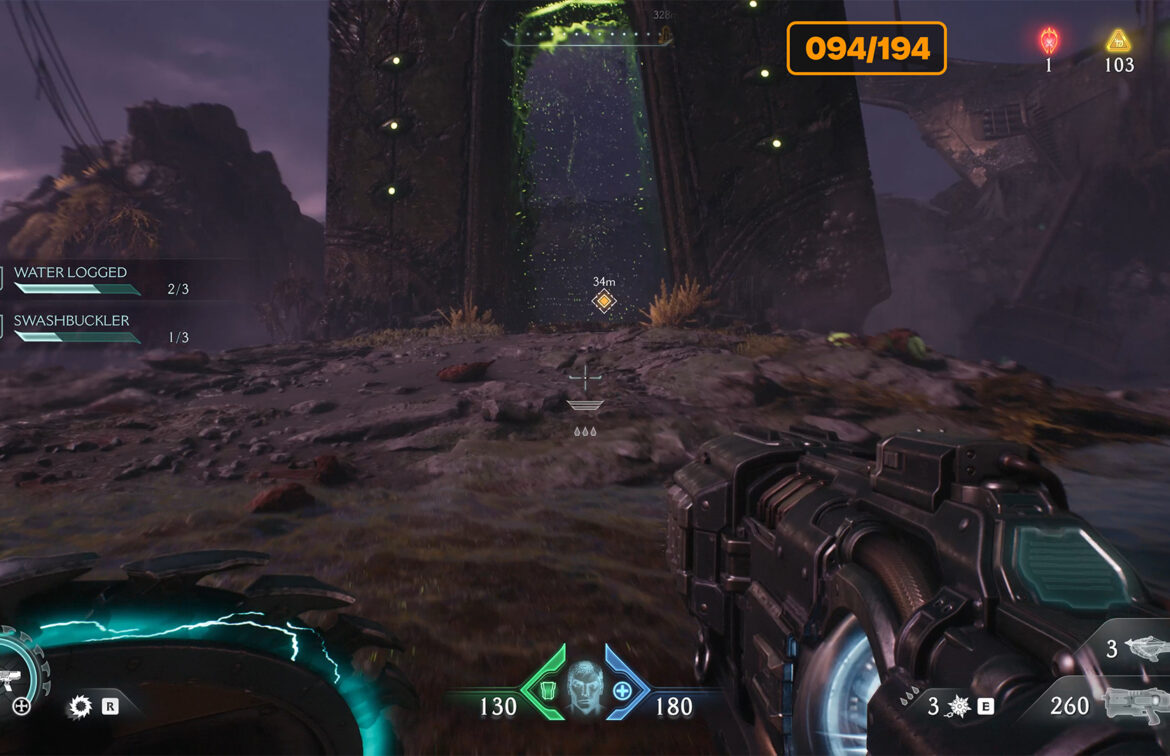
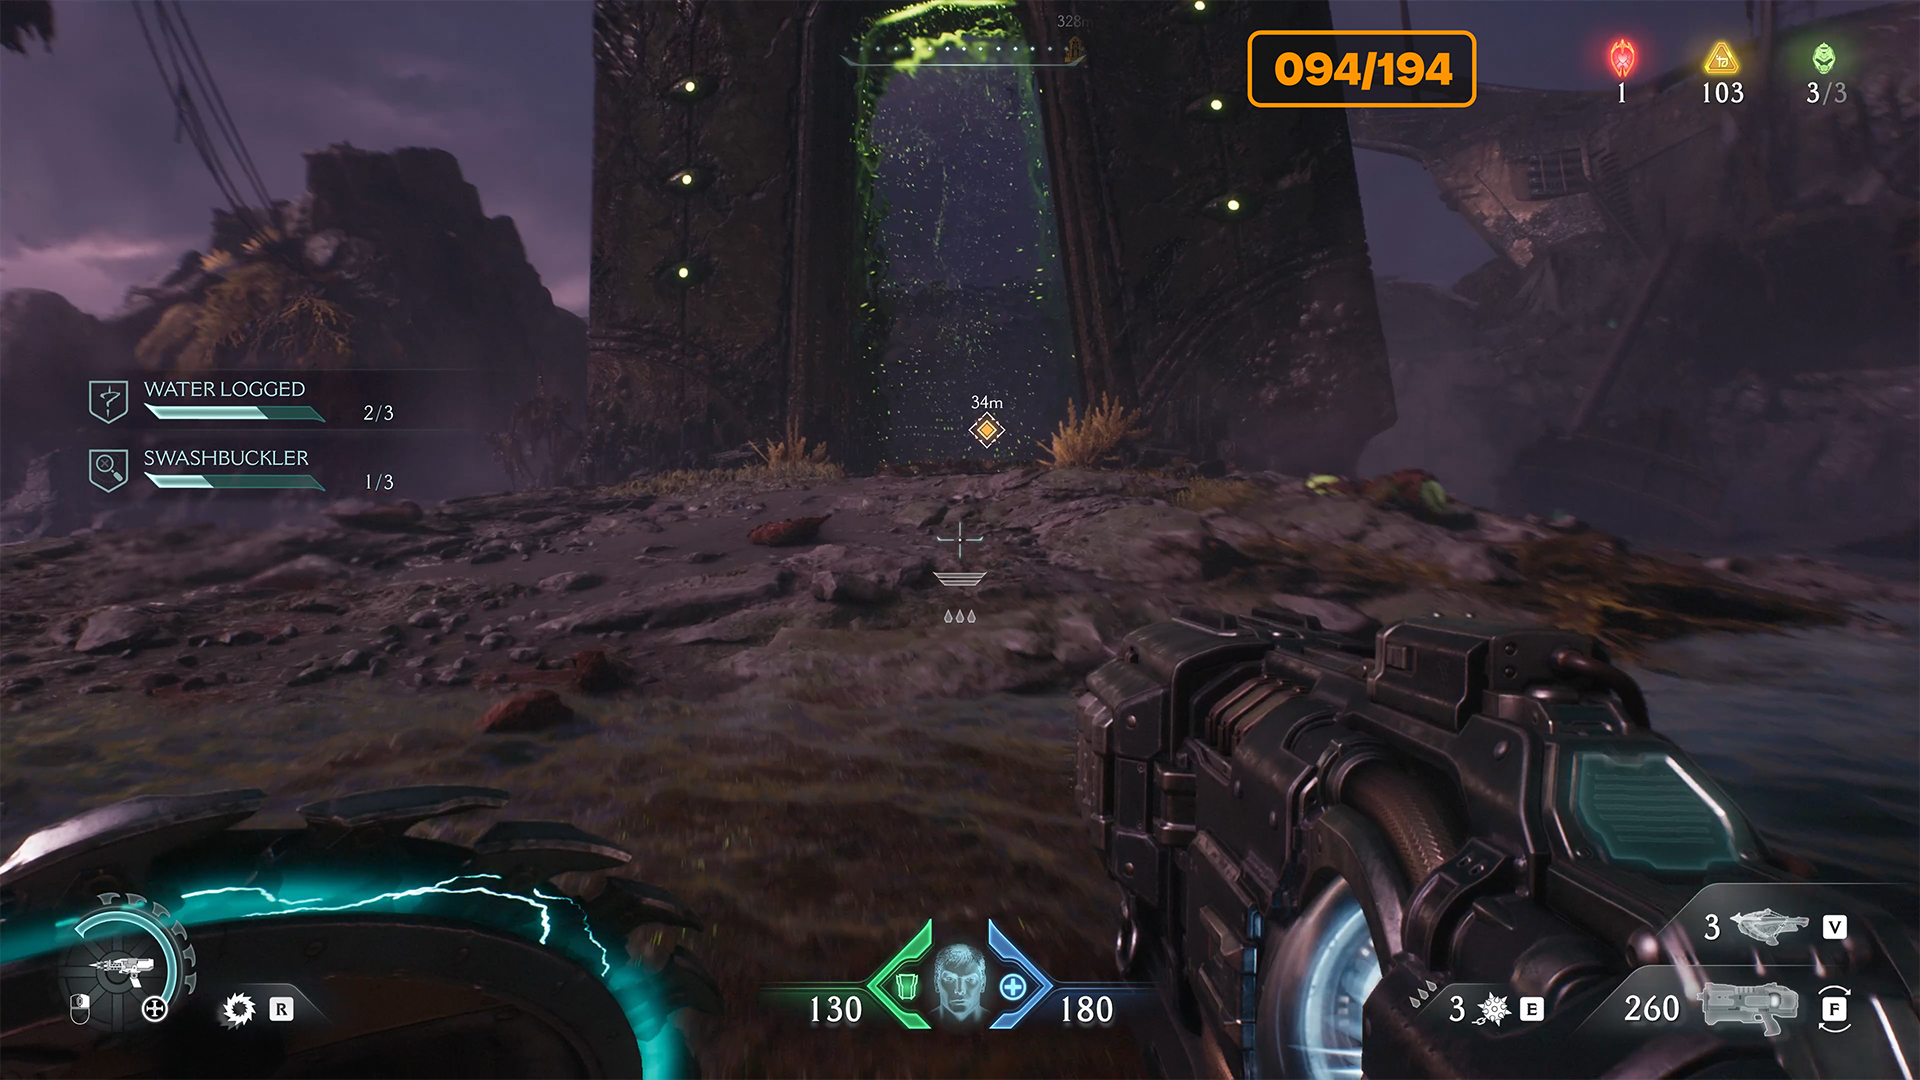
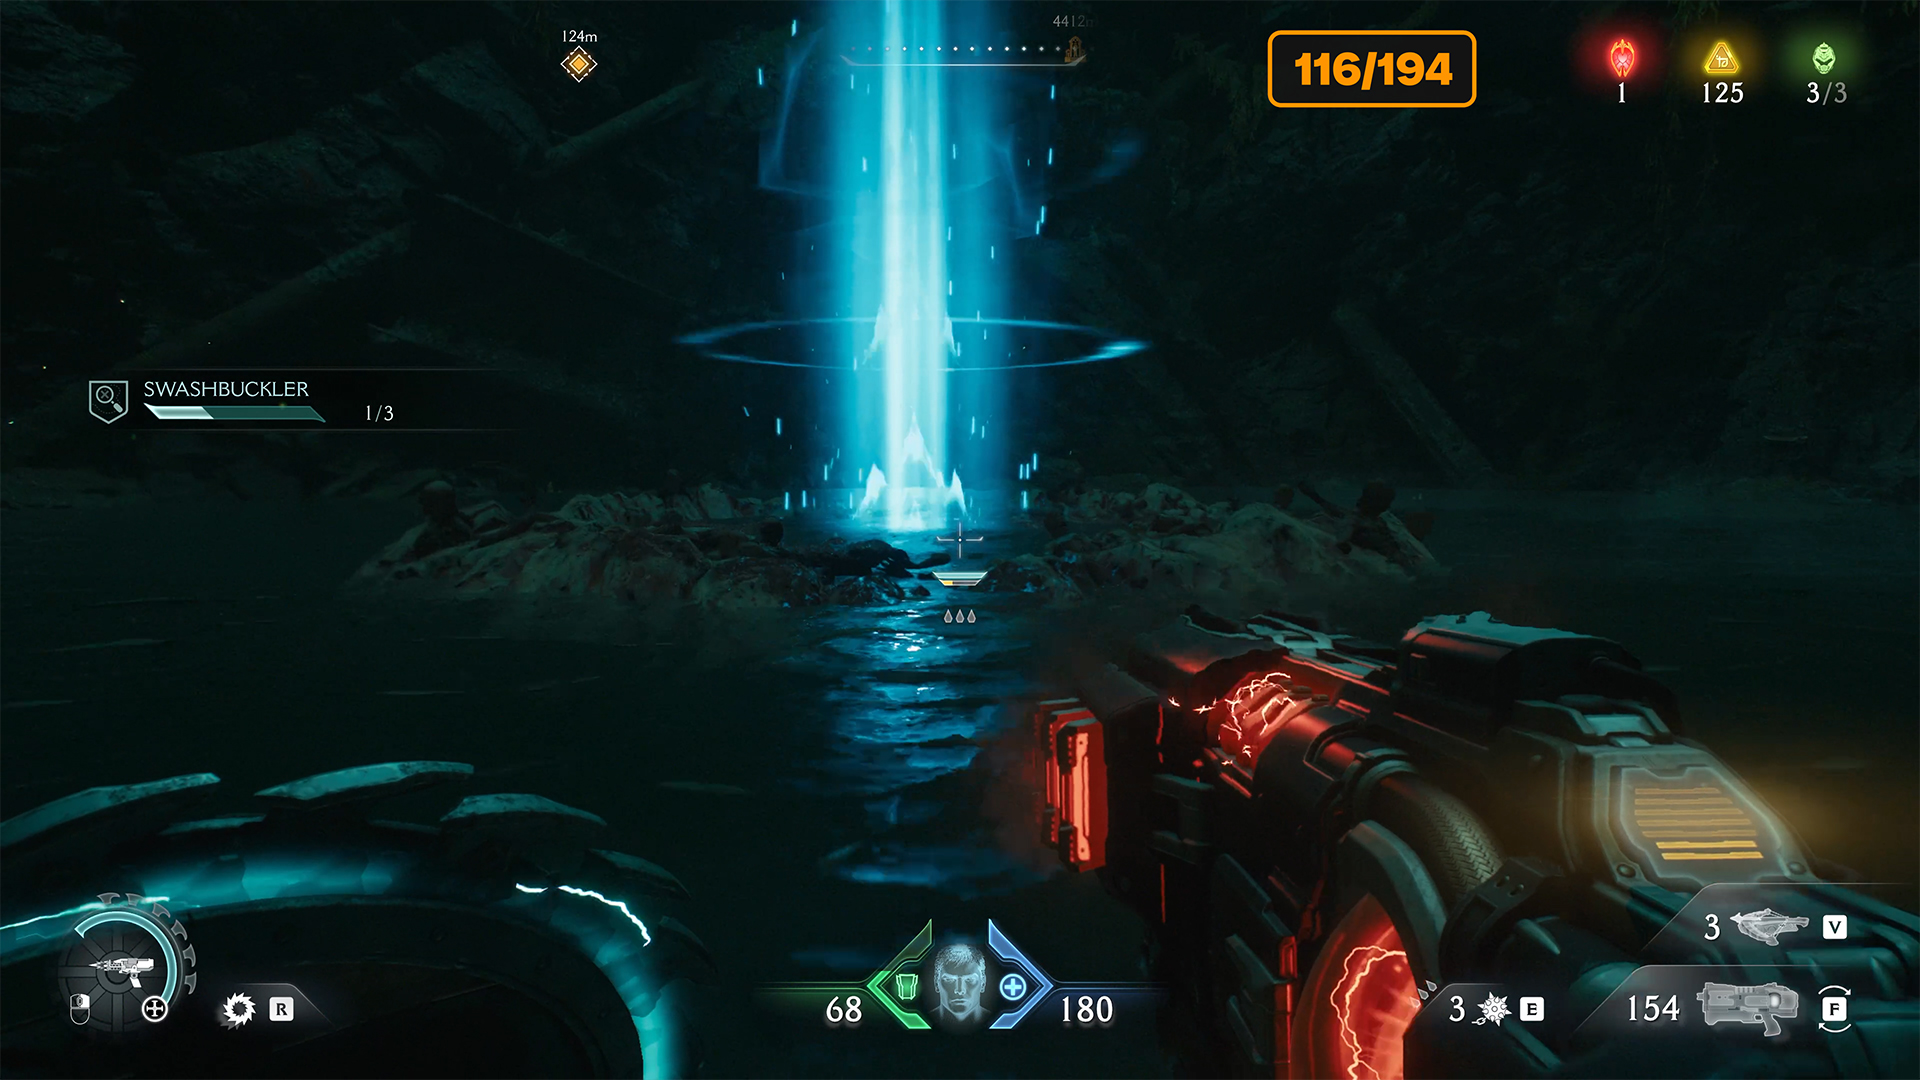
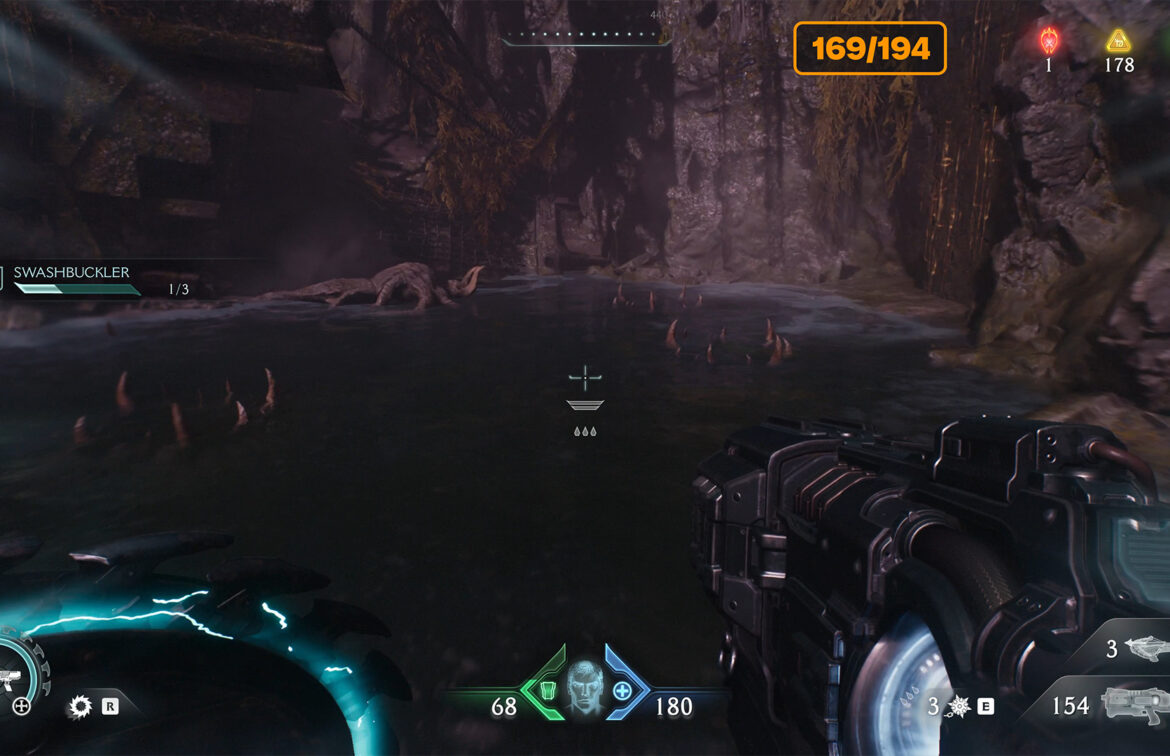
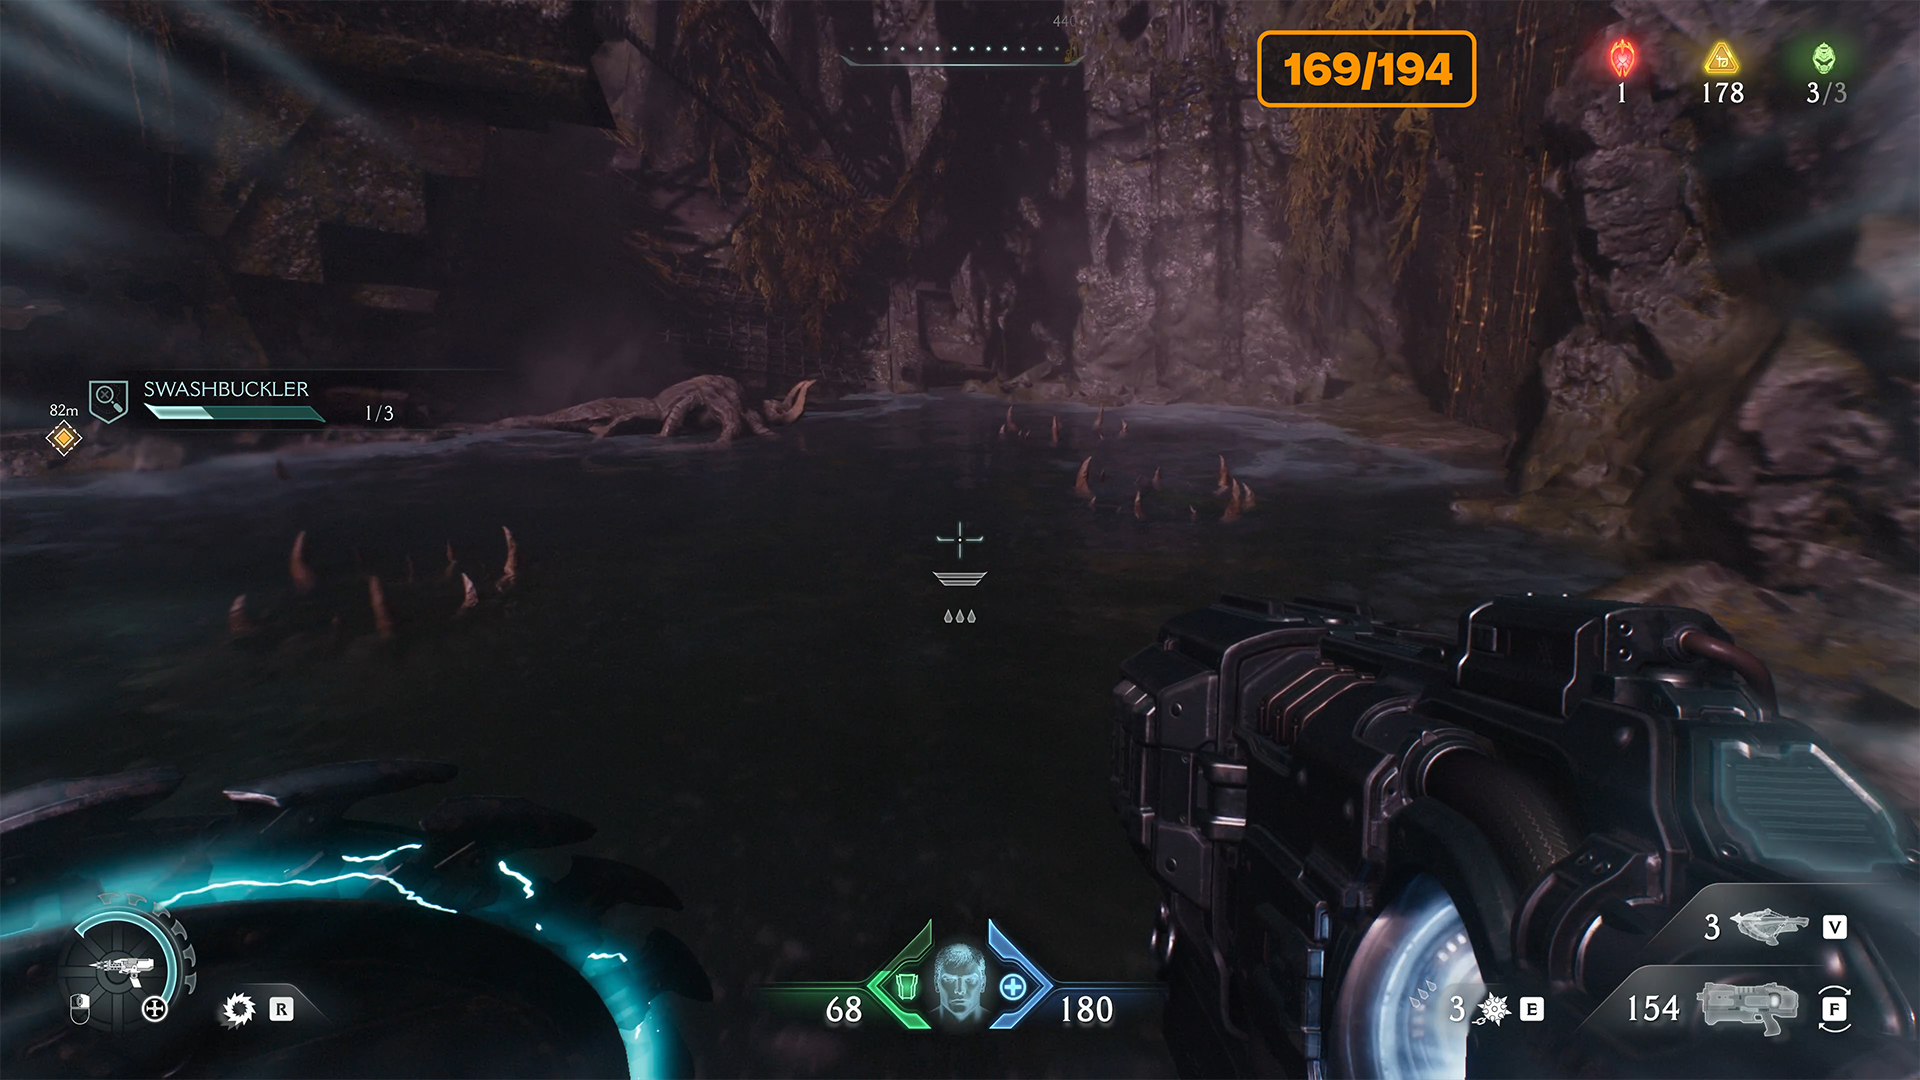
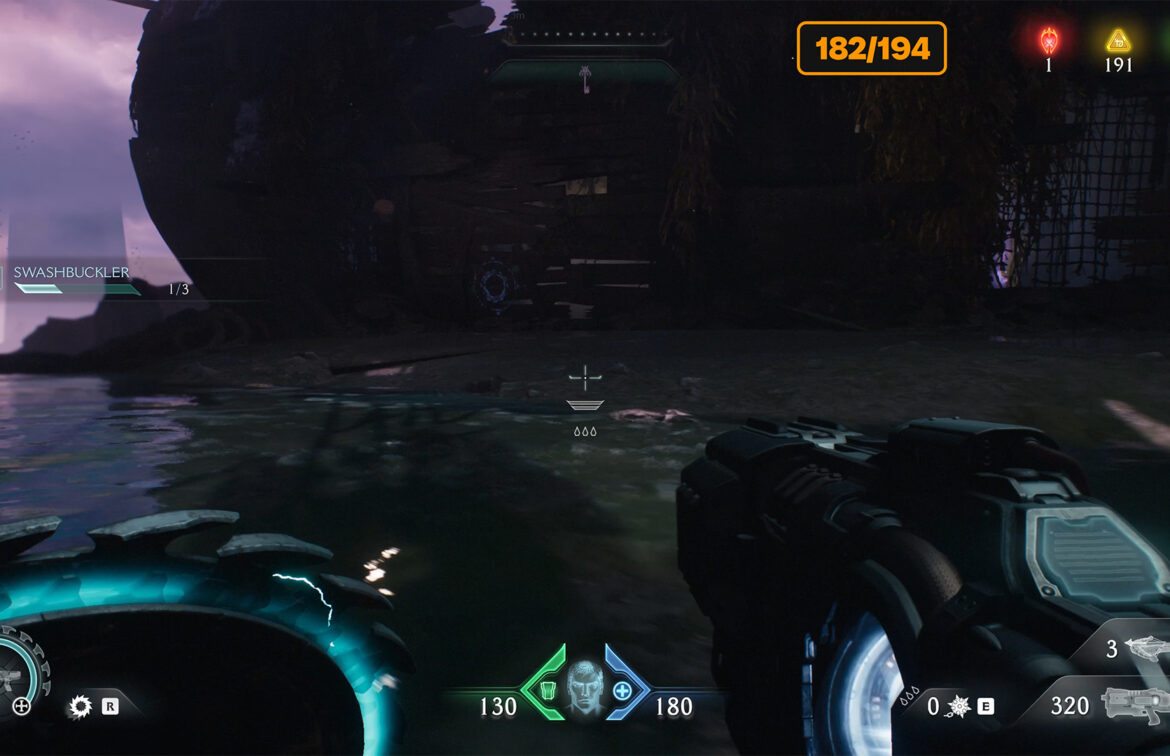
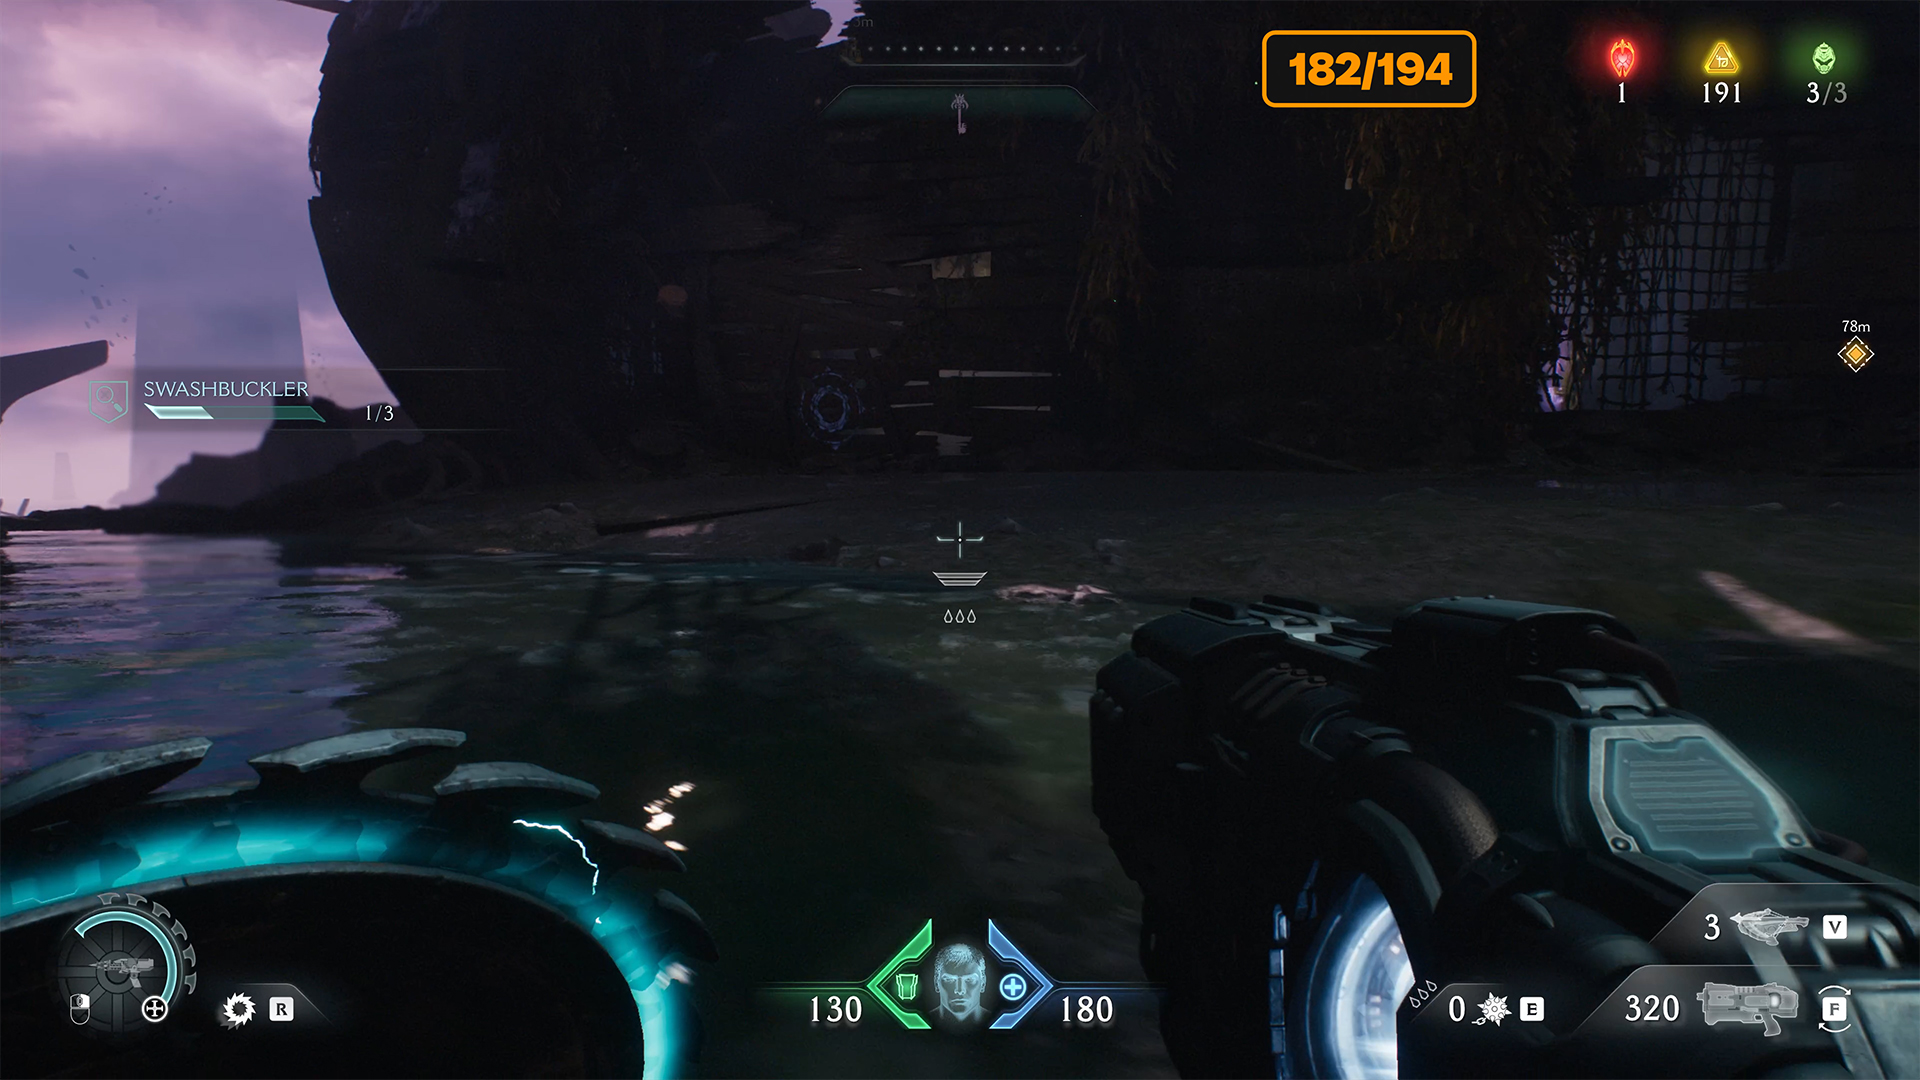
I will show you all the collectibles you can find in Chapter 17, Temple of Lomarith, in the game Doom The Dark Ages. First, let’s look at the challenges. There are two challenges available in this chapter. The first is called Swashbuckler. To complete this challenge, you need to find two rubies and one wraithstone. I will show you where they are as you progress through the chapter.
-
- Temple of Lomarith challenges
-
- Swashbuckler challenge
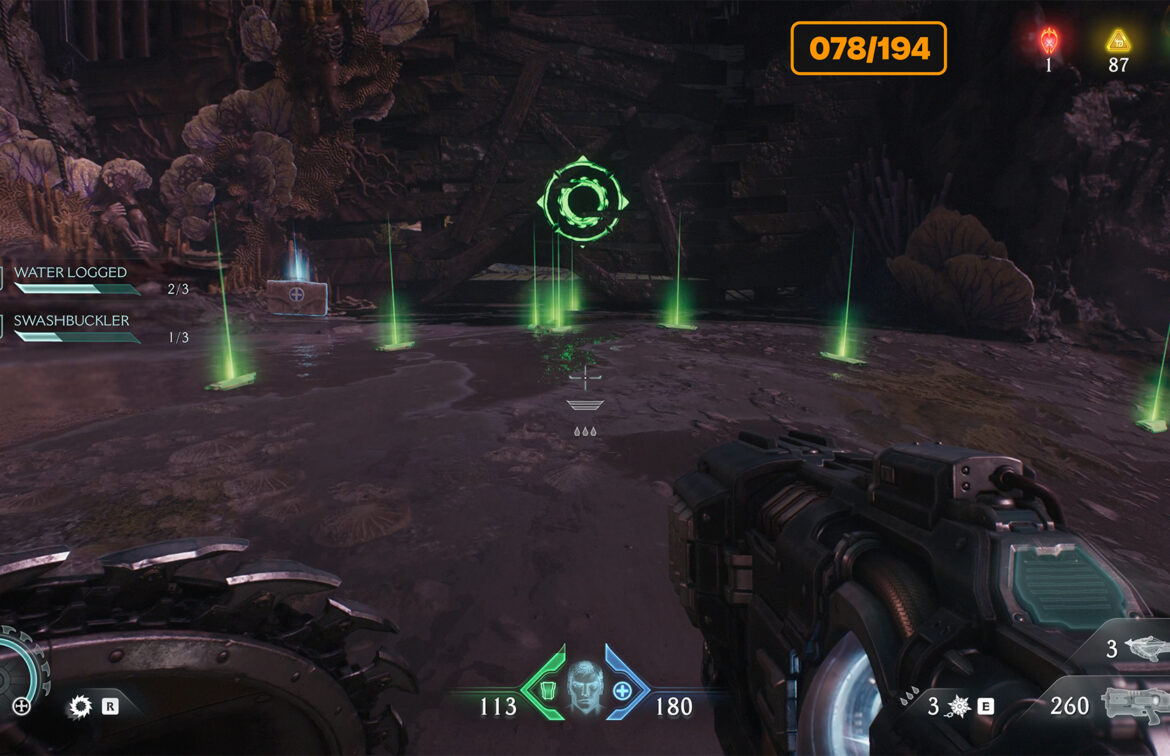
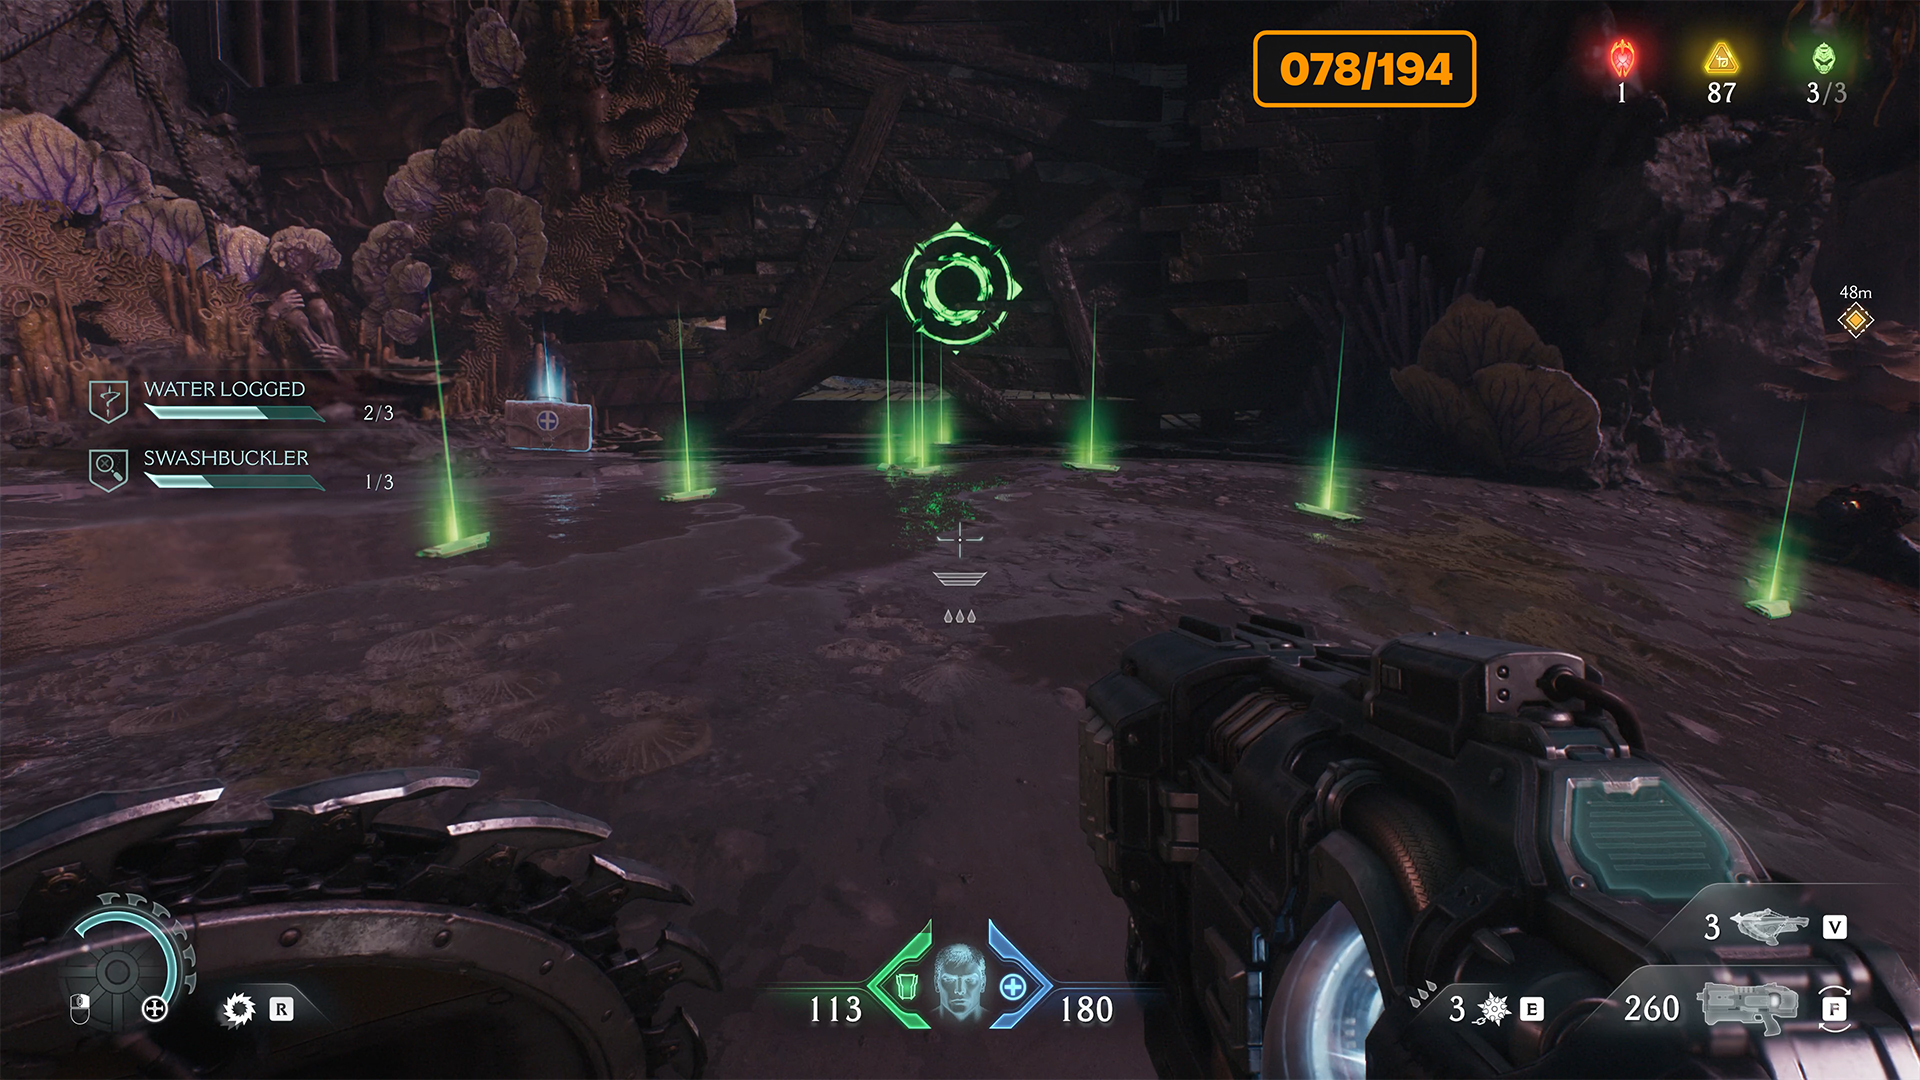
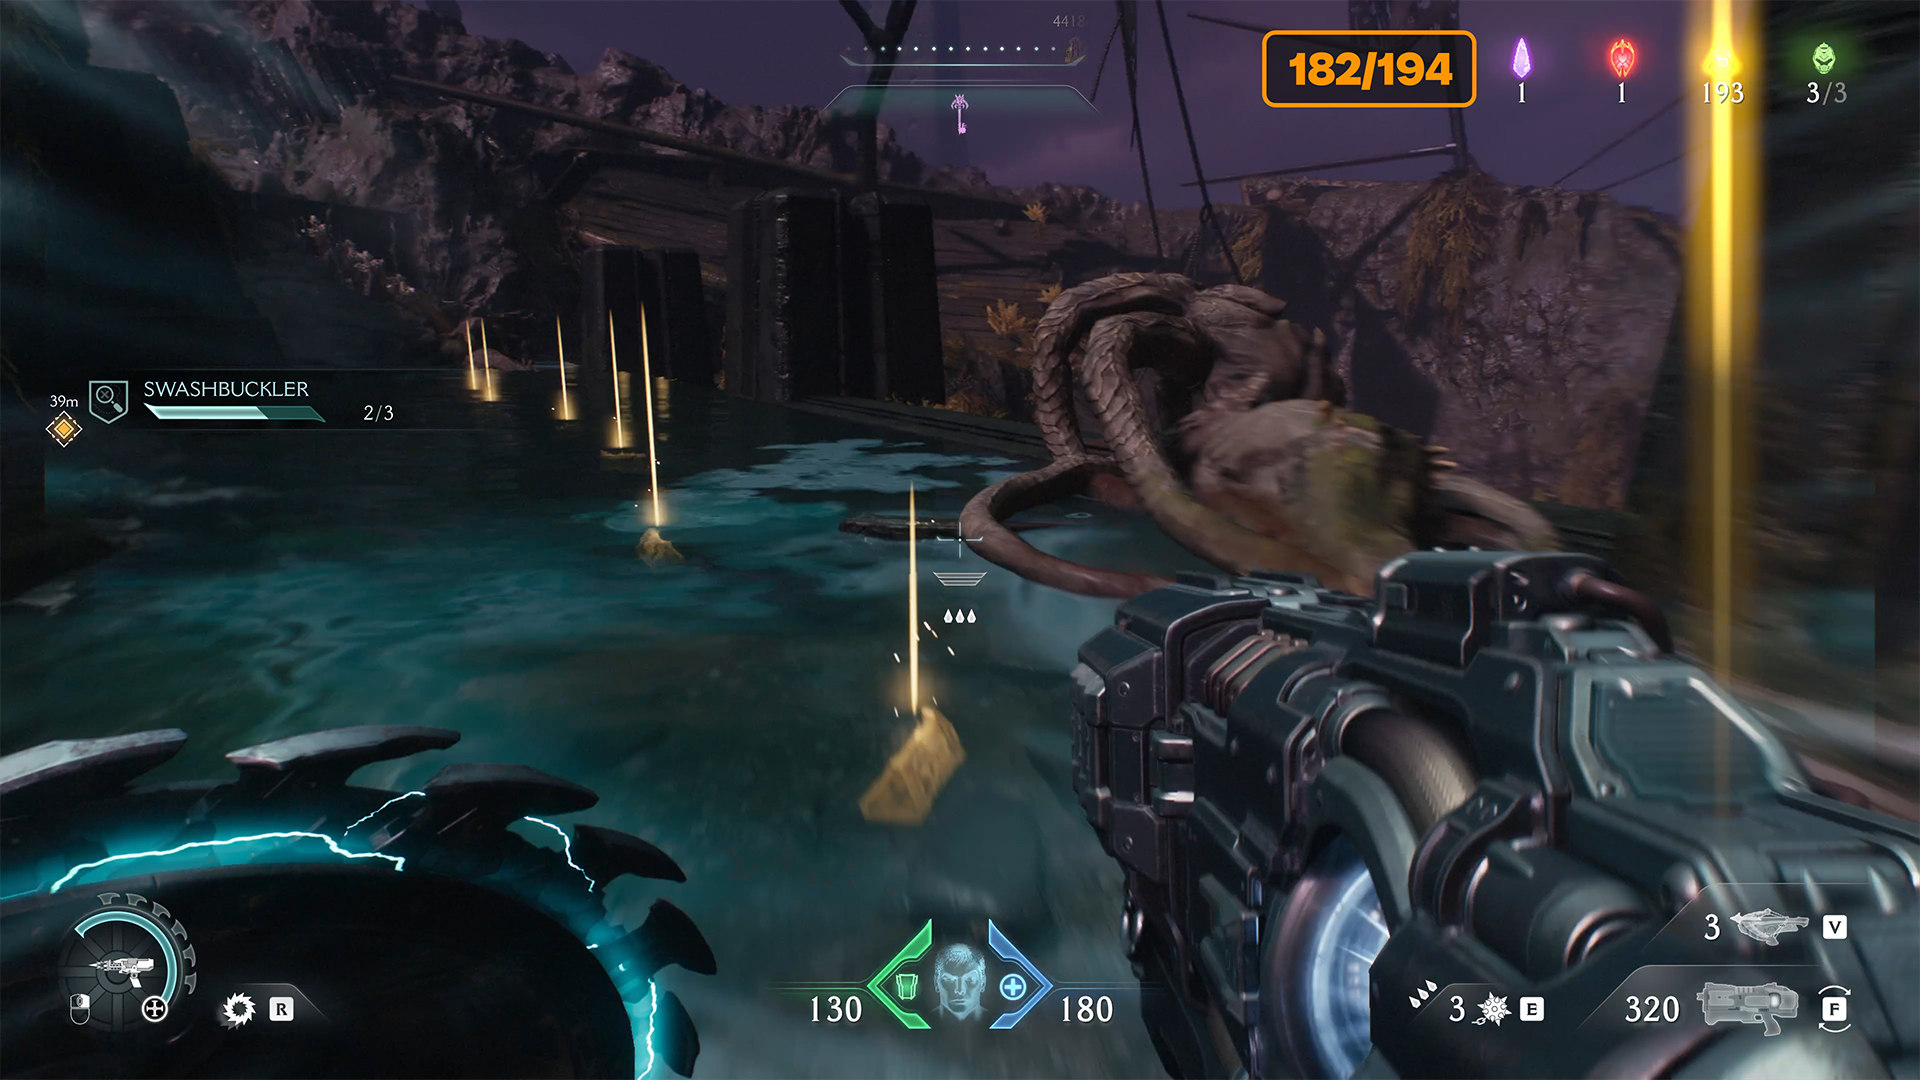
Water Logged challenge
The second challenge is called Water Logged. It’s also pretty straightforward. You need to find three secret underwater locations. Don’t worry about this quest either. In this video, I’ll show you all three locations as we get closer to them. That way, you won’t miss a thing.
-
- All Temple of Lomarith challenges
-
- Water Logged challenge
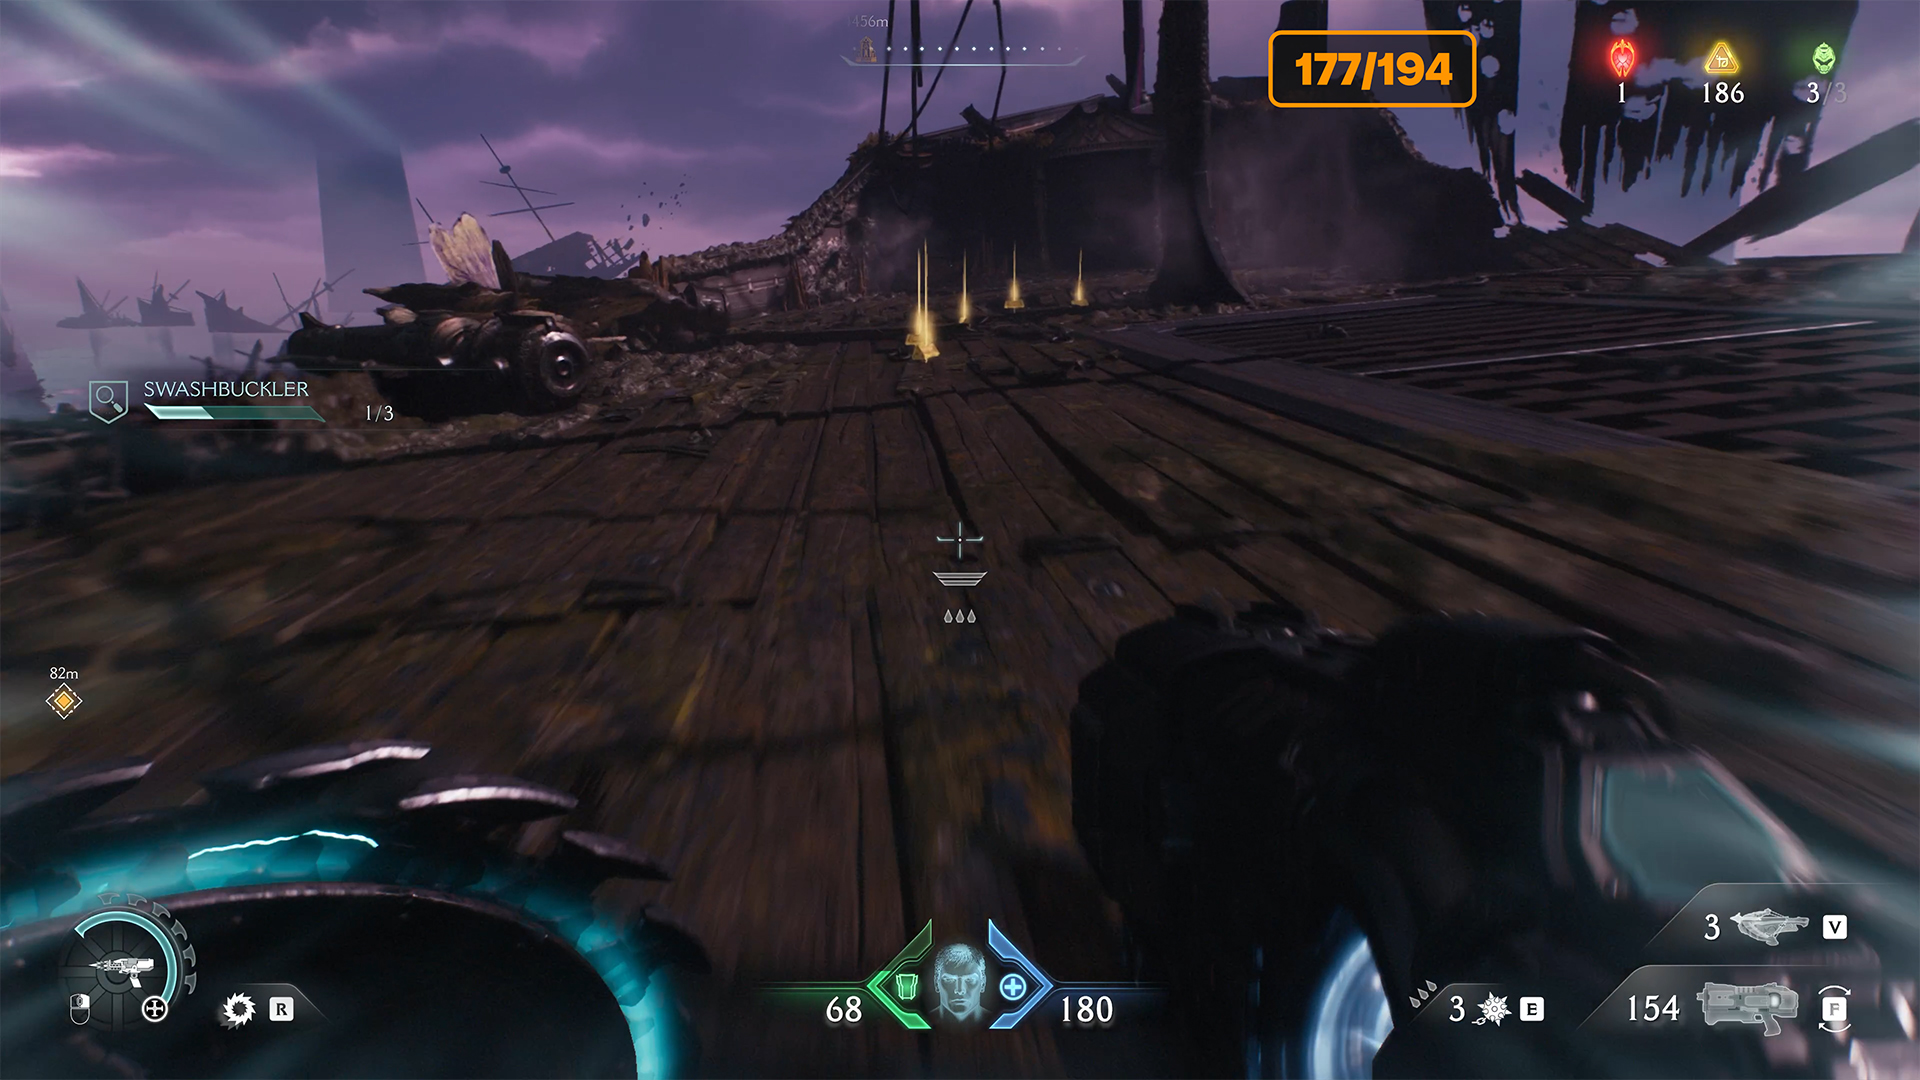
Temple of Lomarith gold
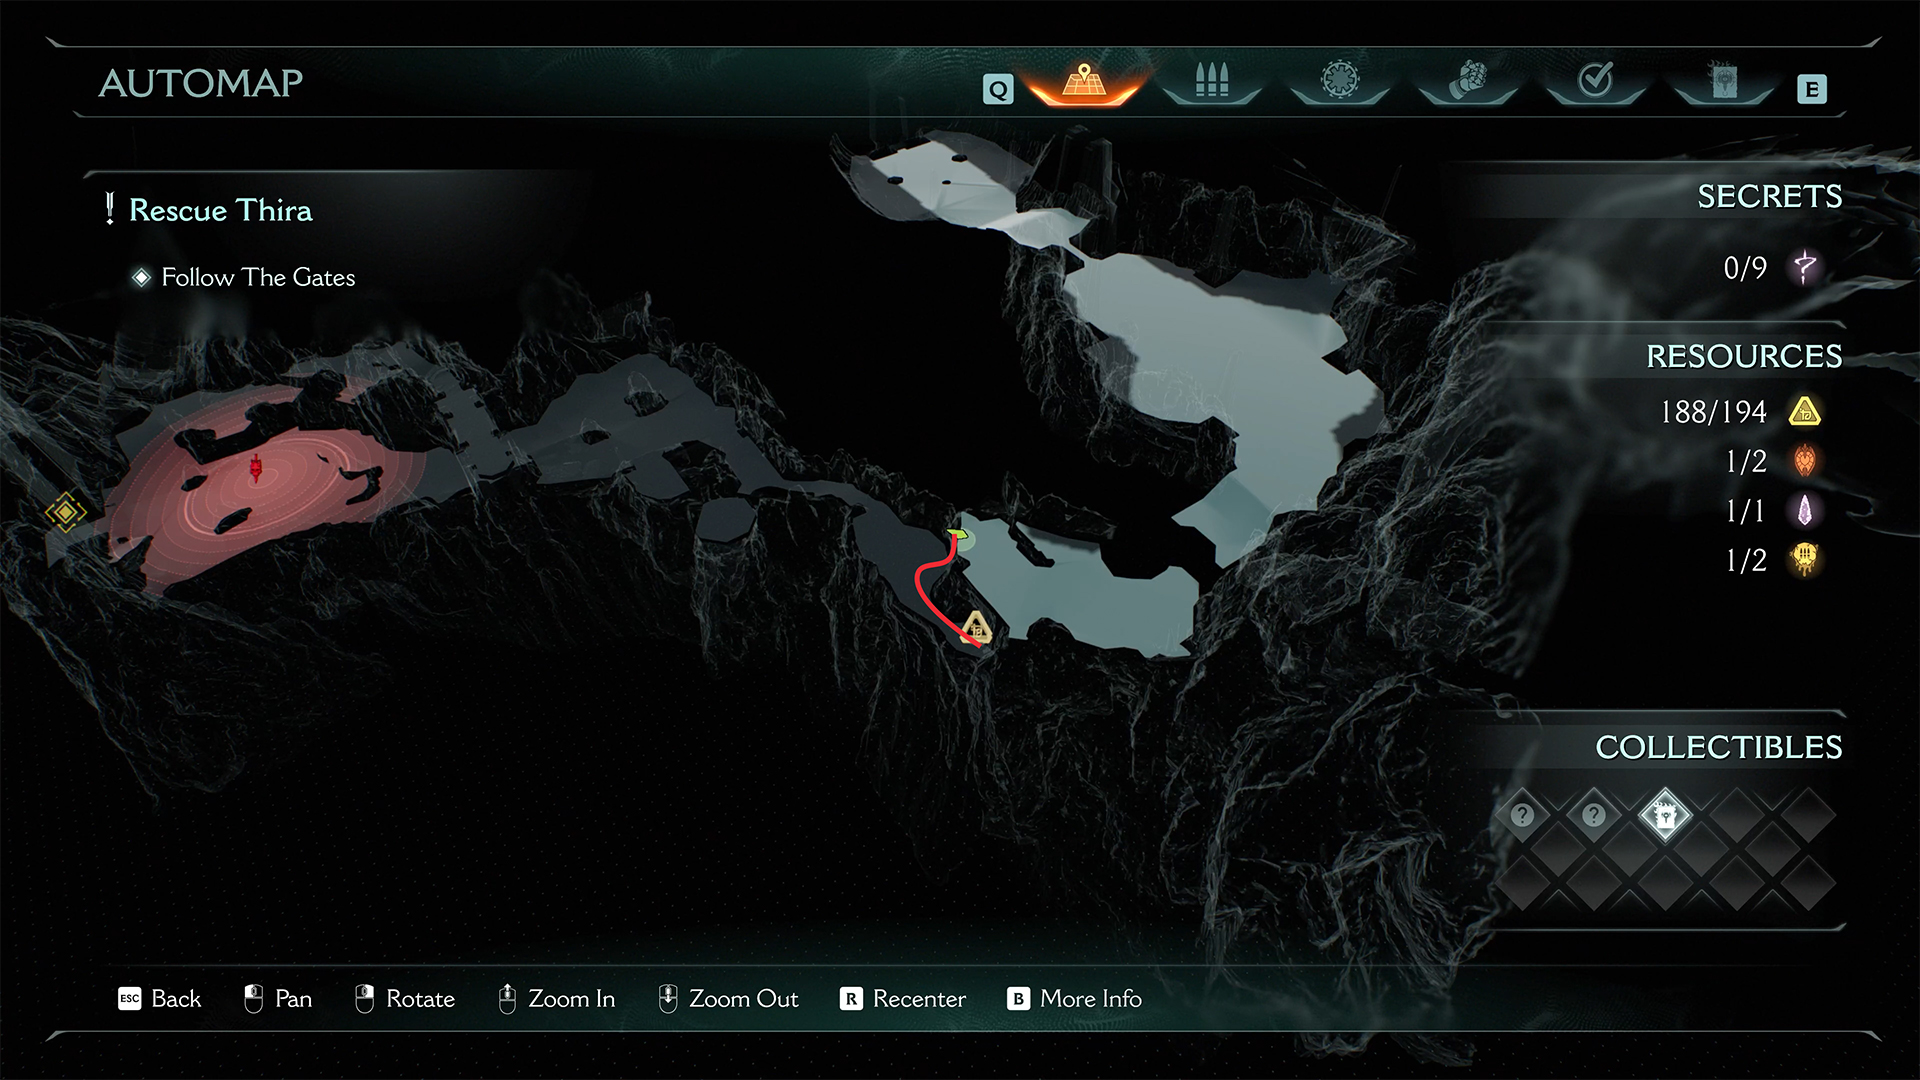
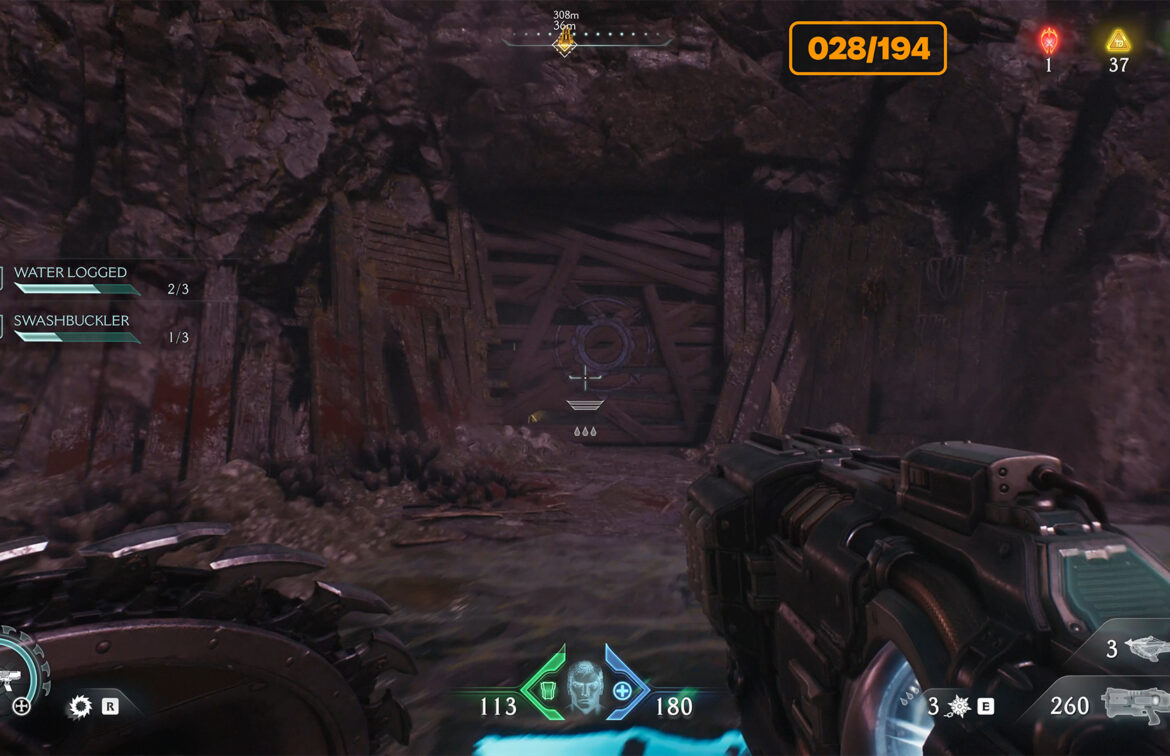
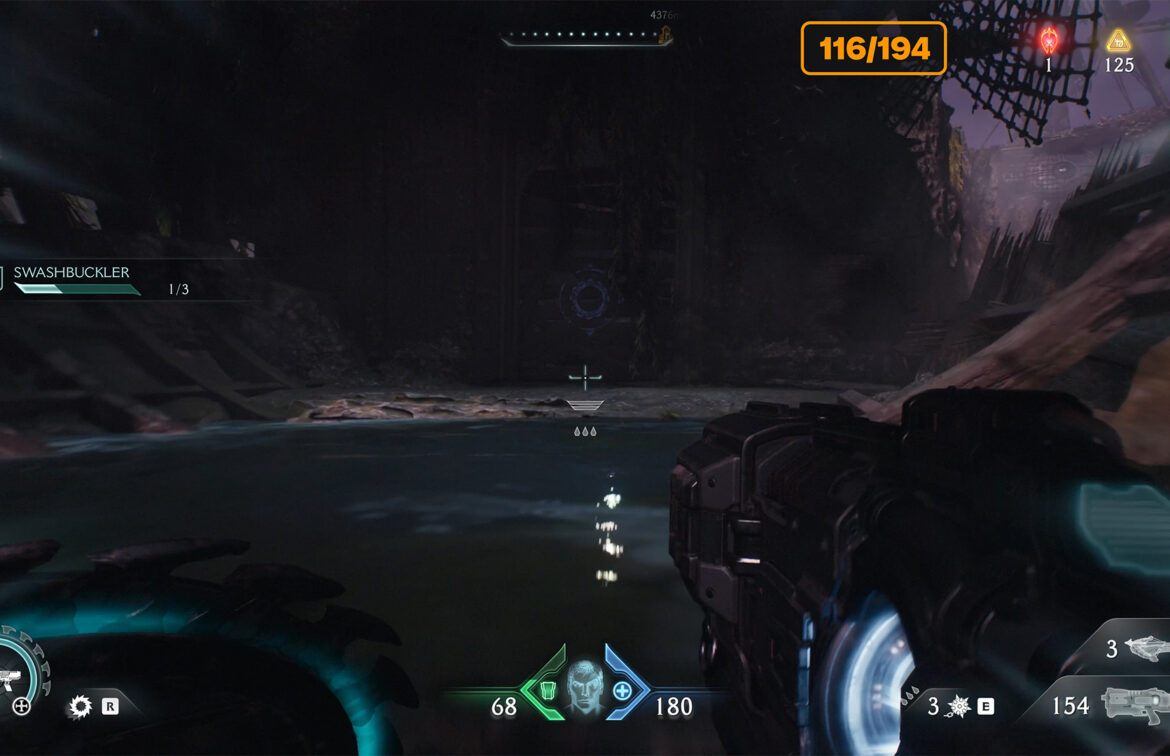
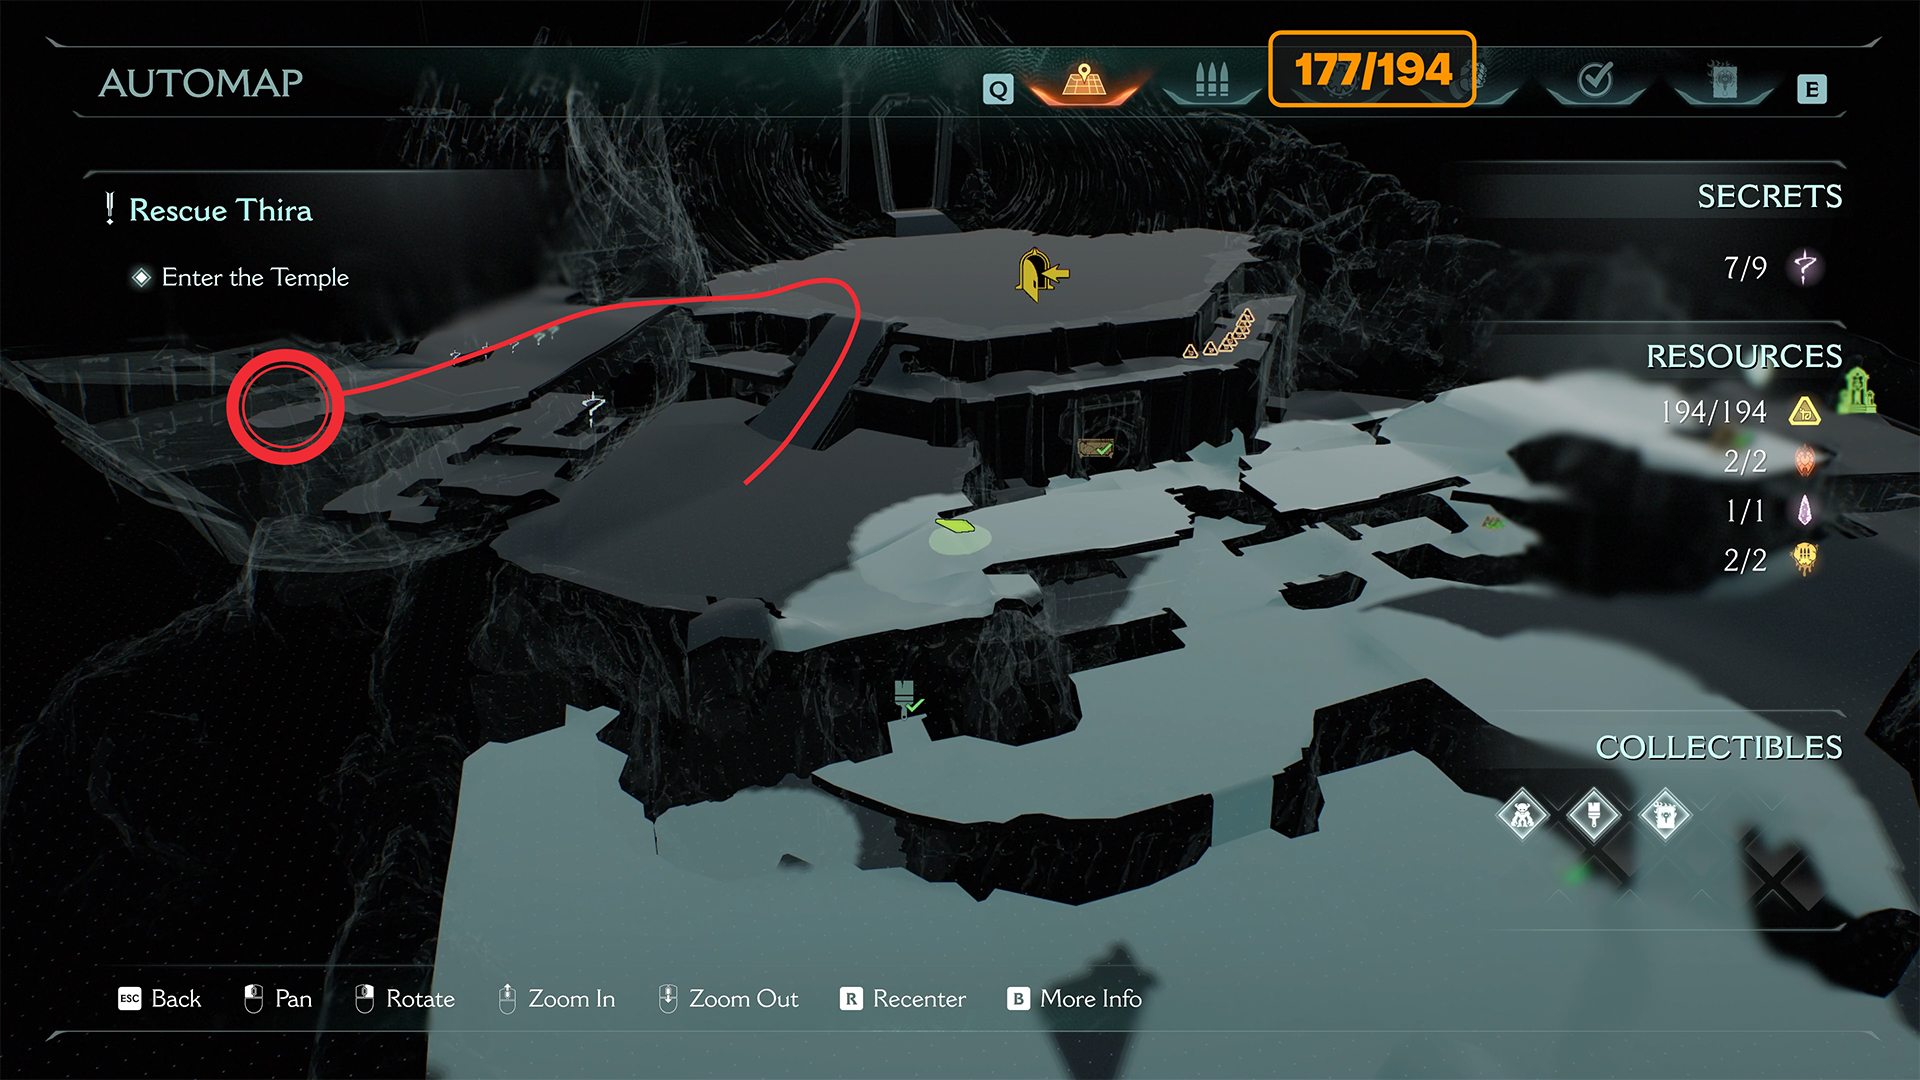
At the beginning of the chapter, after defeating the first group of enemies, you will need to jump down, move forward, and jump down again. At this point, don’t rush forward; look around and go back a little.
-
- Temple of Lomarith gold location
-
- Temple of Lomarith gold
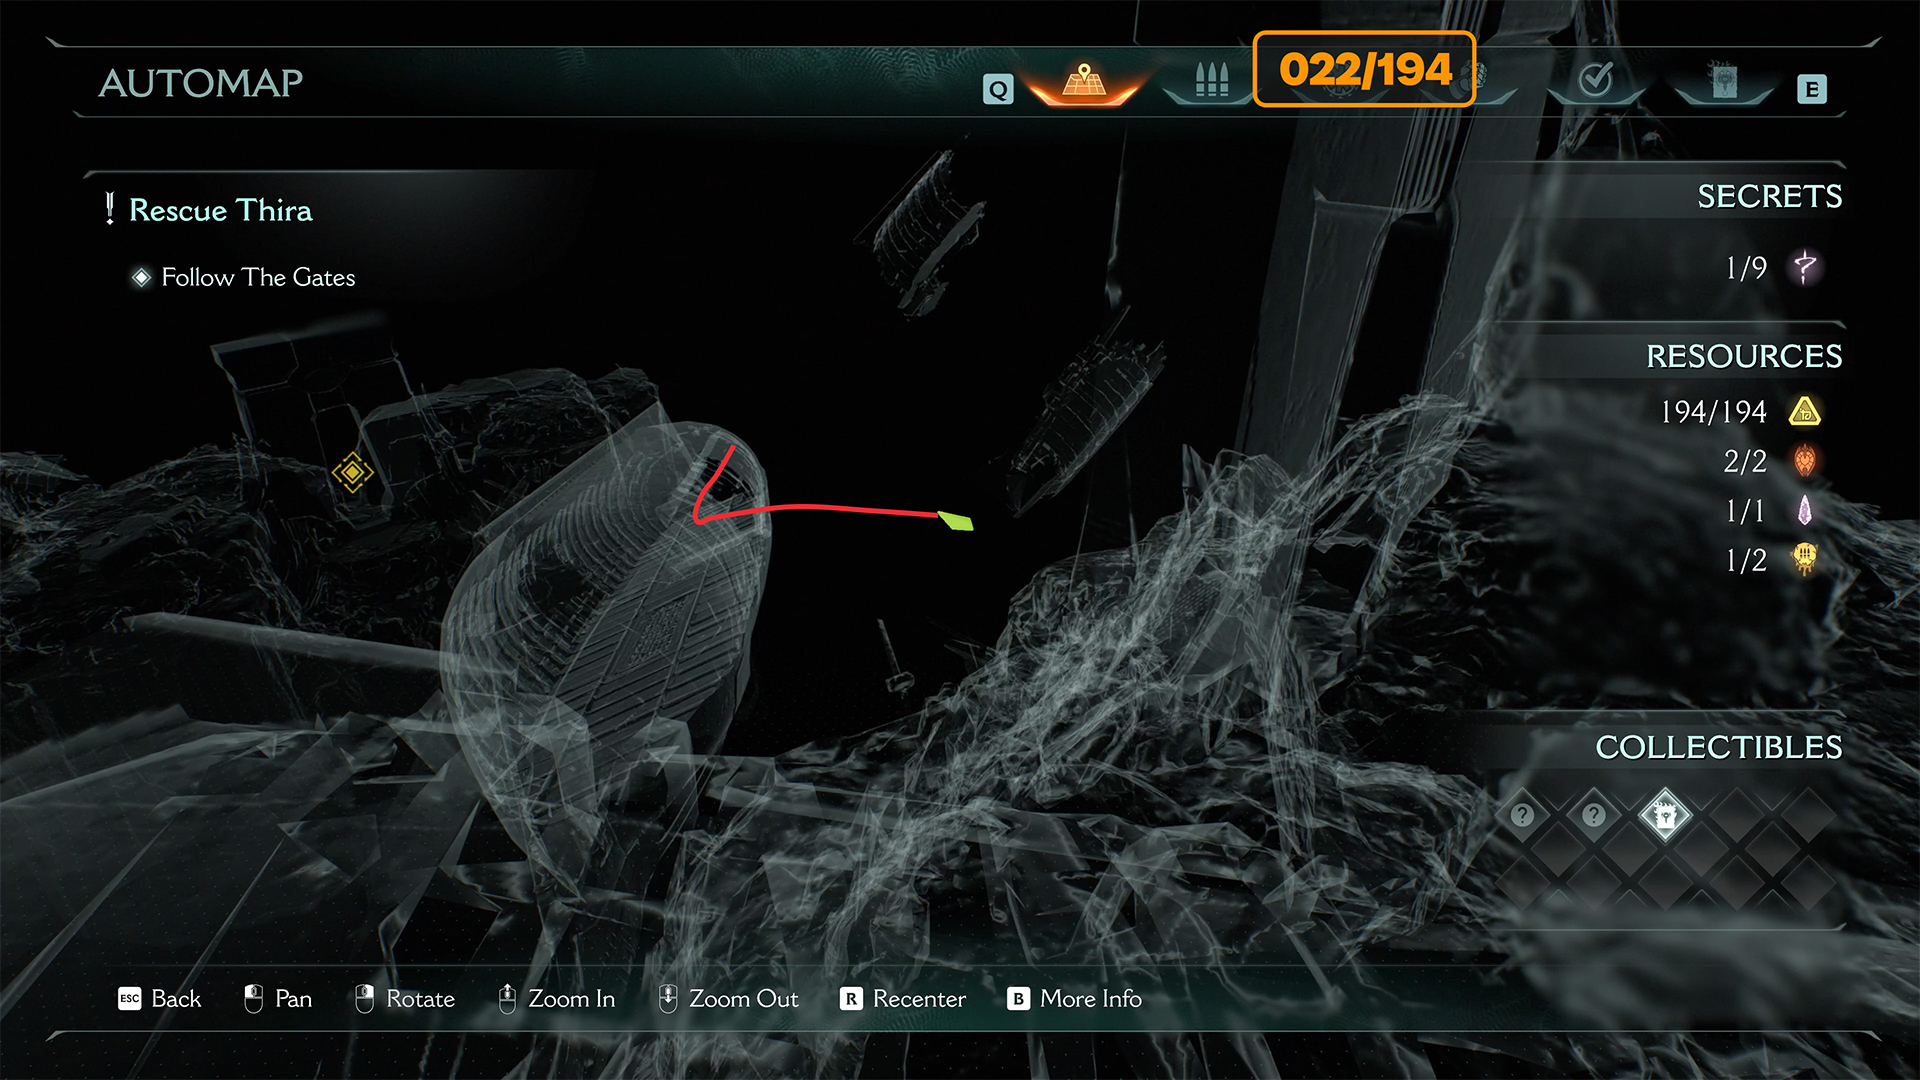
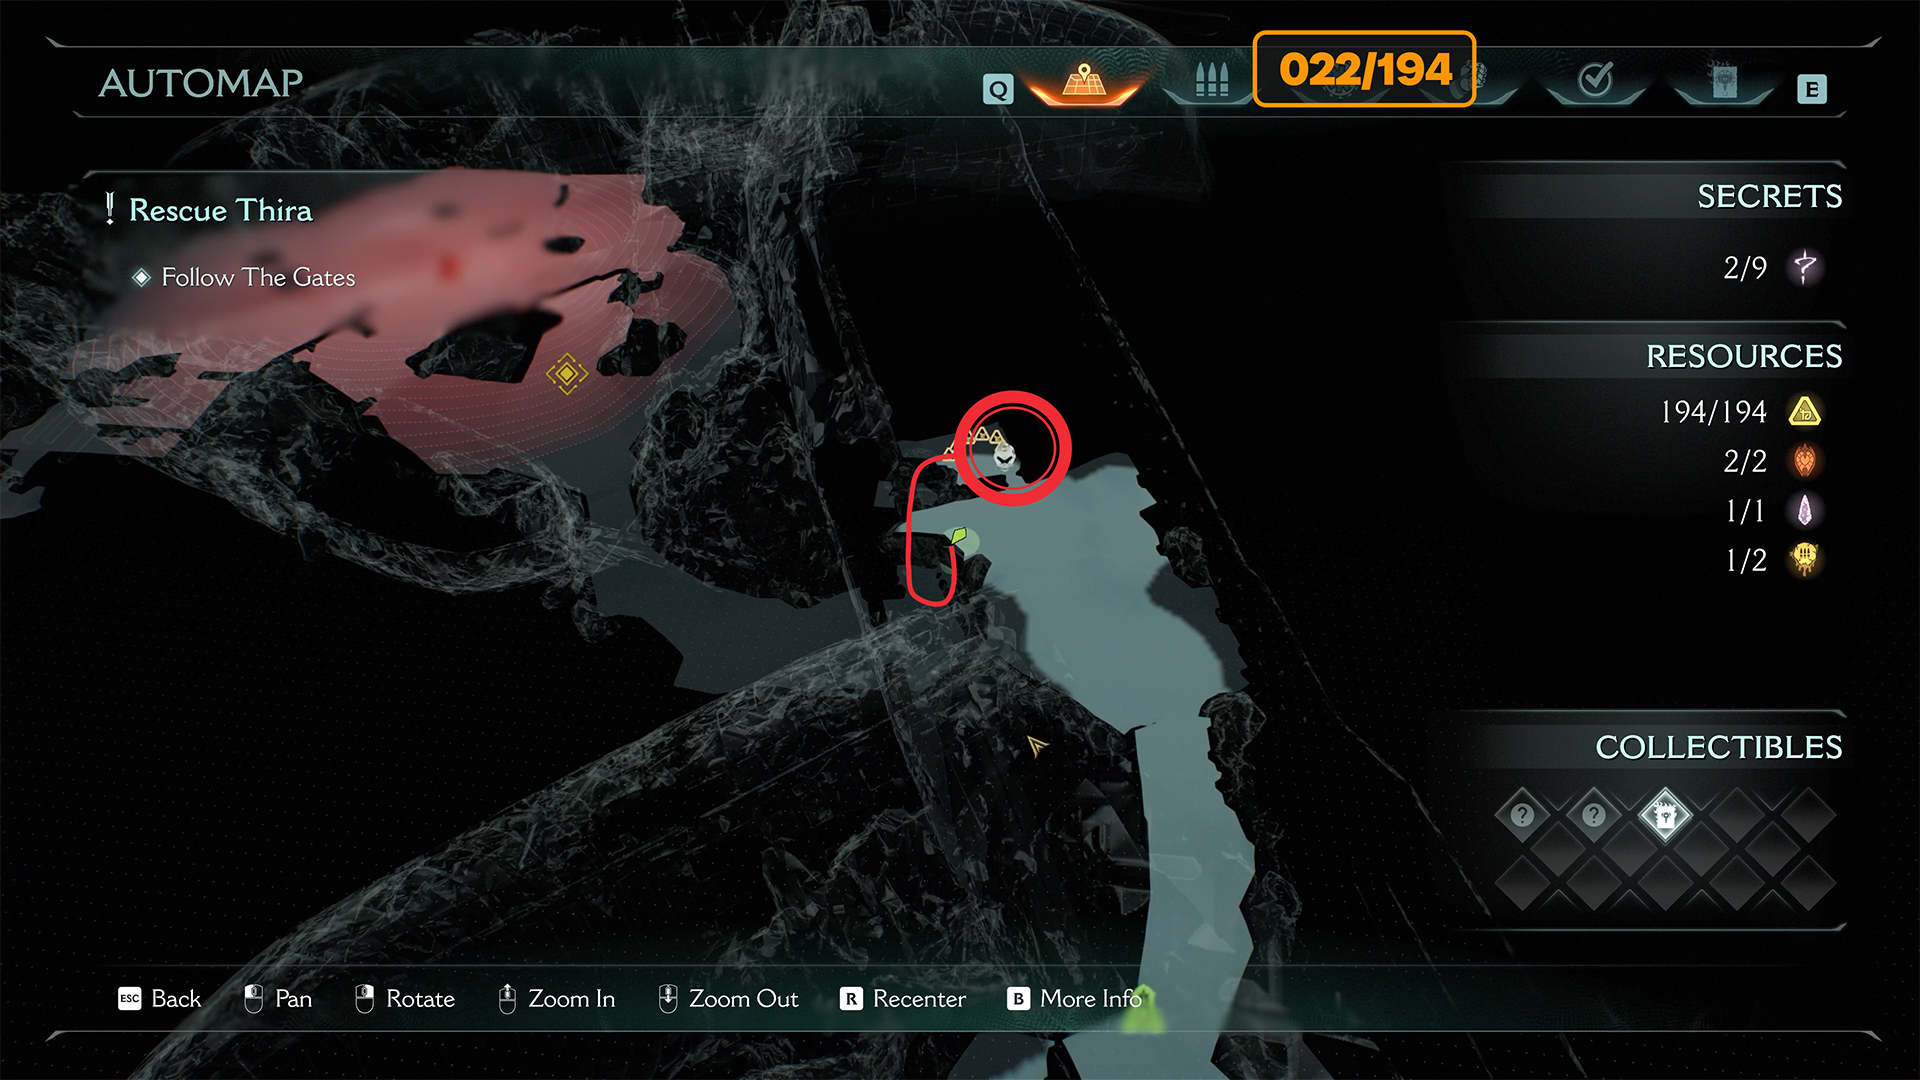
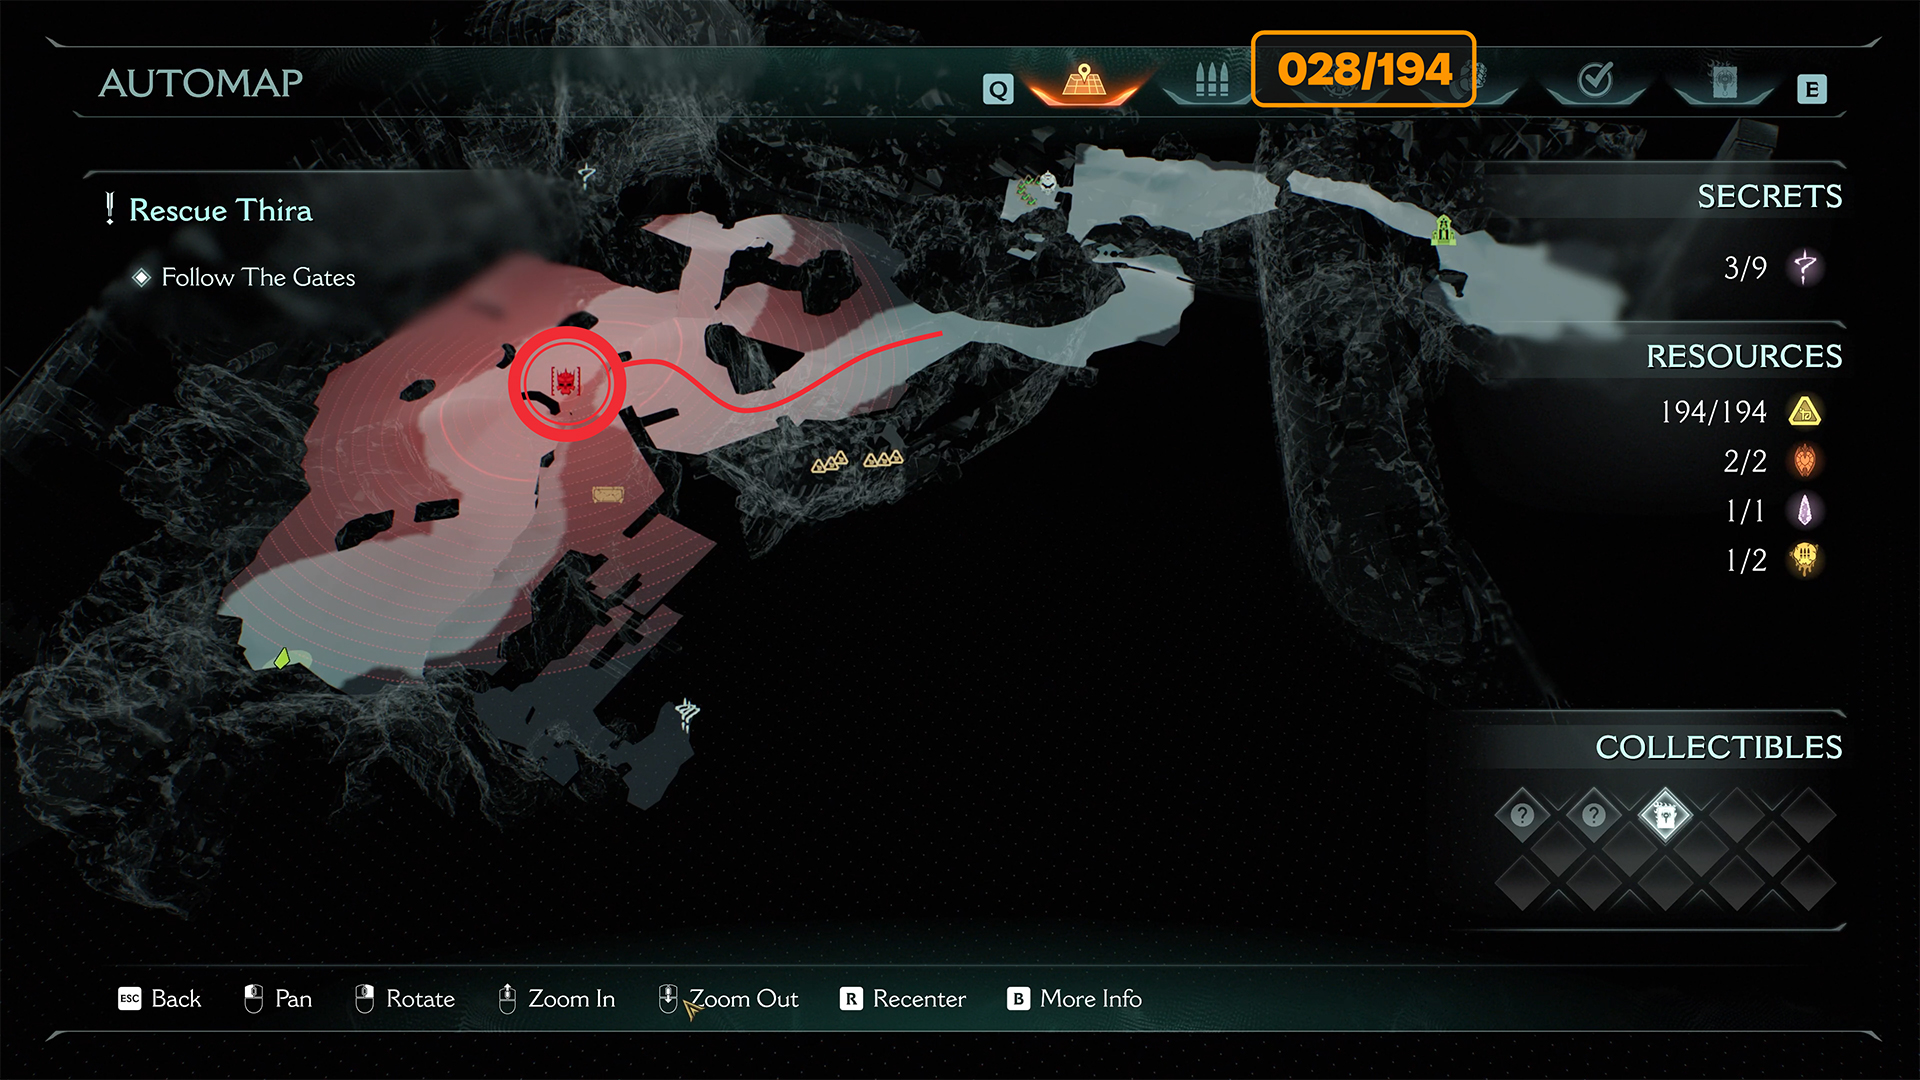
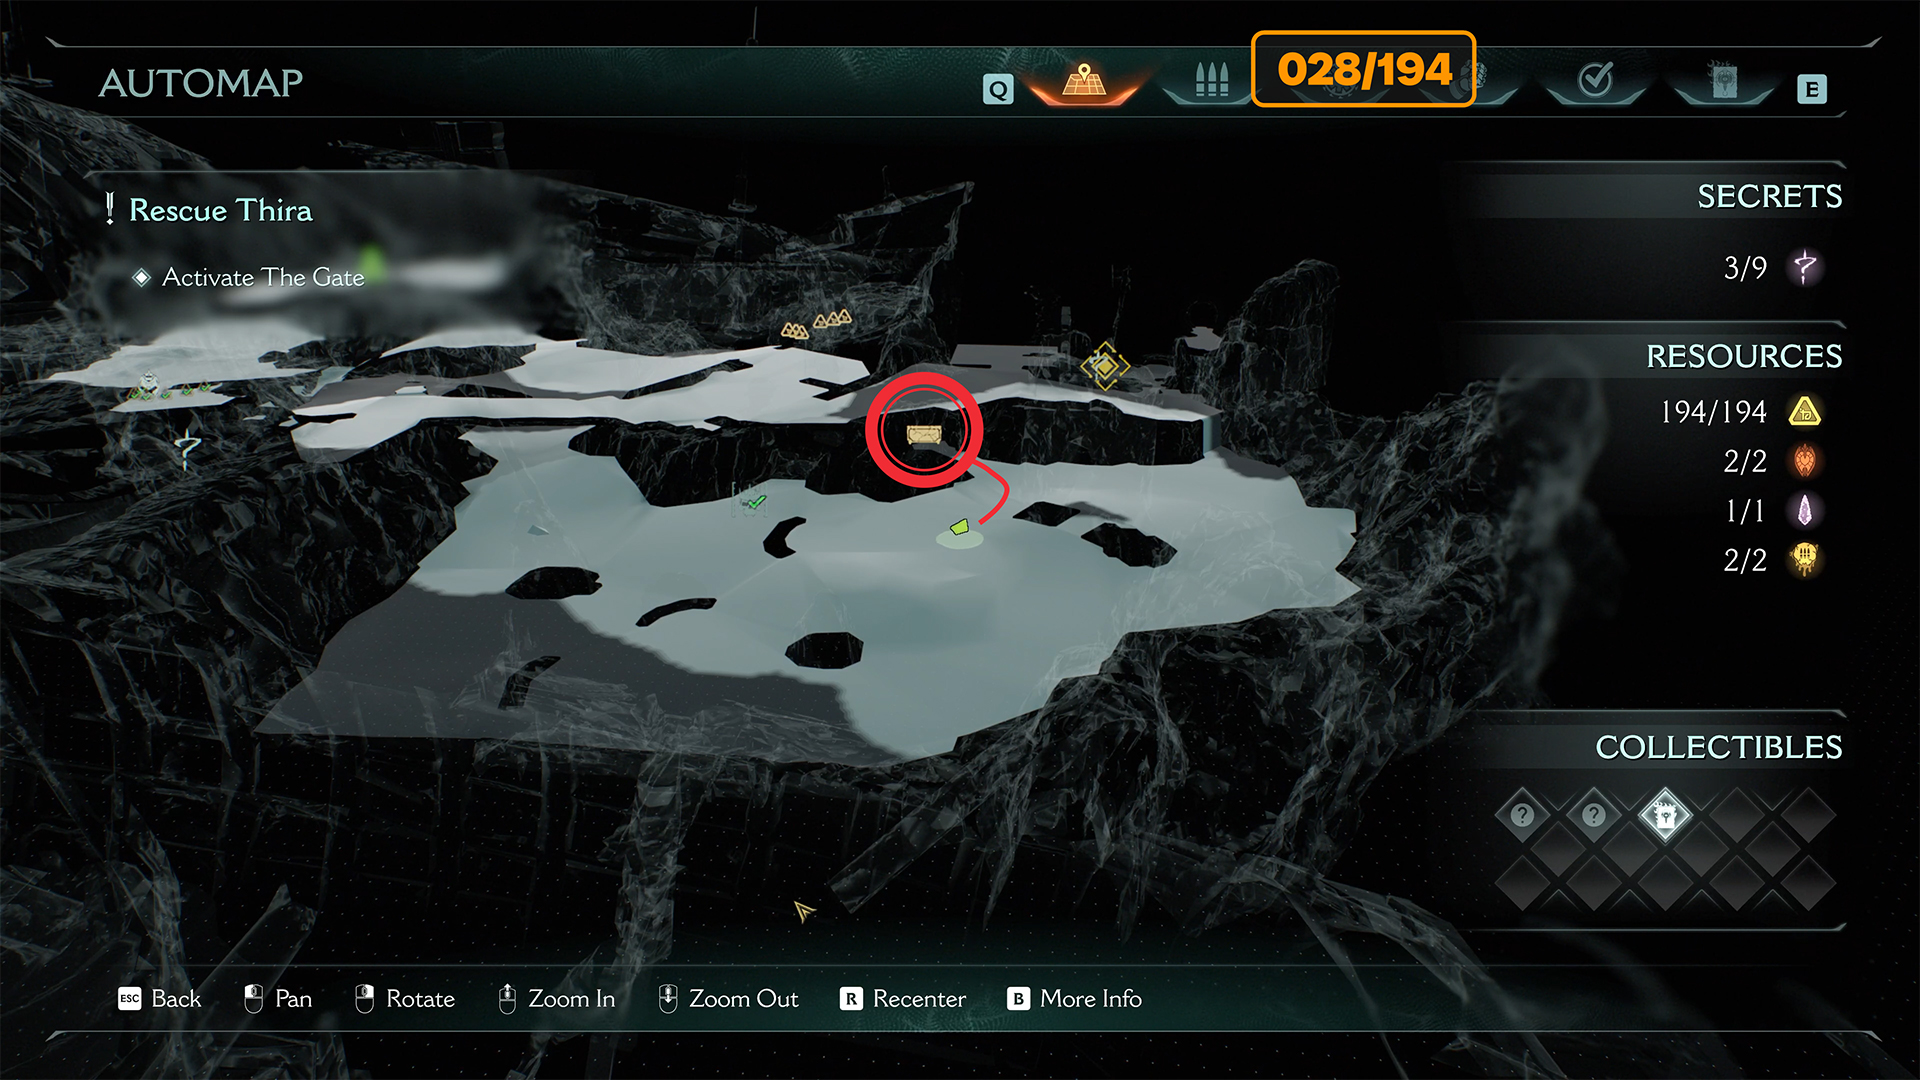
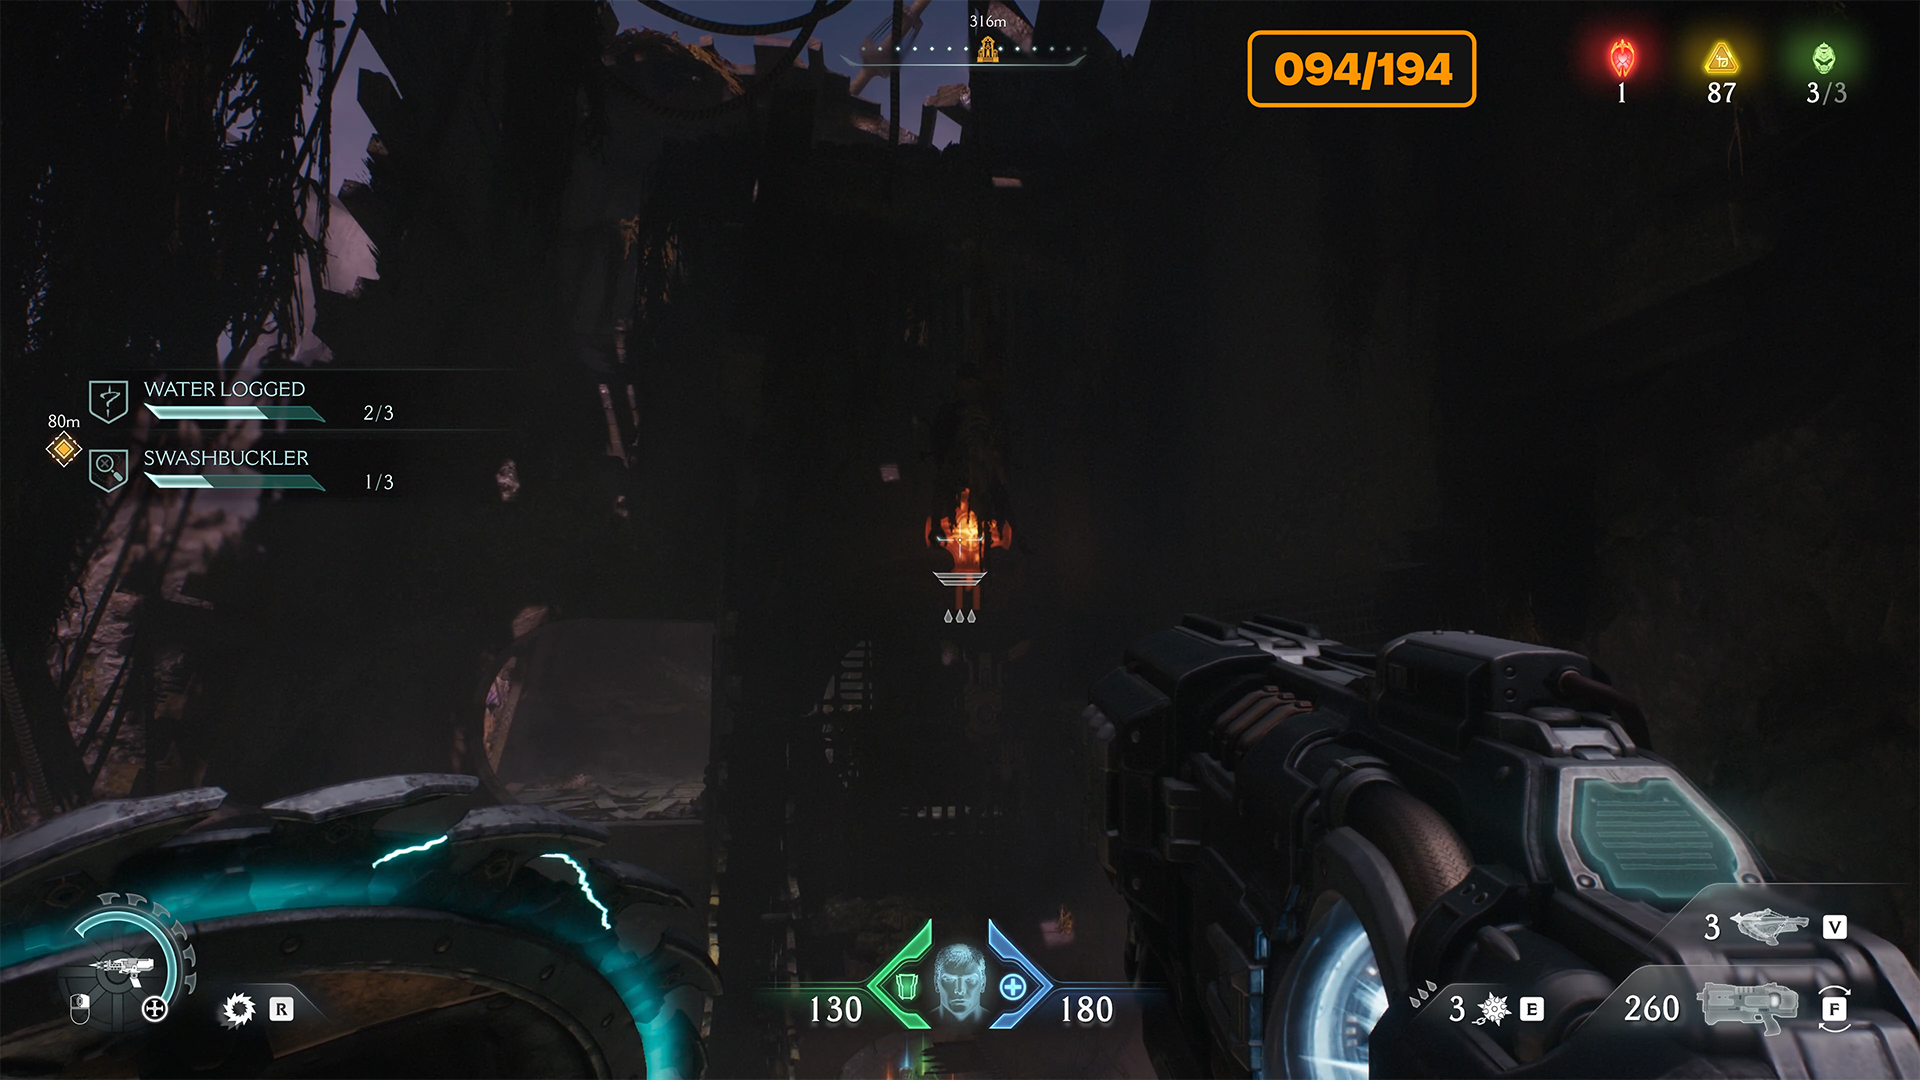
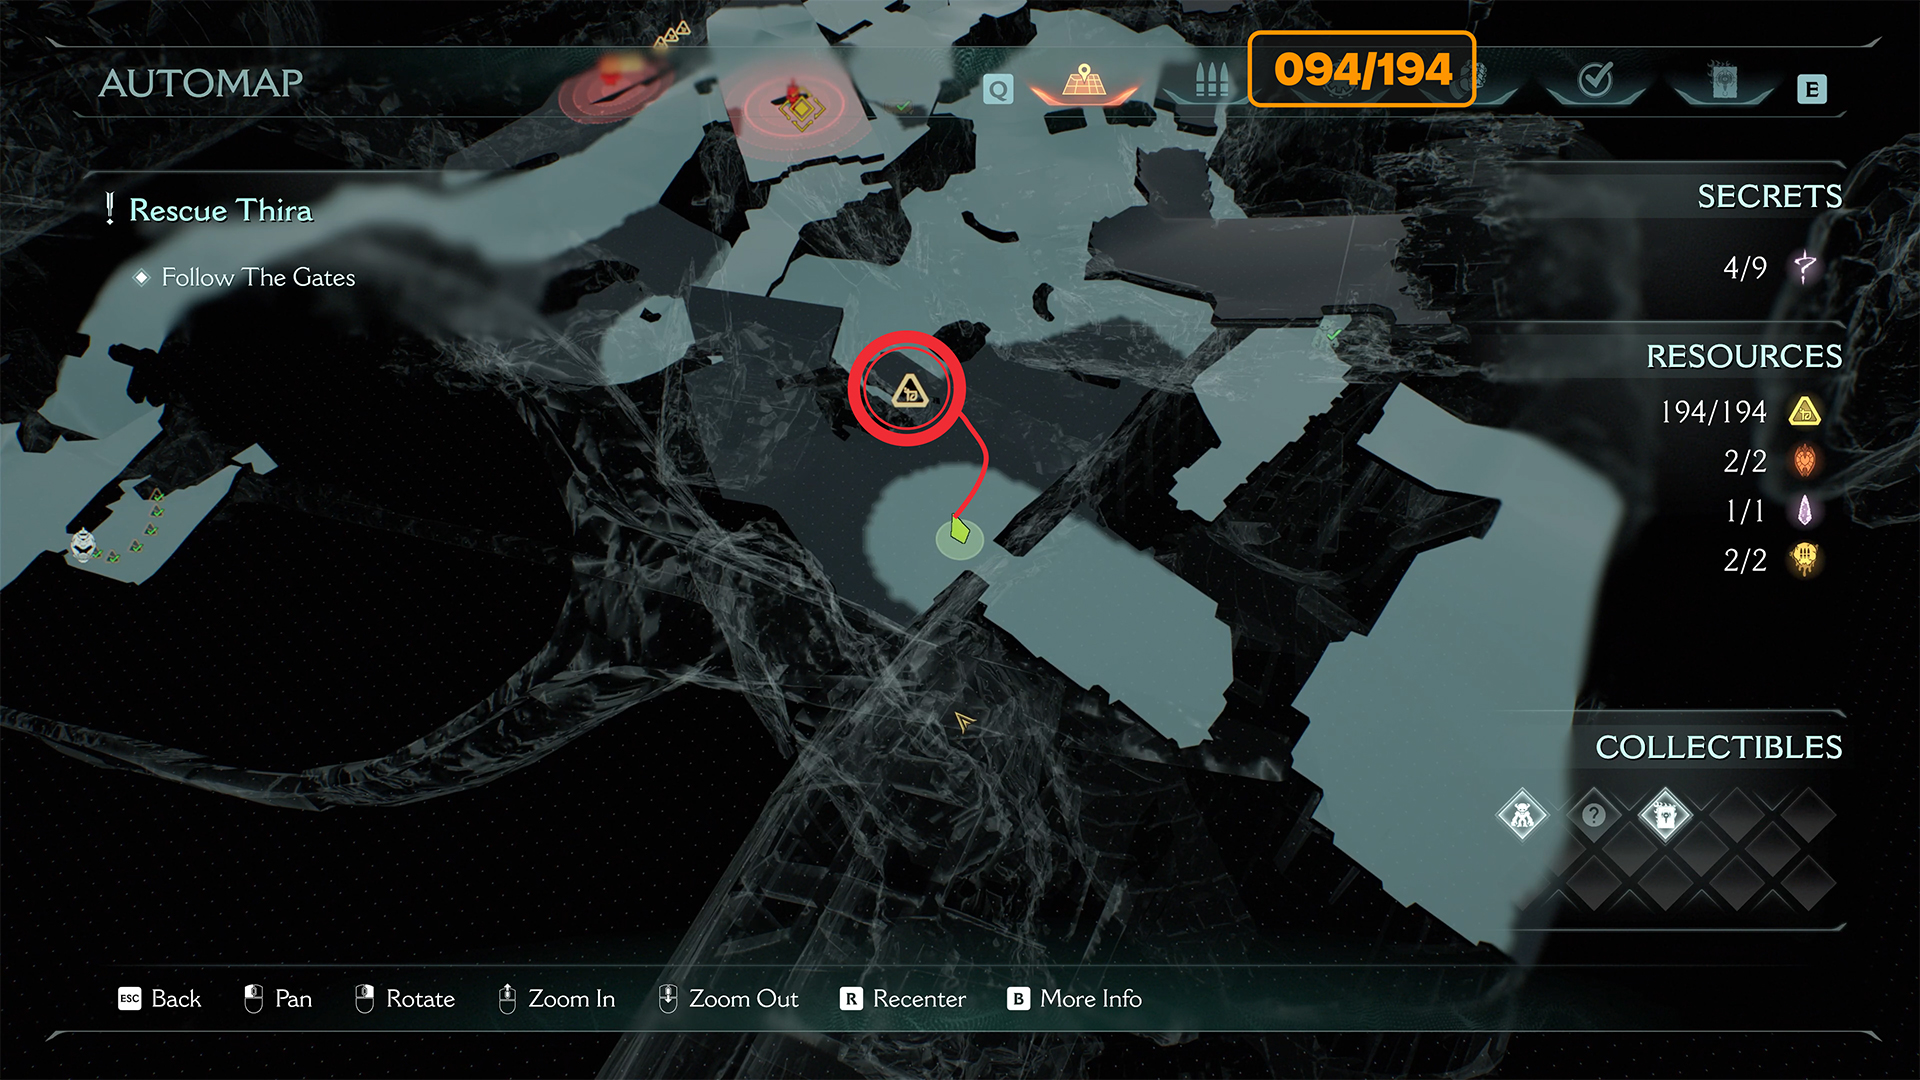
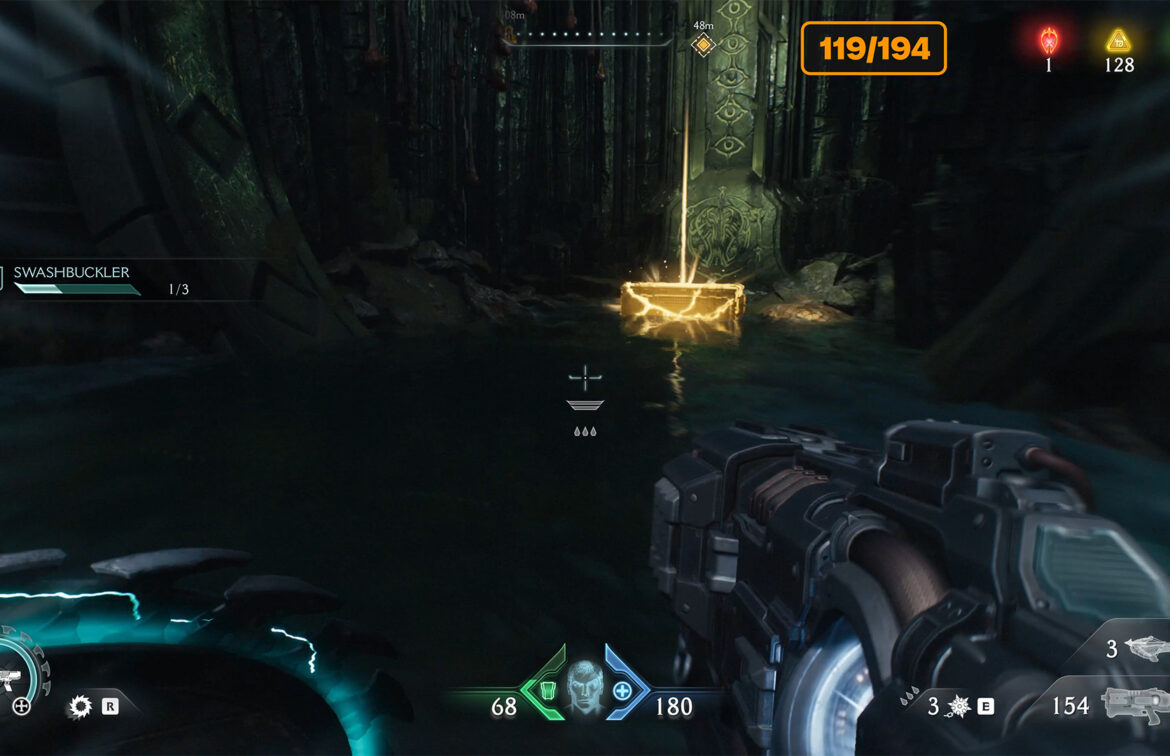
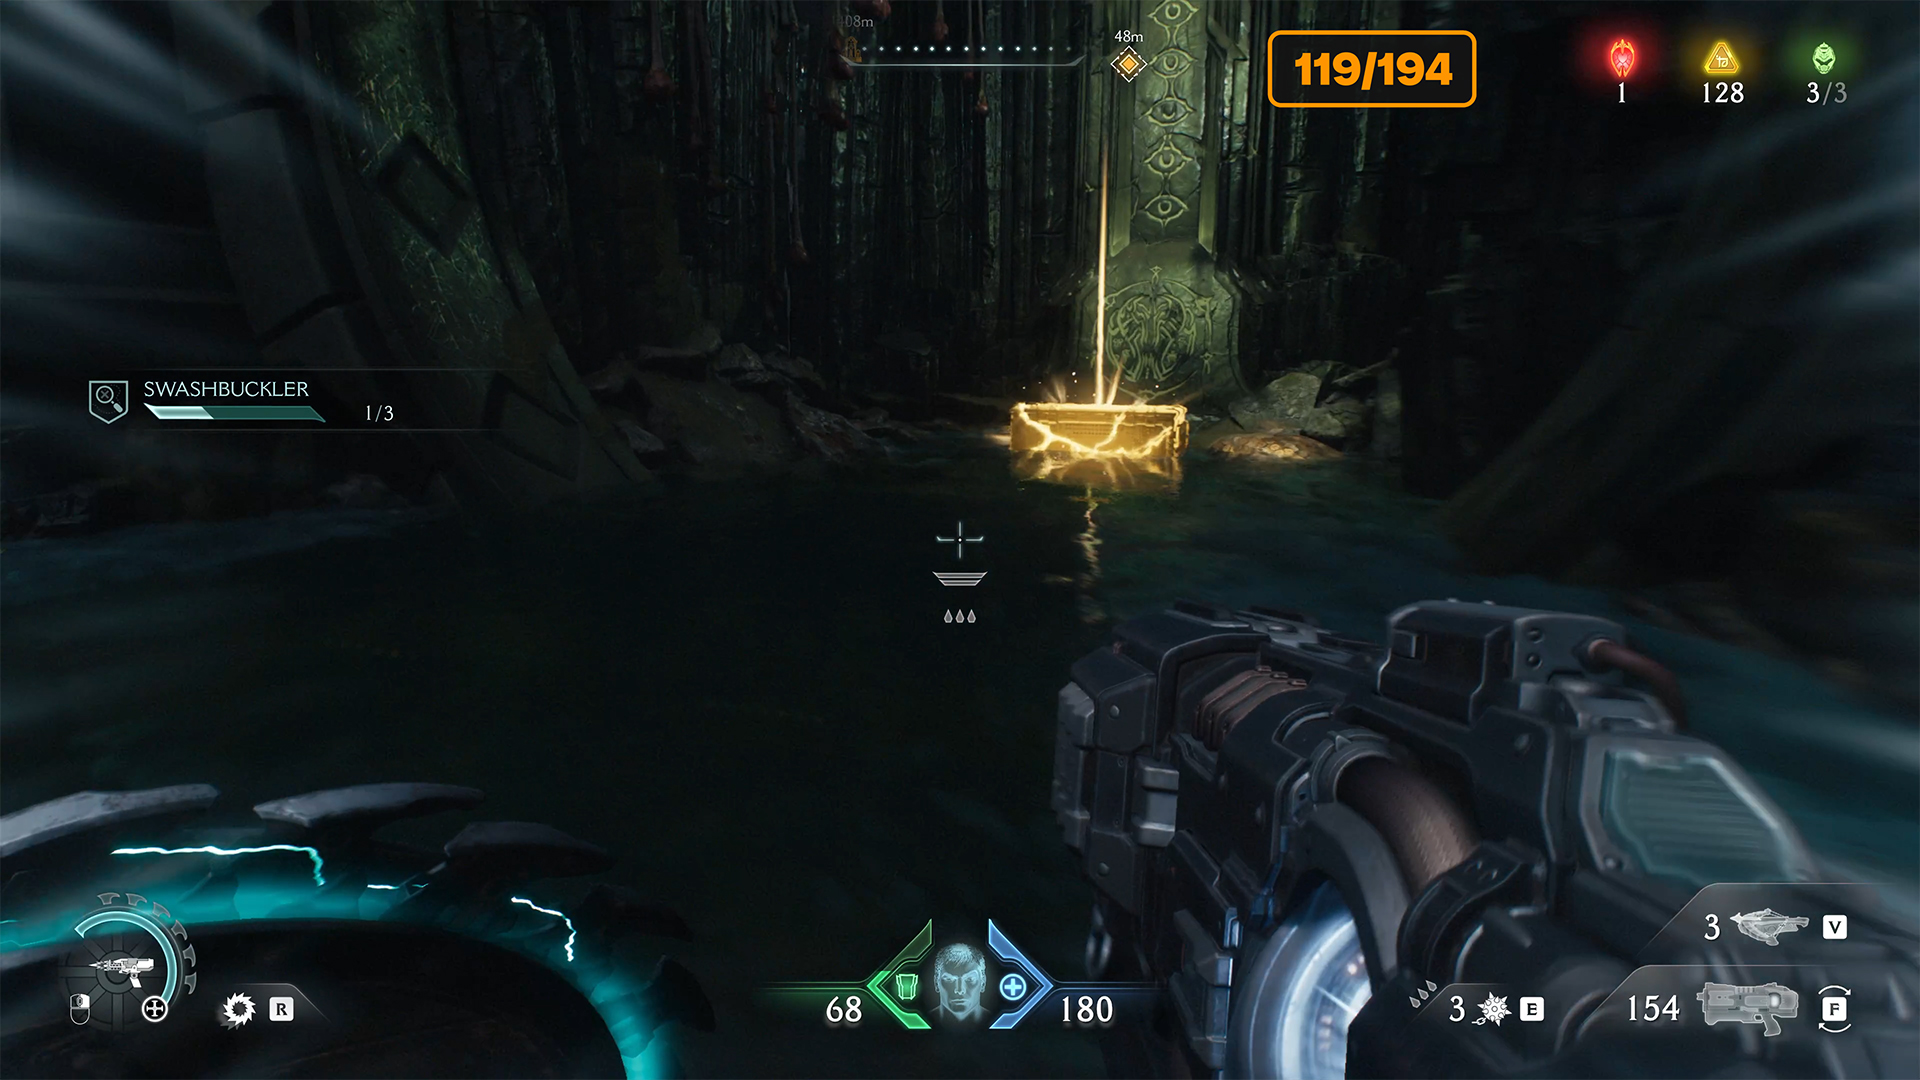
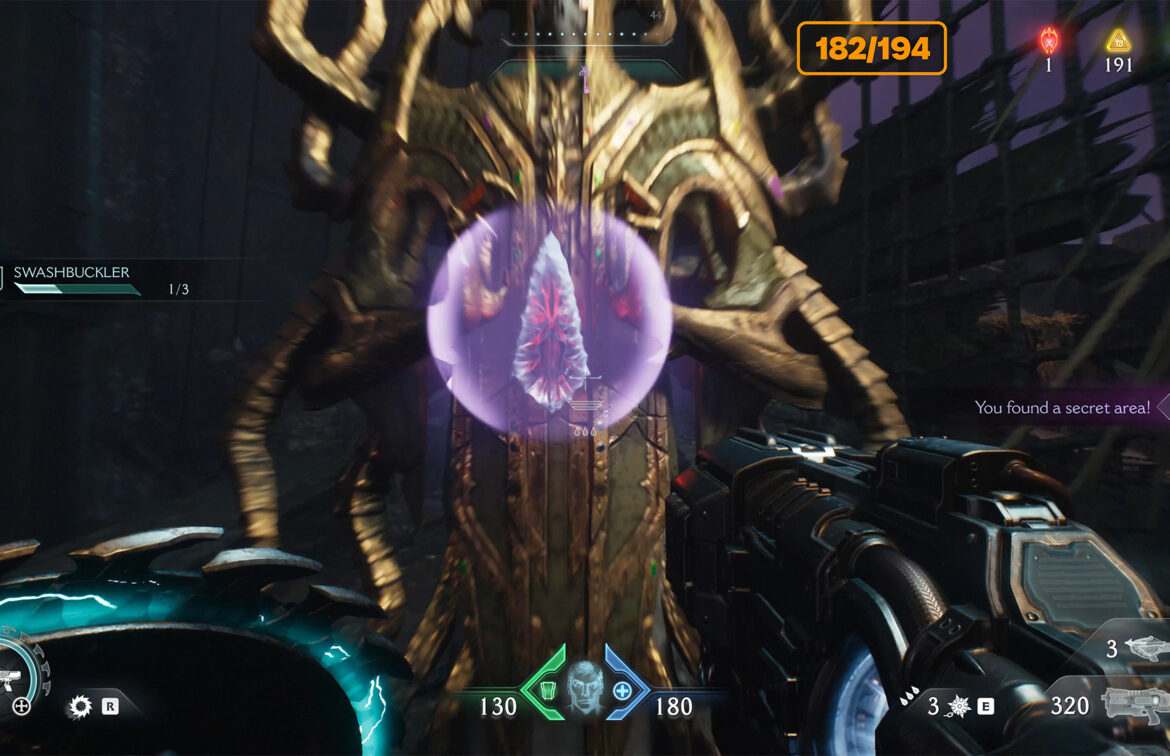
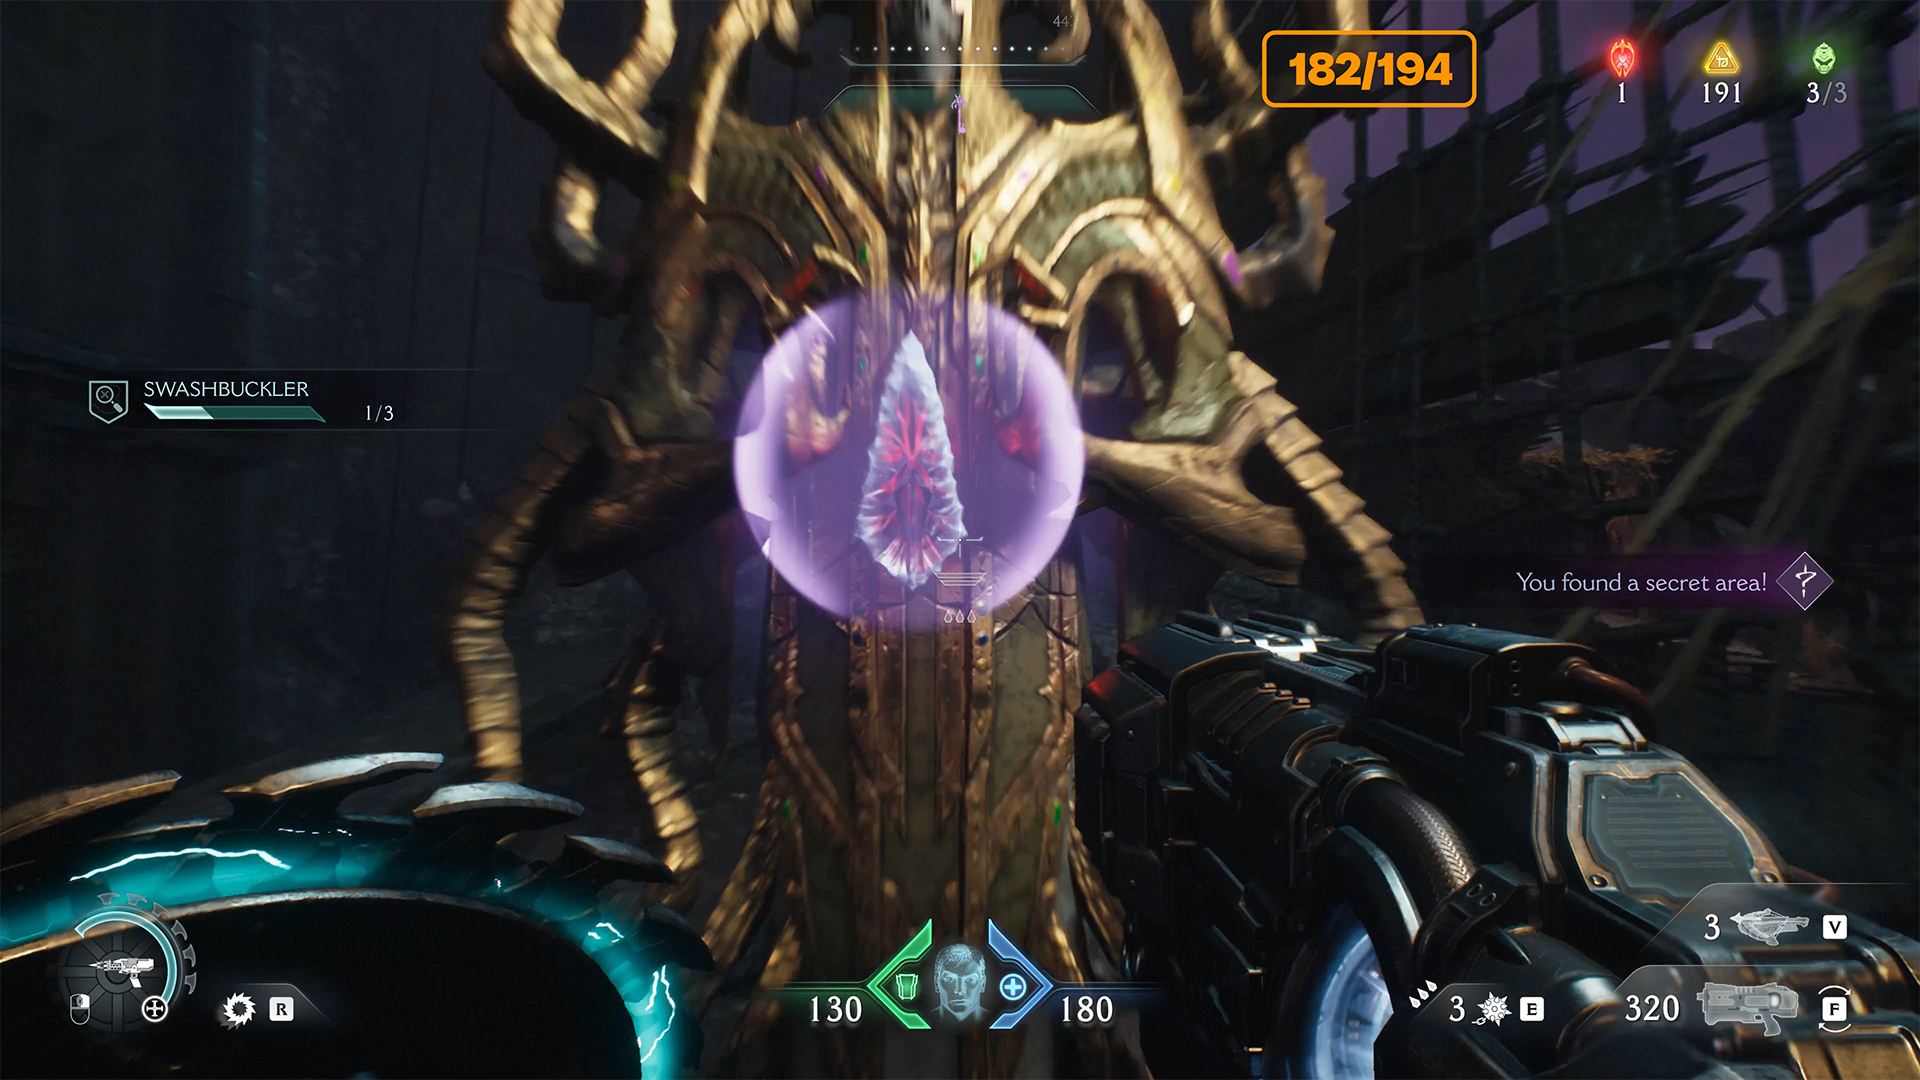
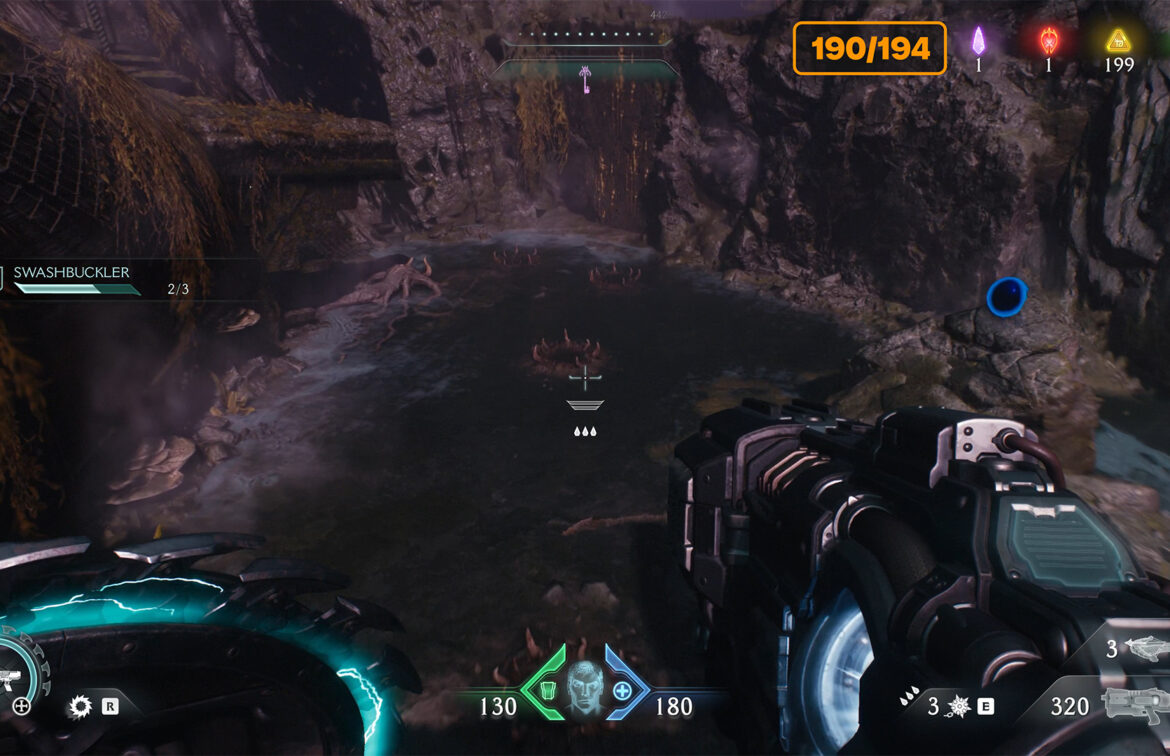
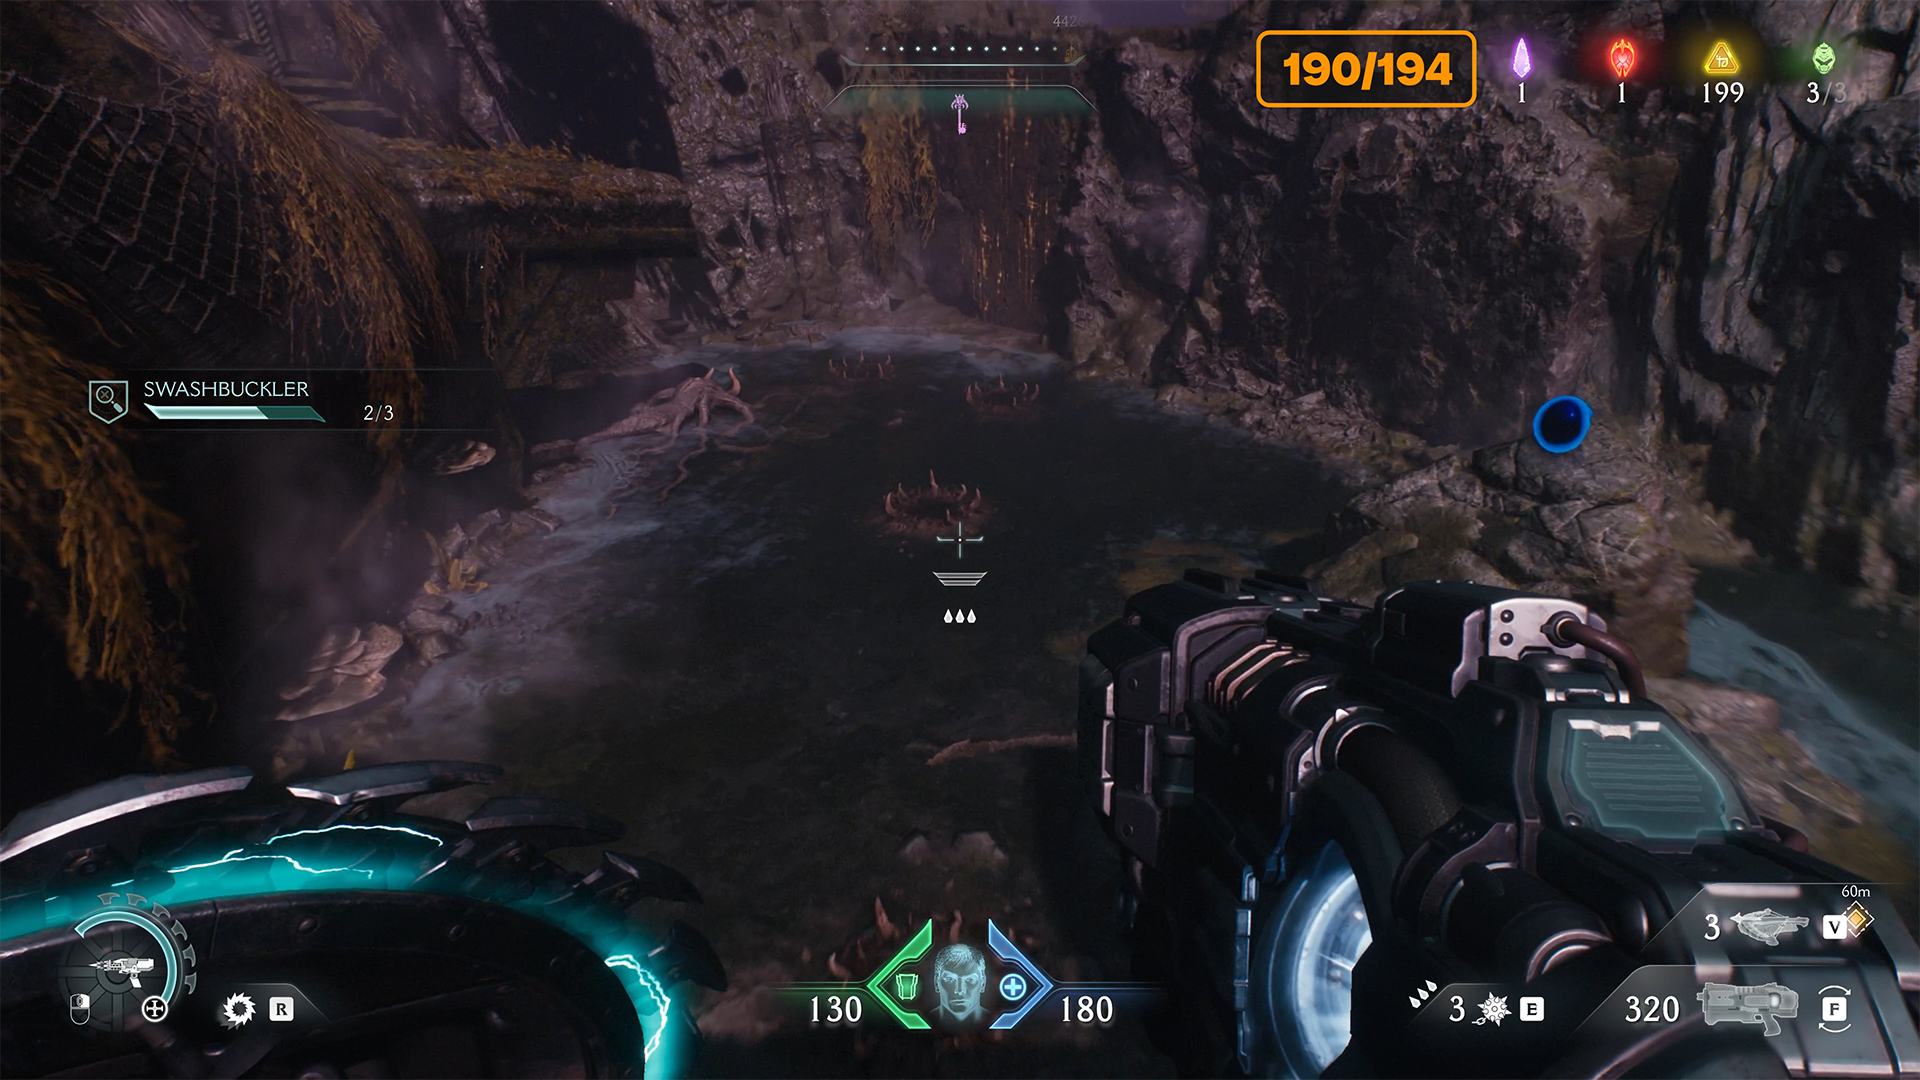
Temple of Lomarith ruby
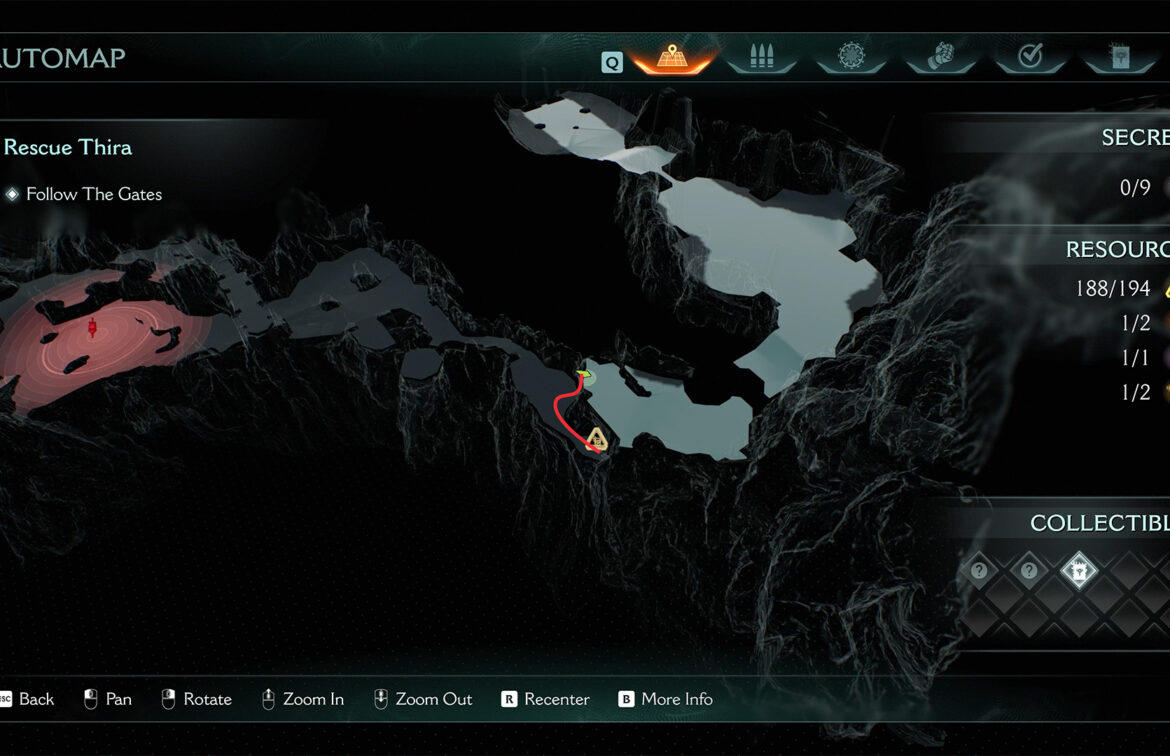
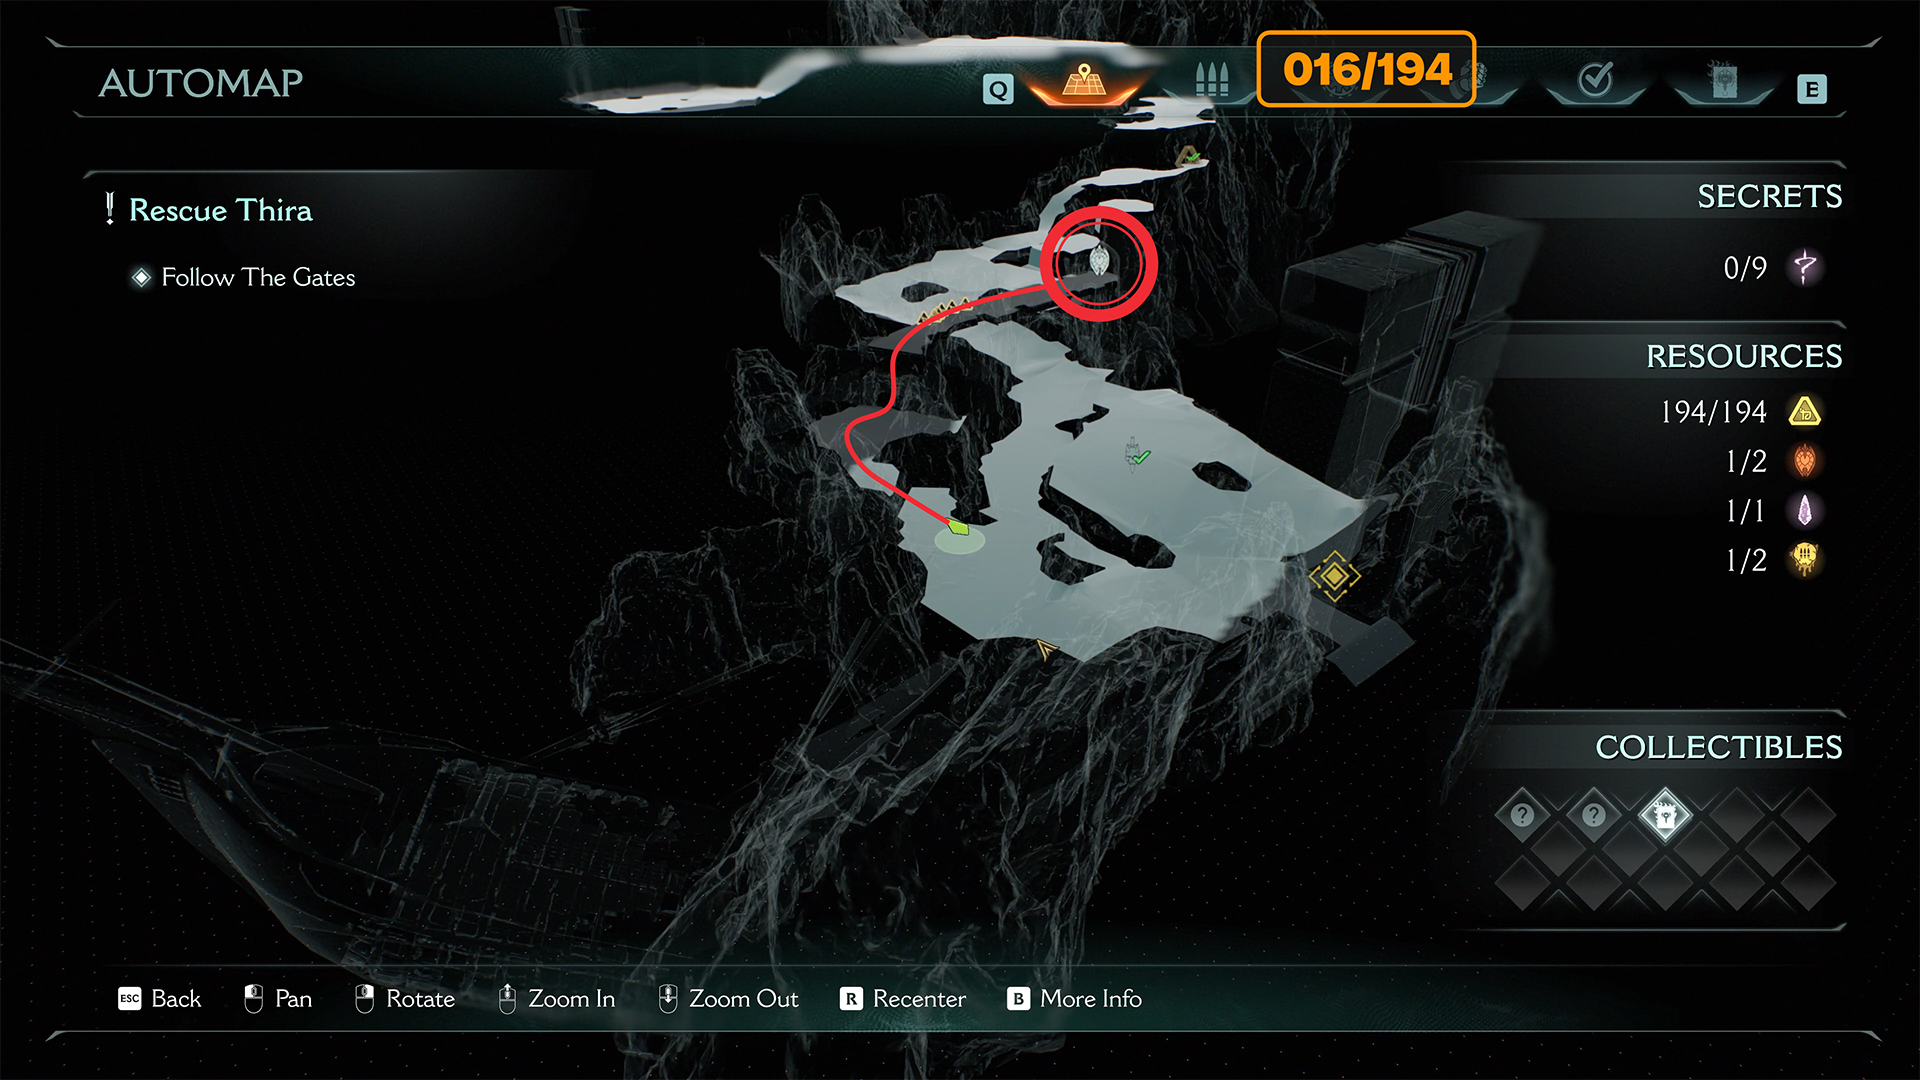
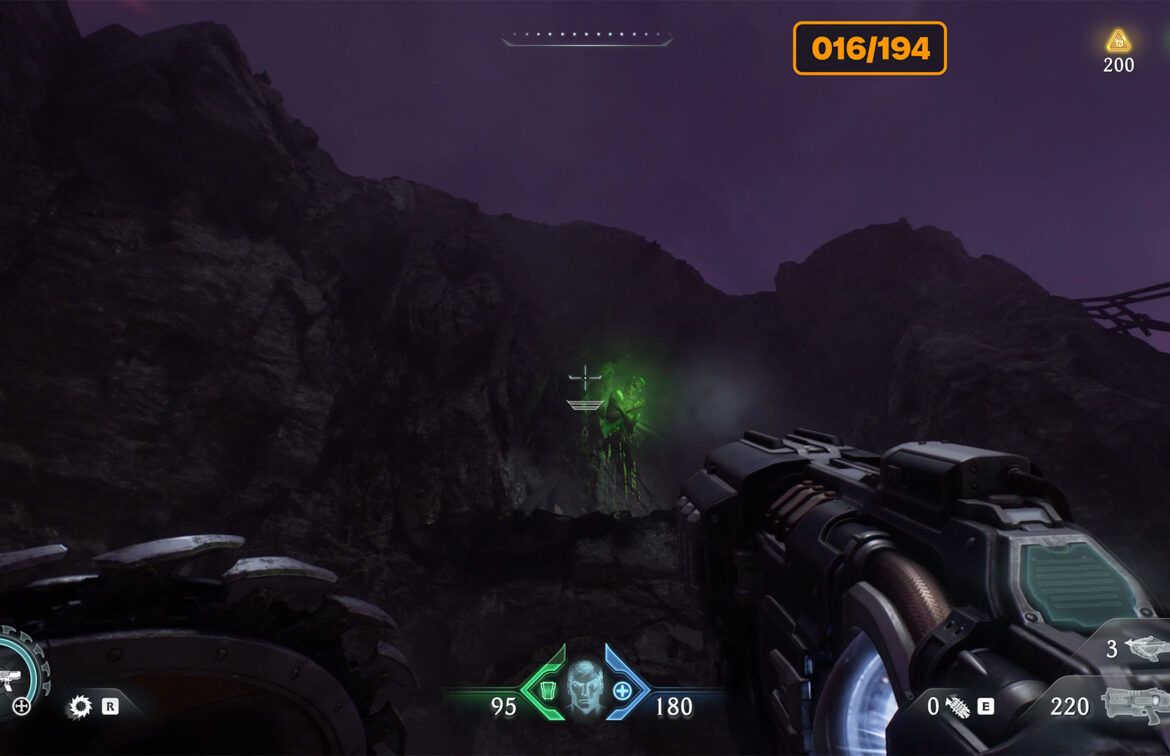
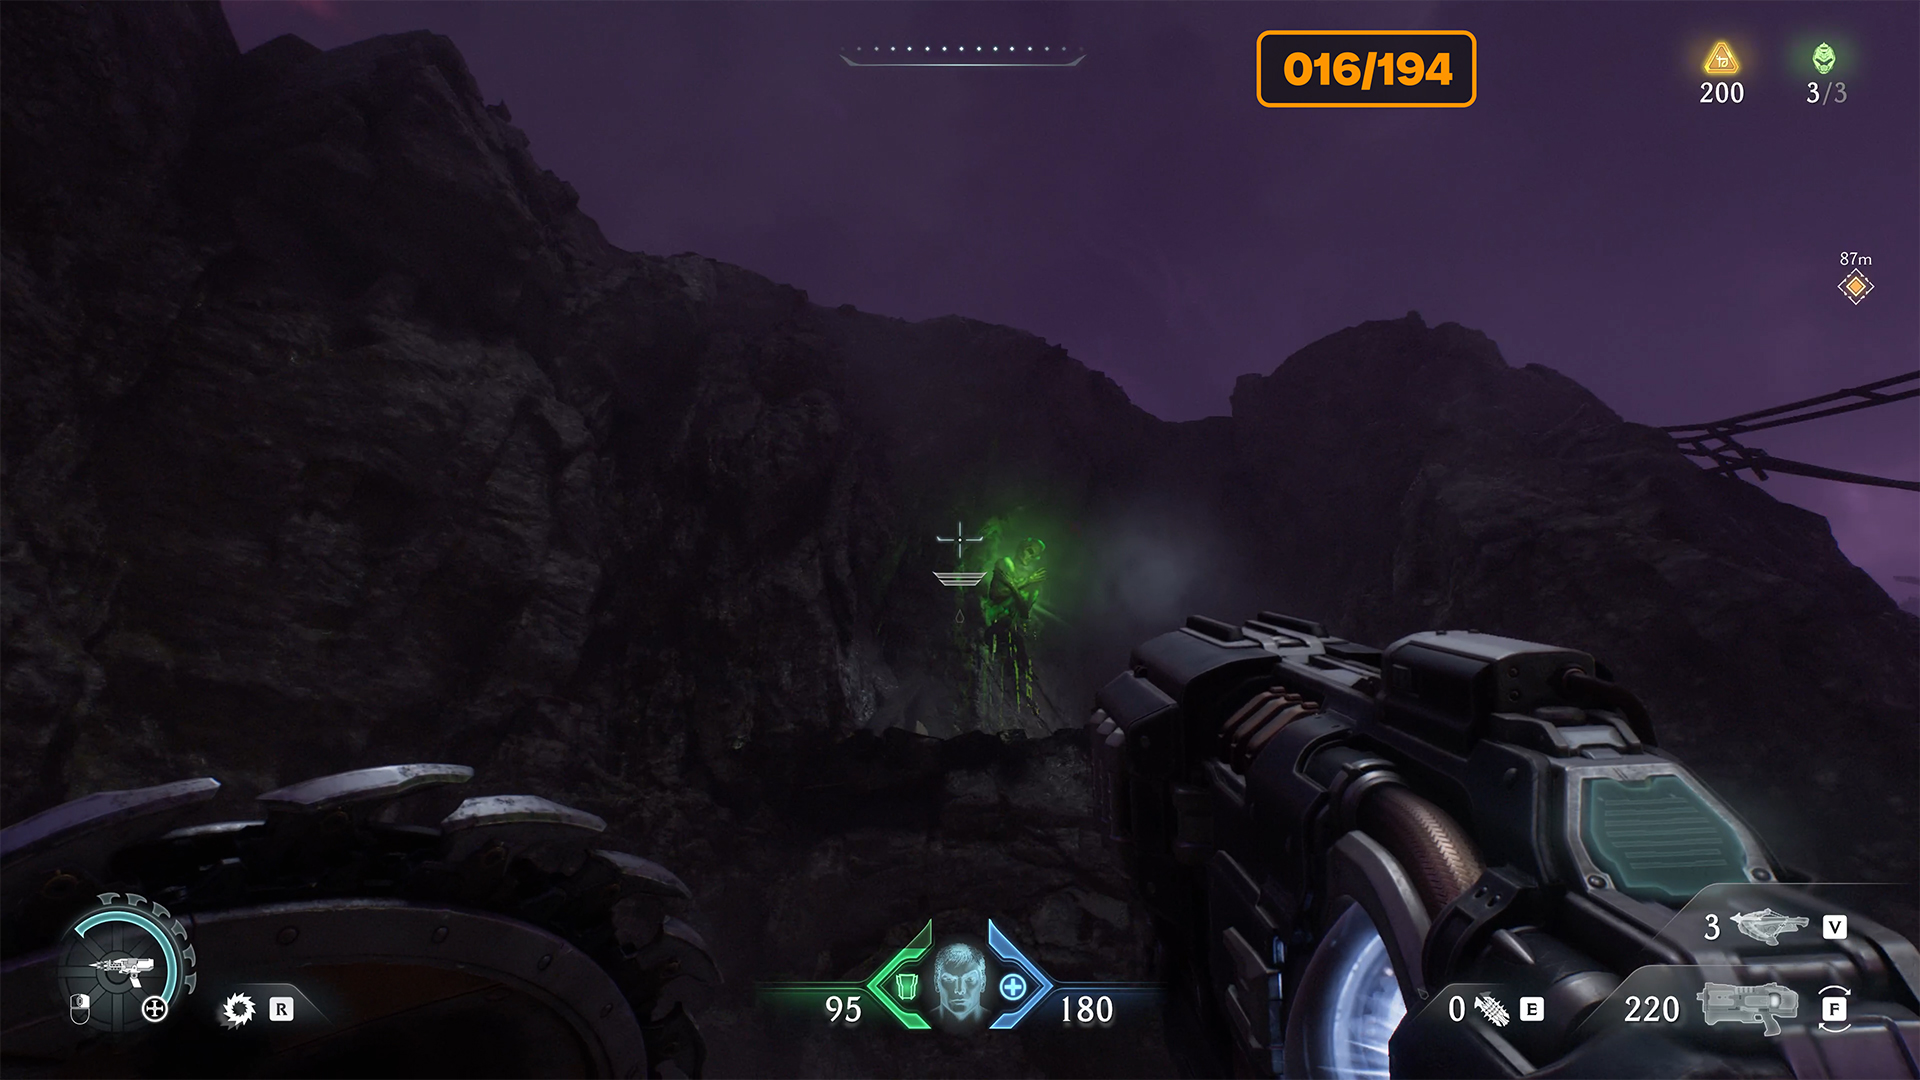
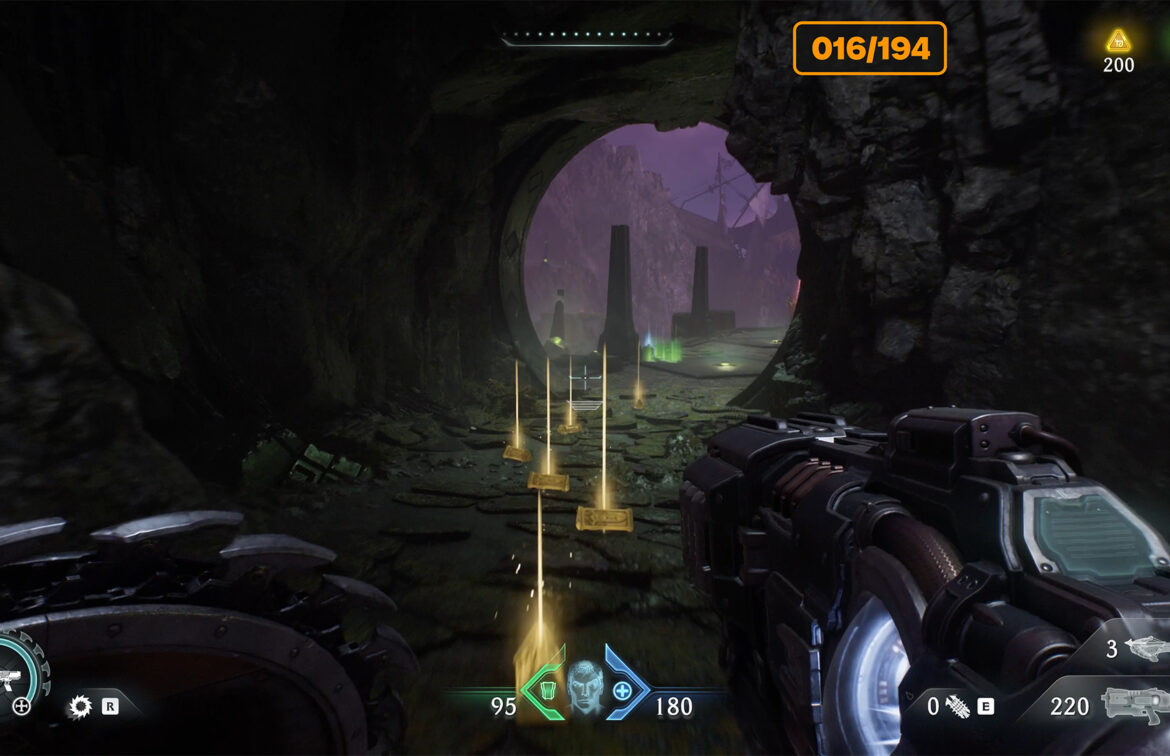
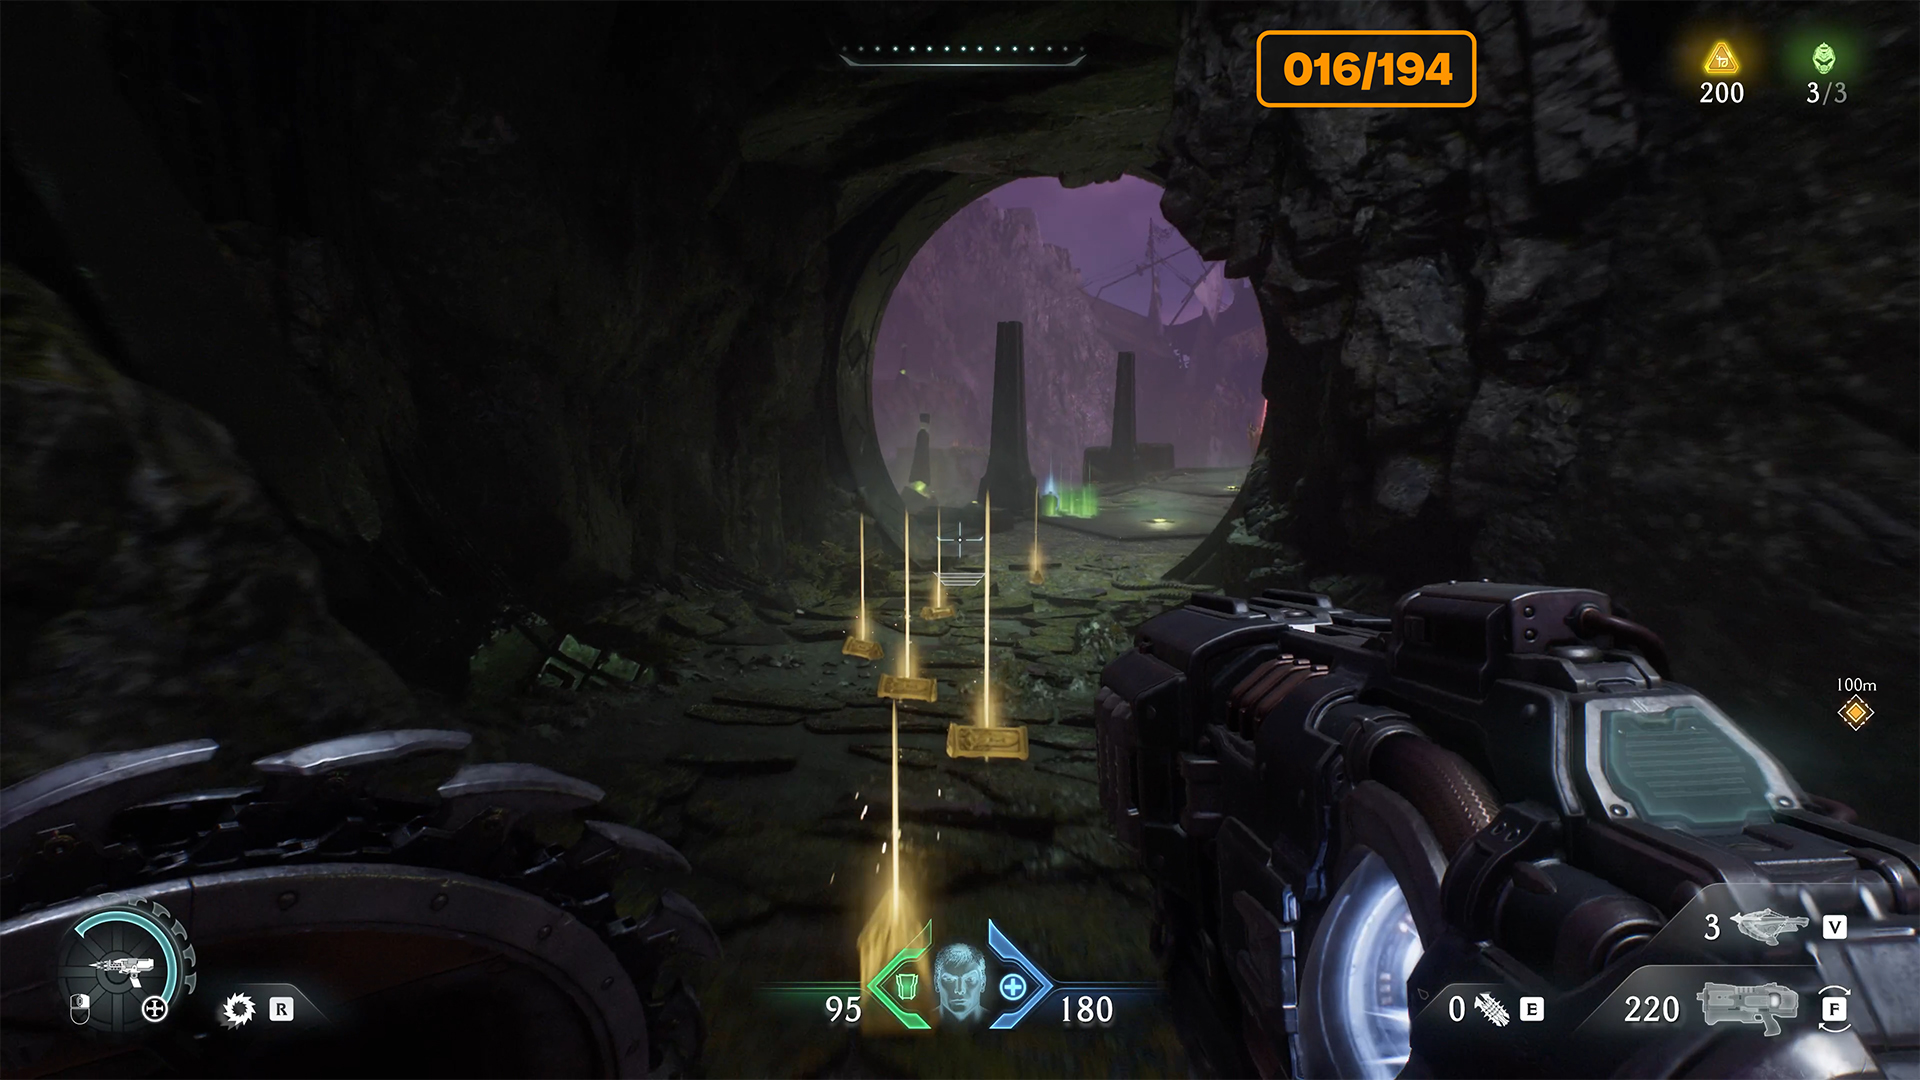
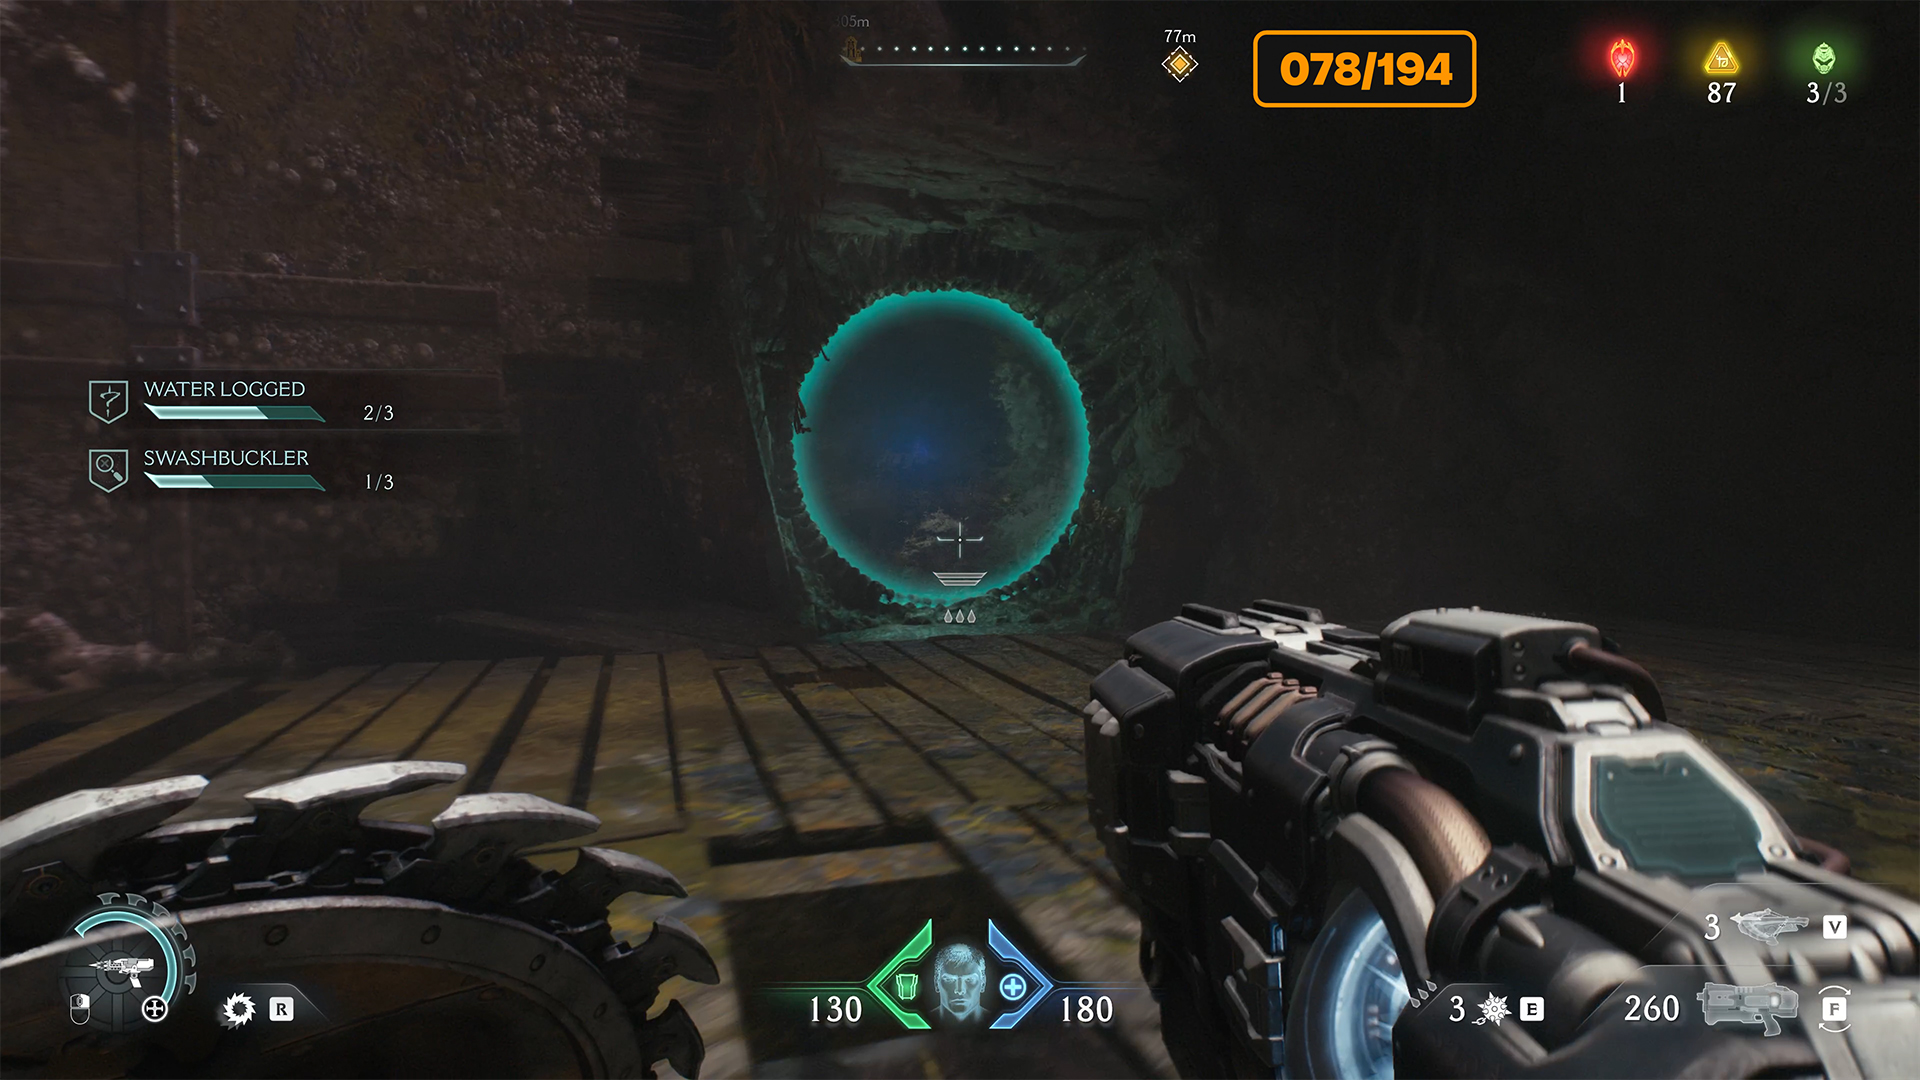
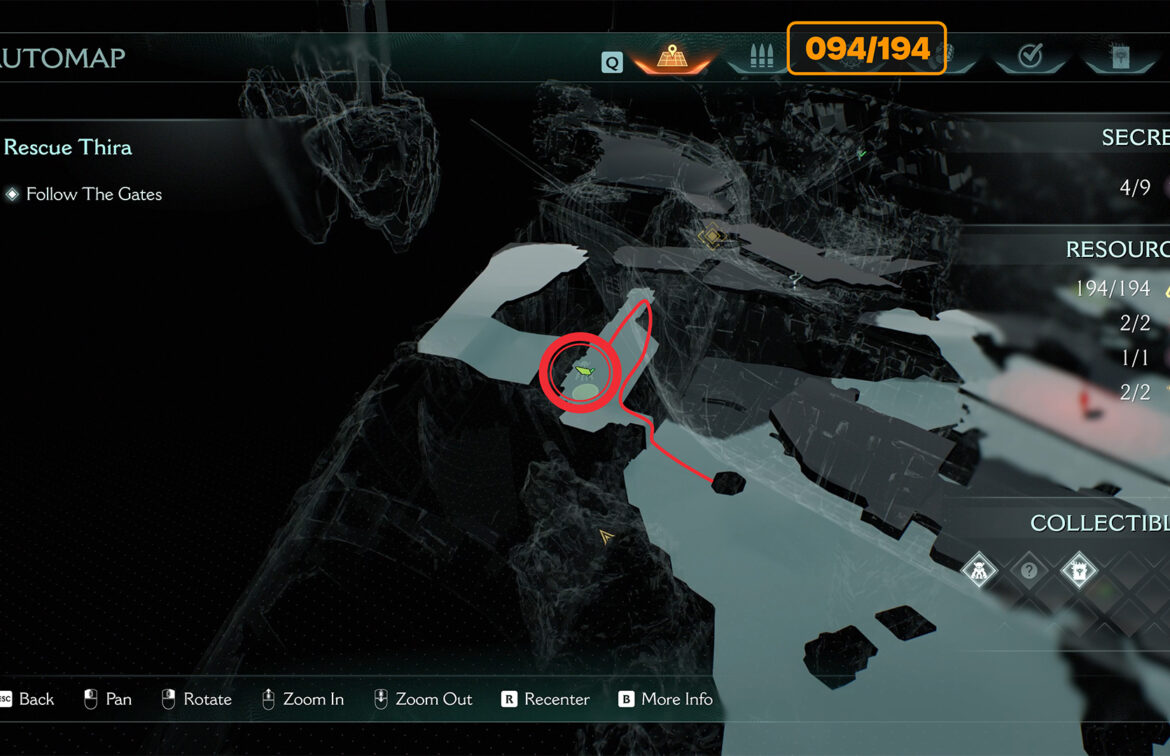
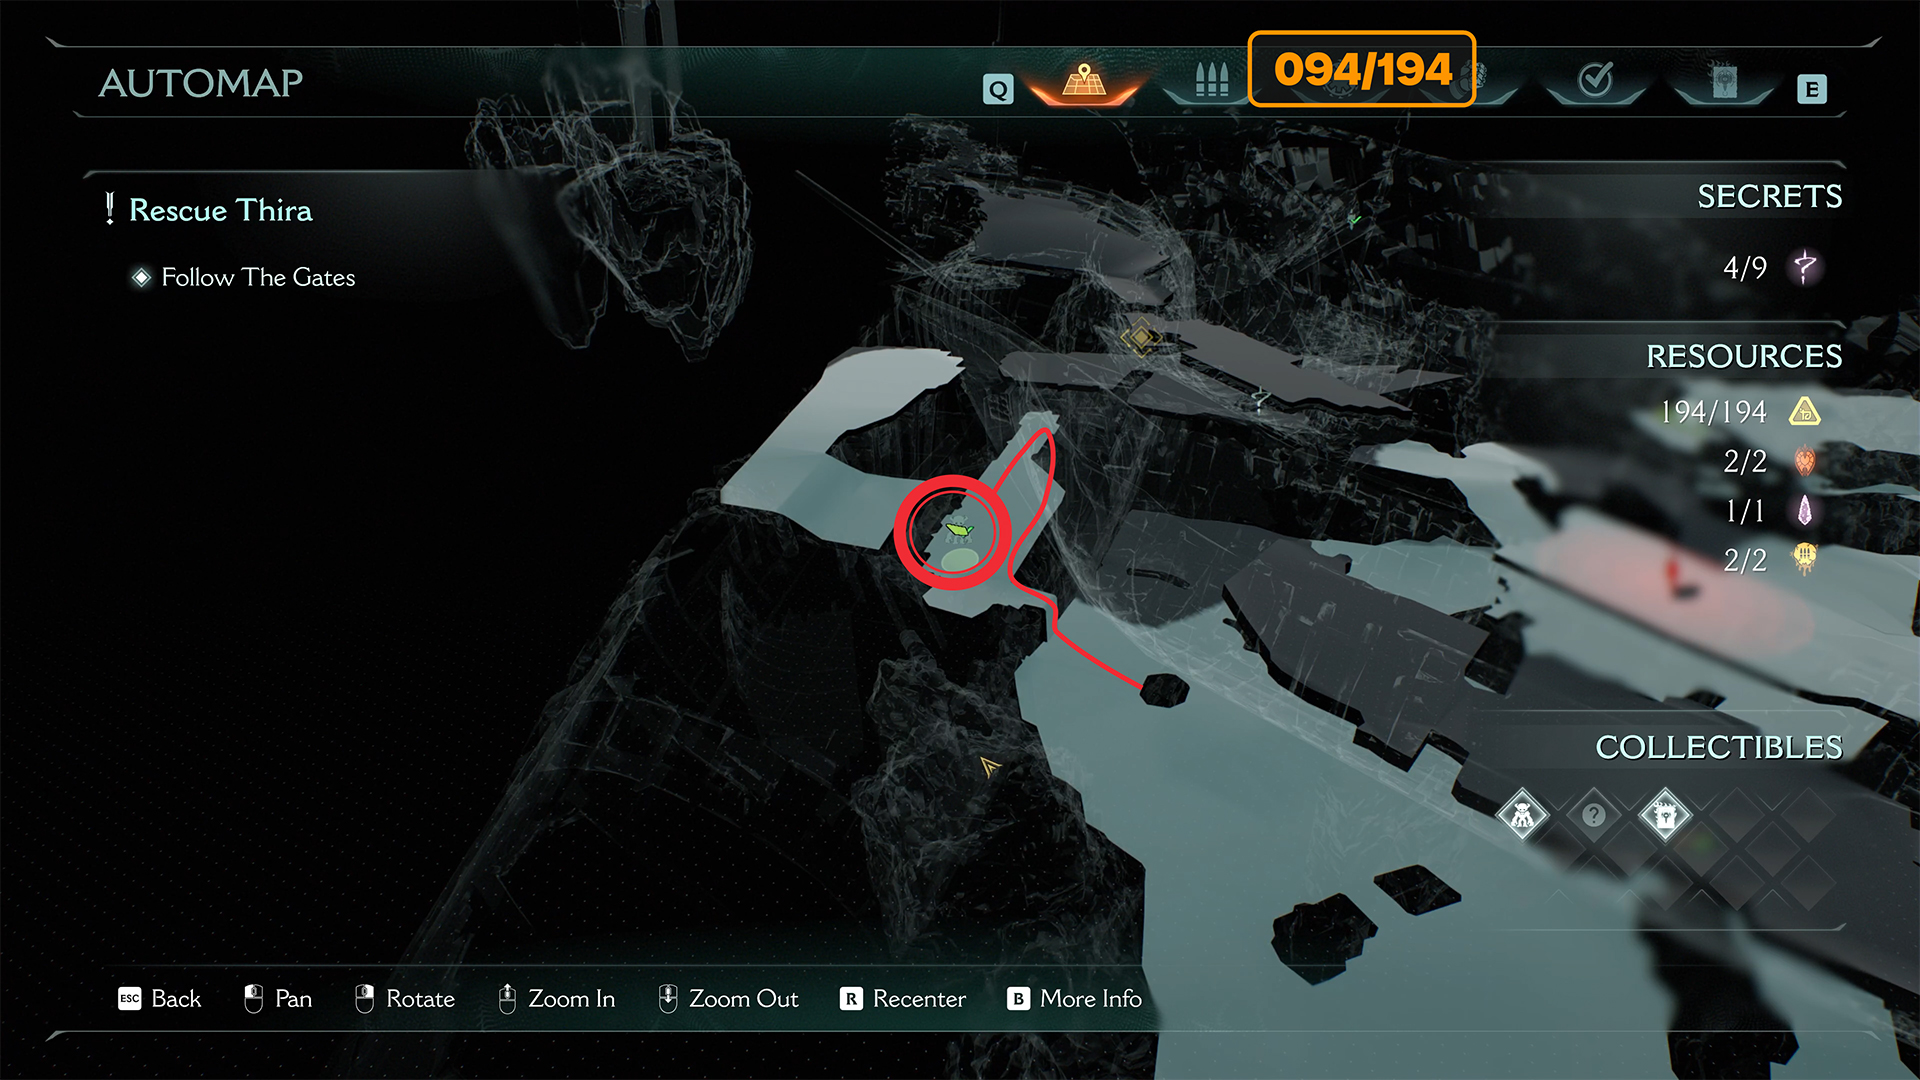
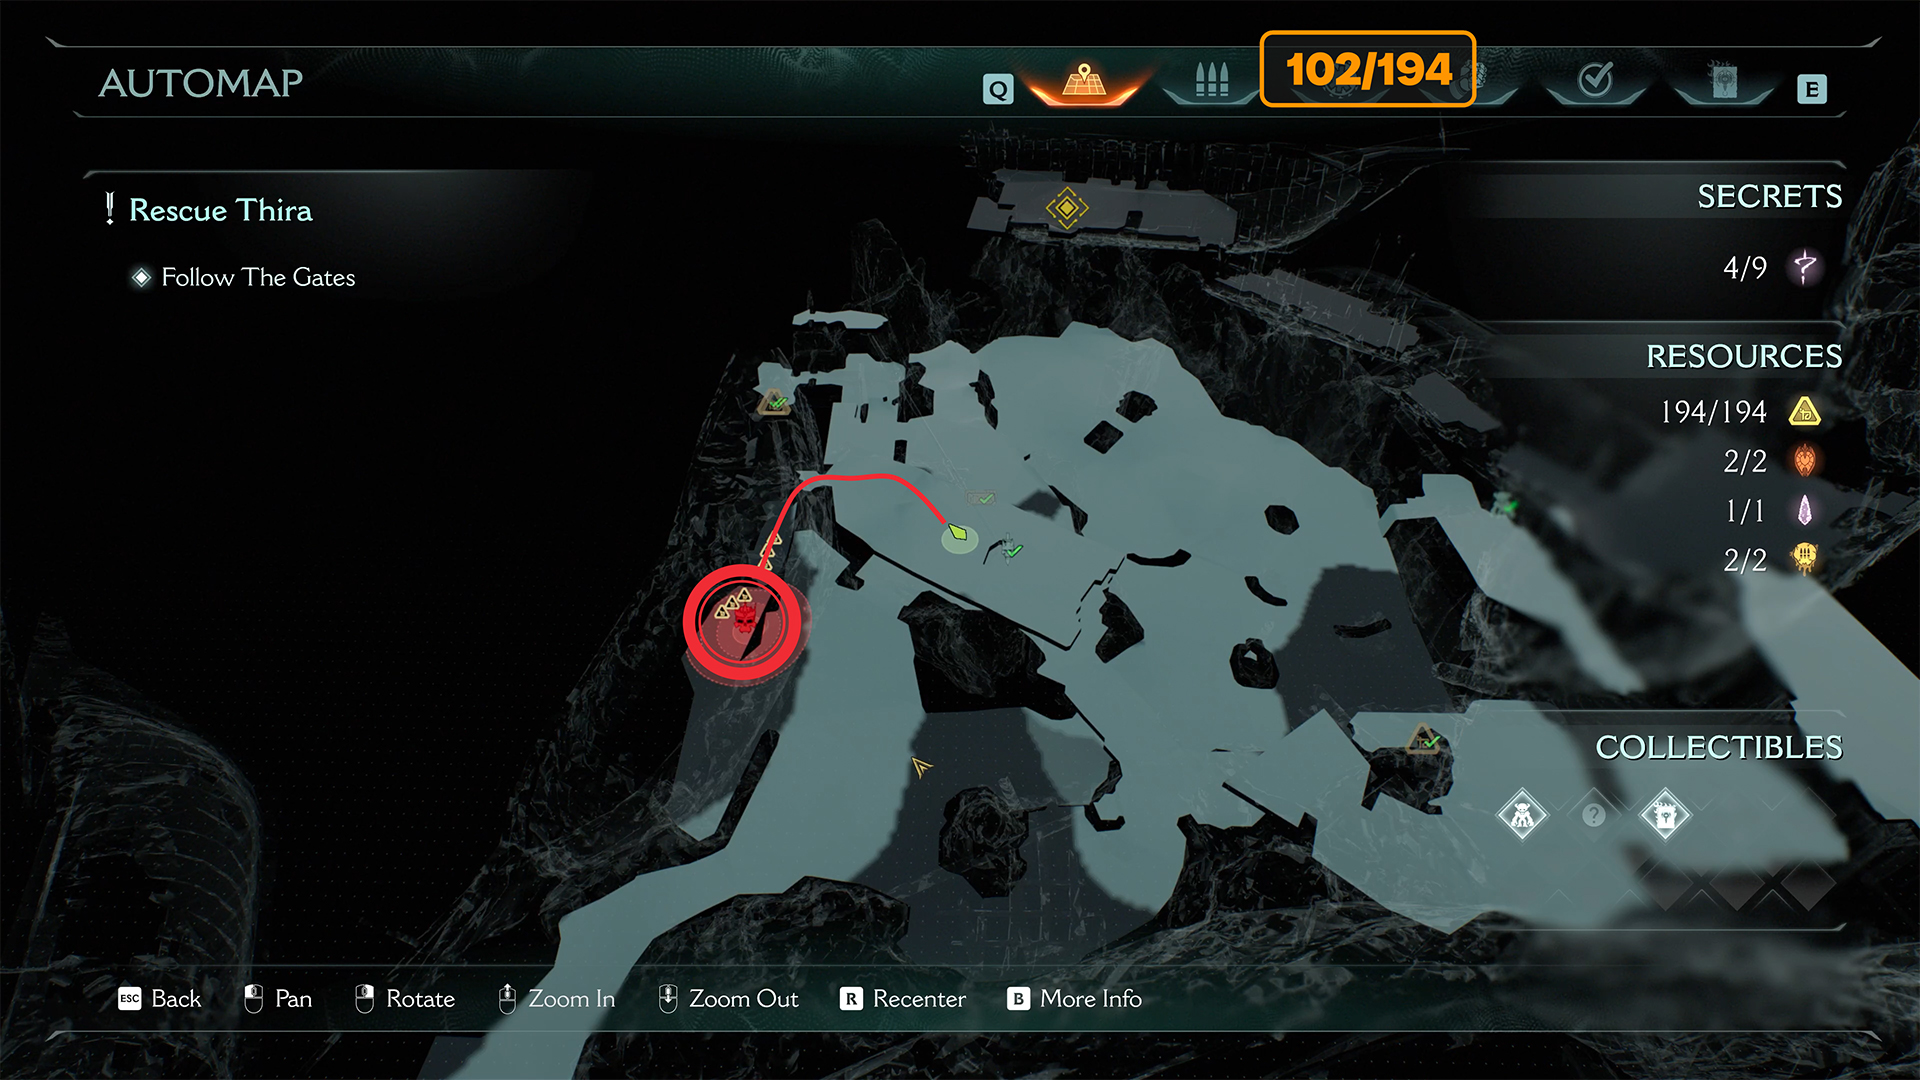
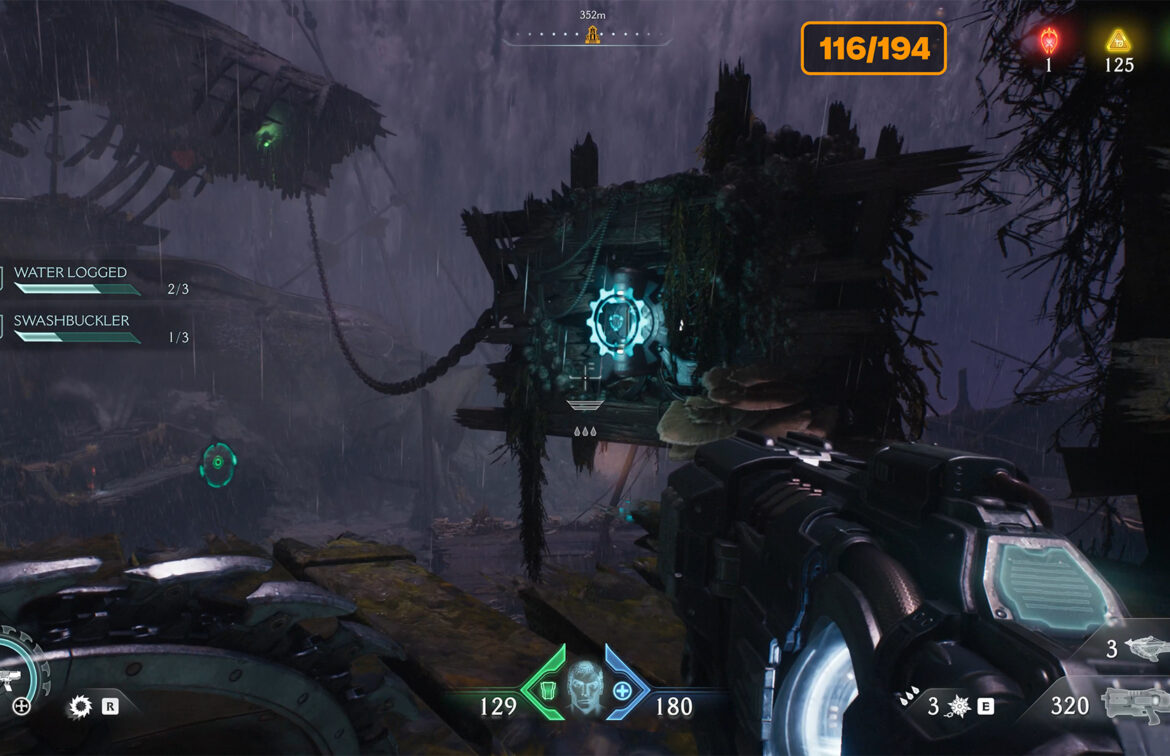
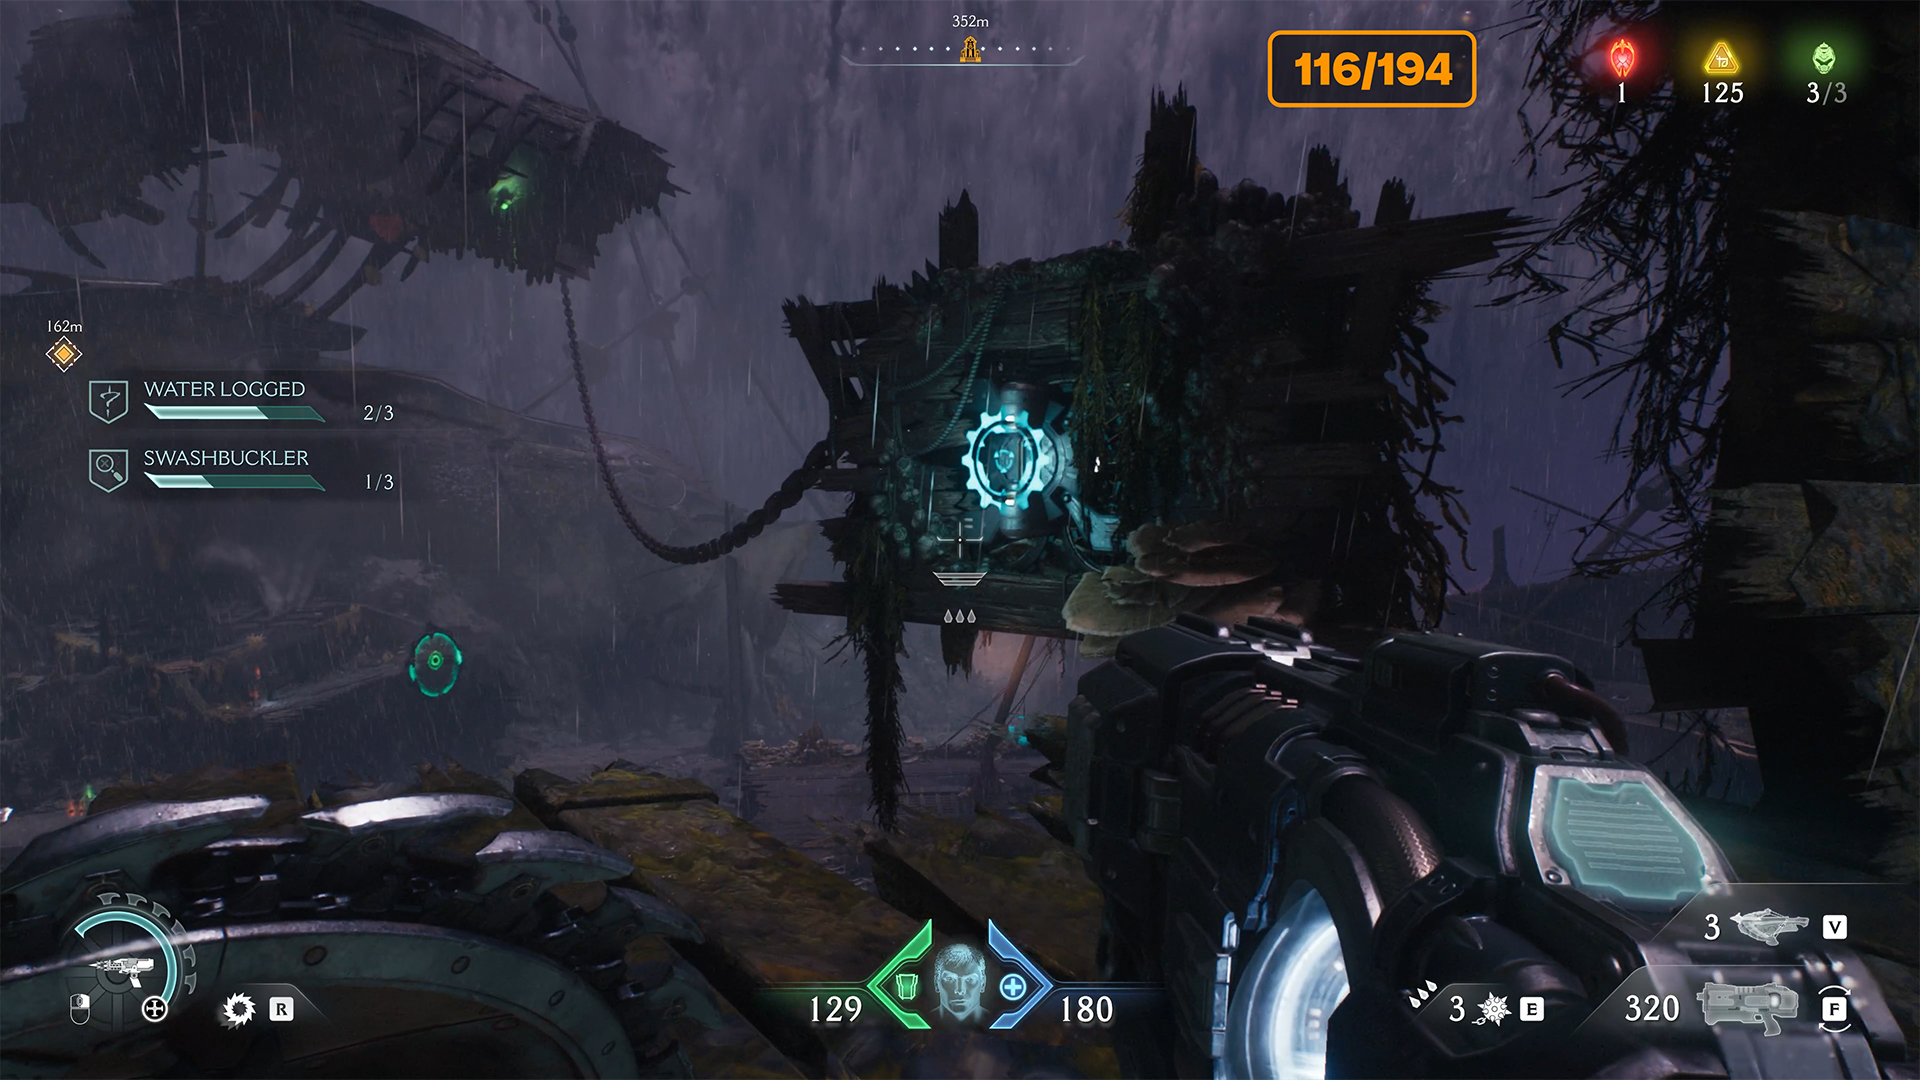
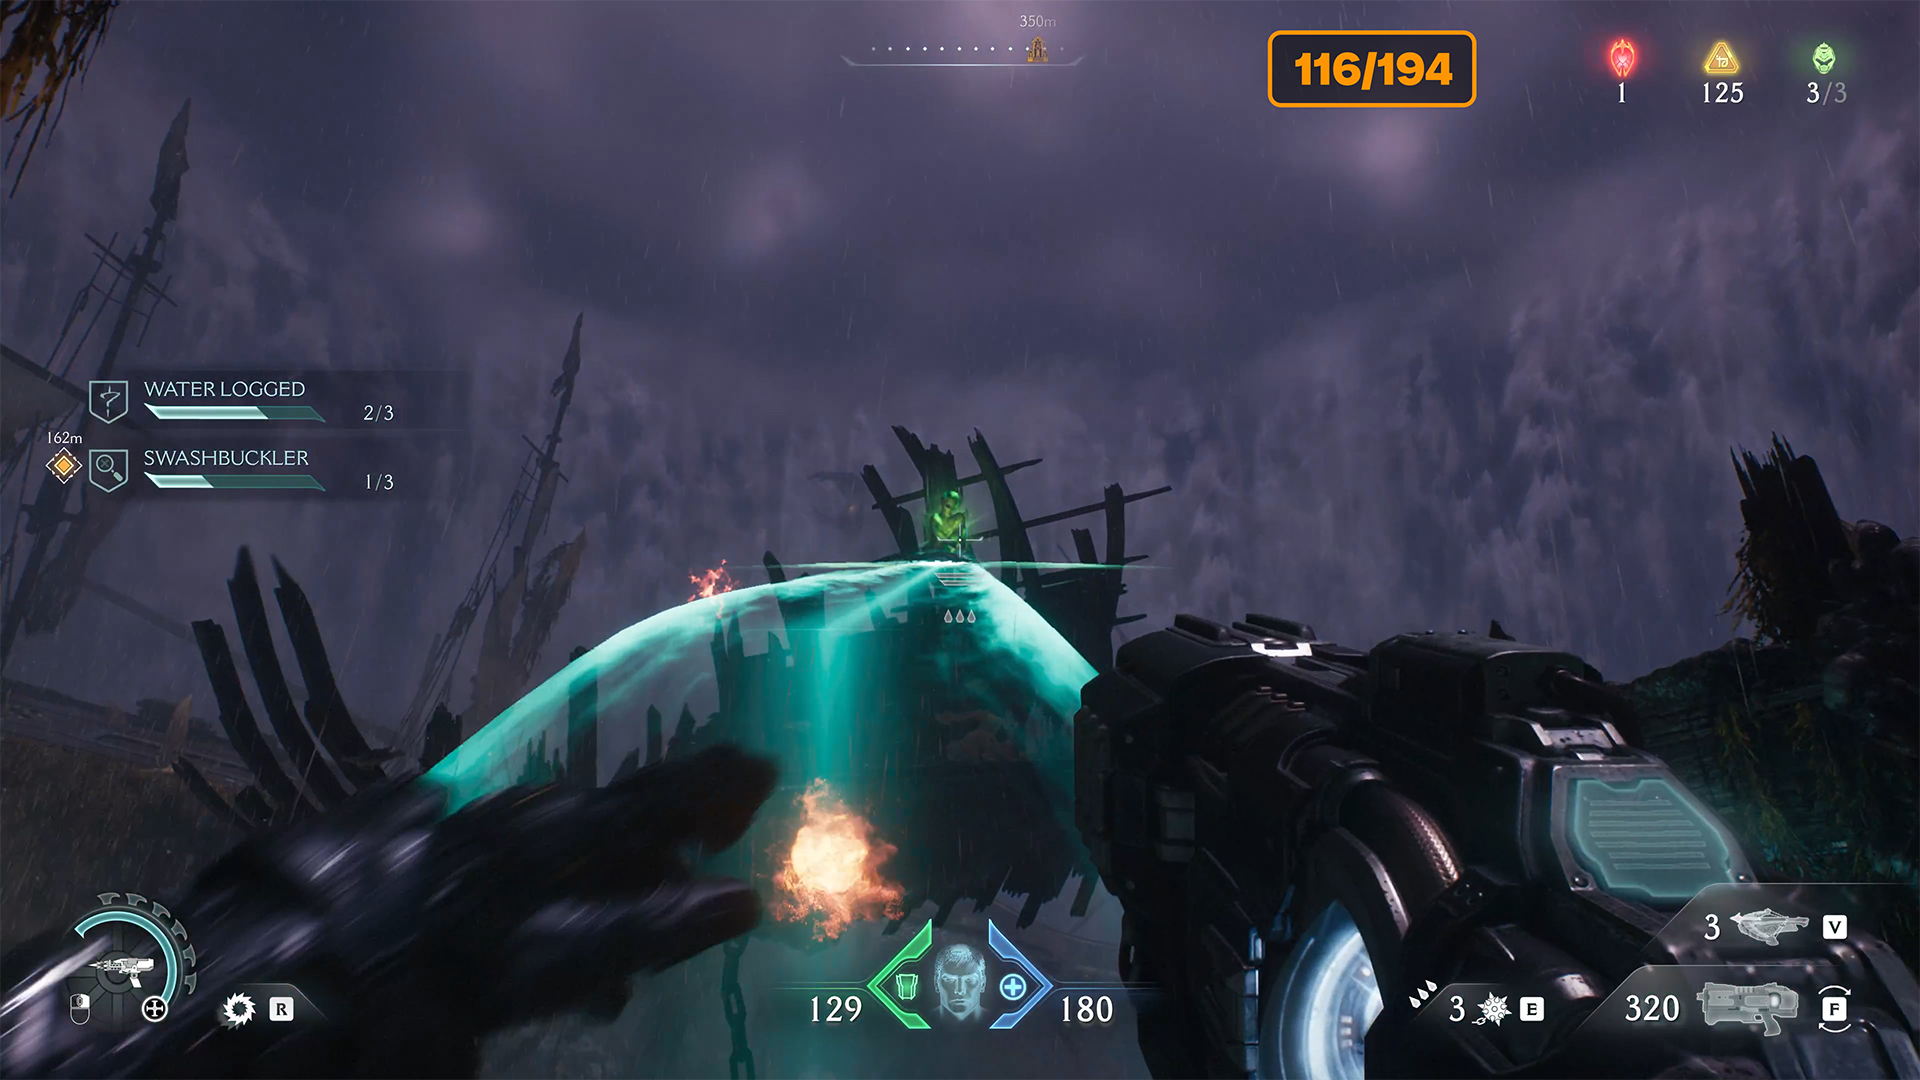
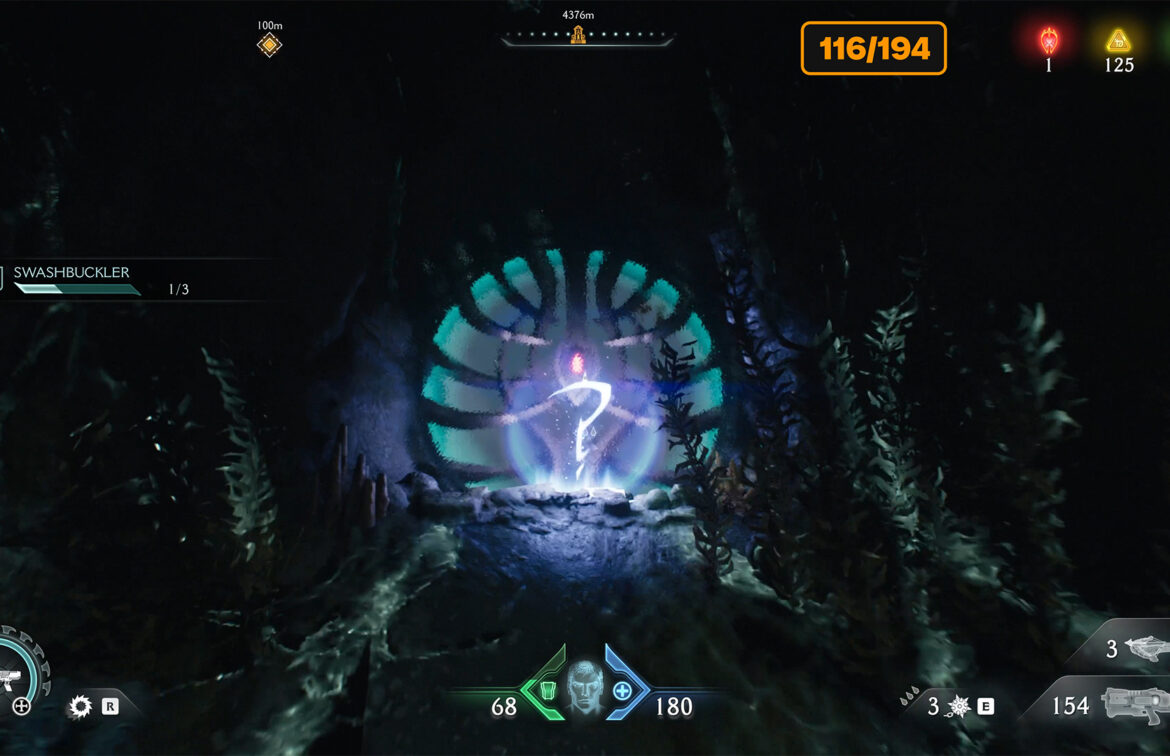
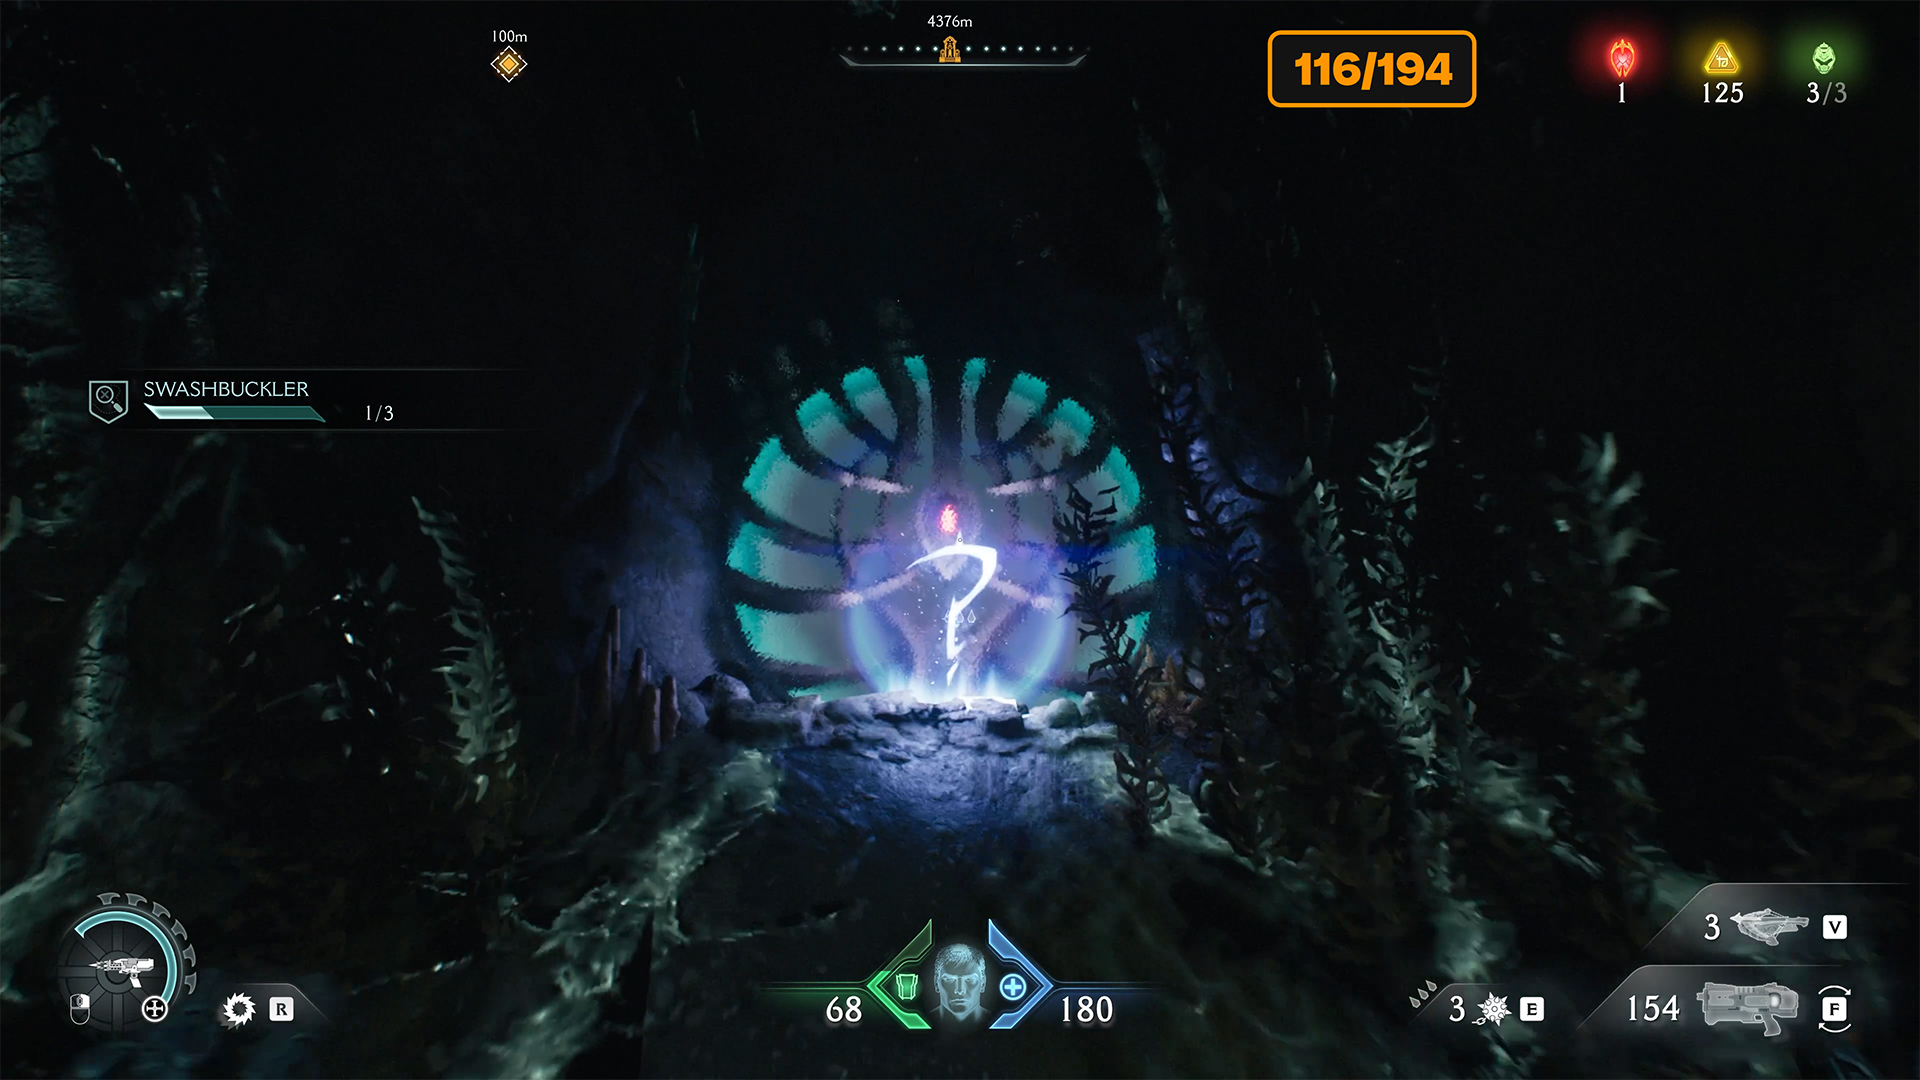
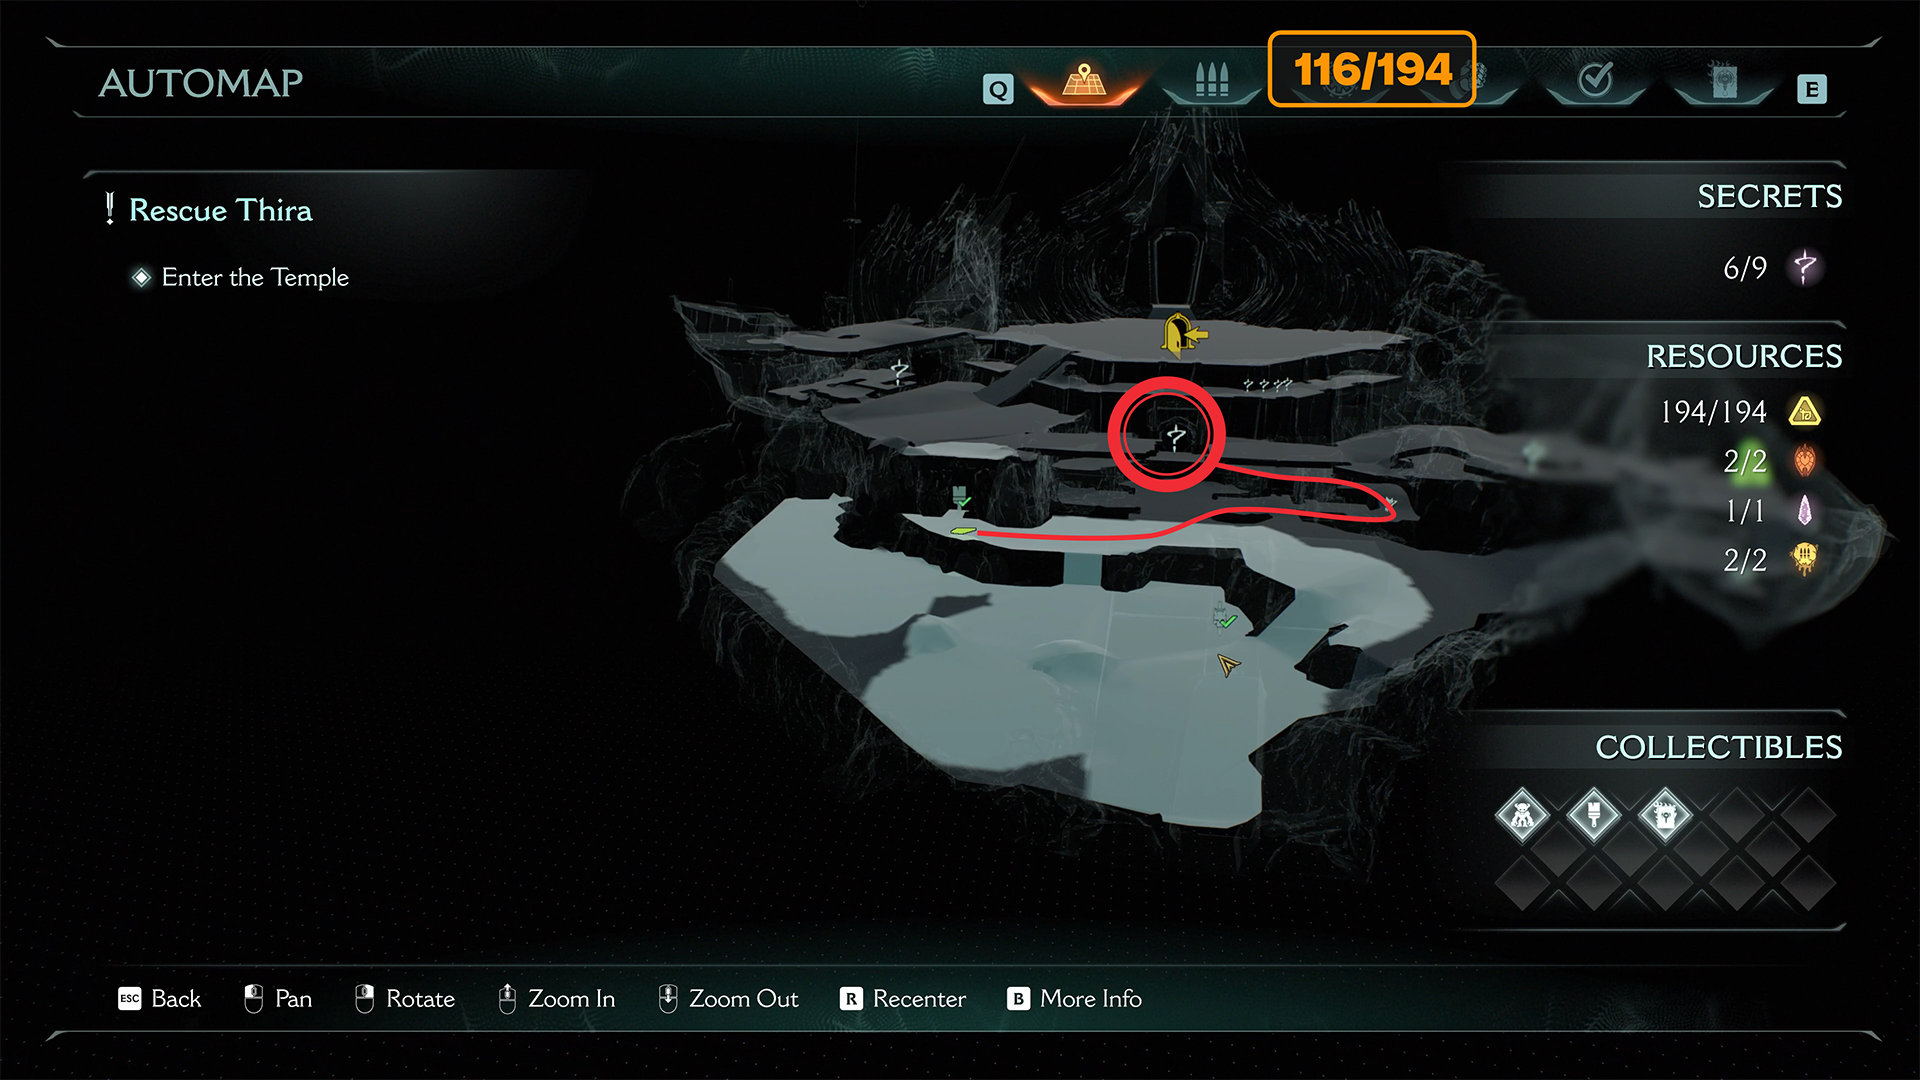
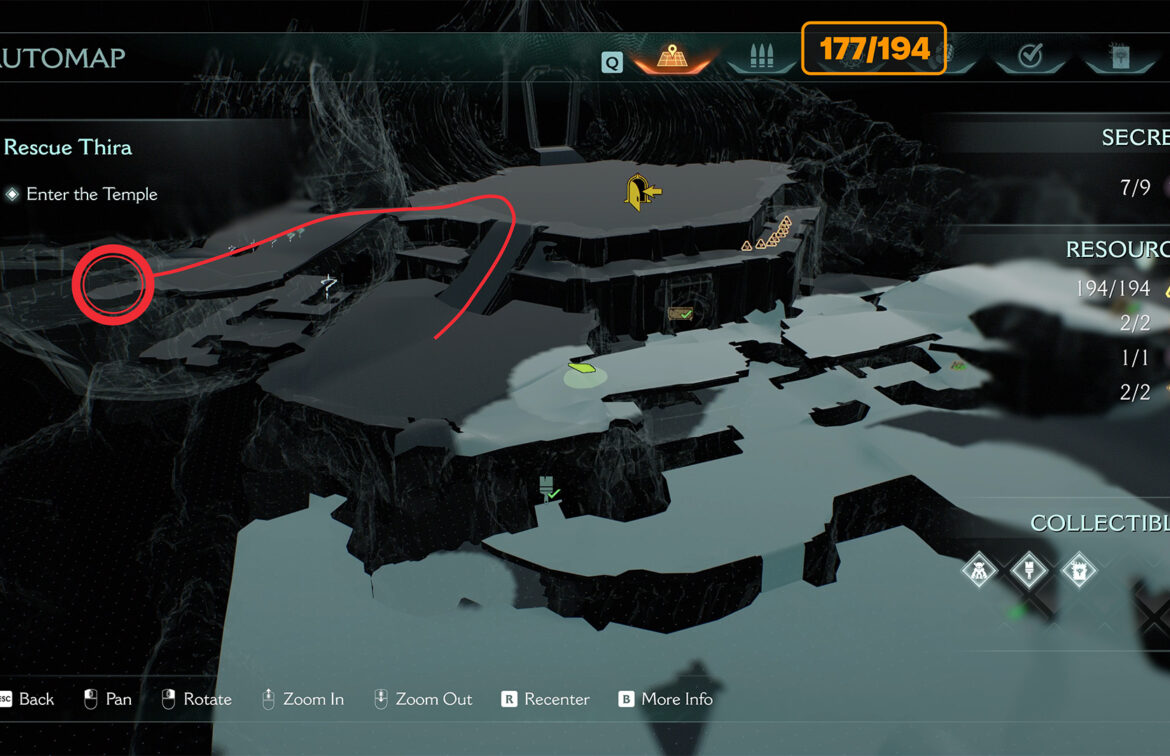
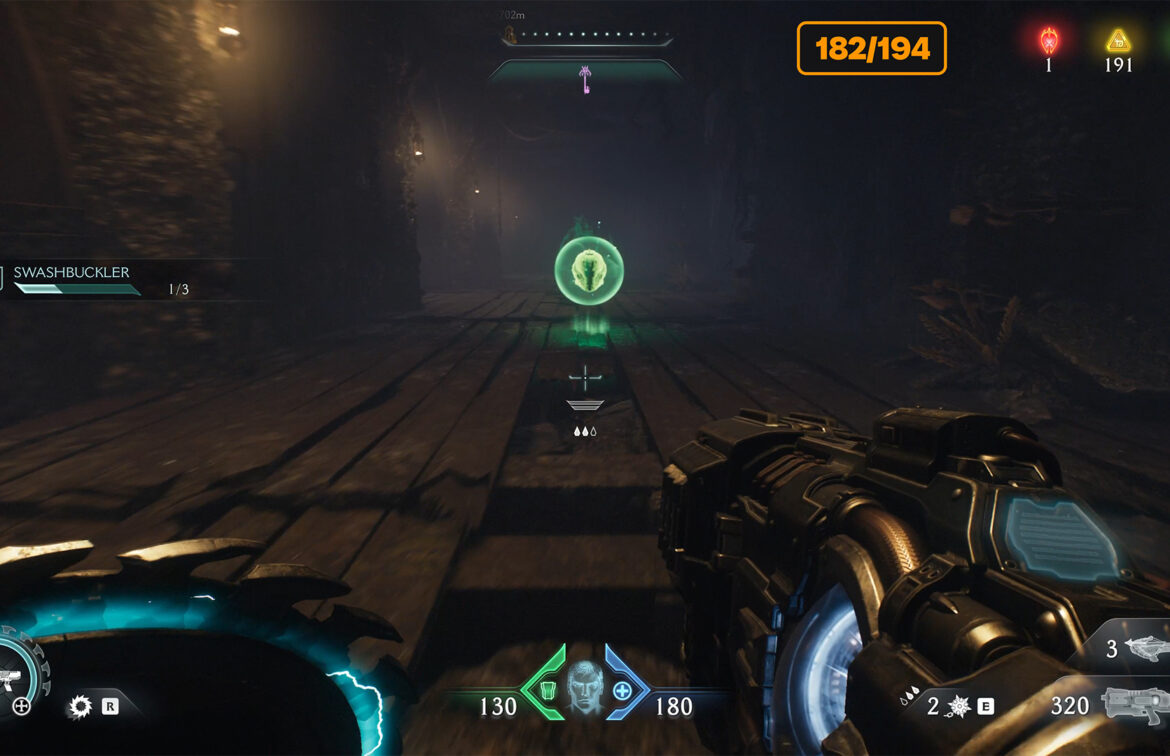
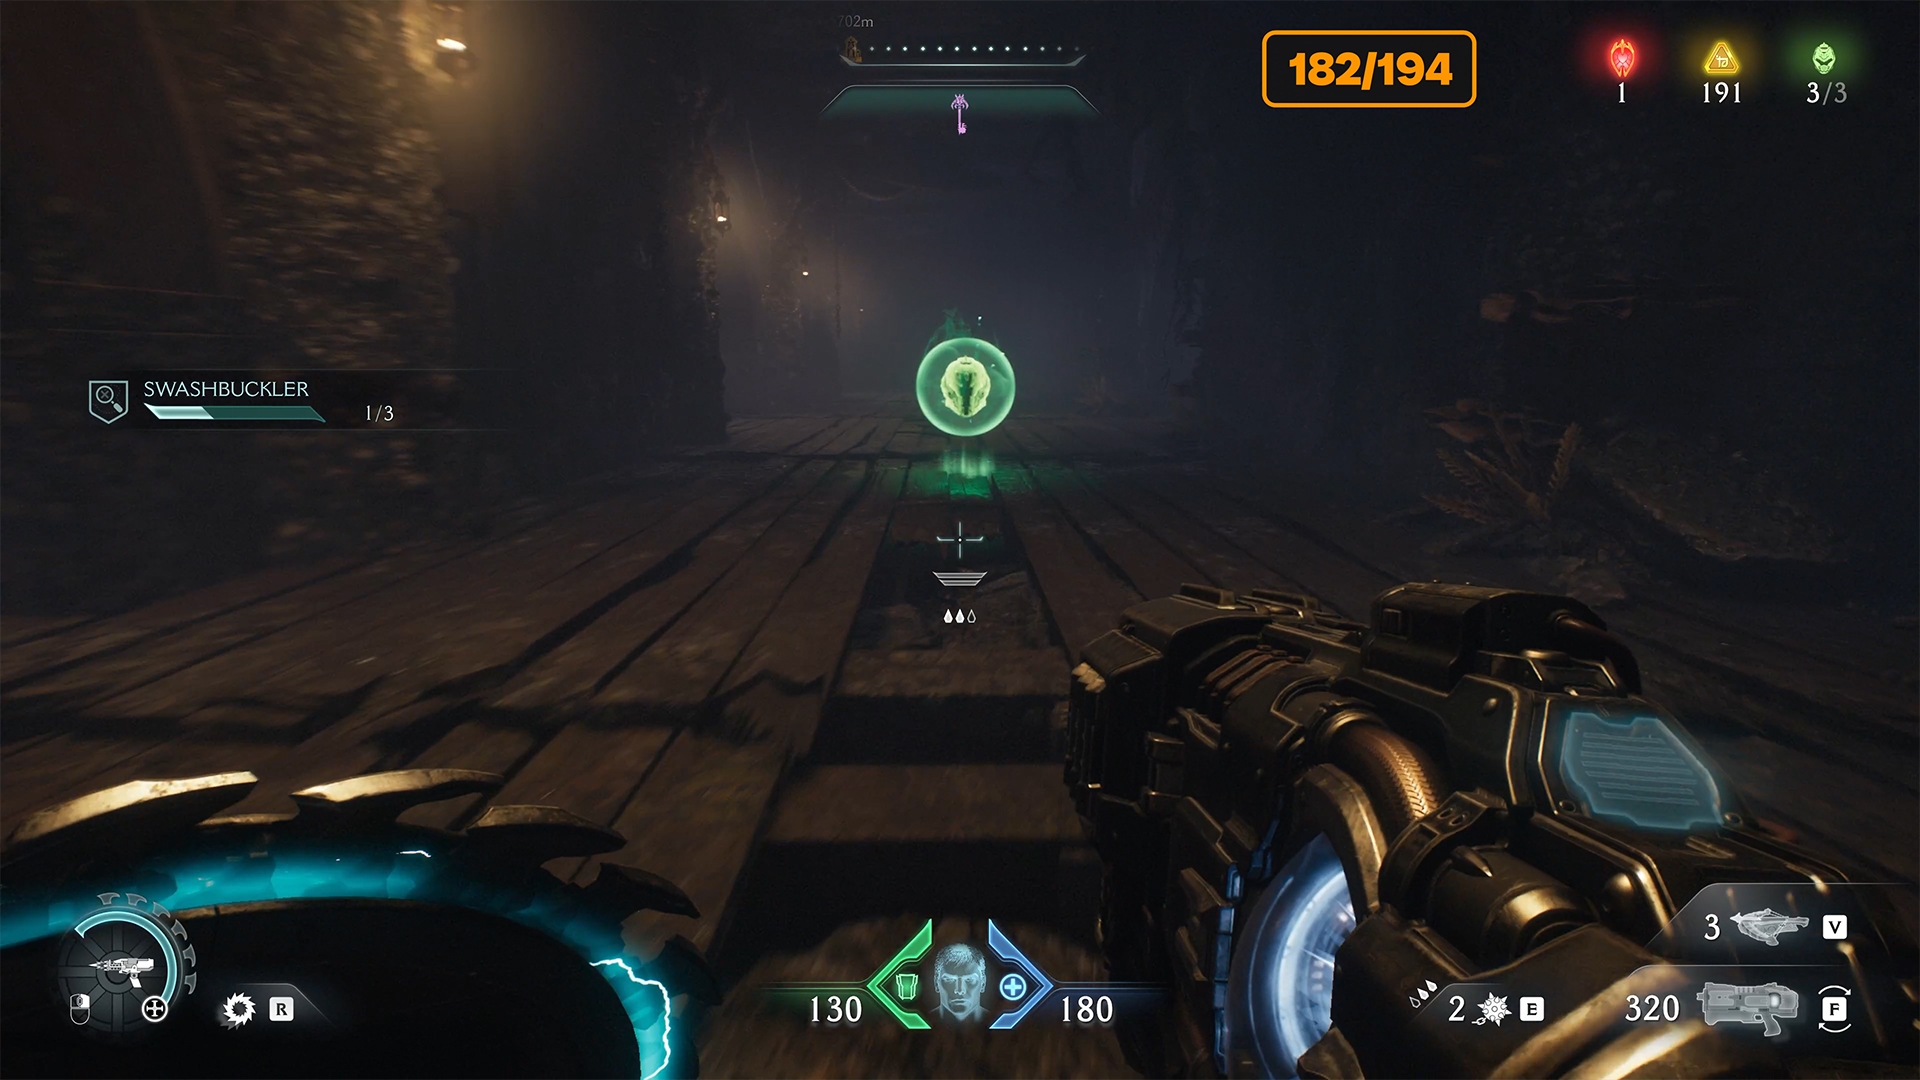
After that, you will come to a large area where you must defeat your enemies. Ahead, you will see a portal. Don’t go to it yet. Instead, follow the path I have drawn on the map. You will see a green statue above you. Throw your shield at it and fly after it to climb onto this platform.
Here you will find 6 gold coins, the first secret, and the first ruby you need to complete the Swashbuckler challenge. After that, you can enter the large portal to continue your journey.
-
- Temple of Lomarith ruby location
-
- Green statue to climb
-
- Gold on the way to ruby
-
- Temple of Lomarith ruby
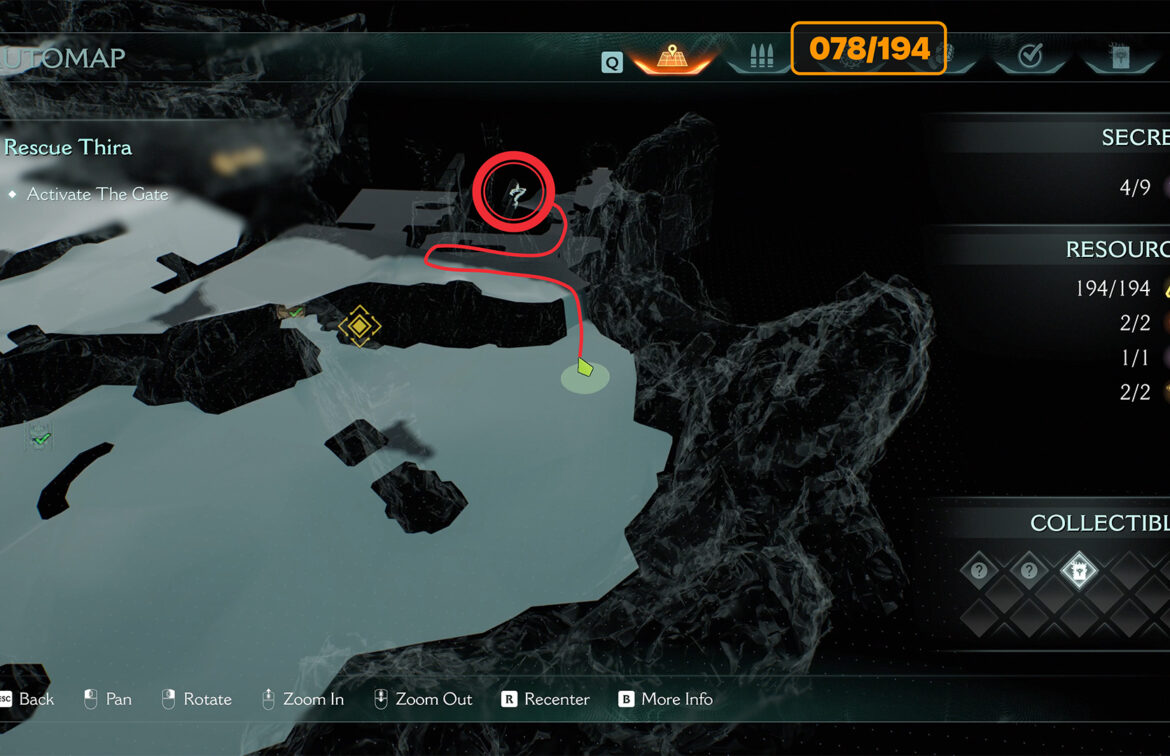
Temple of Lomarith codex location
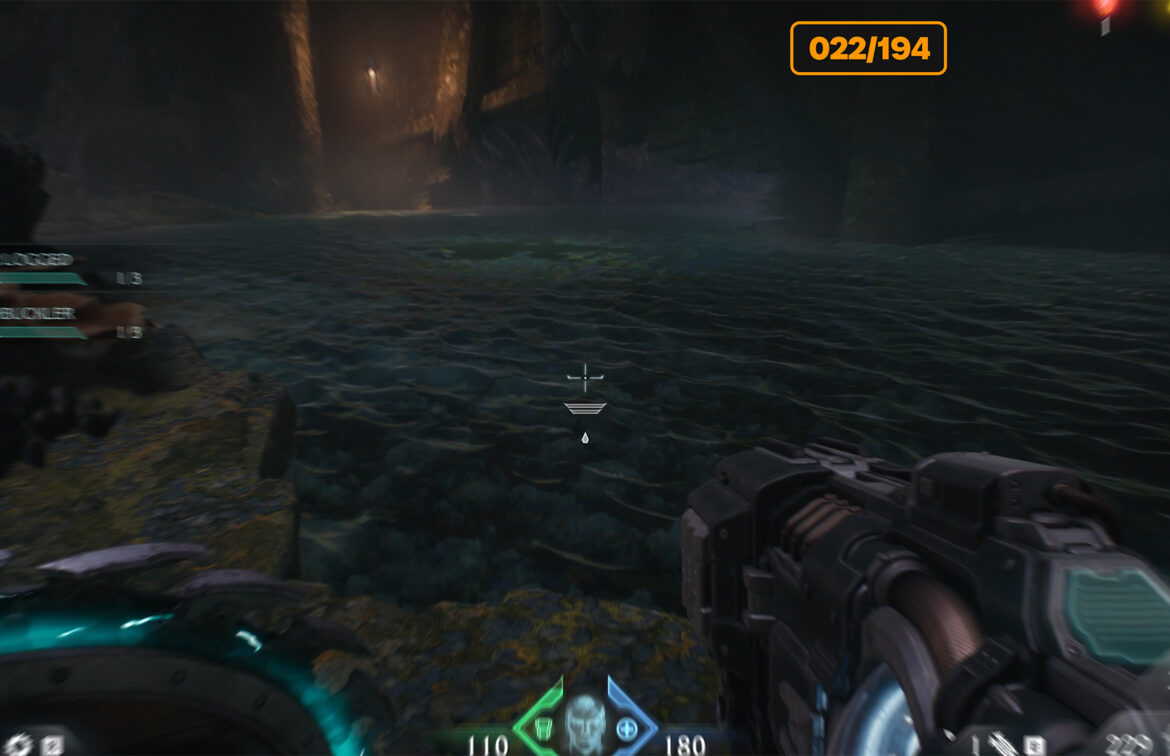
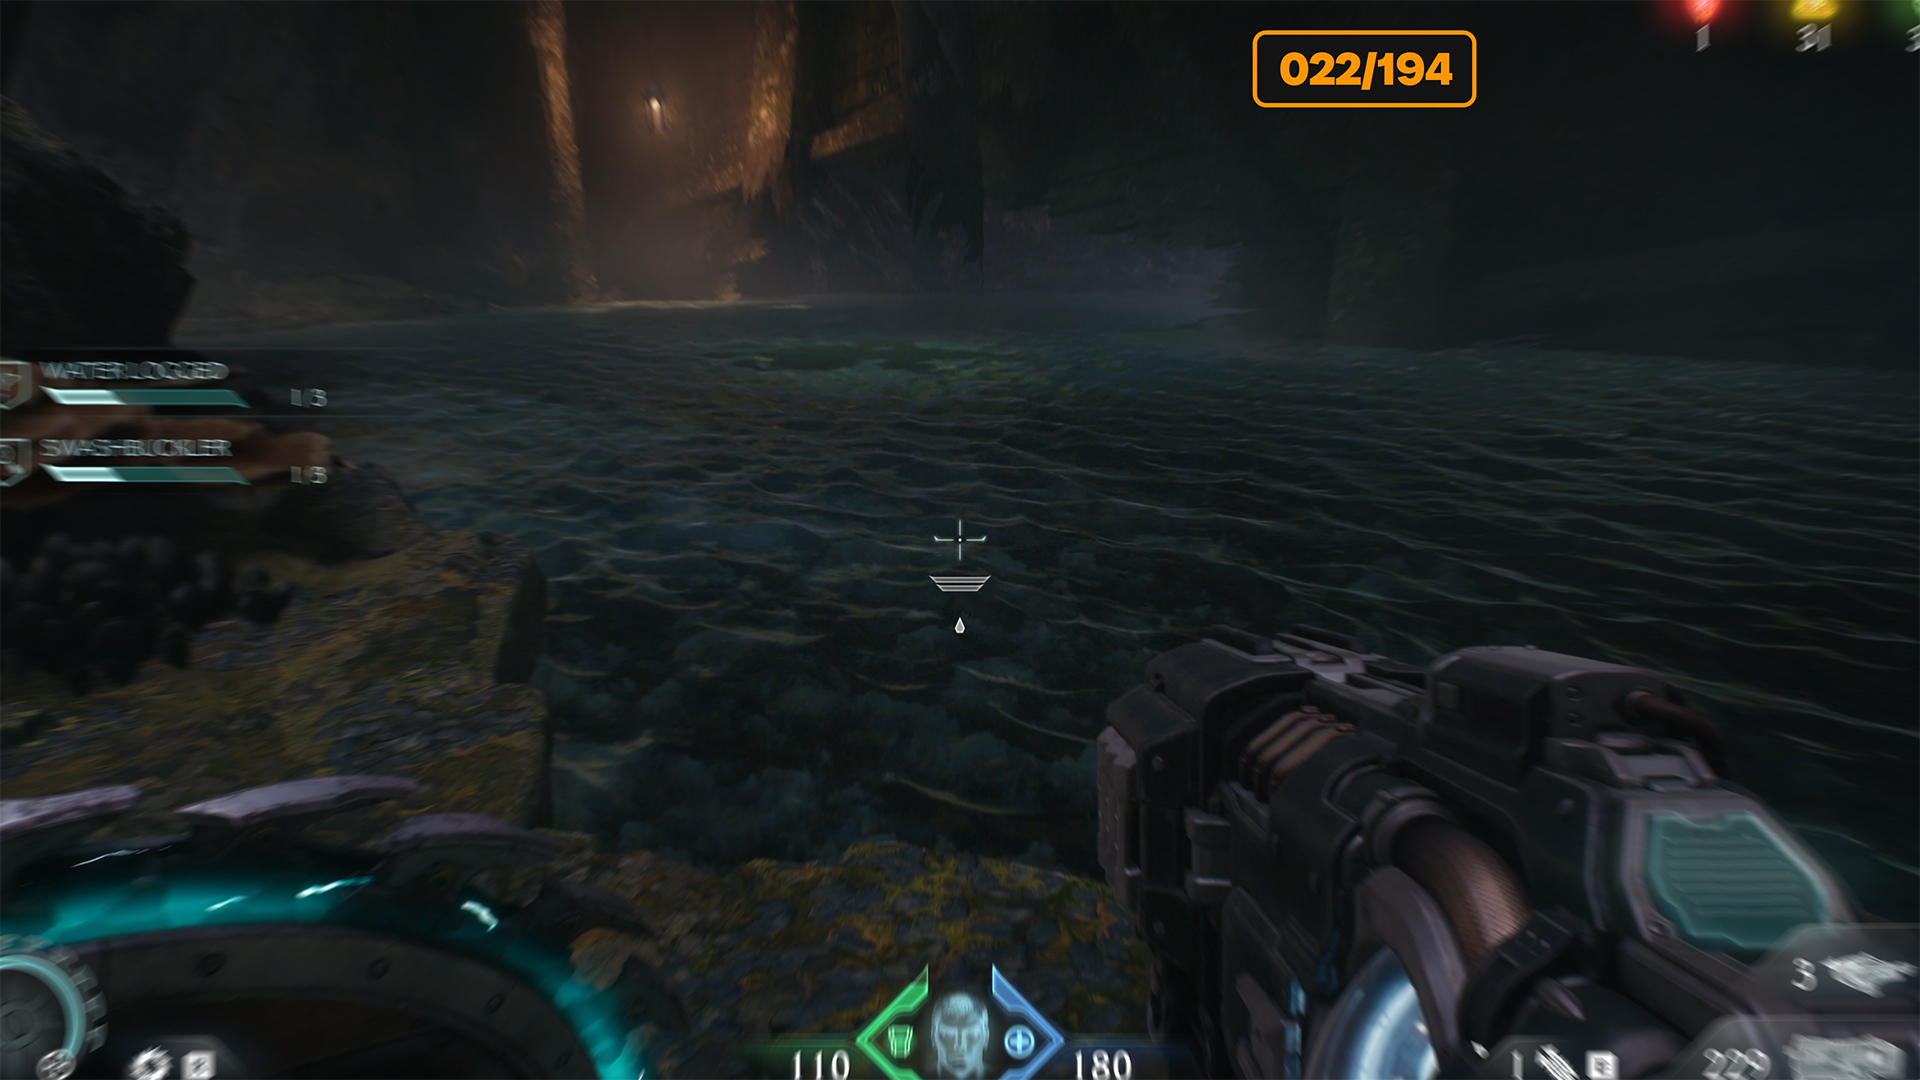
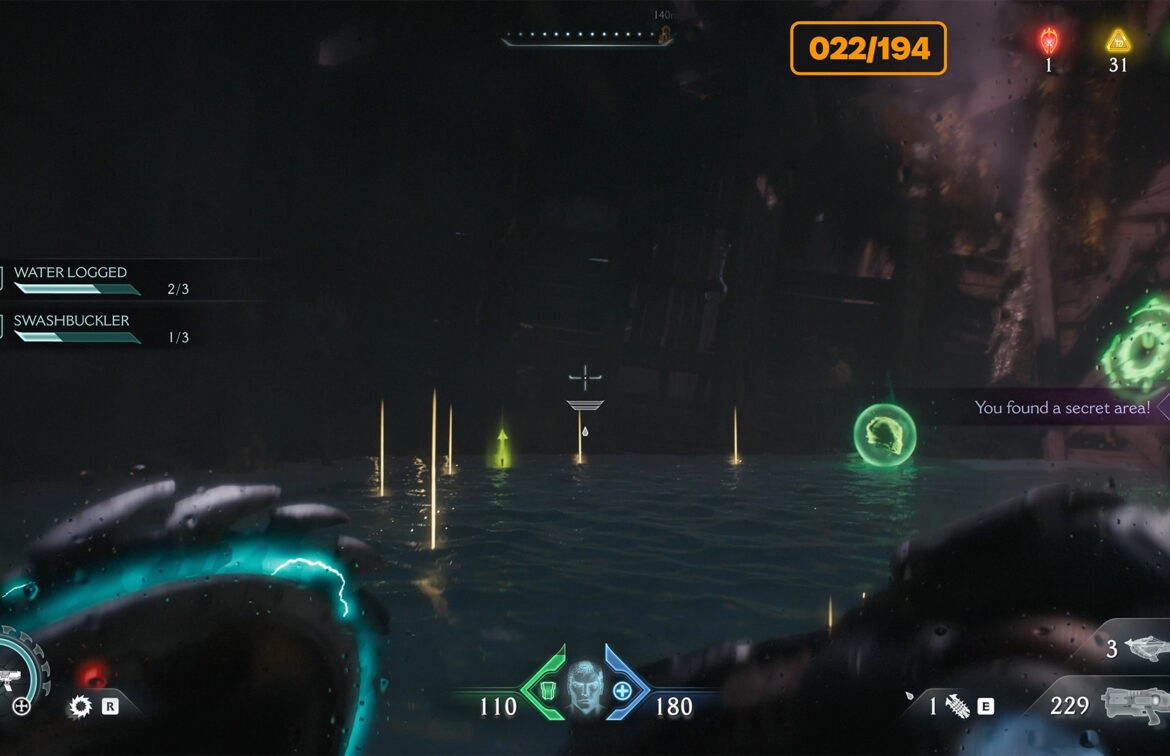
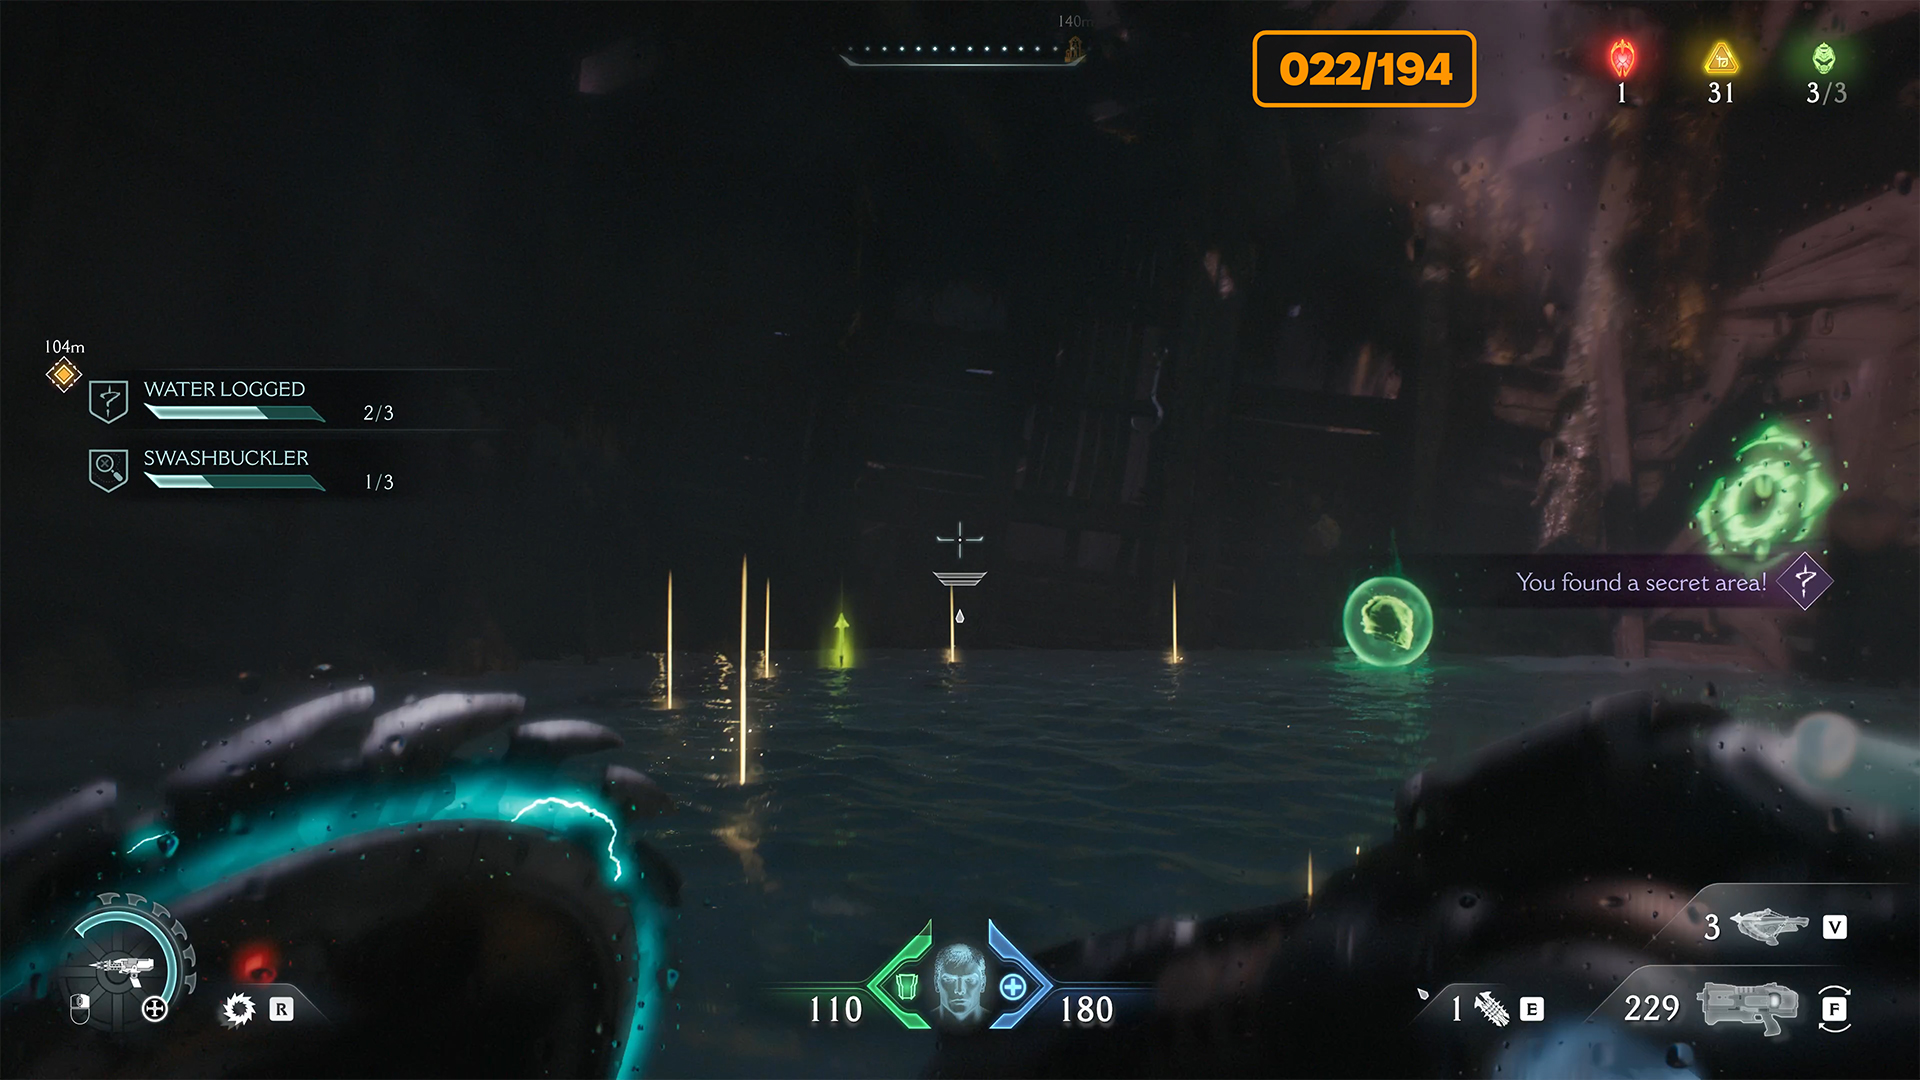
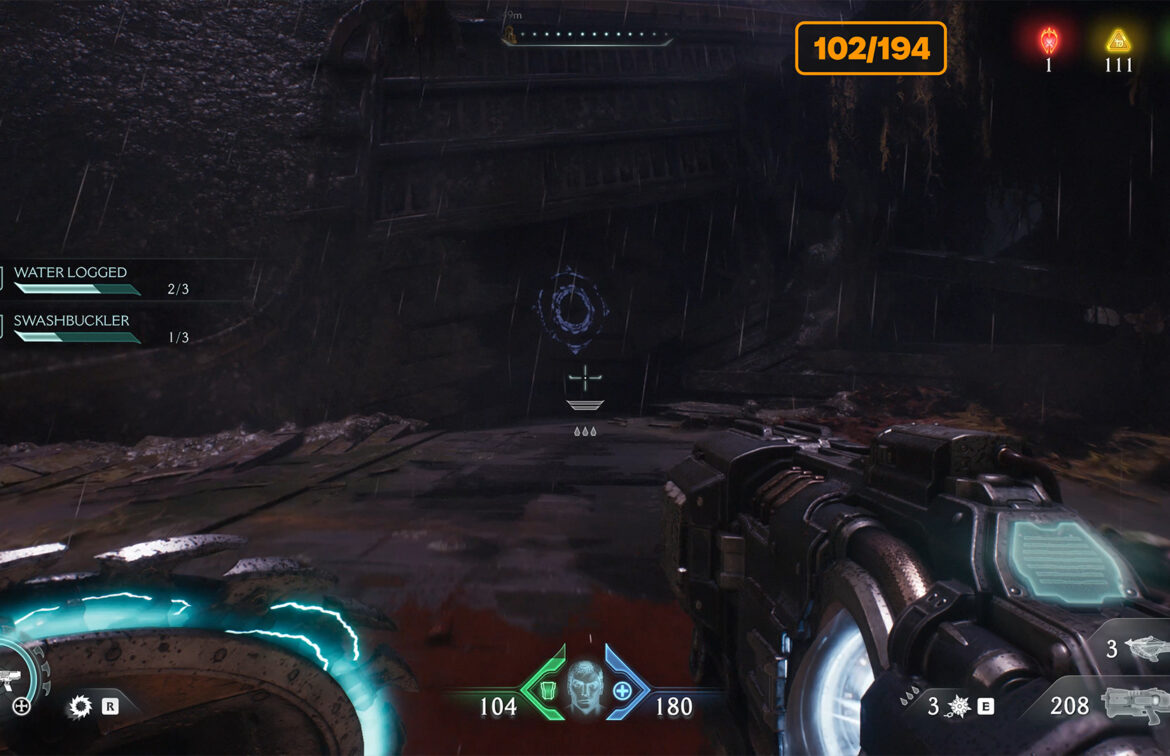
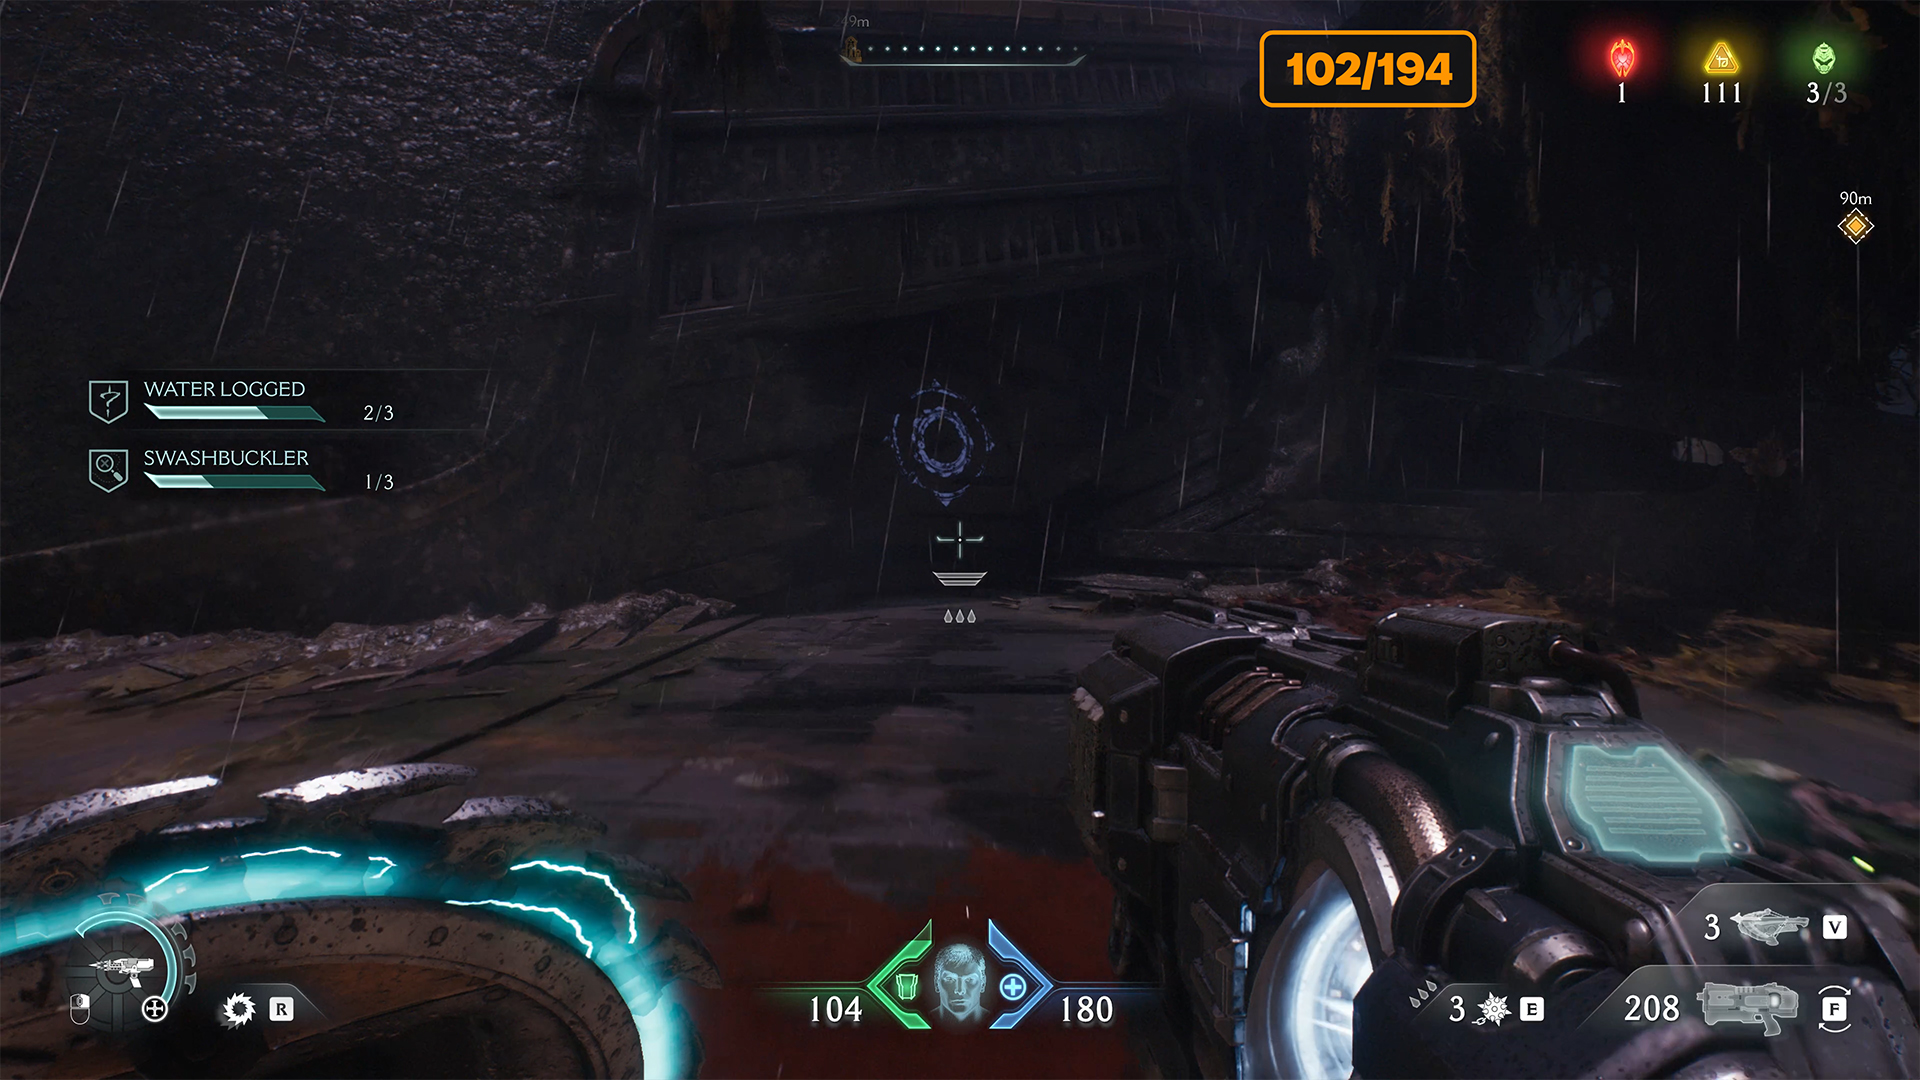
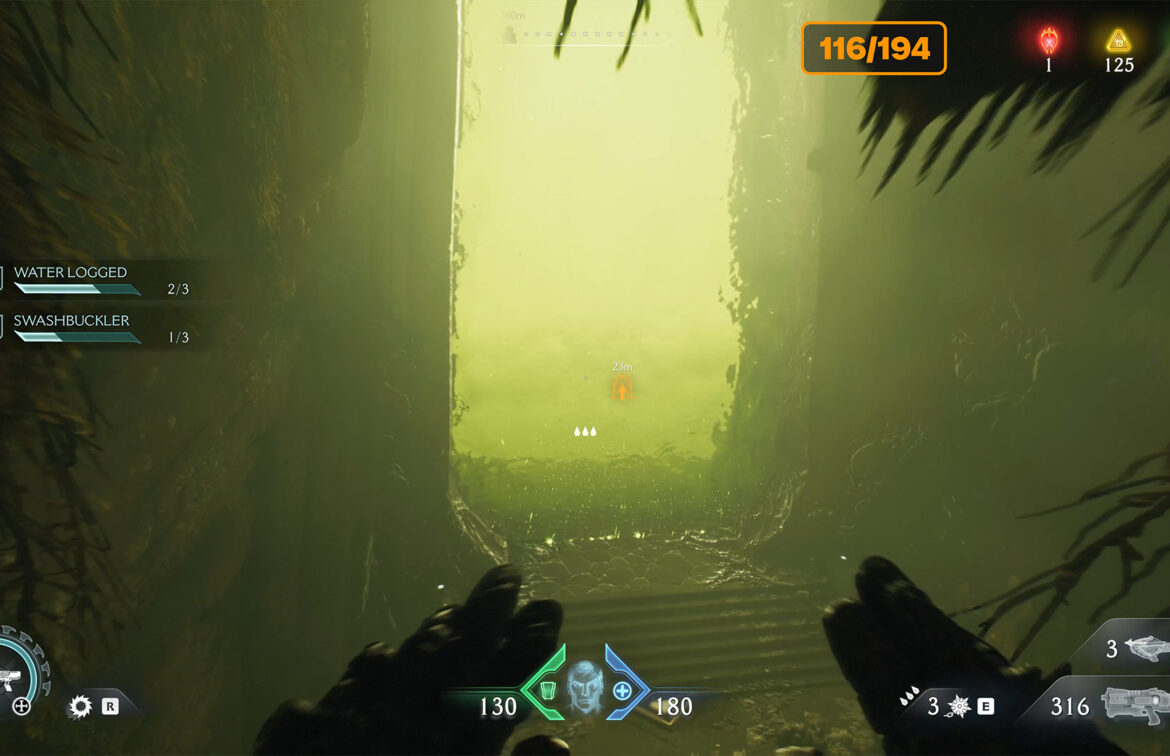
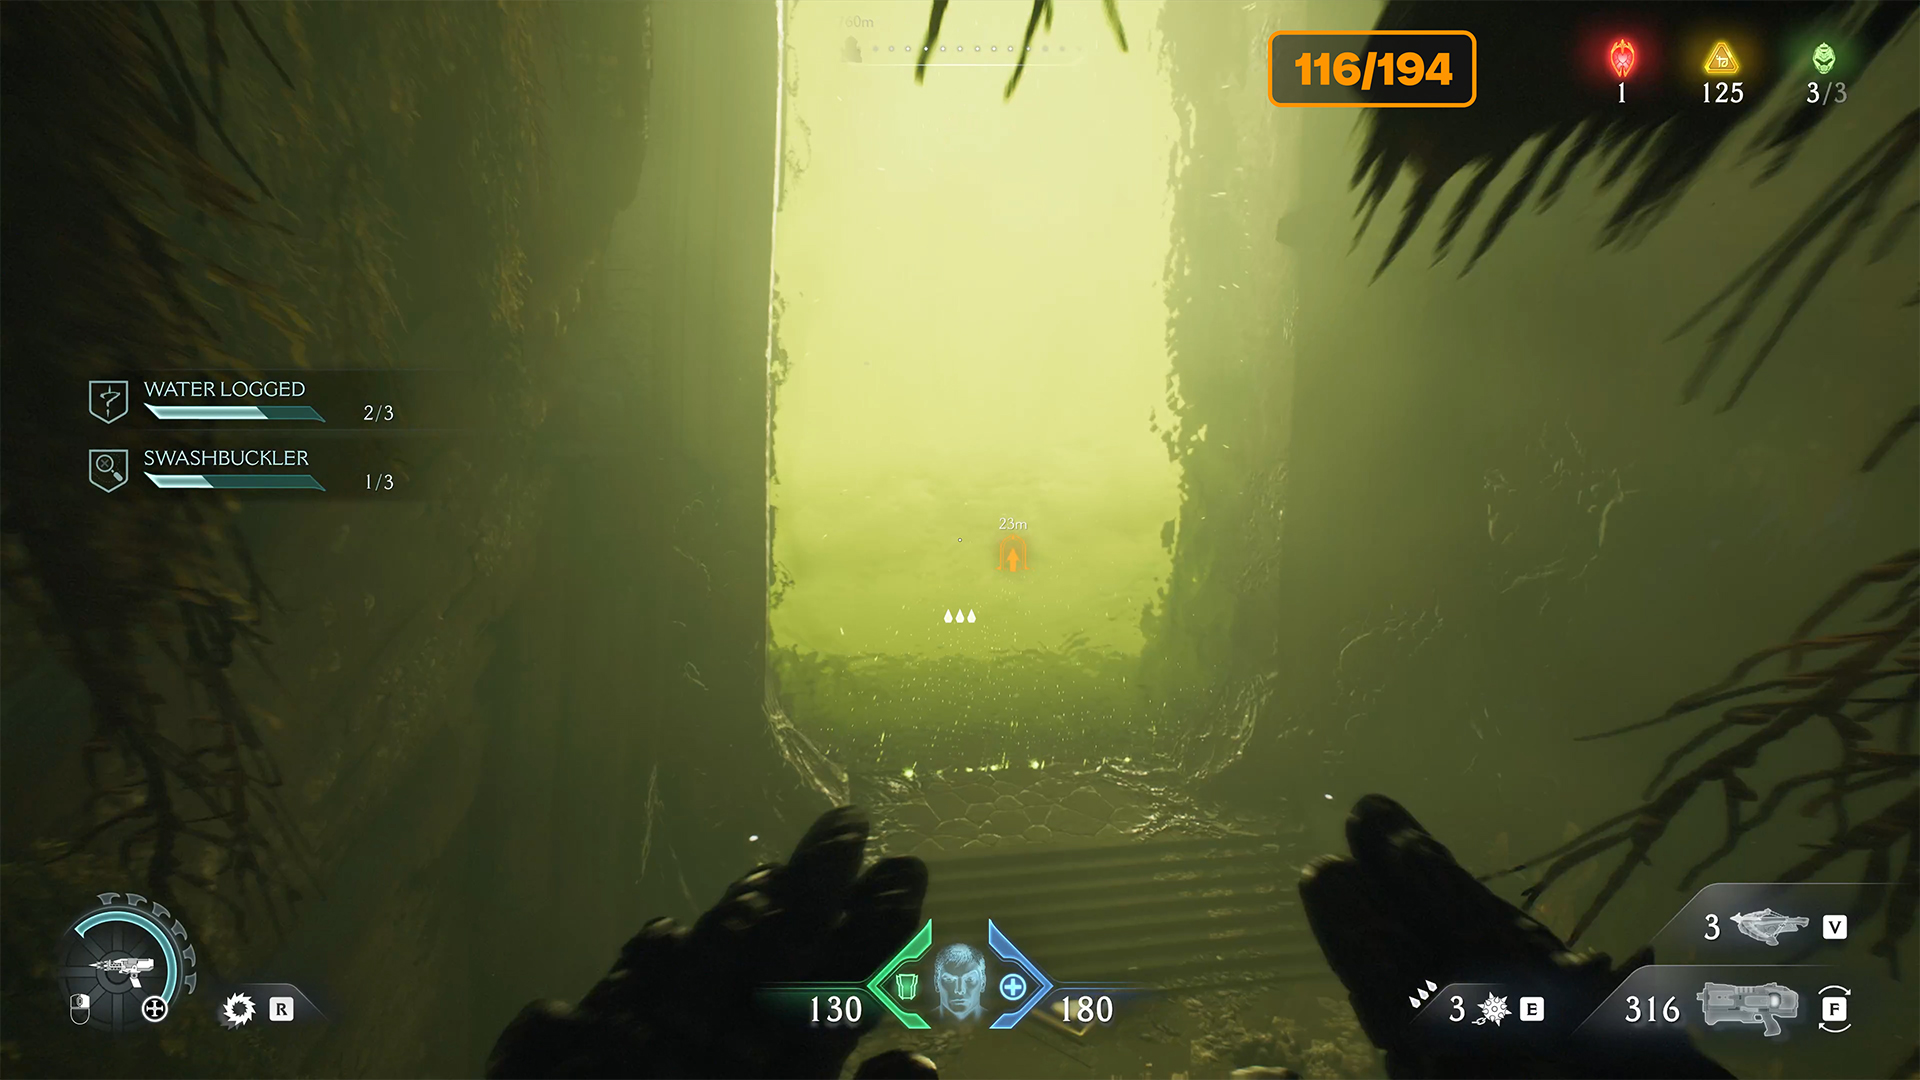
After passing through the portal, you will find yourself in the underwater section. Swim towards the marker indicating the exit. On the way, you will encounter a ship with a destroyed side. When you swim into this ship, turn right. Here you will find the second secret and a page of the codex. You must find this place to complete the Water Logged challenge. After that, swim to the exit of the underwater section and enter the portal.
-
- Temple of Lomarith codex location
-
- The ship you need to sail into
-

- Temple of Lomarith codex

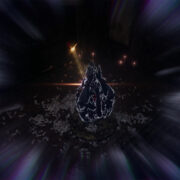
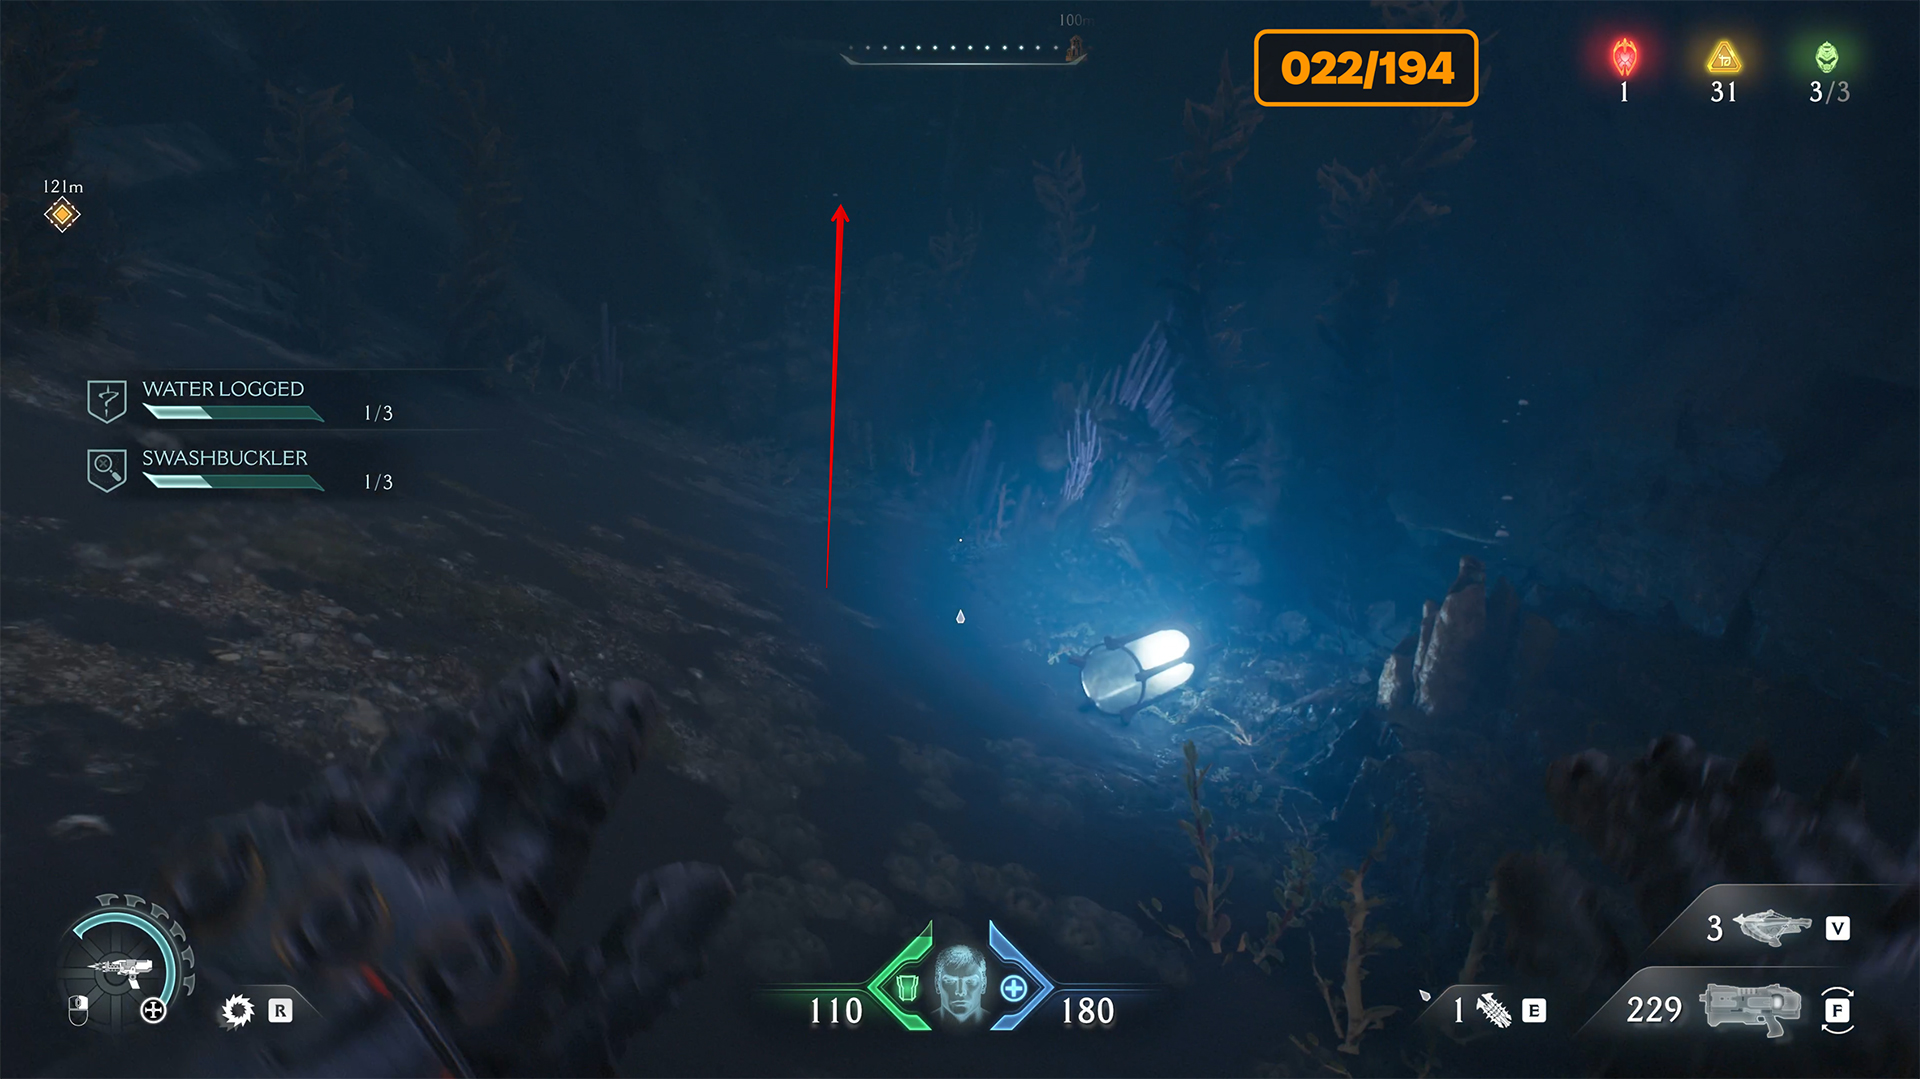
Temple of Lomarith Life Sigil
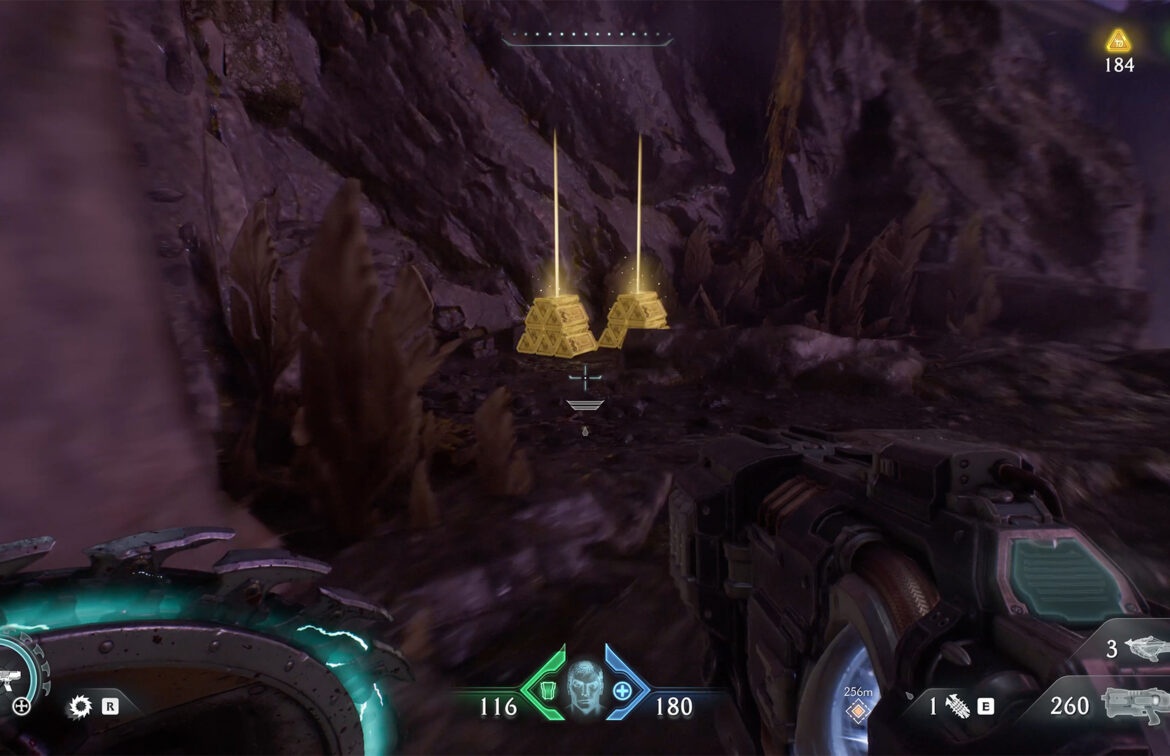
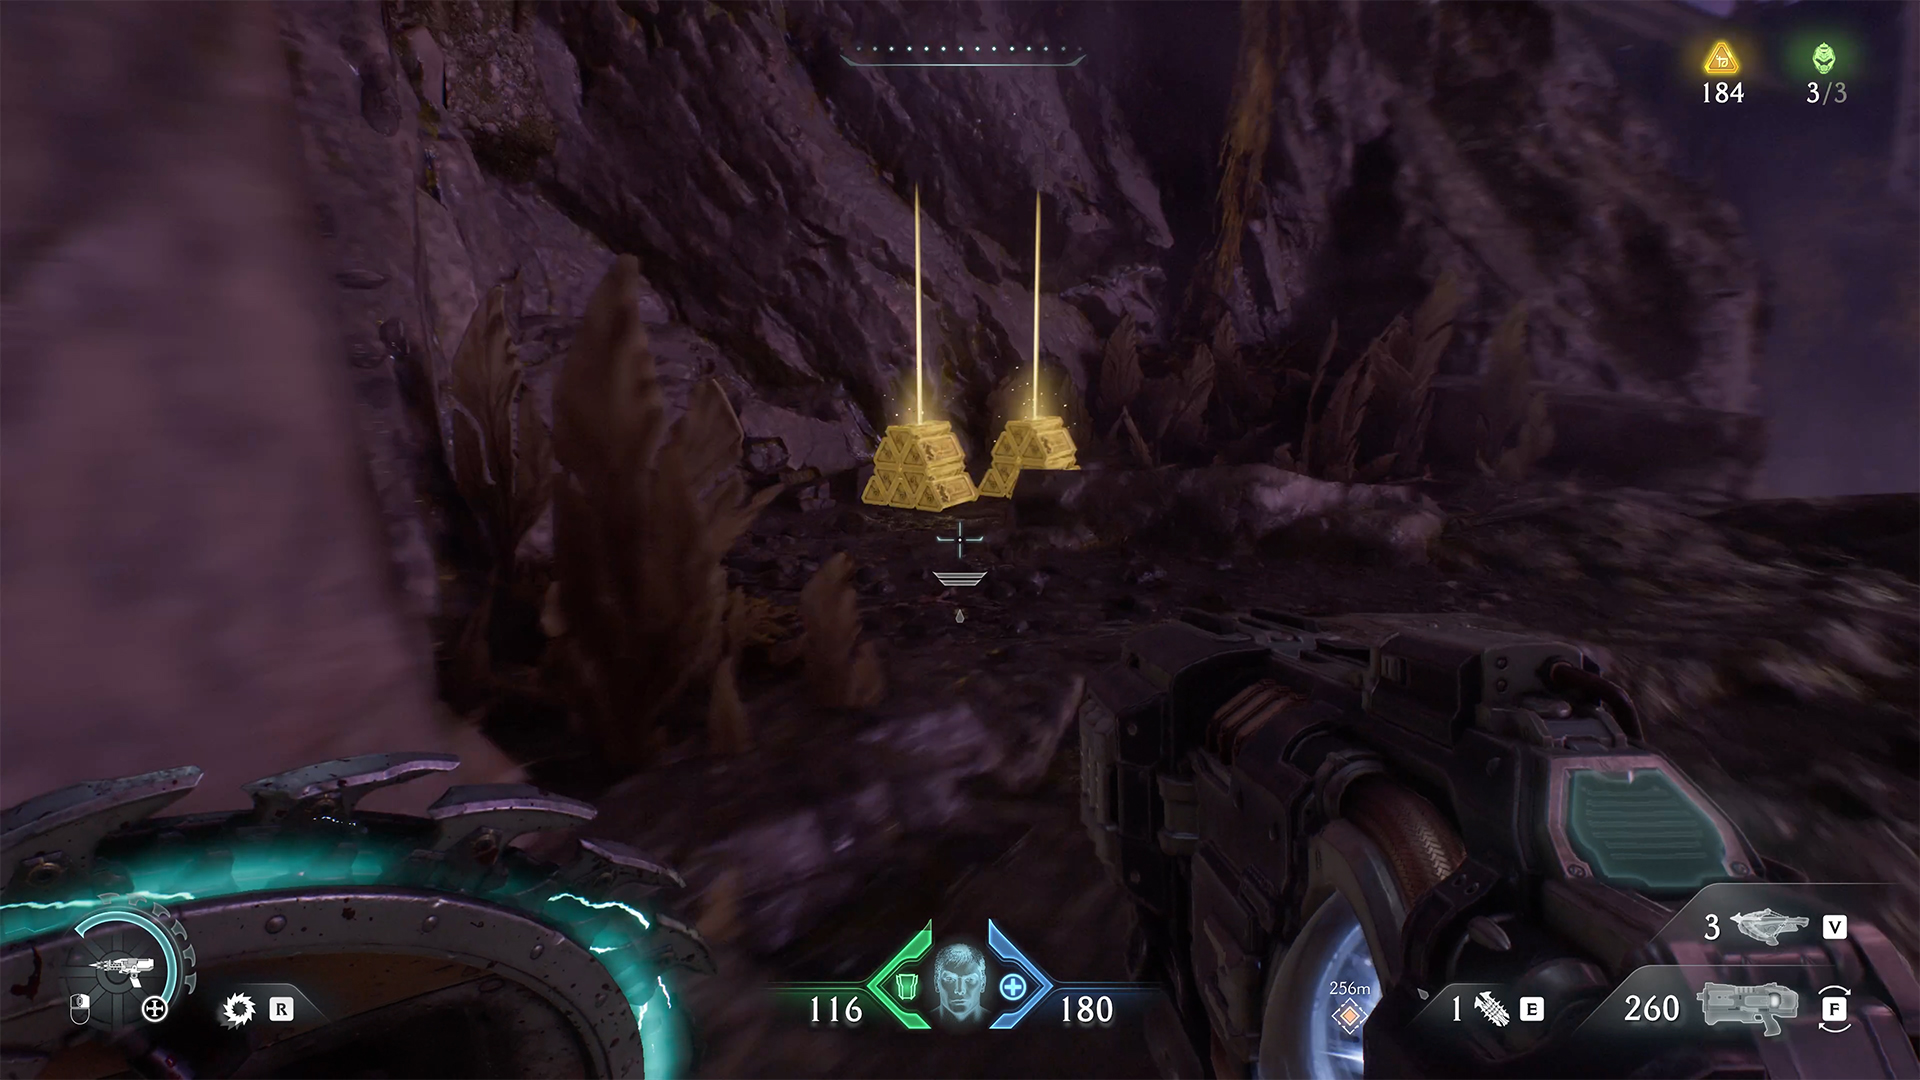
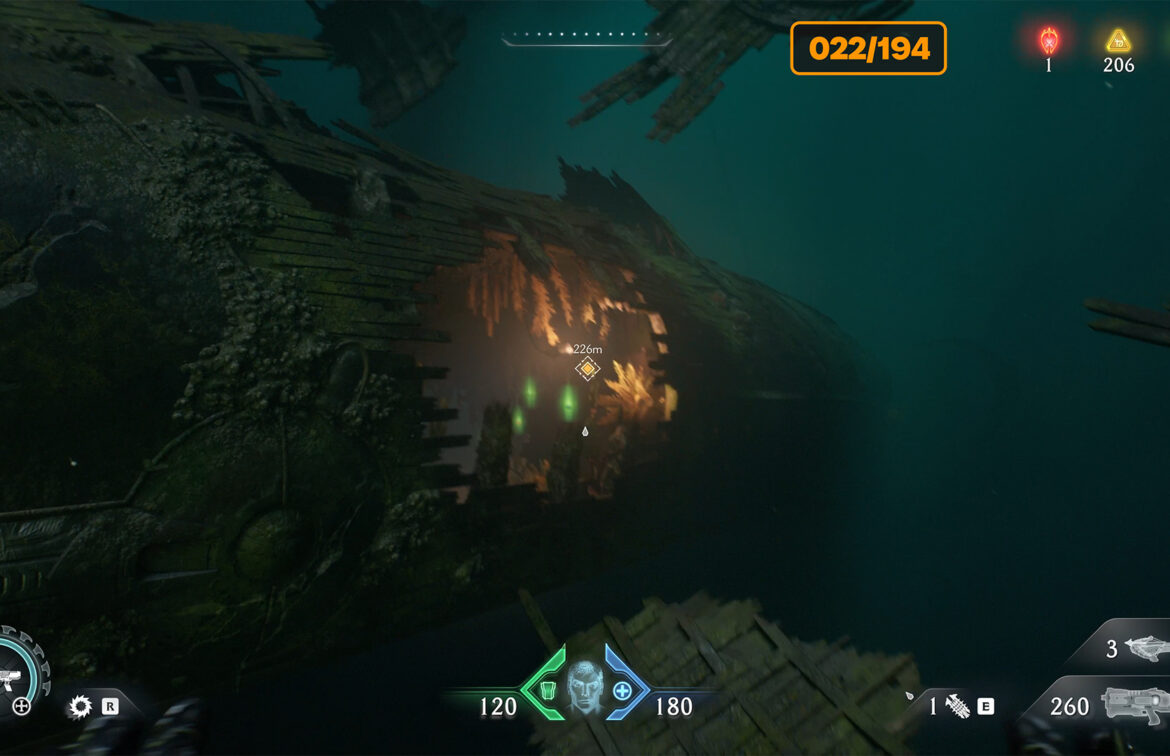
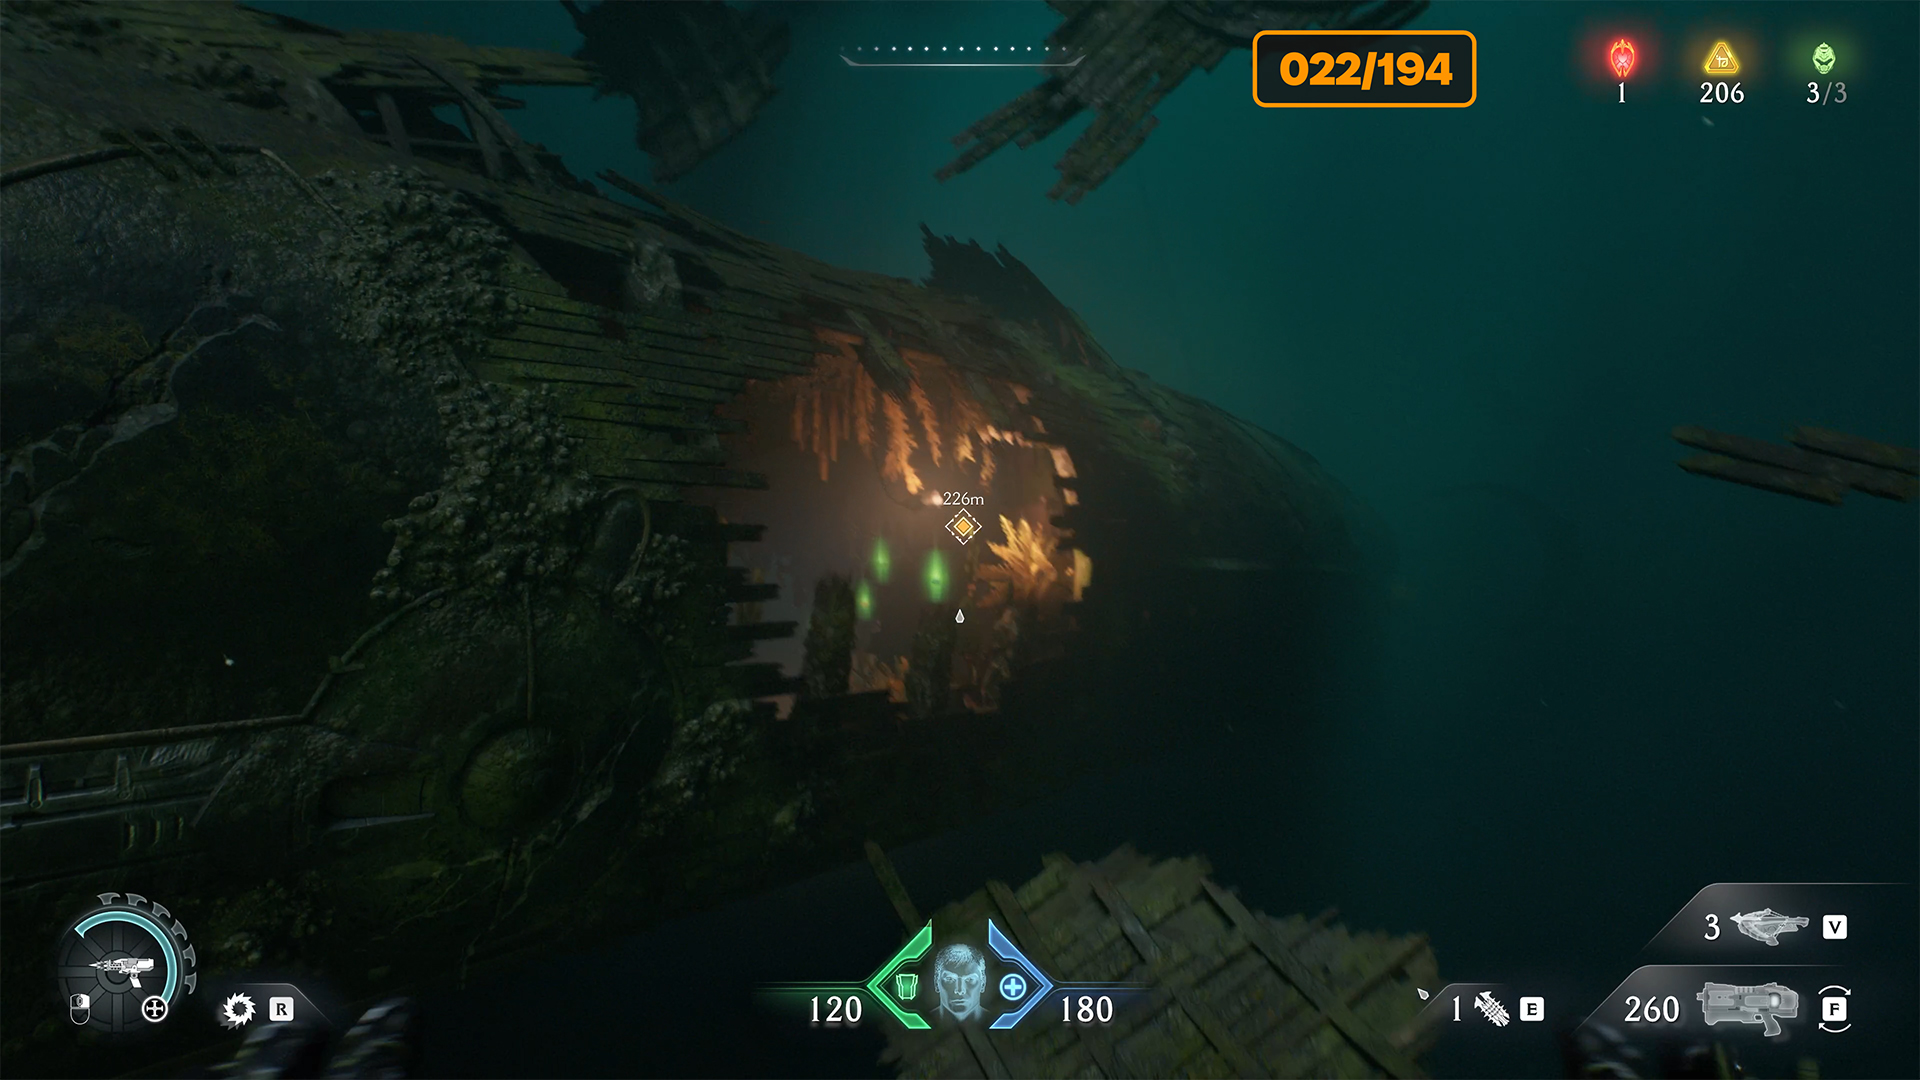
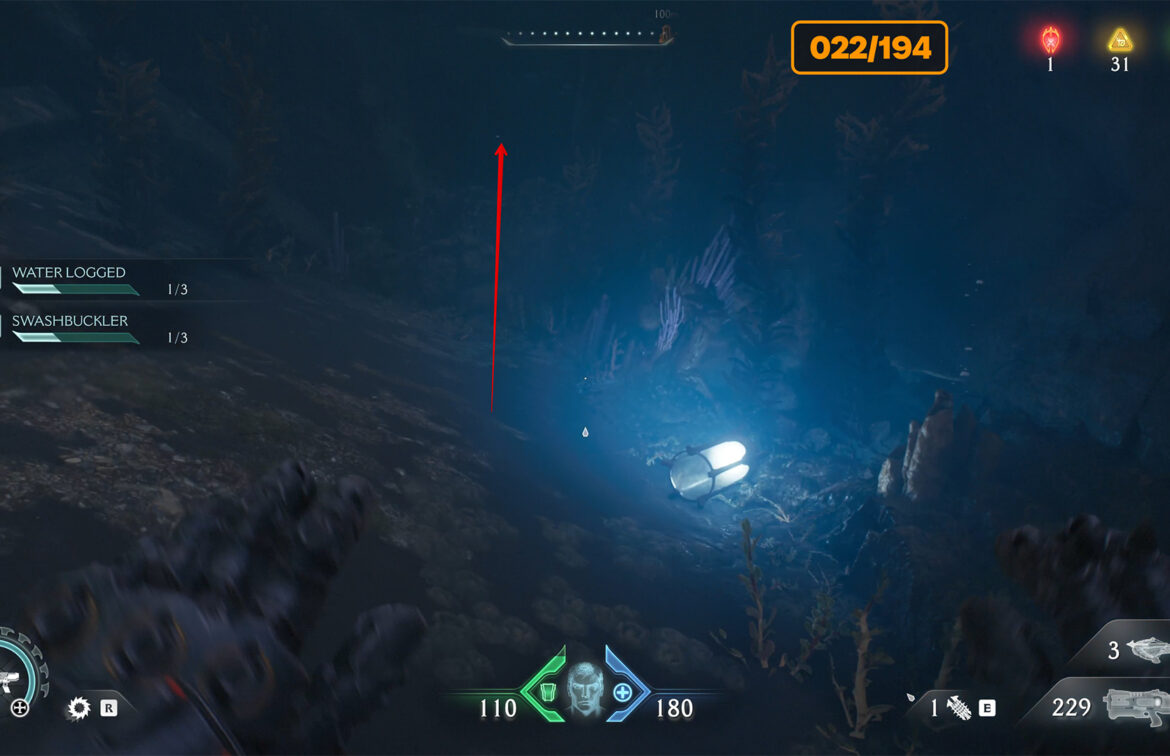
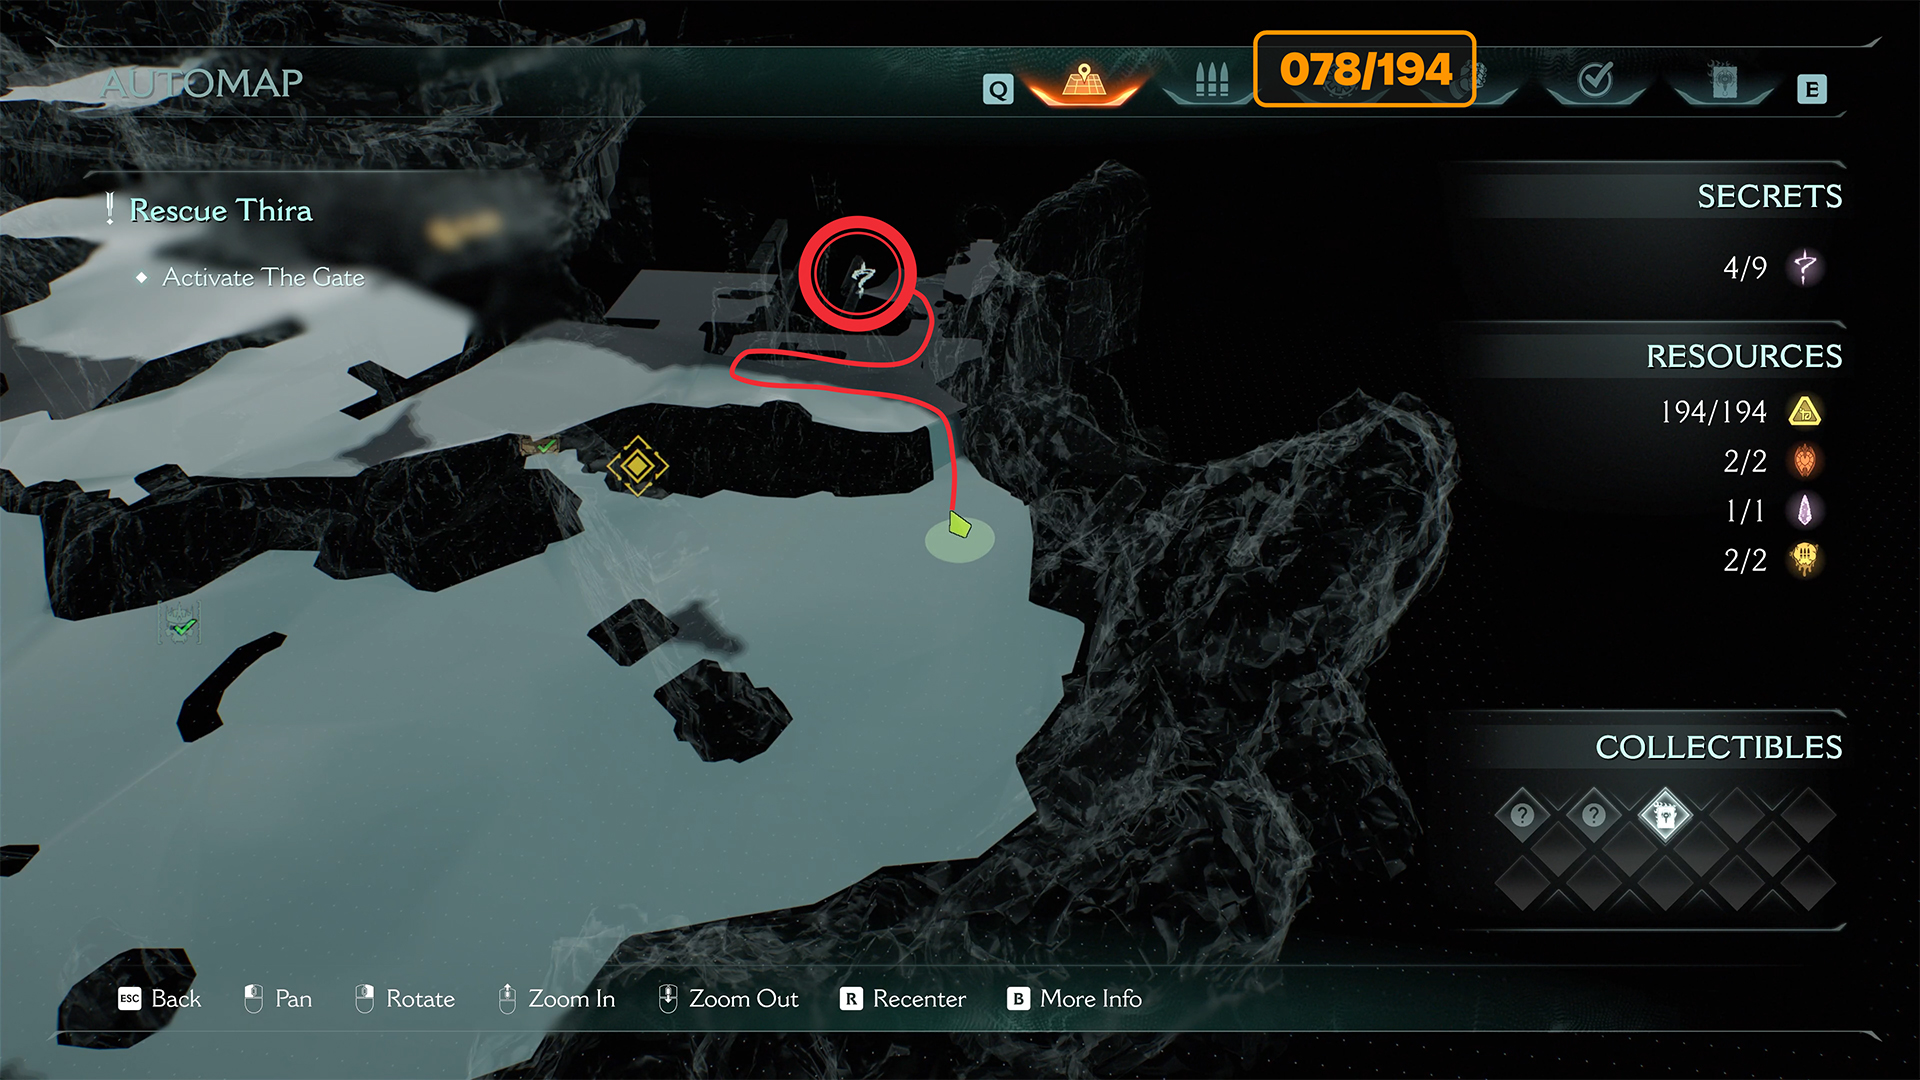
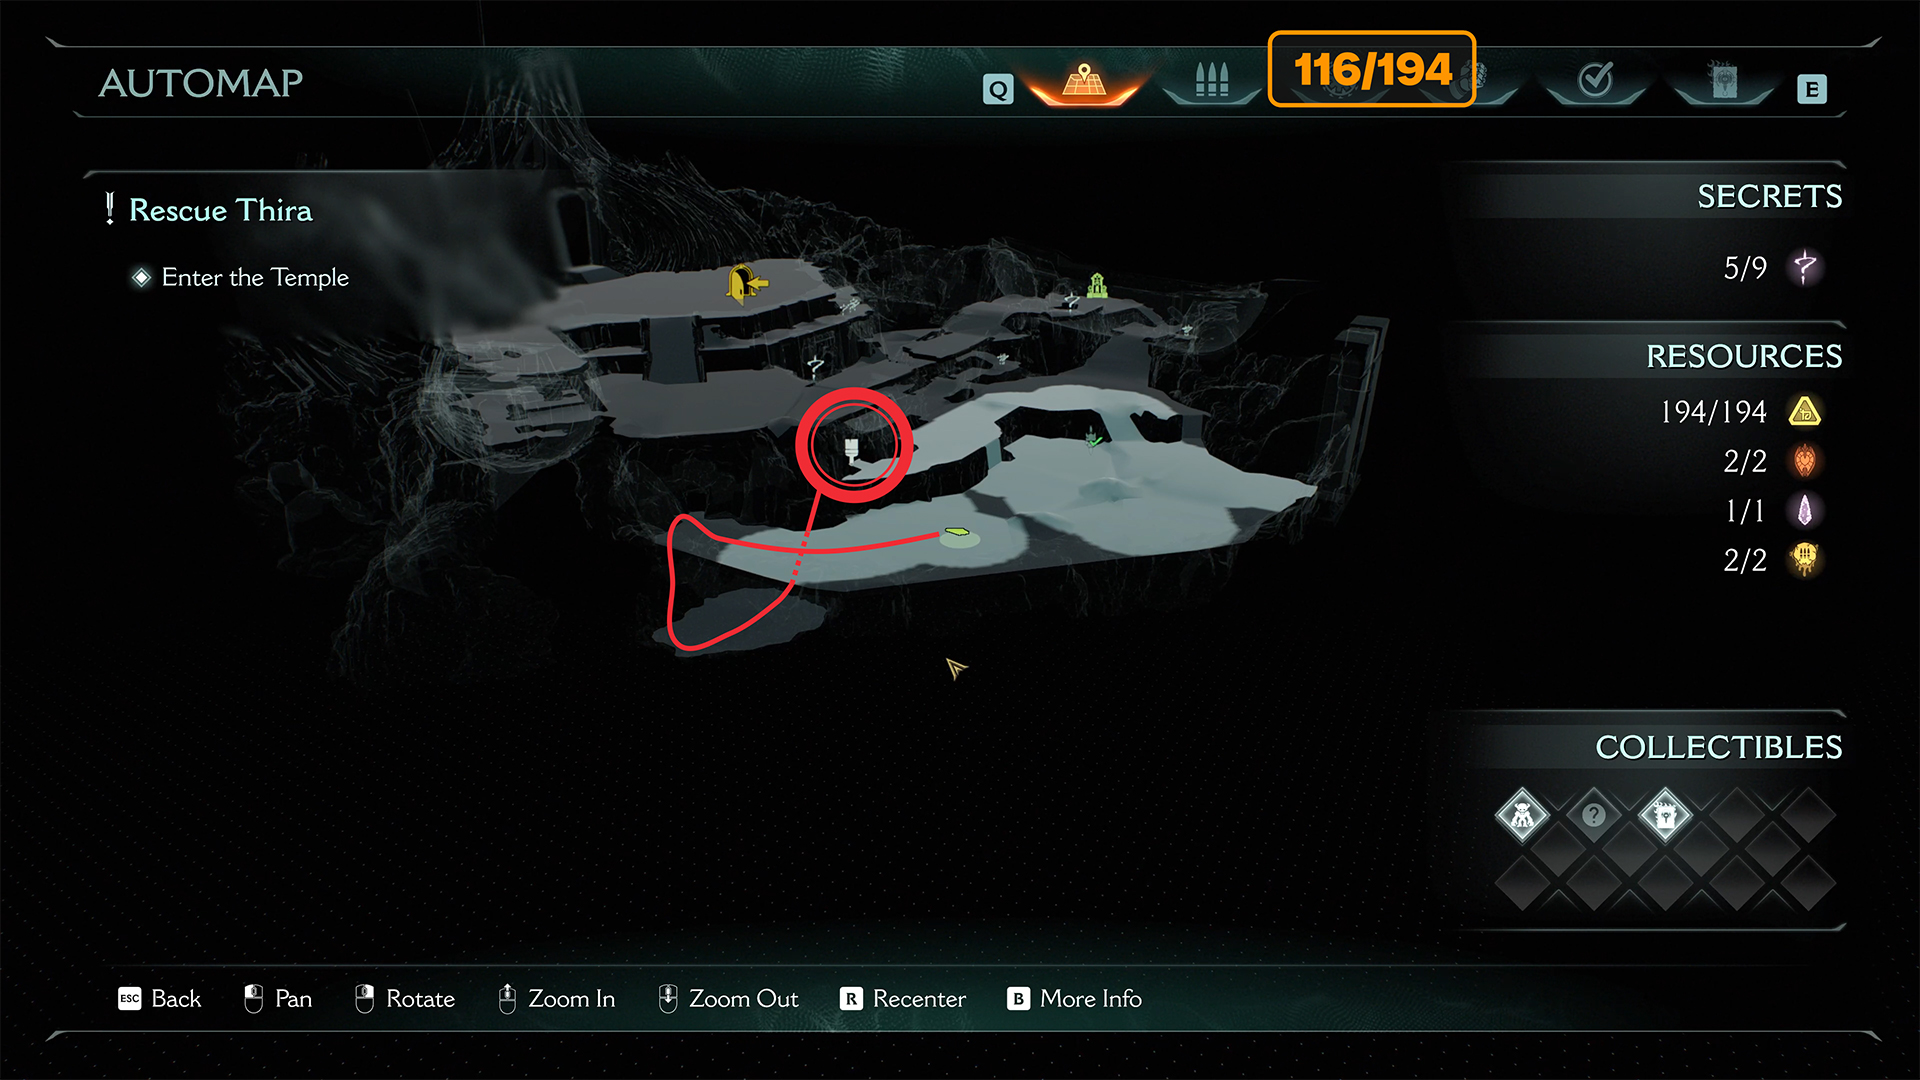
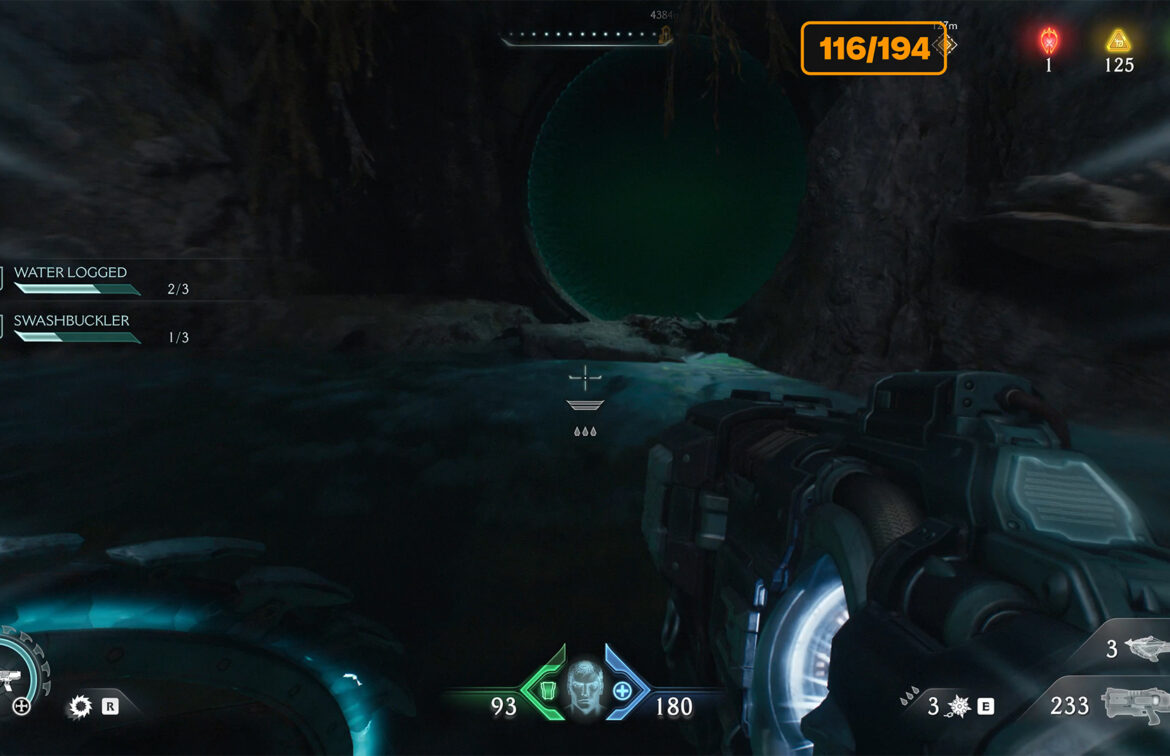
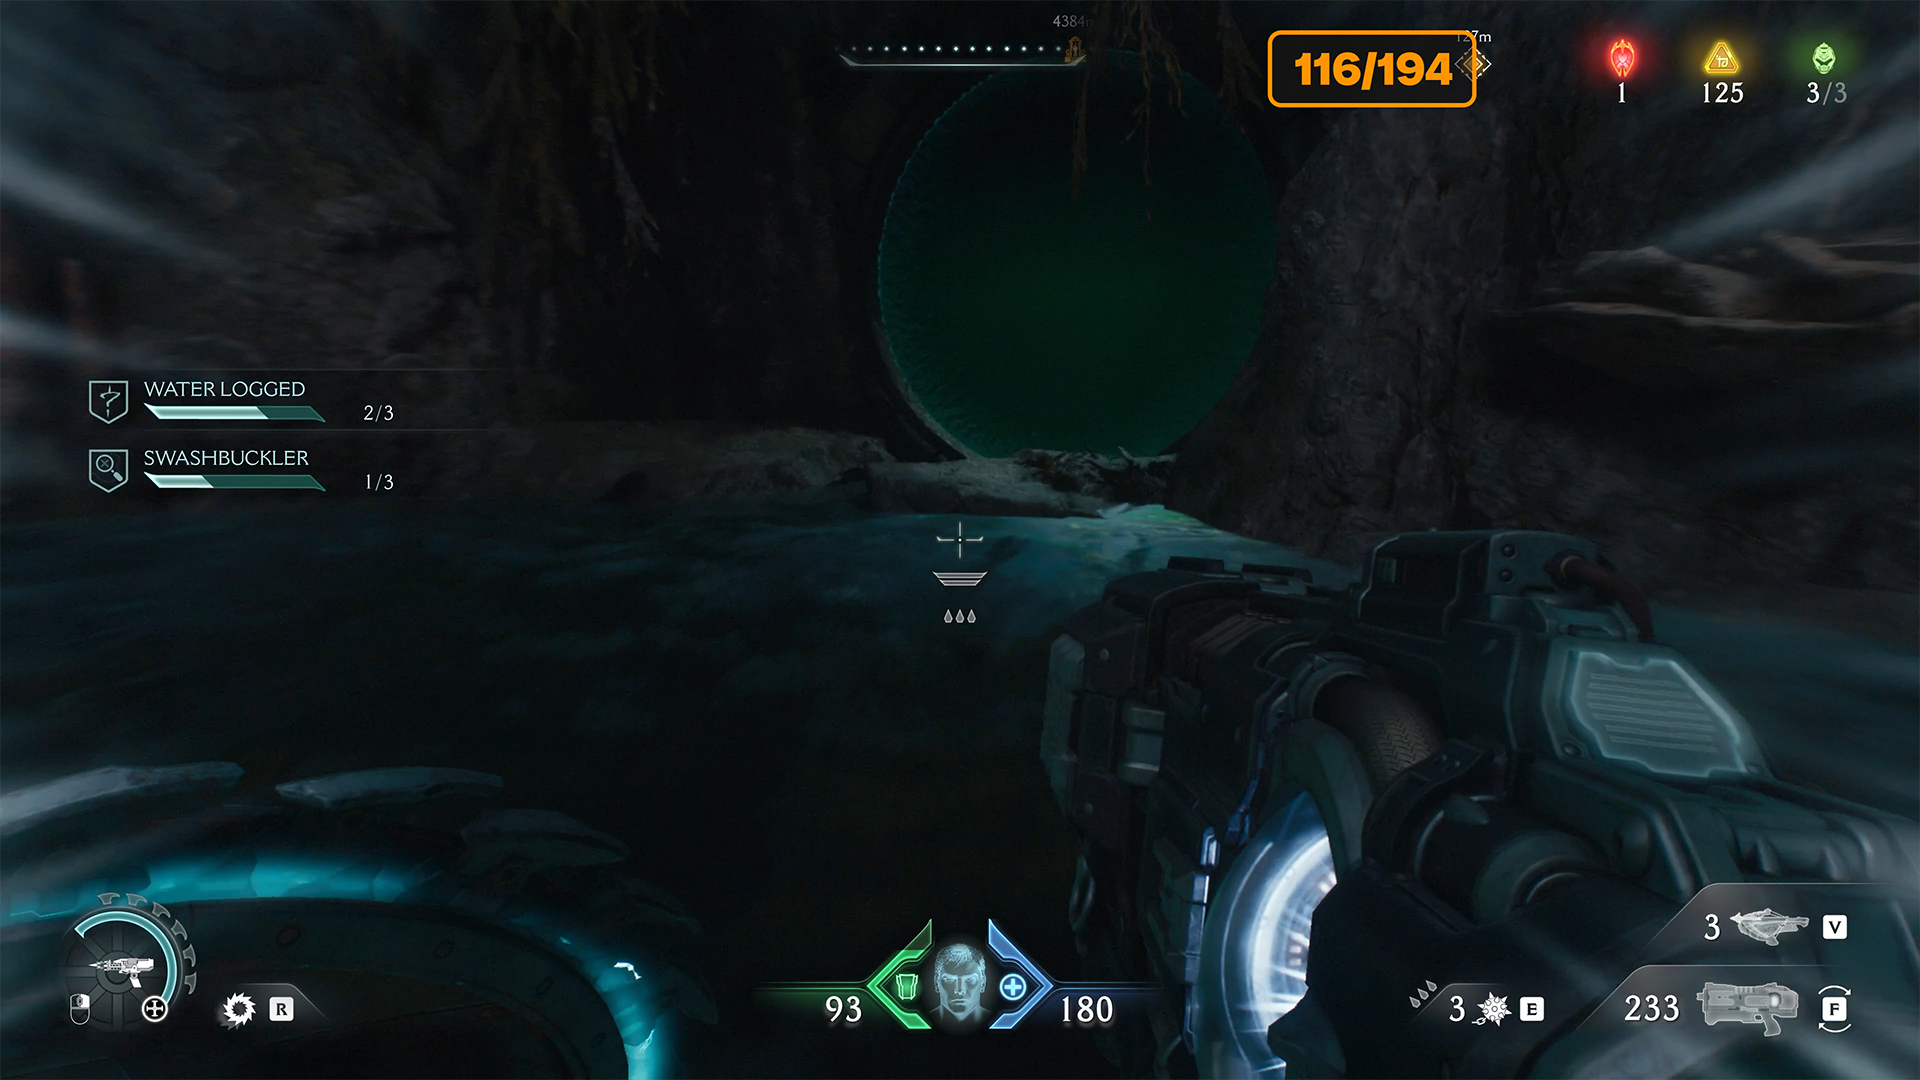
When you reach the place I show you on the map, you will need to jump into the water. According to the plot, you have to swim forward. But I suggest you turn right immediately. Below, you will see a lantern, and a little further on, a square tunnel opening. This is the entrance to a secret area. Here you will find 6 gold, the third secret, and the first Life Sigil, but most importantly, this is the second underwater area you need to complete the Water Logged challenge.
-
- Temple of Lomarith Life Sigil location
-
- First, you need to dive into the water
-
- Turn right into the square tunnel
-
- Temple of Lomarith Life Sigil
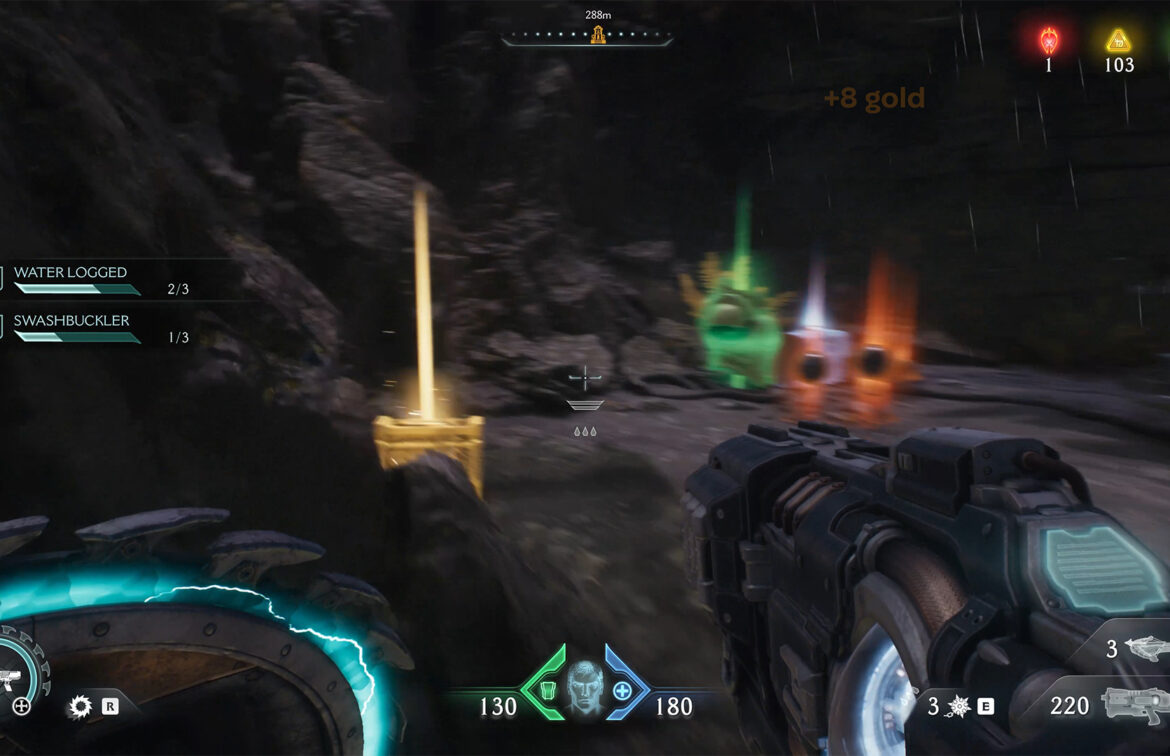
Temple of Lomarith Demonic Essence Ammo
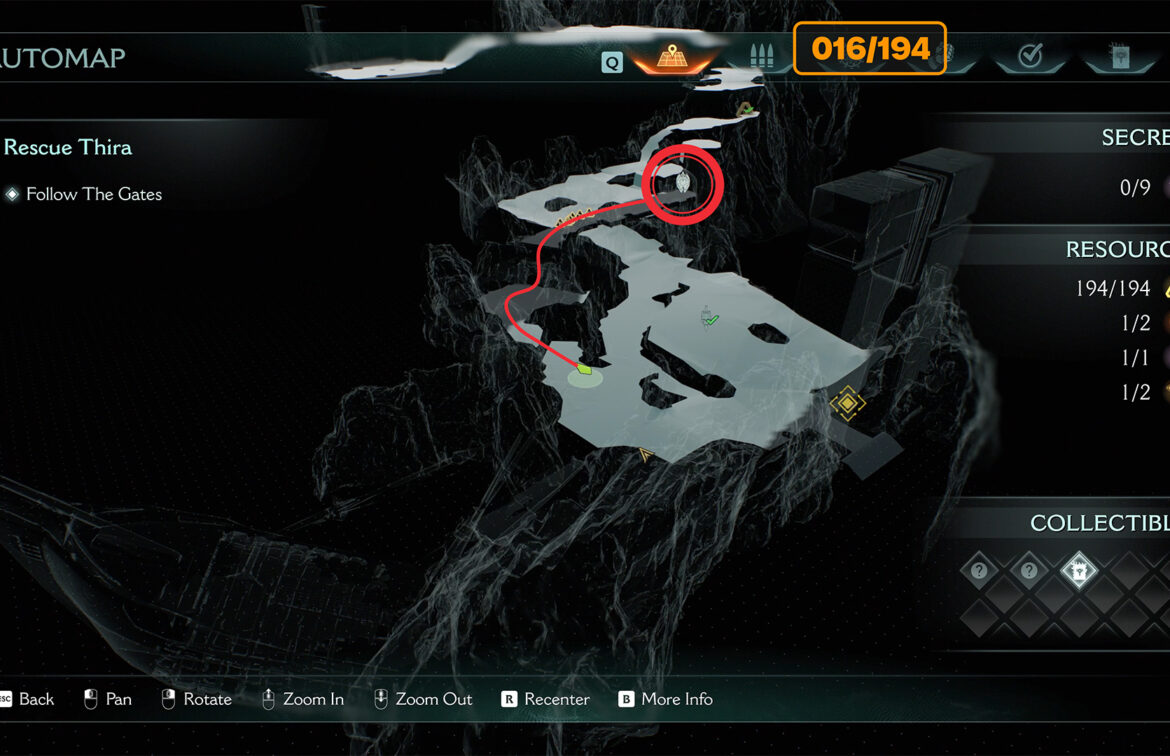
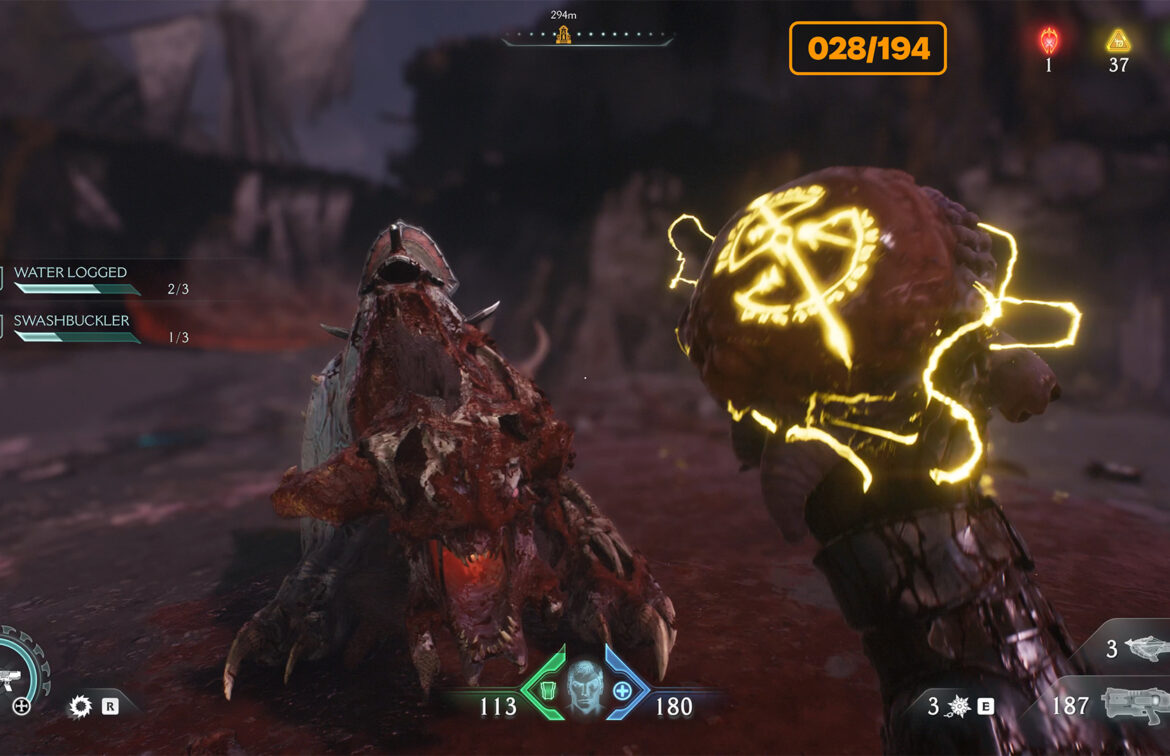
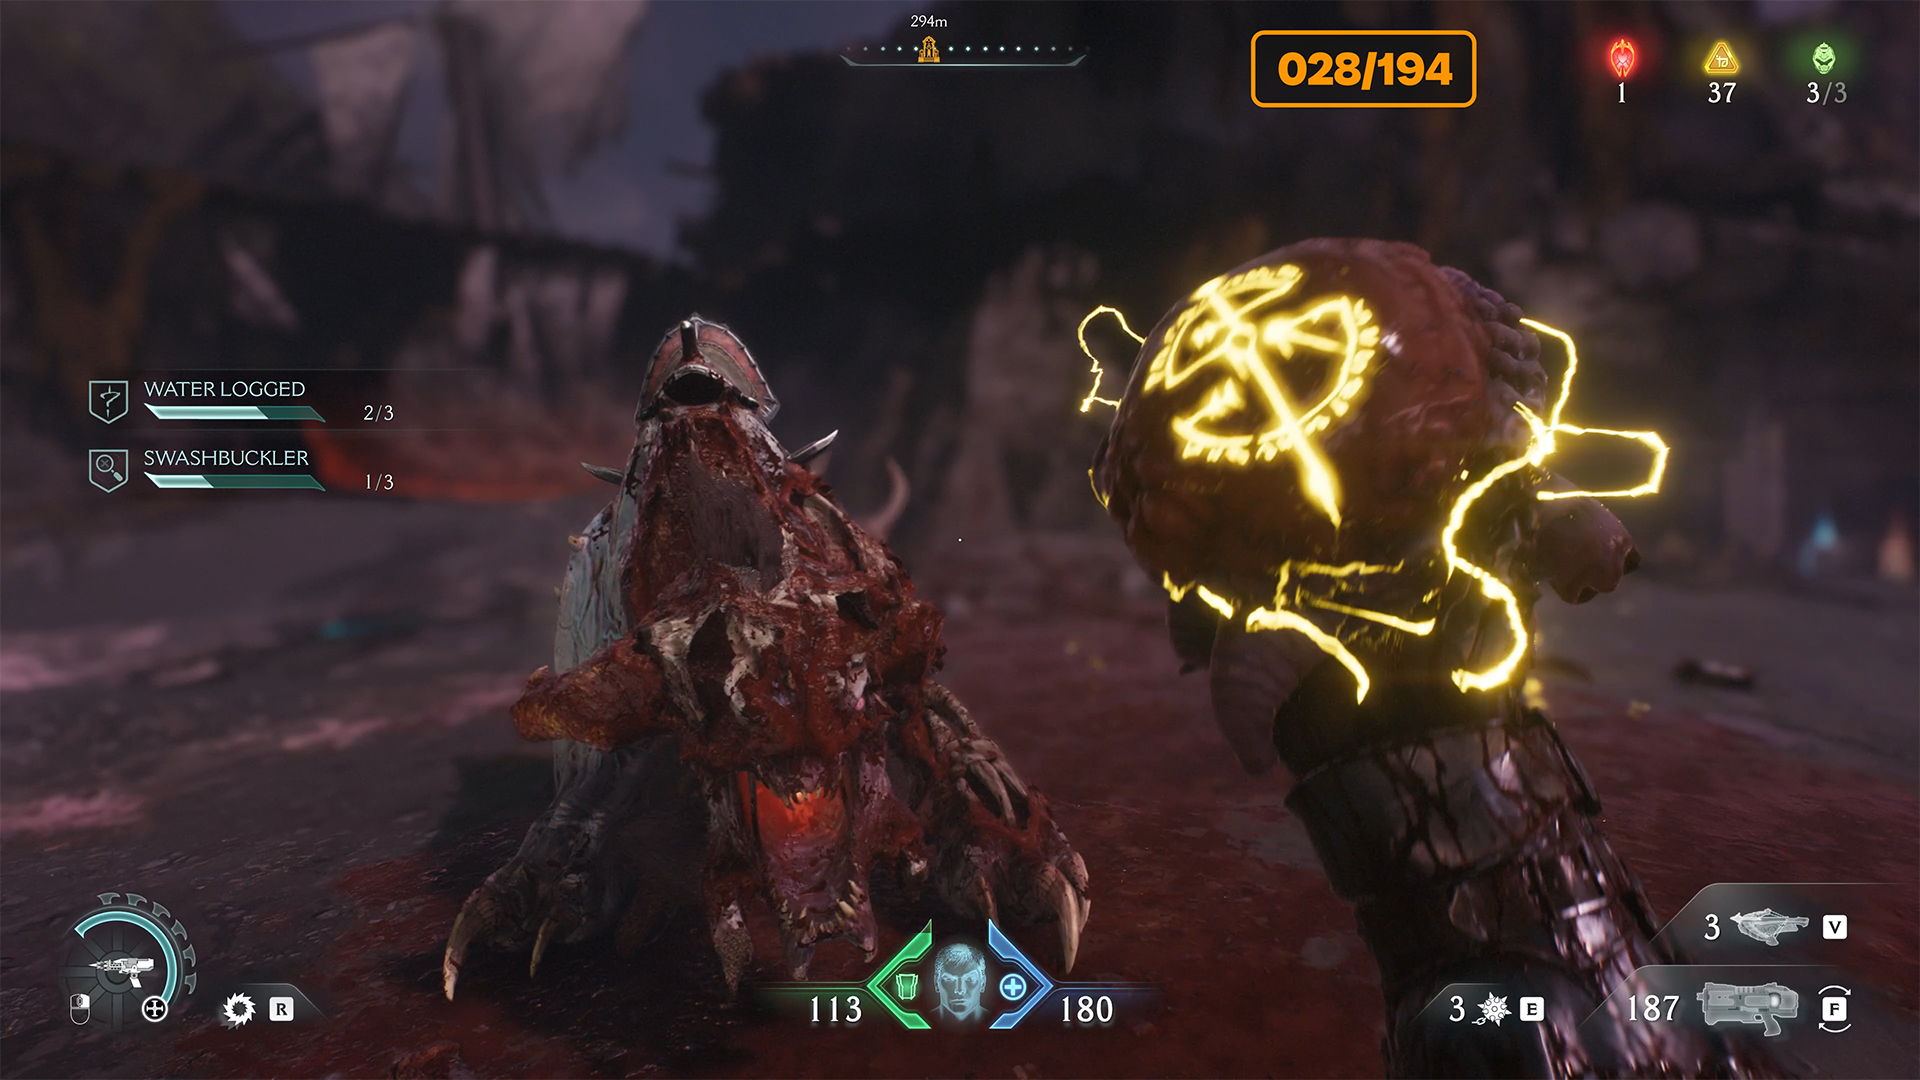
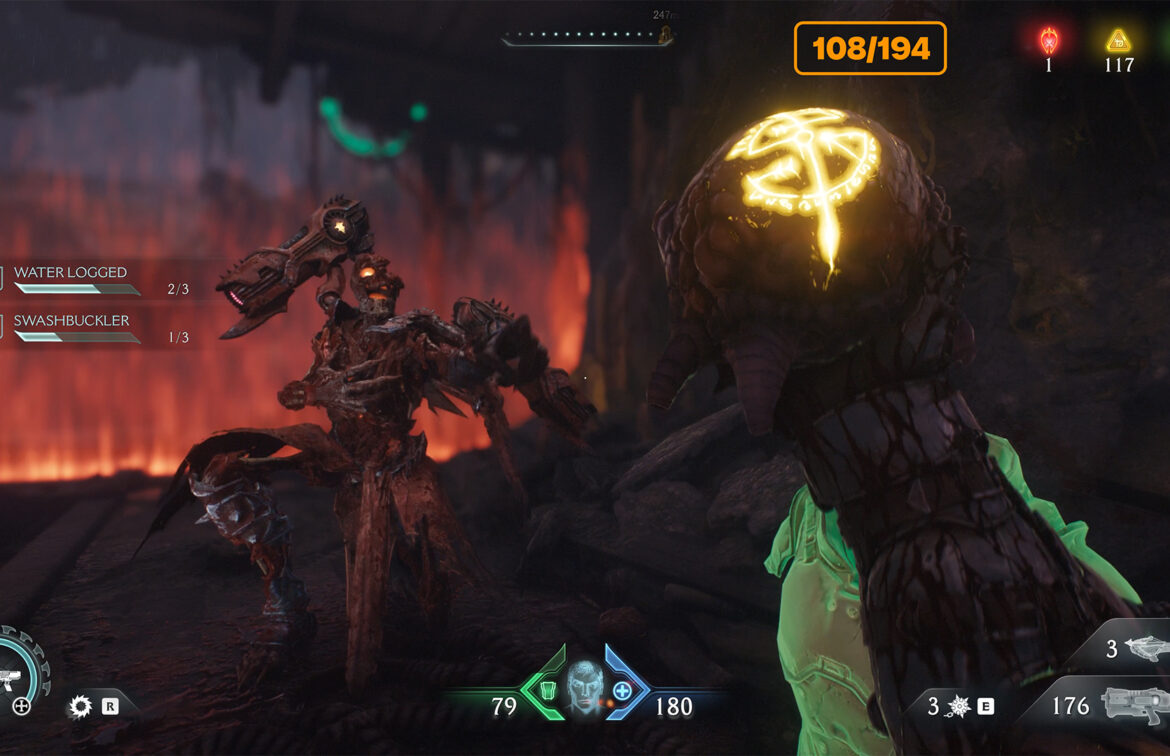
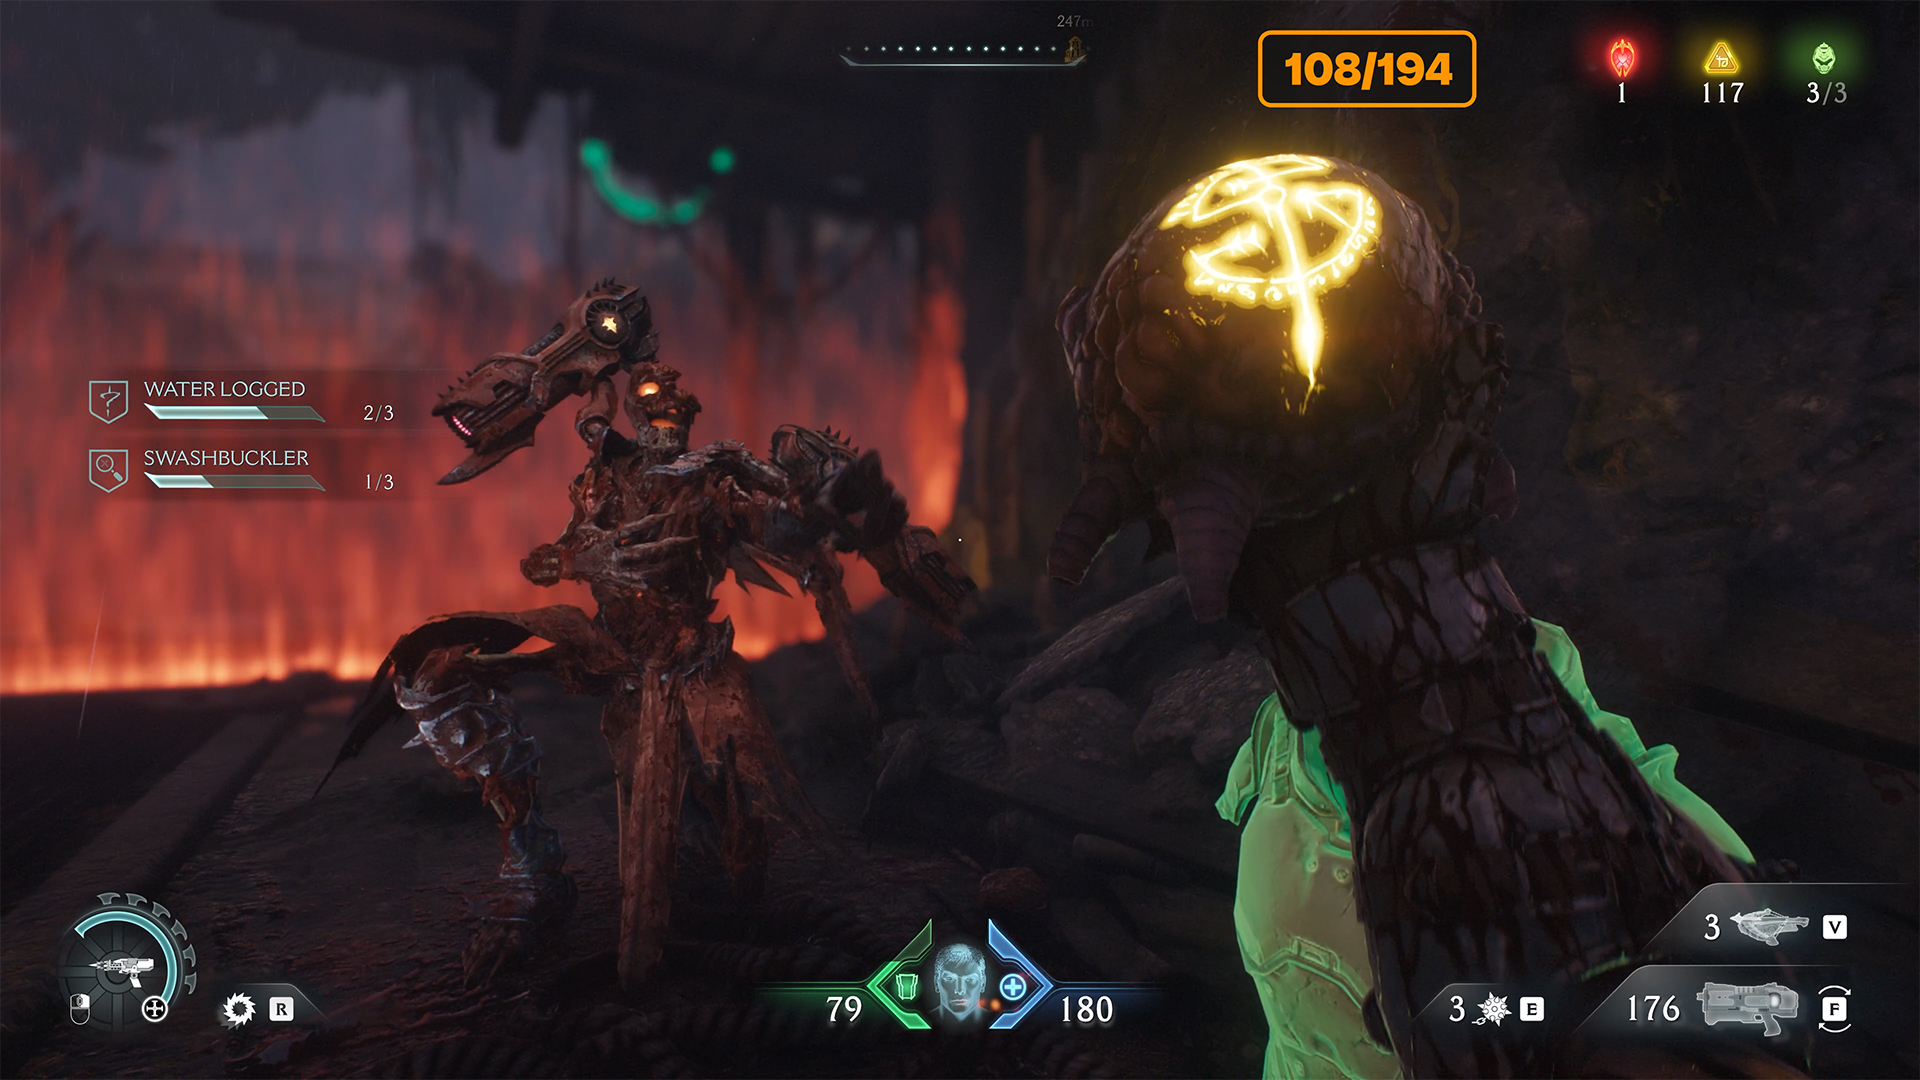
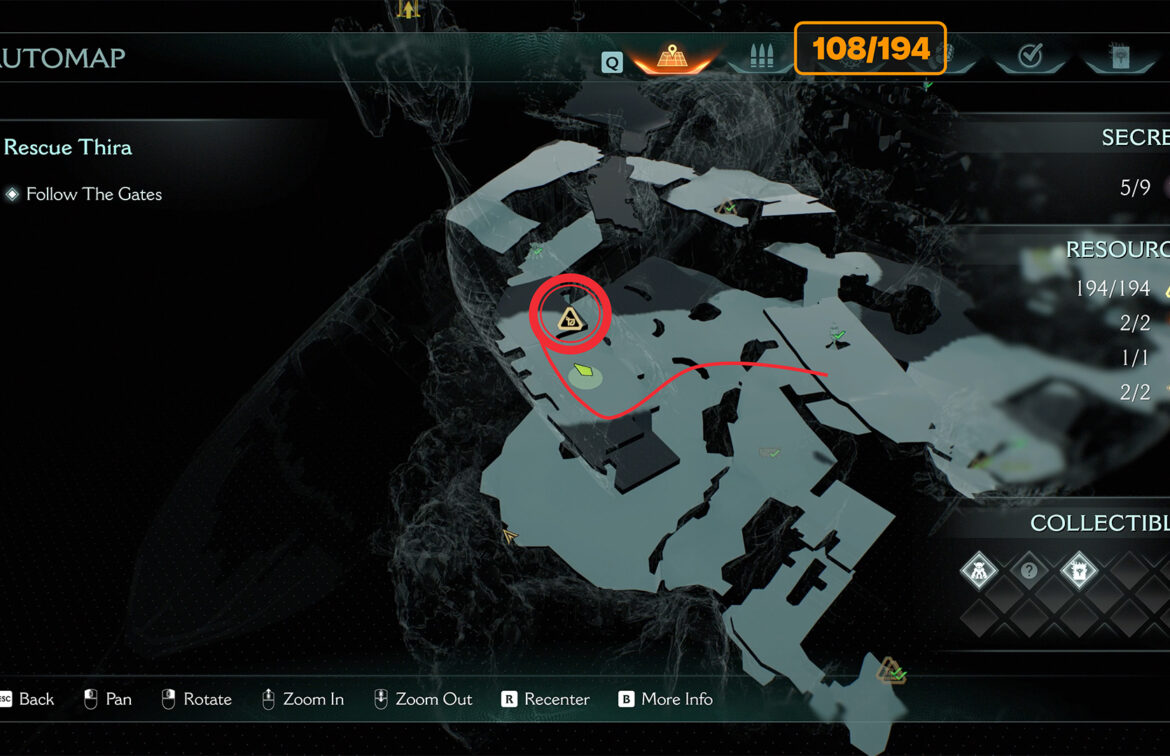
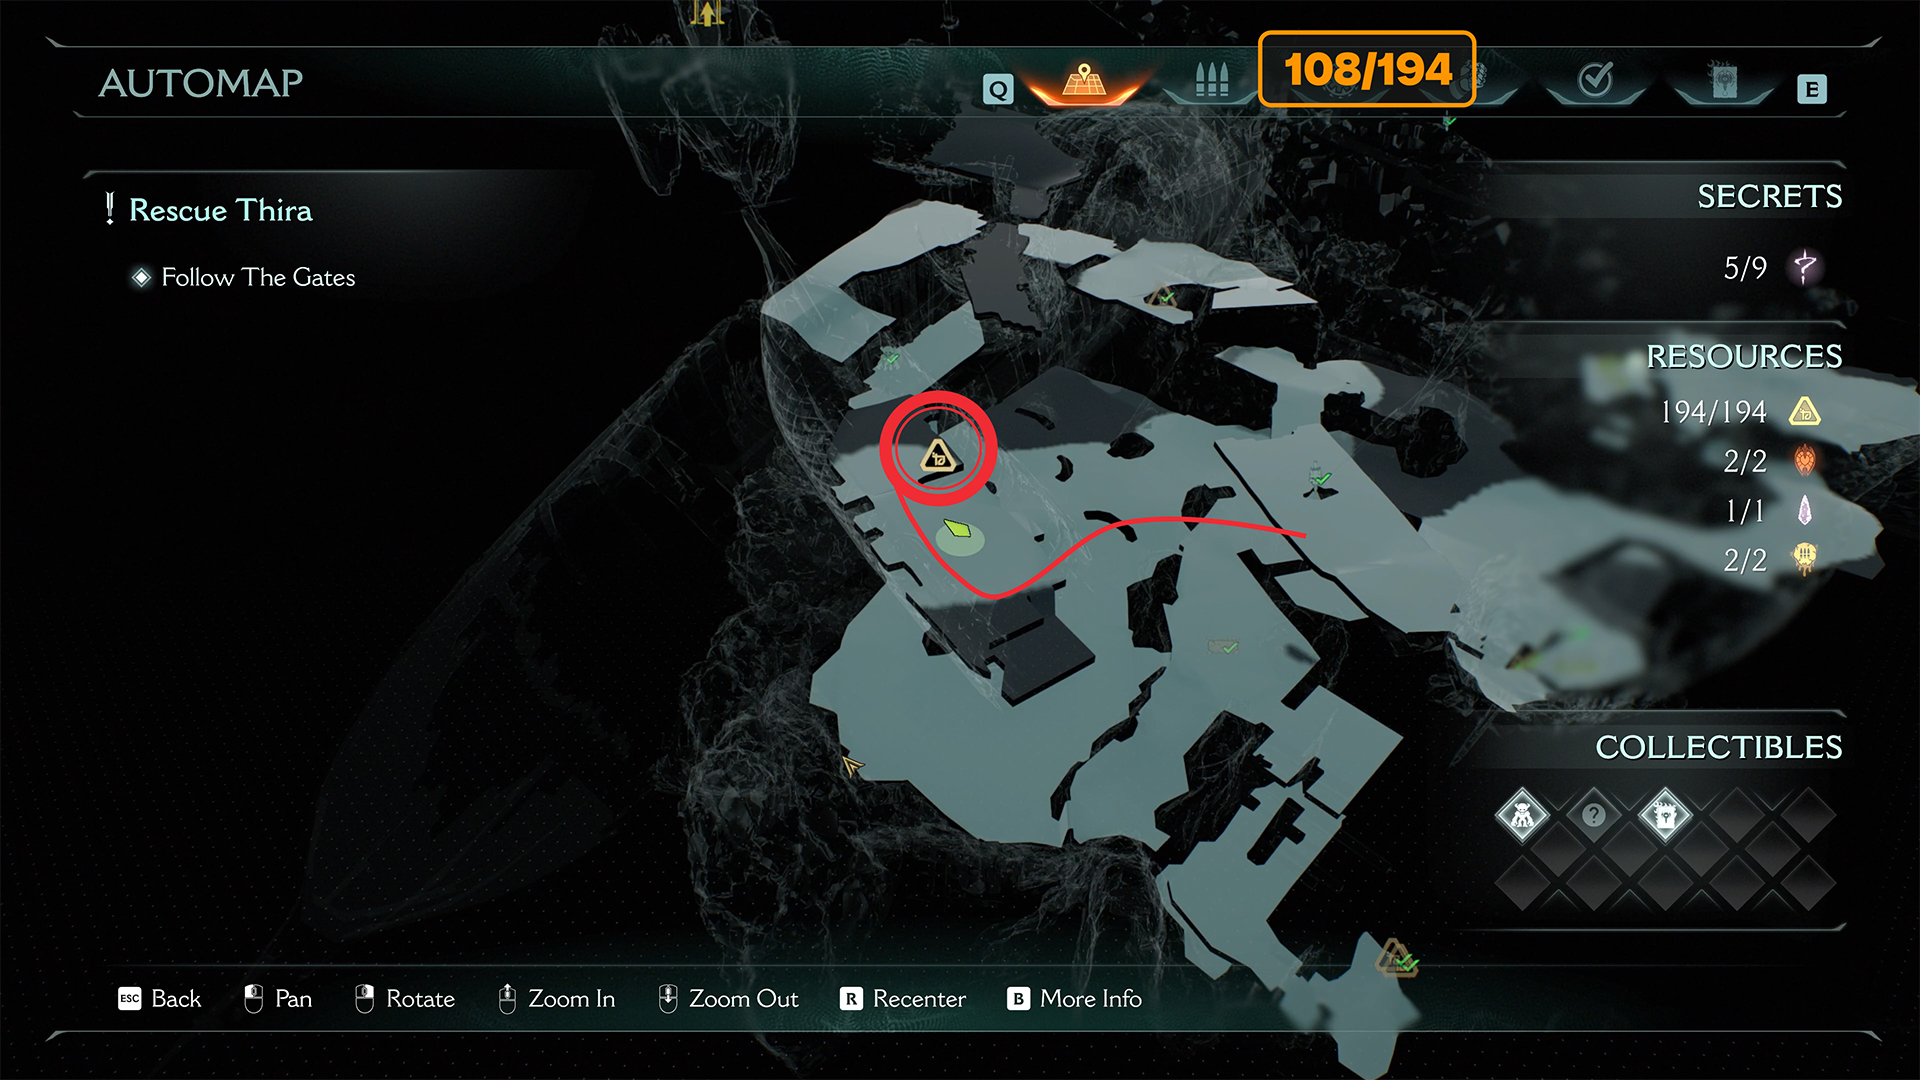
Next in the story, you won’t miss the big battle. For a clearer understanding, I’ll show you a map of where it is. At the end of the battle, a mini-boss will appear. After defeating this enemy, you will receive Demonic Essence Ammo.
-
- First Demonic Essence Ammo location
-
- First Demonic Essence Ammo
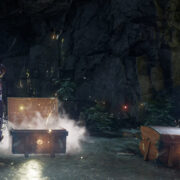
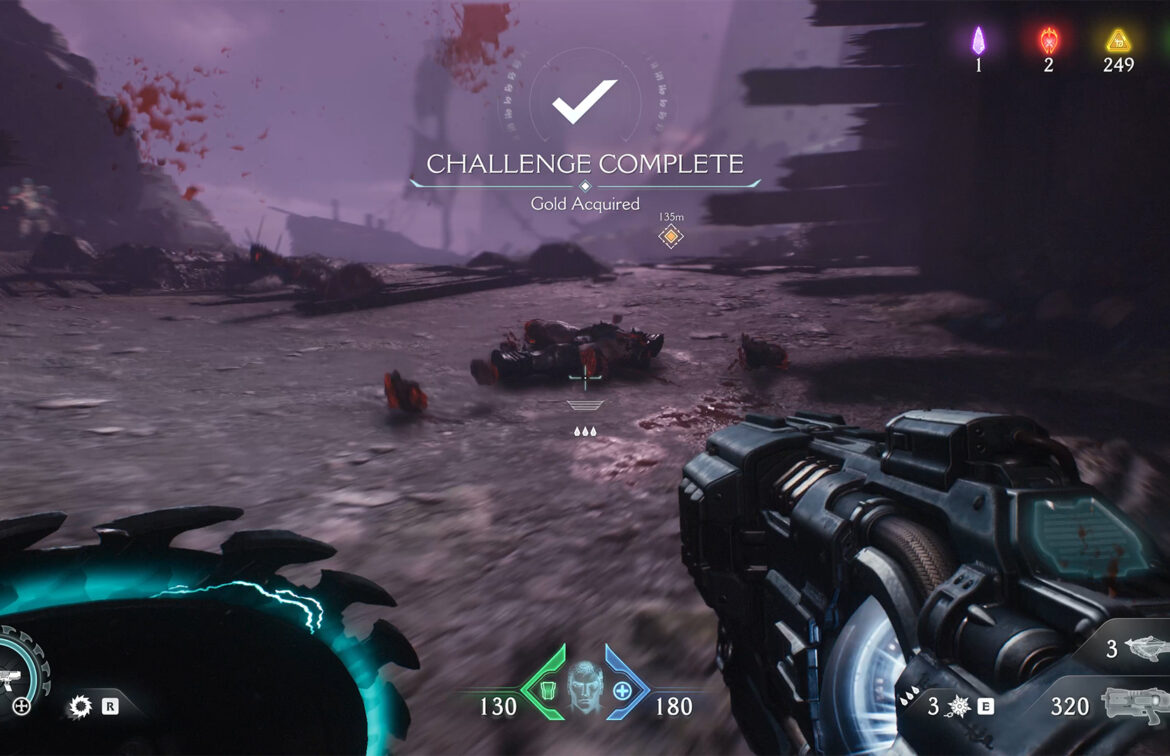
Temple of Lomarith gold chest
Don’t rush to move on with the story. Look at the map, I’ll show you where the fourth secret is. You need to find this place, destroy the barrier with Shield Charge, and you will find a chest that will give you 50 gold after you break it.
-
- Temple of Lomarith gold chest location
-
- Temple of Lomarith – break the barrier
Doom Dark Ages Temple of Lomarith gold
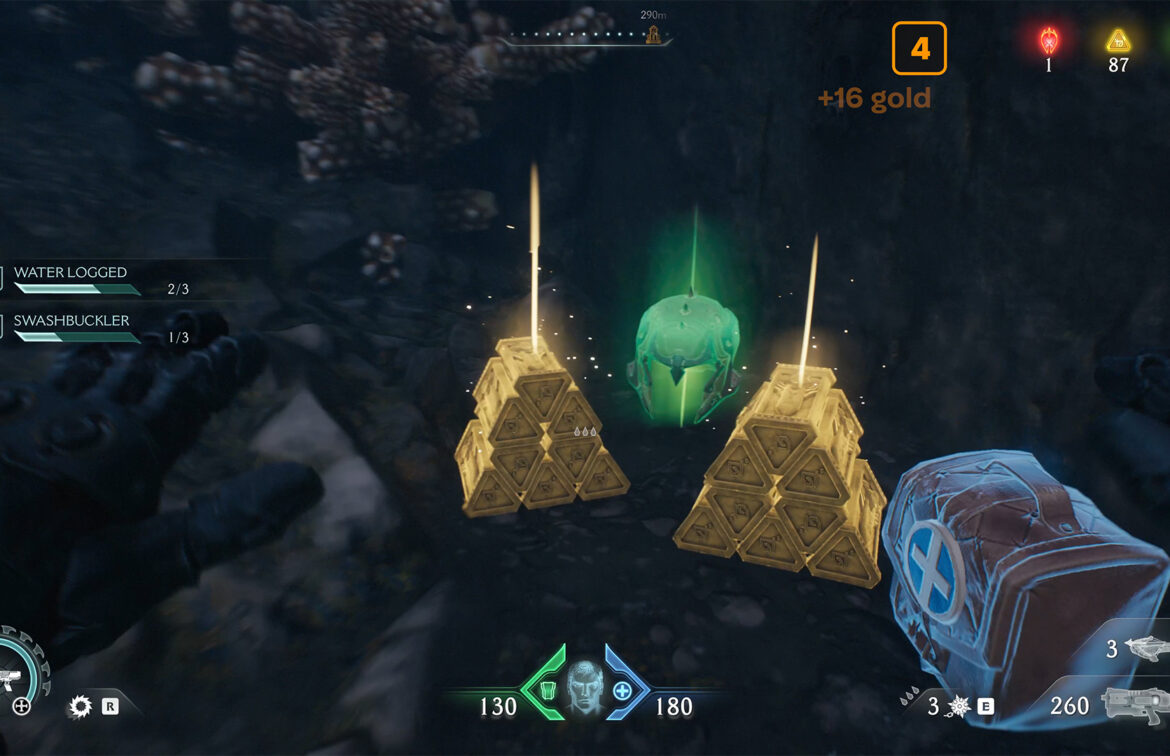
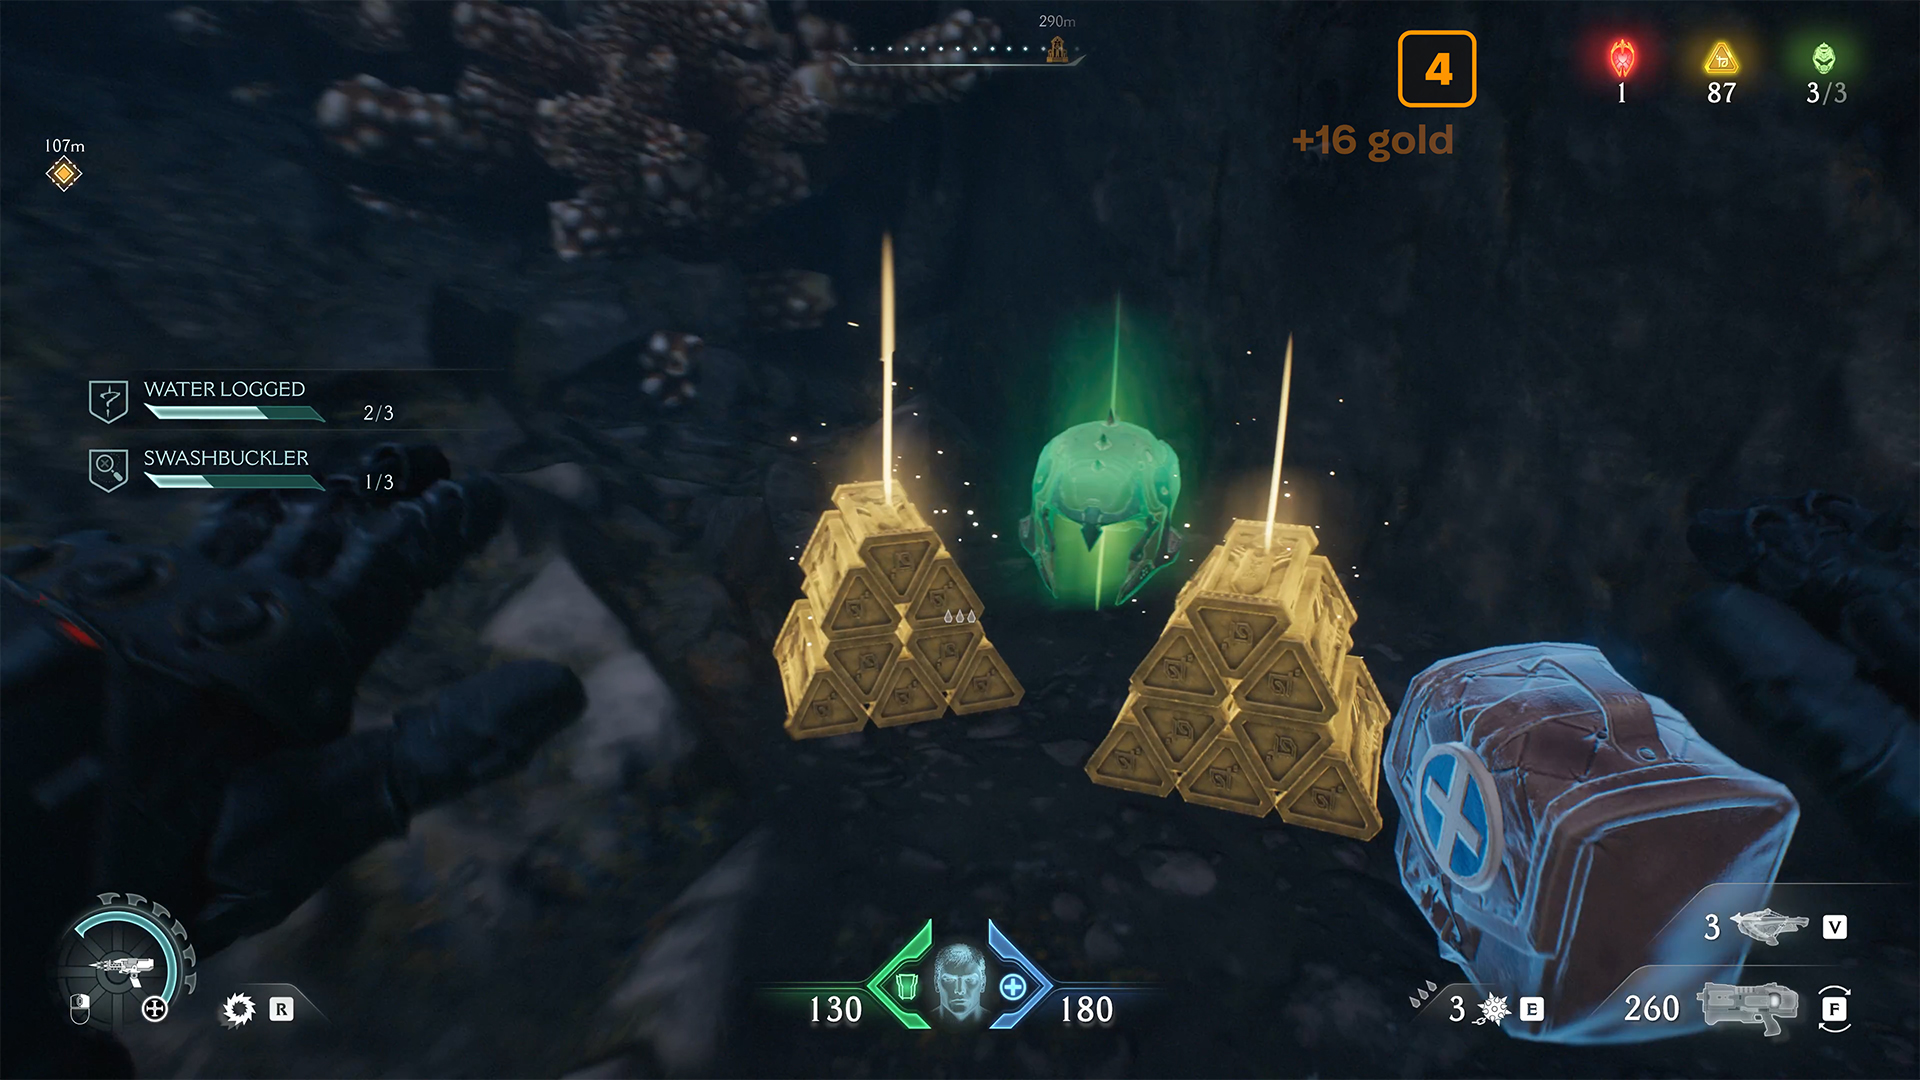
Now, a little to the right of the previous location, you will find an upward climb. Climb up the wall and move forward. On the right, you will see a wooden barrier that you must break with Shield Charge. Once inside, immediately turn right and move forward. You will see a round portal; jump into it. This will take you to the flooded area. As soon as you enter the water, turn left. Here you will find 16 gold coins.
-
- Temple of Lomarith gold location
-
- Entrance to the secret area
-
- Entrance to a circular tunnel filled with water
-
- Doom Dark Ages Temple of Lomarith gold
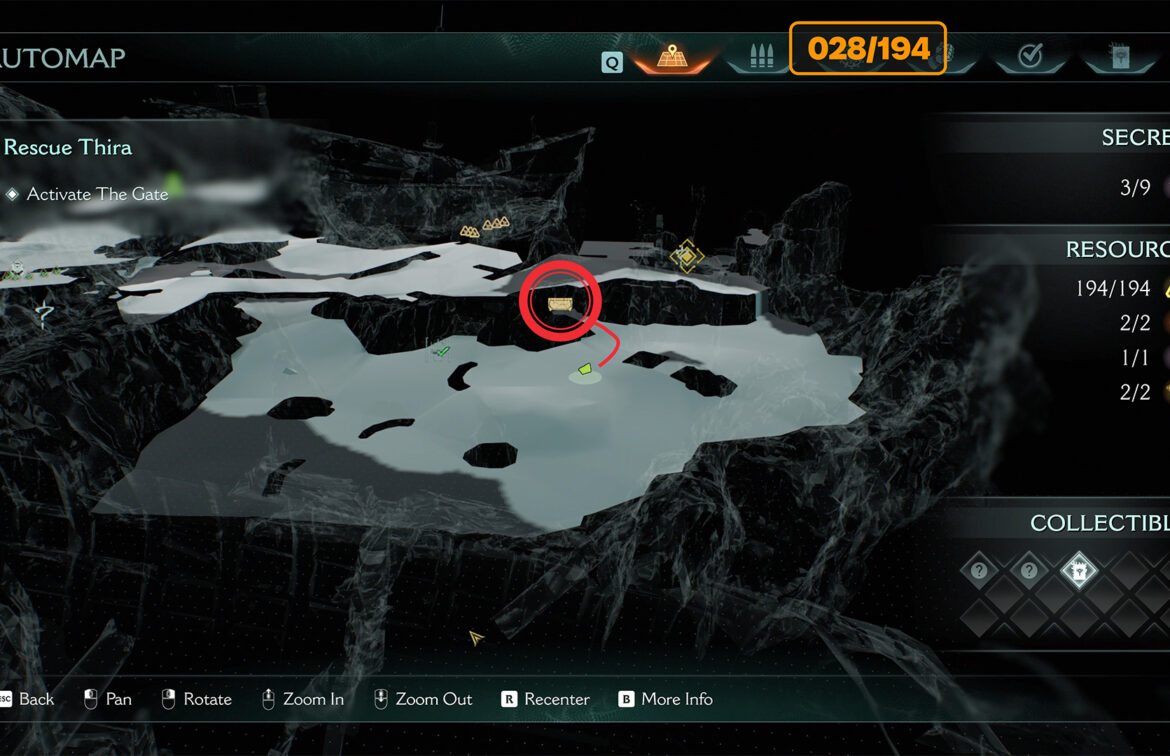
Temple of Lomarith stuck solution
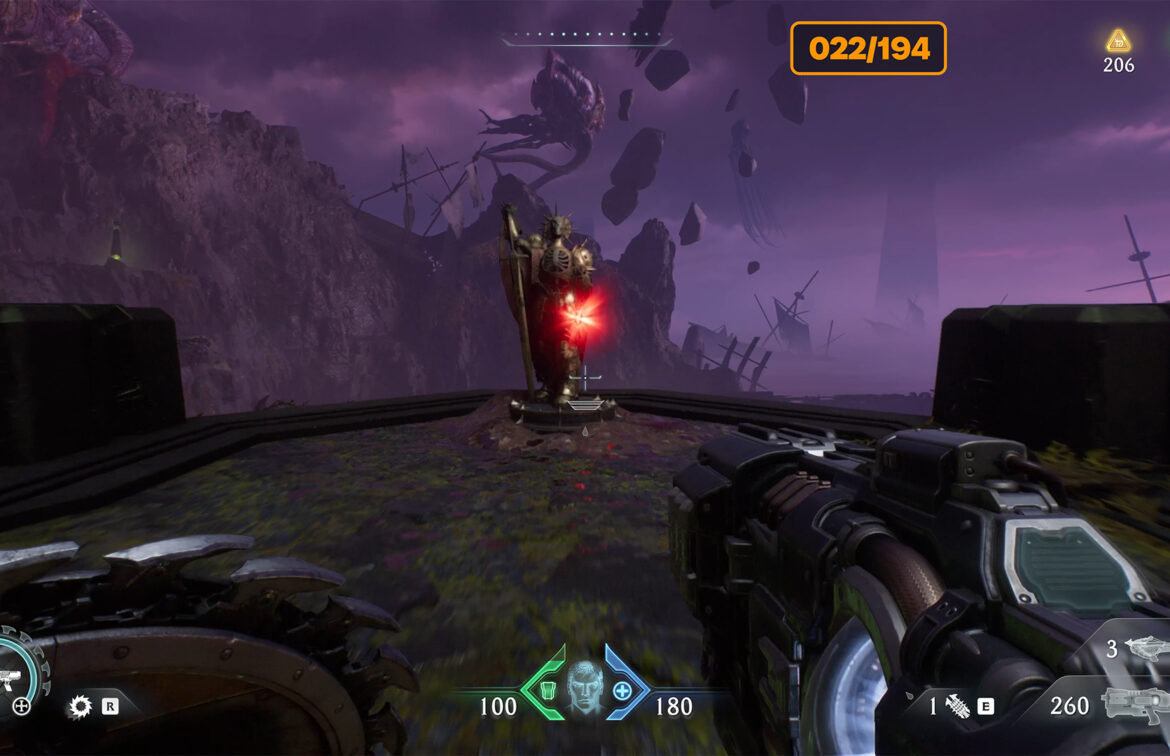
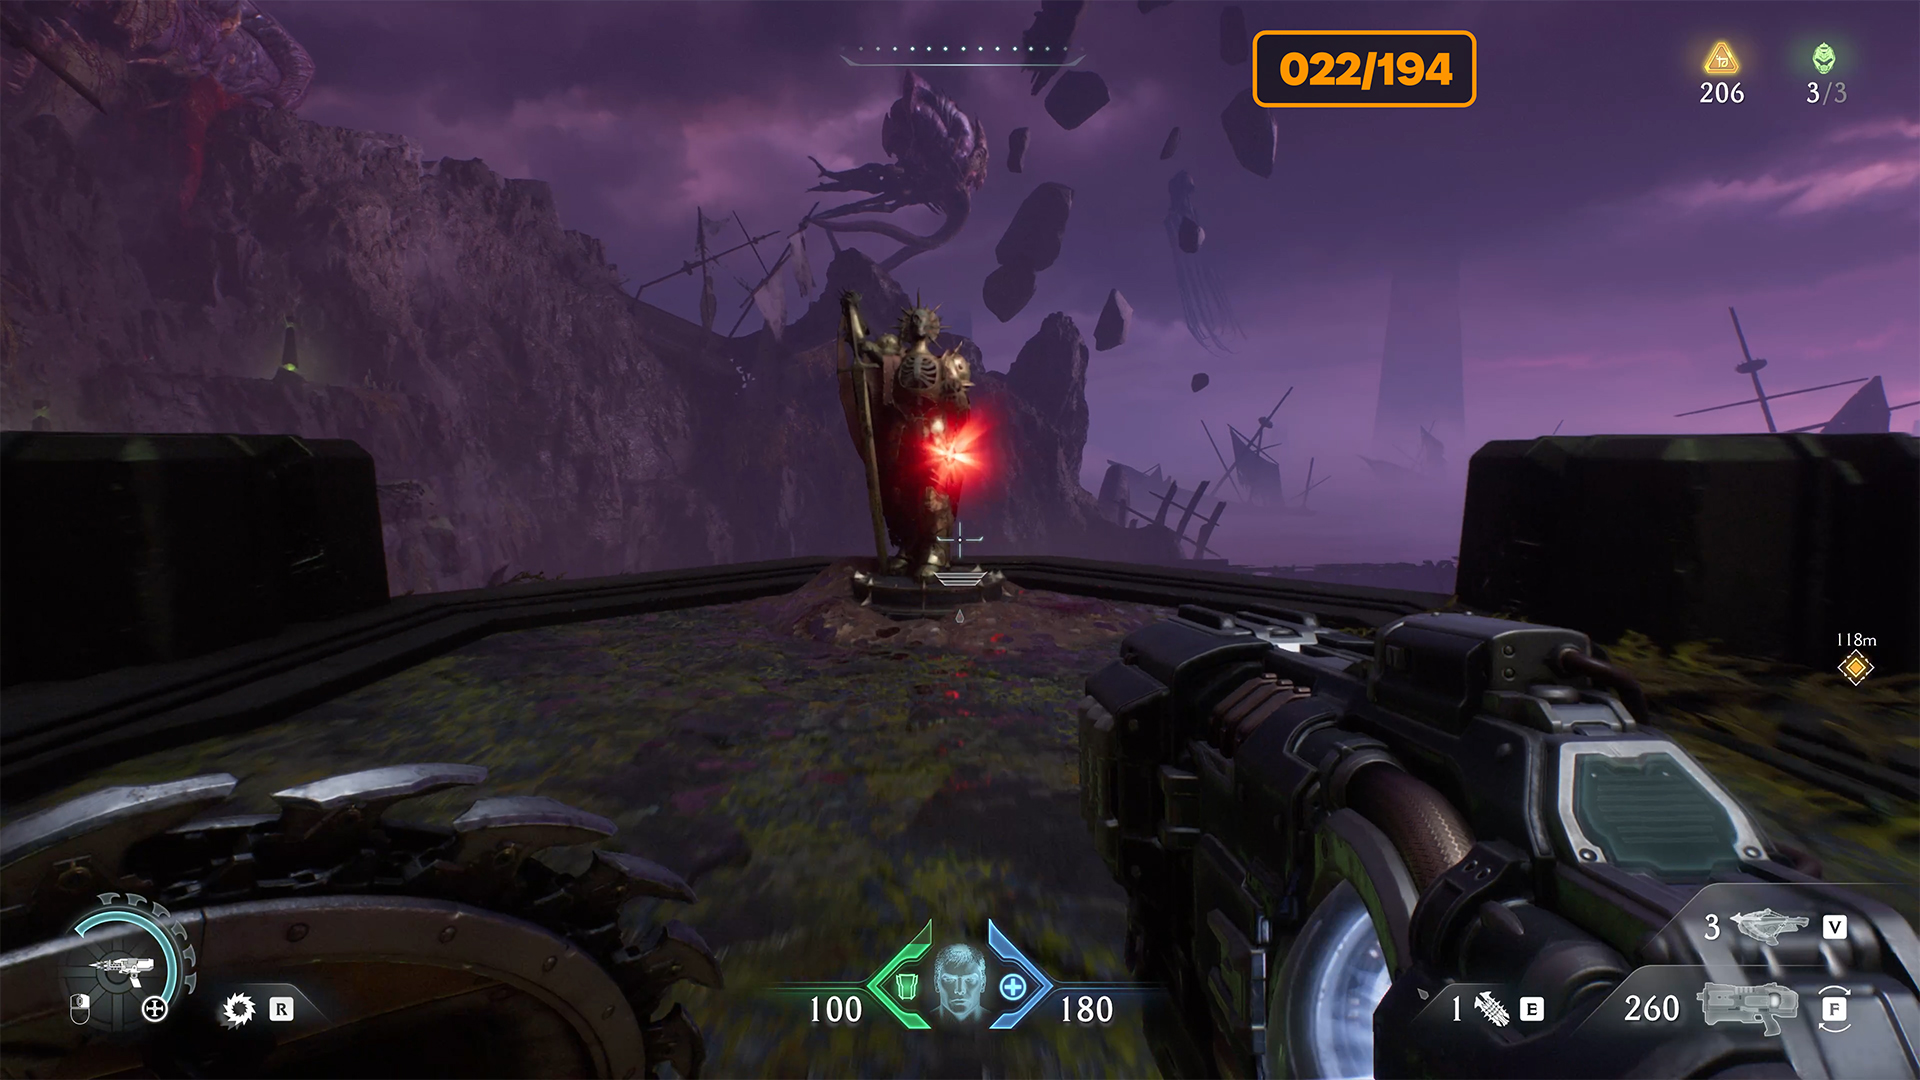
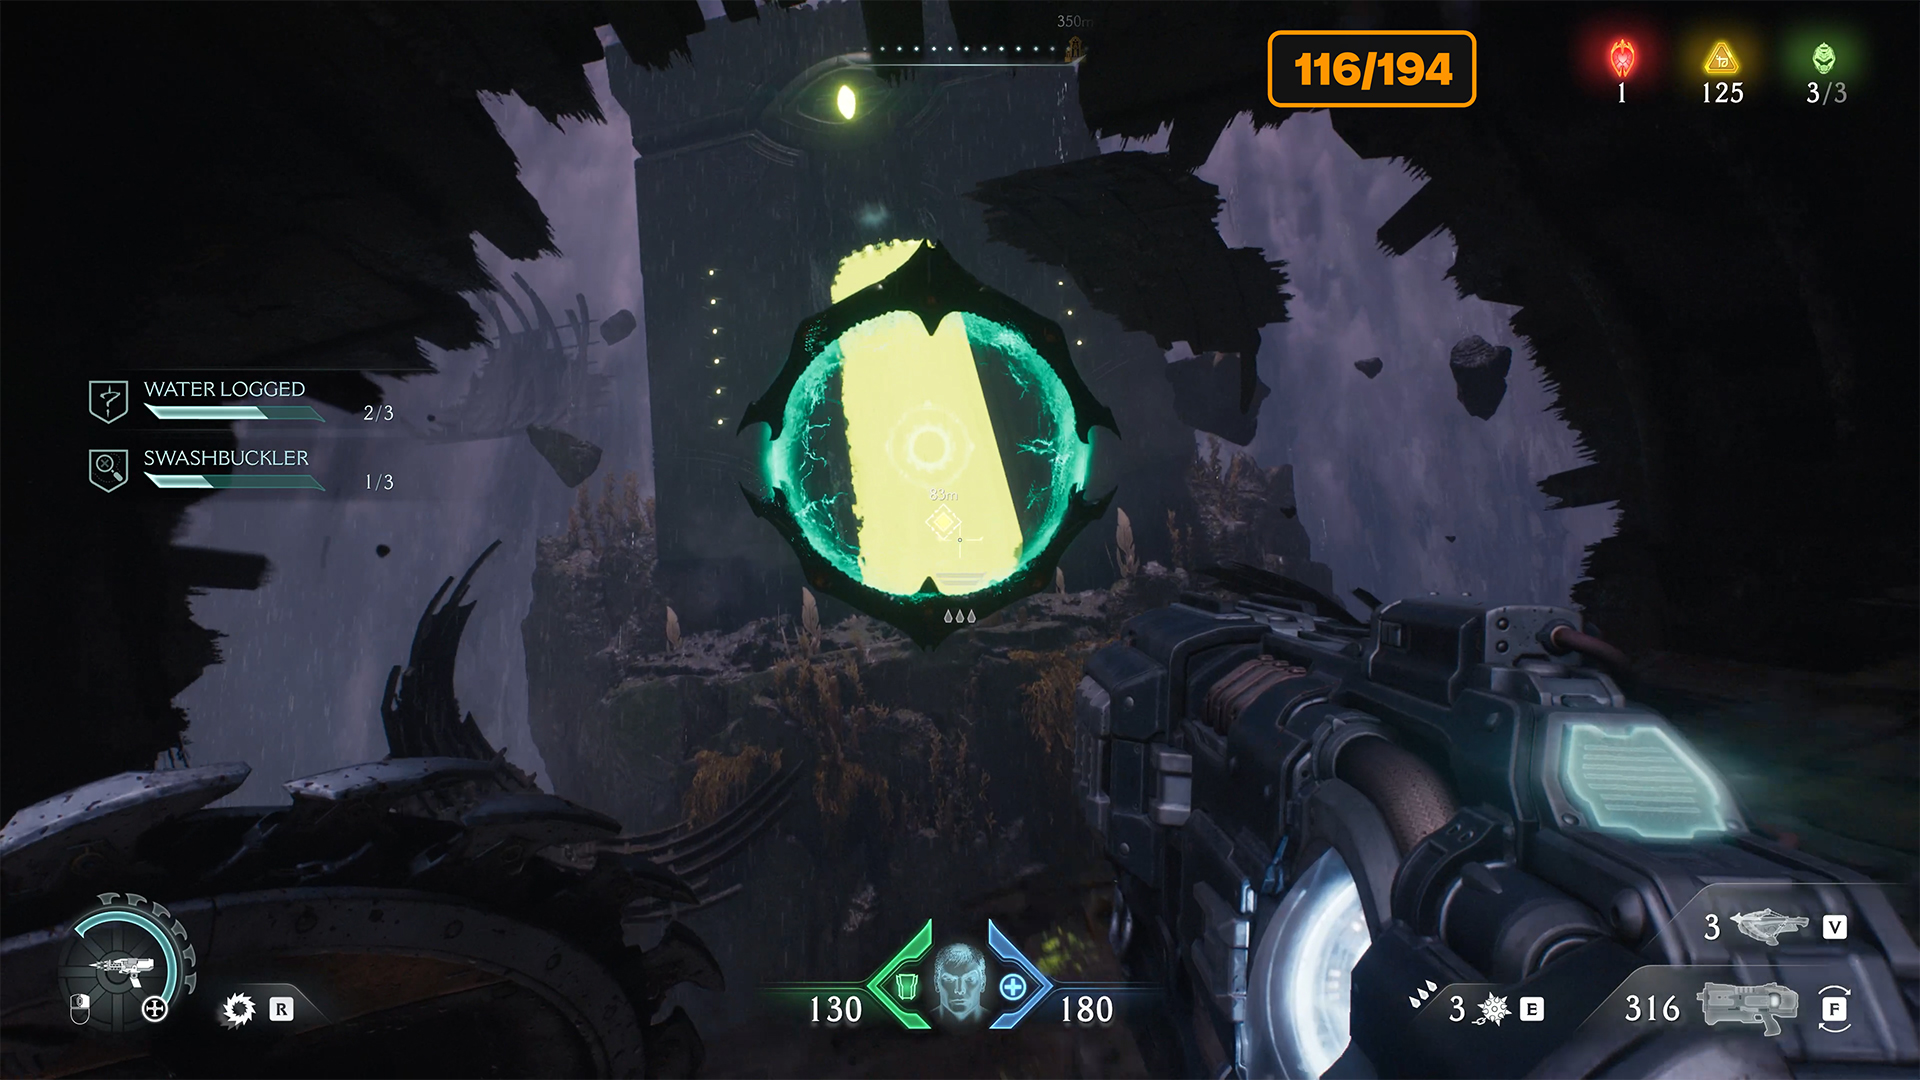
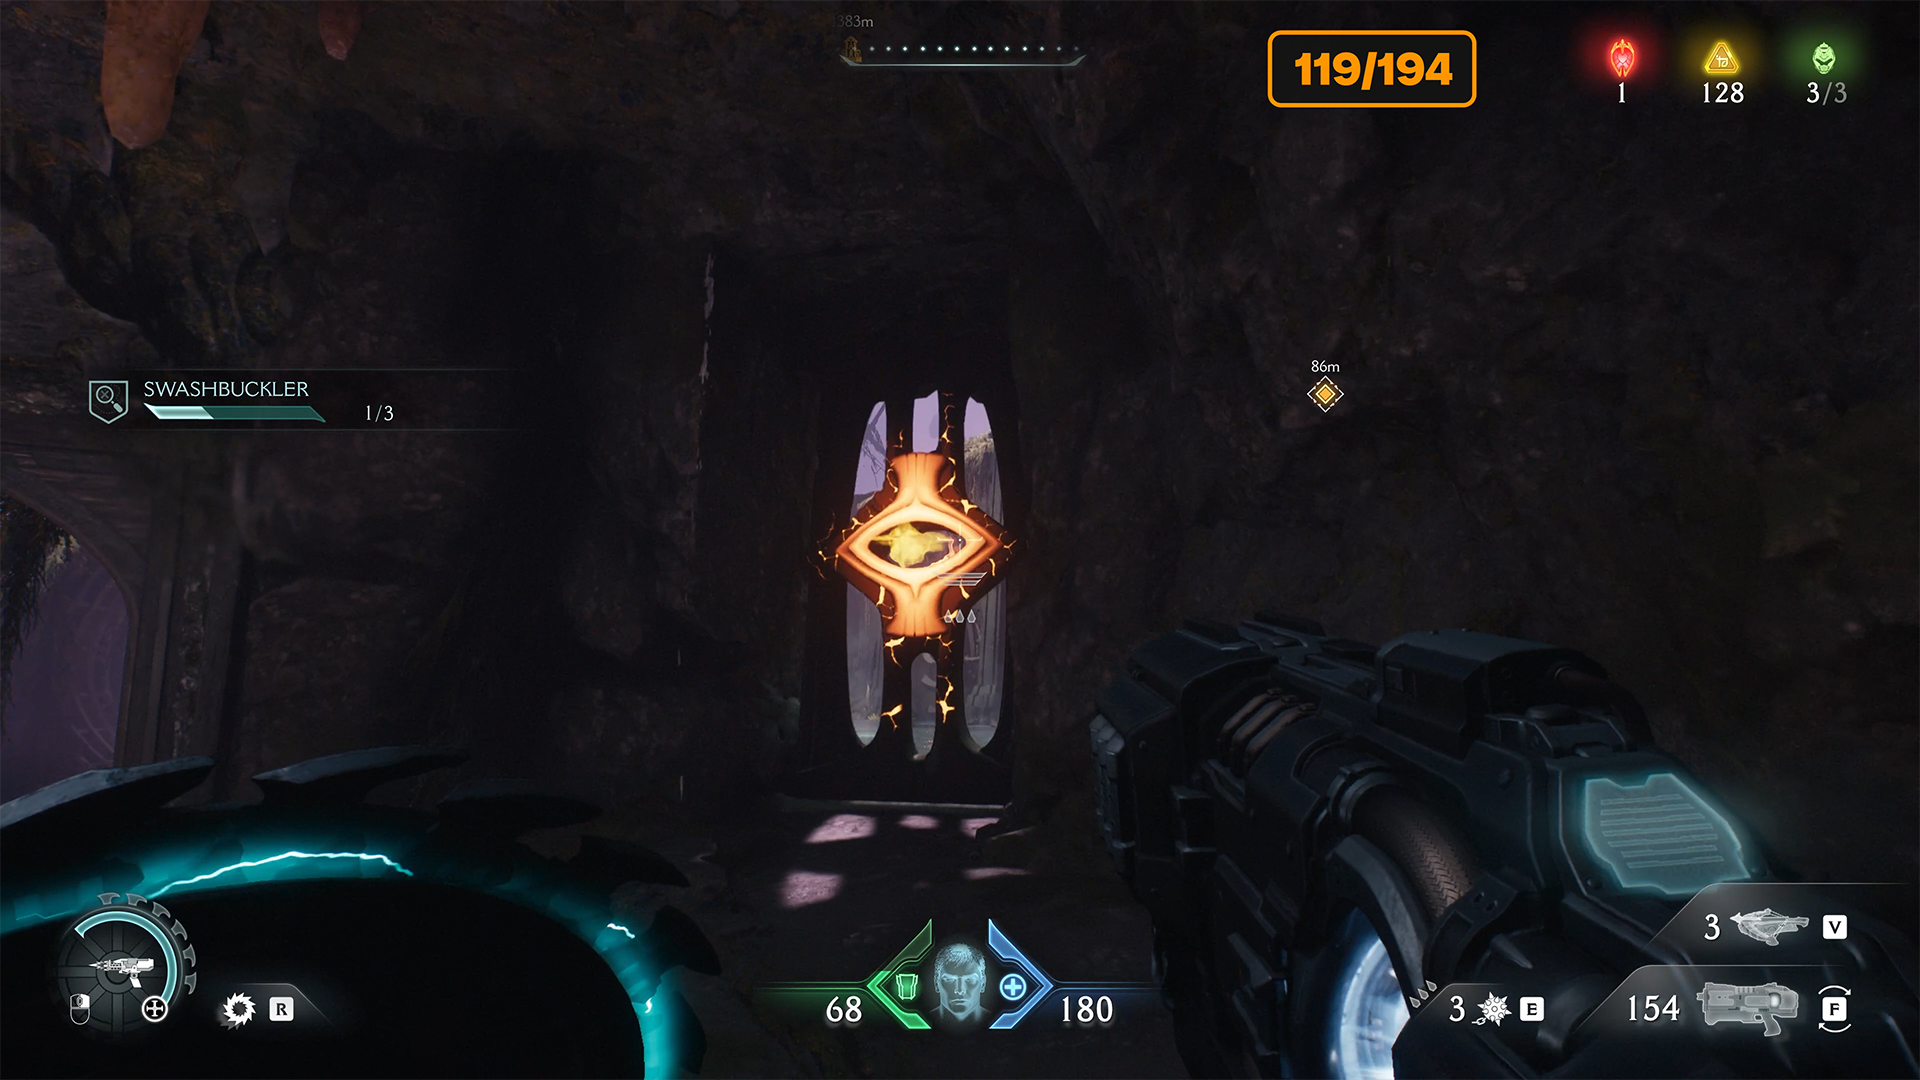
Next, I will tell you how to activate the portal to move on. Turn around from the previous gold and swim to the exit of the underwater tunnel. You will find yourself on a platform, and to your right in the distance you will see a red metal cross. It is holding a container. Throw your shield at this cross to destroy the connection.
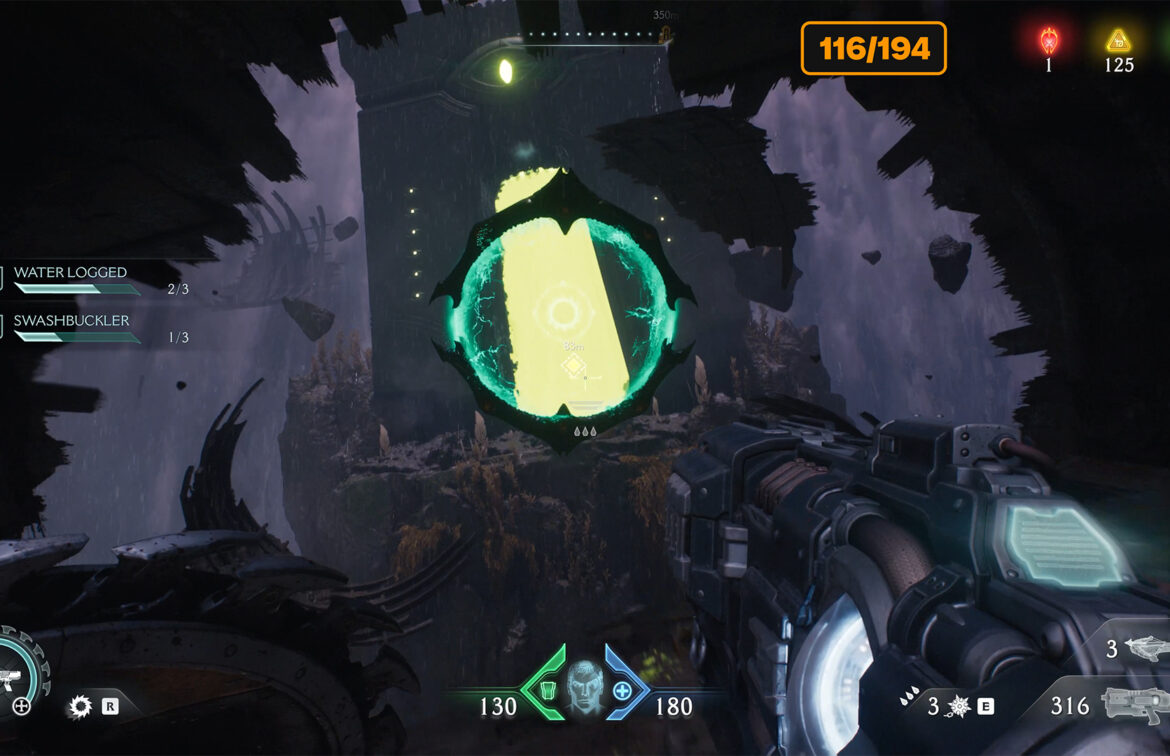
The container will fall down. You need to jump to it. Go around the container from the other side and you will see a special mark for Shield Charge to push the container. Do this, follow the container and climb on it. Once you are in the correct position, you can activate the portal with the eye. Now throw your shield at it.
This action will activate a large portal to the next stage of the Temple of Lomarith. Go to the portal and enter it. You will find yourself in the next part of Chapter 17 of Doom The Dark Ages.
-
- Break the connection to lower the container
-
- Push the container and climb onto it
-

- Activate the portal when in the correct position
-
- Large portal to move to the next phase
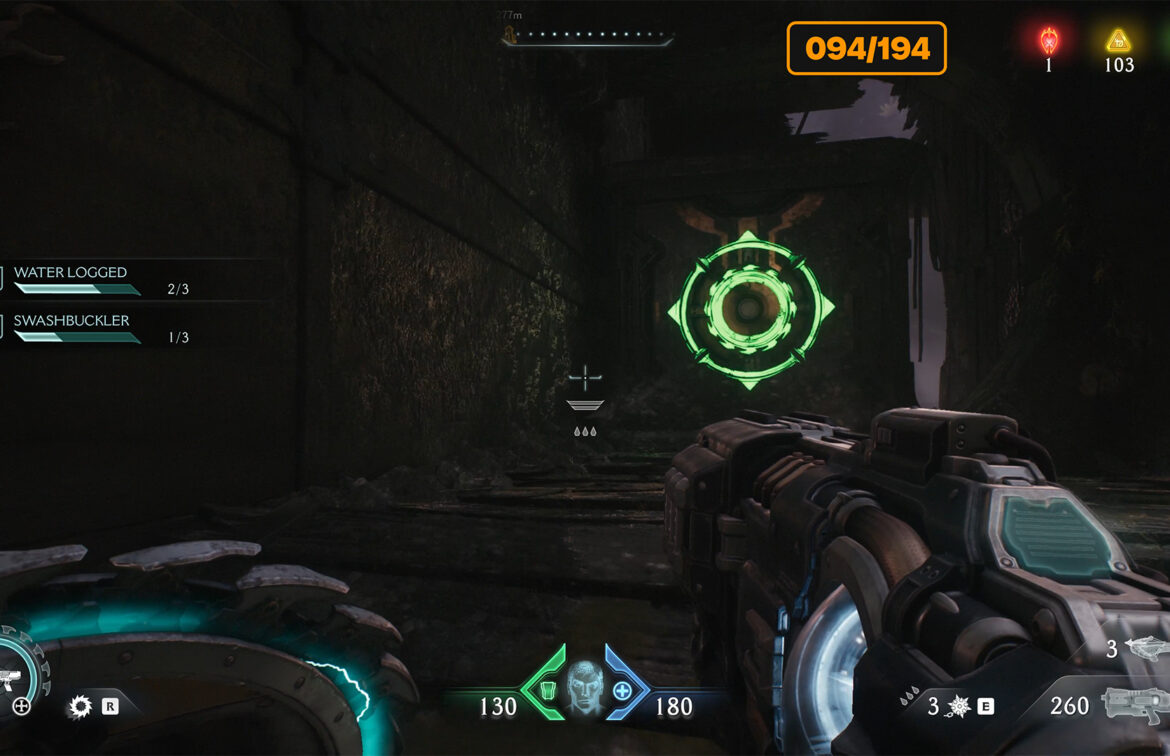
Temple of Lomarith toy location
You will enter an open space and immediately see a portal with an eye that you need to activate. But this time, you don’t need to take the correct position, but rather bring the target to the right place. So, go forward, enter the destroyed ship, and immediately turn right. In the distance, you will see a large container with a cage containing a toy on top of it.
You need to approach this container, find the Shield Charge mark on the back, and push the container. Now the target is in the correct position. Monsters will get in your way along the way, so you need to deal with them. Now go outside to the place where you entered the ship. Take the correct position and you will activate the portal with the eye.
Throw your shield into it and it will open the cage that hides the toy. Now all you have to do is go to the container, climb on it, and take the collectible toy.
-
- Temple of Lomarith toy location
-

- Push the container into the correct position

-
- Get into the correct position to open the cage
-
- Temple of Lomarith toy

Temple of Lomarith missing gold
Next, you will exit the wrecked ship from the other side and immediately pick up 8 gold coins along the way. To do this, turn slightly to the right; the gold is hidden behind the net.
-
- Temple of Lomarith missing gold location
-
- Temple of Lomarith missing gold
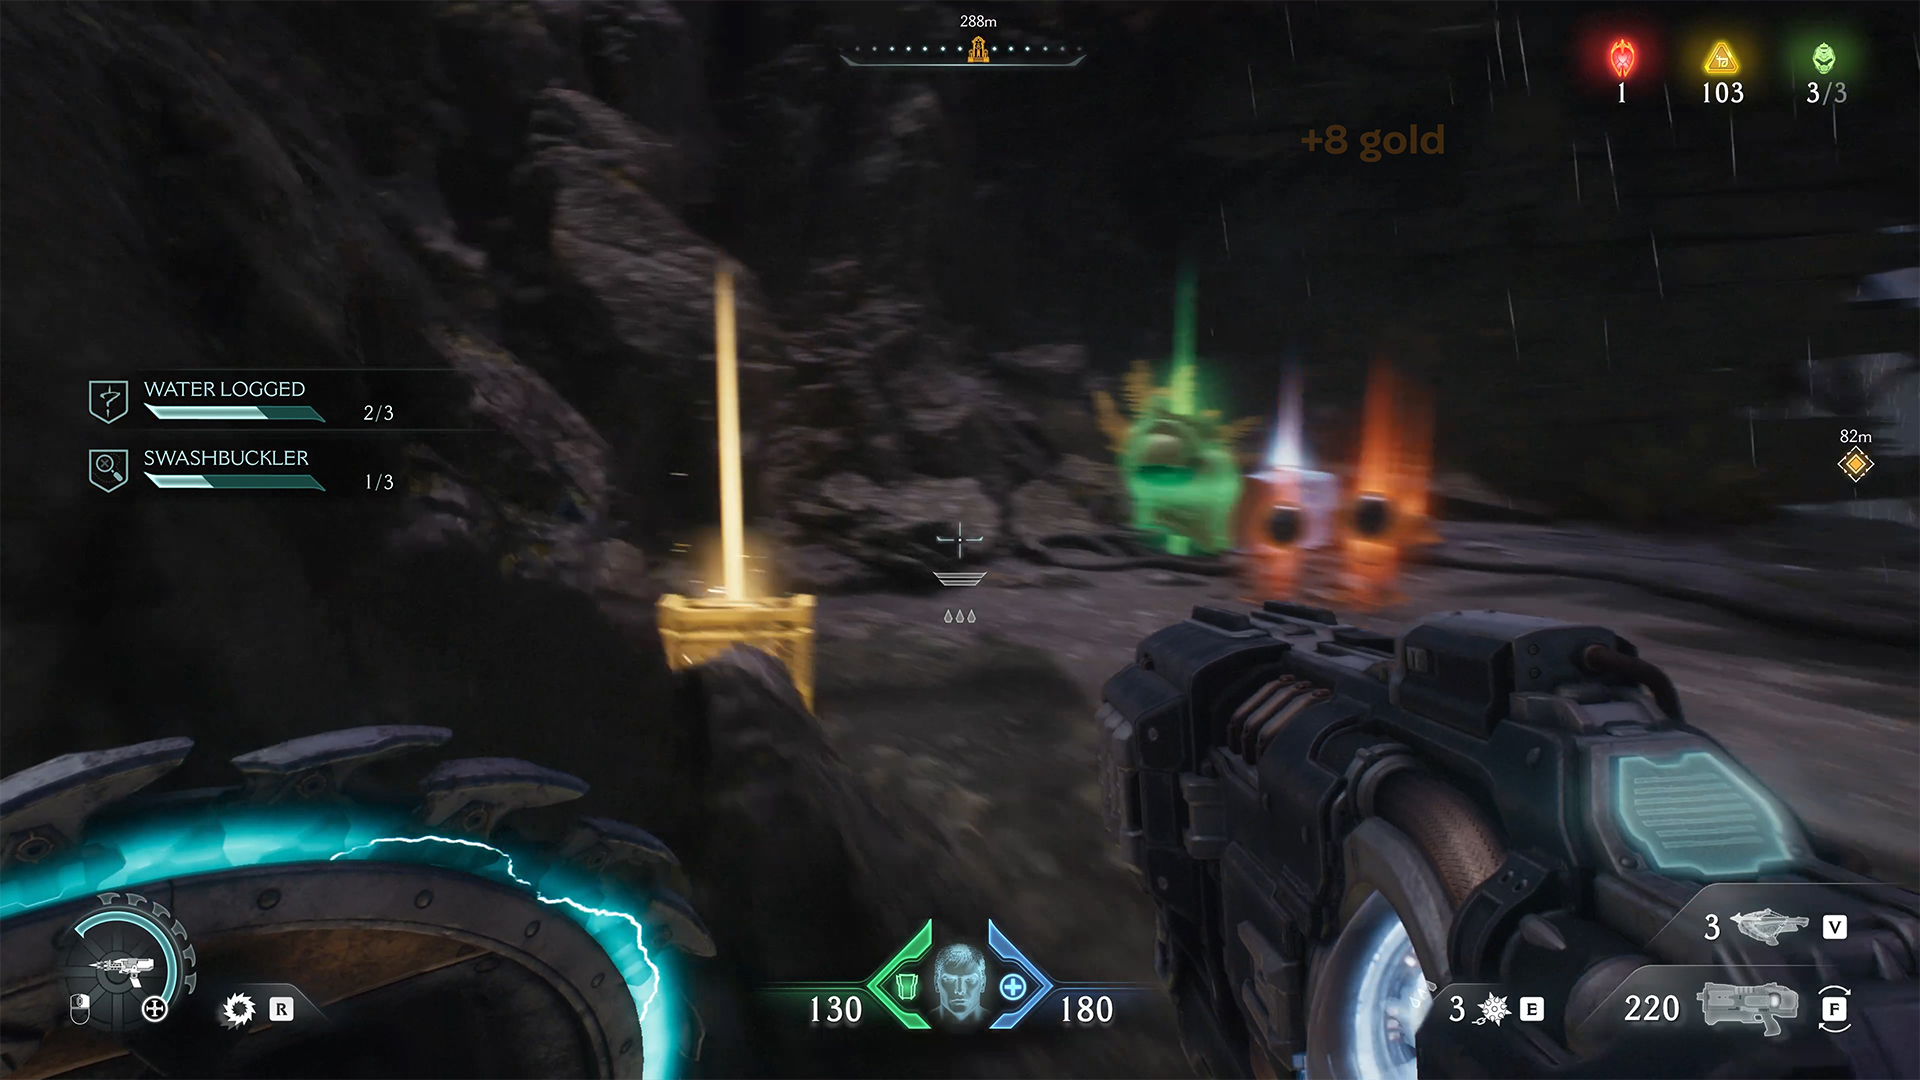
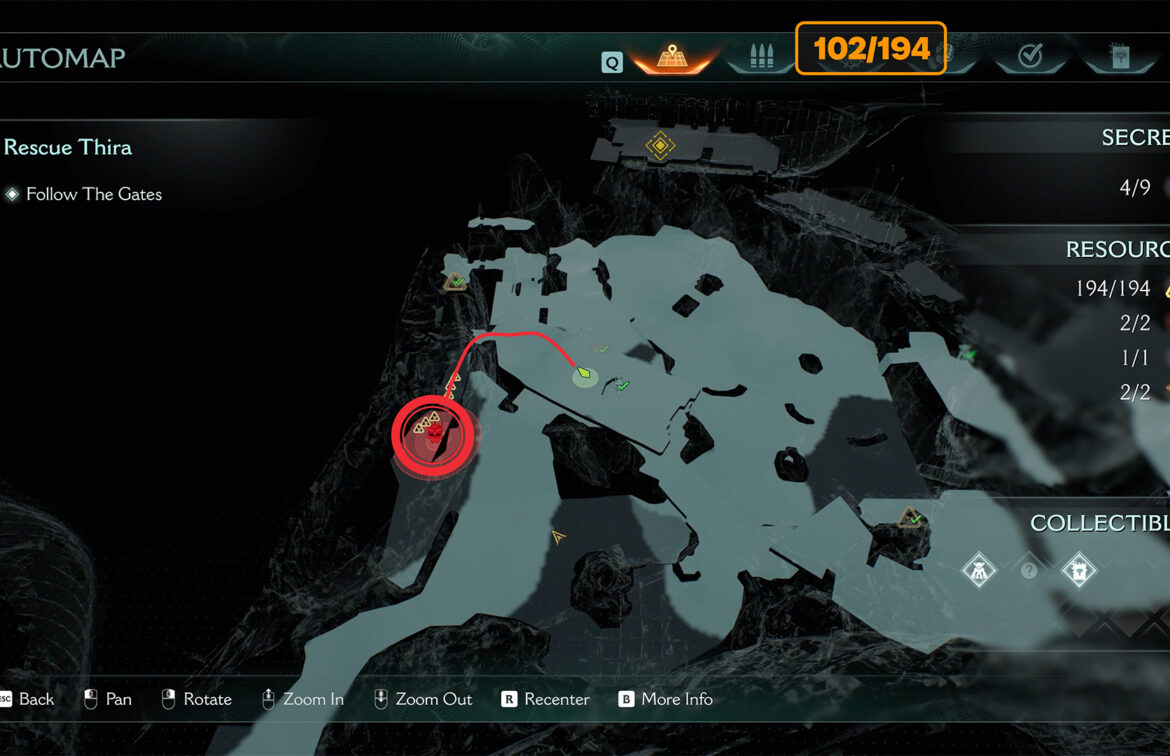
Doom Dark Ages Temple of Lomarith Gore Nest
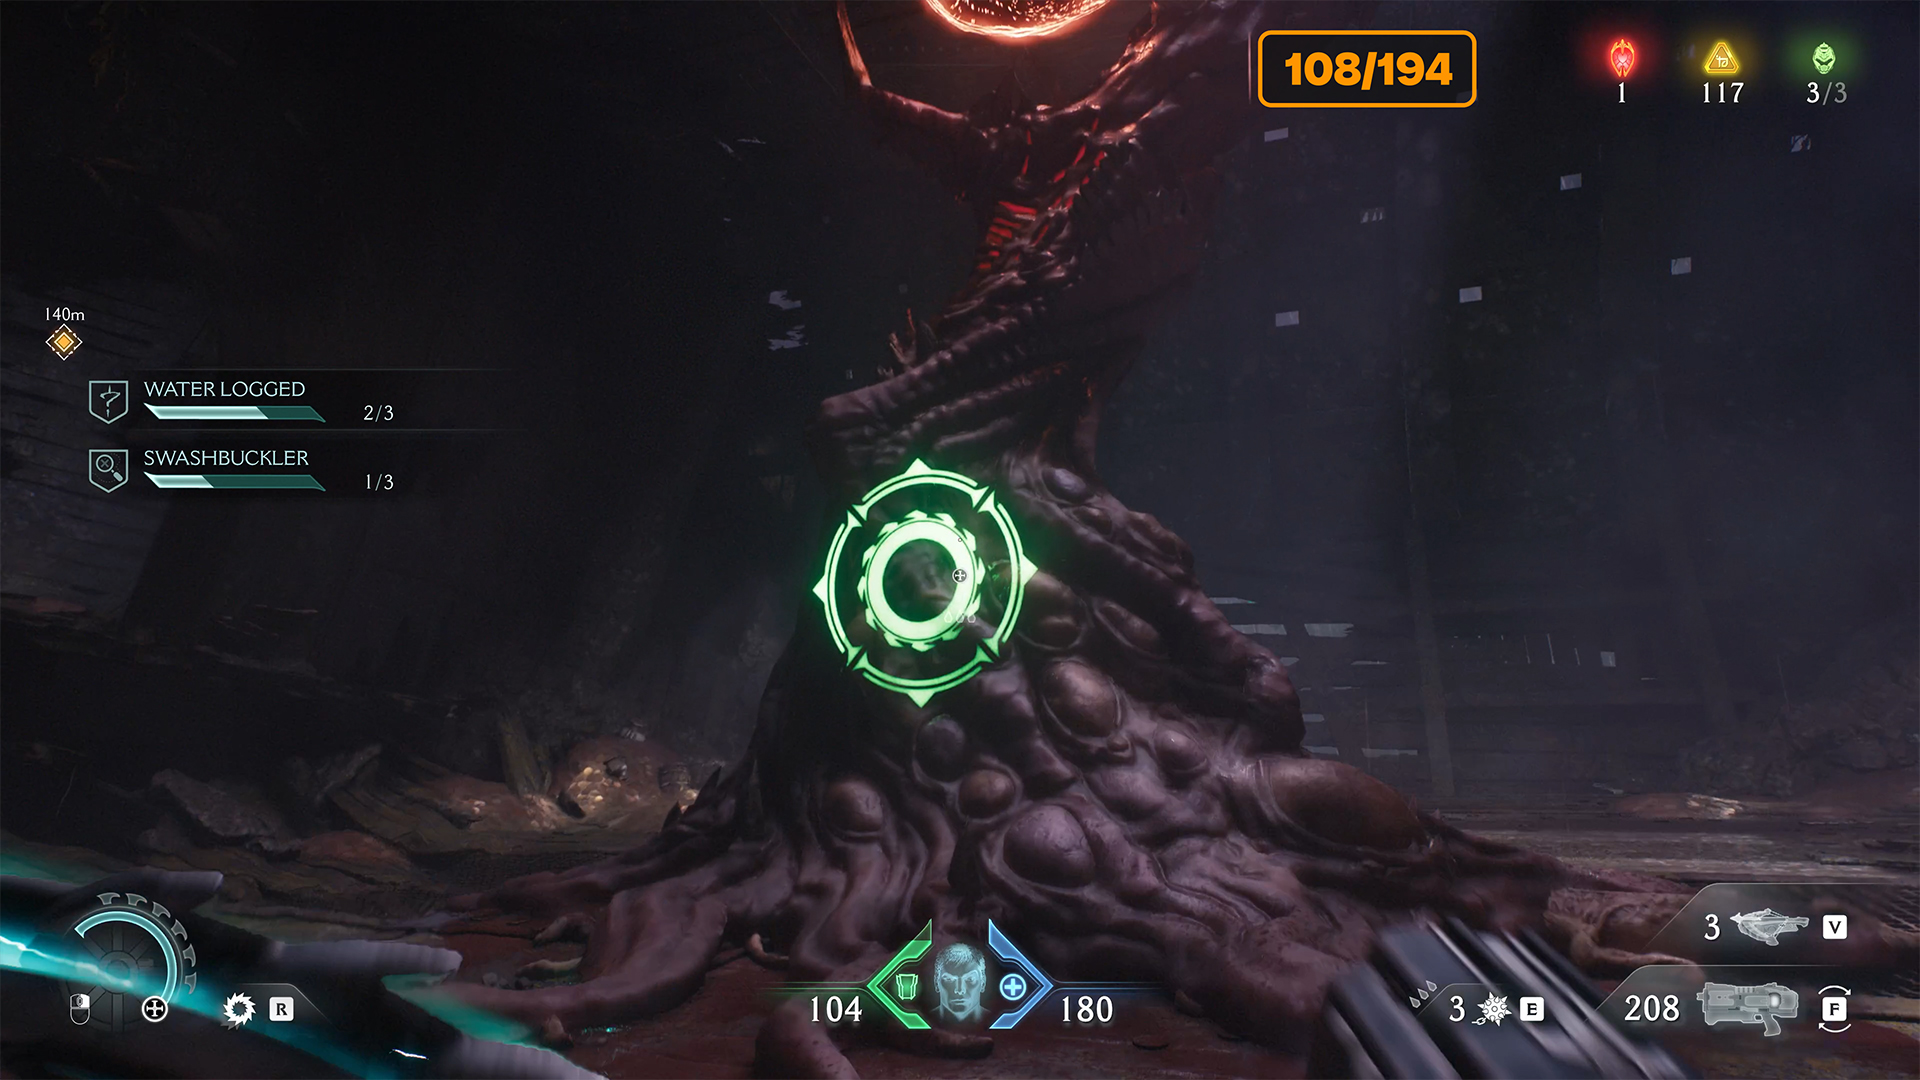
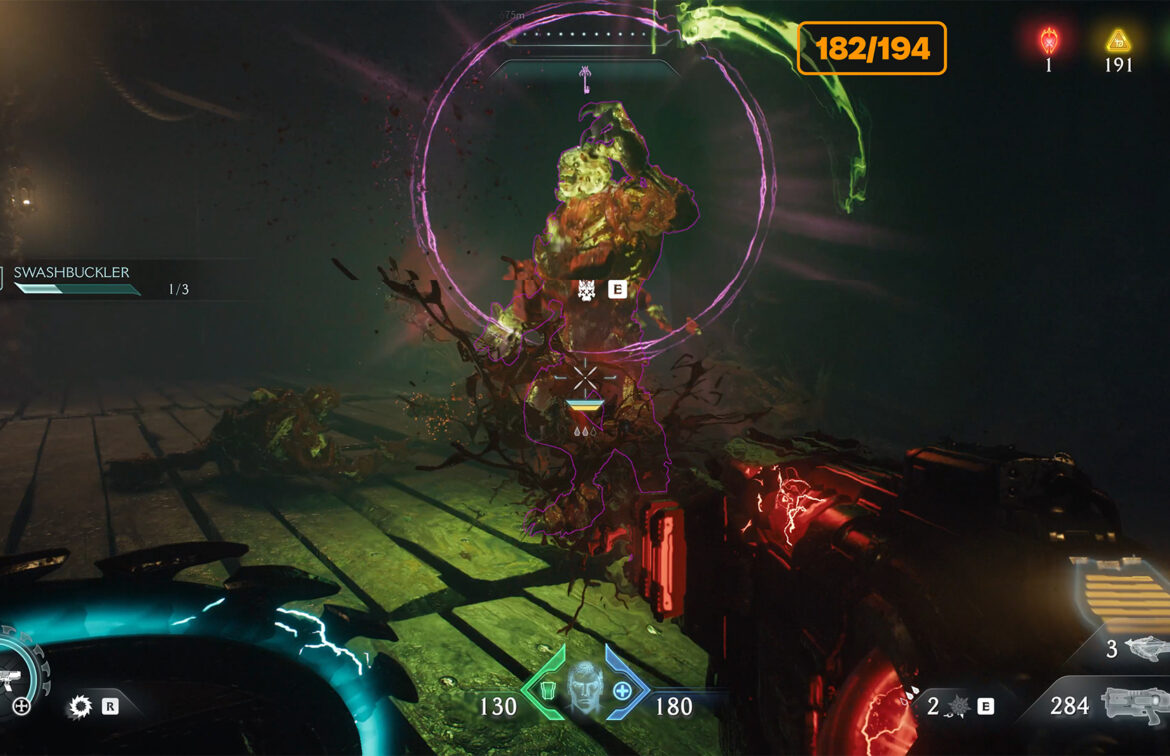
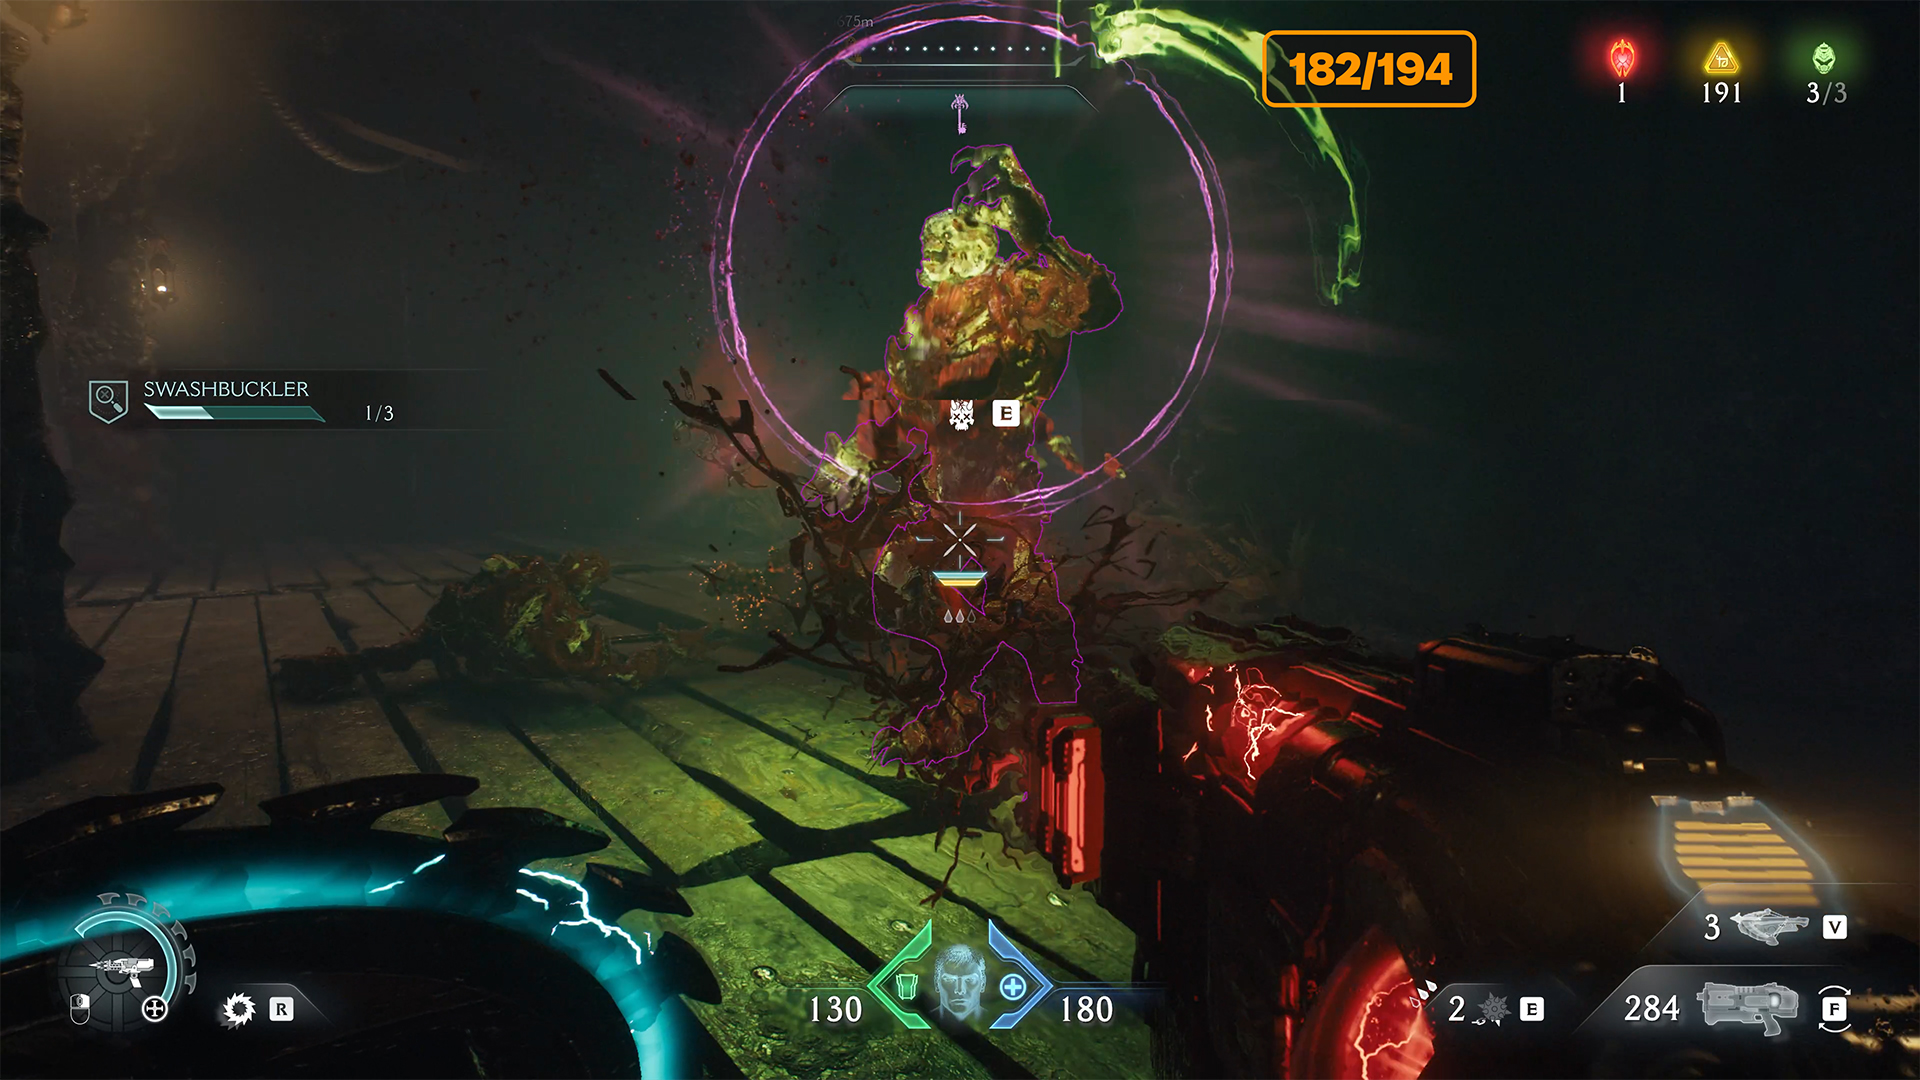
Now go forward and you will see a wooden barrier on the left that you can break with Shield Charge. Do this to find the fifth secret and six gold coins inside. You will also see a Gore Nest in this room. When you are ready for battle, break the Gore Nest and you will have a fight with the monsters that appear in this place.
At the end of the battle, a mini-boss will appear. After you defeat it, you will receive Demonic Essence Ammo. Unusually, the ammunition gauge is full, but Demonic Essence reappears. This is probably for those who missed the previous ones.
-
- Temple of Lomarith Gore Nest location
-
- Entrance to the location with Gore Nest
-

- Temple of Lomarith Gore Nest
-
- Second Demonic Essence Ammo
Temple of Lomarith gold on the ship
Next, you need to jump using Shield Charge into the green ring, which will throw you onto the ship ahead. Go forward and to the right of the wall, you will find 8 gold. Don’t miss this spot when you run forward.
-
- Temple of Lomarith gold on the ship location
-
- Green portal for flying to the ship
-
- Temple of Lomarith gold on the ship
Temple of Lomarith how to proceed
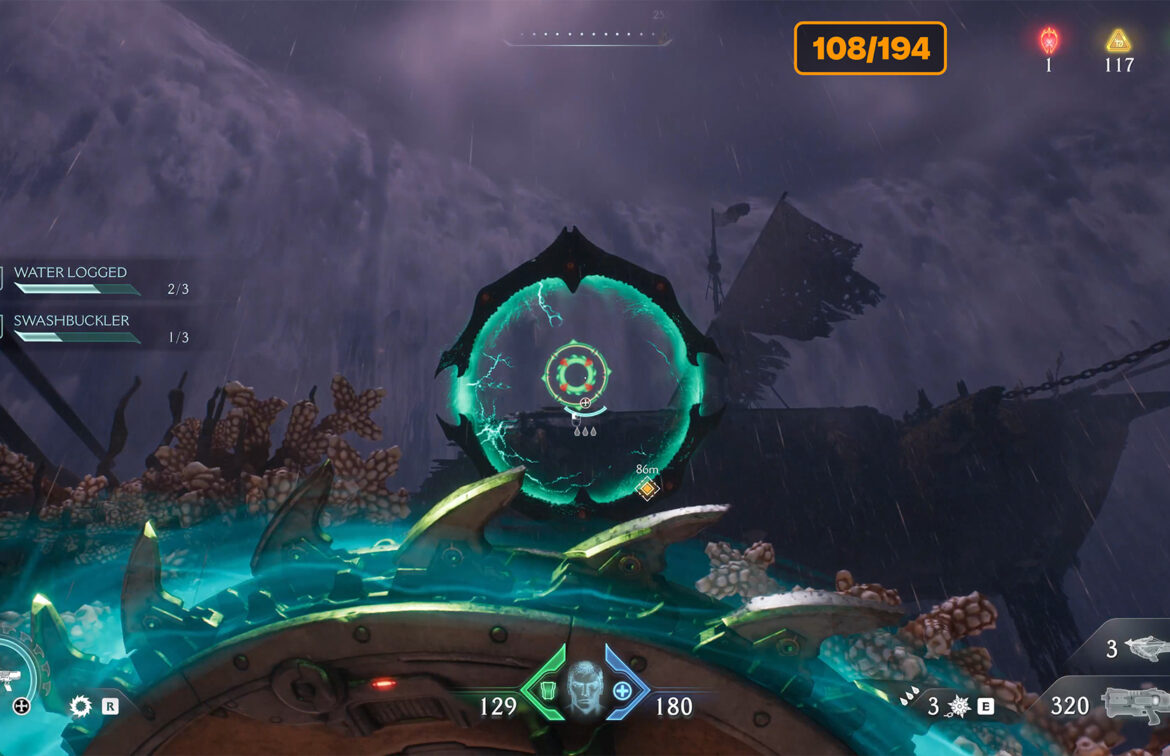
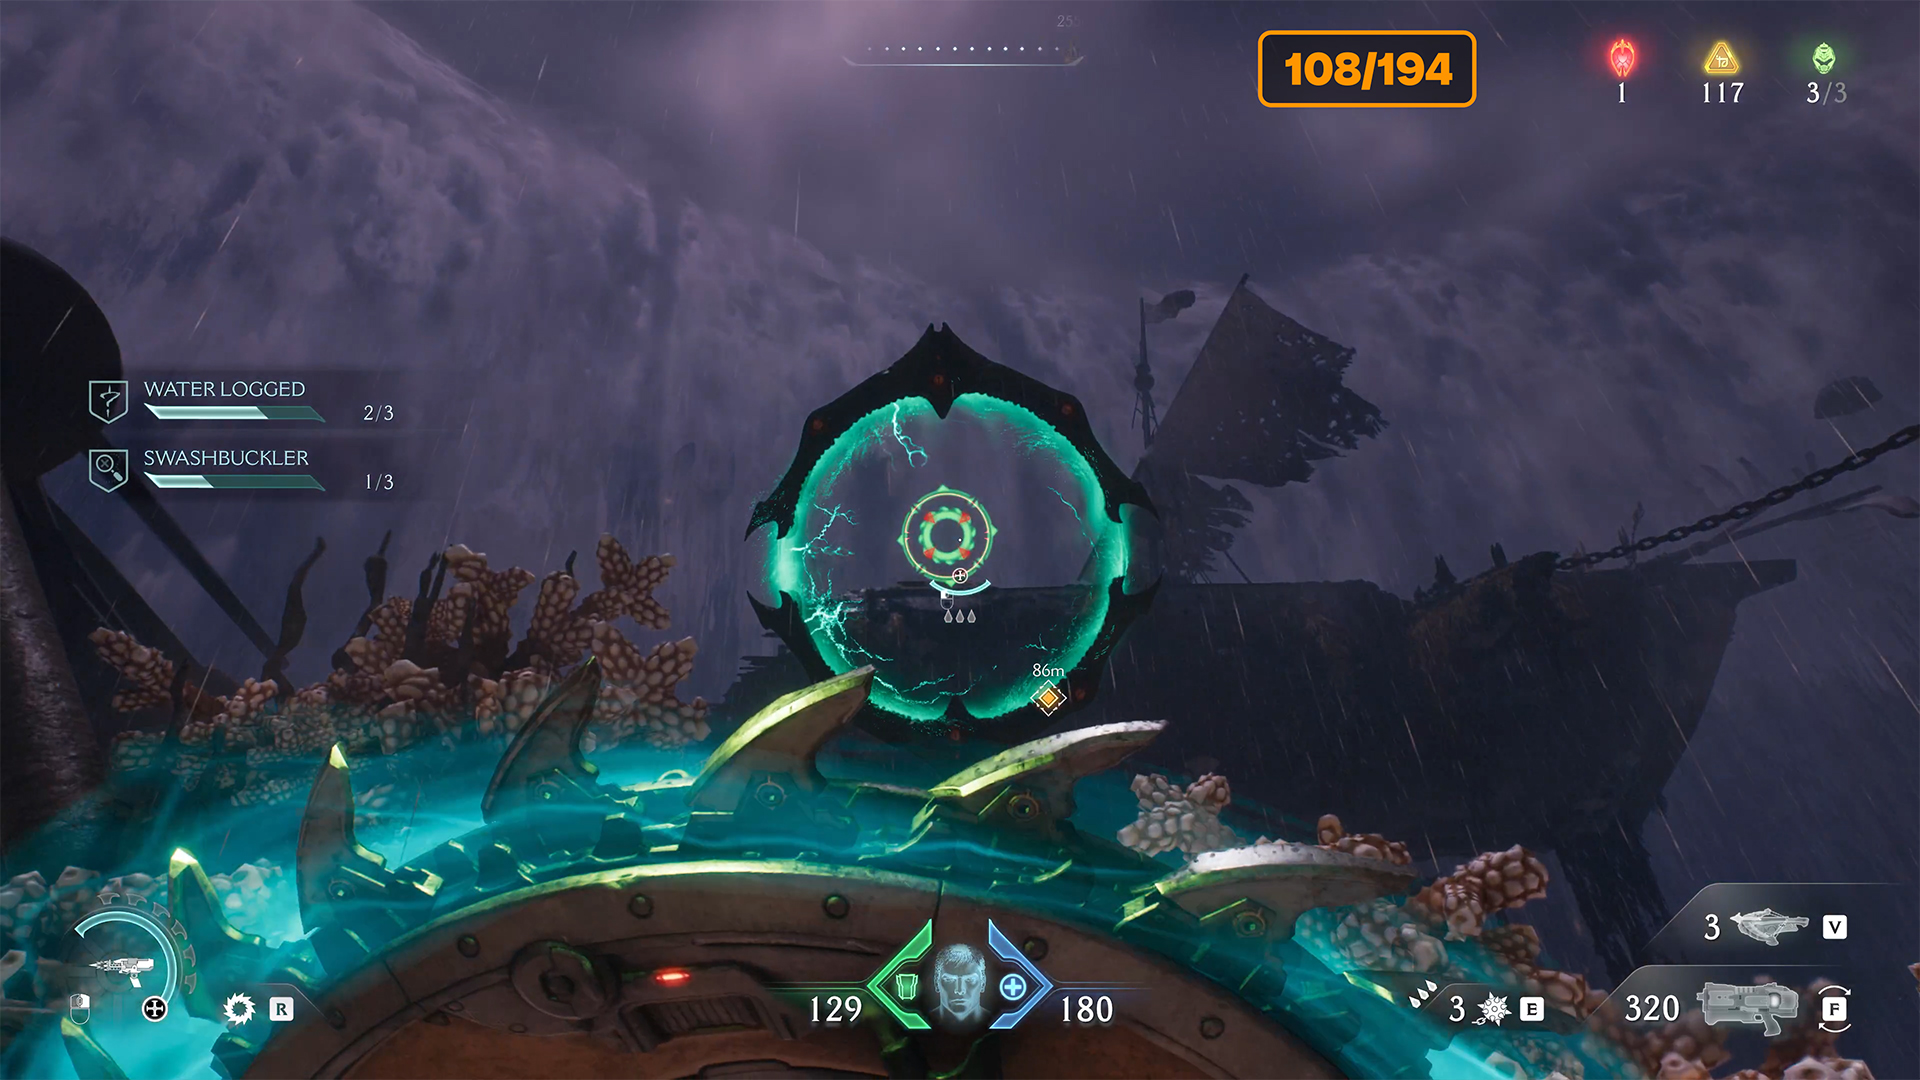
Now, to proceed further in Chapter 17, Temple of Lomarith, you need to find the blue mechanism. It is located to your right. Throw your shield at it. This action will activate the platform in front of you, and it will begin to turn toward you. There will be a green statue on the platform.
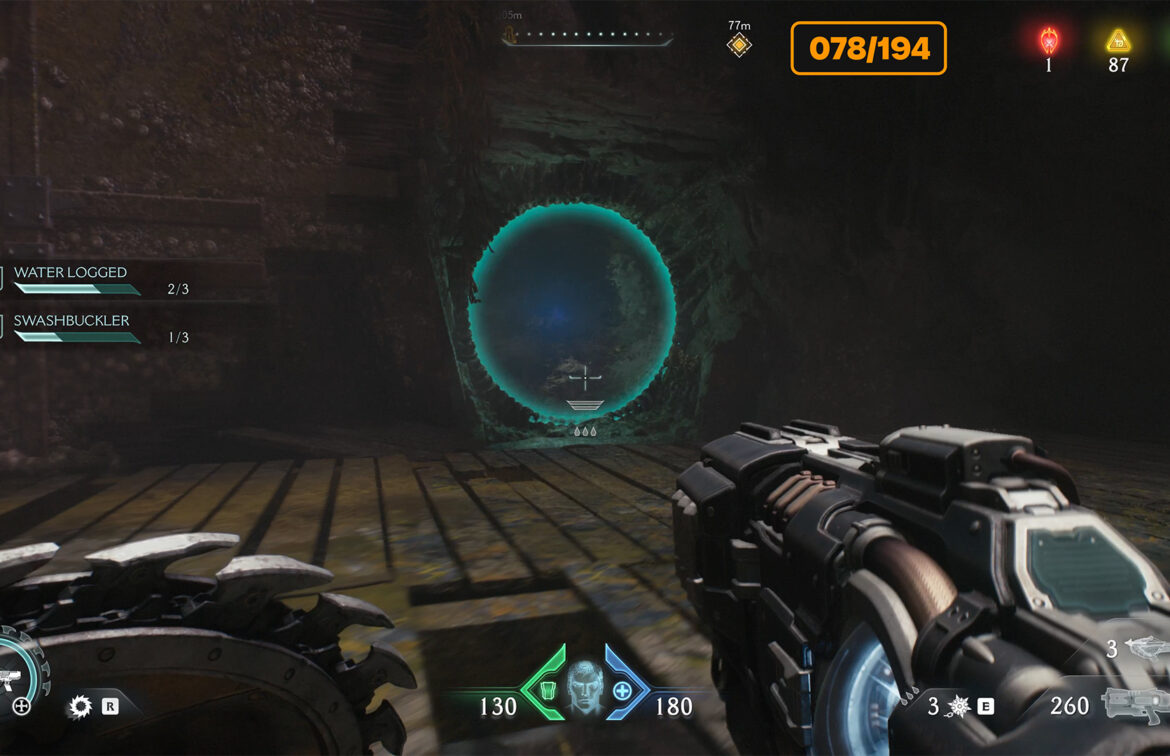
Throw your shield at it and fly after the shield to land on this platform. Go forward, destroying monsters, and soon you will see a green circle. You need to jump into it using Shield Charge, and it will throw you to a large portal. You will find yourself back in the underwater part of the Temple of Lomarith. There are no secrets or hidden places underwater here.
-
- Activate the blue mechanism
-

- Jump onto the platform ahead
-
- Jump forward through the round green portal
-
- Swim through the underwater section
Temple of Lomarith weapon skin
Find the place I’m showing you on the map. Here we will find the Weapon Skin. So, follow the path I have indicated. You will enter a water tunnel, swim down until you reach the lower level. A tentacle will instantly crawl out of the ground, which you must destroy. After that, an accelerator will activate ahead. With its help, you will enter the water tunnel again. Swim forward to the Weapon Skin to continue the story of the Temple of Lomarith.
-
- Temple of Lomarith weapon skin location
-
- Enter through the circle into the flooded tunnel
-
- Use the accelerator to get the weapon skin
-
- Temple of Lomarith weapon skin
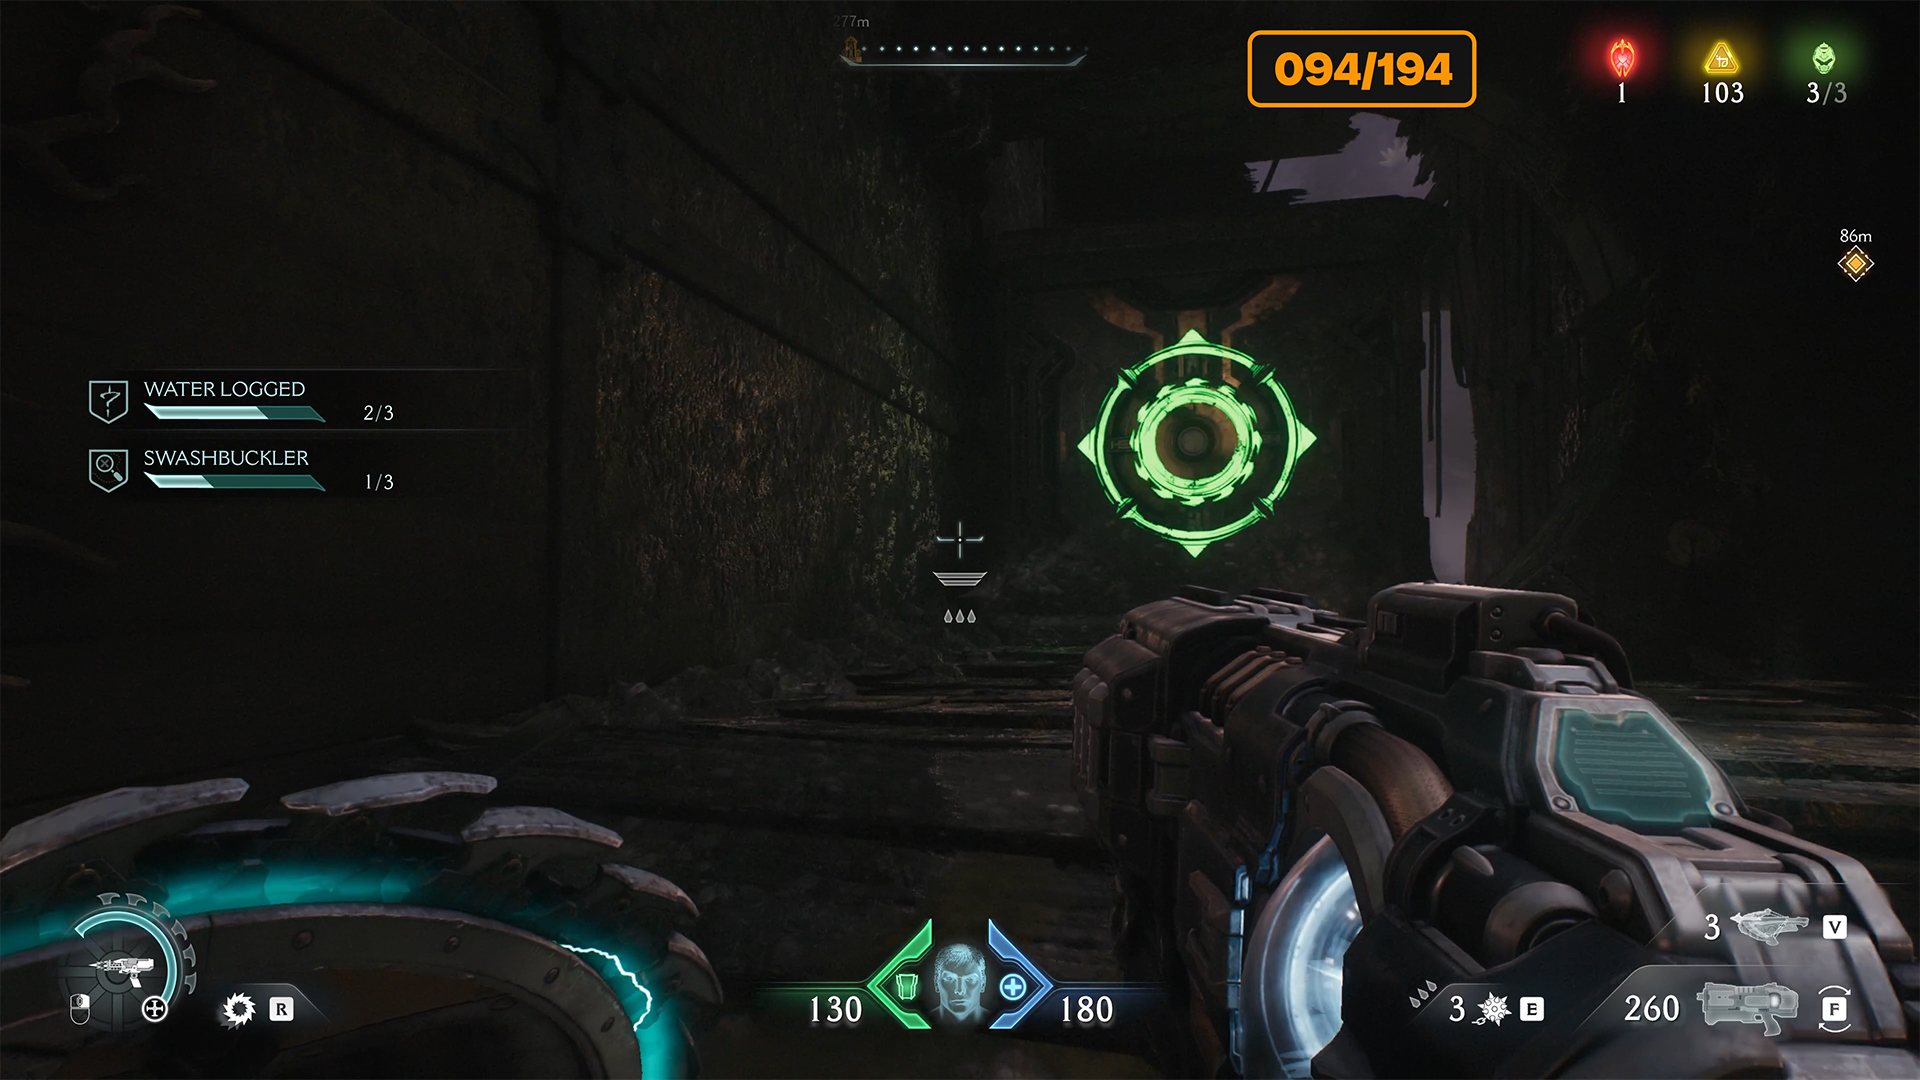
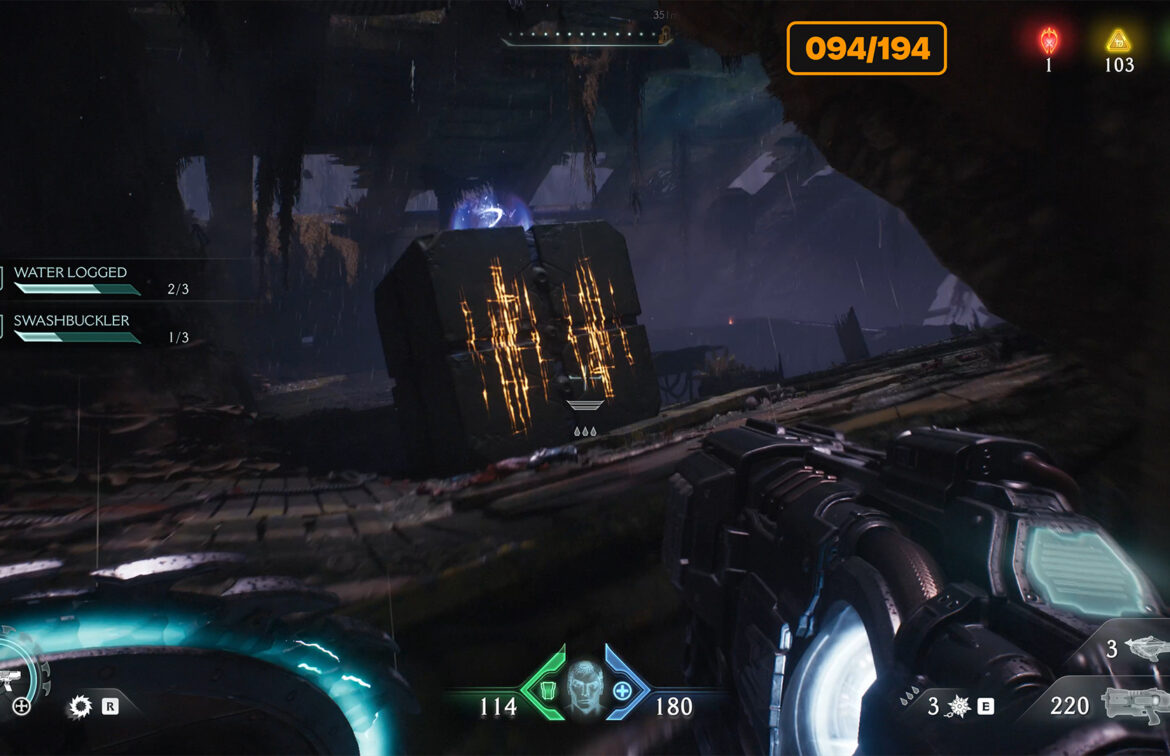
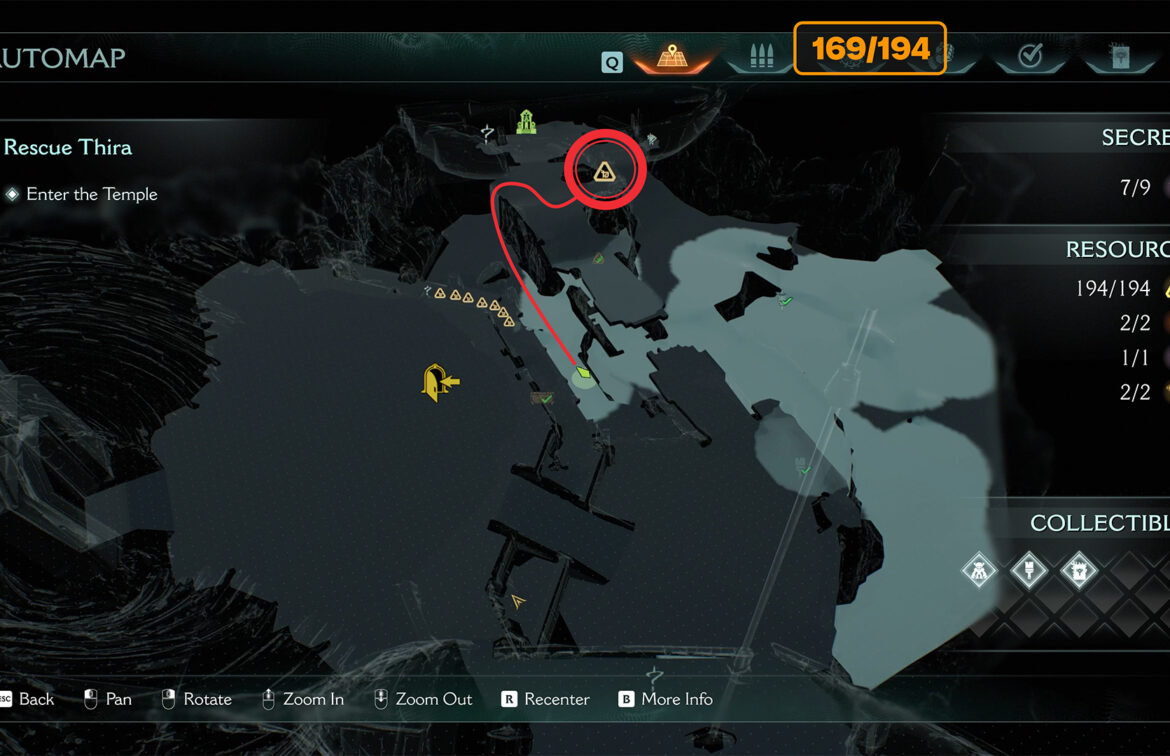
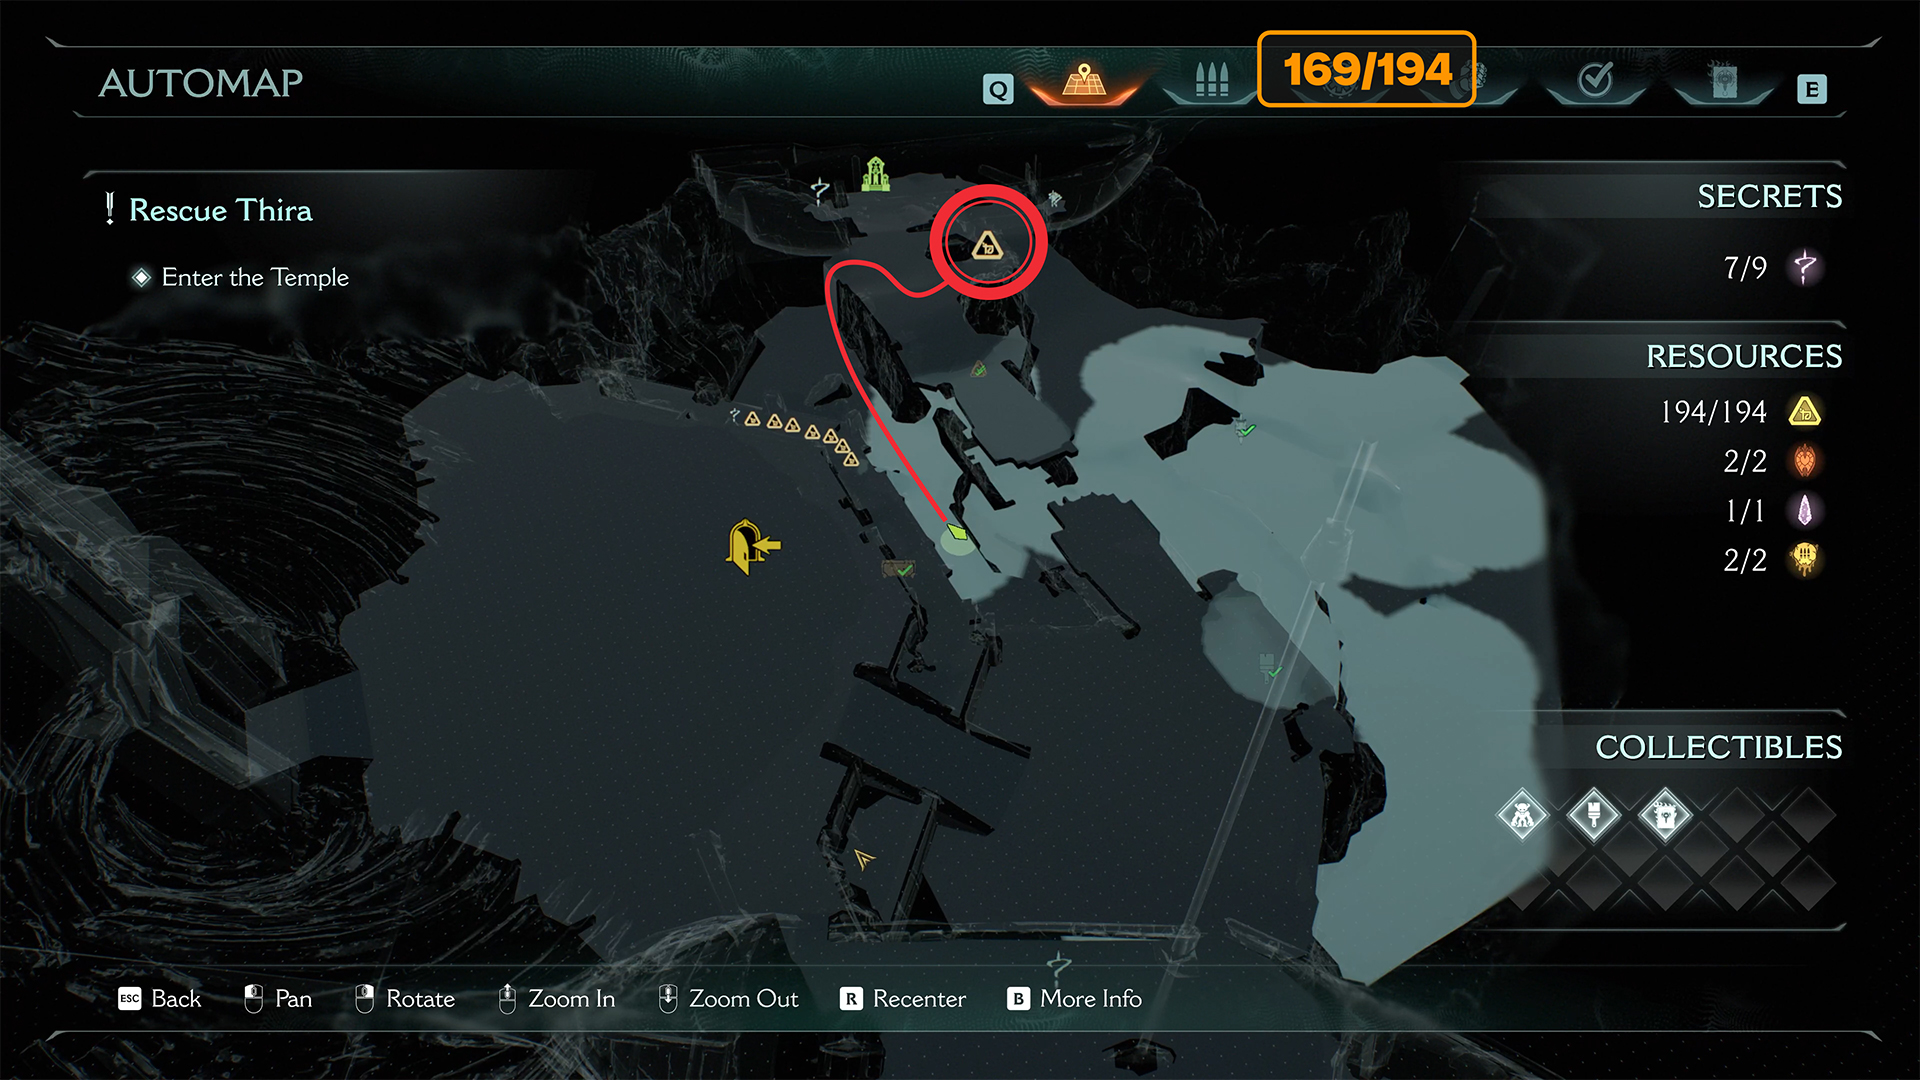
Temple of Lomarith chest
After that, carefully look at the route I drew for you on the map. You need to go forward and a little to the left you will find a wooden barrier that you need to break. Inside you will see 3 gold coins. Now turn around and you will see a portal with an eye that you need to activate. Get into the correct position, activate the portal, and throw your shield into it. This will open a secret room ahead. Here you will find the seventh secret and a gold chest that will give you 50 gold coins after you break it.
-
- Temple of Lomarith chest location
-
- Entrance to the intermediate room with a portal
-

- Activation of the eye-shaped portal
-
- Temple of Lomarith chest
Temple of Lomarith gold place
Nothing complicated next, you need to follow the route I showed you on the map. On the right, you will see a wall that you can climb to reach the second level. Do that. Now go forward and turn right around the corner. There are 8 gold coins hidden here without any riddles. Just come here and take the gold.
-
- Temple of Lomarith gold place location
-
- Climb the wall to gold
-
- Temple of Lomarith gold place

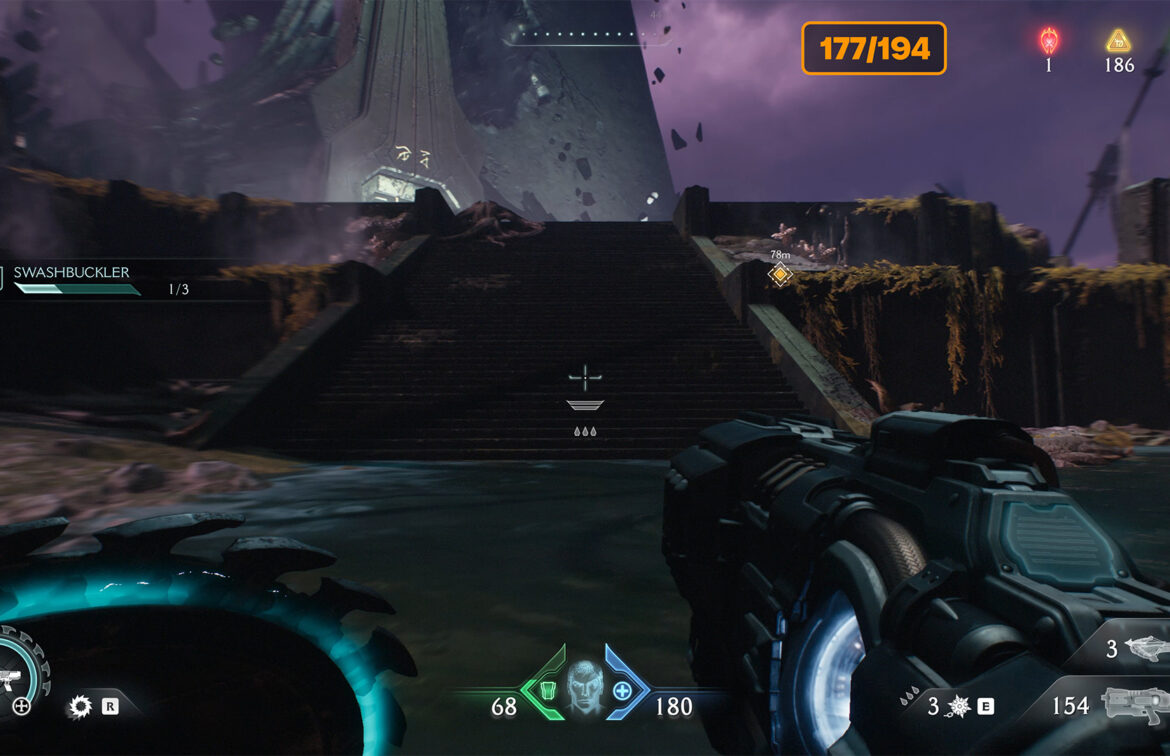
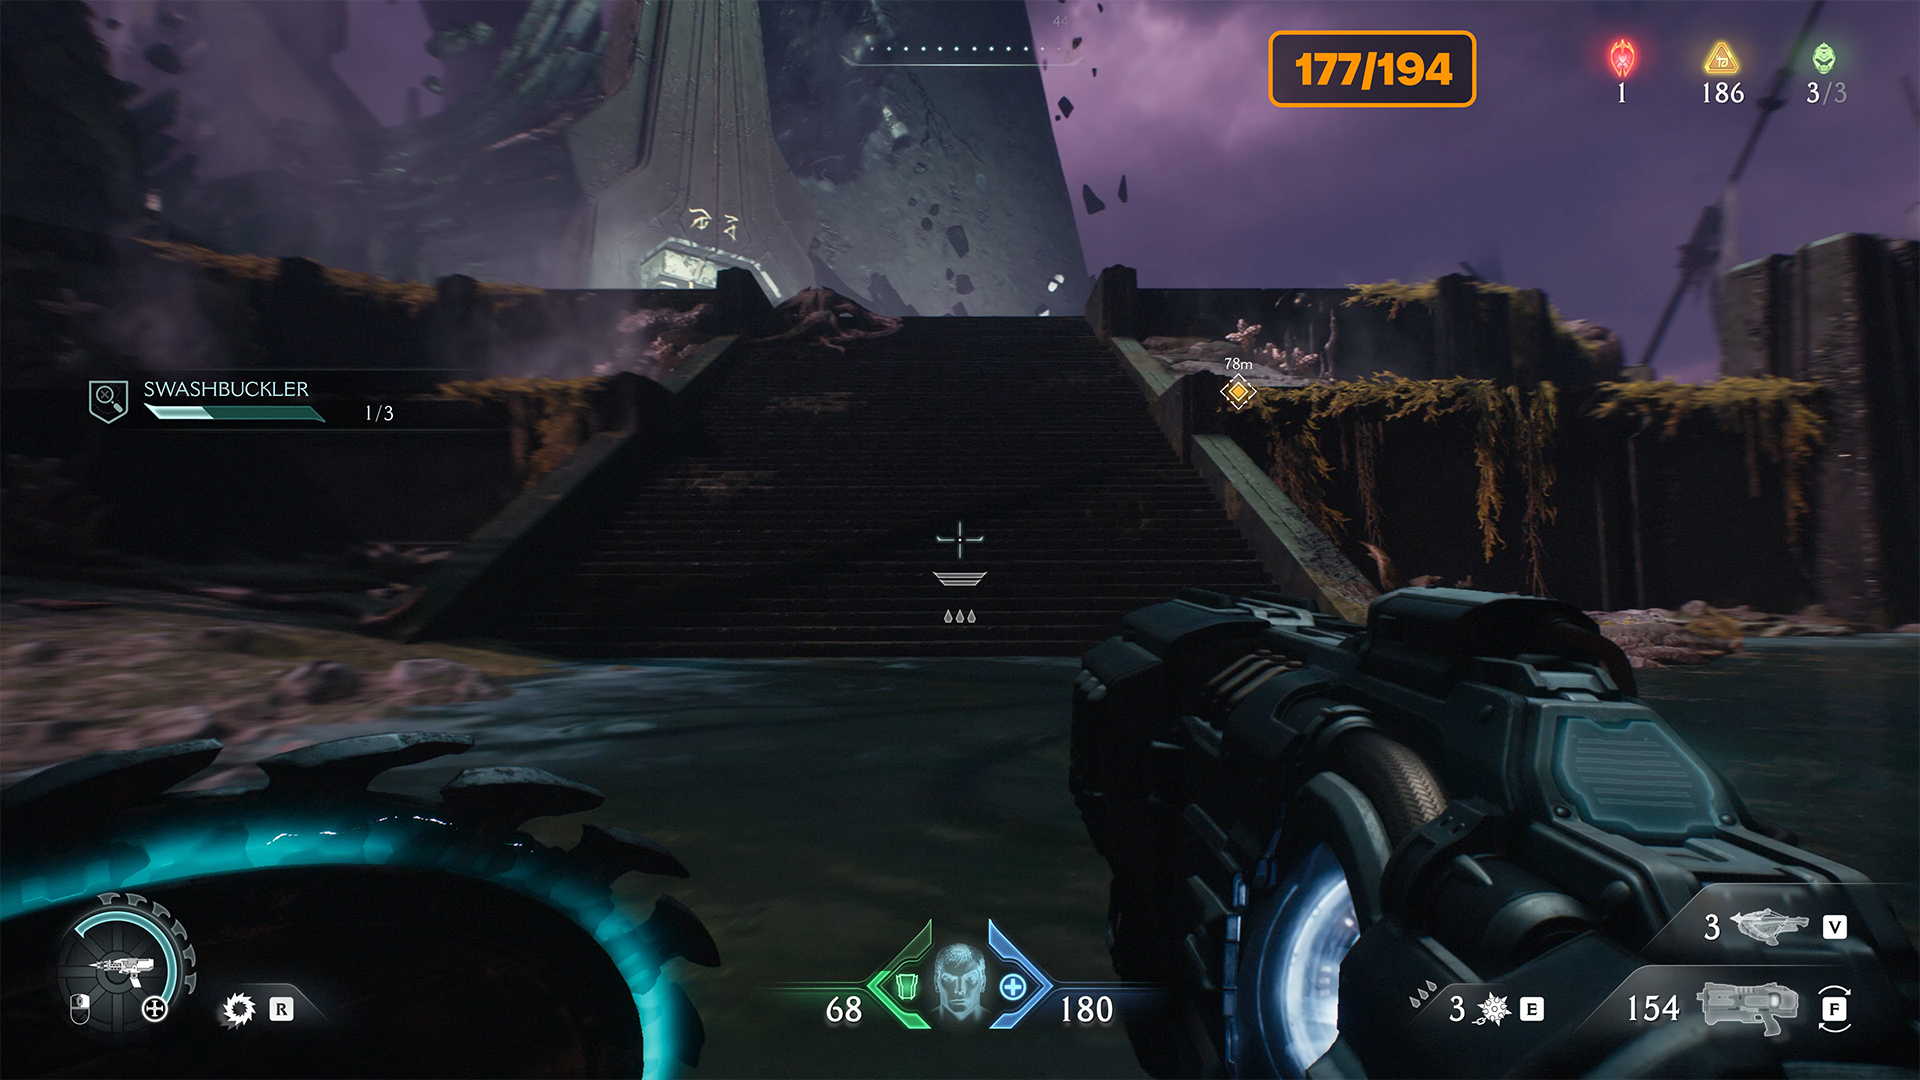
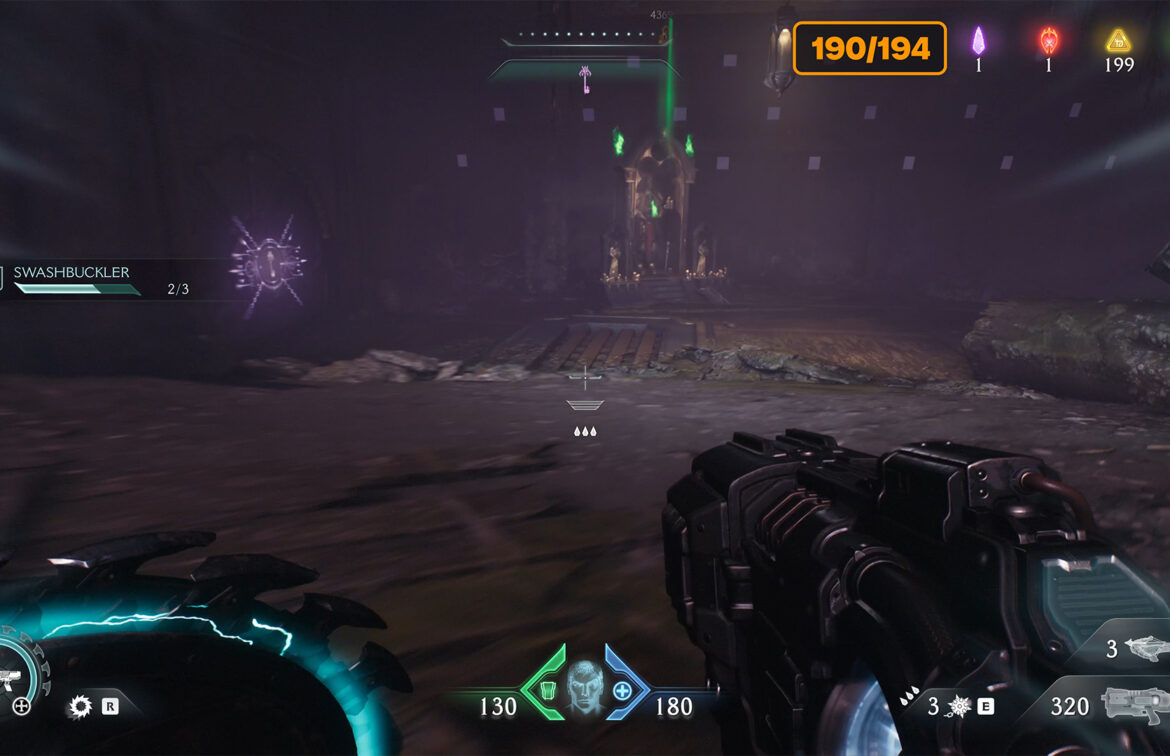
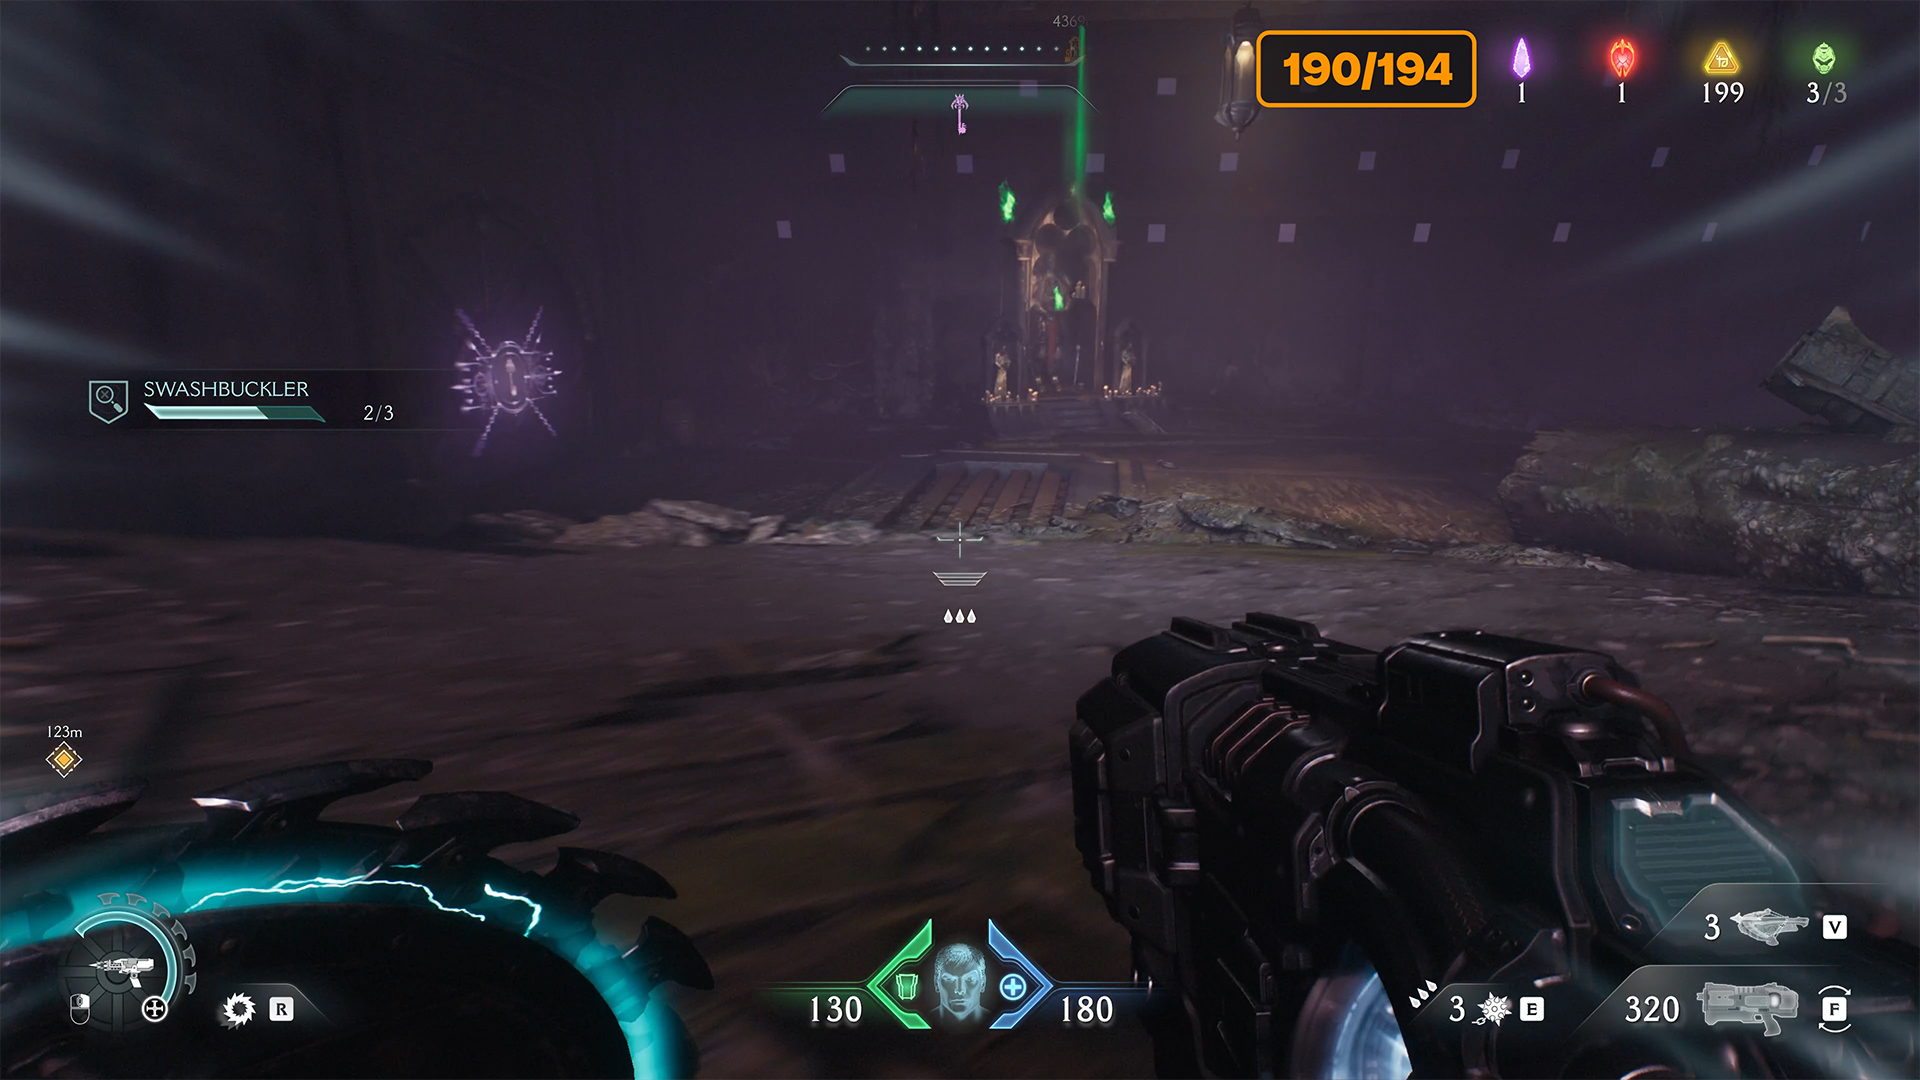
Temple of Lomarith purple key
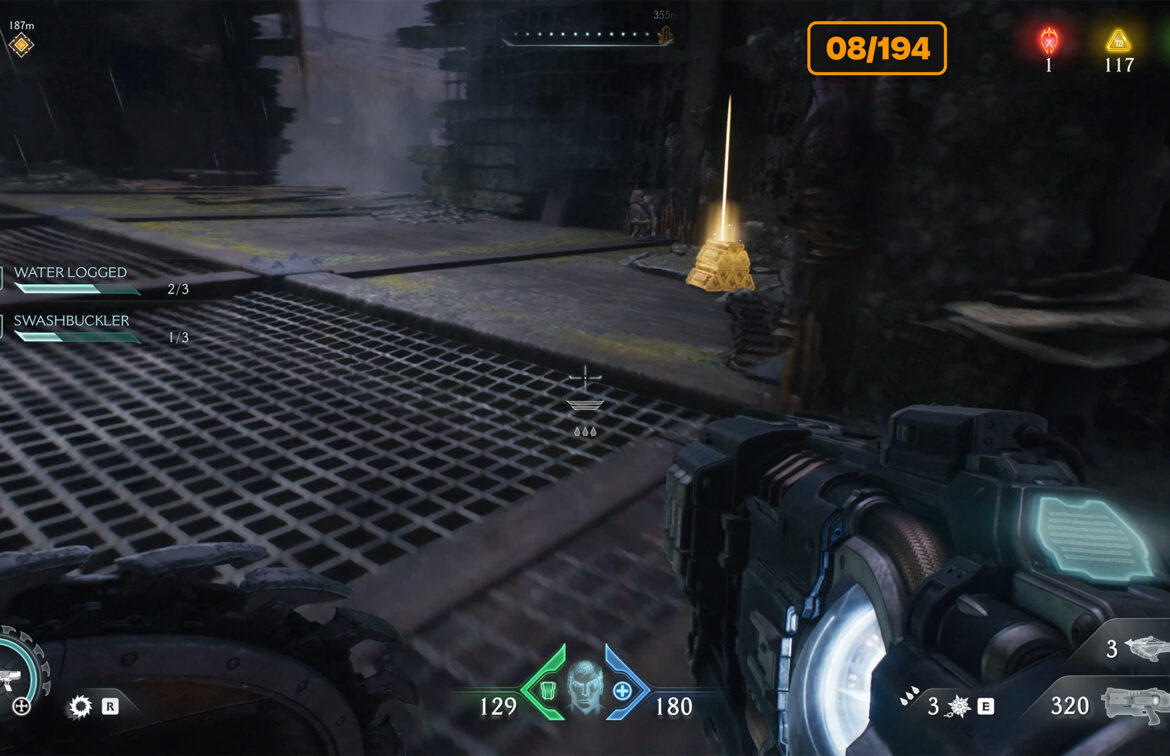
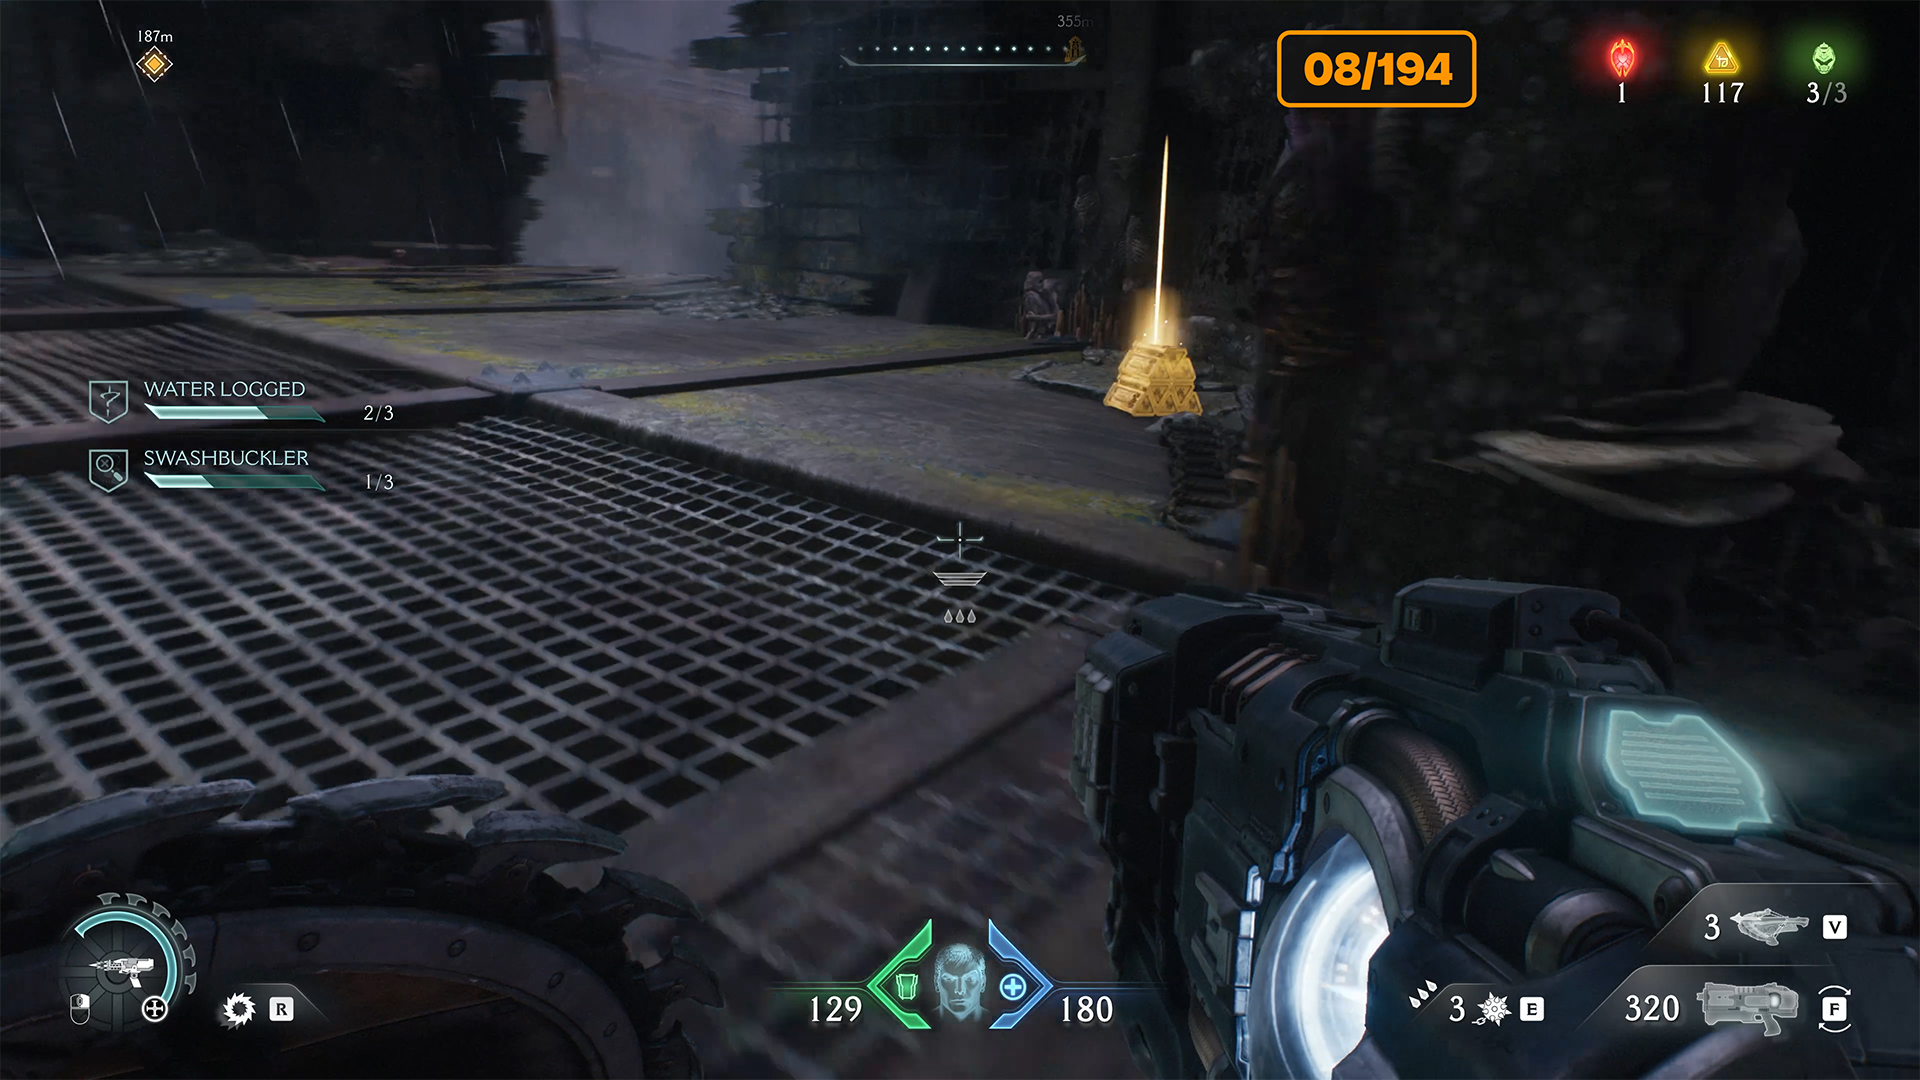
Now comes the crucial moment. You need to climb the stairs to the place where Chapter 17, Temple of Lomarith, ends. But don’t go and finish the chapter just yet, as we haven’t collected all the items yet. When you climb the stairs, the exit from the chapter will be on your right, but turn left instead. Here you will see 5 gold coins. Collect the gold and go straight ahead. In front of you will be a door that will open automatically, and you will receive a secret key.
-
- Temple of Lomarith purple key location
-
- Stairs to climb
-
- The path from gold to purple key
-

- Temple of Lomarith purple key
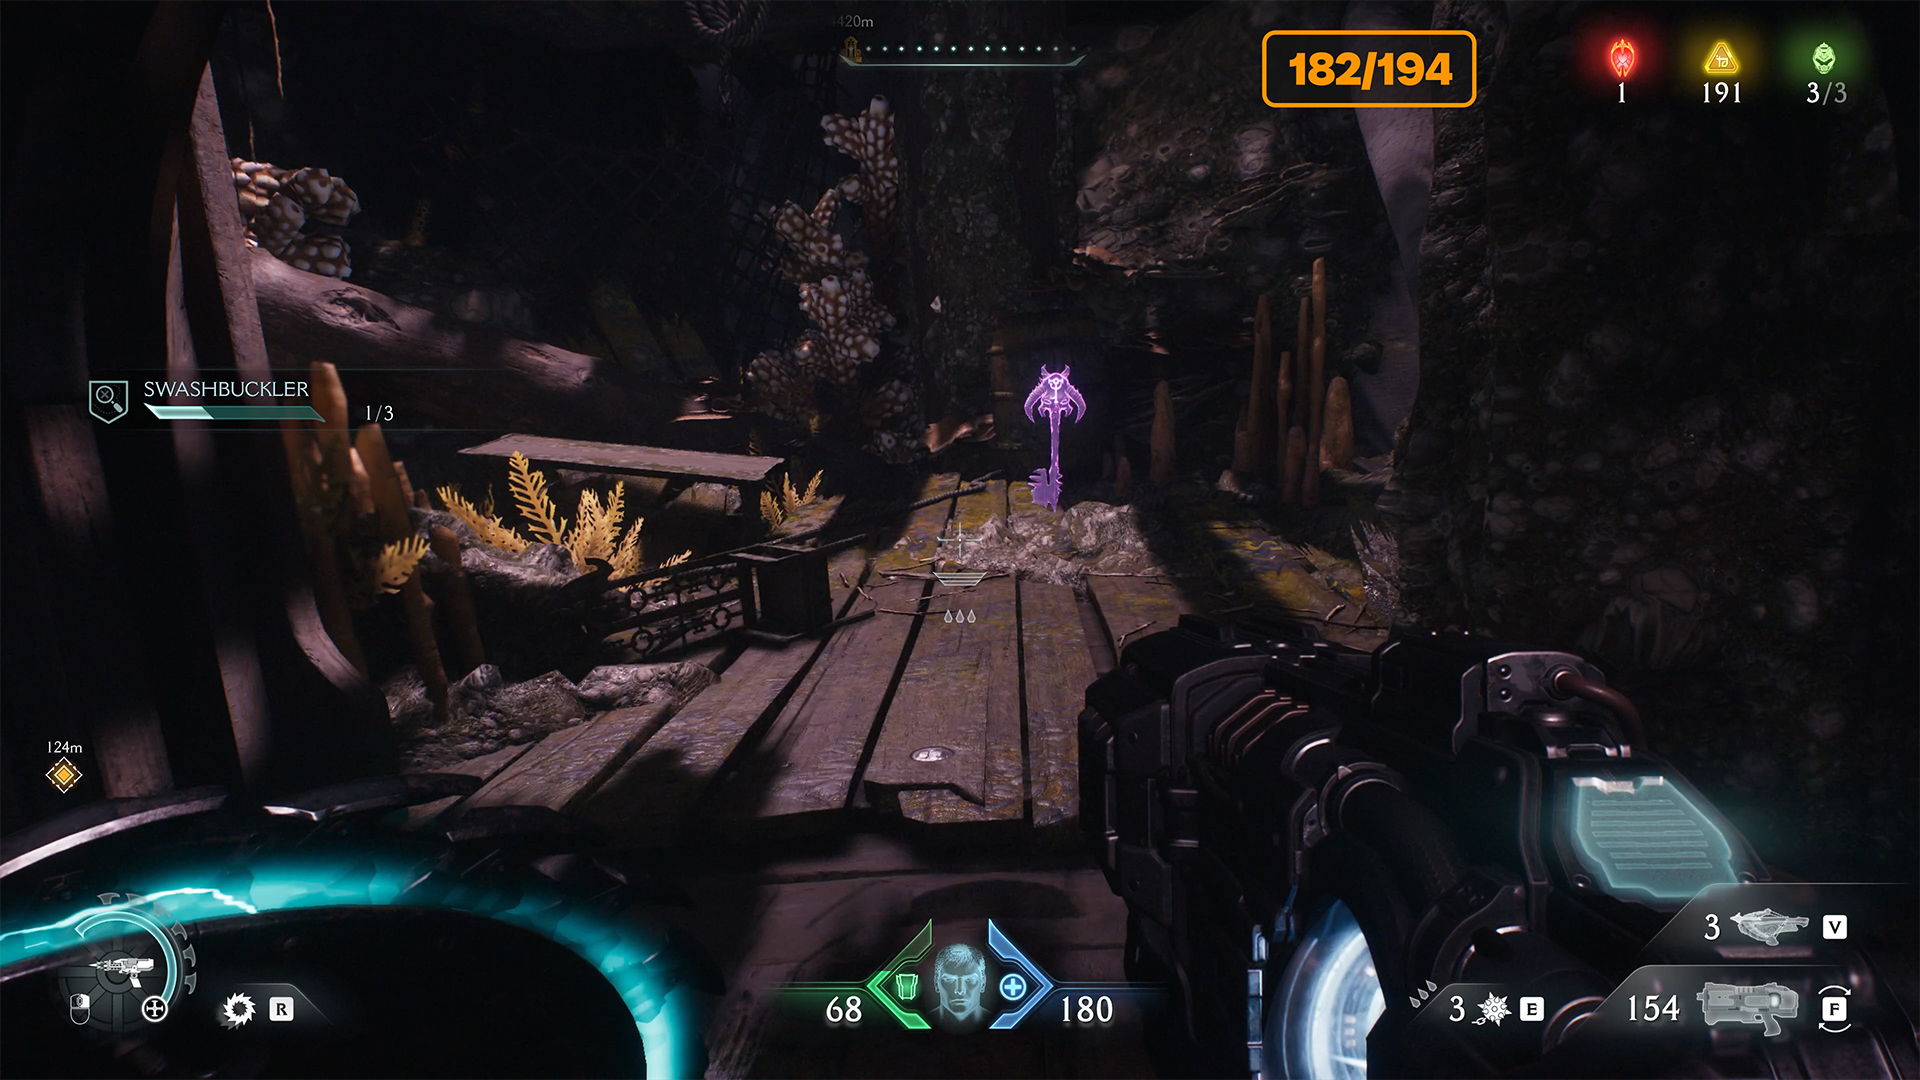
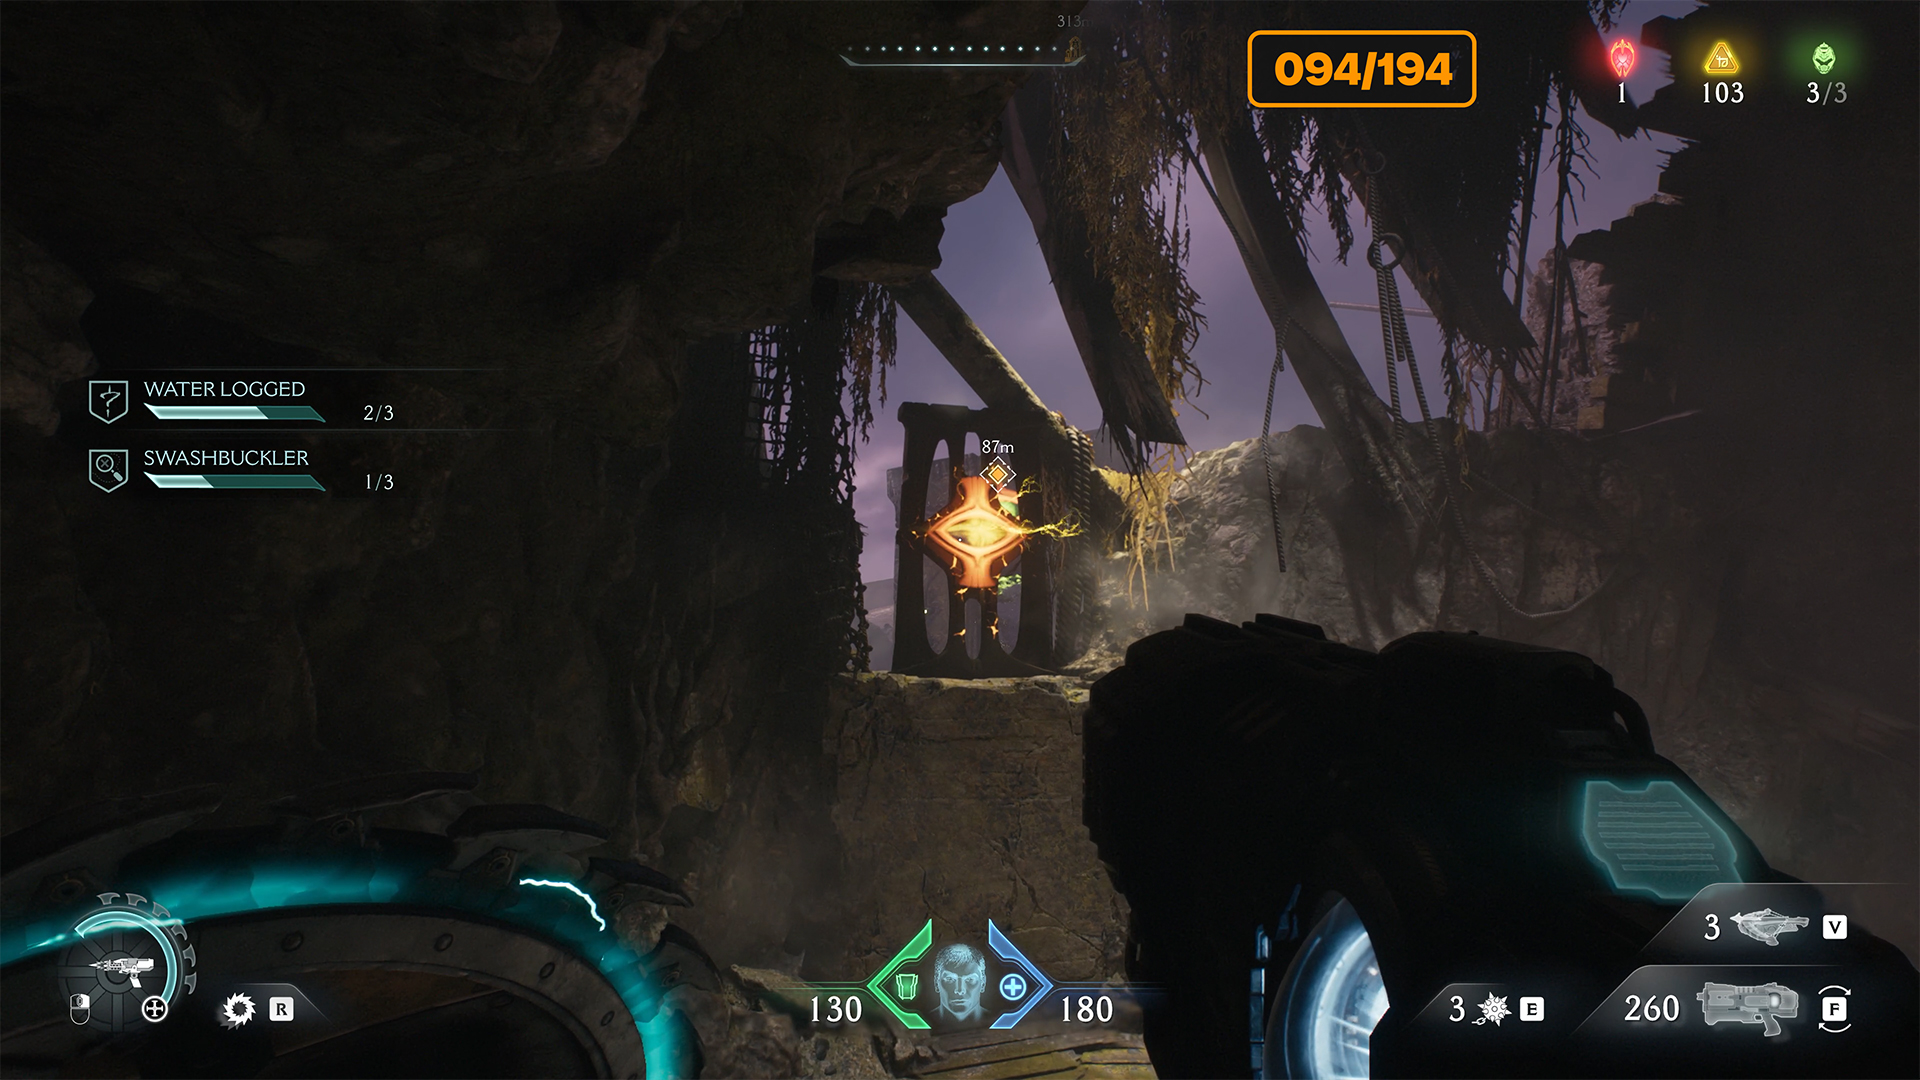
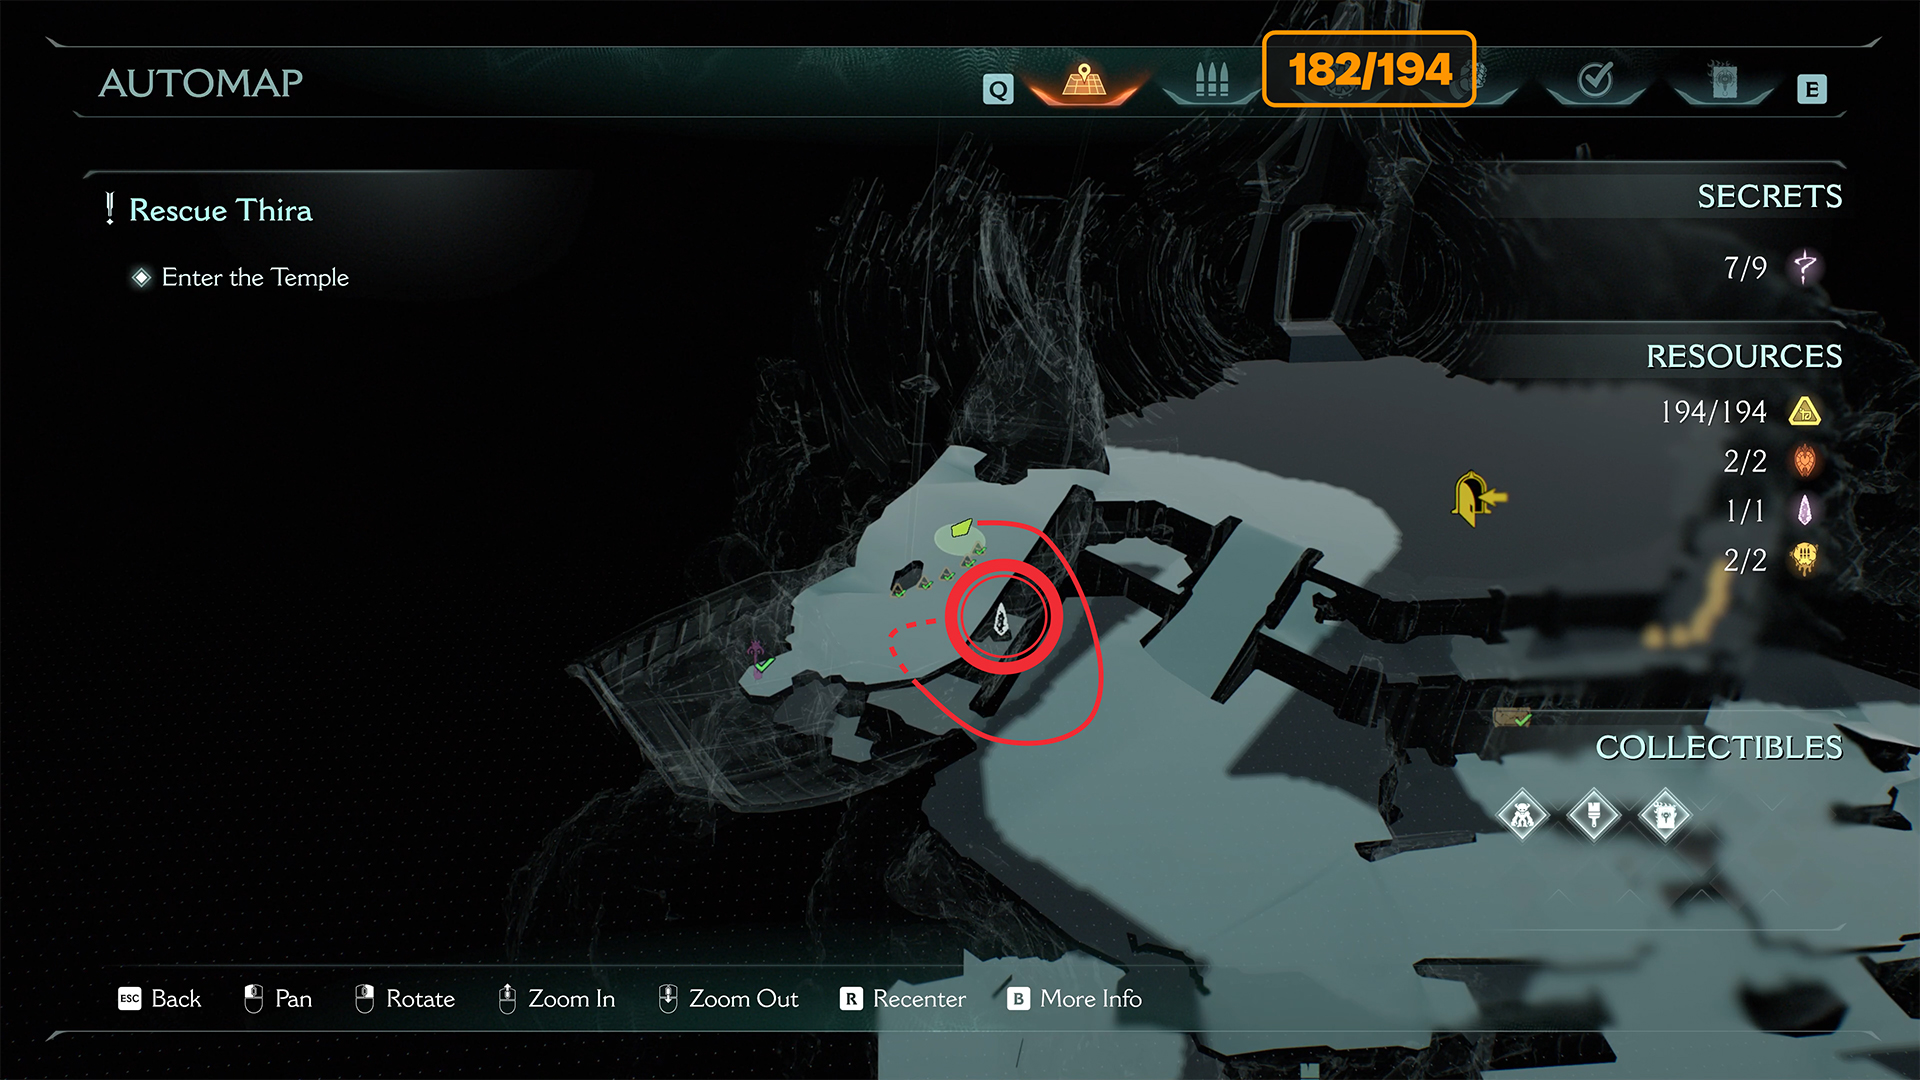
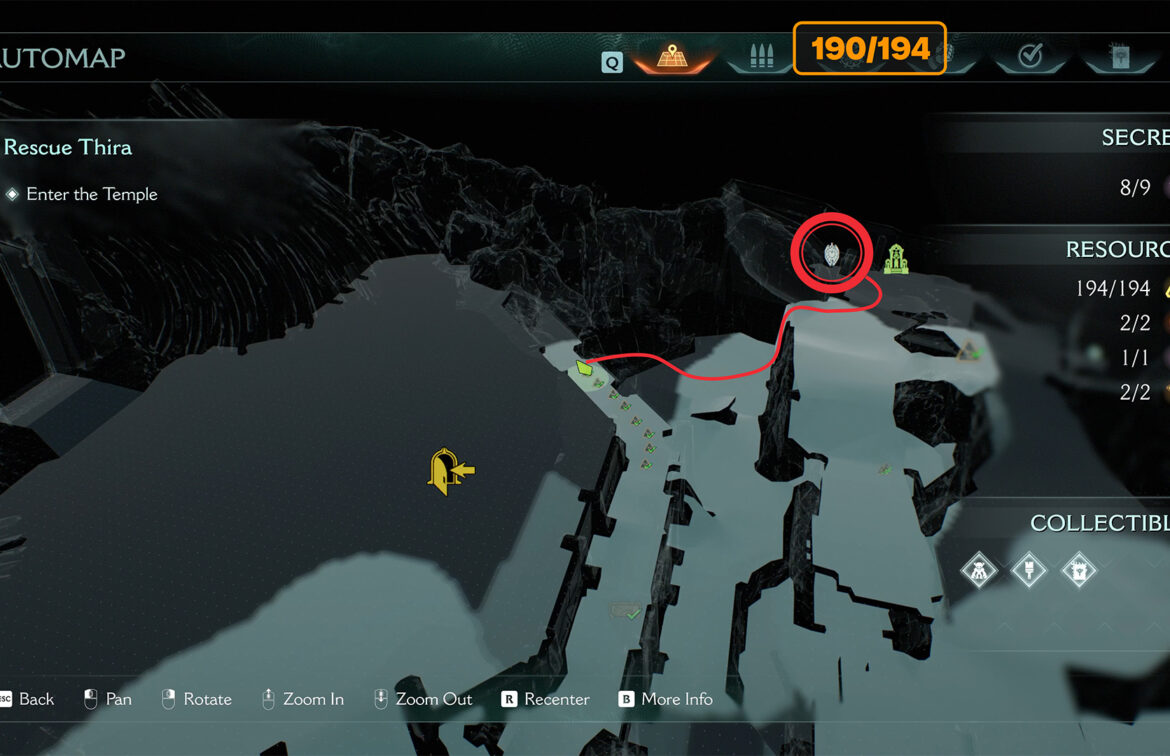
Temple of Lomarith wraithstone
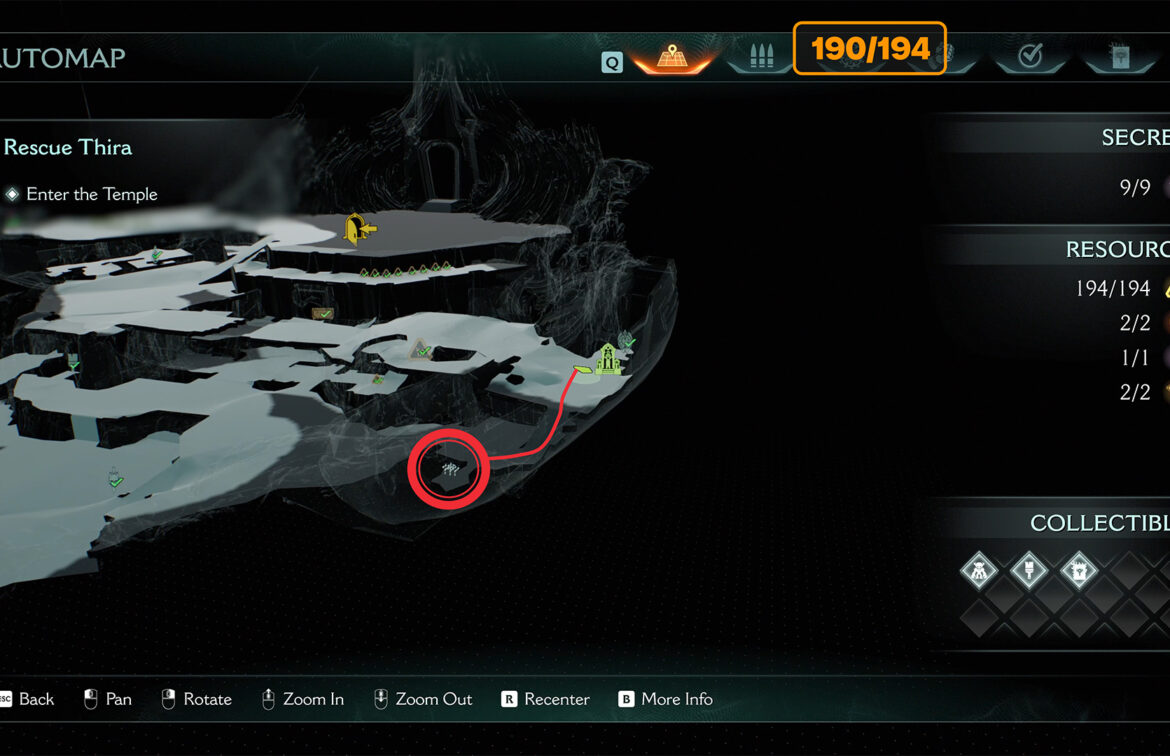
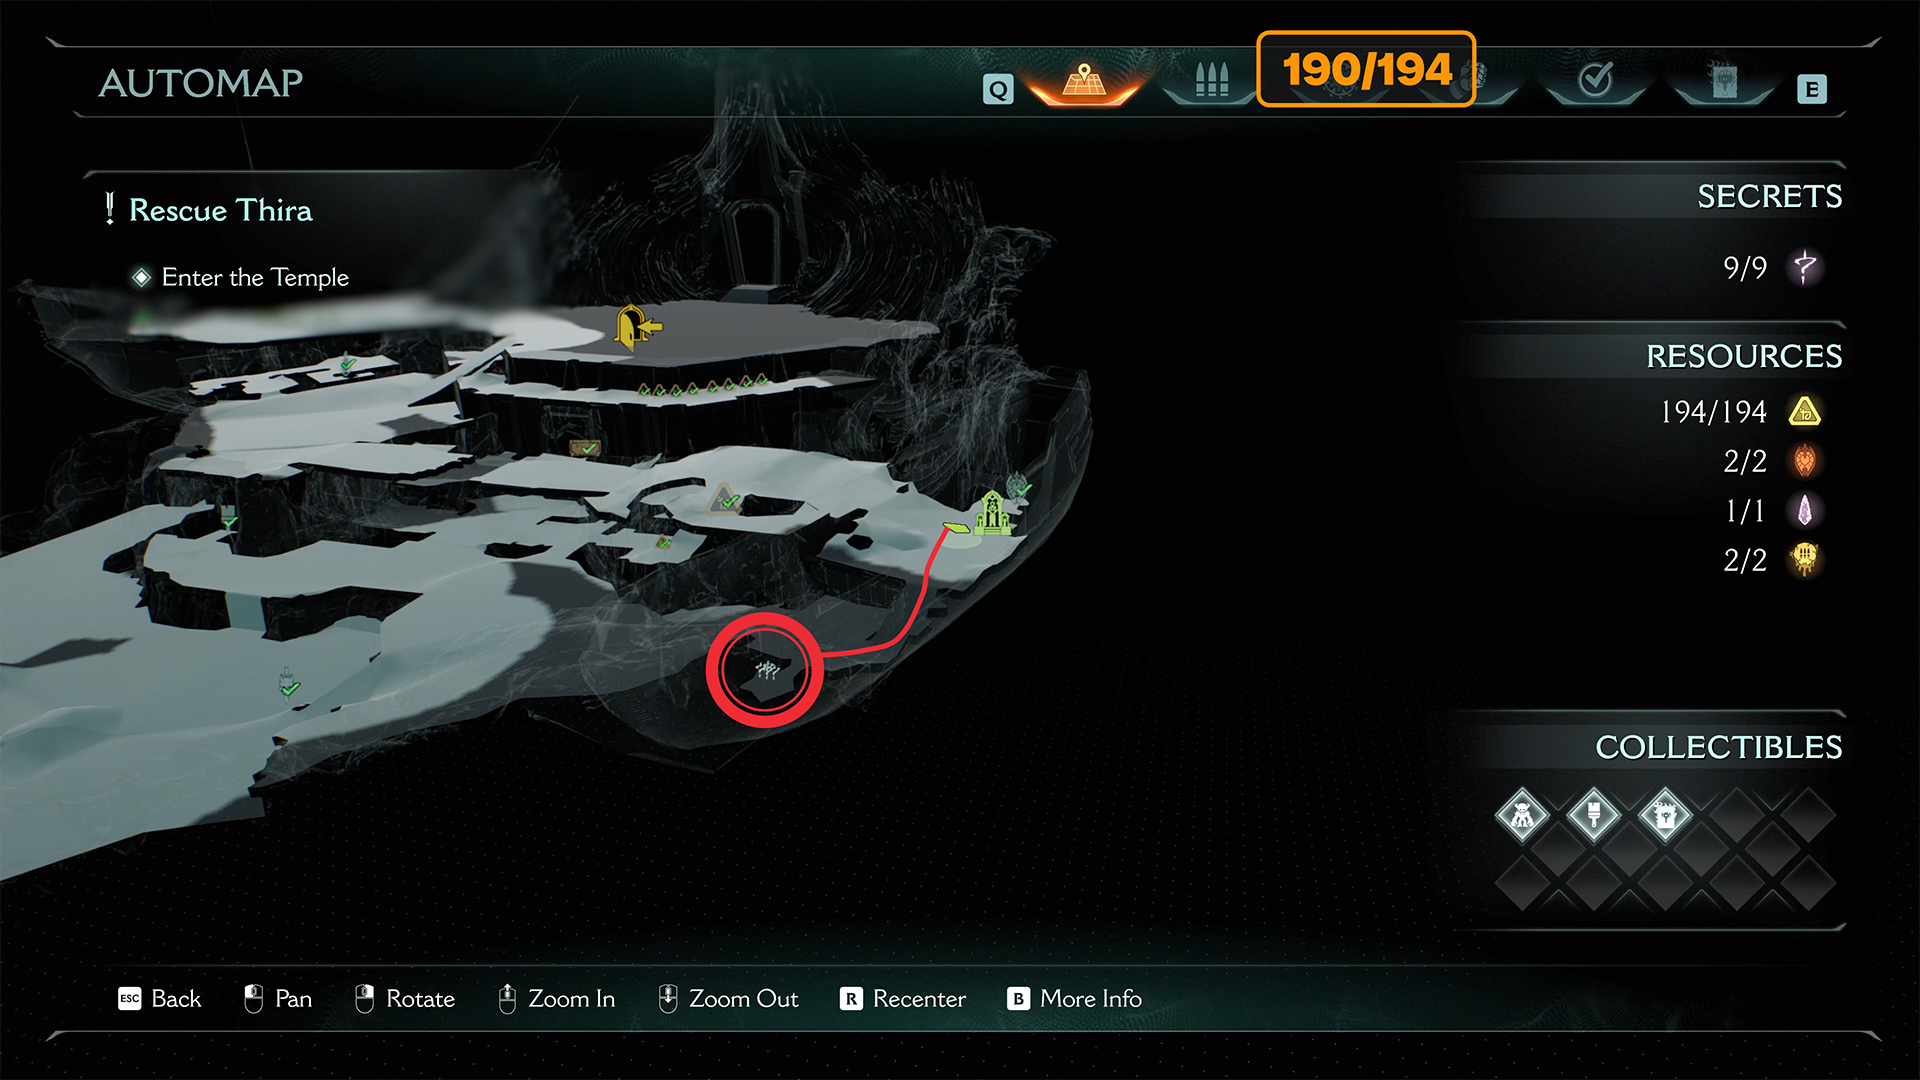
On the map, you can see wraithstone at the bottom, but it’s not that easy to get it. Let’s figure out how to do it. First, jump down, break the wooden barrier, and go inside the ship. There will be another barrier that you need to break. Next, you may feel like you’ve reached a dead end. But that’s not the case. This place is a little strange or enchanted.
When you walk around, you’ll come across a long corridor that wasn’t there before. At the end of the corridor, you’ll see the Life Sigil. Go to it. Monsters will attack you near it. There will be many of them. One after another. Don’t be afraid and don’t think that the game has glitched. There really are a lot of them here.
You defeat some, and new ones appear. Eventually, you will defeat them all. After the battle, you will see a crack in the floor. You need to jump down. It is a kind of portal that will take you back to the first floor of the ship. Now you can go up and take the wraithstone. You need to do this to progress in the Swashbuckler challenge.
-
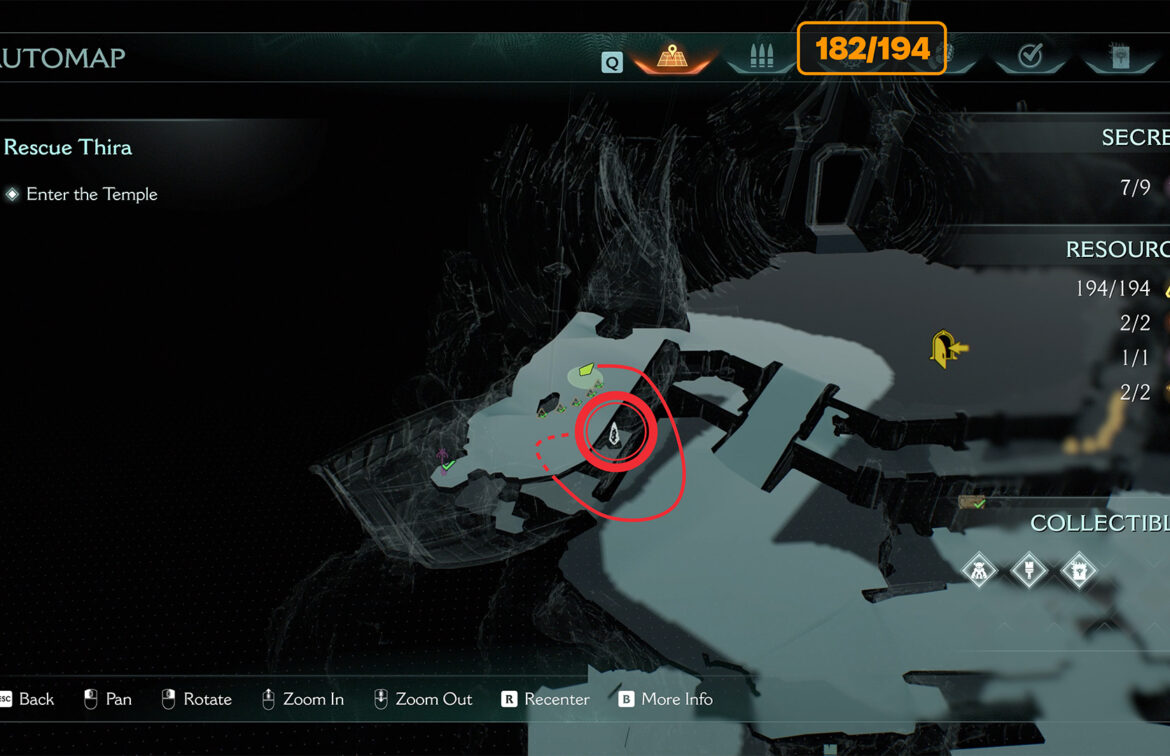
- Temple of Lomarith wraithstone location
-
- Entering the ship through the barrier
-
- Life Sigil on the ship’s territory
-
- Battle with a large number of monsters
-
- A crack in the ground where you have to jump
-
- Temple of Lomarith wraithstone
Temple of Lomarith gold line
Once again, you need to climb the stairs leading to the exit from Chapter 17, Temple of Lomarith, but instead of going to the top, turn right halfway up. There will be a small platform here, and if you go forward, you will find 8 gold coins lying on the ground.
-
- Temple of Lomarith gold line location
-
- Temple of Lomarith gold line
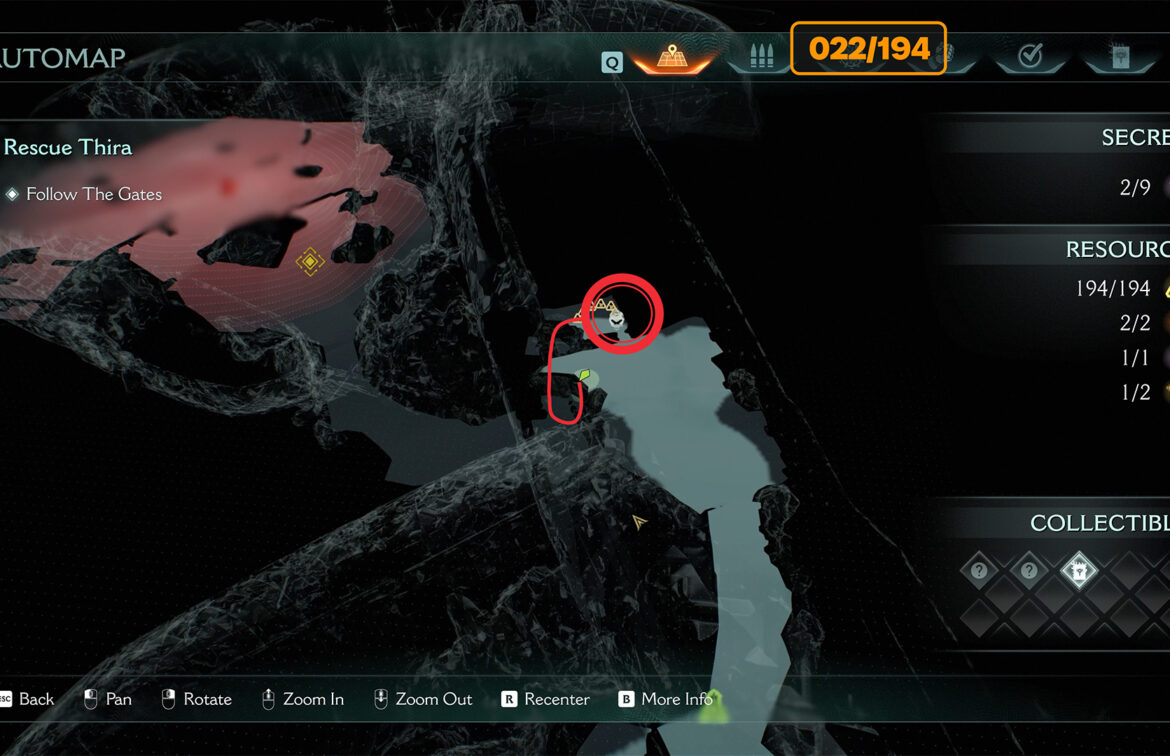
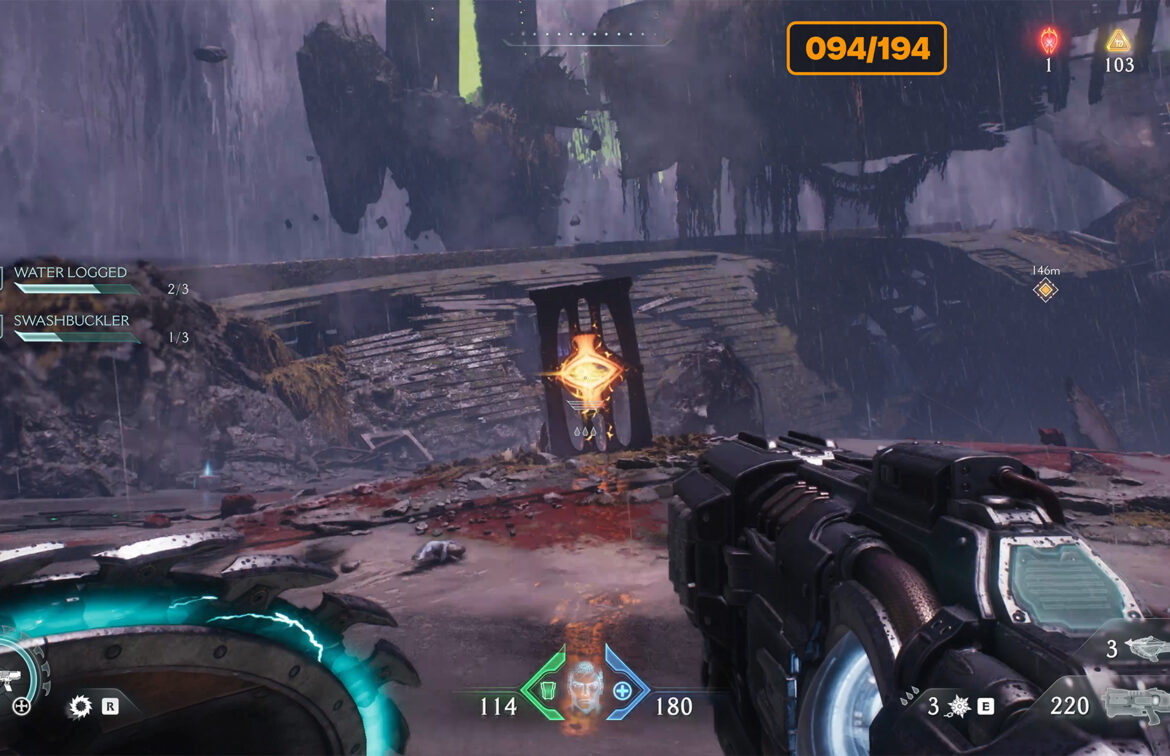
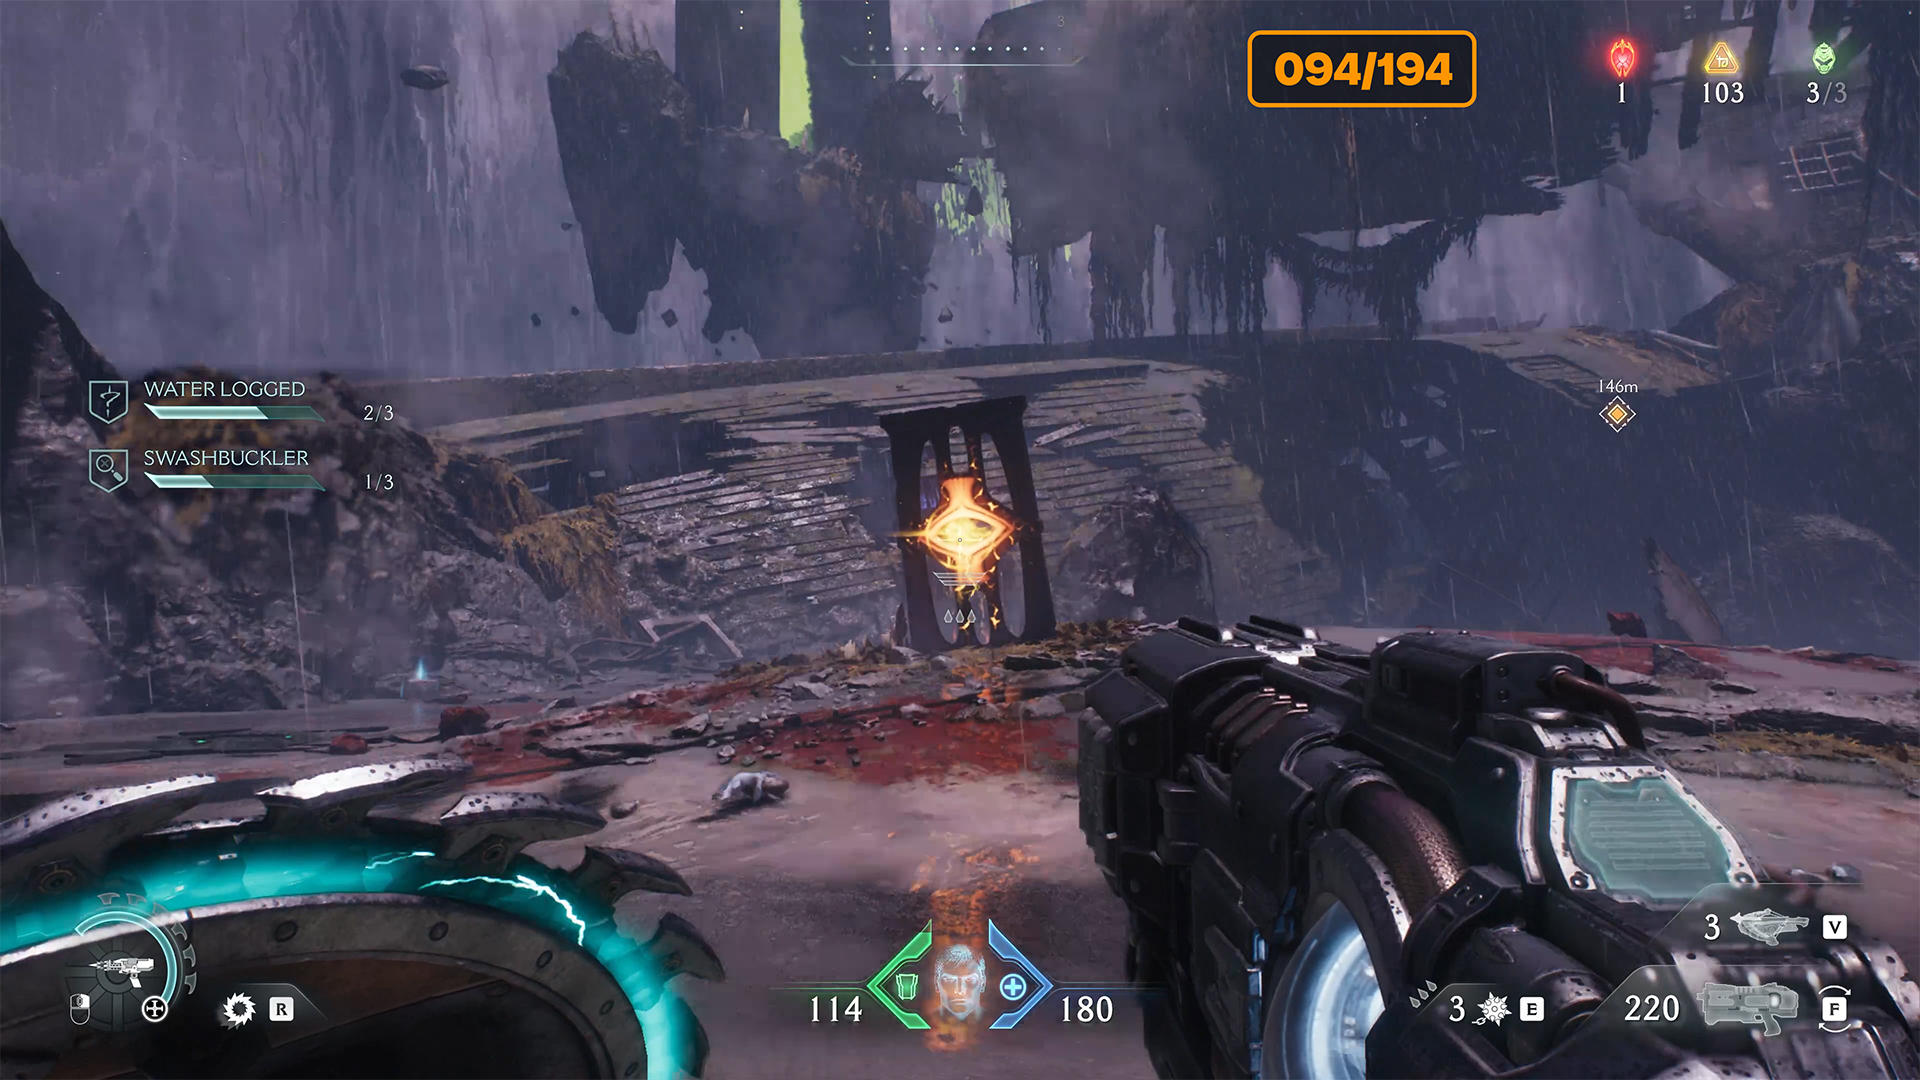
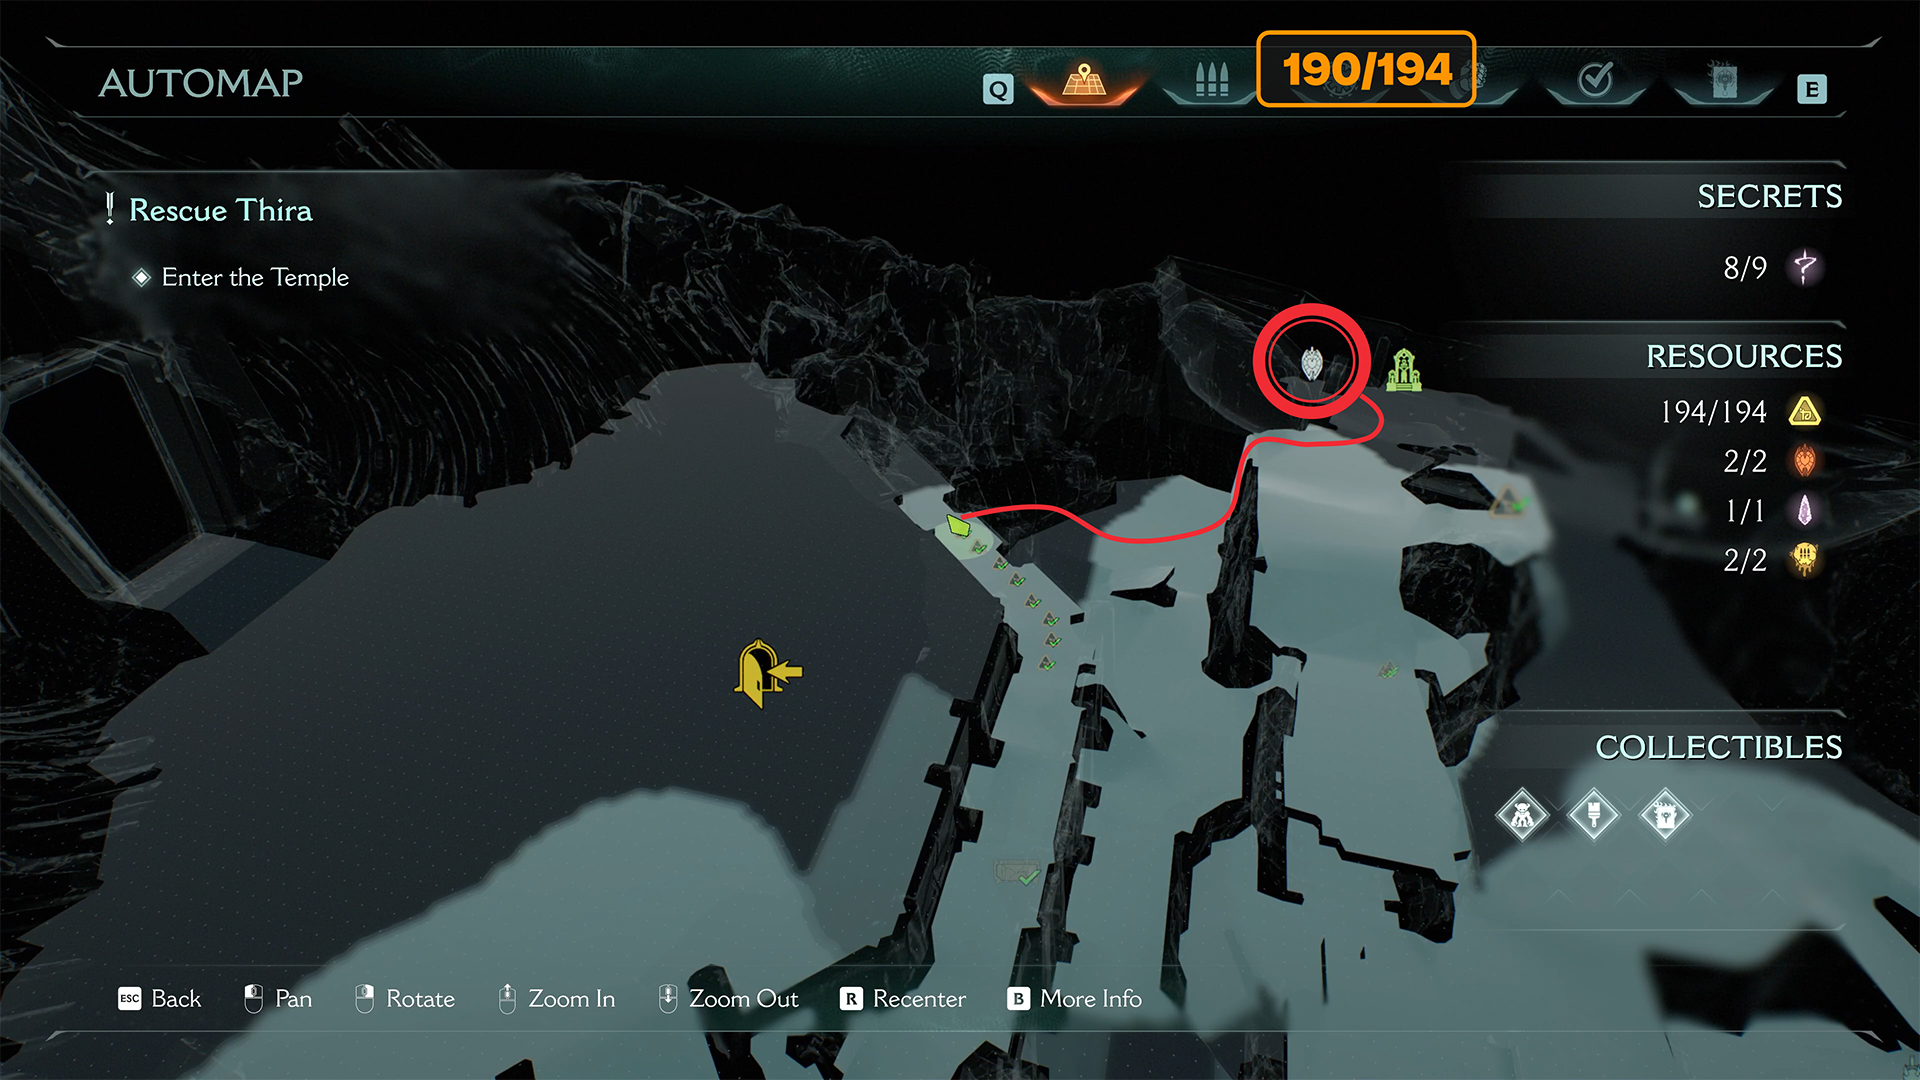
Temple of Lomarith ruby location
Now look to your right. You need to jump down, move forward, and climb up the wall. You’ve been here before, but this time turn left. Here you will see the Sentinel Shrine, as well as a closed gate that will open when you approach it, since you found a special key earlier. Behind the gate you will find a ruby. This is where you will complete the Swashbuckler challenge after taking the ruby.
-
- Temple of Lomarith ruby location
-
- The path to follow
-
- The purple door near the Sentinel Shrine
Last gold in Temple of Lomarith
So, the task of collecting all the collectibles in Chapter 17, Temple of Lomarith, is almost complete. You have 4 gold left to find. From Sentinel Shrine, follow the route I have drawn on the map. Here, in a small room behind the barrels, you will find the hidden gold. These are all the collectibles you can find in this chapter.
-
- Last gold in Temple of Lomarith location
-
- Last gold in Temple of Lomarith