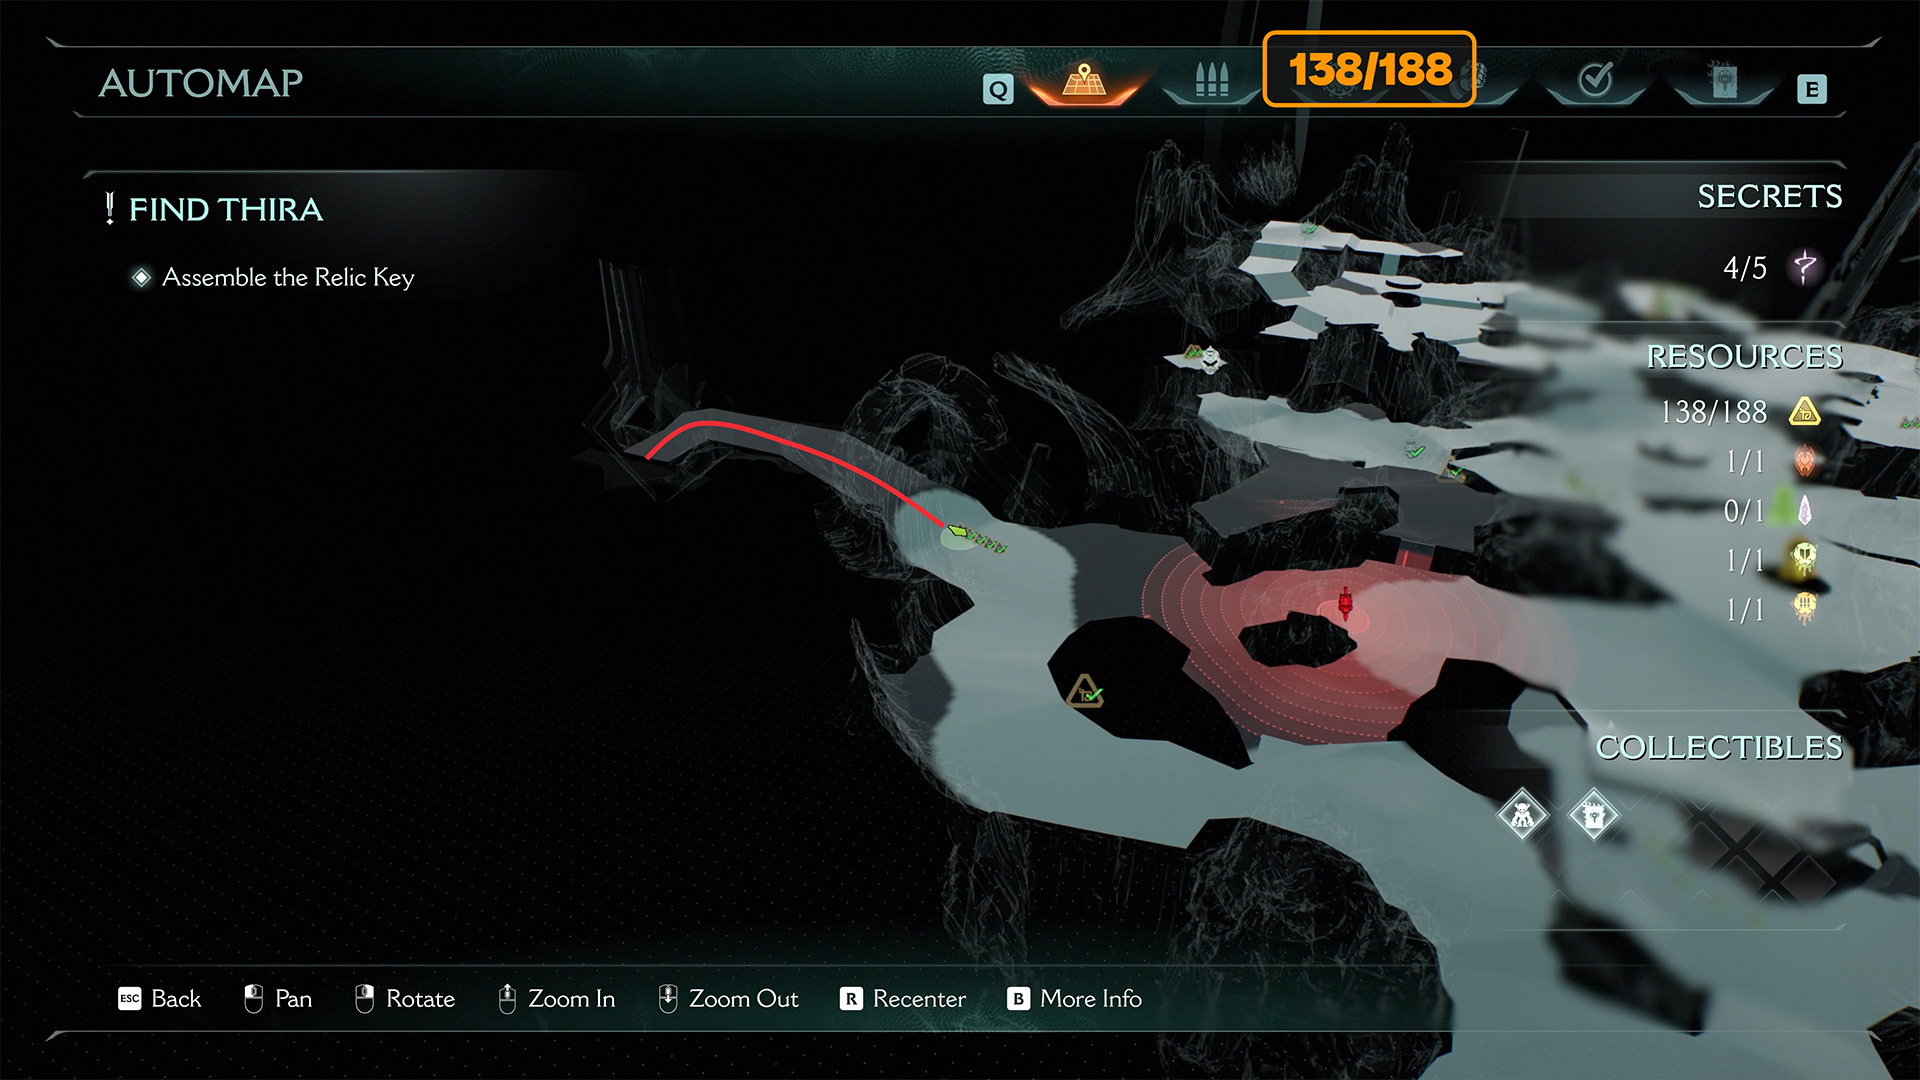
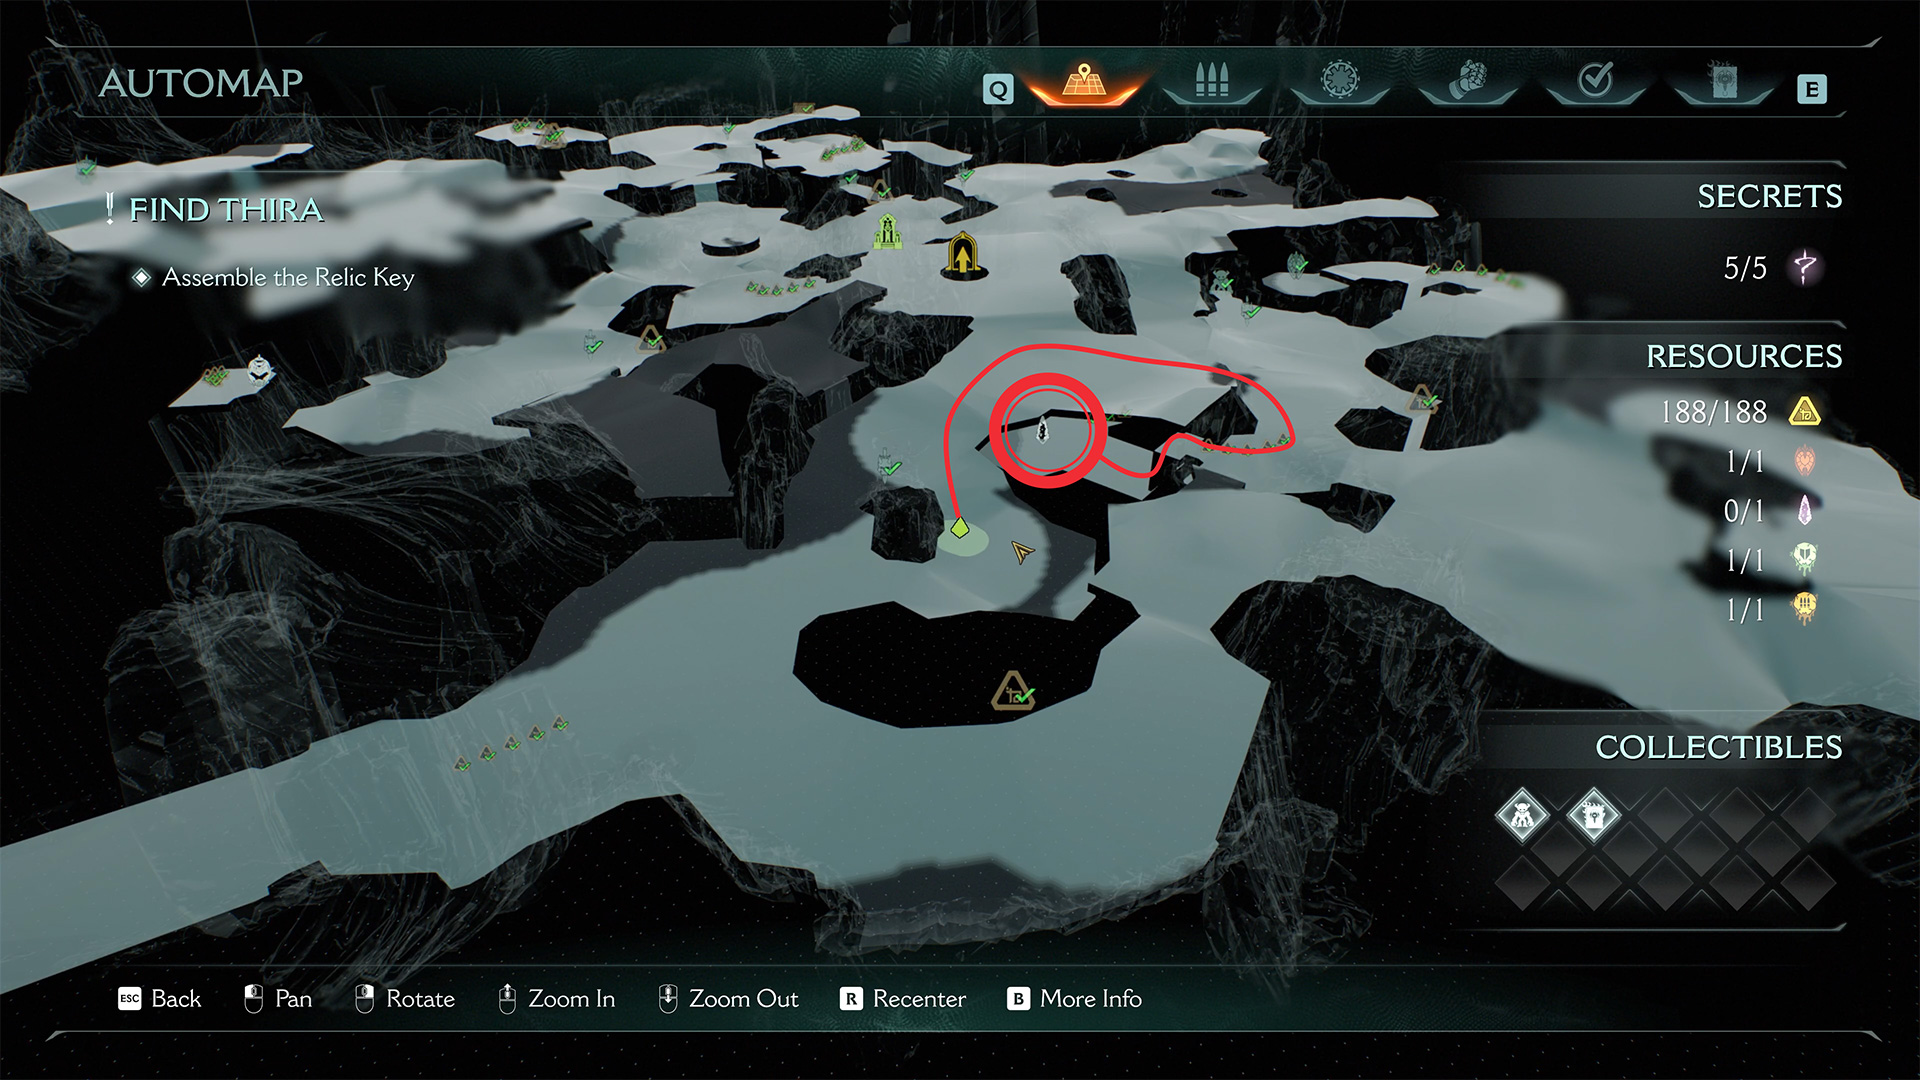
Here are the Chapter 16 collectibles! Continue our journey through Doom The Dark Ages. We will be reviewing all of the collectibles in Chapter 16: The Kar’Thul Marshes. Also, I recommend reading Chapter 15 City of Ry’uul. You will need to find all the hidden locations in order to complete your mission.
For me, the most interesting chapter is Ancestral Forge. As a result of this guide, you will complete Chapter 16 – The Kar’Thul Marshes 100% and receive:
- Gold: 188
- Ruby: 1
- Wraithstone: 1
- Demonic Essence – Health: 1
- Demonic Essence – Armor: 1
- Secrets: 5
- Codex Entries: 1
- Collectible Toys: 1
- Quests: 2
I also recommend watching the video if you don’t want to search for all the collectibles mentioned in this article. The video shows everything briefly and clearly:
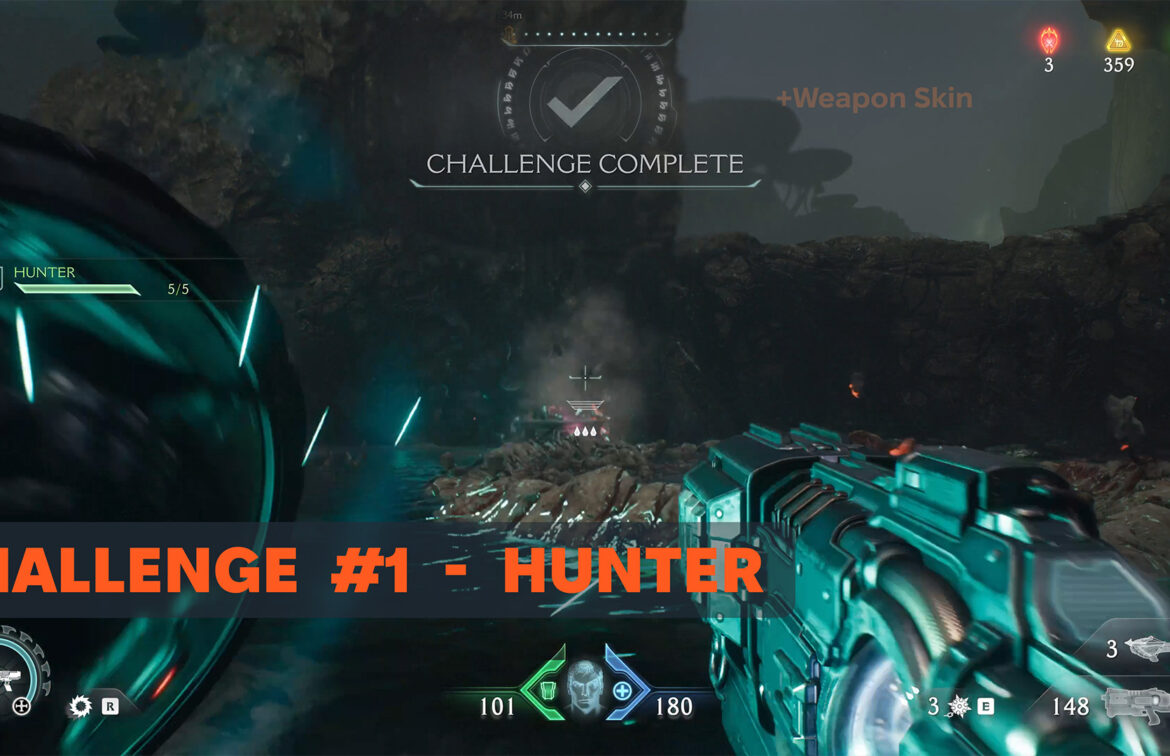
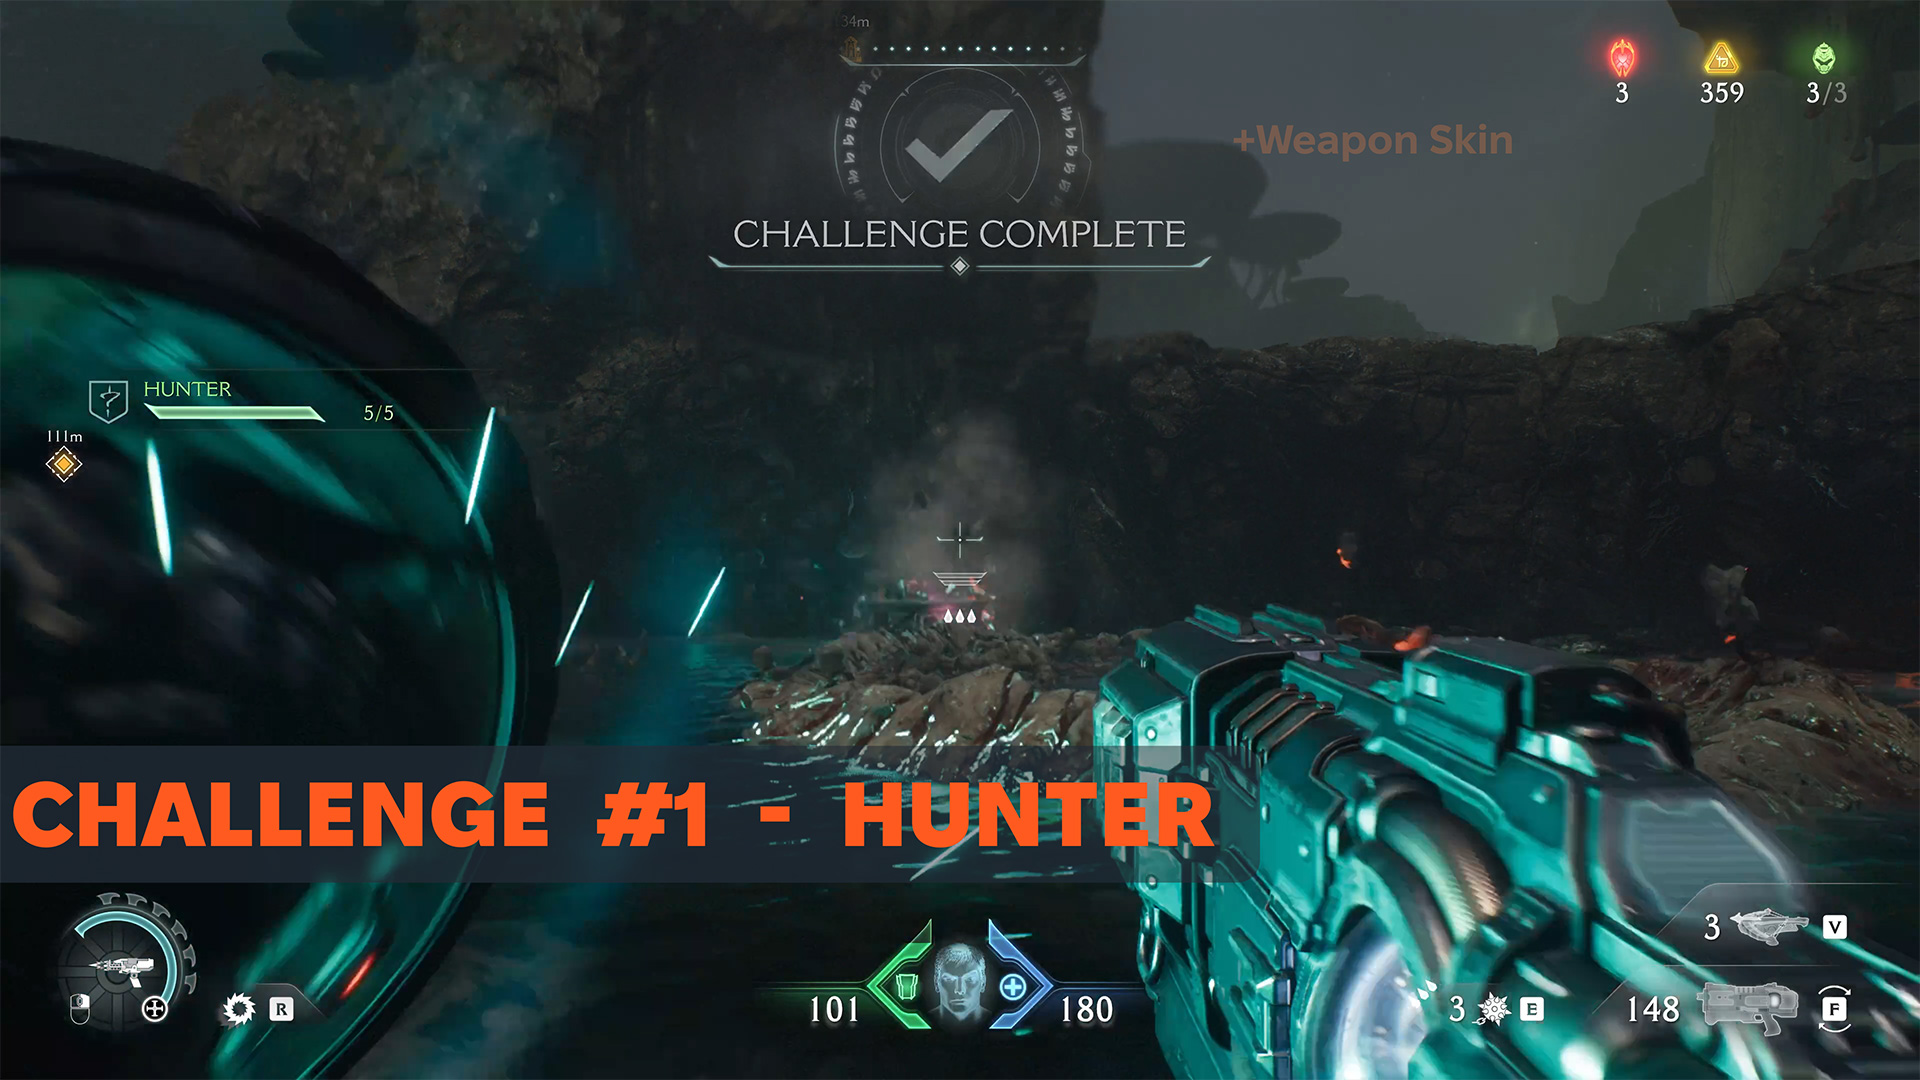
Kar’thul Marshes Hunter challenge
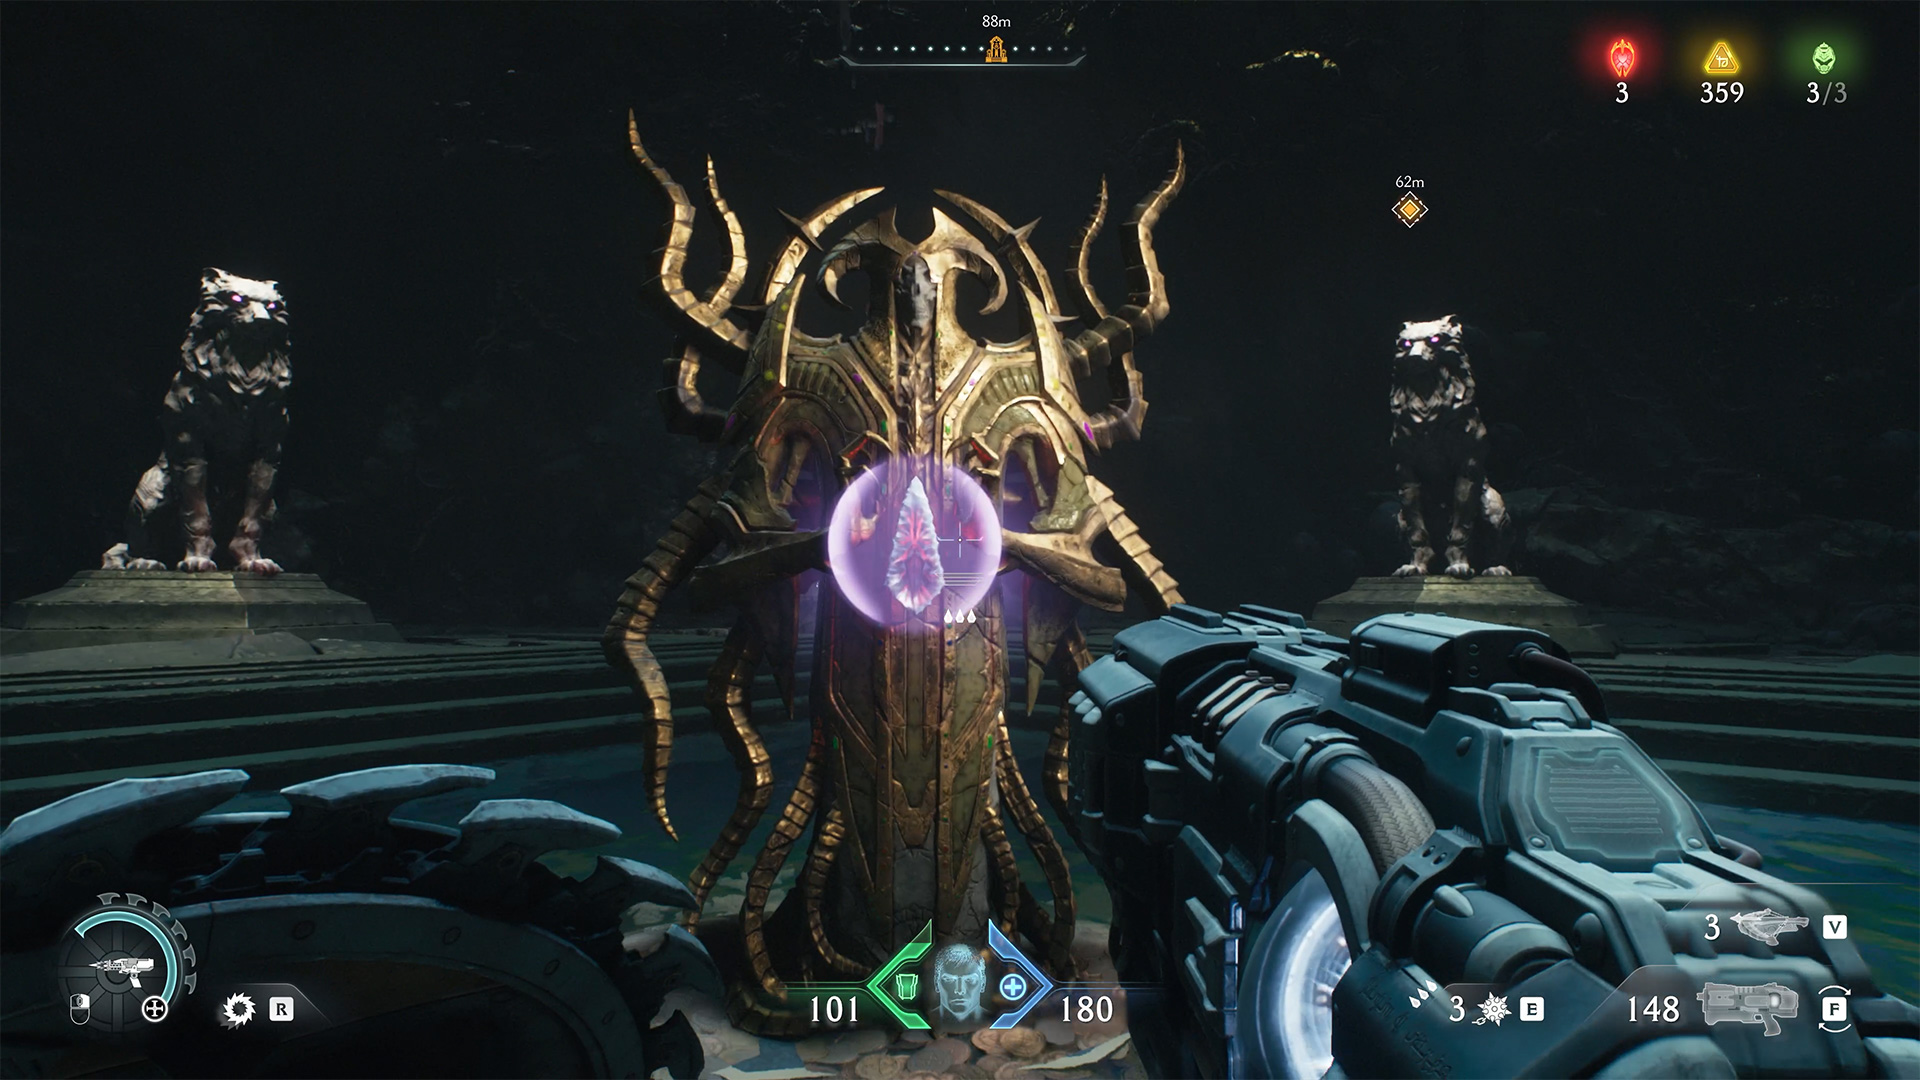
There are only two challenges available to you in this chapter, and they are very easy to complete. The first challenge is called Hunter. You need to break 5 wolf statues.
-
- Kar’thul Marshes Hunter challenge
-
- Kar’thul Marshes Hunter challenge complete
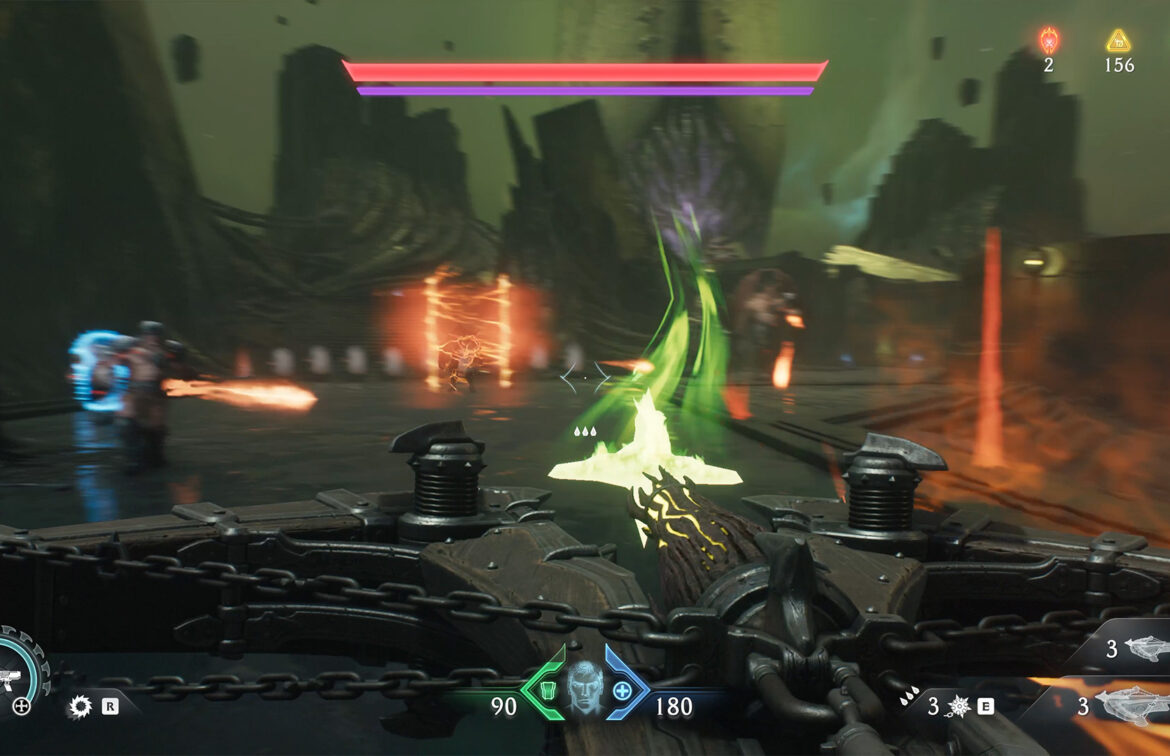
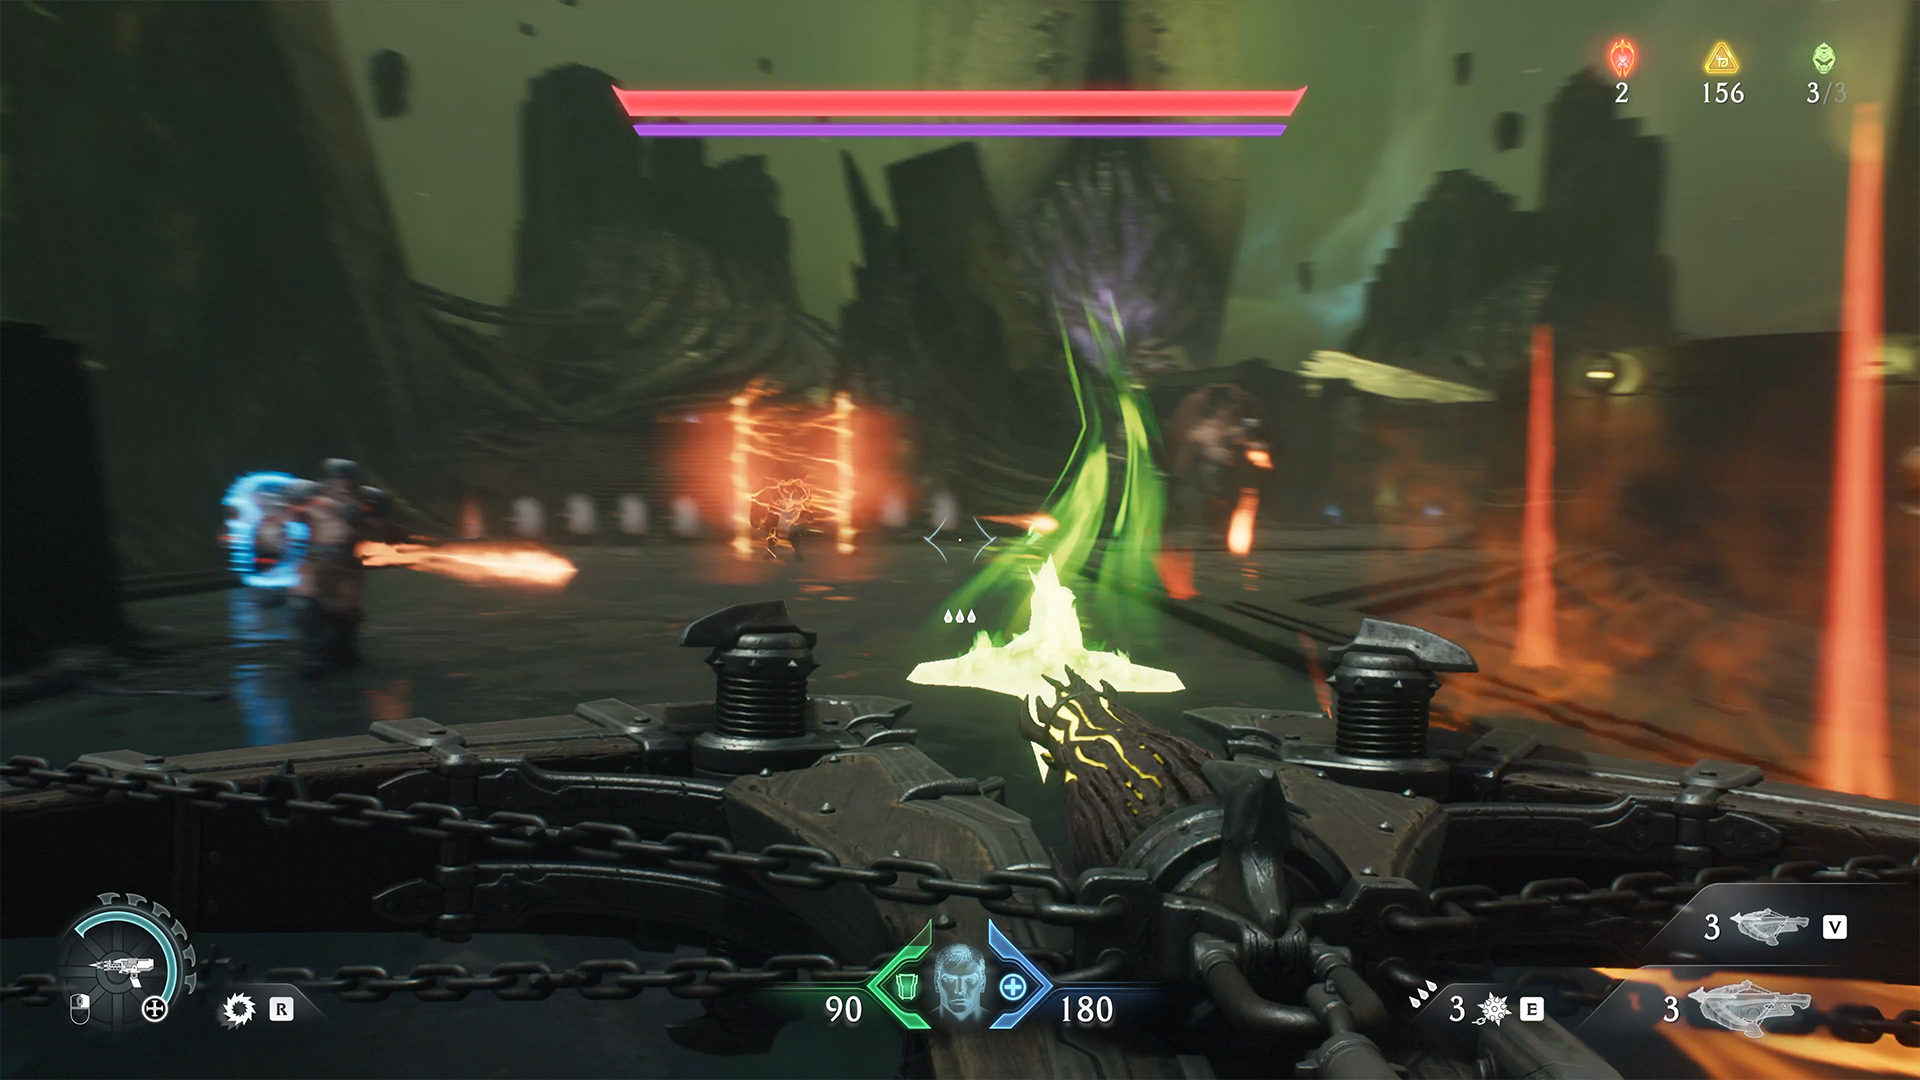
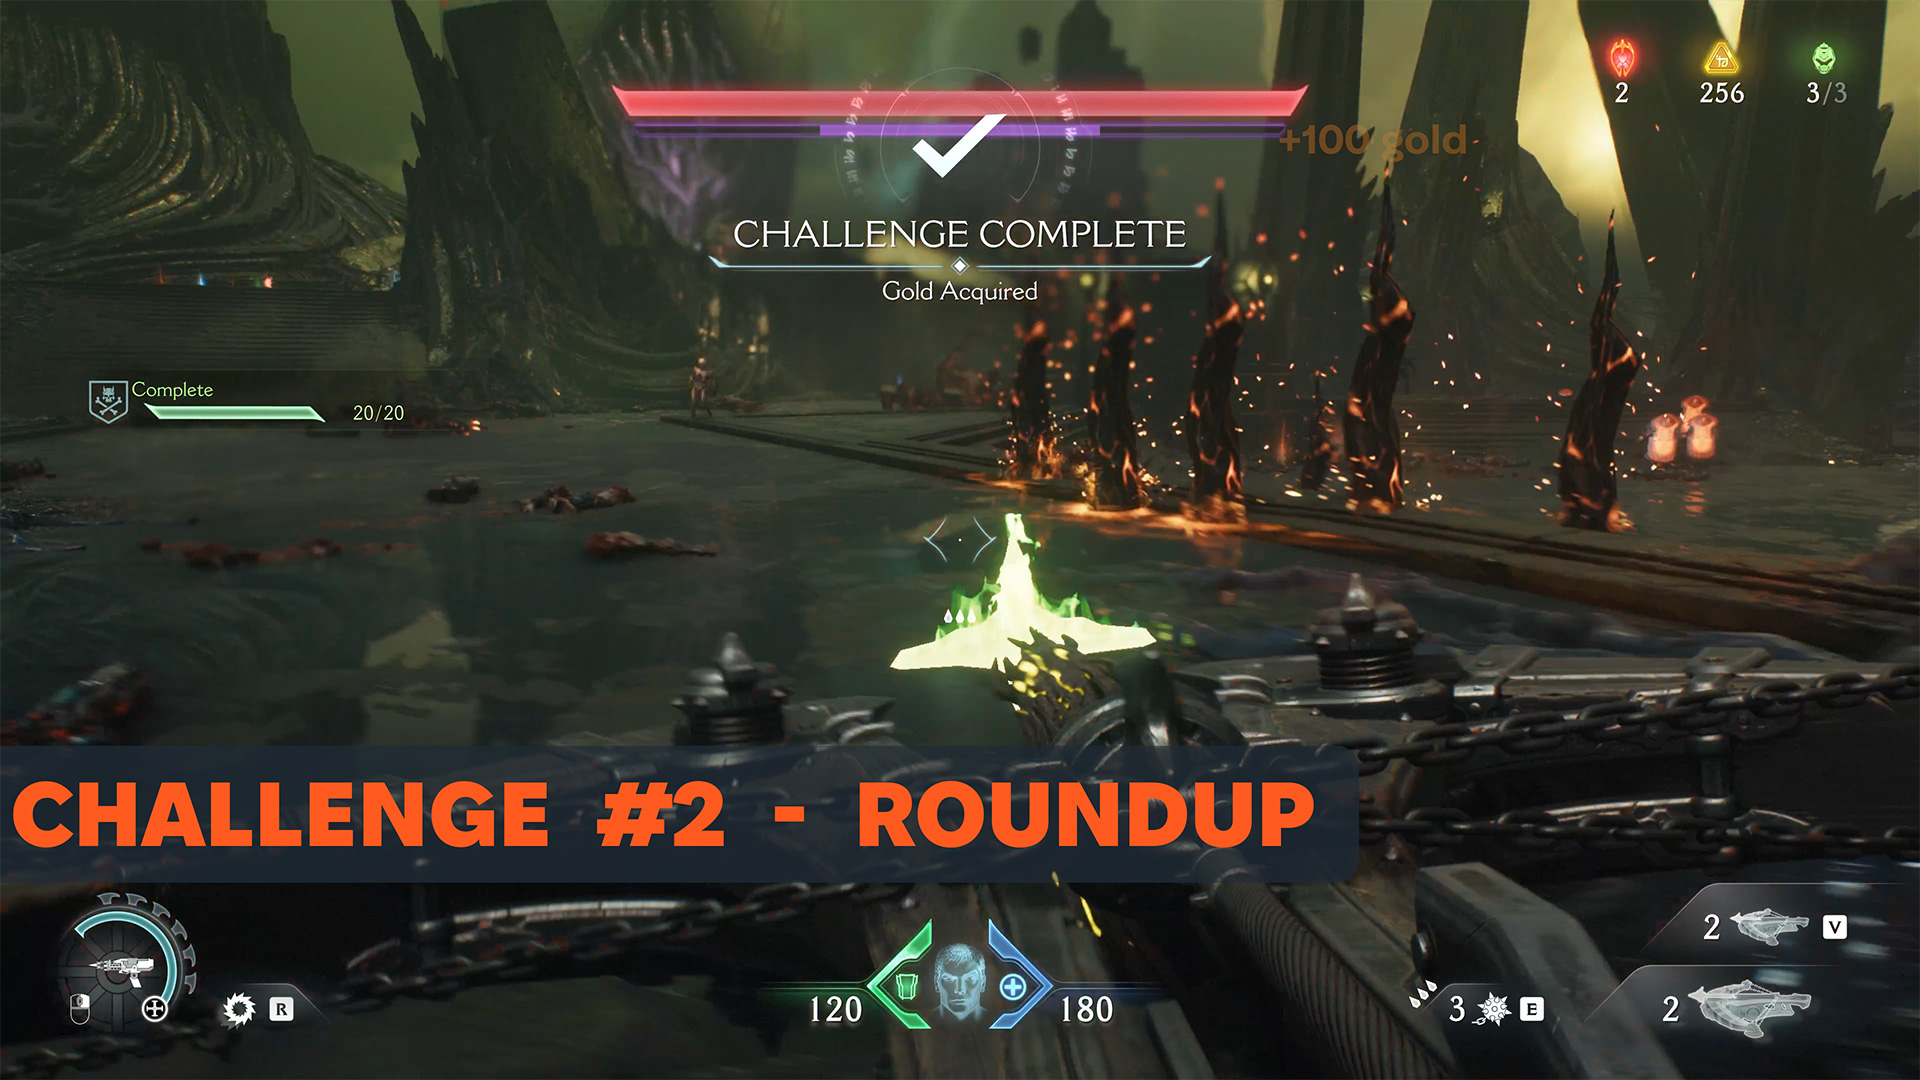
Kar’thul Marshes Roundup challenge
In the second challenge, called Roundup, you have to destroy 20 enemies with a single shot from the Ballistic Force Crossbow.
-
- Kar’thul Marshes Roundup challenge
-
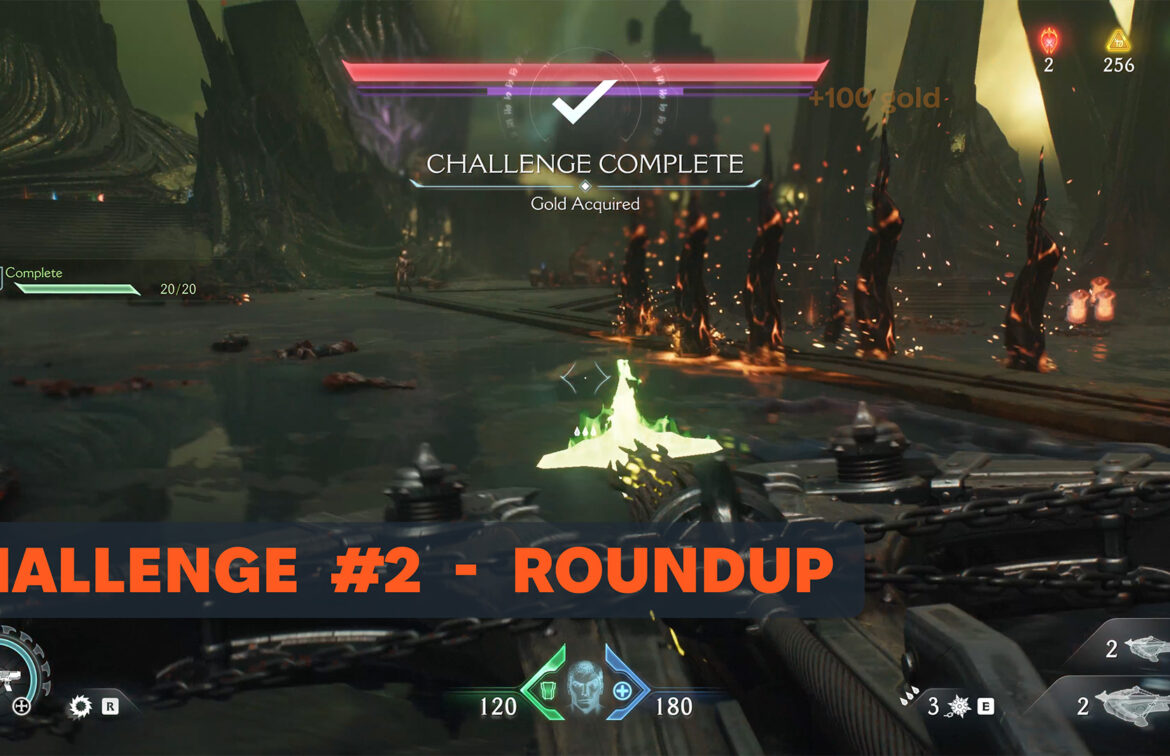
- Kar’thul Marshes Roundup challenge complete
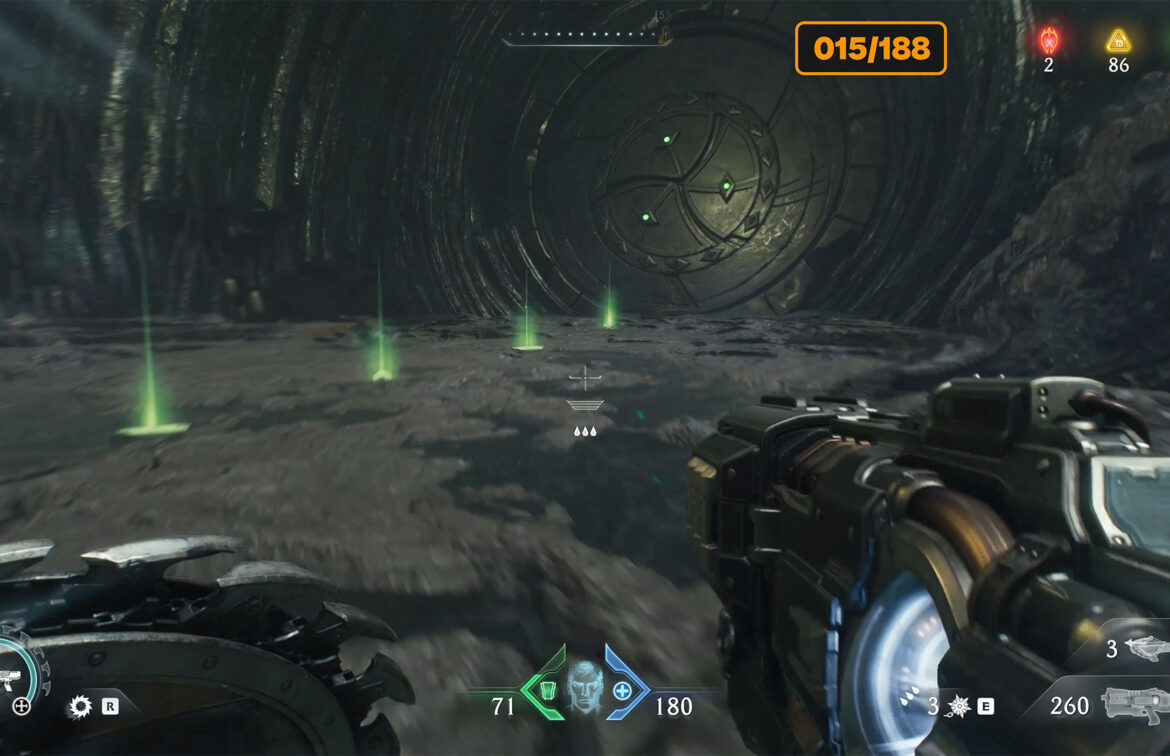
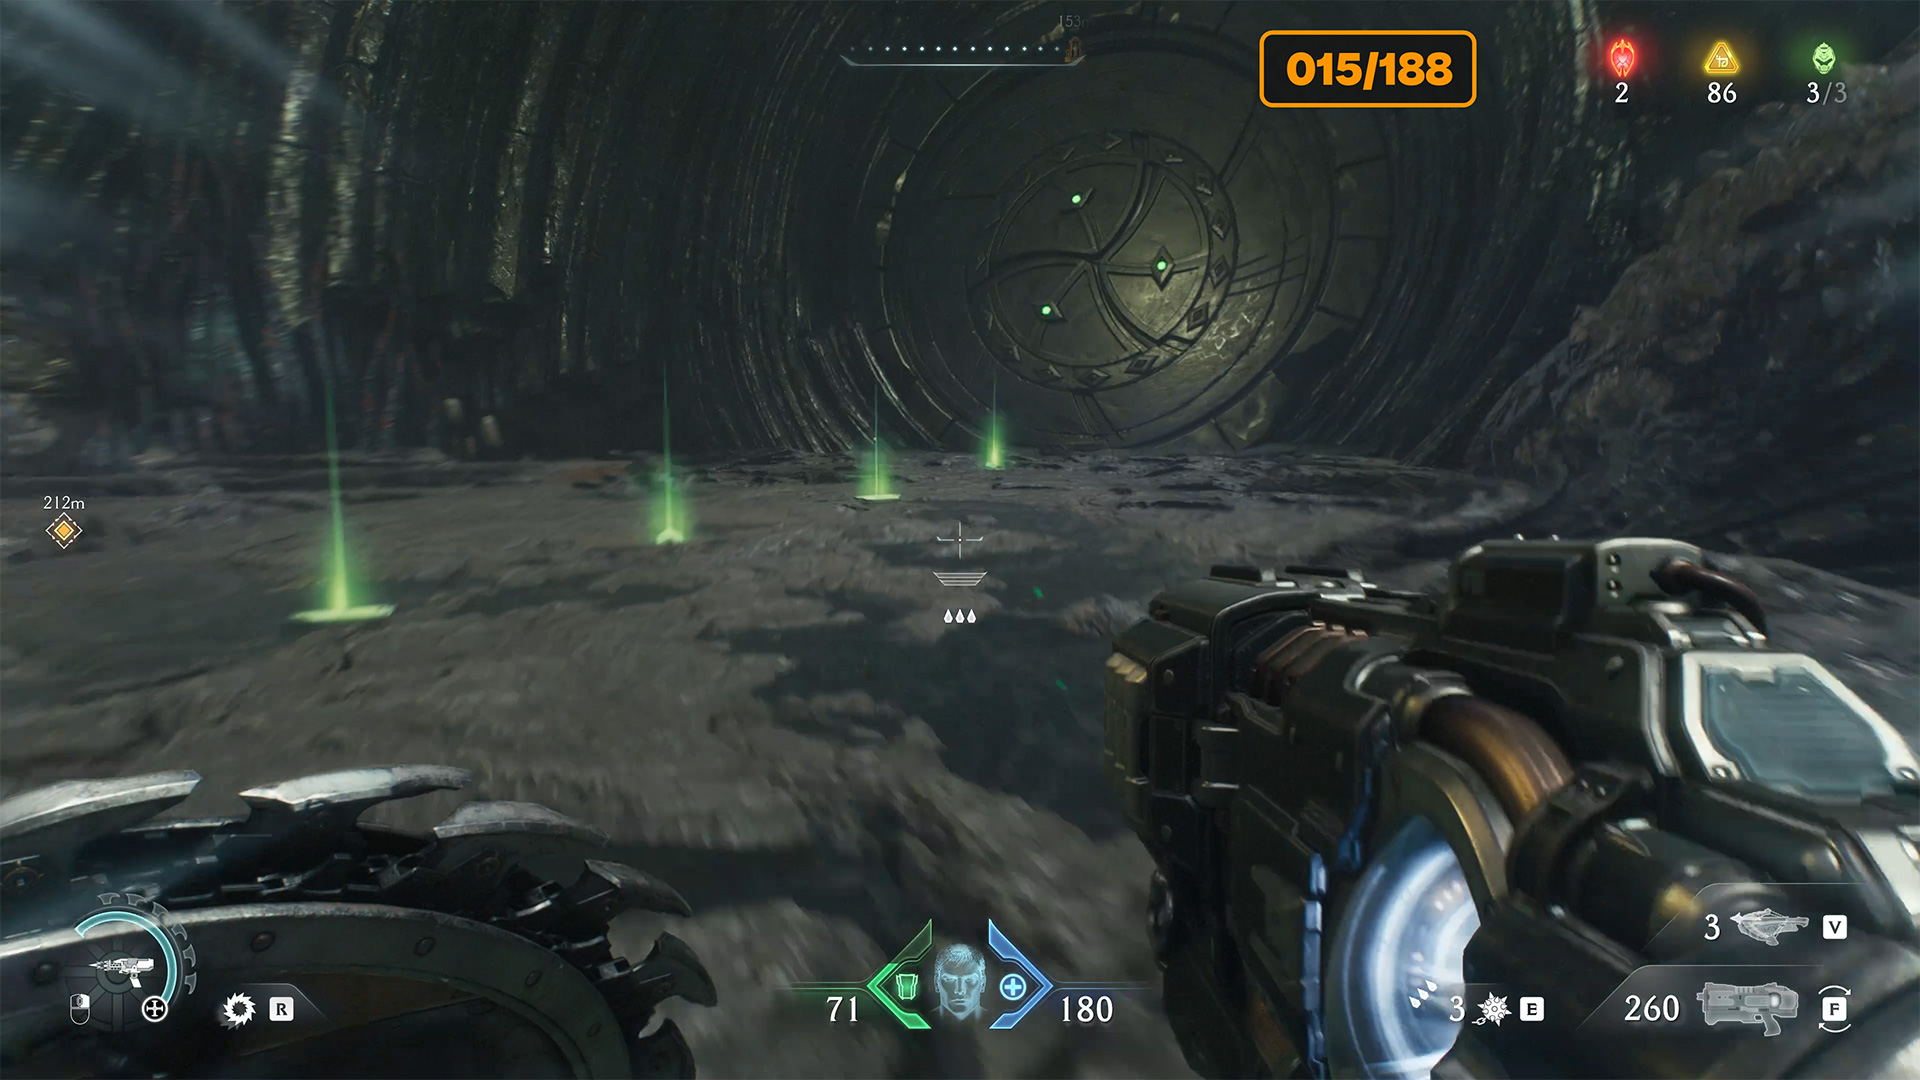
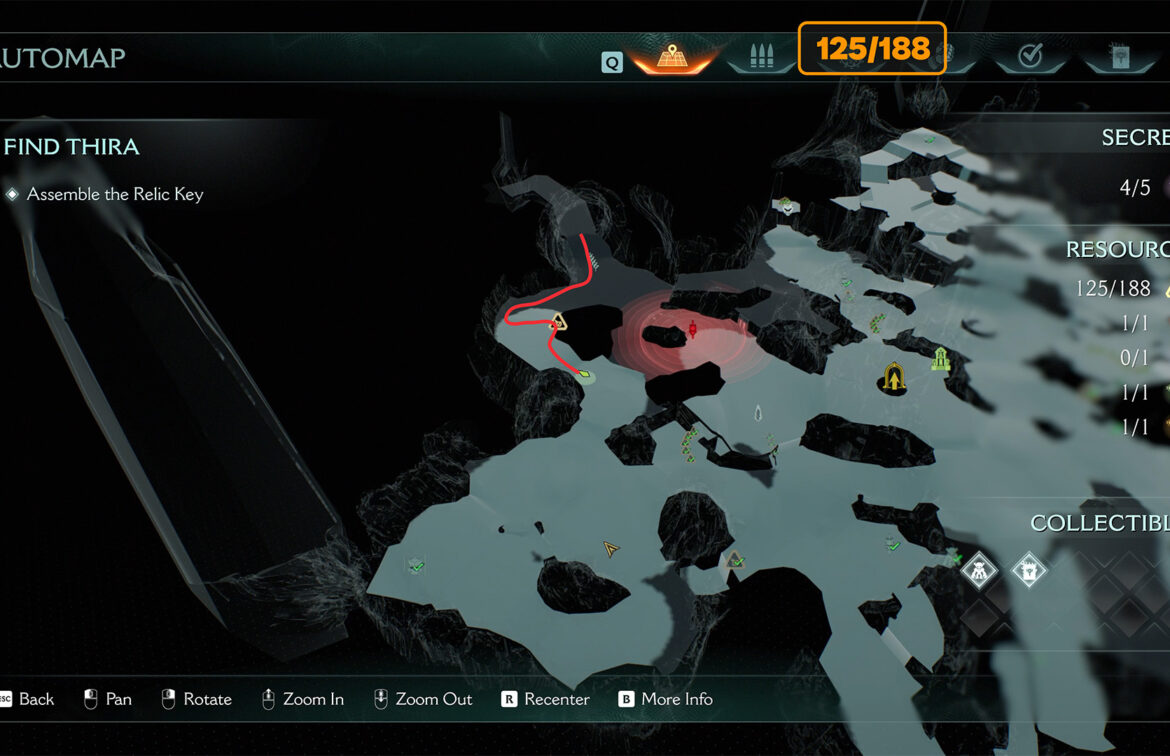
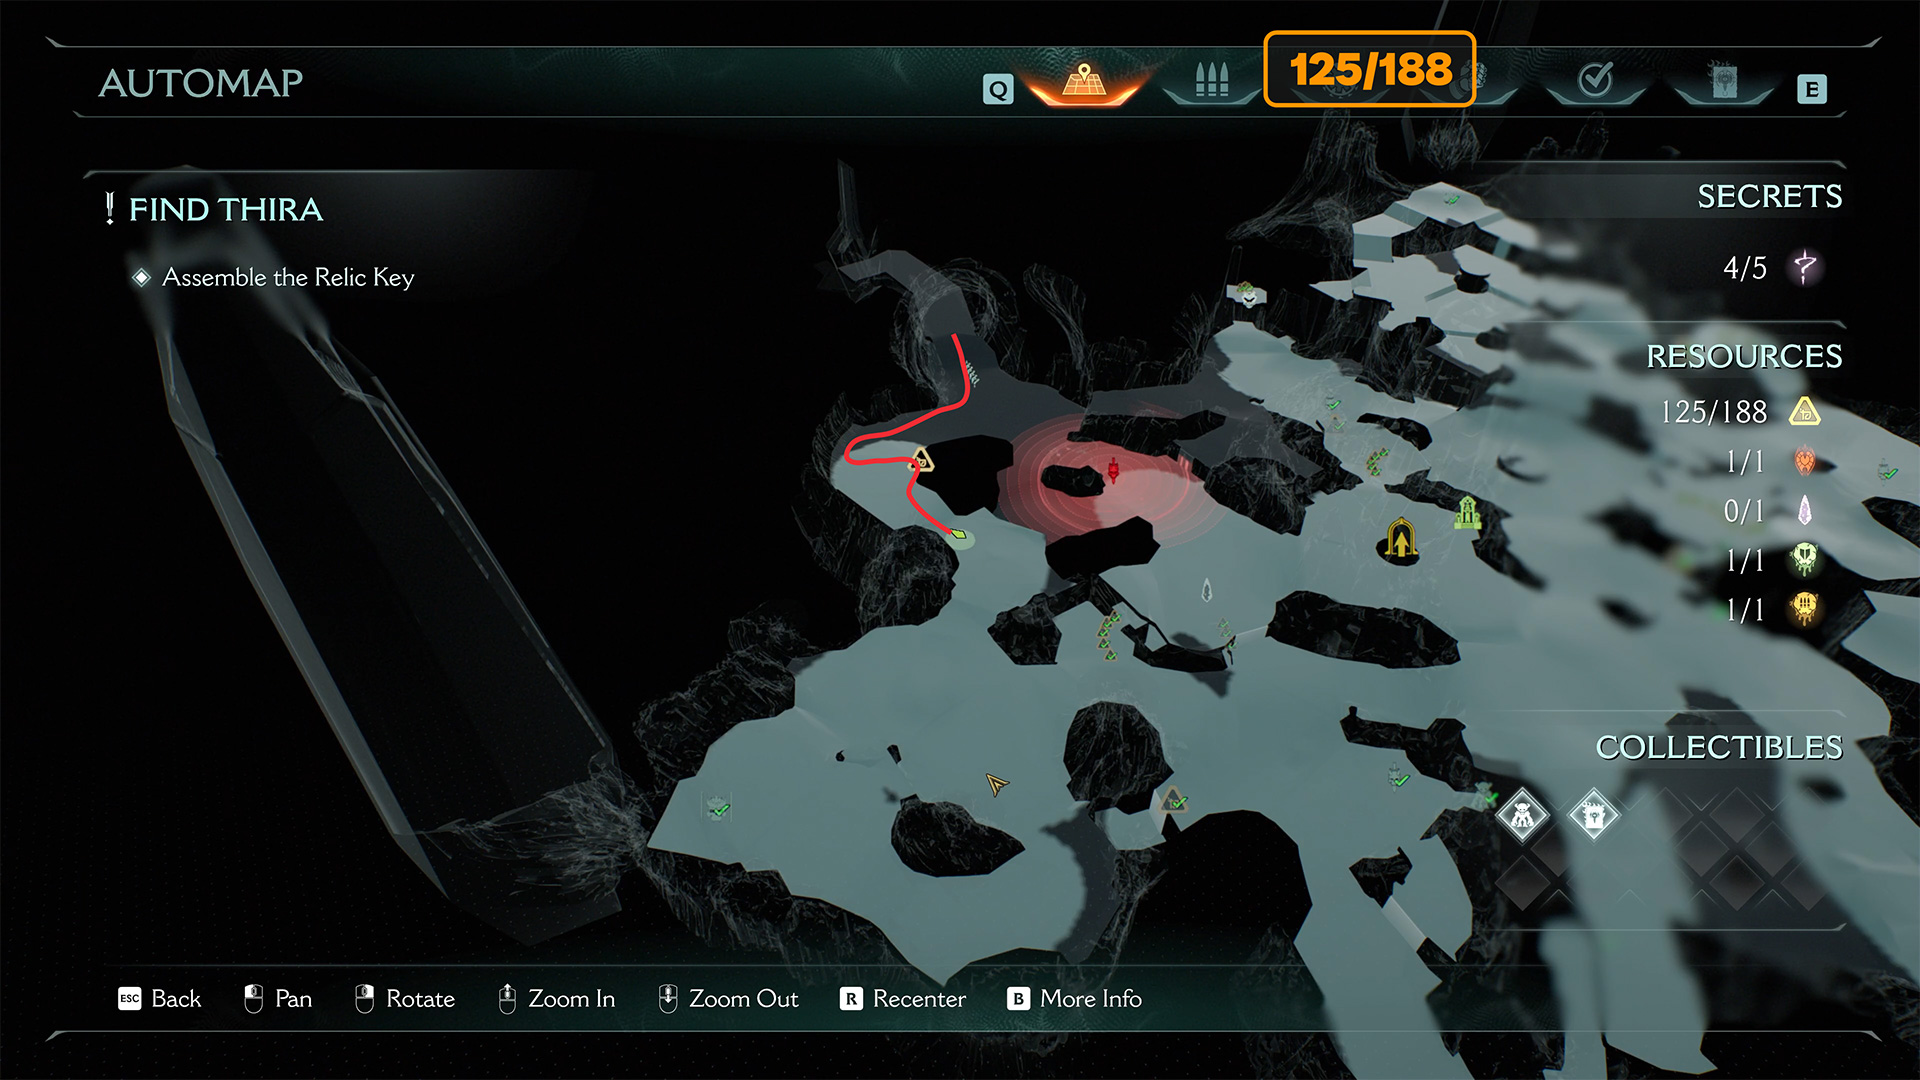
Kar’thul Marshes codex page
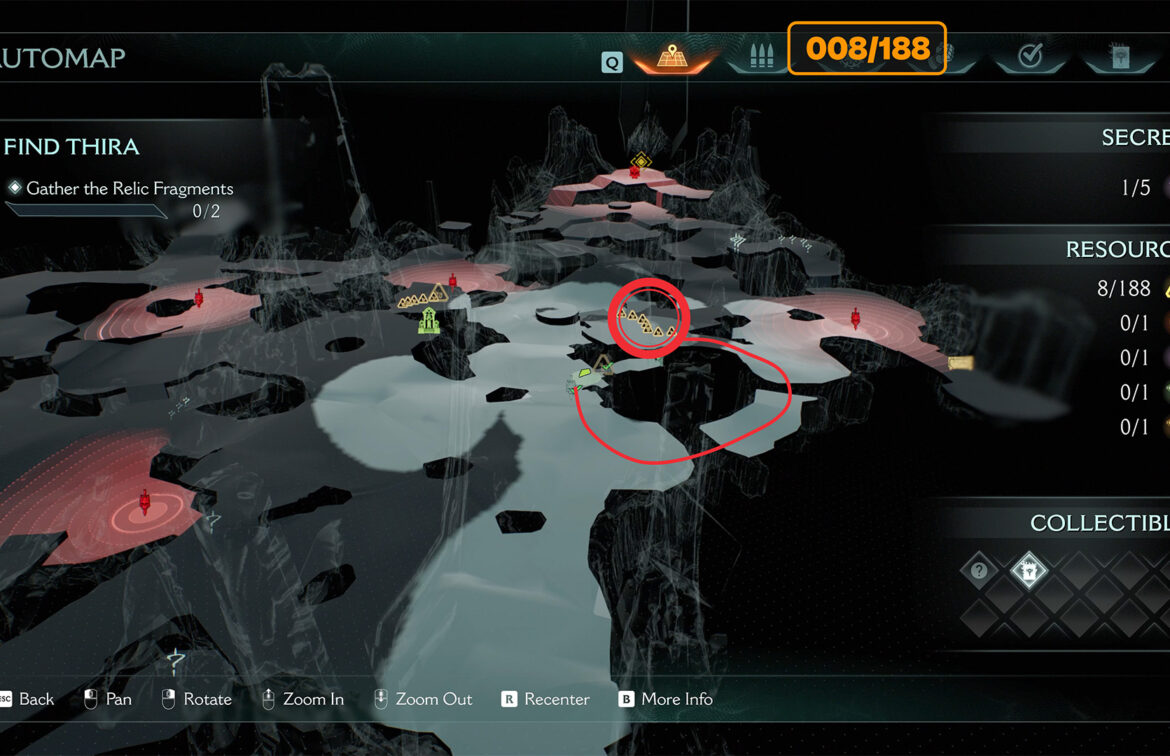
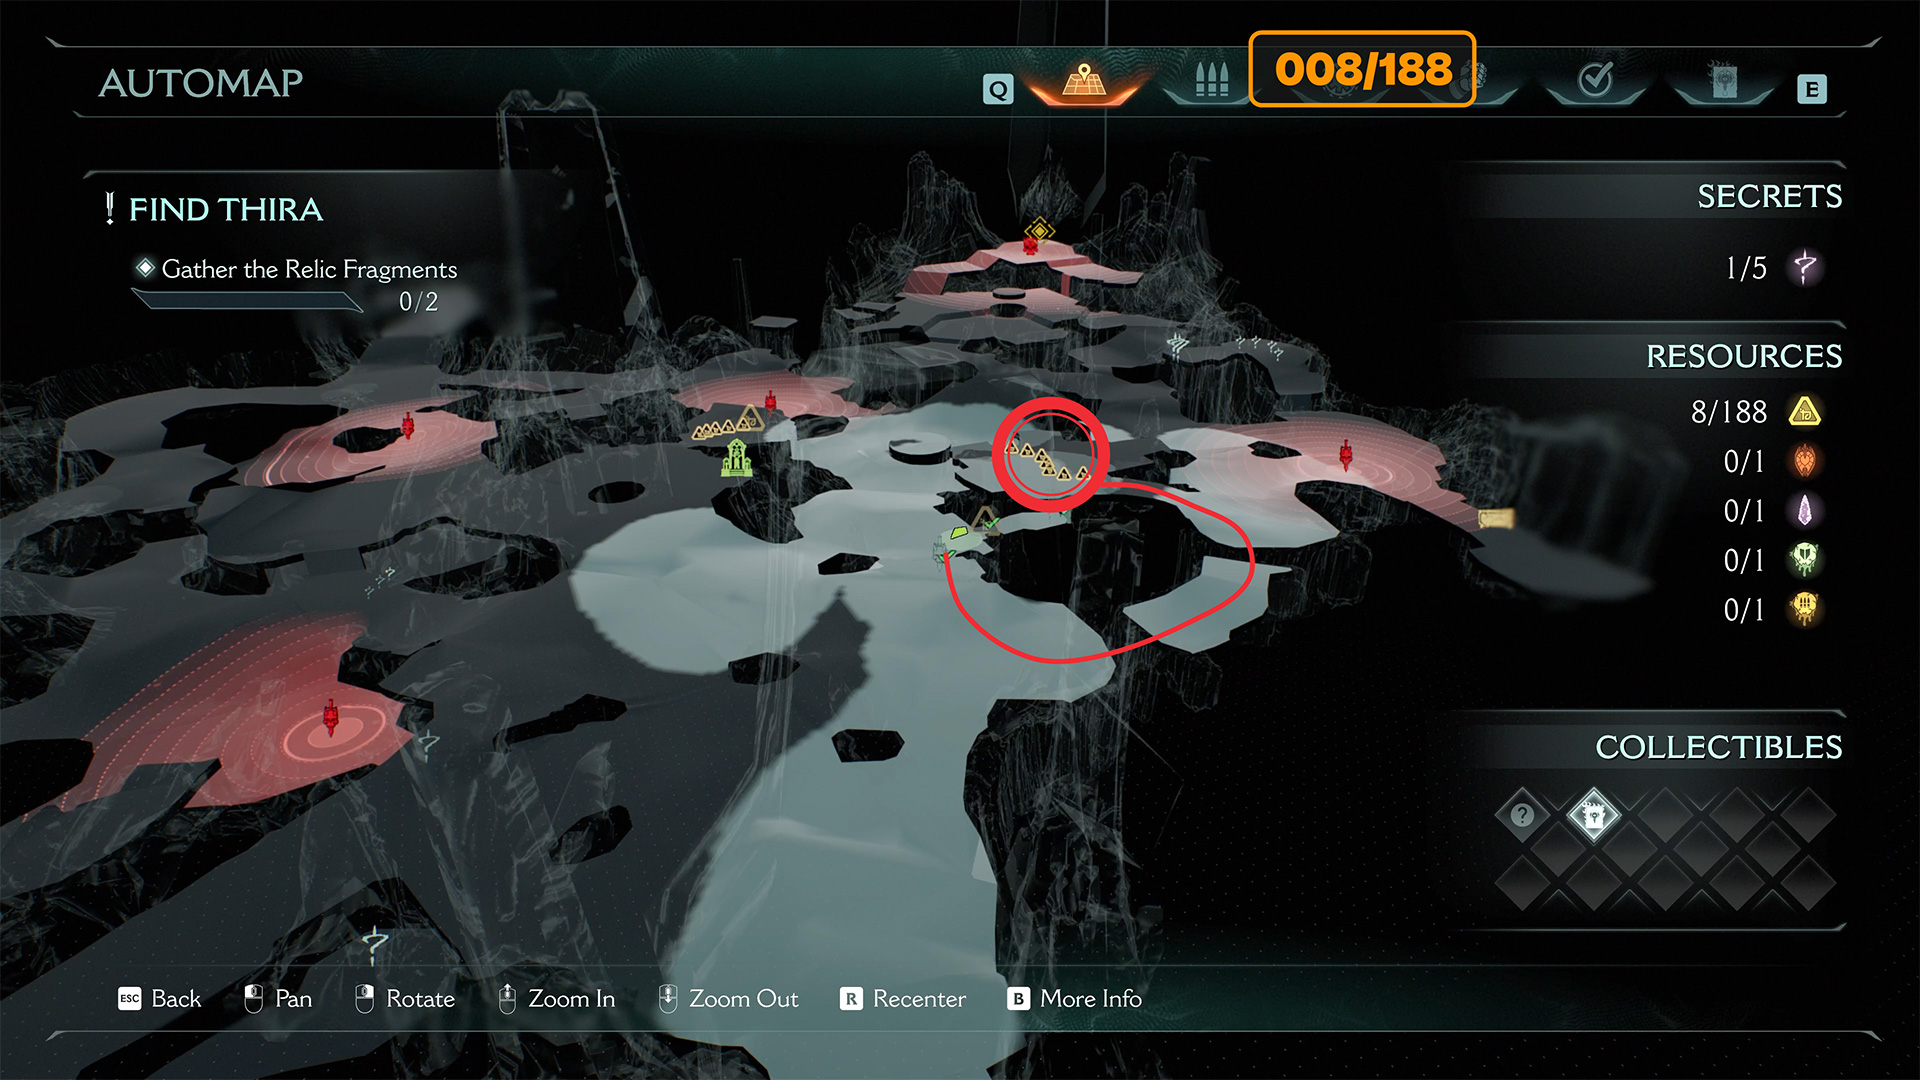
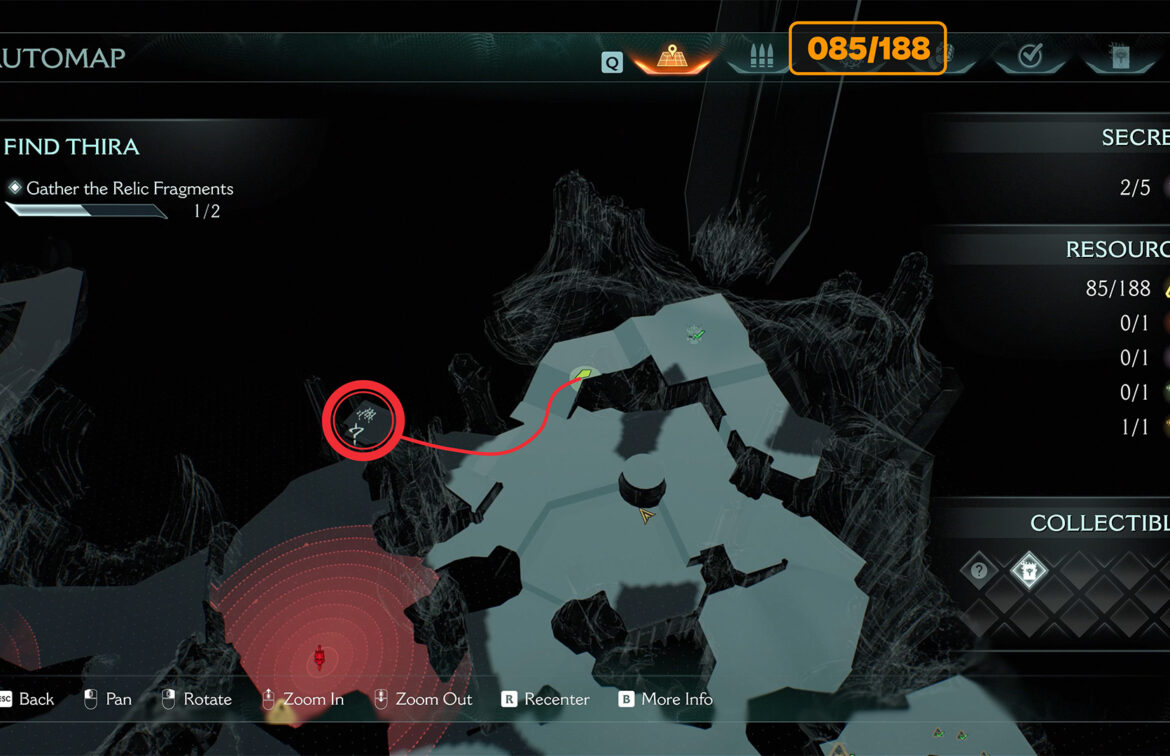
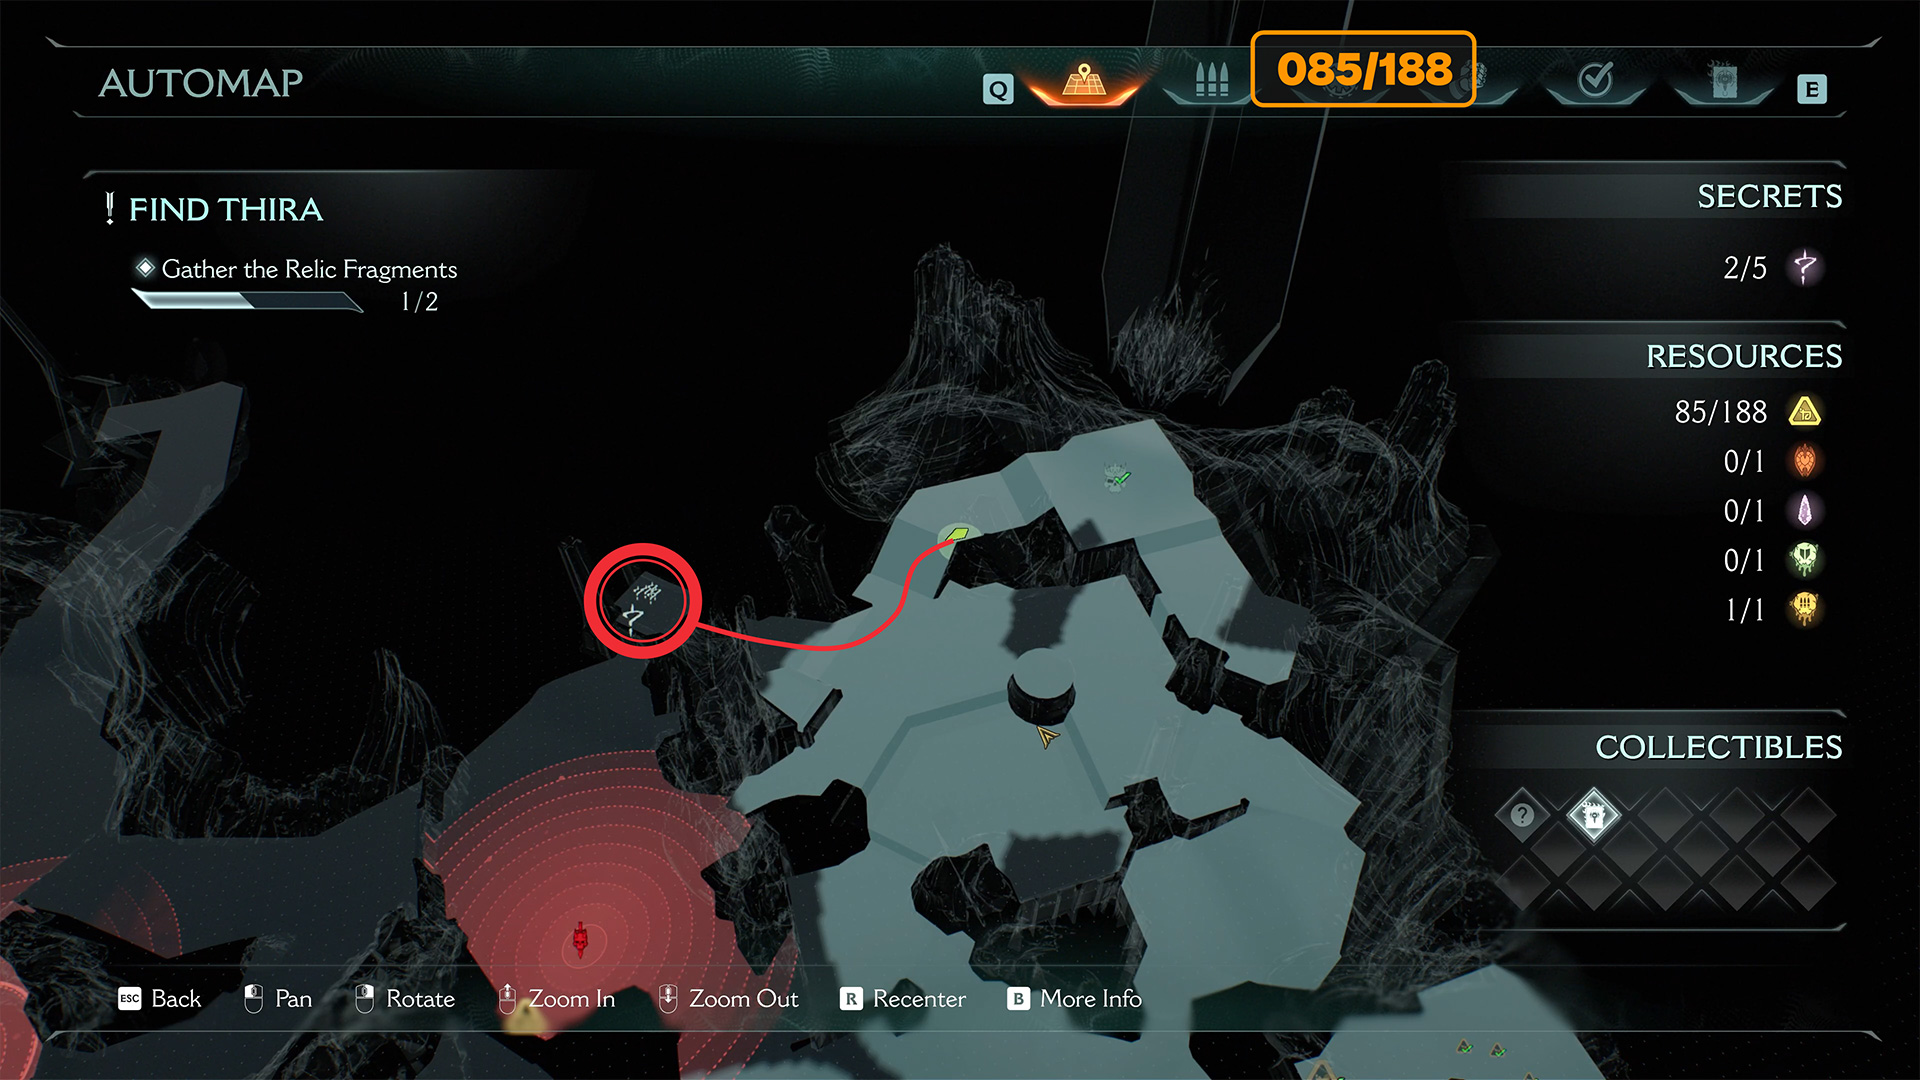
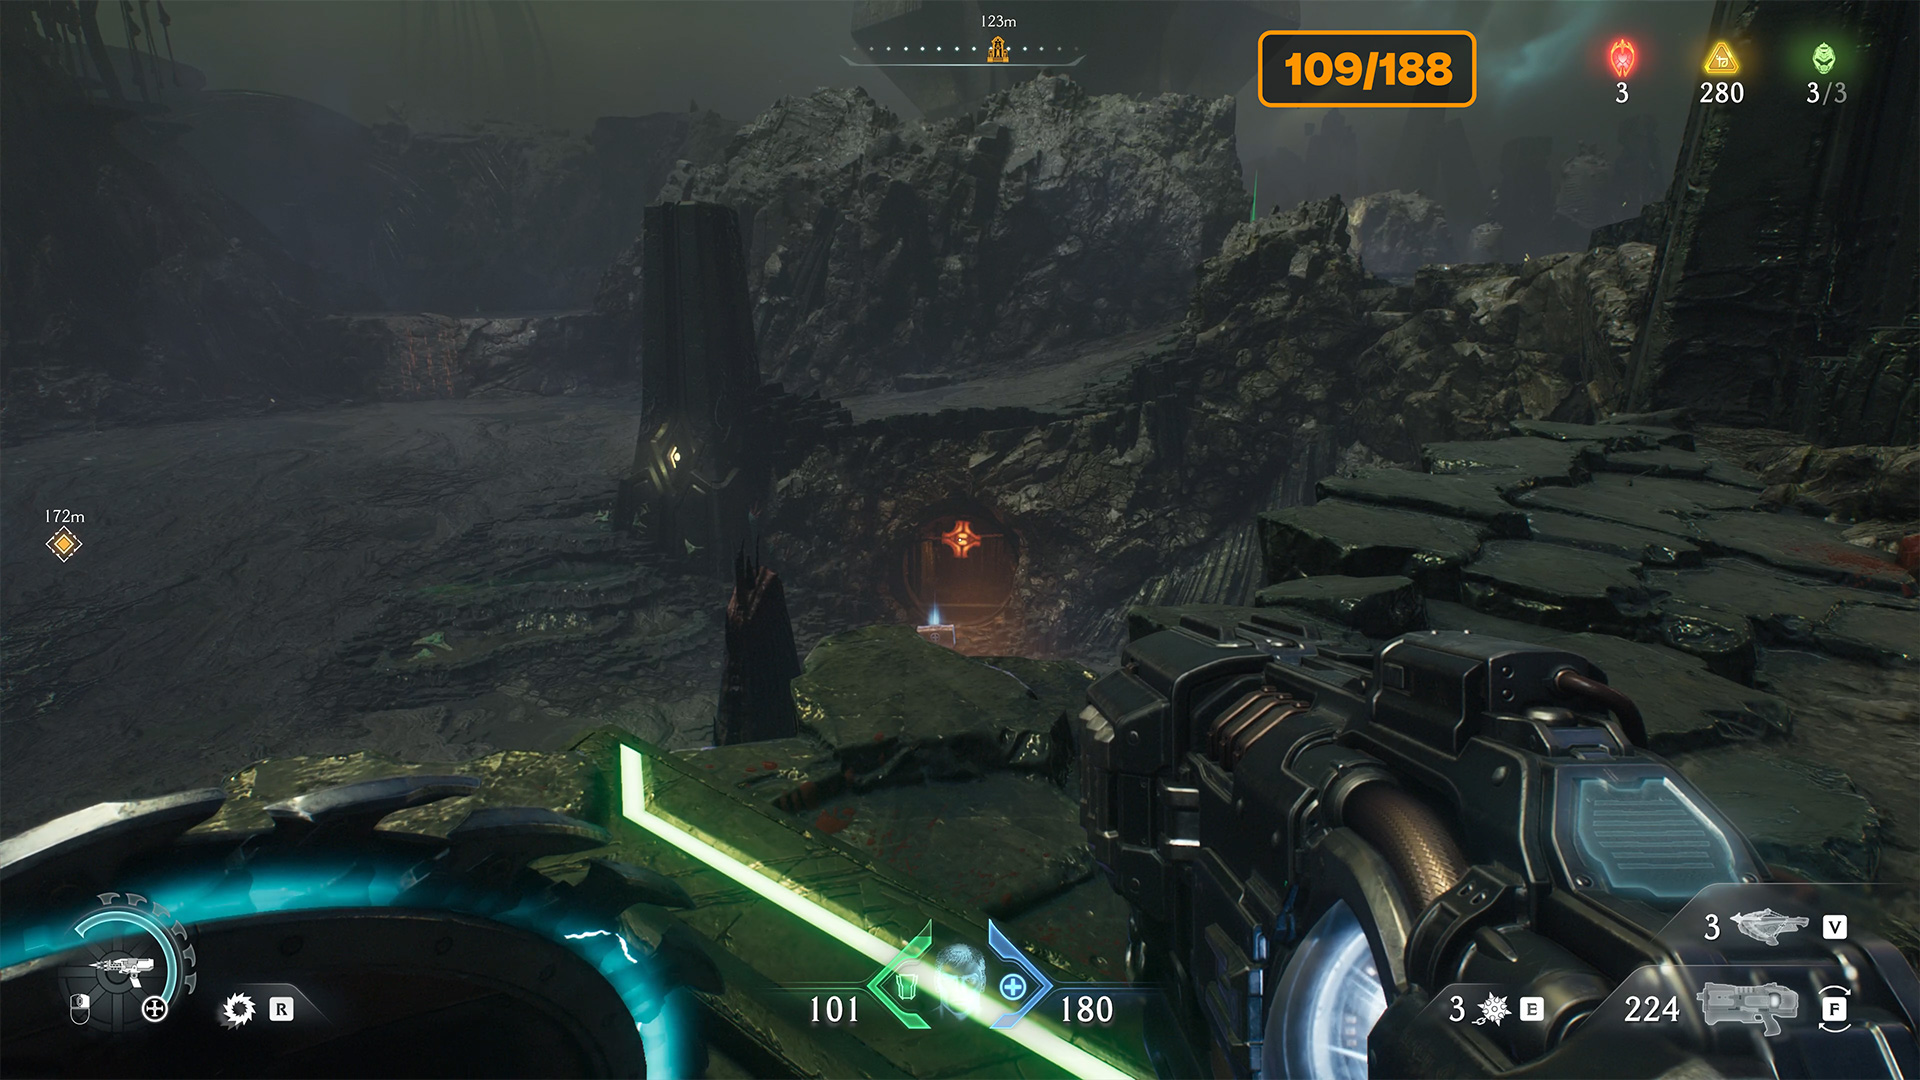
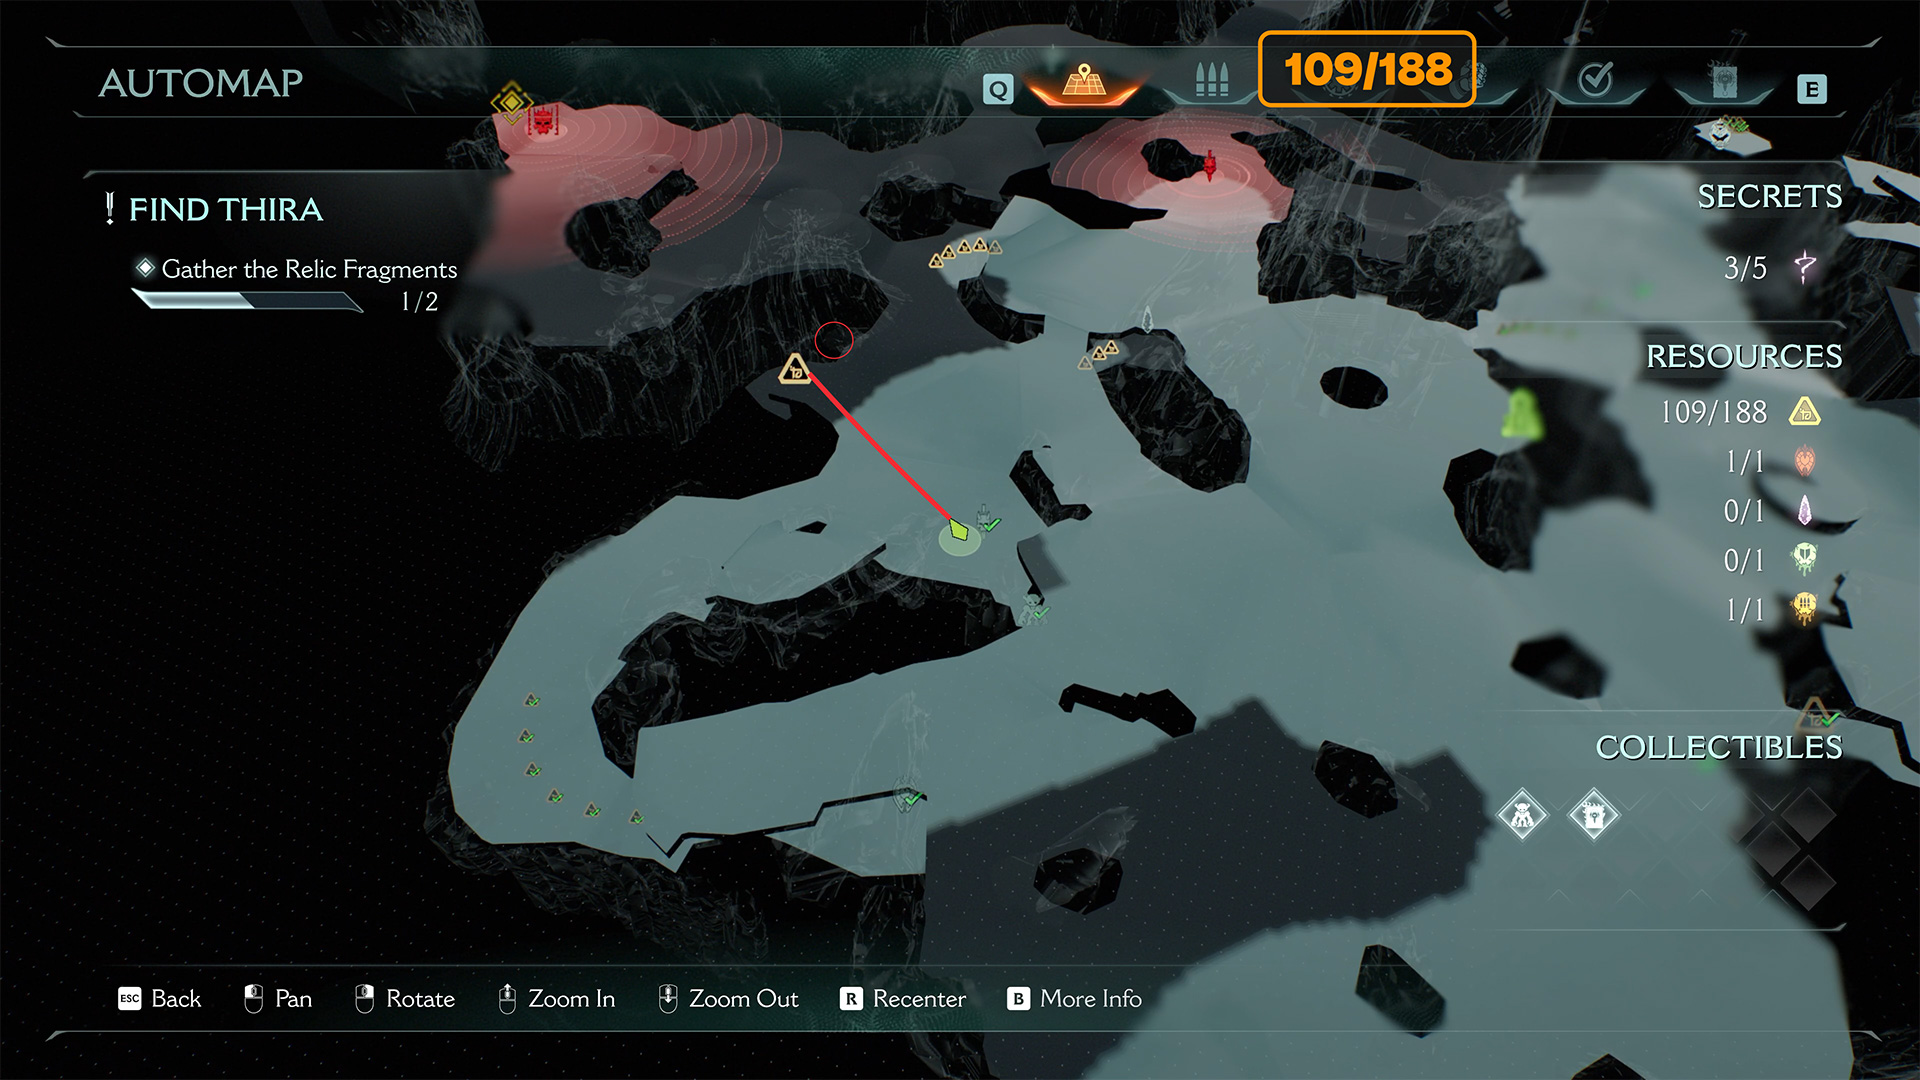
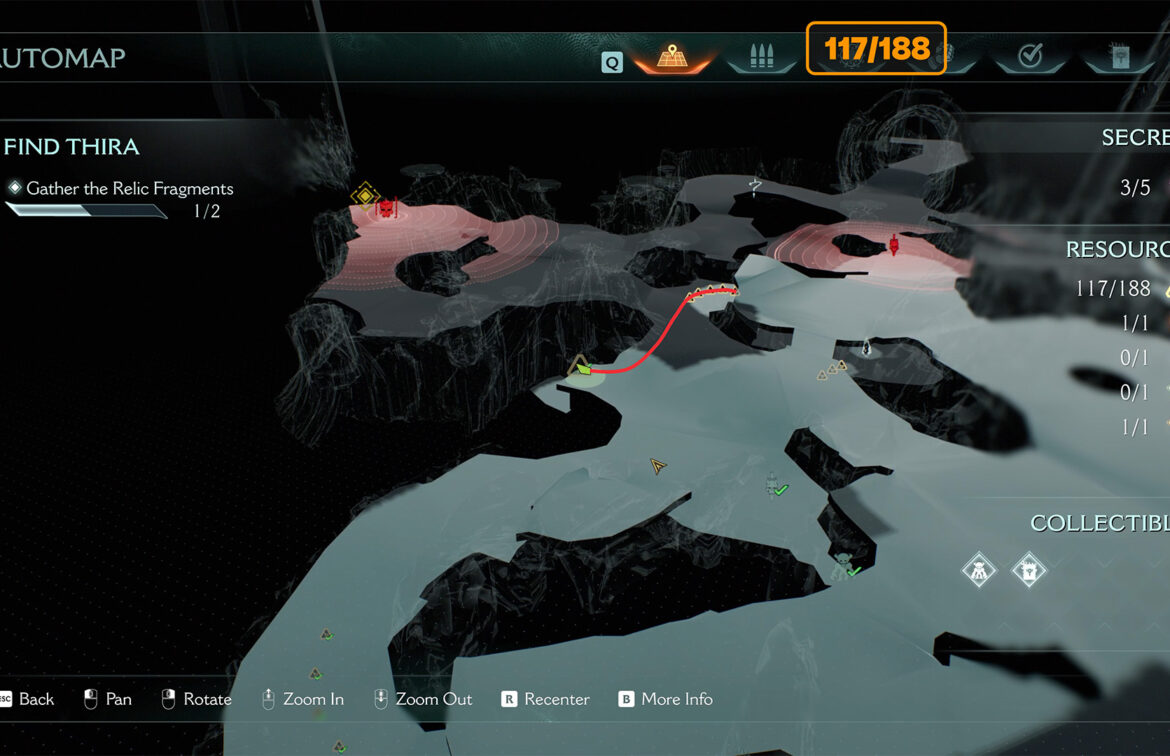
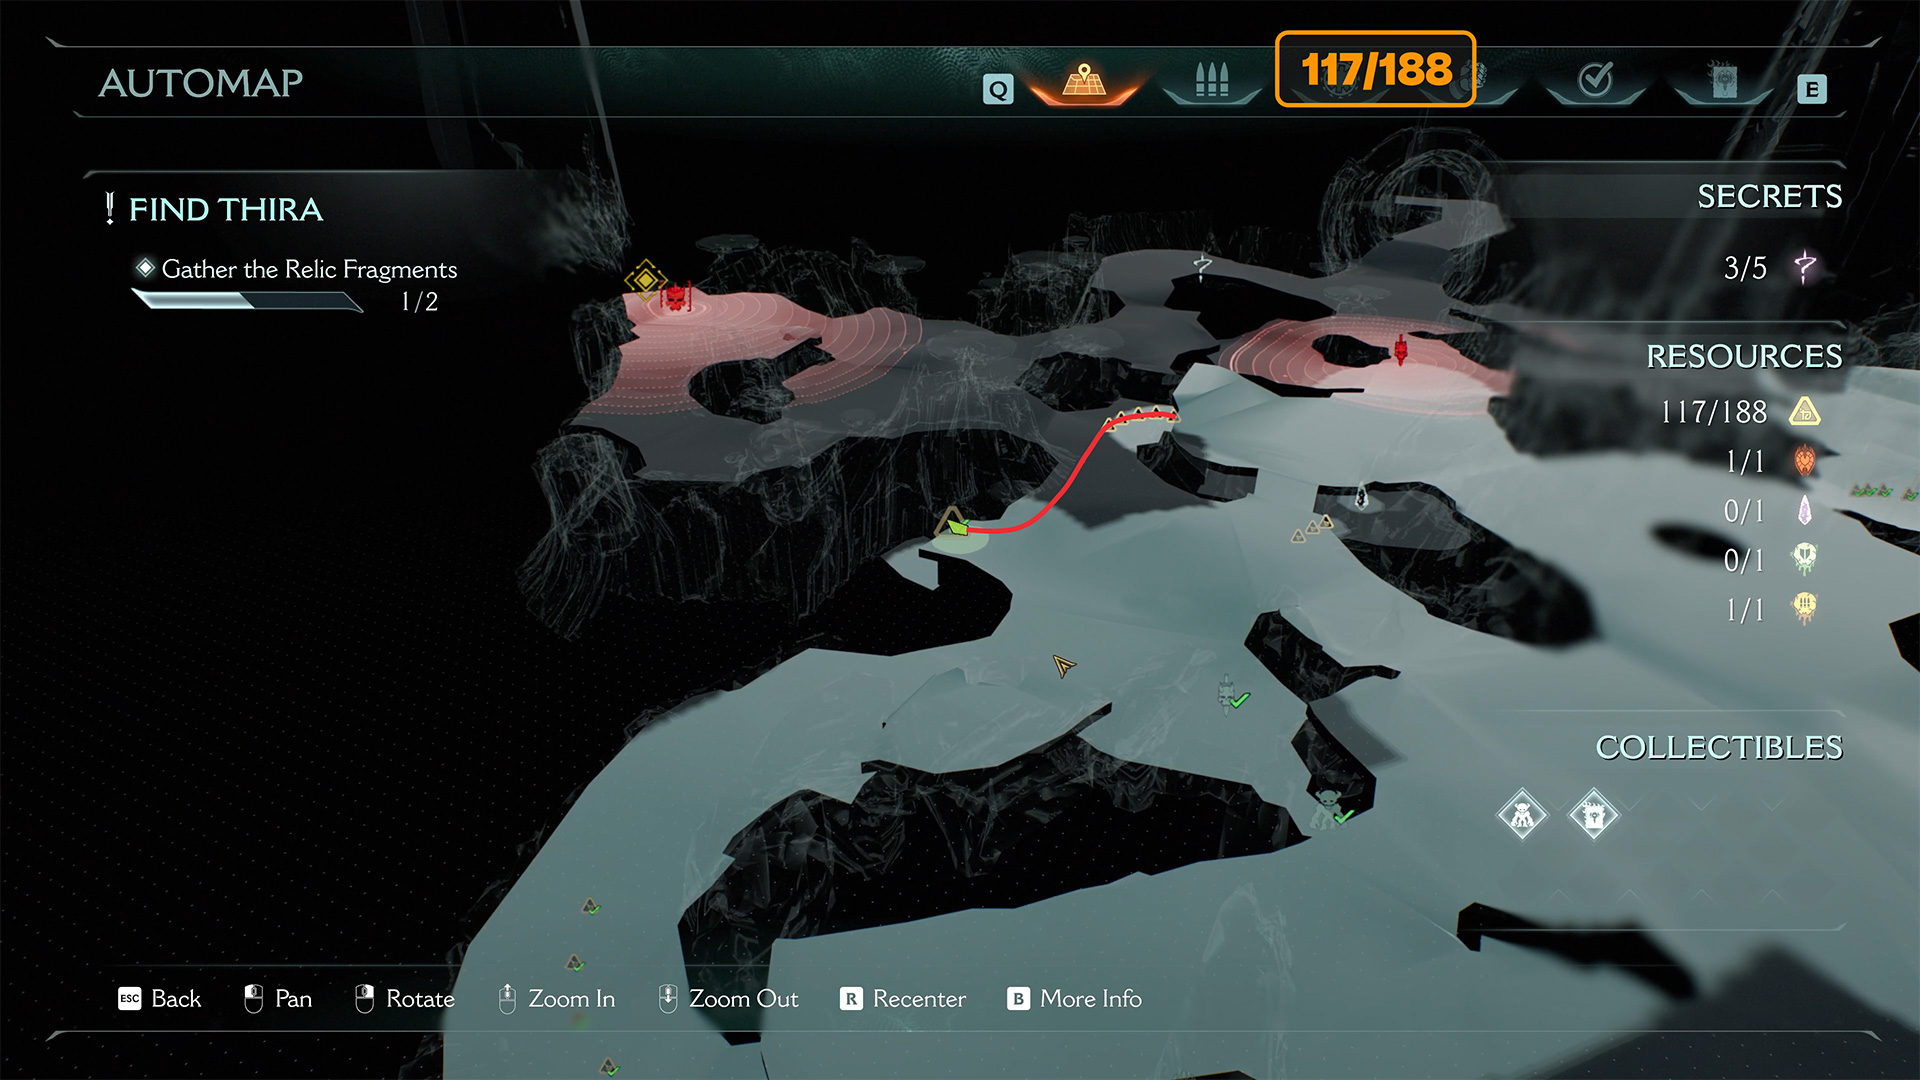
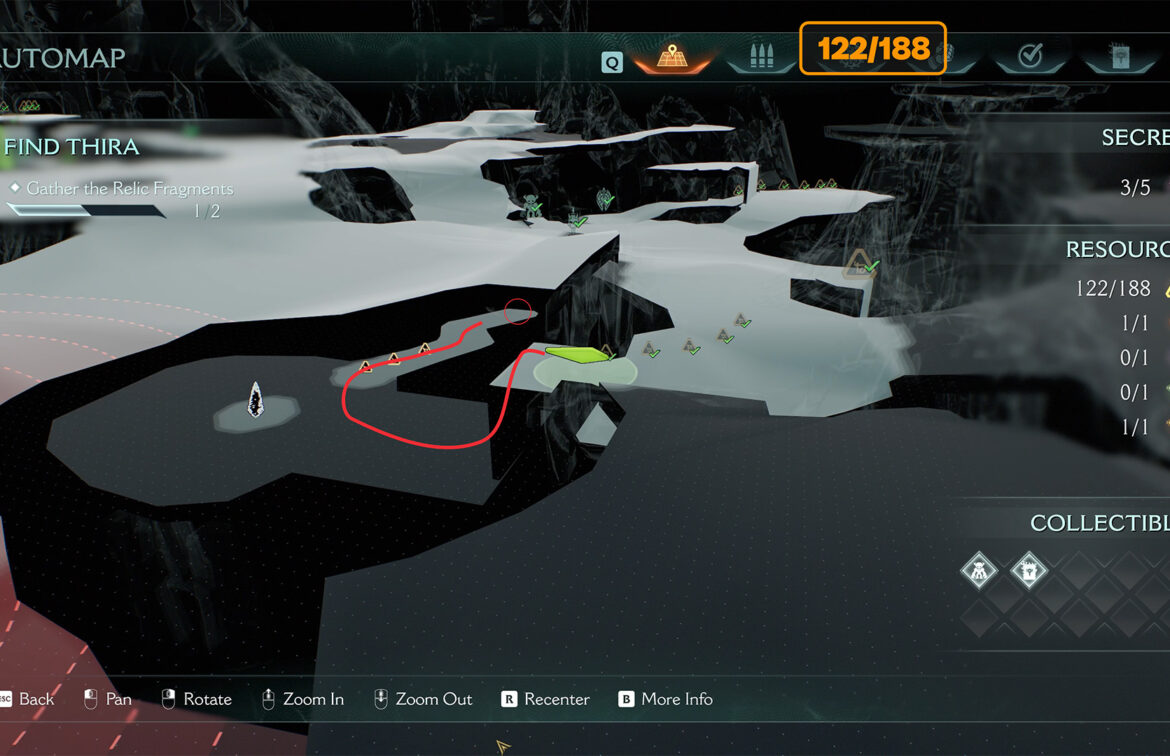
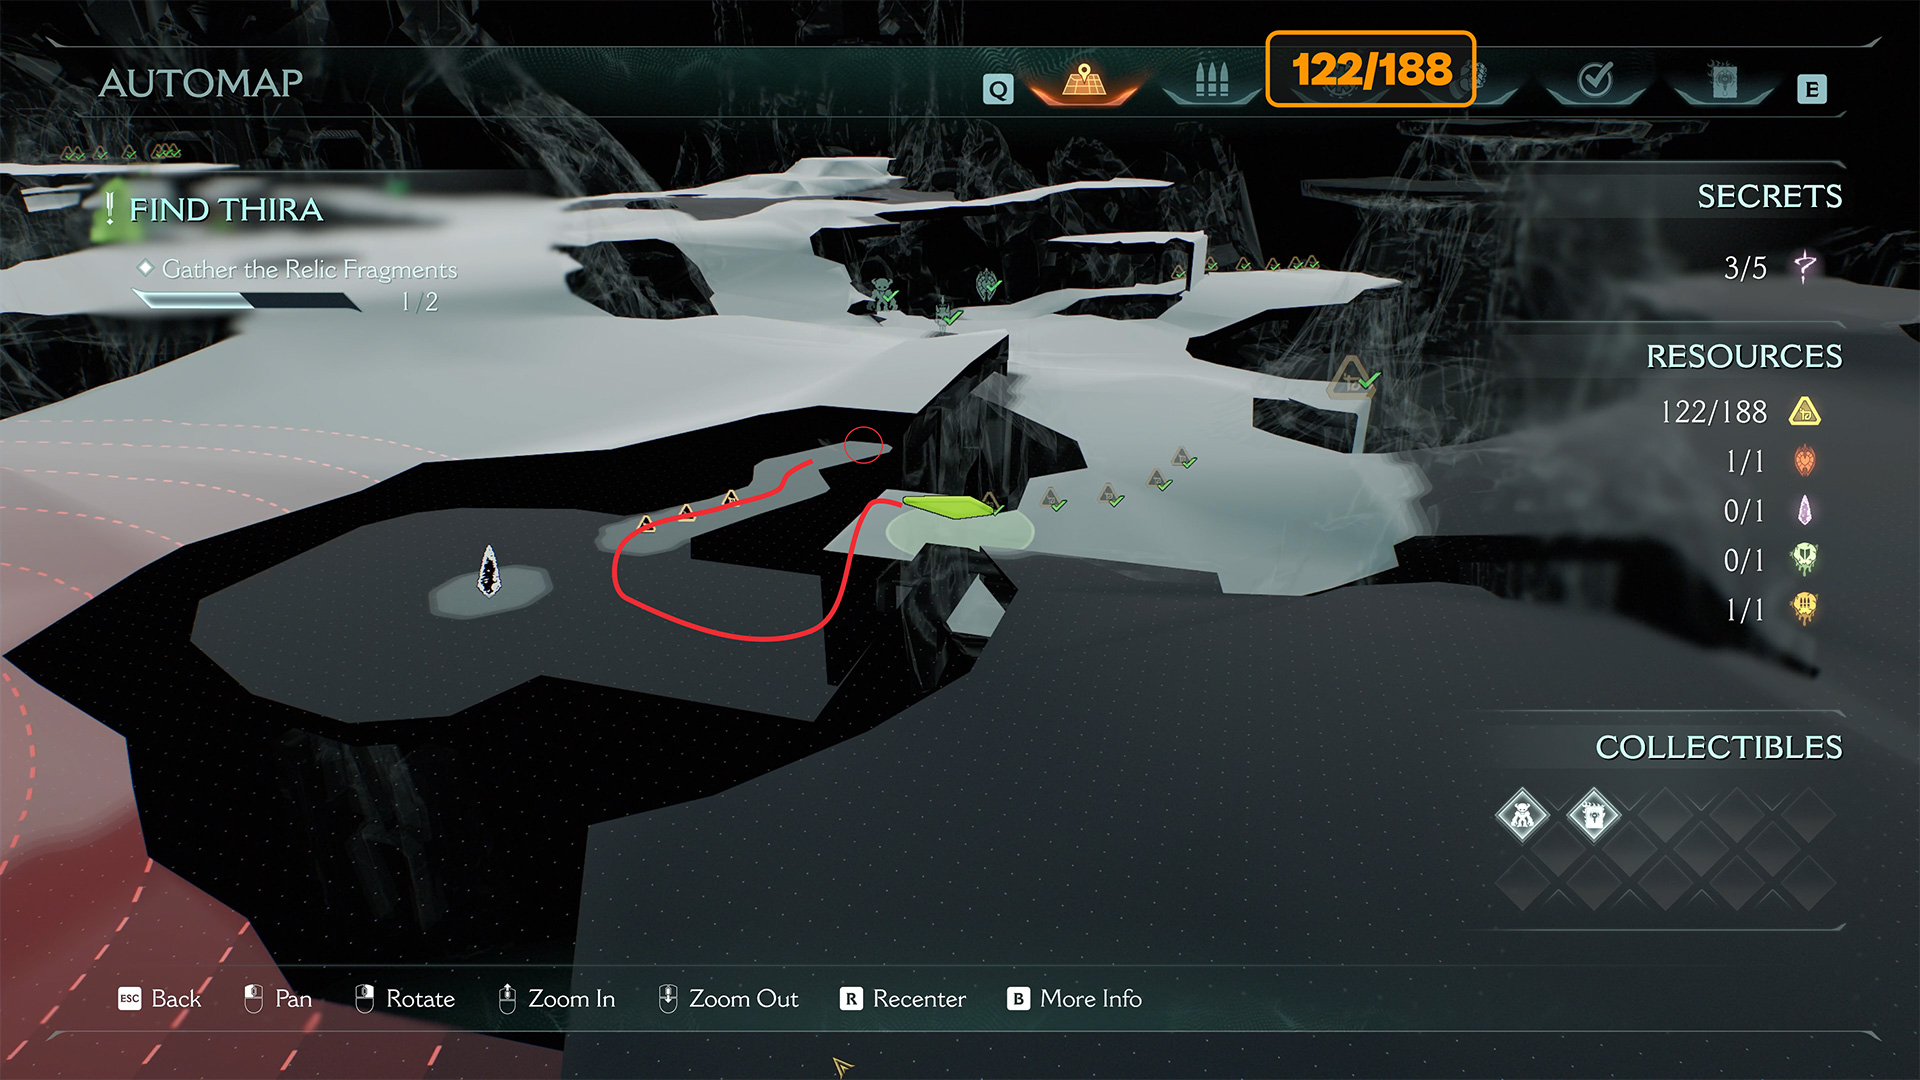
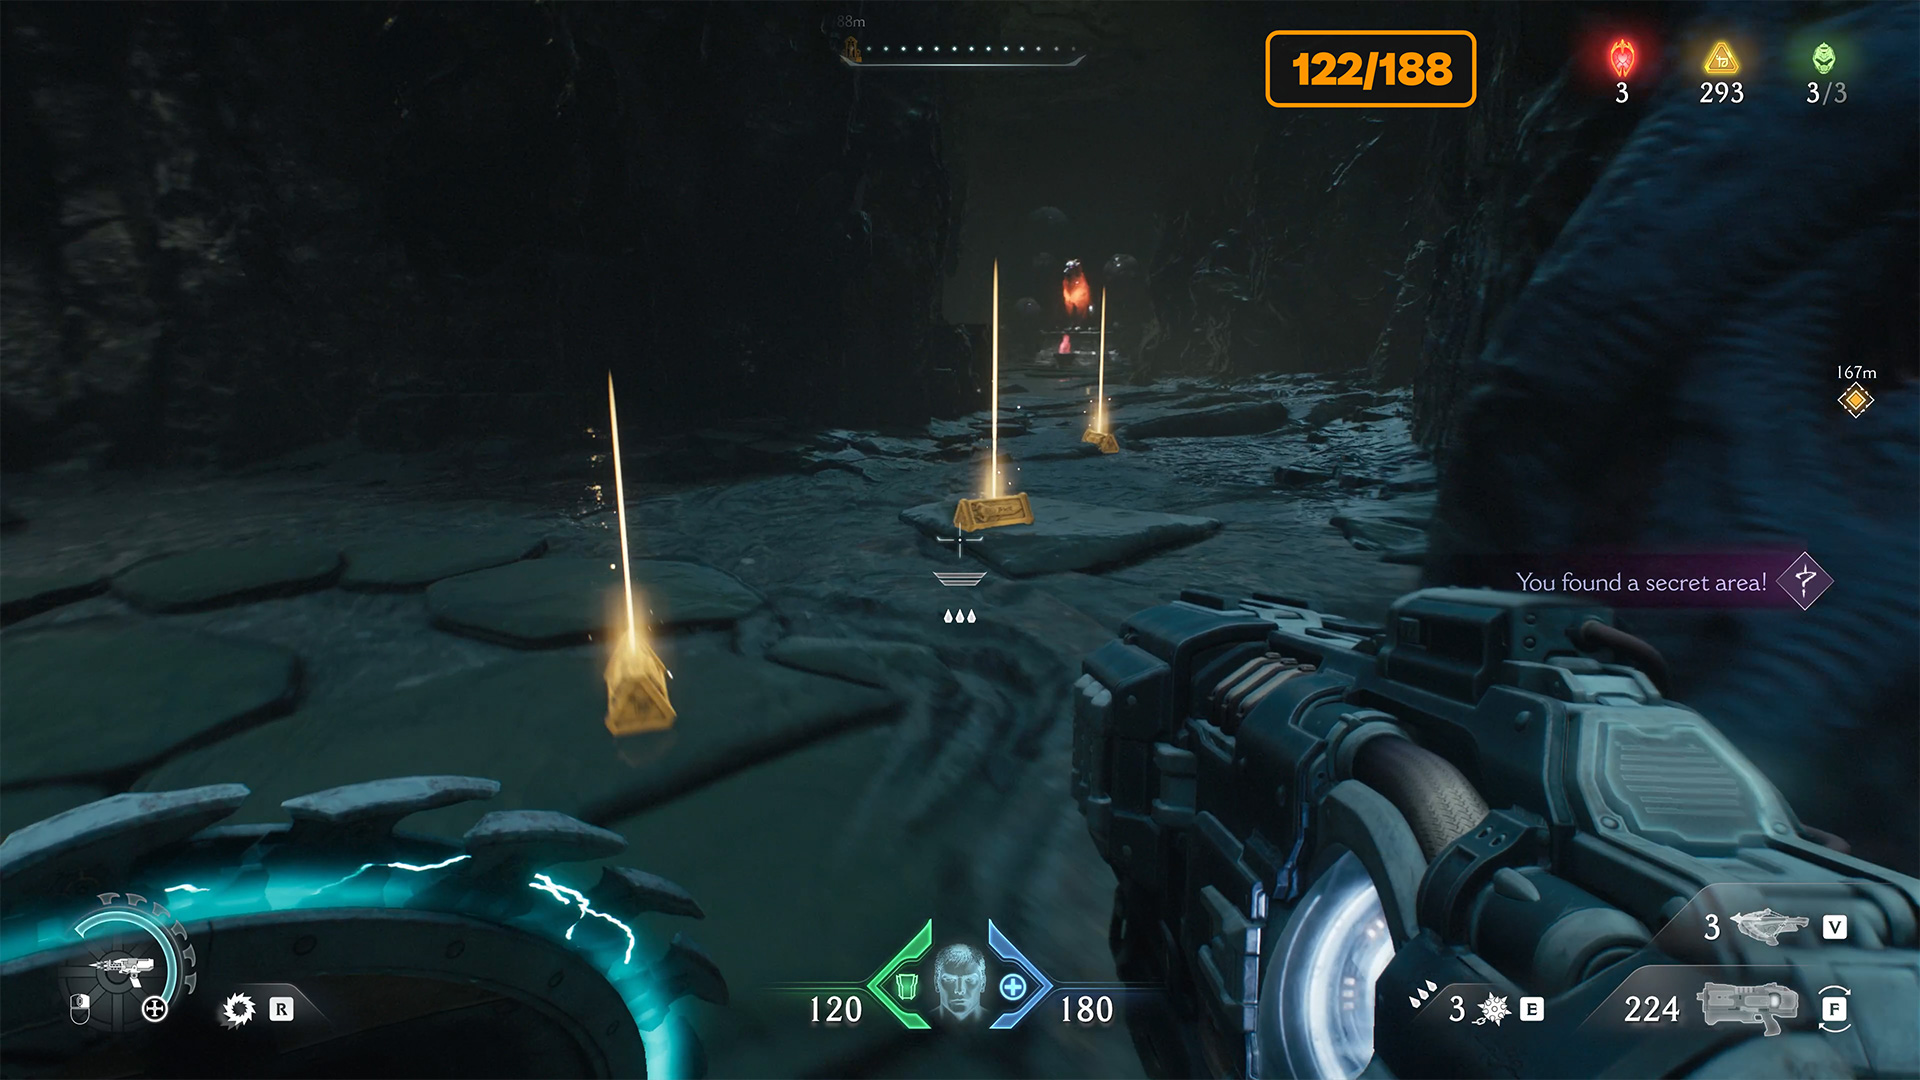
At the start of the location, you need to run to the right, where you will see a small platform that you need to jump over. When you do this, stop immediately and turn left. You will see a small hole in the rock through which you can see a blue mechanism. Throw your shield in there and don’t take it back. This will open a secret gate. Now run to the gate and ignore the enemies. Here you will find the first secret, 8 gold coins, and a page from the codex.
-
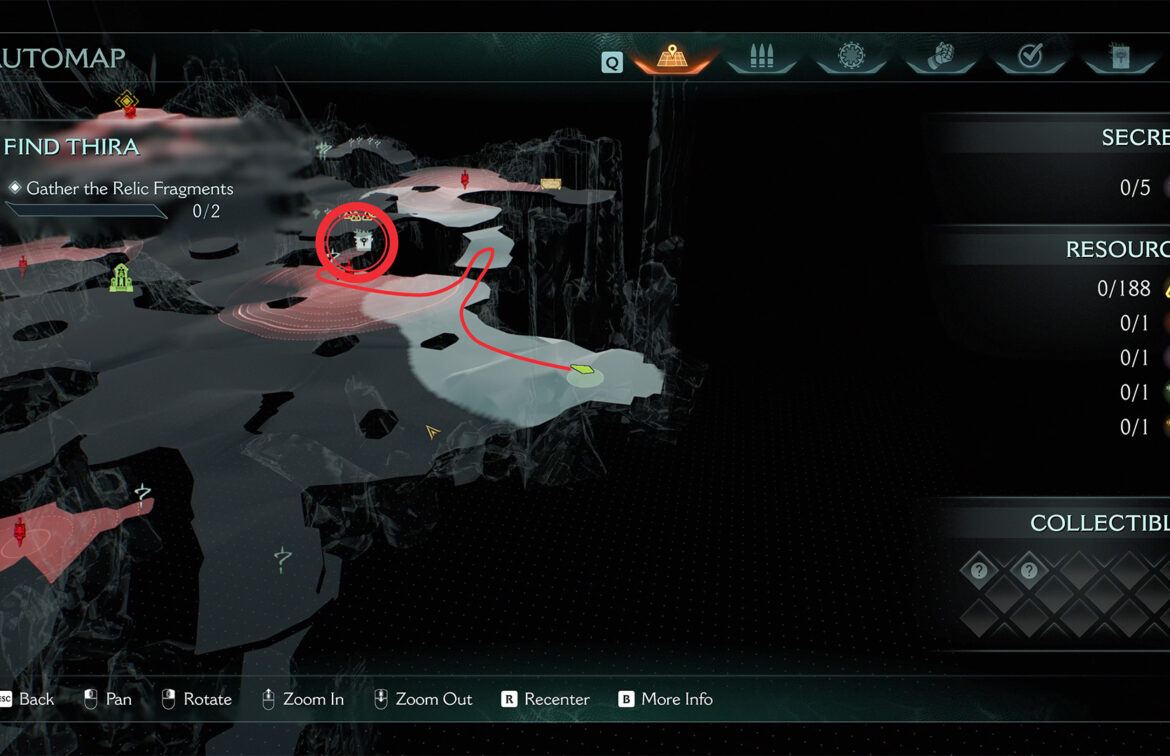
- Kar’thul Marshes codex page location
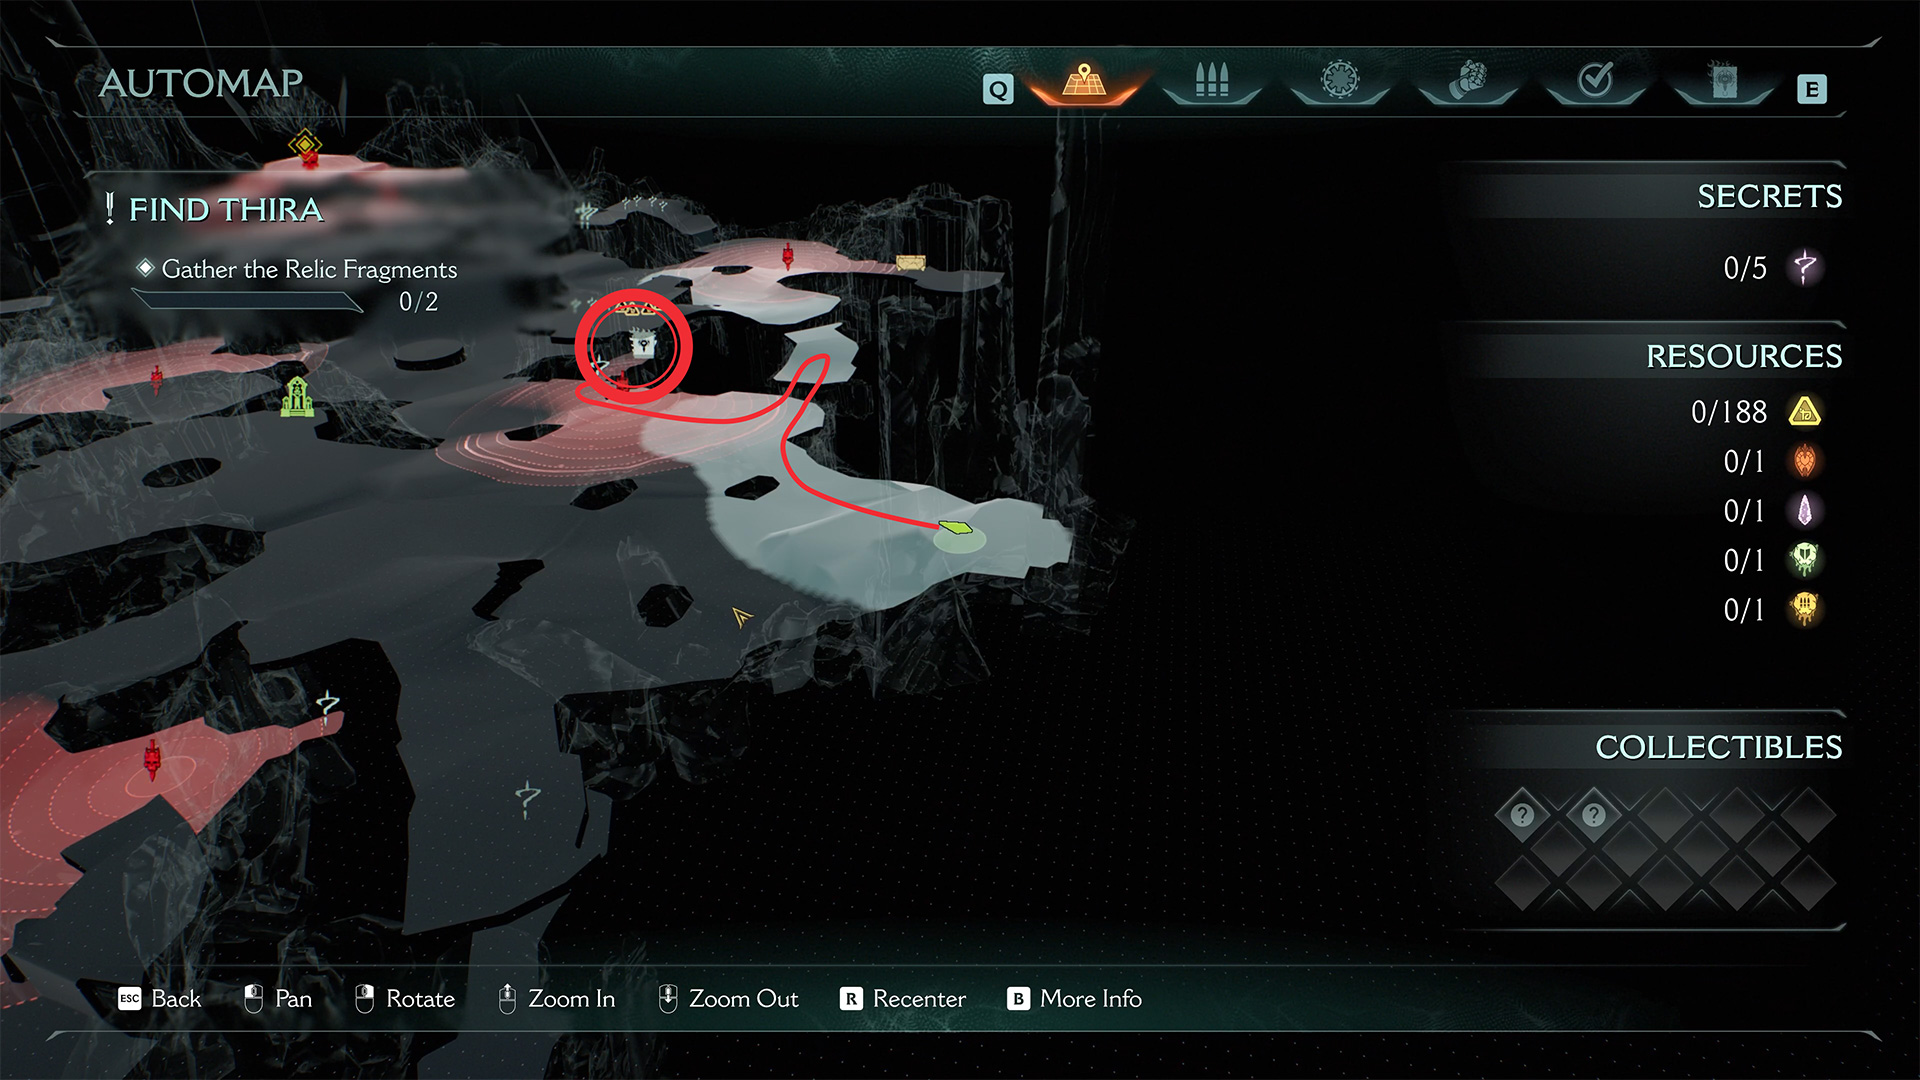
-
- Blue mechanism that opens the gate
-
- Kar’thul Marshes gold and codex page
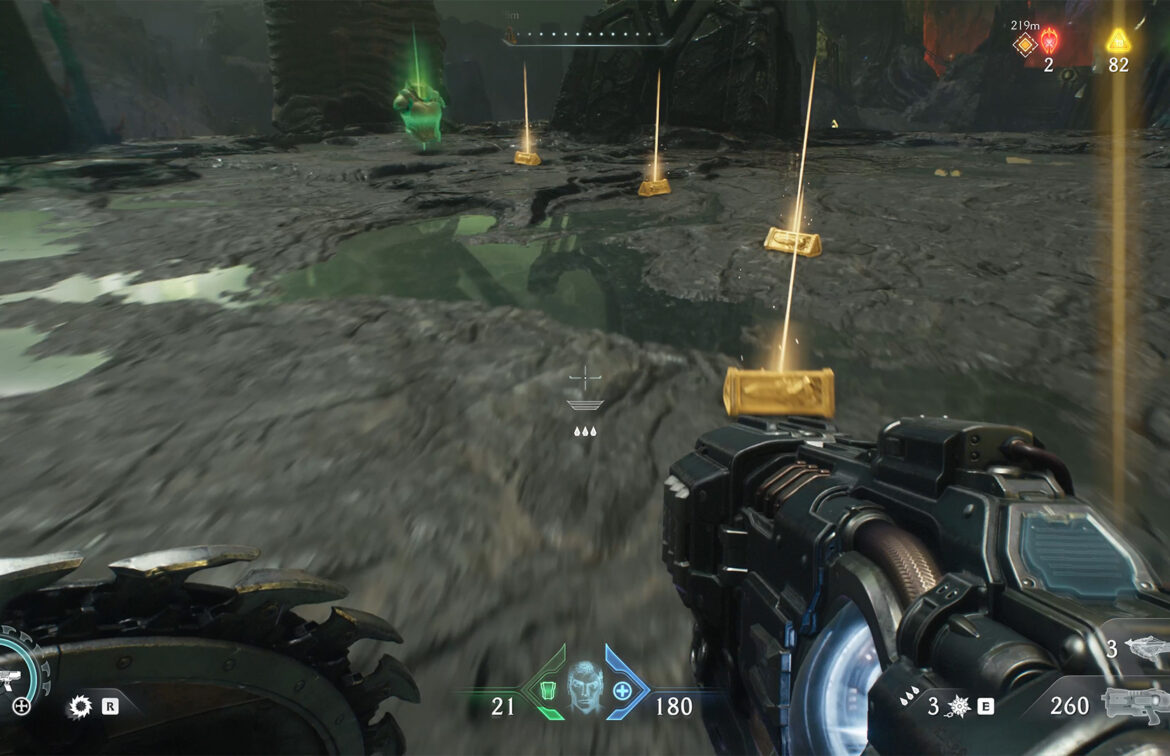
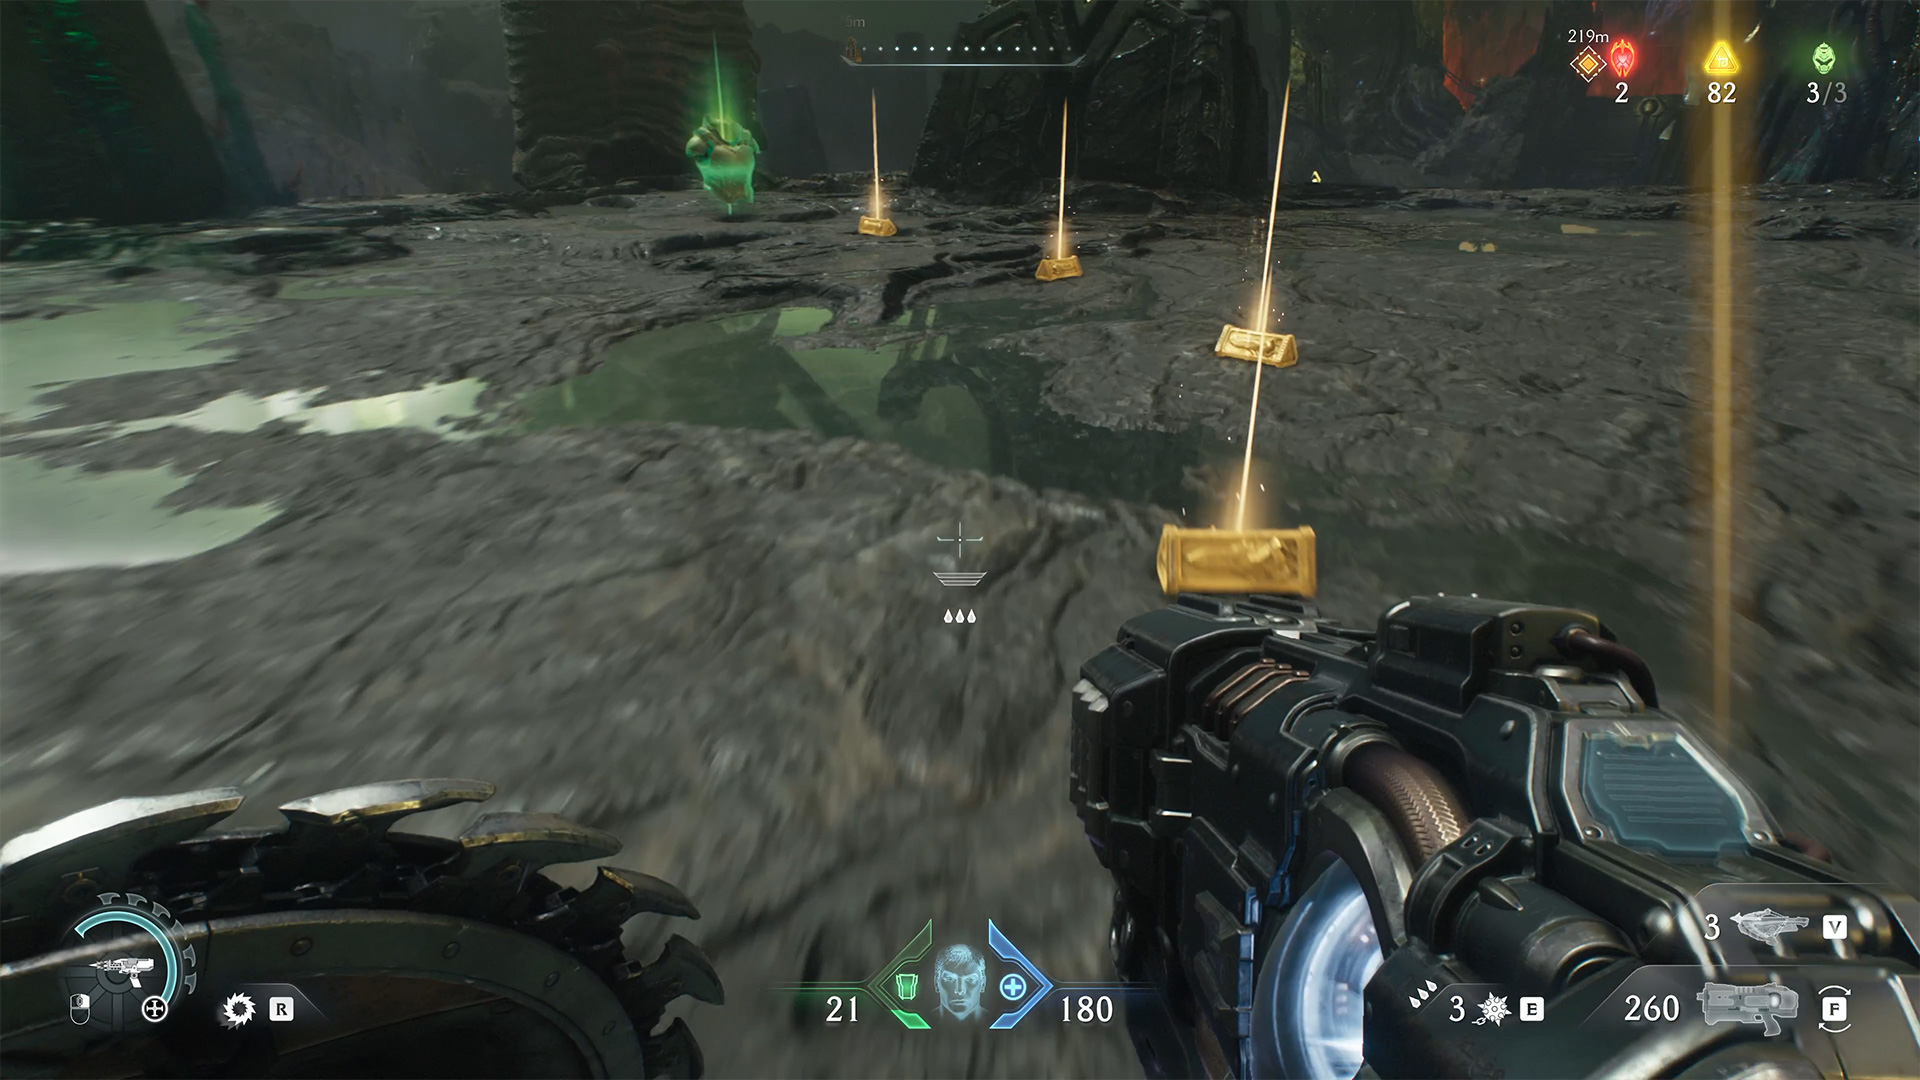
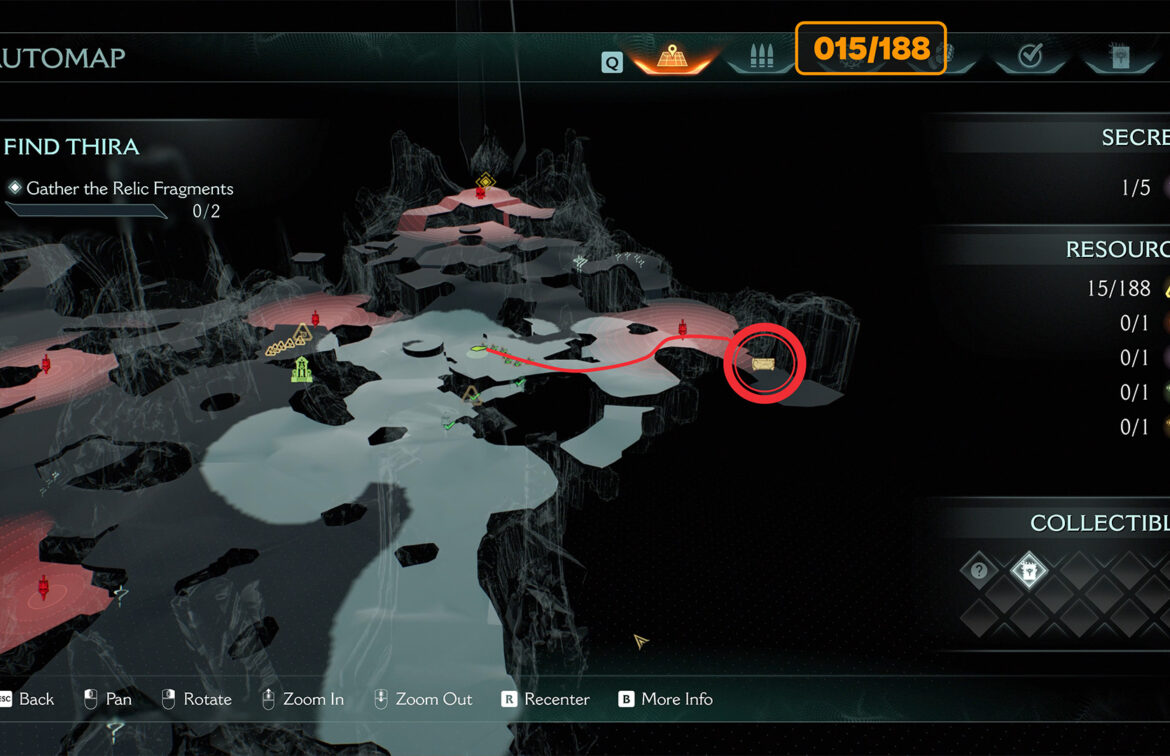
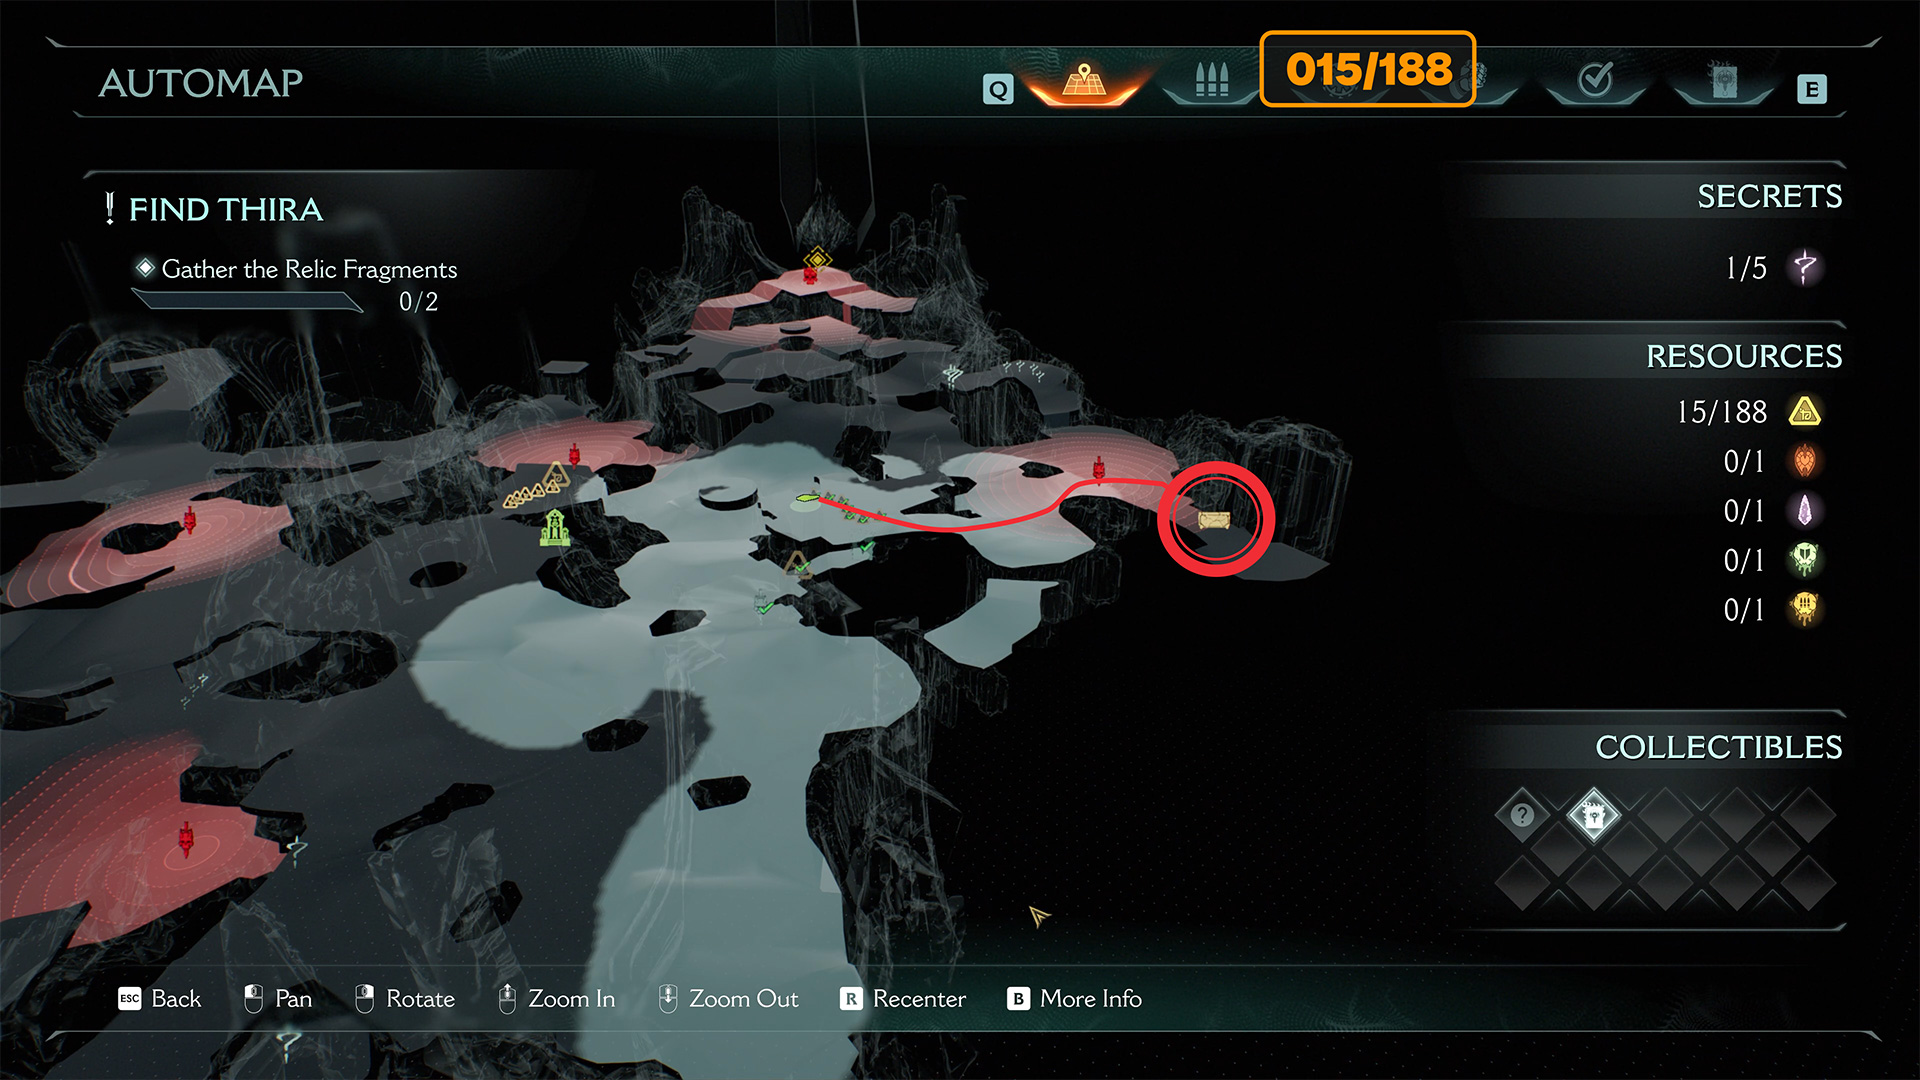
Kar’thul Marshes gold coins
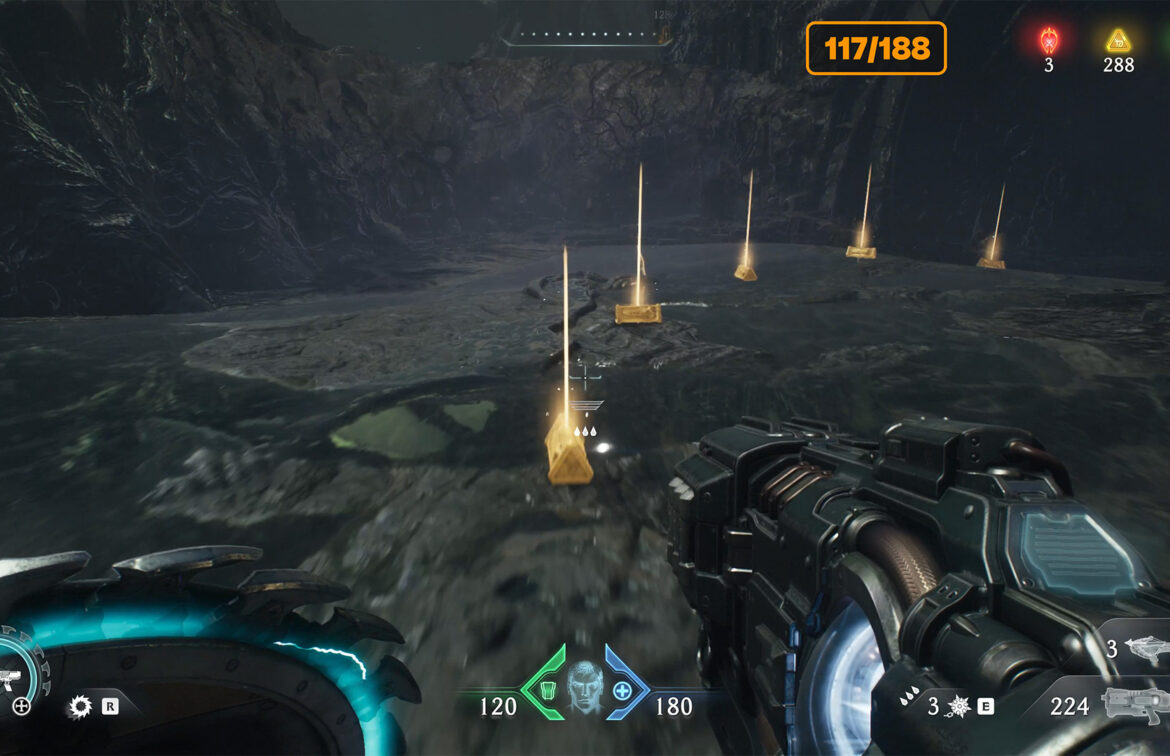
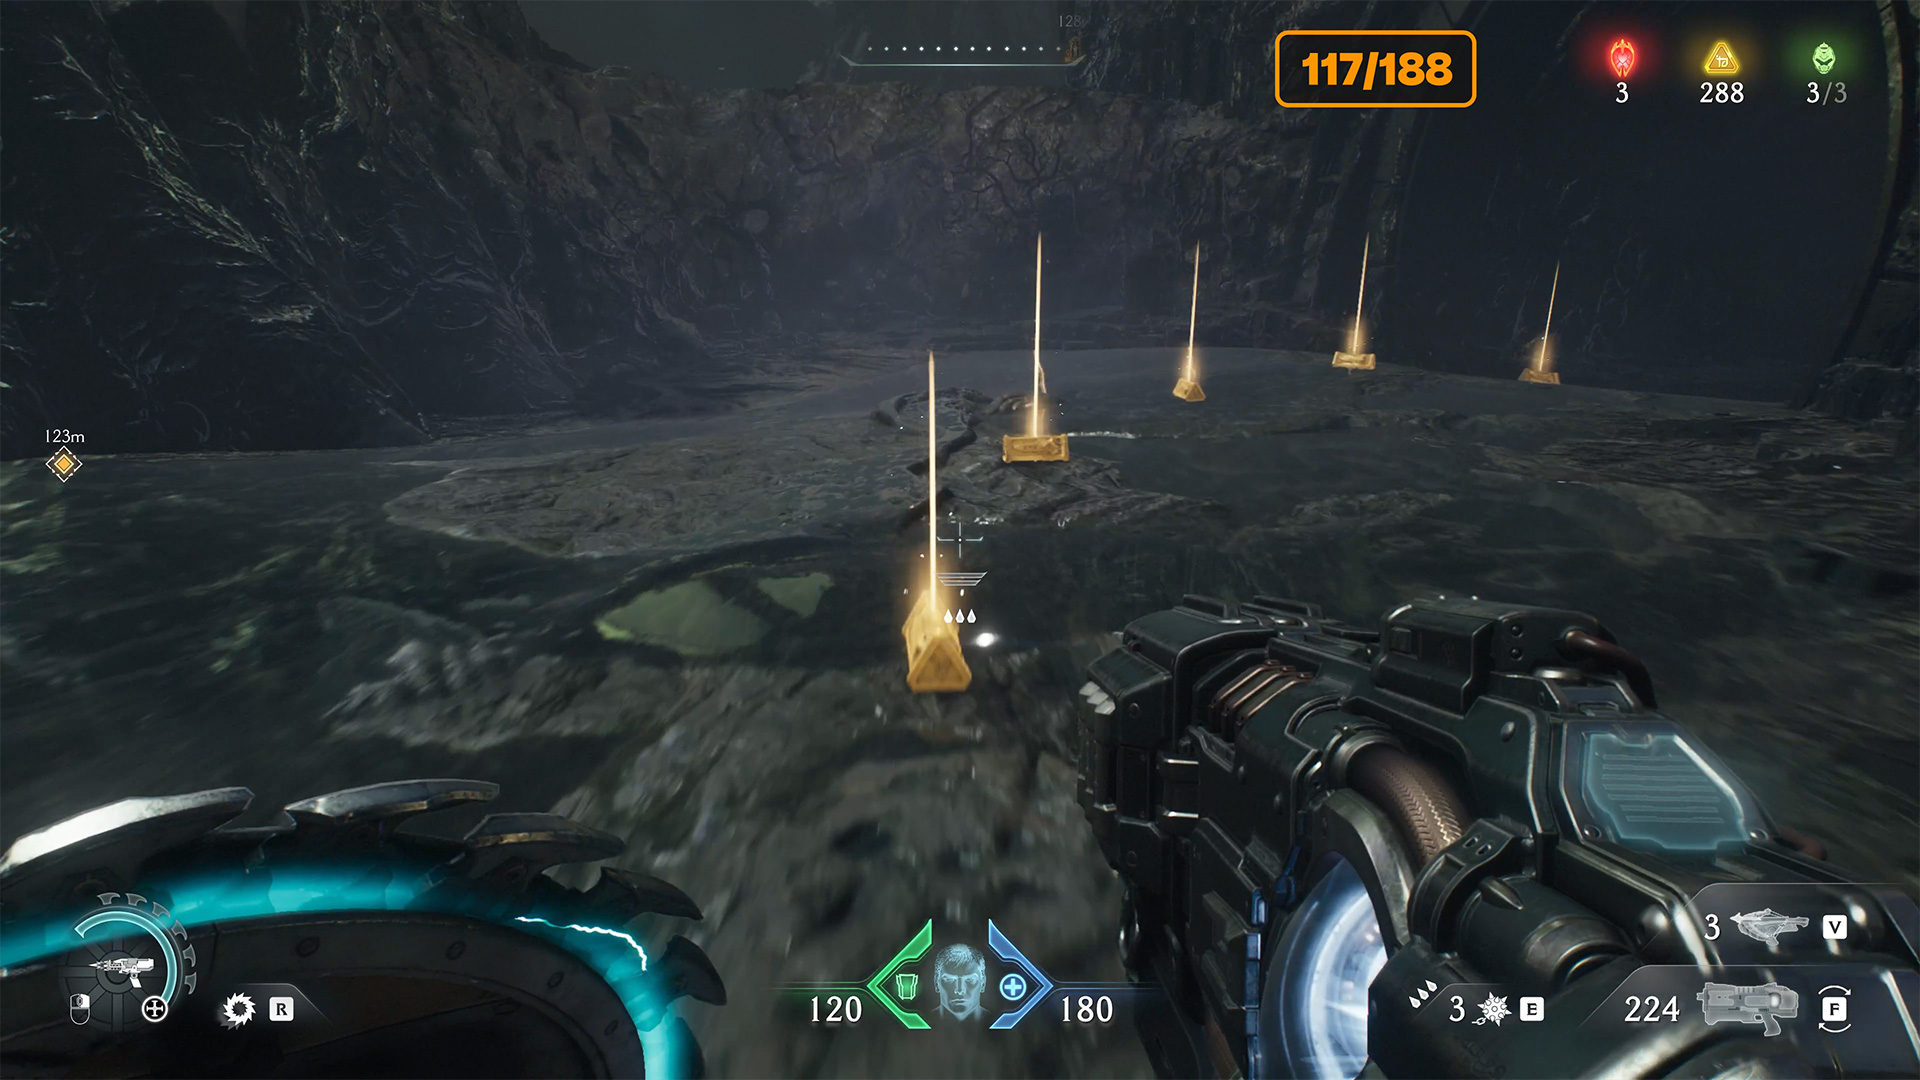
Now you have to defeat the enemies that have gathered around you. After that, run back to the same platform where you were before. Now you have to jump to the other side and turn left. Here you will see an the road that climbs upward, go up it and you will find a chain of gold where you can collect 7 gold coins.
-
- Kar’thul Marshes gold coins location
-
- Kar’thul Marshes gold coins
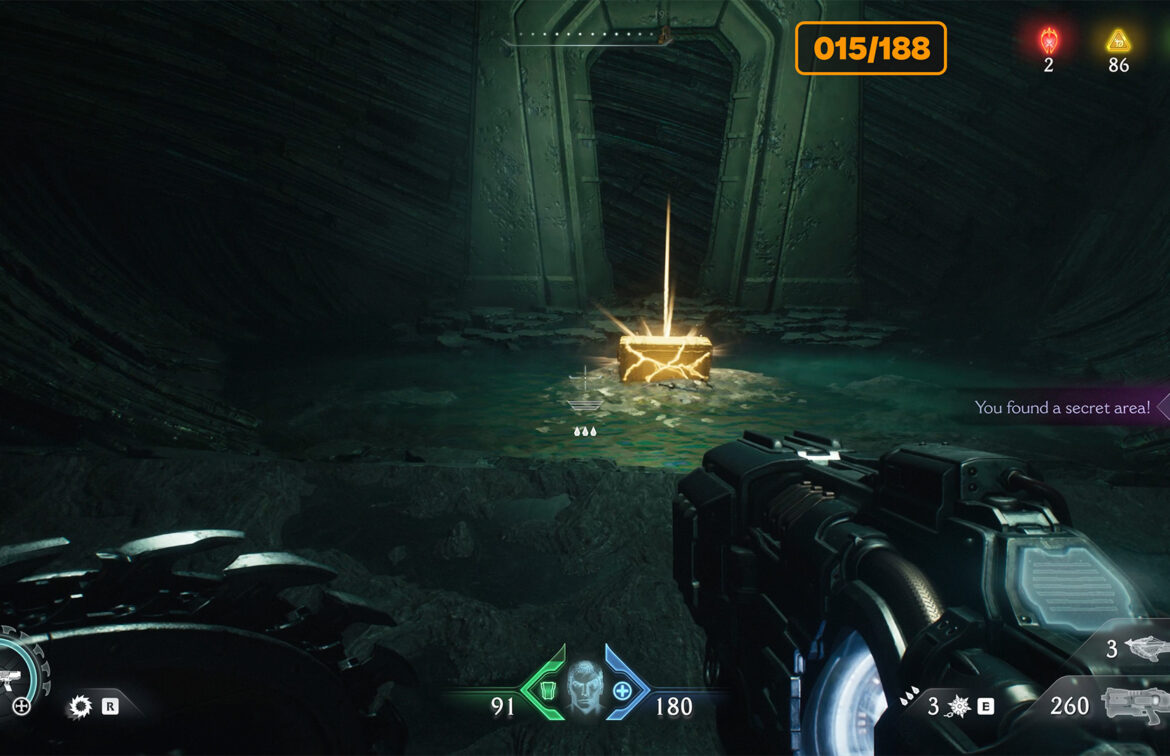
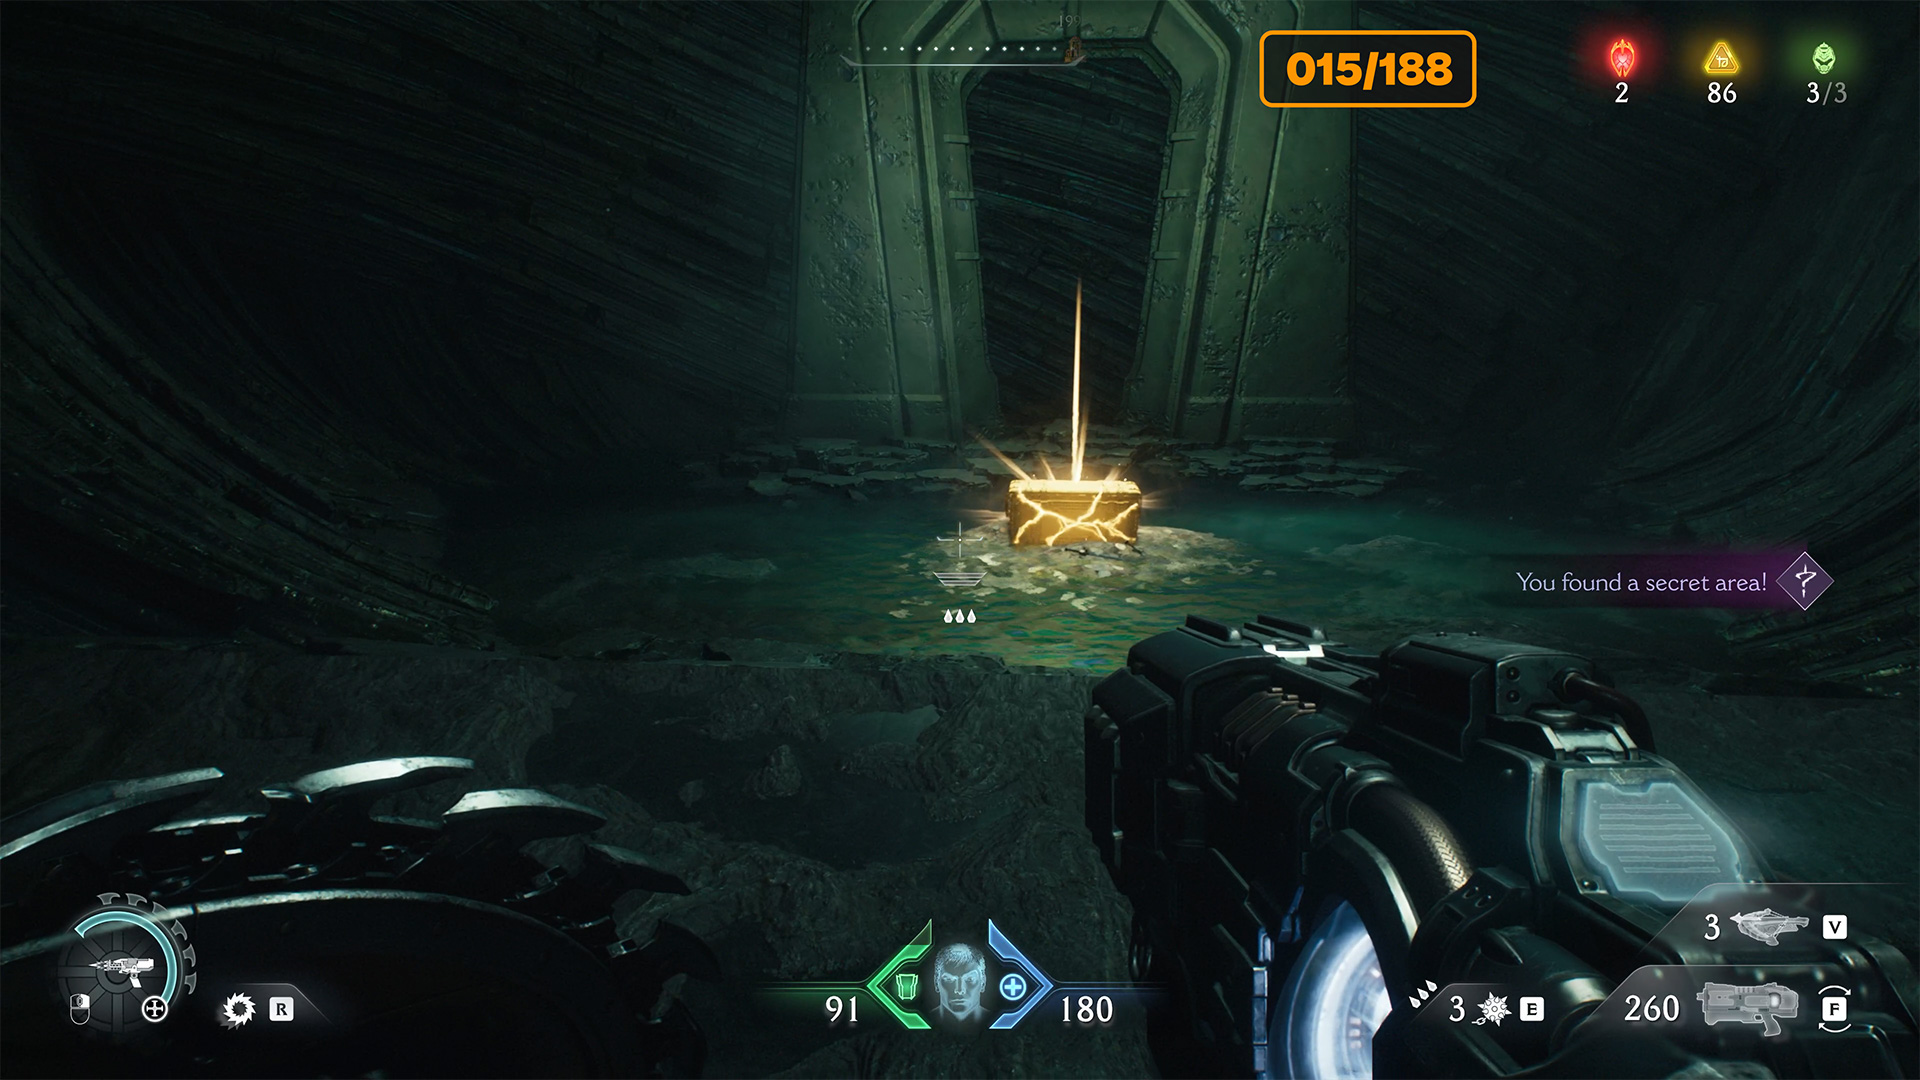
Kar’thul Marshes gold chest
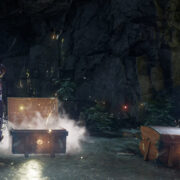
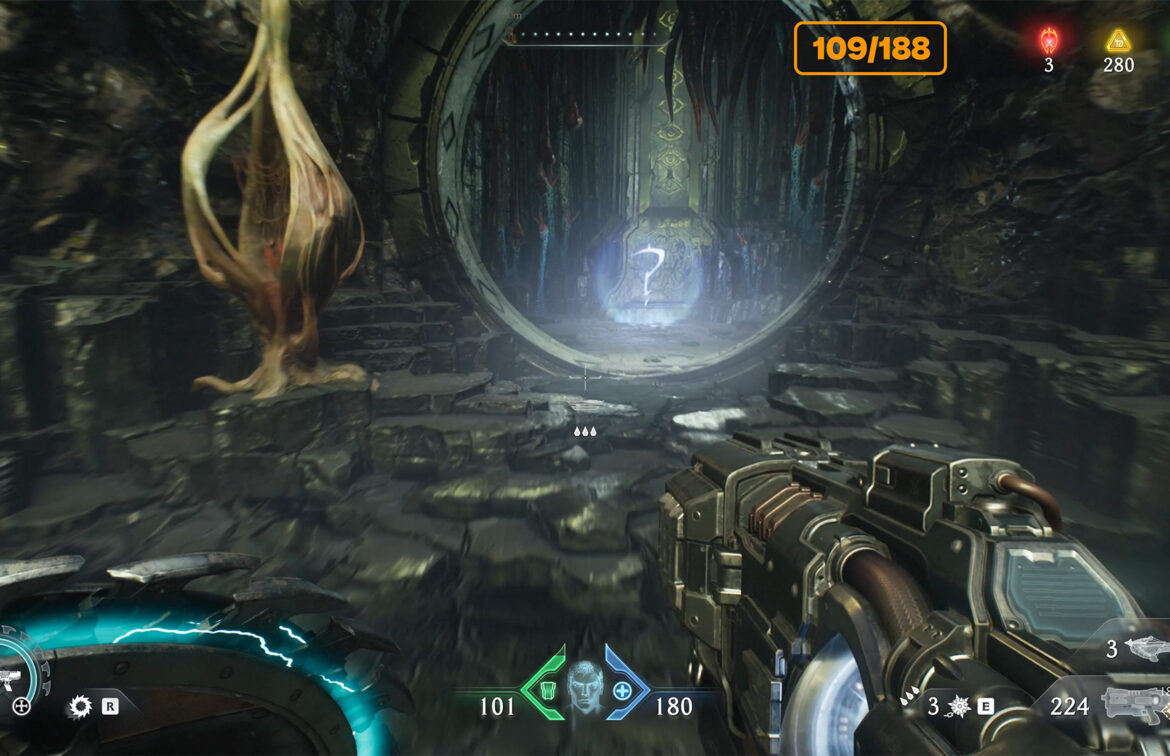
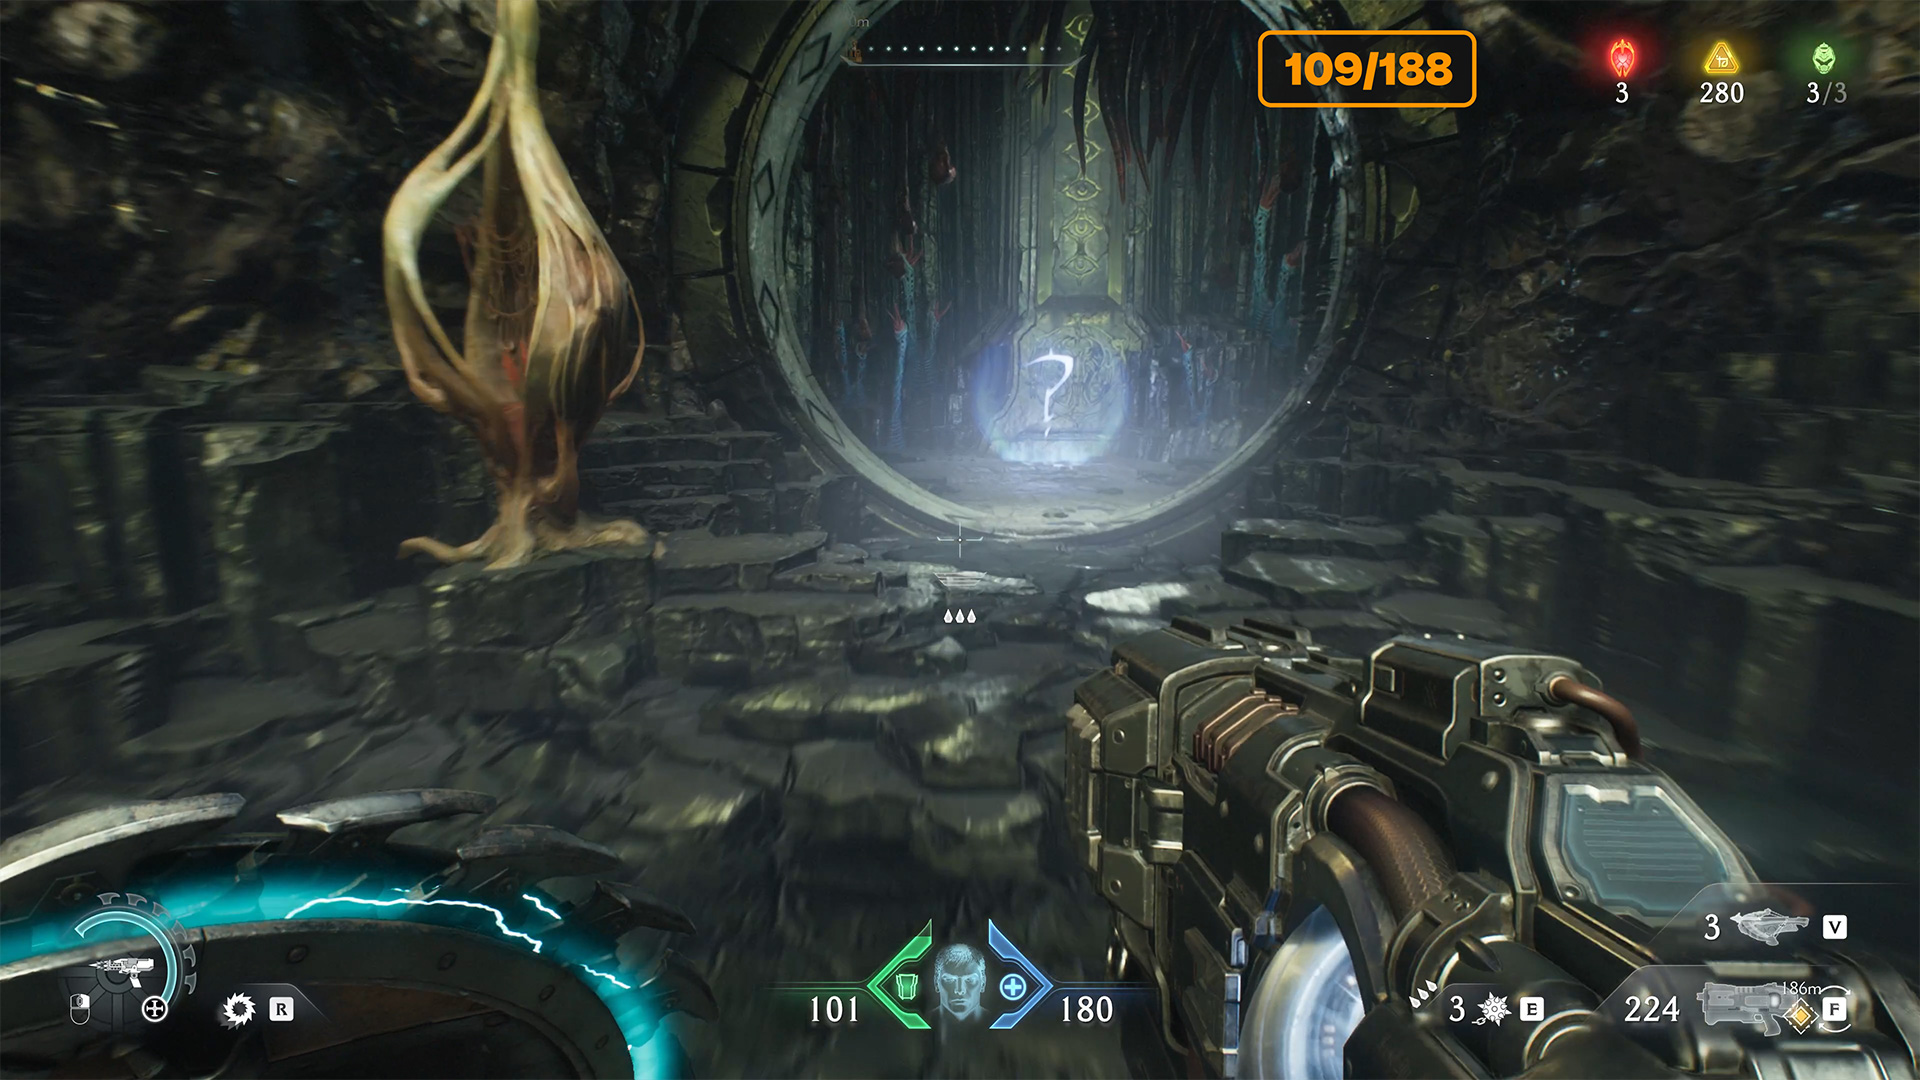
Then turn around and follow the route I showed you on the map. There will be a red battle on your left, you will return to it later. First, go to the golden chest. You will see the entrance to a secret place. When the round door opens, go inside. Once inside, take a few steps and turn around. If you run straight ahead, the room will spiral endlessly.
But if you turn around and go back, you will see a golden chest, which you can break open to get 50 gold. There is also a second secret near the chest.
-
- Kar’thul Marshes gold chest location
-
- Entrance to the first secret zone
-
- Kar’thul Marshes gold chest
Kar’thul Marshes gold locations
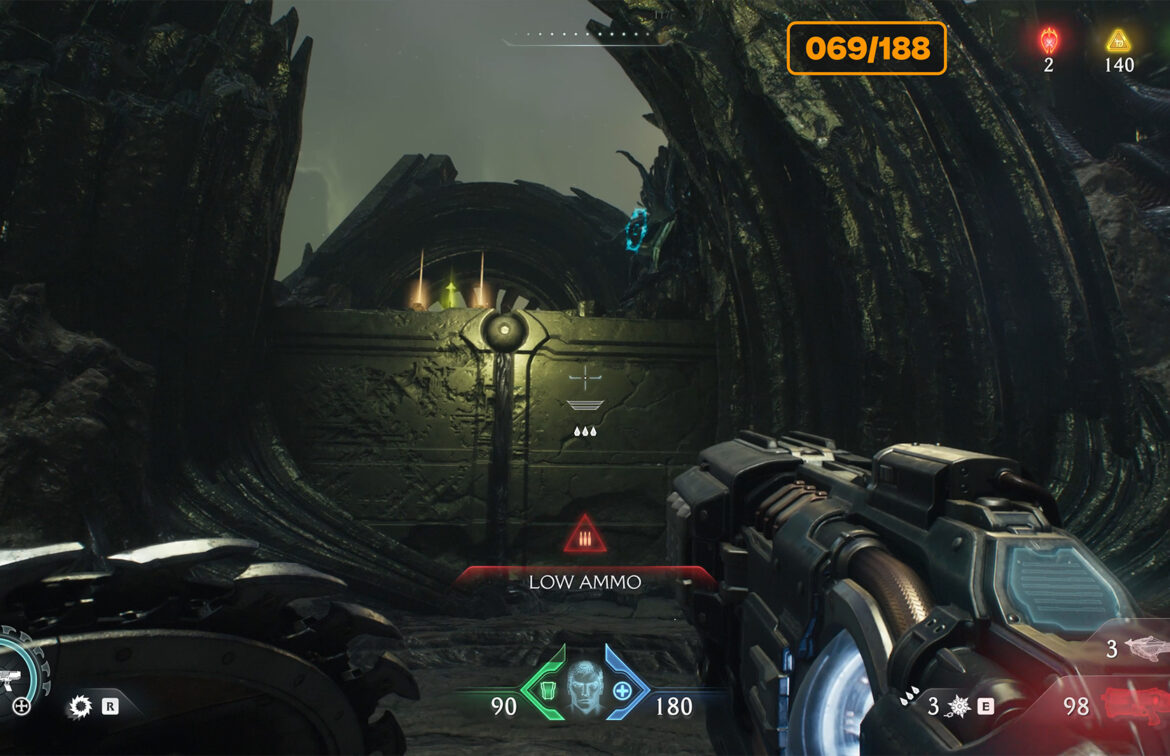
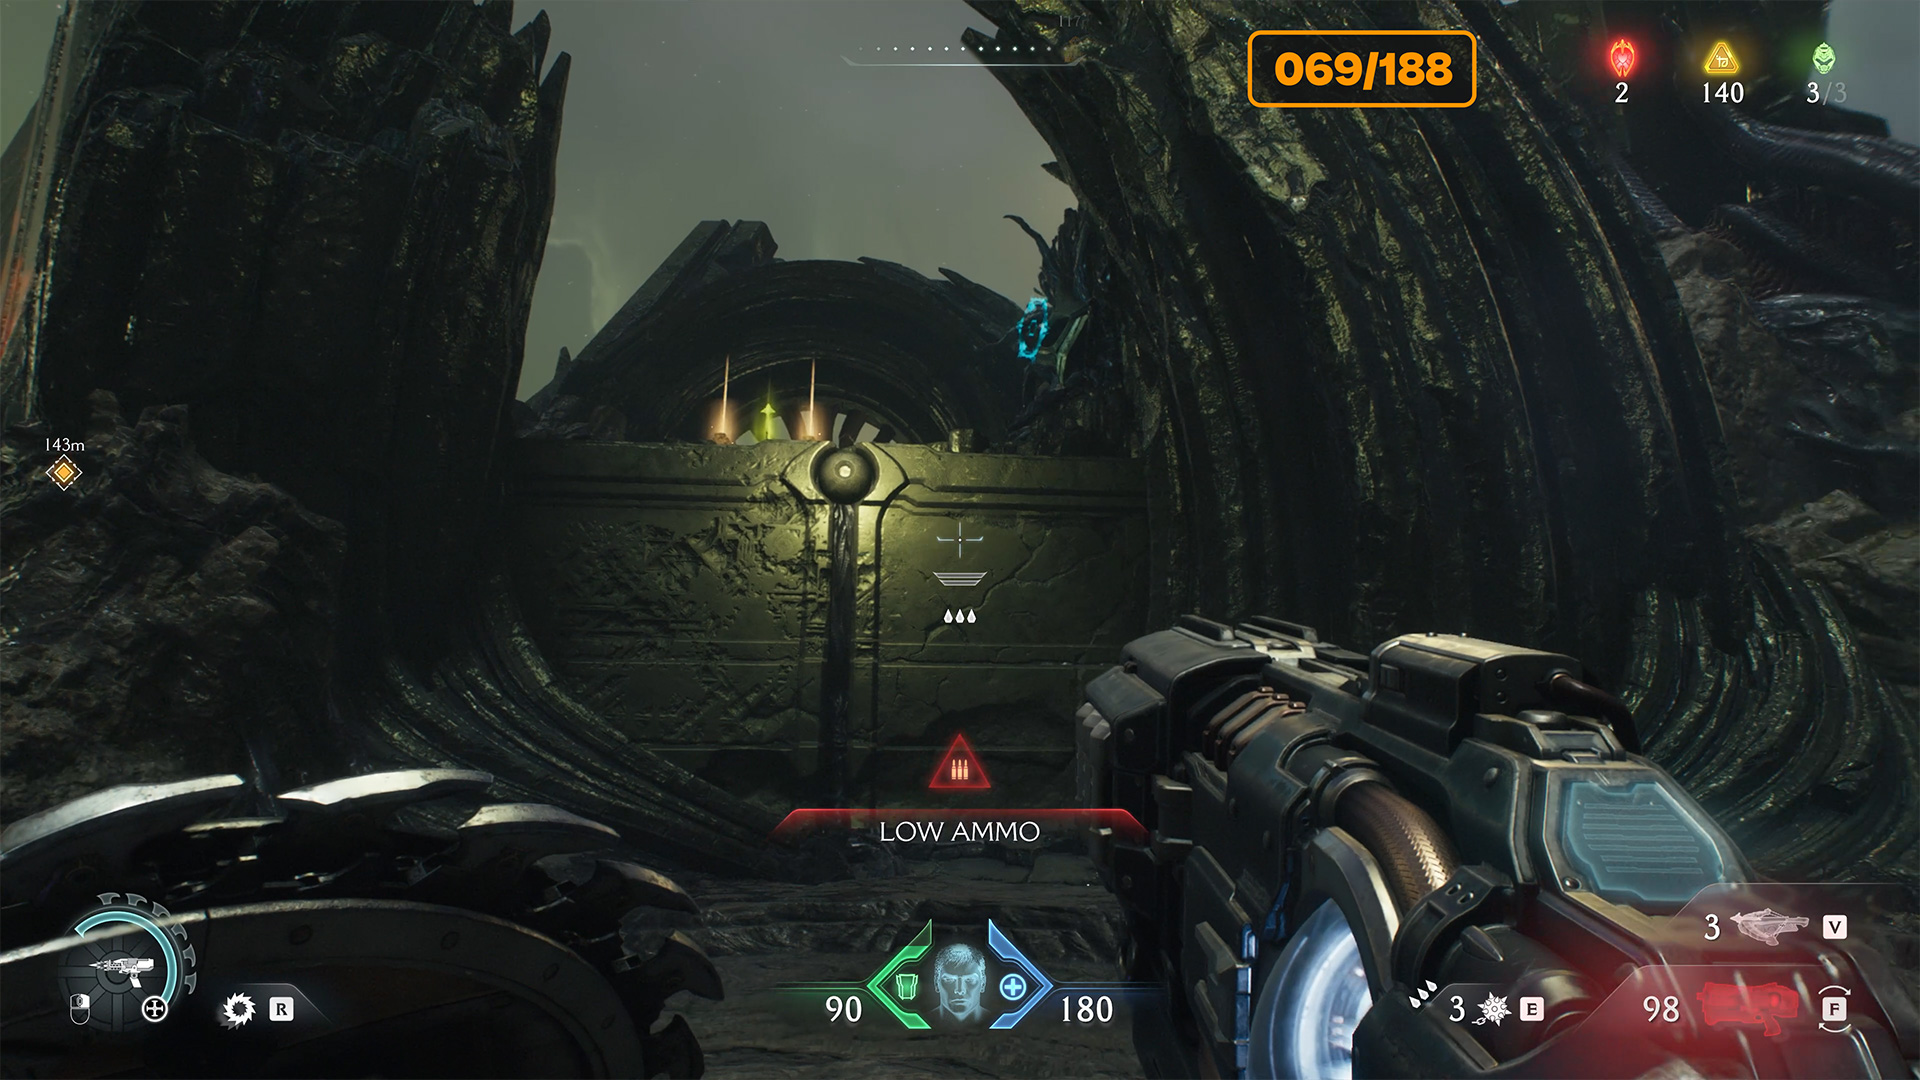
From the secret room, you will exit through the portal and find yourself where you entered the room. There will be a small battle ahead. Next, you will see 4 gold coins. To pick them up, climb up the wall. When you take the gold, you will find yourself in front of a closed door. To open it, you need to run to the other side of the room, which is behind the door.
Here you will see a blue mechanism. Throw your shield into it and run back. The activated accelerator will help you climb the wall. Now the door is open and you will take 16 gold coins inside. There is also an arrow for the Ballistic Force Crossbow here, remember that.
-
- Kar’thul Marshes gold locations
-
- Kar’thul Marshes gold and closed gates
-
- Location of the mechanism to open the gate
-
- Mechanism – you have to throw the shield
-
- Accelerator on the way back
-
- Gold and arrow to BFC
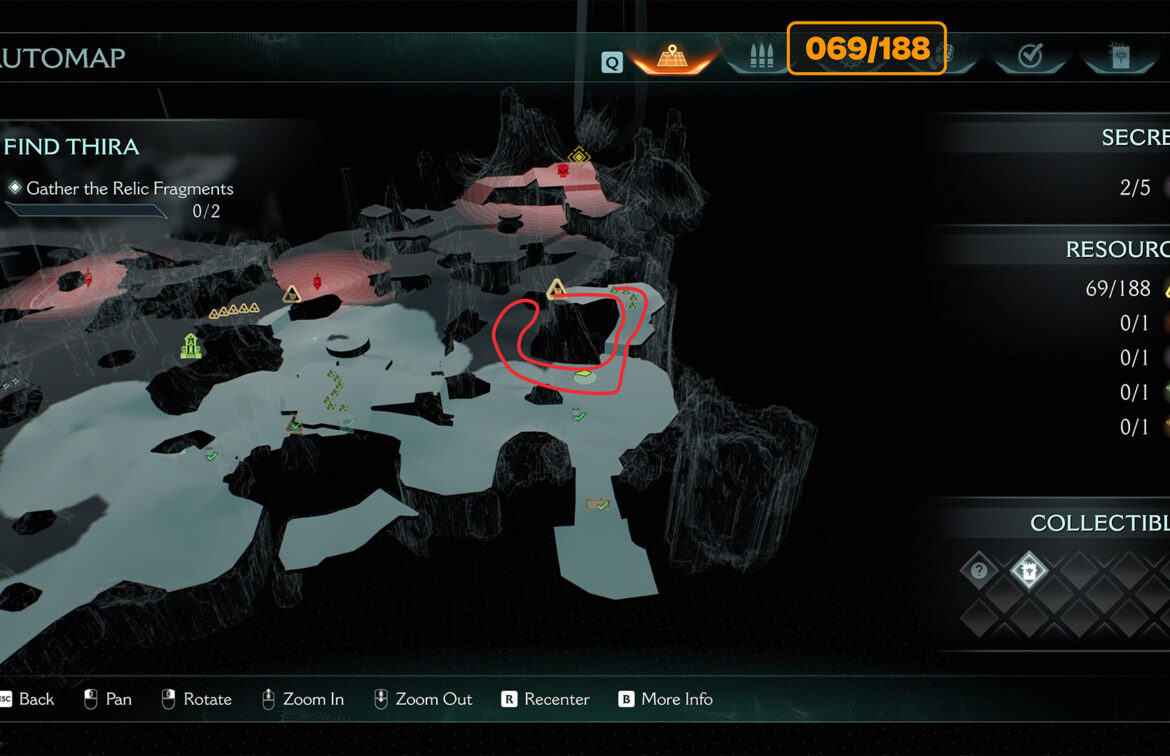
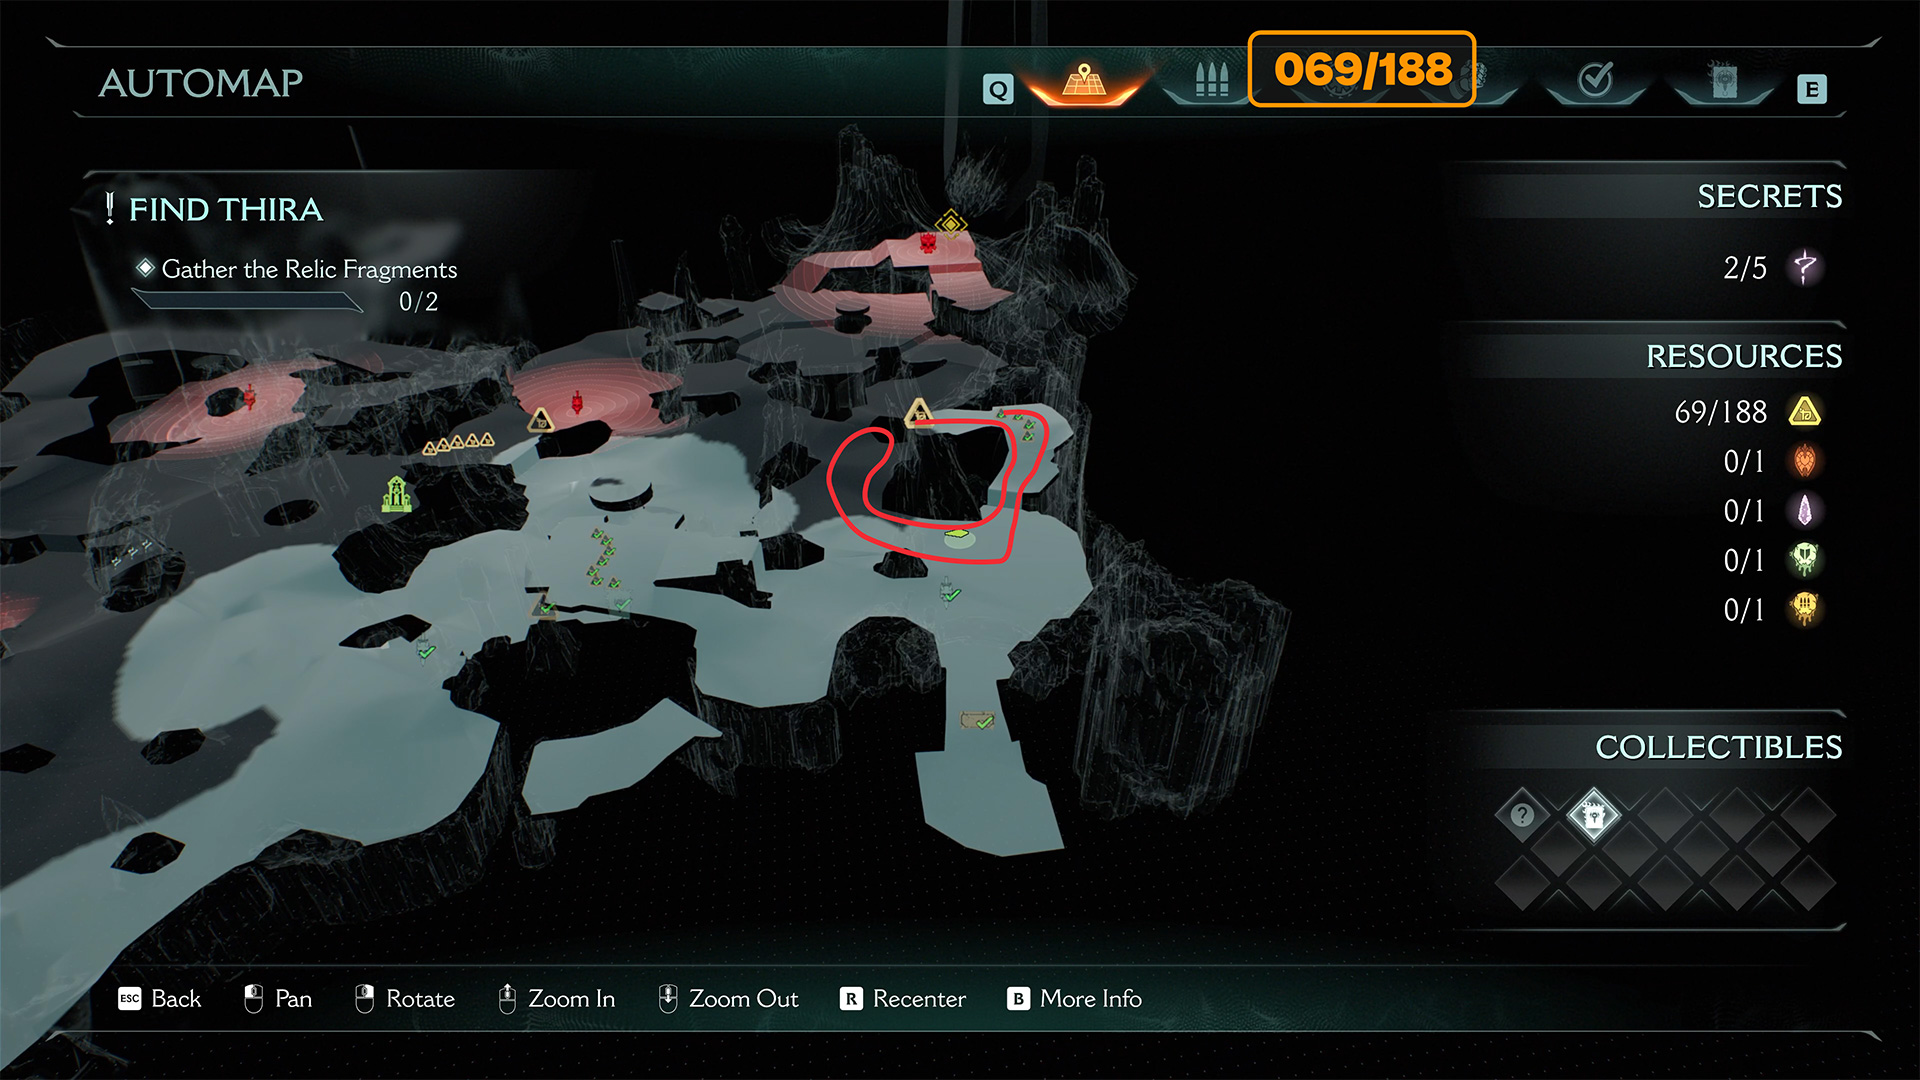
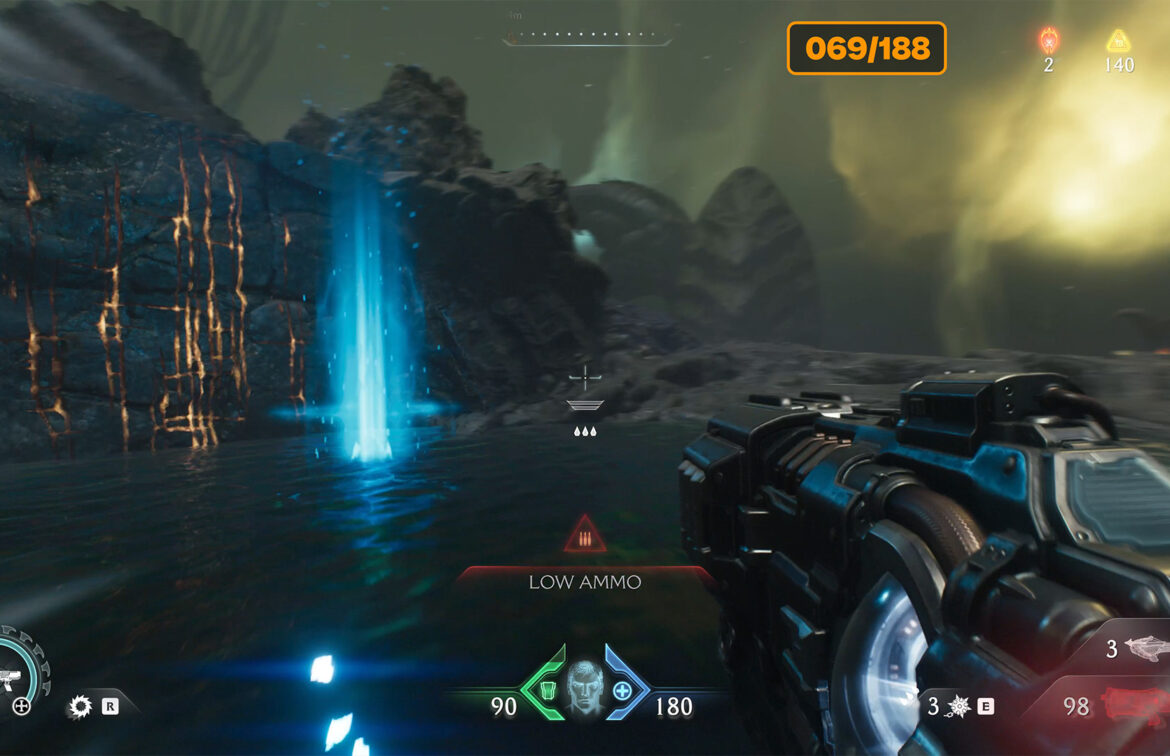
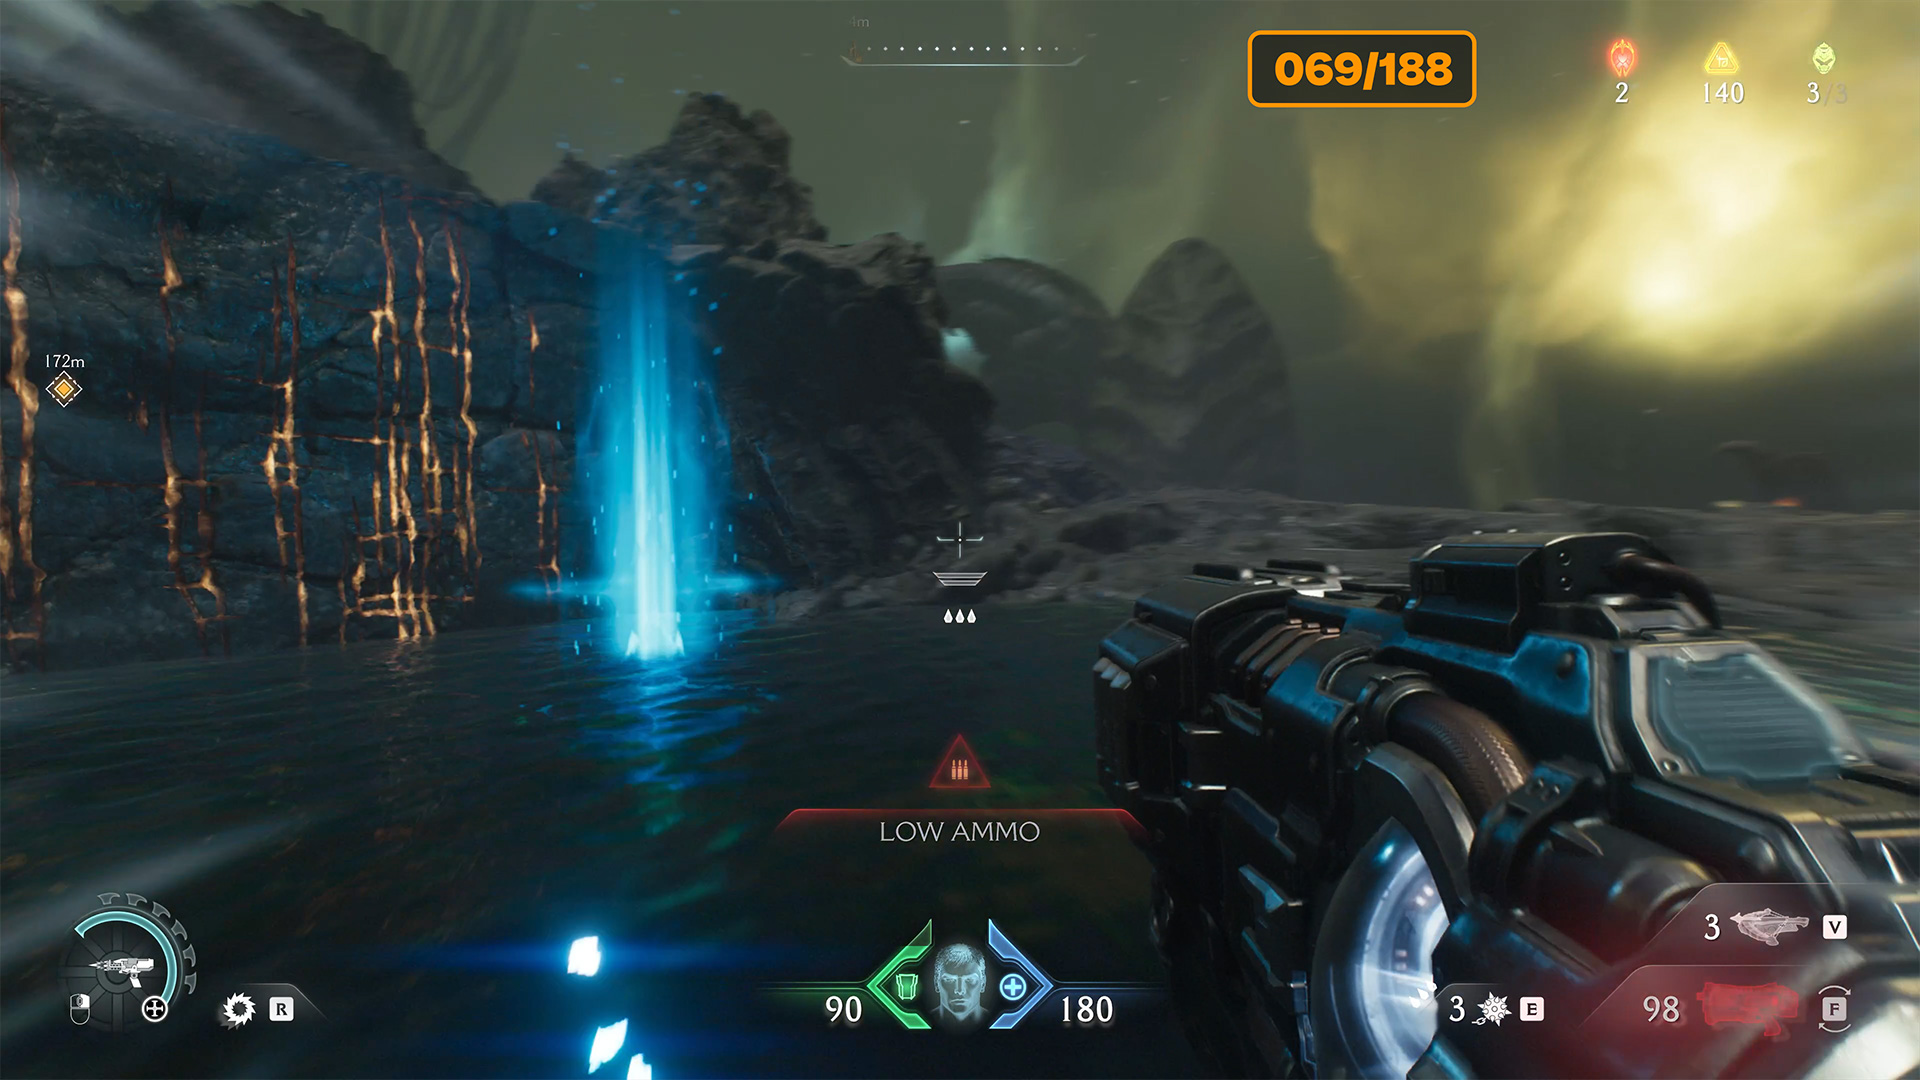
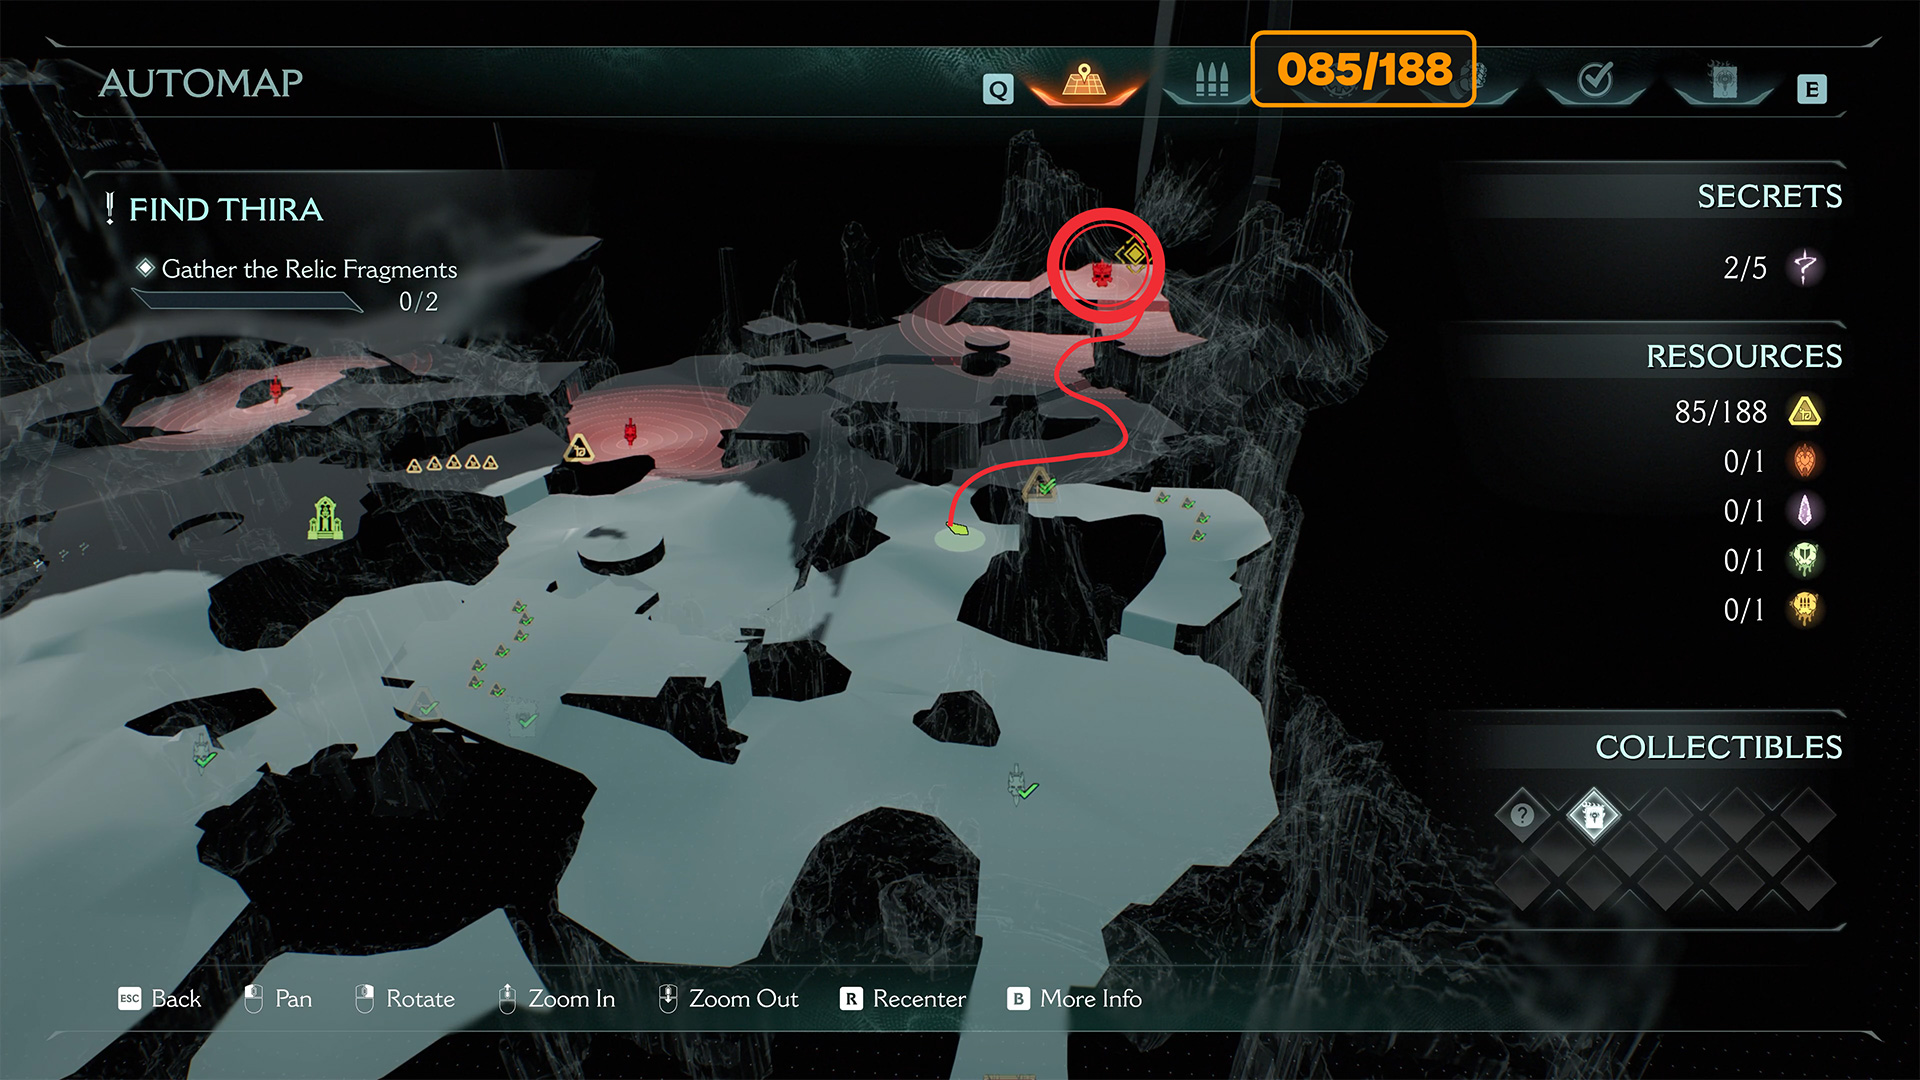
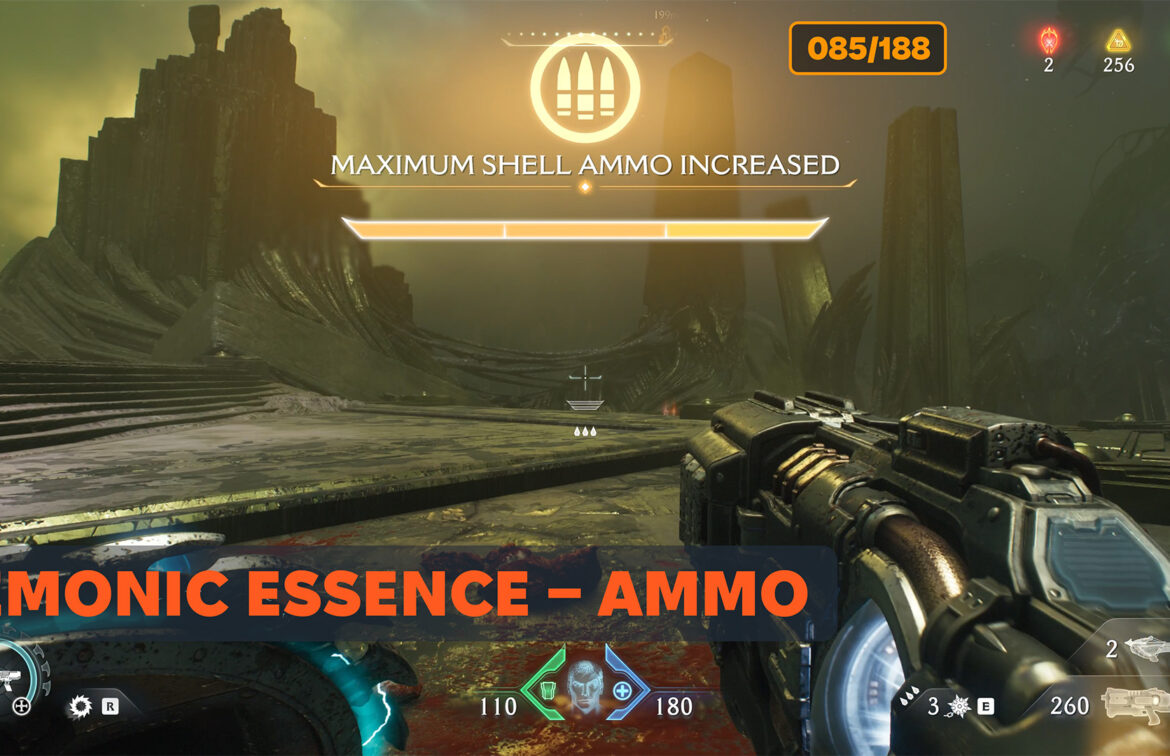
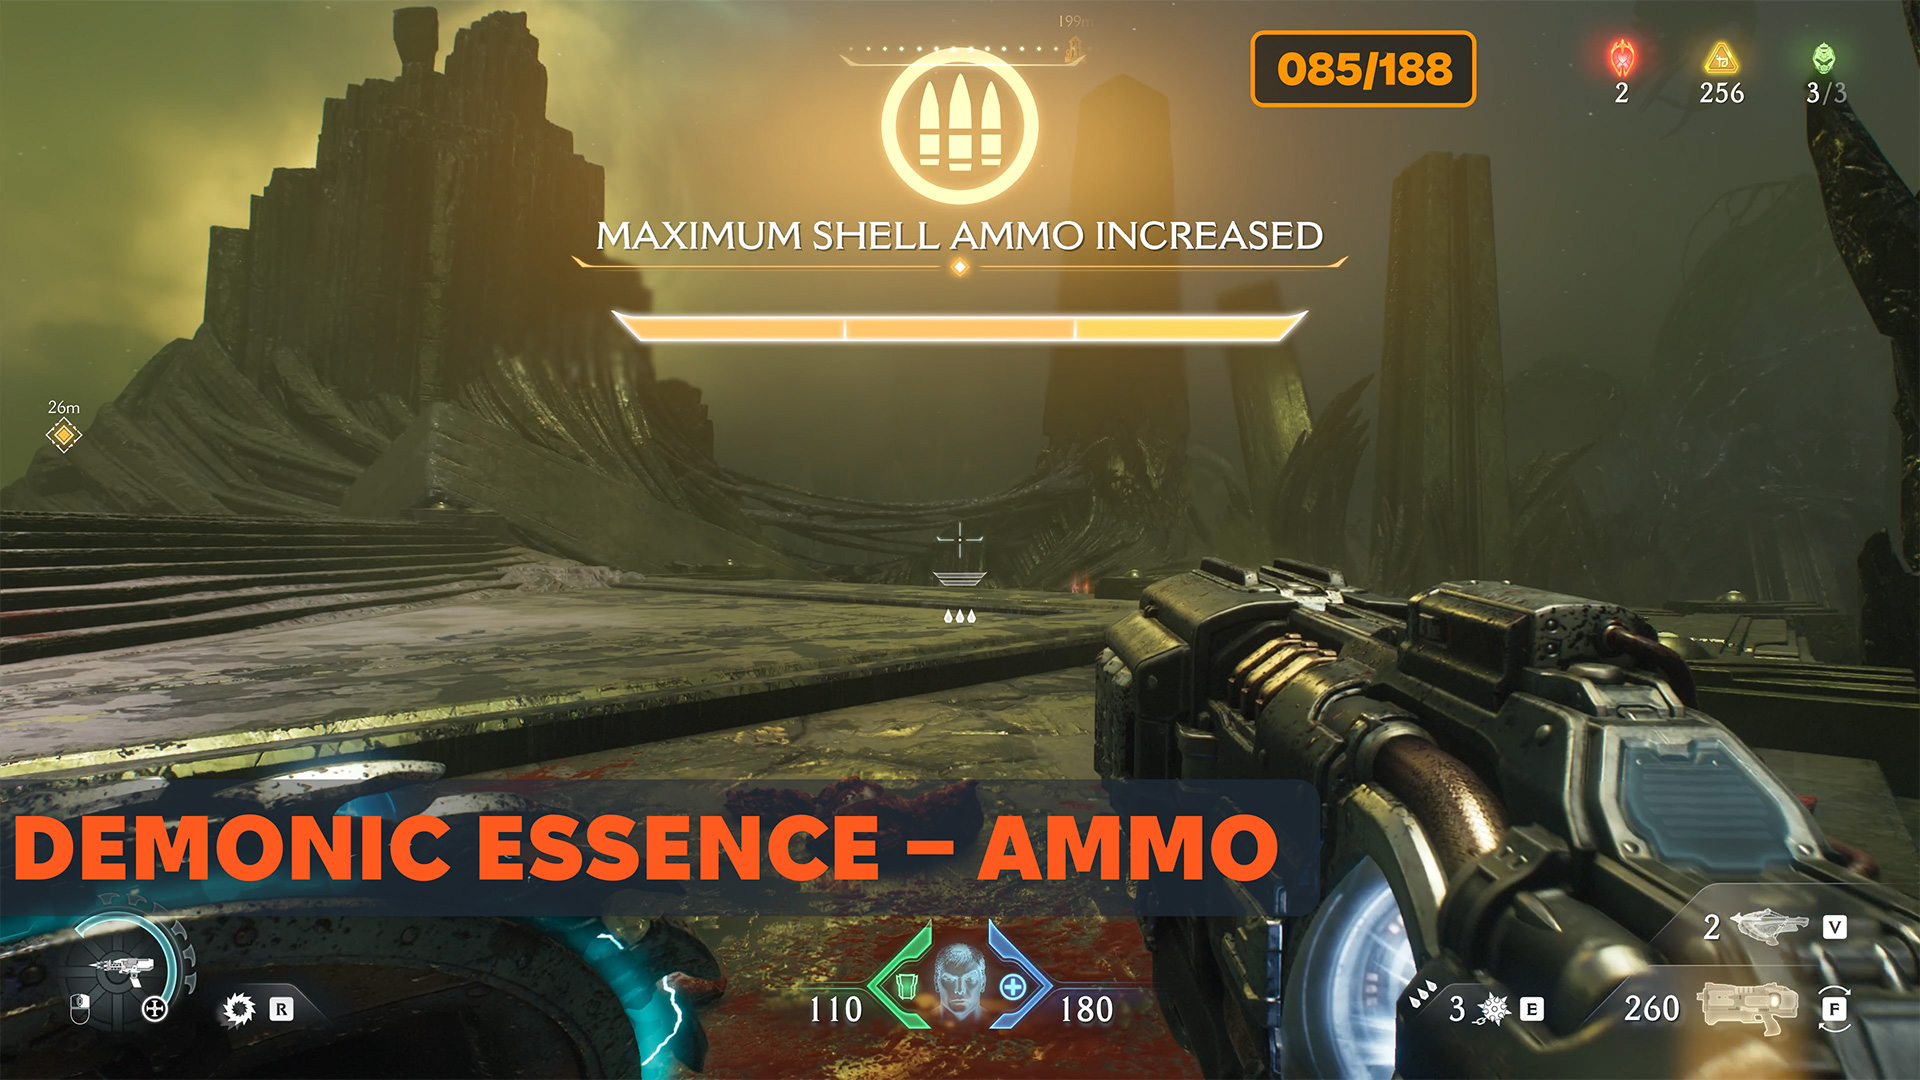
Kar’thul Marshes Demonic Essence – Ammo
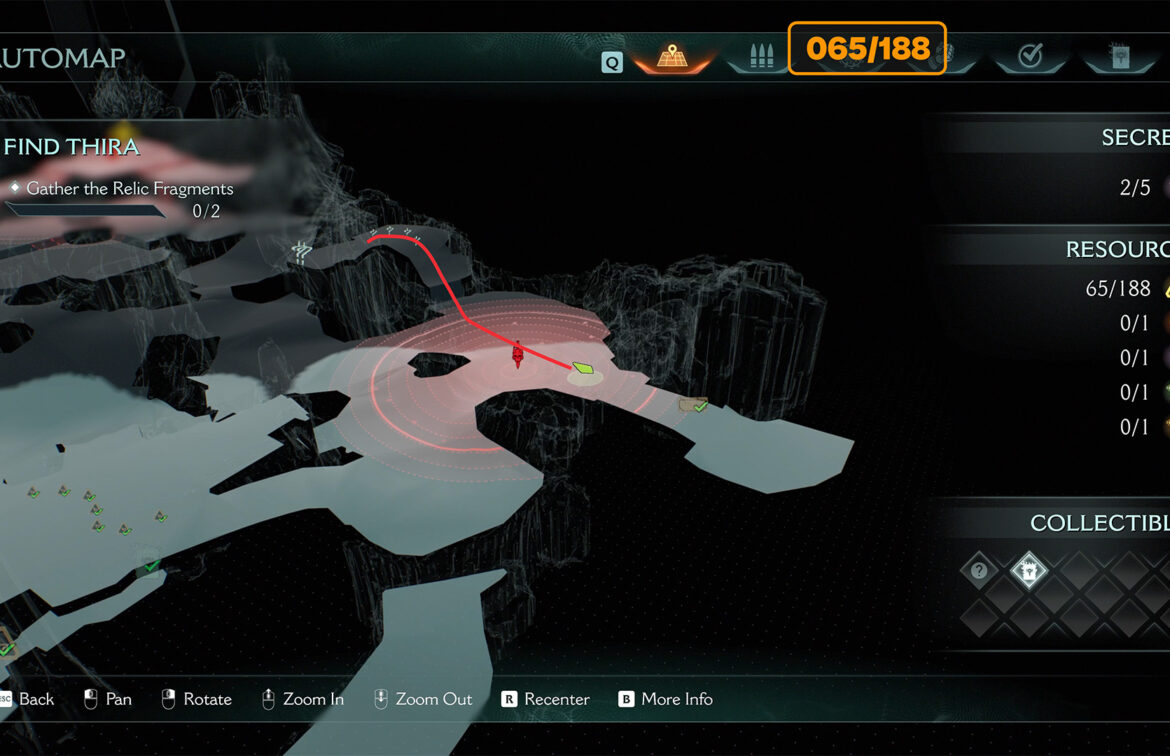
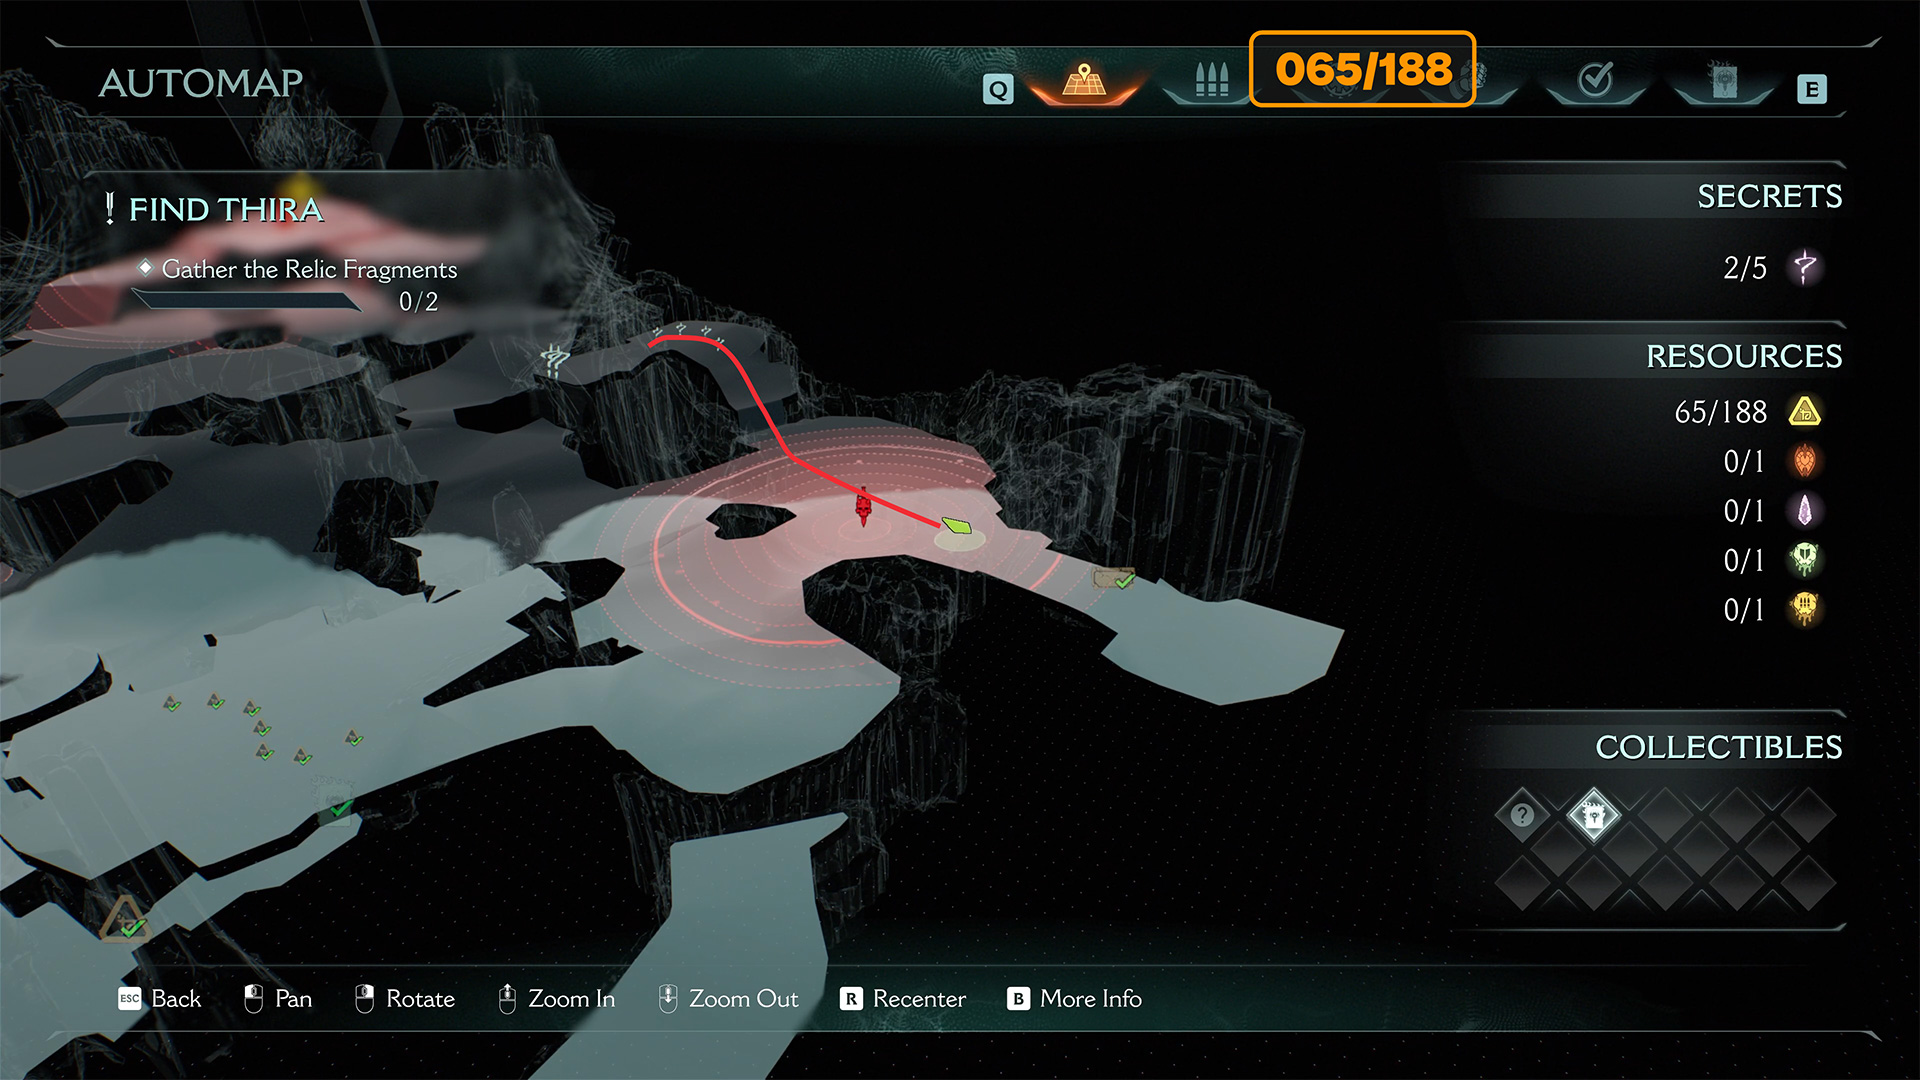
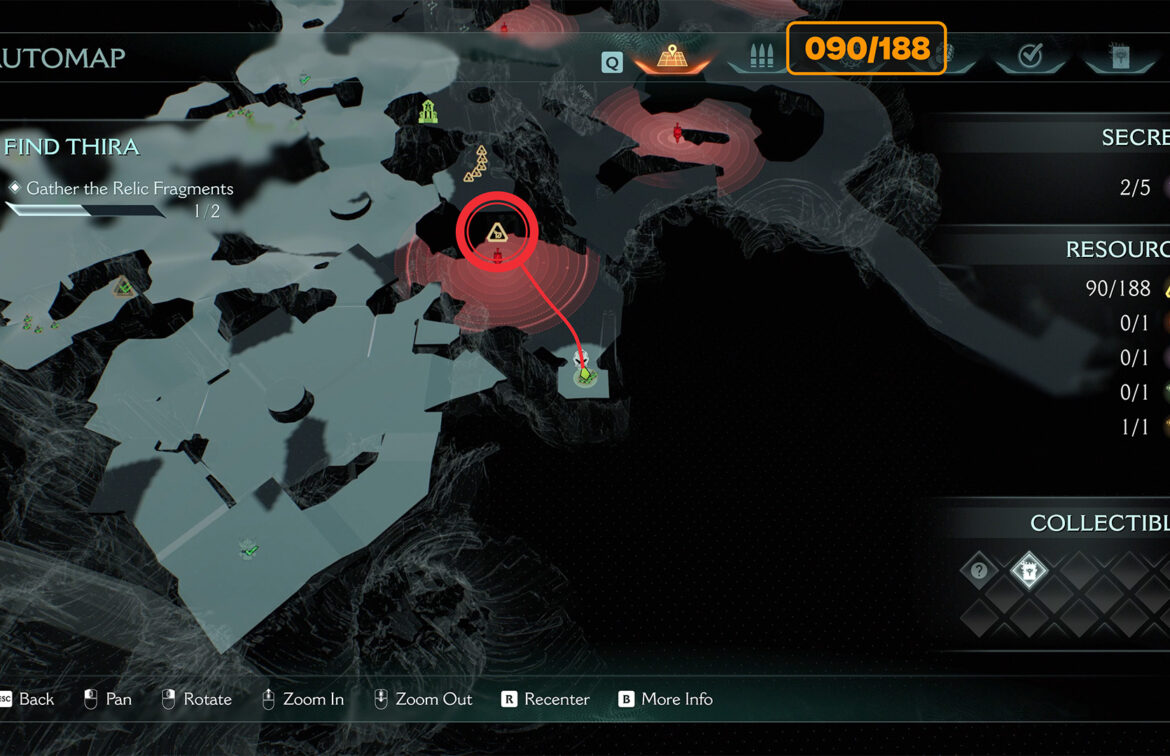
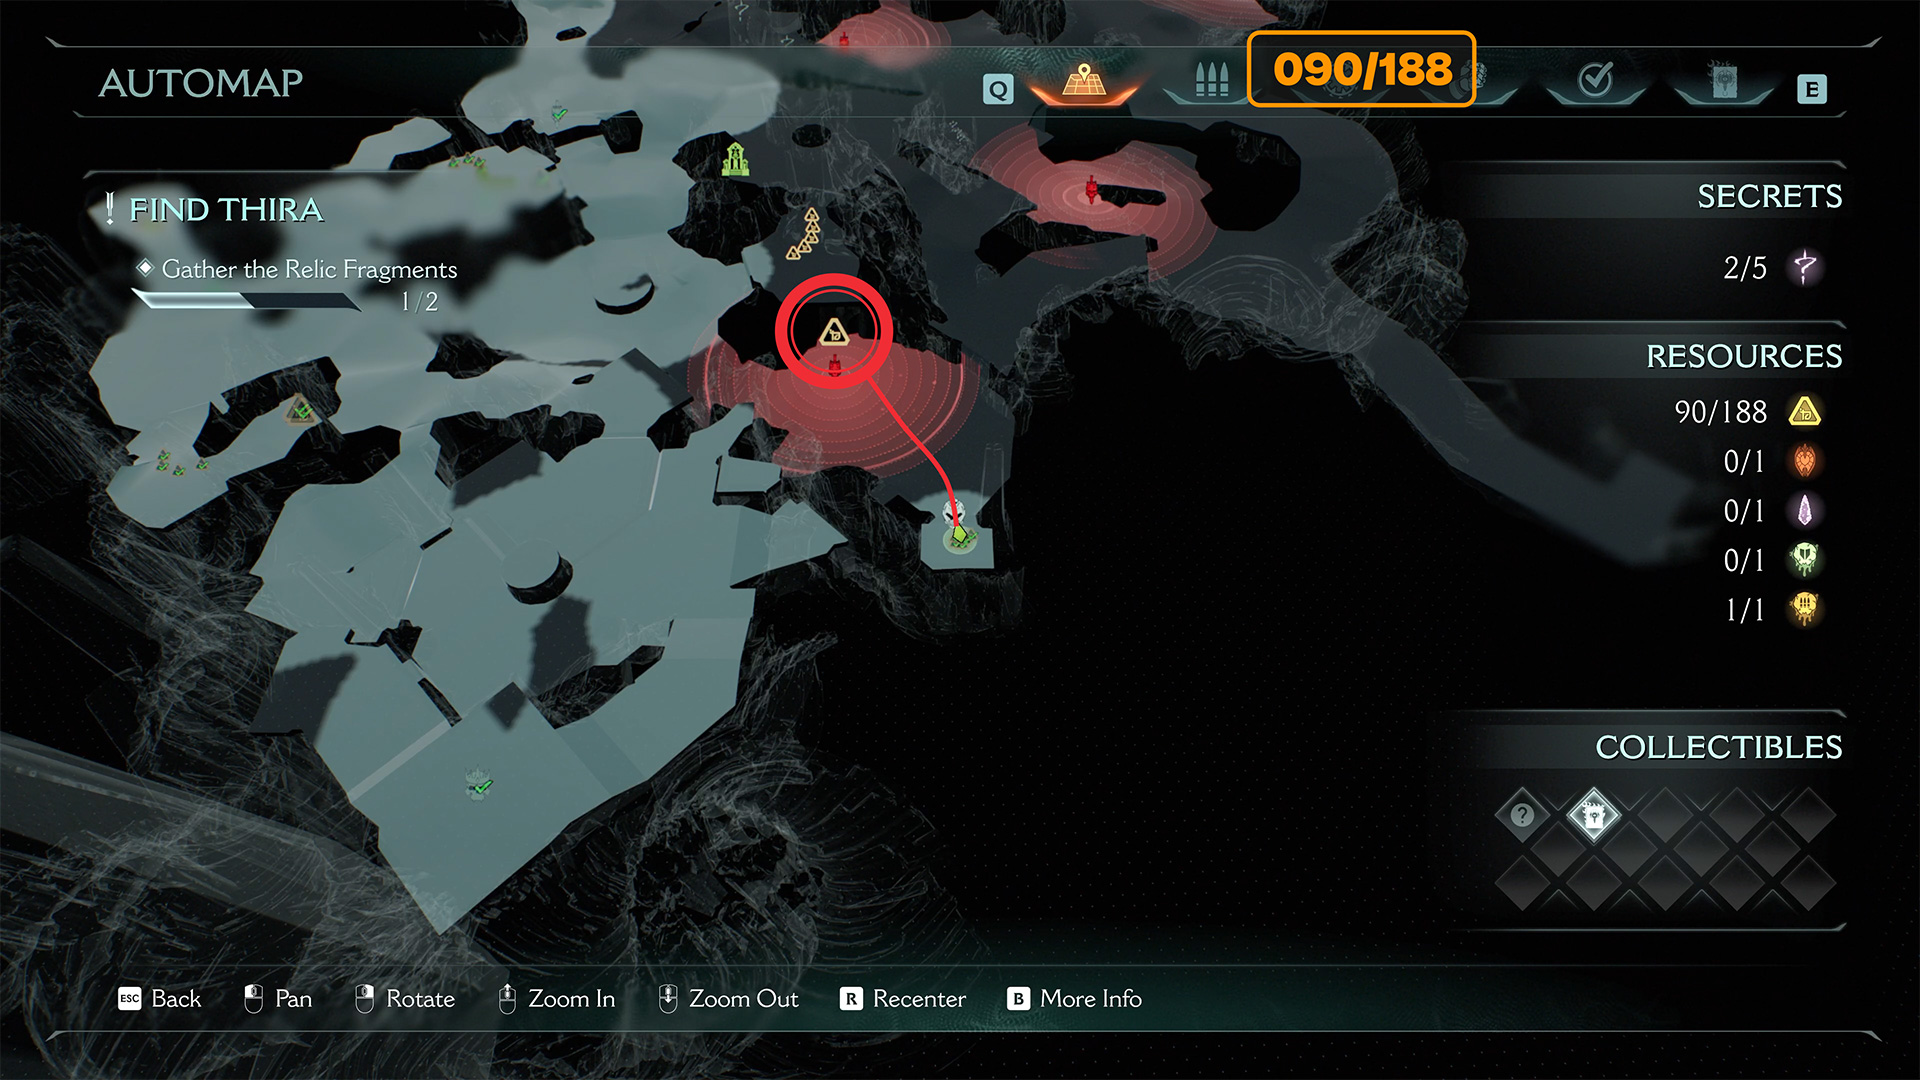
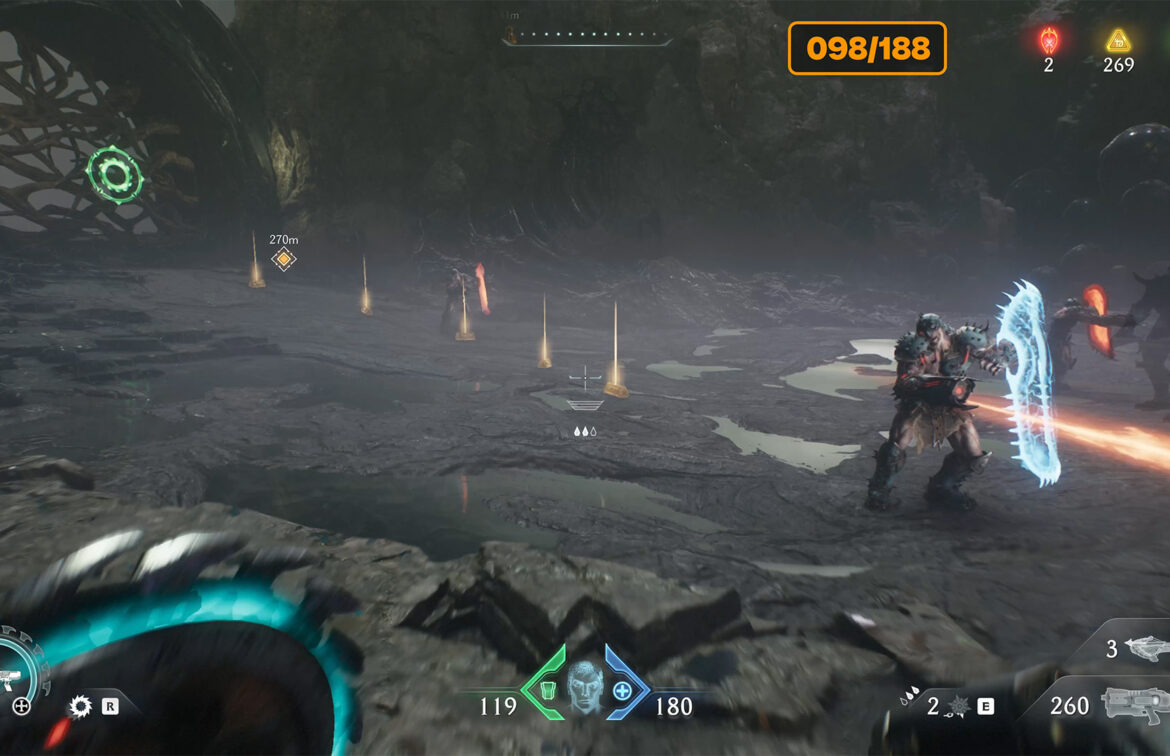
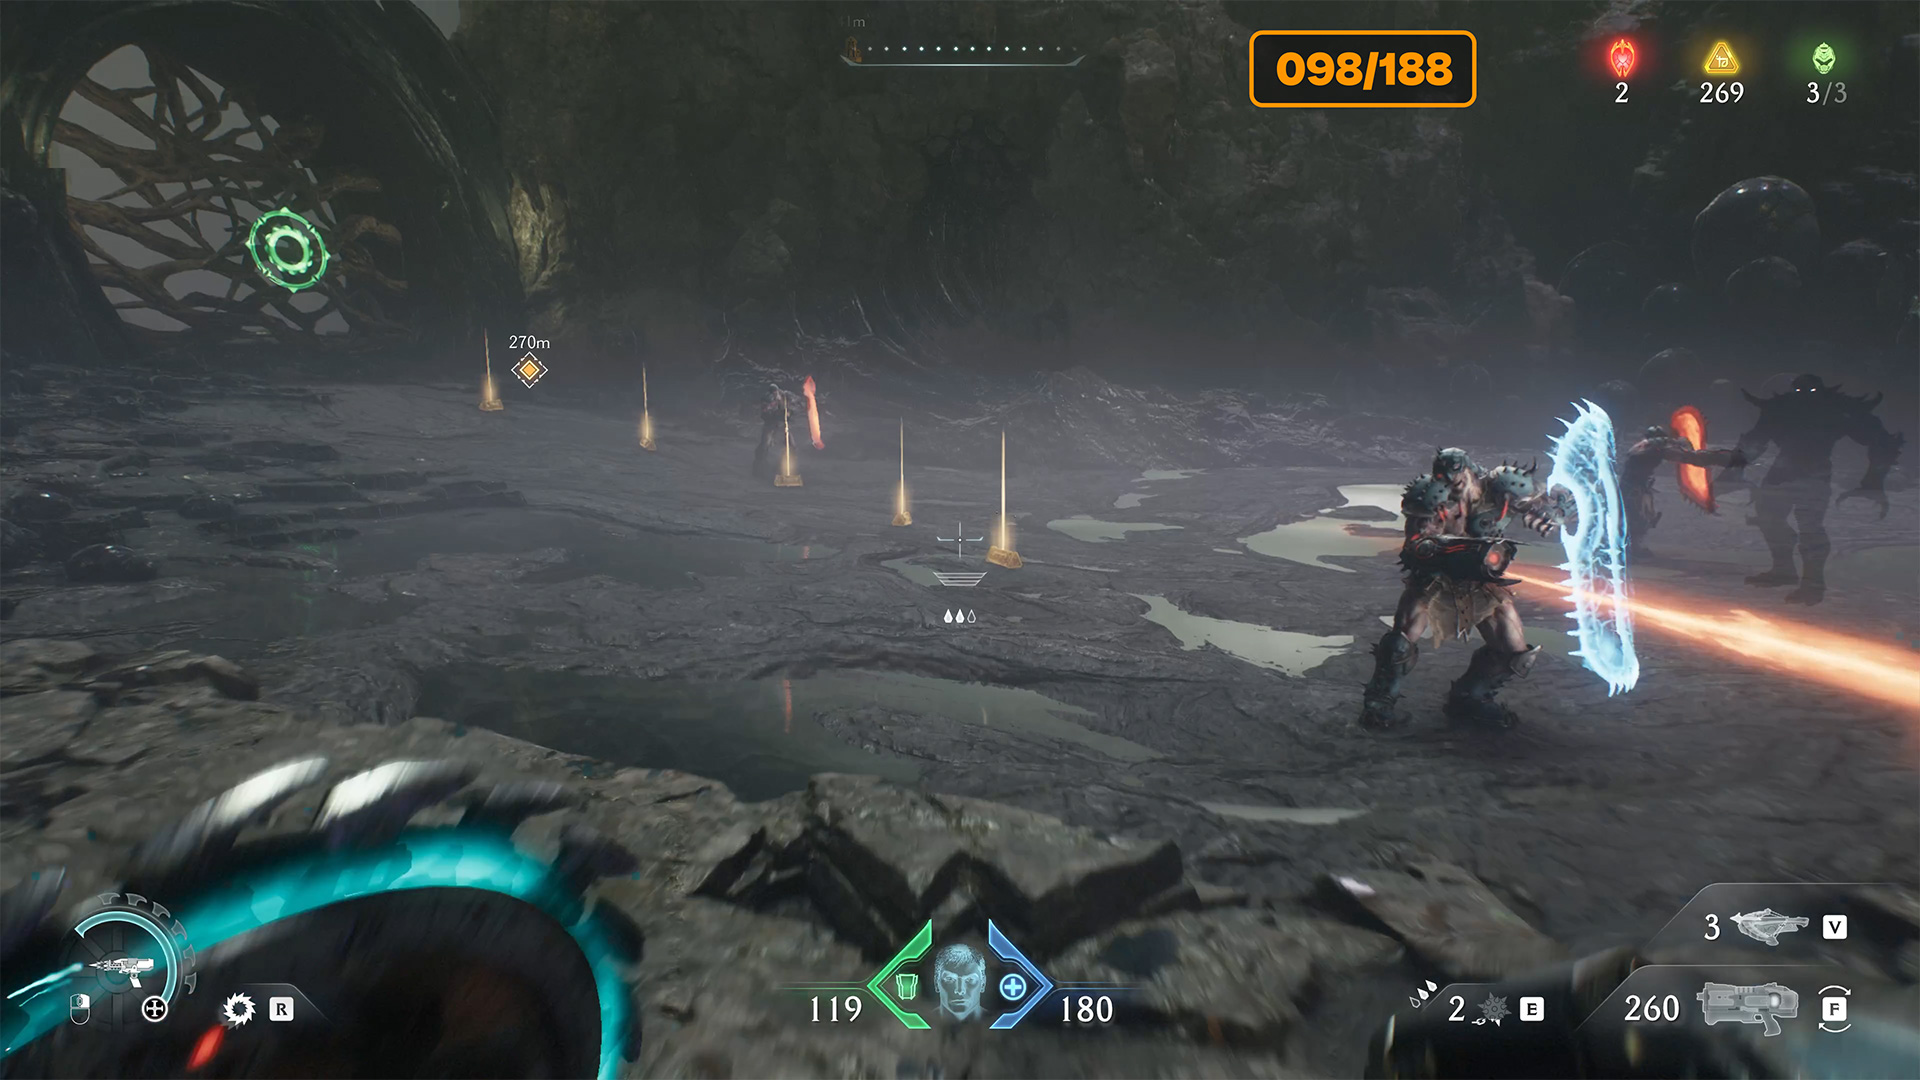
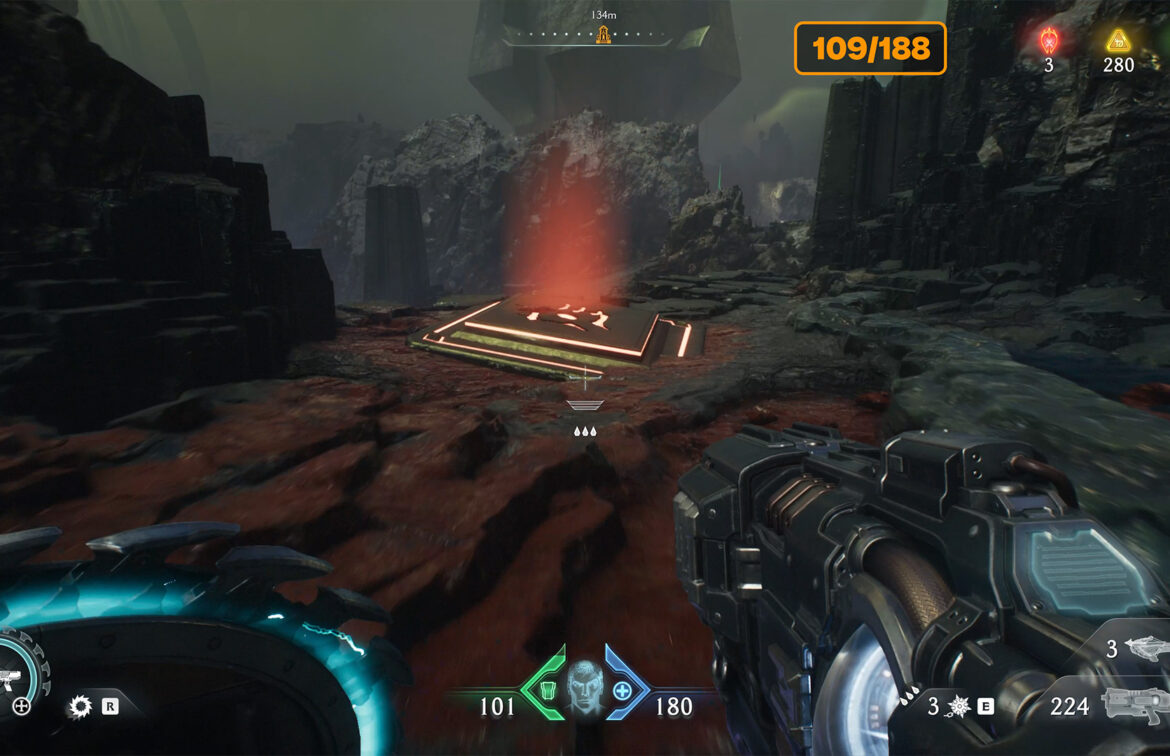
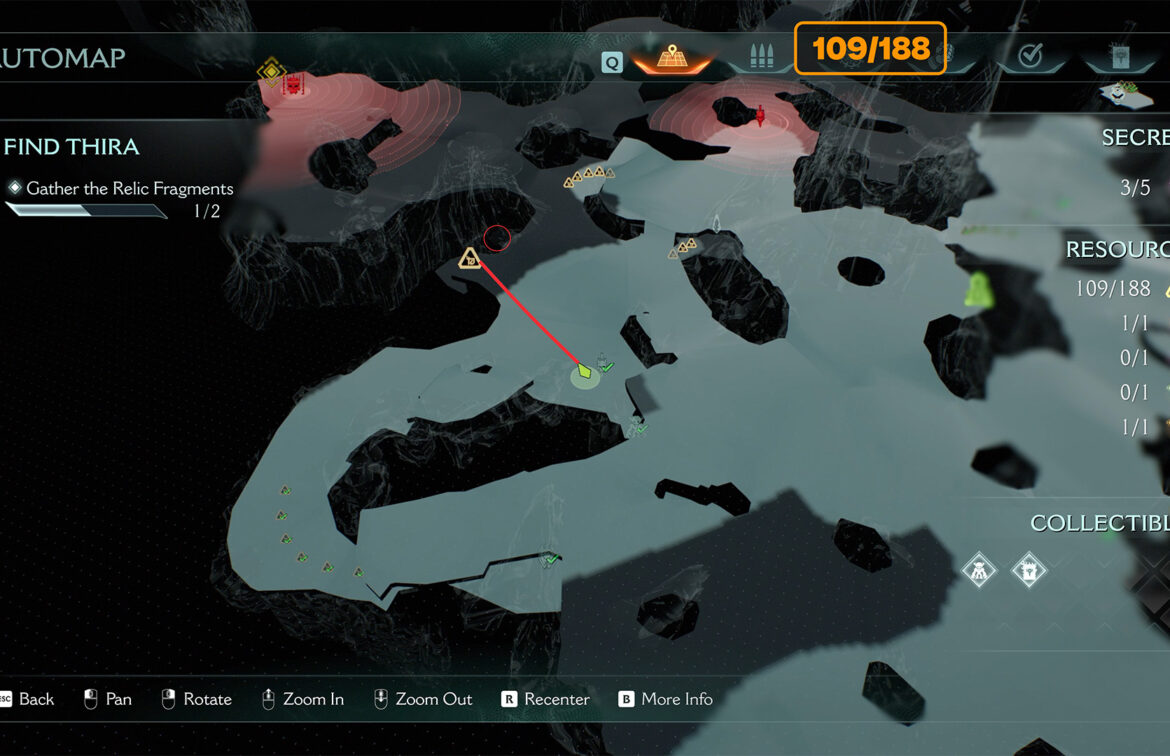
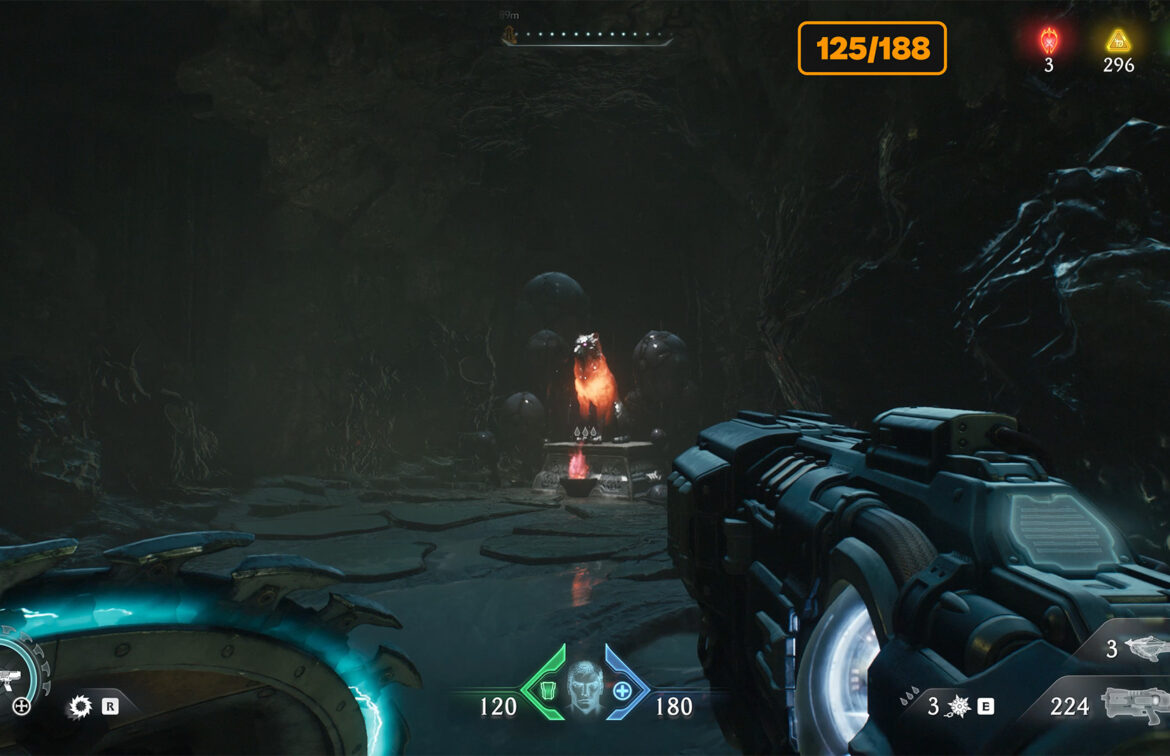
Now pay attention to the red battle to your right. I have drawn a route to this location on the map. Run there. As soon as you enter, you will receive a message that the leader has been spotted. Immediately switch to the Ballistic Force Crossbow. There are a lot of enemies here, and it’s the perfect place to complete the second Roundup challenge.
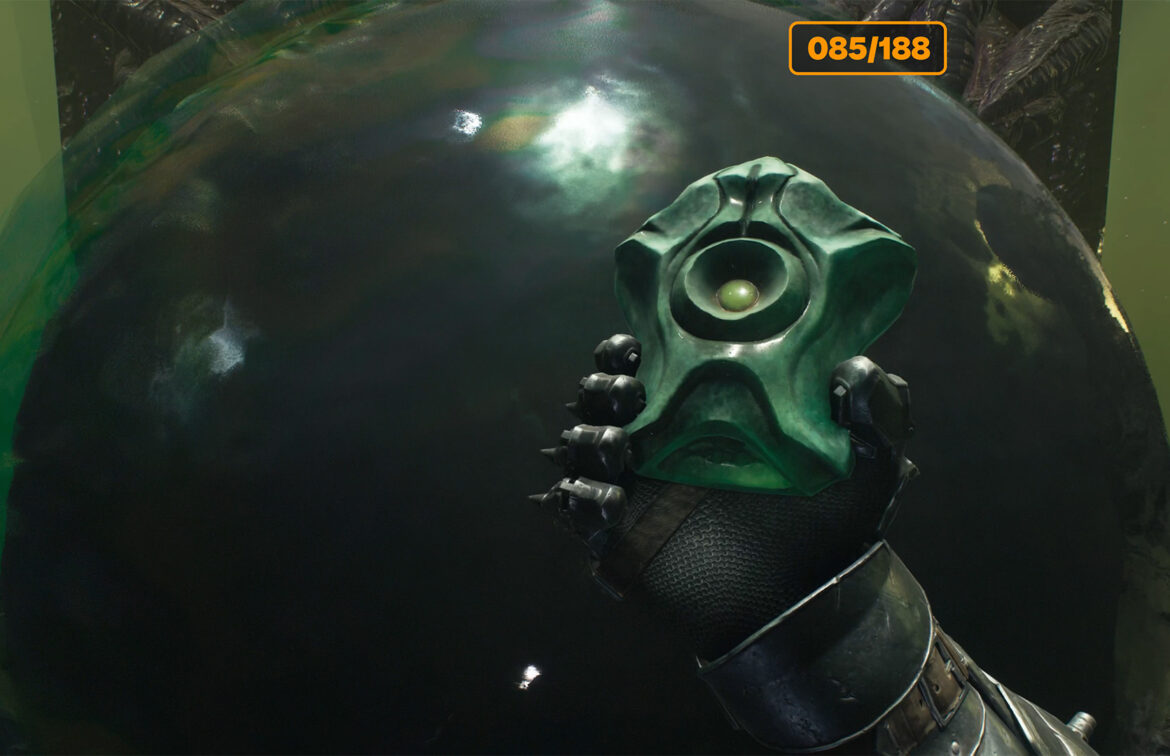
One shot is enough to destroy the enemies. Next, you will find the leader of this area, and after defeating him, you will automatically receive Demonic Essence – Ammo. Once all enemies have been destroyed, you need to approach a special sphere and take the quest item from it. Only then will the transparent barrier around the battle disappear.
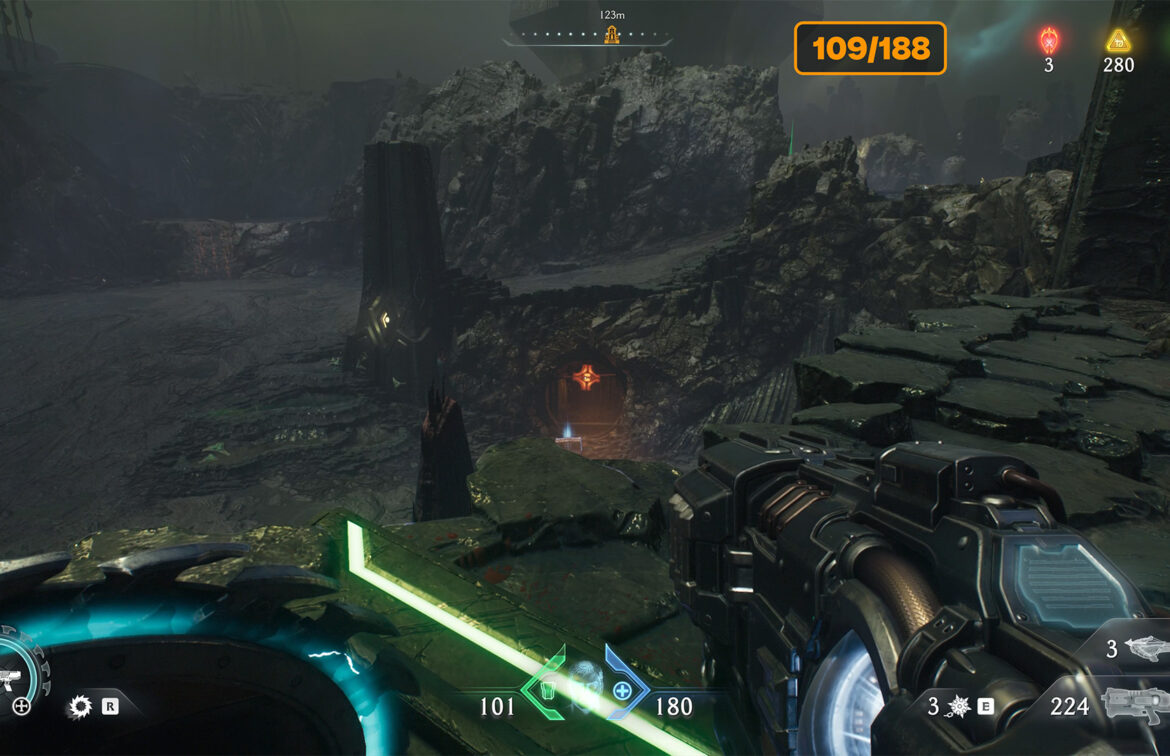
Since you used one Ballistic Force Crossbow arrow, I suggest you immediately return to the previous location where the arrow is located to replenish your supply, as these arrows are not automatically replenished. They can only be found in specially designated areas. You already know what to do: the blue mechanism will open the gate for you, and you will be able to take the arrow.
-
- Kar’thul Marshes Demonic Essence – Ammo location
-
- Kar’thul Marshes Demonic Essence – Ammo
-
- The first quest item is located here
-
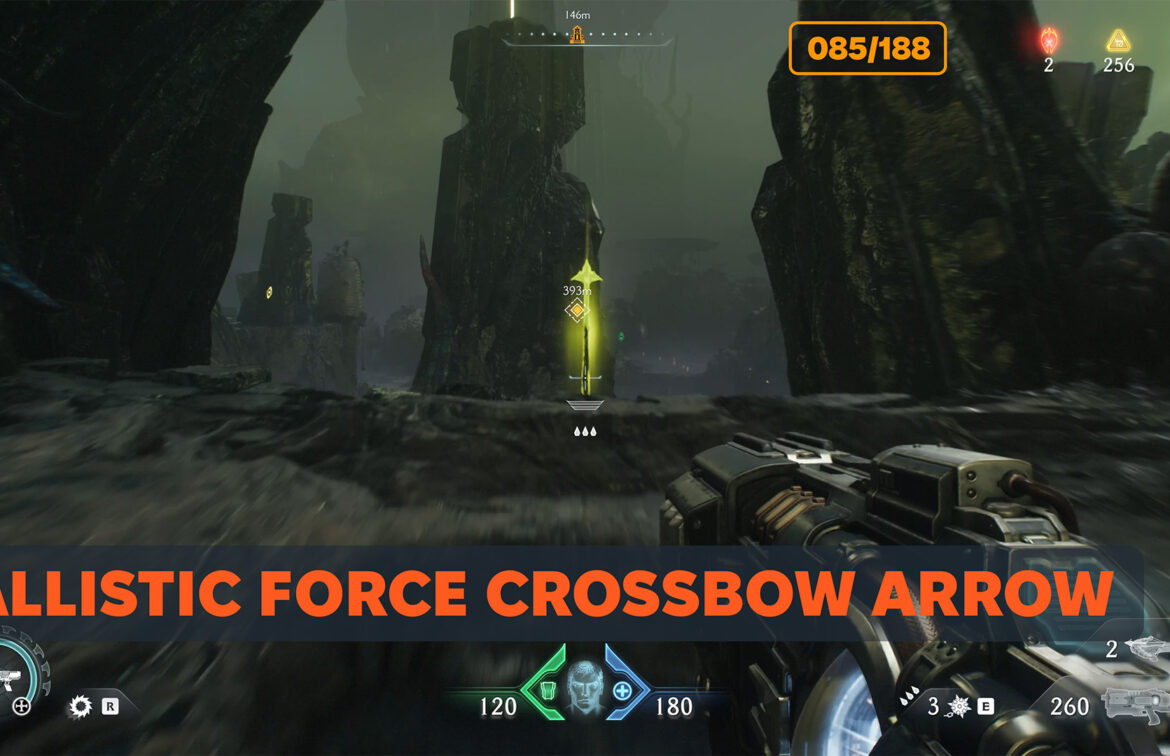
- Ballistic Force Crossbow arrow
Kar’thul Marshes gold items and Life Sigil
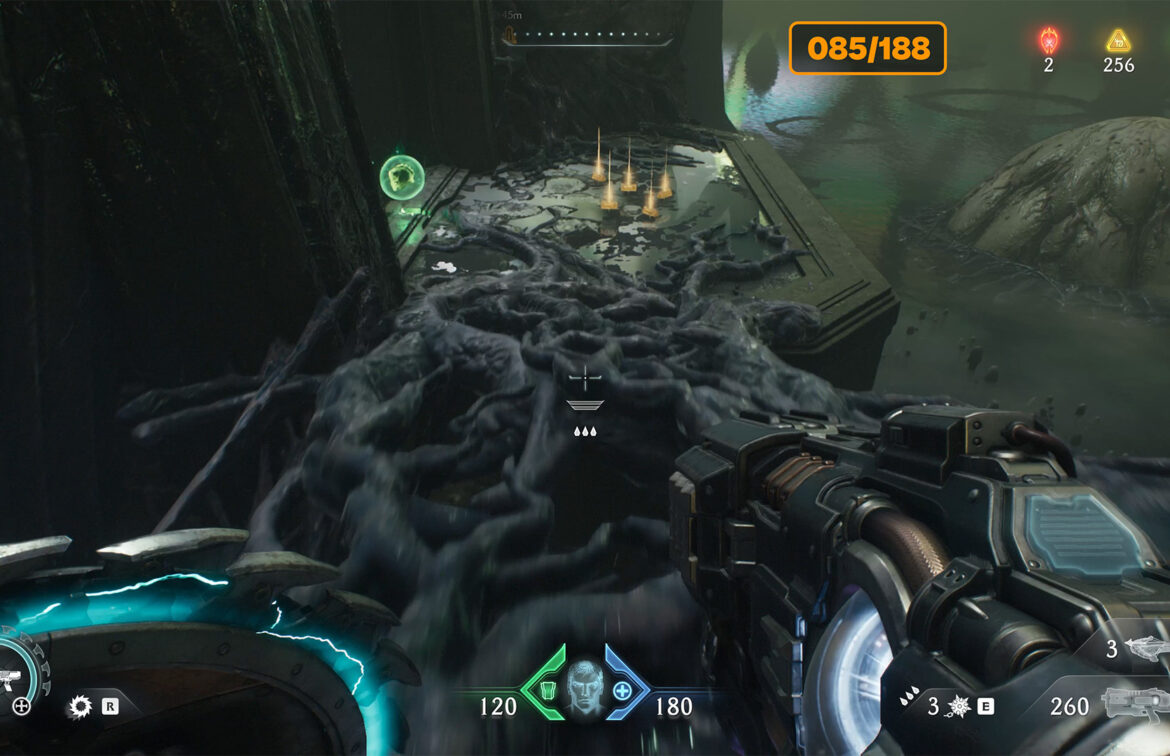
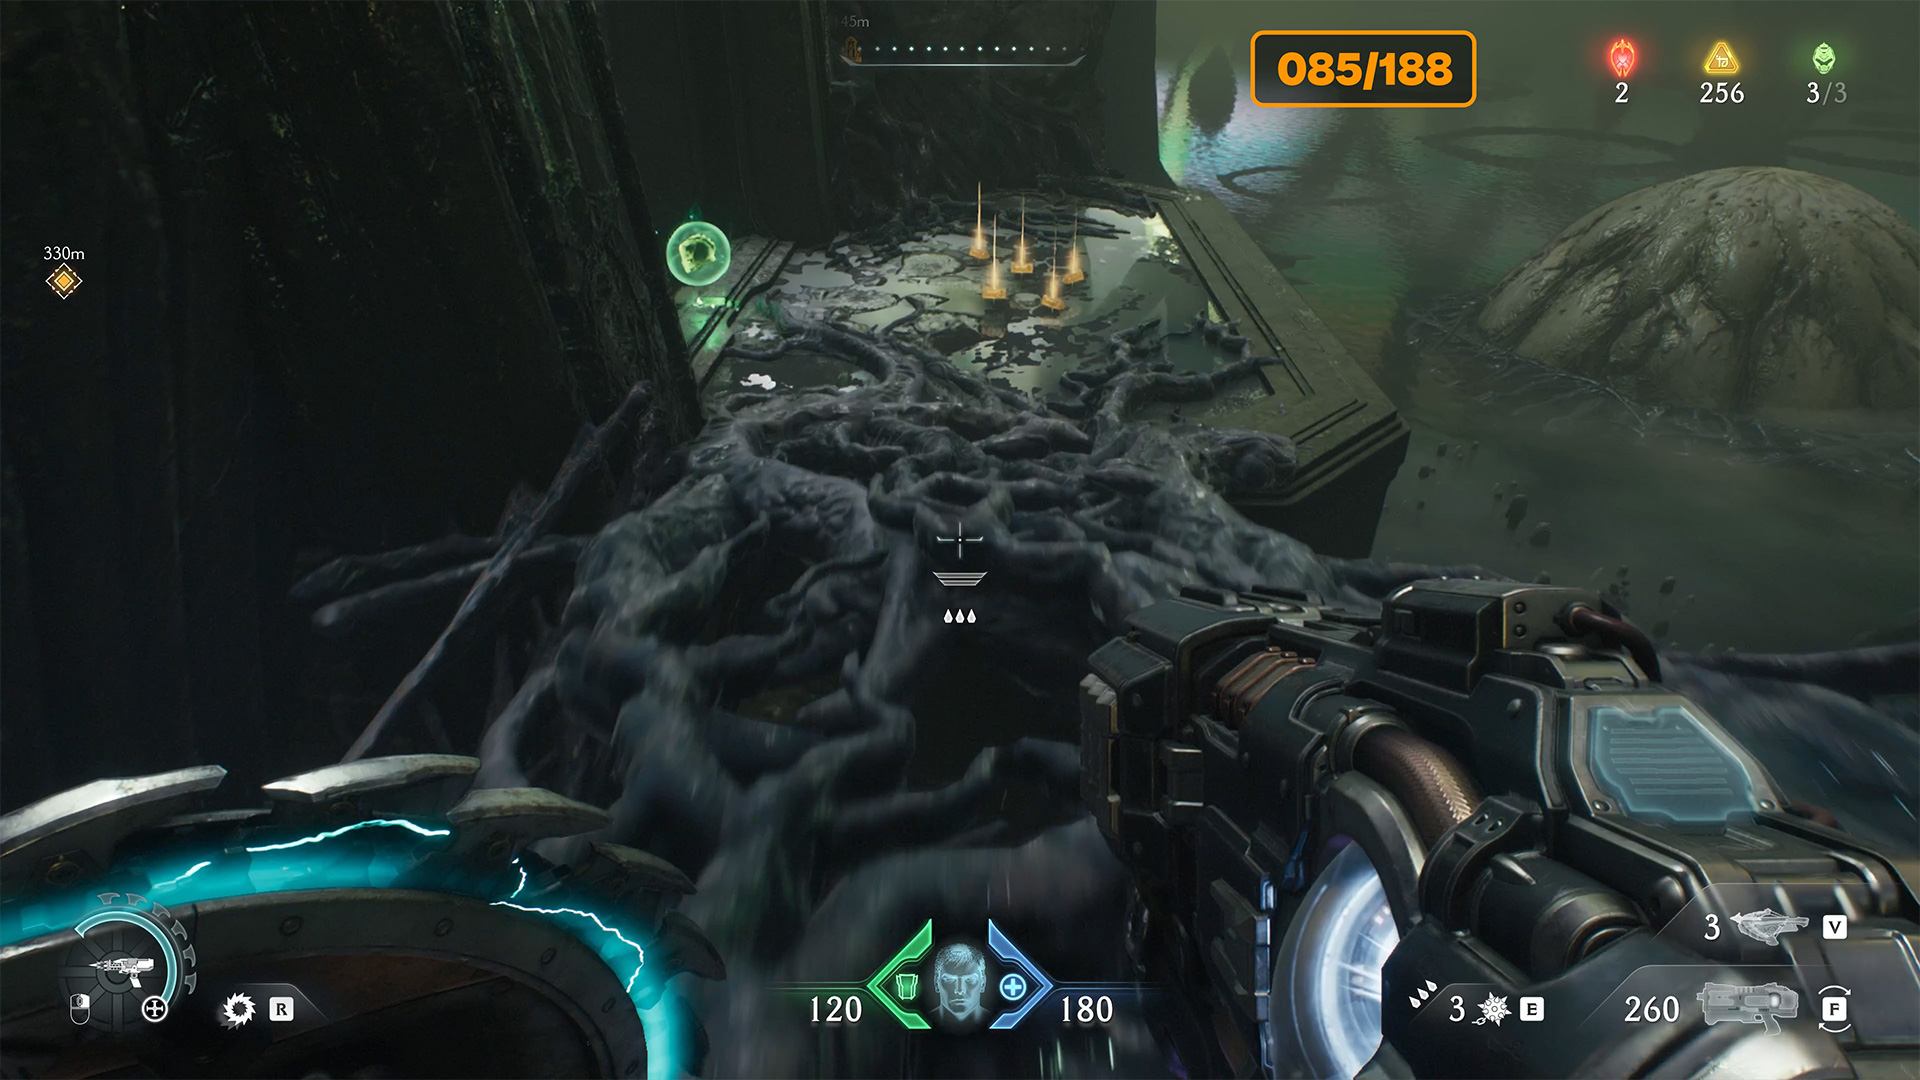
After completing the previous steps, continue forward, keeping to the right side. You will see a bridge that resembles black tree roots. Cross this bridge to reach a platform where you will find 5 gold coins and the first Life Sigil. The only way to access the platform is through the roots, so be sure not to miss this spot.
-
- Kar’thul Marshes gold items and Life Sigil location
-
- Kar’thul Marshes gold items and Life Sigil
Kar’thul Marshes gold bar
Jump down from the platform. There will be enemies here, but don’t pay attention to them yet. Your task is to run straight ahead and not turn anywhere. You will see 8 gold coins in front of you. Take them, and then deal with the enemies.
-
- Kar’thul Marshes gold bar location
-
- Kar’thul Marshes gold bar
Kar’thul Marshes gold
Now run to the large space with a round platform in the center. Of course, before that, you have to defeat the enemies who won’t let you in. But you can do it, I’m sure. When you get there, turn right and you will see a wall you can climb. Climb up and you will find 5 gold coins and a barrier in front of you.
-
- Kar’thul Marshes gold location
-
- Kar’thul Marshes gold
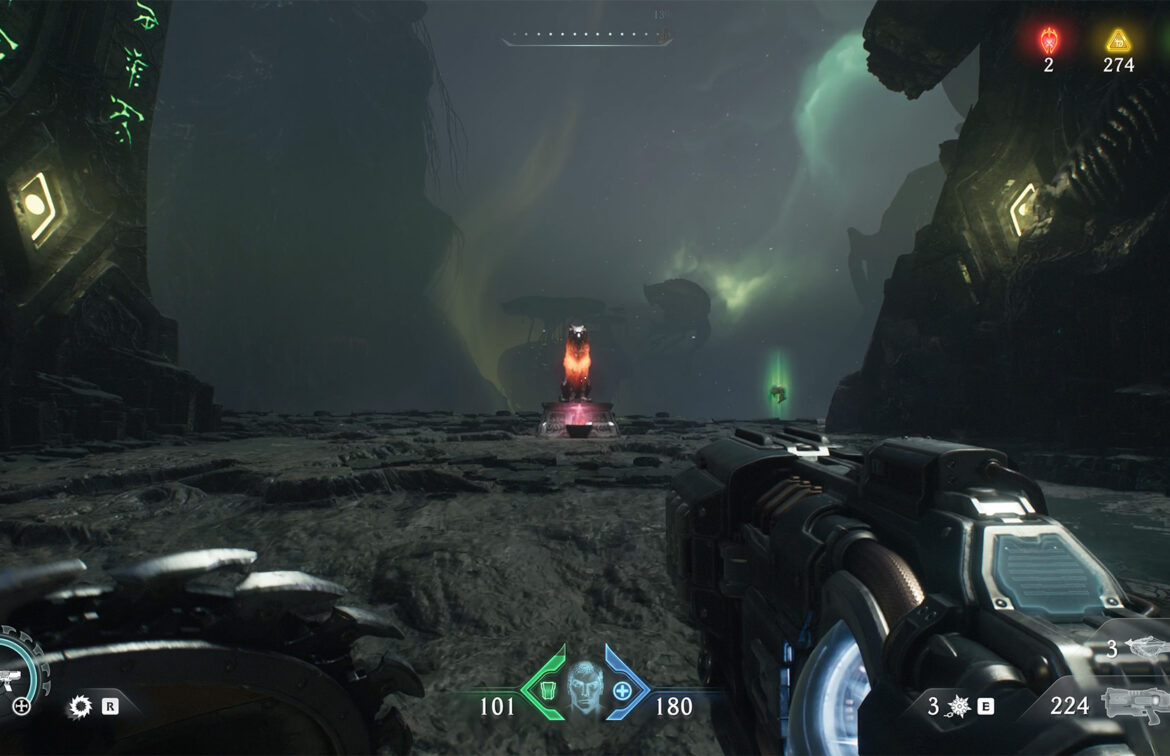
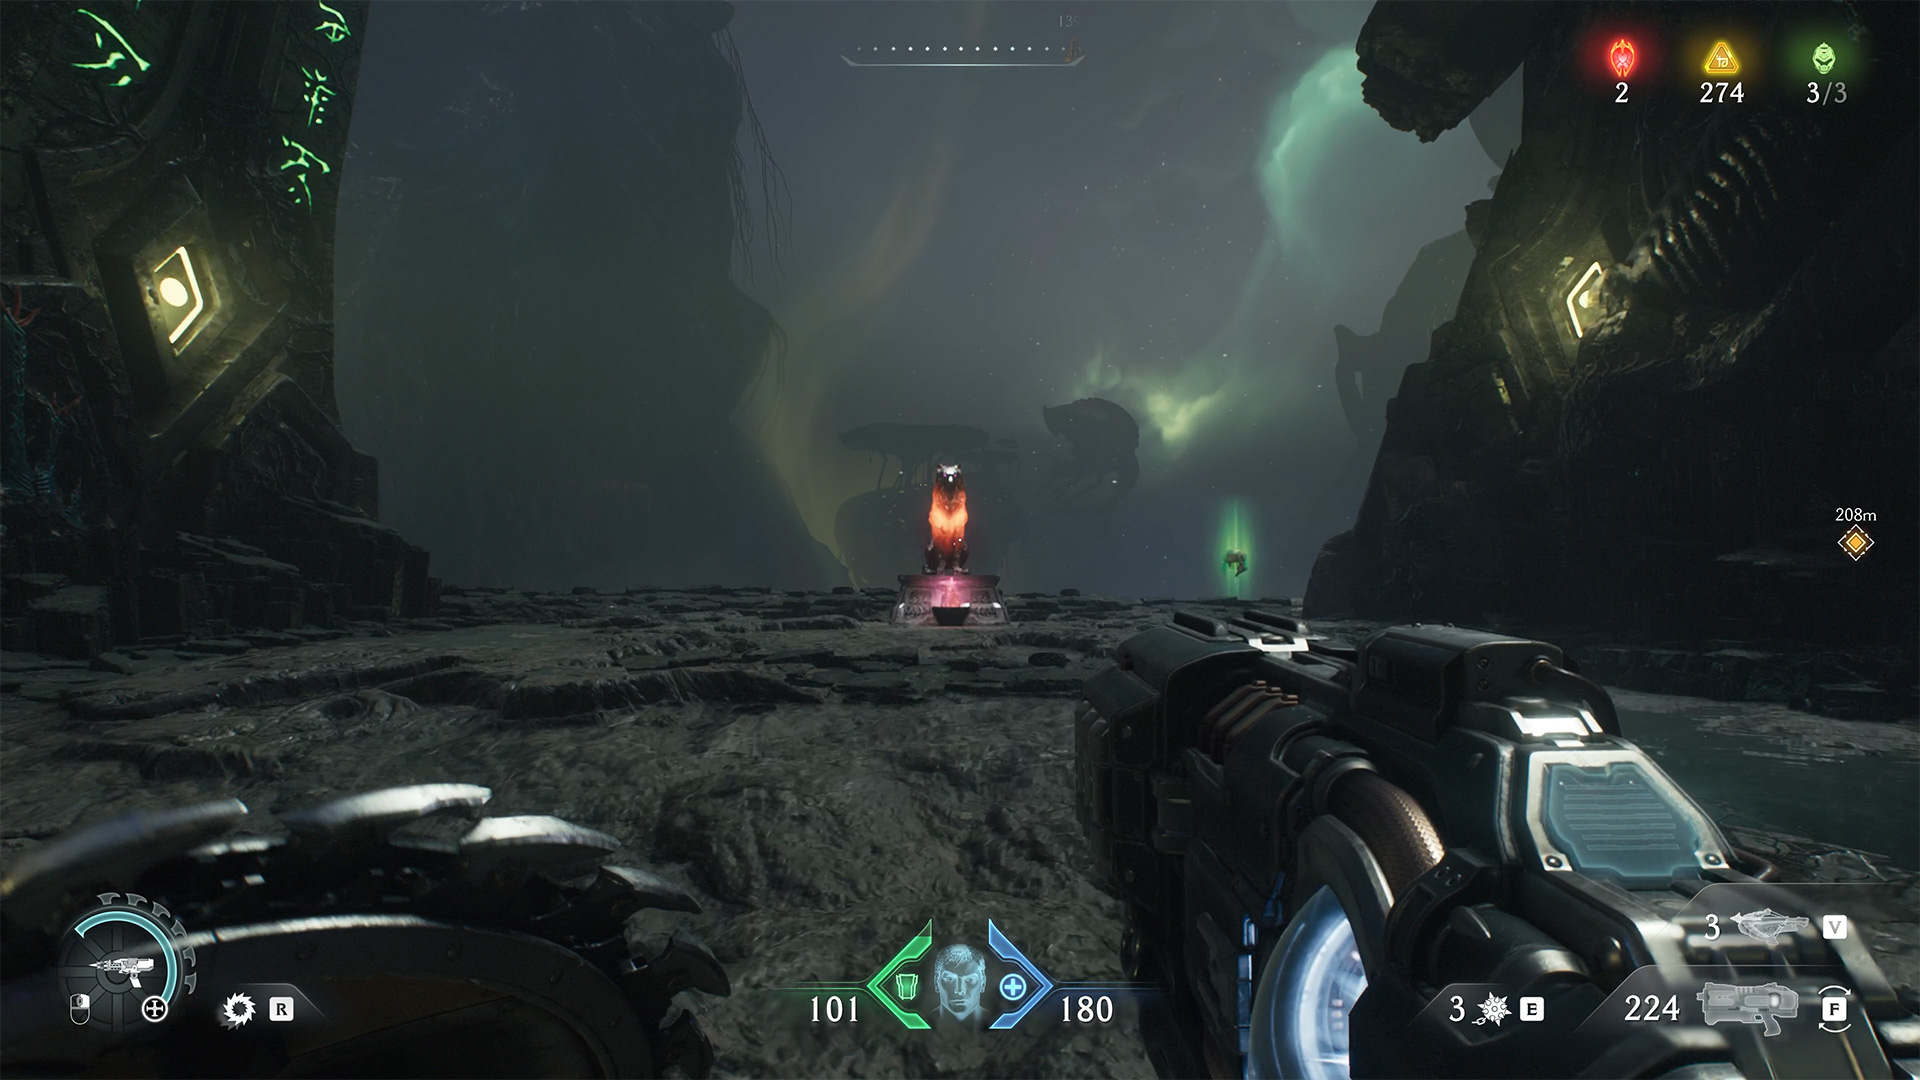
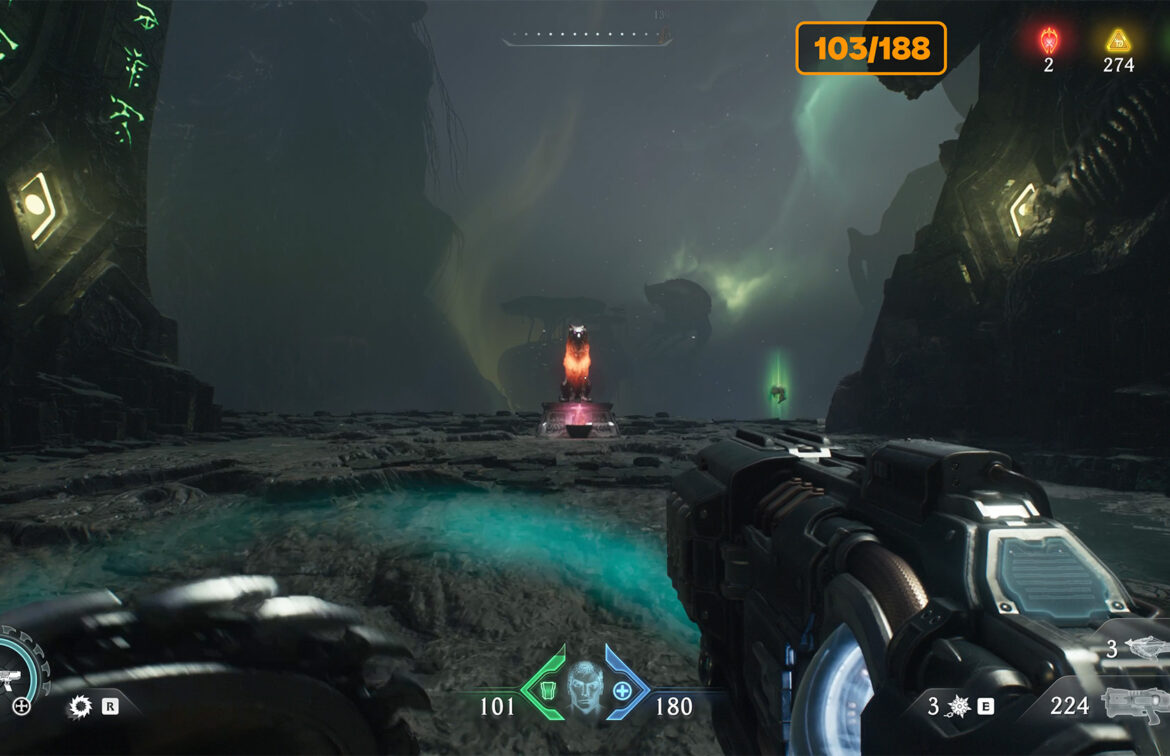
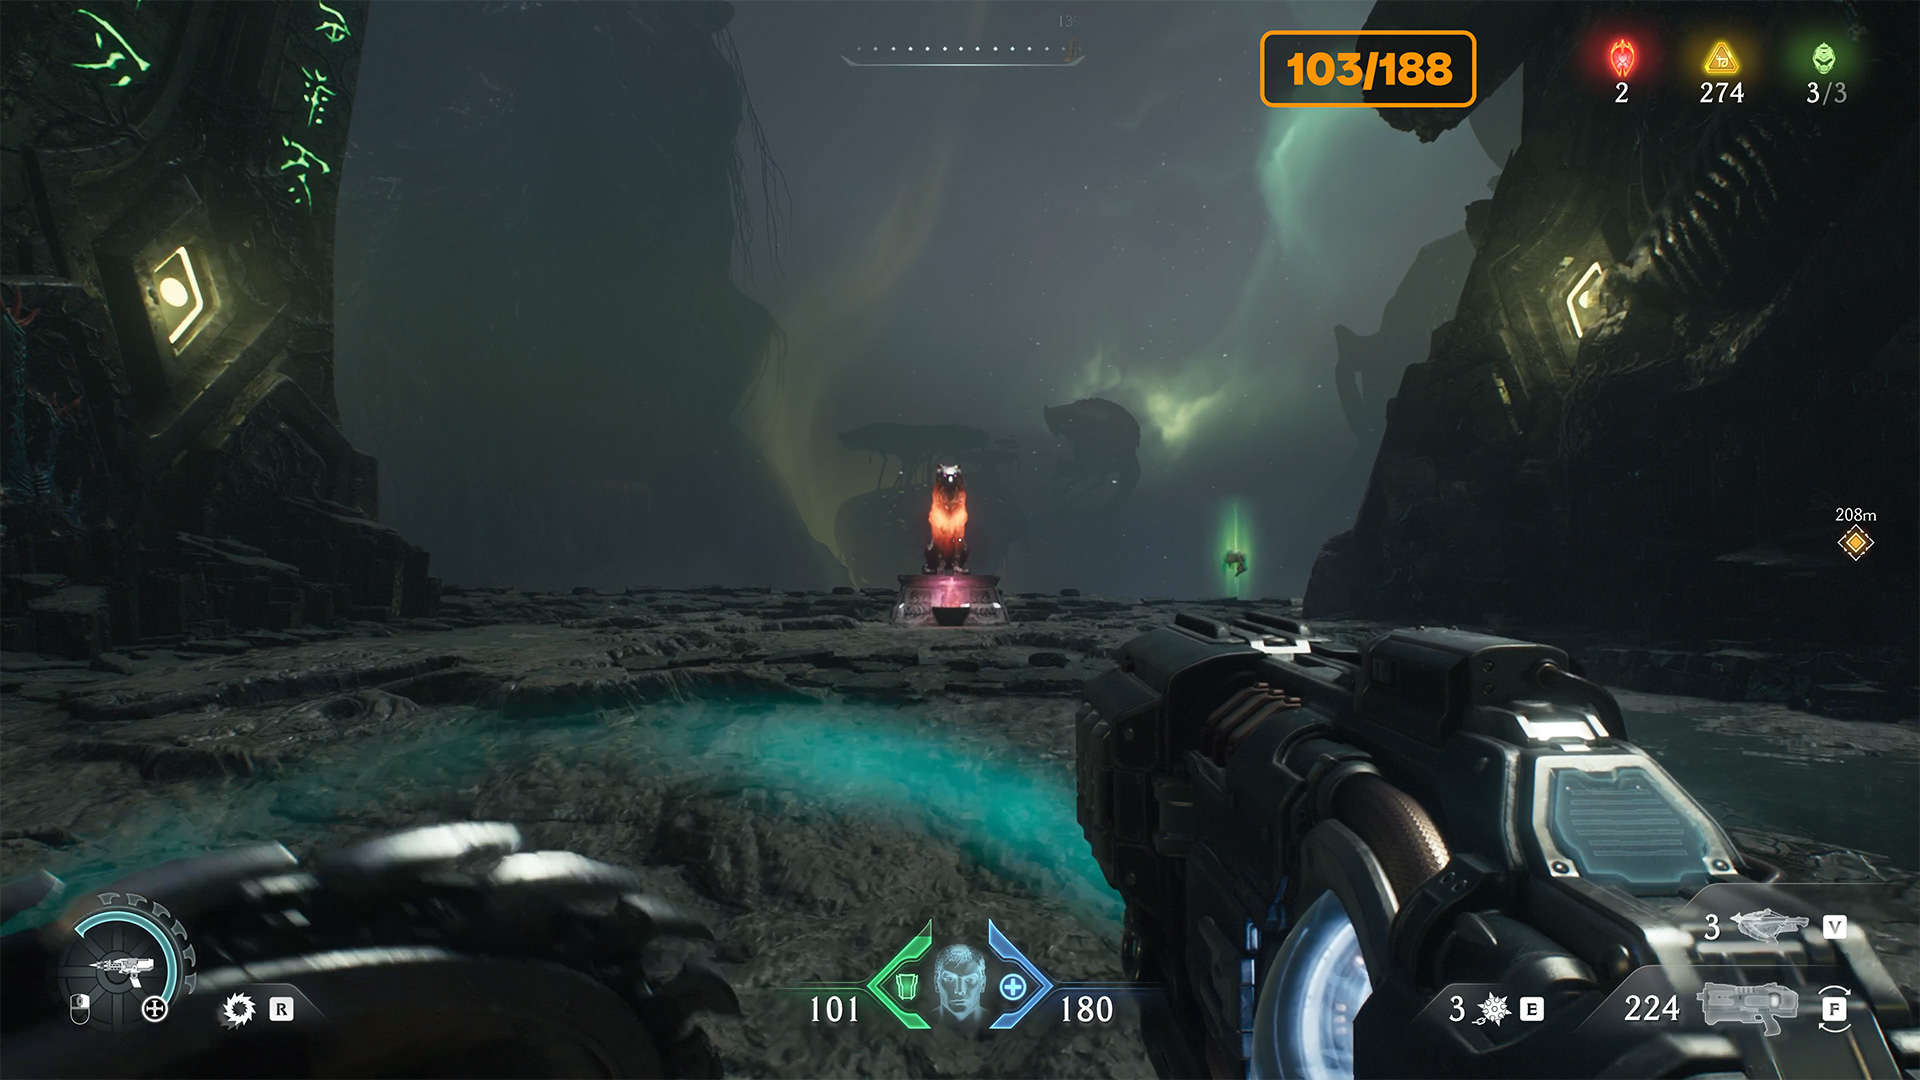
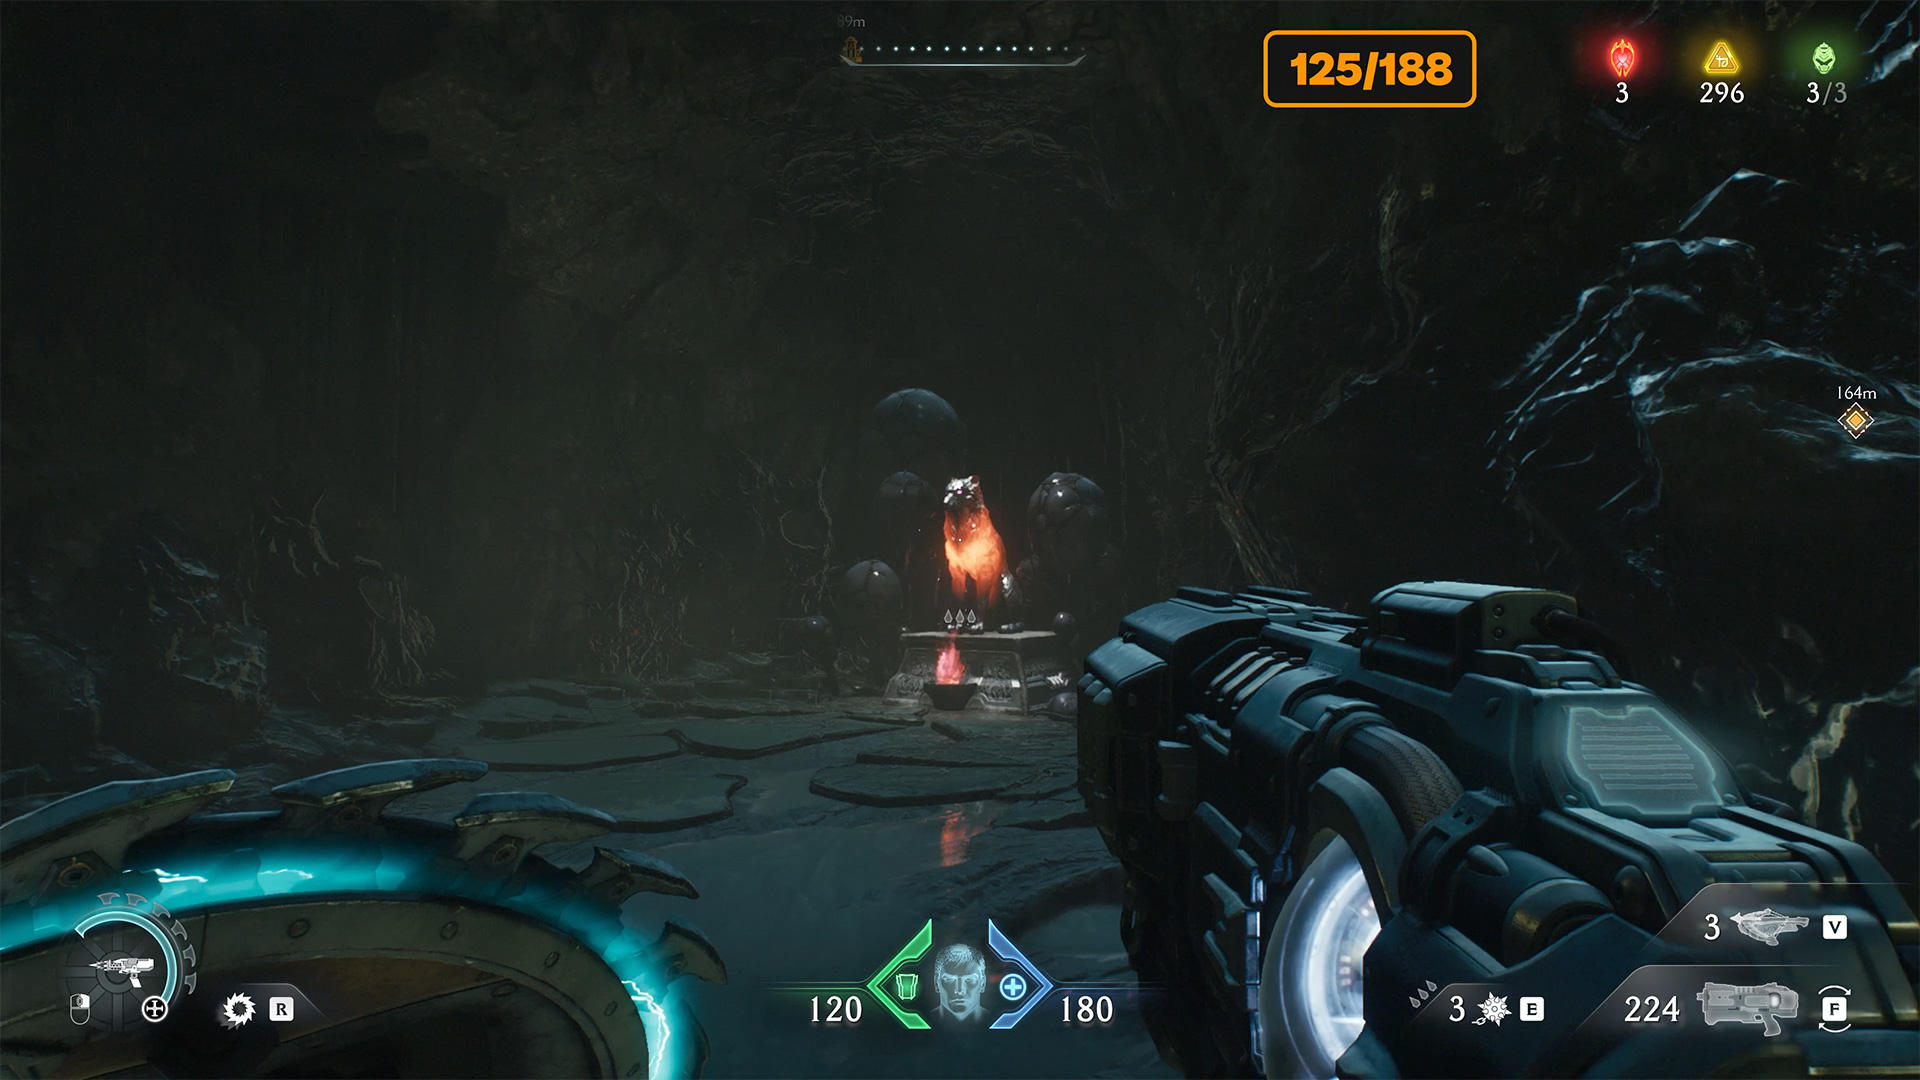
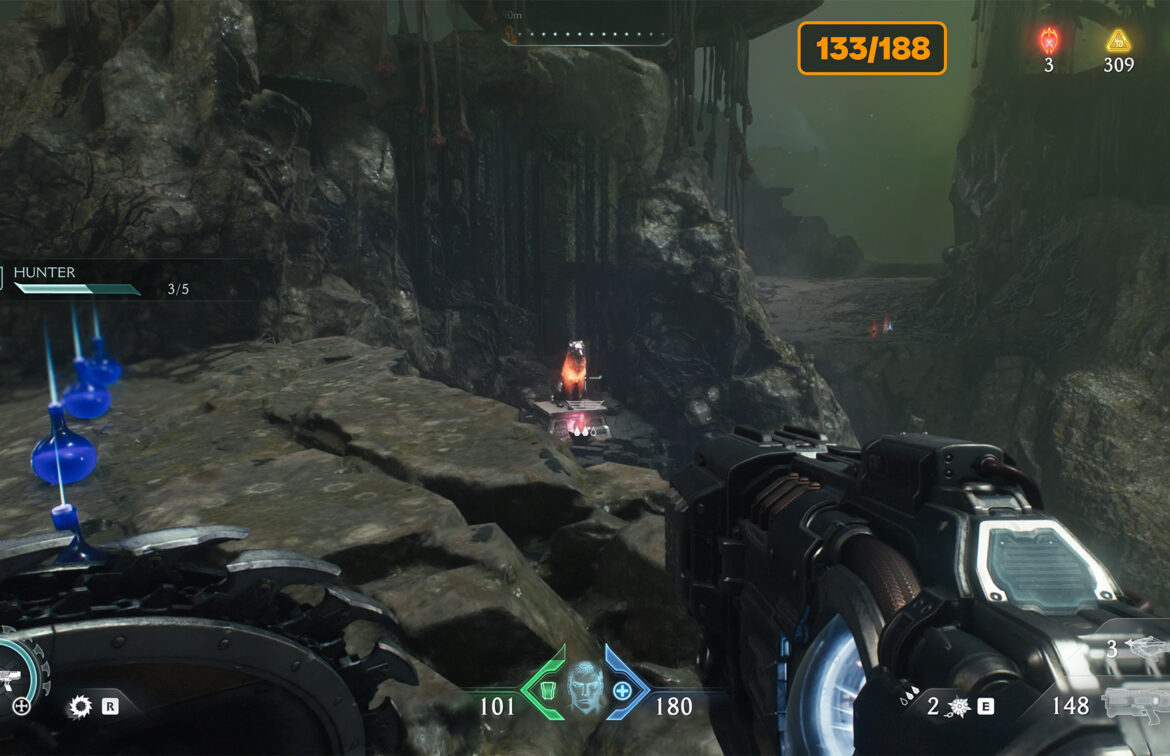
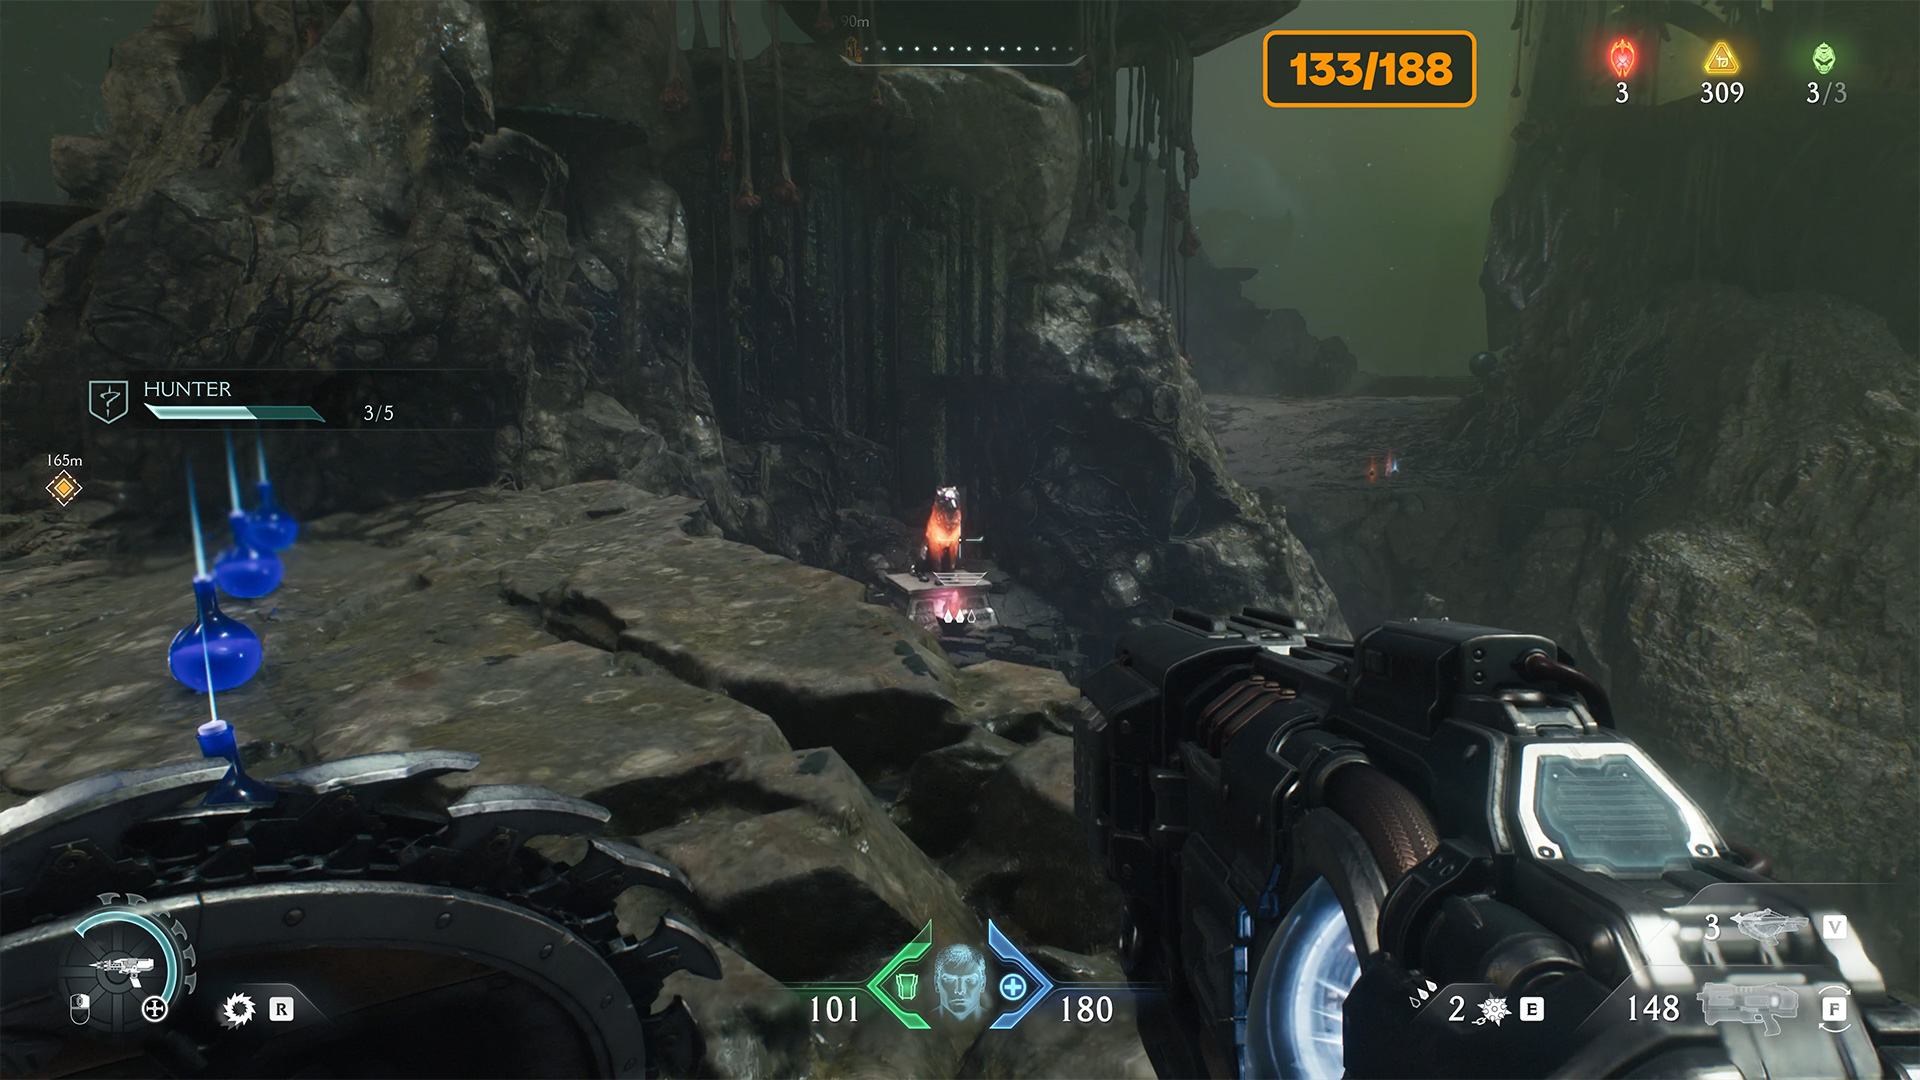
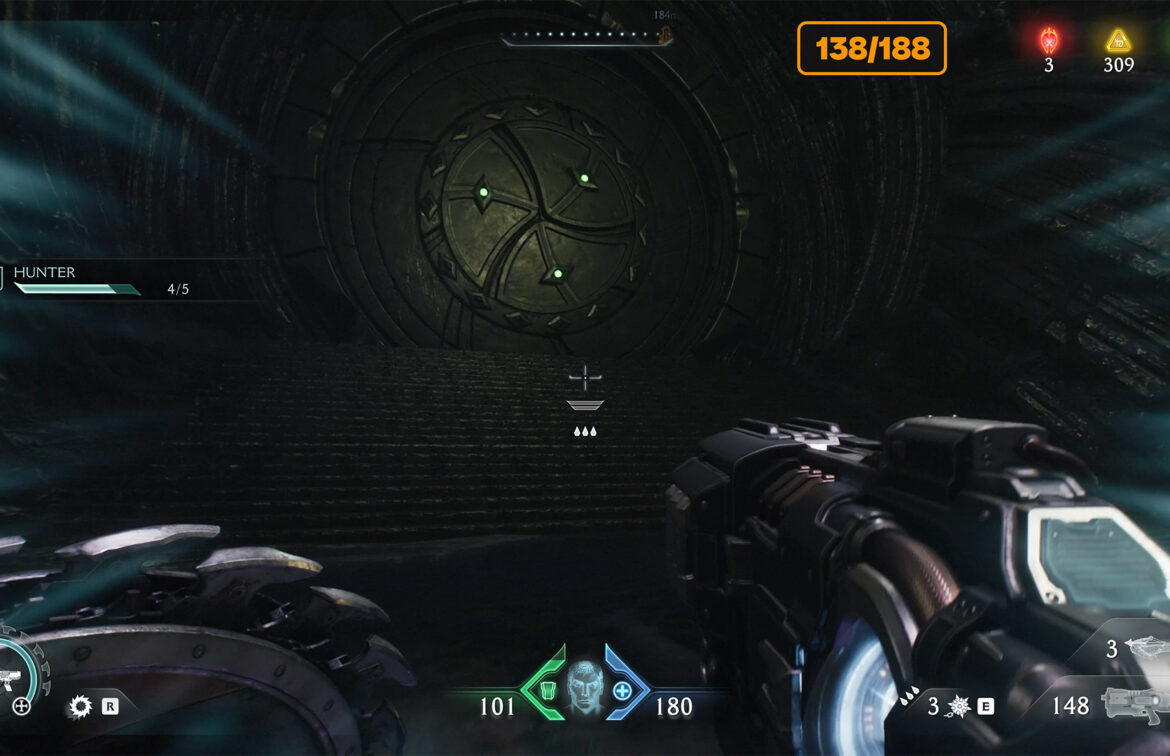
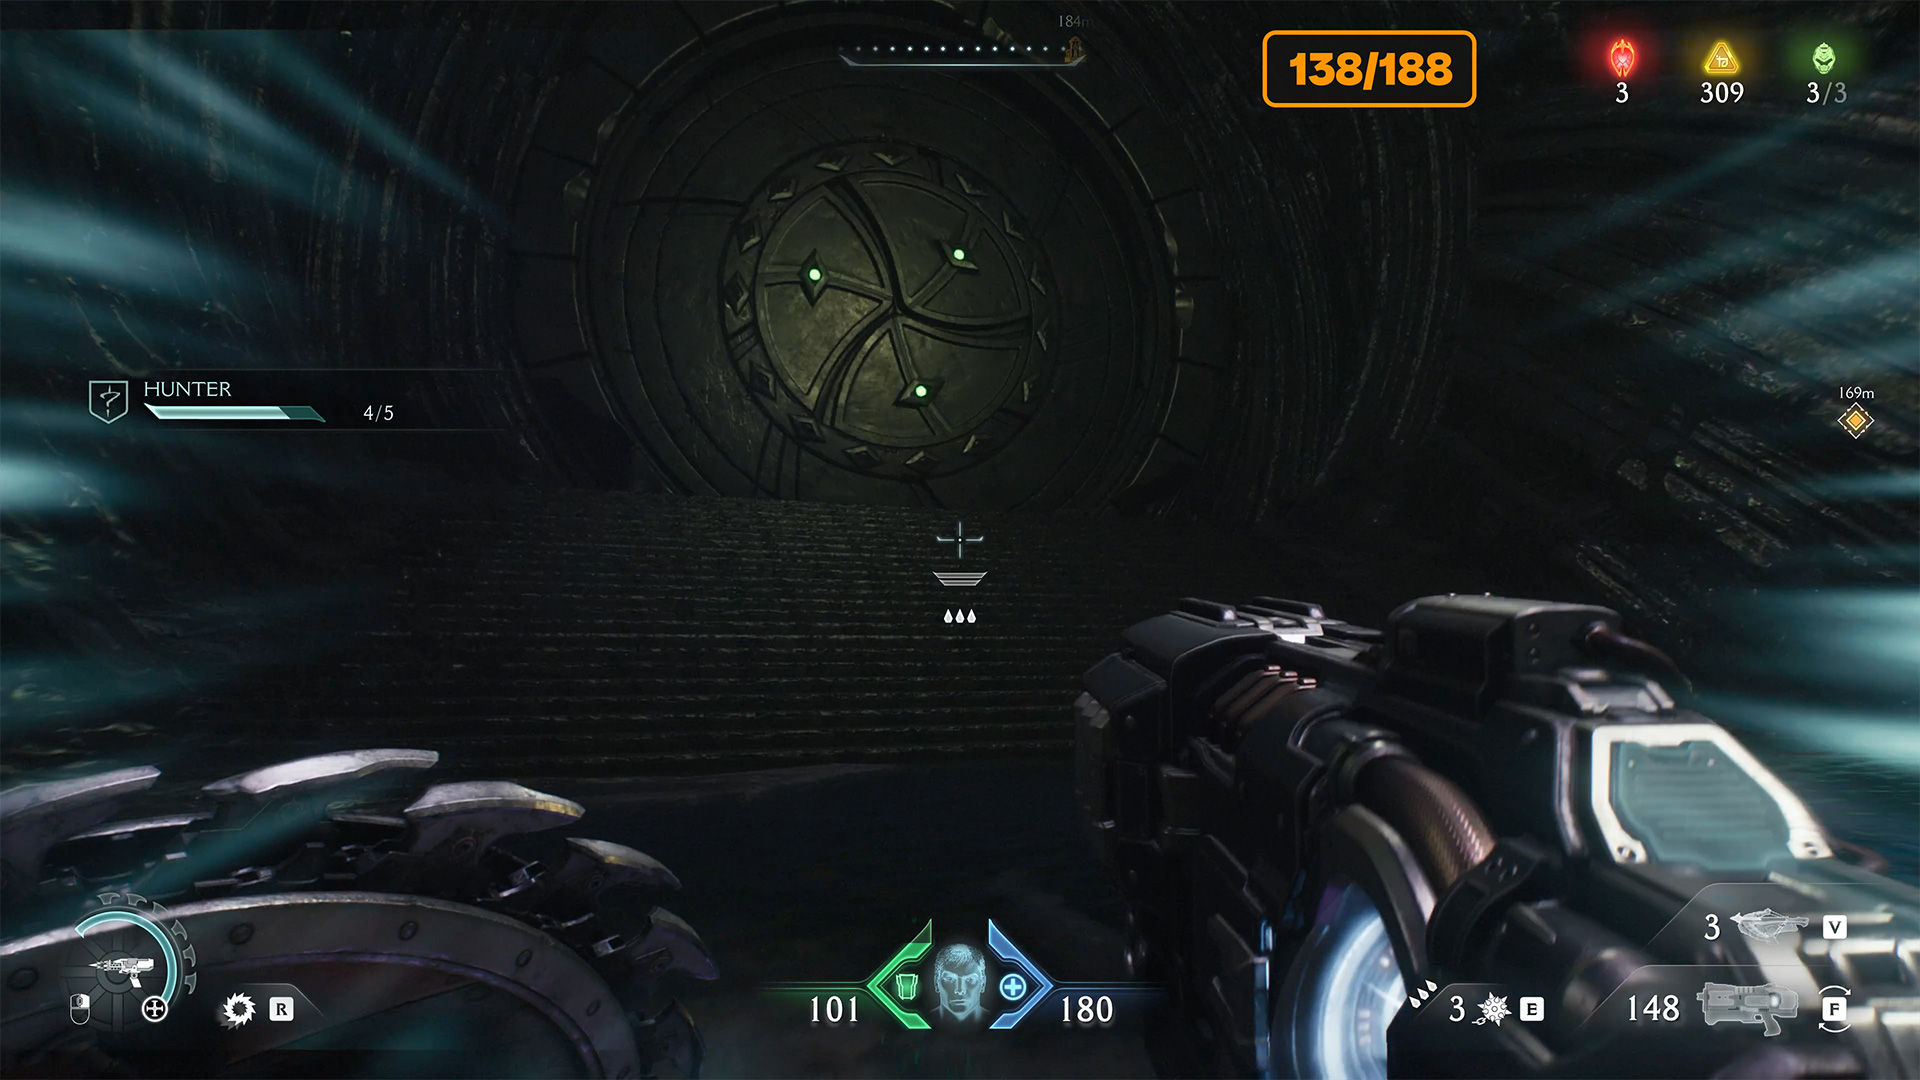
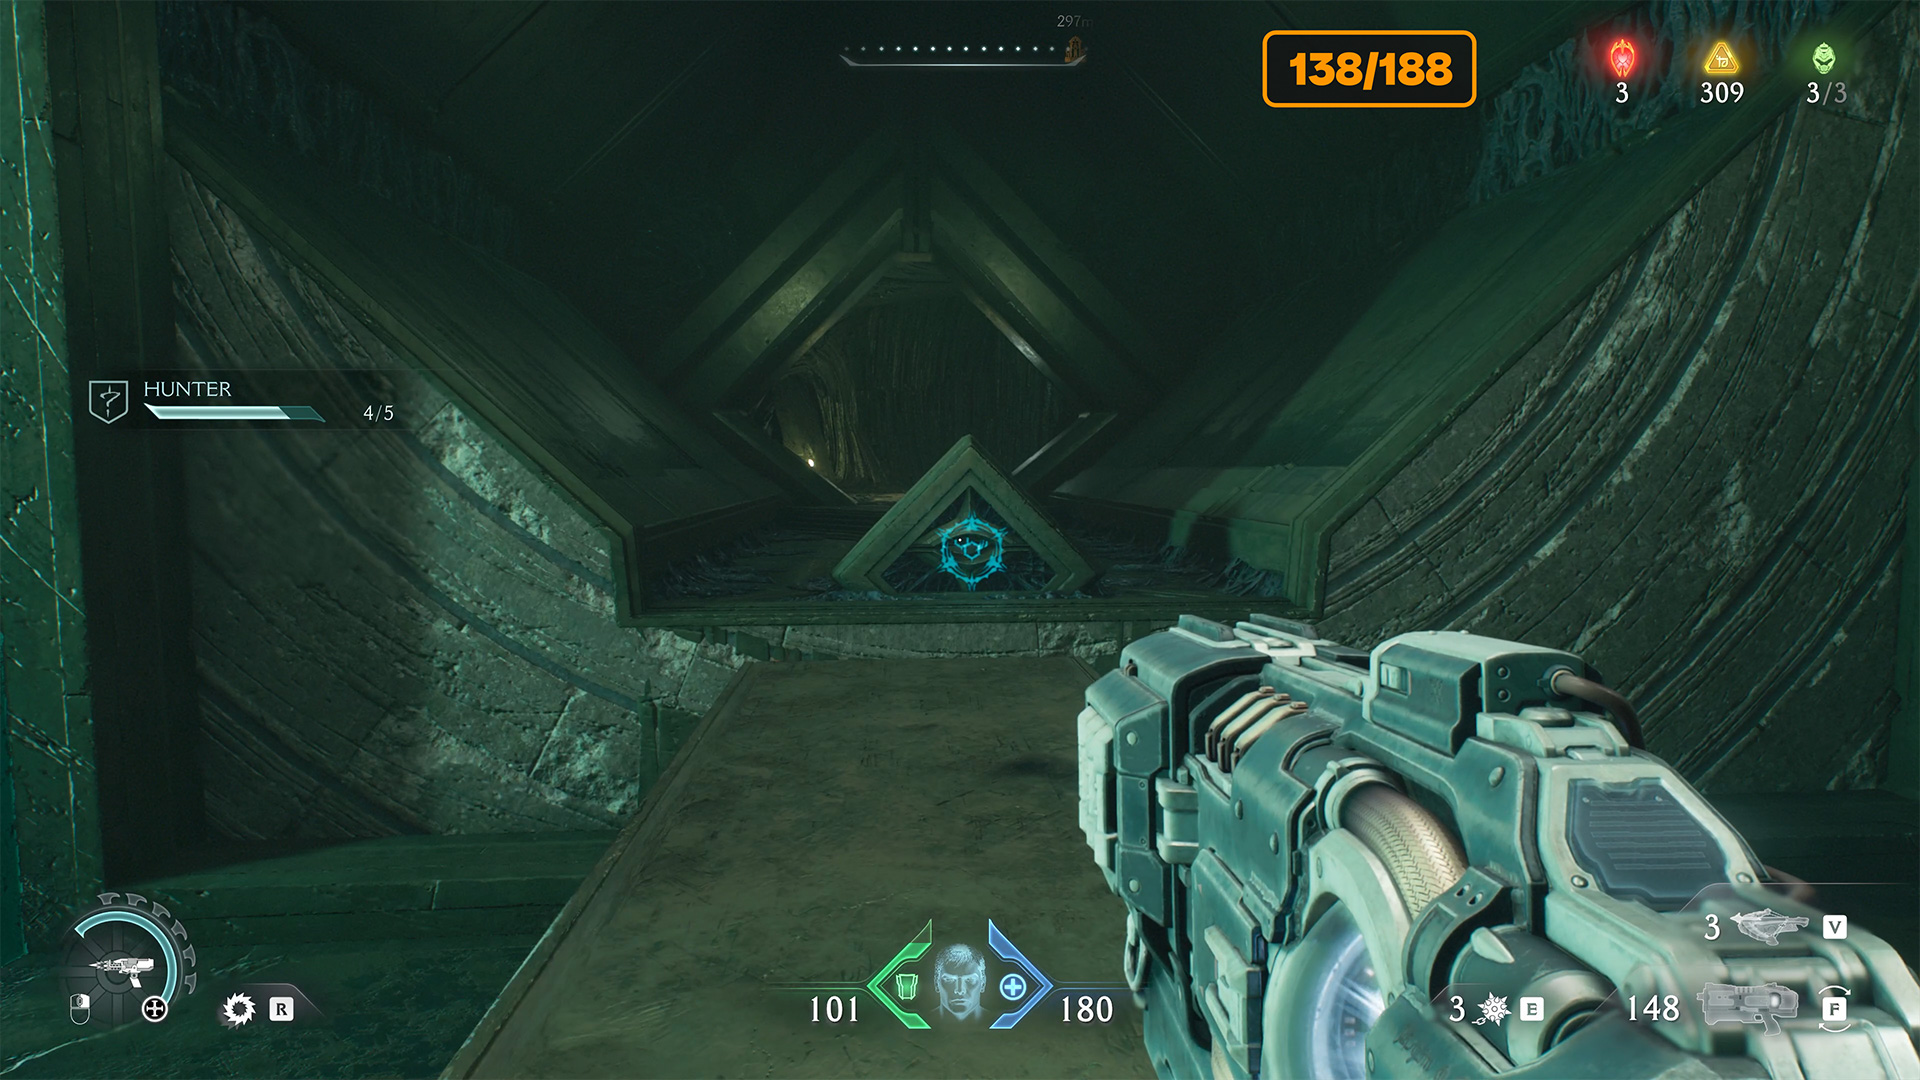
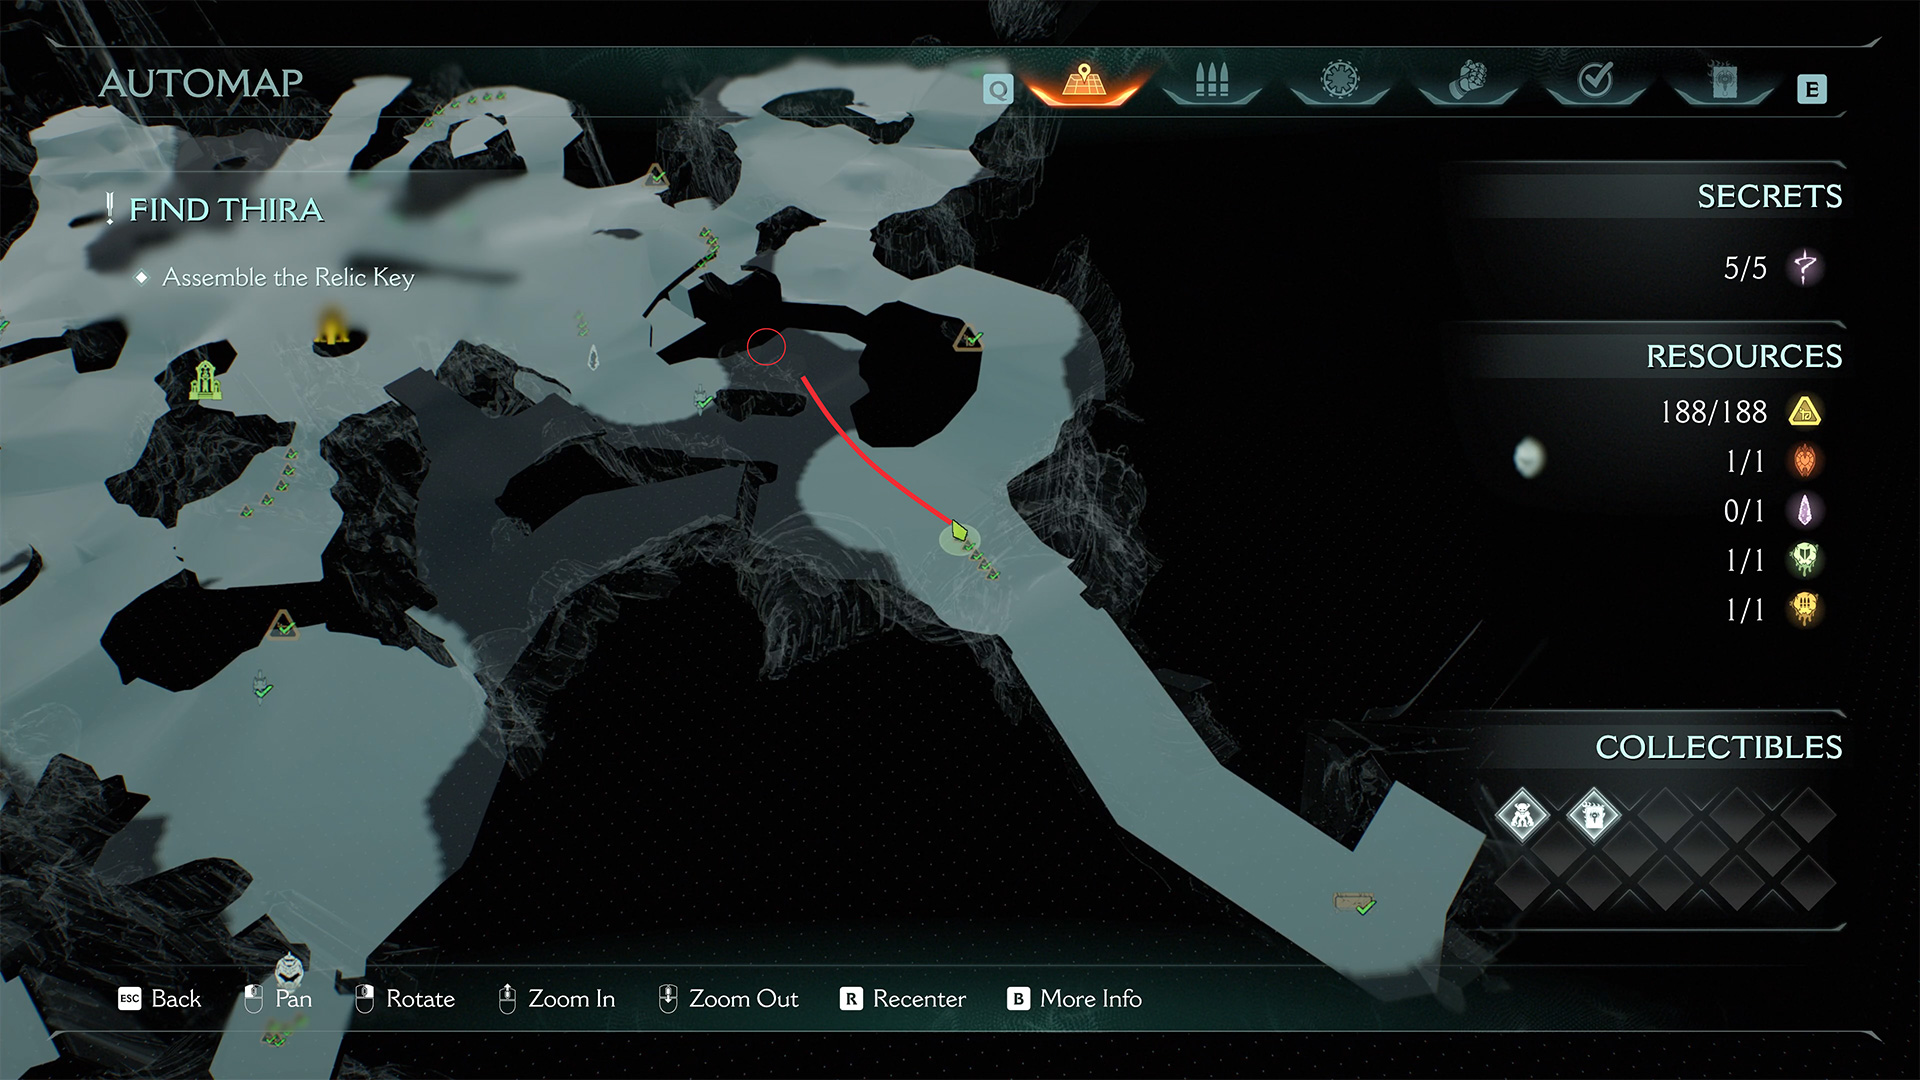
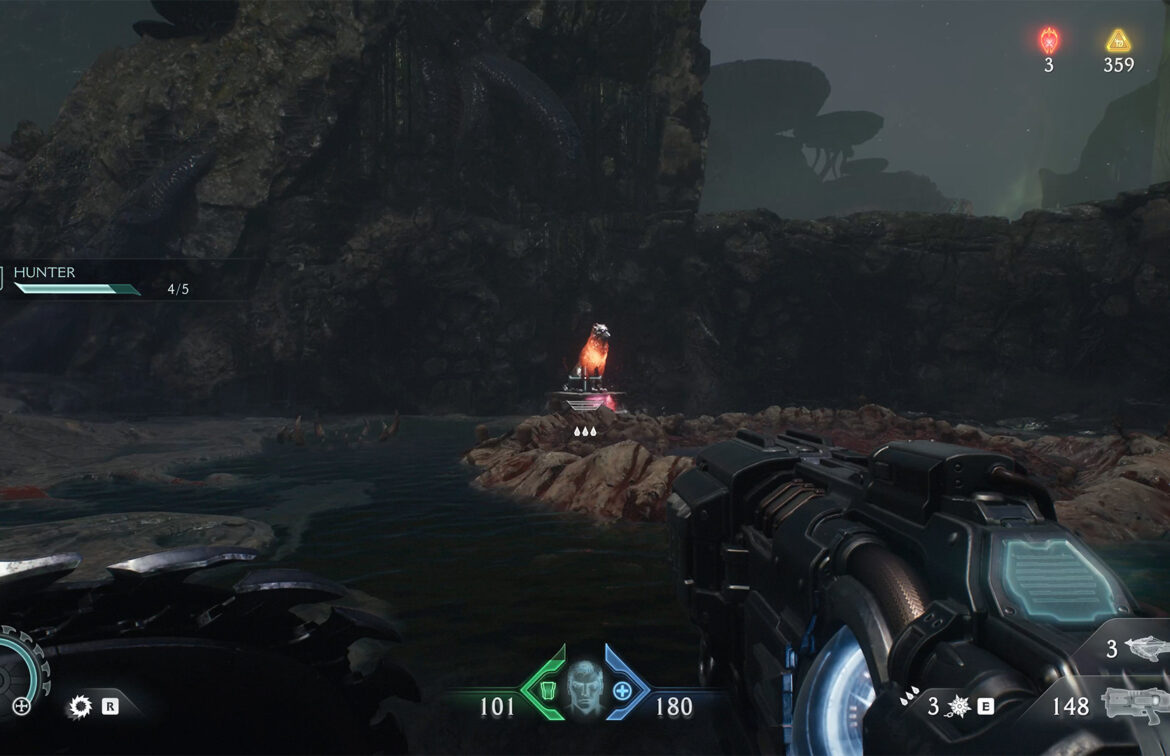
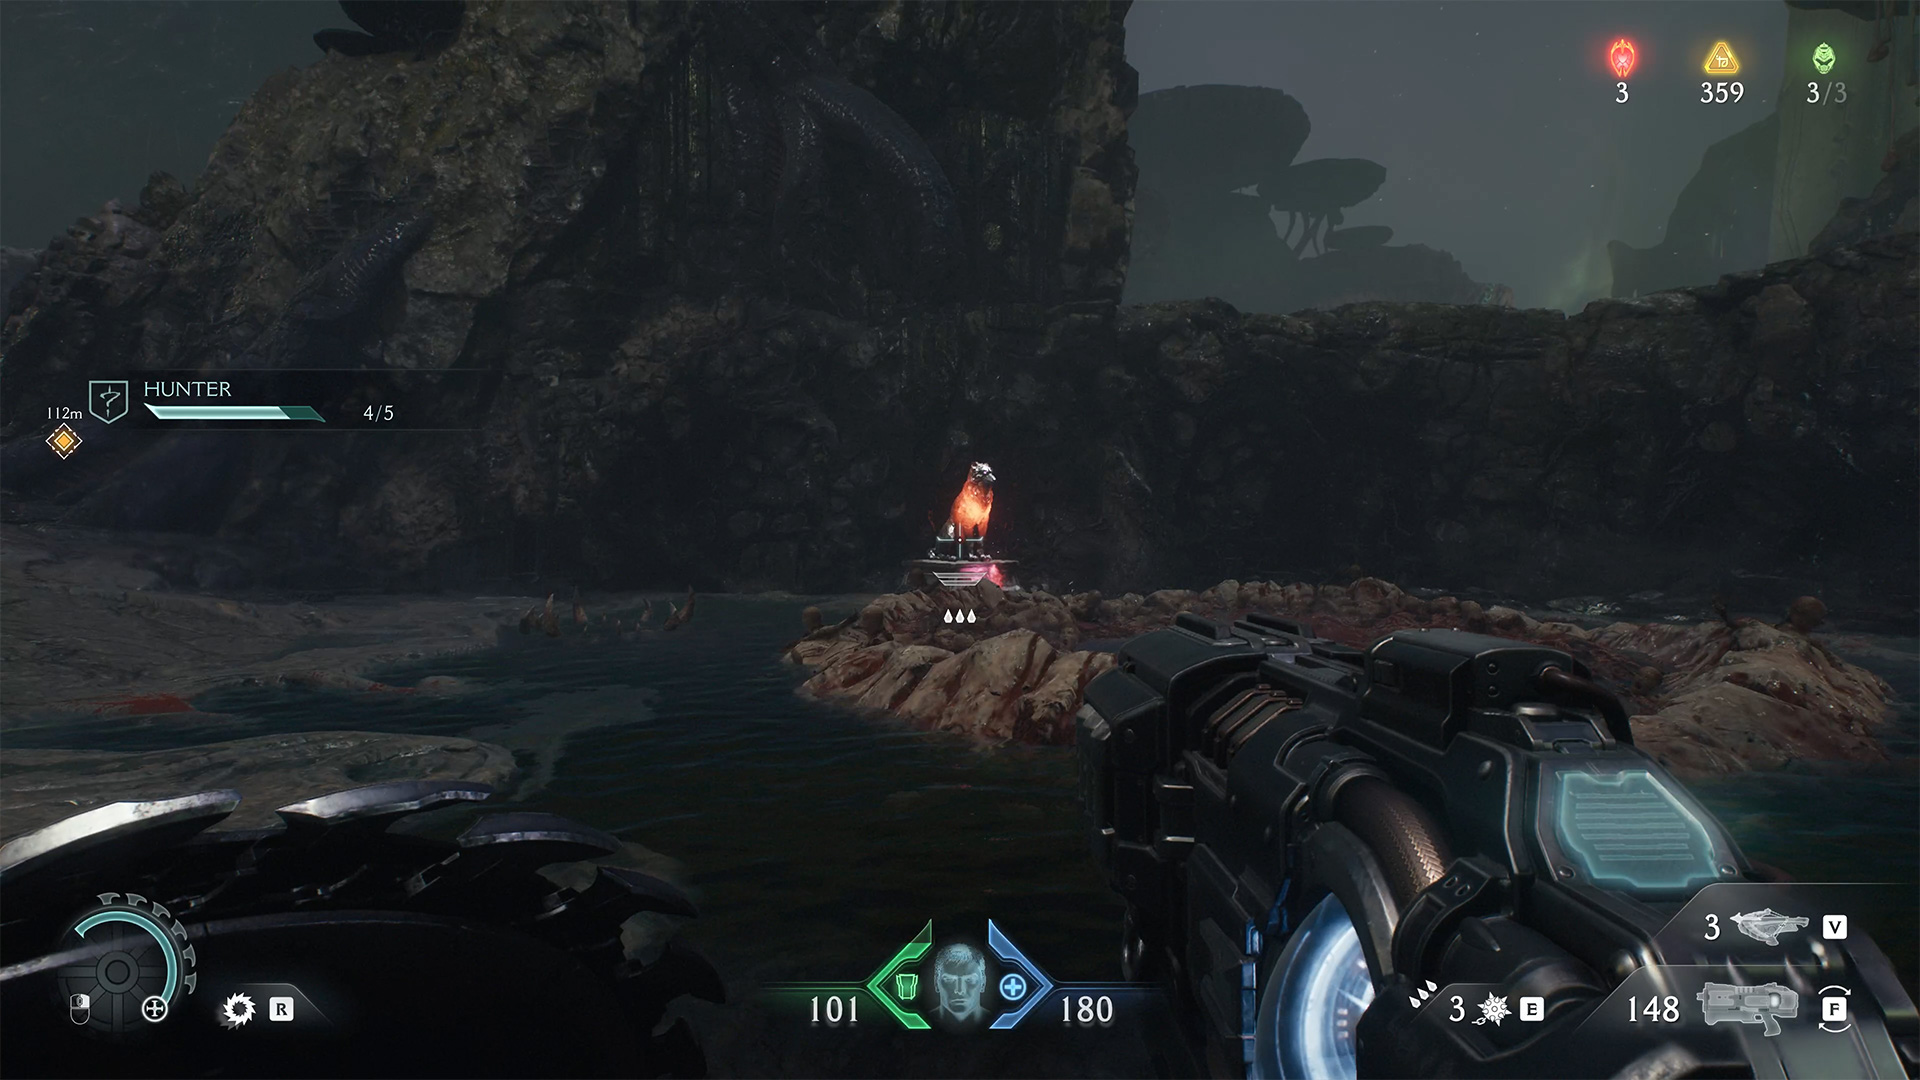
Kar’thul Marshes first wolf statue
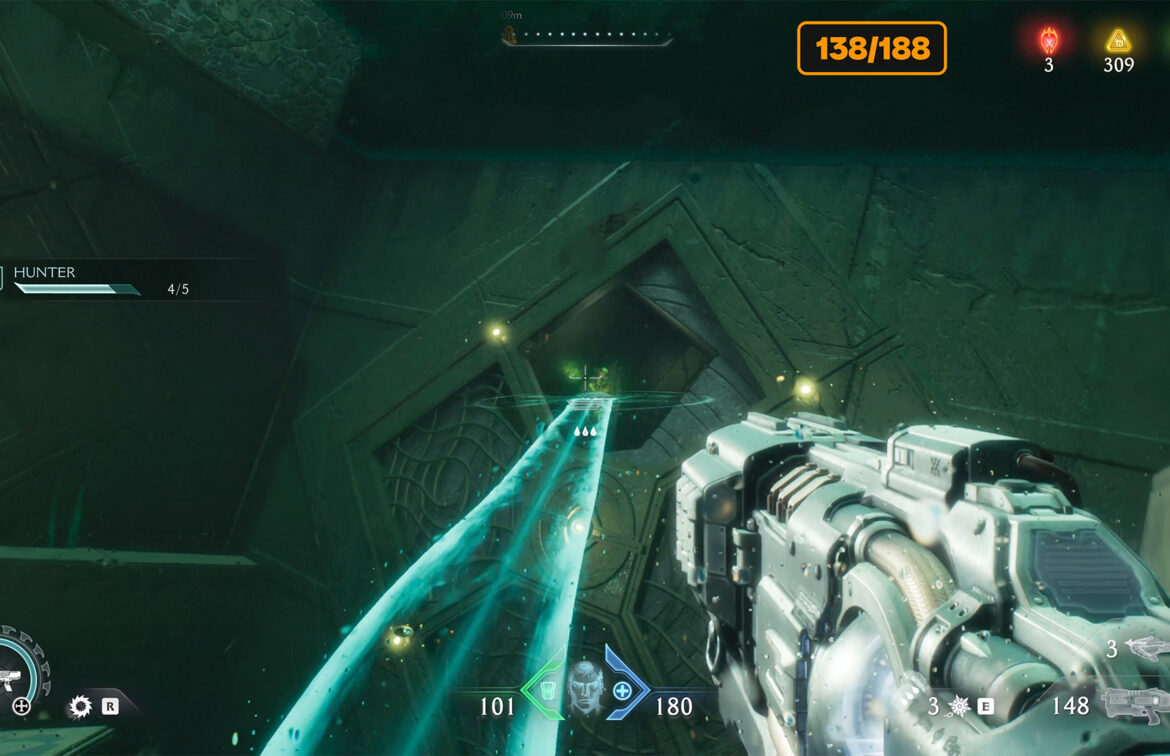
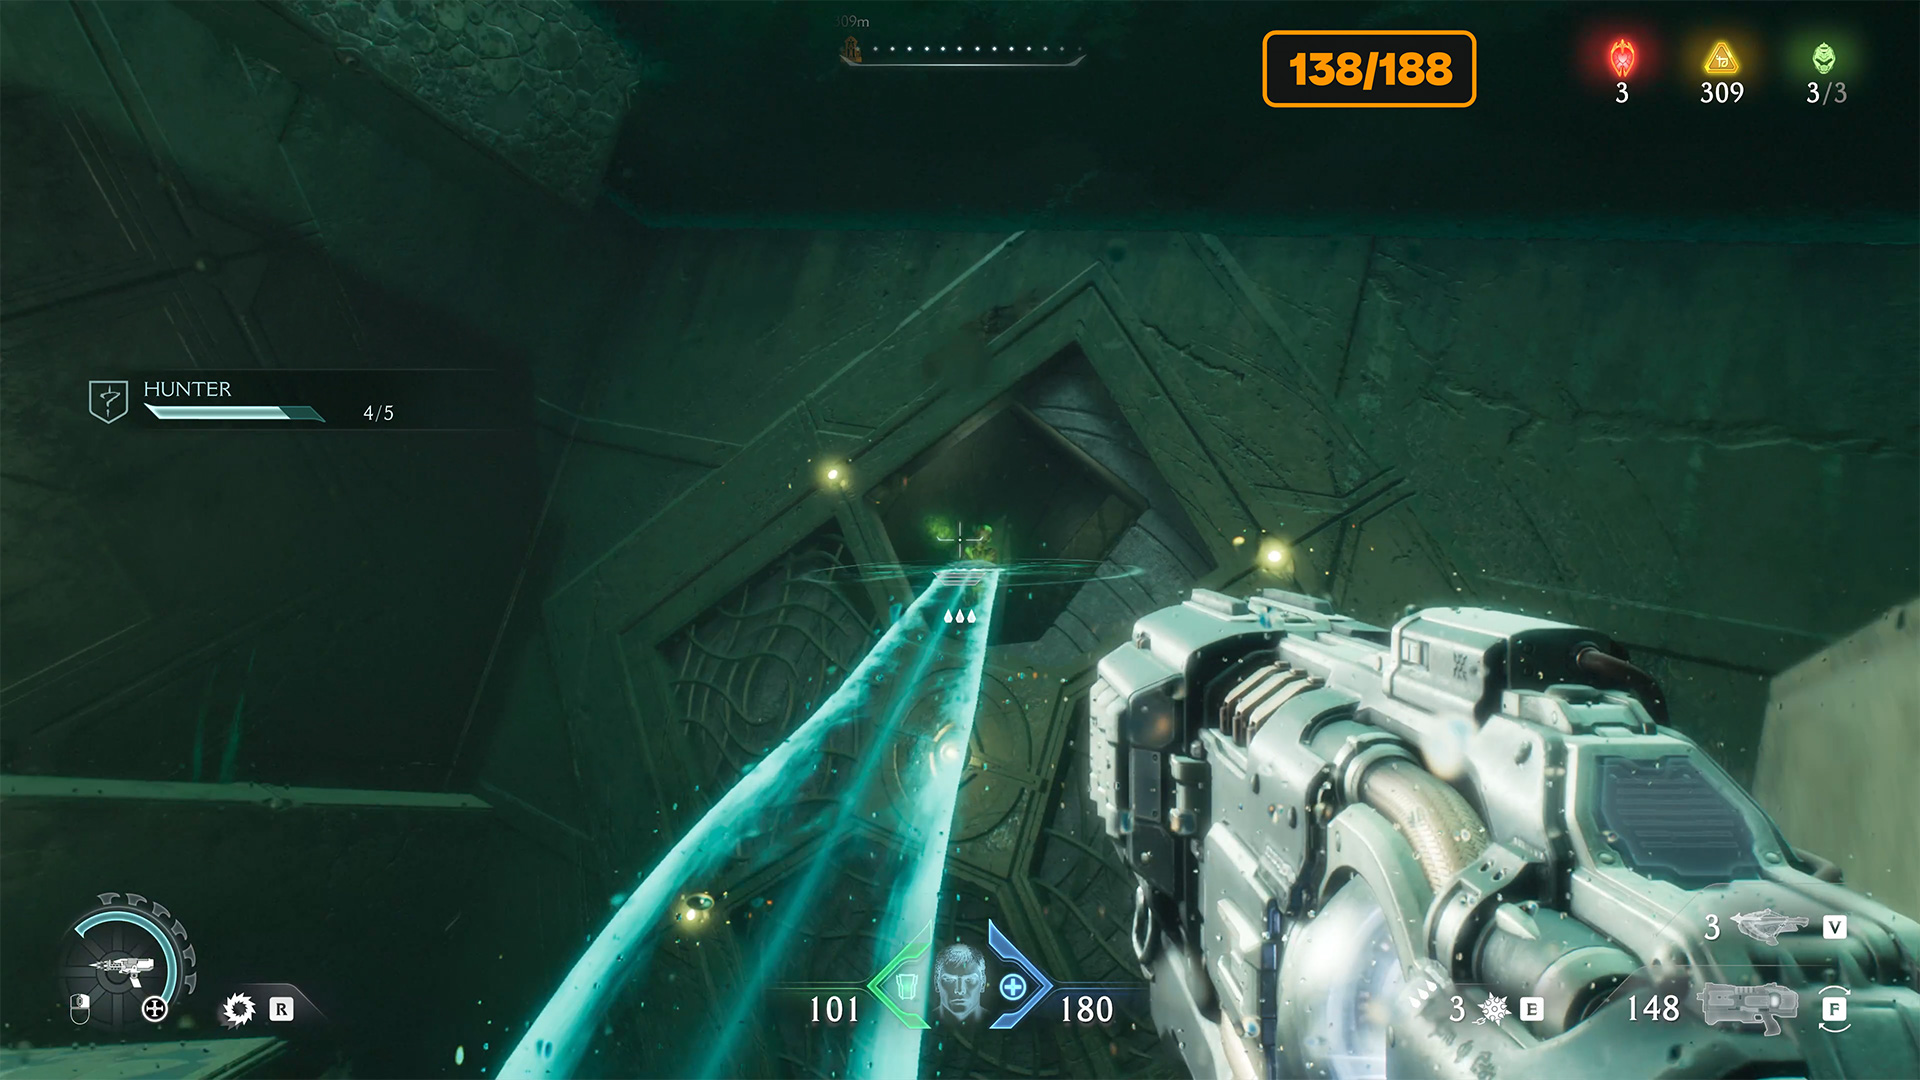
After you use Shield Charge and pass through the barrier, you will see the Sentinel Shrine on your left. You can upgrade your weapons if necessary. After that, run straight ahead. To stay on the right path, follow the route I have drawn on the map. At the end of this route, you will see a statue of a wolf that you need to destroy. This is the first of five statues. You need to do this to complete the challenge and gain access to the wraithstone. Once the statue is broken, jump down. Here you will find 6 gold coins.
-
- Kar’thul Marshes first wolf statue location
-
- Kar’thul Marshes first wolf statue
-
- Gold near the statue of the wolf
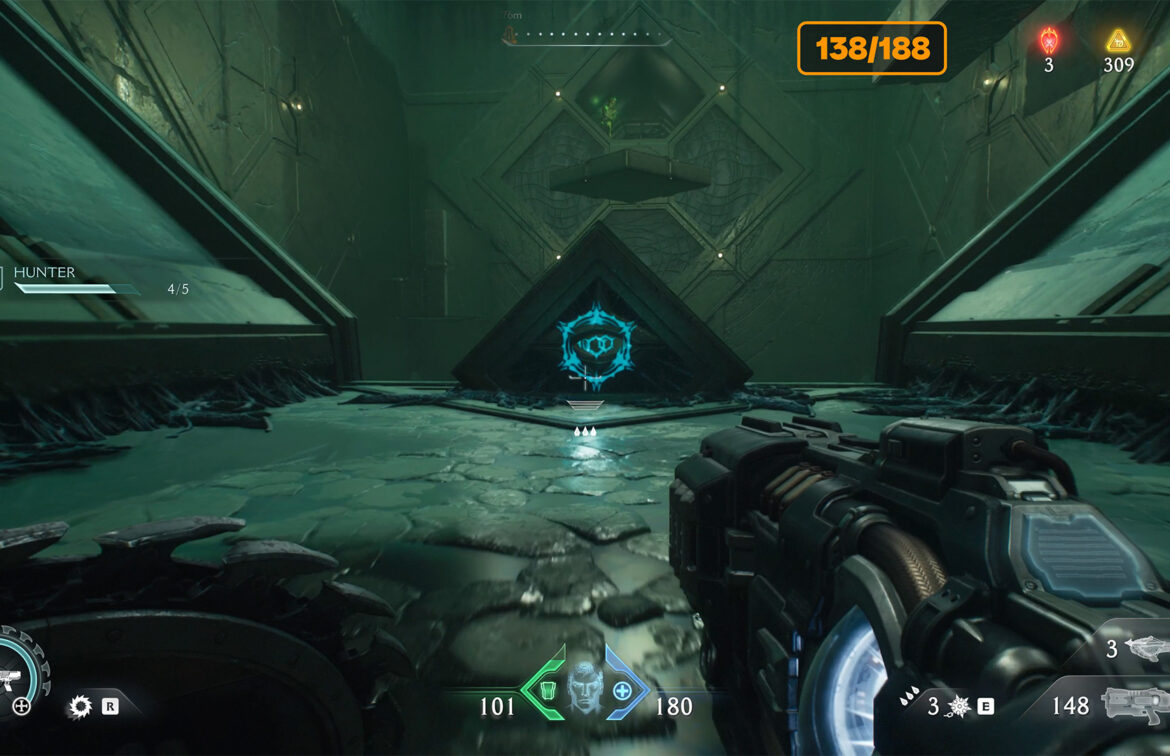
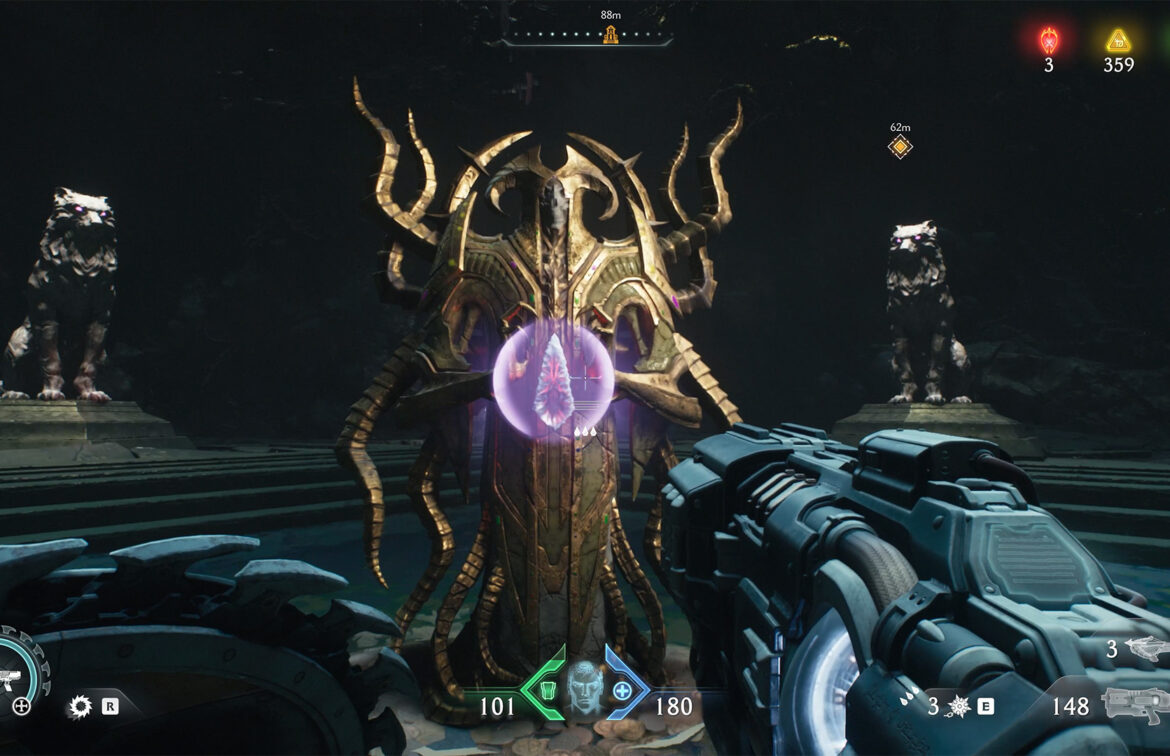
Kar’thul Marshes ruby secret
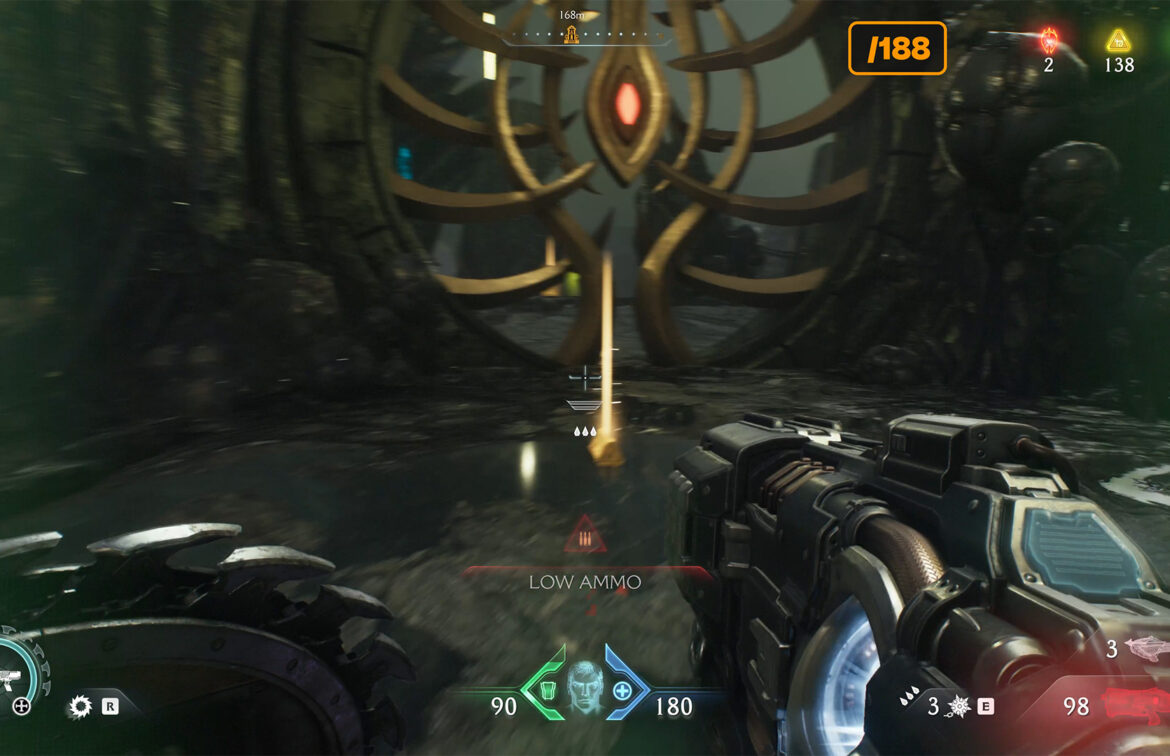
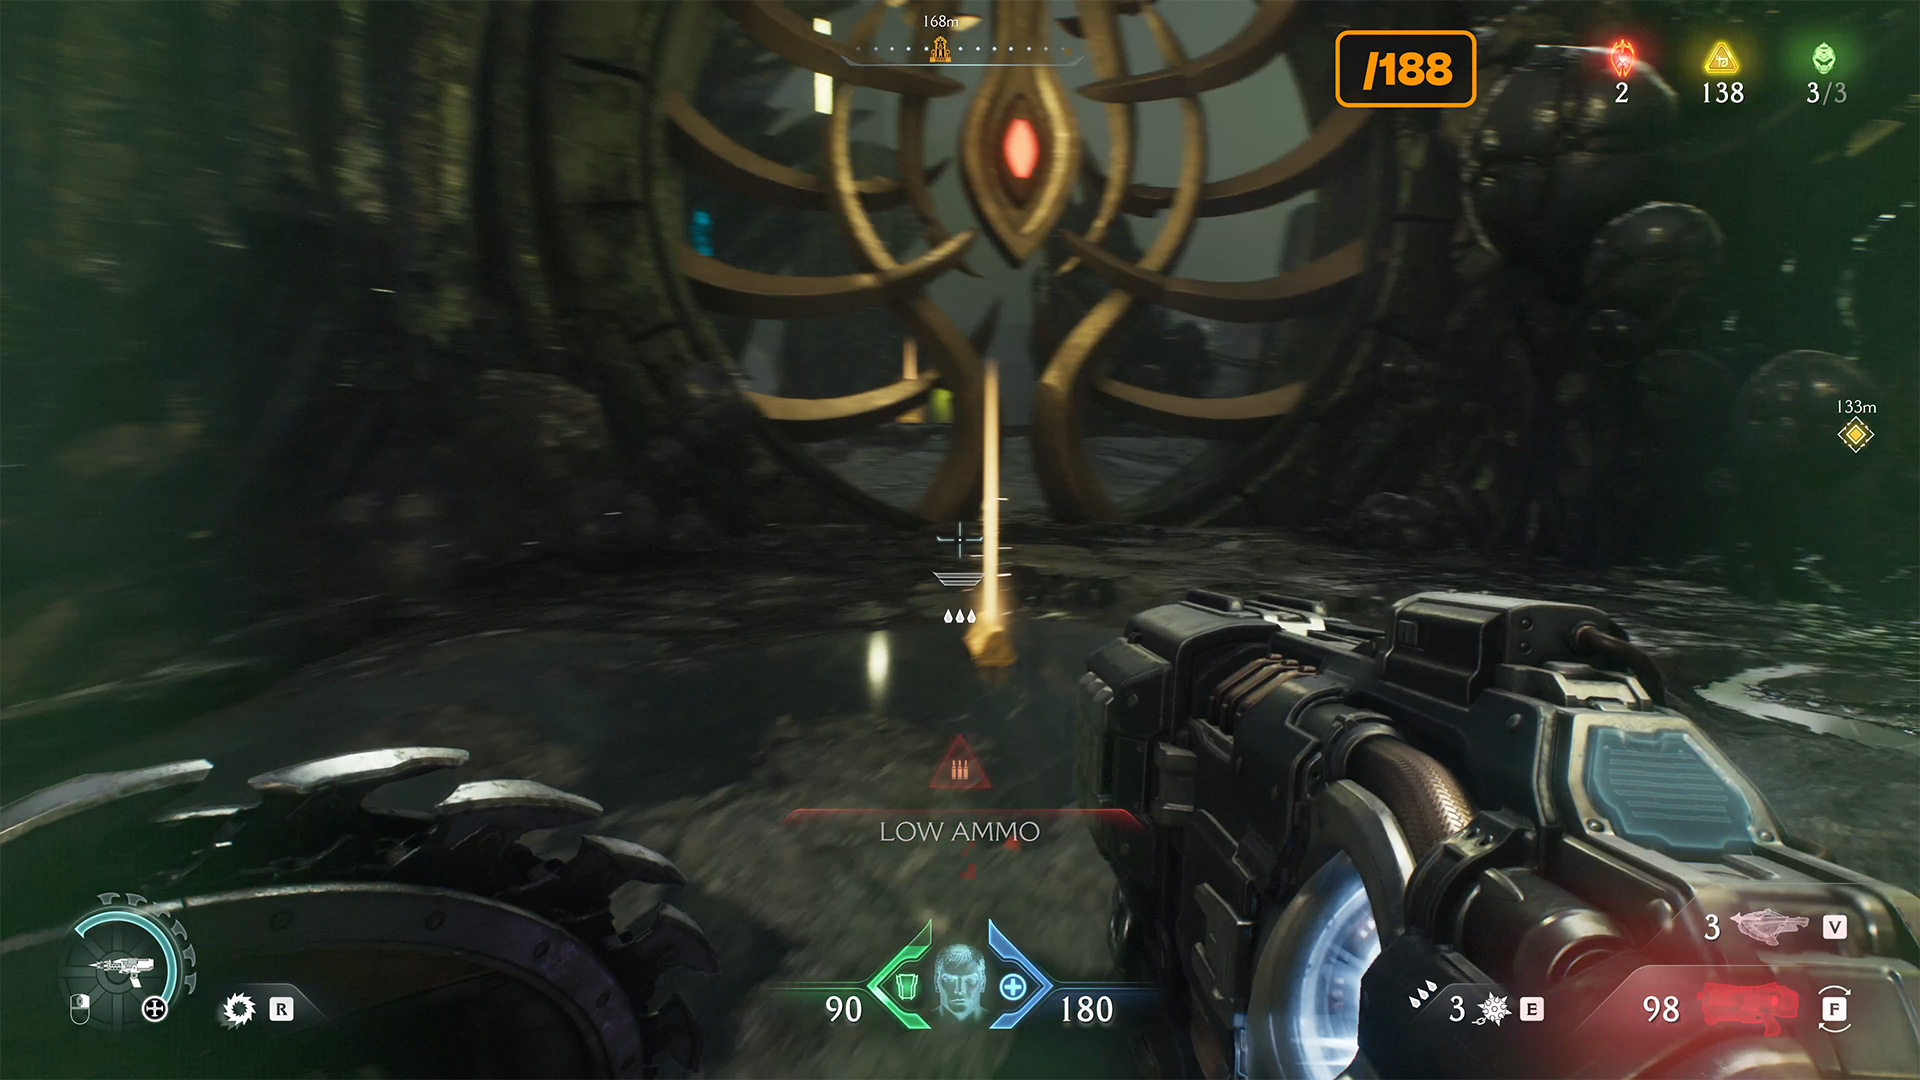
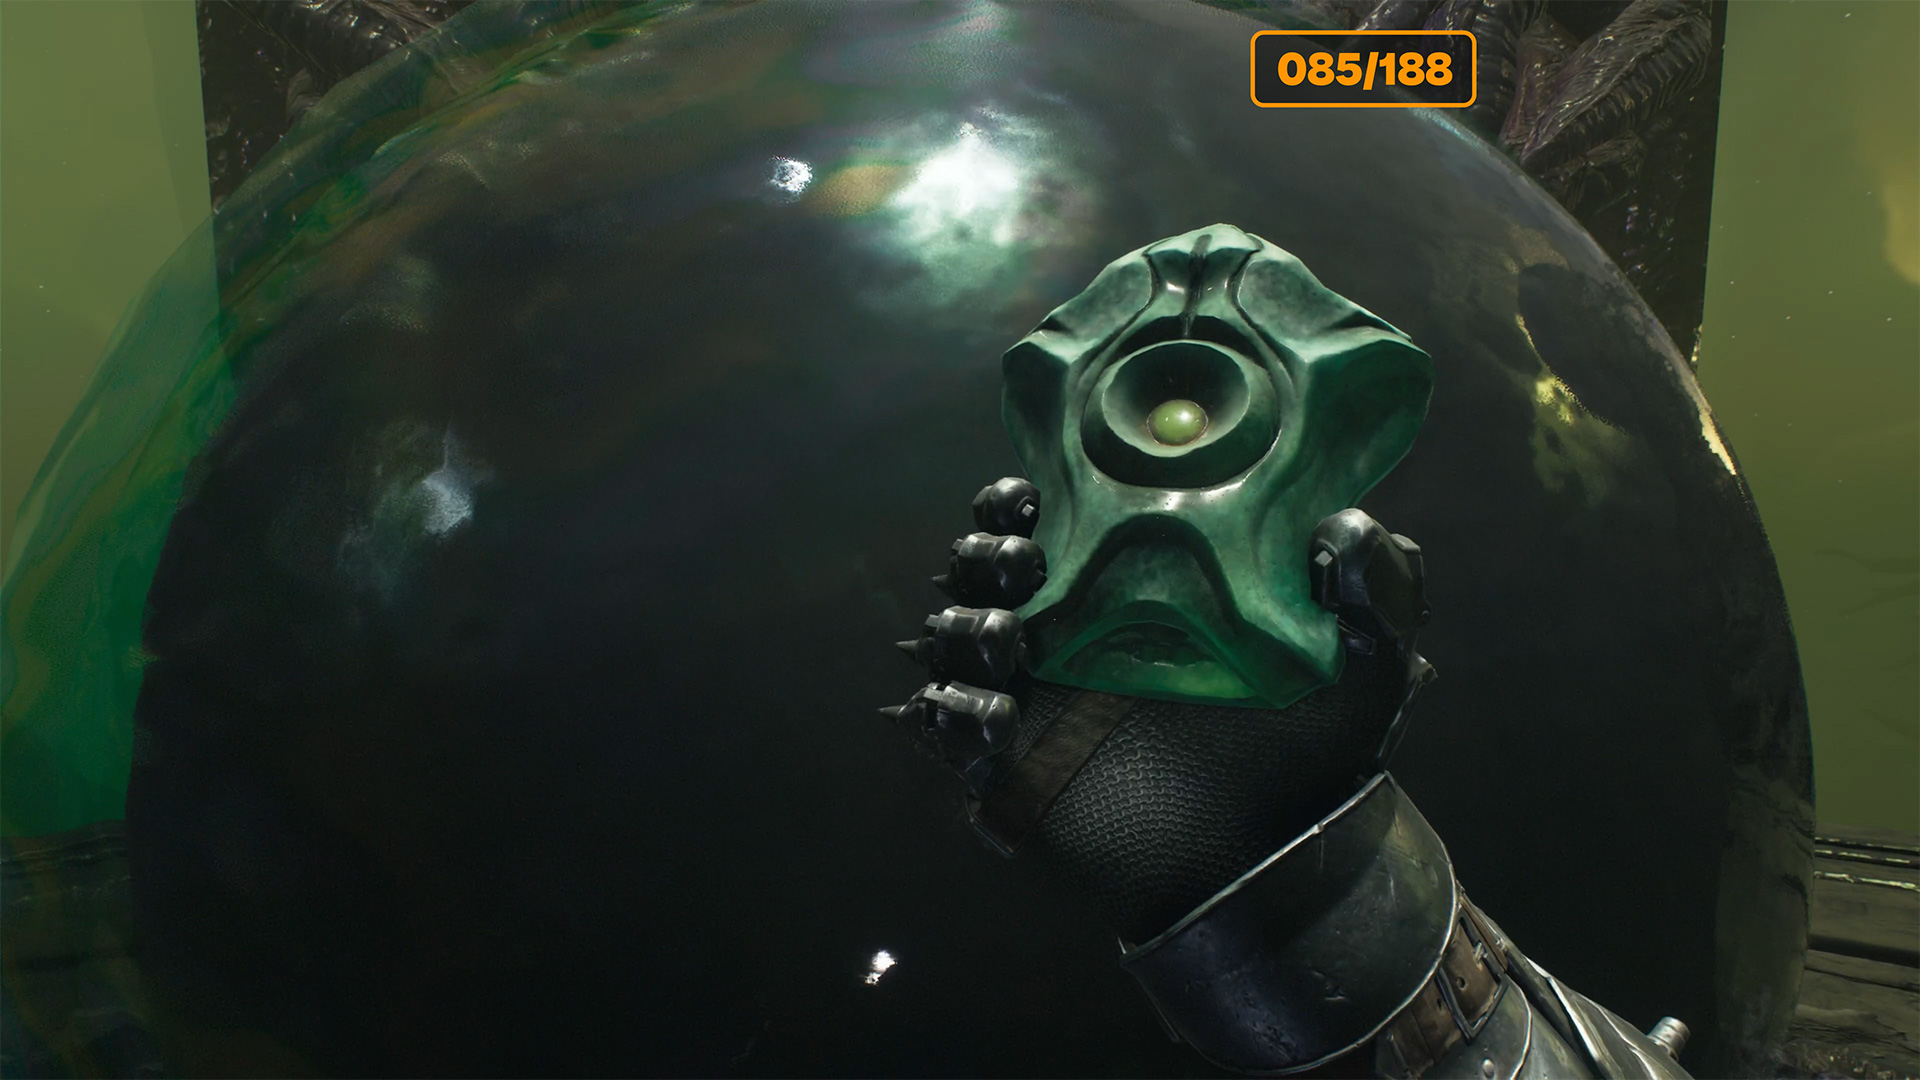
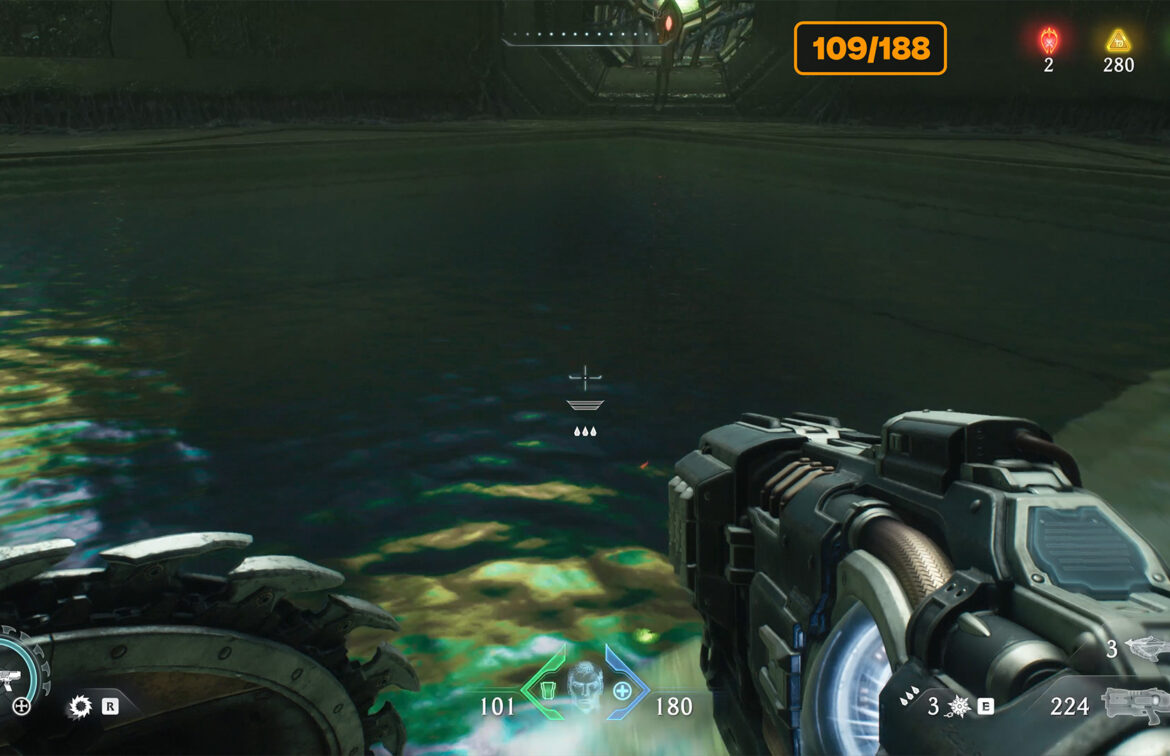
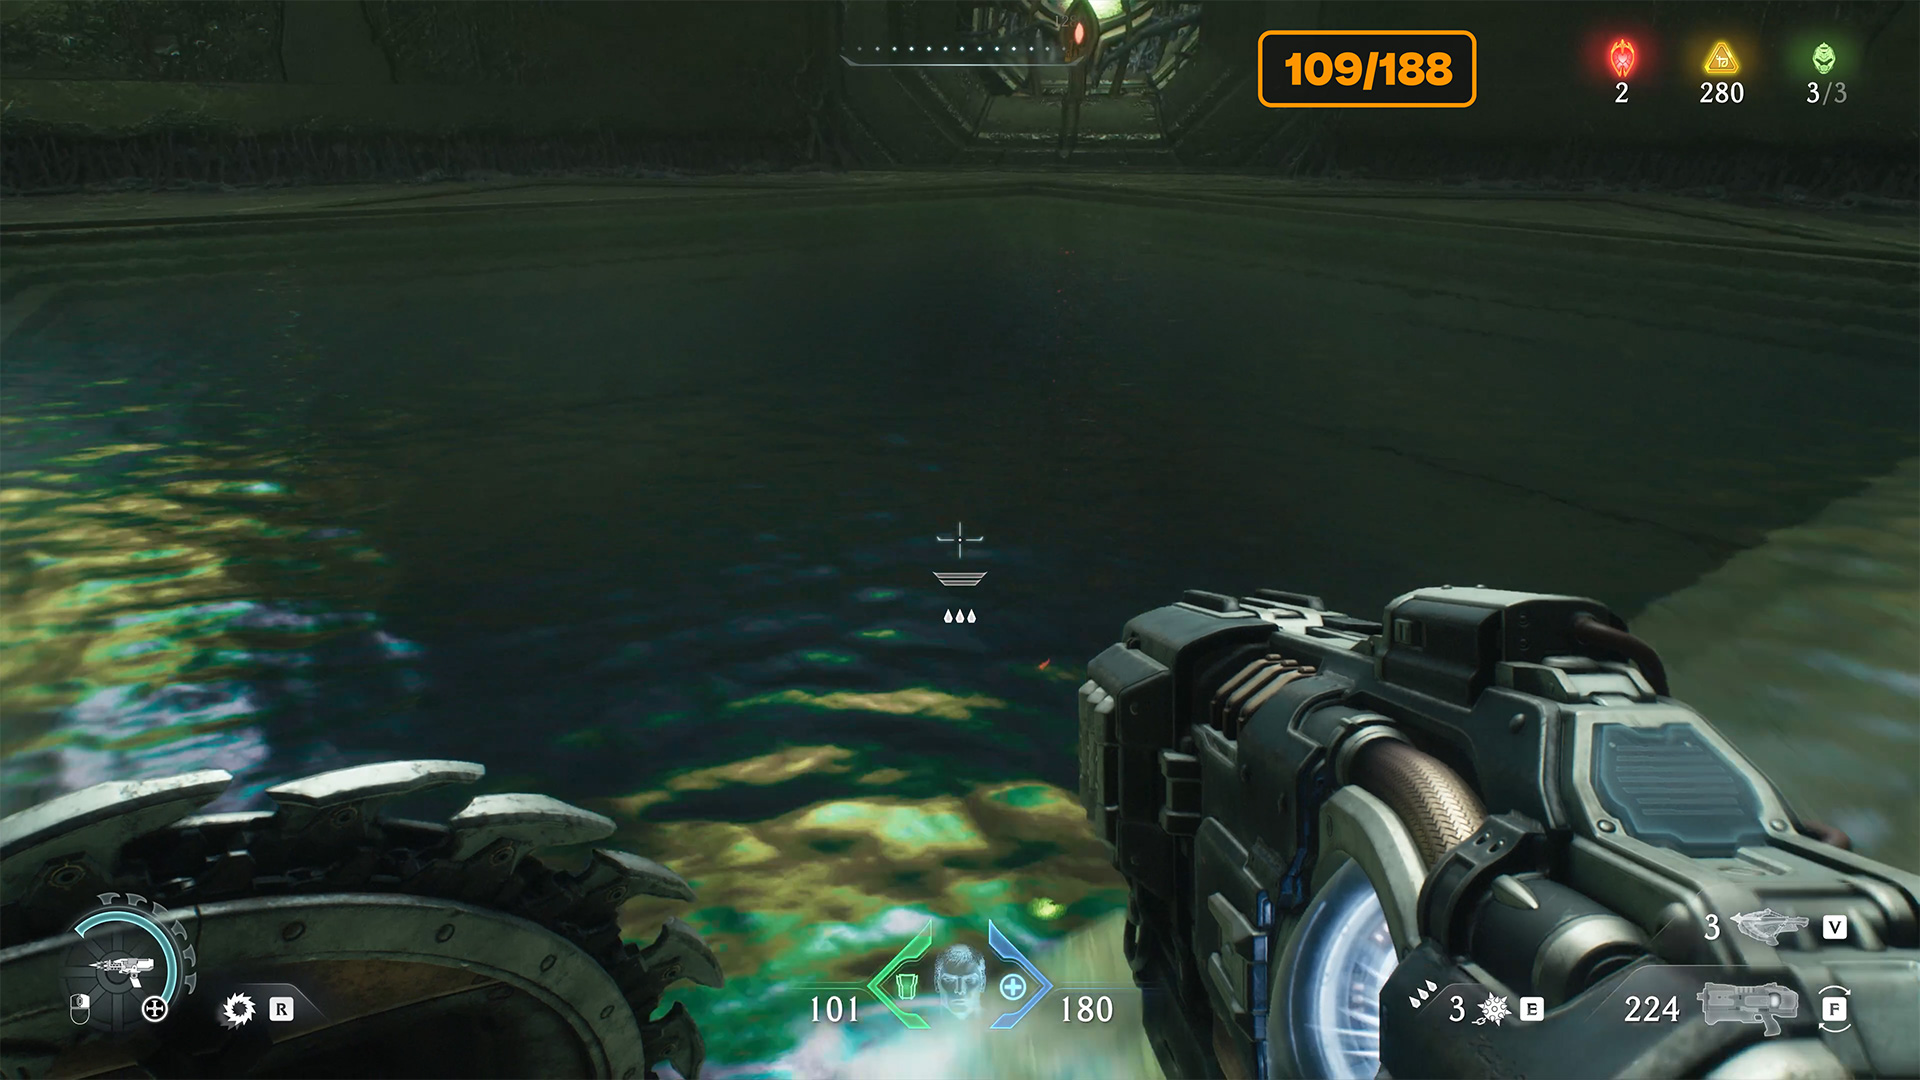
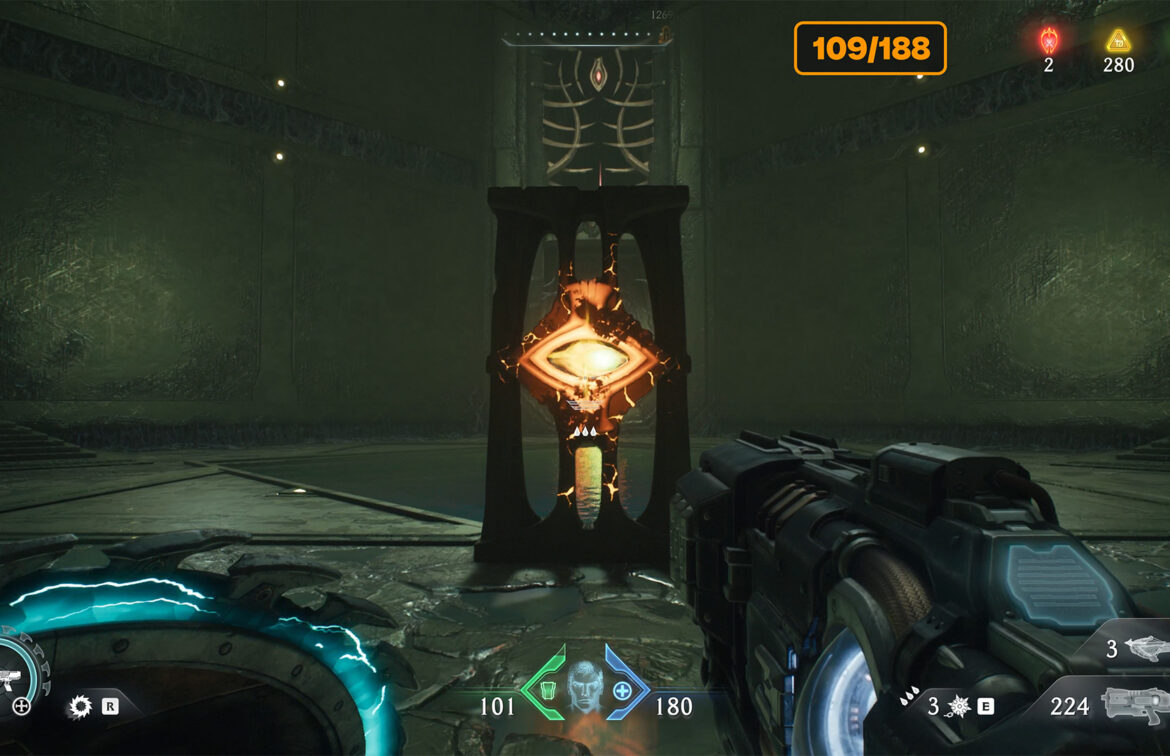
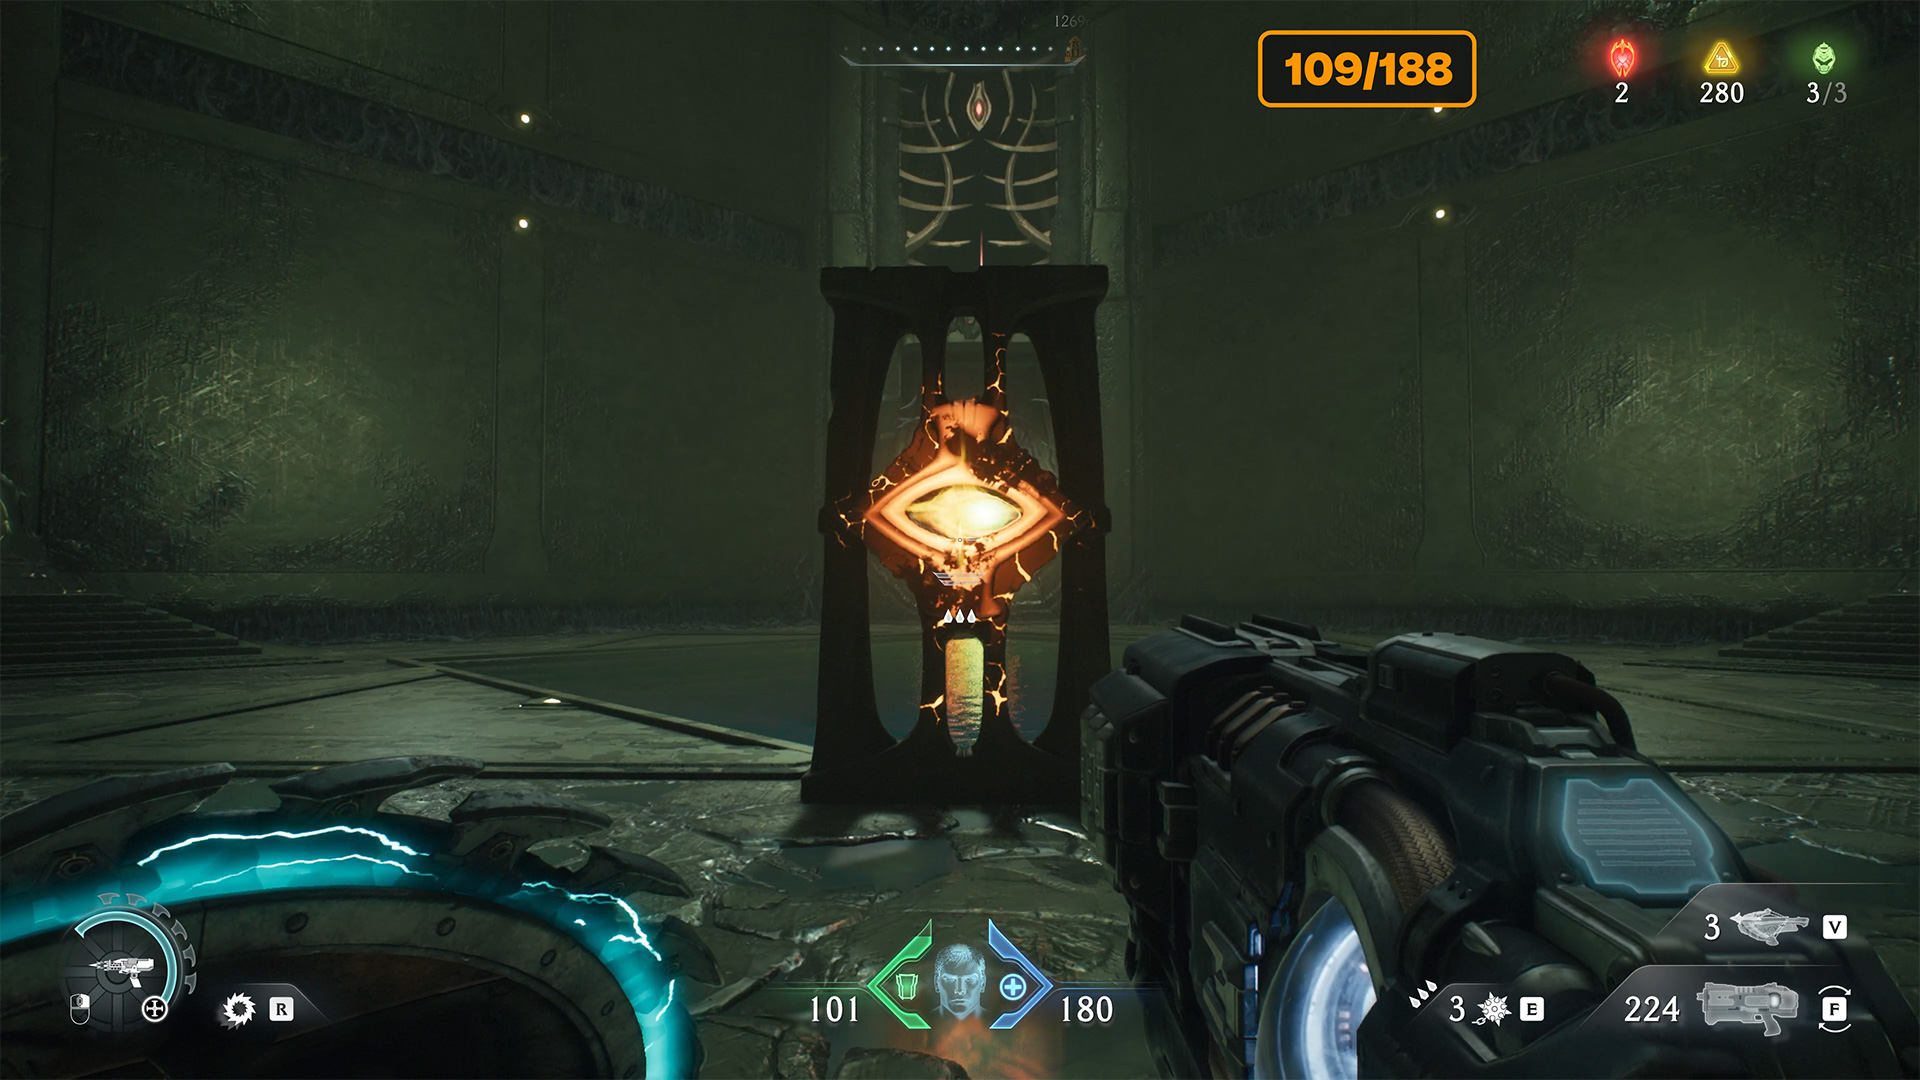
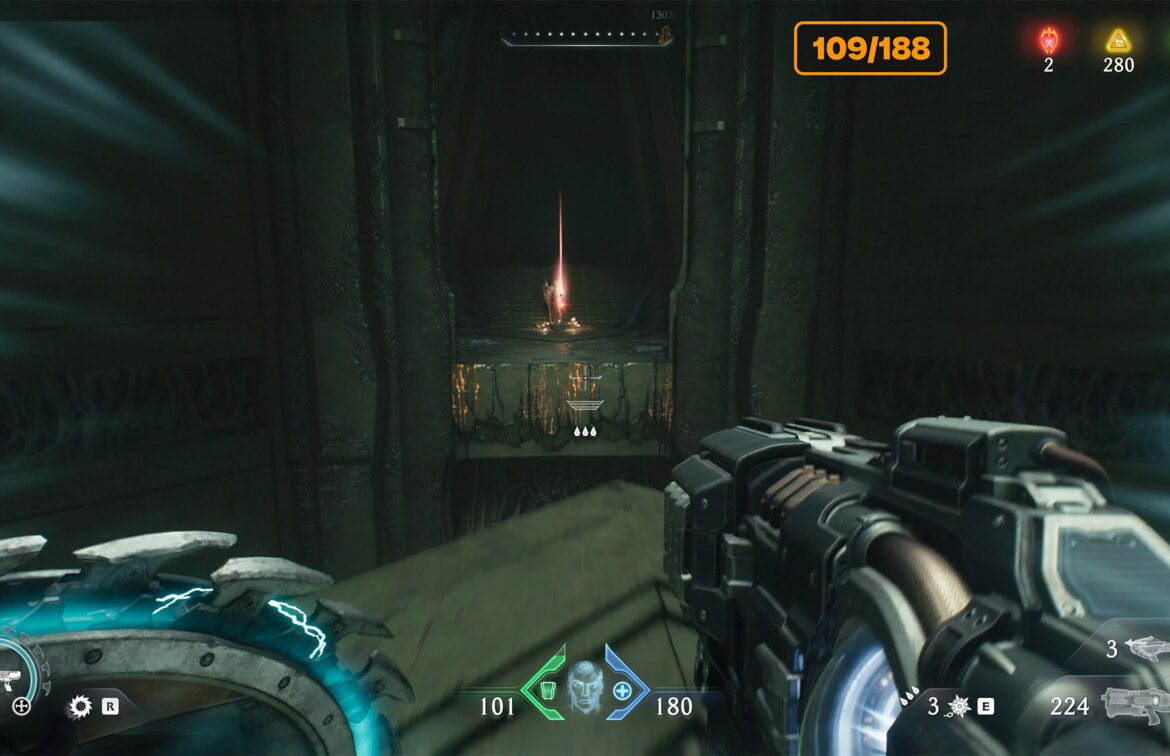
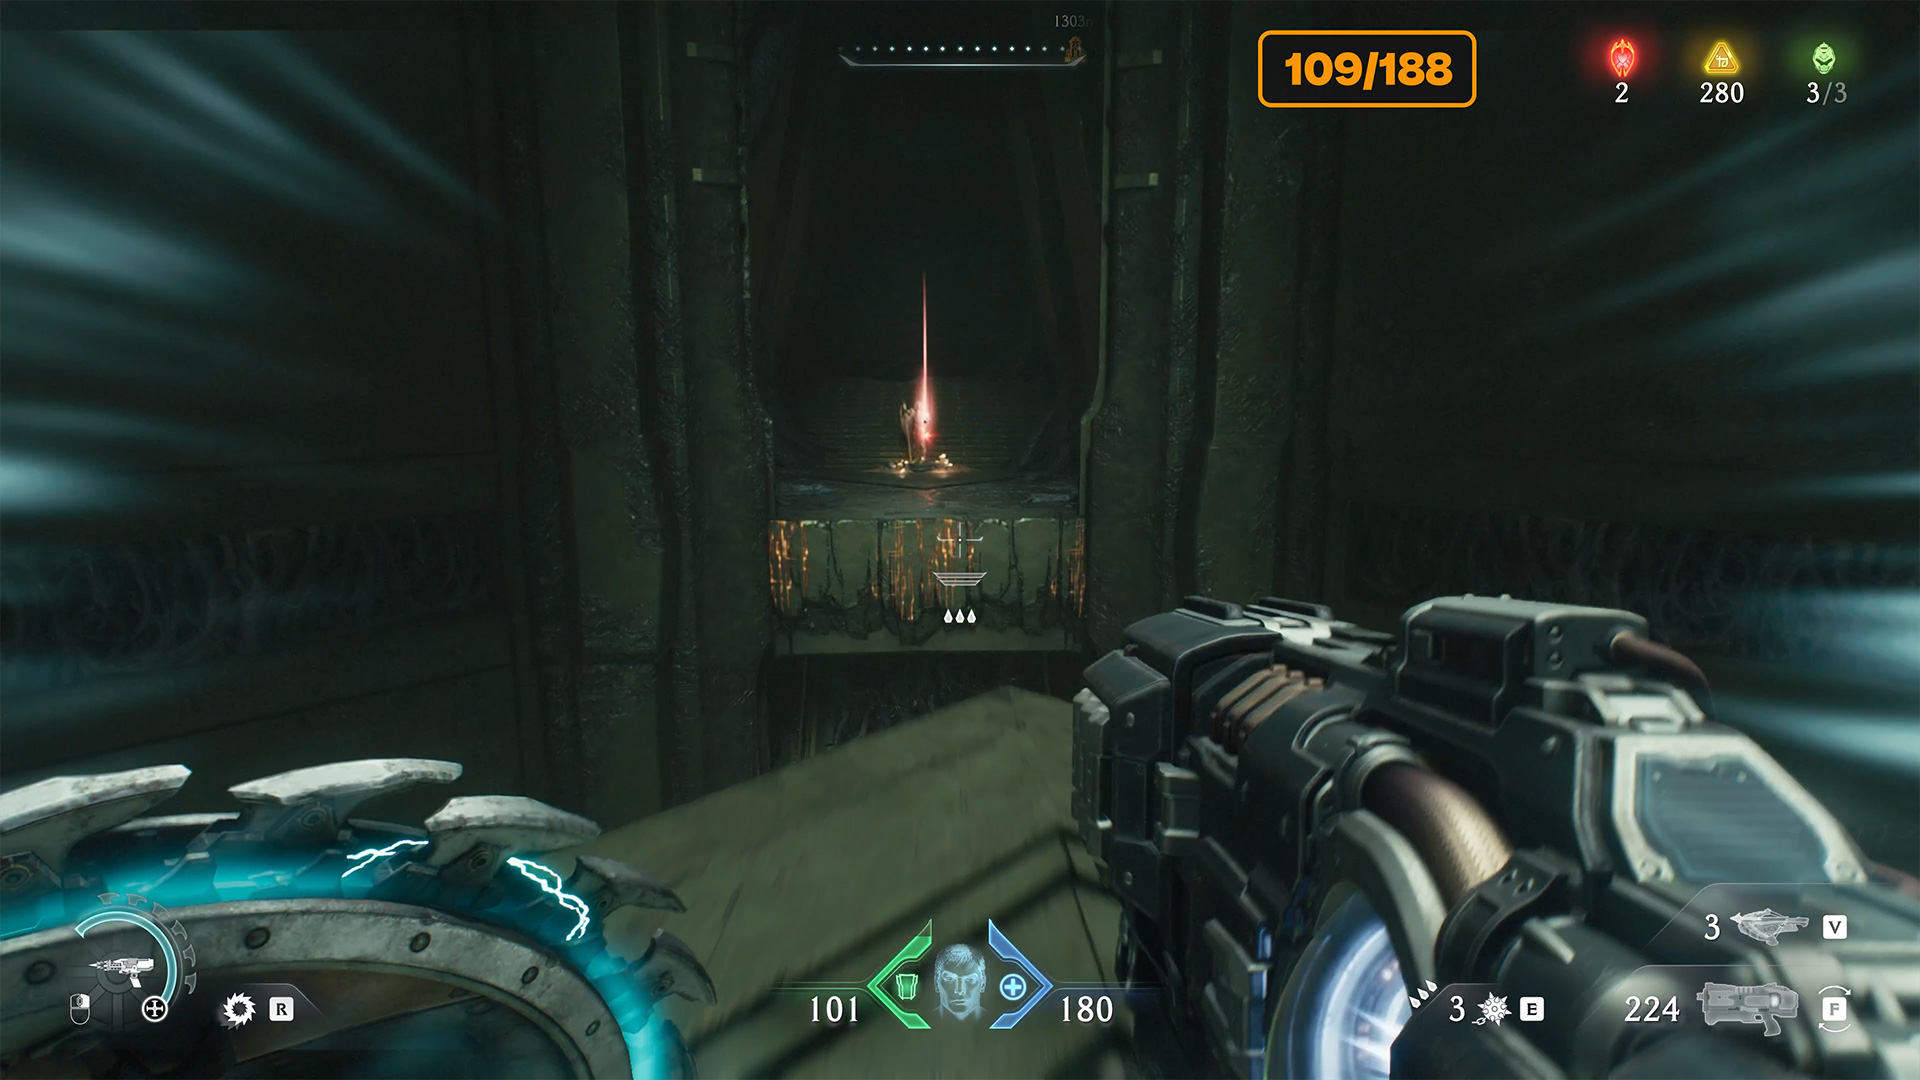
After obtaining the gold, turn around and go to the secret room. You will see the familiar round door, which will give you access to the next puzzle. Inside, you will see a statue with a ruby. When you start moving towards it, a teleport will activate and take you to another room. In front of you, you will see a structure with an eye in the center.
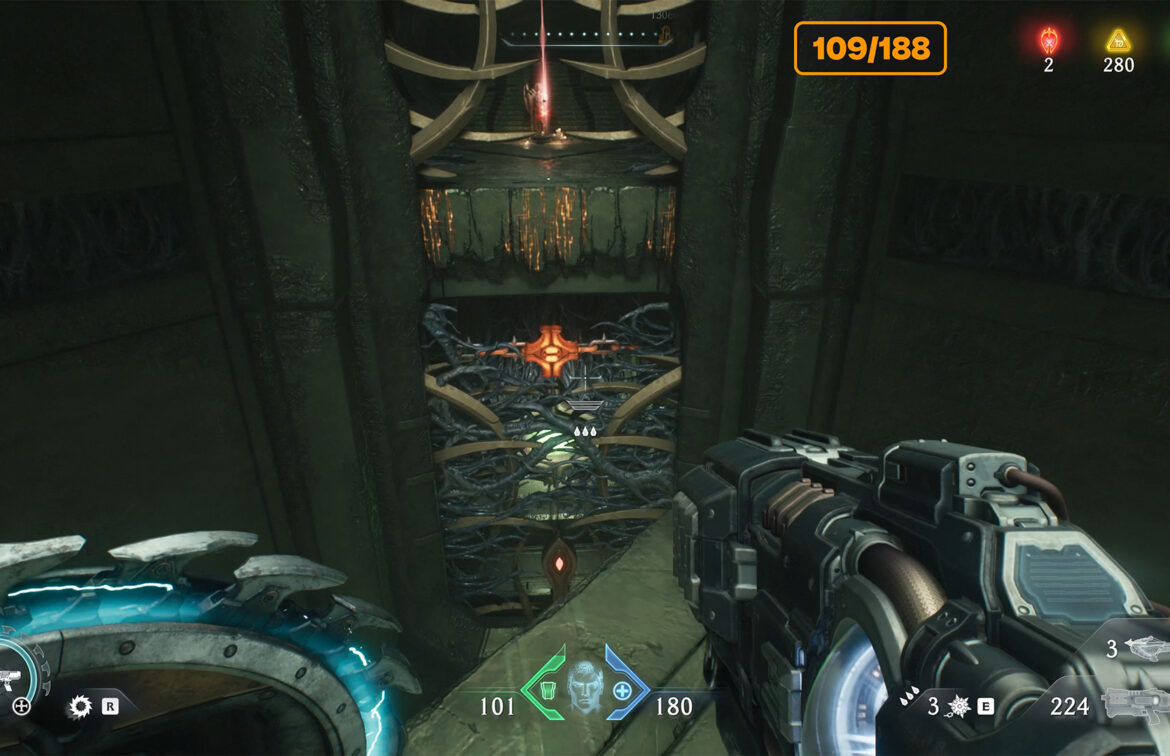
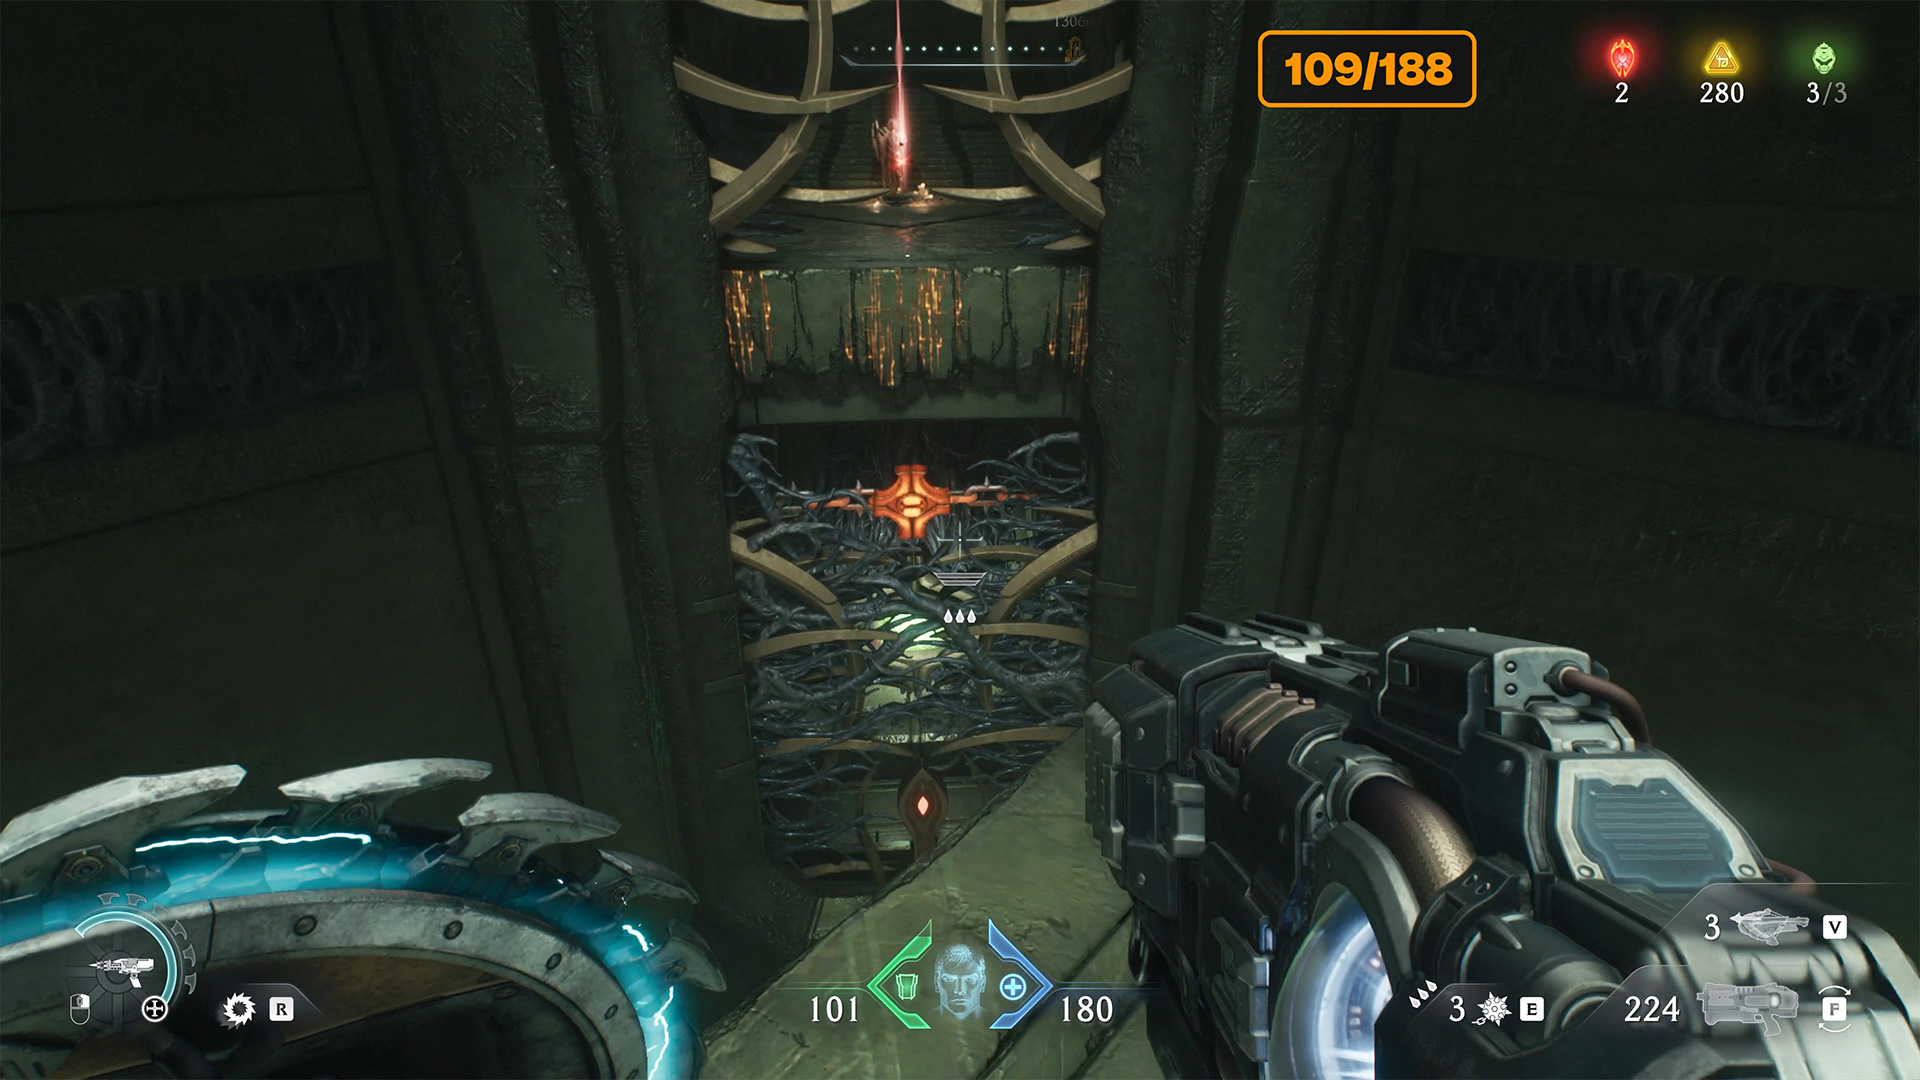
For now, walk past it and dive into the pool behind it. You will need to dive several times until you land on the platform. Here you need to find a metal red cross. Throw your shield at it to break the connection. Now jump off the platform, but be careful not to fall into the water. This is the pool you already know. Run to the structure with the eye.
Here you need to take the correct position for this structure to become active. After that, you can throw your shield at it to open access to the ruby statue in front. Now you need to dive into the pool of water again. You will find yourself back on the platform. But now the passage to the statue with the ruby will be free, and you can jump there from the platform. After taking the ruby, exit through the portal in front of you.
-
- Kar’thul Marshes ruby secret location
-
- The door to the second secret area
-
- Immediately dive into the pool
-
- Find and break the metal connection
-
- Activate the eye in the correct position
-
- Back into the pool and jump to the ruby
Kar’thul Marshes collectible toy
When you exit the secret location via the teleport, proceed forward. To your right, you will see a wall that you can climb. Mankubus will be waiting for you here. There is a button underneath him. Stand on it and the gate to the red metal cross will open in front of you. You must break it by throwing your shield at it. Now you have free access to the room with the toy on the right. Run there to get the Battle Knight collectible toy.
-
- Kar’thul Marshes collectible toy location
-
- A button on the ground that you need to stand on

-
- Throw the shield, a metal connection in front
-
- Kar’thul Marshes collectible toy
Kar’thul Marshes second wolf statue
Turn around and run straight ahead. You will see 8 gold pieces here. They are located nearby. Once you have collected the gold, do not rush to leave this area. Note that there is a small ledge beyond the cliff, and there is a second wolf statue that you must destroy. Throw your shield at the statue to break it.
-
- Kar’thul Marshes second wolf statue location
-

- Gold near thr second wolf statue
-
- Kar’thul Marshes second wolf statue
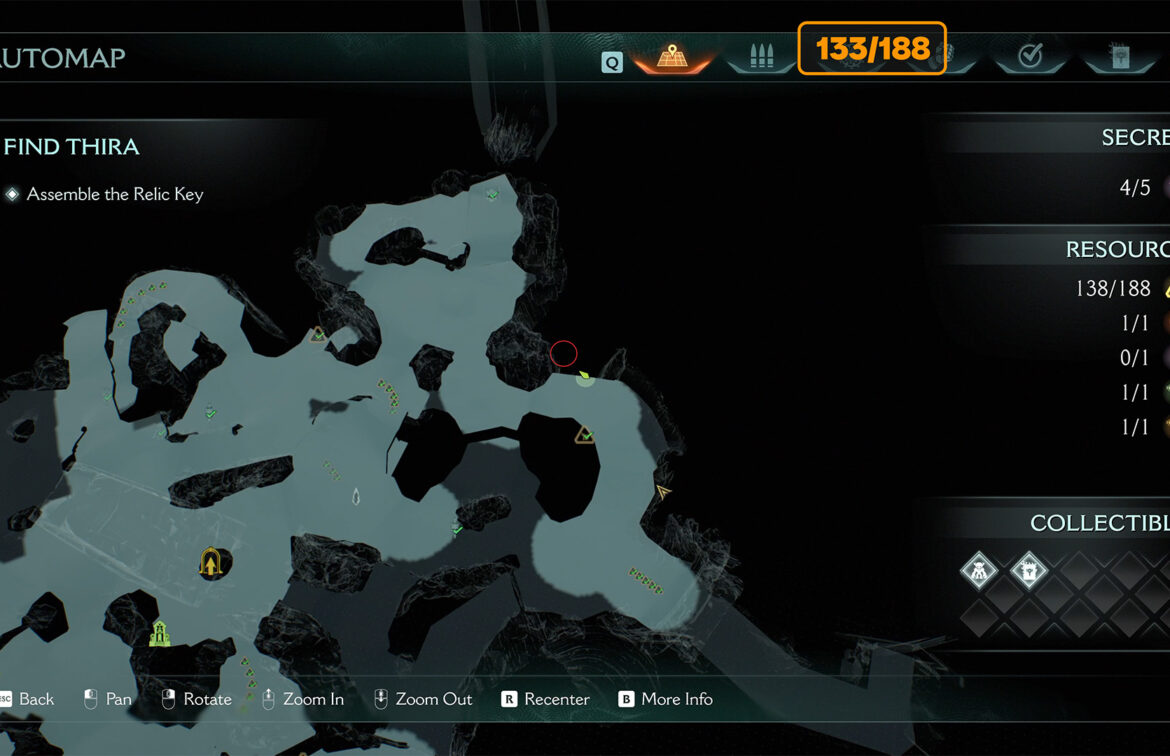
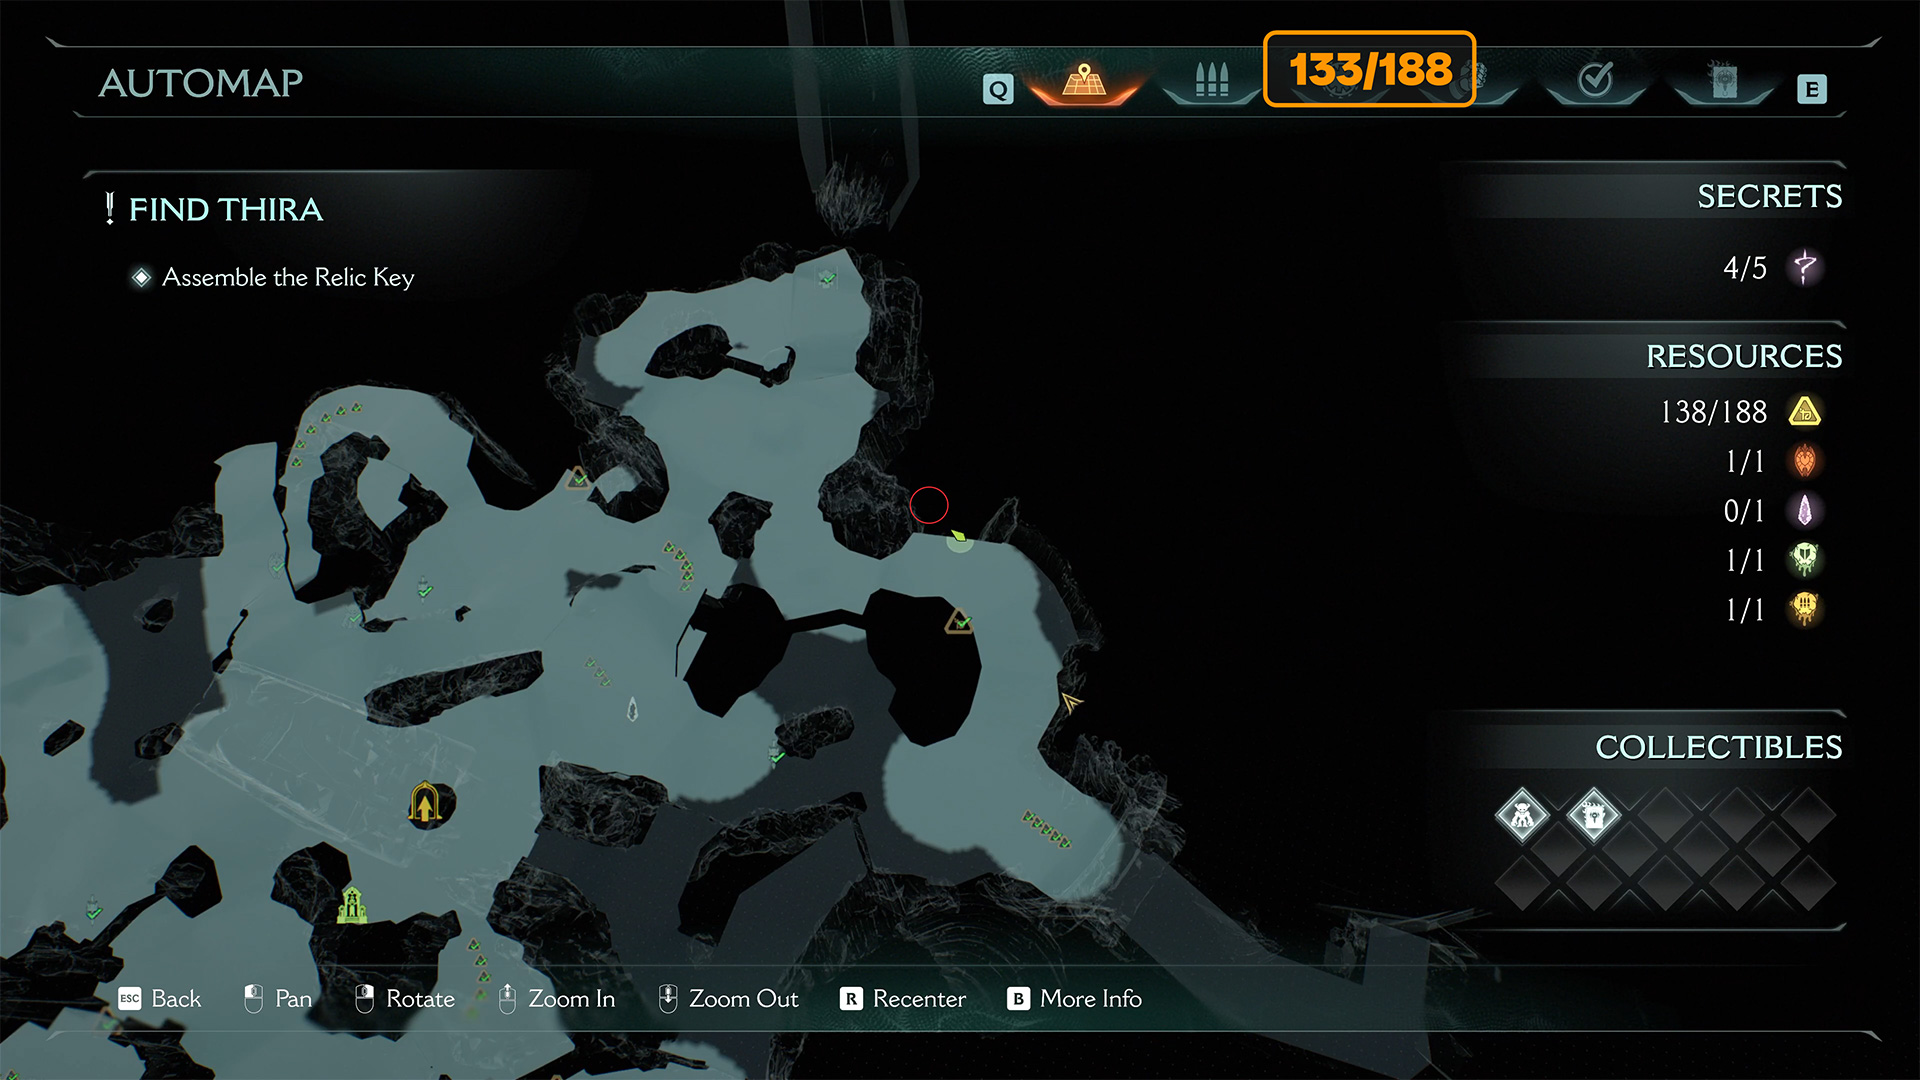
Kar’thul Marshes gold bar location
To your right, you will see 5 more gold coins on the map. This is a kind of pointer that will lead you to the cave.
-
- Kar’thul Marshes gold bar location
-
- Kar’thul Marshes gold bar near the cave
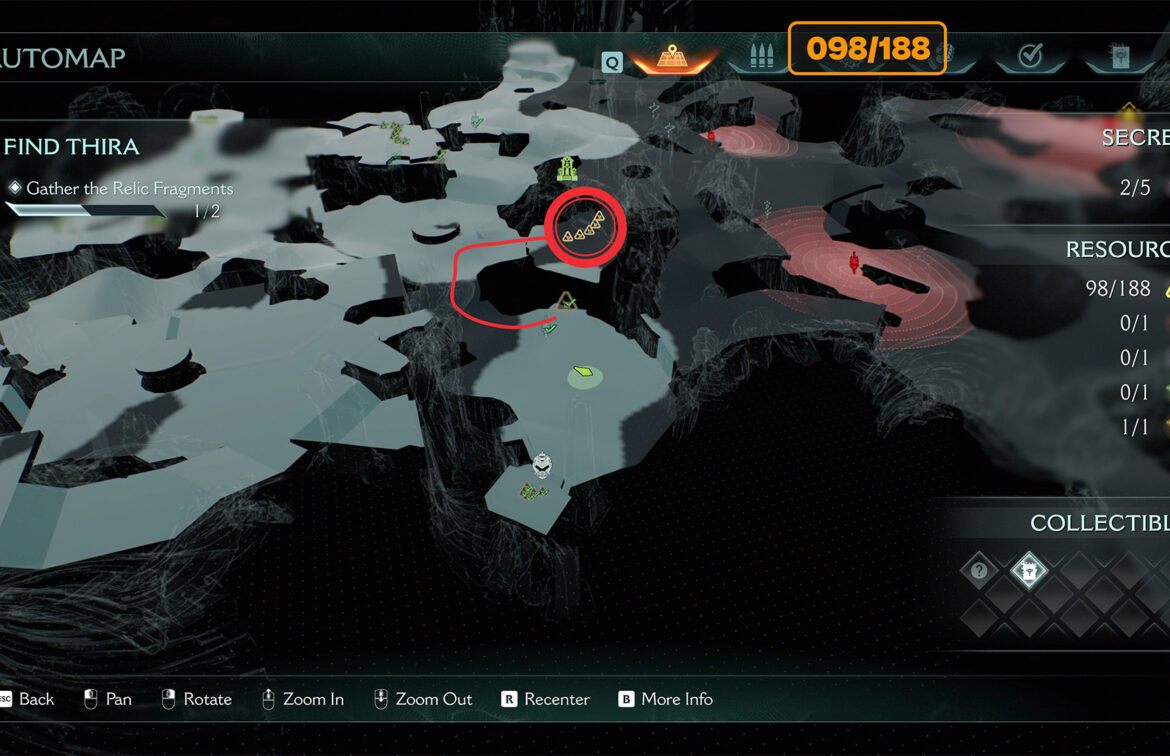
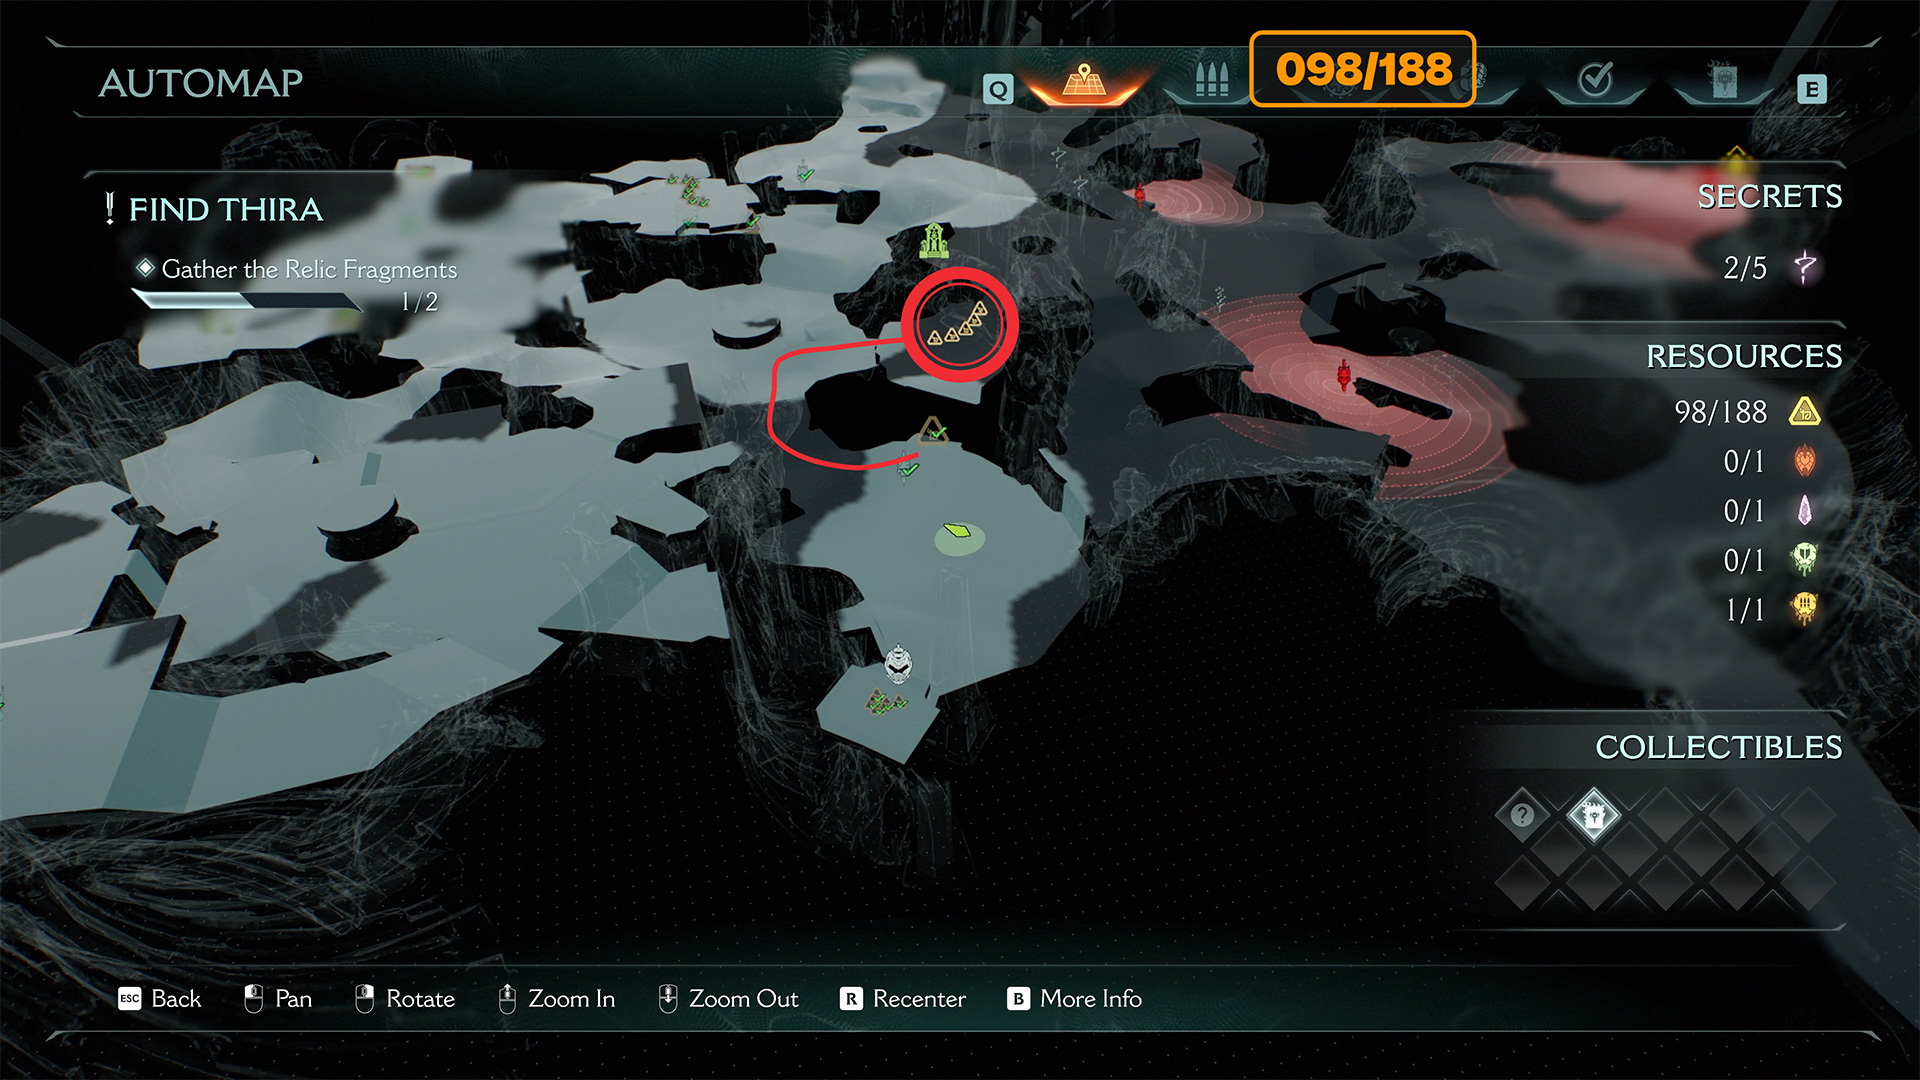
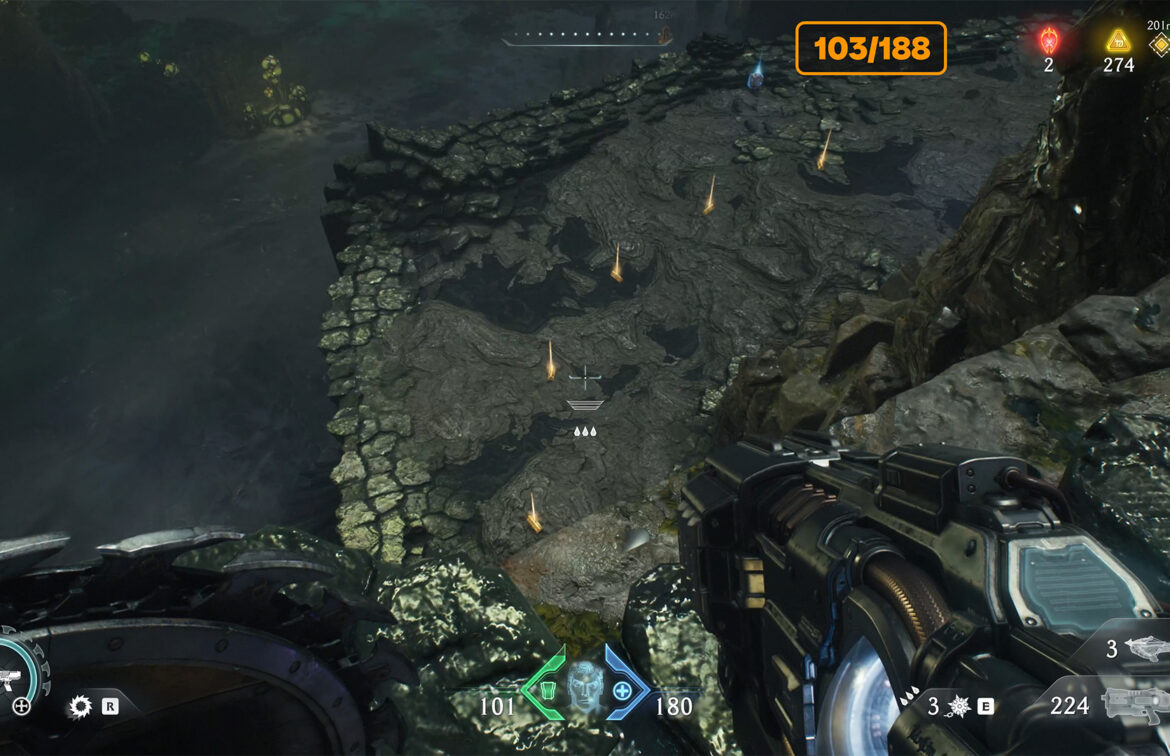
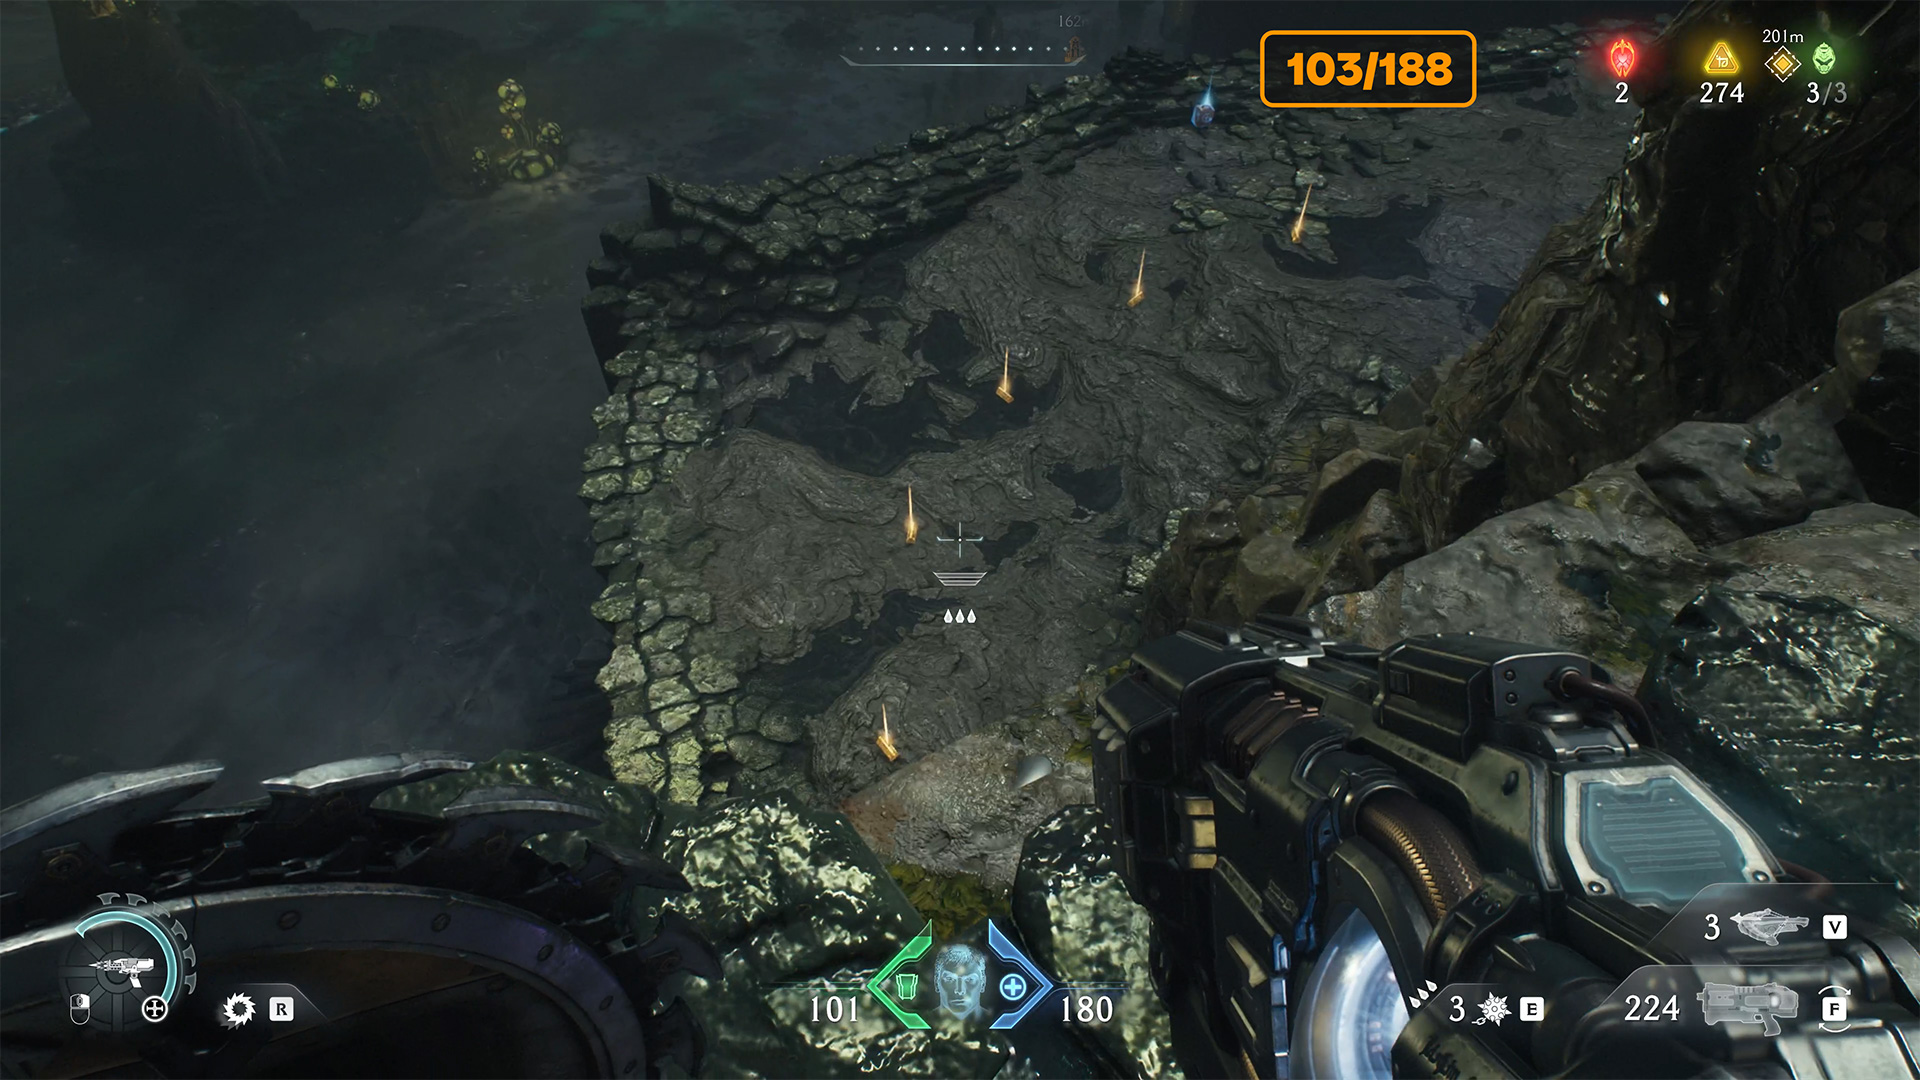
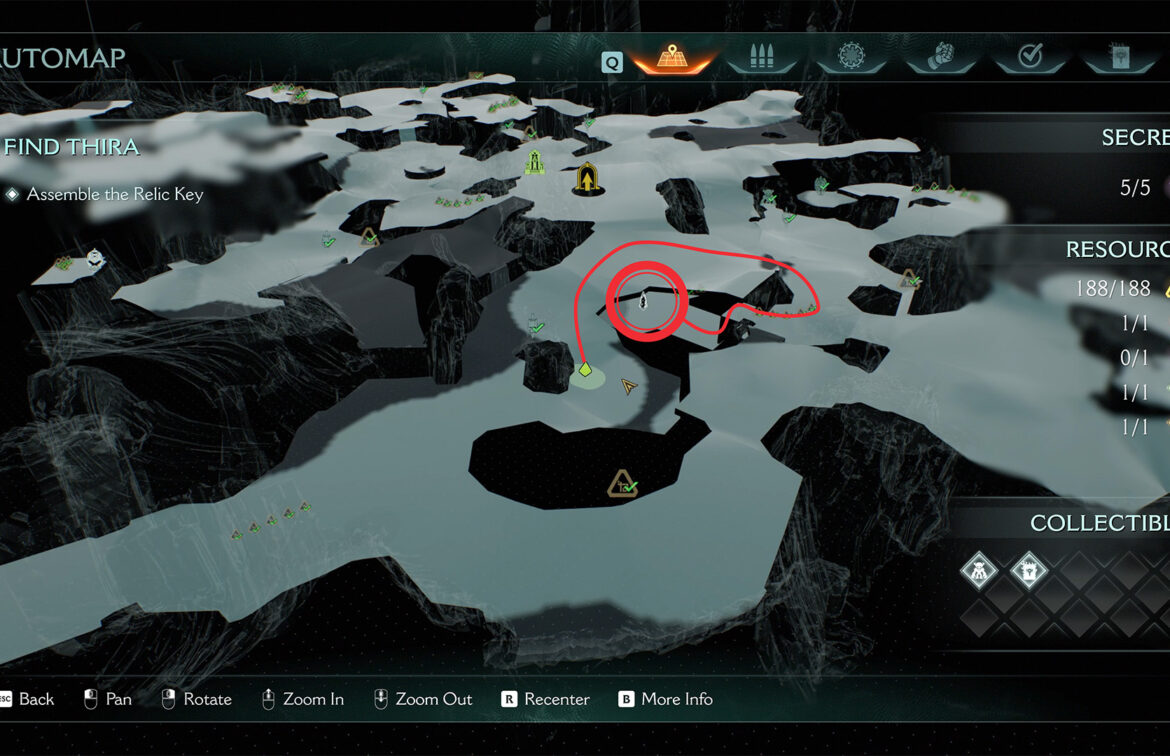
Kar’thul Marshes third wolf statue
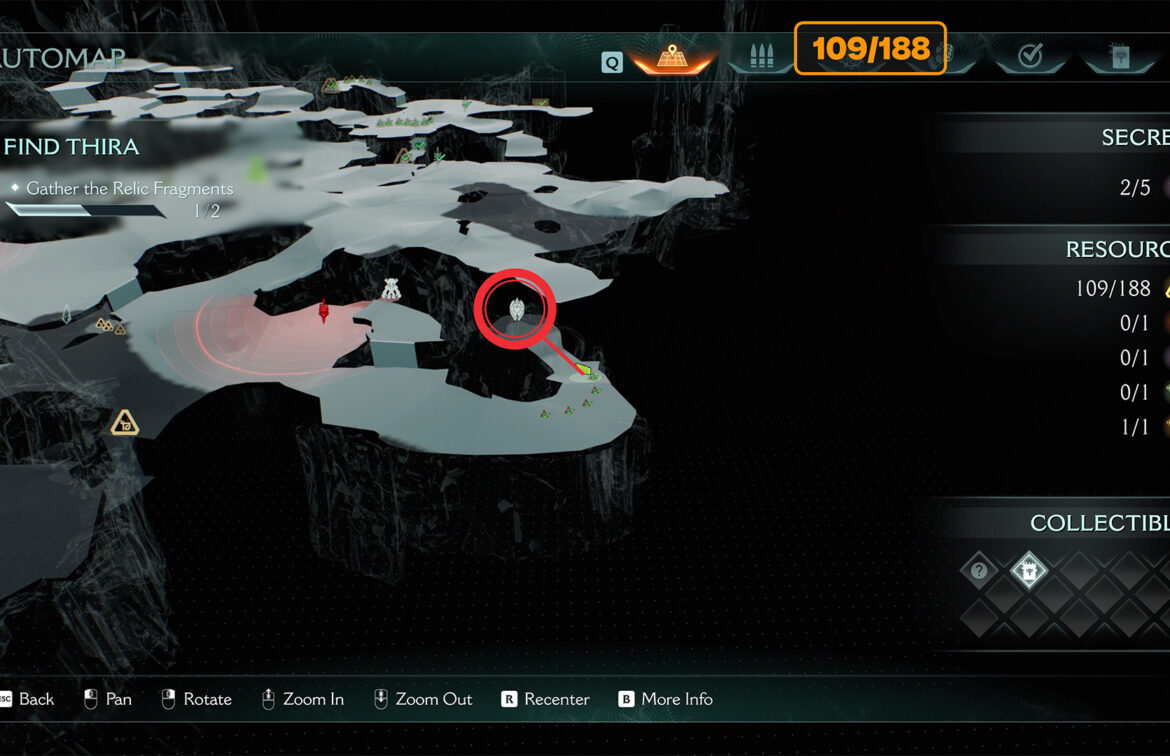
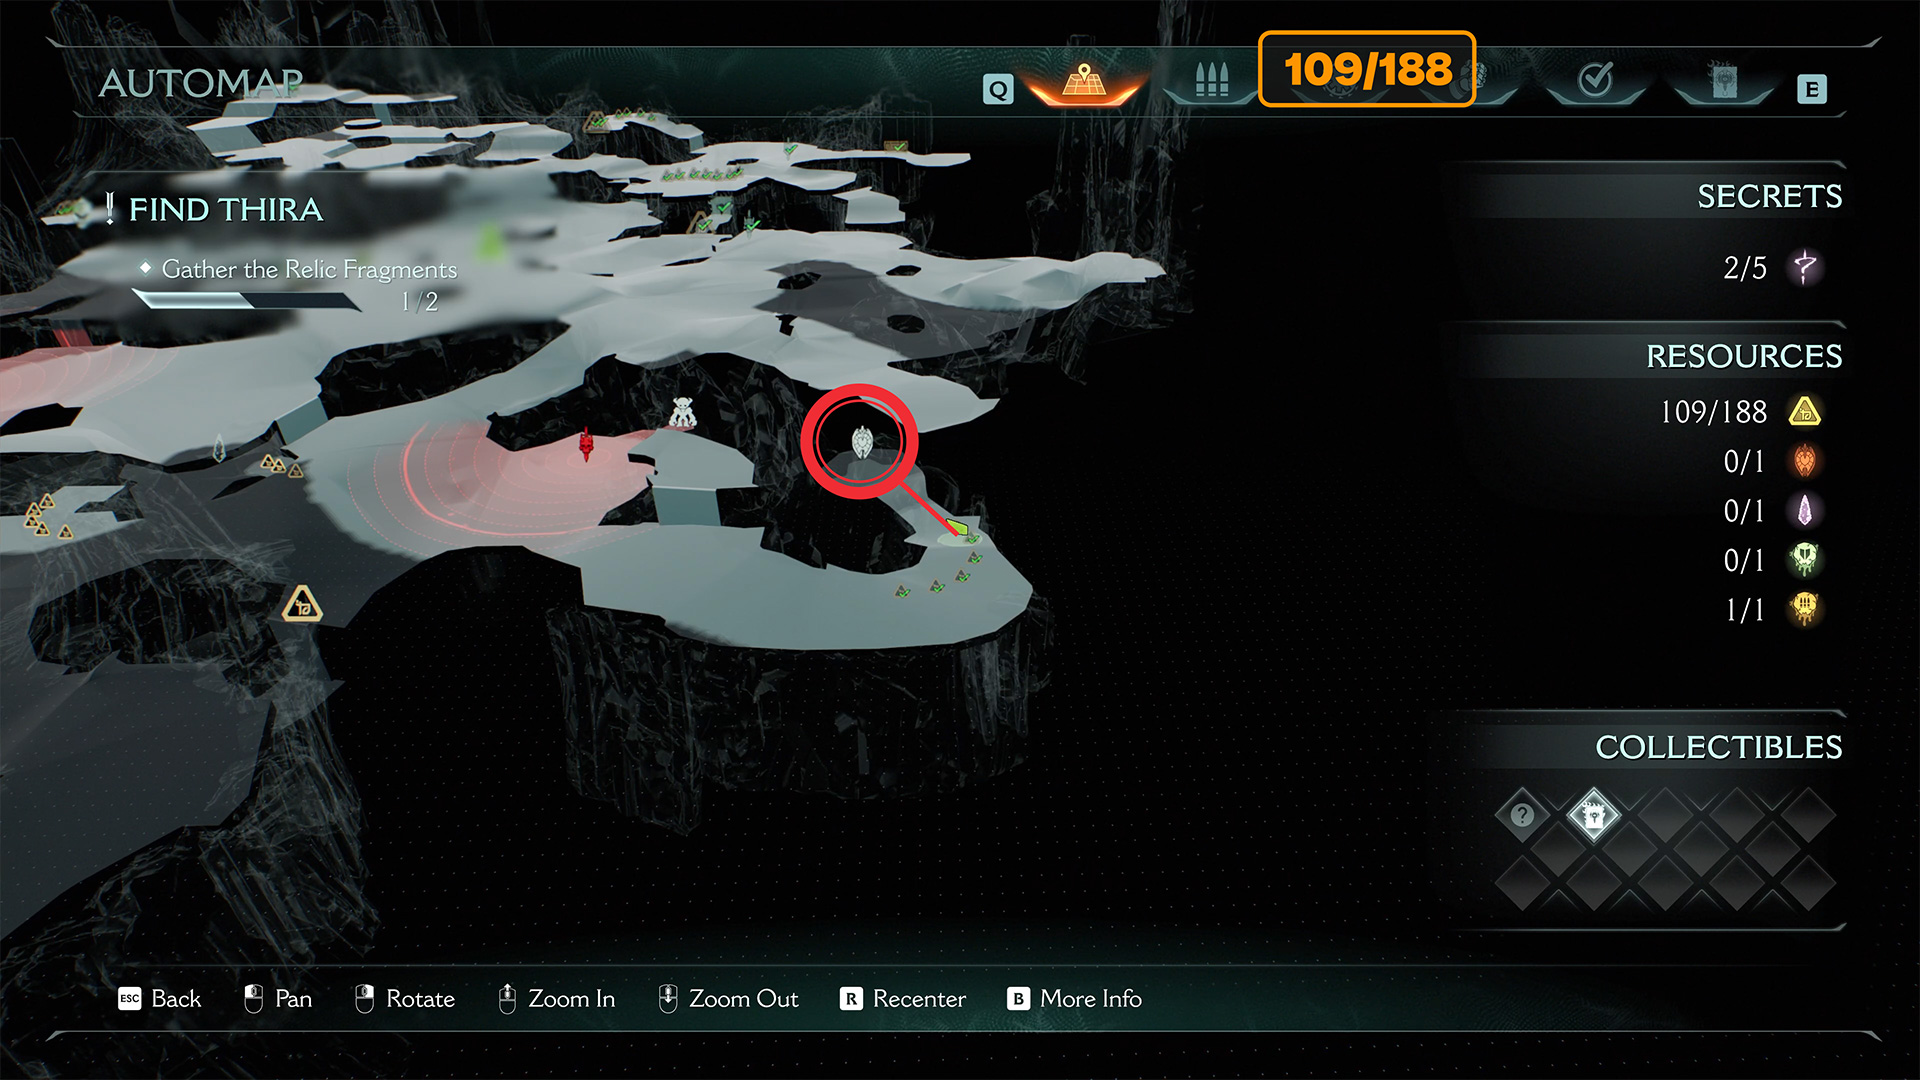
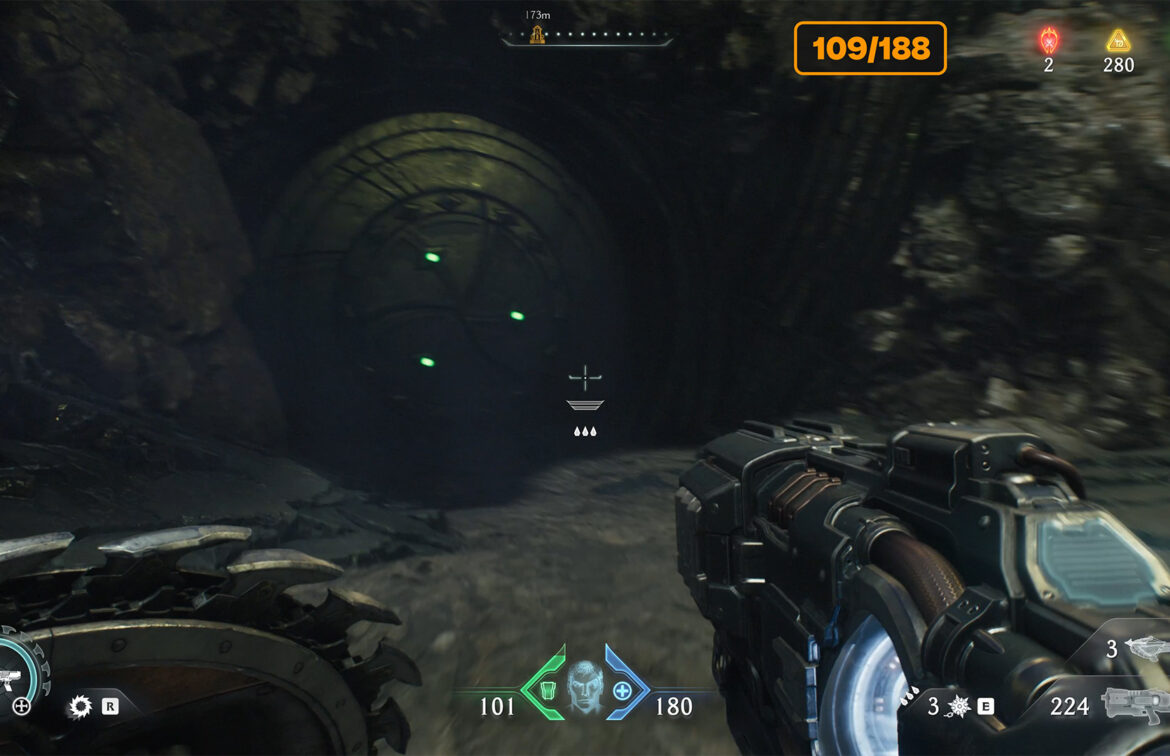
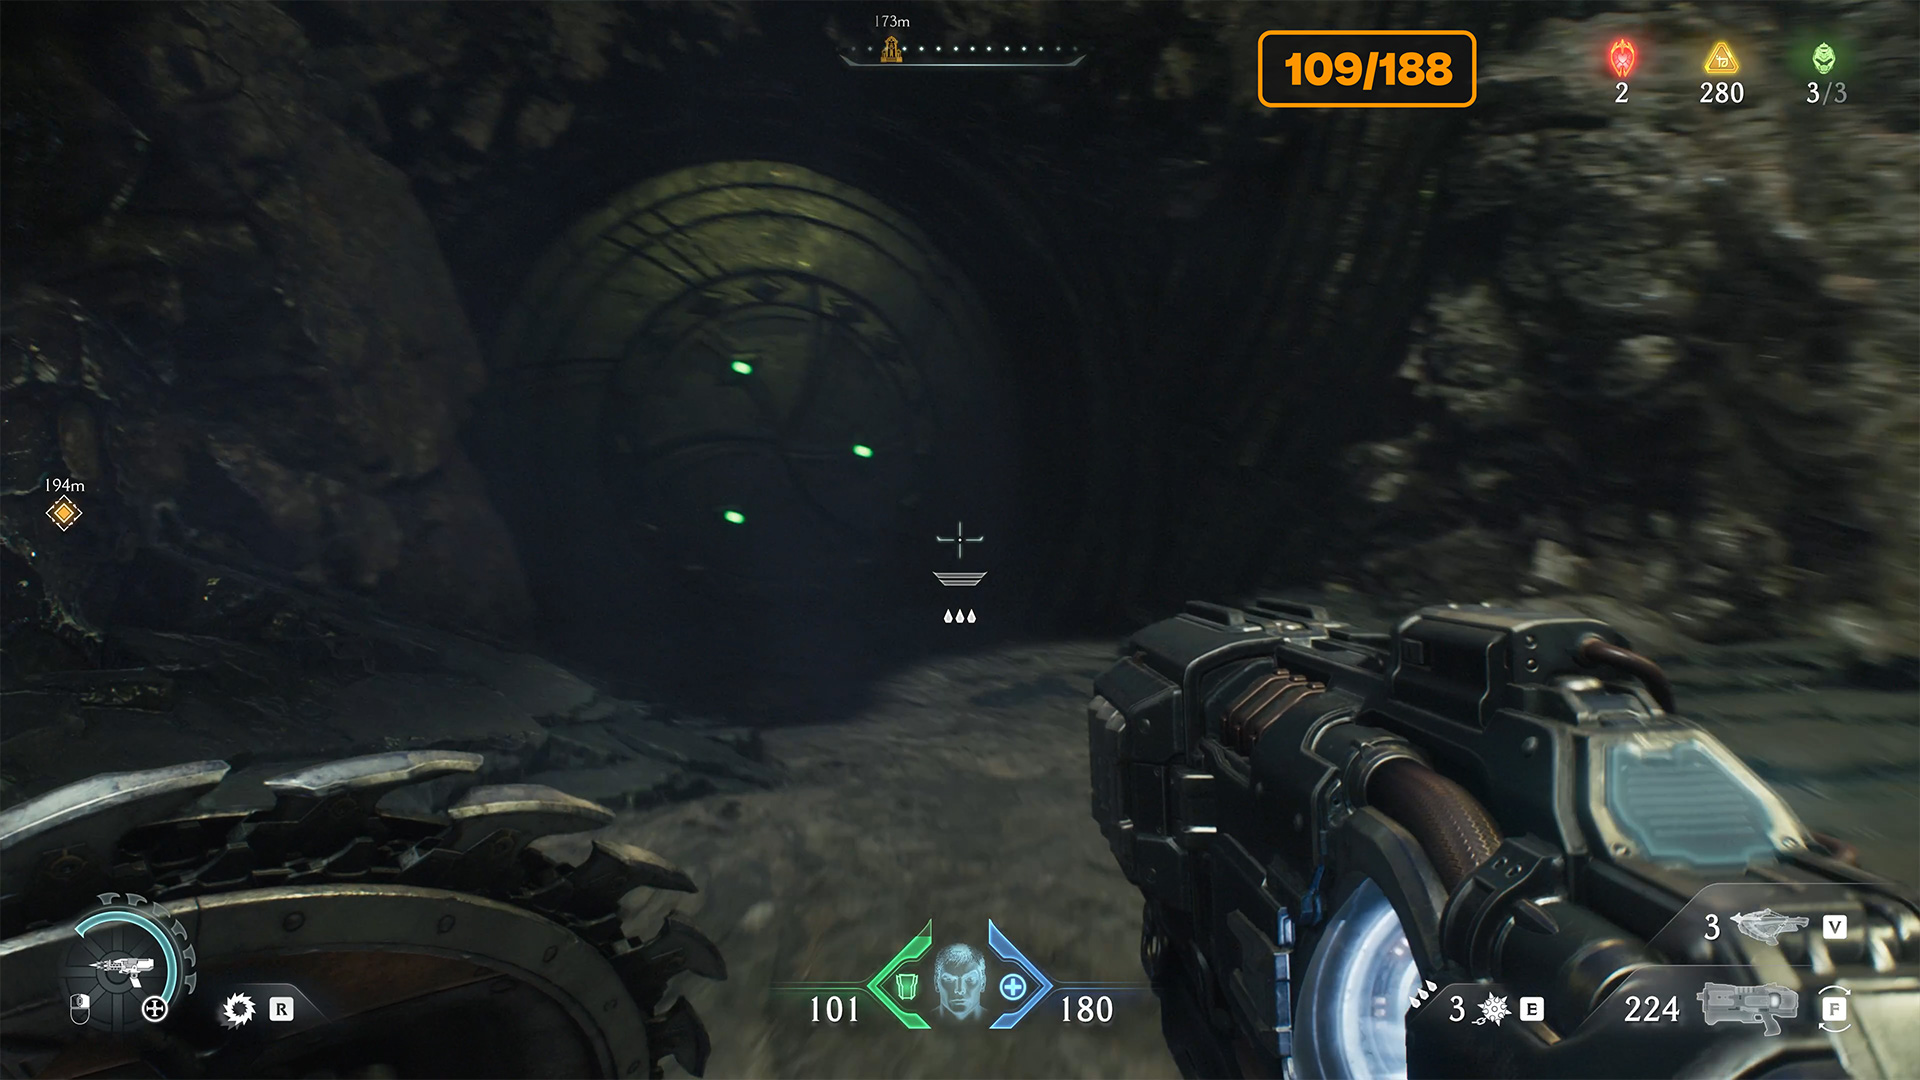
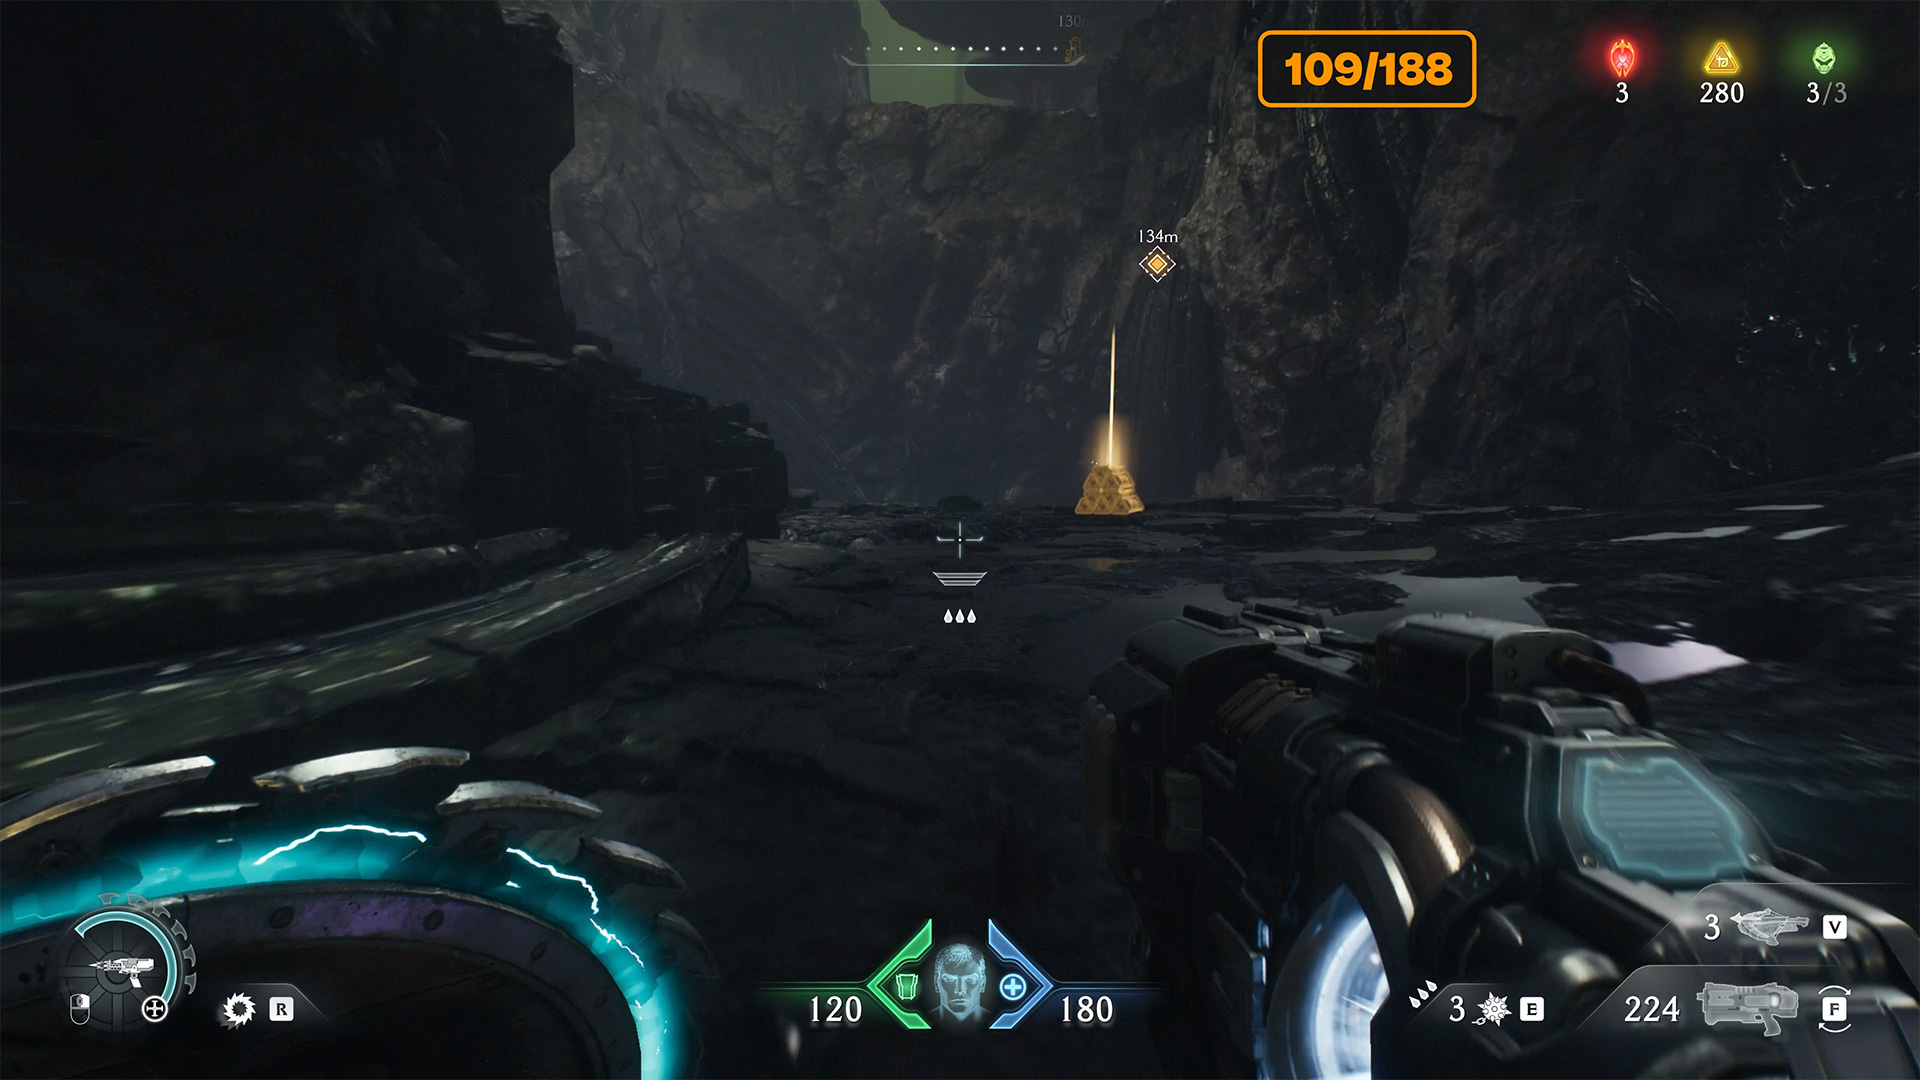
This is where the wraithstone is located, guarded by statues of wolves. It is not yet available to you because we have not destroyed all the statues yet. But go into the cave anyway to pick up 3 gold coins and find the third wolf statue, which you need to break by throwing your shield at it. We will return to this cave later, so remember where it is.
-
- Kar’thul Marshes third wolf statue location
-

- Three gold coins inside the cave
-
- Kar’thul Marshes third wolf statue
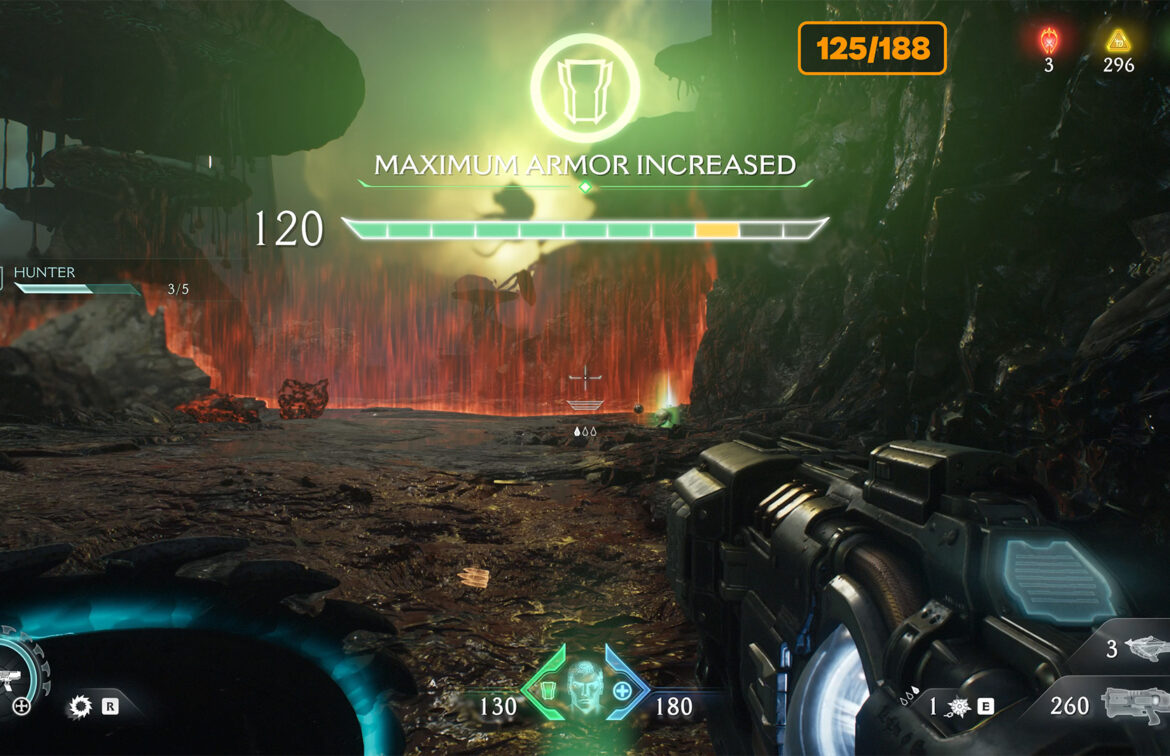
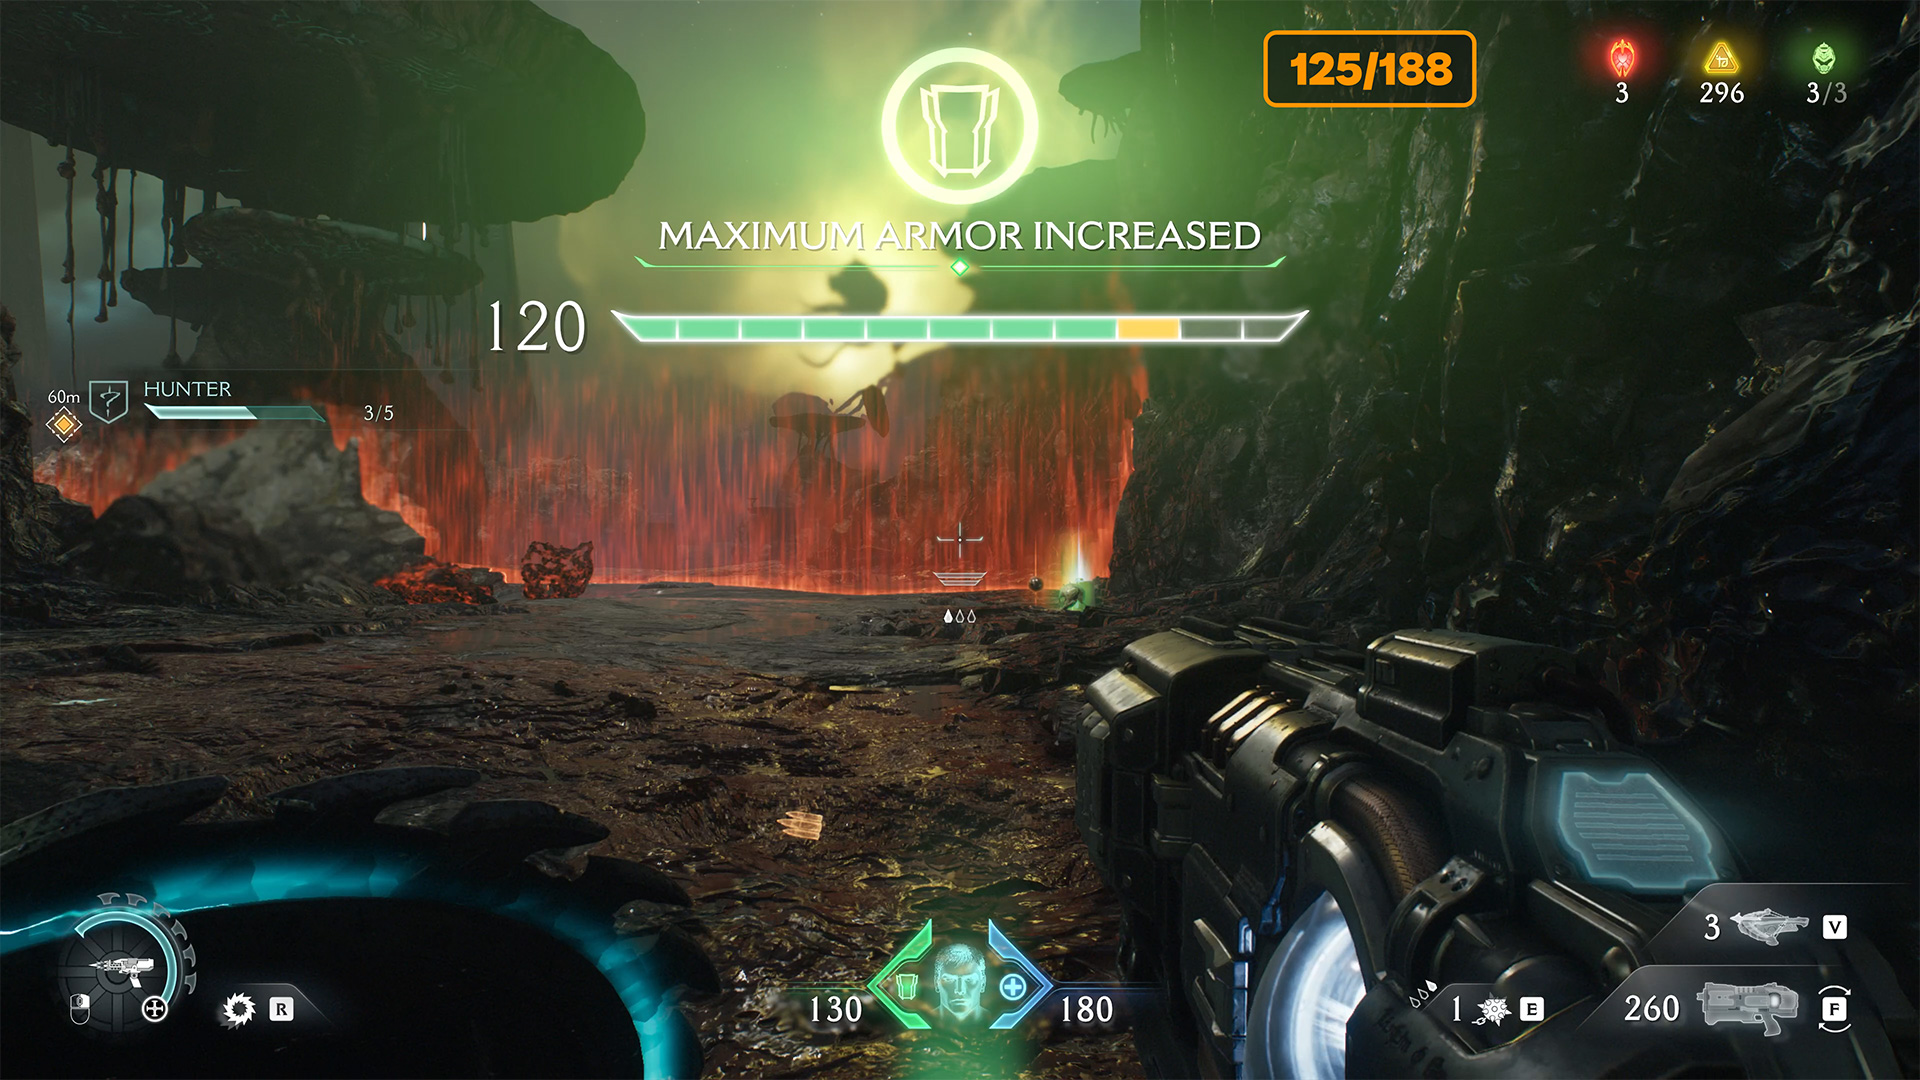
Kar’thul Marshes Demonic Essence – Armor
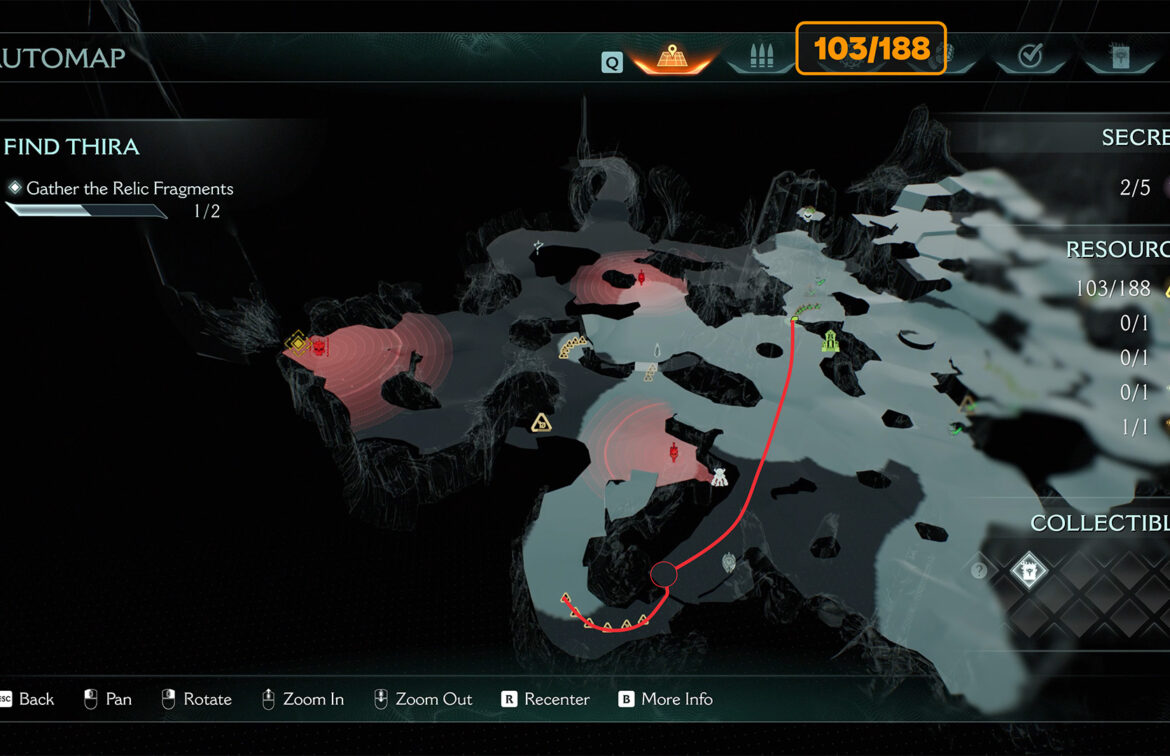
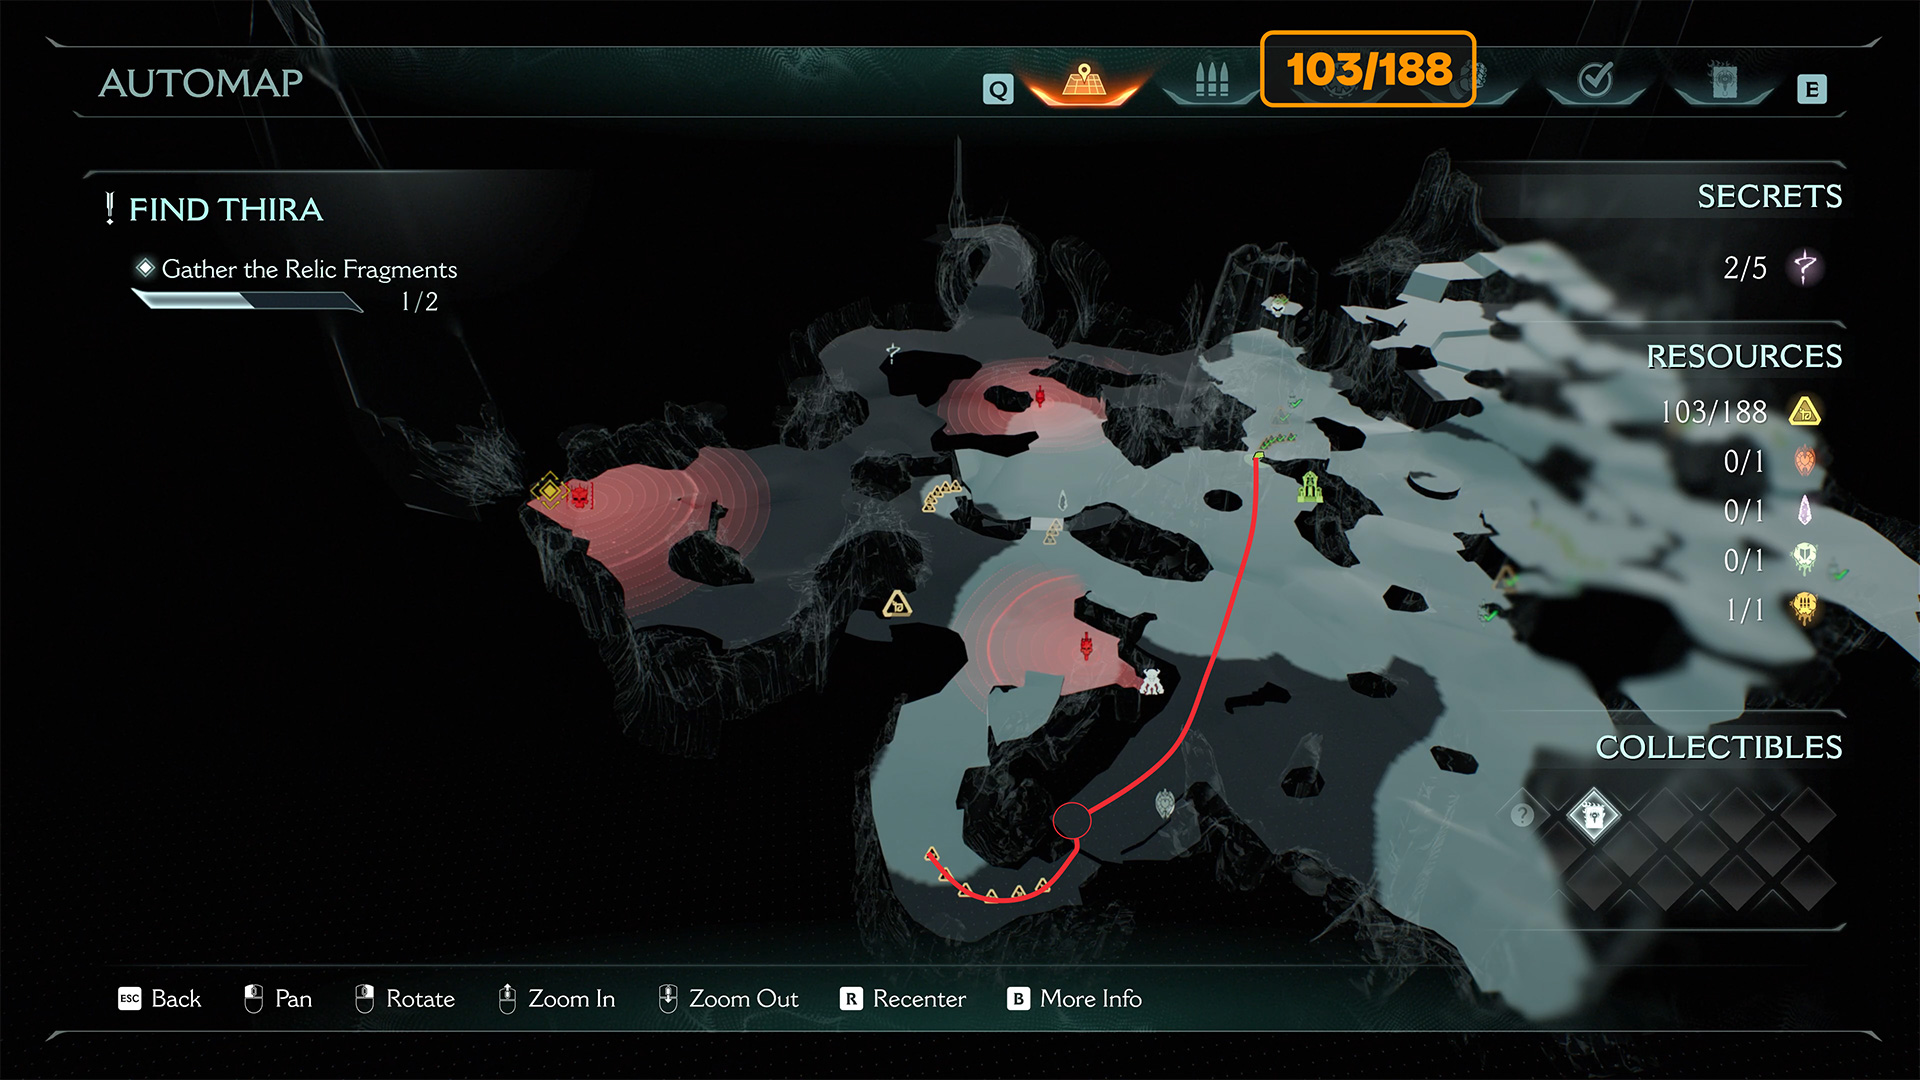
Leave the cave and follow the route I have drawn for you. This is also where the main objective of this chapter will take you. Another big battle awaits you there, where there are many monsters that you must destroy. At the end of the battle, you will have the opportunity to defeat the leader of the location. After the victory, you will automatically receive Demonic Essence – Armor. To leave the location, you need to take the second quest item from the ball.
-

- Kar’thul Marshes Demonic Essence – Armor location
-
- Kar’thul Marshes Demonic Essence – Armor
Kar’thul Marshes fourth wolf statue
Find the place I’m showing you on the map, it’s nearby. Here you can pick up 8 gold coins. After that, don’t rush to move on. Turn around and you will see blue bottles on the floor that replenish your health. Go to them. Behind them, you will see a ledge at the edge of the map where the fourth wolf statue stands. Break the statue and continue along the route where there are 5 gold coins on the ground.
-
- Kar’thul Marshes correct route
-
- Kar’thul Marshes fourth wolf statue location
-
- Kar’thul Marshes fourth wolf statue
-

- Gold on the way to the third secret room
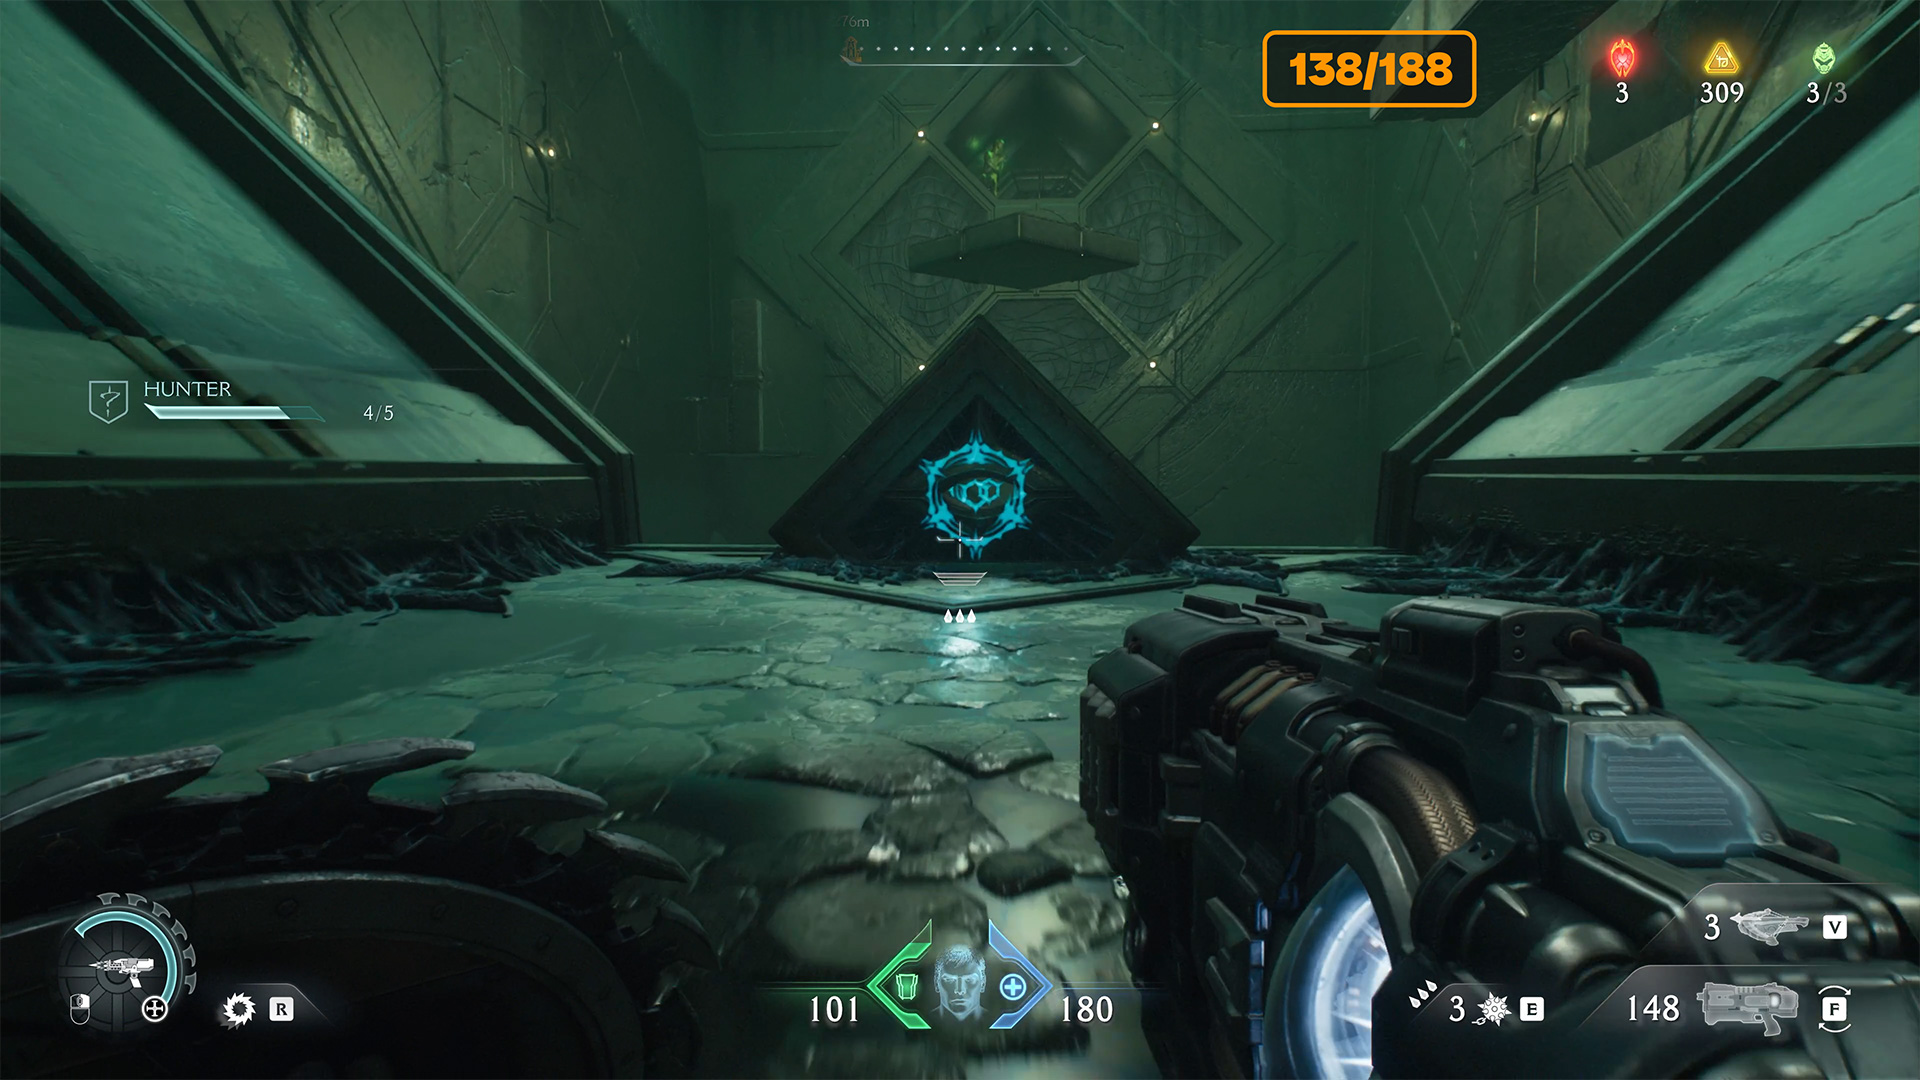
The Kar’thul Marshes puzzle
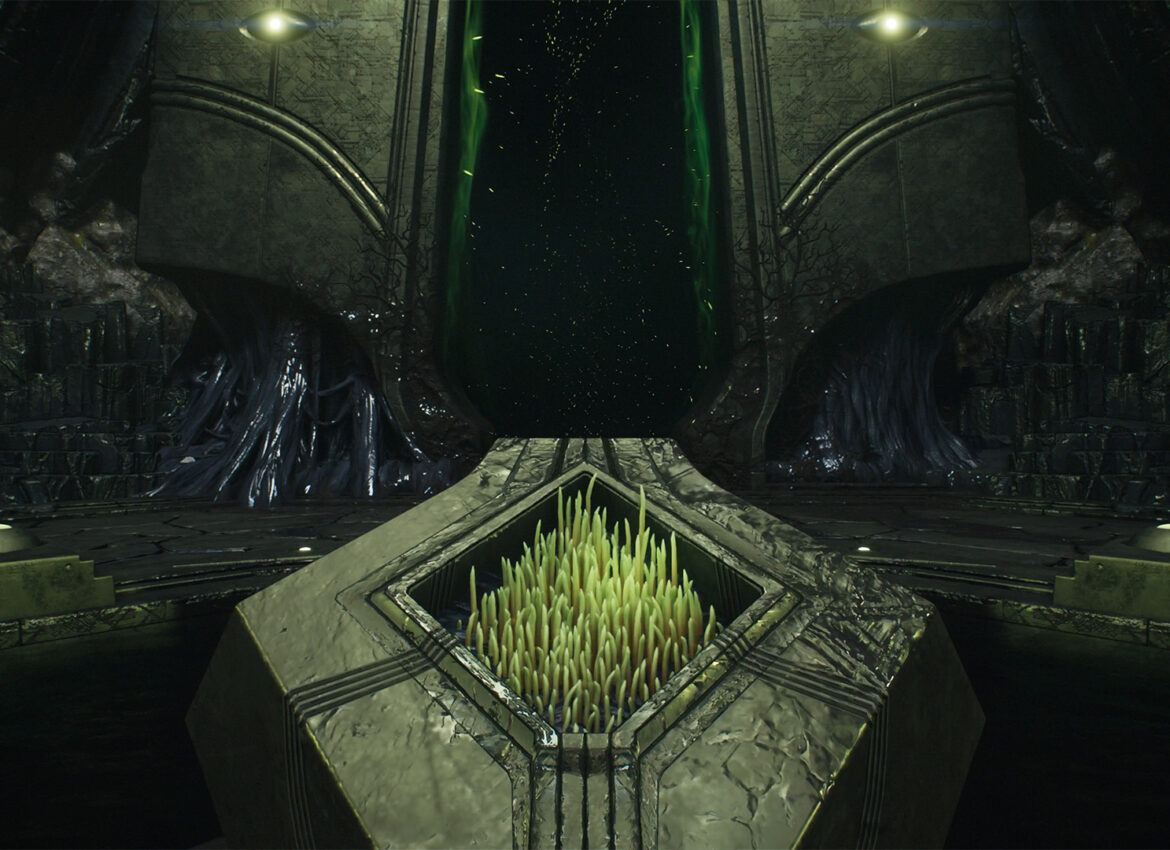
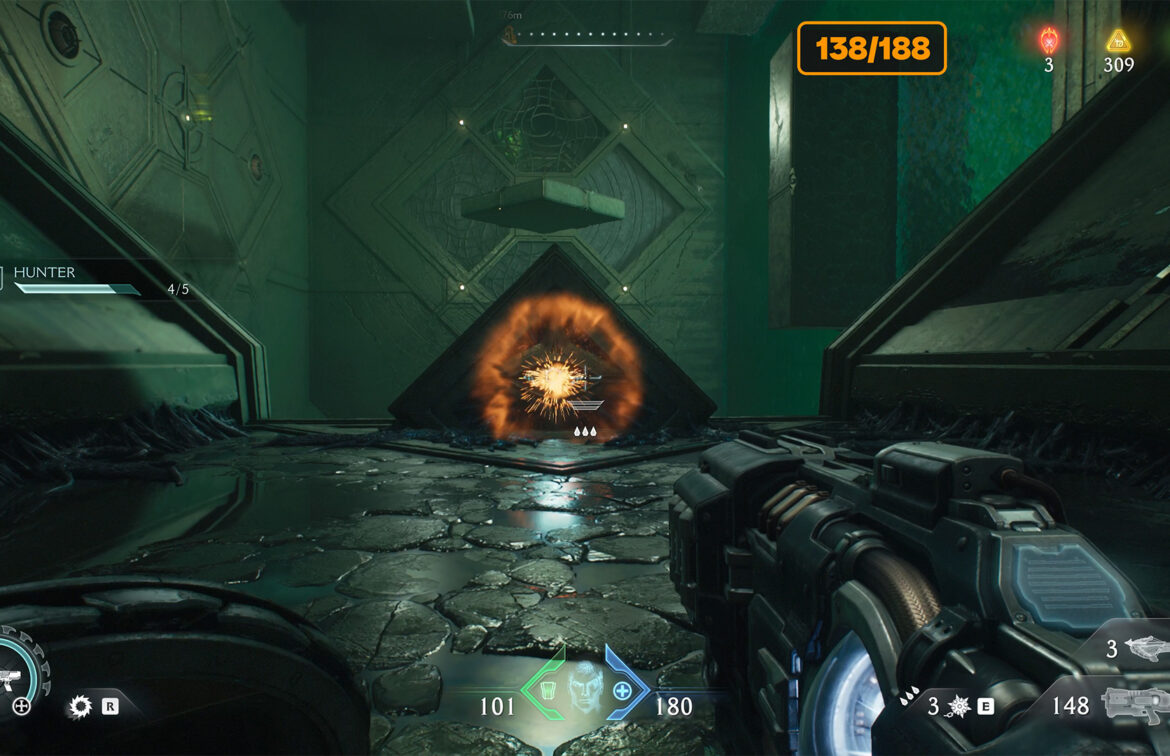
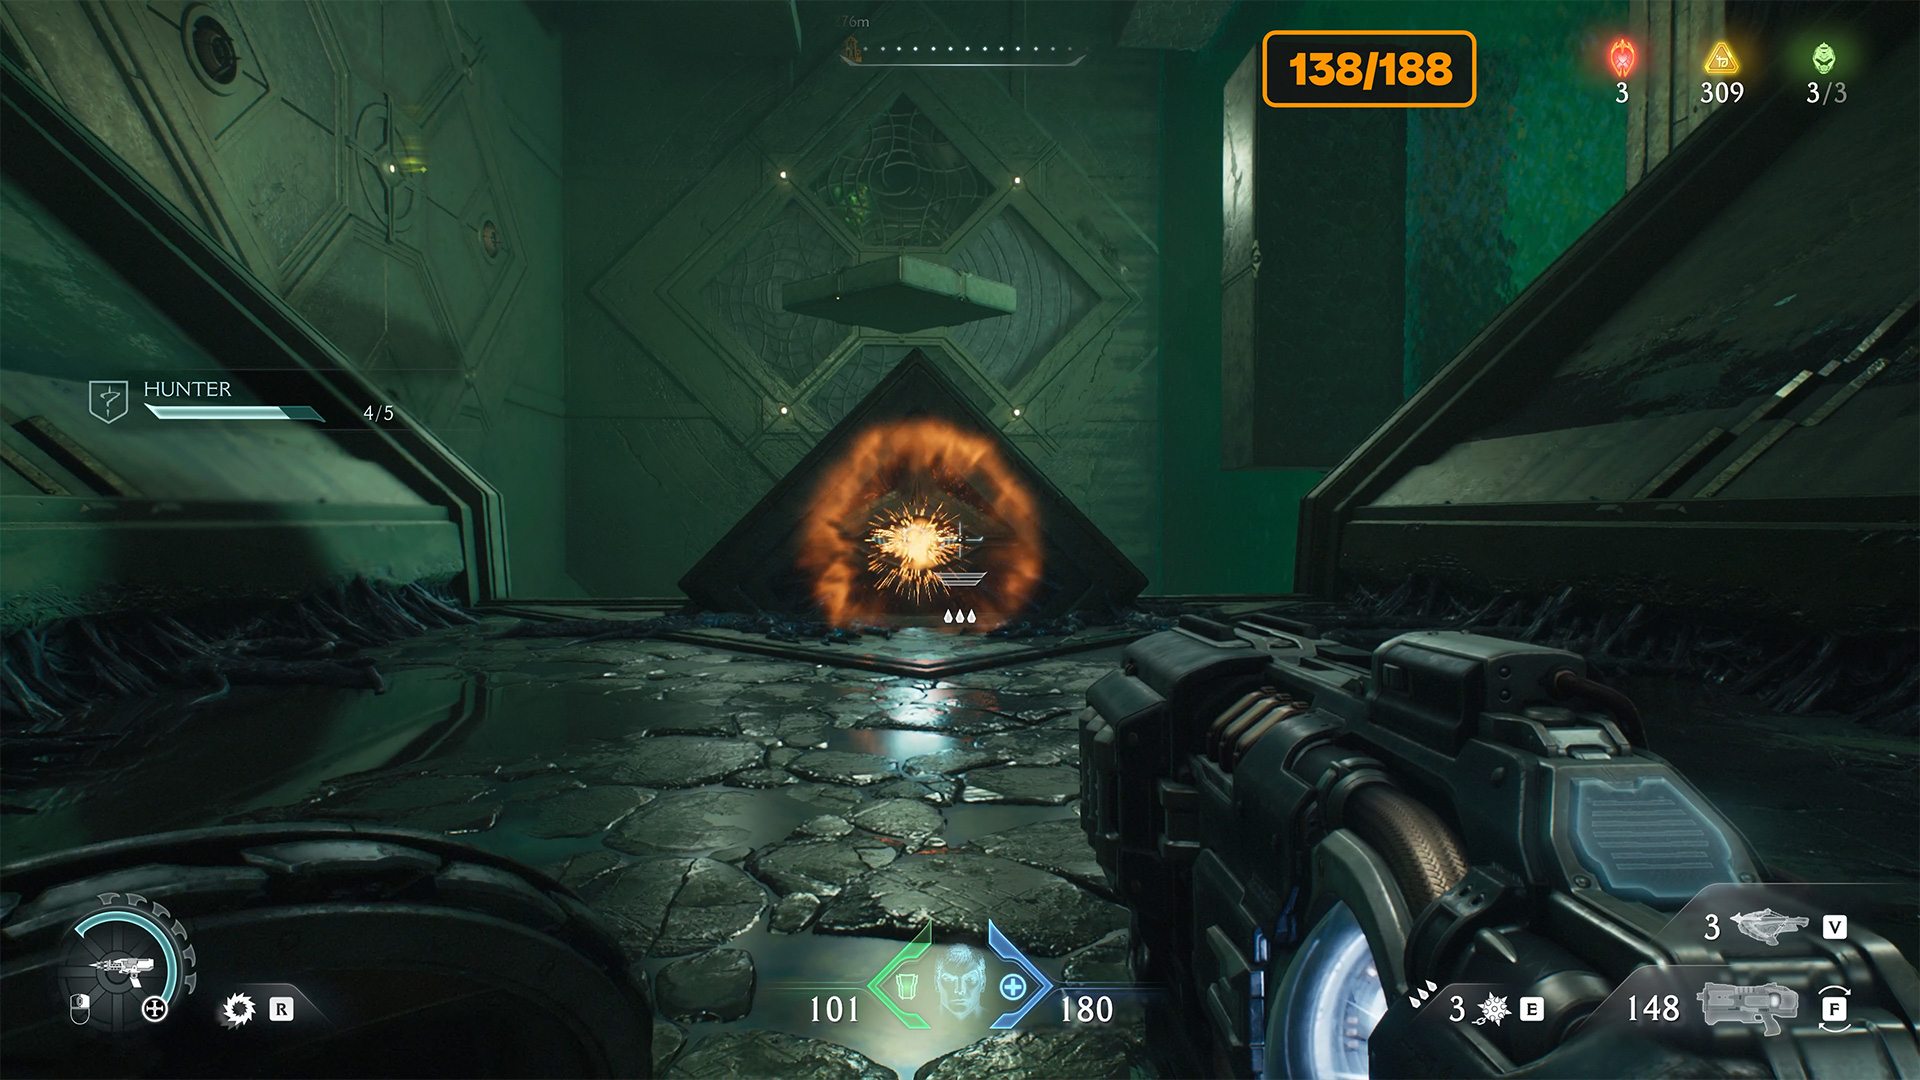
Now you need to go to the next strange place, where another riddle awaits you. You will see a corridor, a blue mechanism, and behind it a rotating room. Throw the shield into the blue mechanism and the room will turn. Do this several times until the pool becomes a wall on the left. Now you can enter the room and take the Life Sigil if you need it.
Then leave the room again and rotate the room so that the pool of water becomes a wall on the right. After that, you will be able to jump onto the platform in the middle of the room. Note that there is a green statue behind the metal mesh that you can fly to. To unlock access to the green statue, turn around and throw your shield at the blue mechanism.
When the room starts spinning, act quickly so you don’t fall down. Throw your shield at the green statue, which will become accessible, and immediately fly after the shield. Here you will find another secret and 50 gold.
-
- The Kar’thul Marshes puzzle location
-
- Door to the third secret area
-
- The blue mechanism rotates the room ahead
-
- Turn it so that the water is on the right like a wall
-
- Jump onto the platform and start the room
-
- Throw the shield at the green statue and fly after it
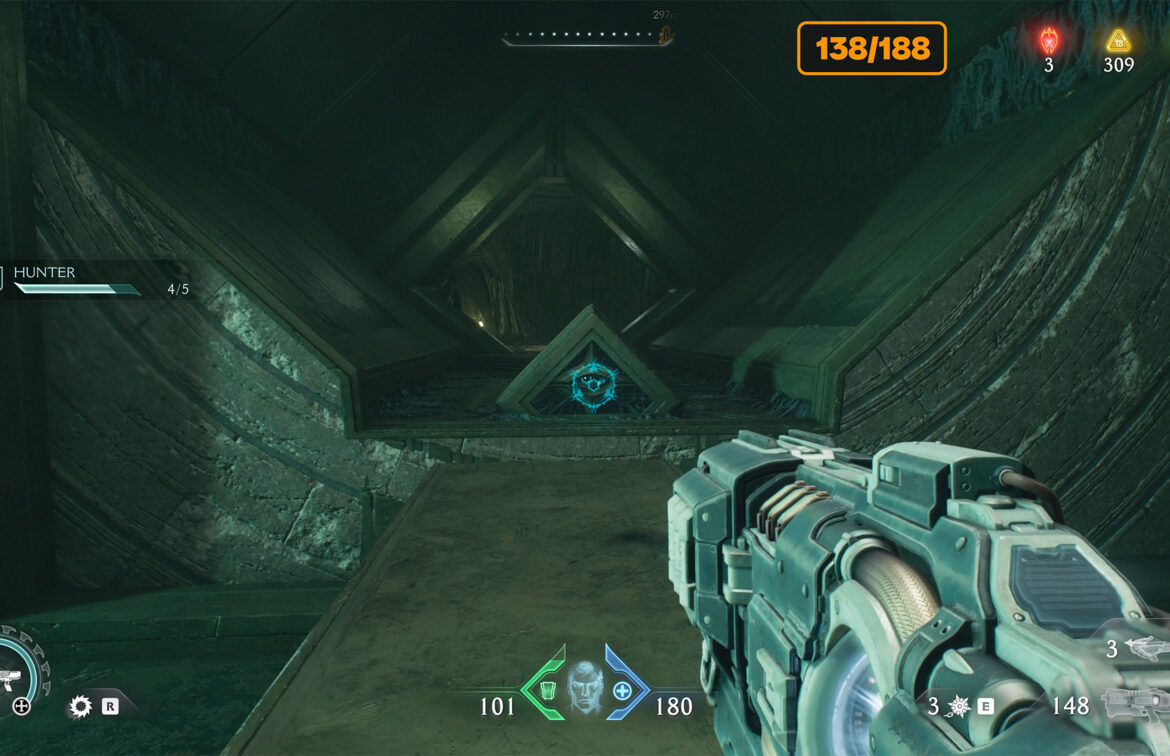
Kar’thul Marshes fifth wolf statue
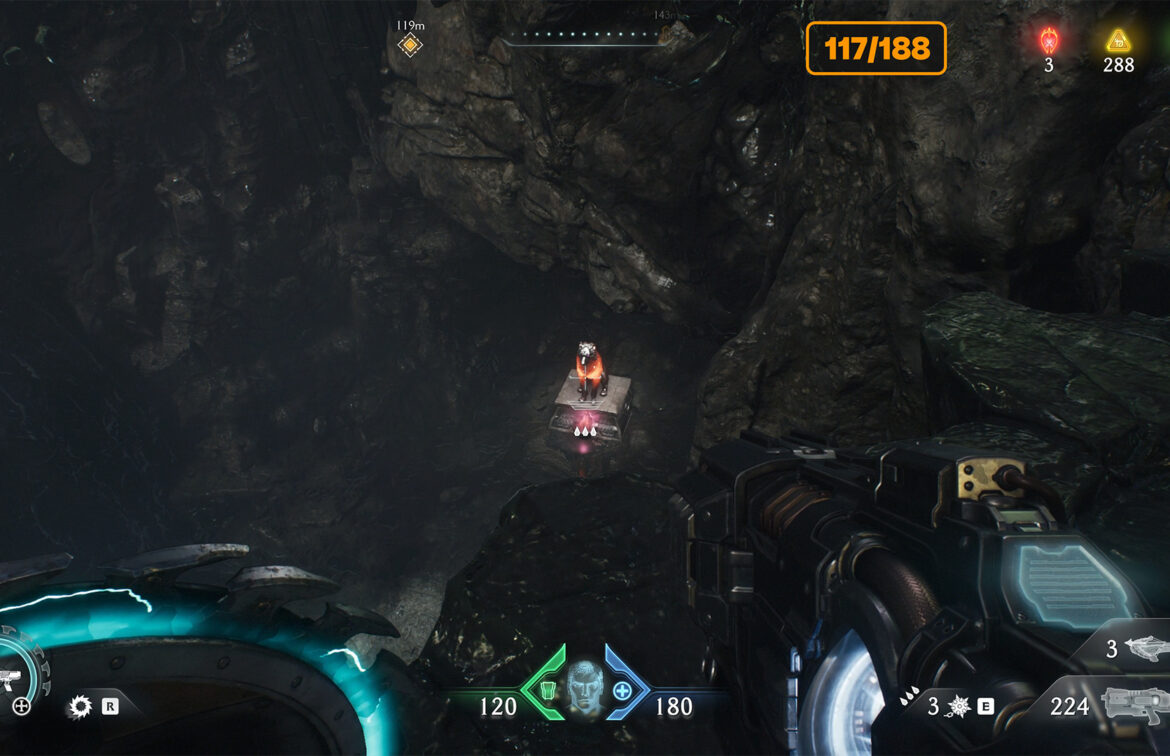
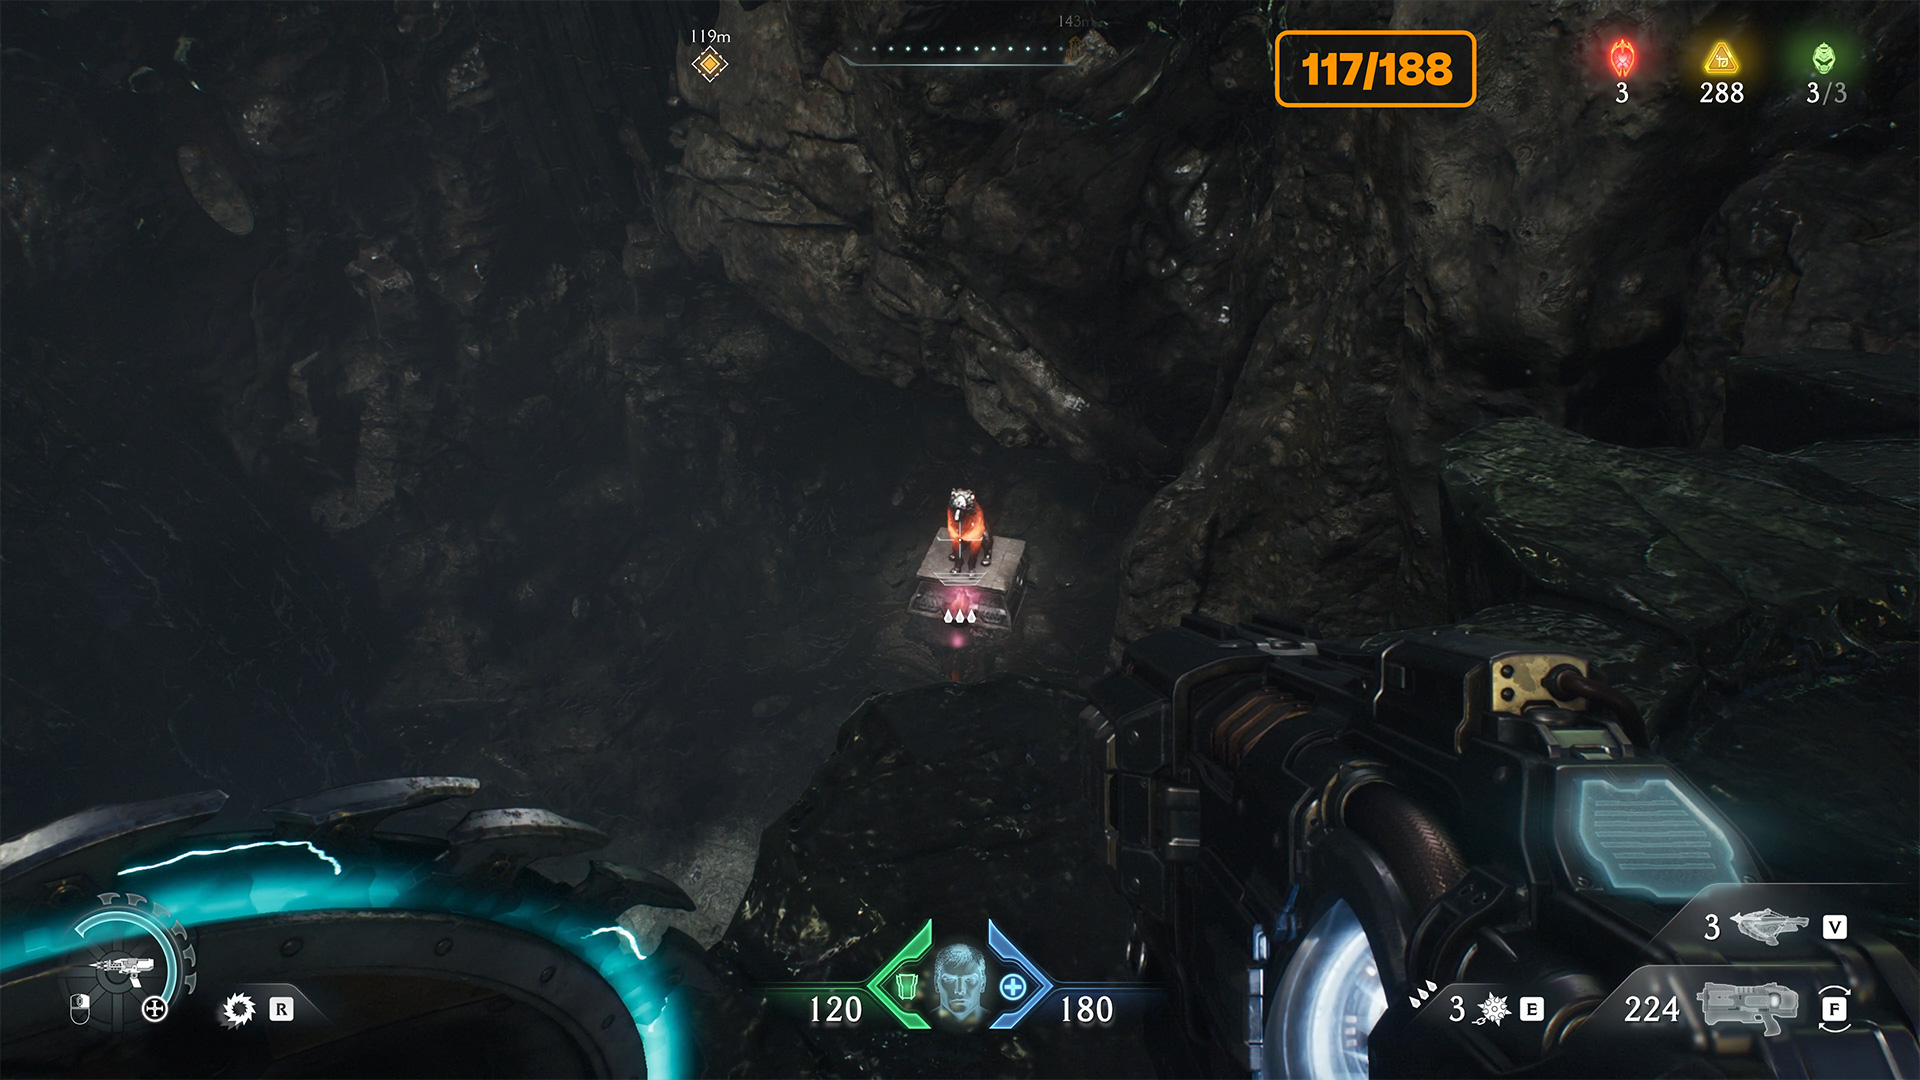
After you exit the teleport, proceed straight ahead. You will see the last fifth statue of a wolf, which you must break. Be cautious along the way, as tentacles emerging from the ground will attempt to harm you.
-
- Kar’thul Marshes fifth wolf statue location
-
- Kar’thul Marshes fifth wolf statue
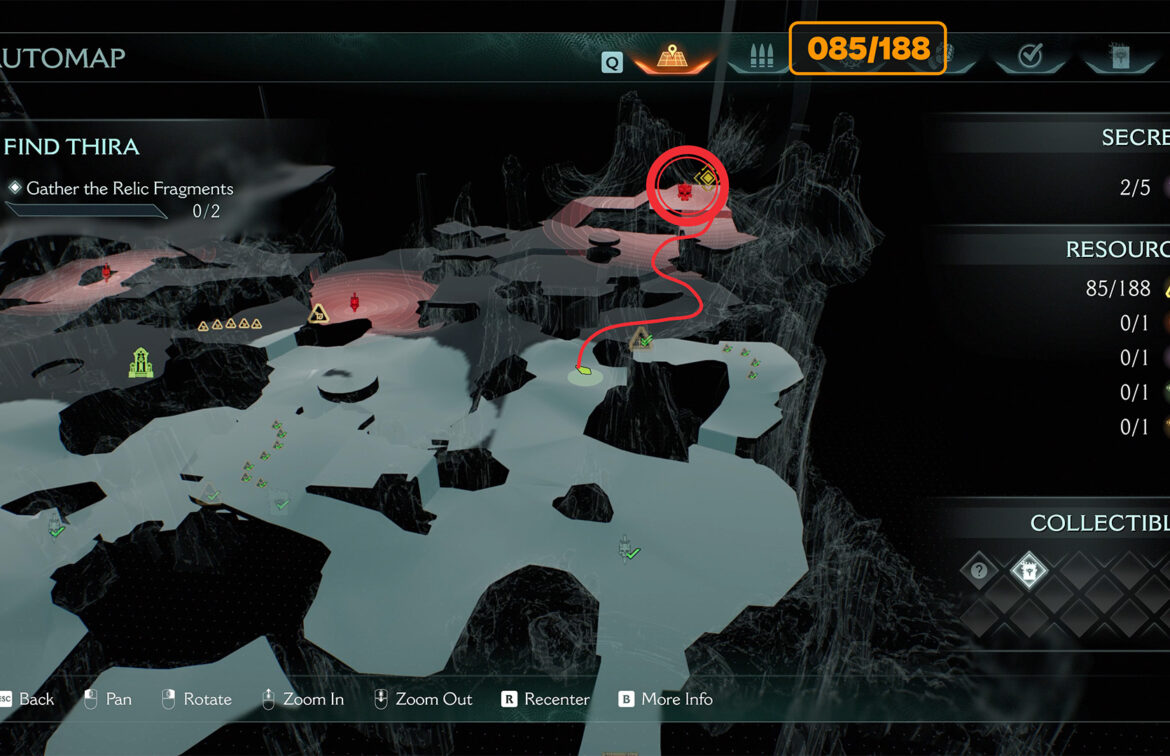
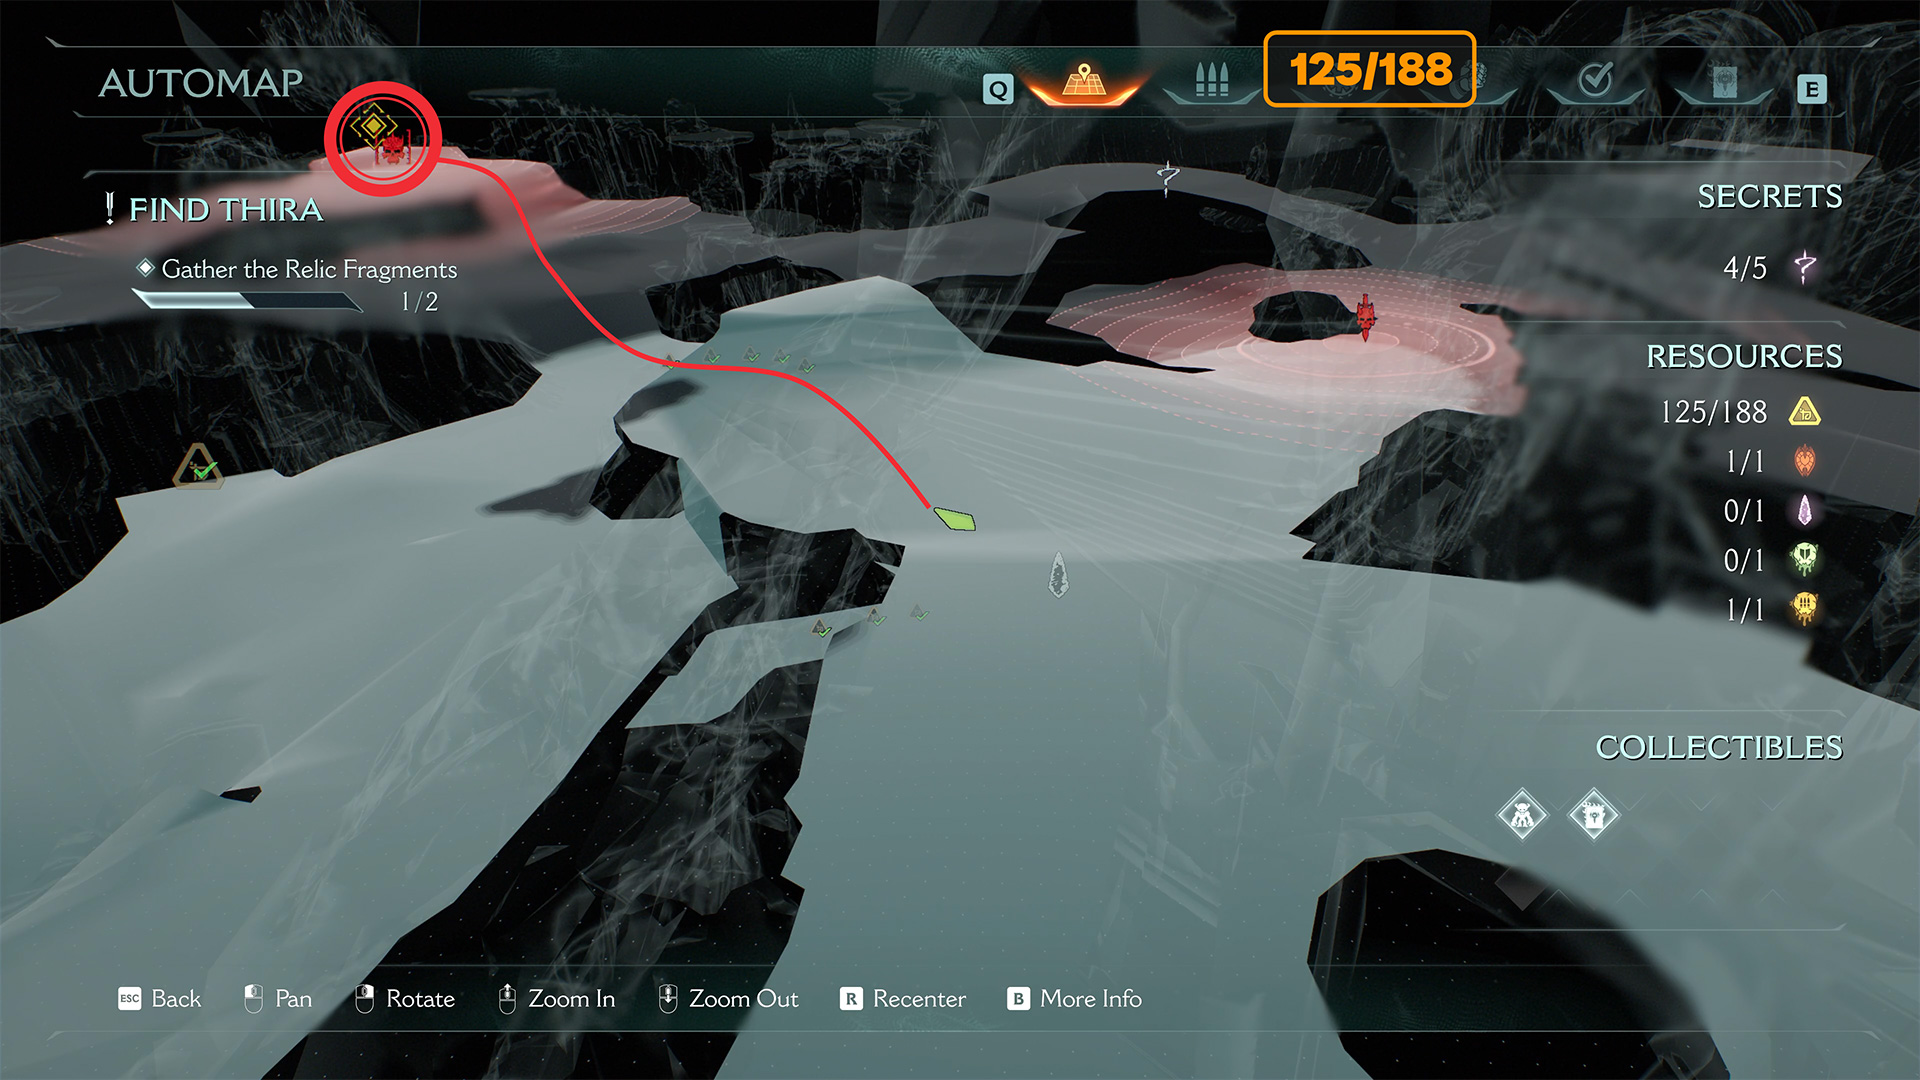
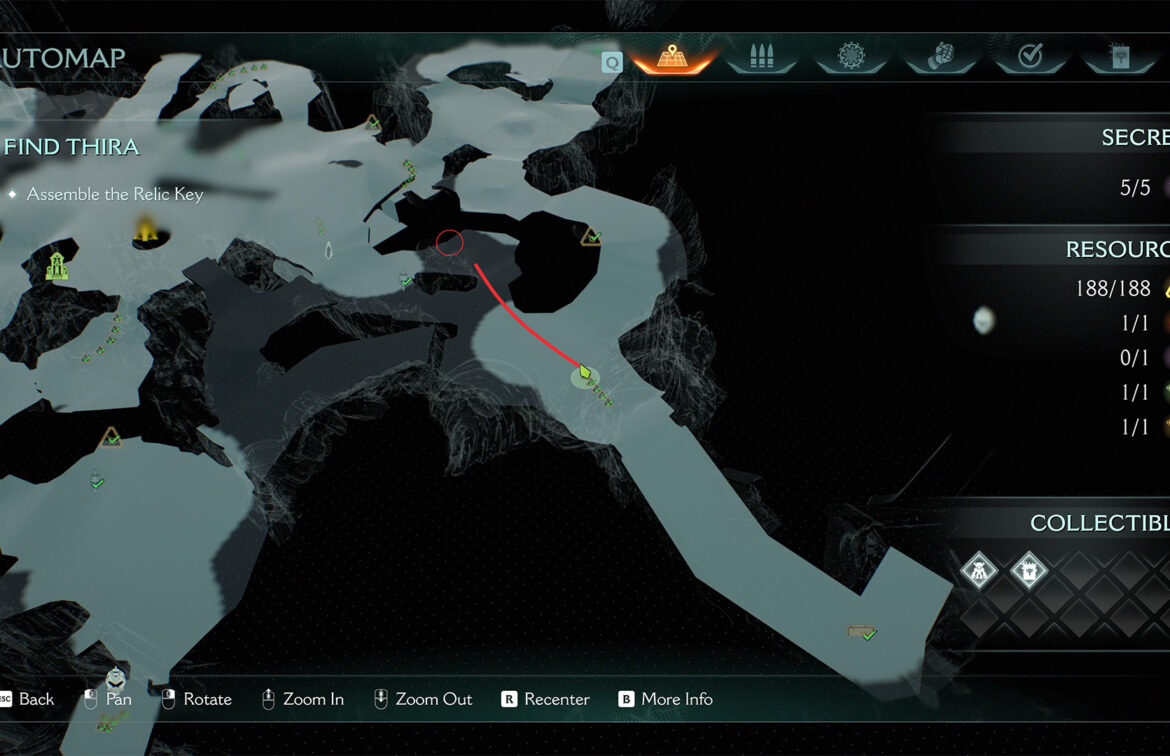
Kar’thul Marshes wraithstone
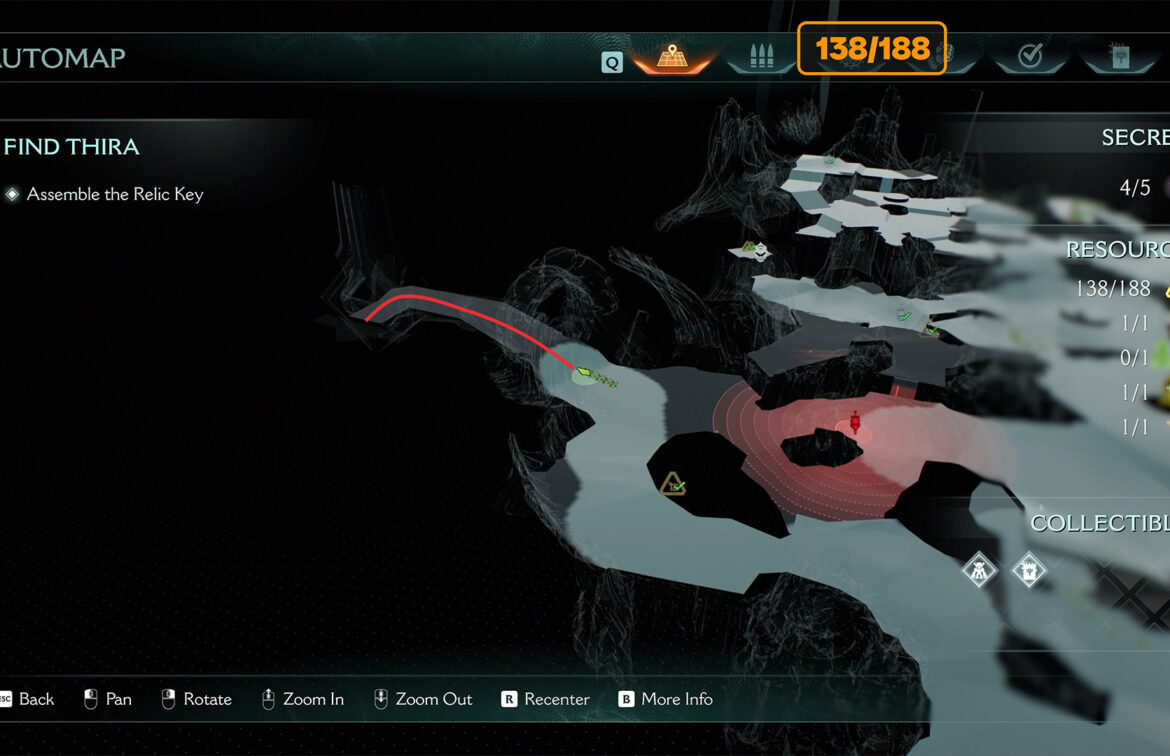
Now all the wolf statues are destroyed, and you need to return to the cave where the wraithstone is located to retrieve it. This place is nearby; I have drawn a route to it for you. This is the last collectible item in The Kar’Thul Marshes. Next, you will proceed through the storyline without collecting any items.
-
- Kar’thul Marshes wraithstone location
-
- Kar’thul Marshes wraithstone