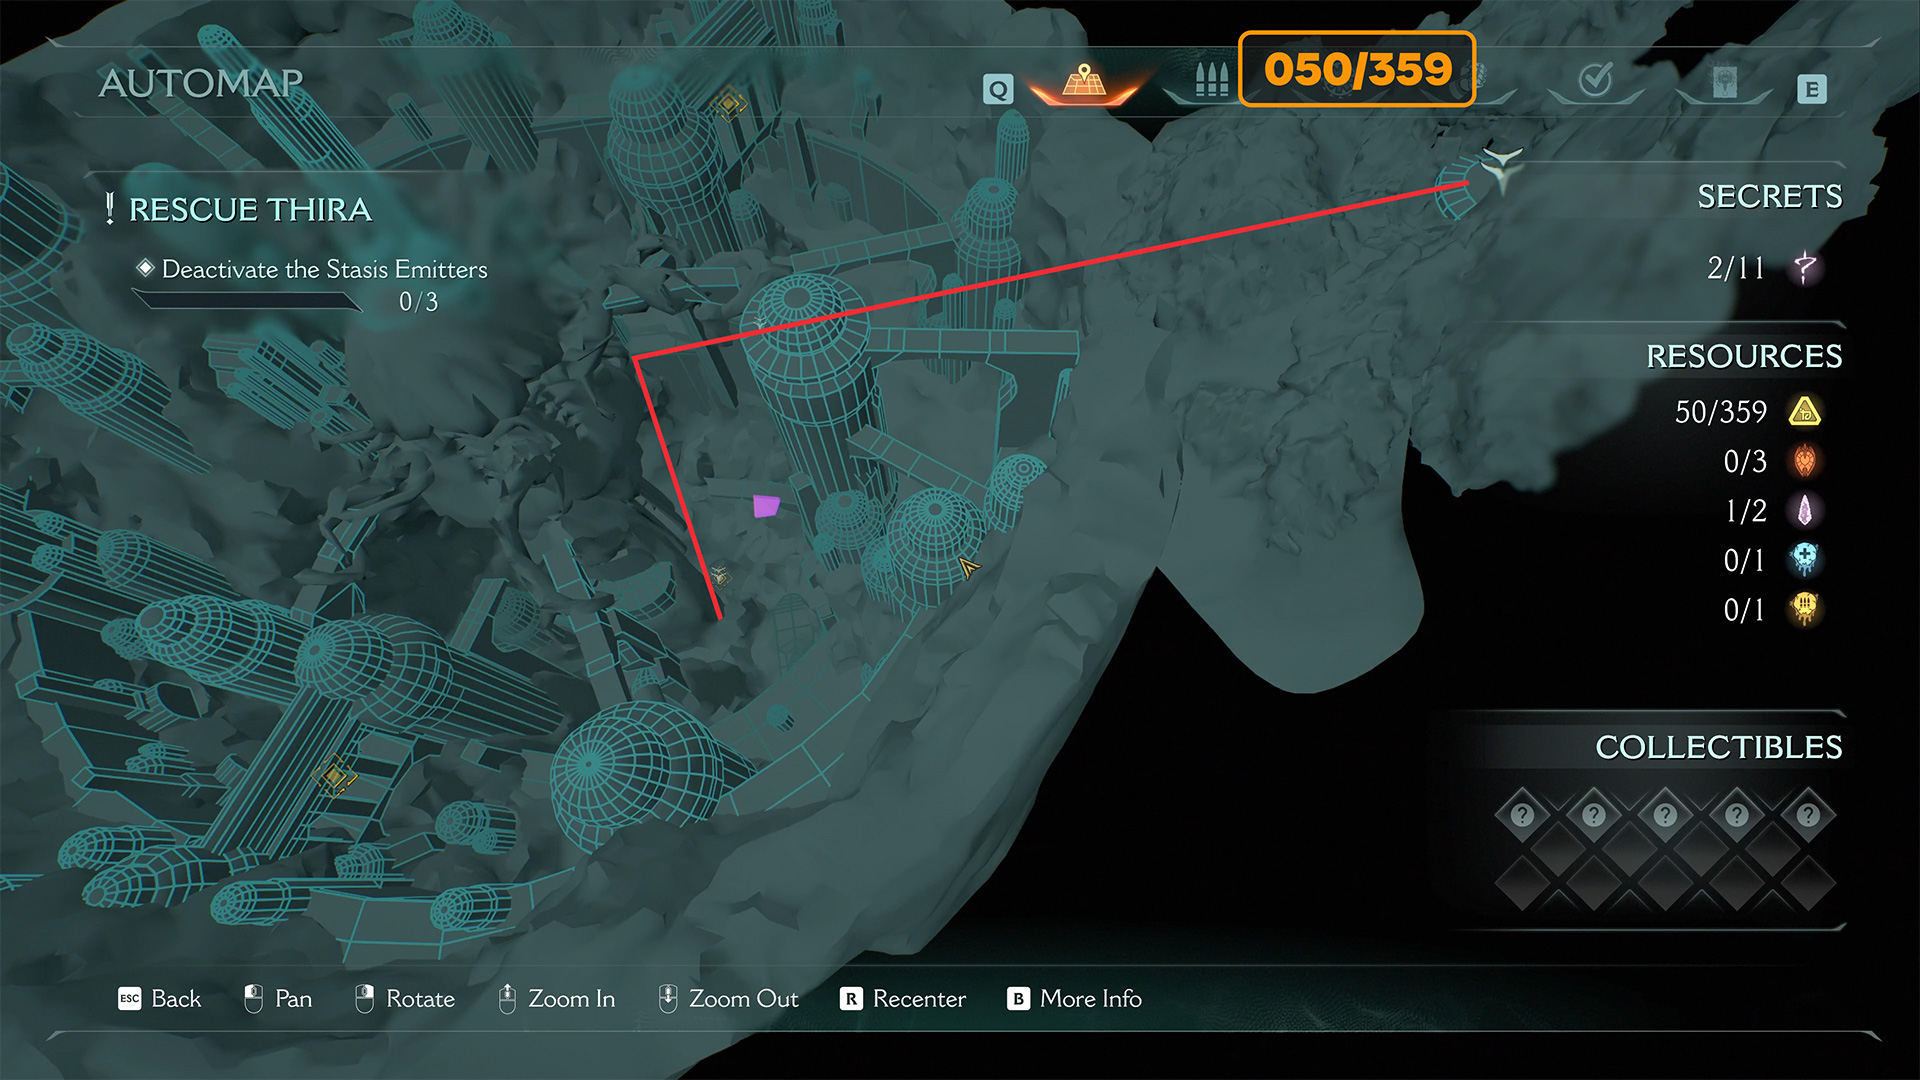
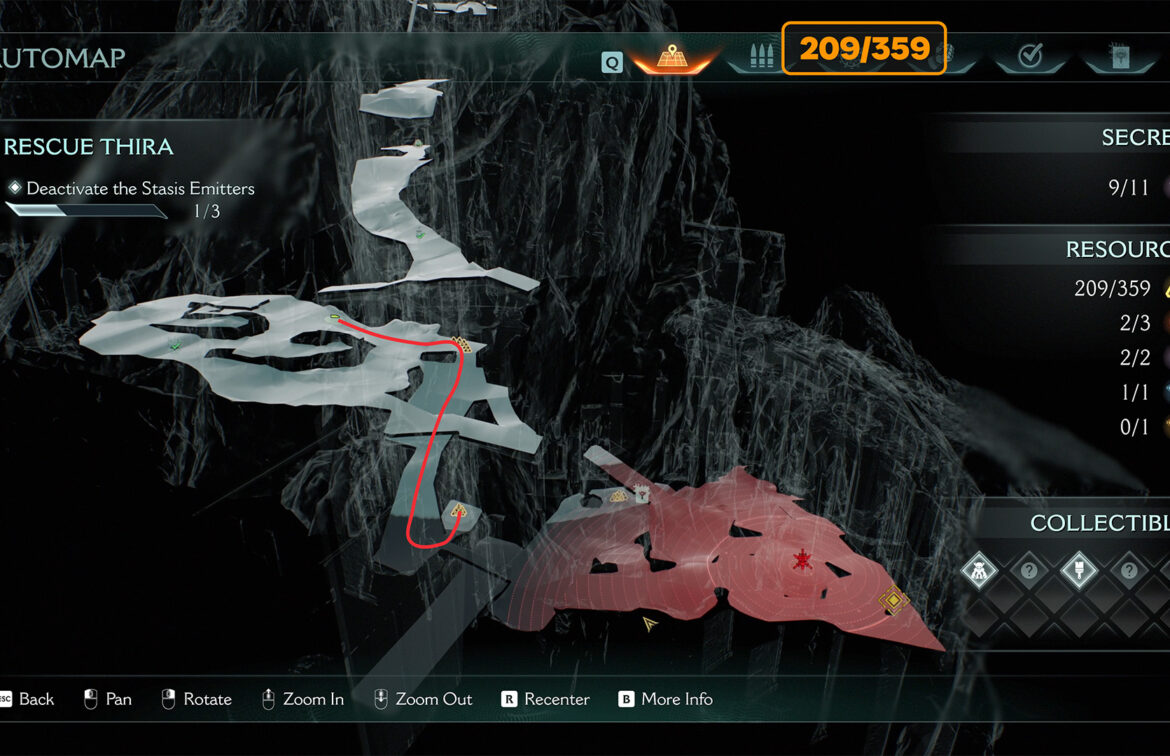
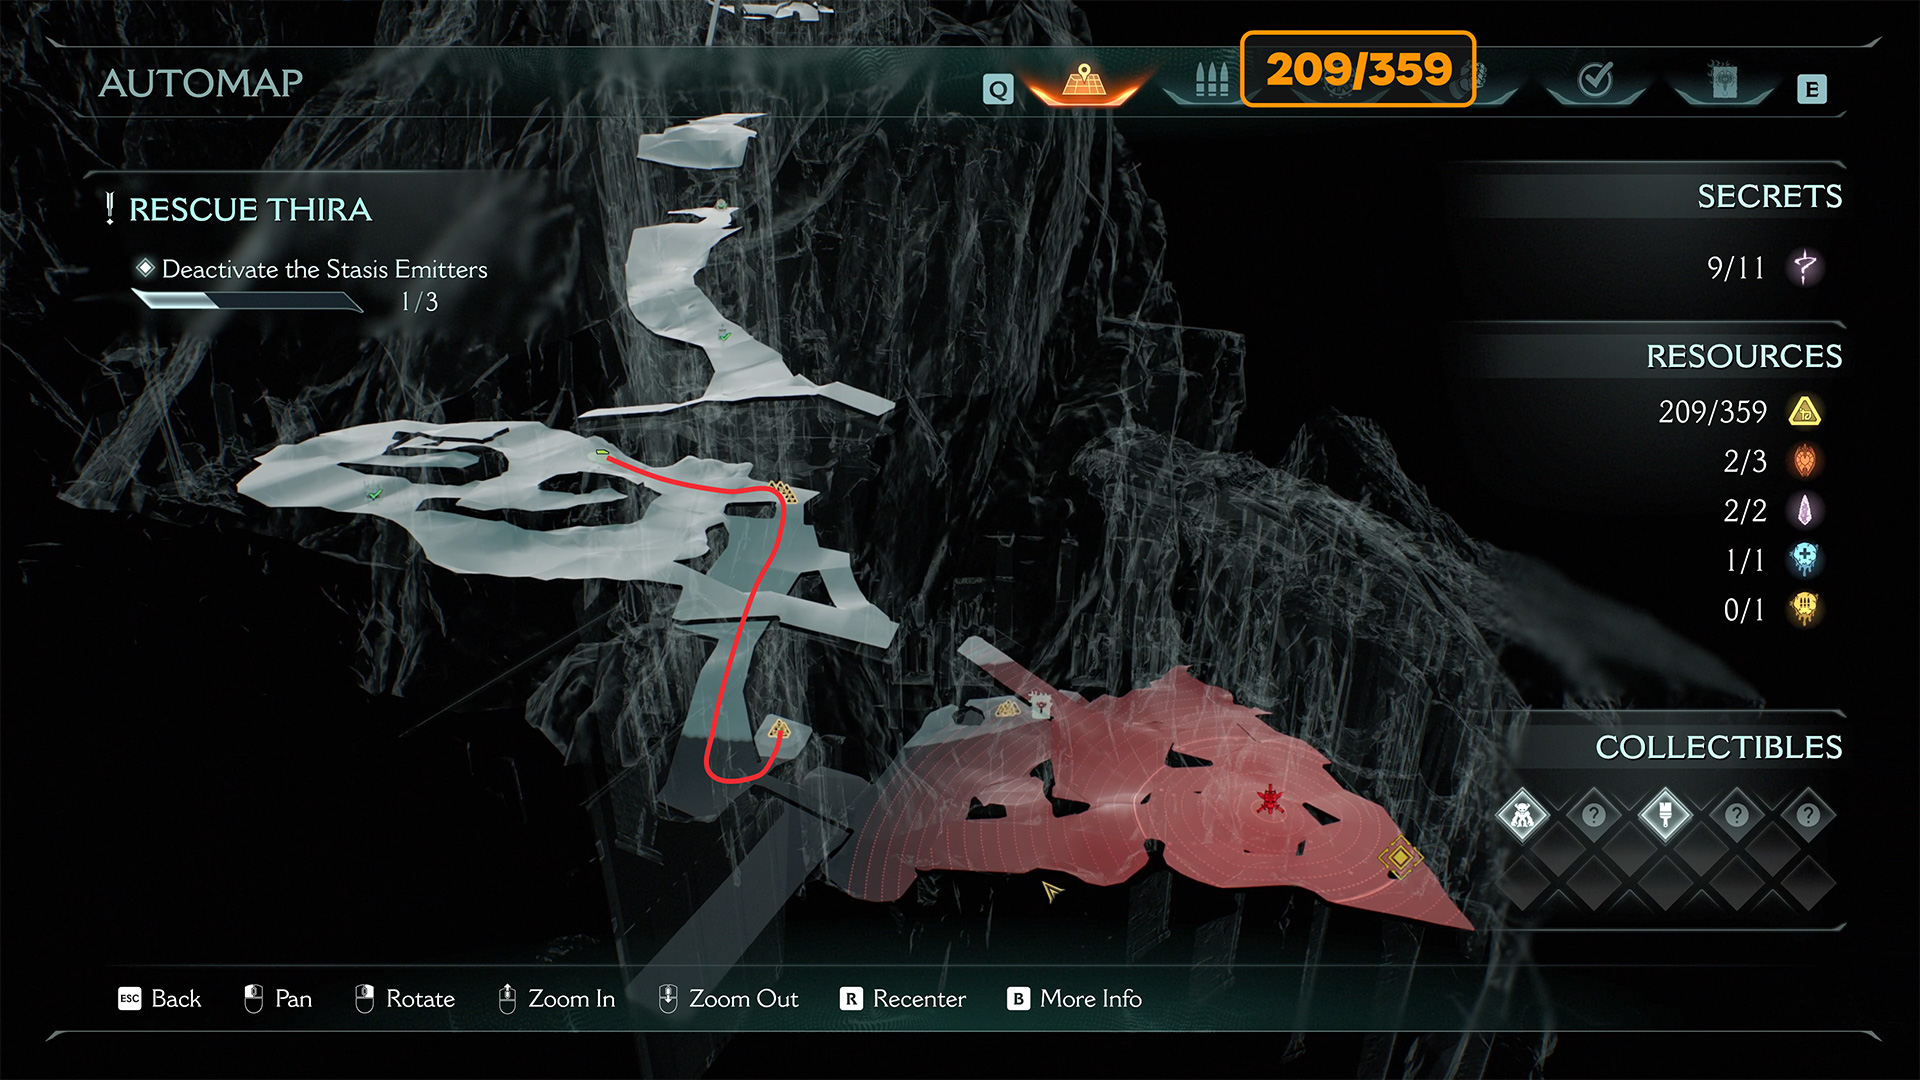
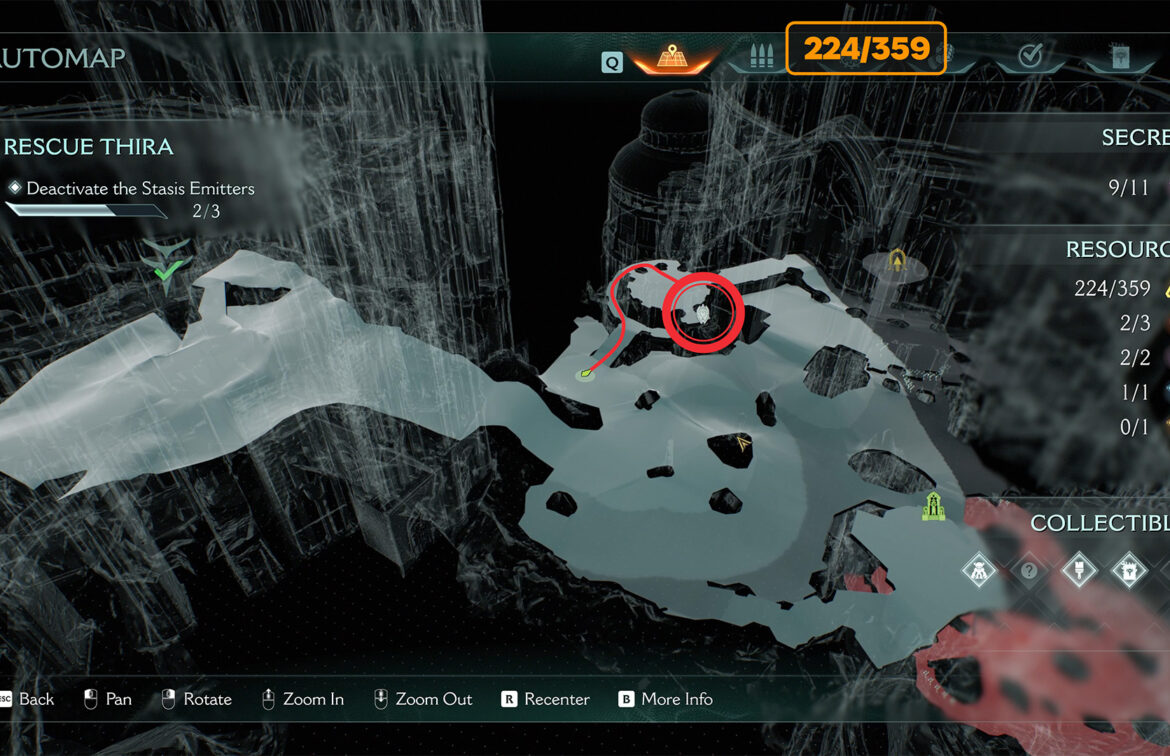
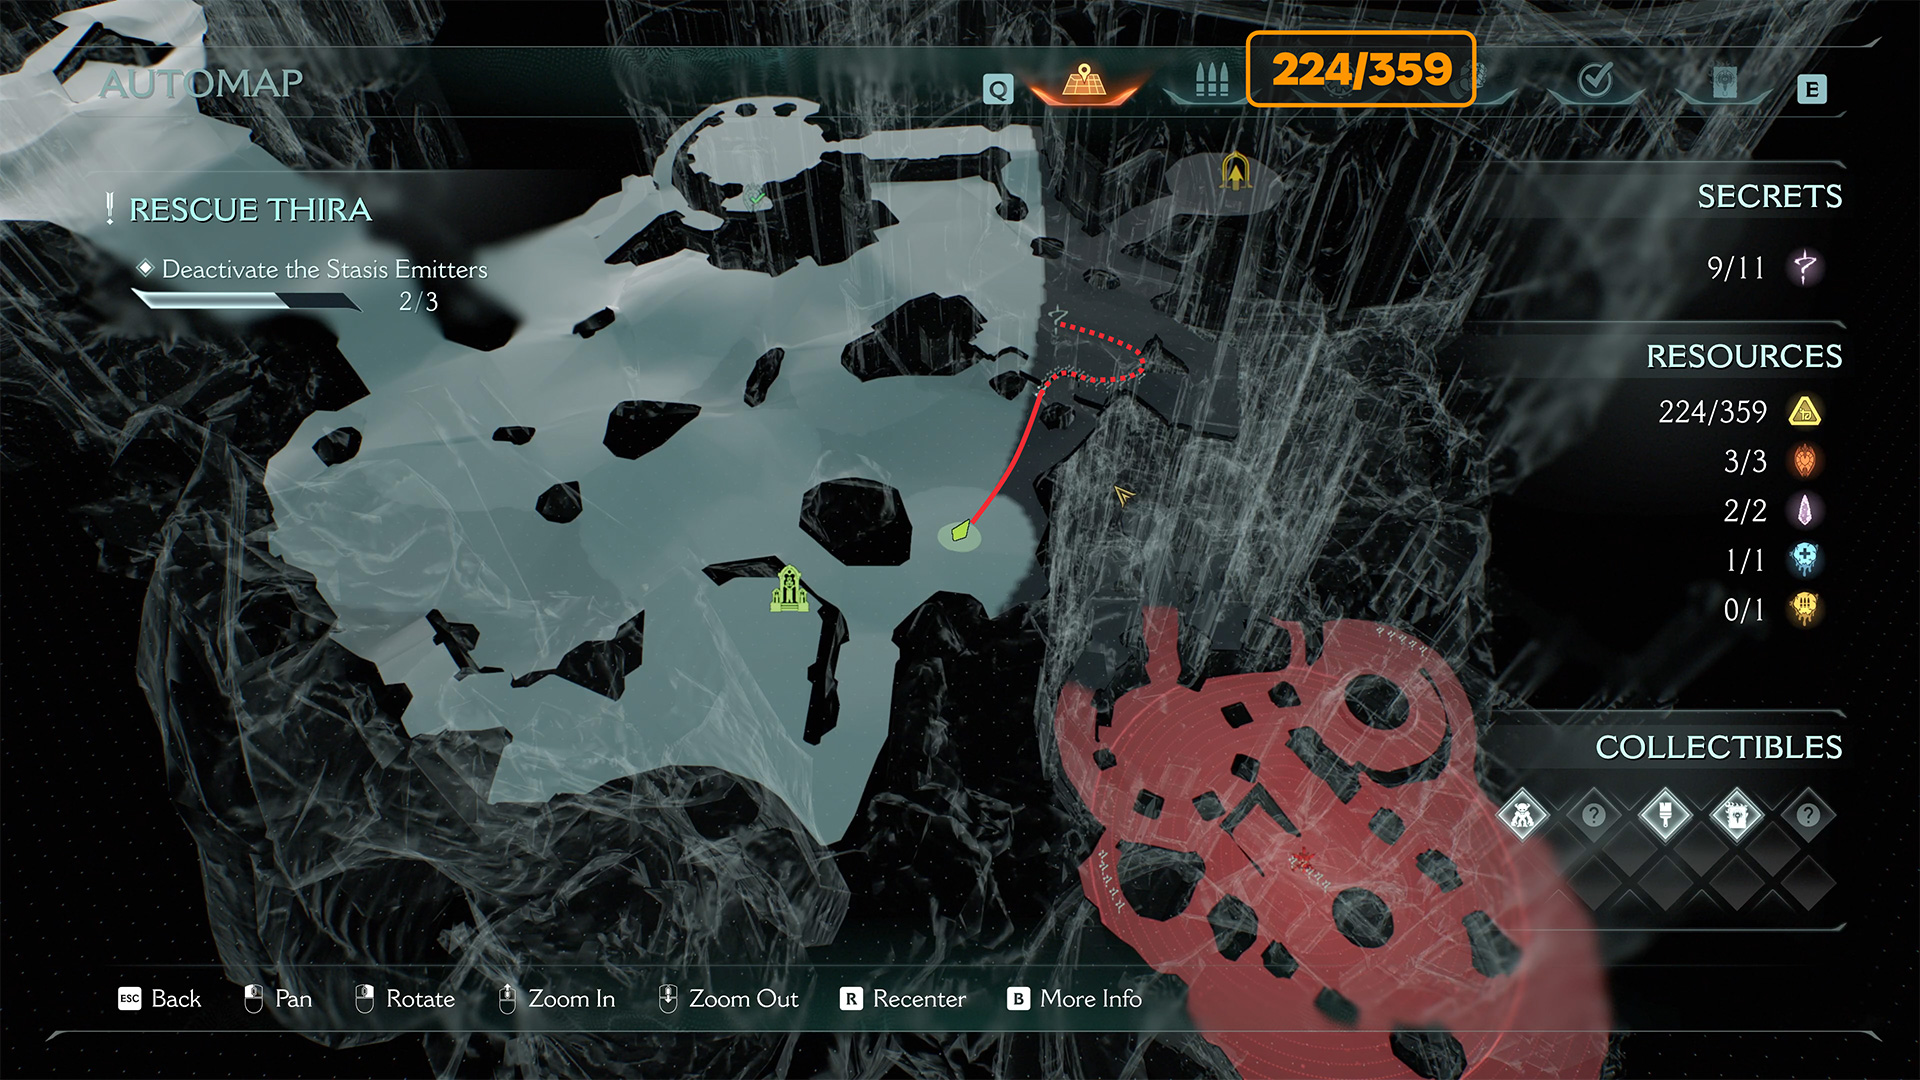
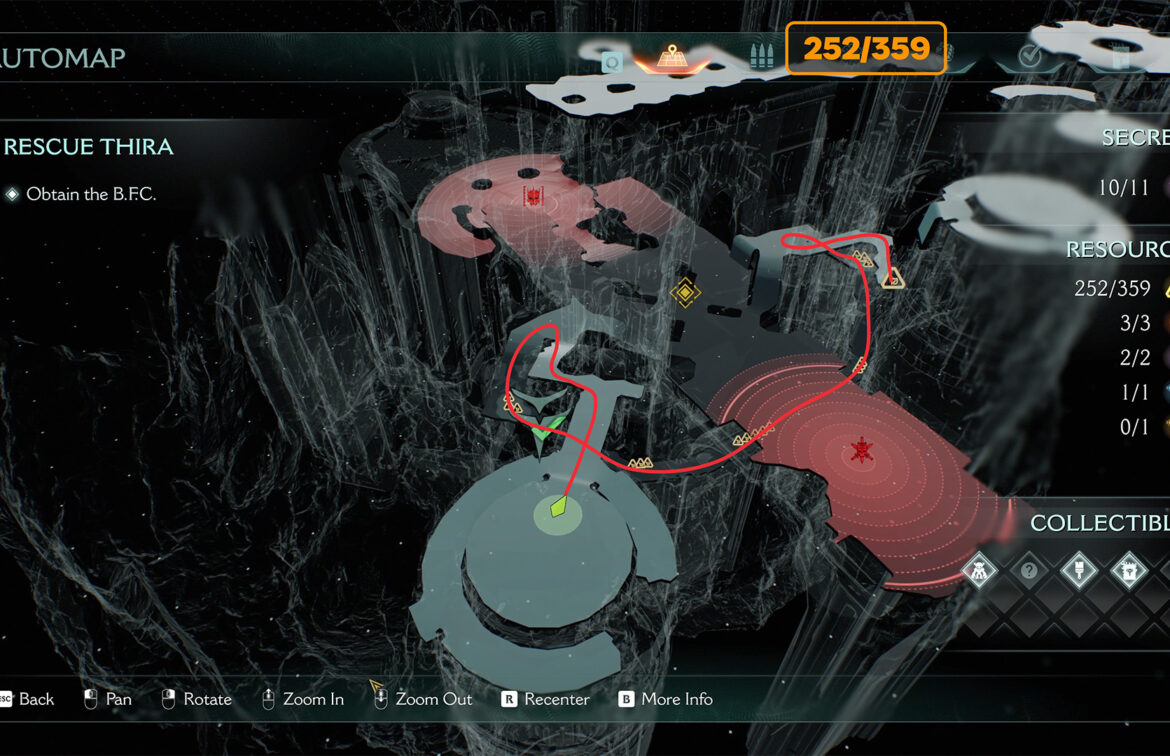
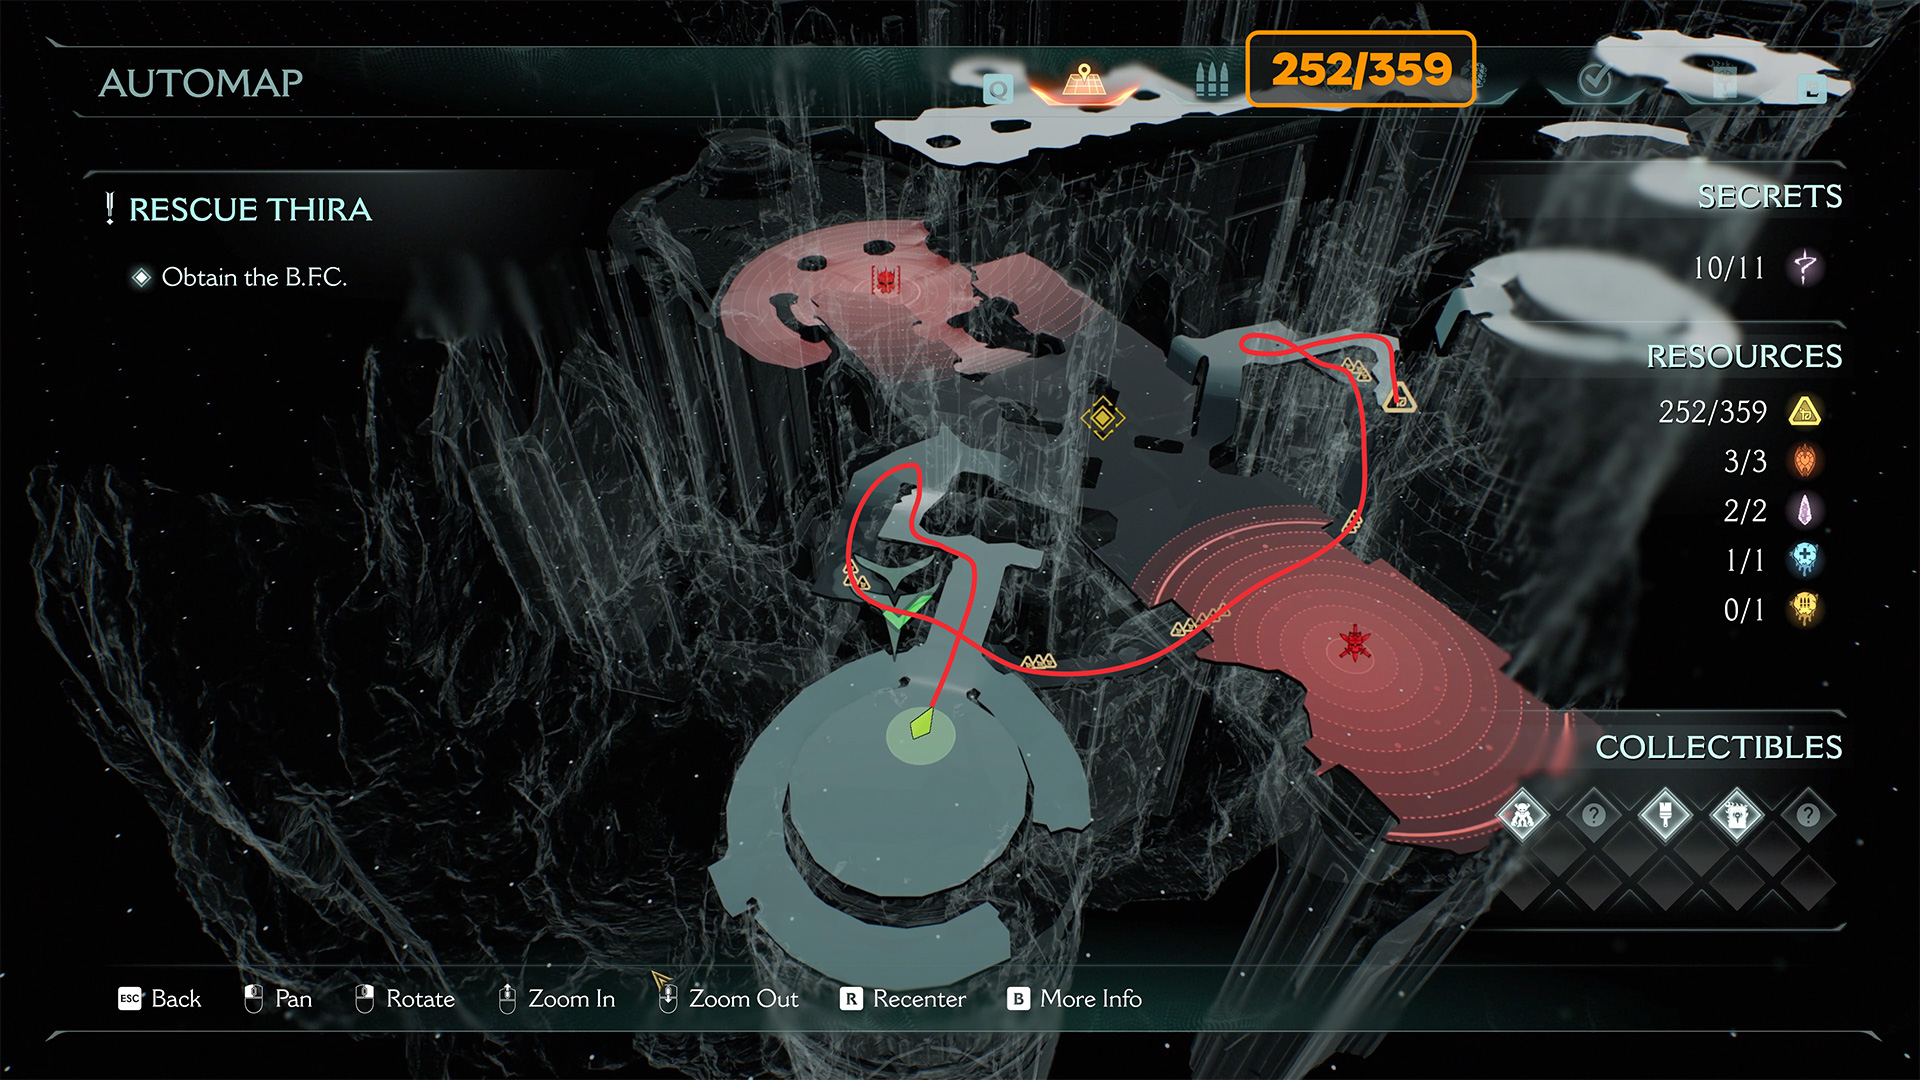
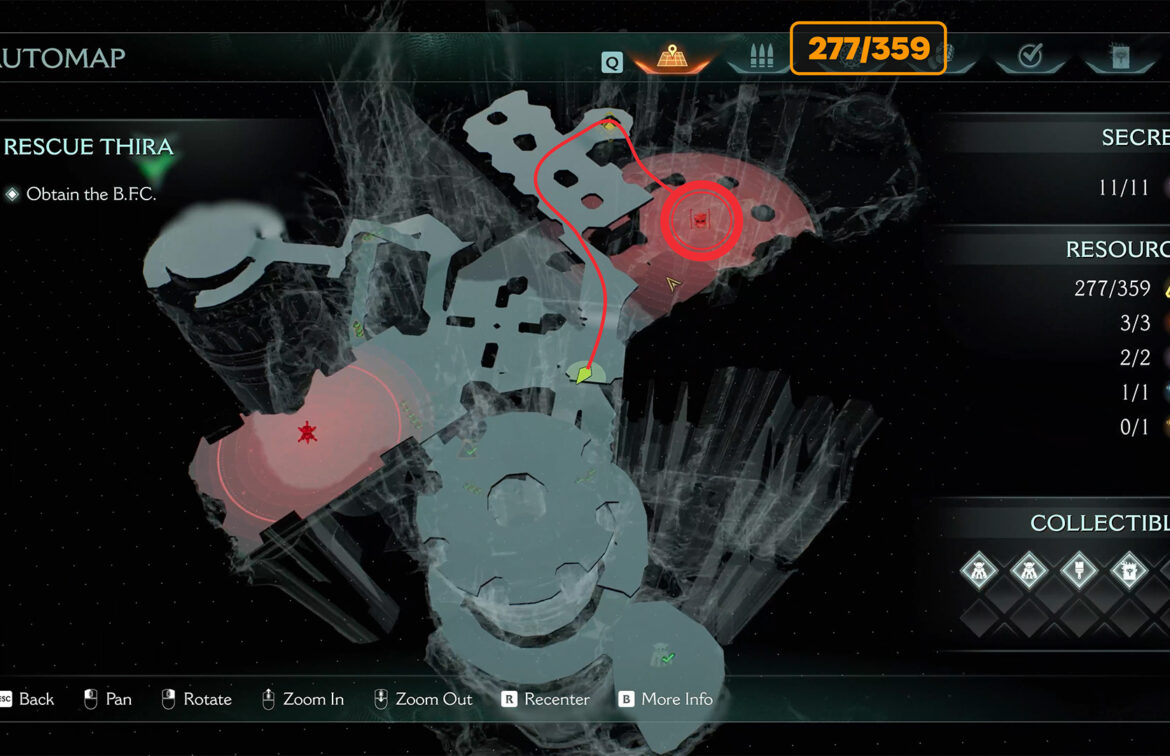
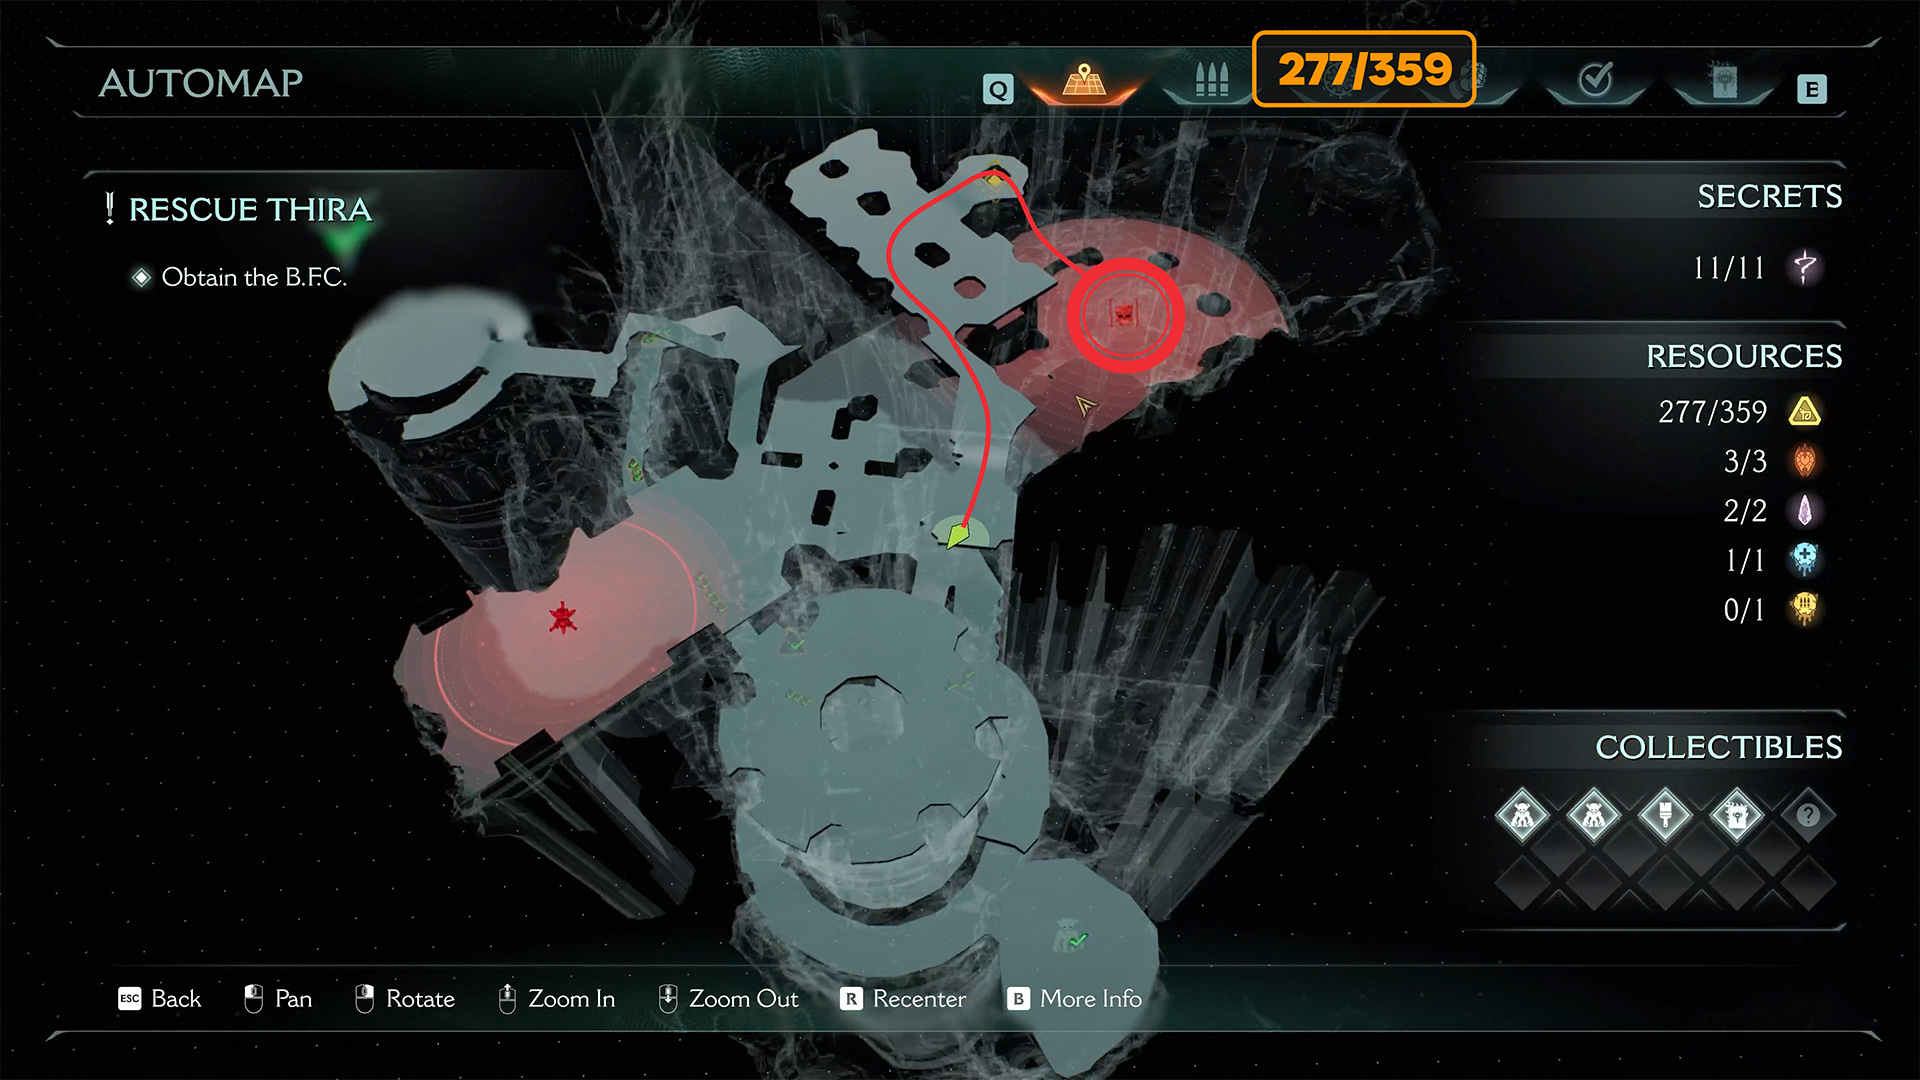
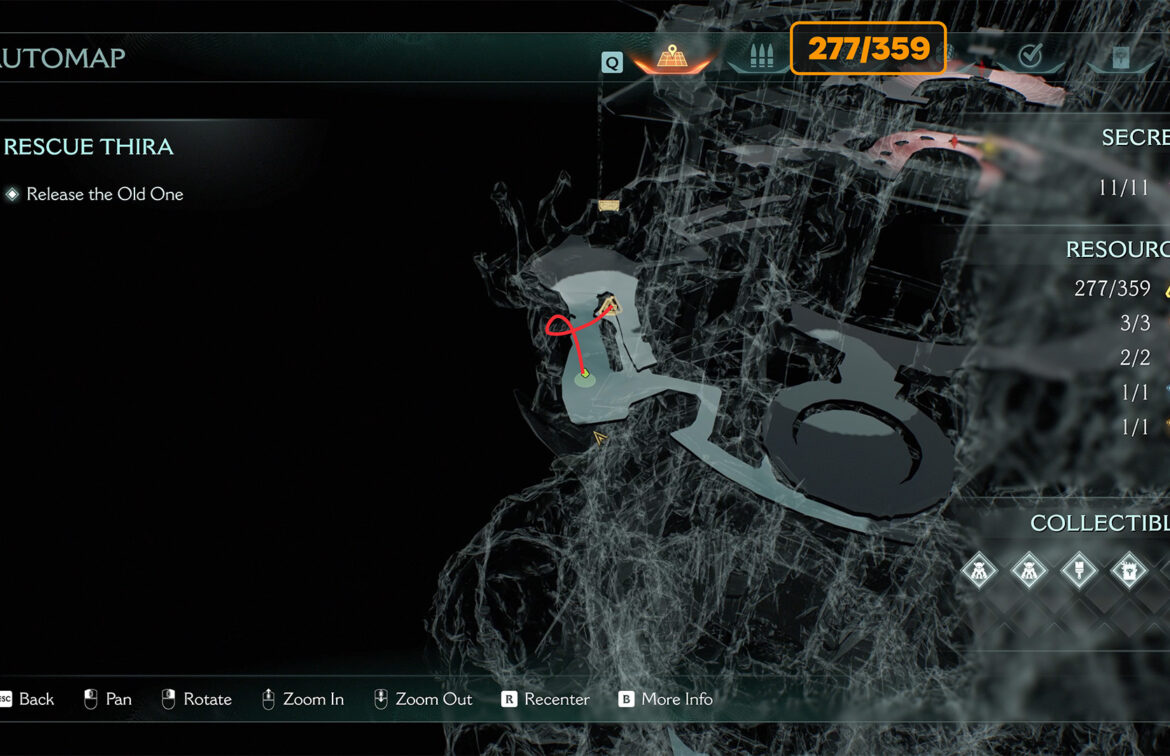
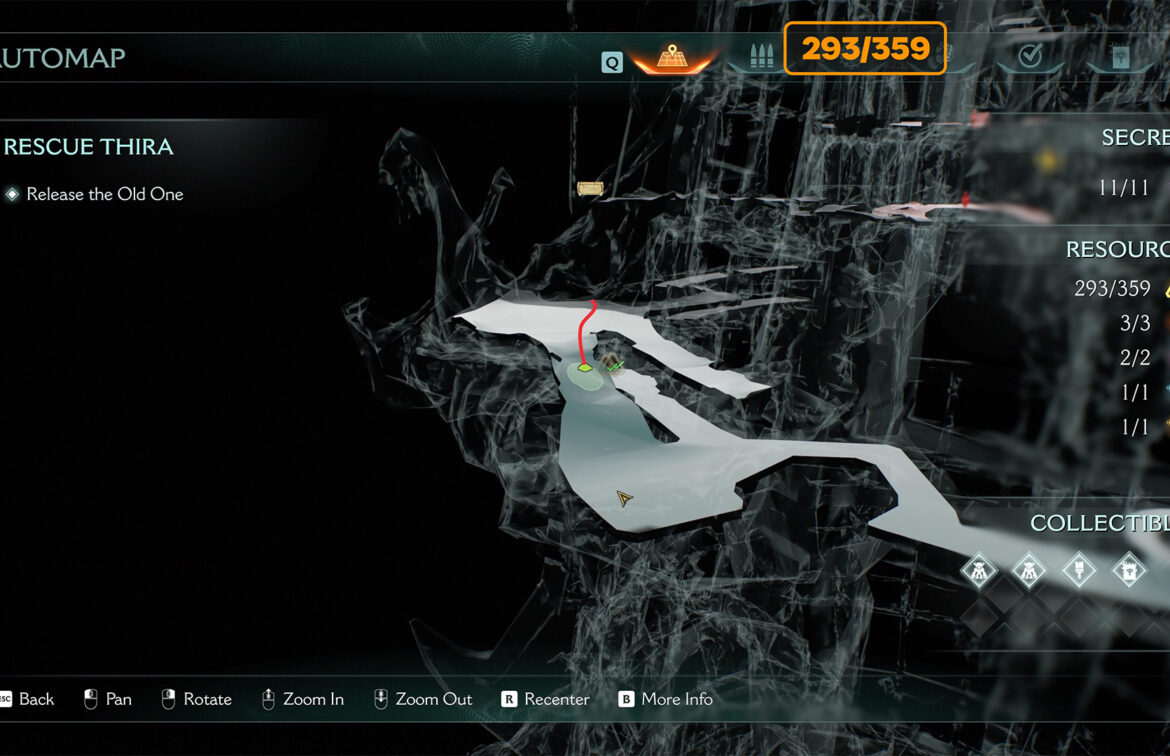
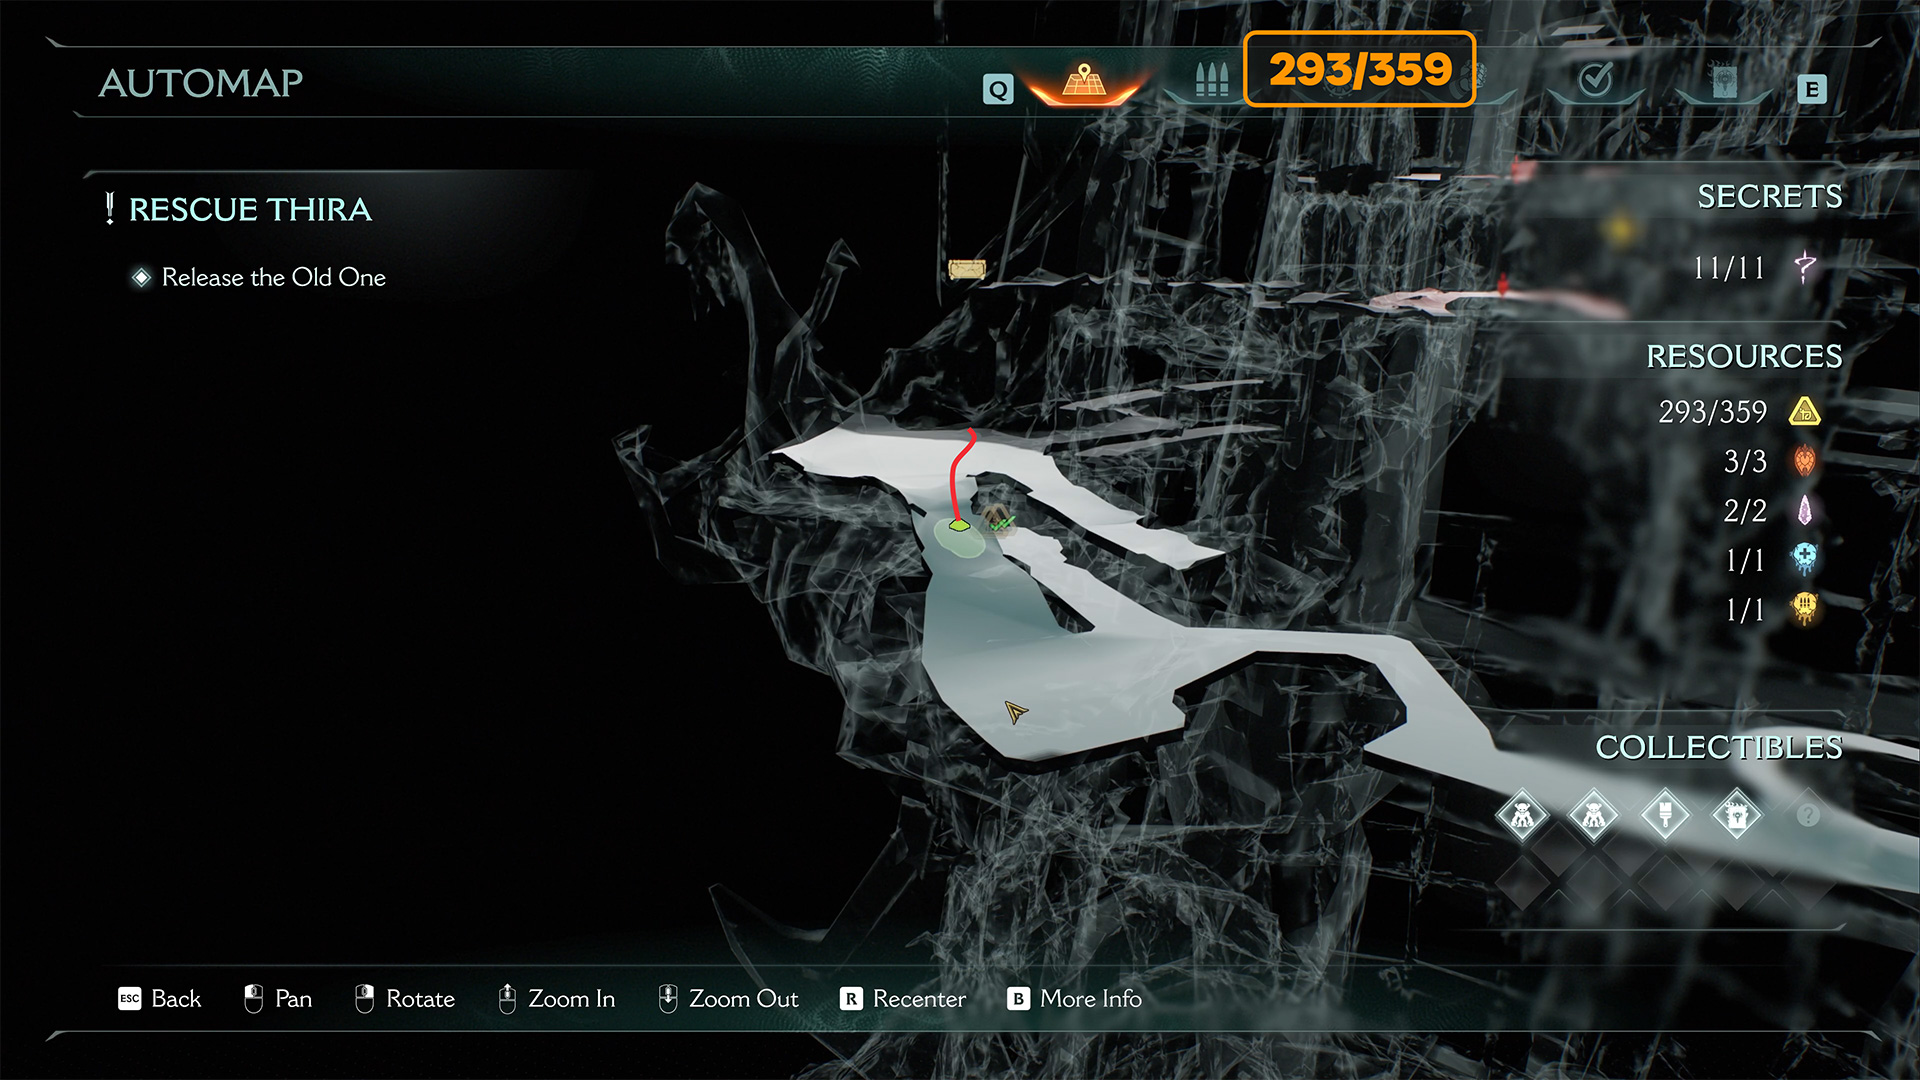
If you miss even one, you’ll have to go through the whole chapter again: here are all the collectibles from Chapter 14! We continue our journey through Doom: The Dark Ages. Today, we will review all the collectibles that you can find in Chapter 14 – Spire of Nerathul. I also recommend reviewing Chapter 13 From Beyond. All the hidden locations you need to complete the mission 100%.
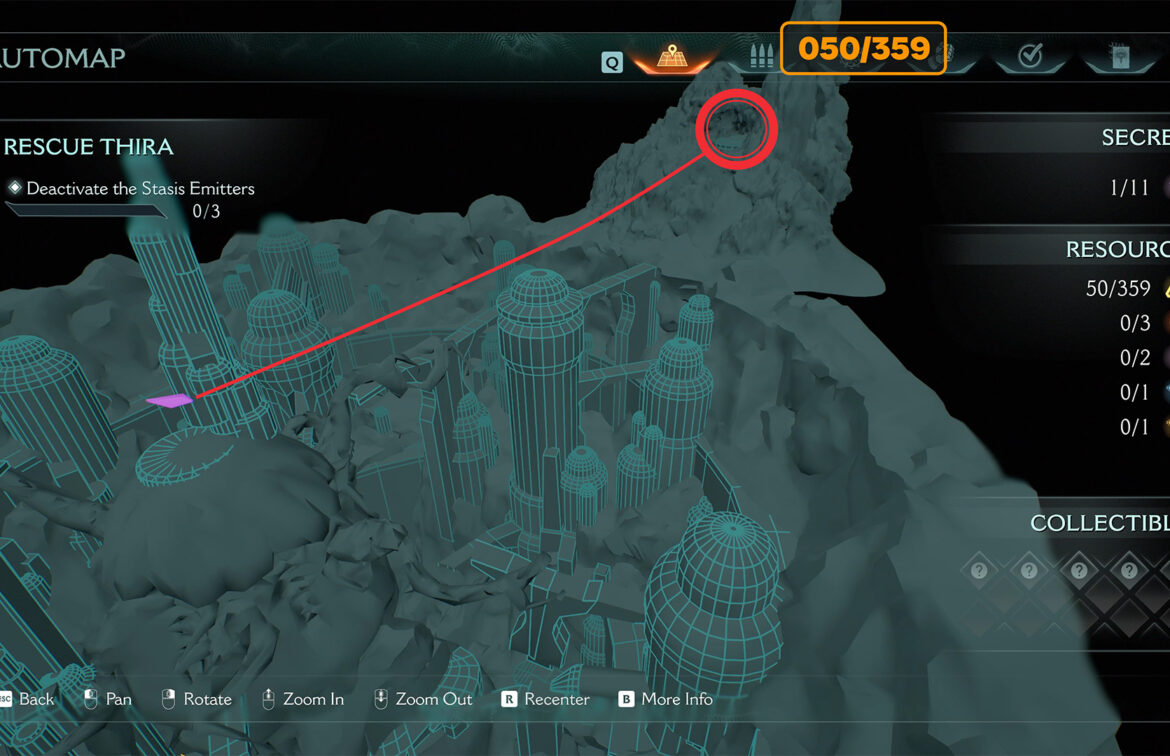
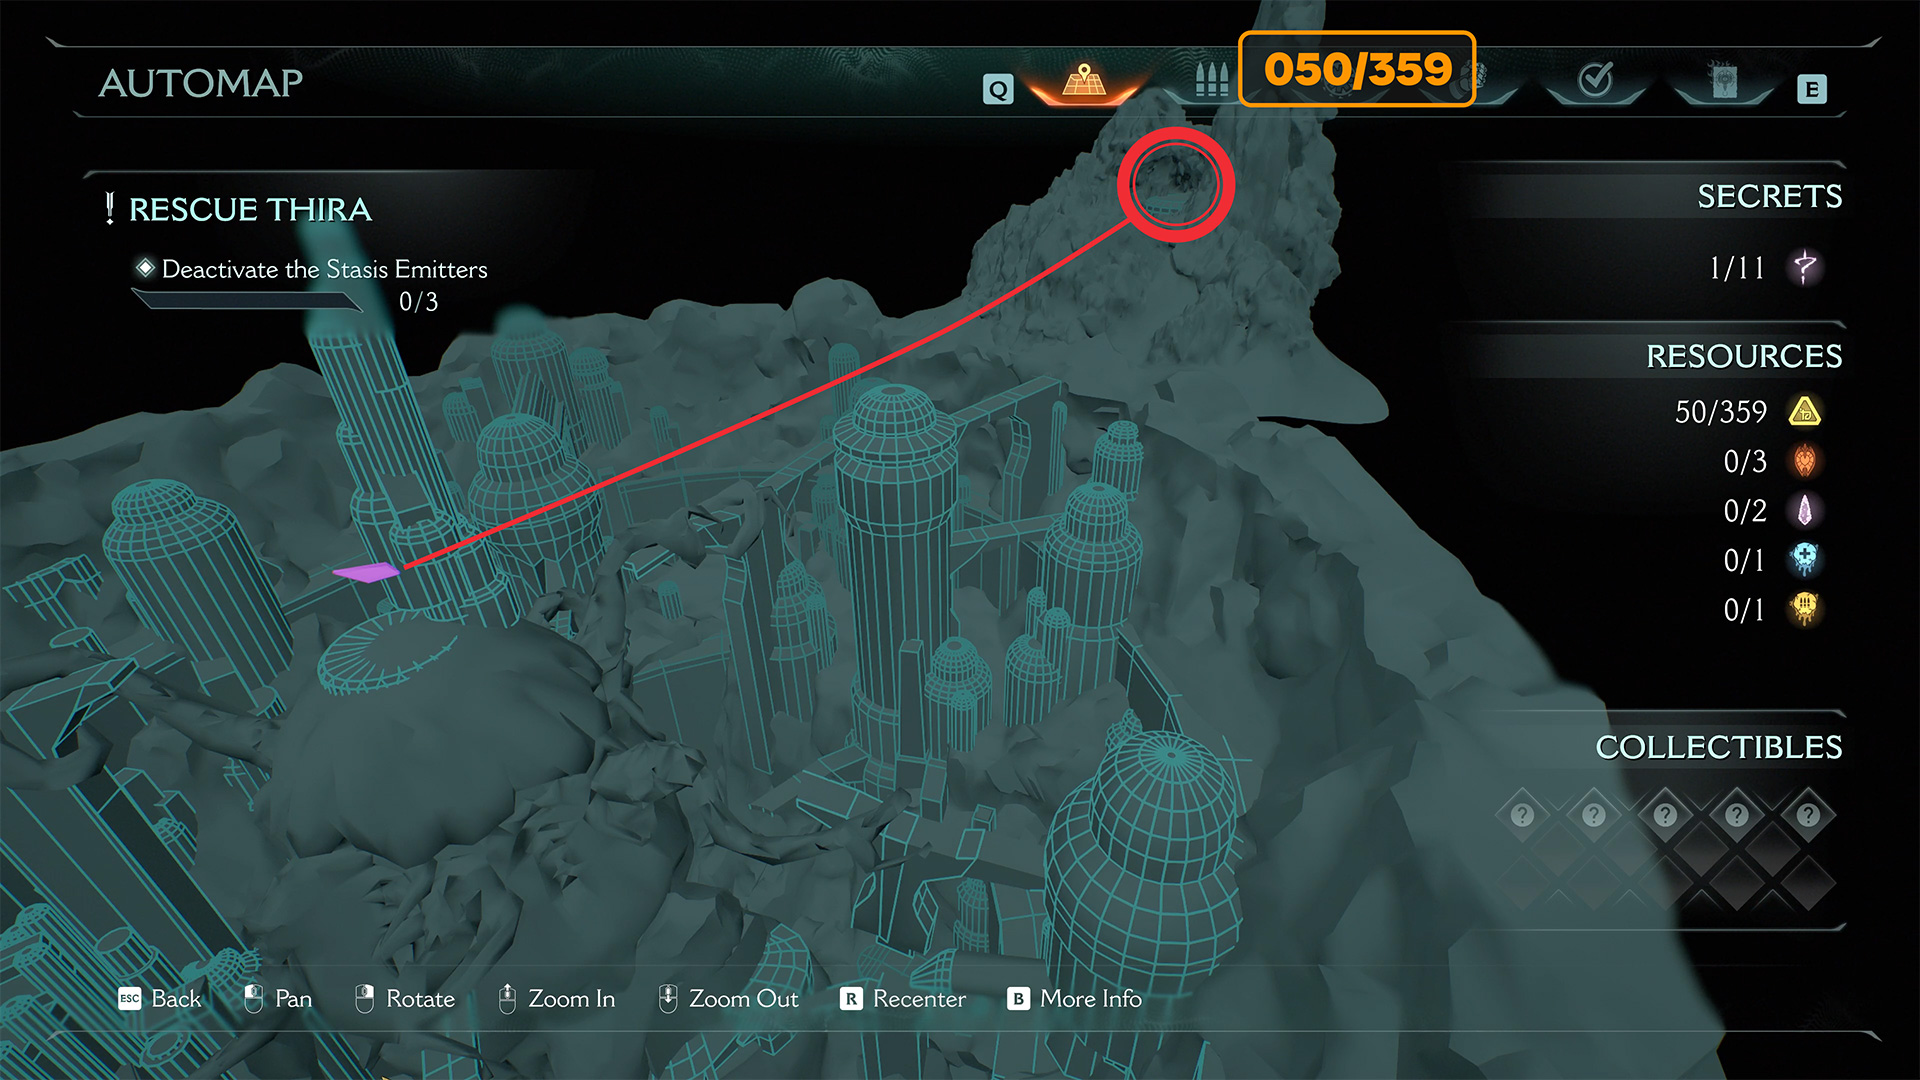
For me, the most interesting chapter is Ancestral Forge. As a result of this guide, you will complete Chapter 14 – Spire of Nerathul 100% and receive:
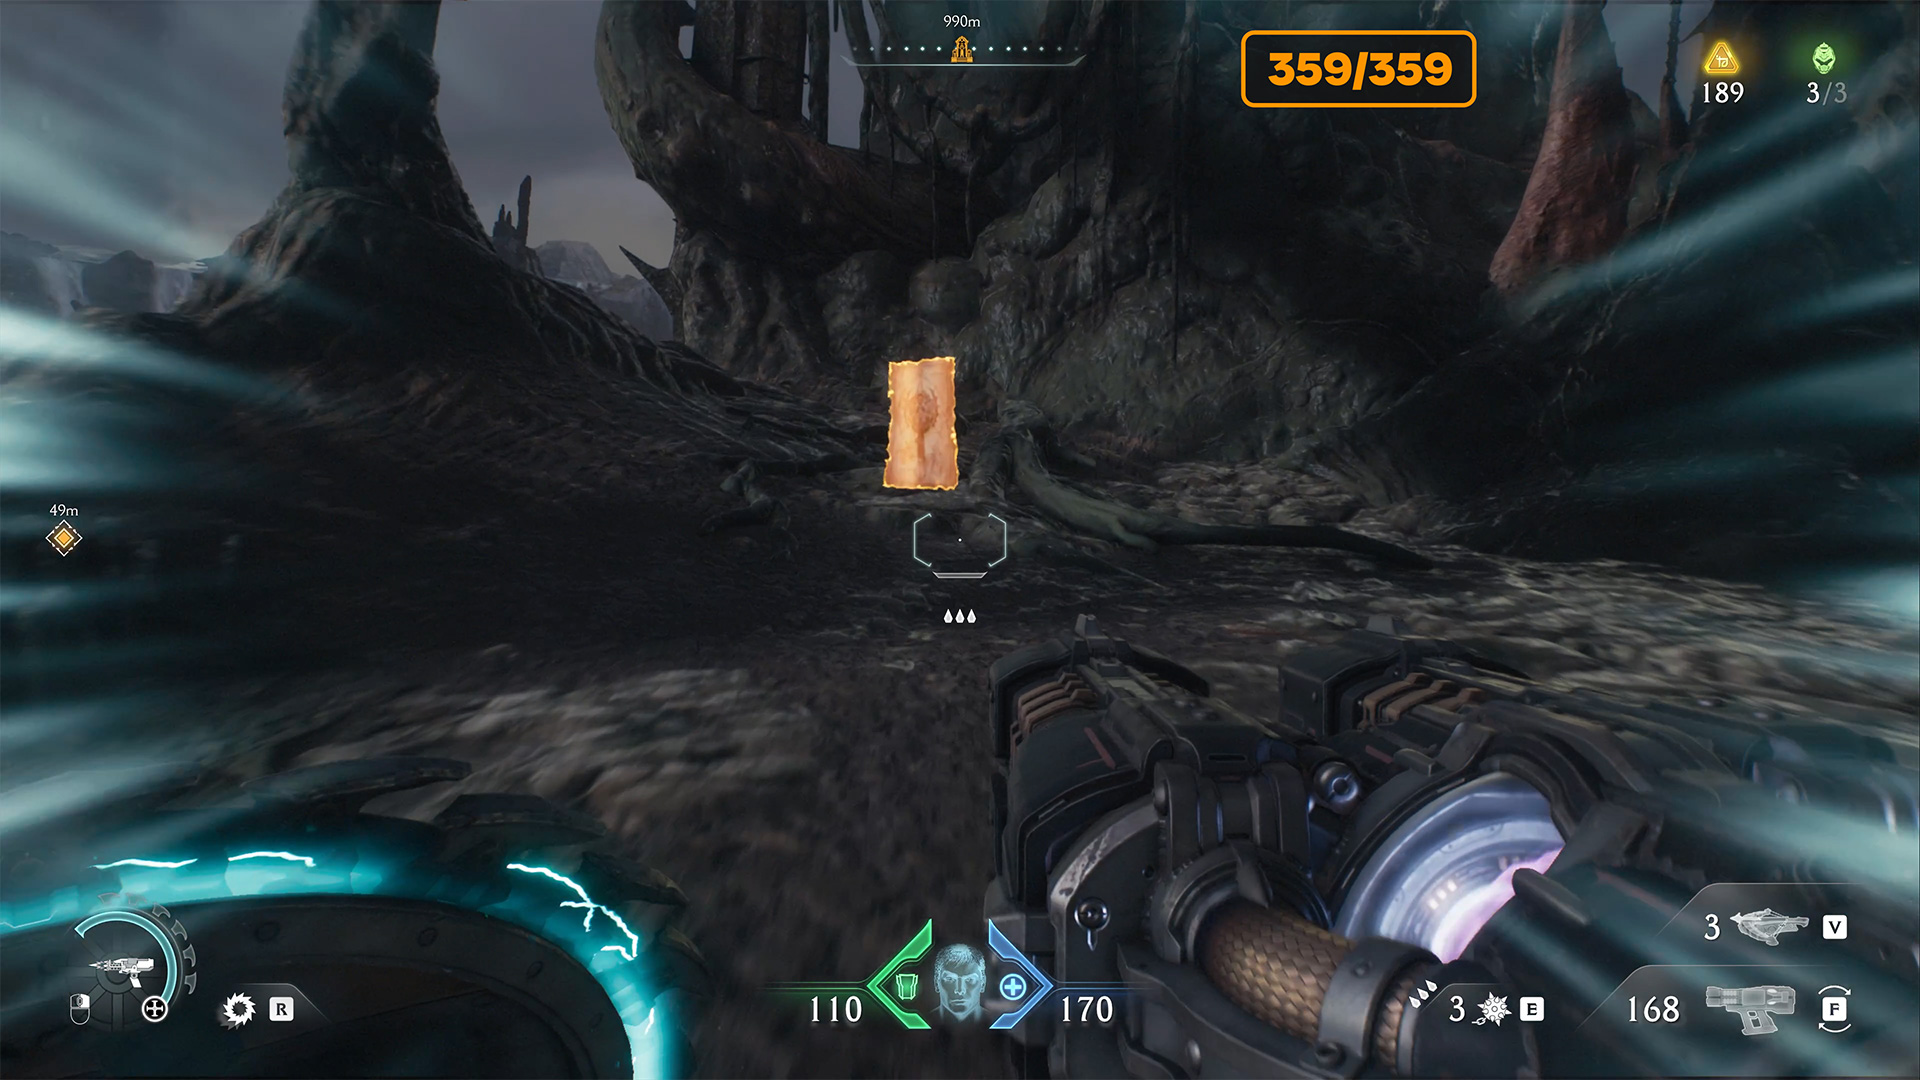
- Gold: 359
- Ruby: 3
- Wraithstone: 2
- Demonic Essence – Health: 1
- Demonic Essence – Ammo: 1
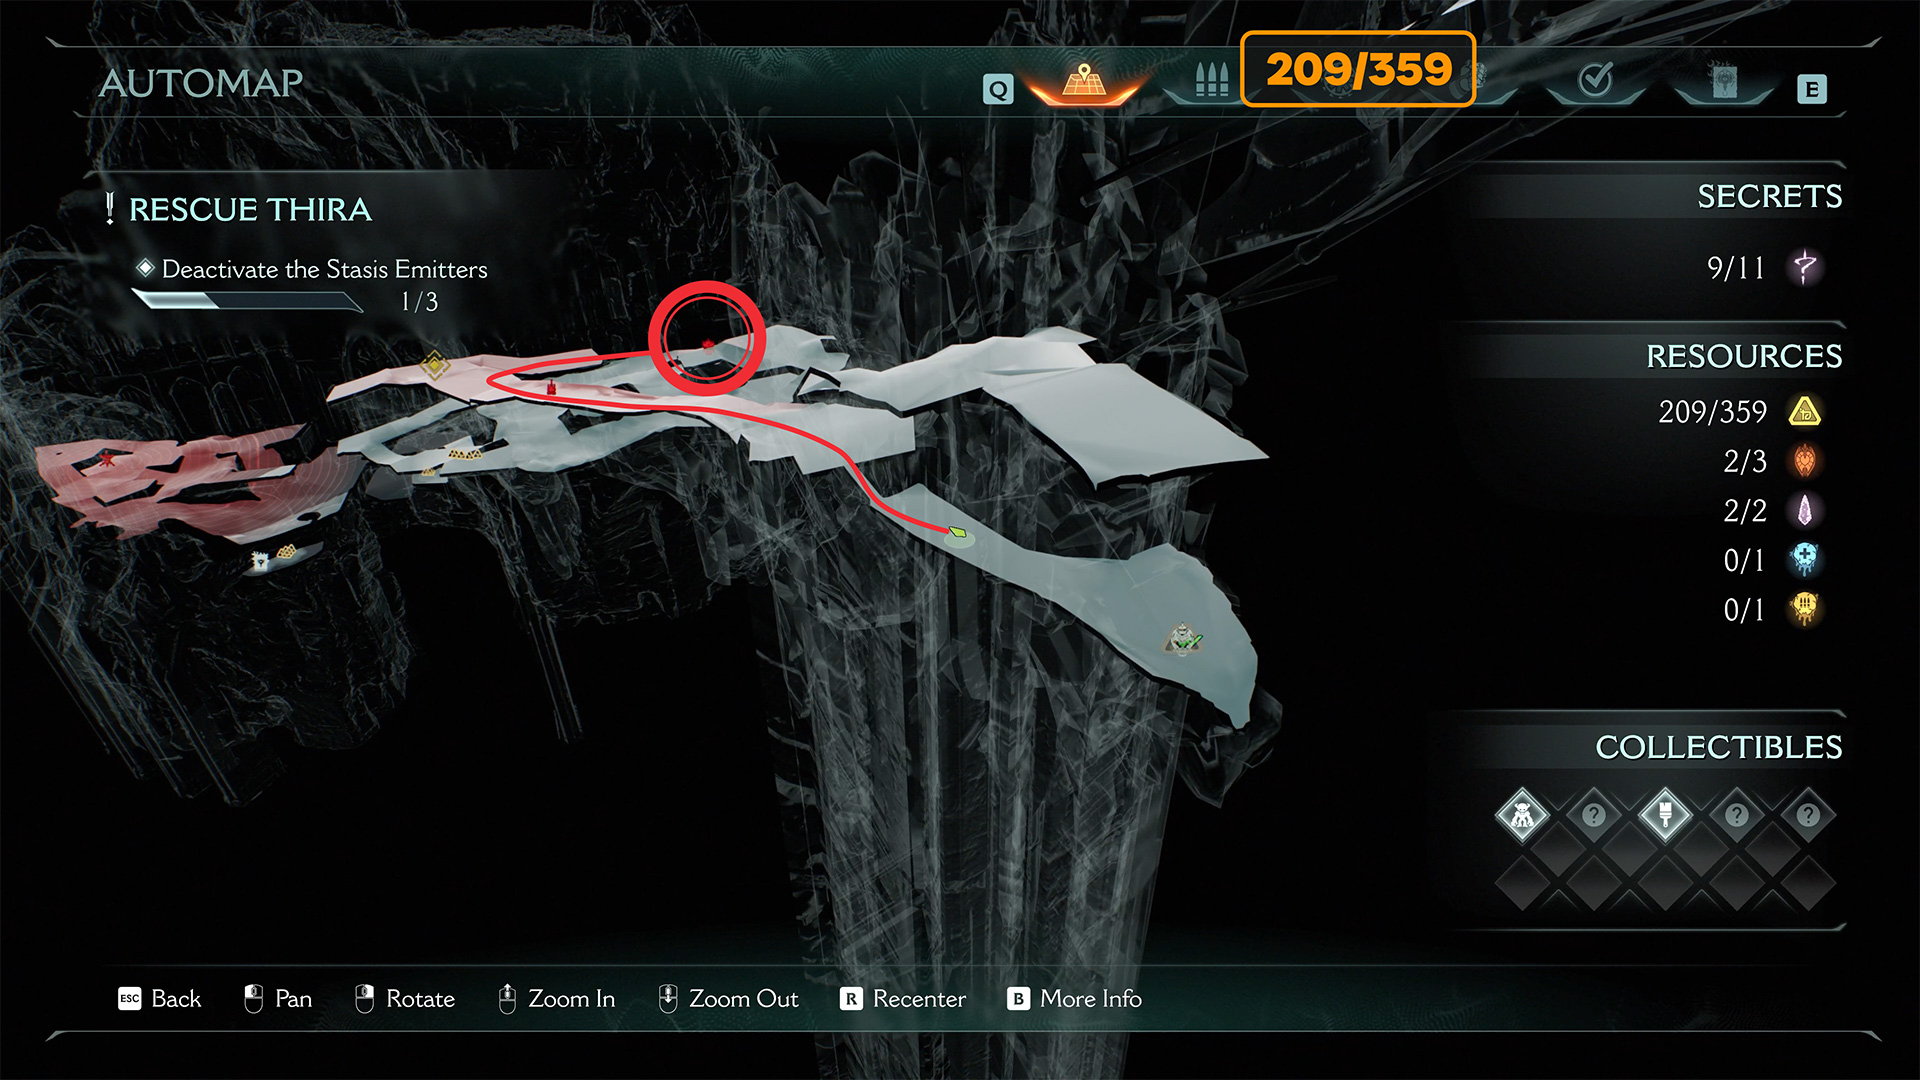
- Secrets: 11
- Codex Entries: 2
- Collectible Toys: 2
- Weapon Skin: 1
- Quests: 3
I also recommend watching the video if you don’t want to search for all the collectibles mentioned in this article. The video shows everything briefly and clearly:
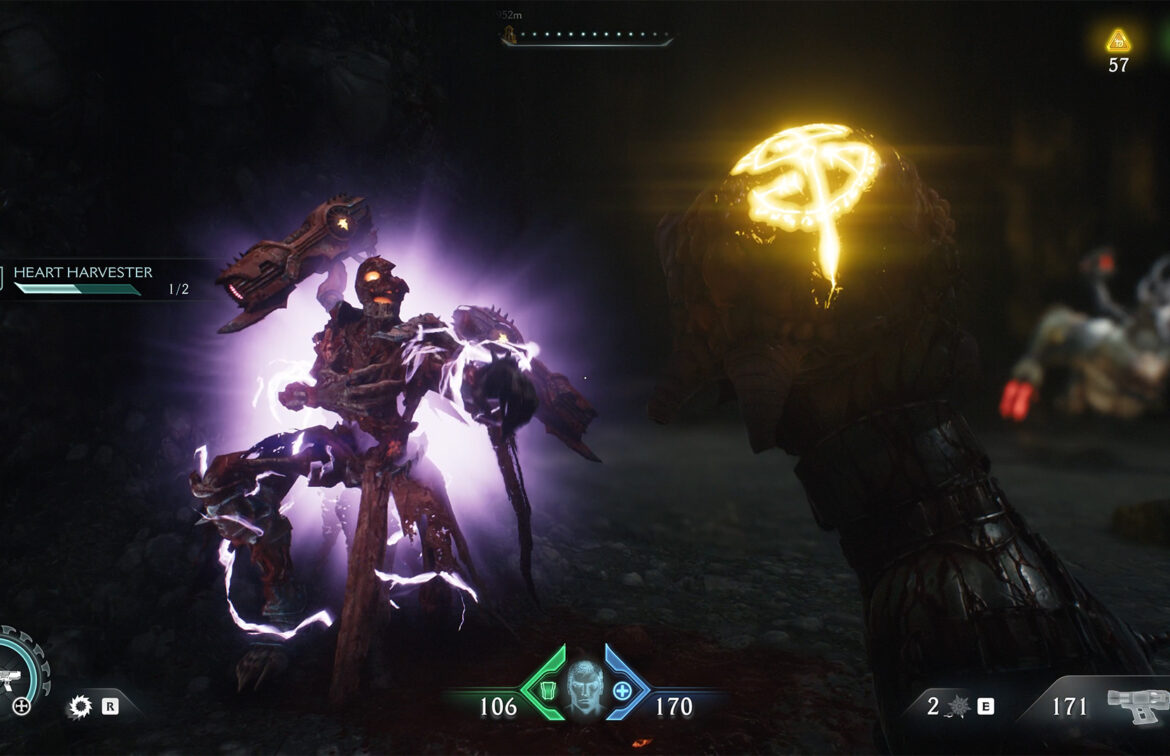
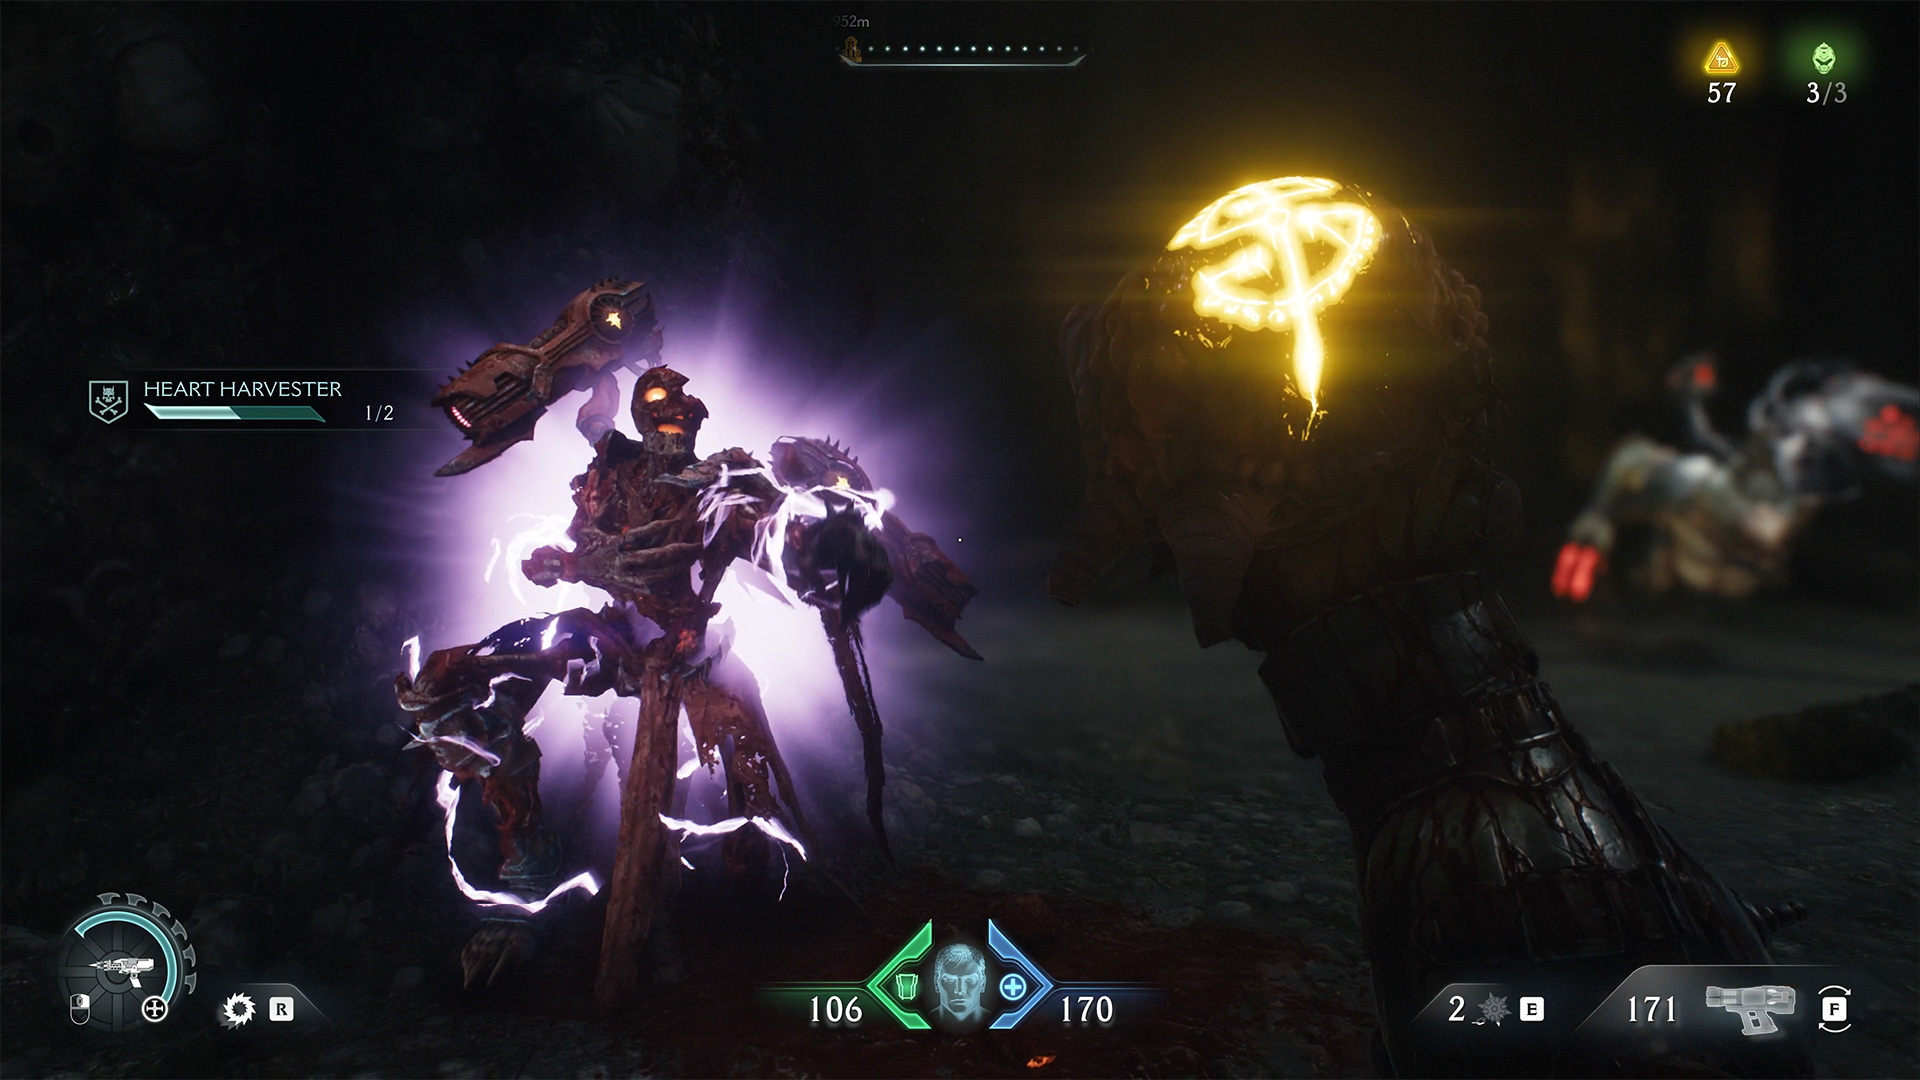
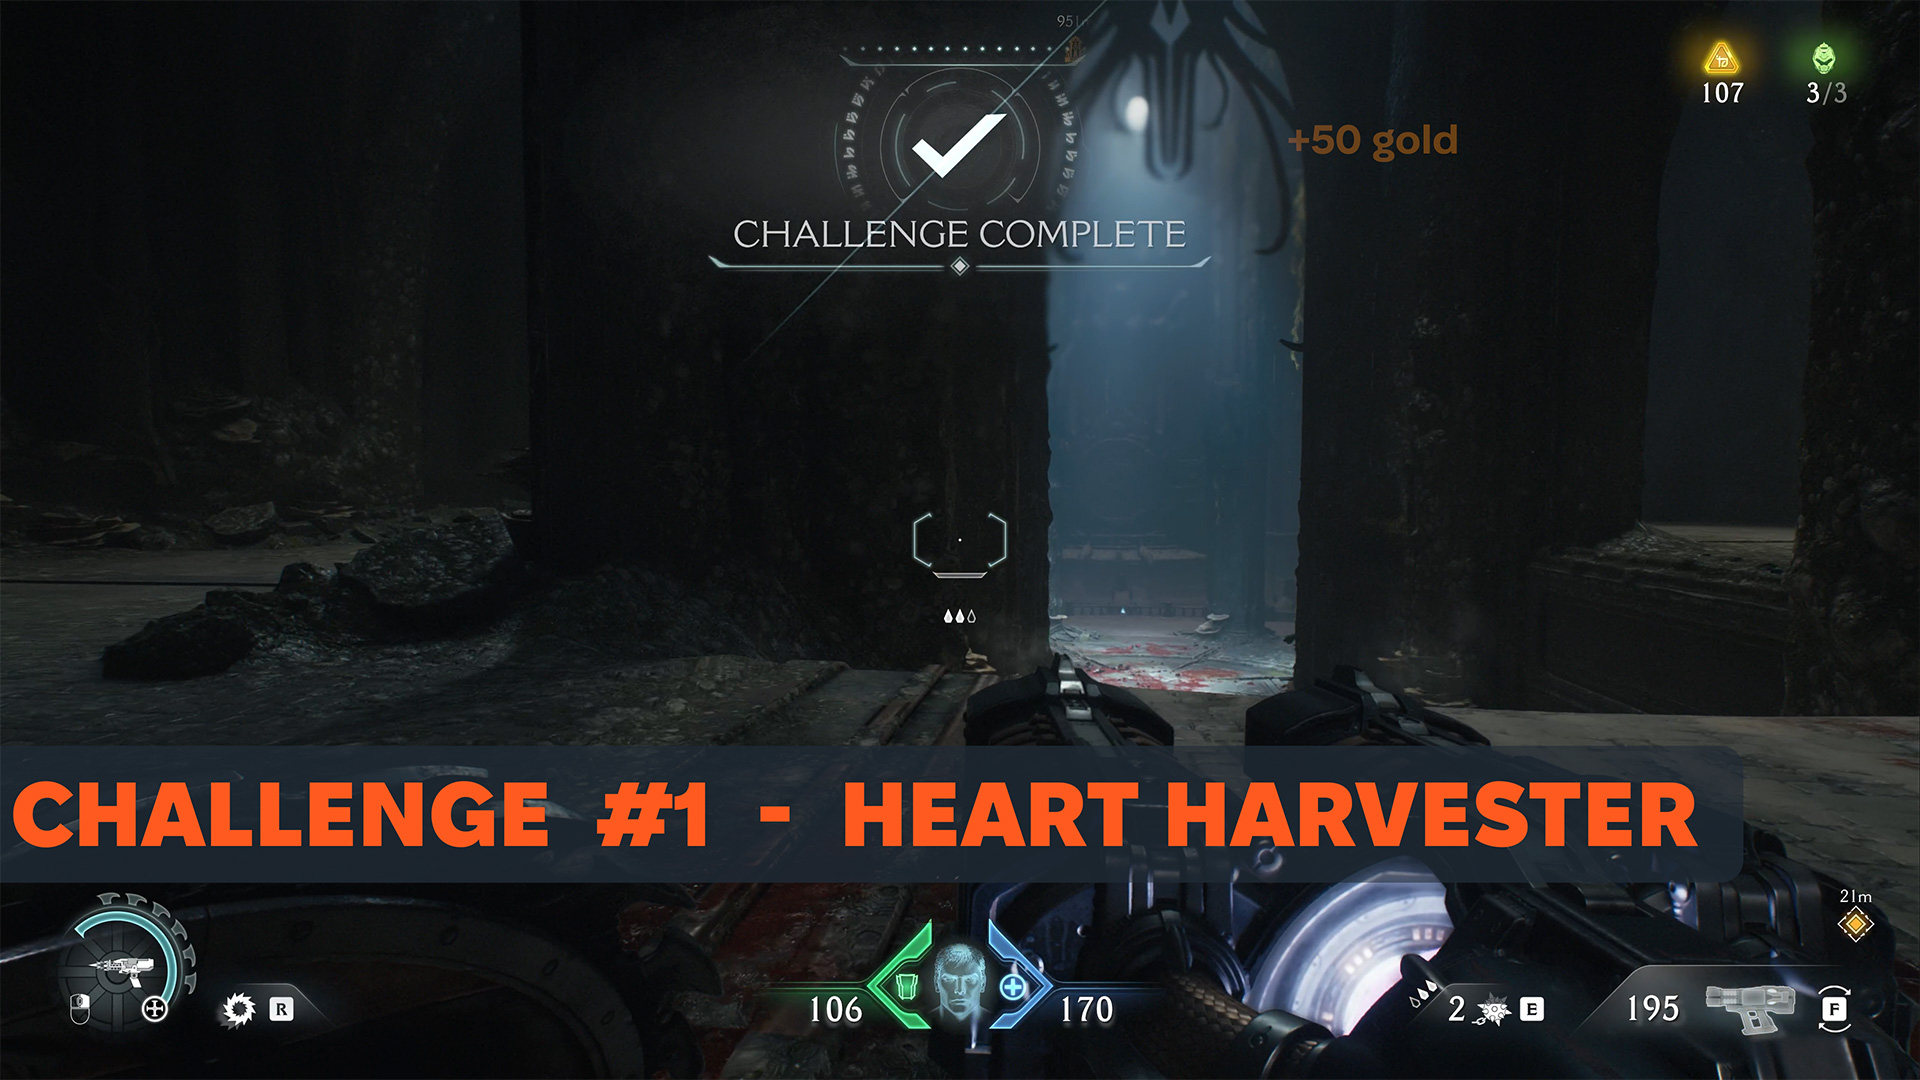
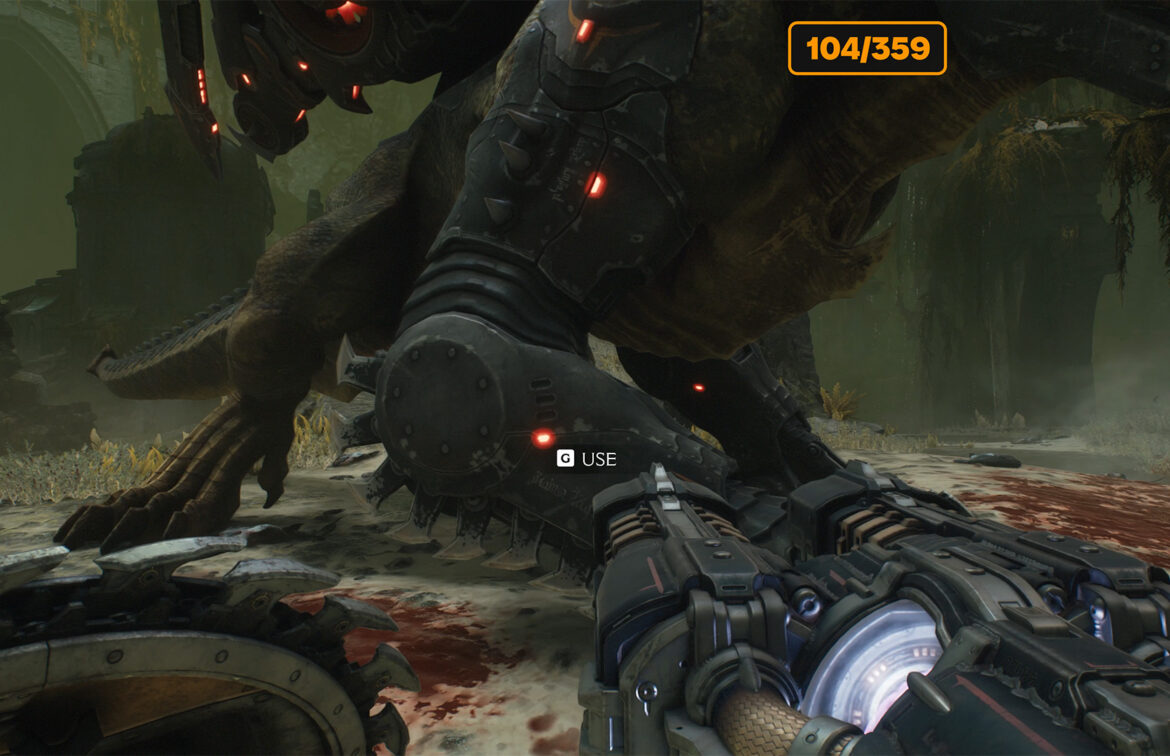
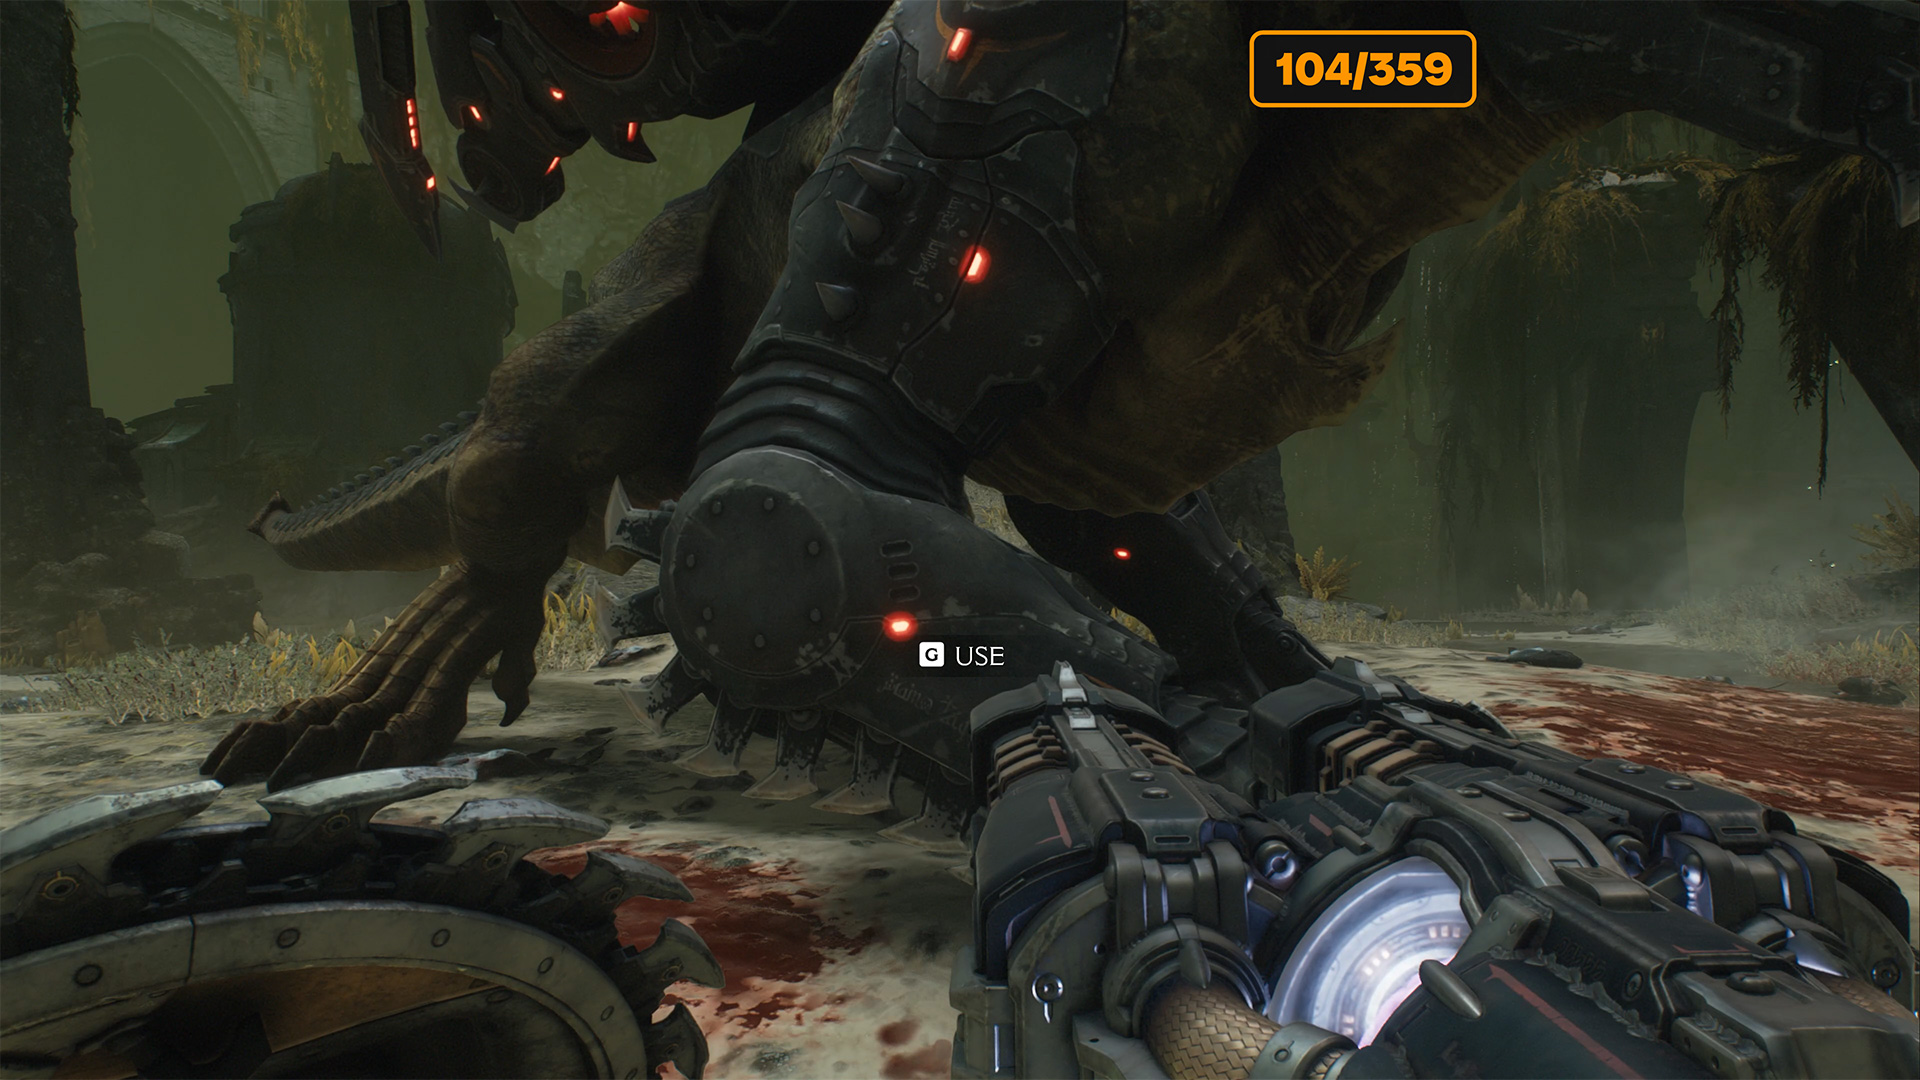
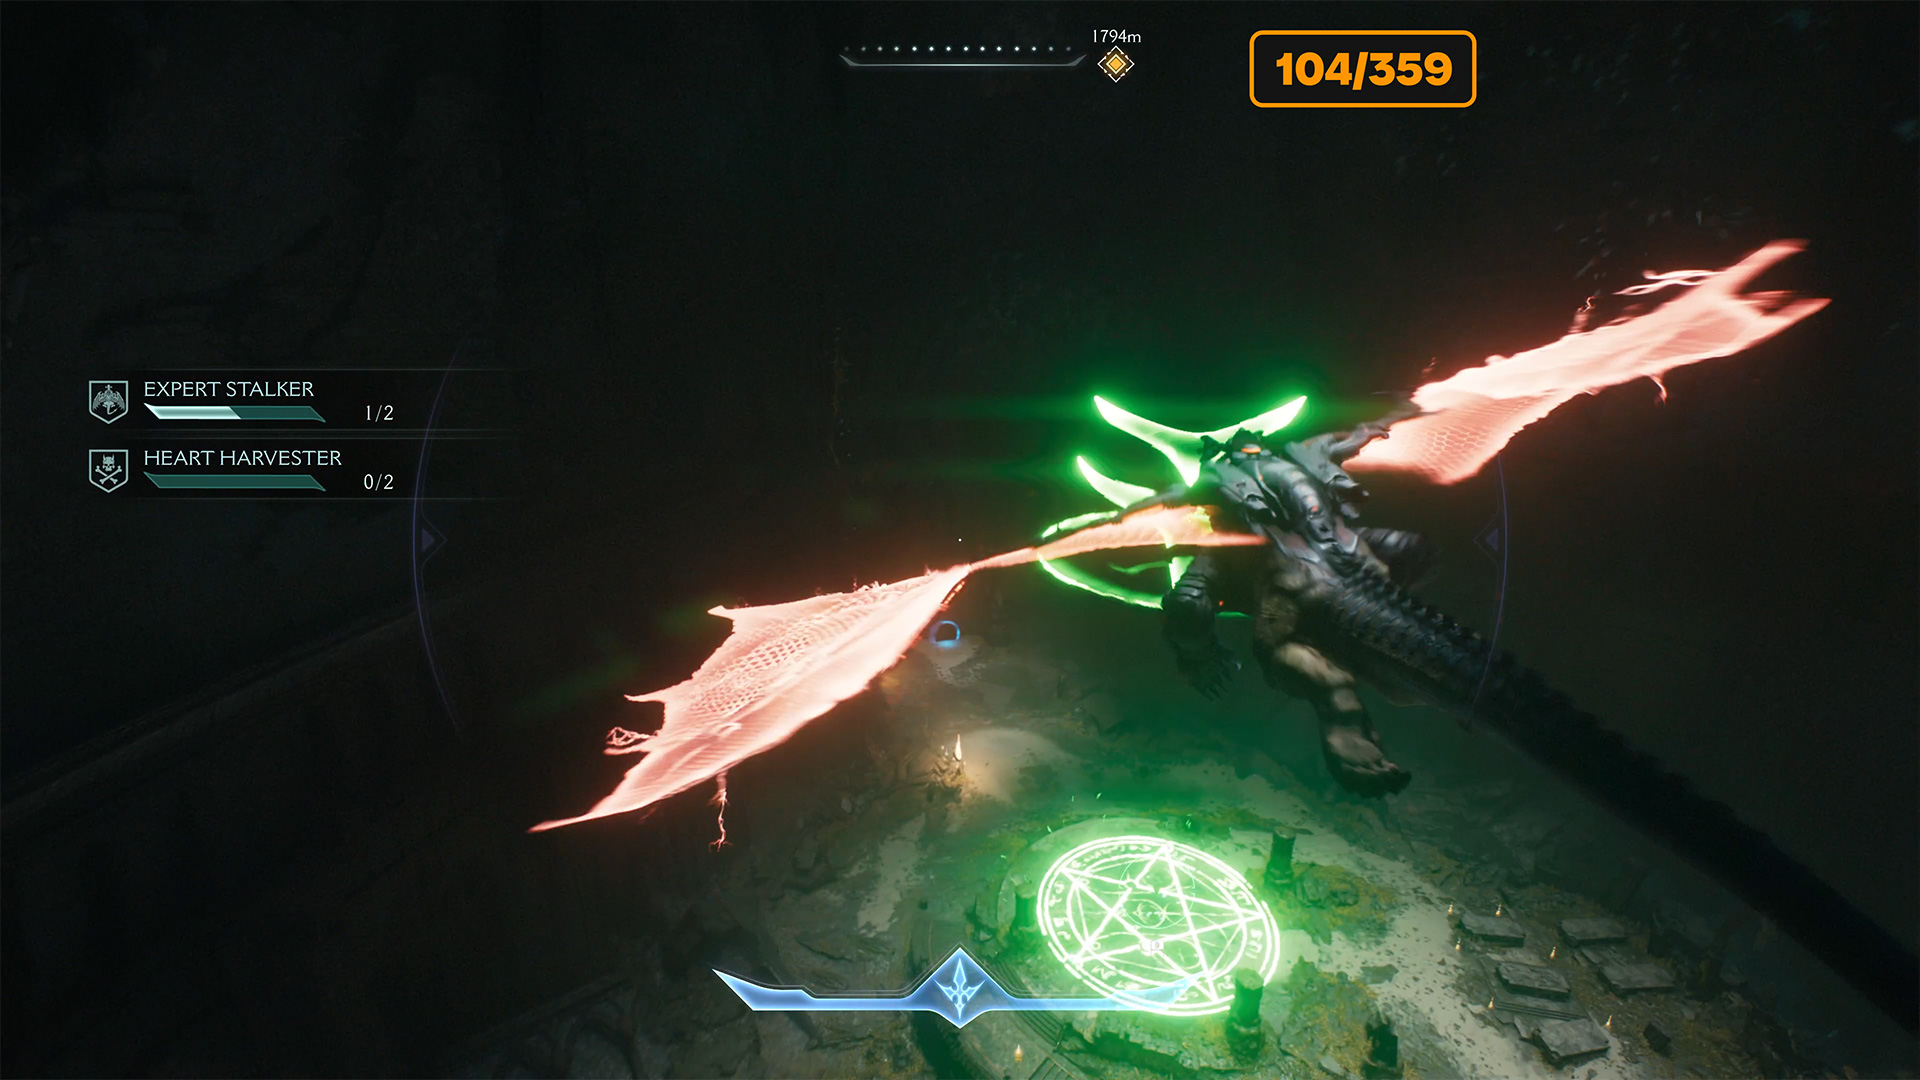
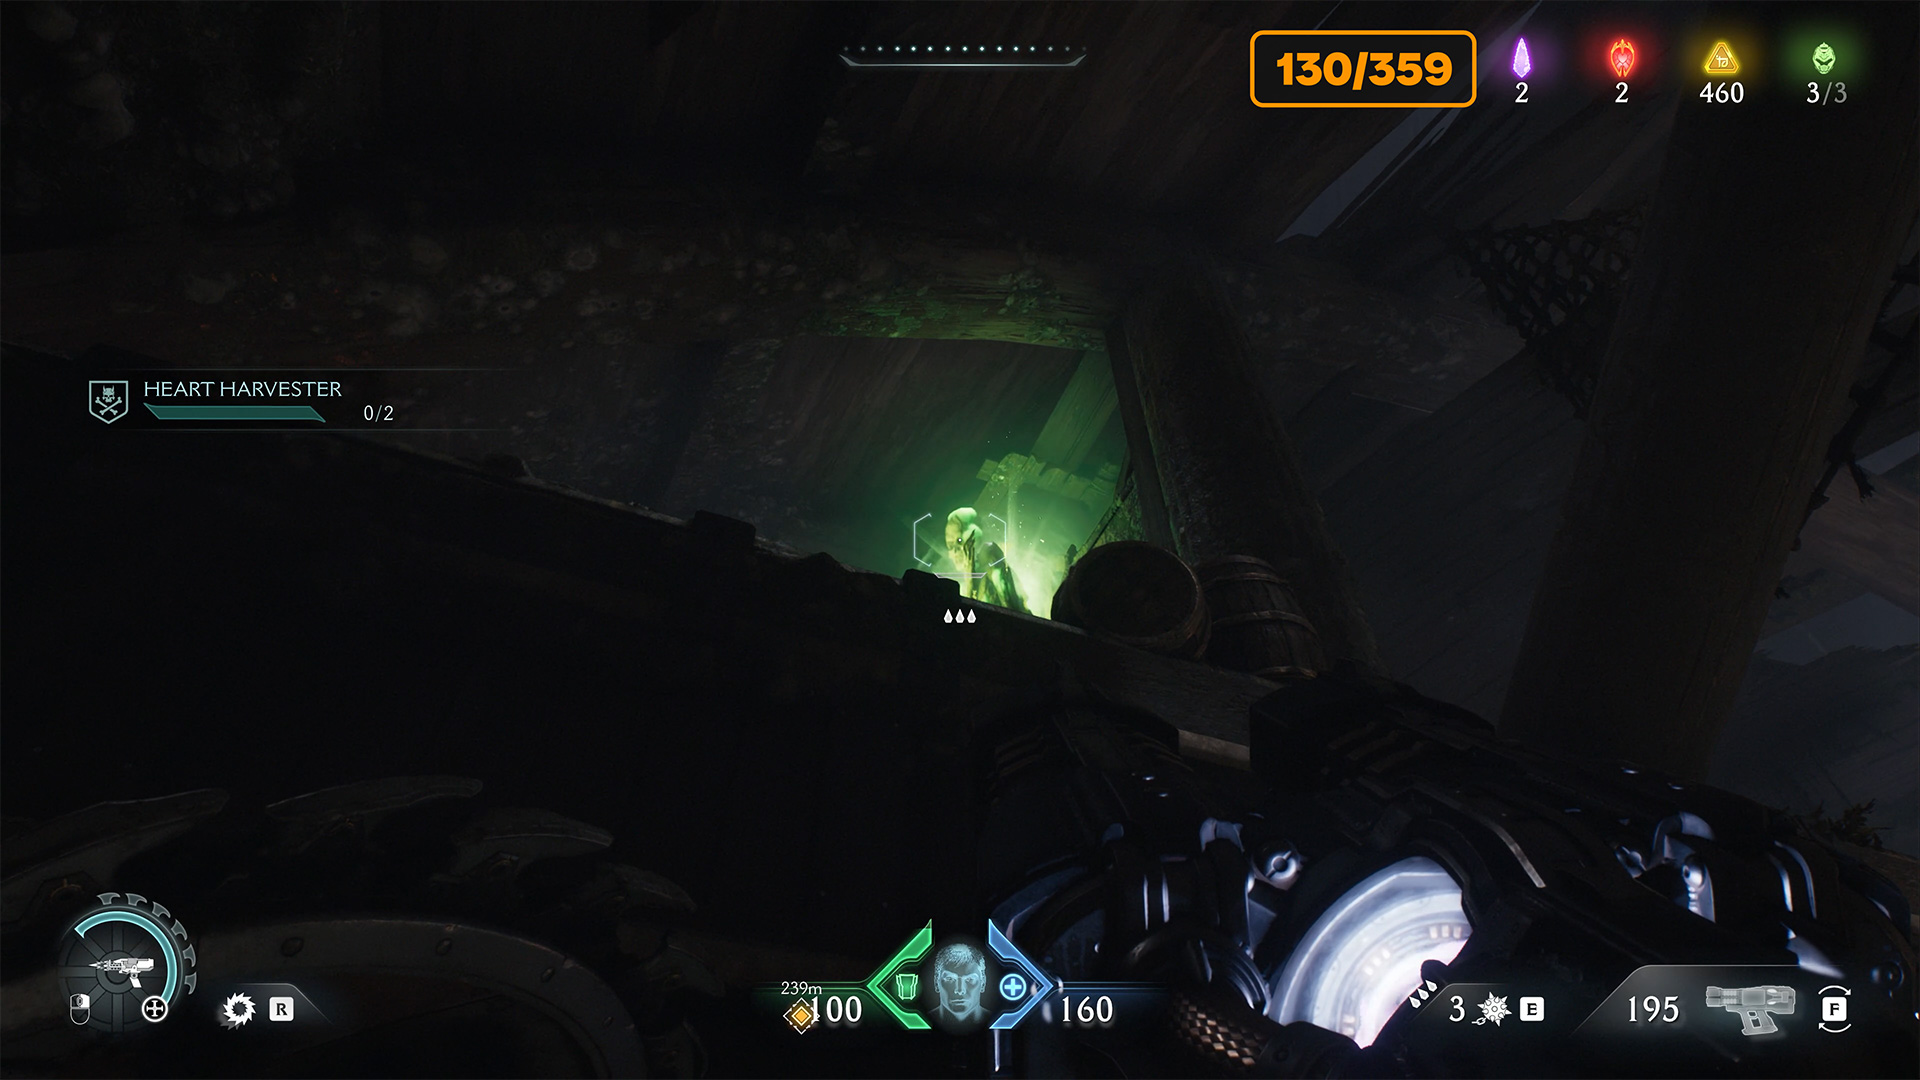
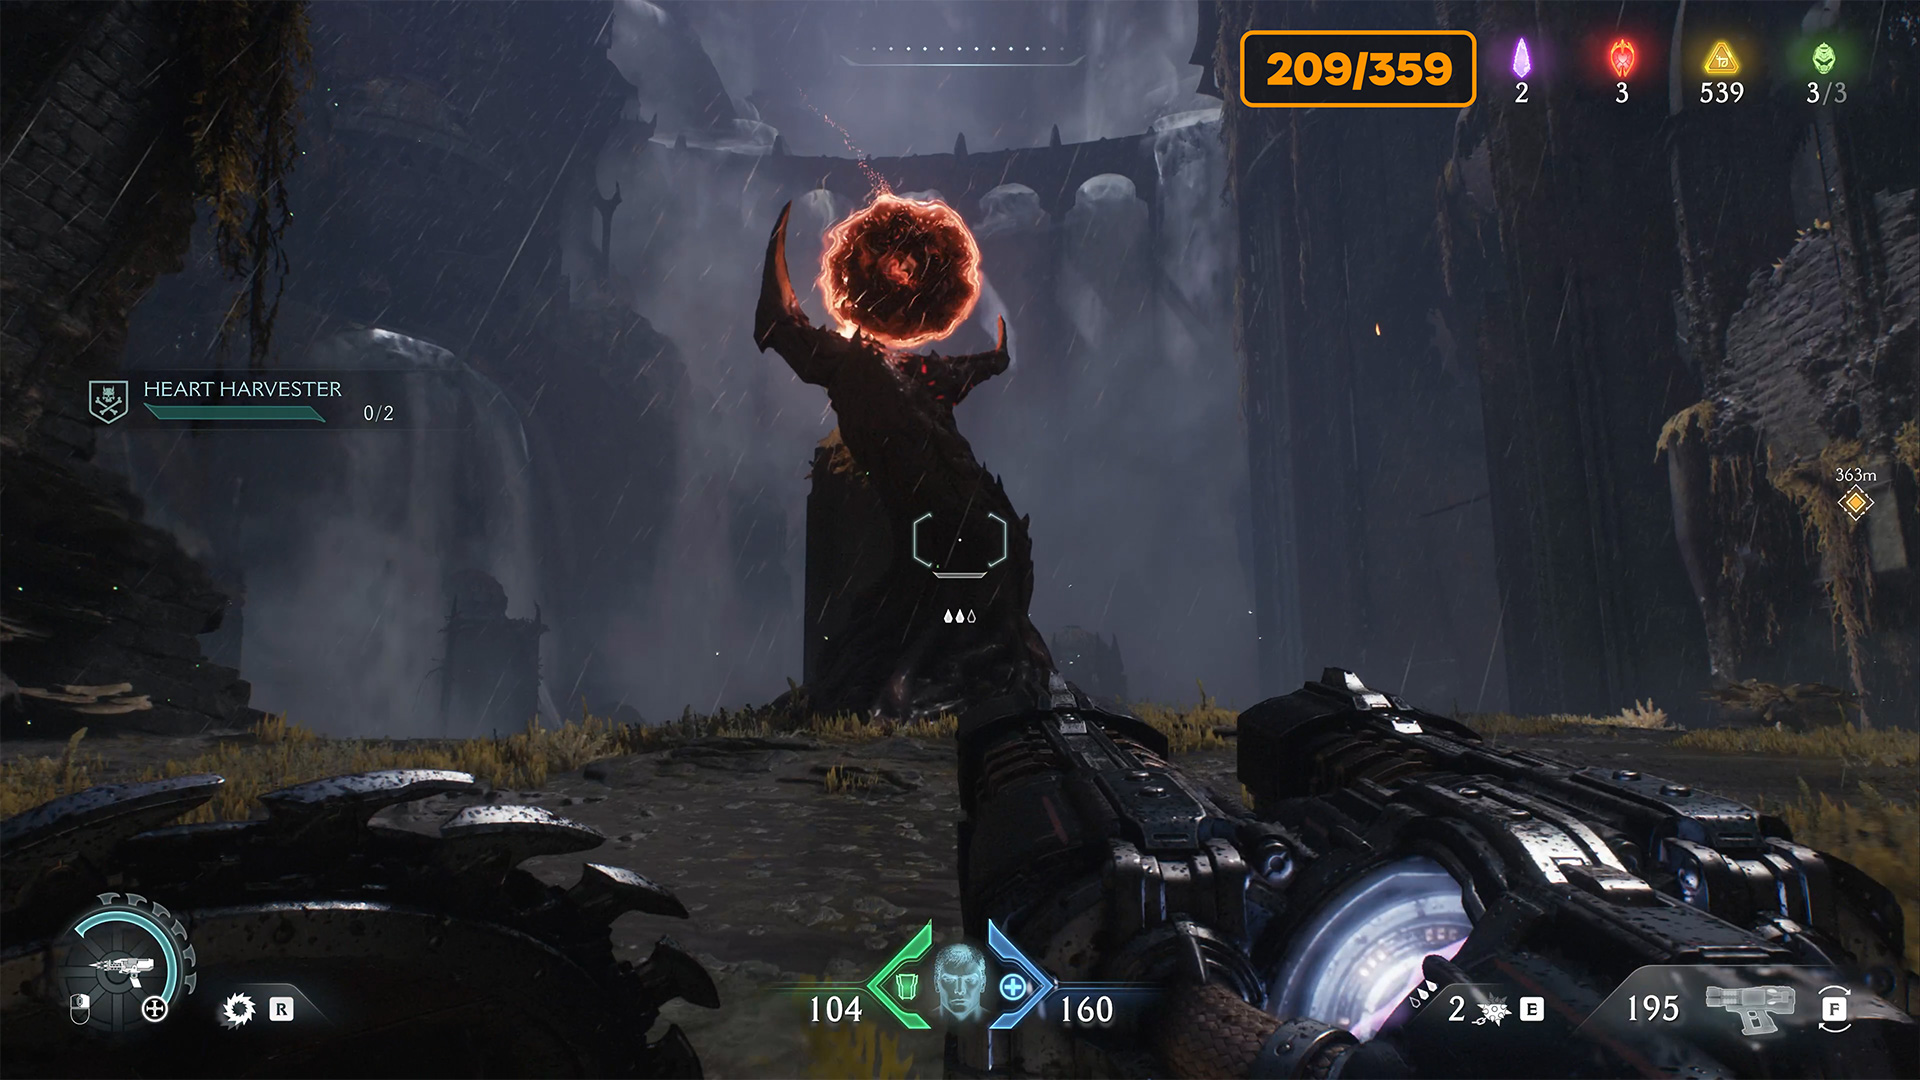
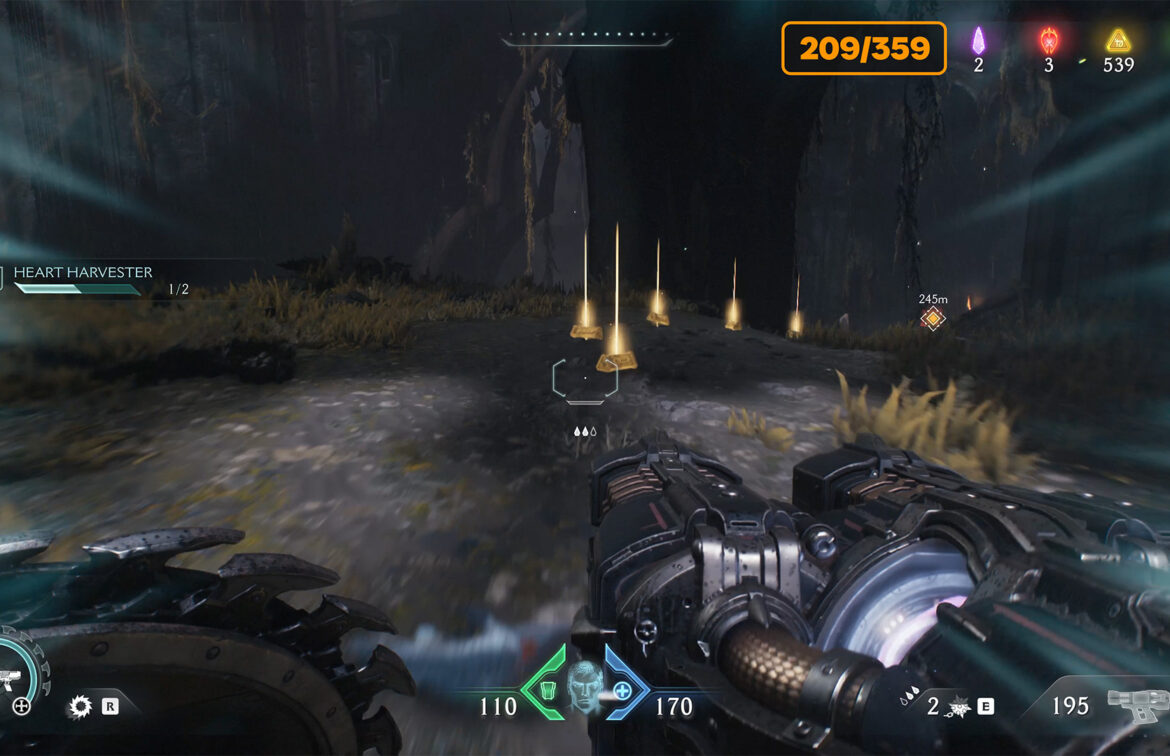
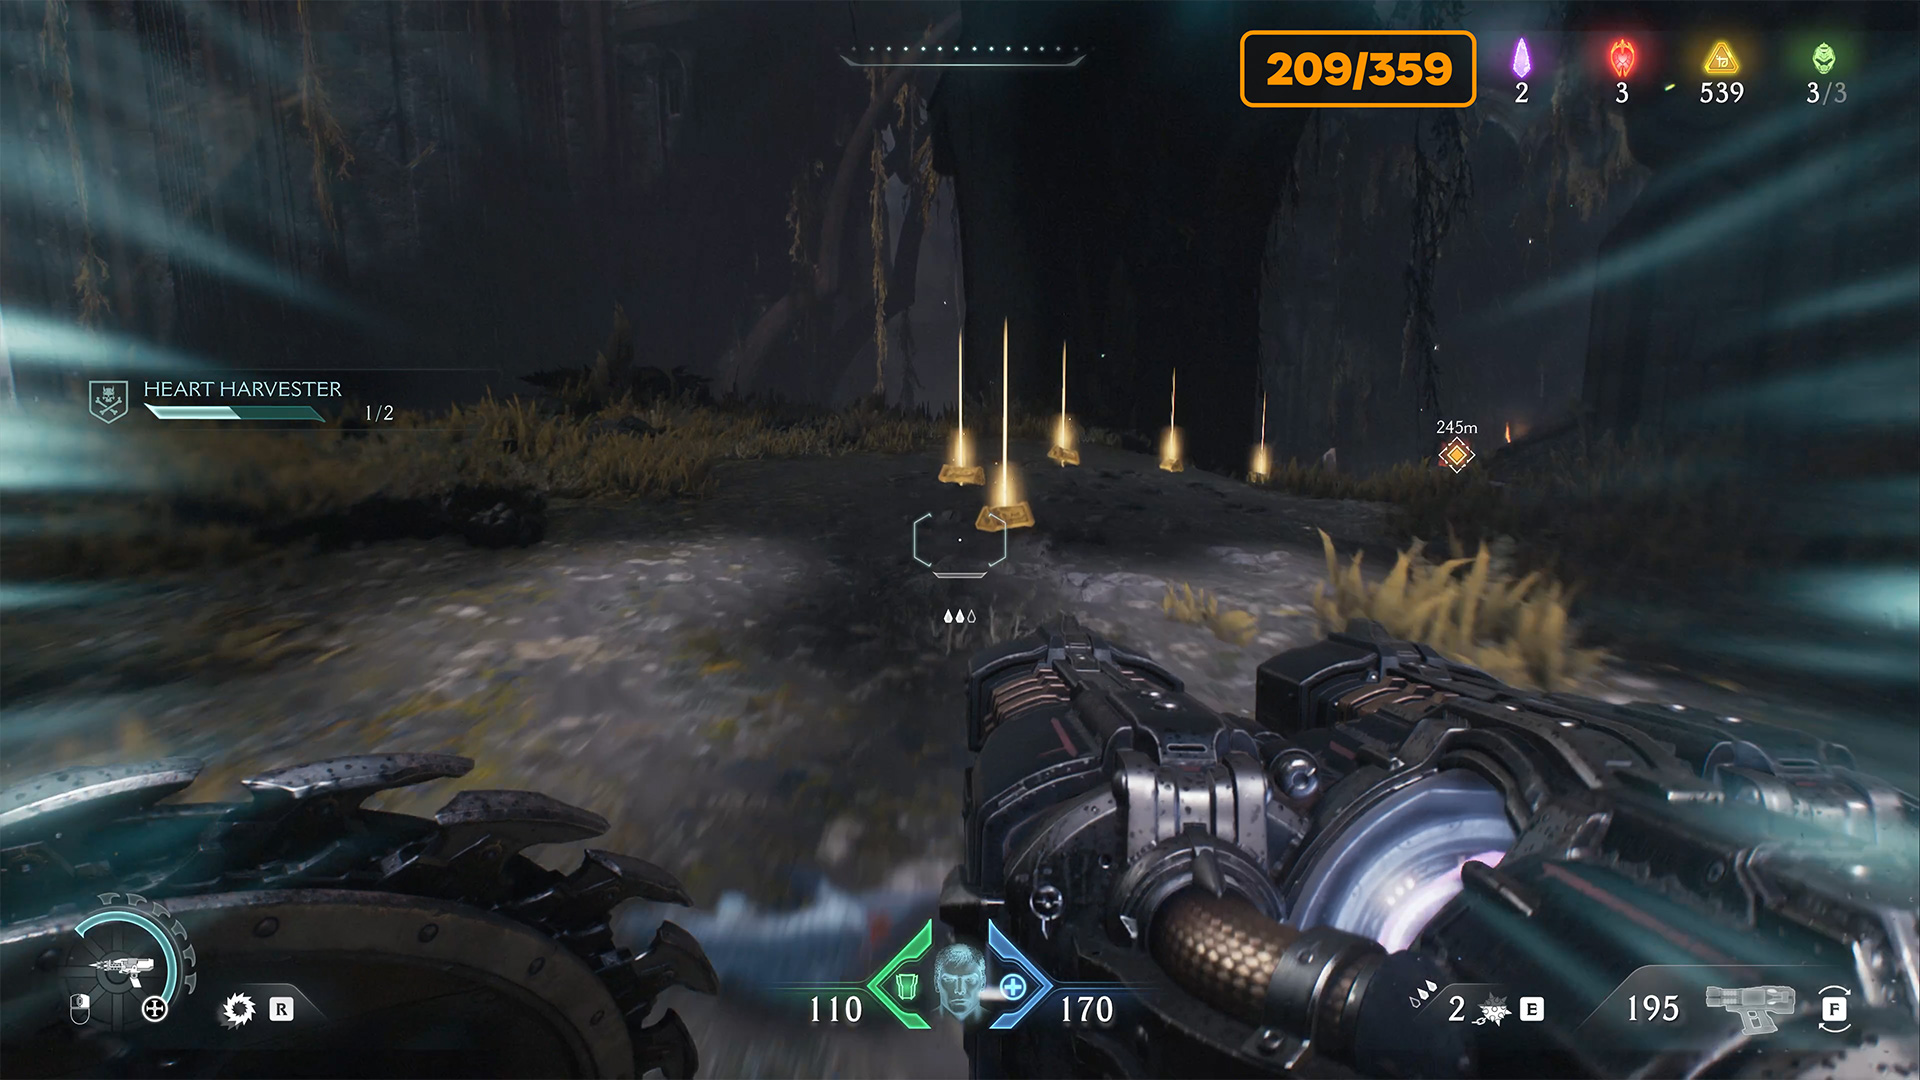
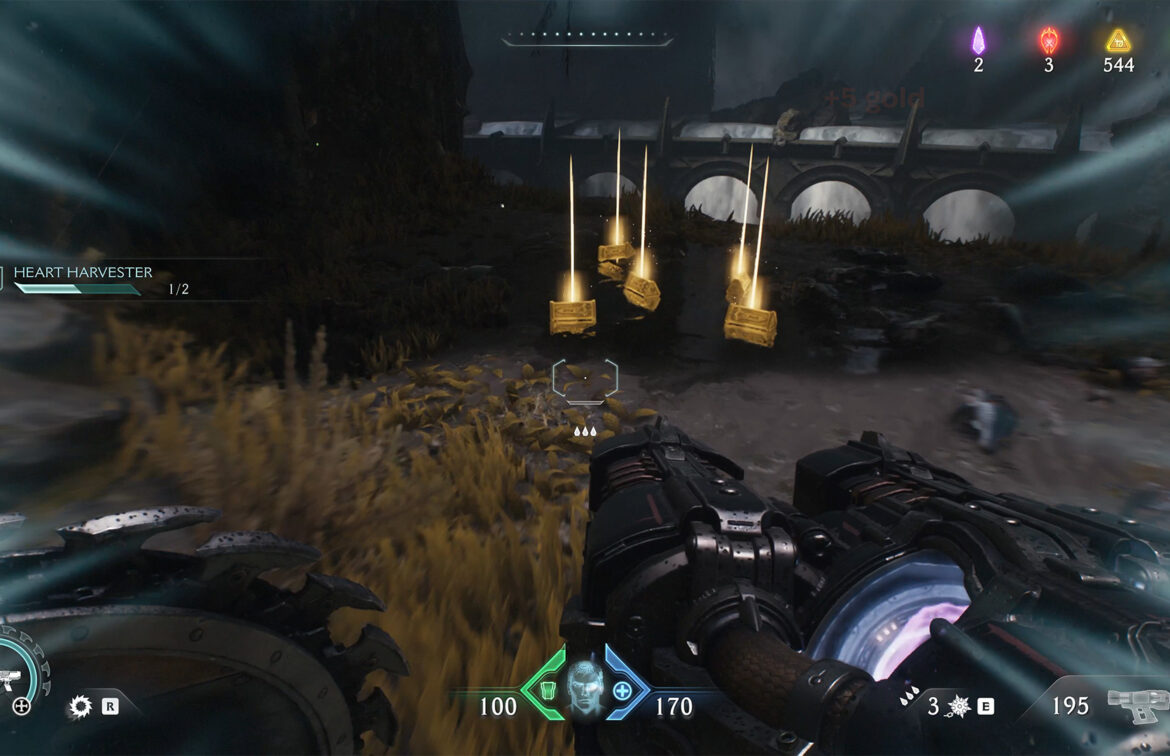
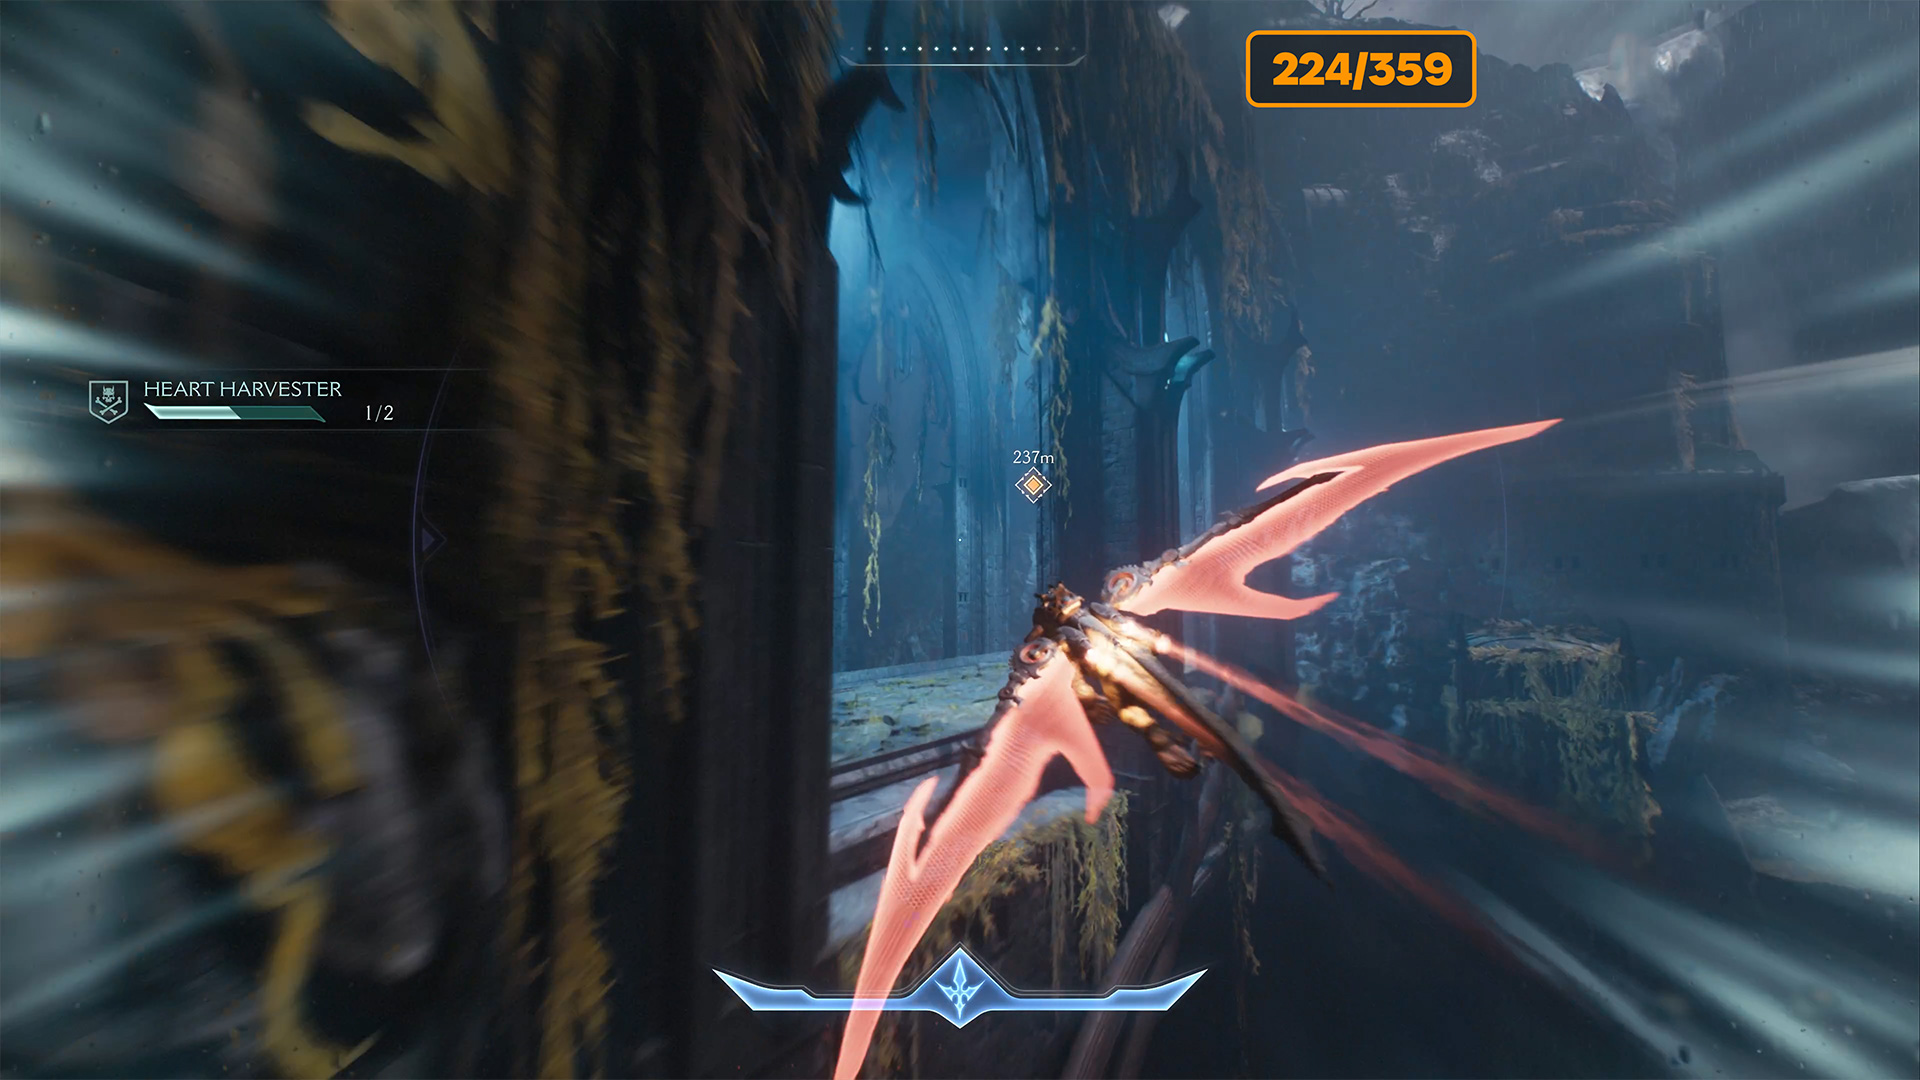
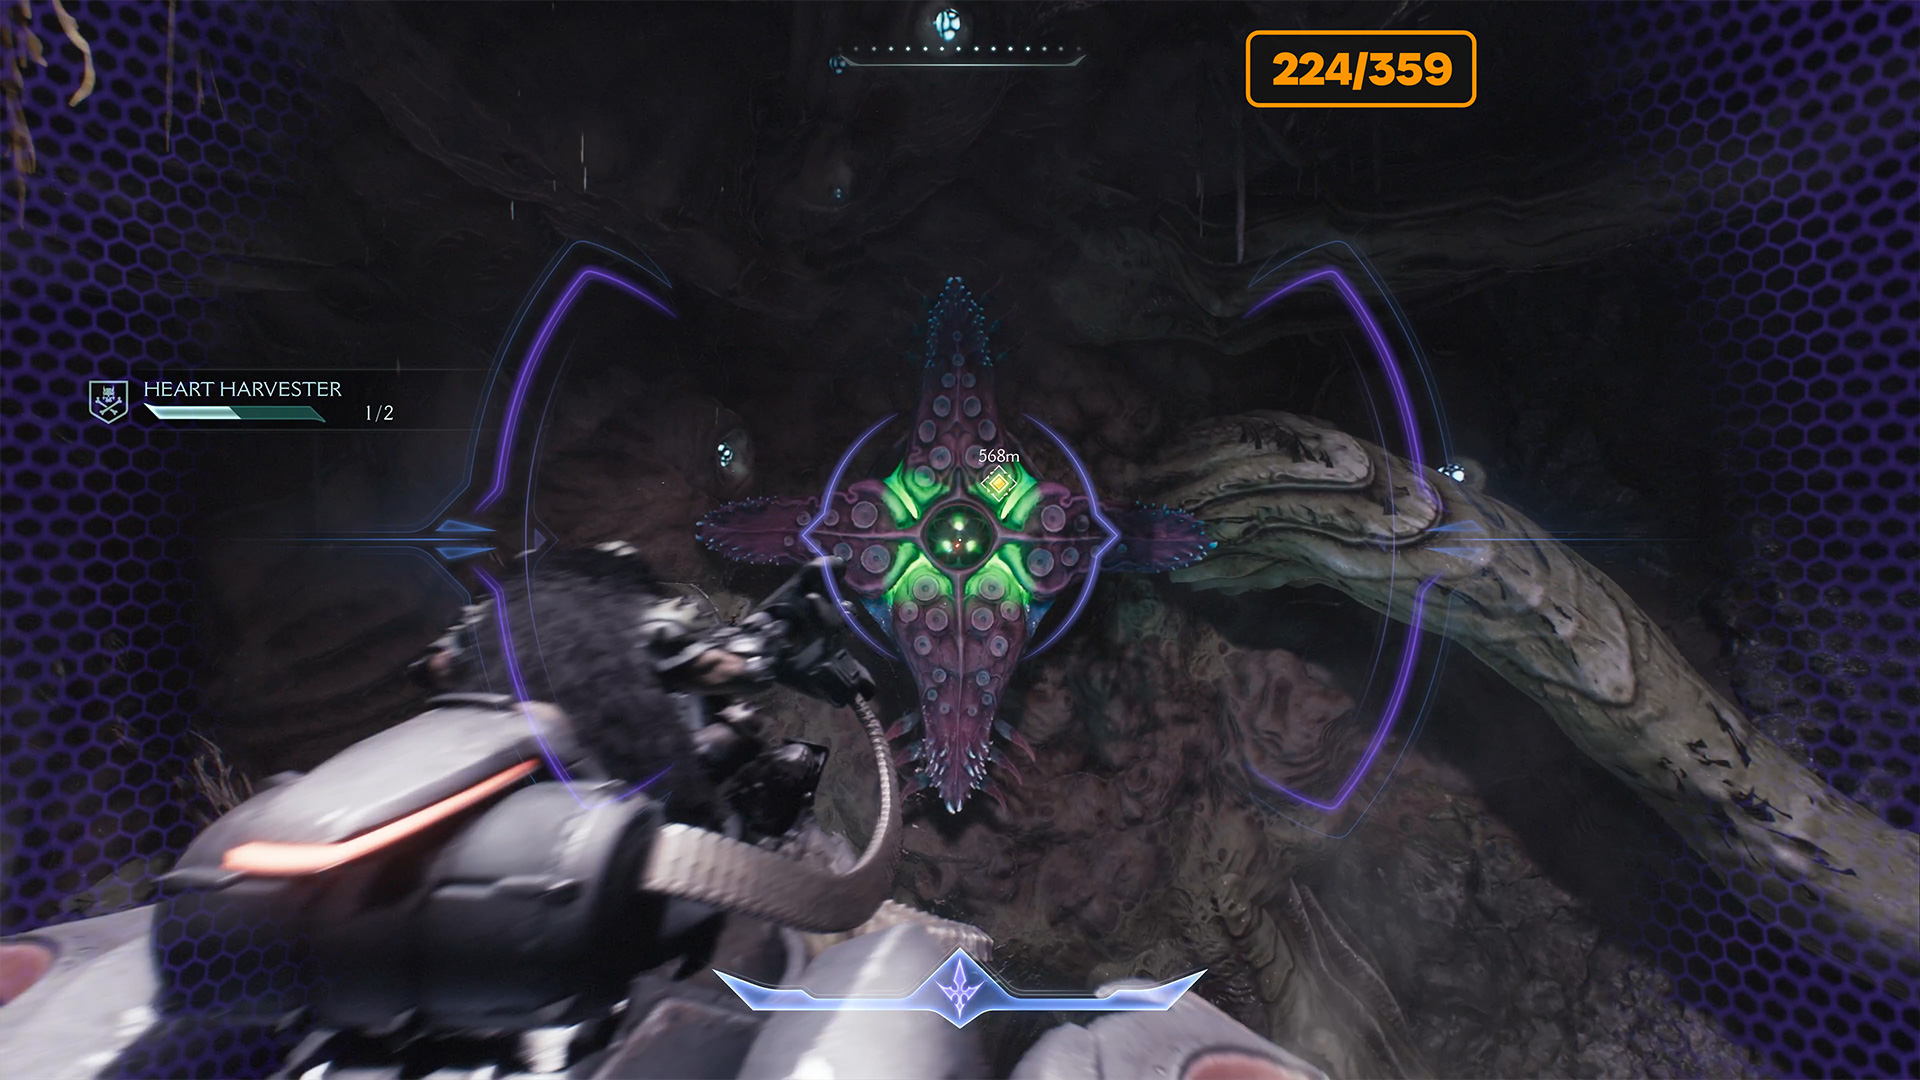
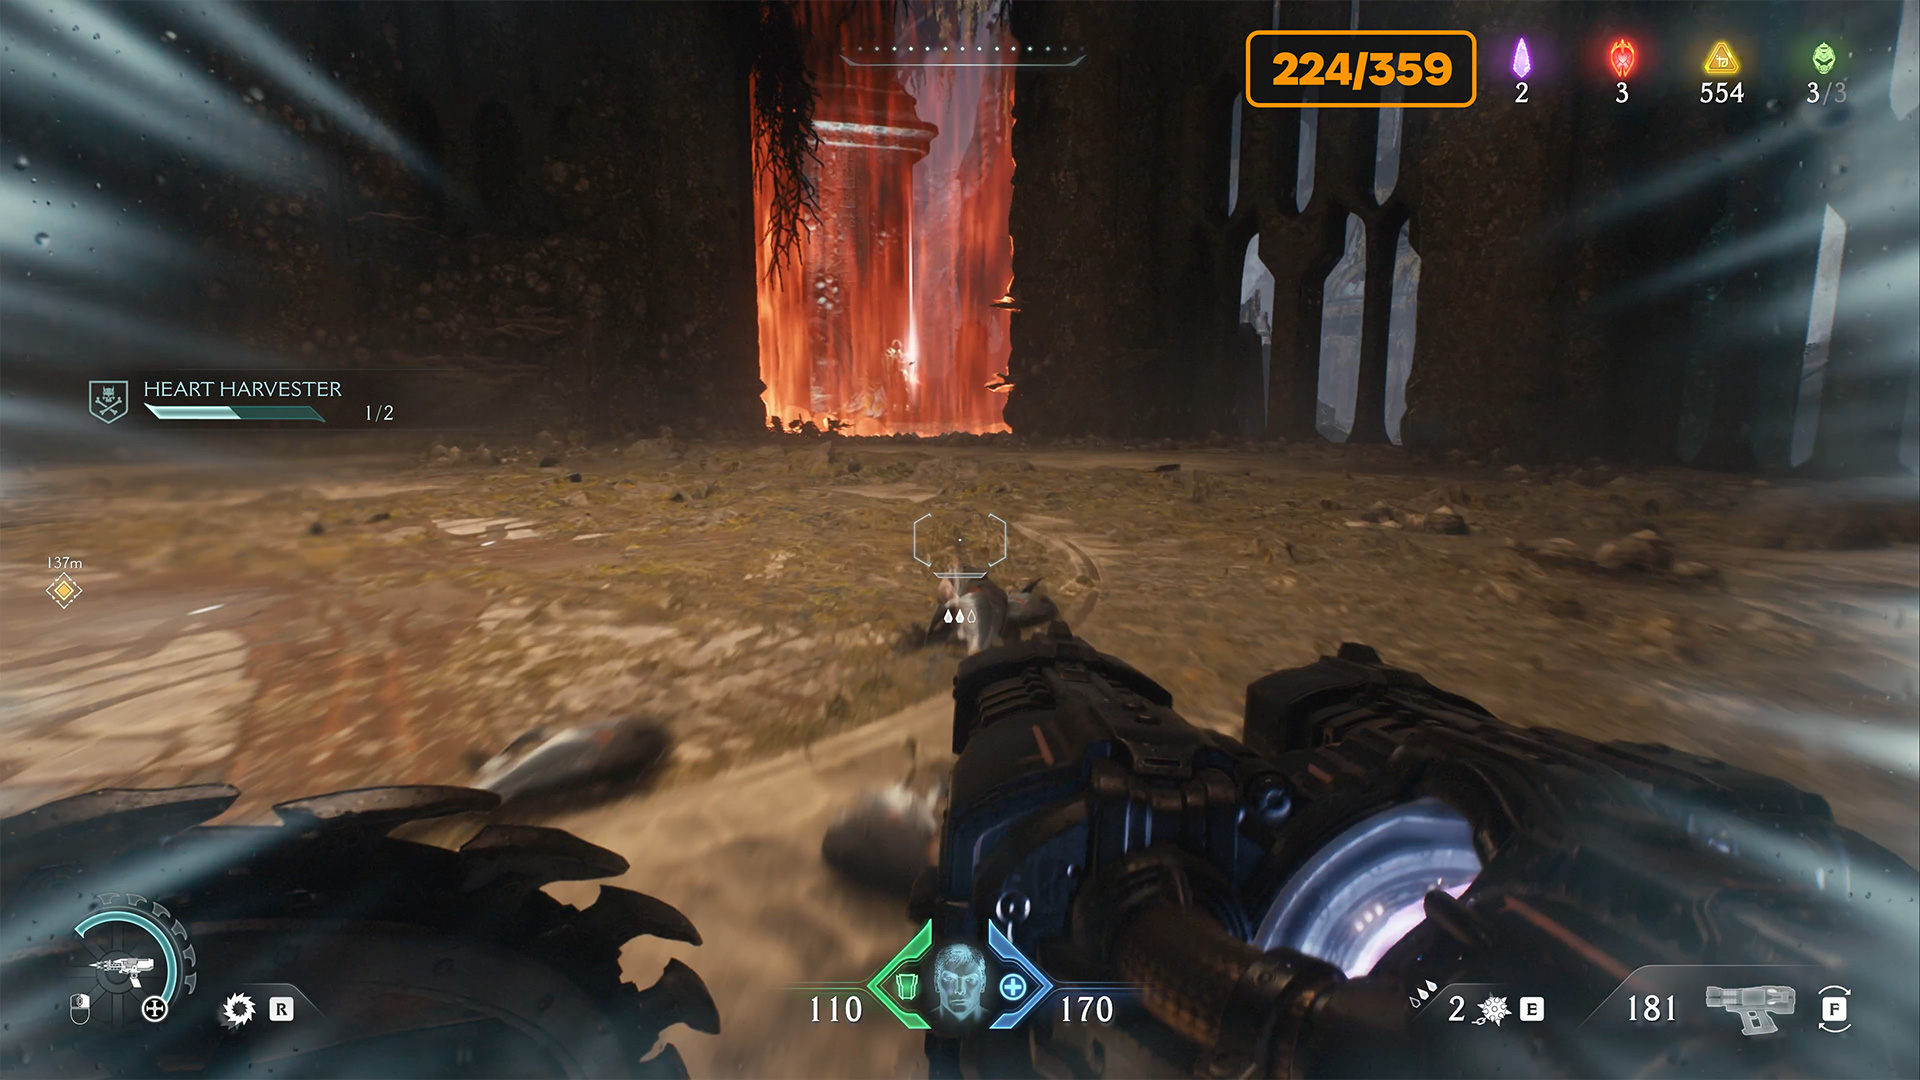
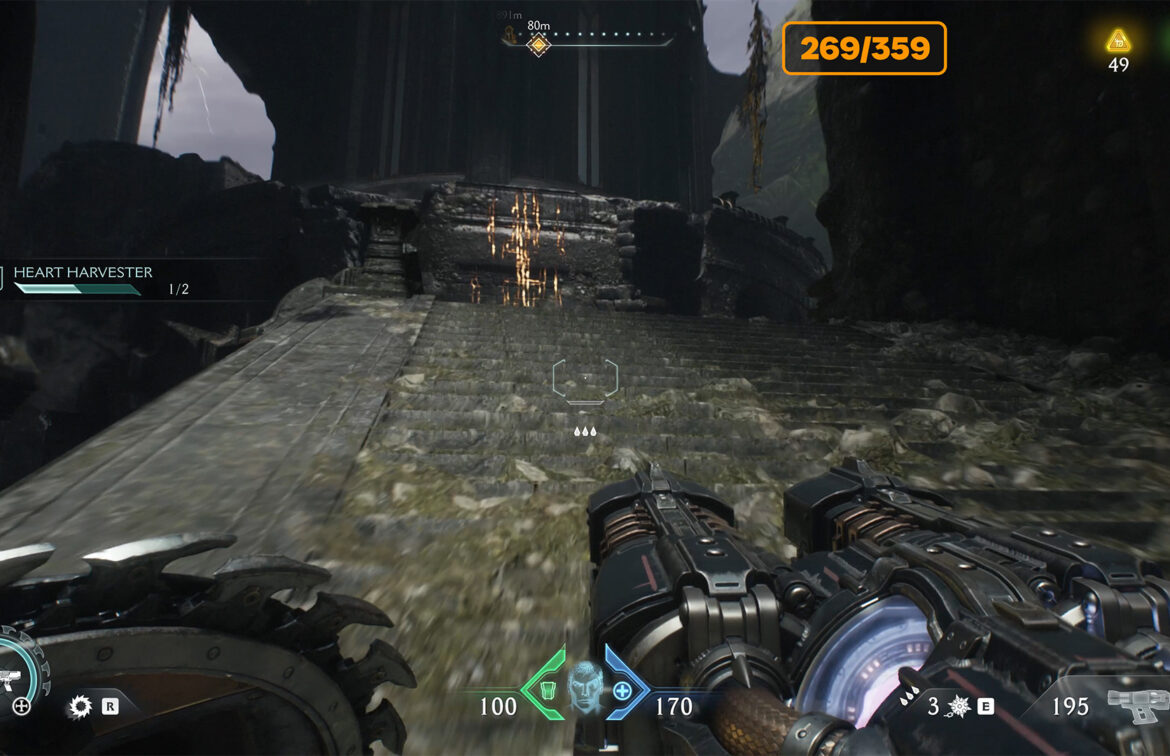
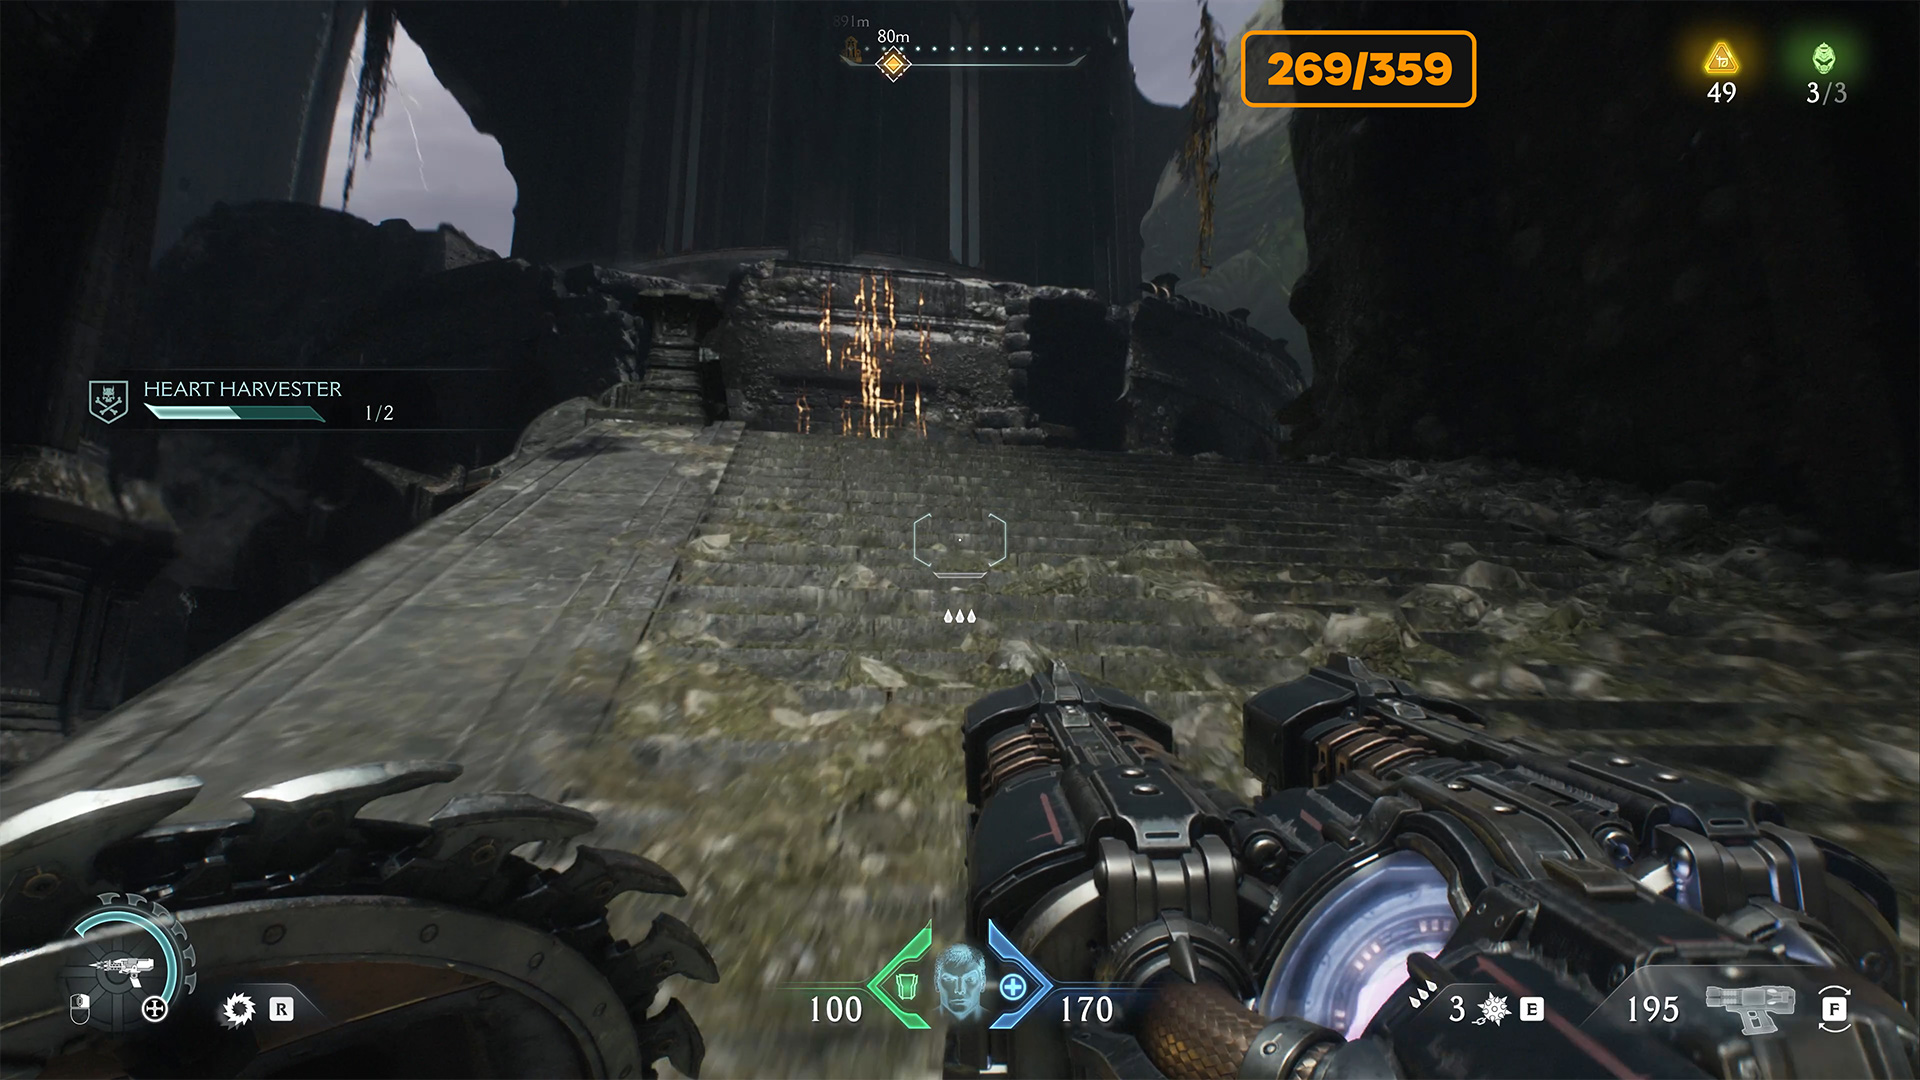
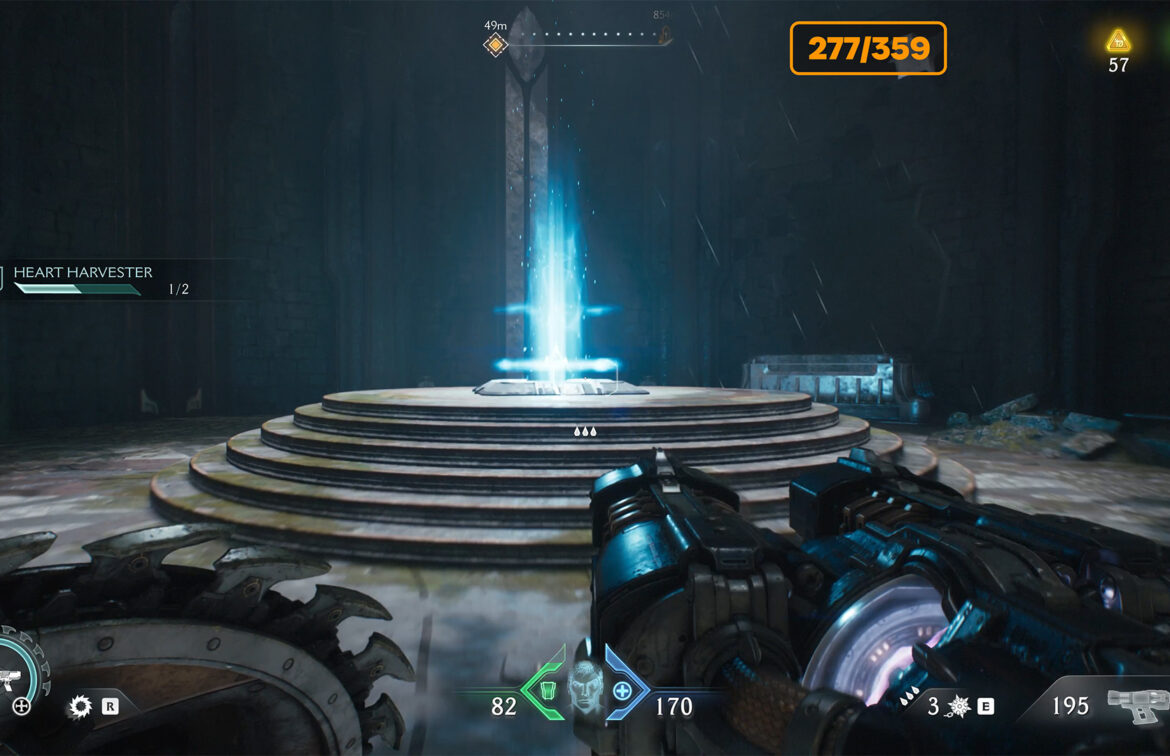
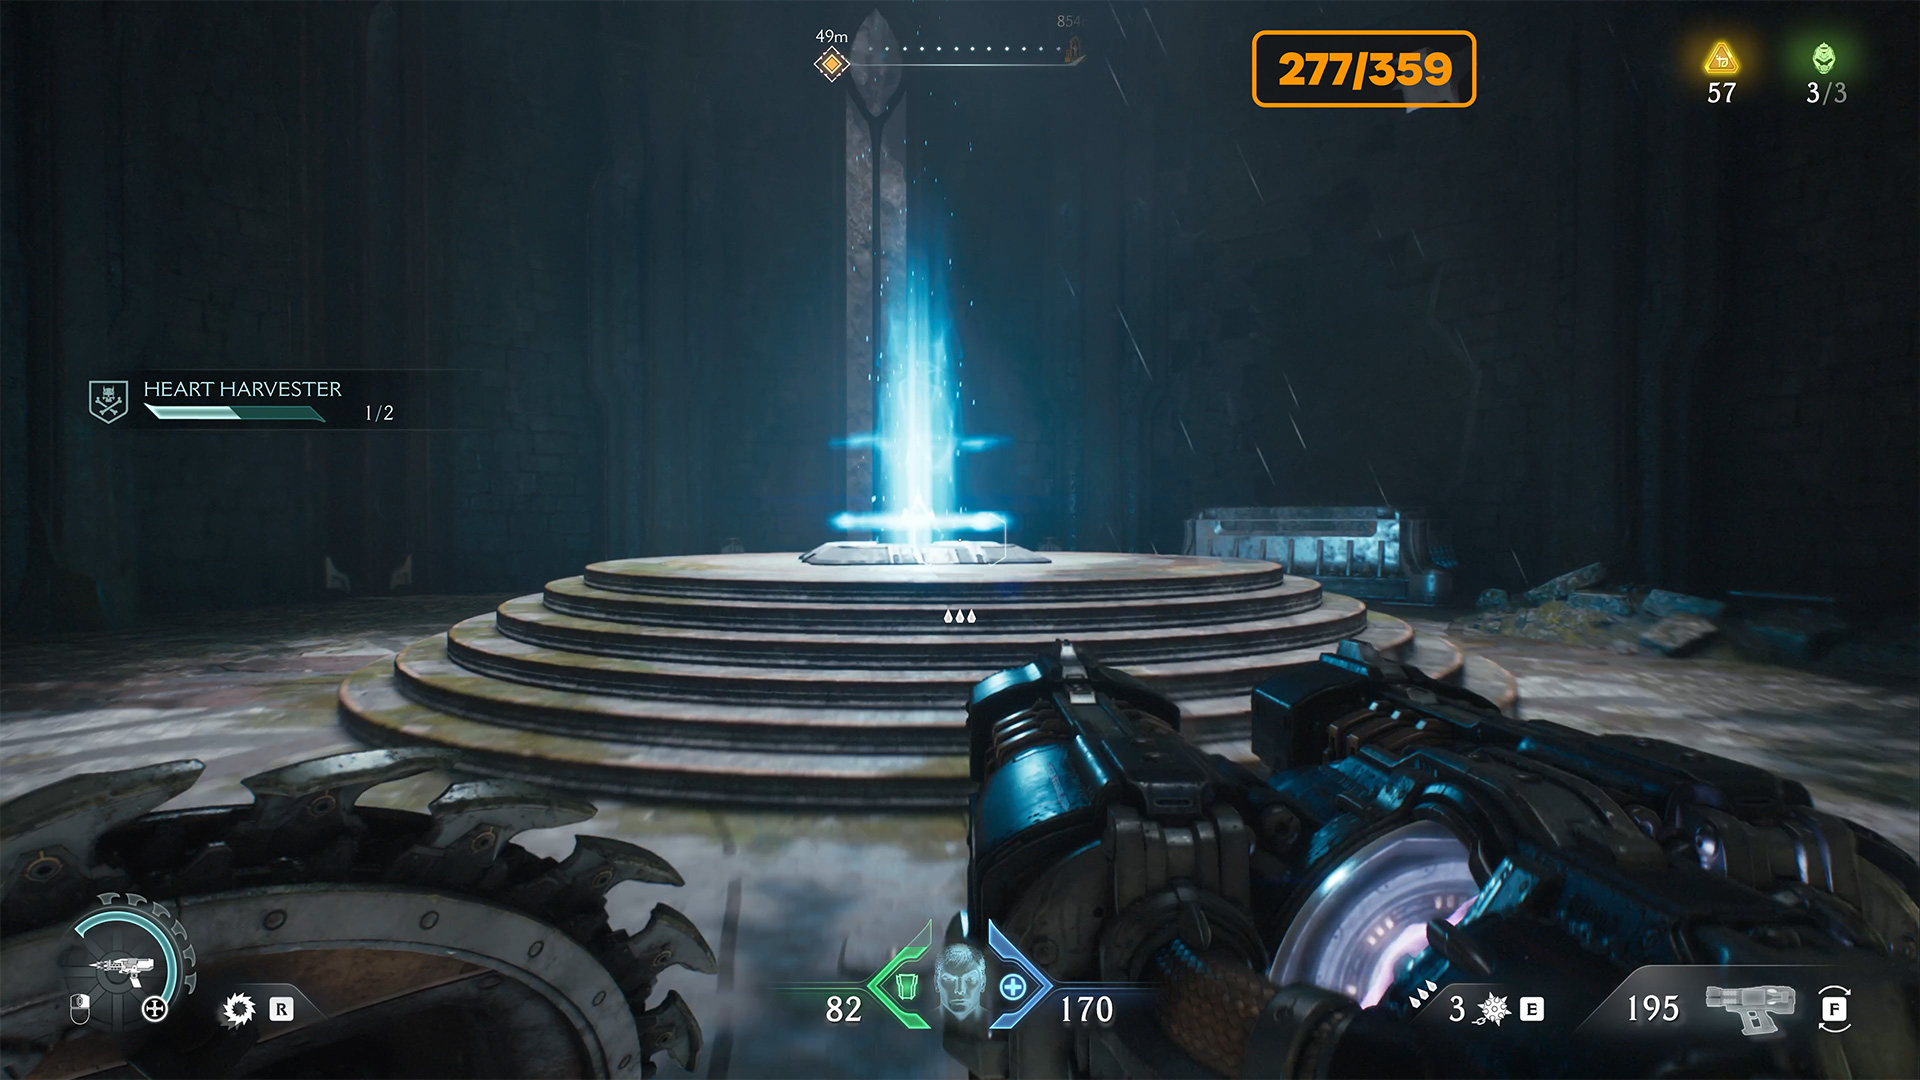
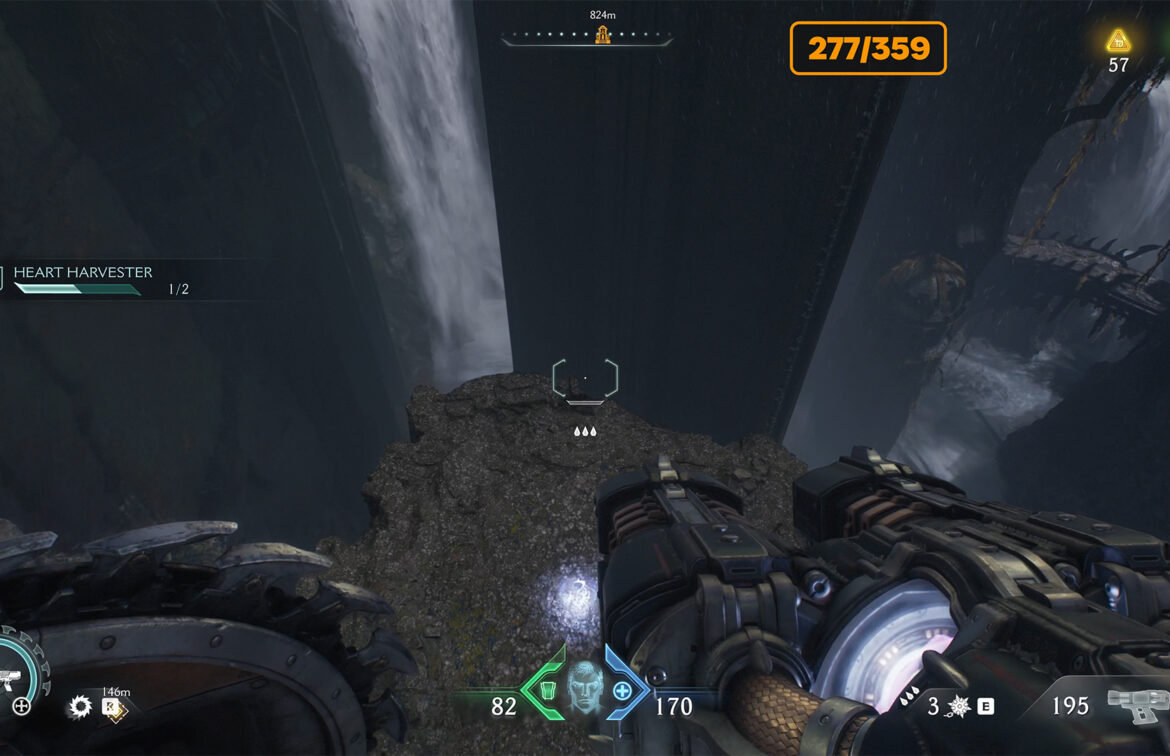
Heart Harvester Challenge
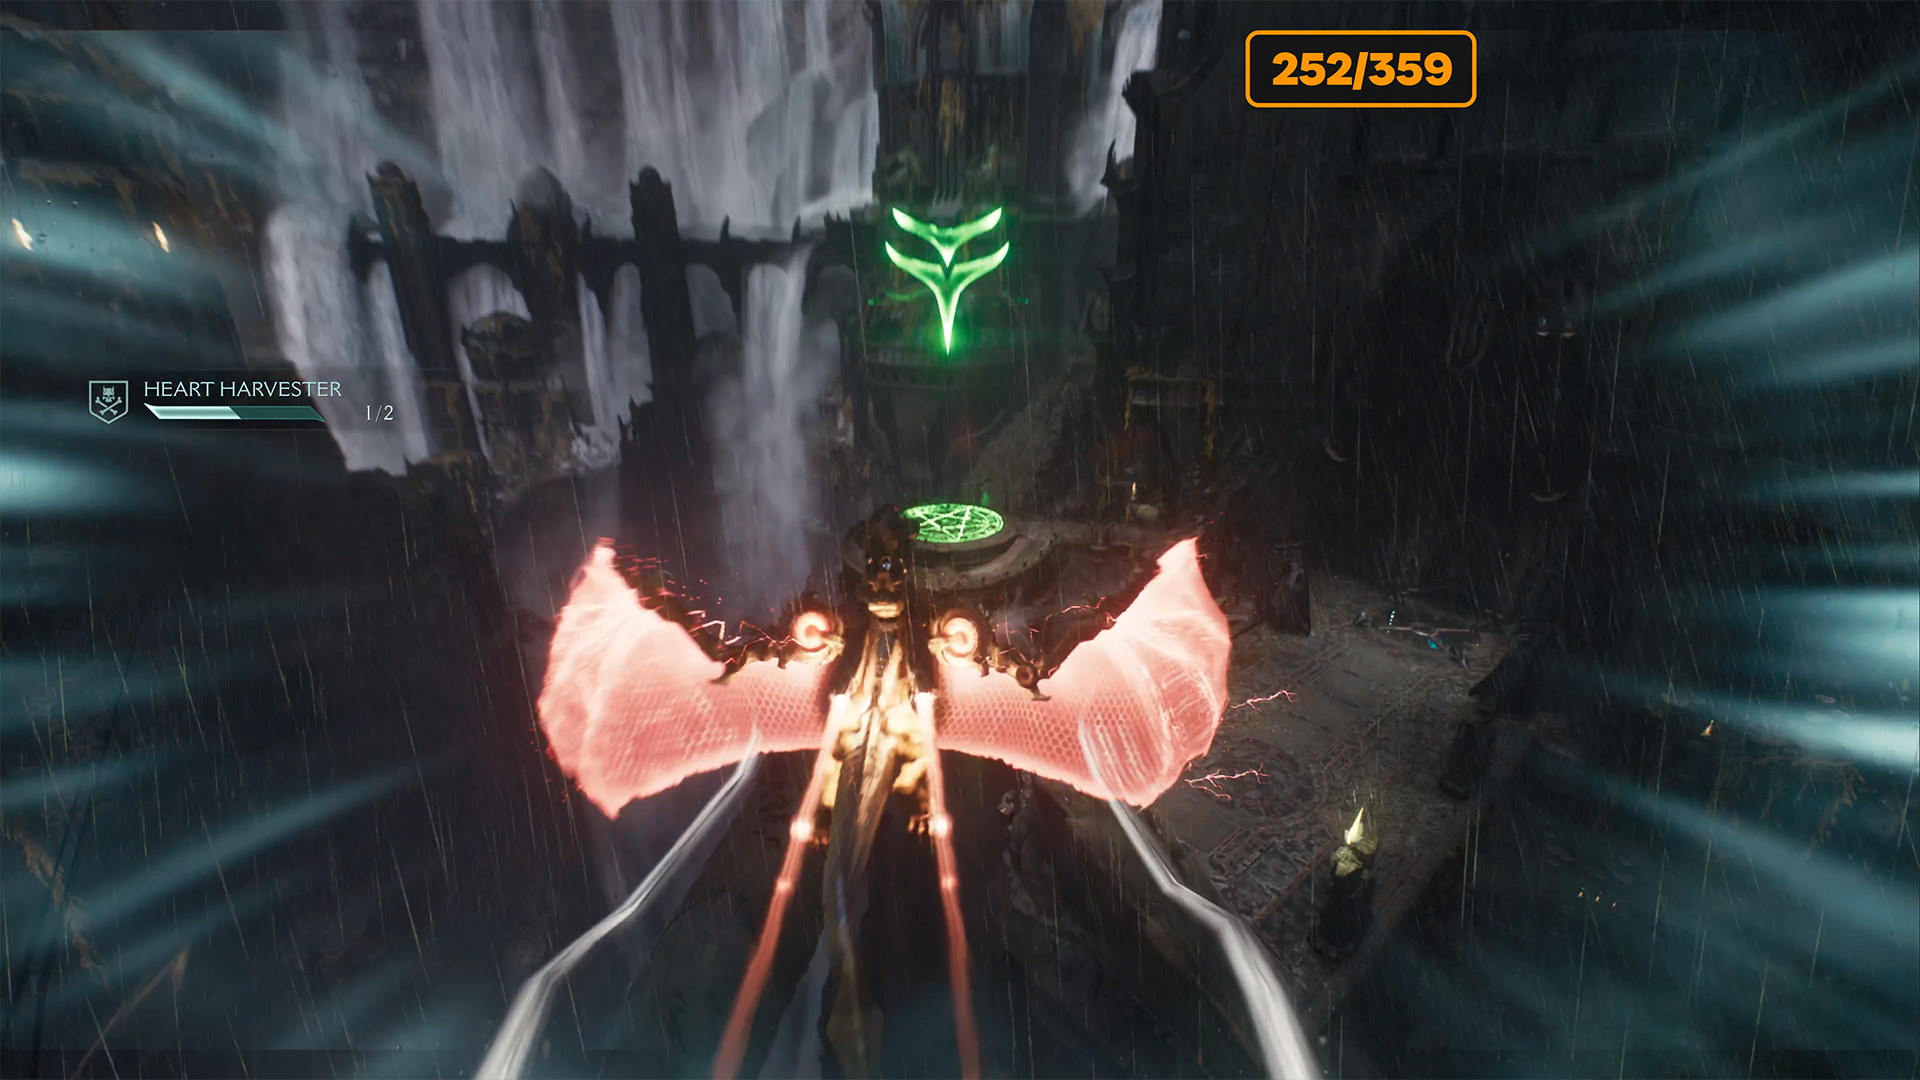
The first challenge is called Heart Harvester, but you will perform it last. You need to defeat two bosses, as Demonic Essence is hidden. In this video, I will show you where to find them as you progress through the game, so that everything is gradual.
-
- Heart Harvester Challenge
-
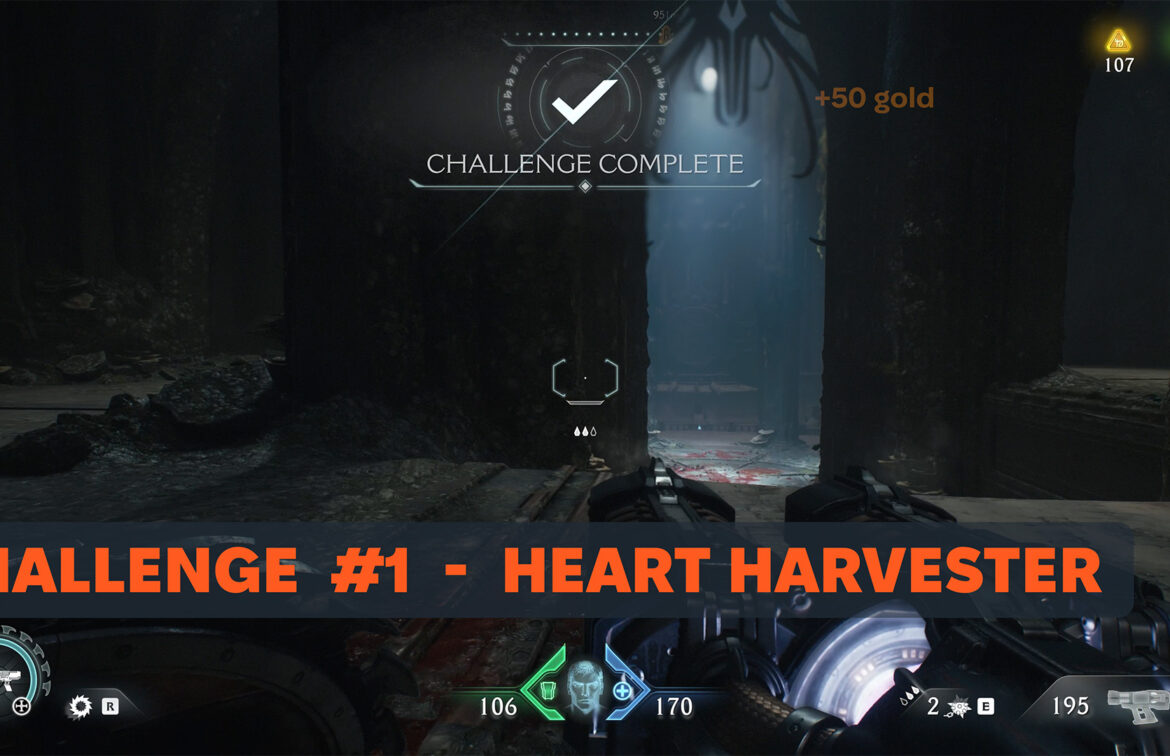
- Heart Harvester Challenge complete
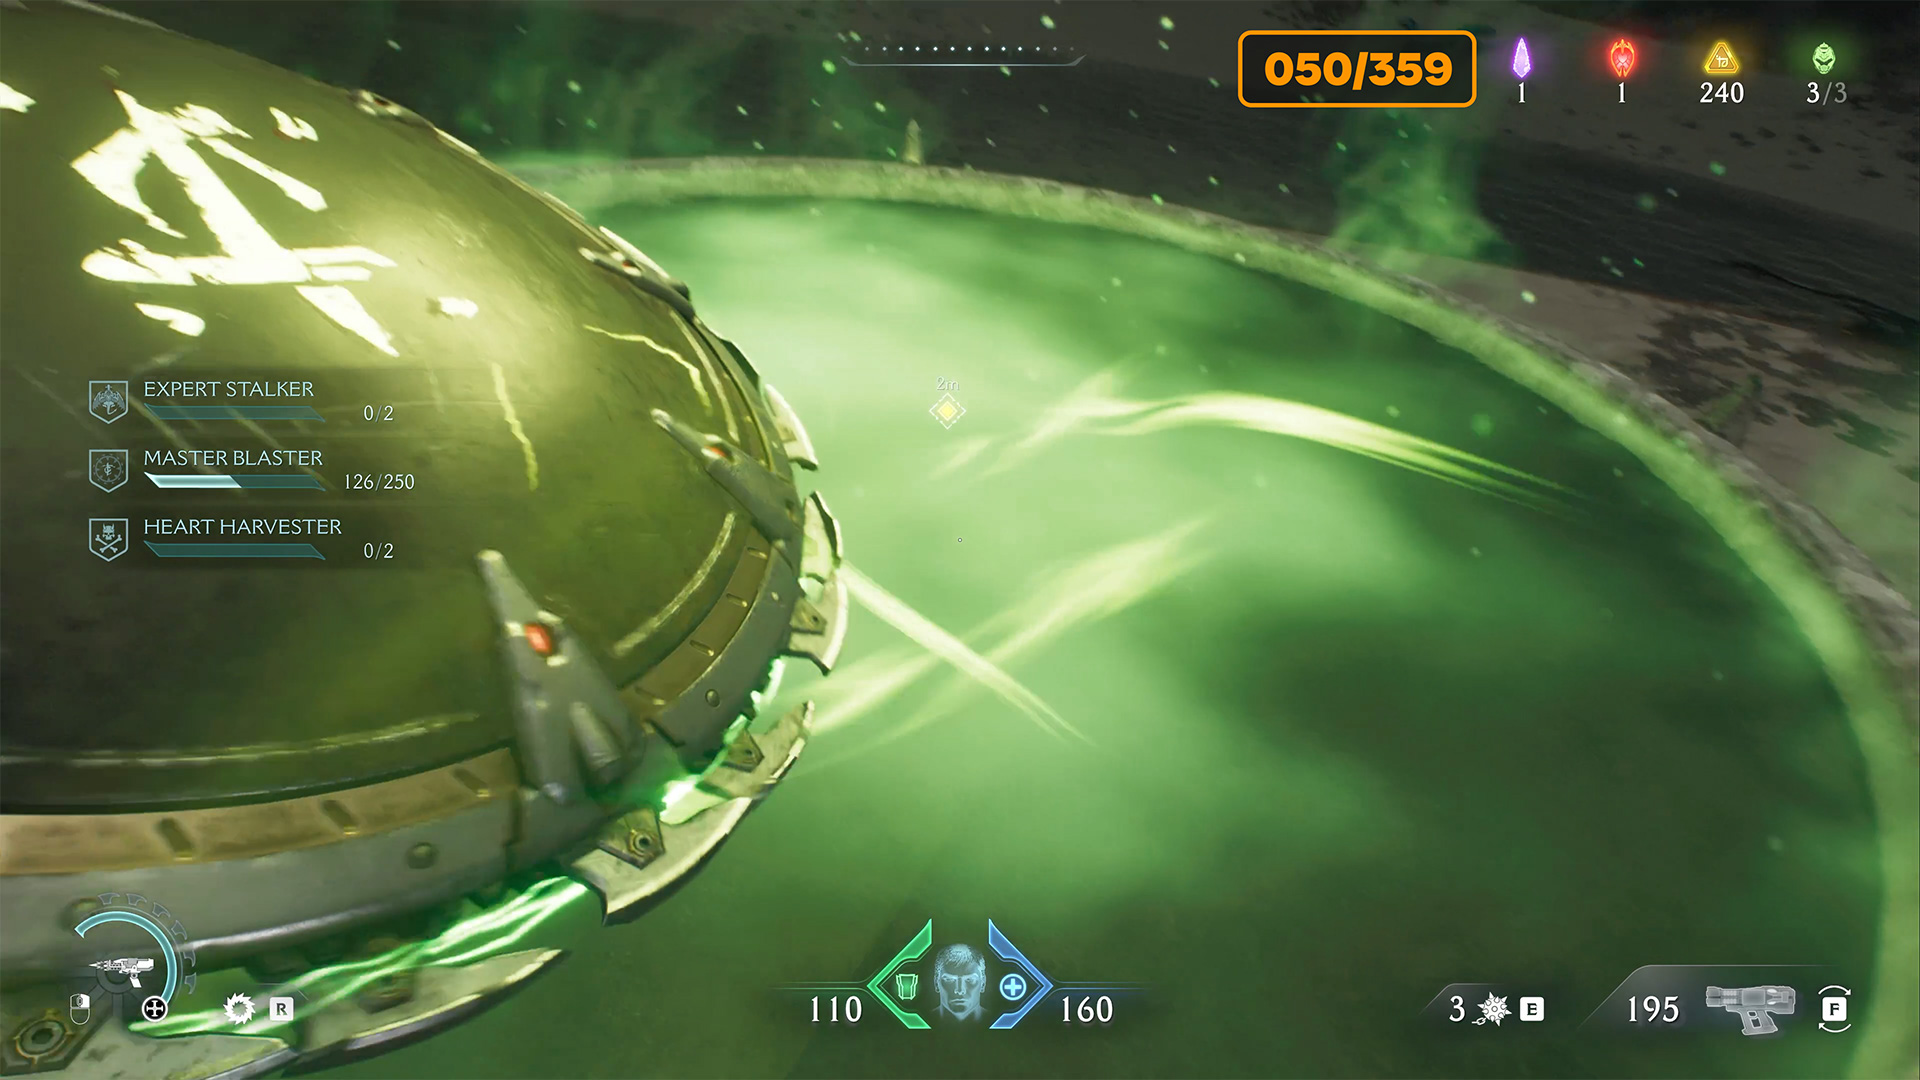
Master Blaster Challenge
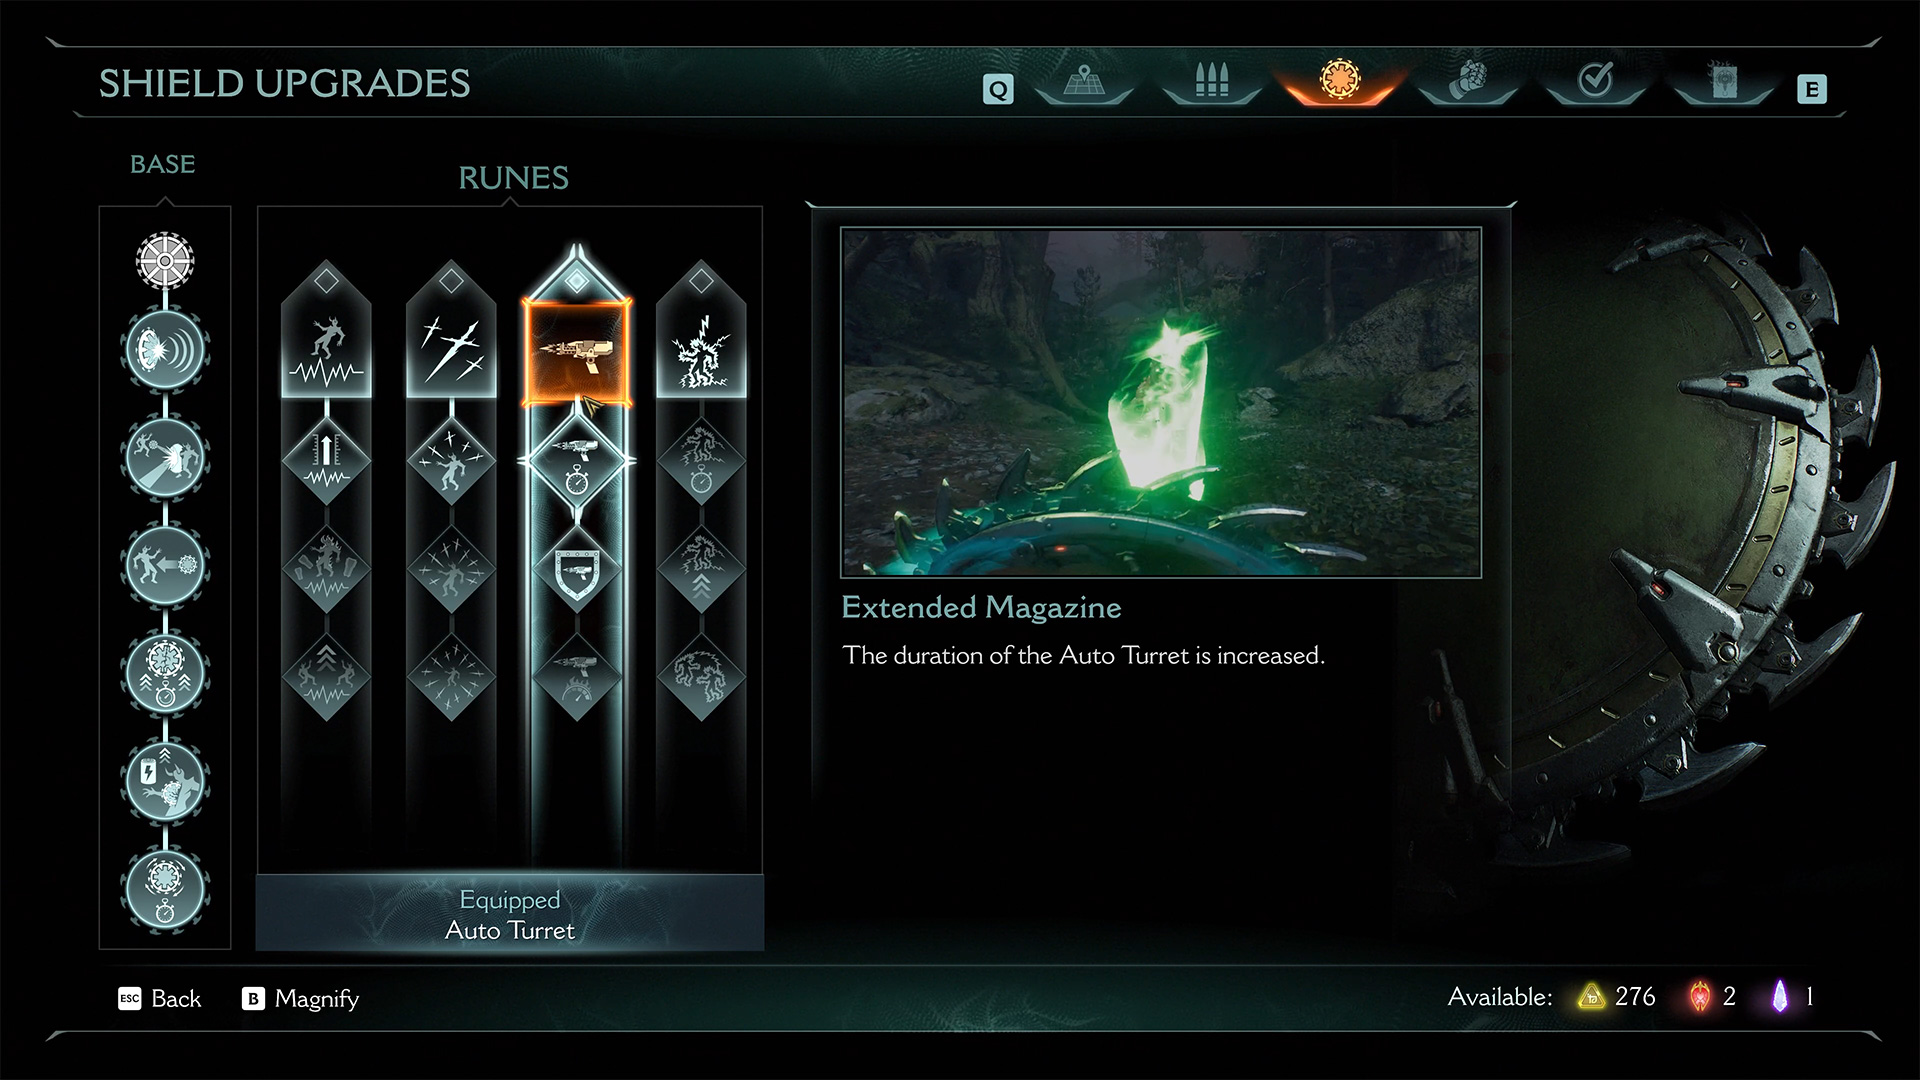
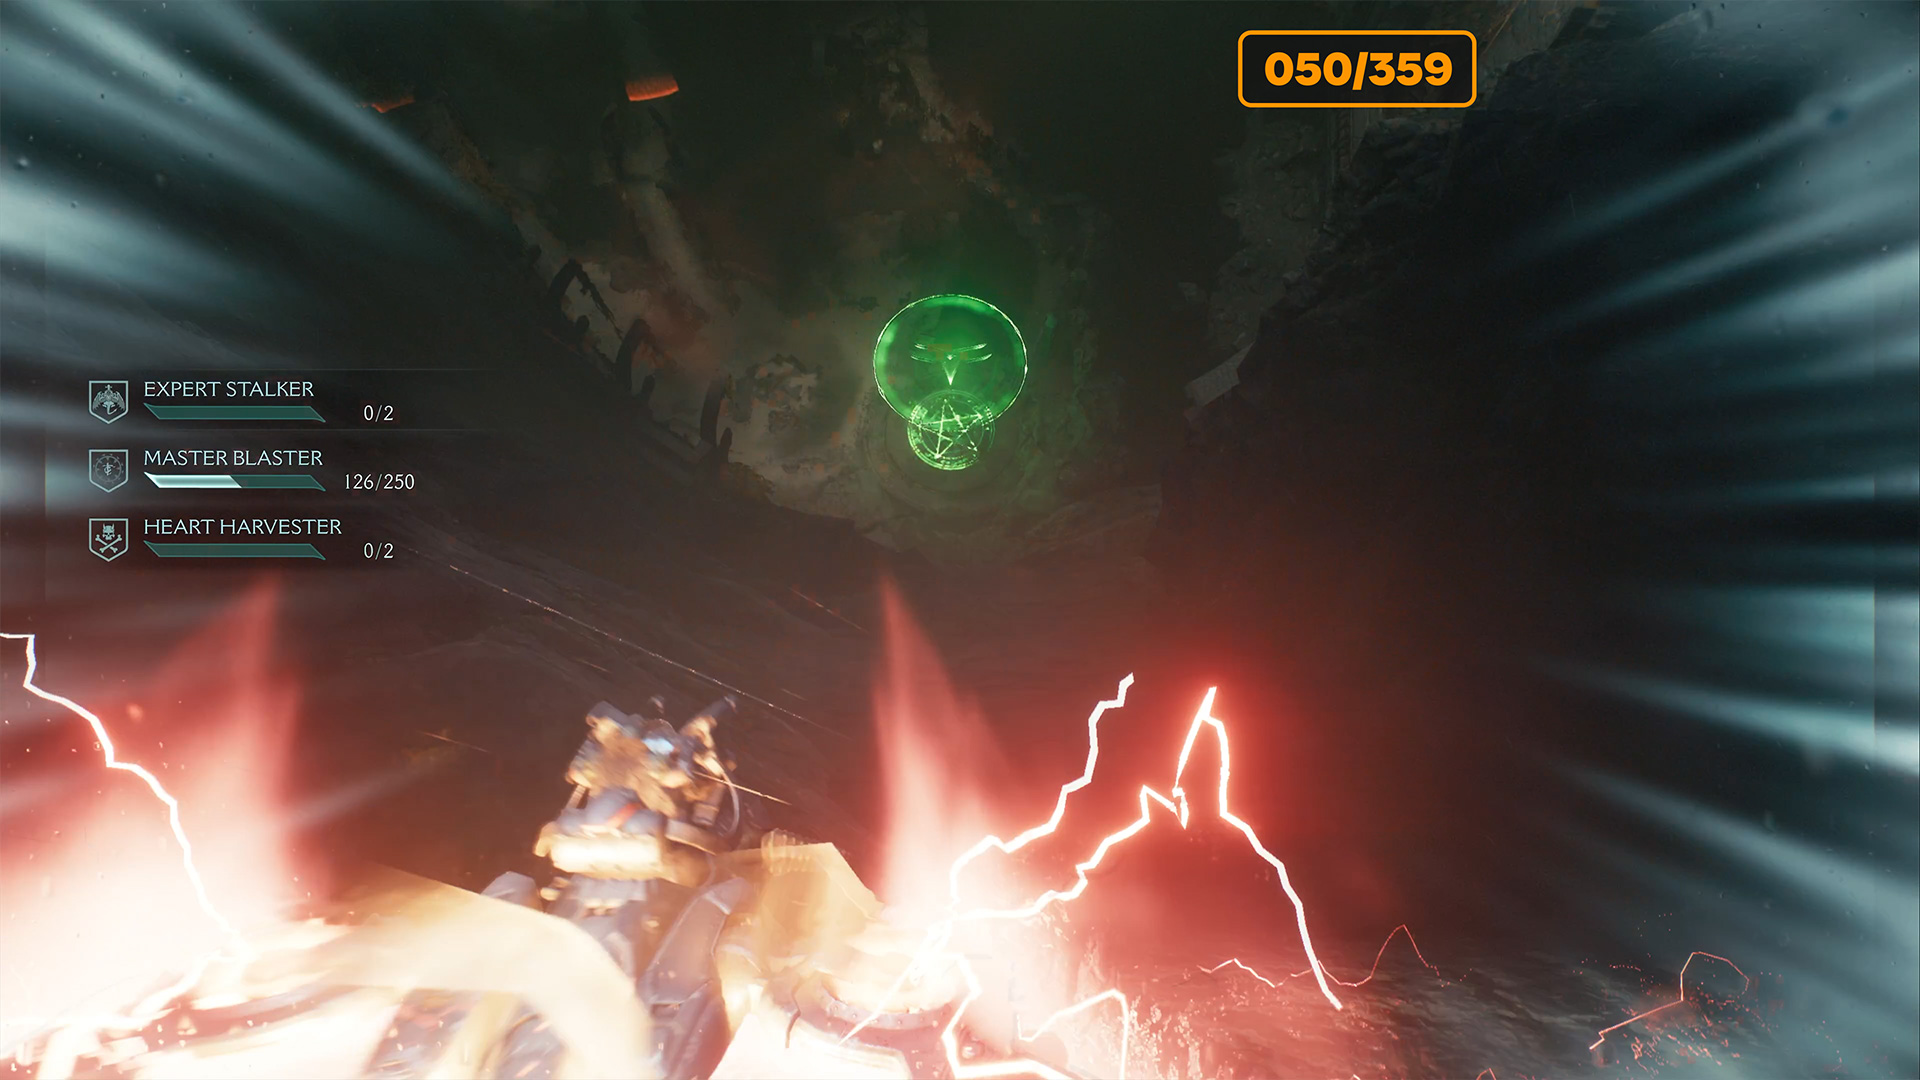
The second challenge is called Master Blaster. As part of this challenge, you need to activate the third rune of your shield, called Auto Turret. When you repel green monster attacks, you’ll have Turret to hit your opponent 250 times.
-

- Choosing the right rune
-
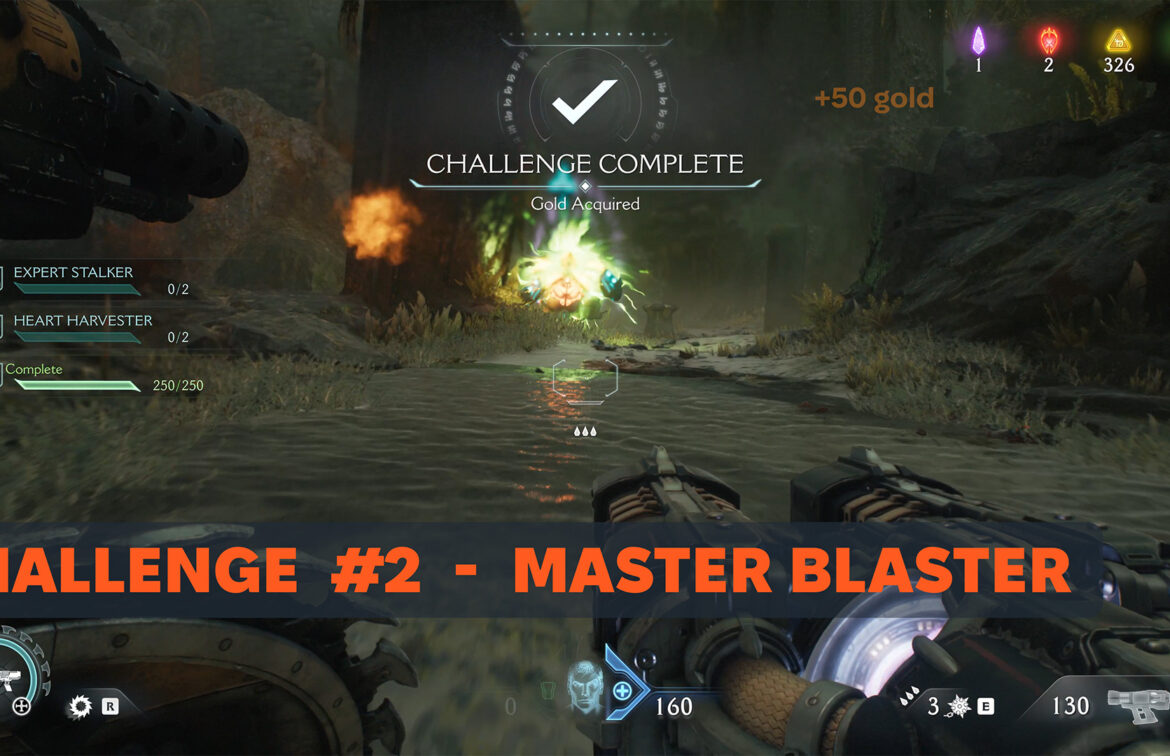
- Master Blaster Challenge complete
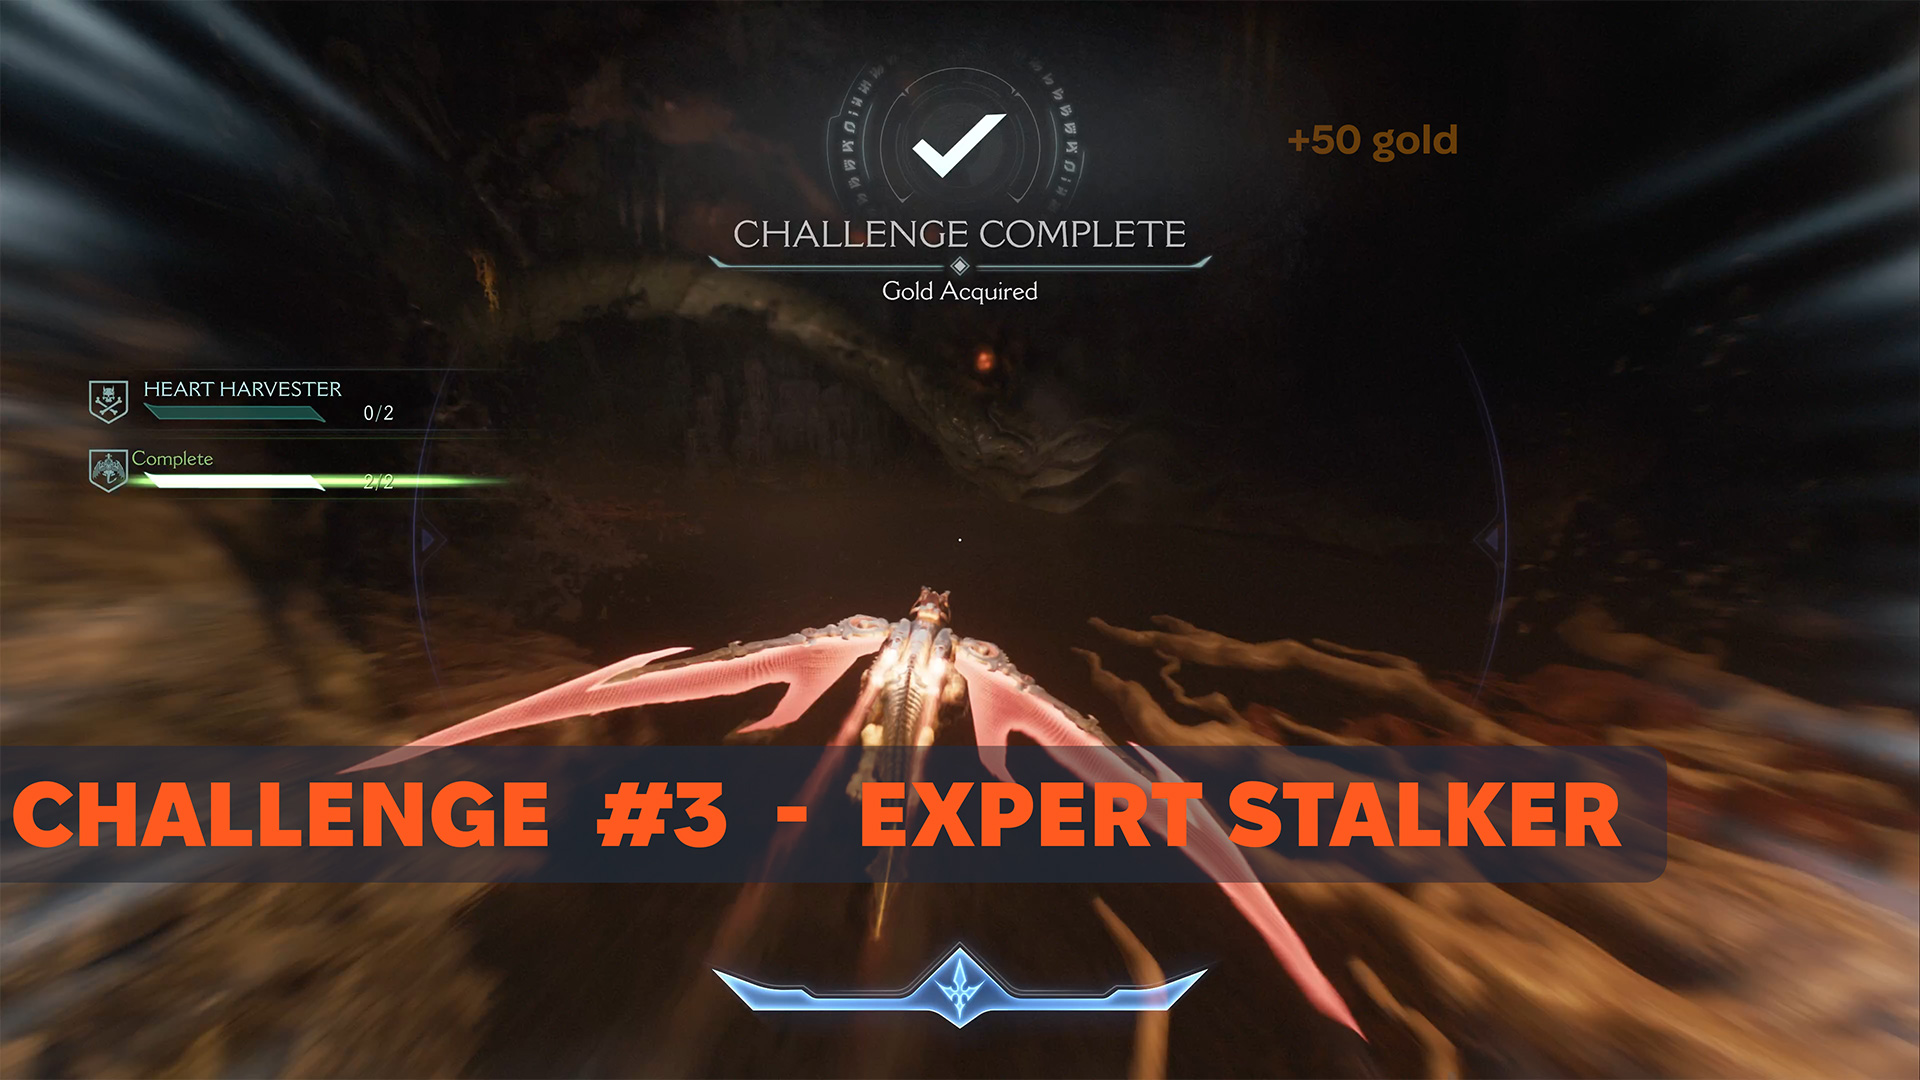
Spire of Nerathul Expert Stalker Challenge
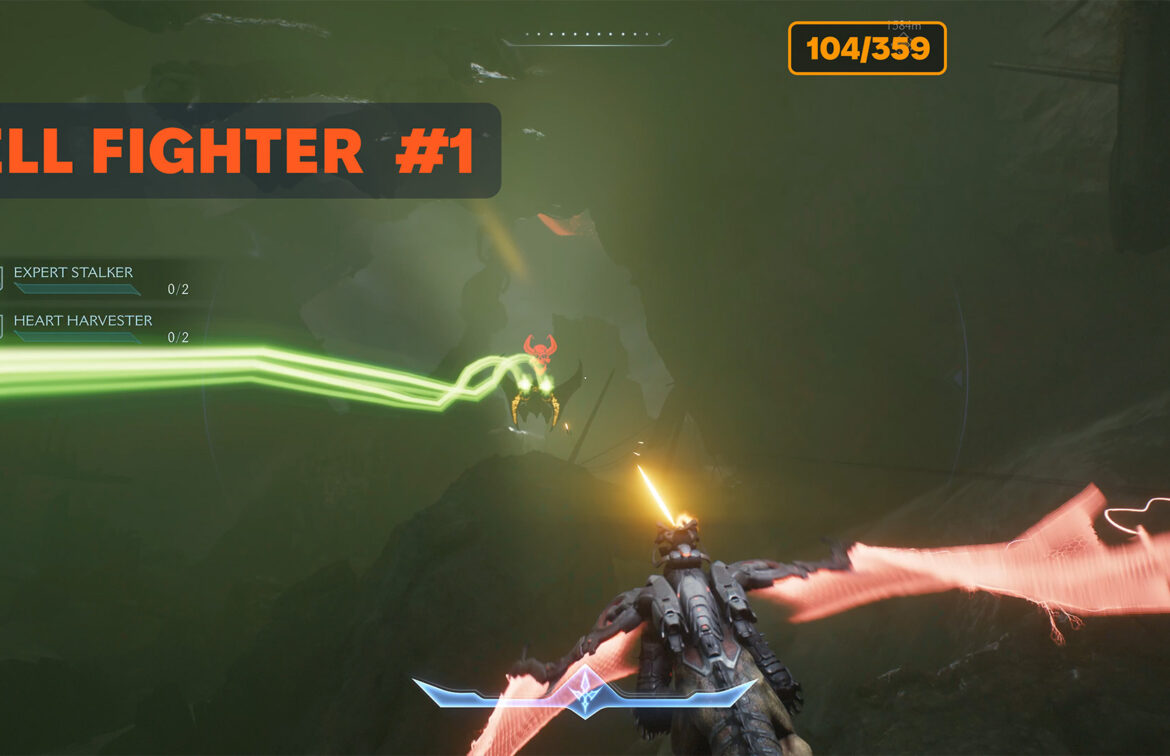
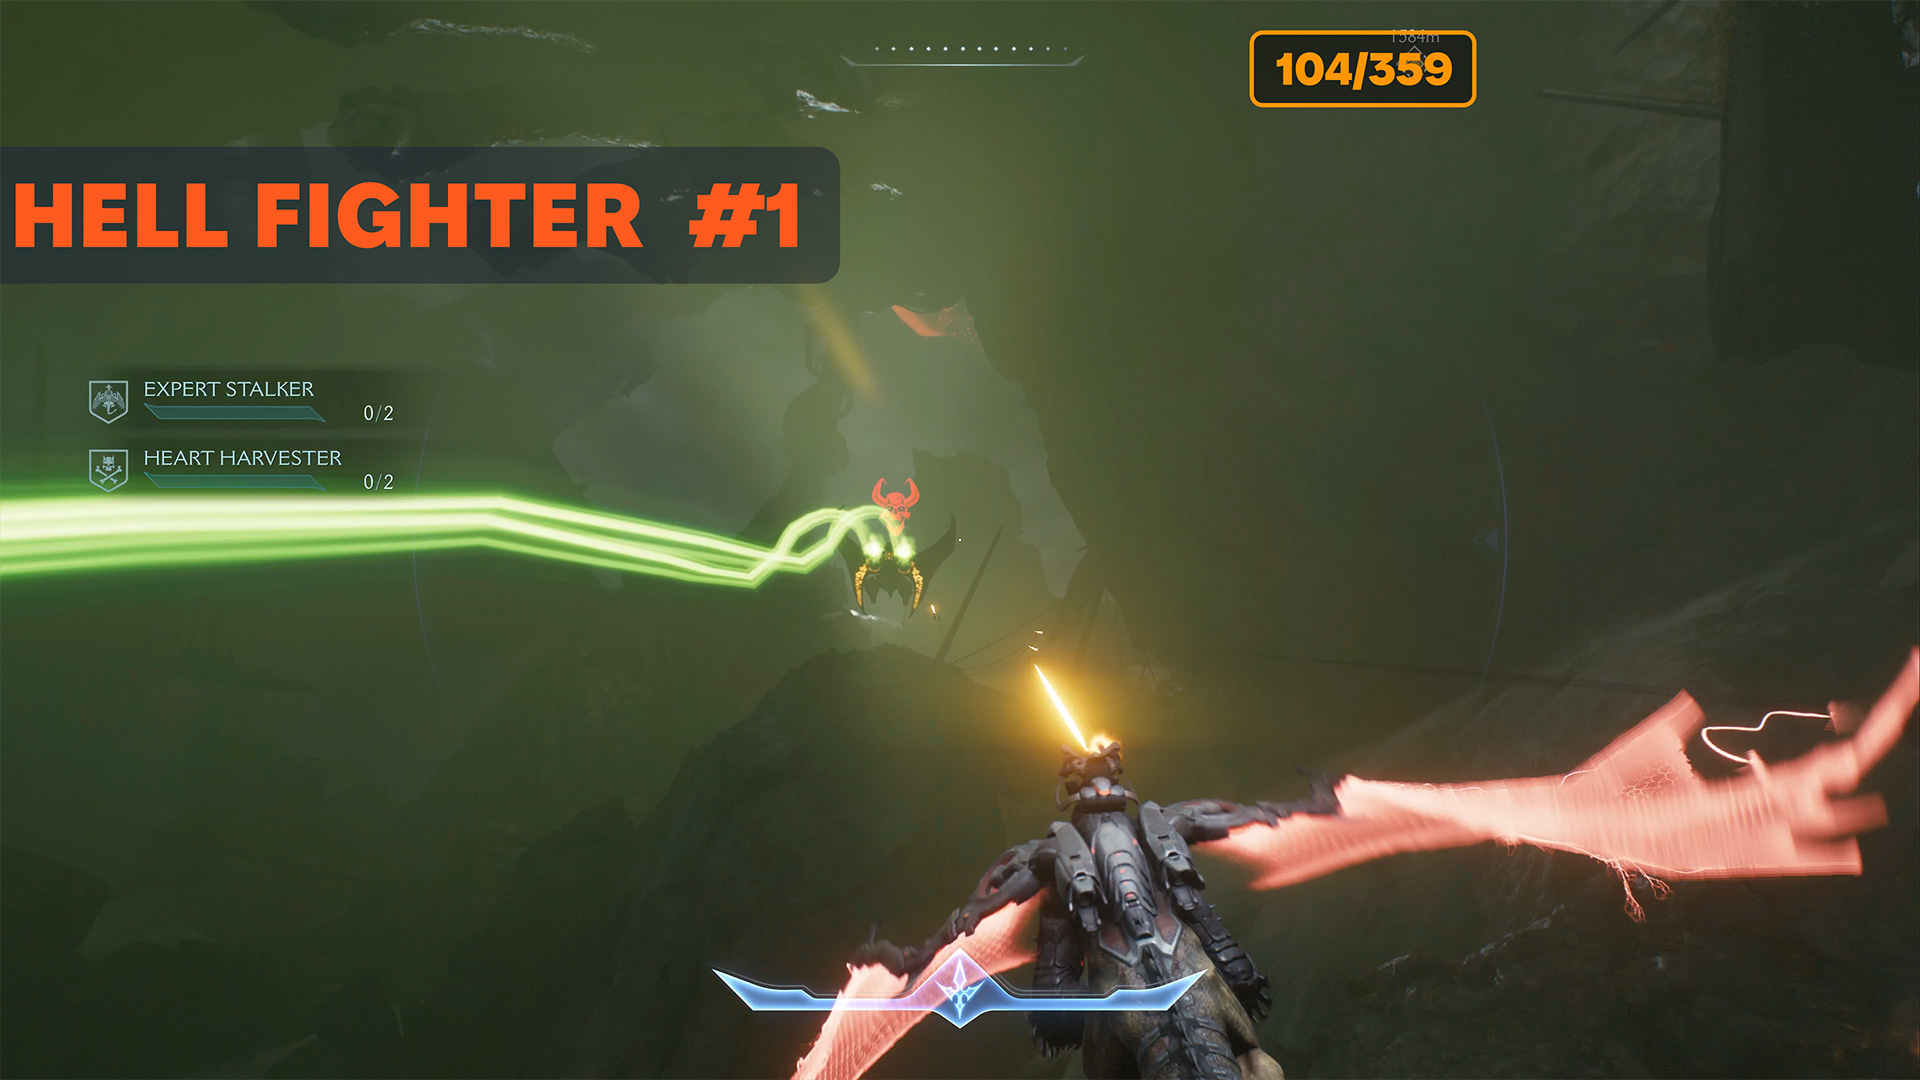
Expert Stalker’s third challenge. You have already done something similar in chapter 5. You need to destroy 2 Hell Fighter ships. In total, you will meet more than two in this chapter, but I recommend performing this challenge on the first two. I will talk about them further, they are the most convenient. And here is a feature that I will talk about how we will meet the first Hell Fighter.
-
- Spire of Nerathul Expert Stalker Challenge

-
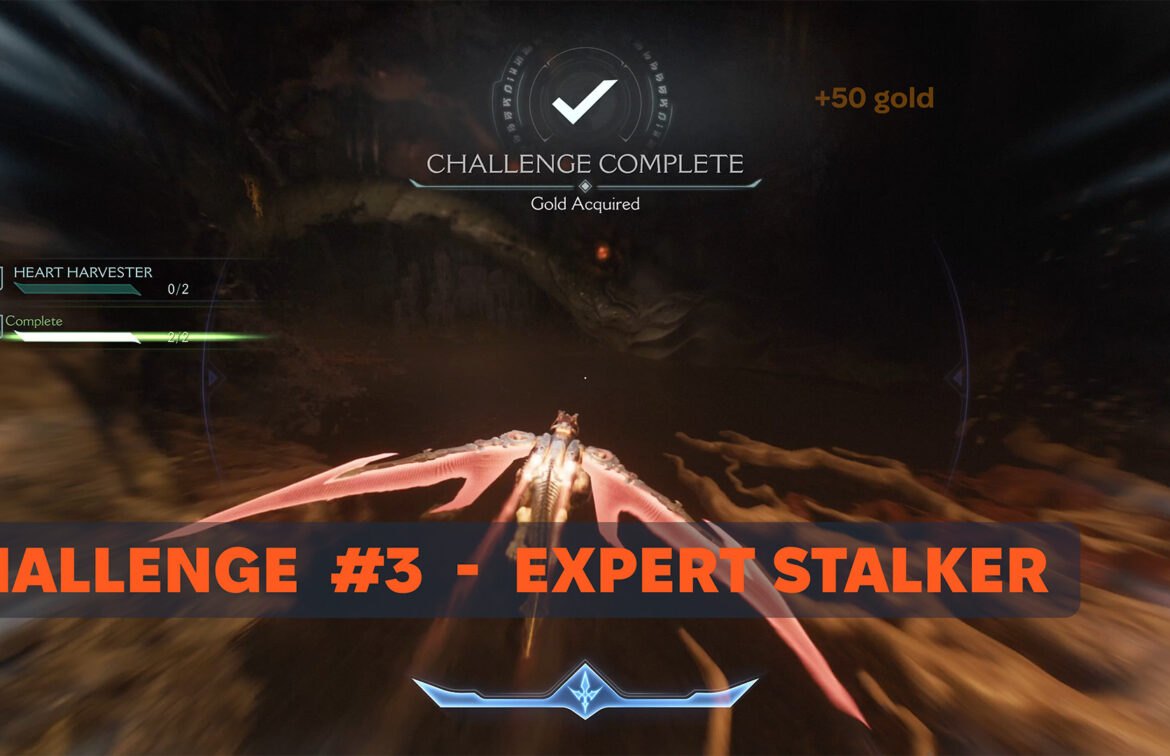
- Spire of Nerathul Expert Stalker Challenge complete
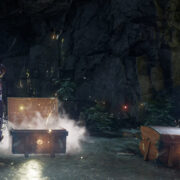
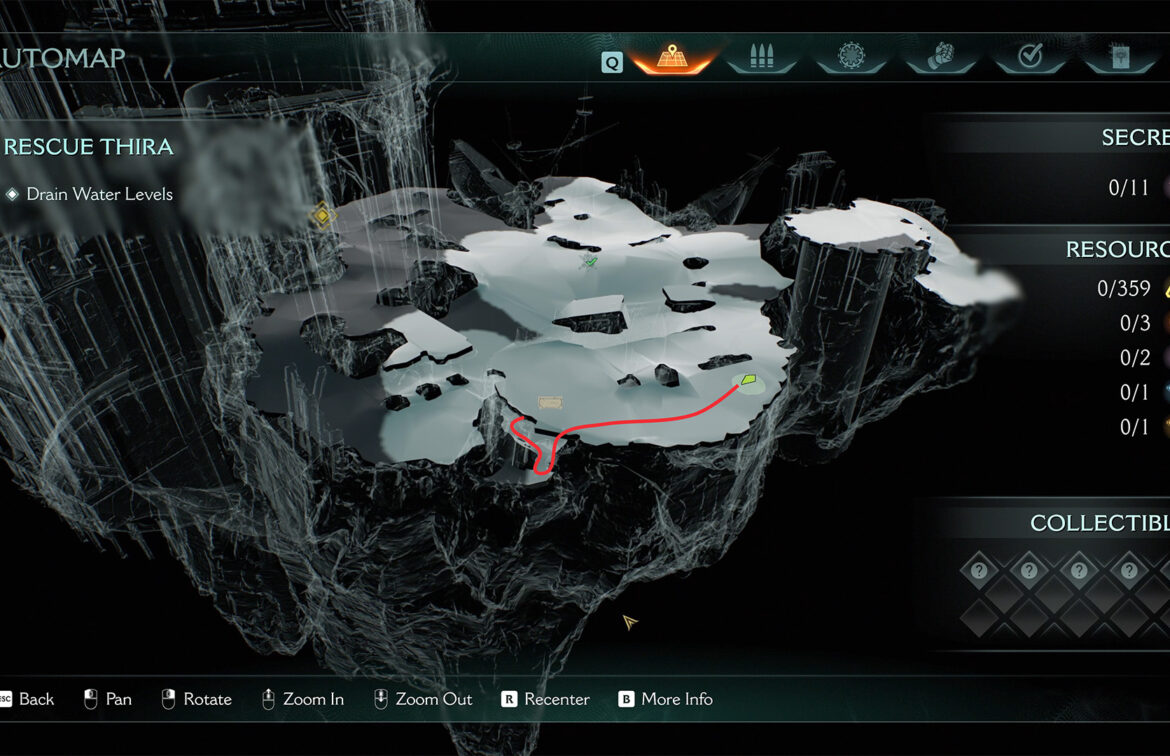
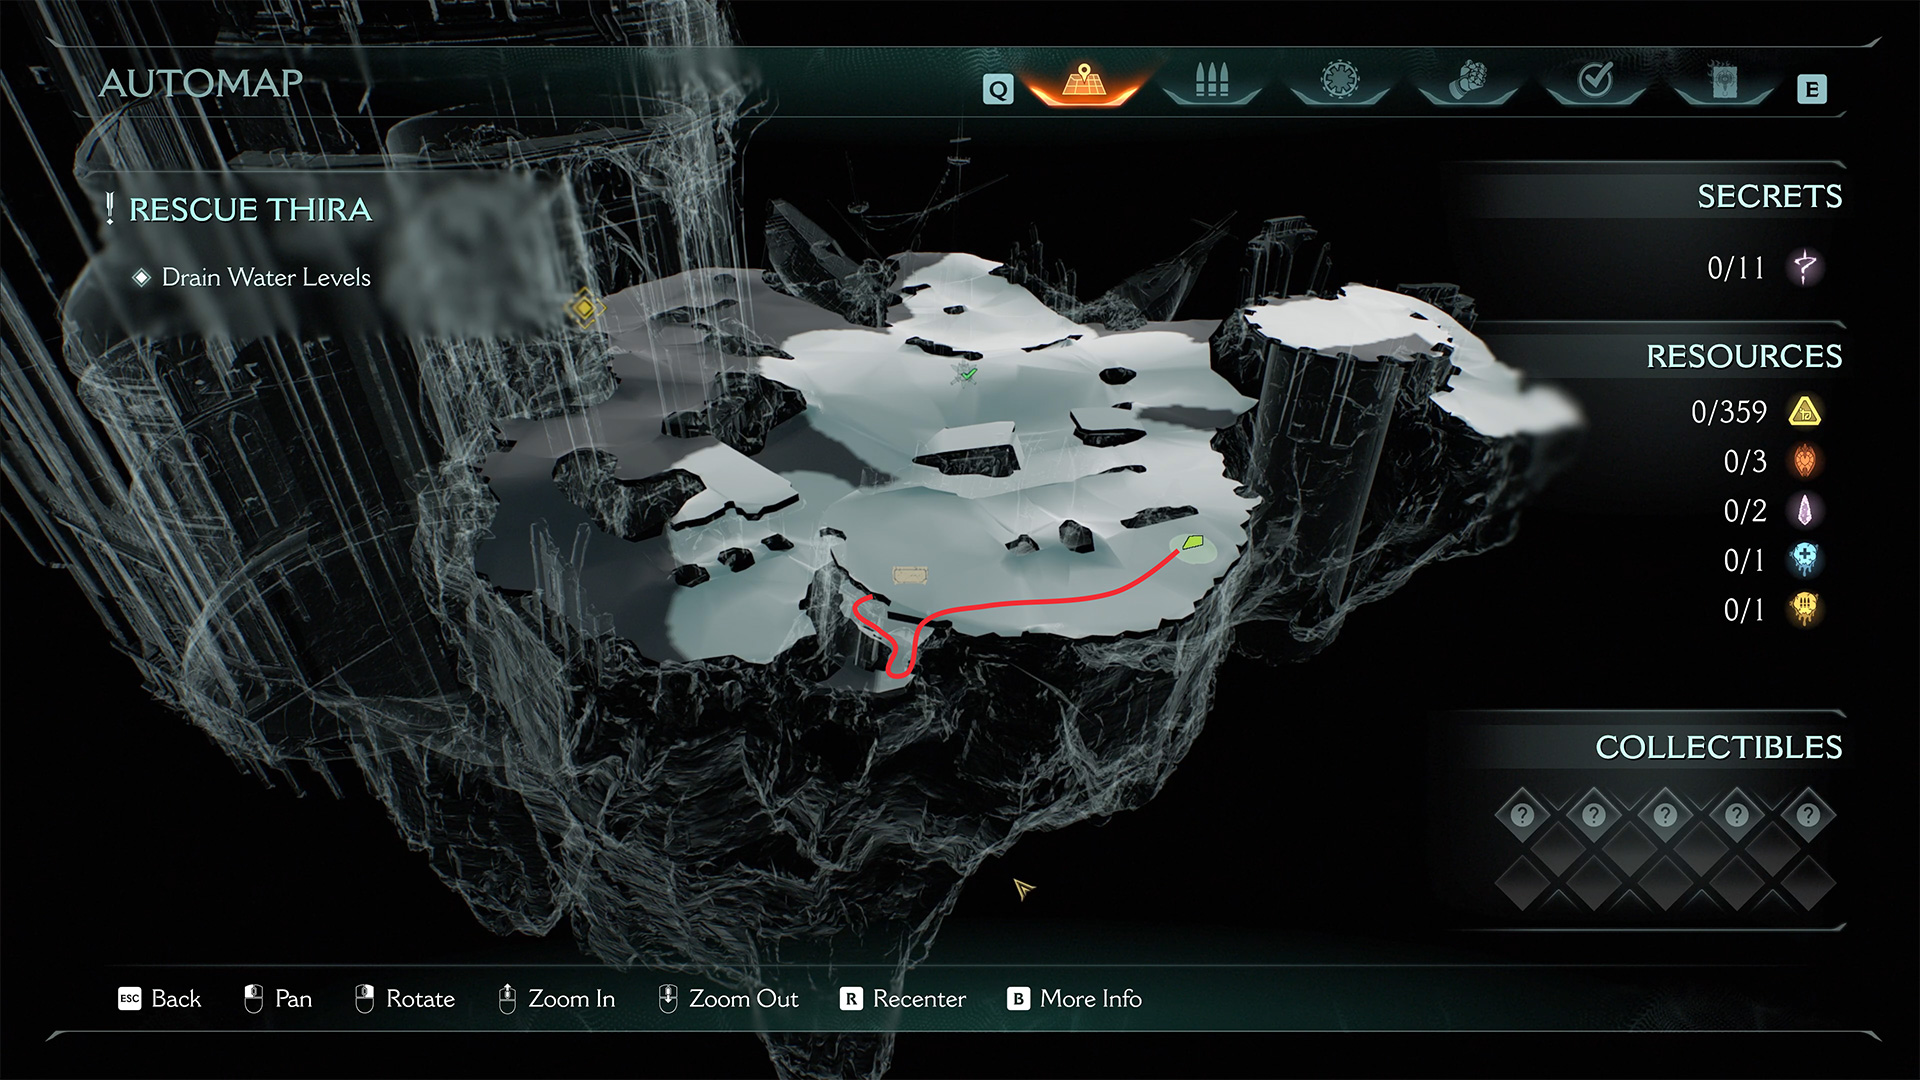
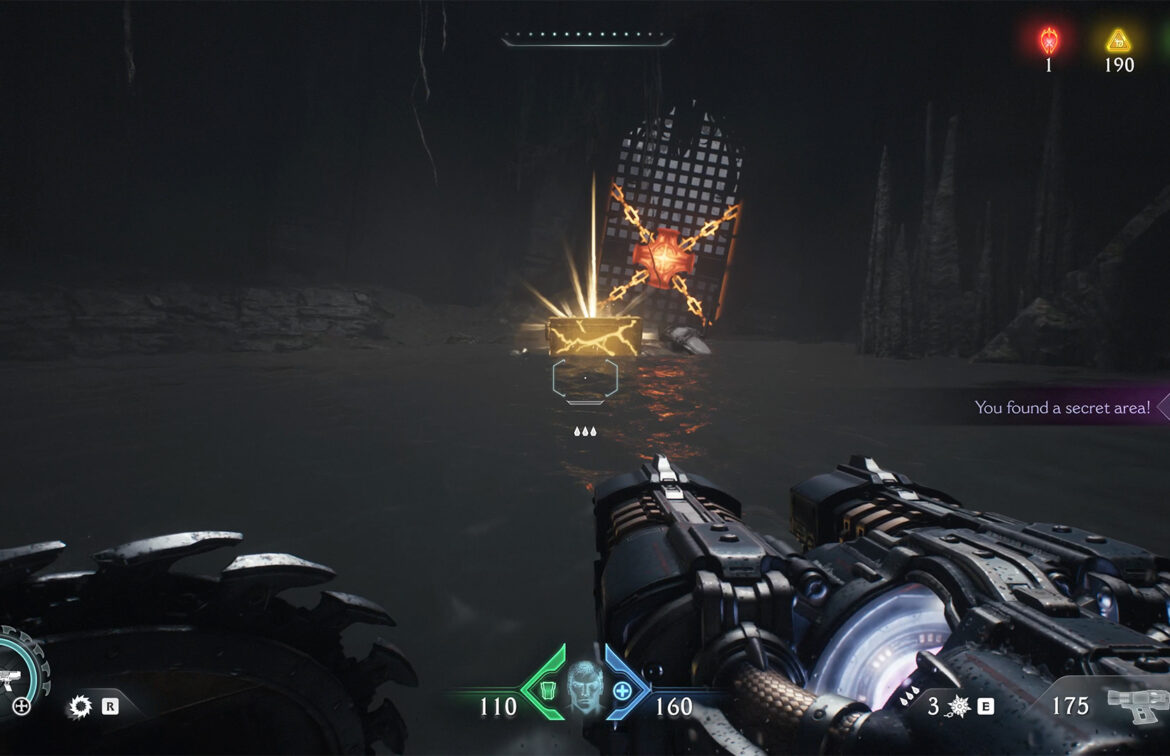
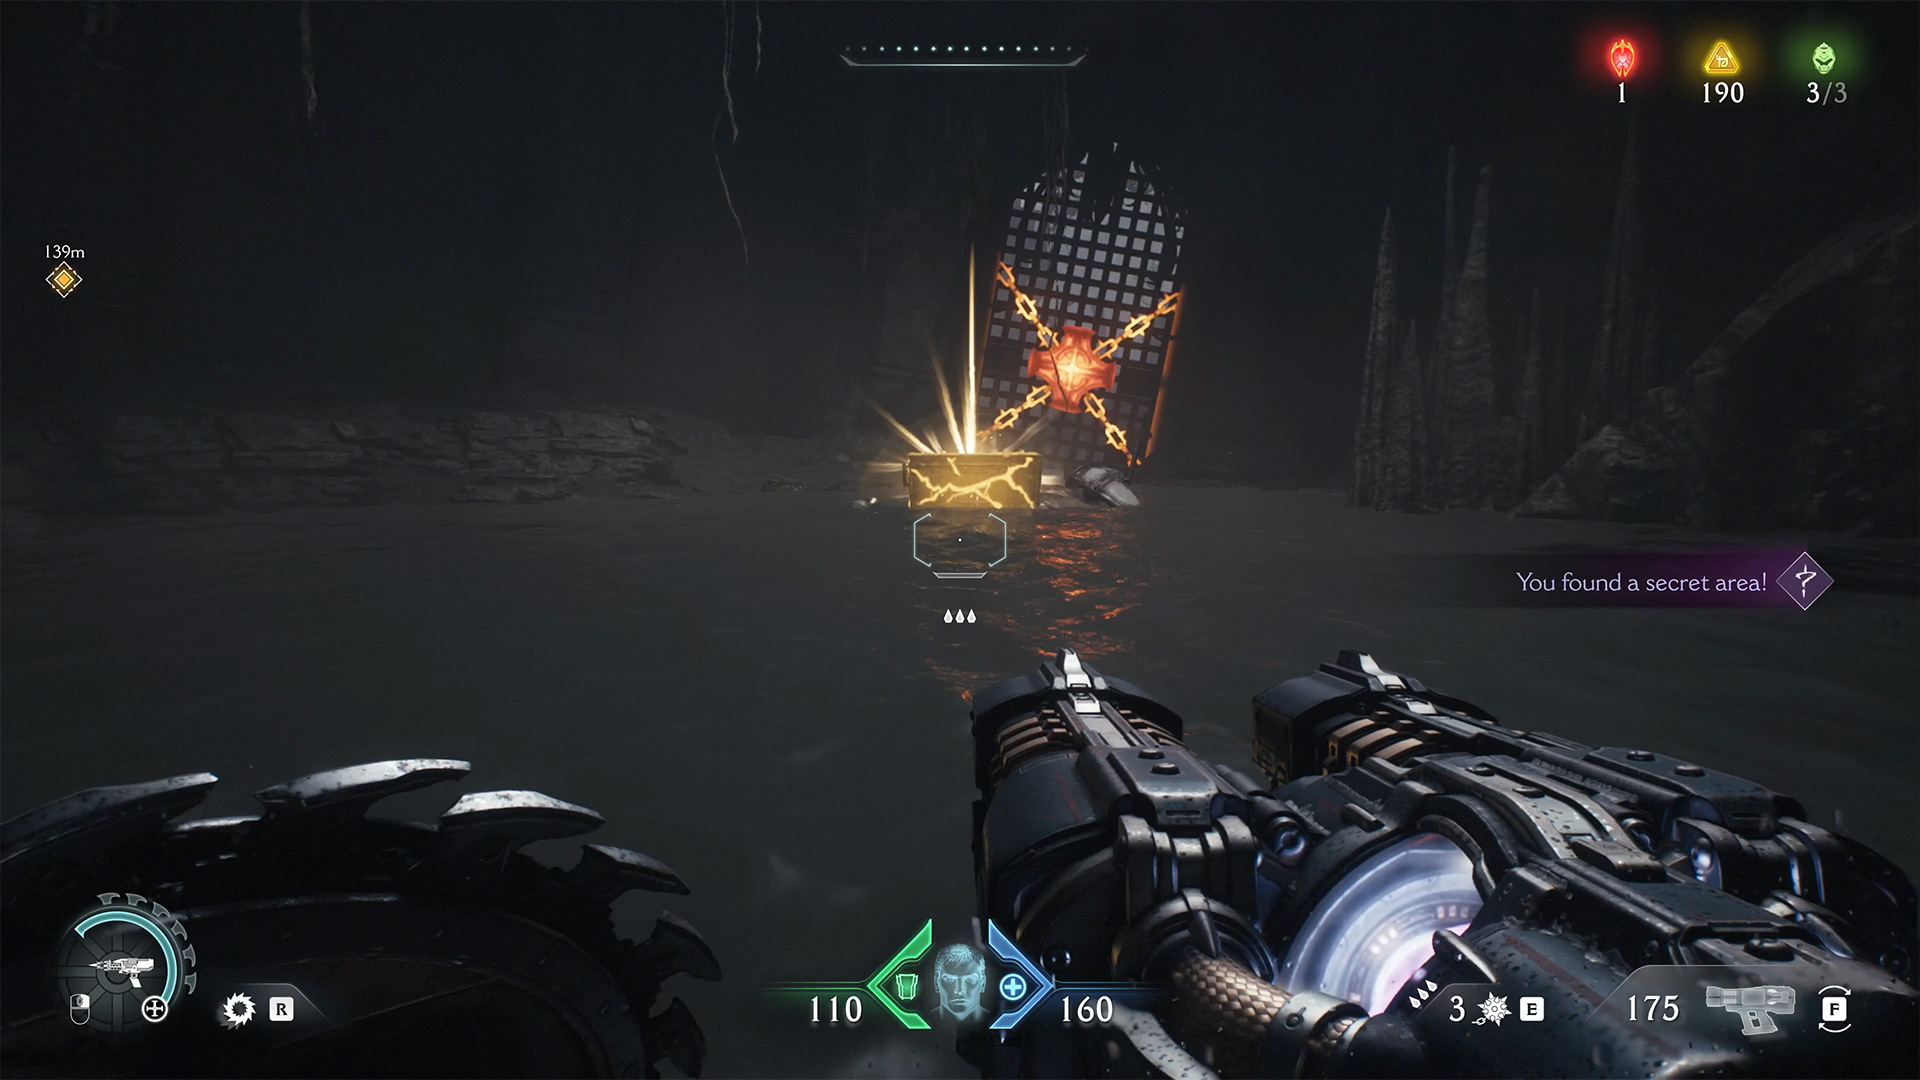
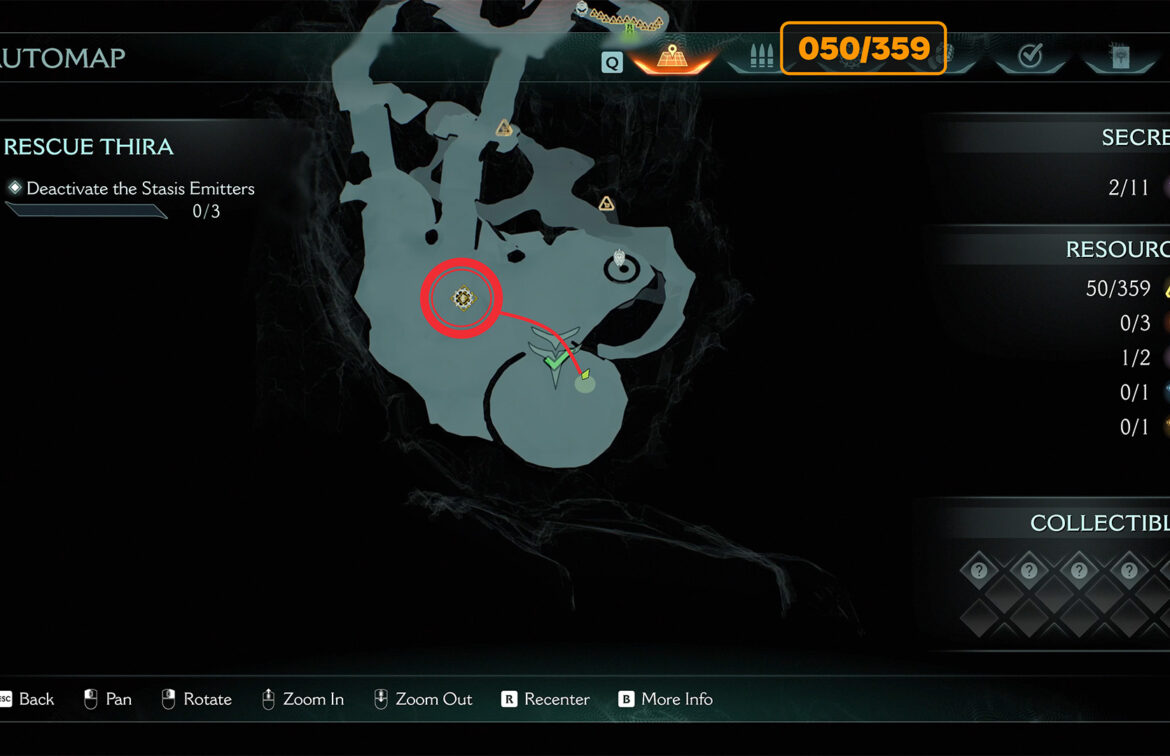
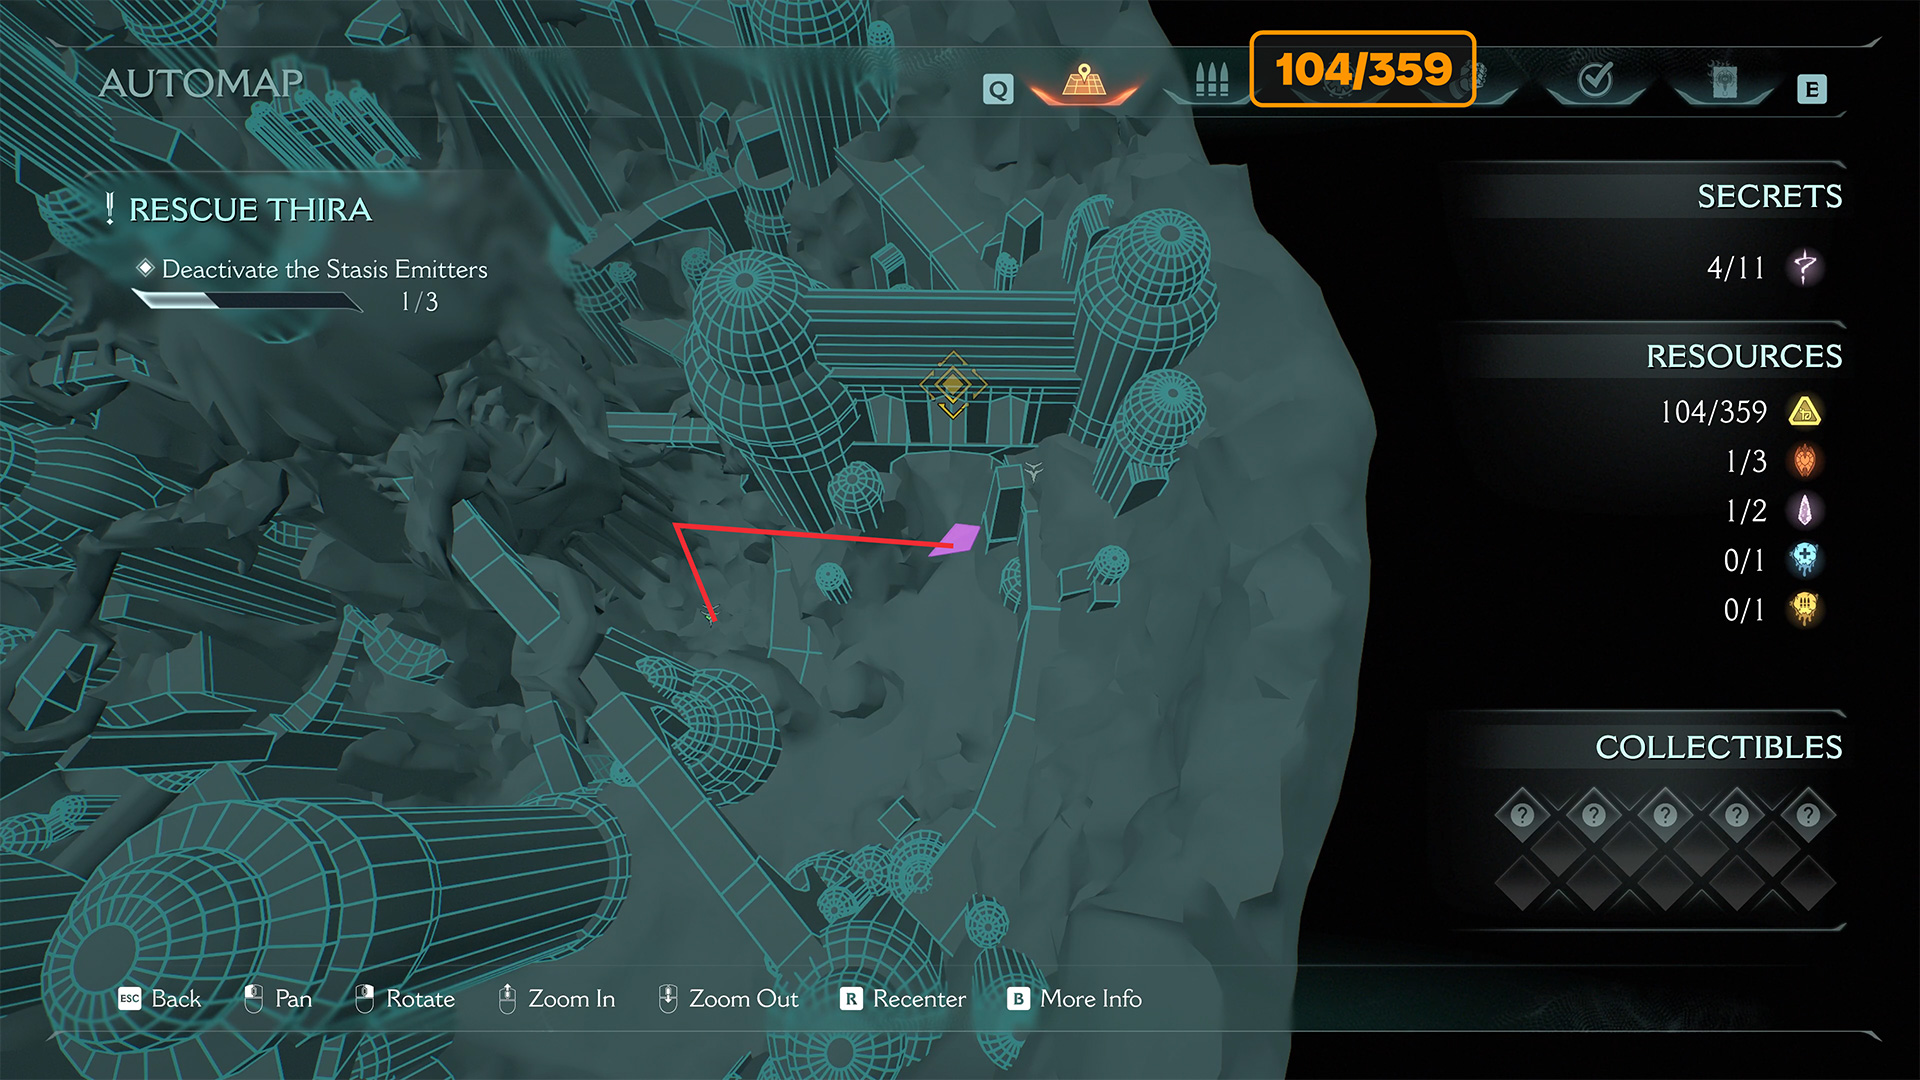
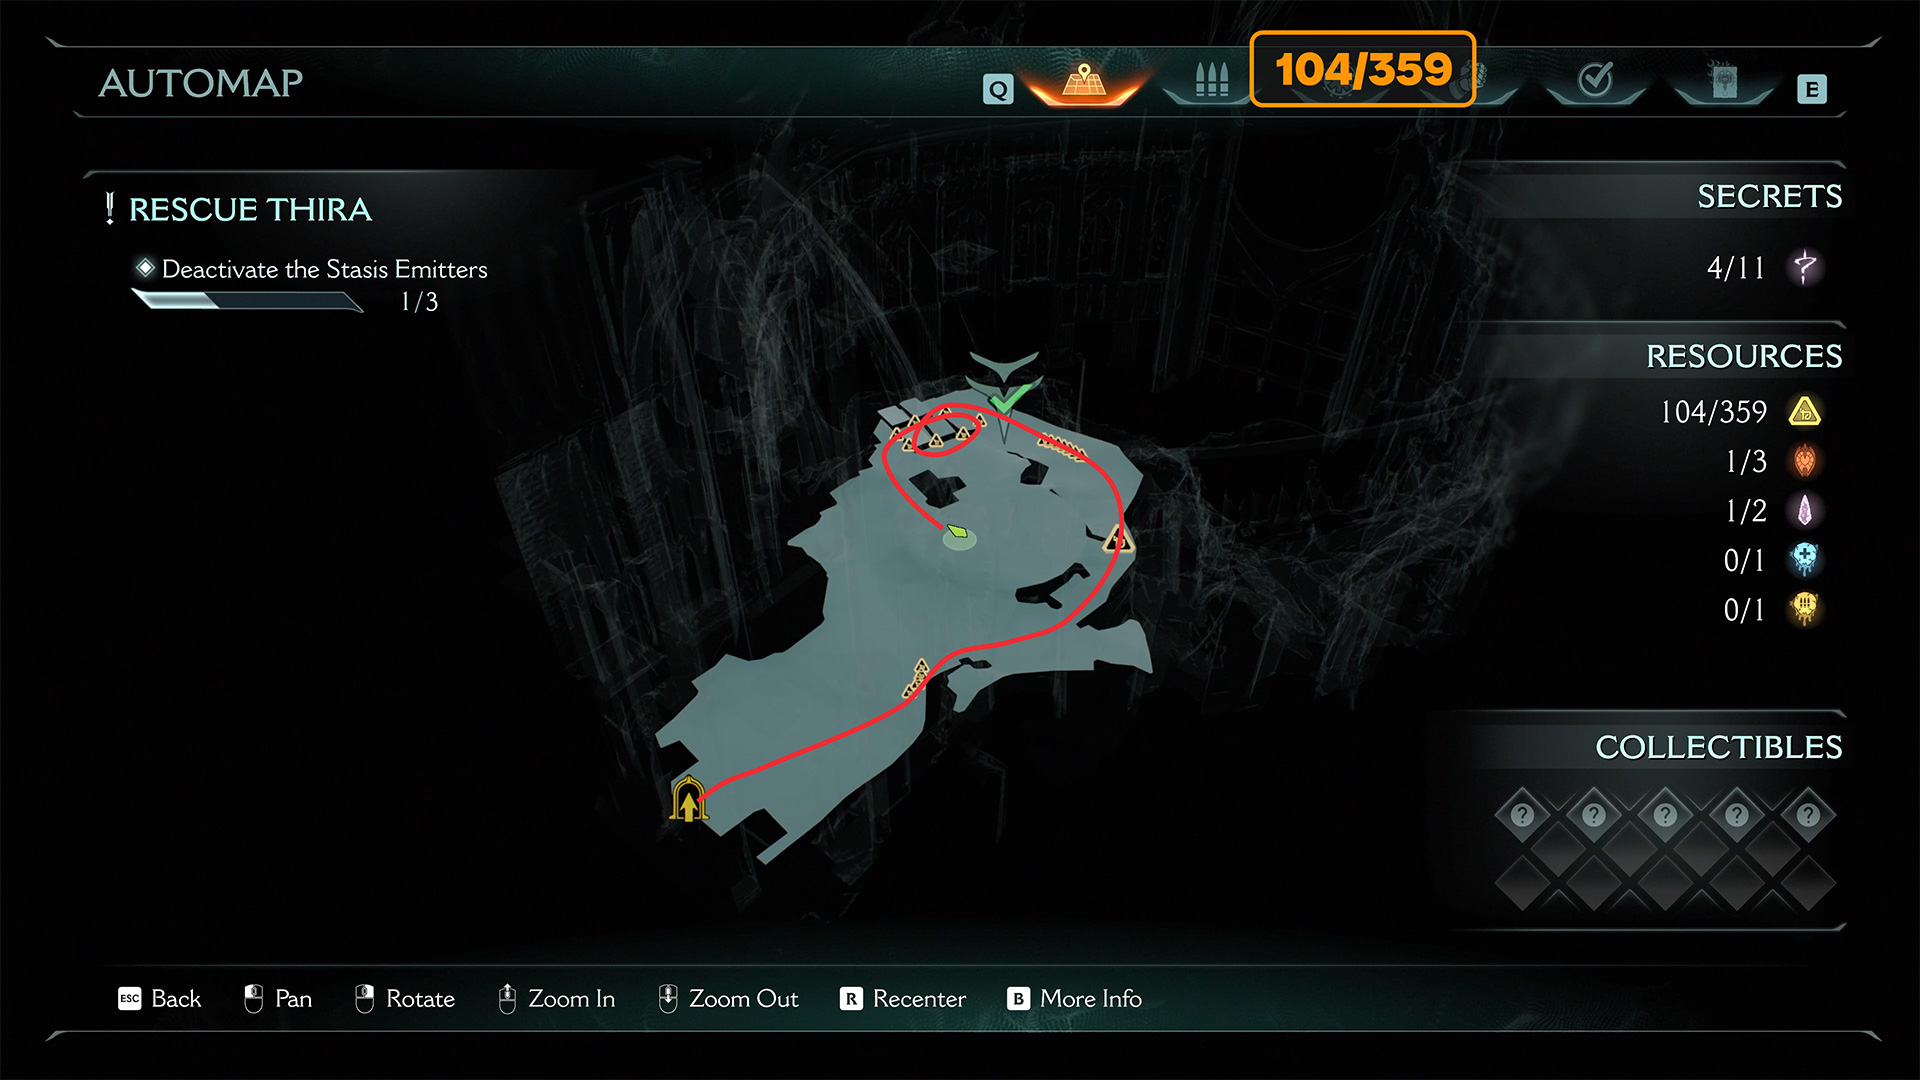
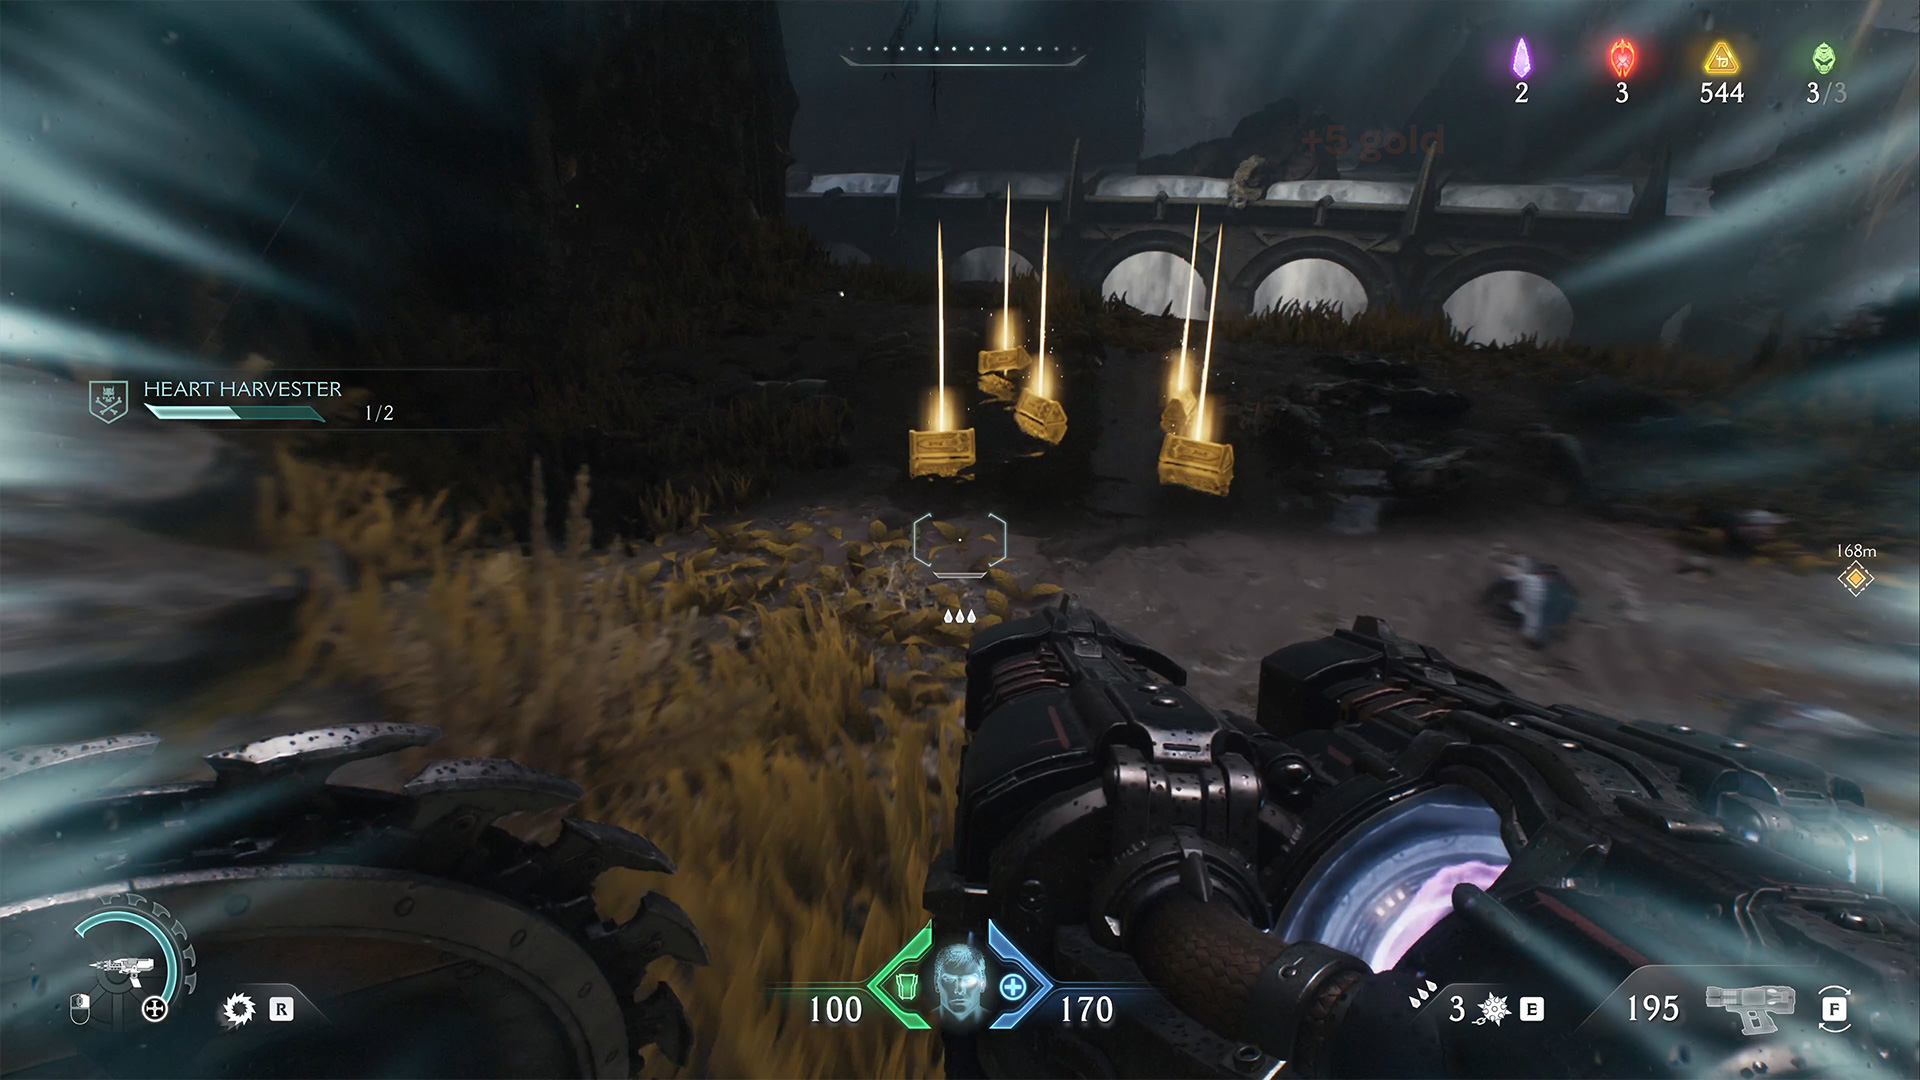
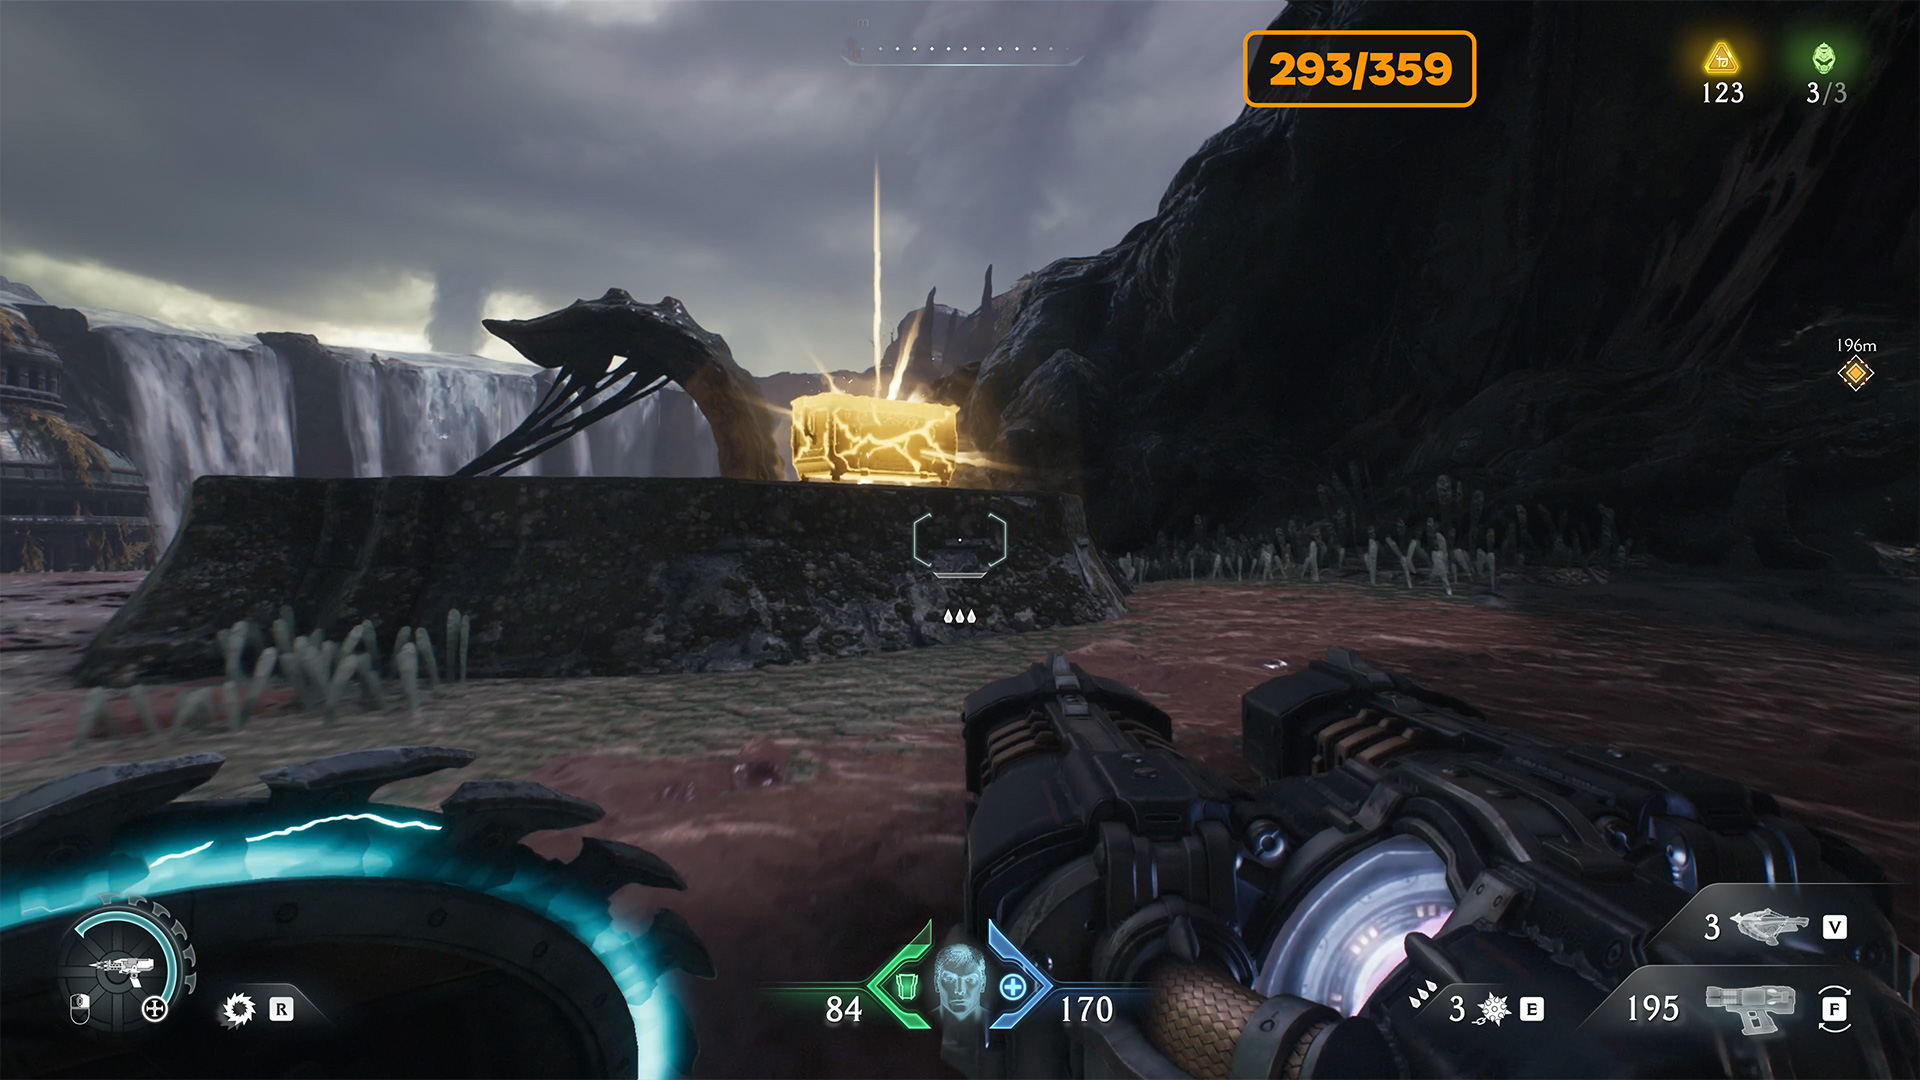
Spire of Nerathul gold chest
In the first location, after defeating Alpha Comodo, do not rush to get on the dragon and fly. Look at the map. Find the place I’m showing you, here you can sprint down the ledge and enter the secret area where the chest is waiting for you. Smash it to get 50 gold.
-
- Spire of Nerathul gold chest location
-
- Spire of Nerathul gold chest
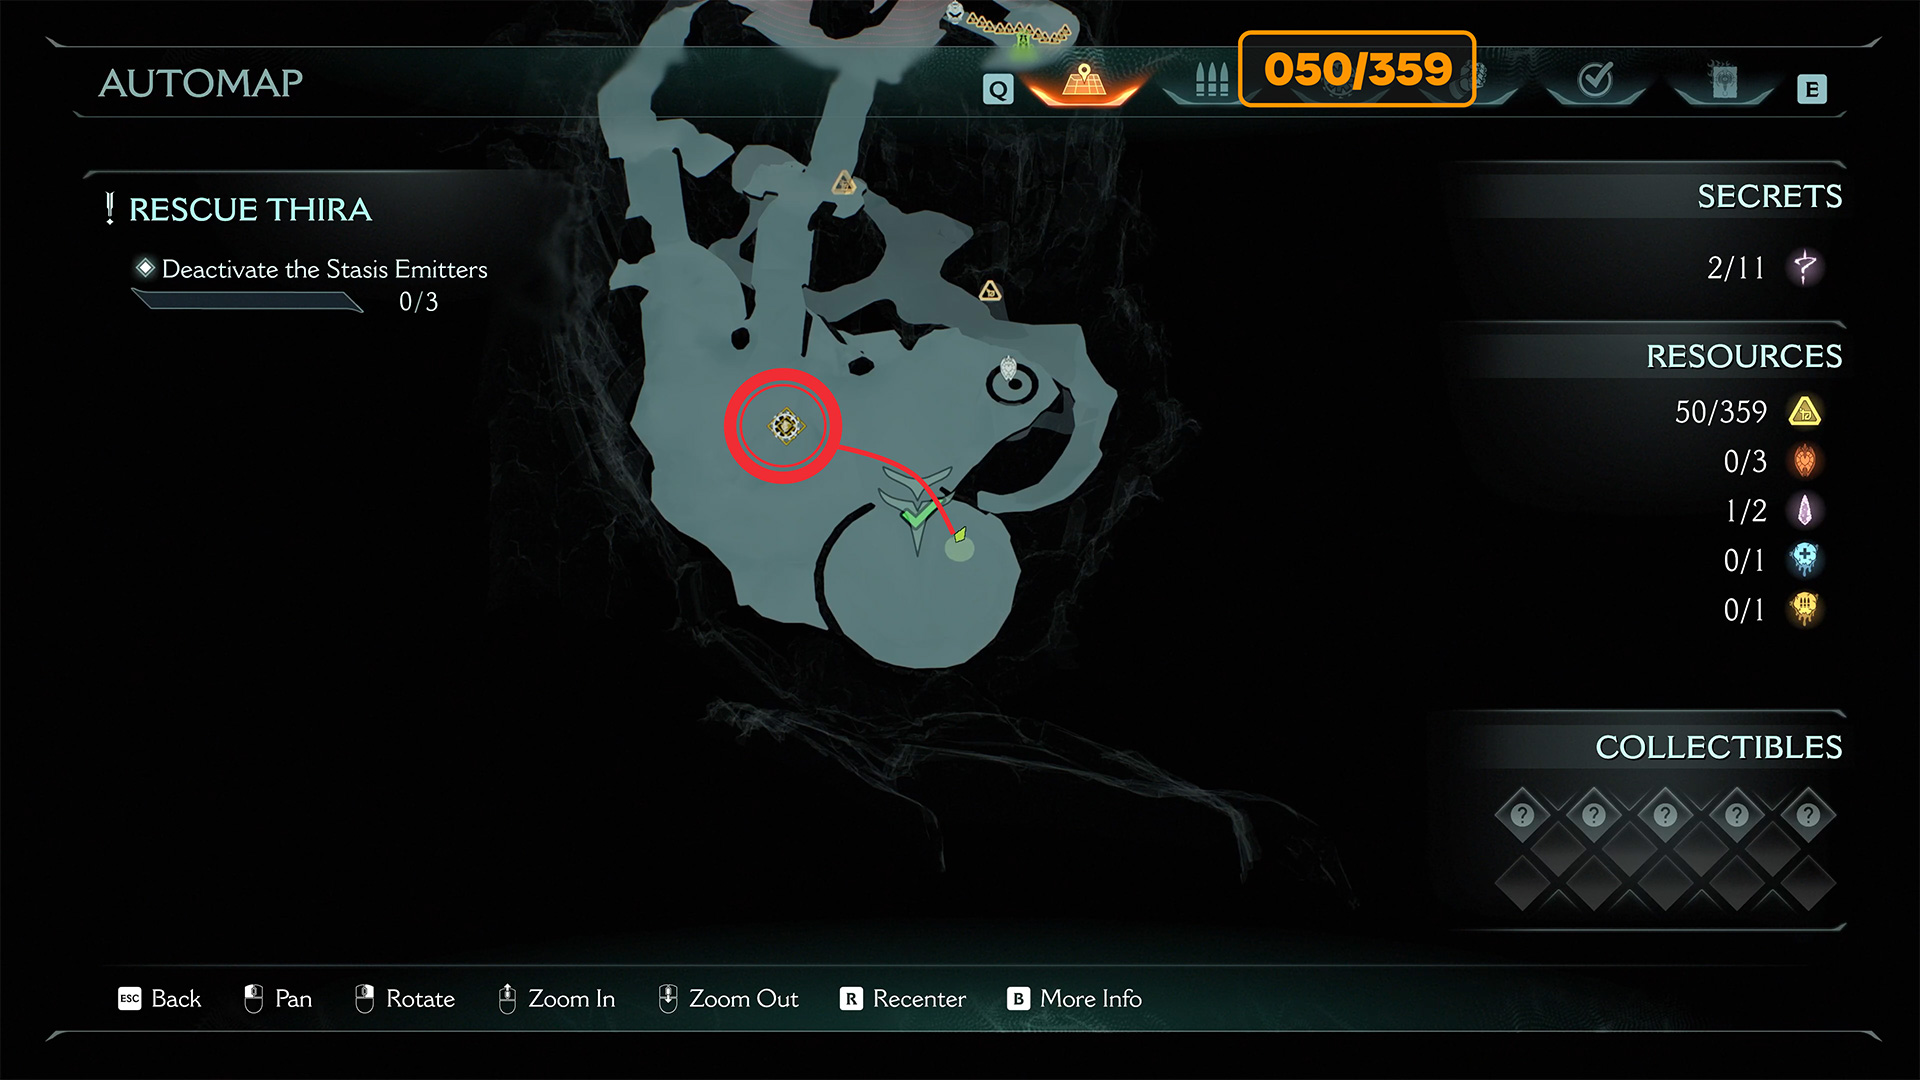
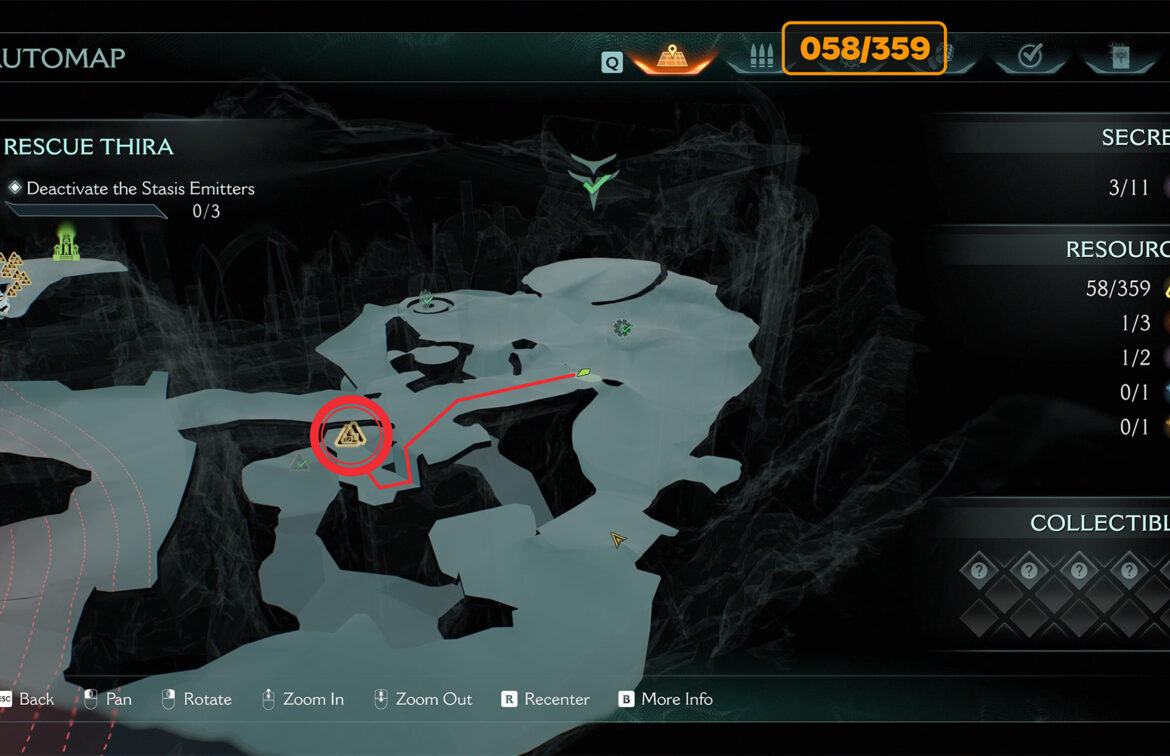
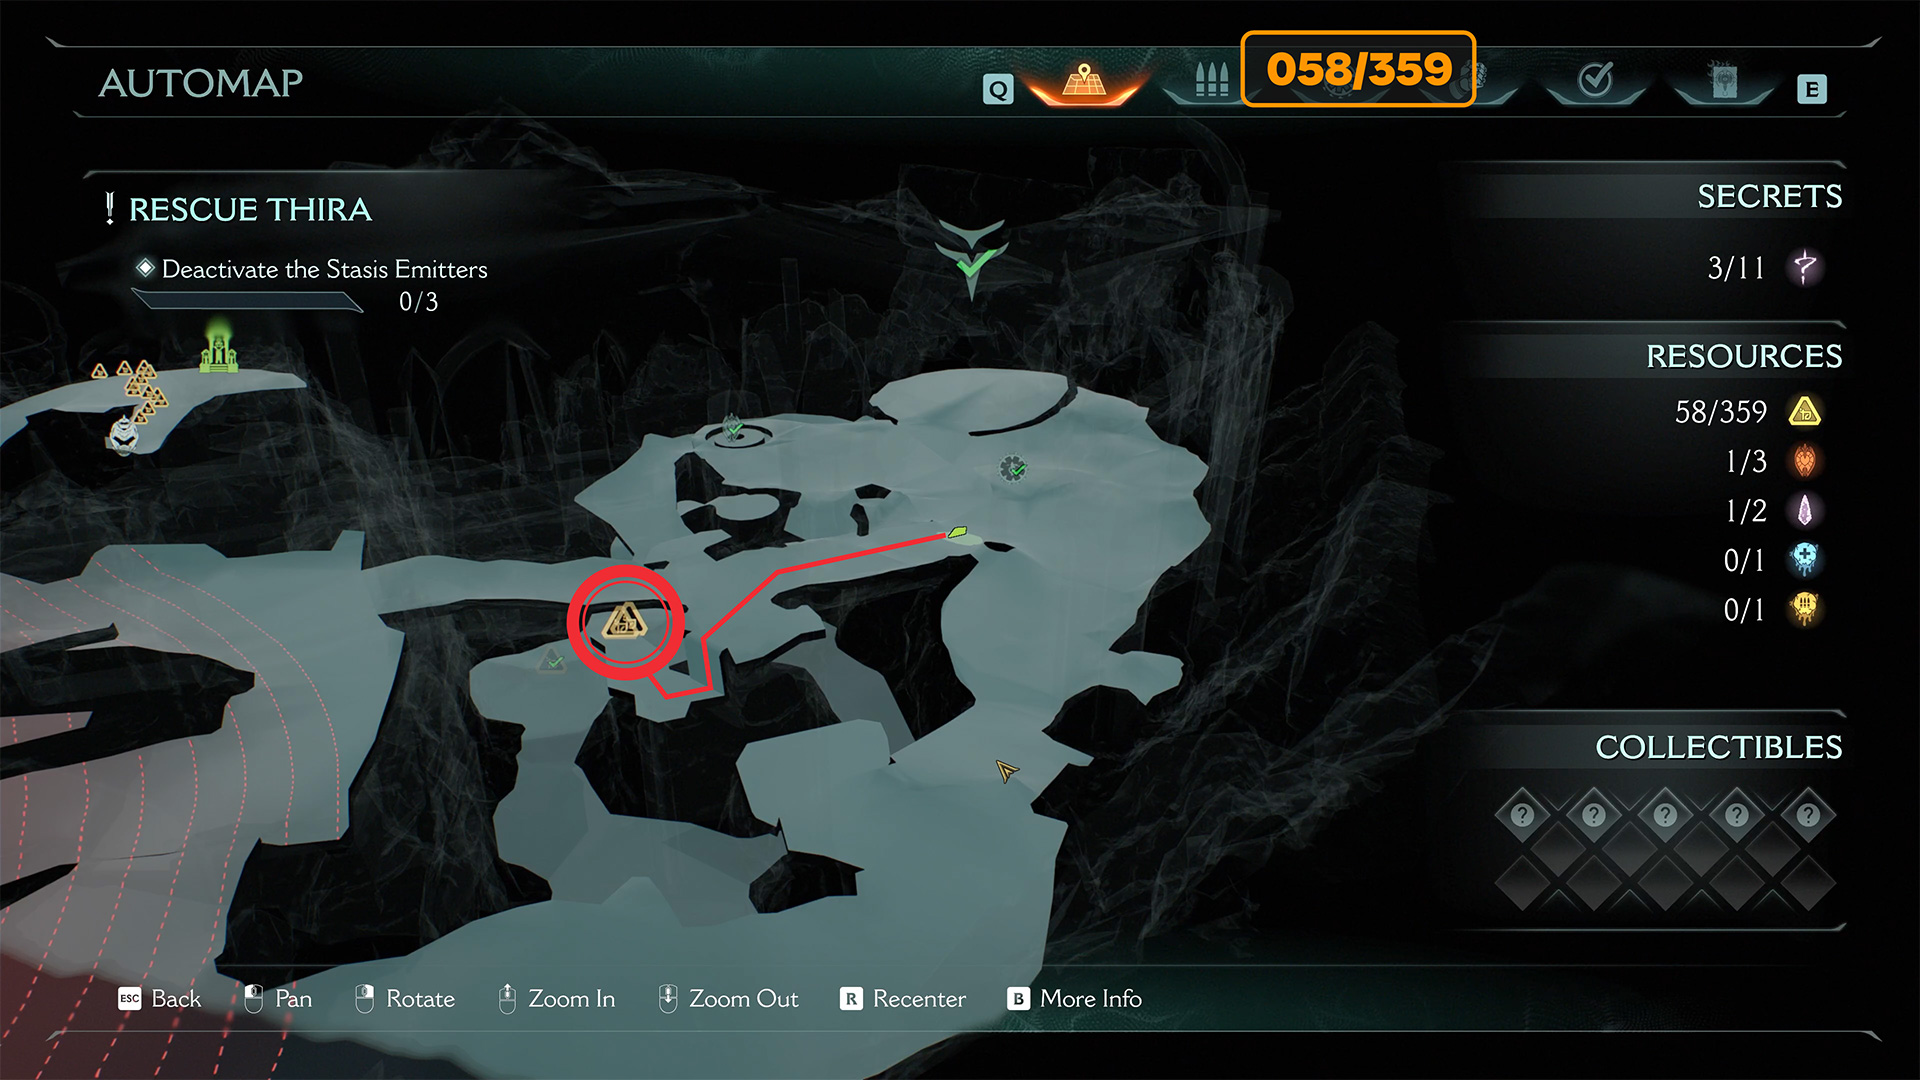
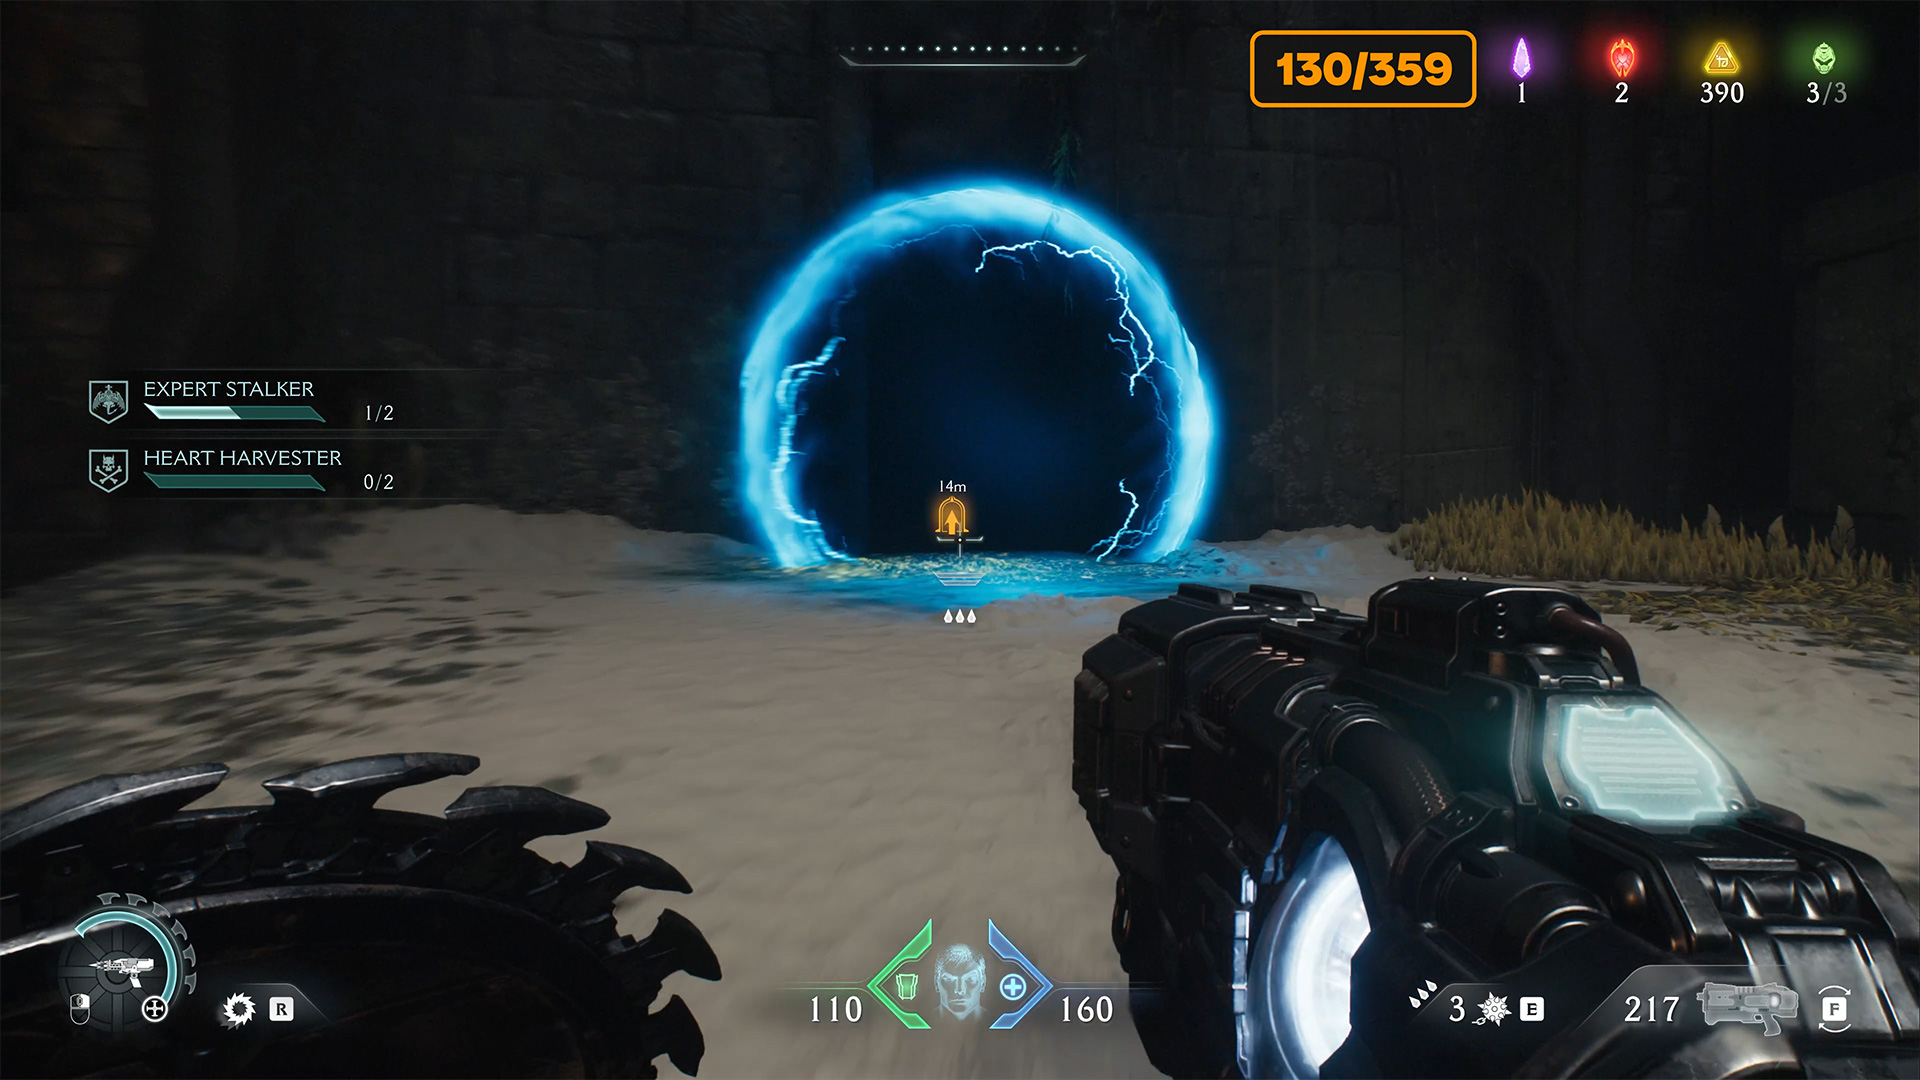
Spire of Nerathul secret landing zone
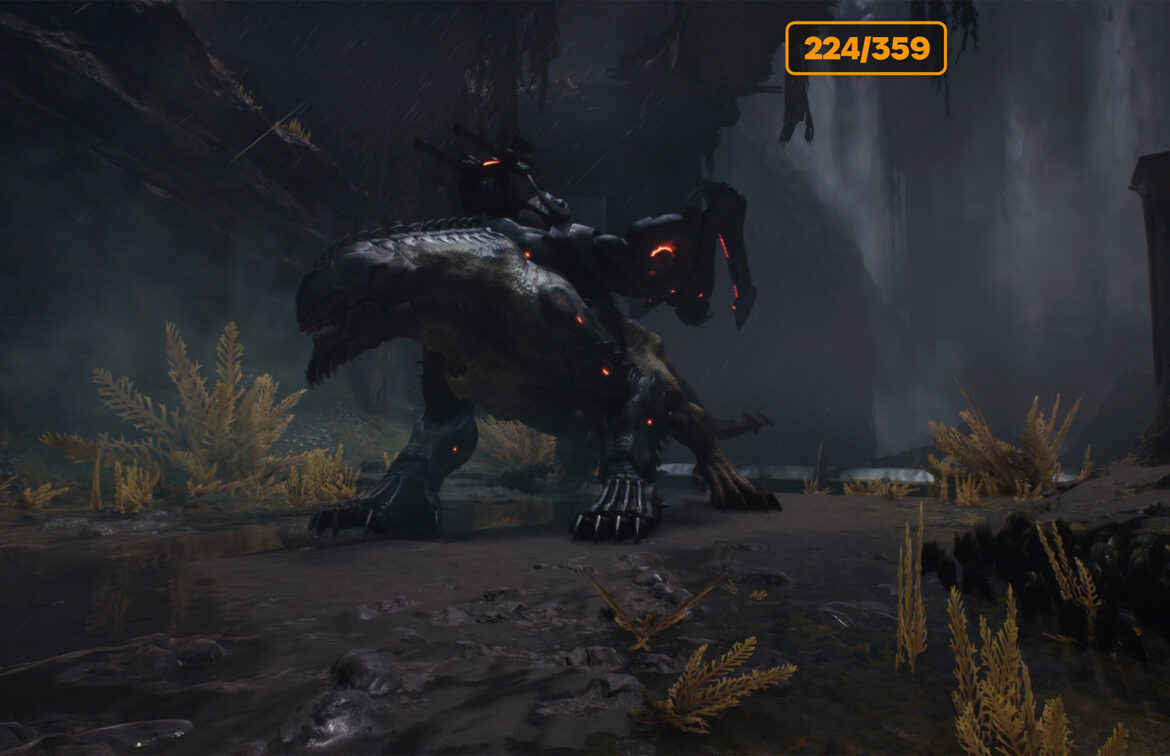
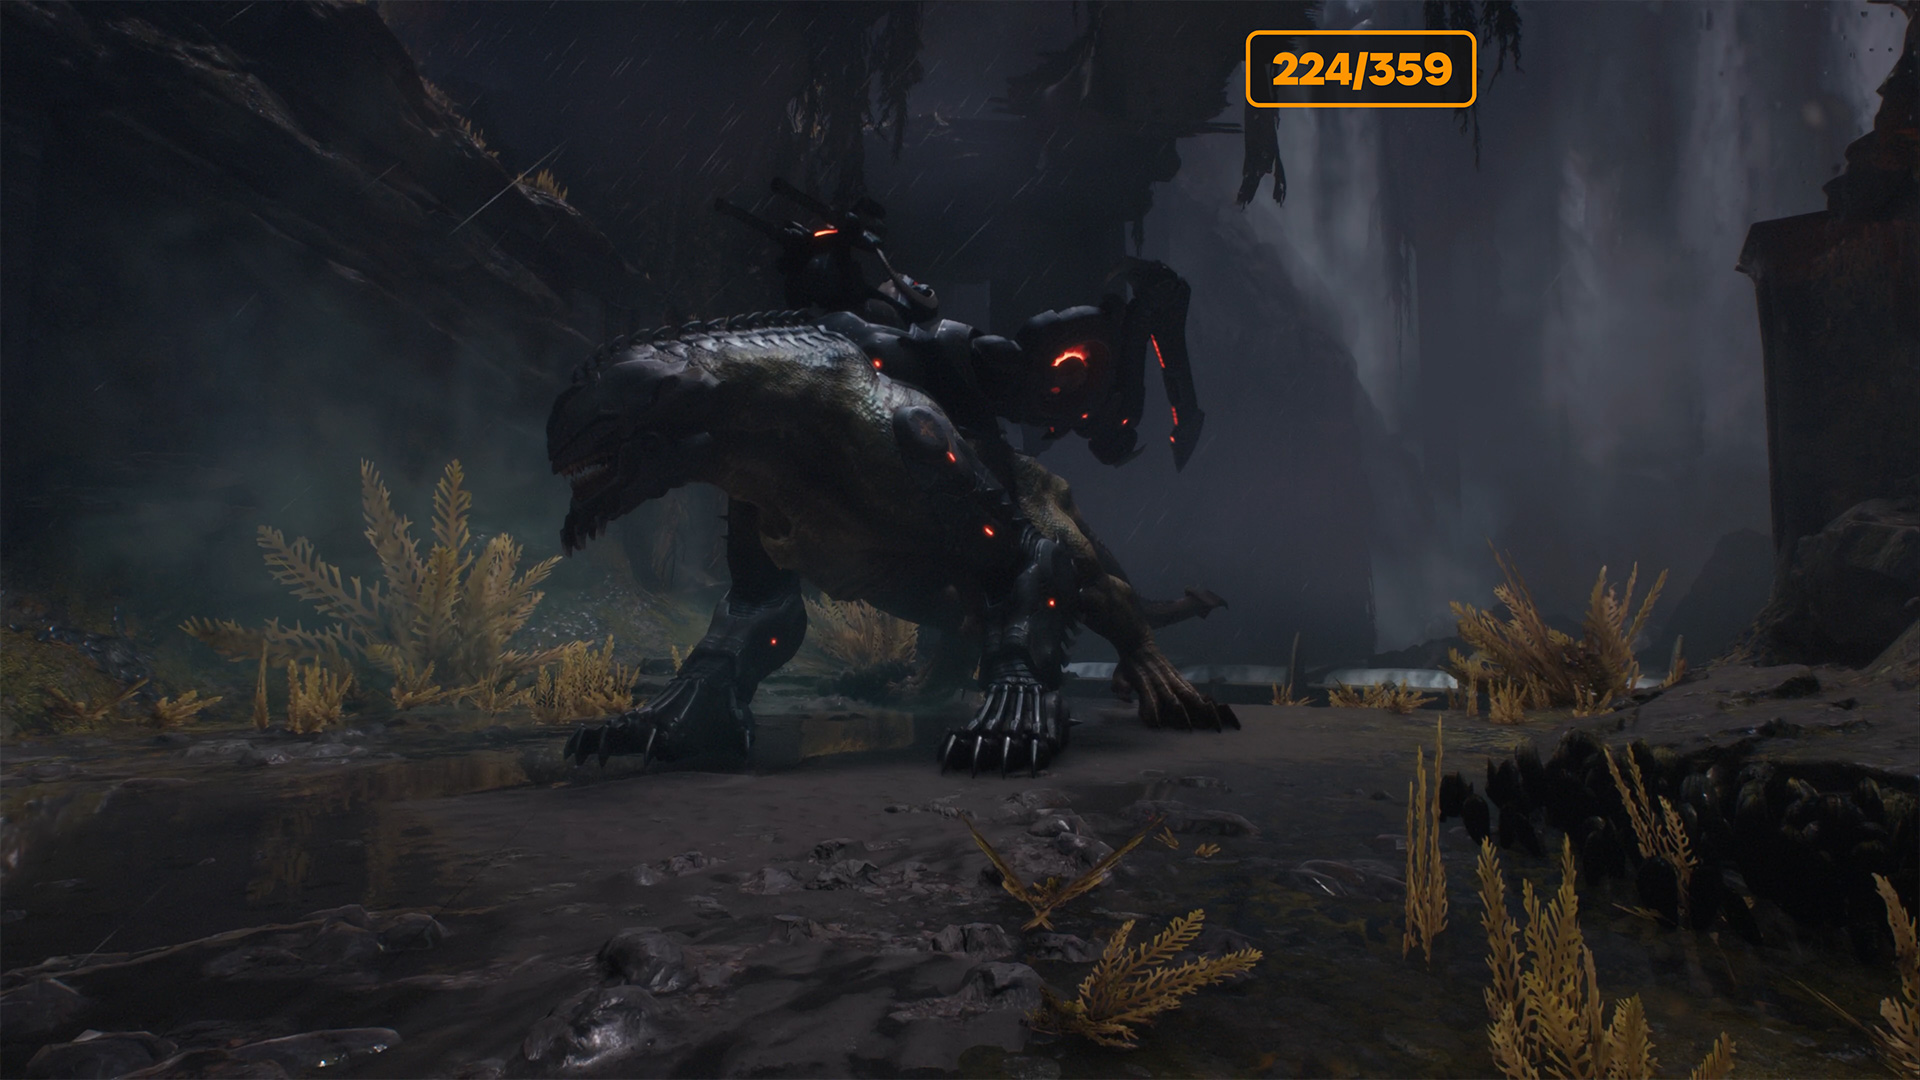
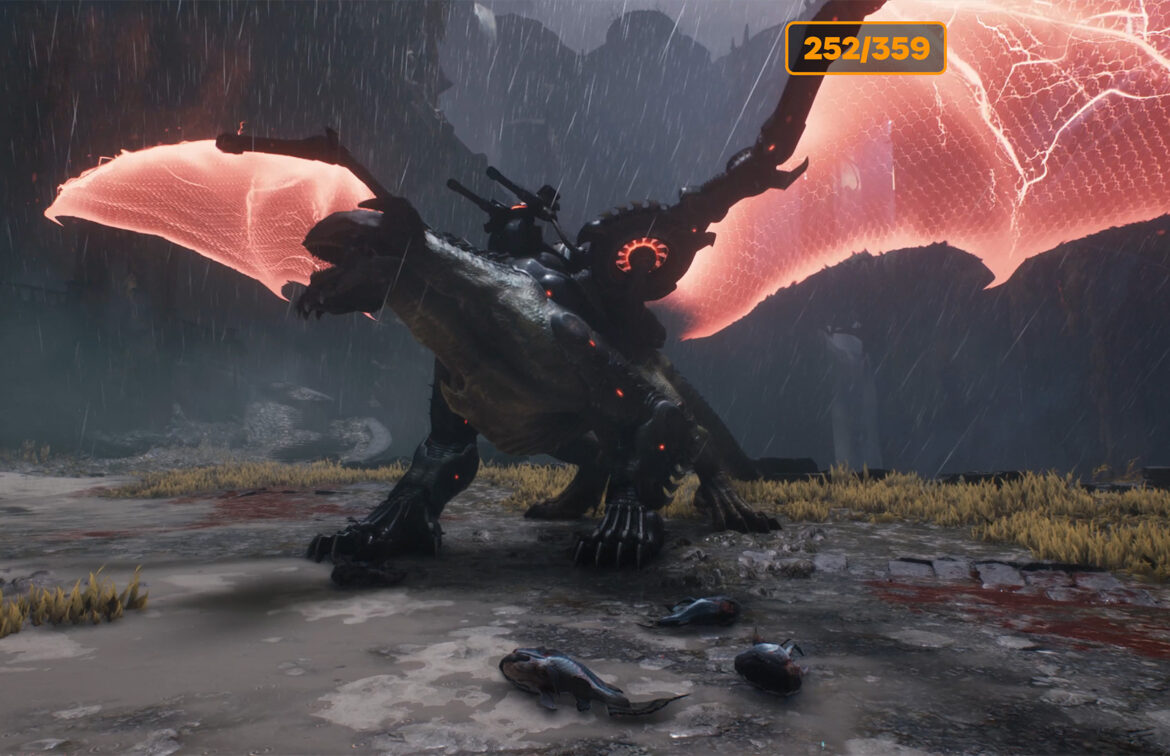
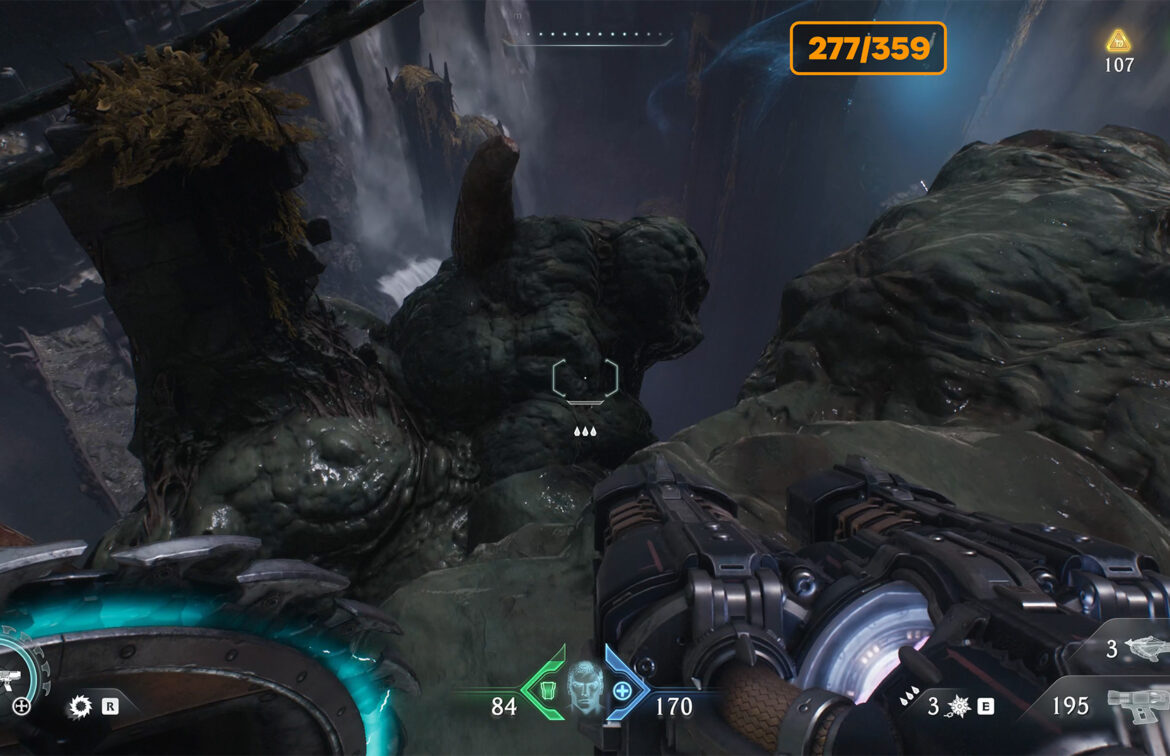
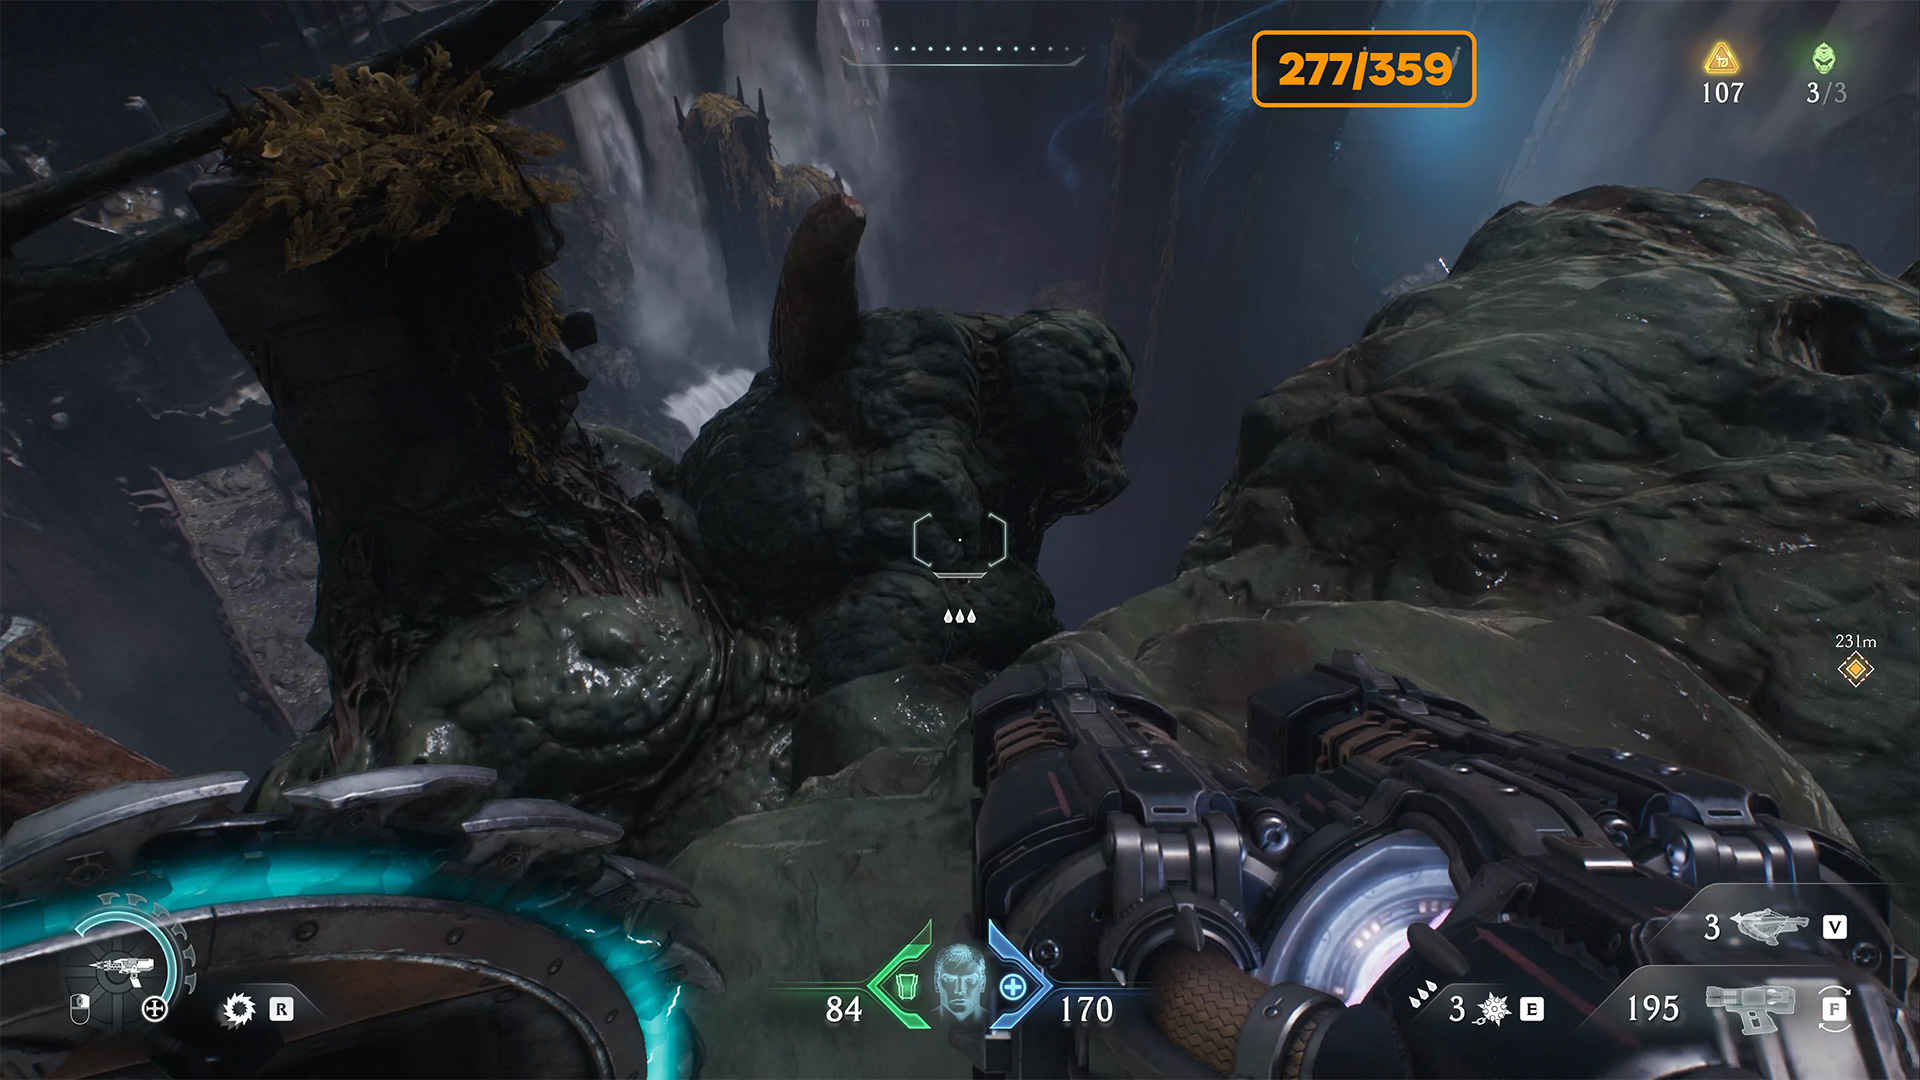
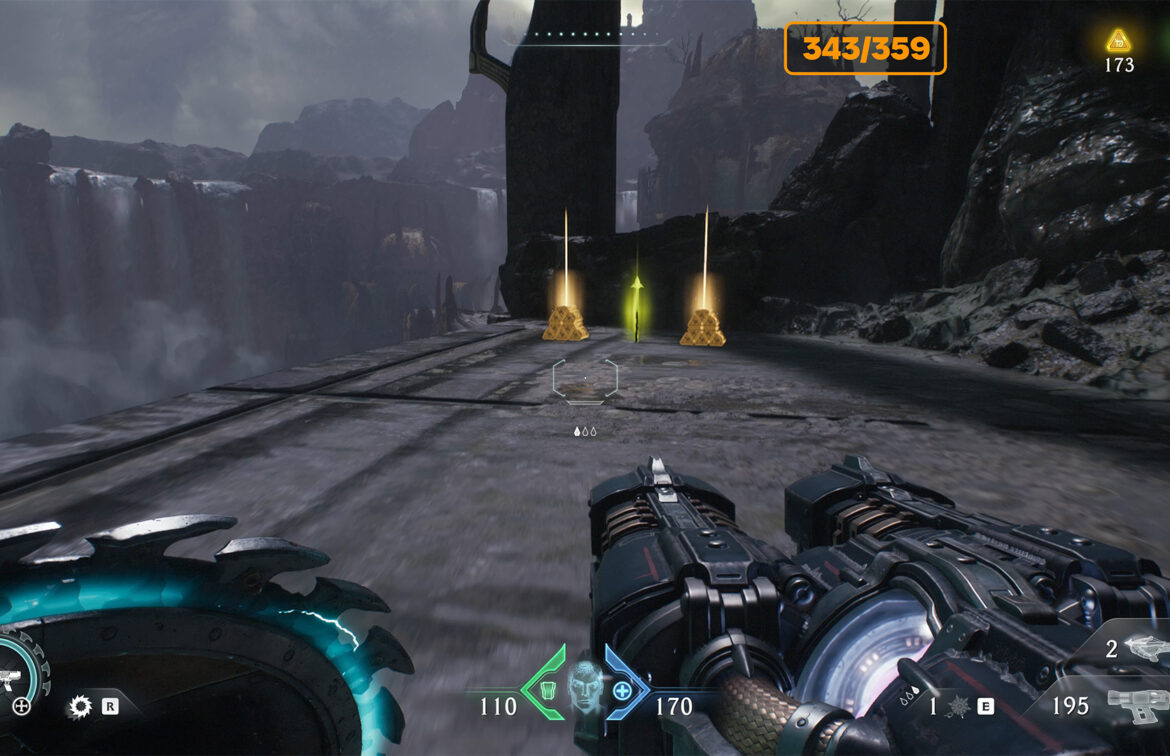
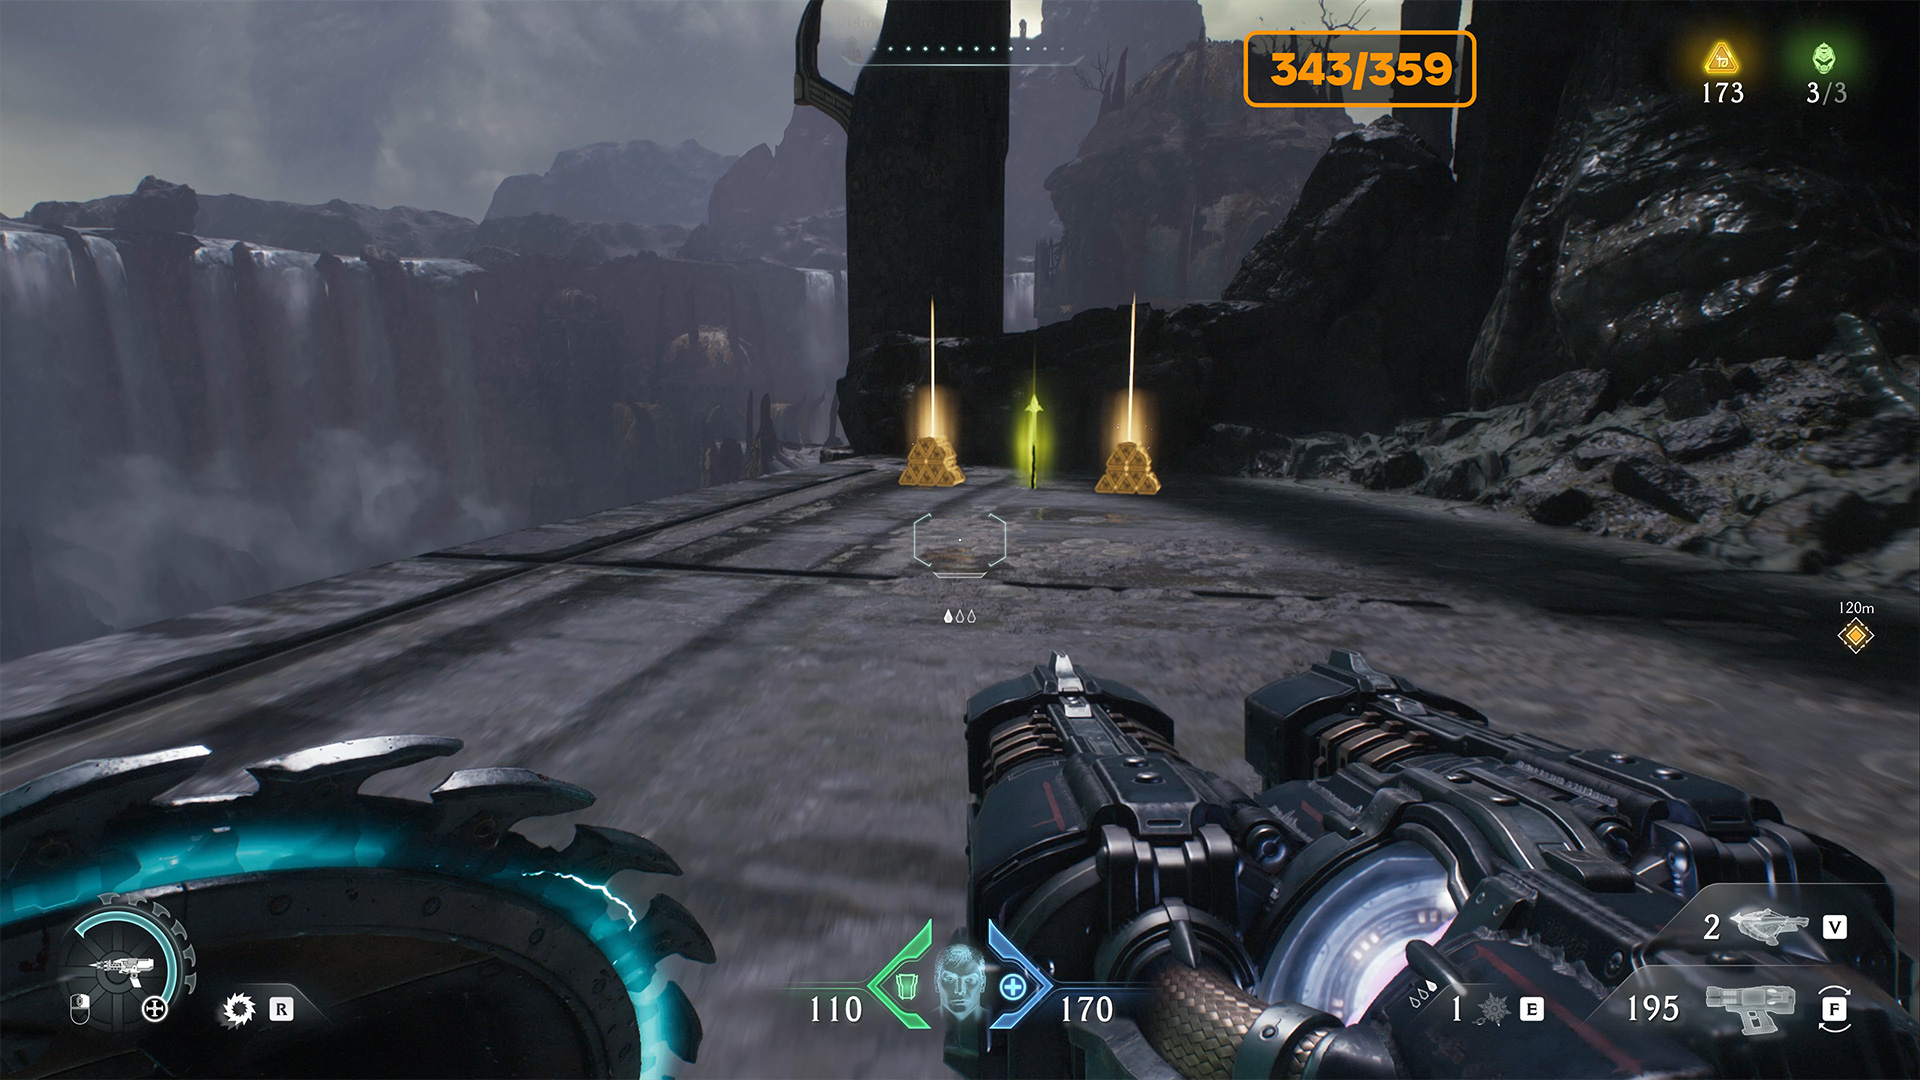
Then fly to the edge of the map on your dragon and ignore all other tasks for now. First, let’s deal with secret places. Here by the mountain you will see a great titan. You’ve got to beat him, then there’s a landing spot. Land, enemies and gifts are waiting for you here.
-
- Spire of Nerathul secret landing zone
-
- Destroy the huge titan
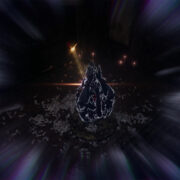
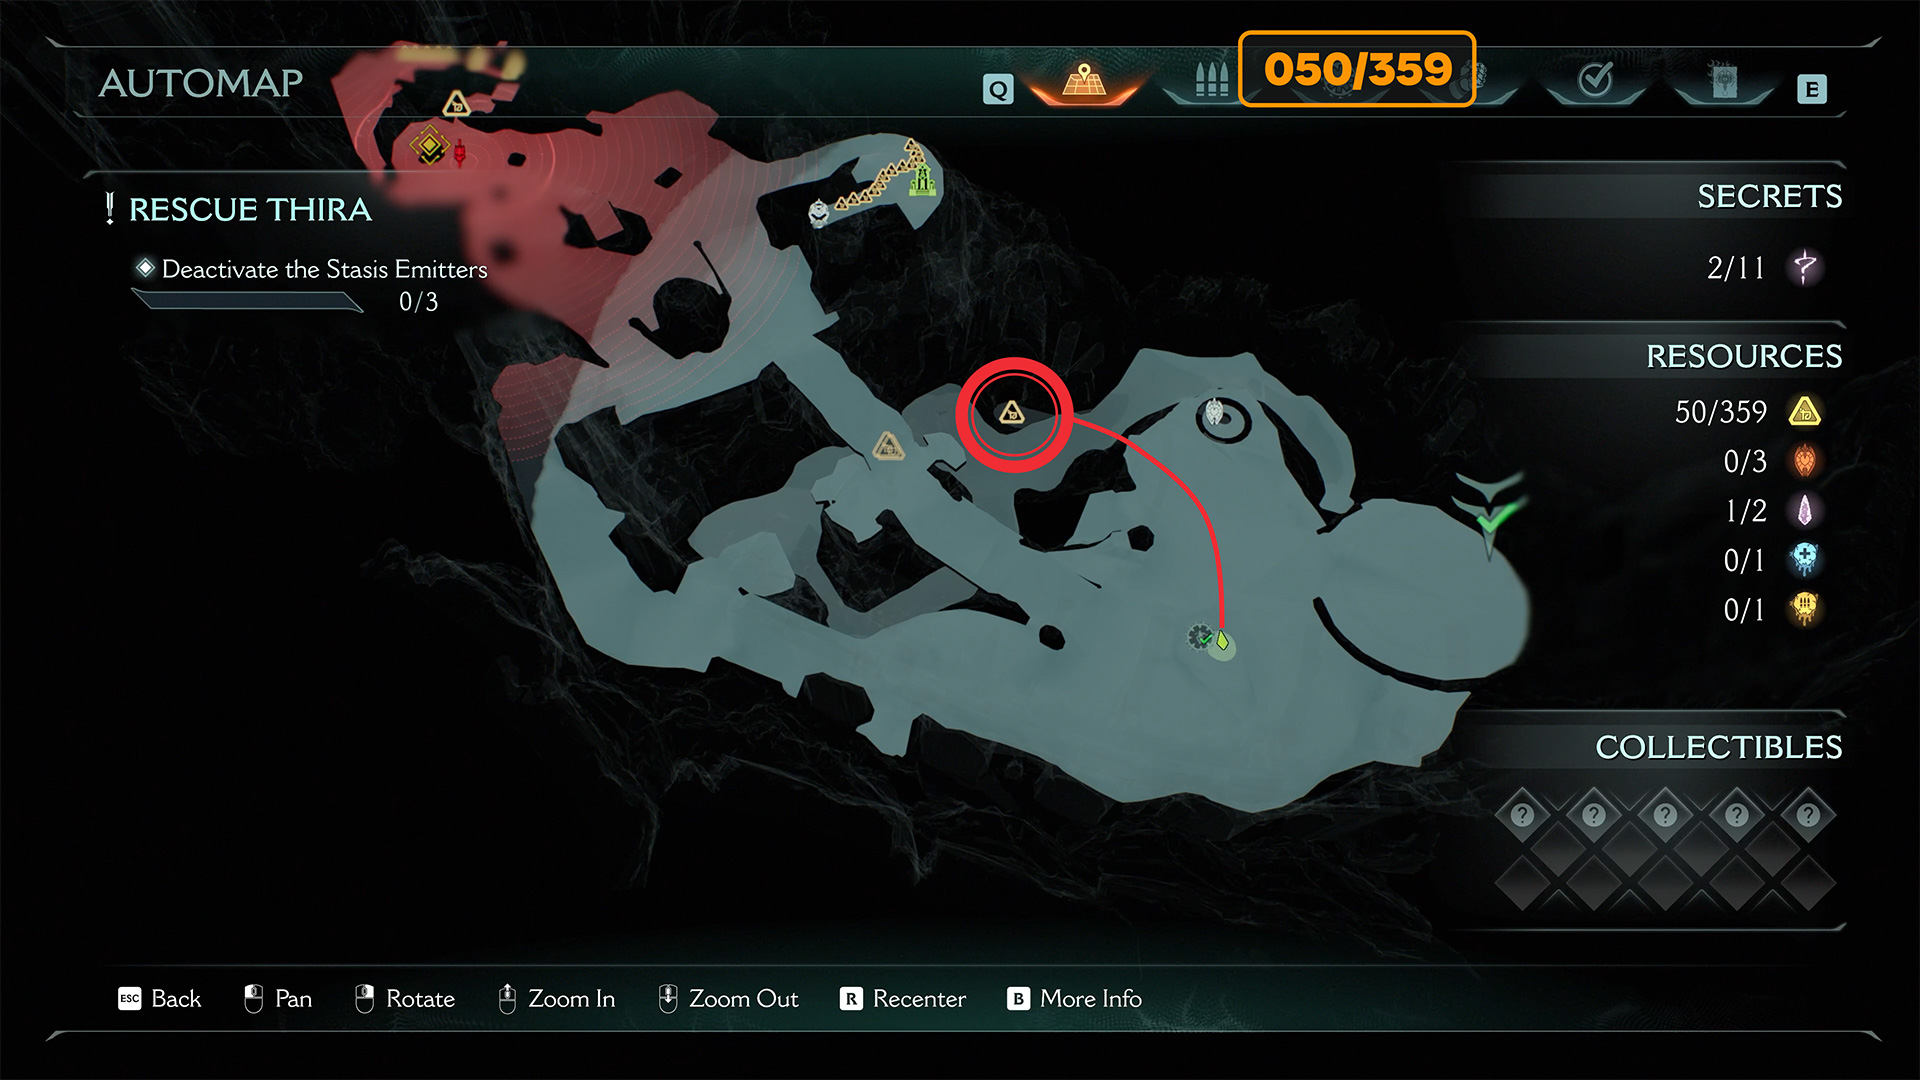
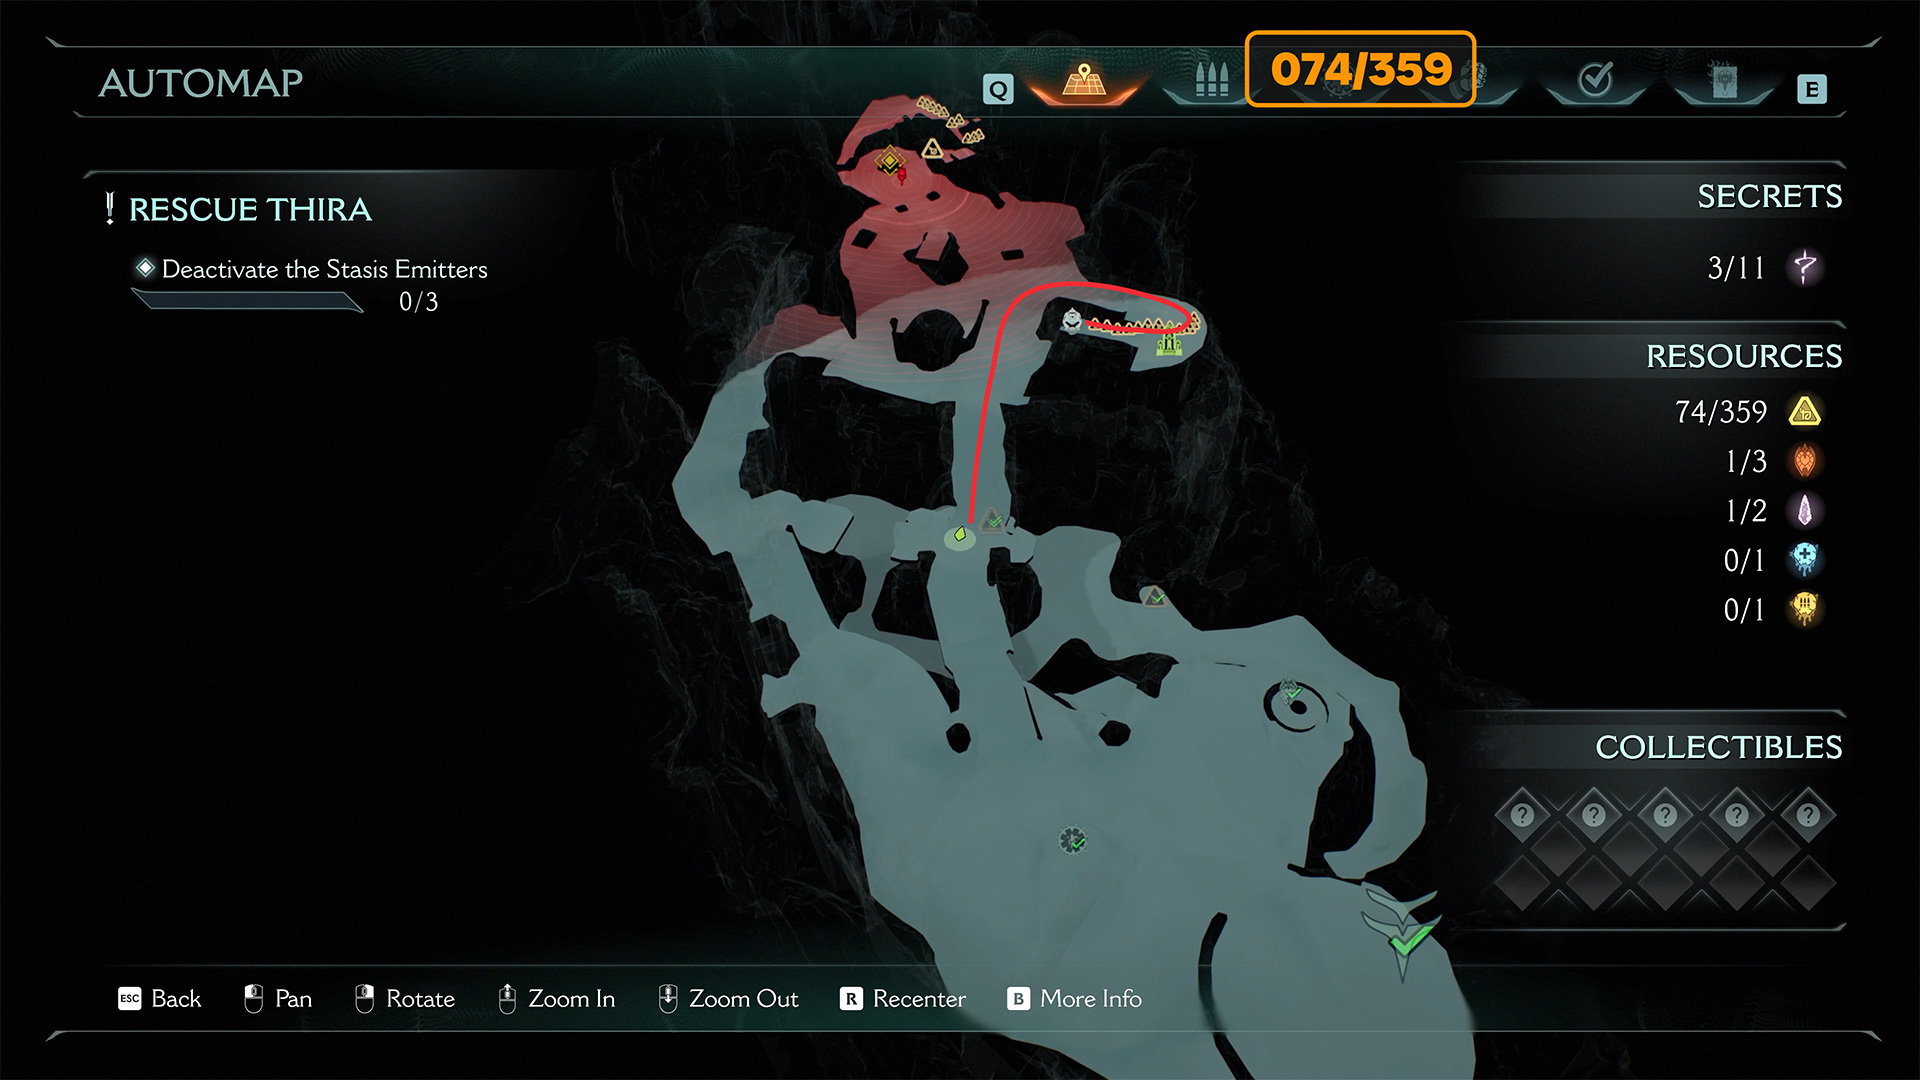
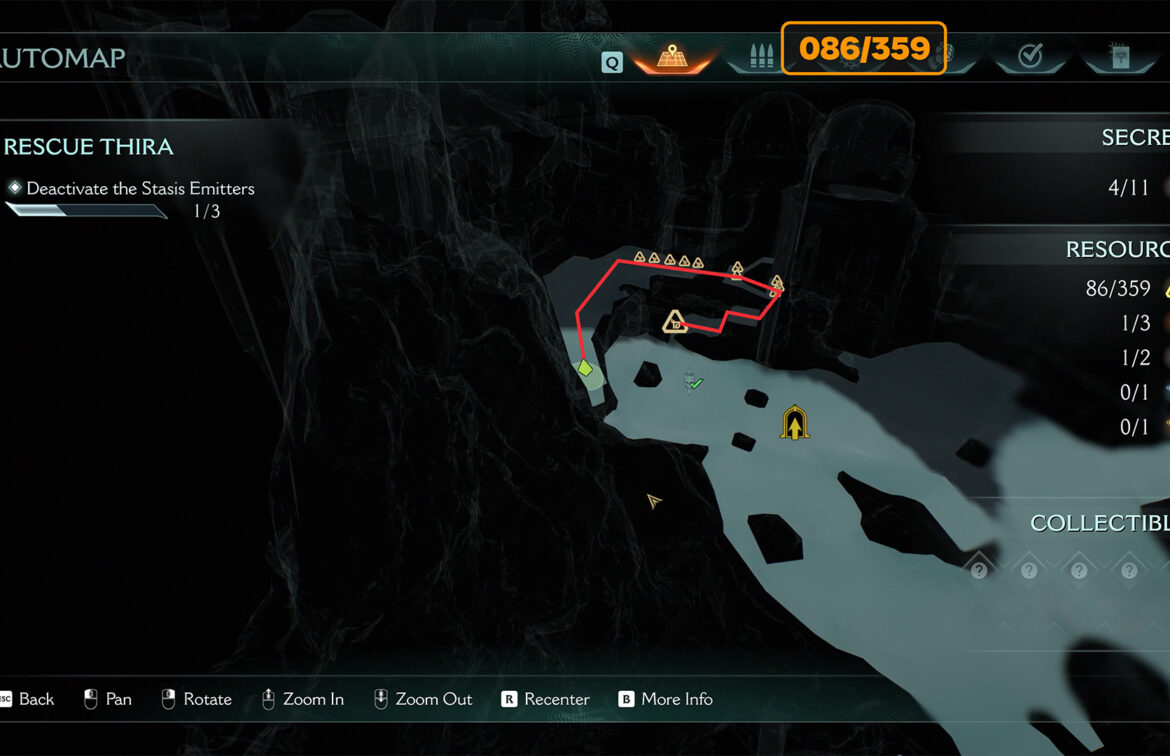
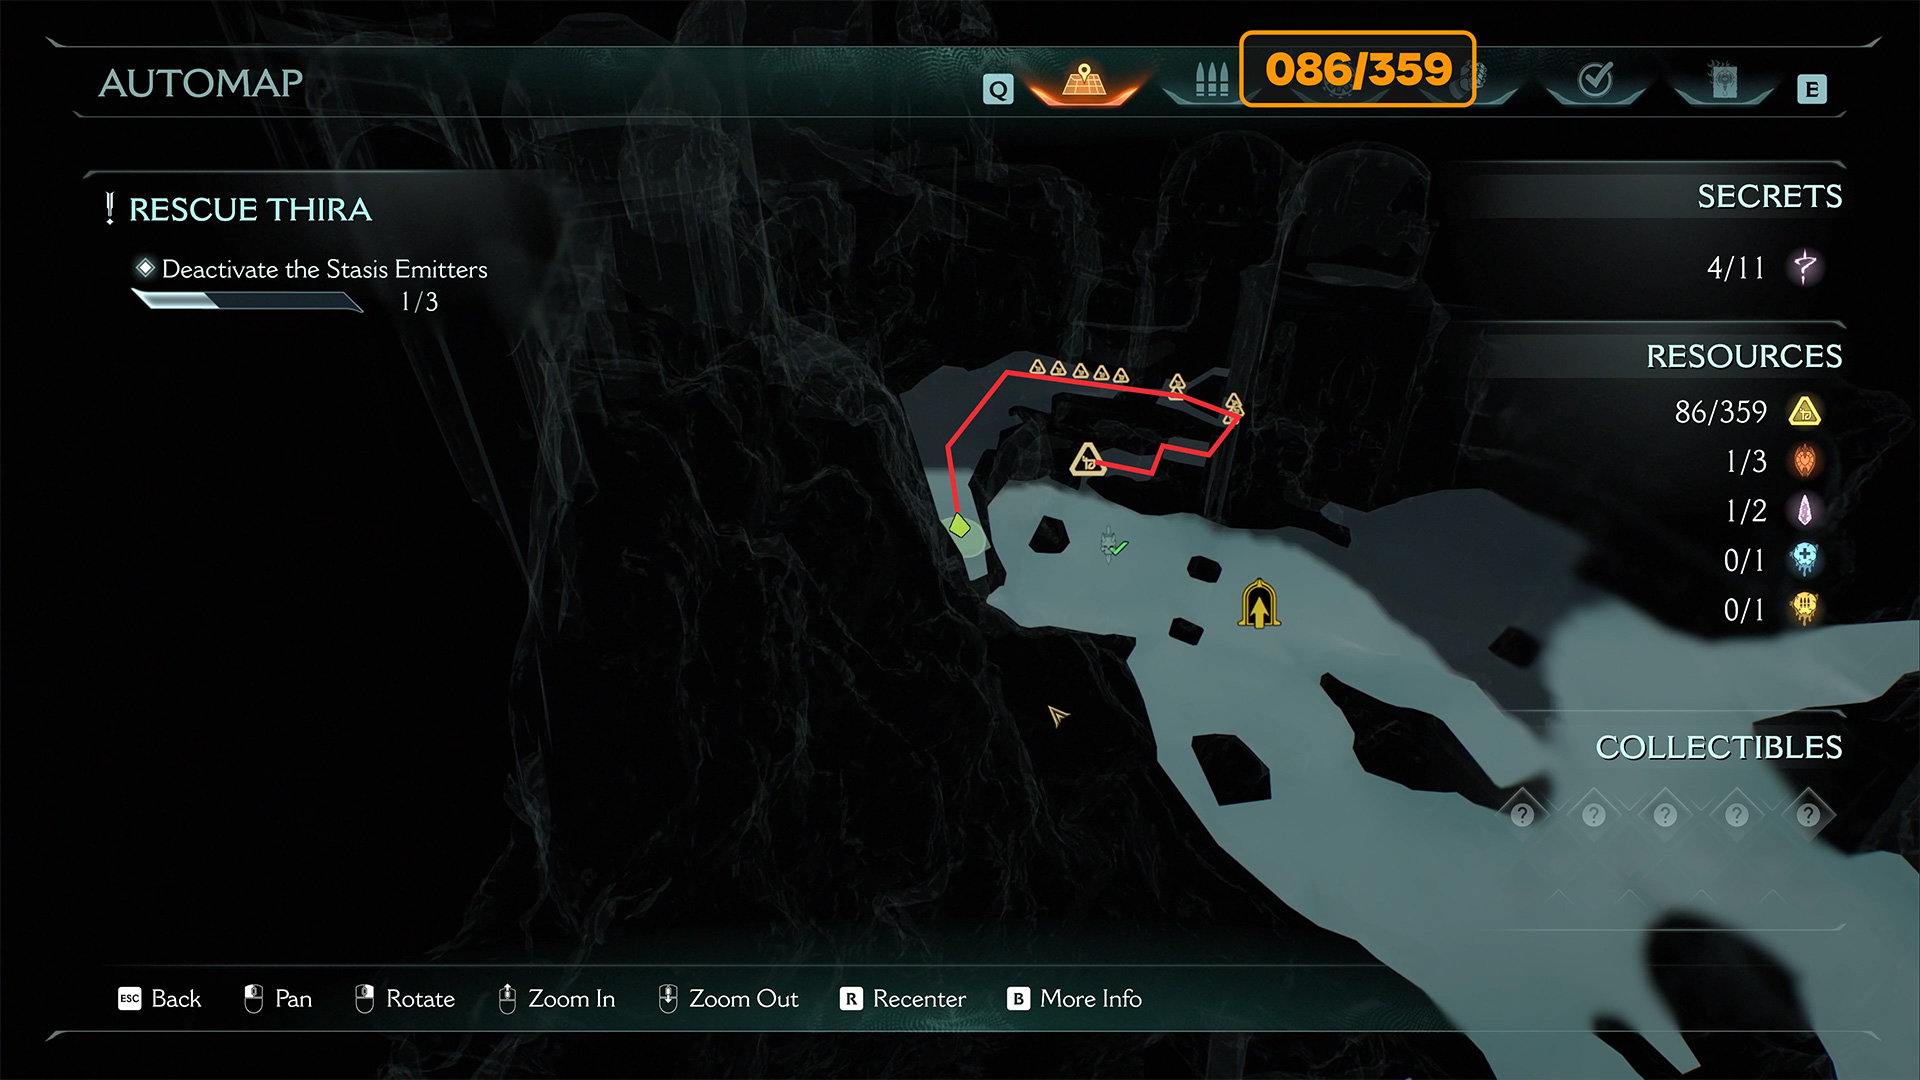
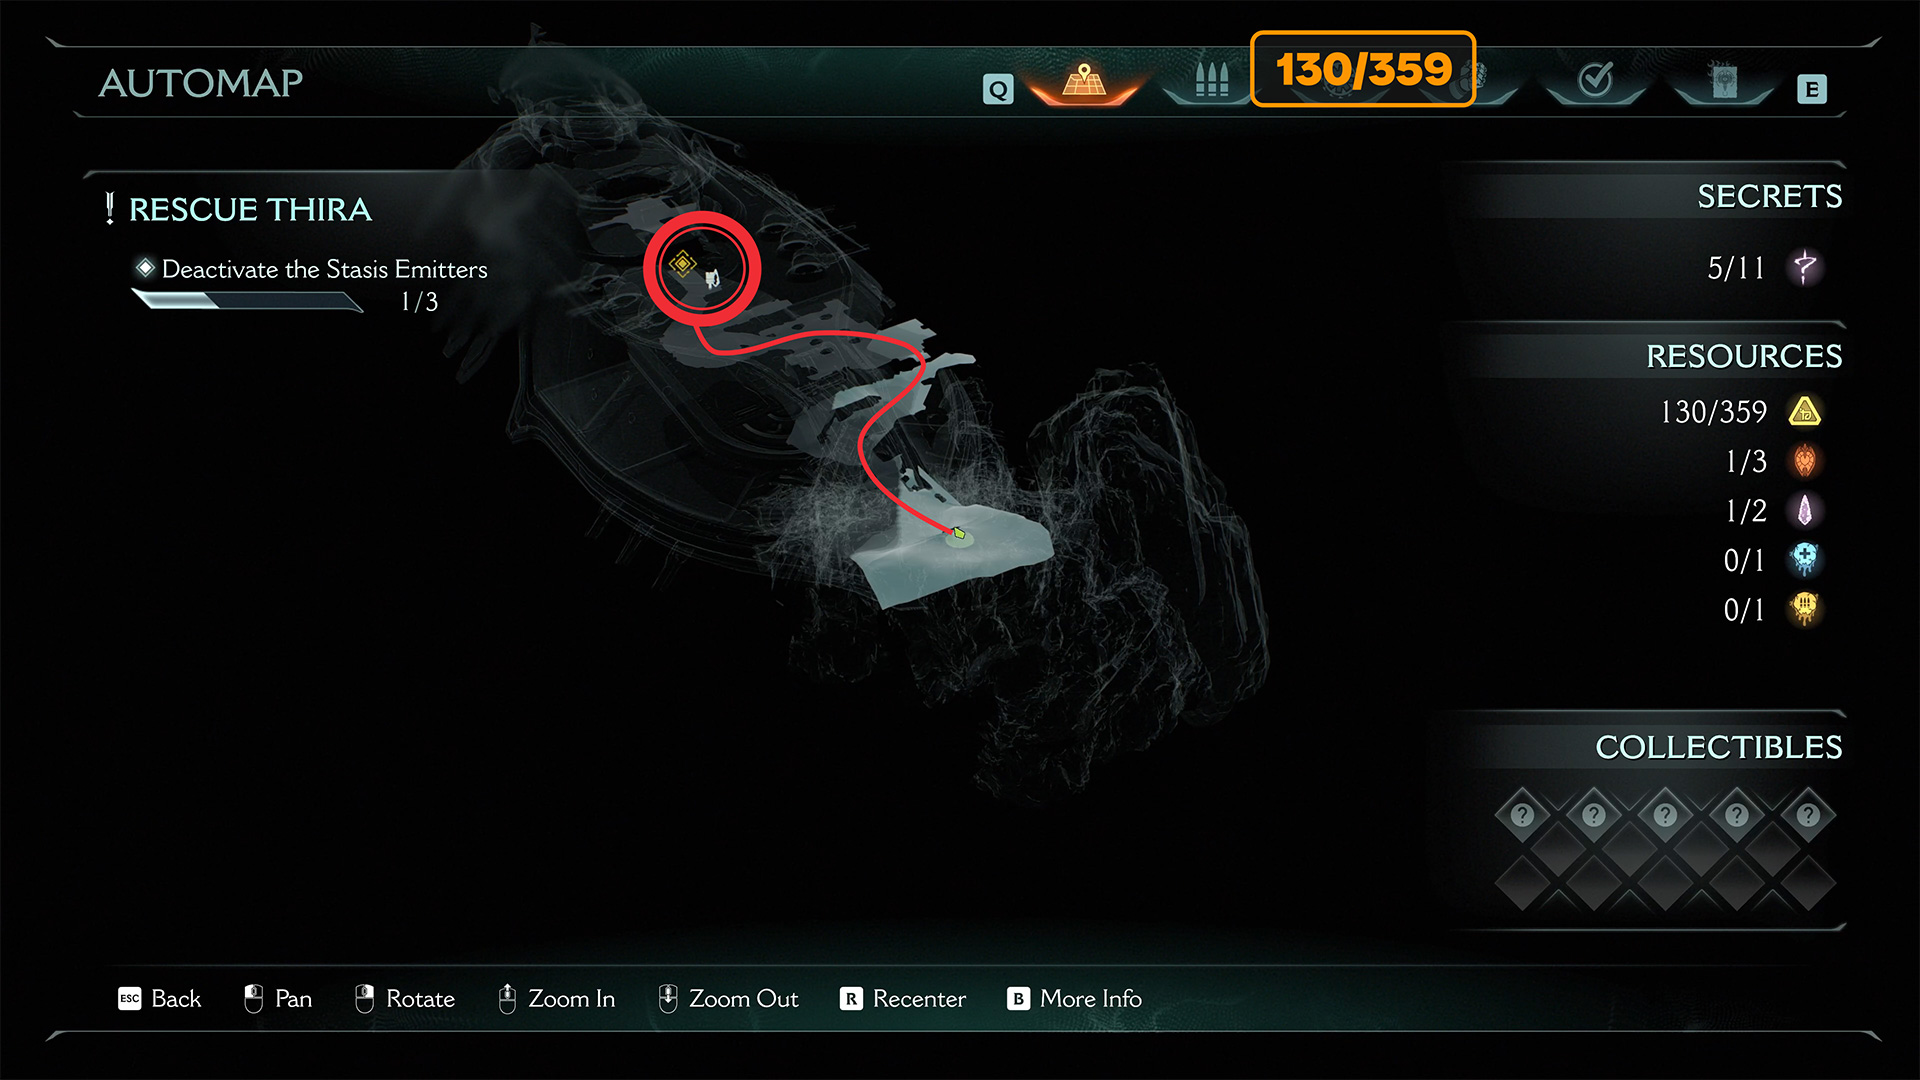
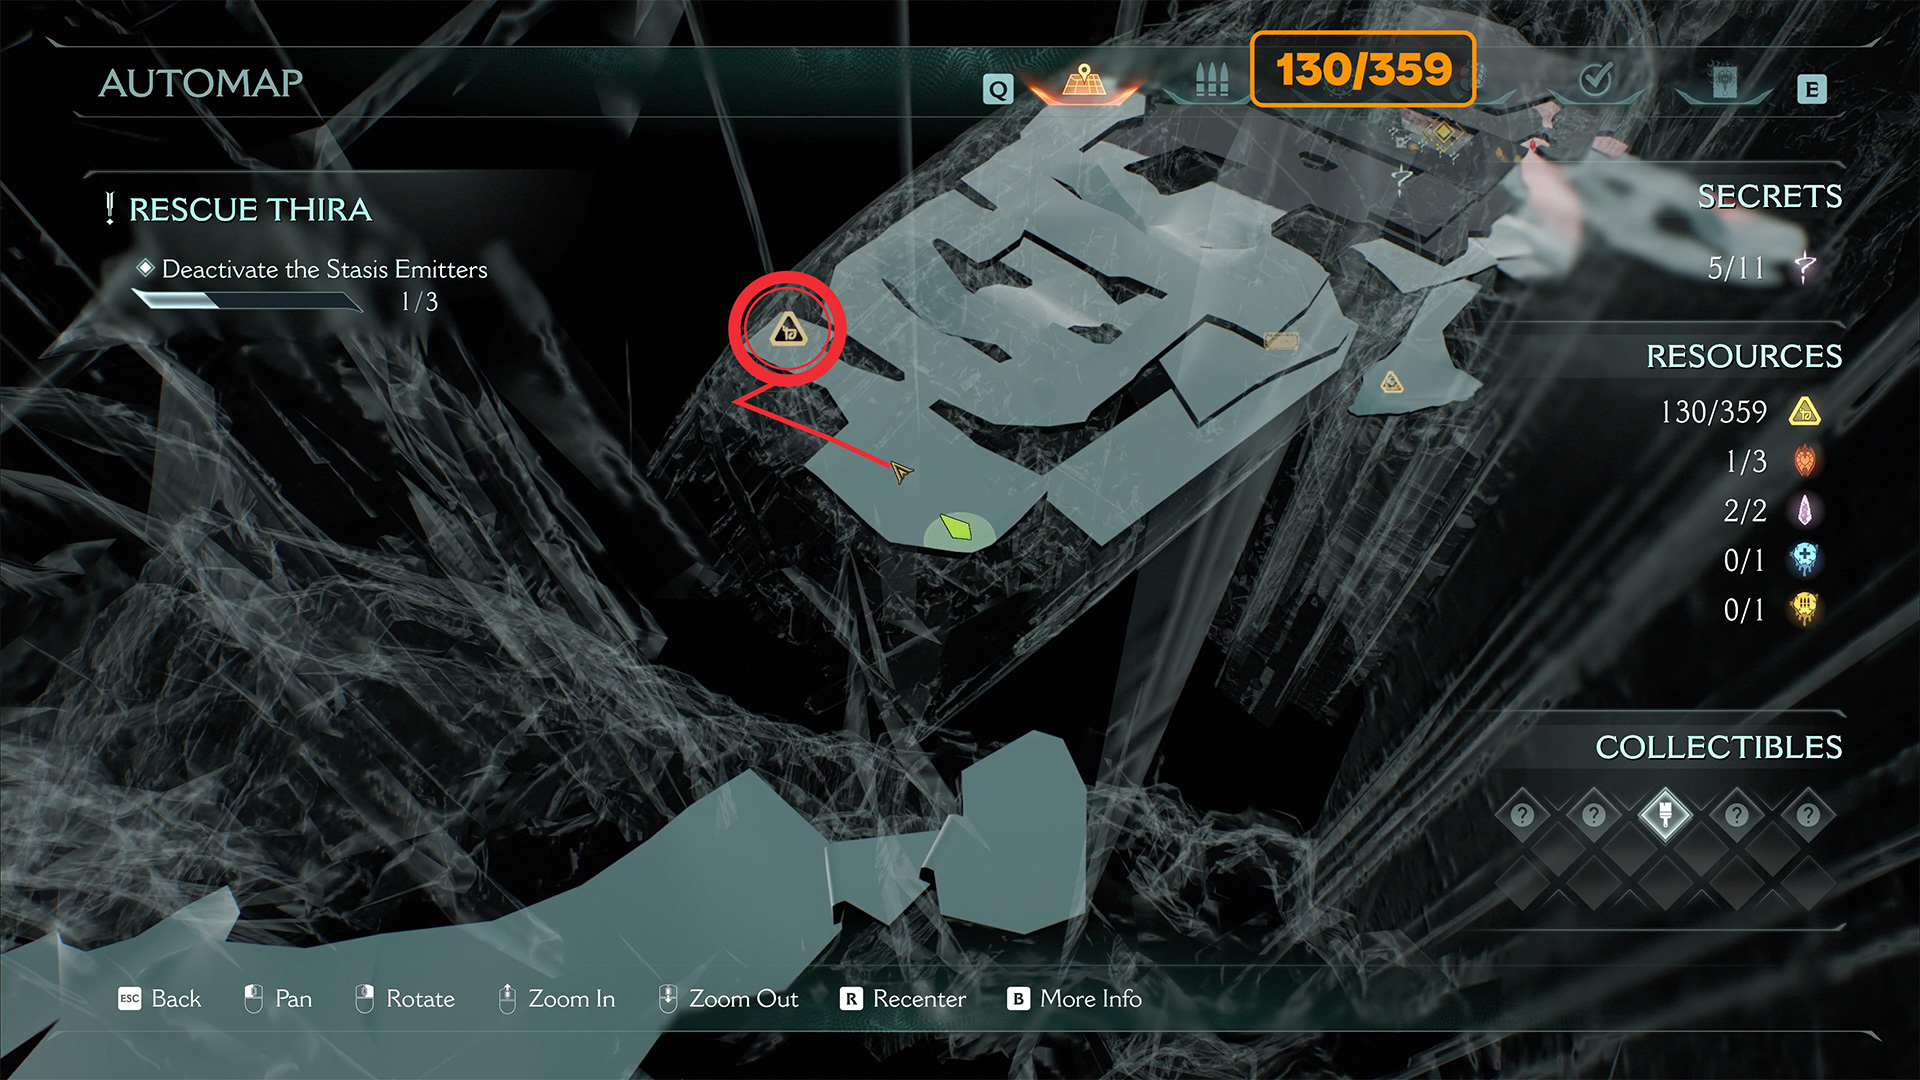
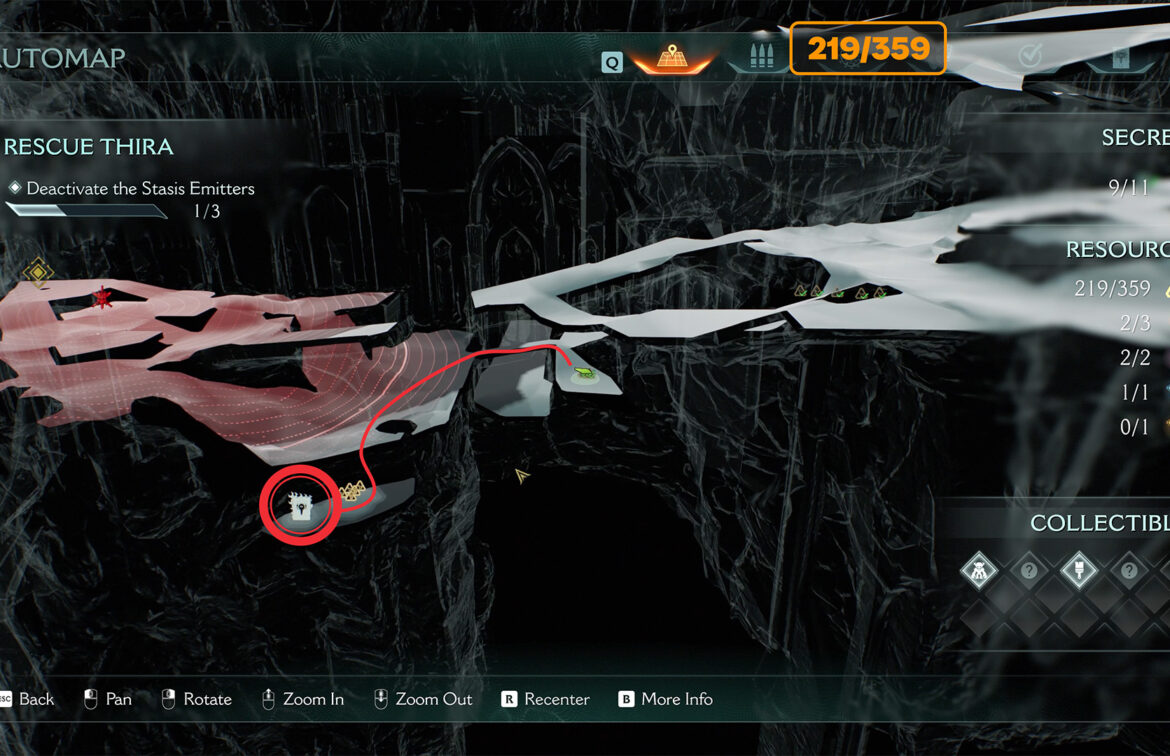
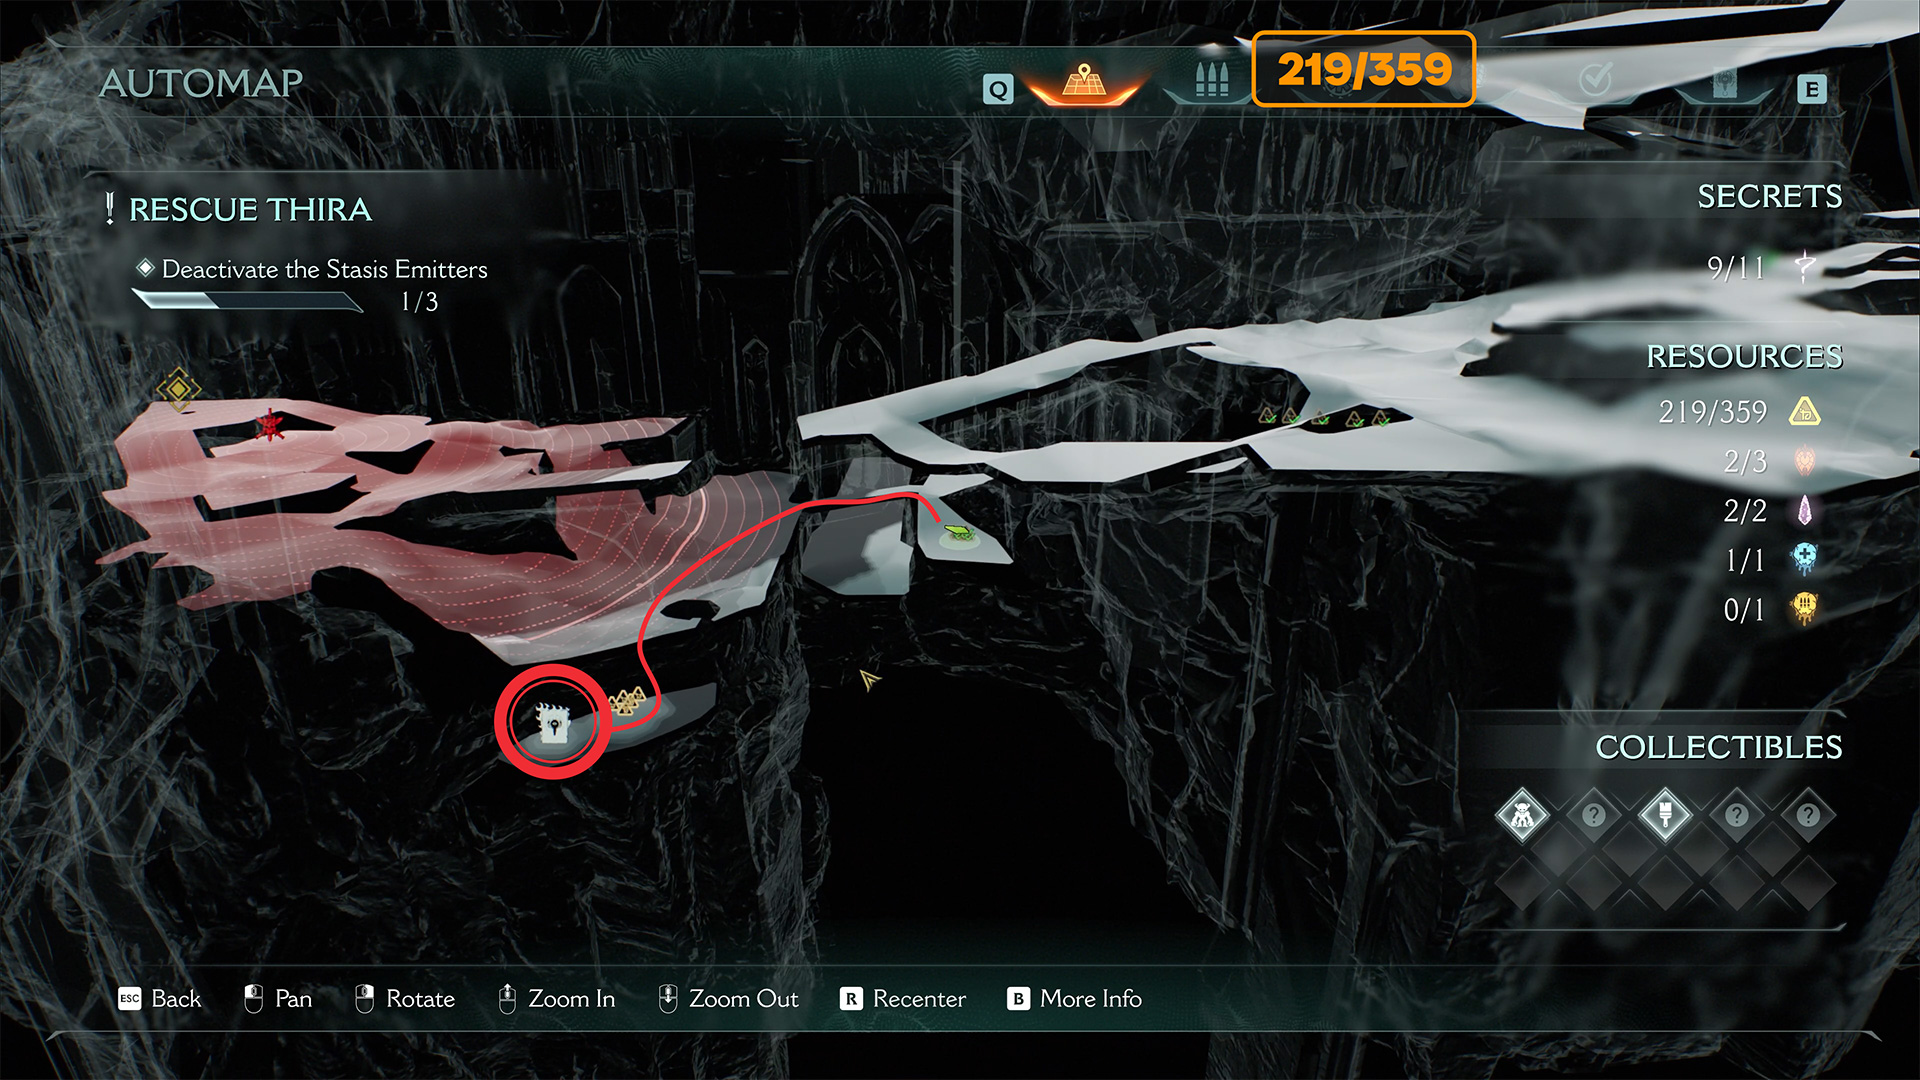
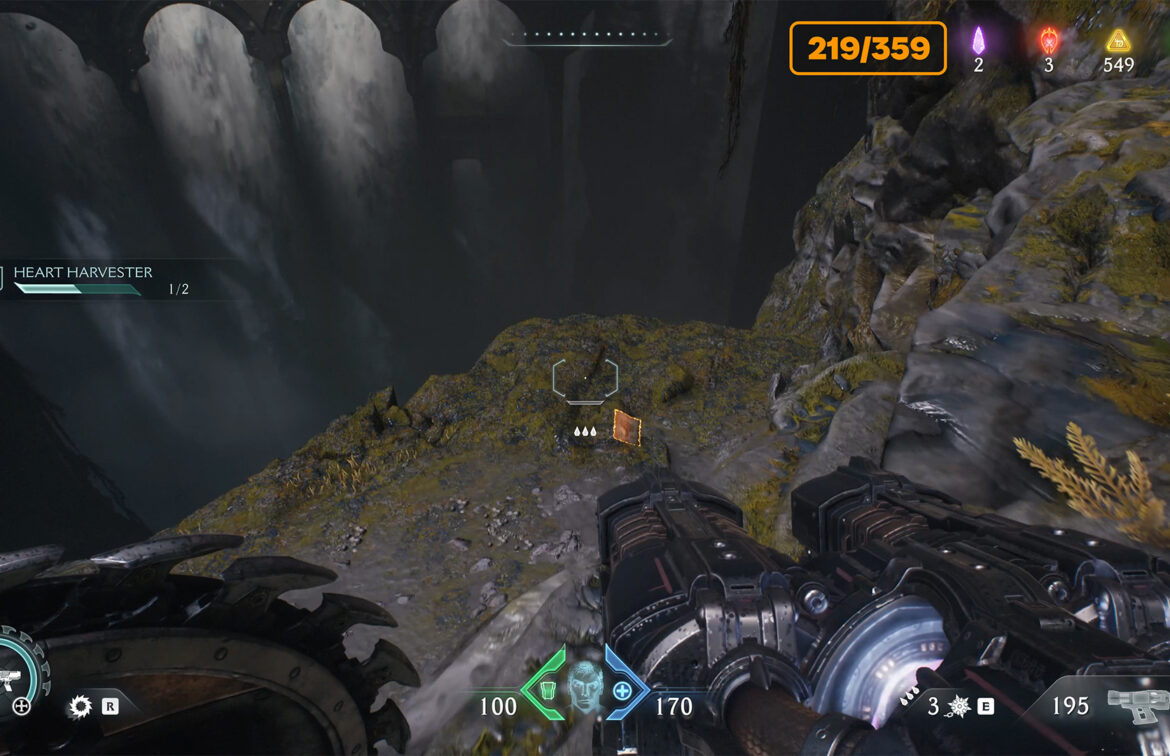
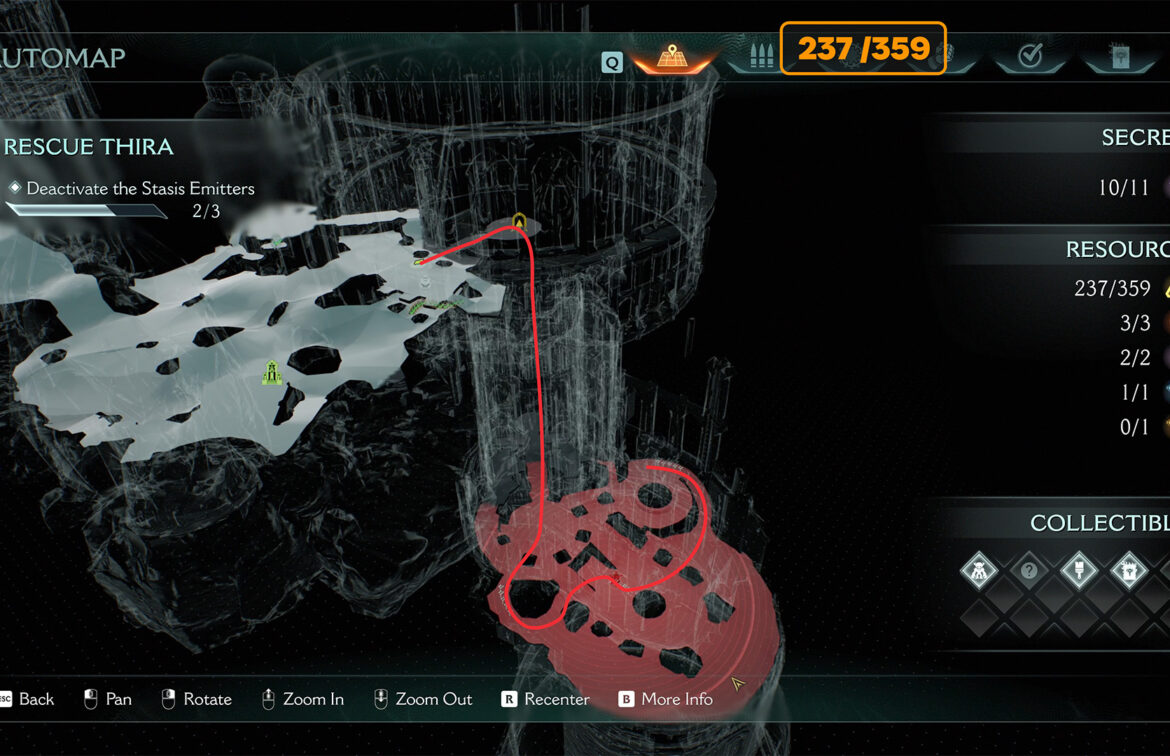
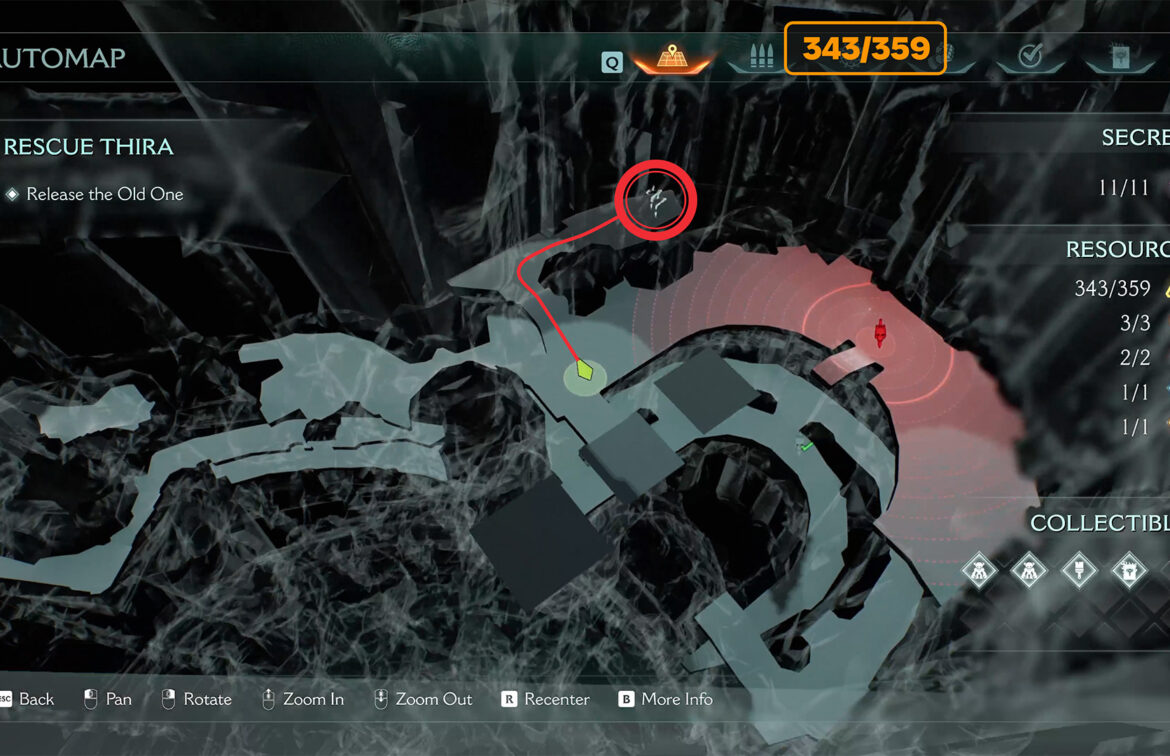
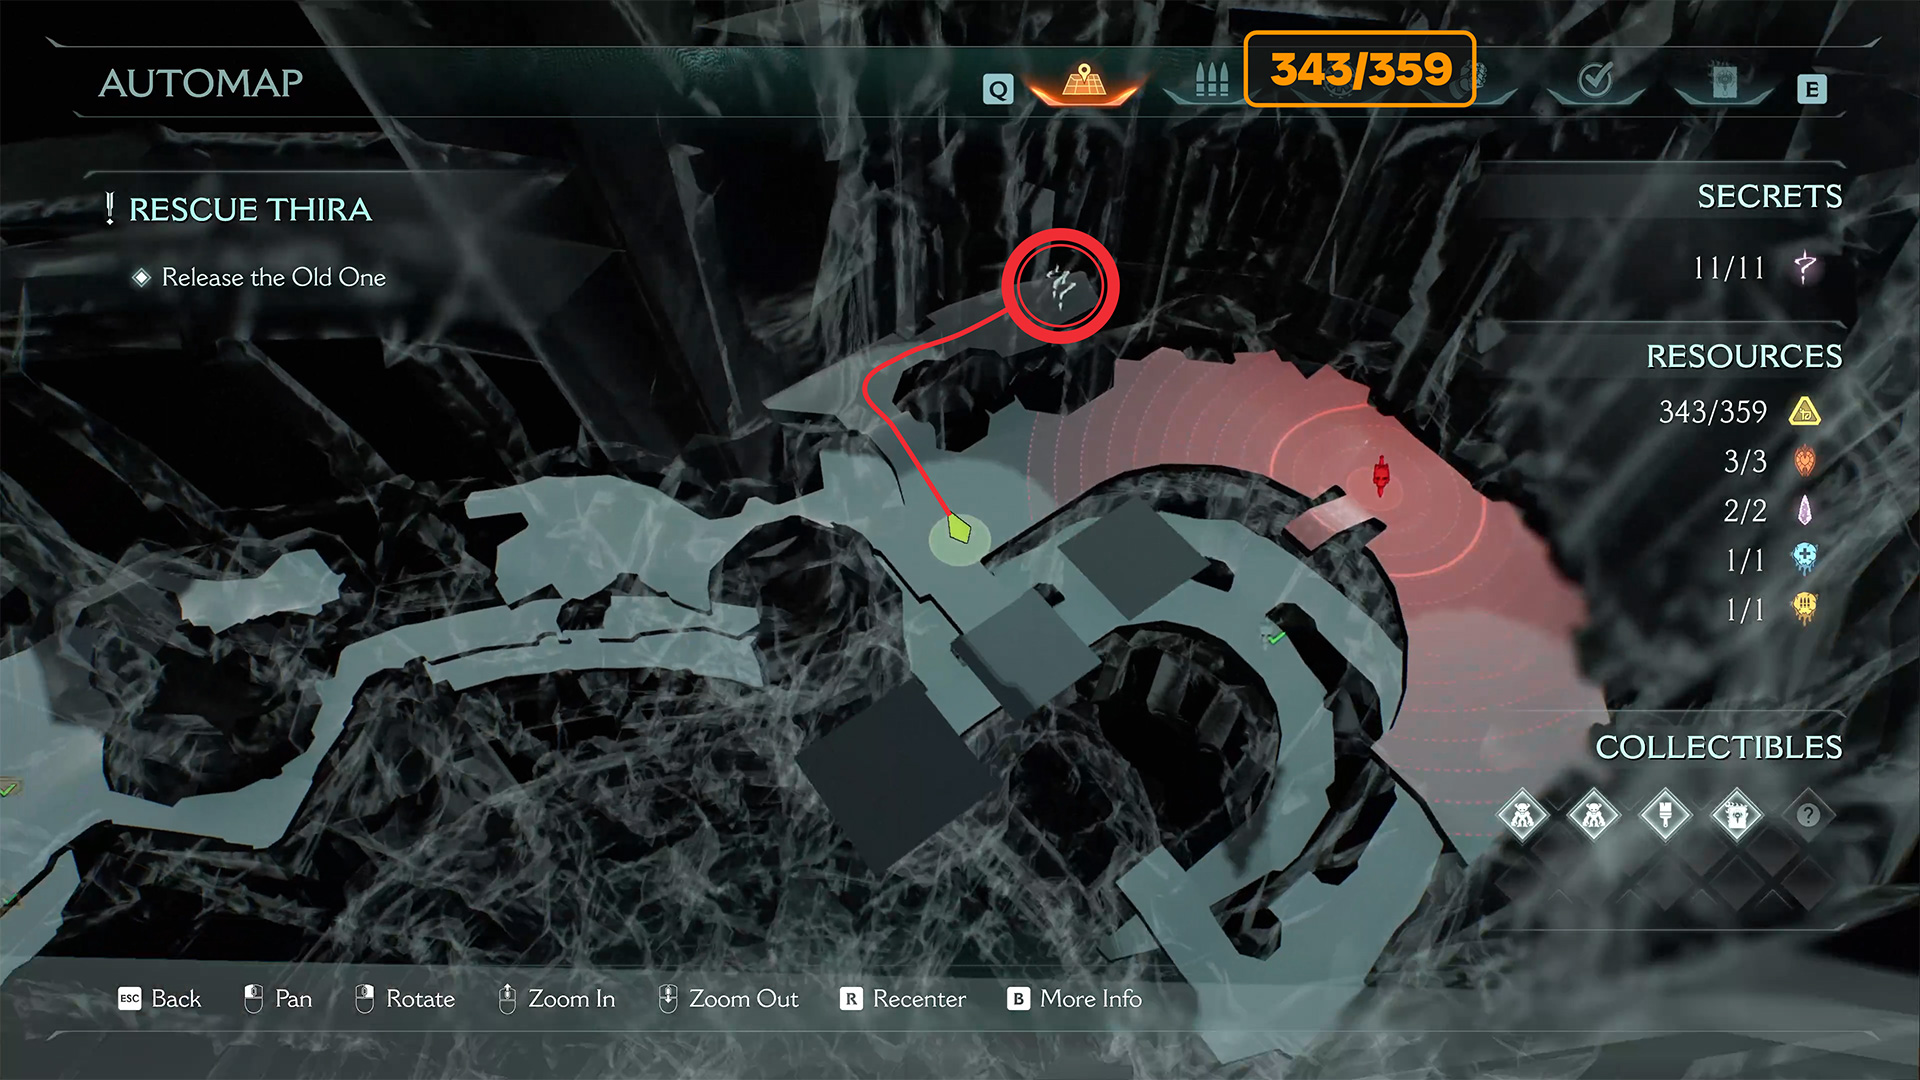
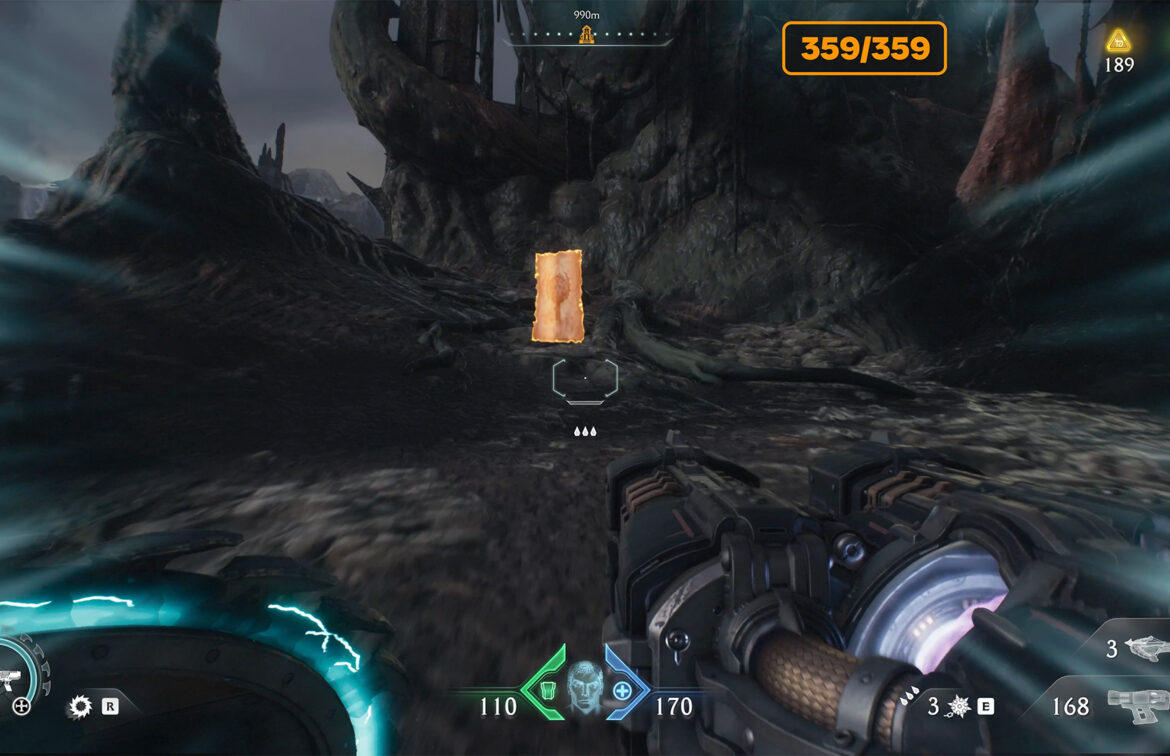
Spire of Nerathul wraith stone location
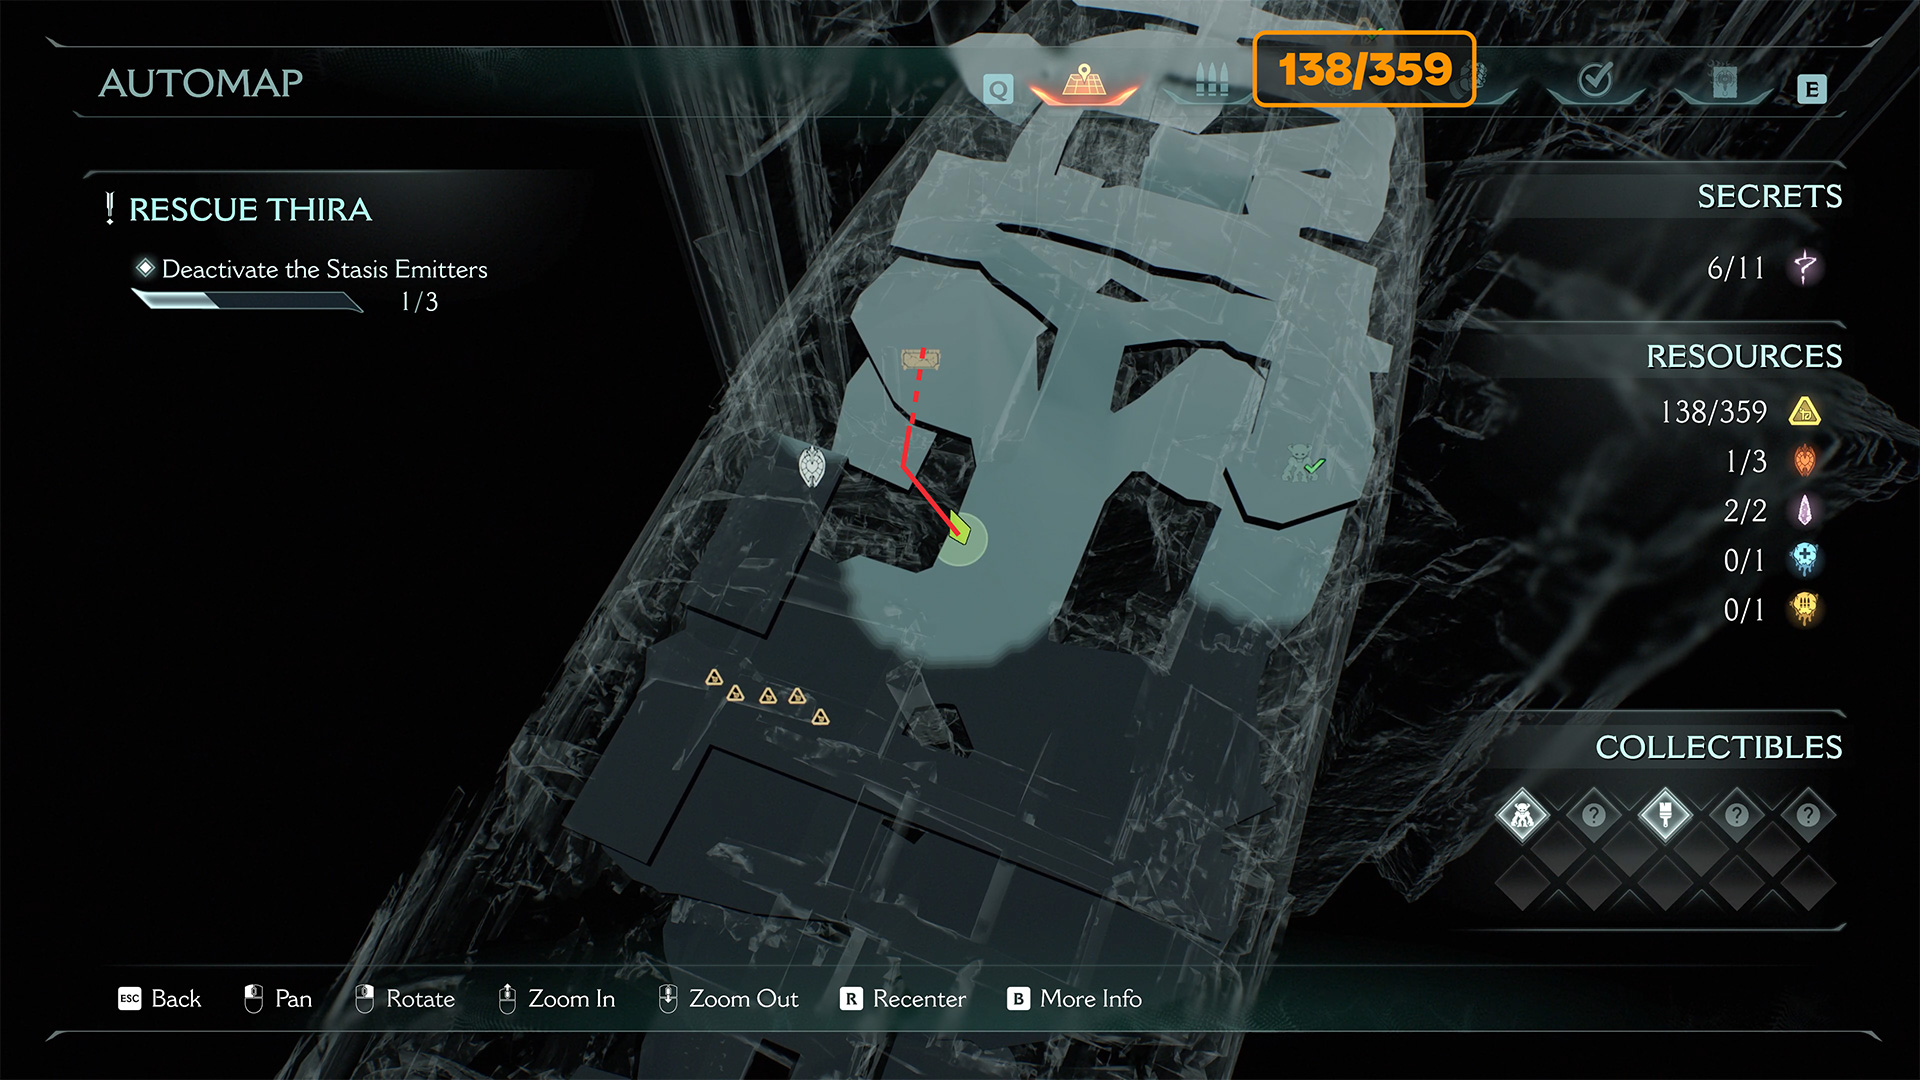
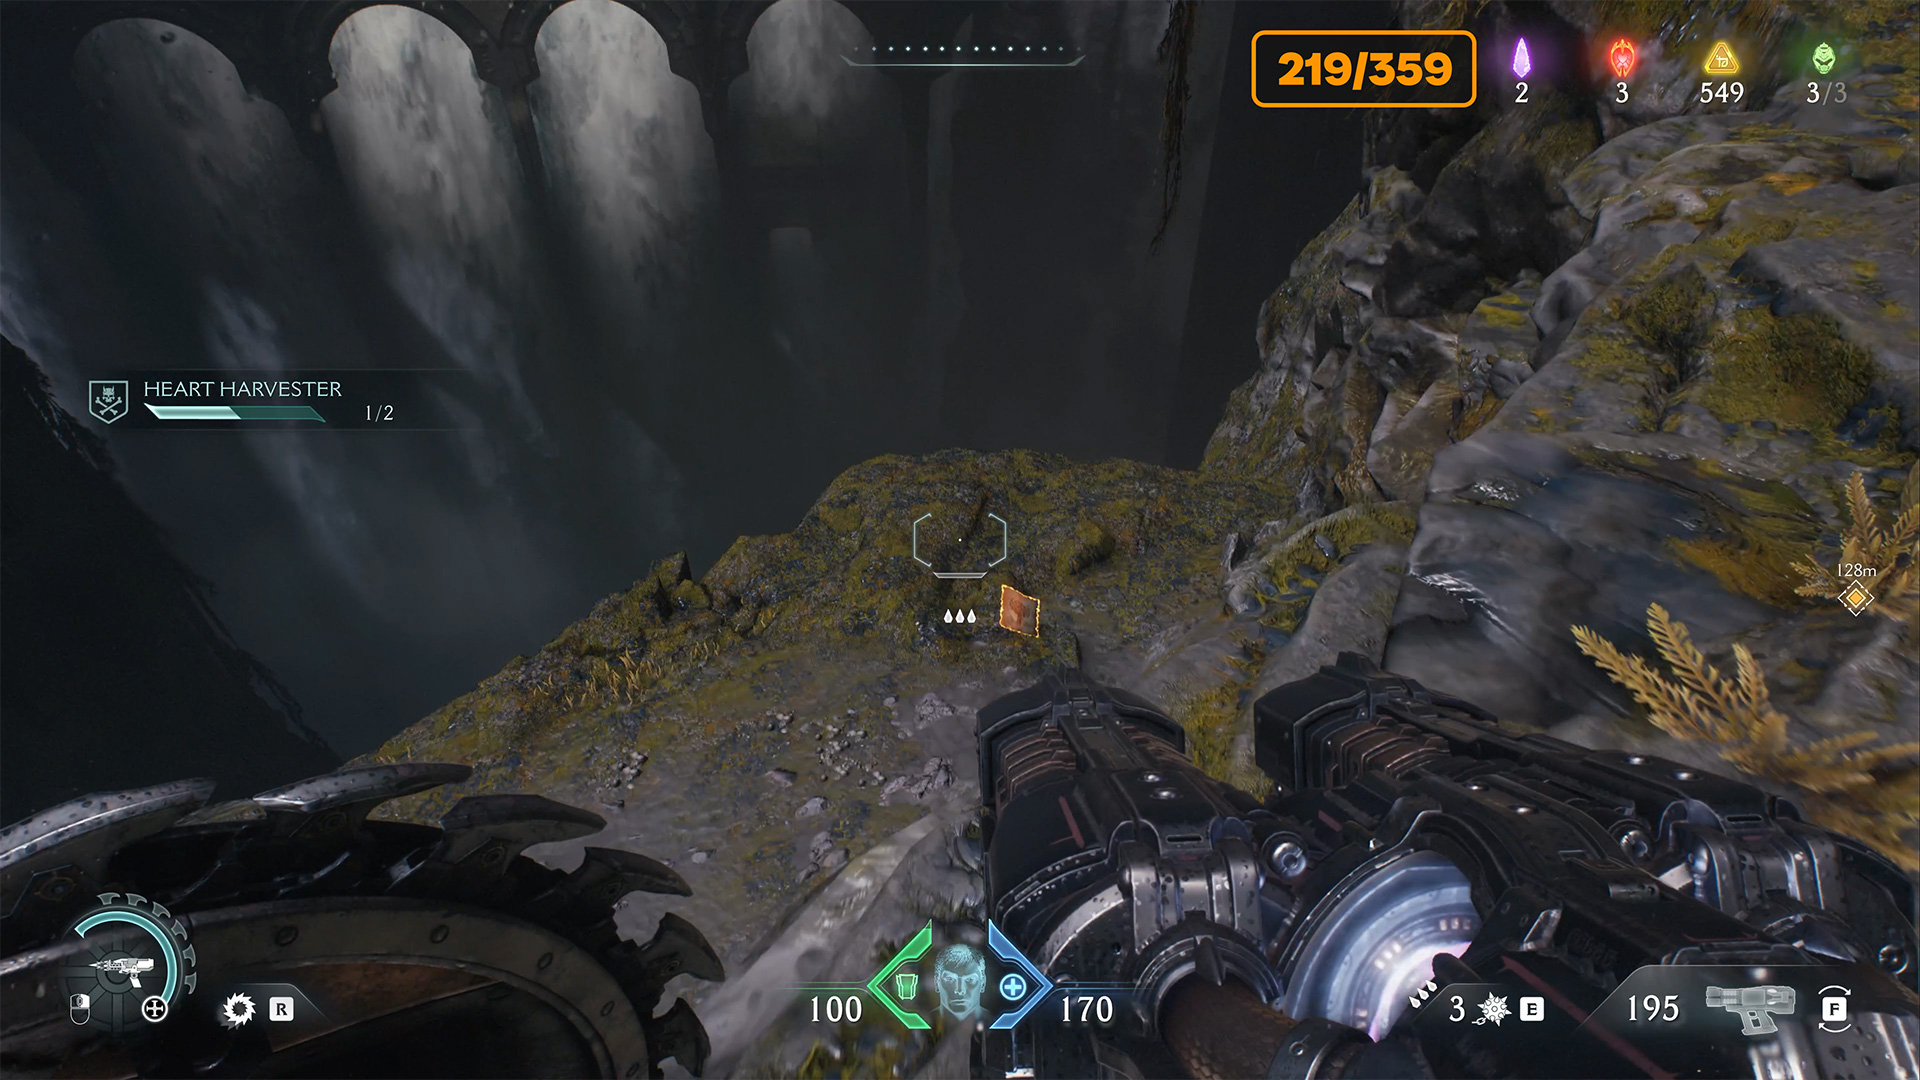
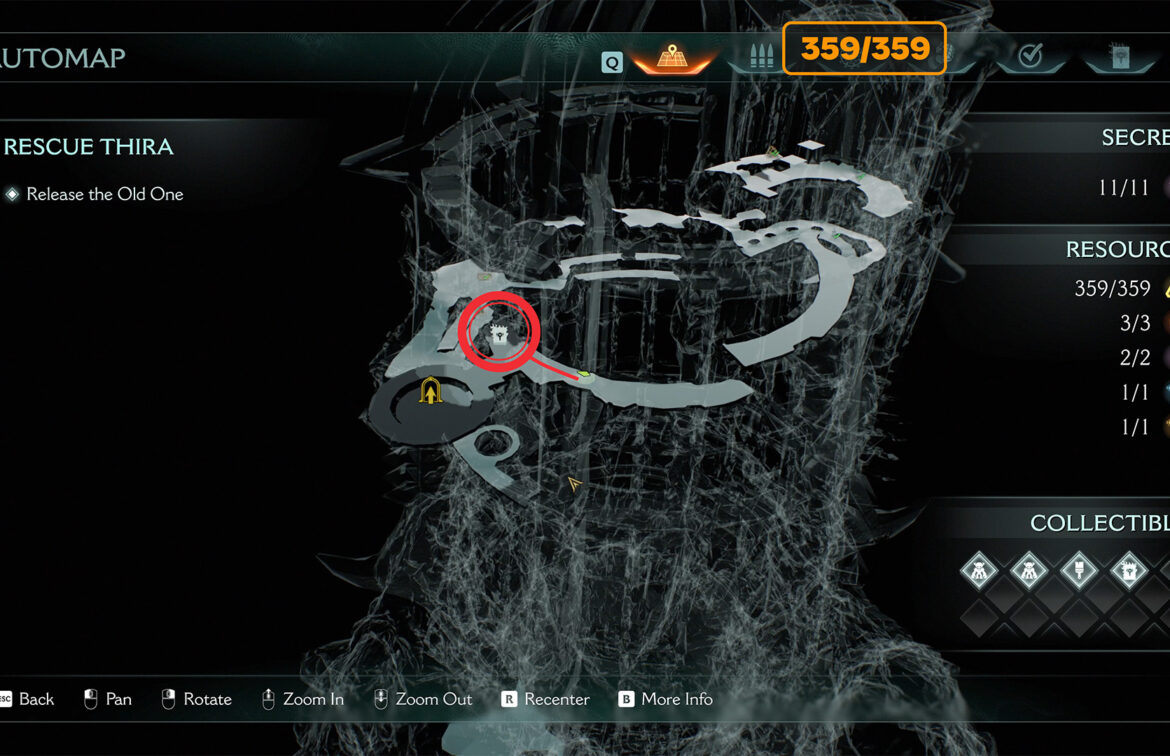
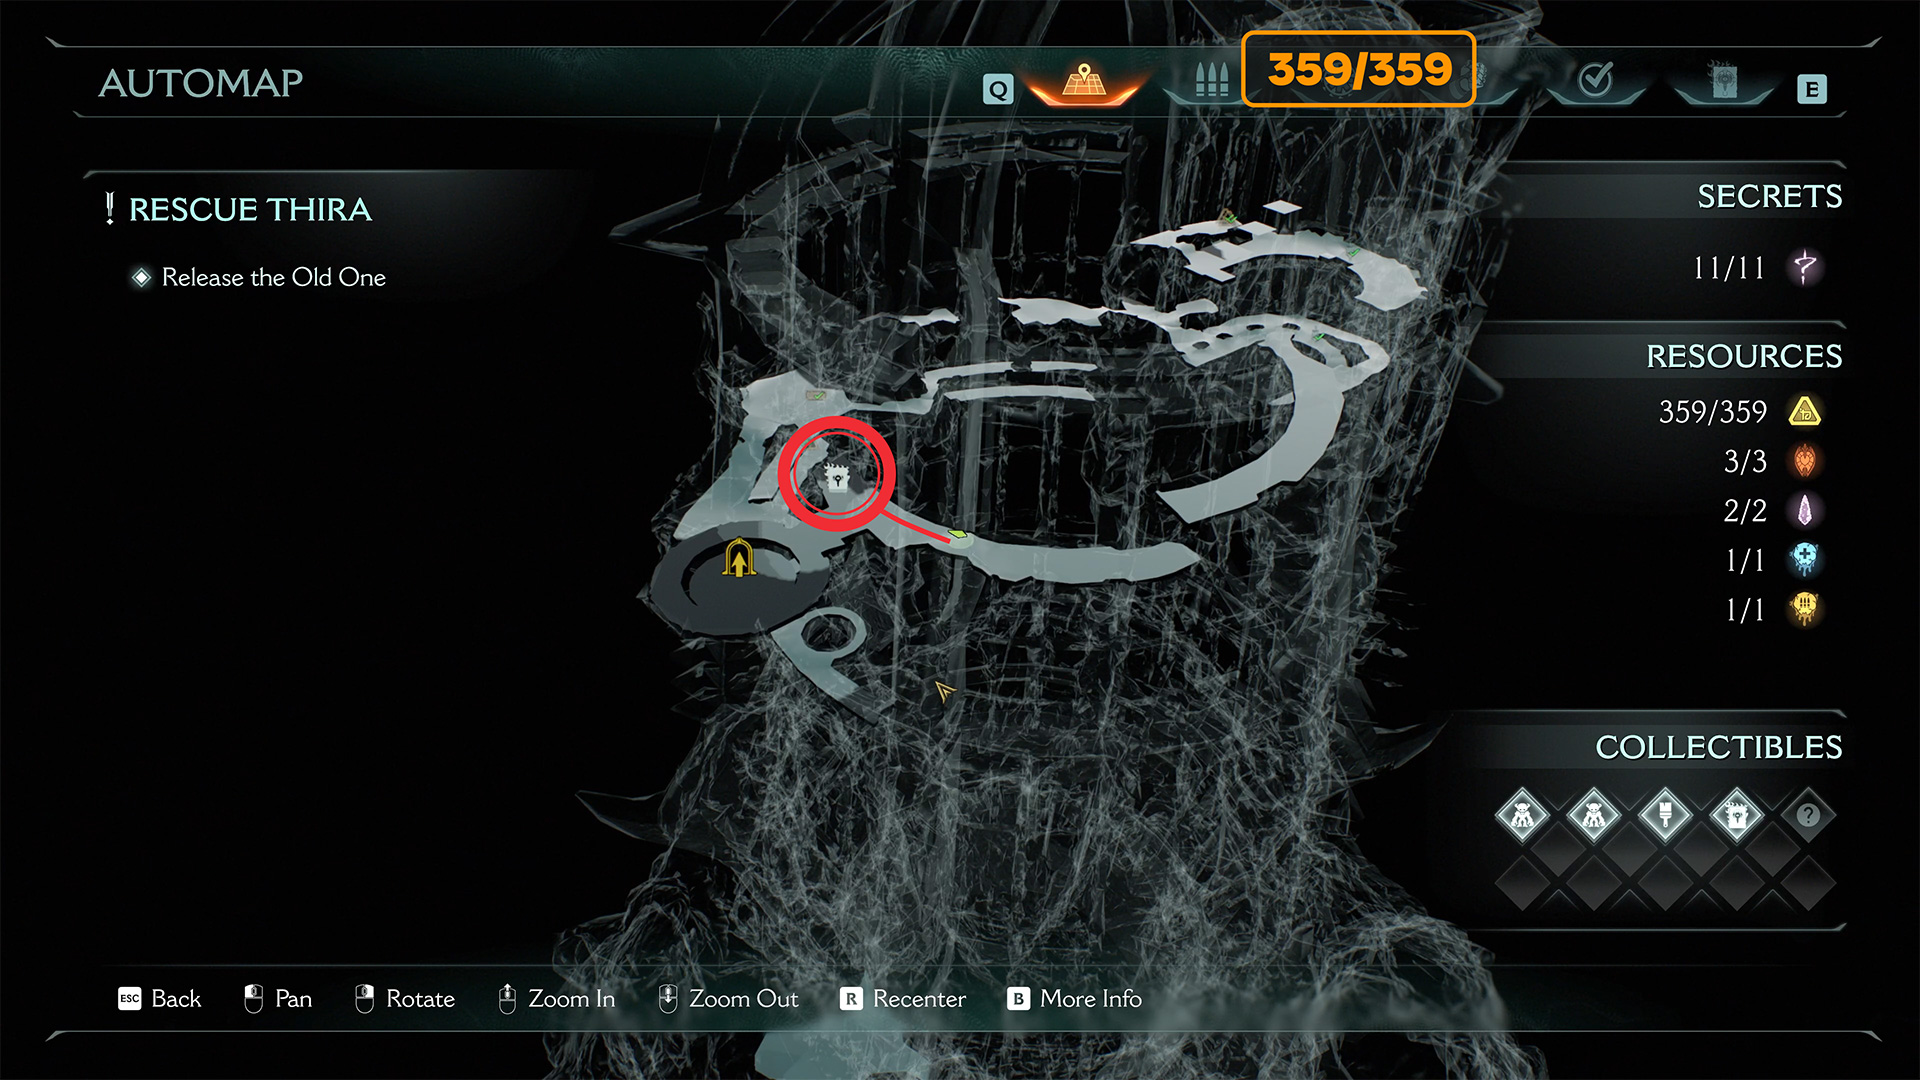
On the map you can see where the wraithstone is. This is the only collector’s item on this island, but to get it you have to defeat all the opponents who will attack you. You will also find a second secret in this place.
-
- Spire of Nerathul wraith stone location
-
- Spire of Nerathul first wraith stone
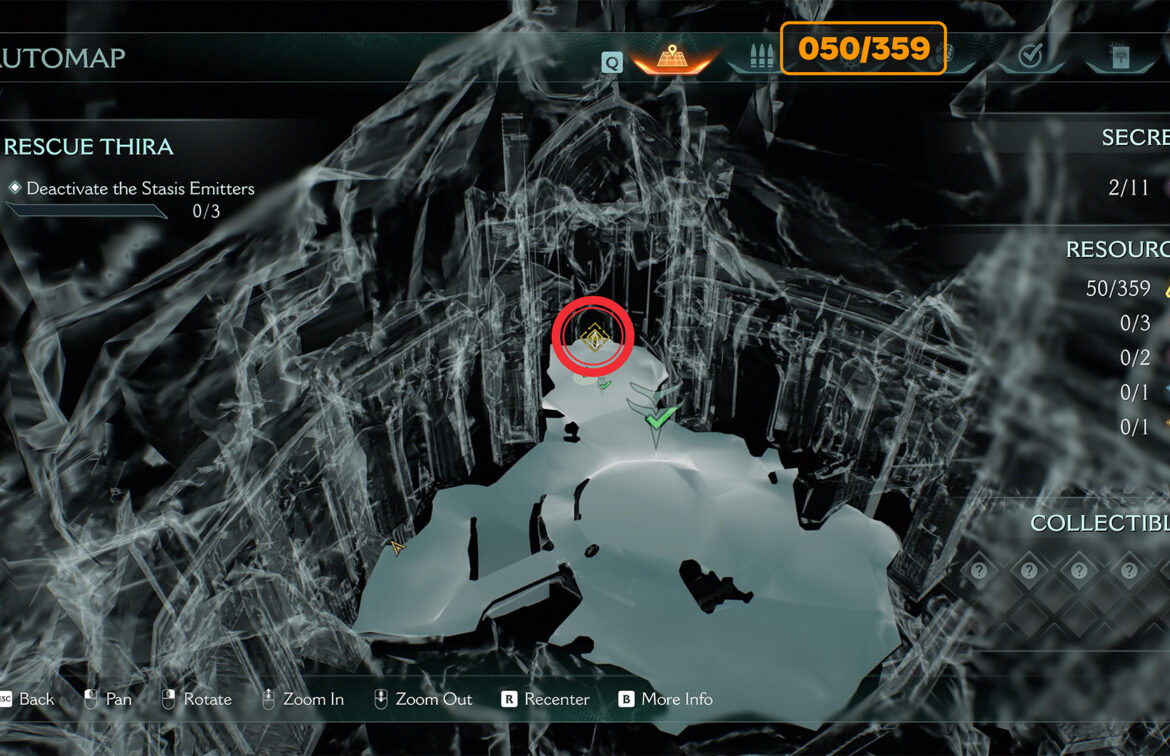
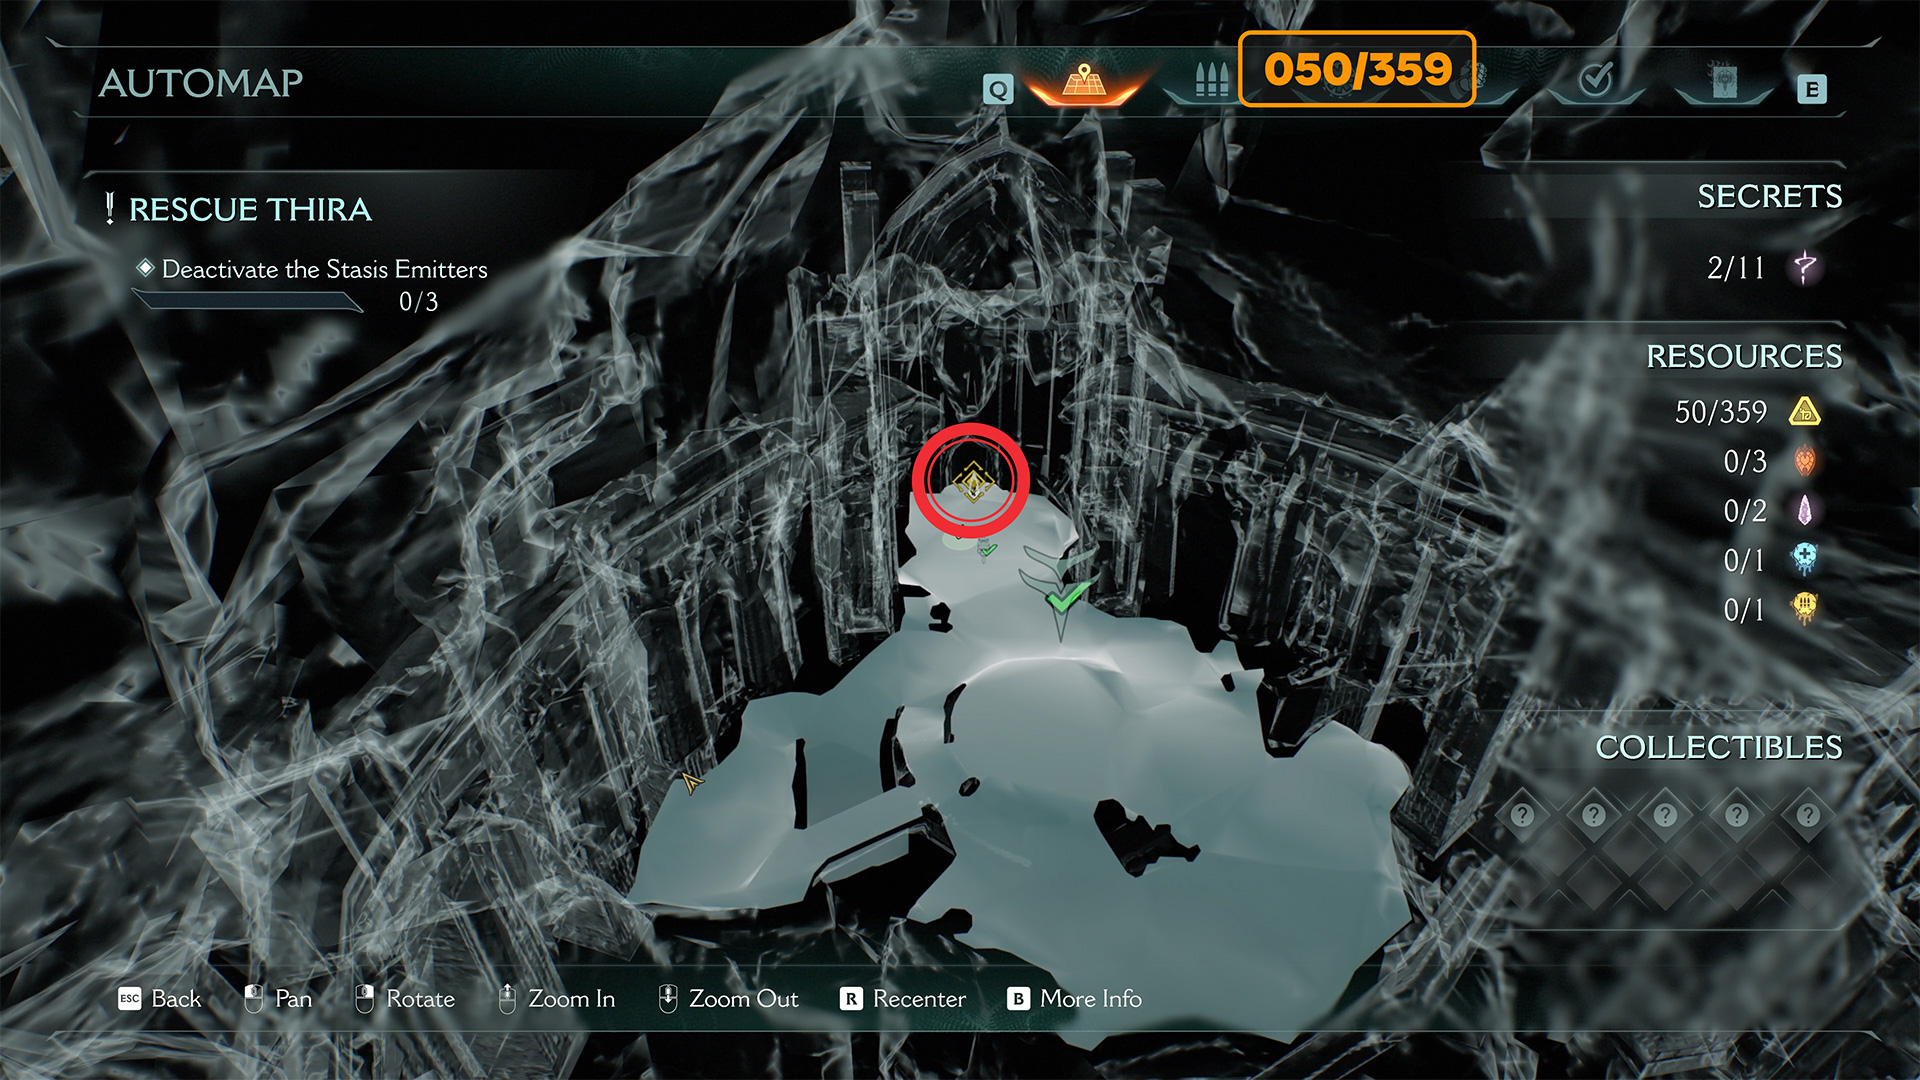
Spire of Nerathul secret landing spot
Get on the dragon and fly to the center of the location, then go down to the bottom. Here you will find another point for landing. Landed at this place and we will start collecting all items in this location.
-

- Spire of Nerathul secret landing spot location
-

- Spire of Nerathul secret landing spot
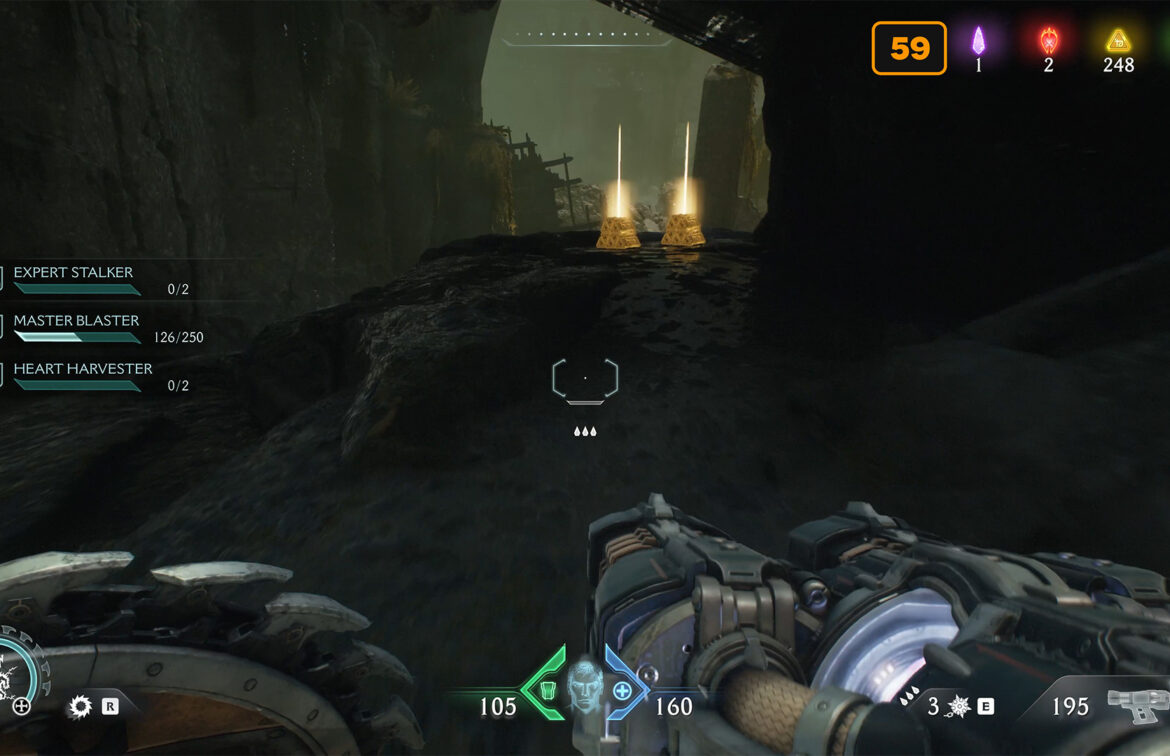
Spire of Nerathul Shield Rune
First of all, take away the fleece for the shield, it will automatically become active. Go to settings and activate the previous Auto Turret rune to be able to continue performing the second challenge in this chapter.
-
- Spire of Nerathul Shield Rune location
-

- Spire of Nerathul Shield Rune
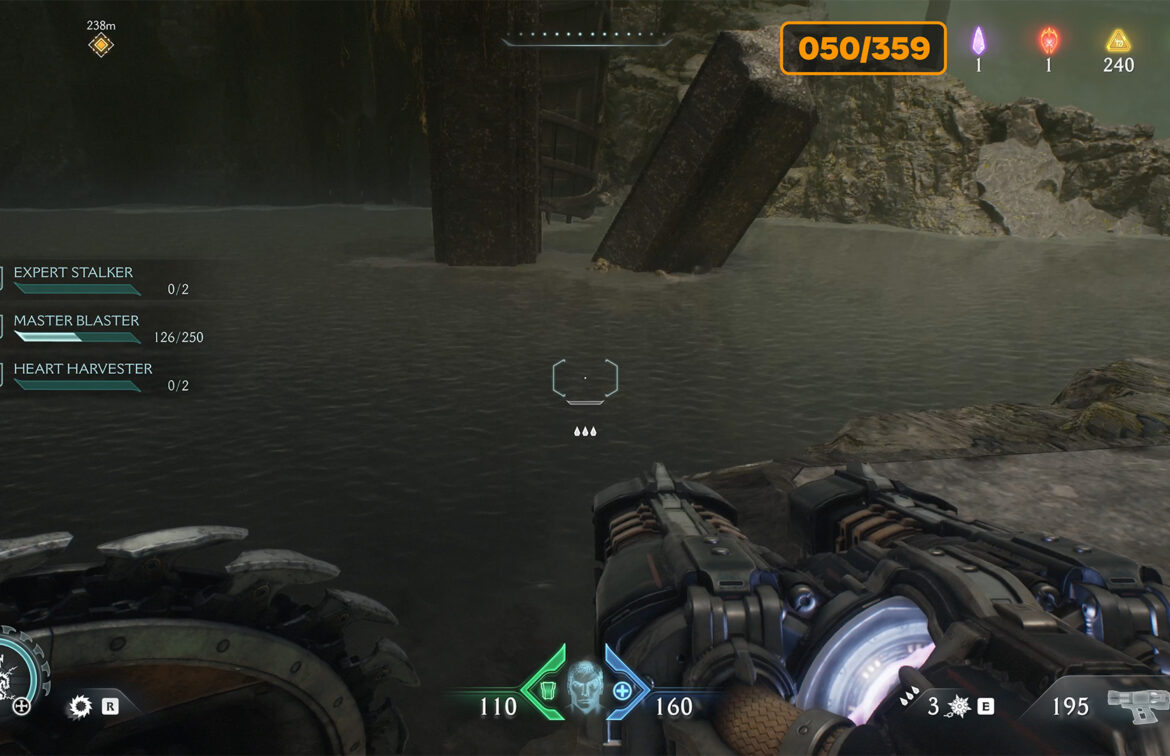
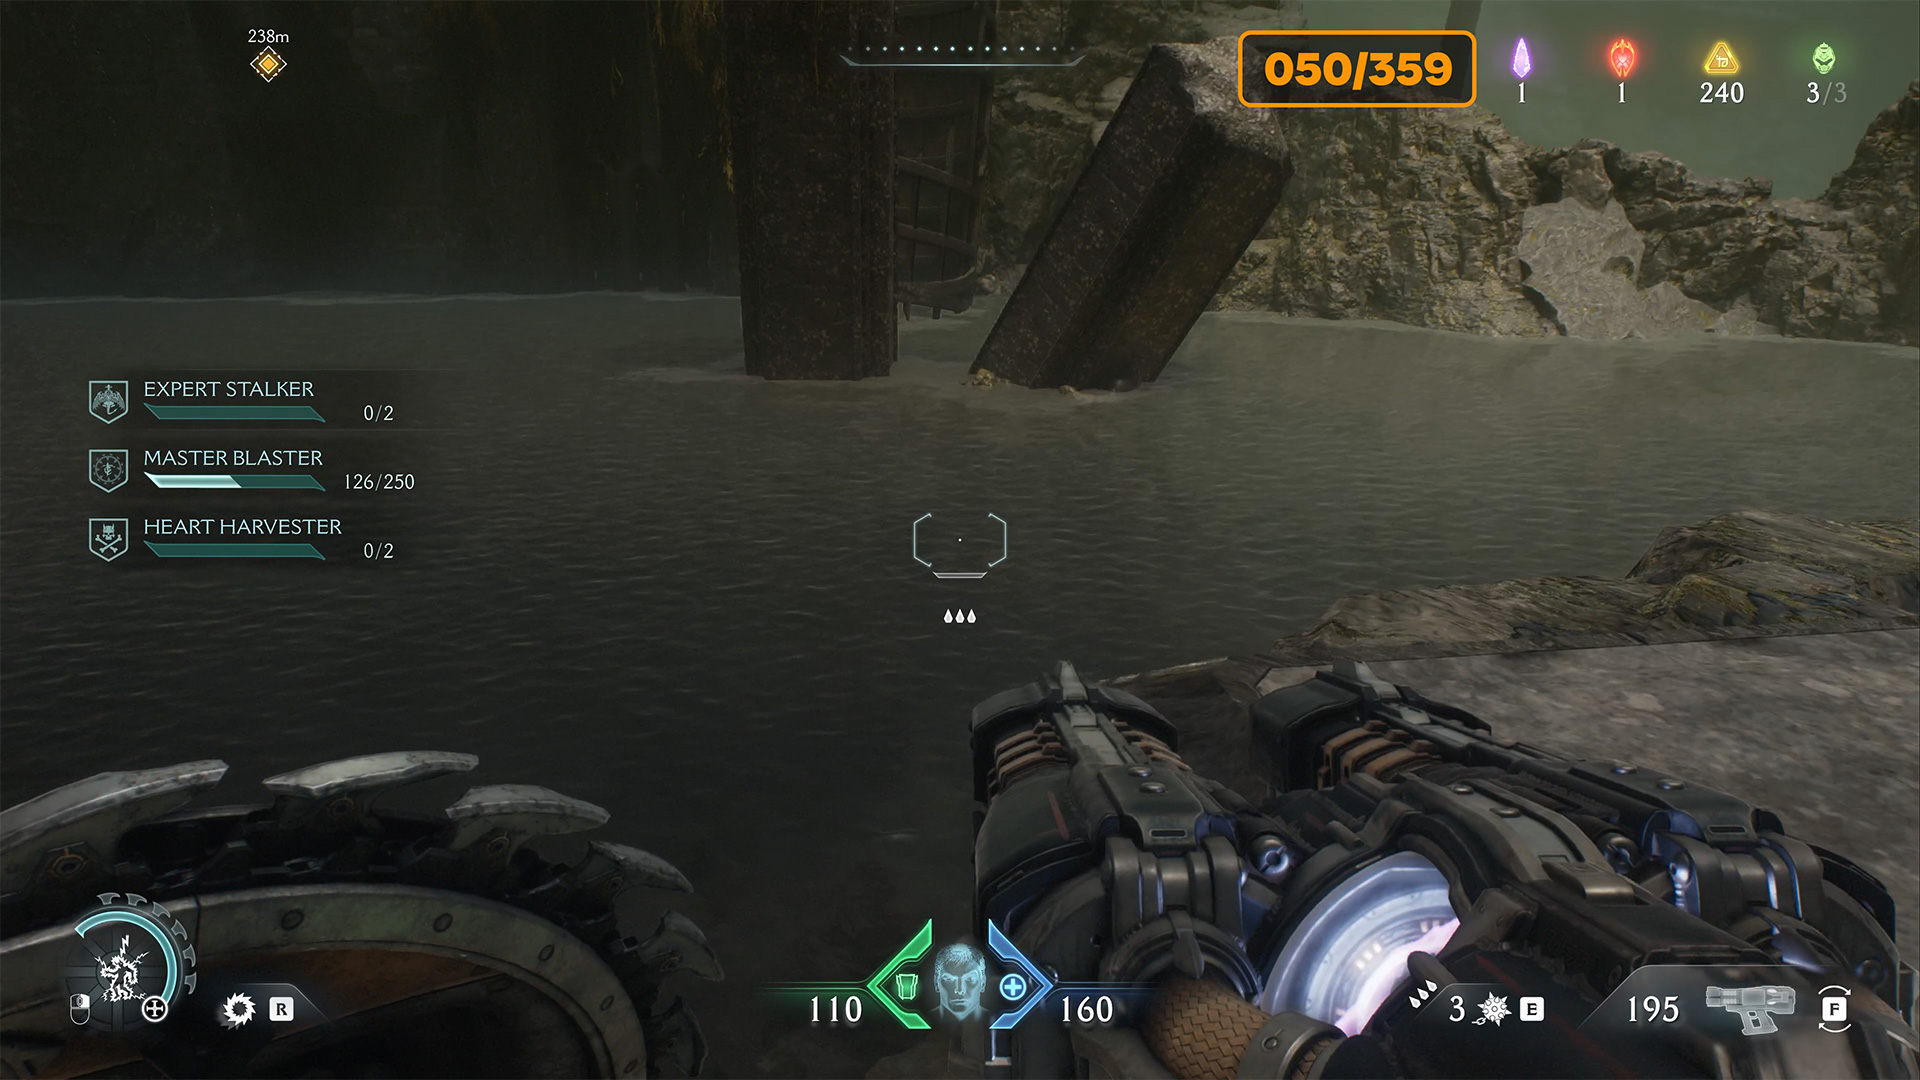
Spire of Nerathul gold
After receiving the rune, turn right. Go ahead and you will see two columns sticking out of the water. Dig into the water and swim there. You will see a pit under water at the bottom of which lies gold.
-

- Spire of Nerathul gold location
-
- Two columns behind which there is a pit
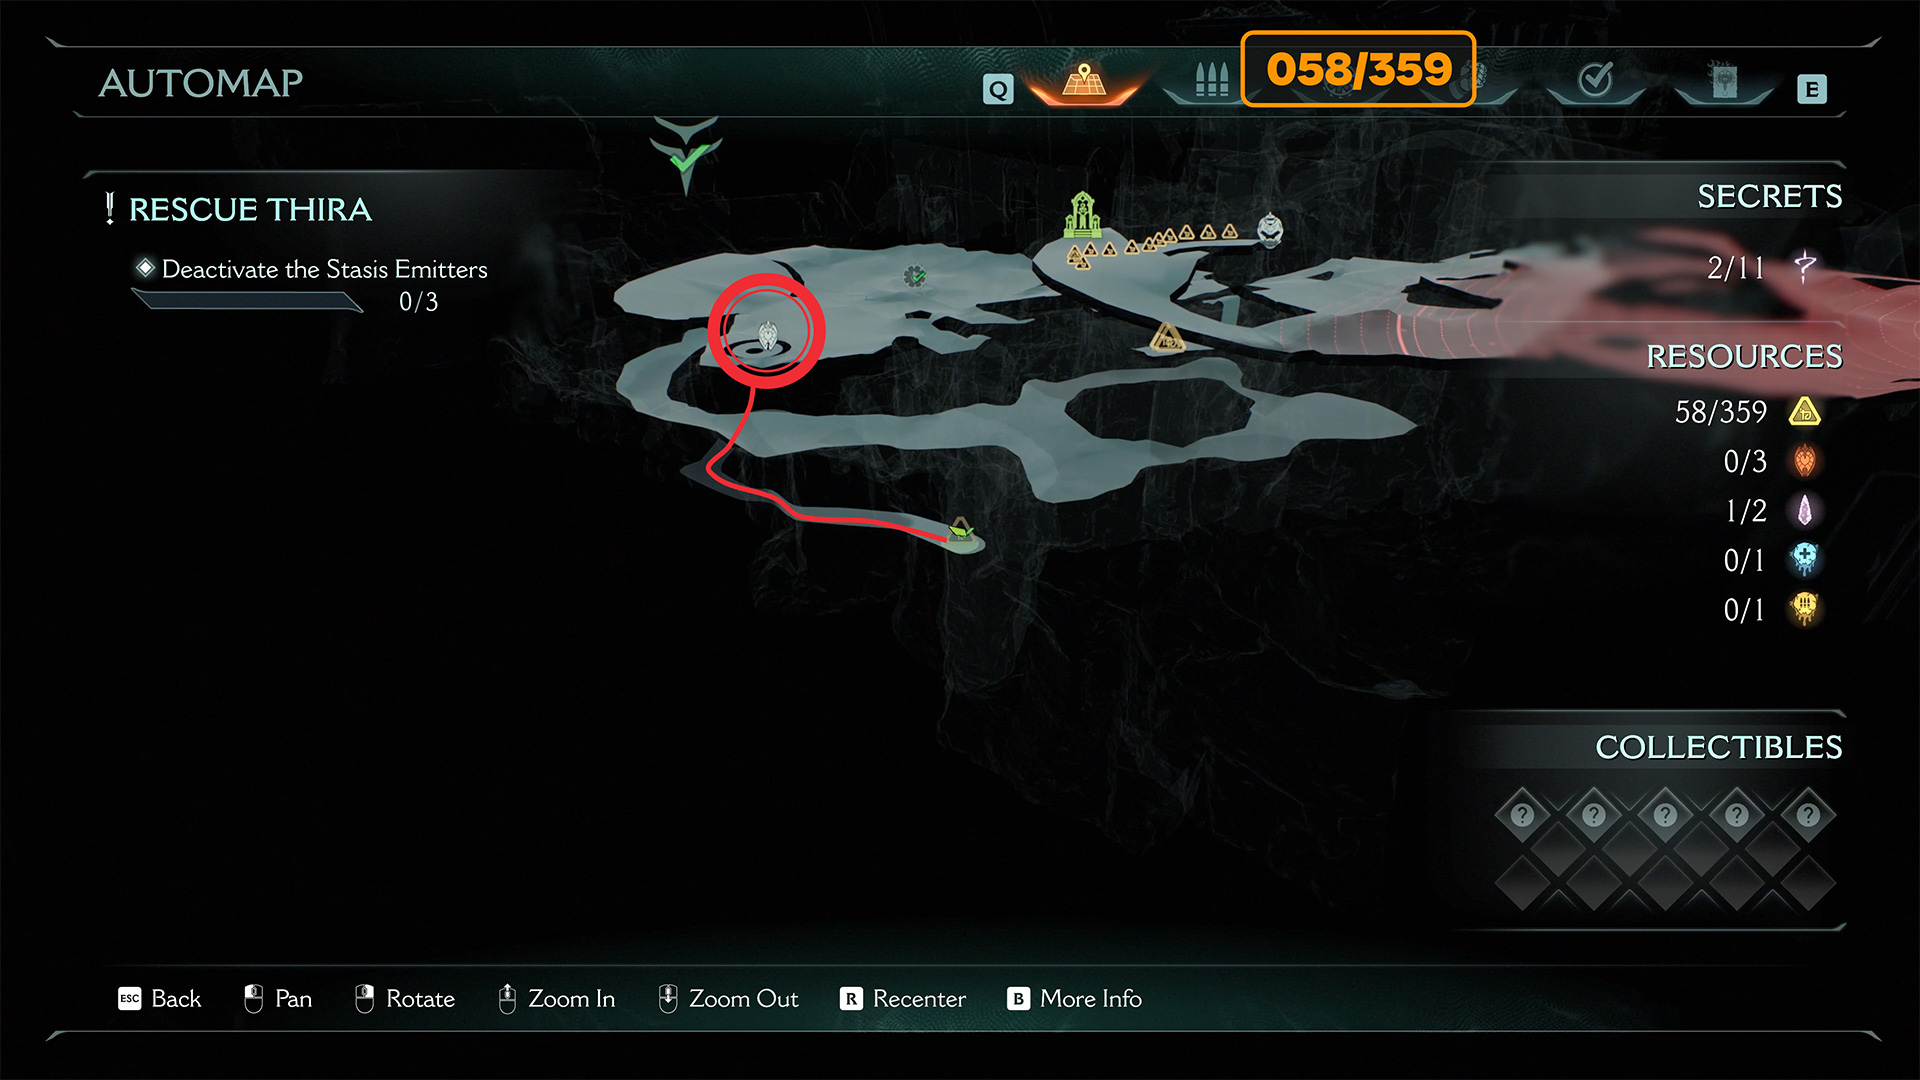
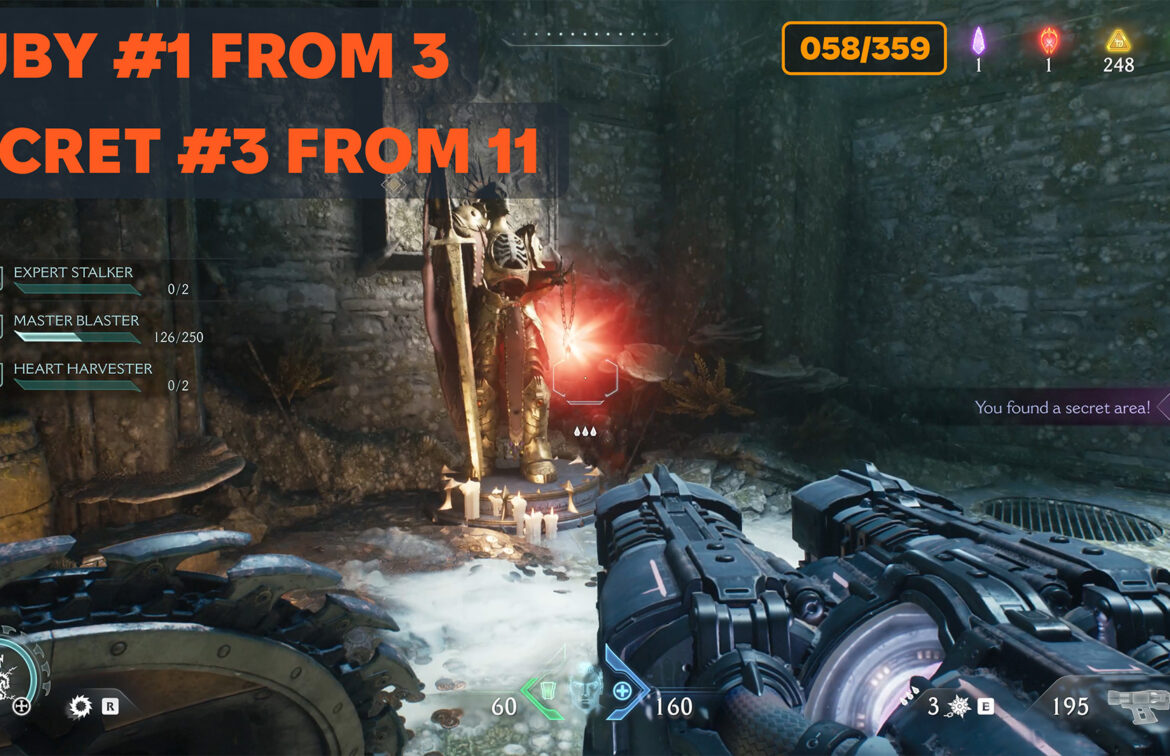
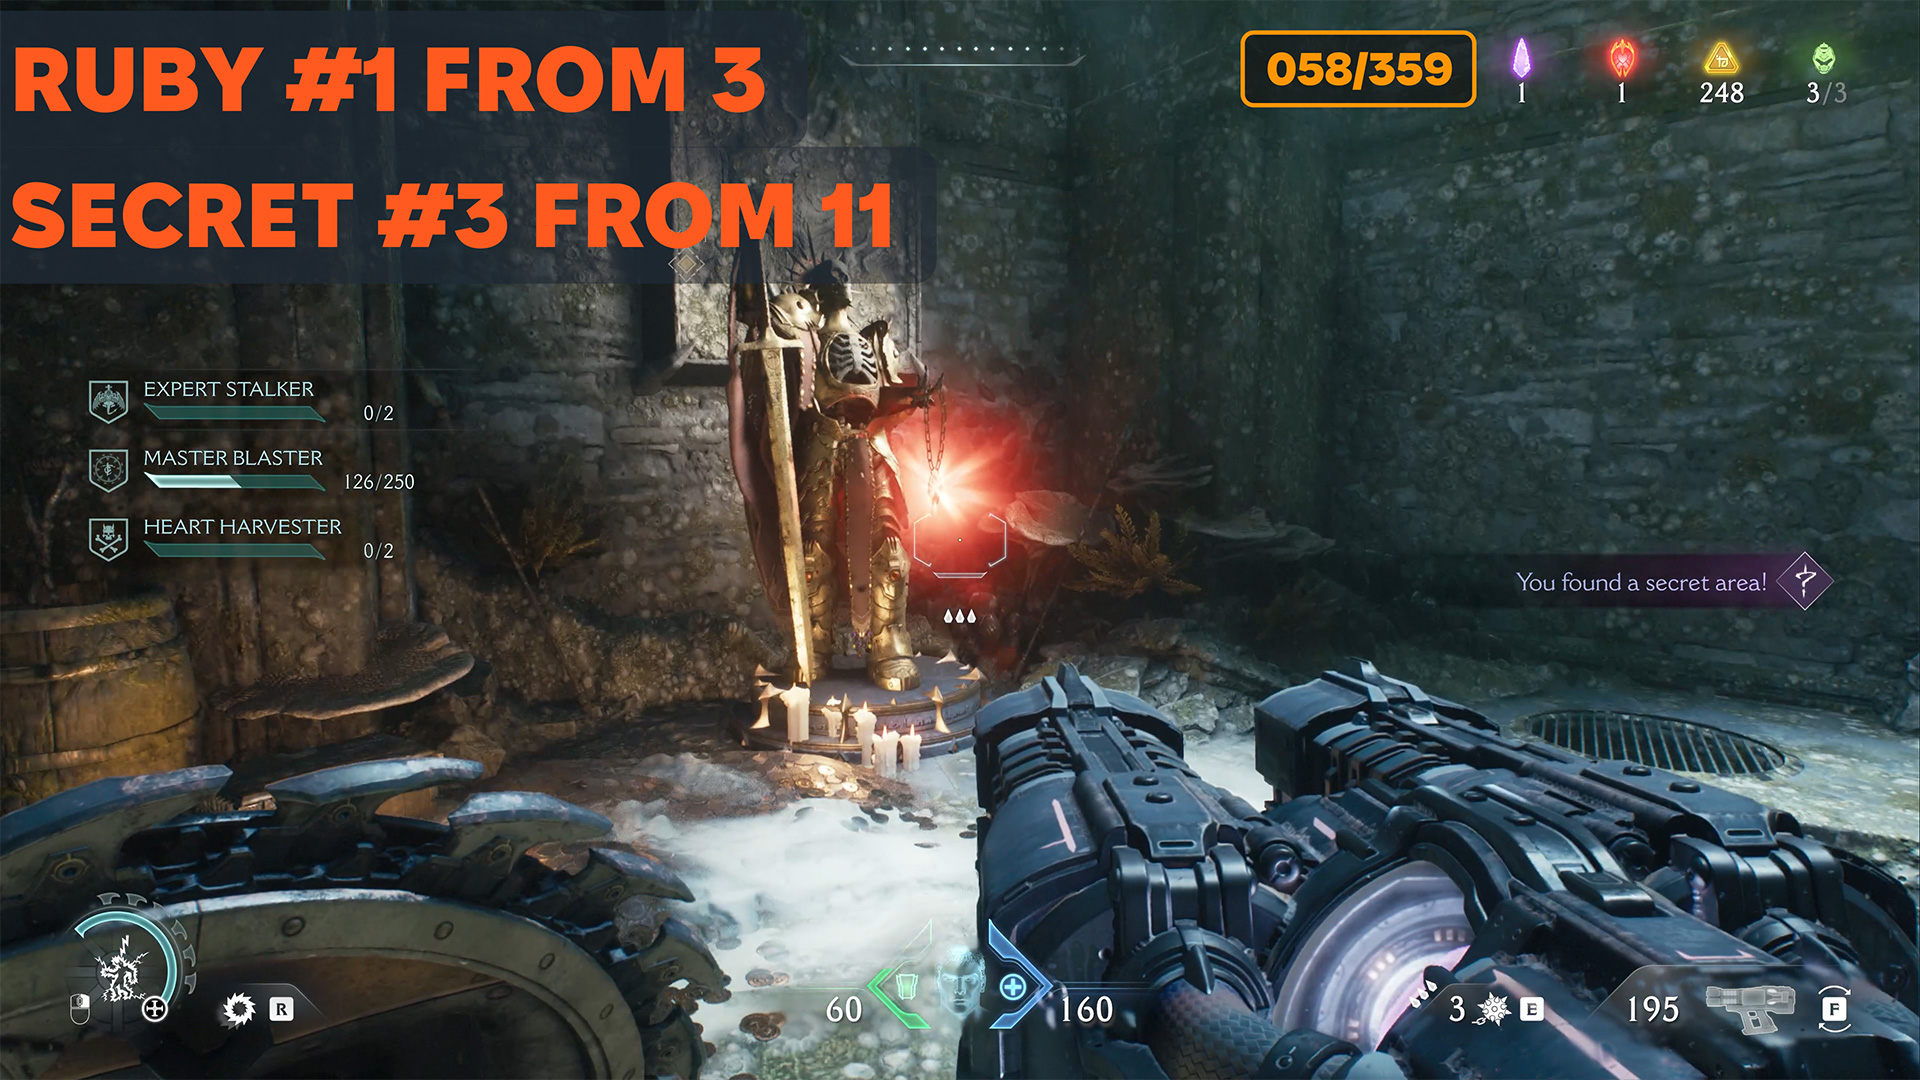
Doom Dark Ages Spire of Nerathul ruby
After you got the gold, you will see further an underwater tunnel. I drew the route for you on the map, but it is impossible to get lost there, because there are no side branches in the tunnel. The only thing that can be unpleasant are fire turrets that shoot fire layers at you under water. At the end of this path, you will have to go up. You will see a round hole. This is the entrance to the secret room where you will find the first ruby in this chapter.
-

- Doom Dark Ages Spire of Nerathul ruby location
-
- Doom Dark Ages Spire of Nerathul ruby
Spire of Nerathul gold location
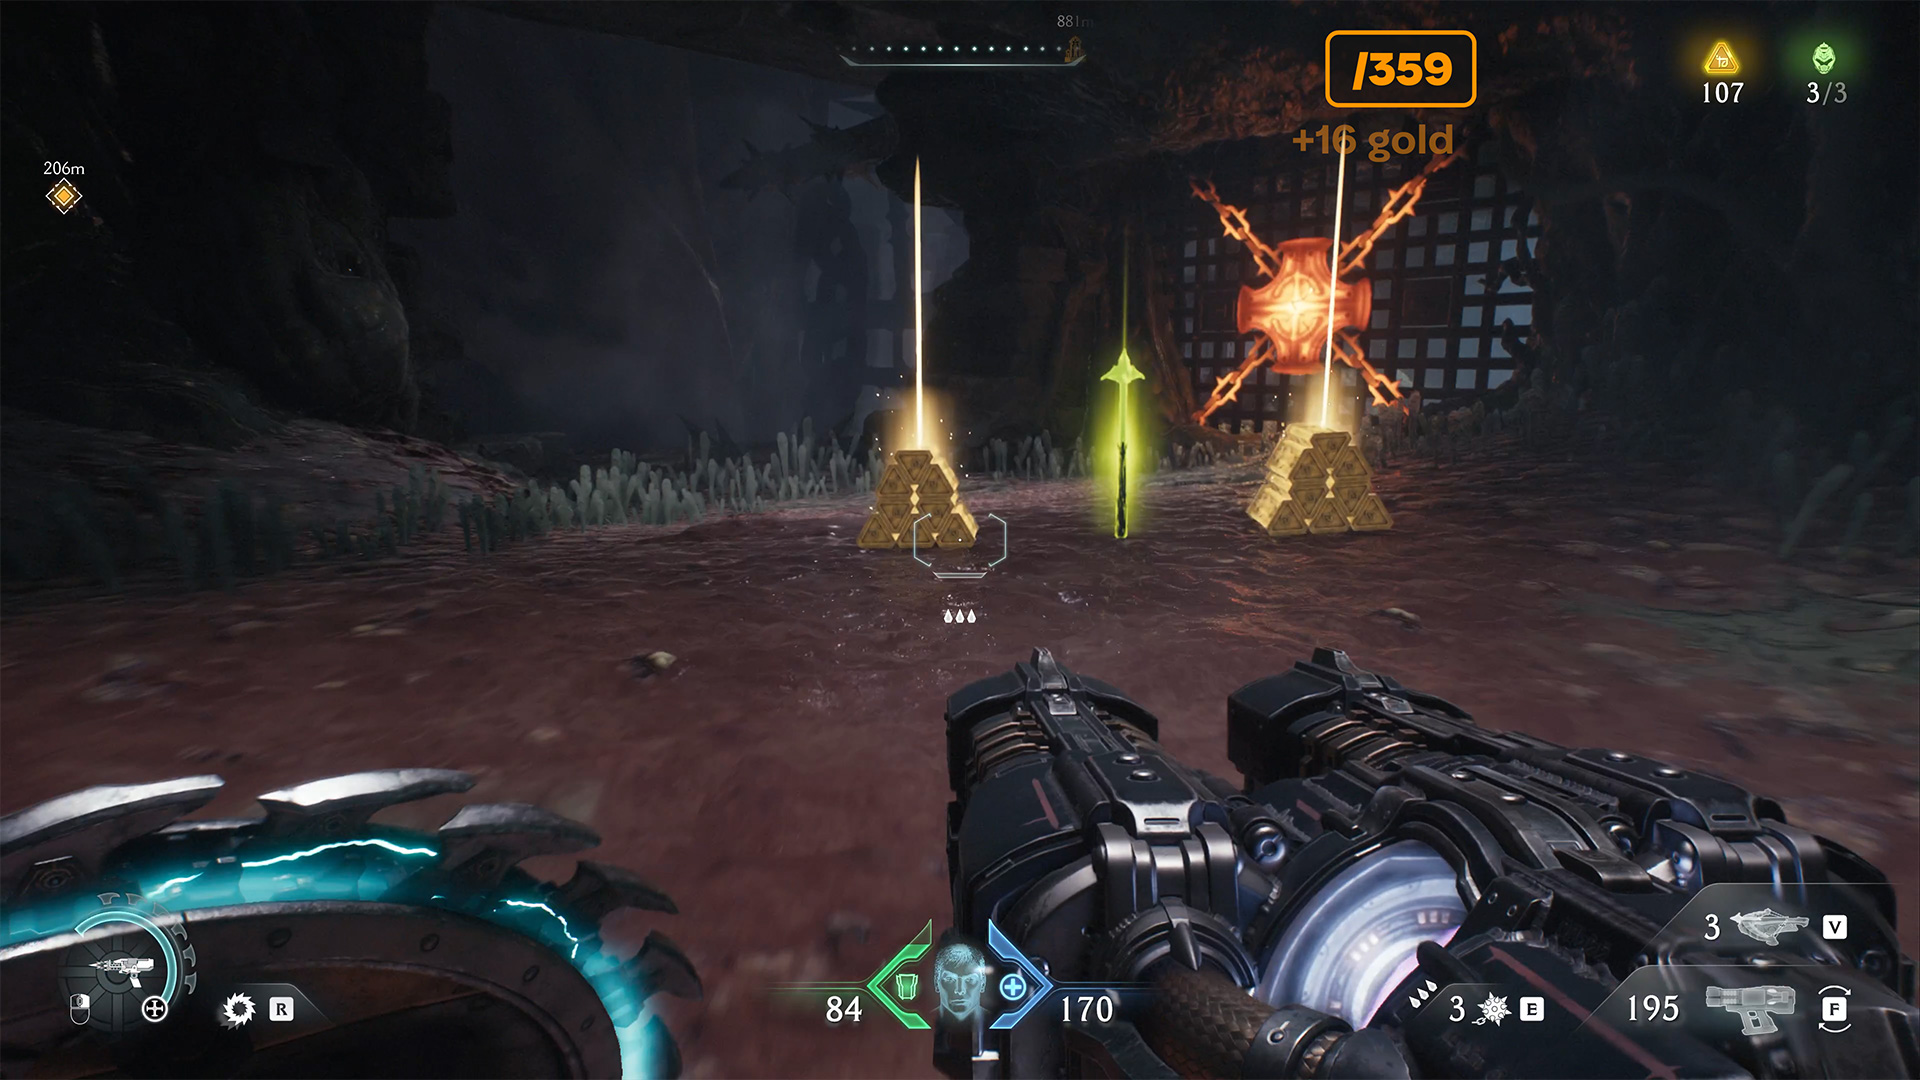
Now you have to go in the direction of the red battle. But on the way, look carefully at the route that I showed you on the map. You will see a small platform on the left that you can jump to find 16 gold.
-
- Spire of Nerathul gold location
-
- The place where you will find gold
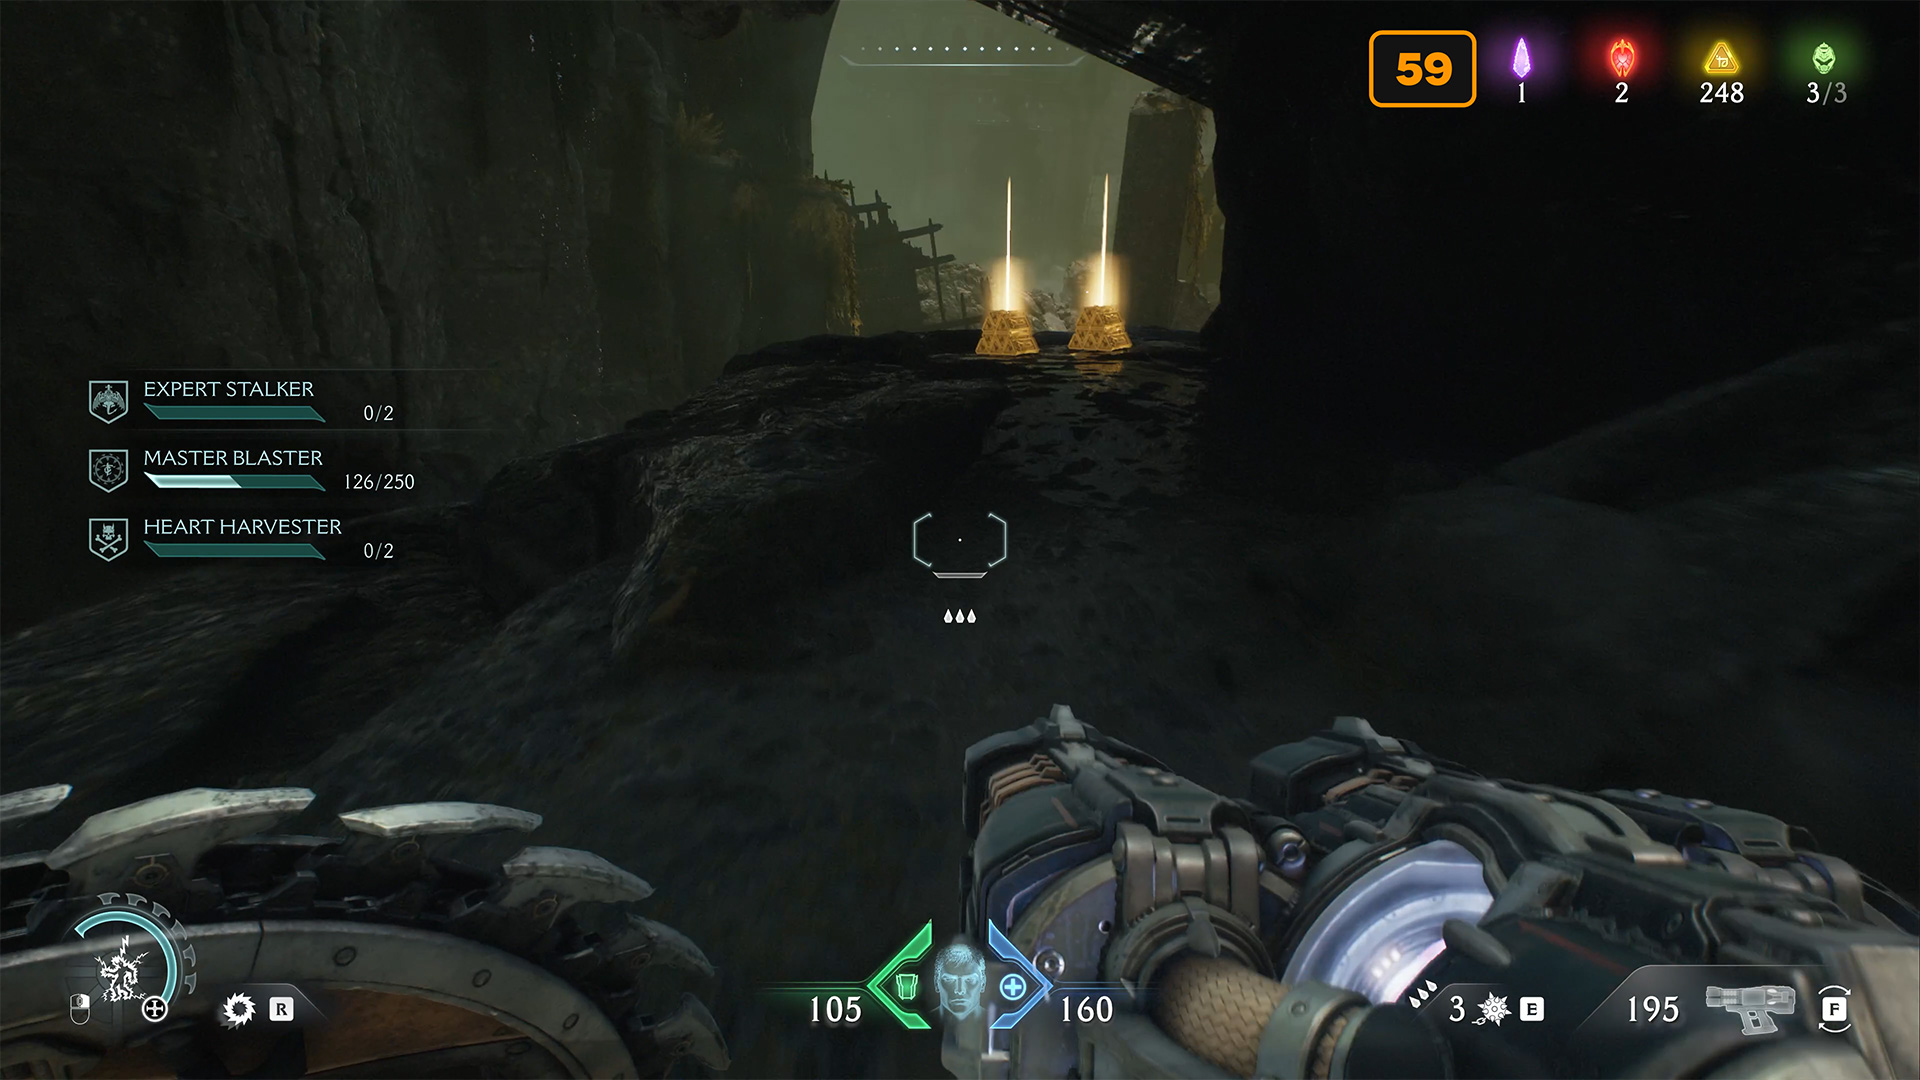
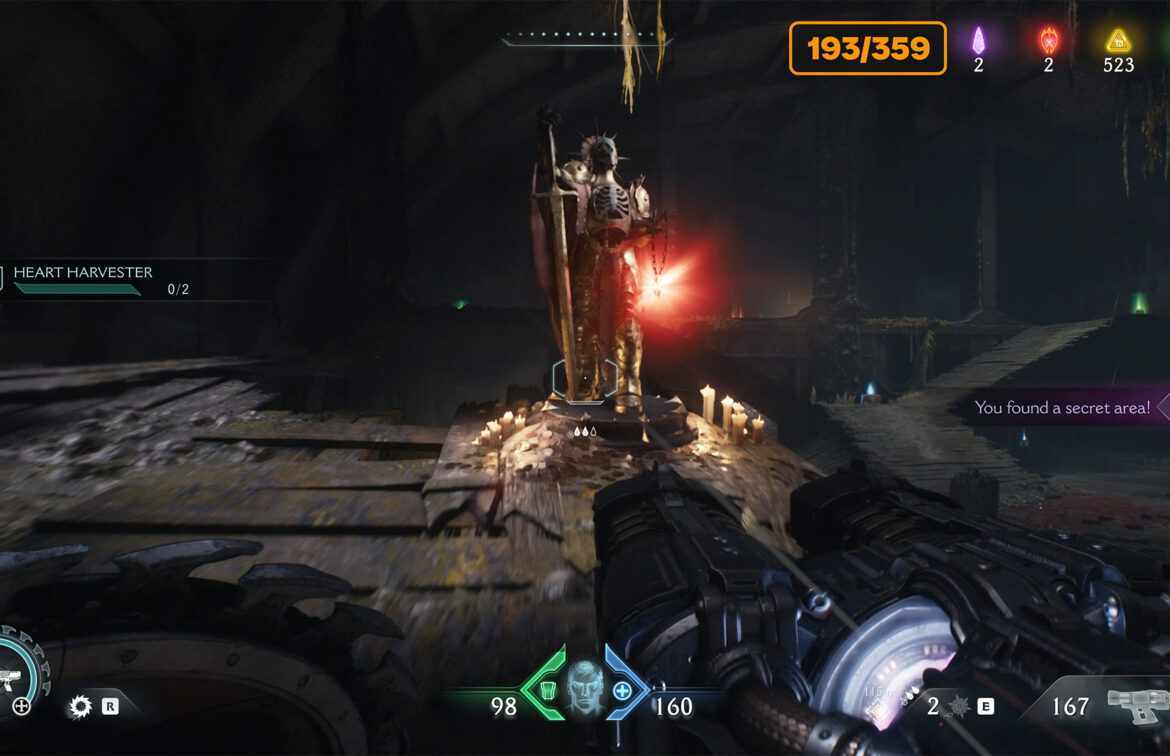
Spire of Nerathul secret area
Approaching the red zone where the battle will take place, pay attention to the stairs on the right. Here there will be a spiral climb to the upper platform. Come here before the battle begins. You will find gold here and the first Life Sigil. This area is a secret, also Sentinel shrine is located here. Use it to improve your weapons.
-

- Spire of Nerathul secret area
-
- Spire of Nerathul Life Sigil
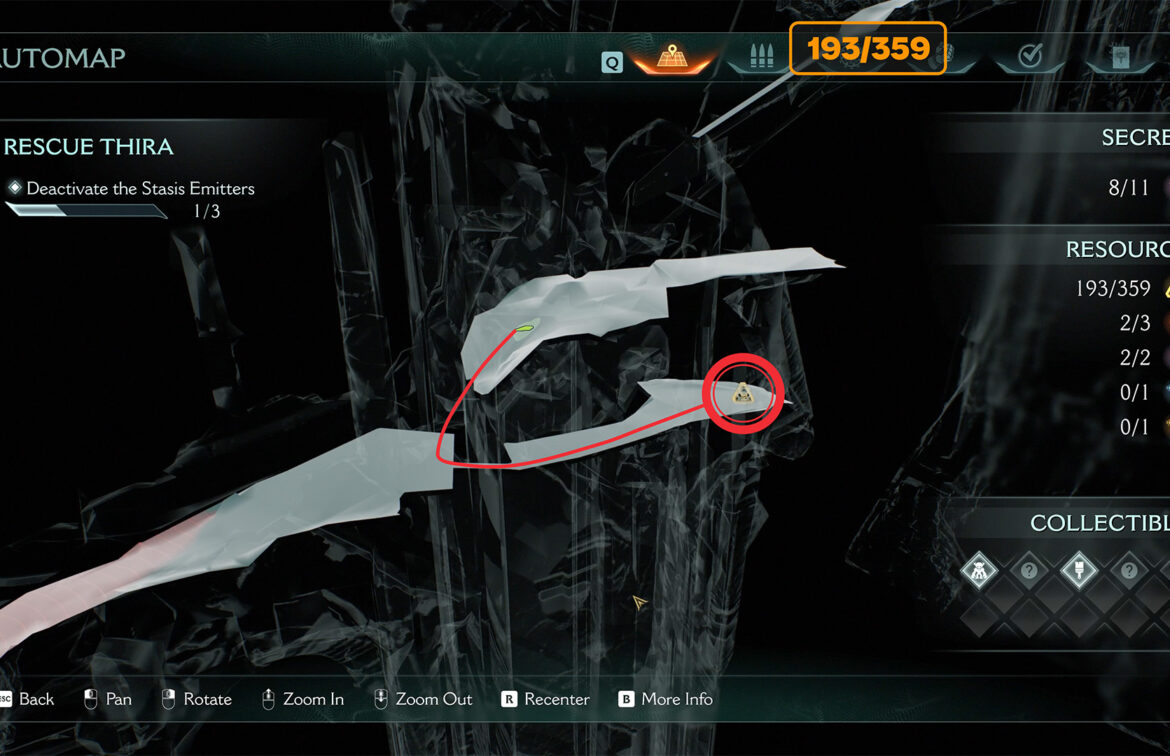
Spire of Nerathul missing gold
After a big battle, you will complete one of the necessary tasks in this chapter, namely deactivating the emitter. Now you can leave this zone and fly on, but do not rush to do it. Look at the small piles of gold scattered in front of you on the map. You have to go up the ramp to the left and collect 18 gold in this place.
-
- Spire of Nerathul missing gold location
-
- Spire of Nerathul missing gold
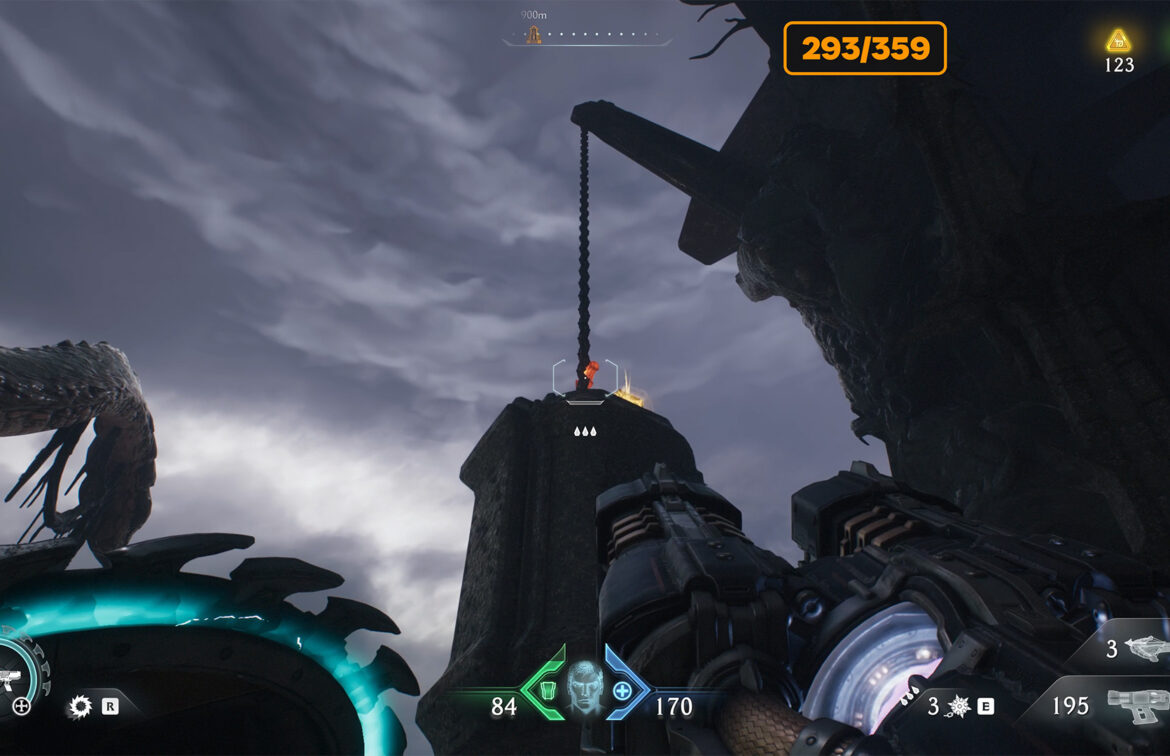
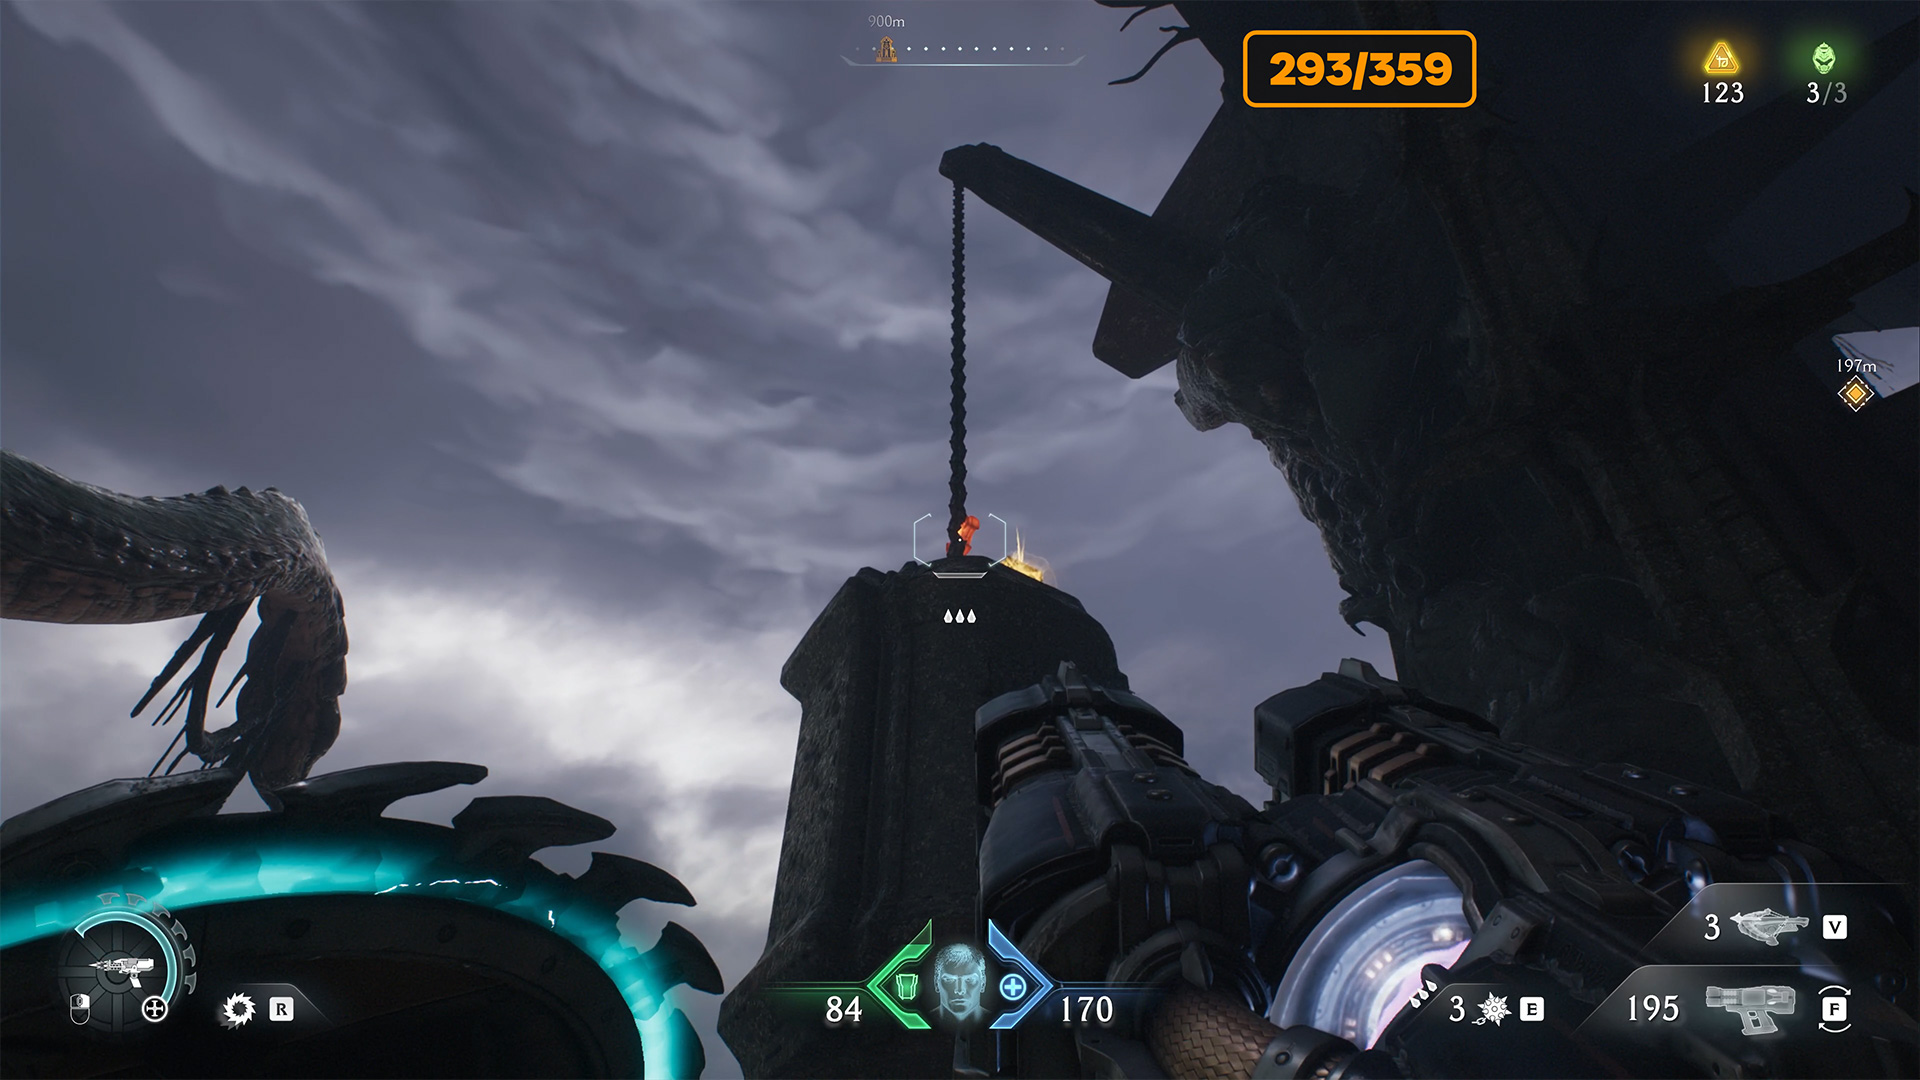
Spire of Nerathul hell fighter ships
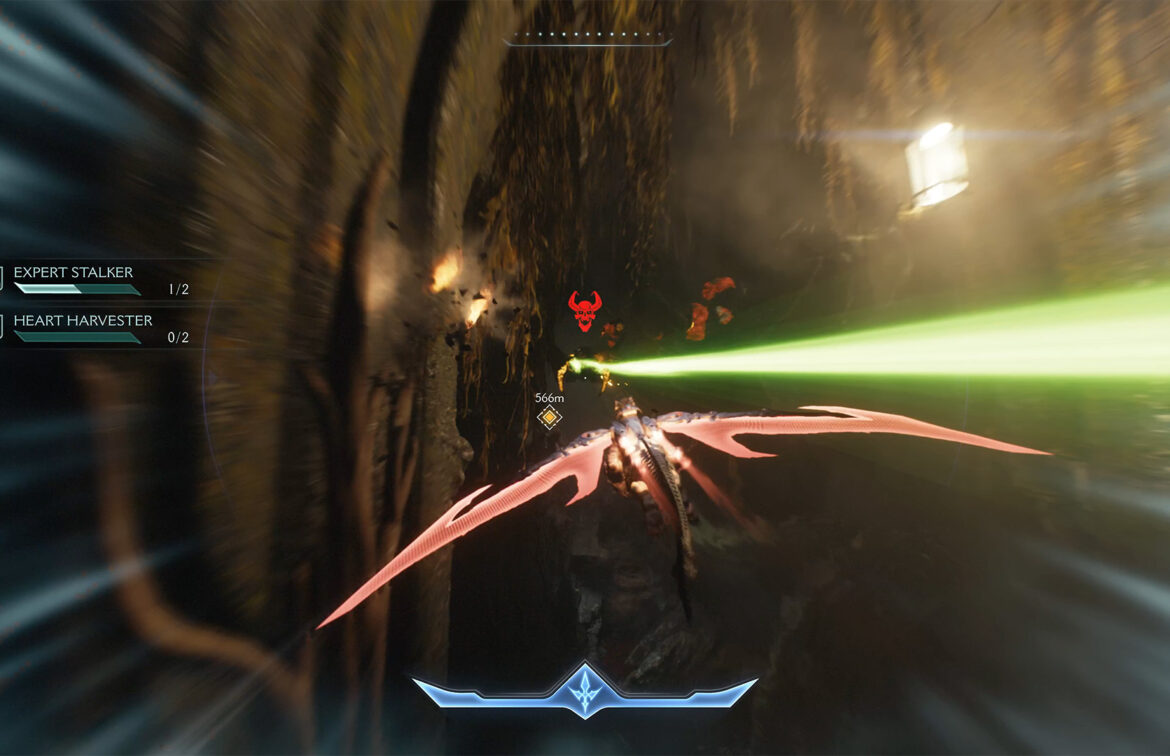
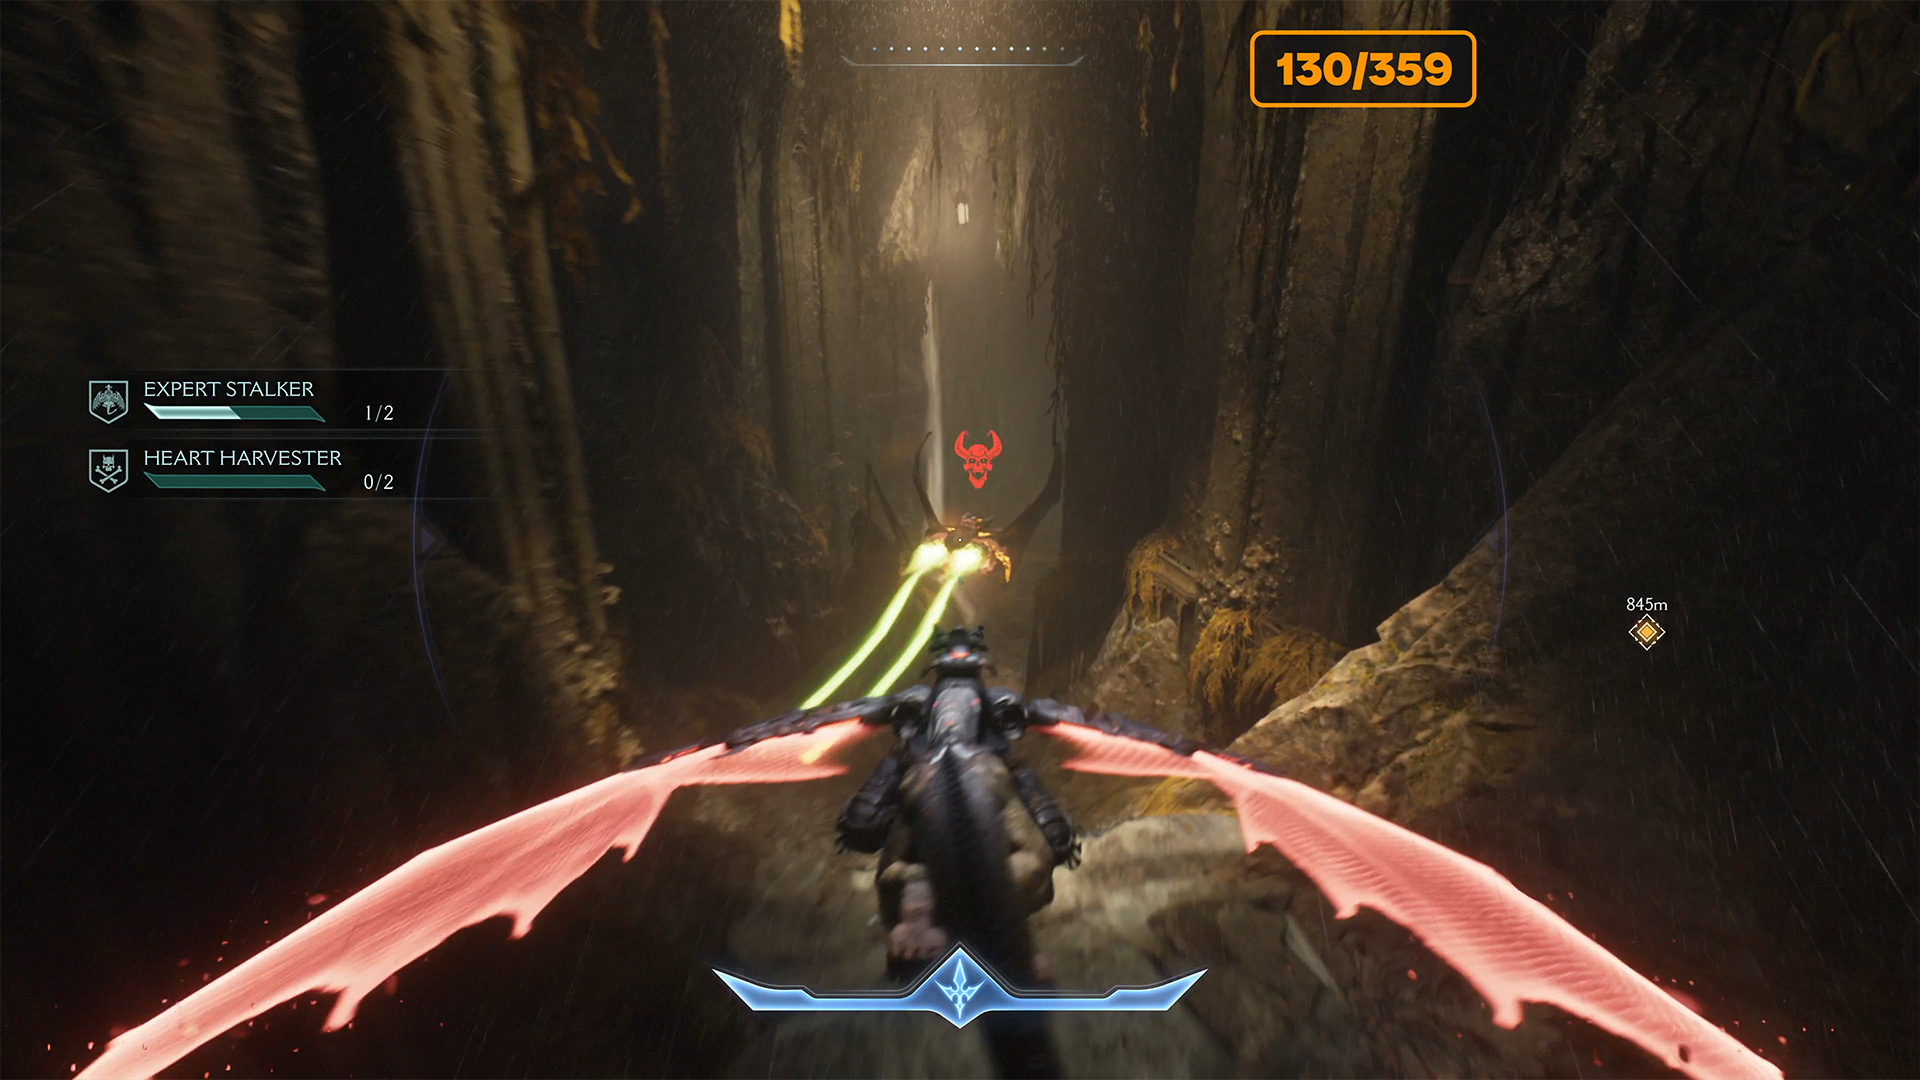
Next, as soon as you sit on the dragon, Hell Fighter will start to run away from you. In general, it shows you the way to the next goal. But you need to catch up and destroy him. This is required to perform the Expert Stalker challenge. This is the first of two Hell Fighters.
And in this place, I recommend not to miss the opportunity to destroy this ship. If it reaches the end, it will disappear and you will not have time to destroy it, be sure to restart the checkpoint. It will begin with landing on your dragon. In the end, you will cope with this task.
-
- Let’s ride our dragon
-
- Spire of Nerathul hell fighter ships
Spire of Nerathul secret landing pad
After you’ve dealt with Hell Fighter, you have to fly down the map again. On the map I showed an approximate direction. Below you will find a tunnel that will lead you to the next secret landing zone. Find this tunnel and get to the drop-off area. There are interesting and necessary things to pick up before fulfilling the main mission of this chapter.
-

- Spire of Nerathul secret landing pad location
-

- Spire of Nerathul secret landing pad
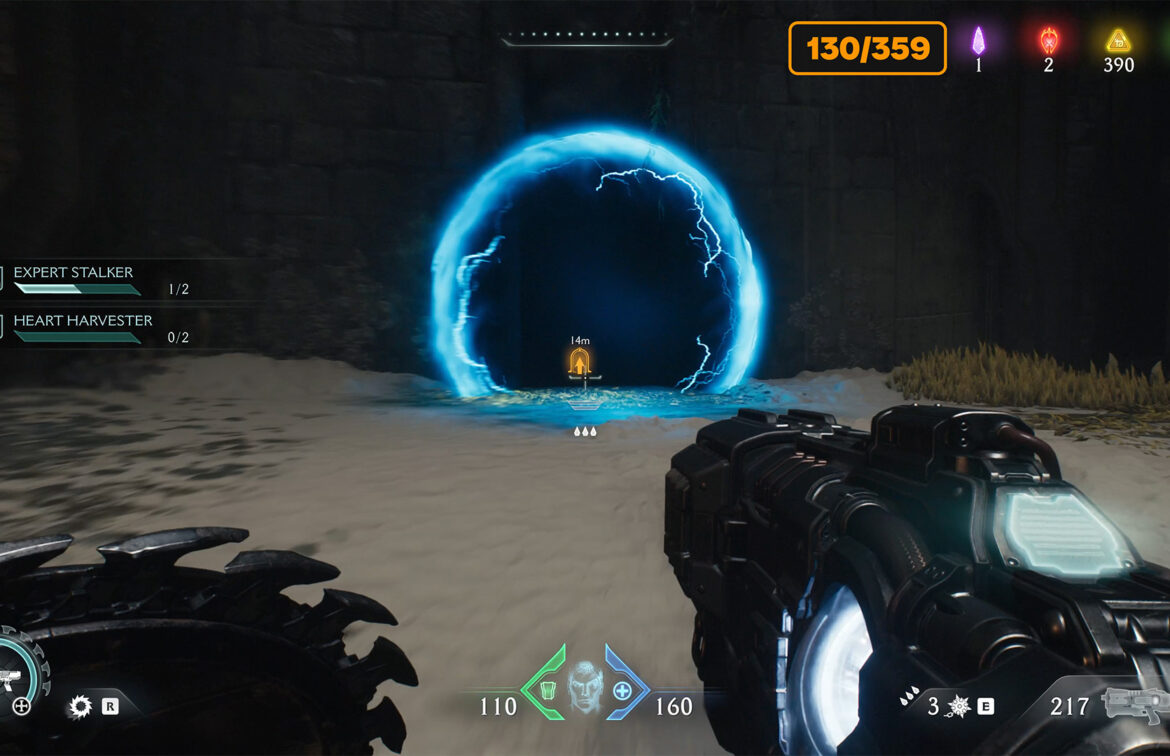
Doom Spire of Nerathul gold
Open the map and see the route I’m showing you. There are generally no opponents here and gold is scattered throughout the territory. You have to run and collect all the gold coins. You can collect 26 gold here. At the end of your route there will be a teleport that will transfer you to the next location. Before entering the teleport, open the map again to make sure that you have collected all the gold and have not missed anything.
-

- Doom Spire of Nerathul gold
-
- Teleport to another location
Spire of Nerathul Weapon skin and wraithstone 2
After the teleport, you will get to a new location where the secret zone is immediately activated. Monsters will start attacking you here. Defeat everyone and move forward. At the end of the location you will receive Weapon Skin and wraithstone. After that, leave the location, sit on the dragon and then I will show you where to find the second Hell Fighter.
-

- Weapon skin and wraithstone location
-

- Spire of Nerathul Weapon skin and wraithstone
Spire of Nerathul second hellfighter
On the map you see where my character is. You have to fly to the yellow marker that marks the plot target. Here you will see a tunnel with a yellow light. Fly inside. As soon as you get here, Hell Fighter starts running away from you.
You have to catch up and destroy him before he reaches the final point. If you haven’t had time to destroy the be sure to restart the checkpoint and start the chase again. Here you have to perform a challenge so as not to chase Hell Fighter in the next, more uncomfortable places.
-

- Spire of Nerathul second hellfighter location
-

- Spire of Nerathul second hellfighter
Spire of Nerathul secret landing
After destroying the Hell Fighter in the tunnel, you will reach the target, which you also need to destroy in air combat. It is necessary to evade the attack in time, get reinforced weapons and destroy the target. You’ve already done similar things in previous chapters where doomguy flew the dragon.
-

- Destroy the target to move on
-

- Spire of Nerathul secret landing
Missing gold
Then go on the map until you get to the place I’m showing you. Here on the side you will see gold. You need to go lower and throw the shield into the green statue on the mountain to fly behind the shield. You will find 8 golds on this platform. To leave the room, break the metal connection and the gate will open.
-
- Spire of Nerathul Missing gold location
-
- Green statue to get out
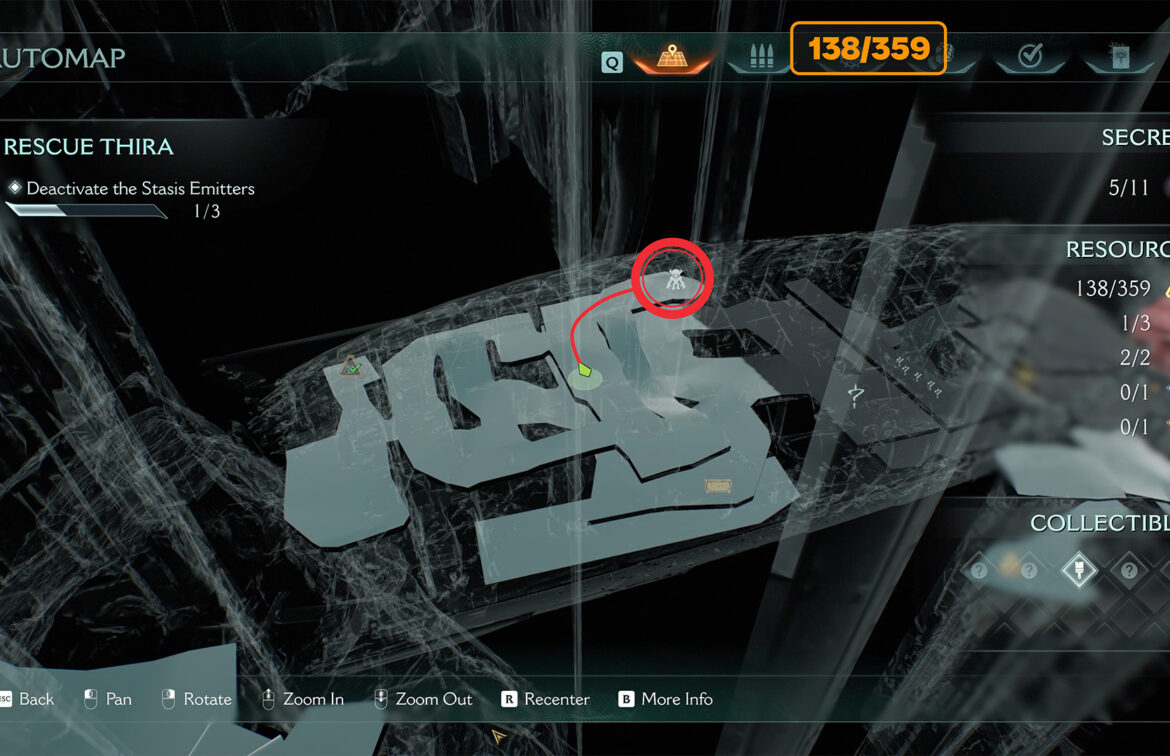
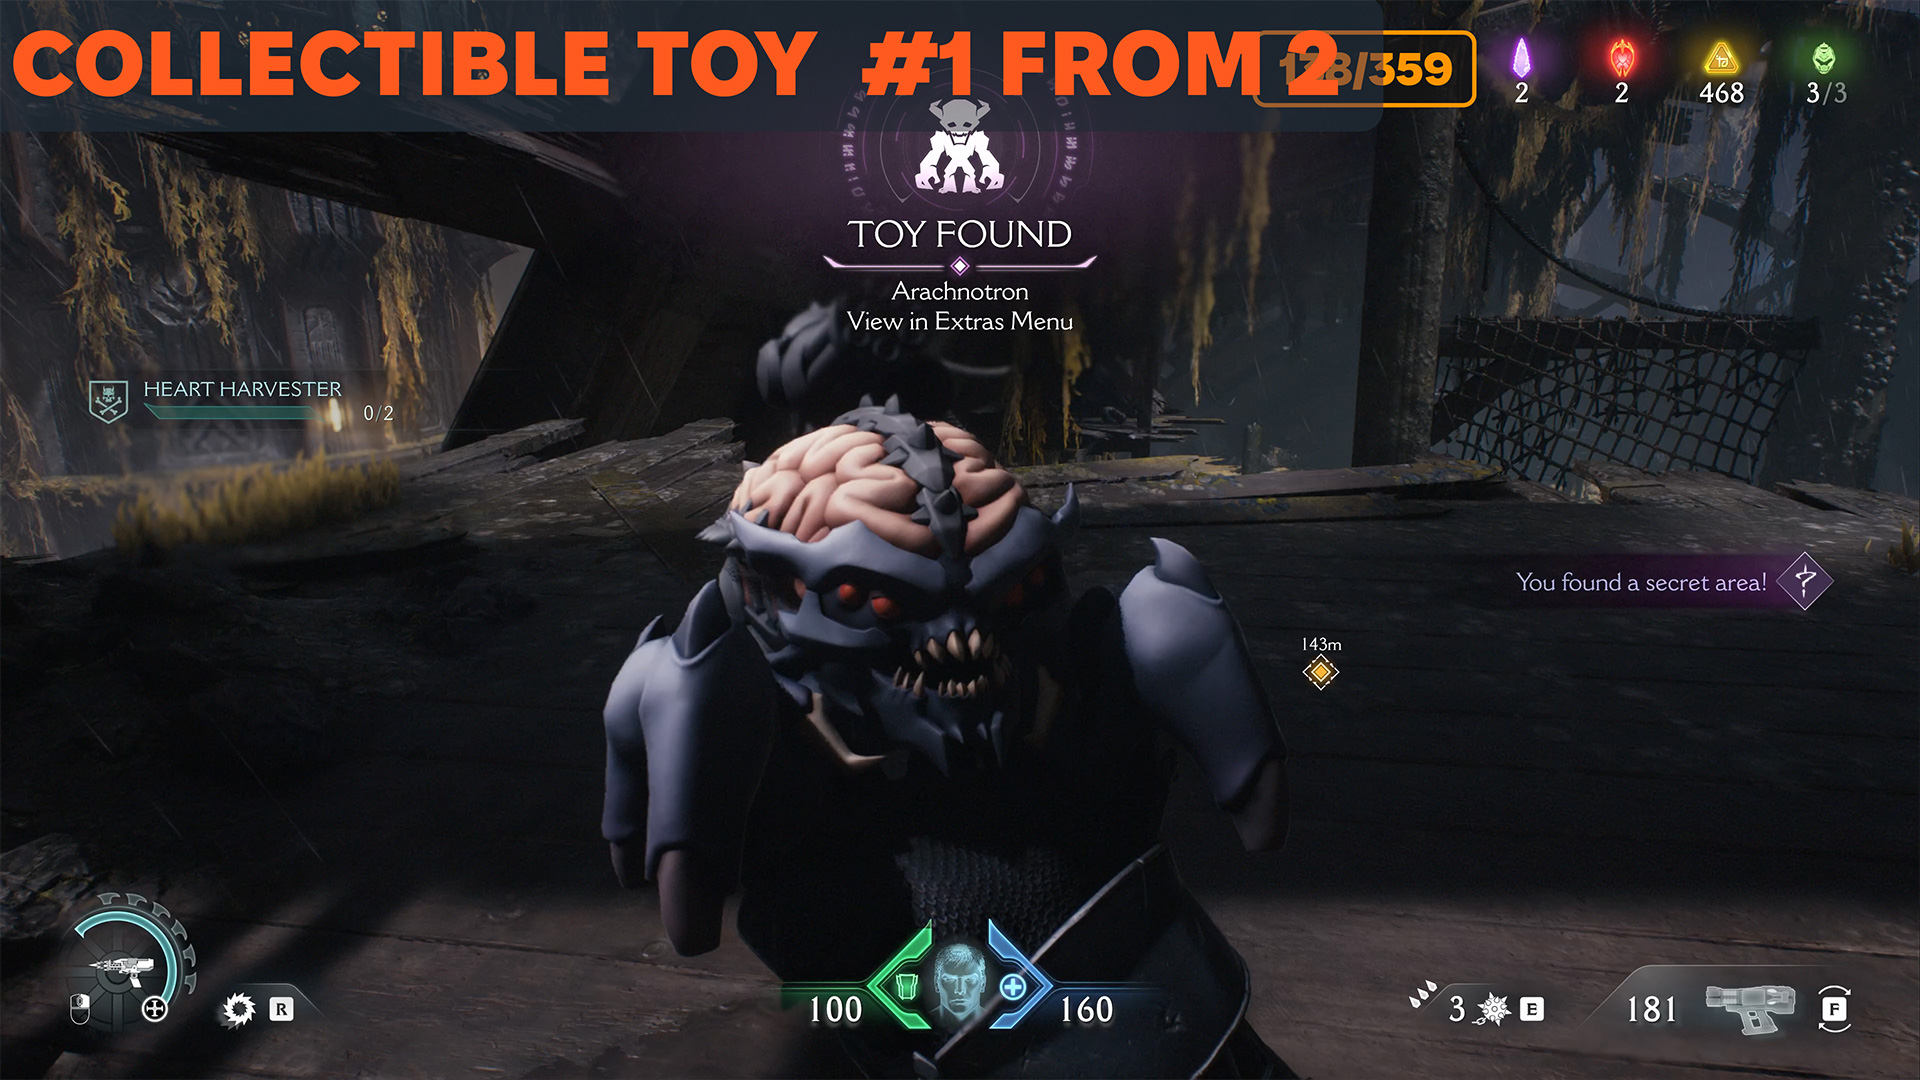
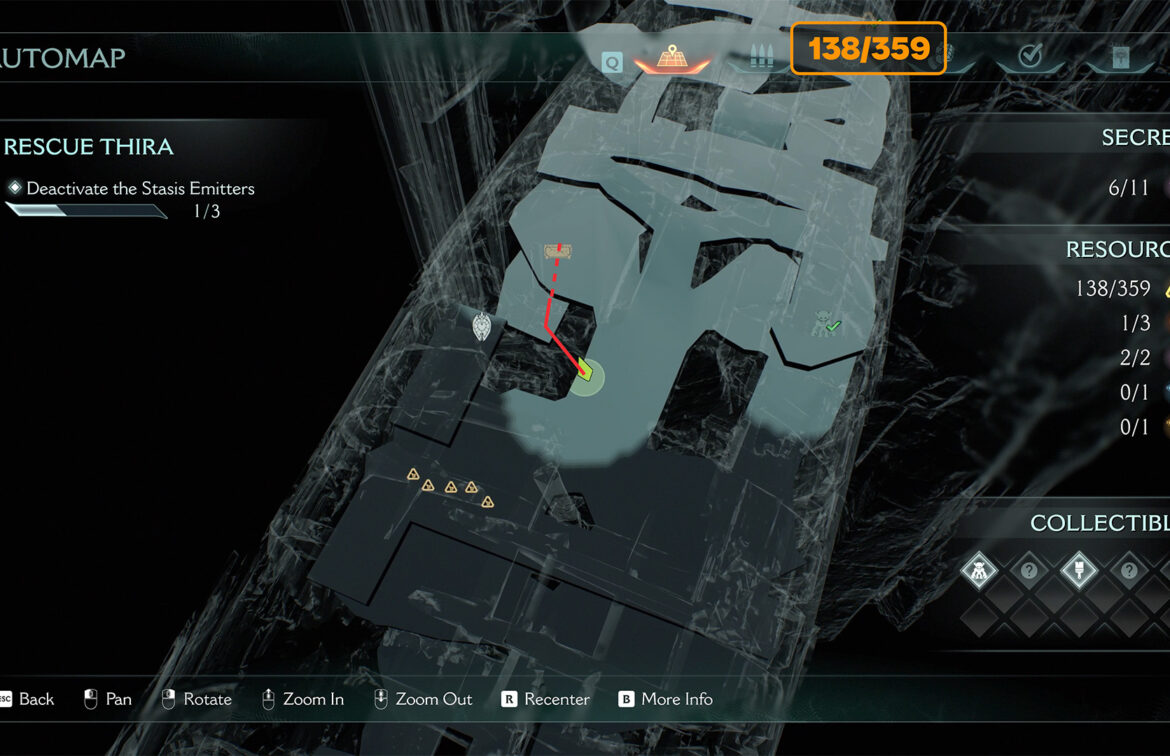
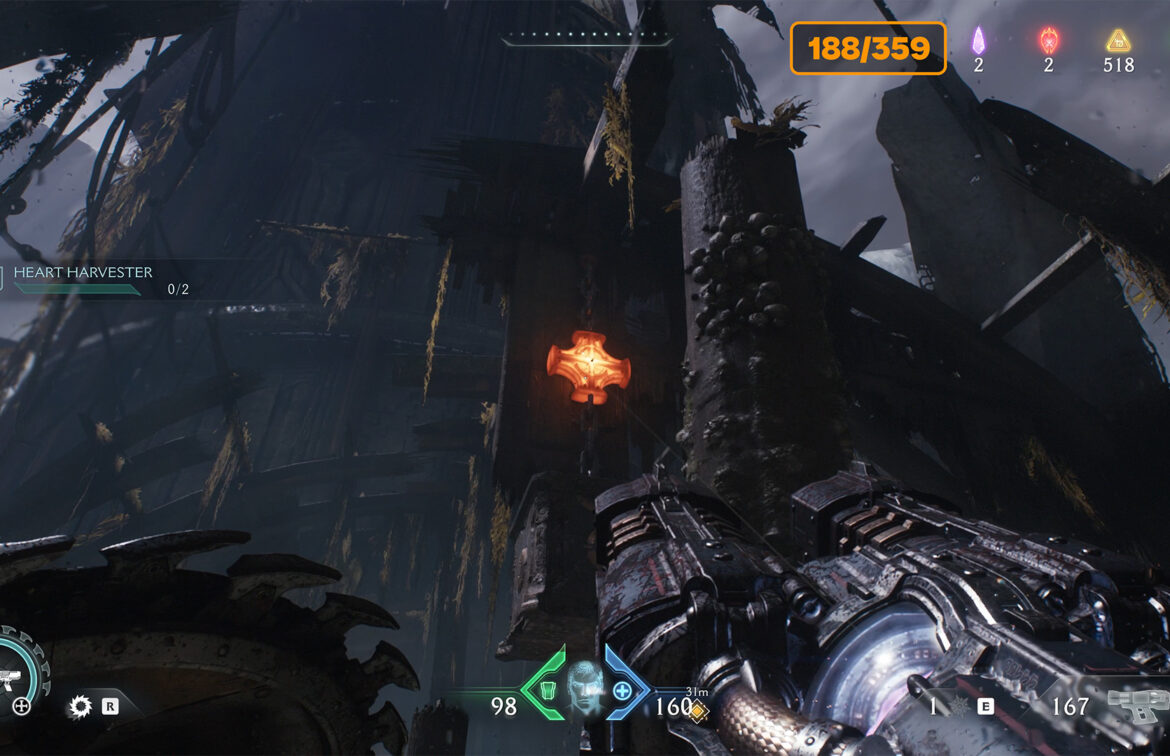
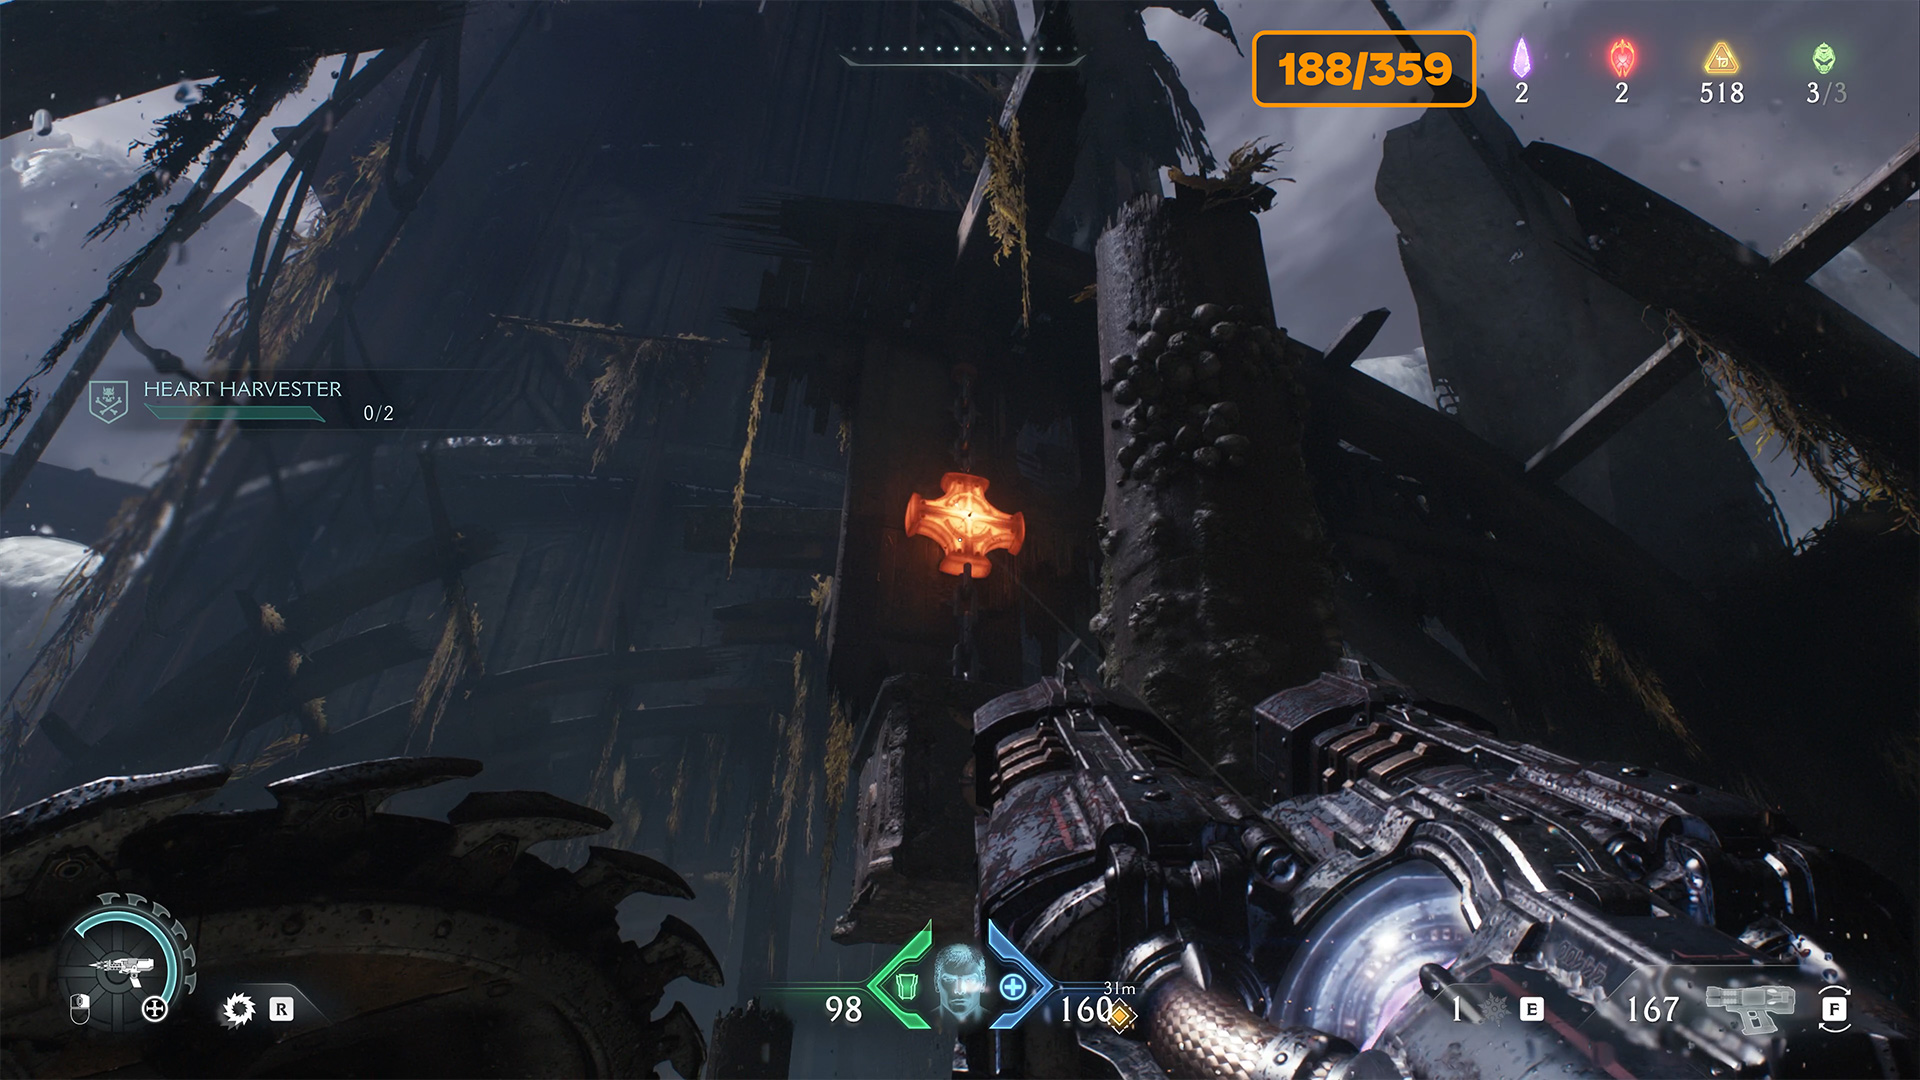
Spire of Nerathul first toy
A little further on, you’ll see a wooden barrier. Break it with your shield and you will find yourself in a secret room where the first Arachnotron collectible toy is located. There will be two toys in total in this chapter, we will find the other a little later.
-
- Spire of Nerathul first toy location
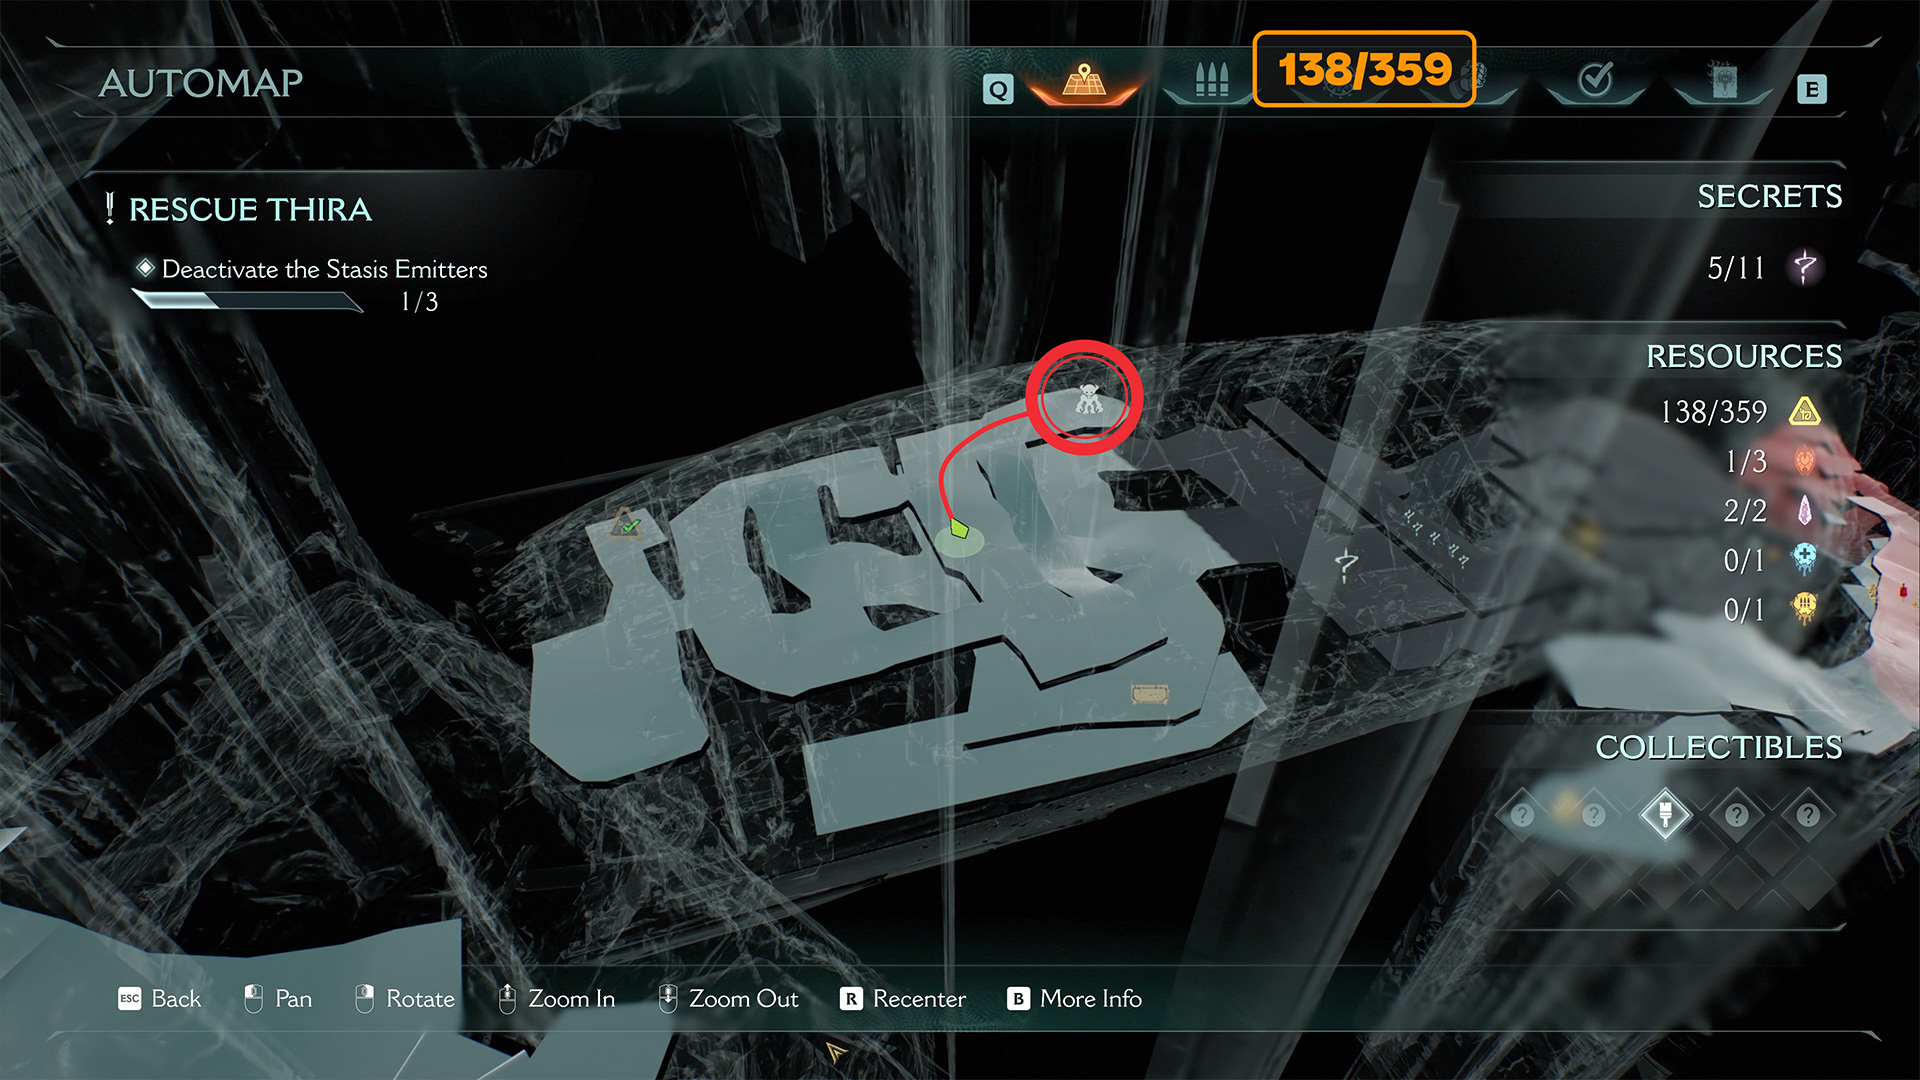
-
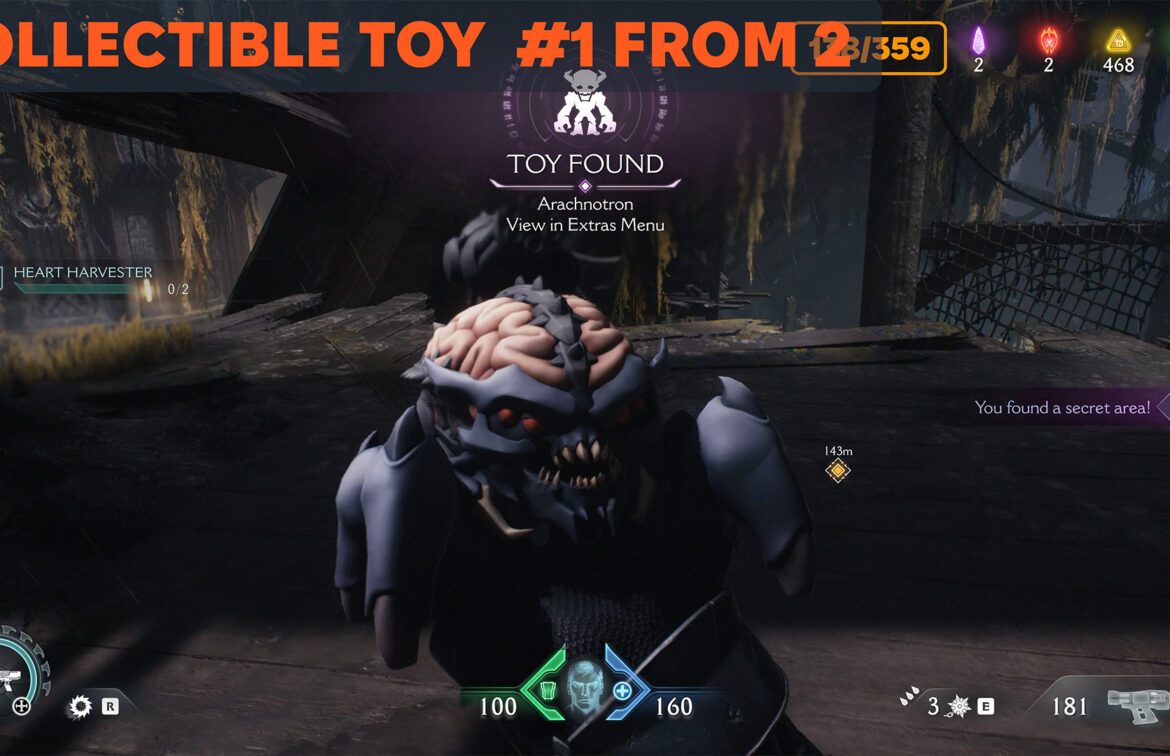
- Spire of Nerathul first toy
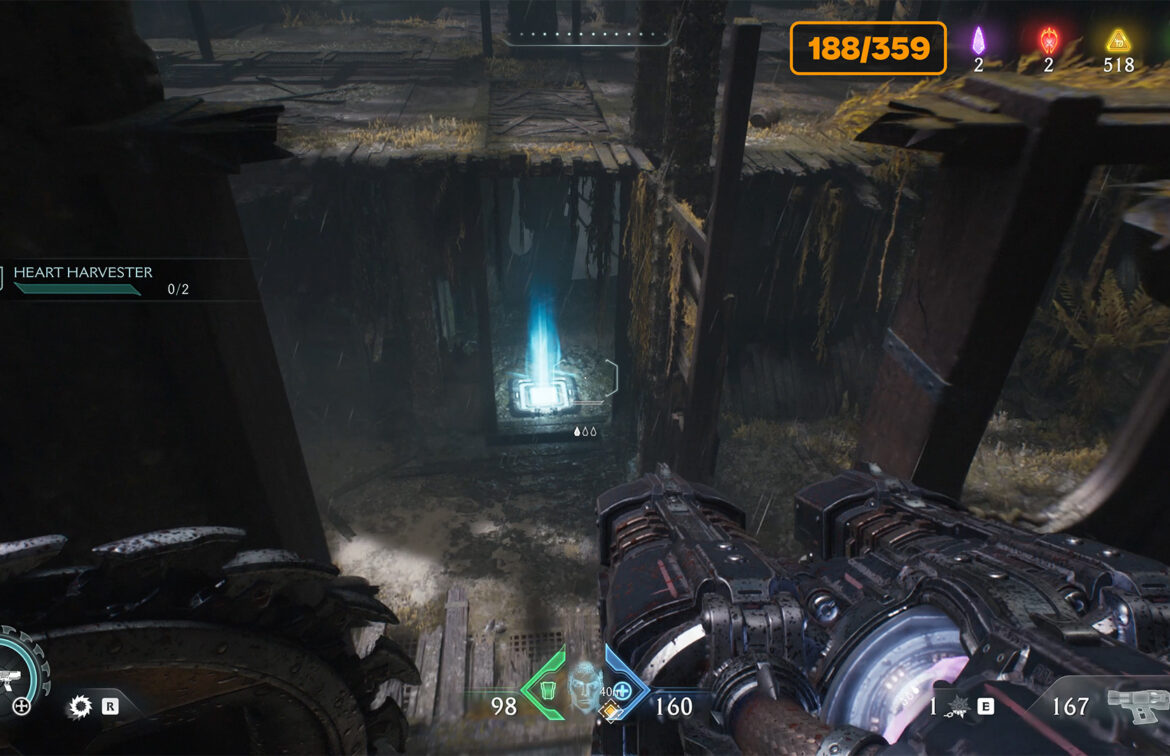
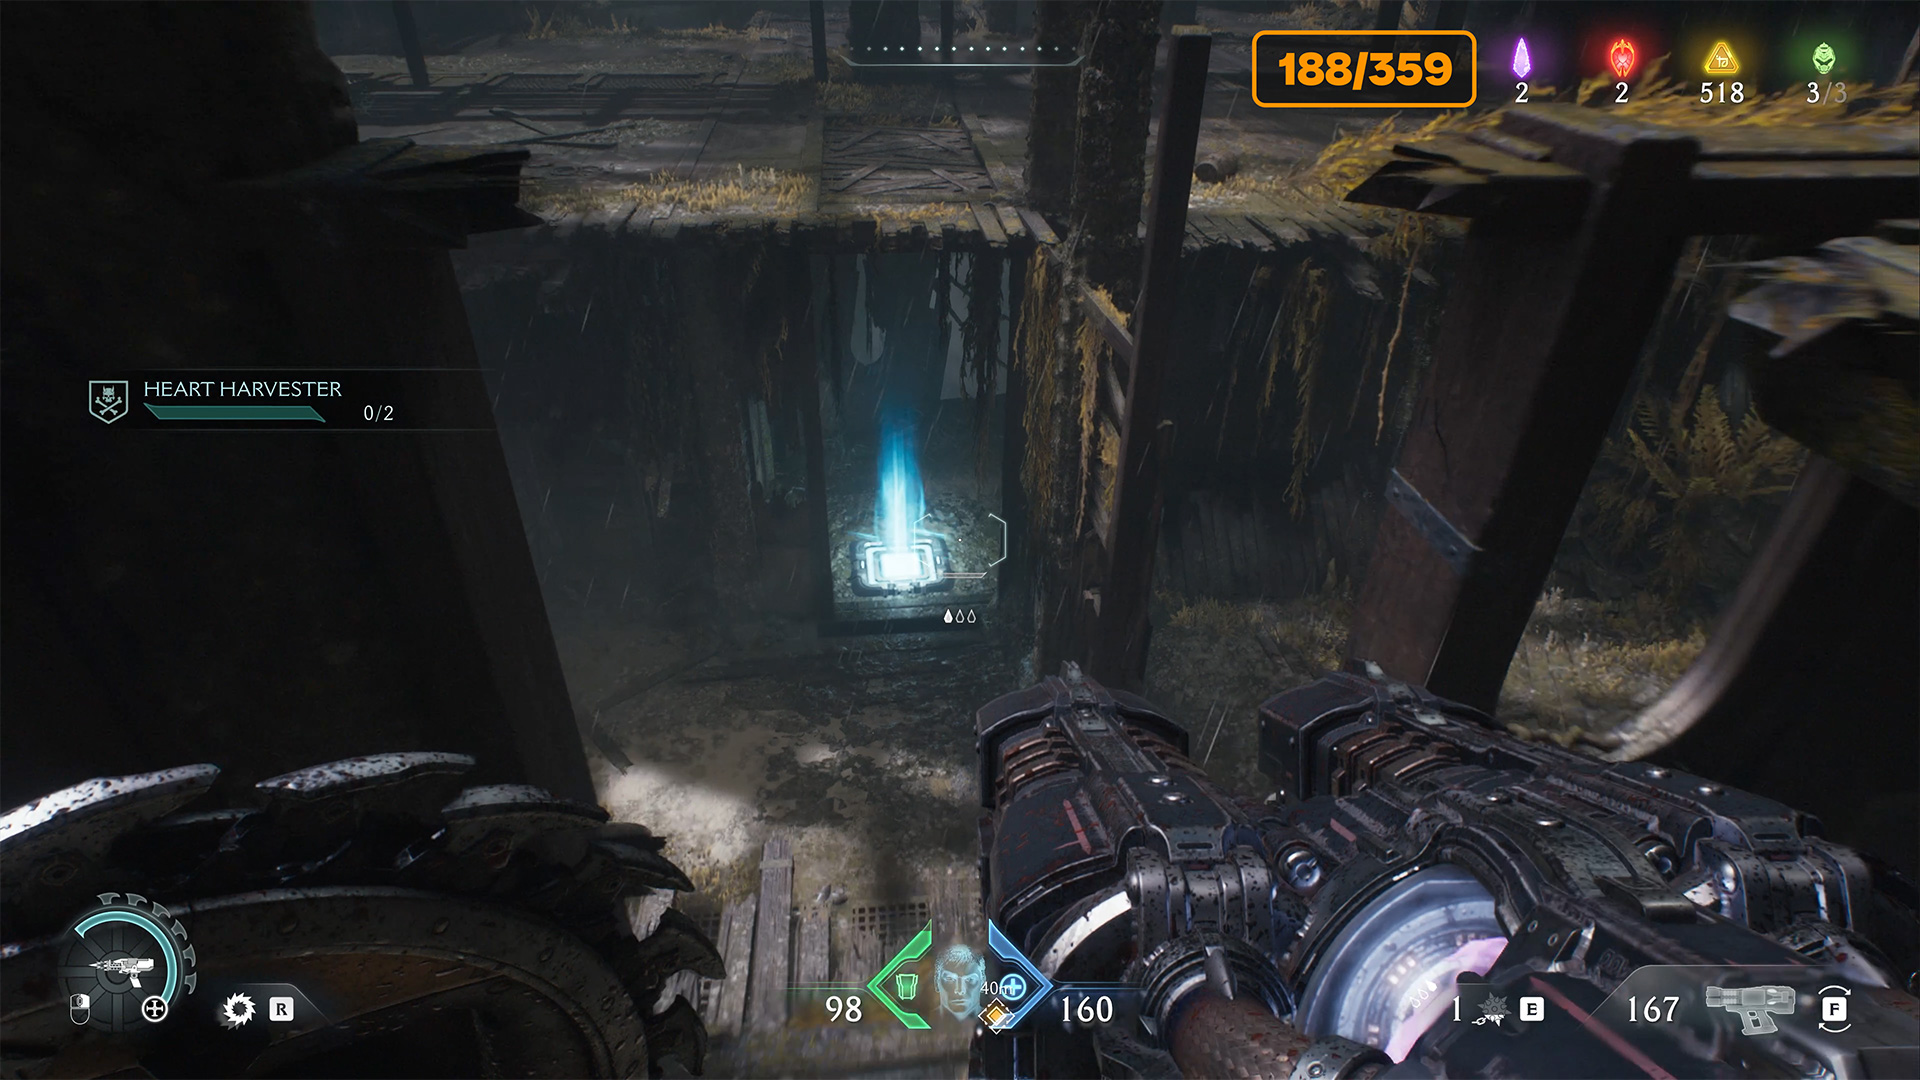
Golden Chest and secret
Go down the ramp. Look in the direction where my character is and you will see an accelerator, followed by a wooden wall. Behind the wall is an explosive barrel. Shoot her to break the wall. Now you can jump into this room. Here you will find another secret, as well as a large golden chest. Smash it to get 50 gold. To get outside, use the accelerator you saw earlier.
-
- Golden Chest and secret location
-

- Golden Chest and secret
Spire of Nerathul ruby stone
After that, move forward until you reach a room where there are many explosive red barrels. Find the place I show you on the map. Be careful, because here you have to turn around and look in the direction of where you came from. You’ll see the metal connection holding the container.
Throw the shield to break the connection, then go there and you will see a new accelerator there that will throw you on the platform where you will find 5 gold and a second ruby in the secret zone.
-
- Spire of Nerathul ruby stone location
-
- Metal connection holding the gate
-
- Access to the accelerator is open
-
- Spire of Nerathul ruby stone
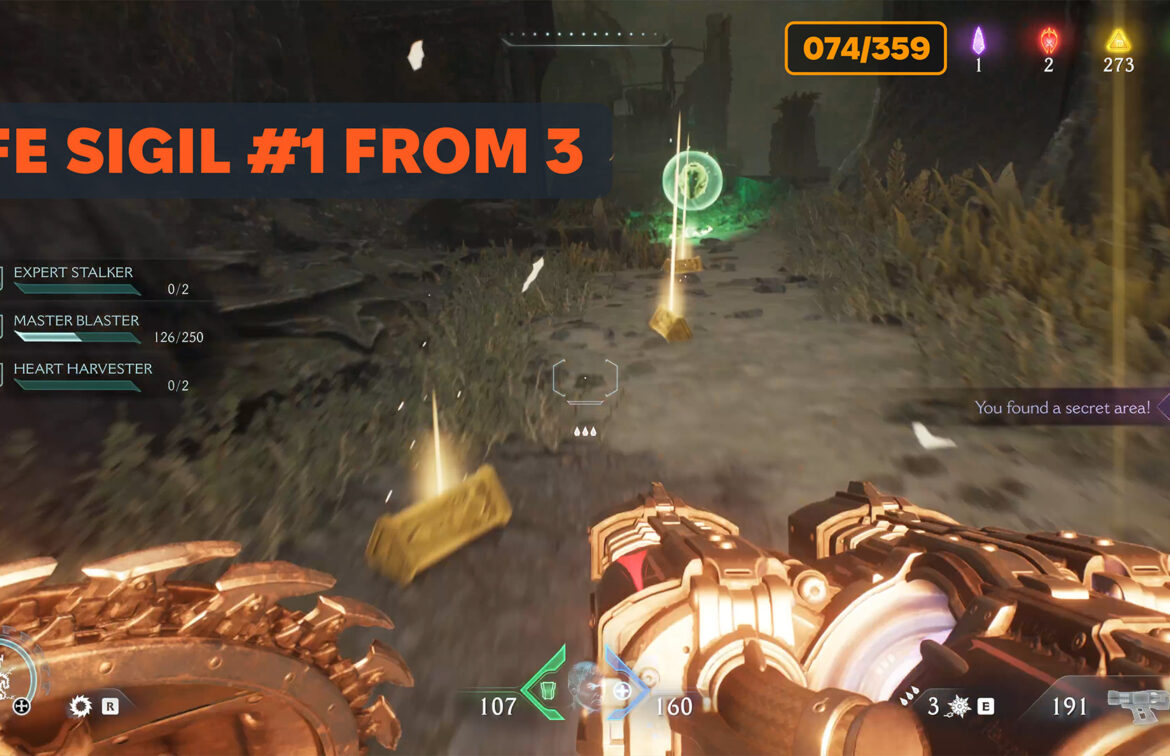
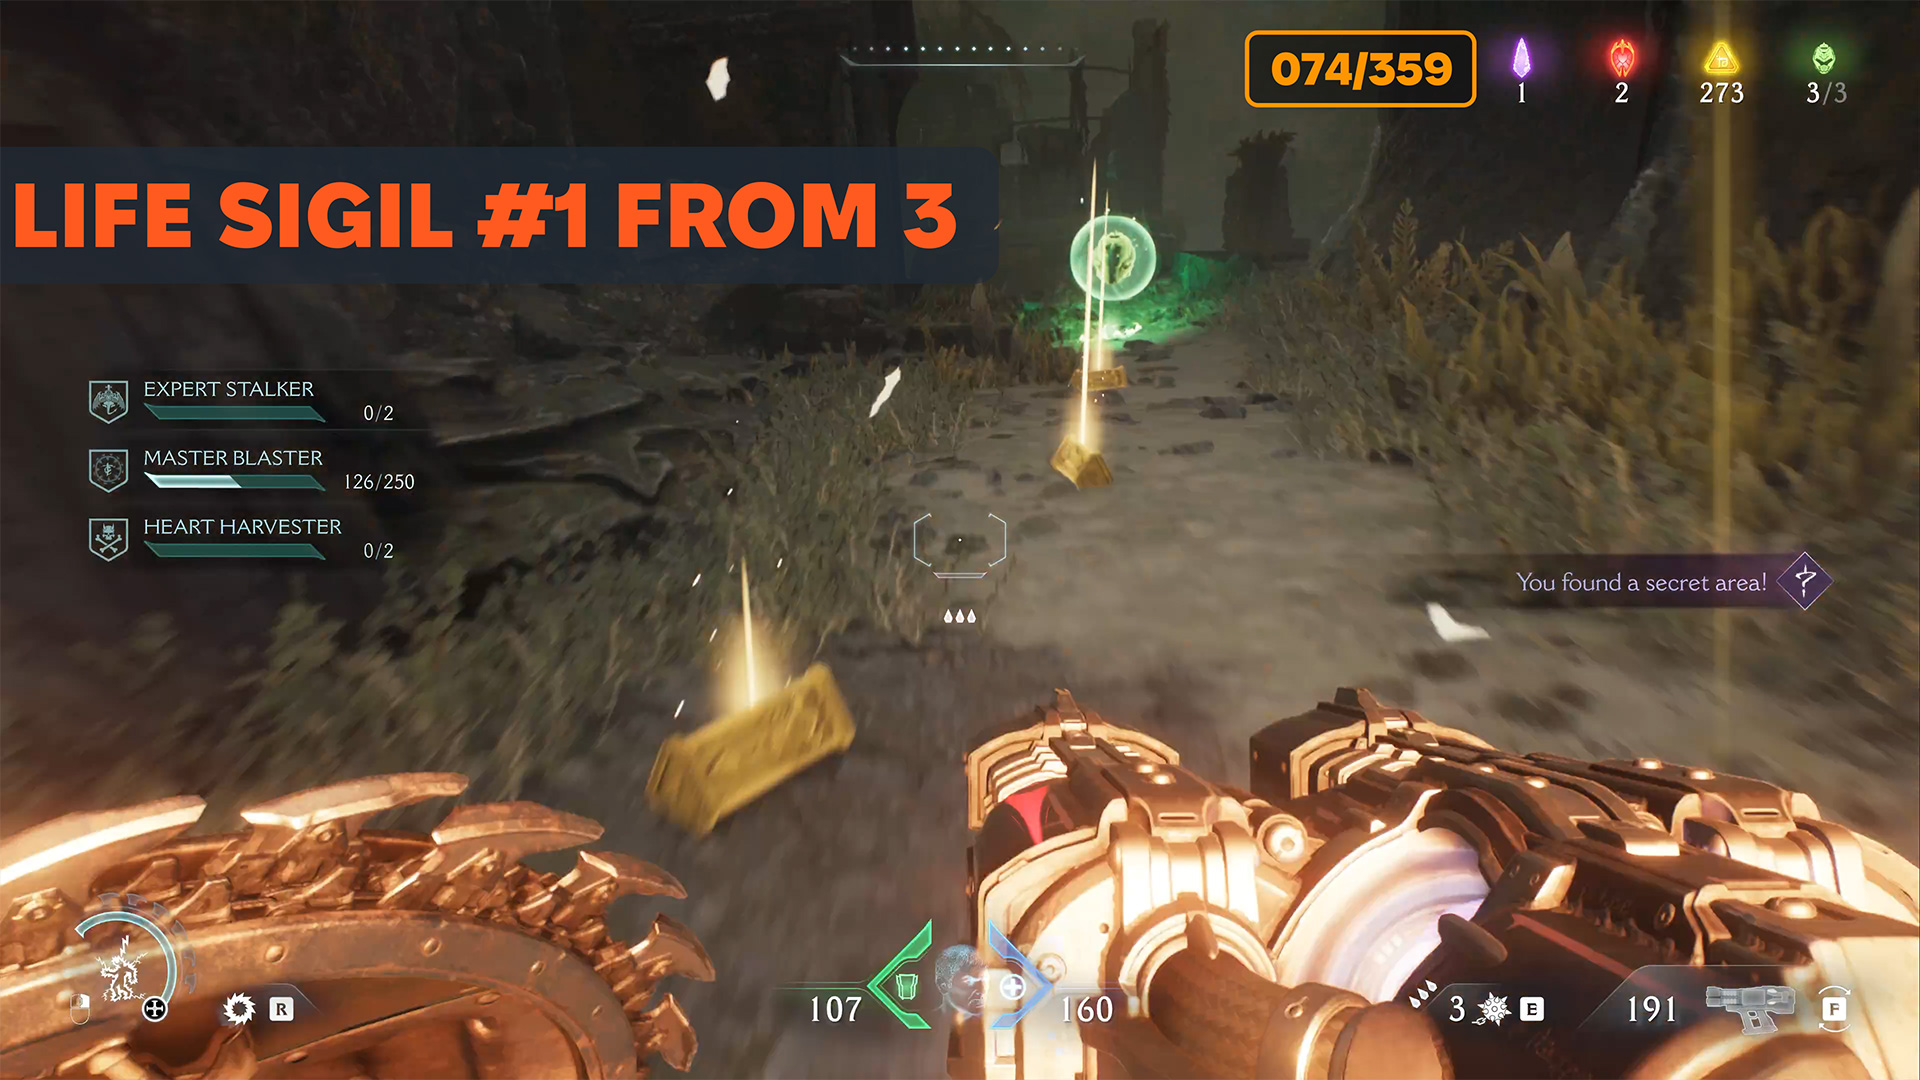
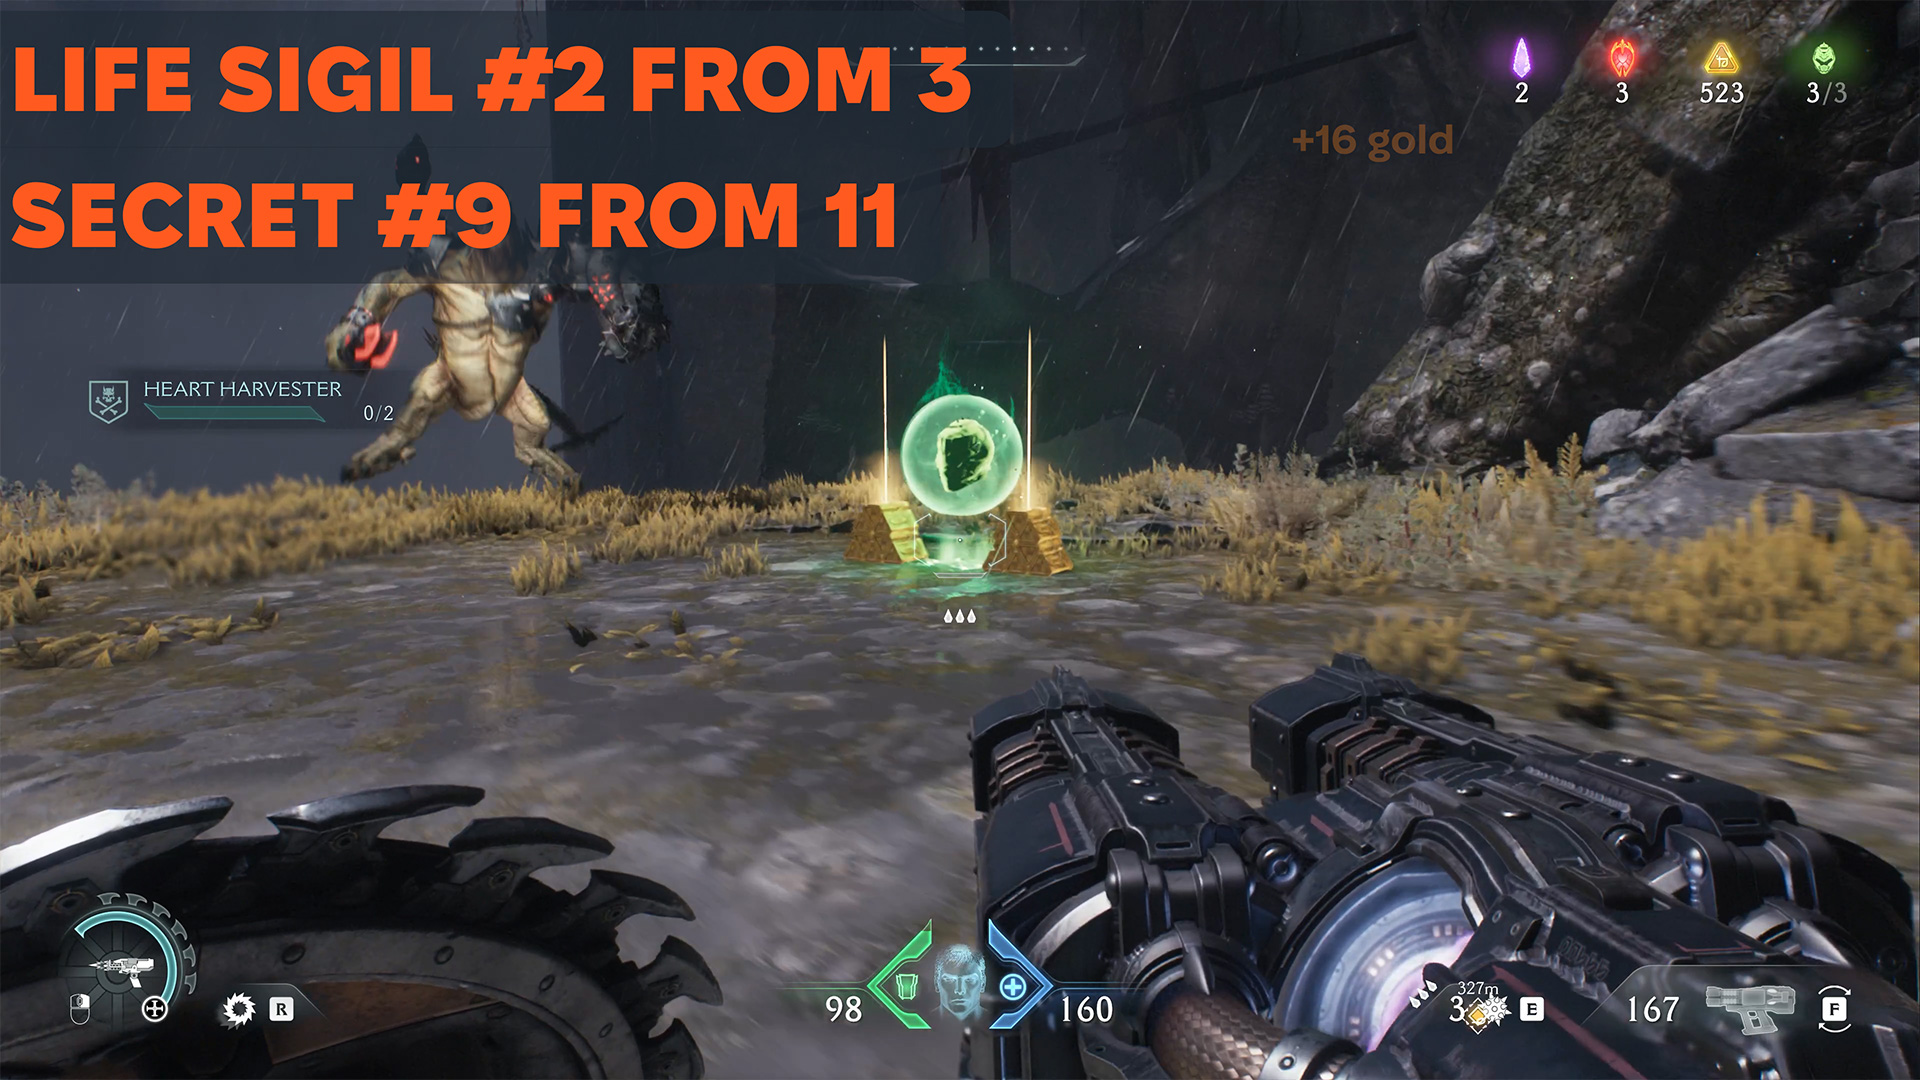
Gold secret and Life Sigil
Go on until you need to jump down to the ground. There will be enemies ahead, but you turn around and go the other way from them. Here you will find the ninth secret, 16 gold and the second Life Sigil.
-
- Gold secret and Life Sigil location
-
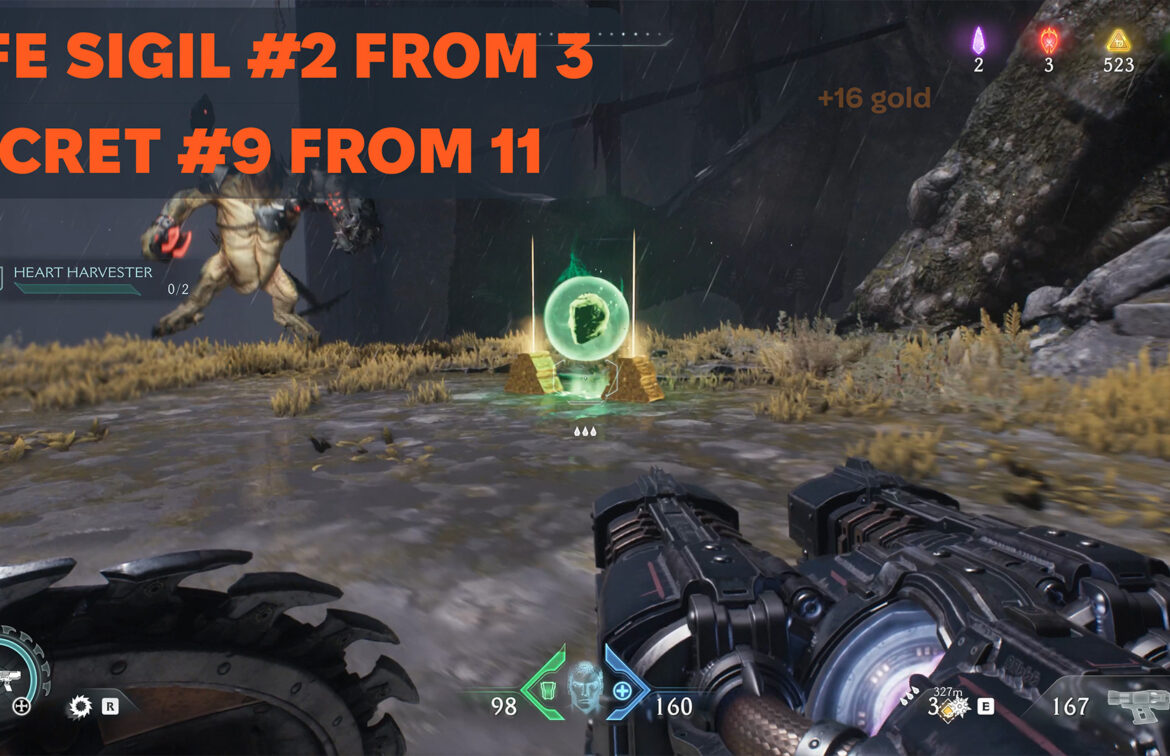
- Gold secret and Life Sigil
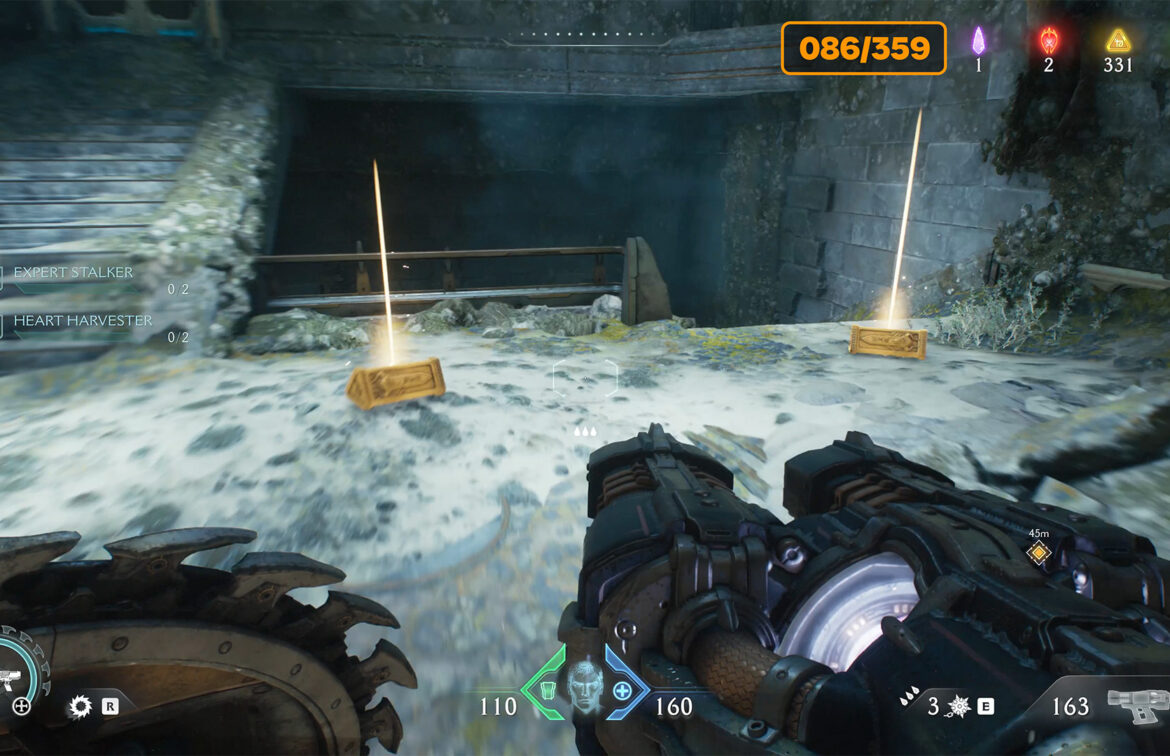
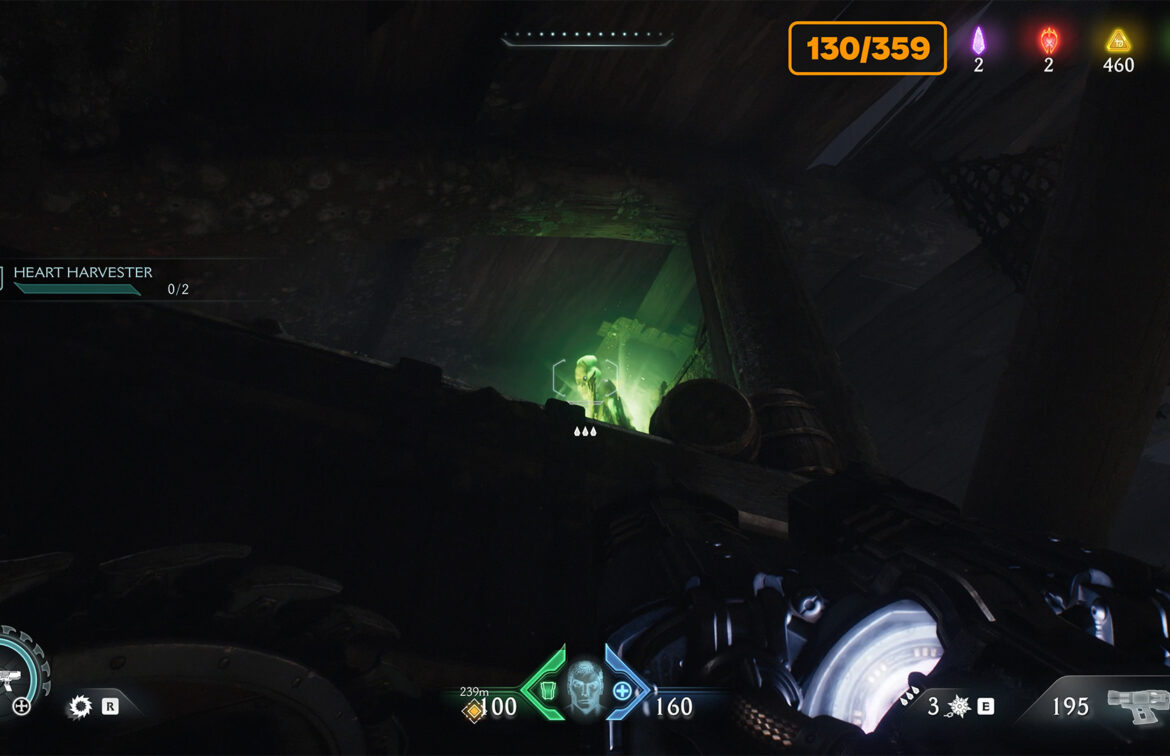
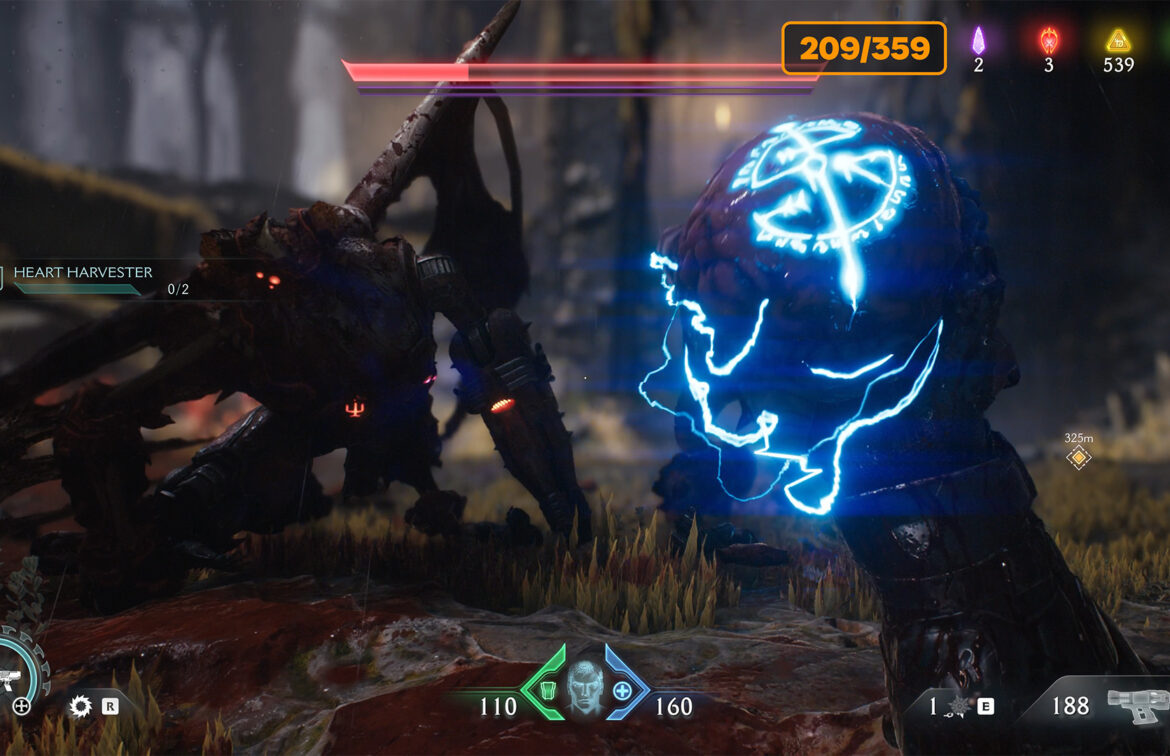
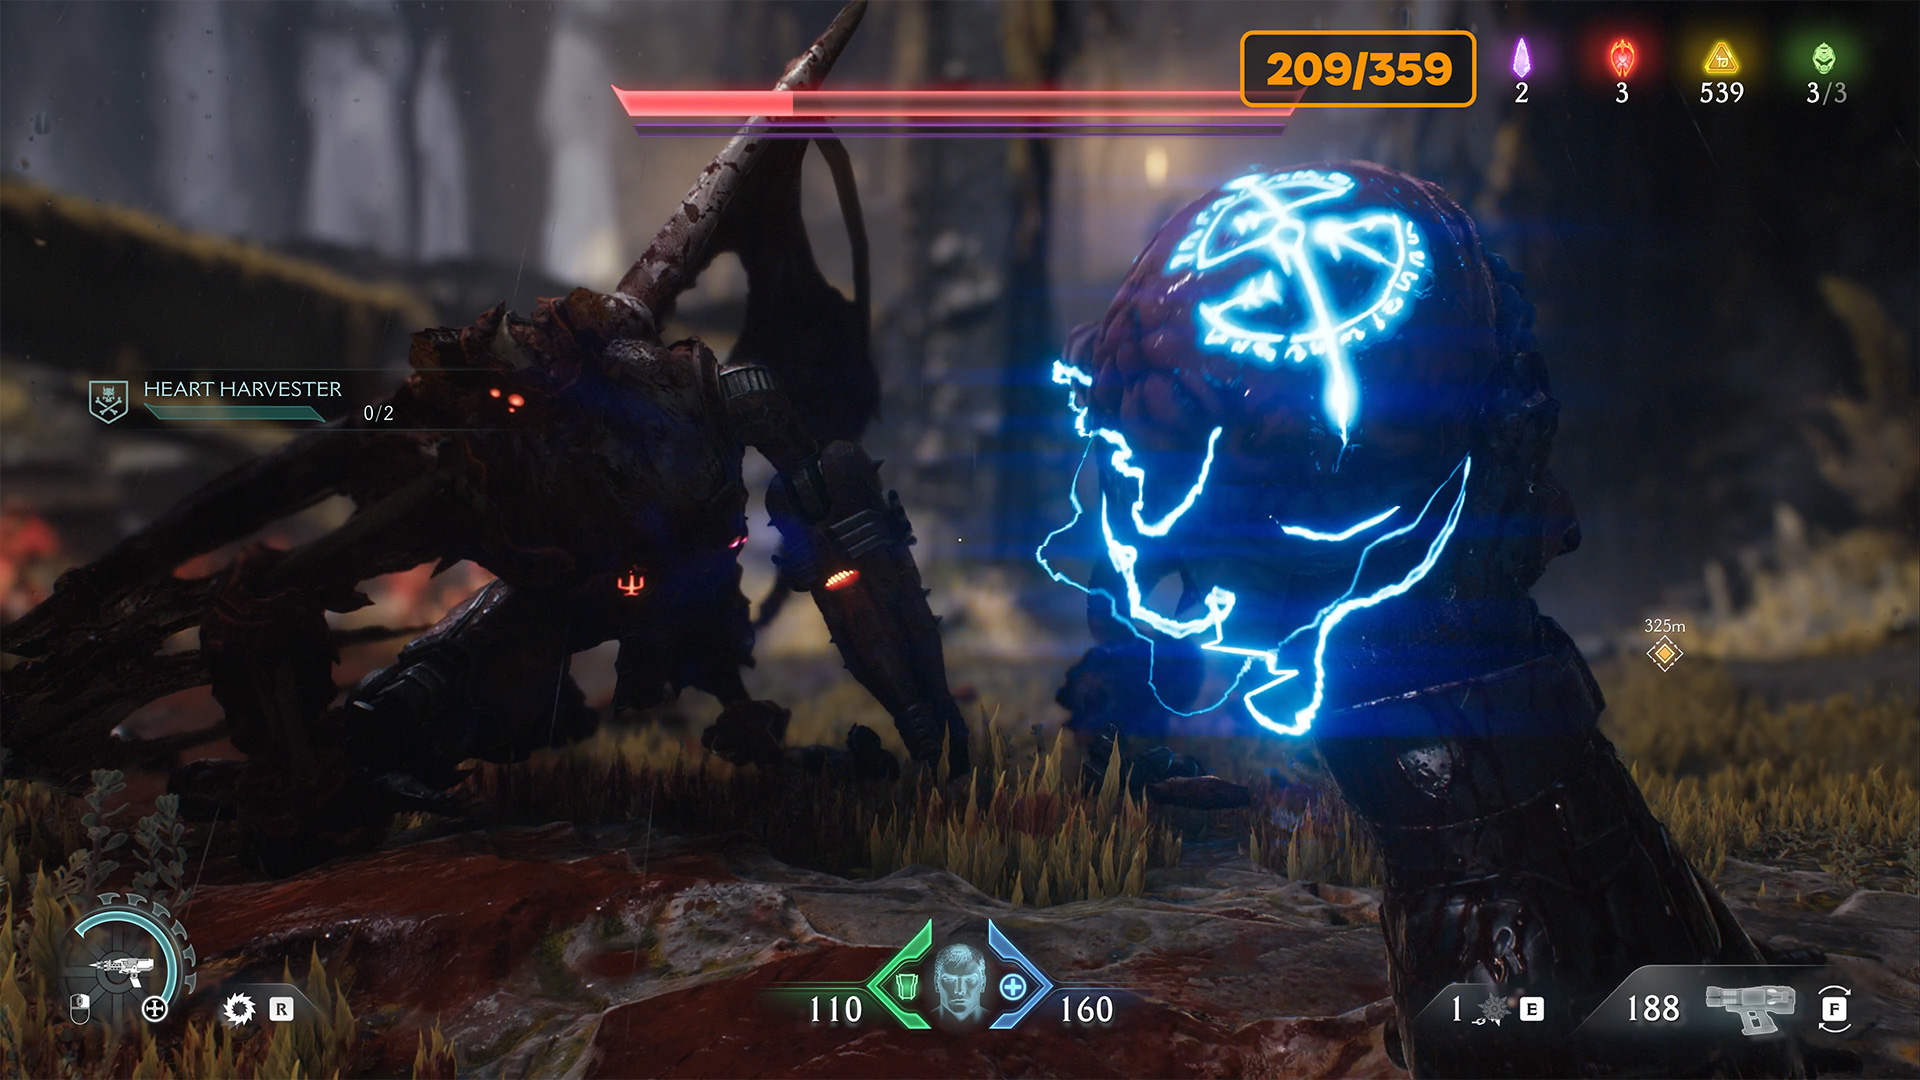
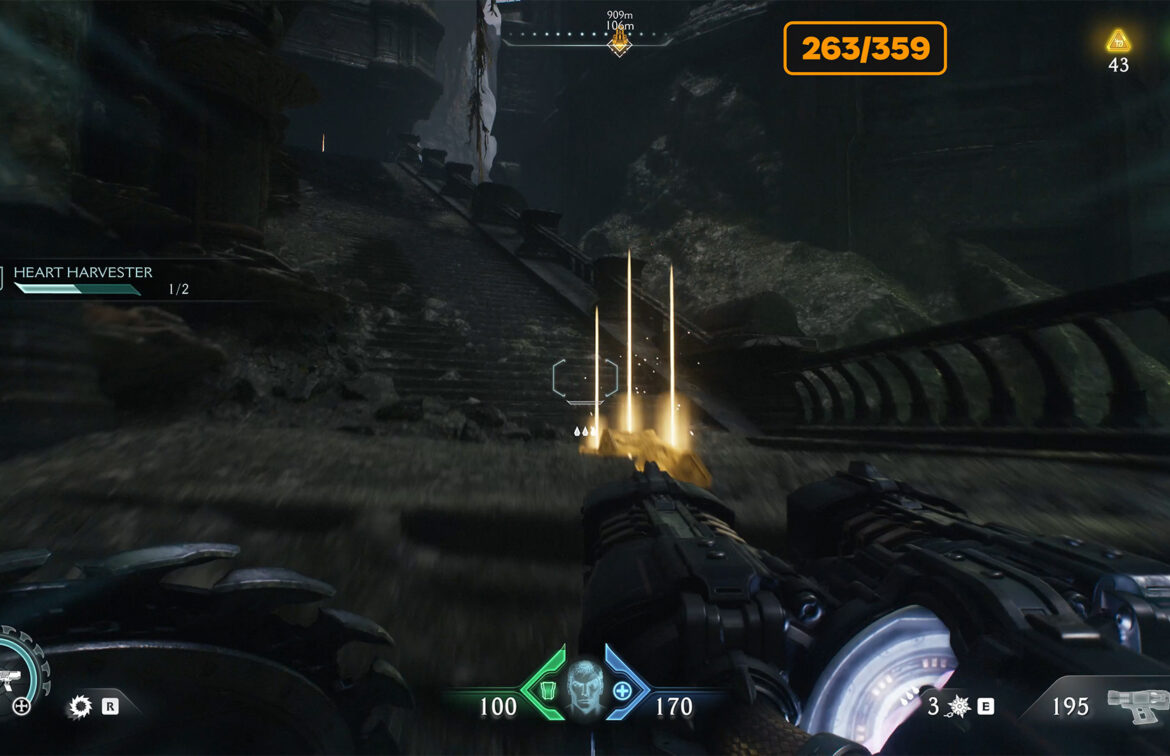
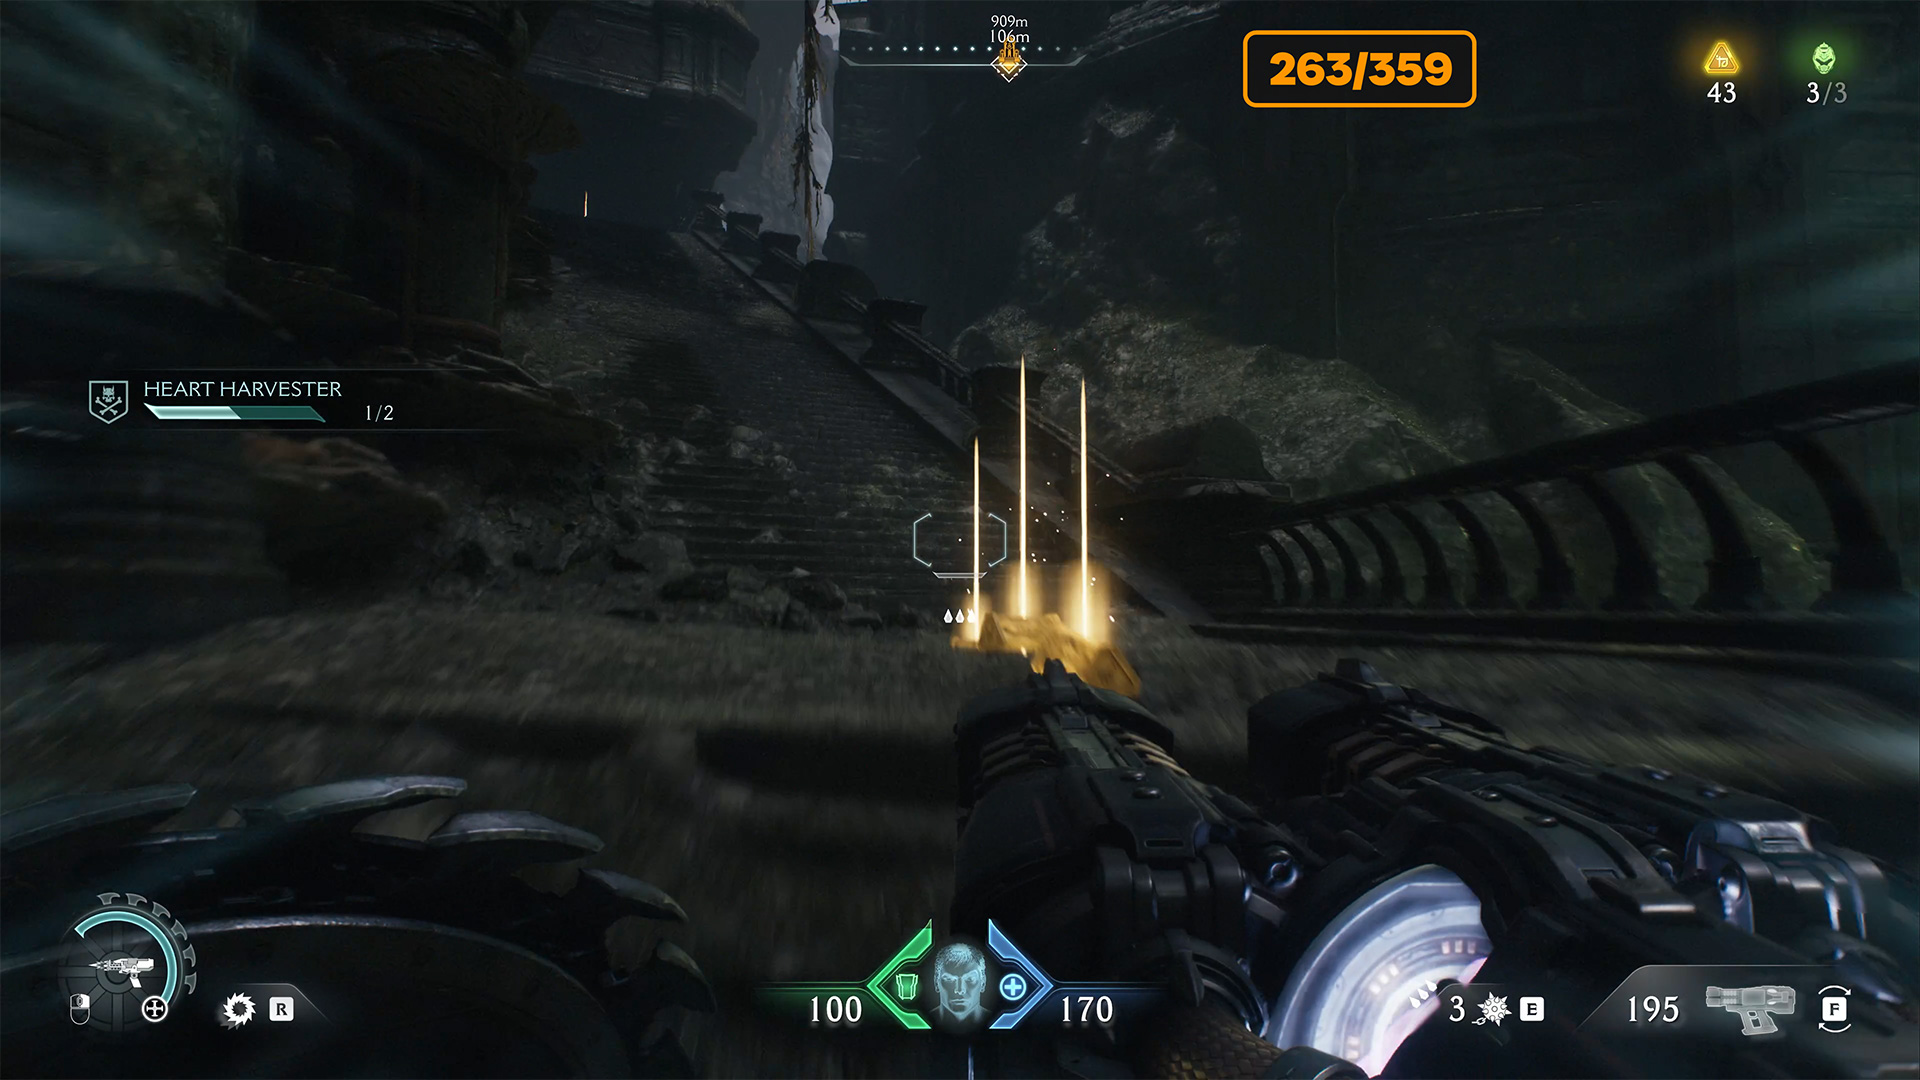
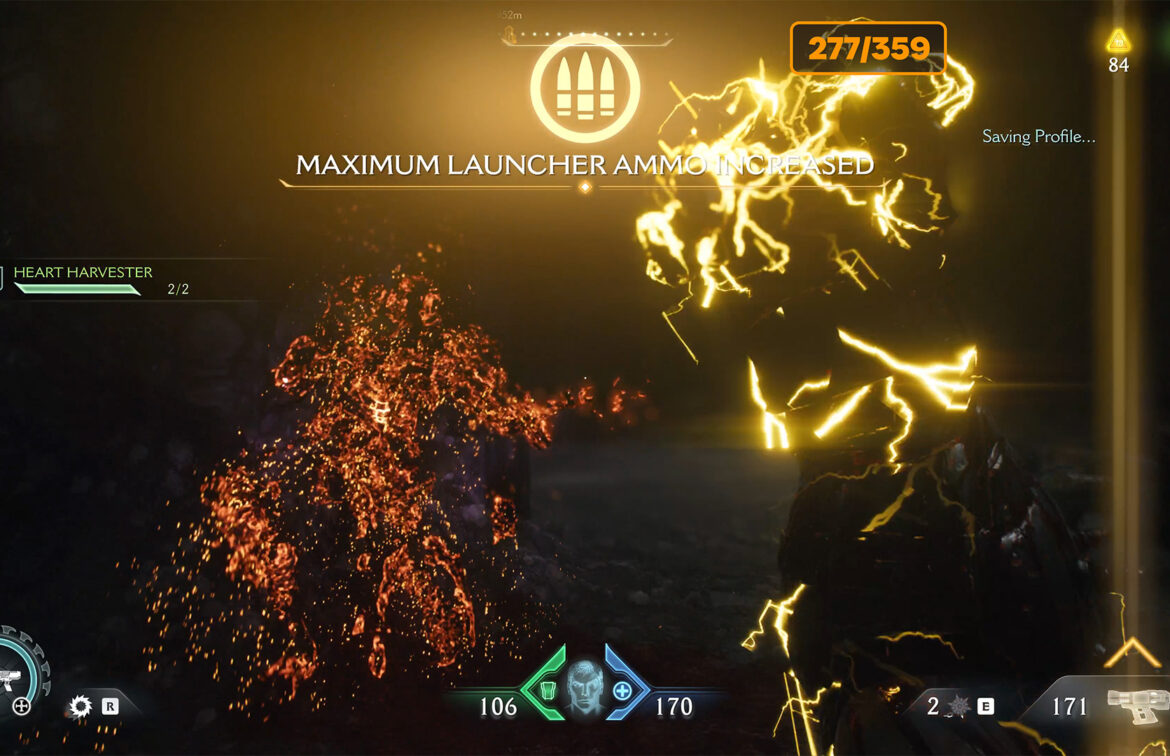
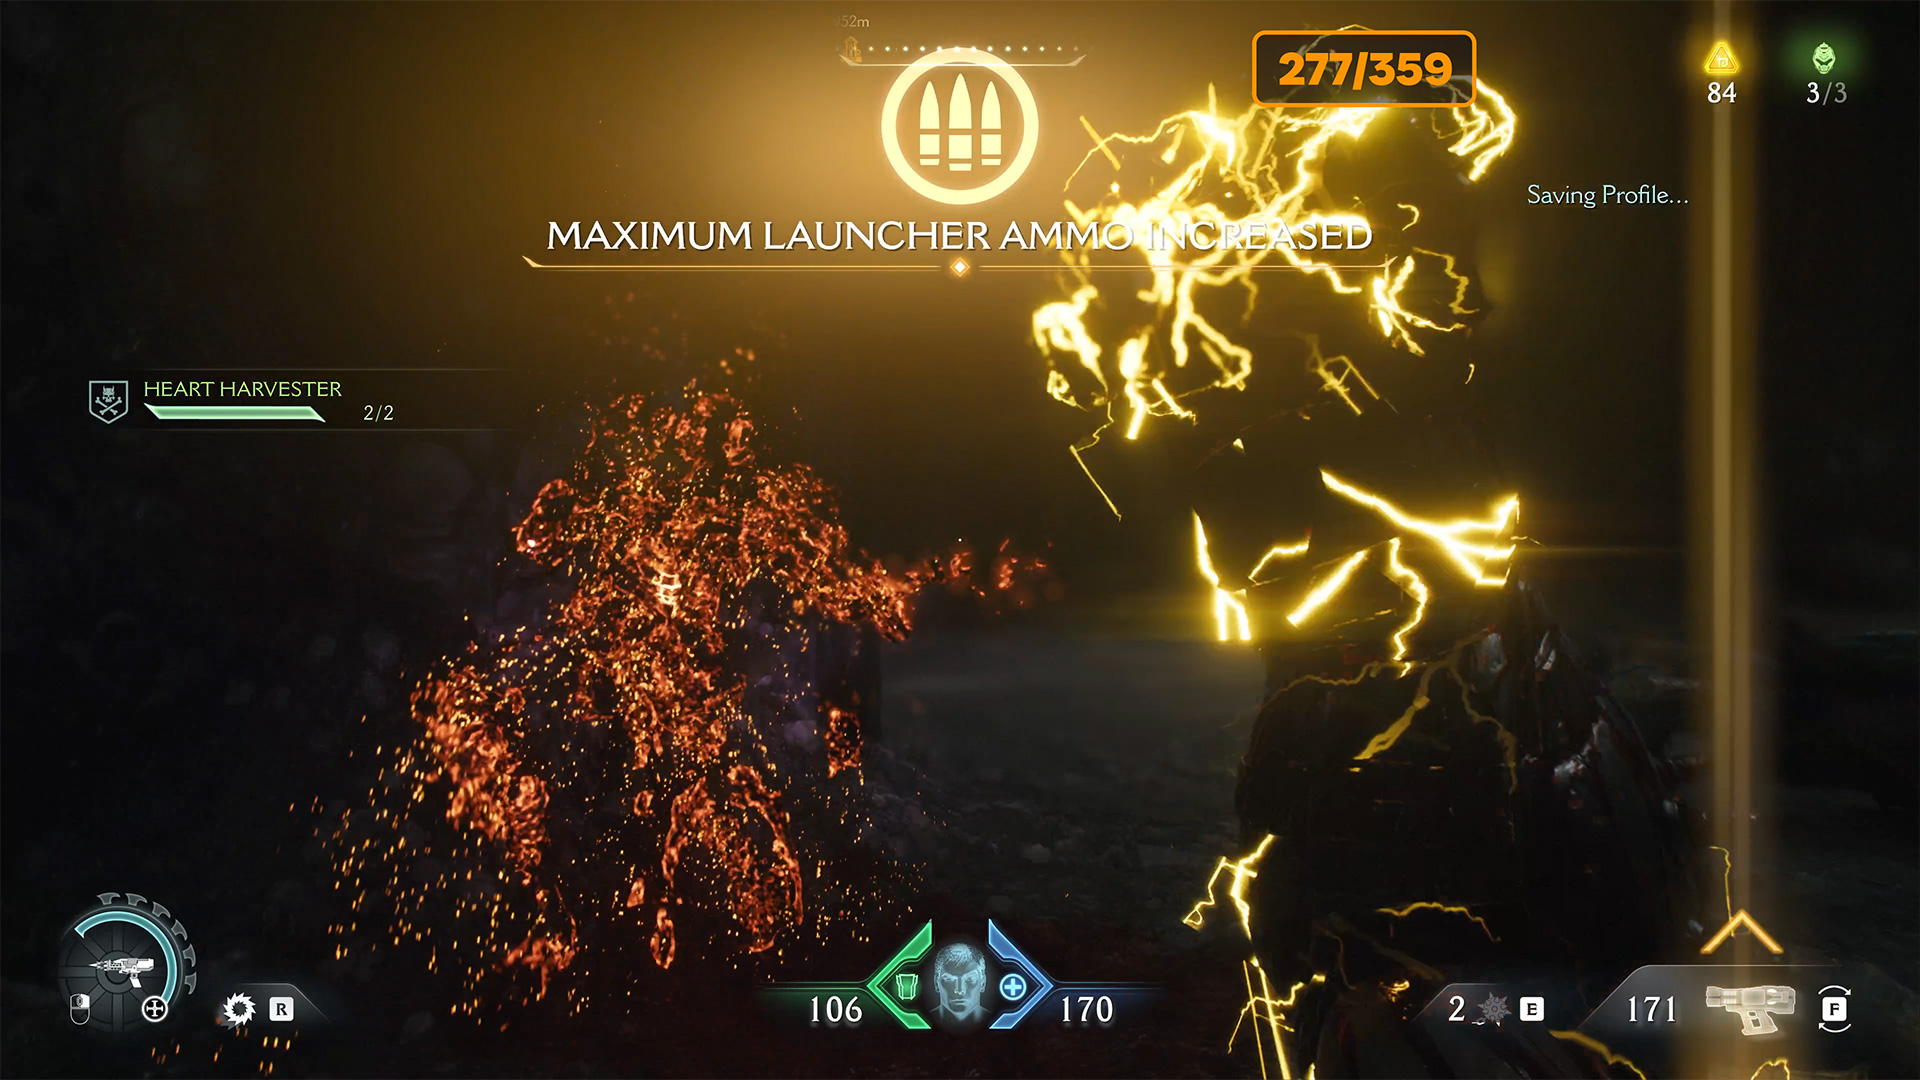
Demonic Essence – health
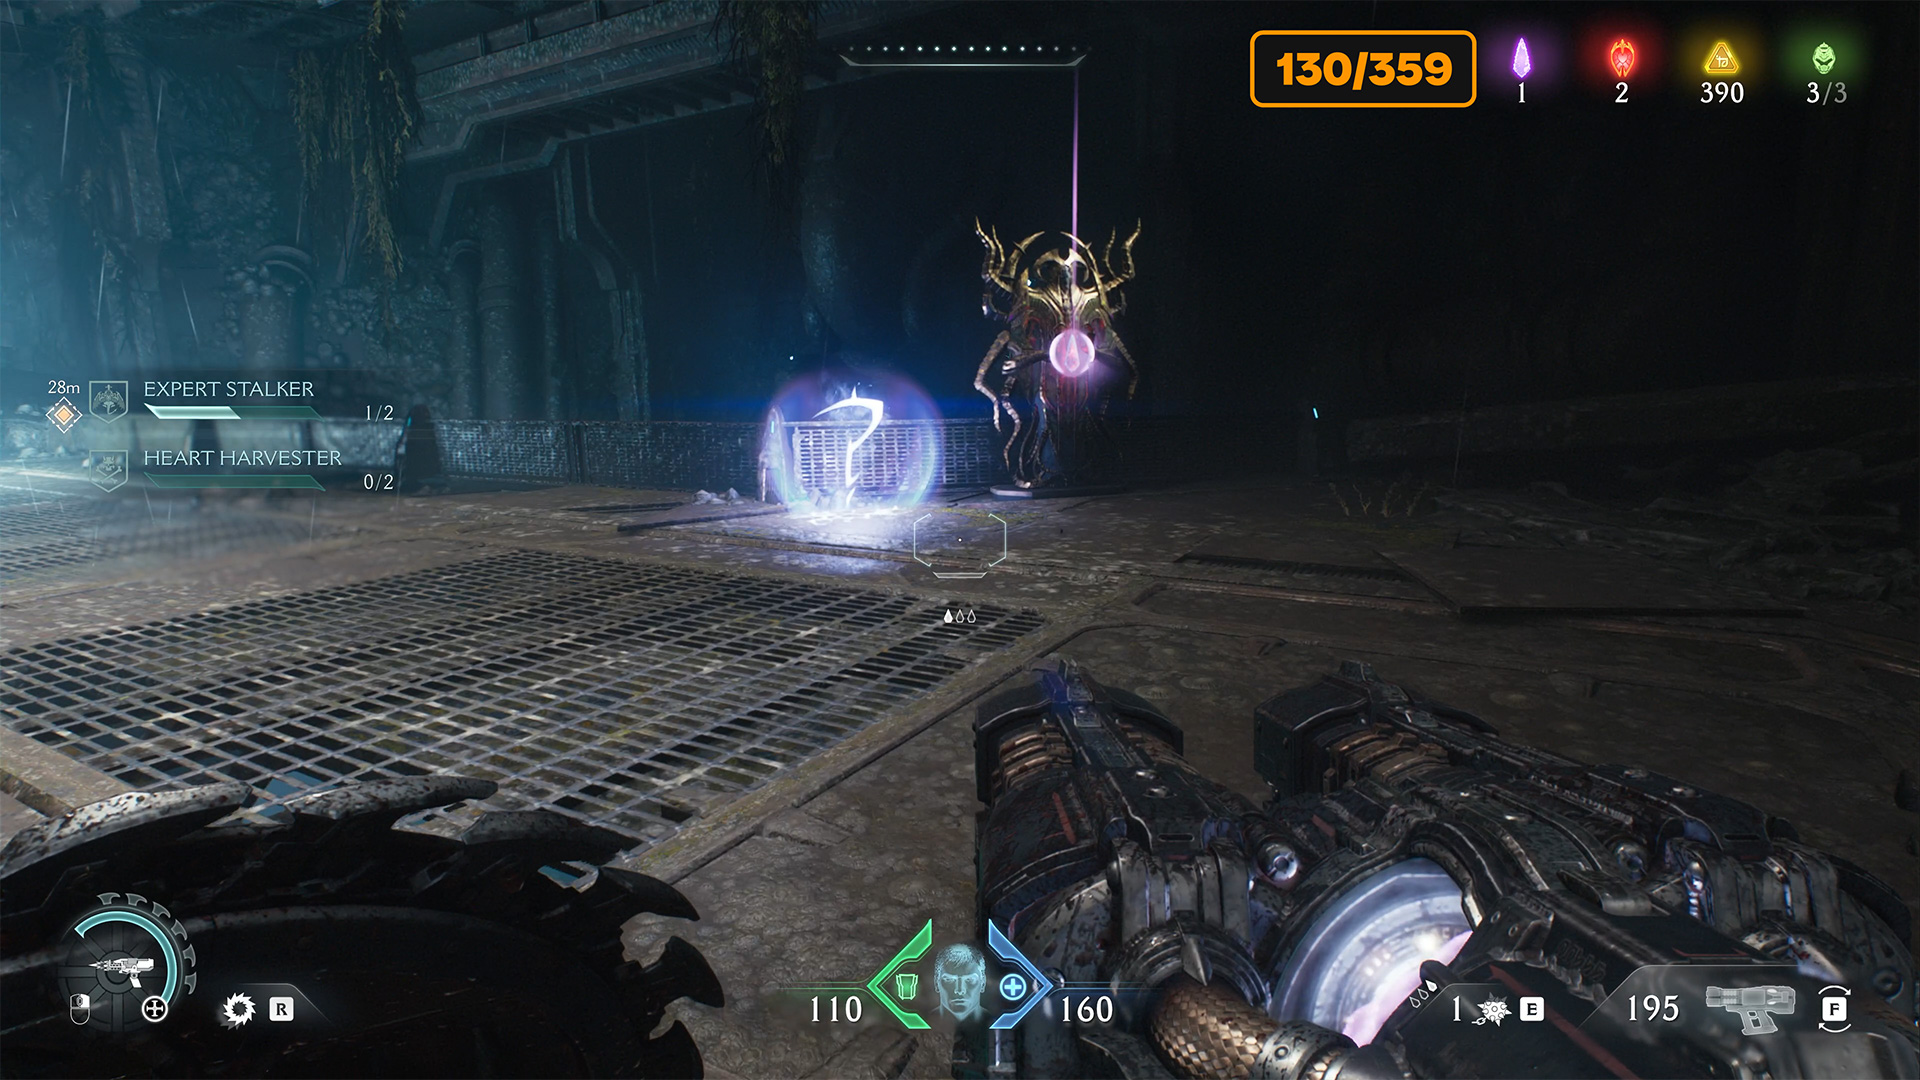
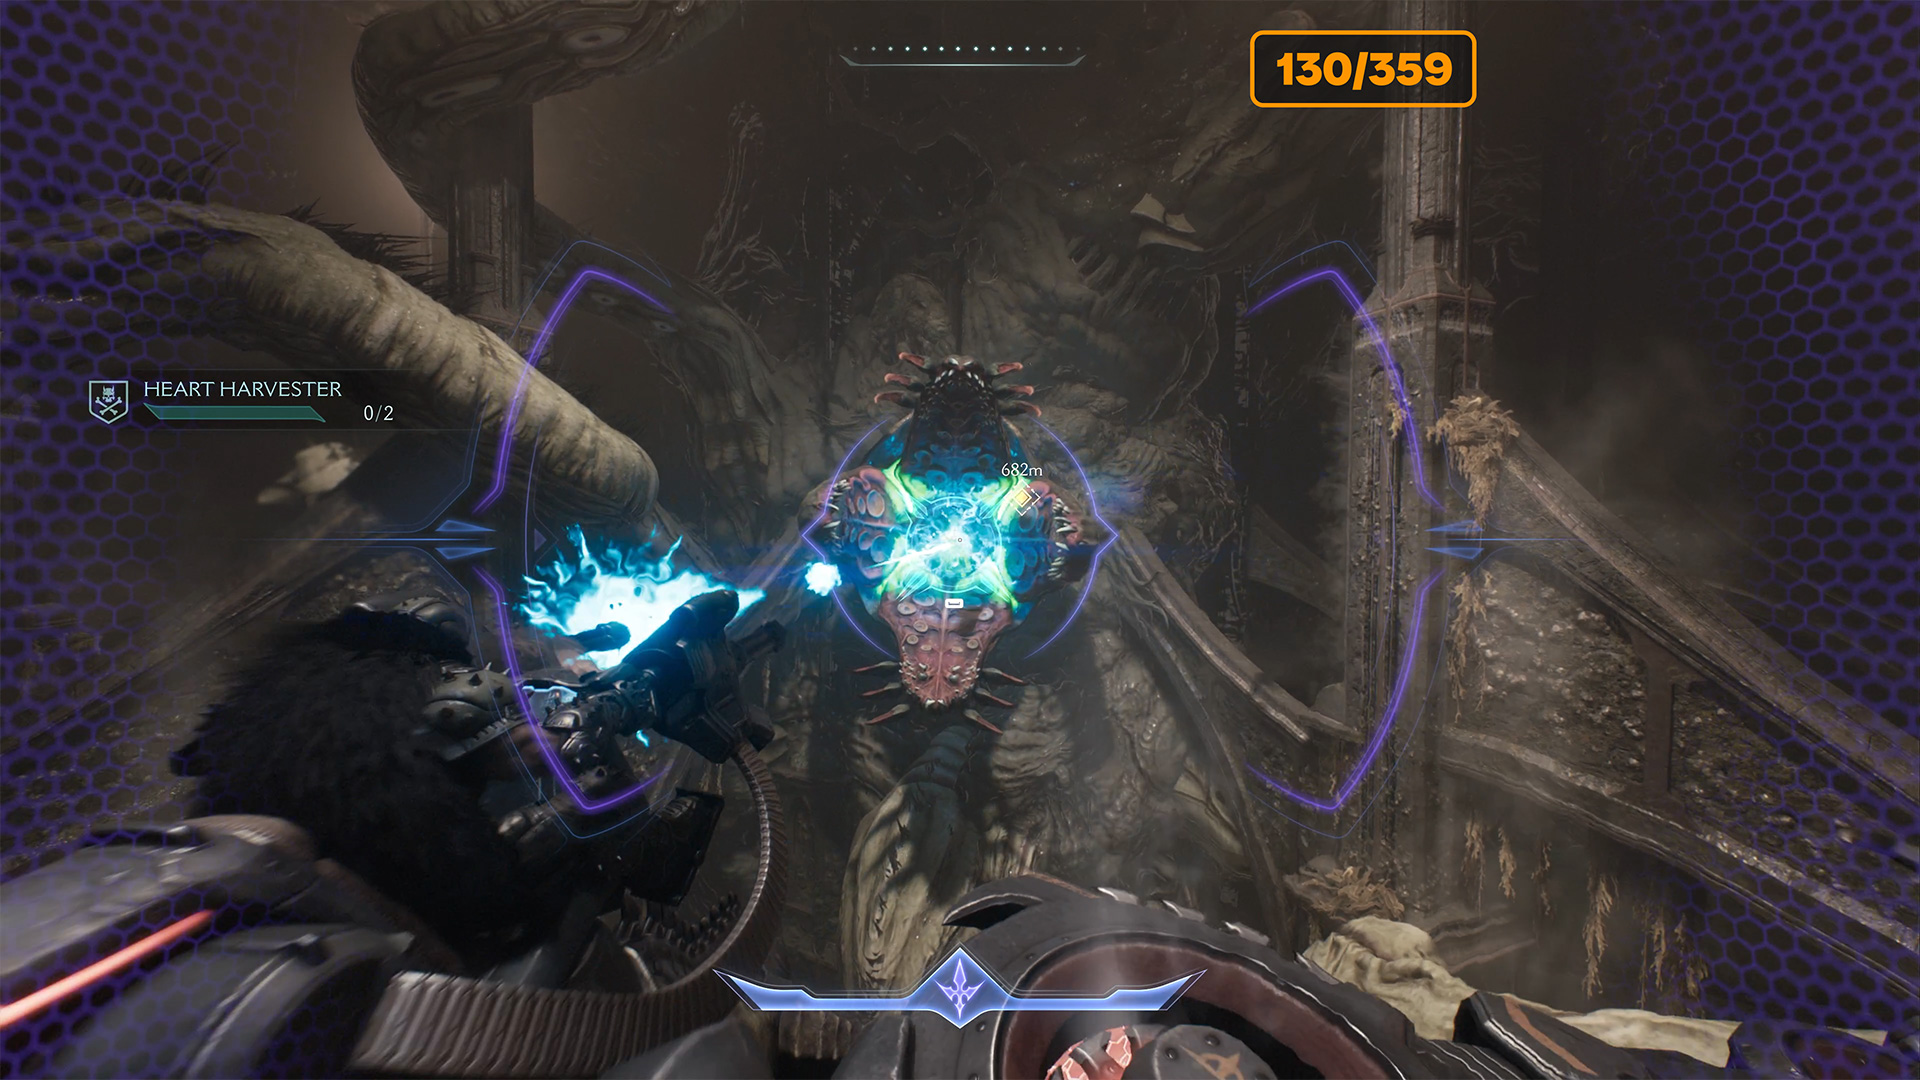
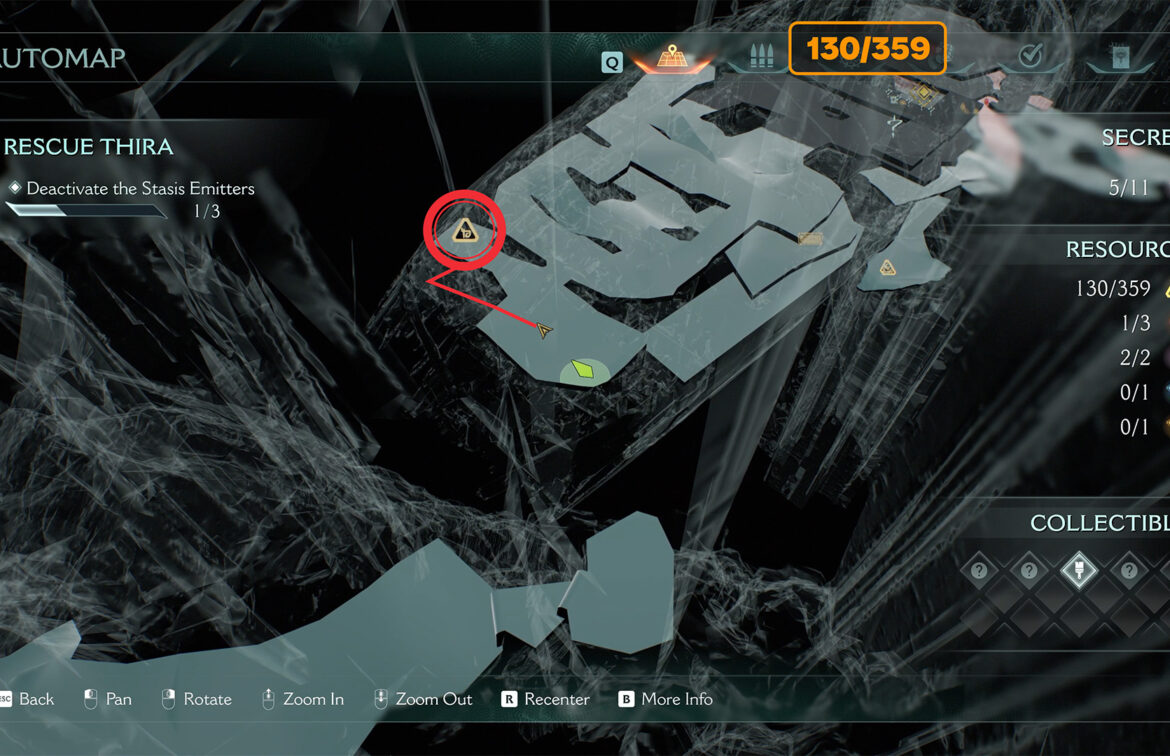
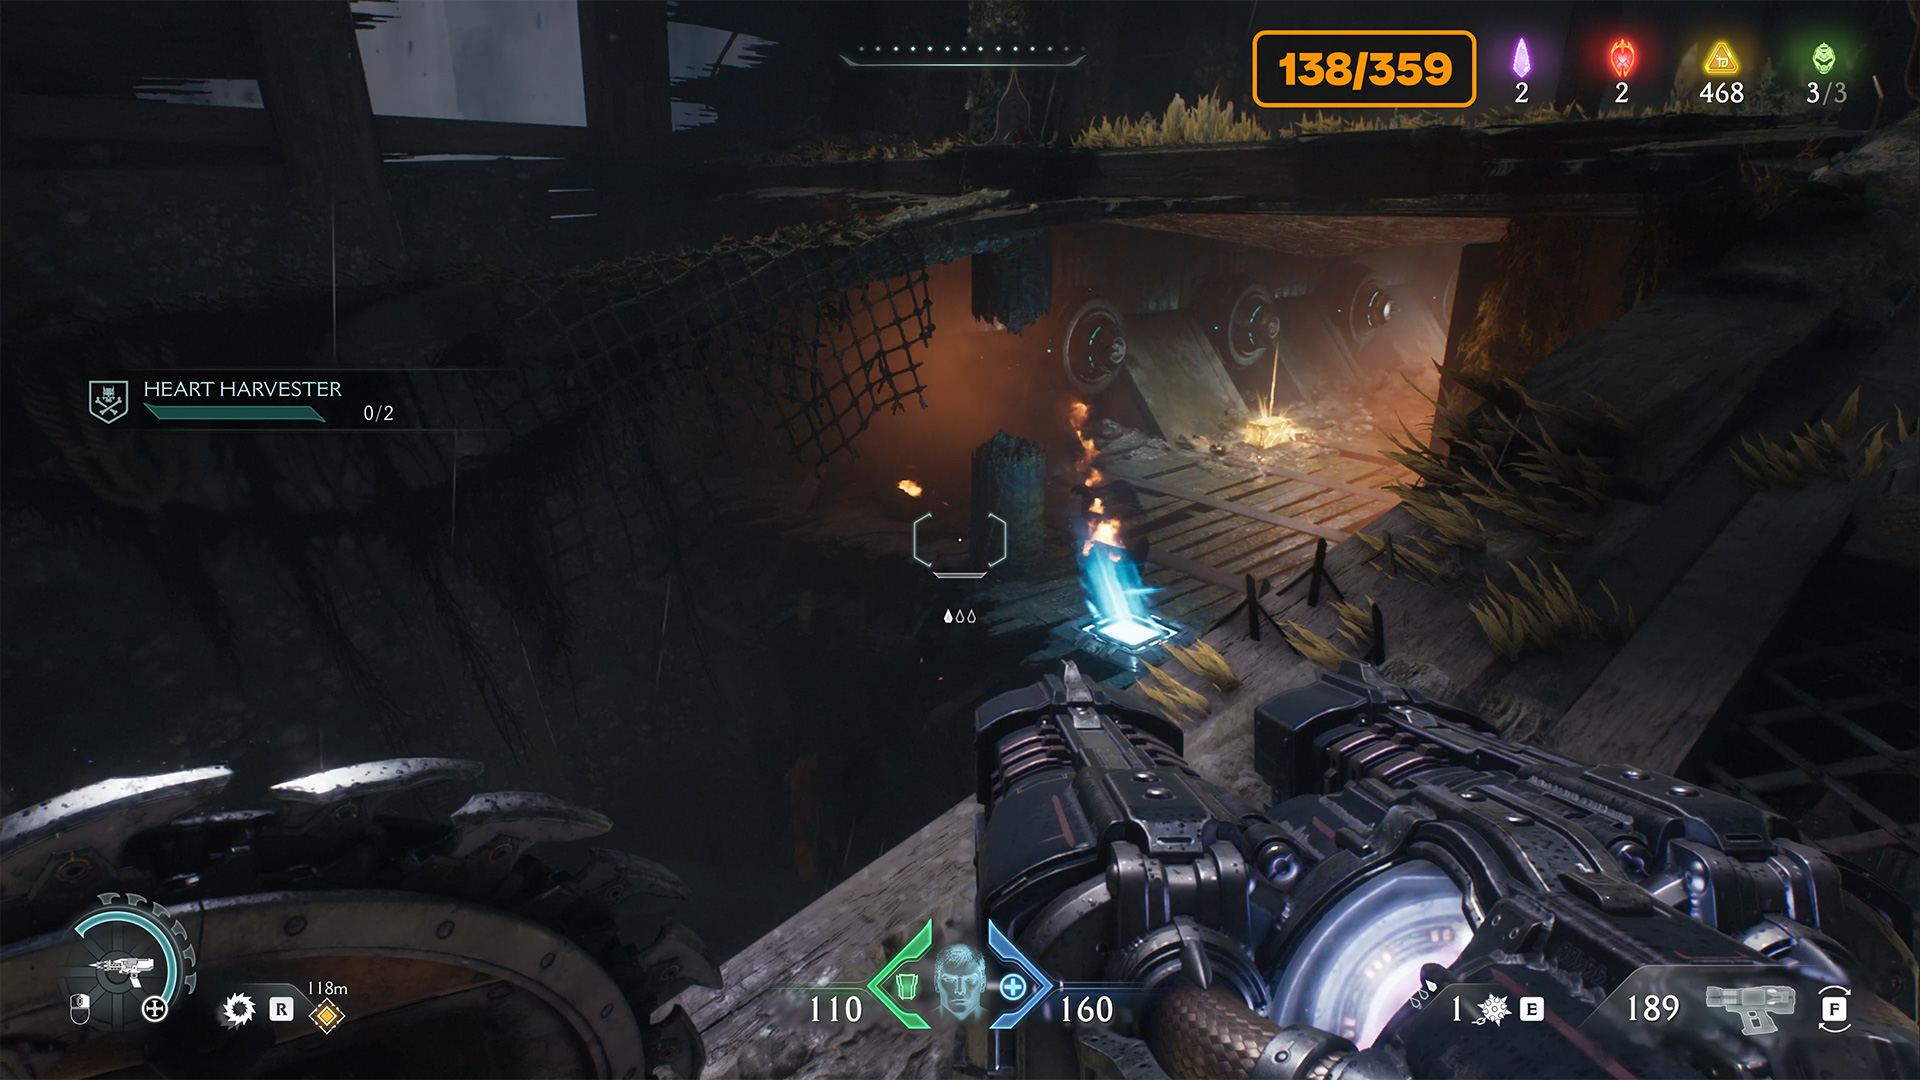
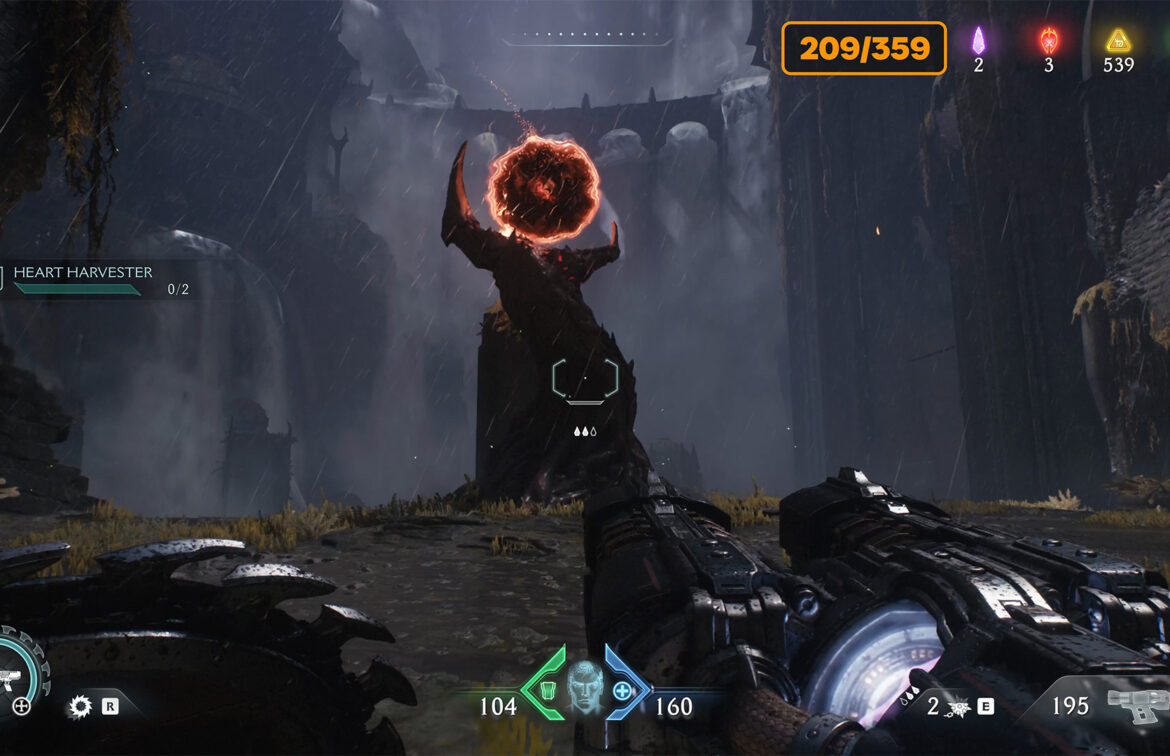
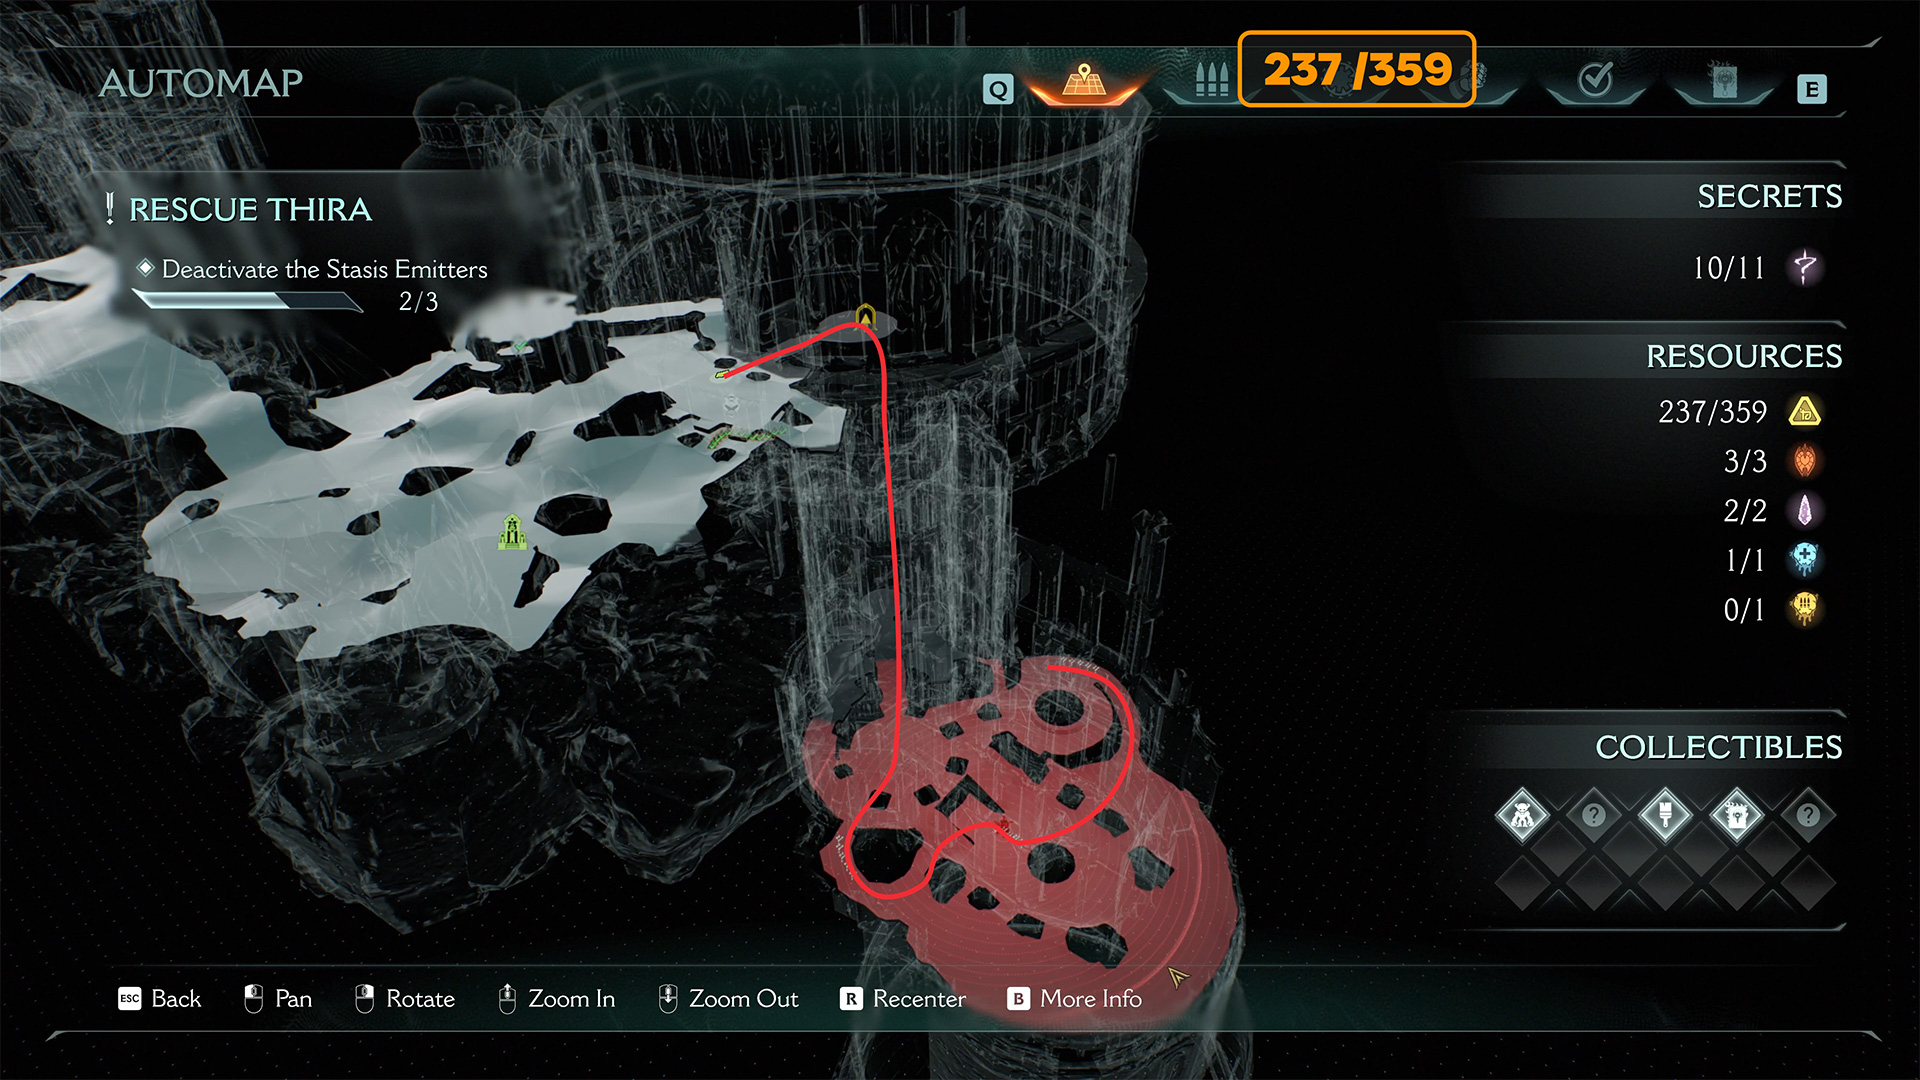
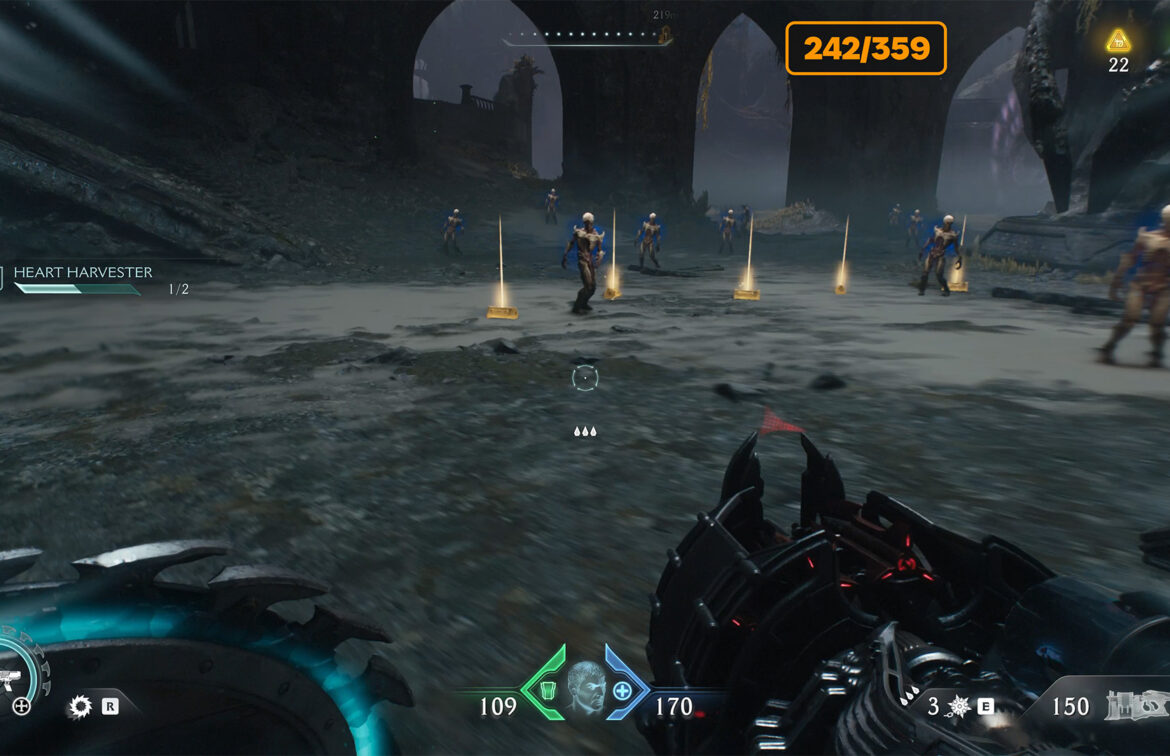
Now move towards the yellow marker, indicating the continuation of the plot. But to his right is another red zone where a battle awaits you. It can be easily missed, but then you will not complete the chapter 100%. Gore Nest is located in this area. Find the green circle on it to break it. After that, you will be attacked by a pack of monsters.
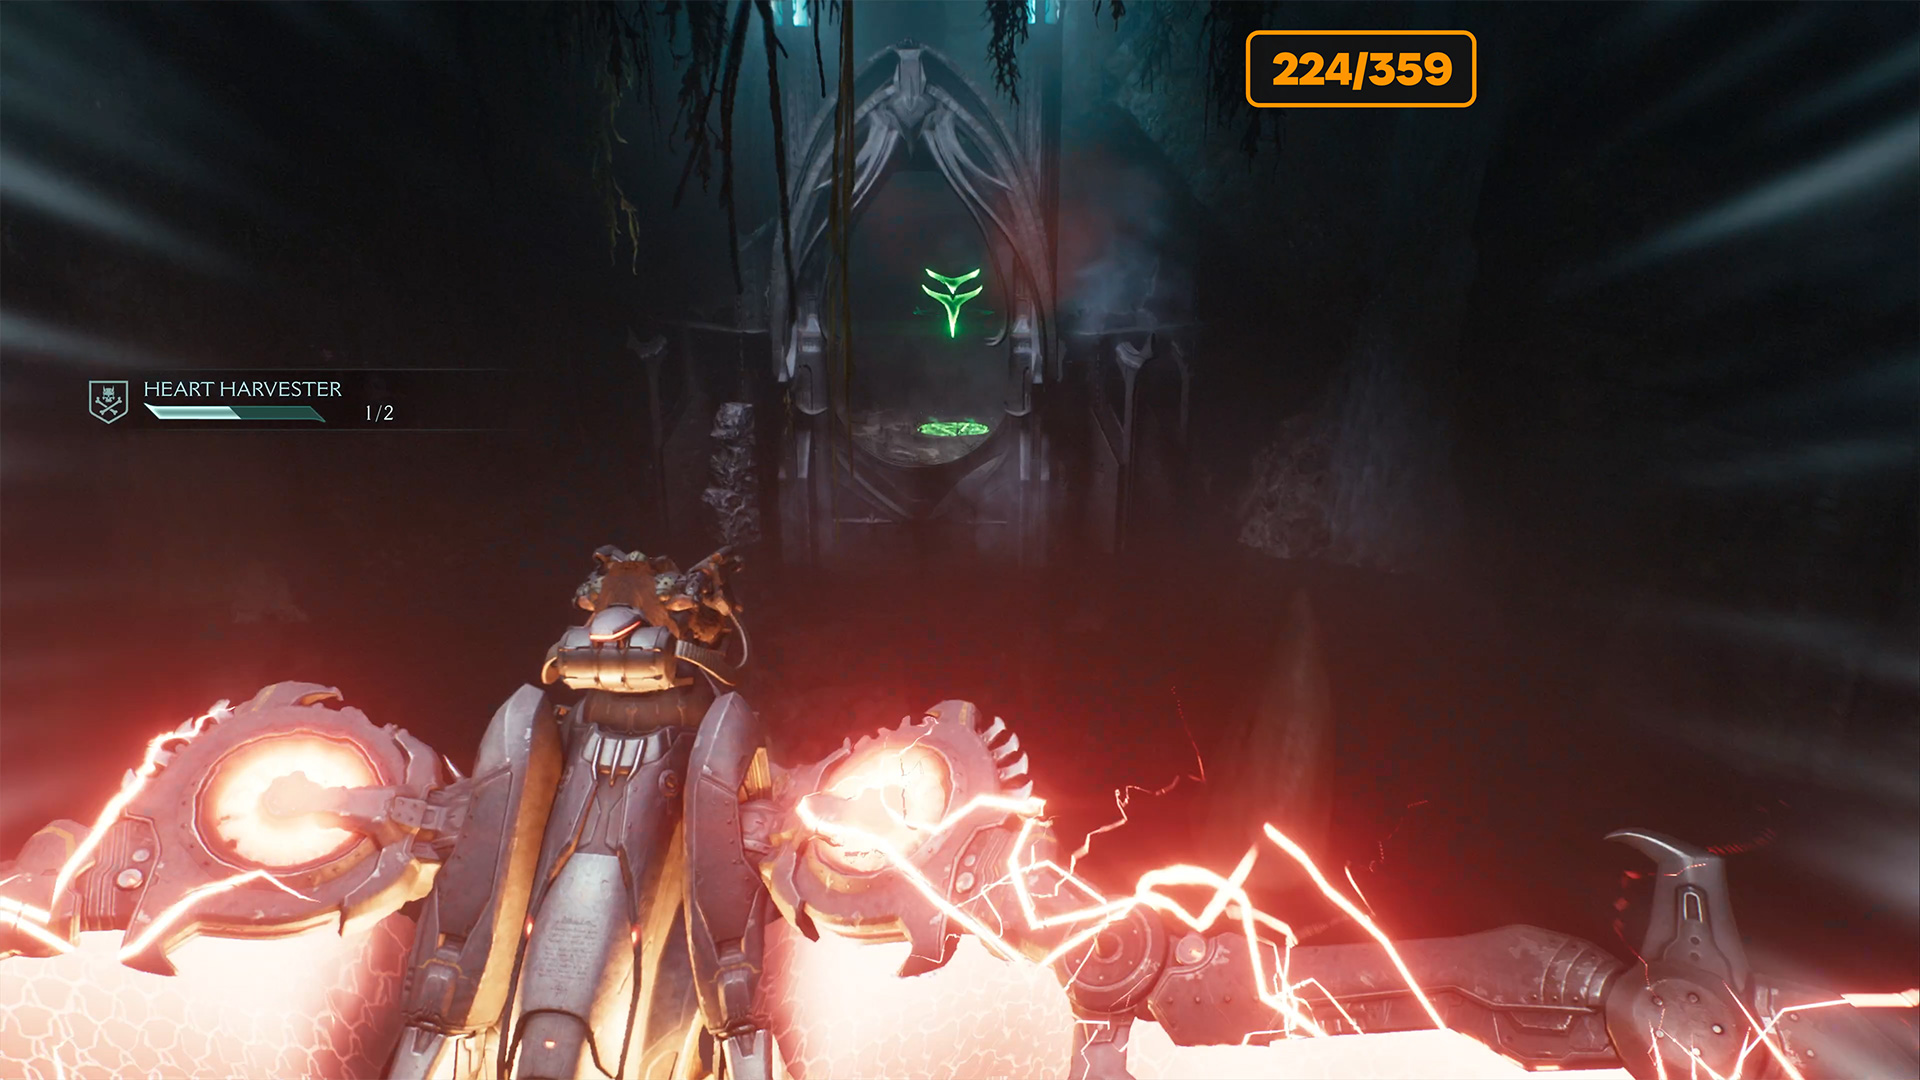
Accordingly, you need to defeat everyone. At the end of the fight, a mini boss will appear. FOR defeating him, you will automatically receive Demonic Essence – health. This is the first part of the Heart Harvester challenge. You will get the second and last part a little later.
-

- Spire of Nerathul Demonic Essence – health location
-
- Destroy Gore Nest and kill monsters
-
- Spire of Nerathul Demonic Essence – health
5 gold + 5 gold
On the way to the last red zone in this location, you have to find two places where there are 5 golds in each. On the map I showed you the route, so you won’t miss them. Especially since they are on your way and you don’t need to turn aside.
-
- Route to collect gold
-
- The first five gold coins on this route
-
- The next five gold coins on this route
Spire of Nerathul codex entries
Now you see on the map that to the left of the red zone with a big battle there is a small area below the main territory. Go there and jump on it. Here you will get 5 gold and a codex page. To get out of this place, use a green statue. Throw the shield at her and fly behind the shield.
-
- Spire of Nerathul codex entries location
-
- Spire of Nerathul codex entries
Next target on your dragon
After the final battle in this location is over and the second emitter is deactivated, you will sit on your dragon again. You still have the last point on the map, which is marked with a yellow marker. This is your goal. Fly to the yellow marker. There will be another tunnel with blue light. You visited a similar tunnel before that, only then was there a yellow light. But the procedure is the same.
Fly forward through this tunnel. Here you can meet Hell Fighter, but sometimes he doesn’t show up here. At the end of the tunnel there will again be a target that must be destroyed. You know the order of actions. After that, you will see a landing area for your dragon.
-
- Get on the dragon and fly to the target
-

- You need a balcony with blue light
-

- Destroy the target in aerial combat
-

- The next landing zone is for you
Spire of Nerathul ruby location
In the new location, almost at the beginning, you will see a round building on the left with a spiral staircase around the perimeter. Of course, to reach this building you have to defeat the enemies. Climb the stairs to the top. Here you will see a statue with a ruby. But as soon as you get close to her, she’ll close with a transparent barrier. To remove the barrier, you have to defeat the enemies that will appear here. After that you can take the ruby.
-
- Spire of Nerathul ruby location

-
- To remove the barrier, you must kill the monsters
Gold location and Life Sigil
Next you will see Sentinel Shrine. Look to the left of him. You will find a path made of gold under the building. Go there. Here you will find the tenth secret, 13 gold and the last third Life Sigil.
-

- Gold location and Life Sigil on map
-
- Gold location and Life Sigil
15 gold in red zone
Now go to the elevator, which will take you down to the red zone, where there will be a battle with monsters. There are three places where gold is located. In total, you can collect 15 gold here. You can do it like me by running past enemies or you can collect gold after a battle. The main thing is to make sure that you have collected everything that lies here.
-
- Location gold in red zone
-
- Three places worth five gold coins
Spire of Nerathul another landing
After the battle is over and the emitter is deactivated, your dragon will fly to you again. Sit on him. Open the map and find the next yellow marker. Before that, he was inactive, but now he’s shown up and points you to the next drop zone, which is marked in green. You definitely won’t miss this place, it’s nearby.
-
- Get back on the dragon for the flight
-

- Spire of Nerathul another landing
Gold collection route
As soon as you enter a new territory, open the map and see the route that I show you. Here you have to run a long enough distance to collect 25 gold. It is scattered in small clumps along the way. After the race, be sure to open the map and check so you don’t miss anything. Only after that it will be possible to move on.
-
- Gold collection route
-
- One part of your golden path
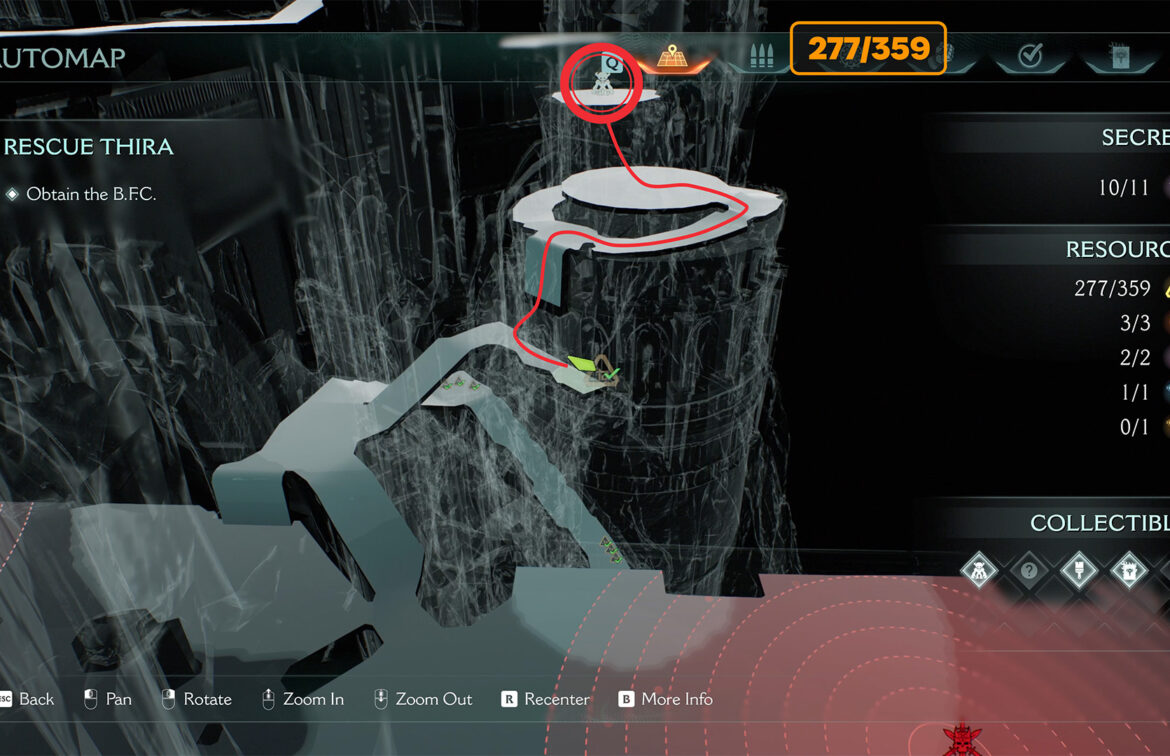
Spire of Nerathul second toy
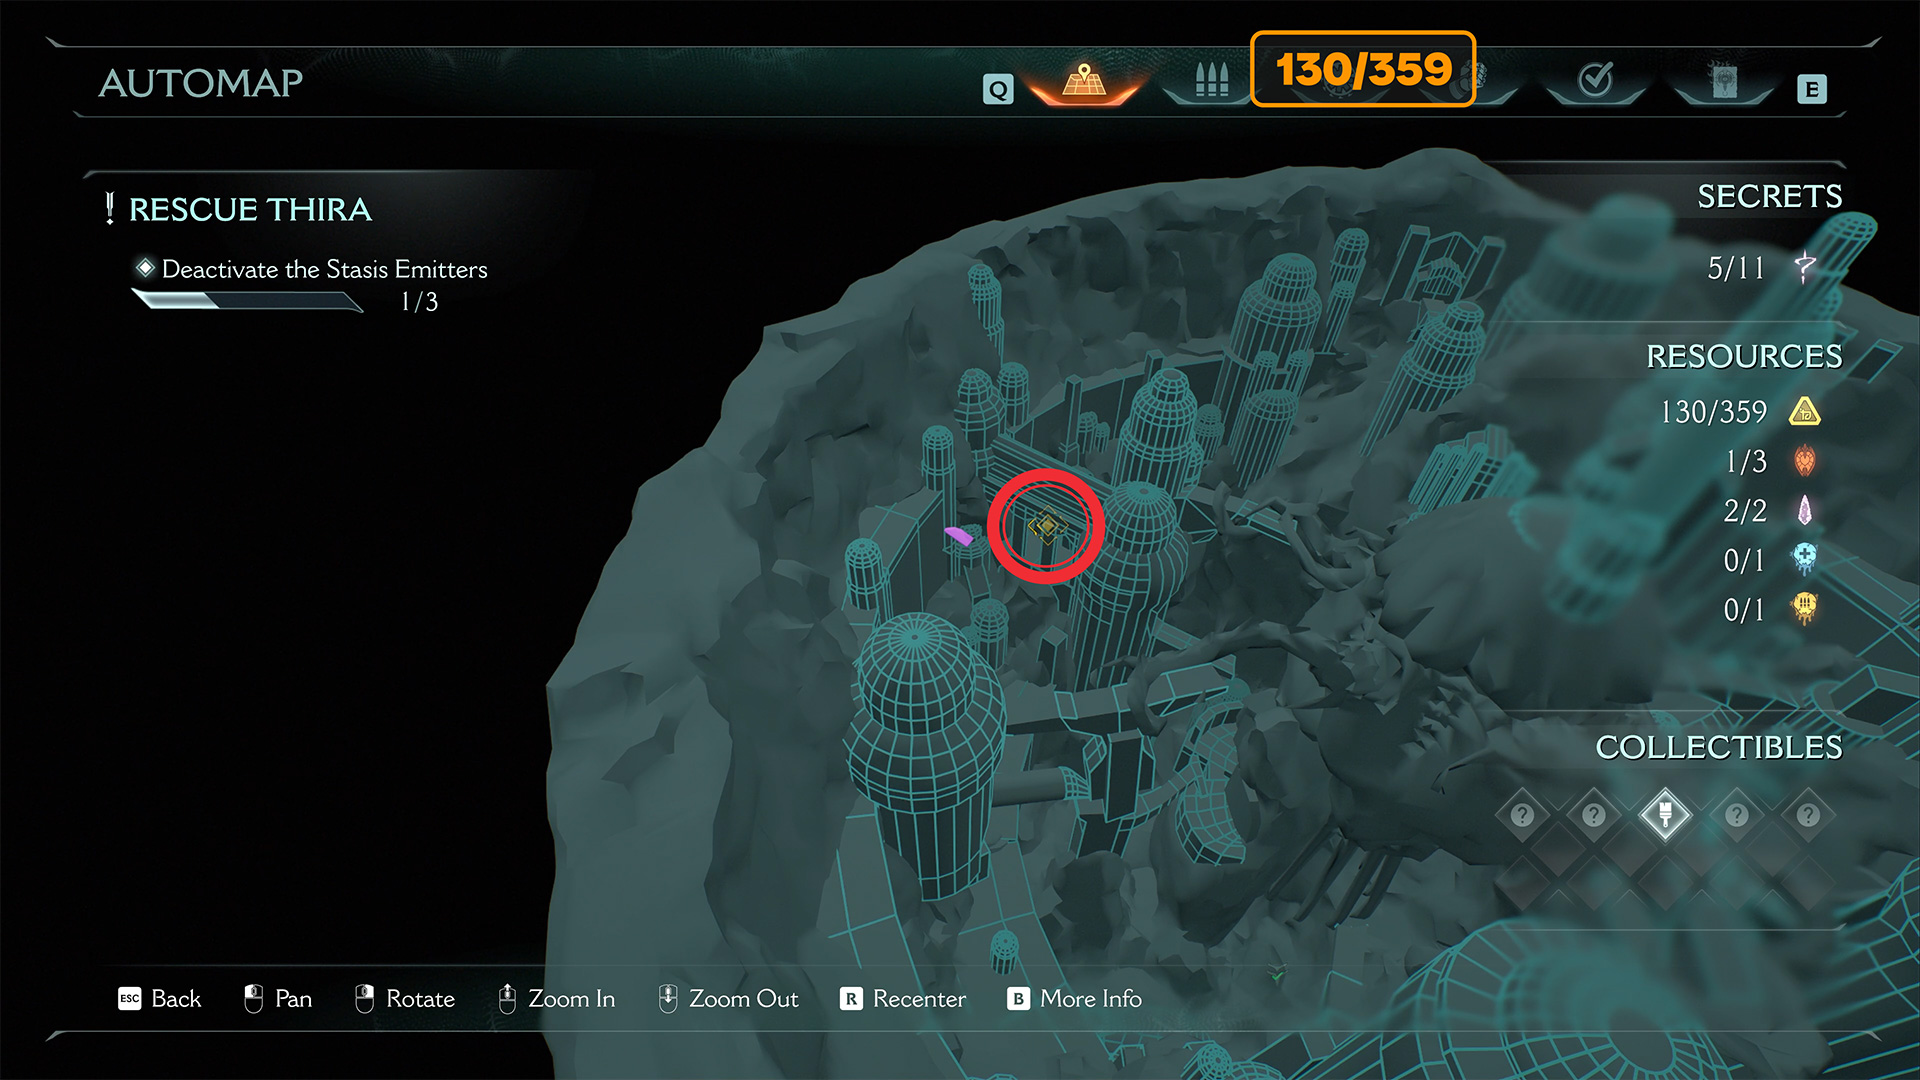
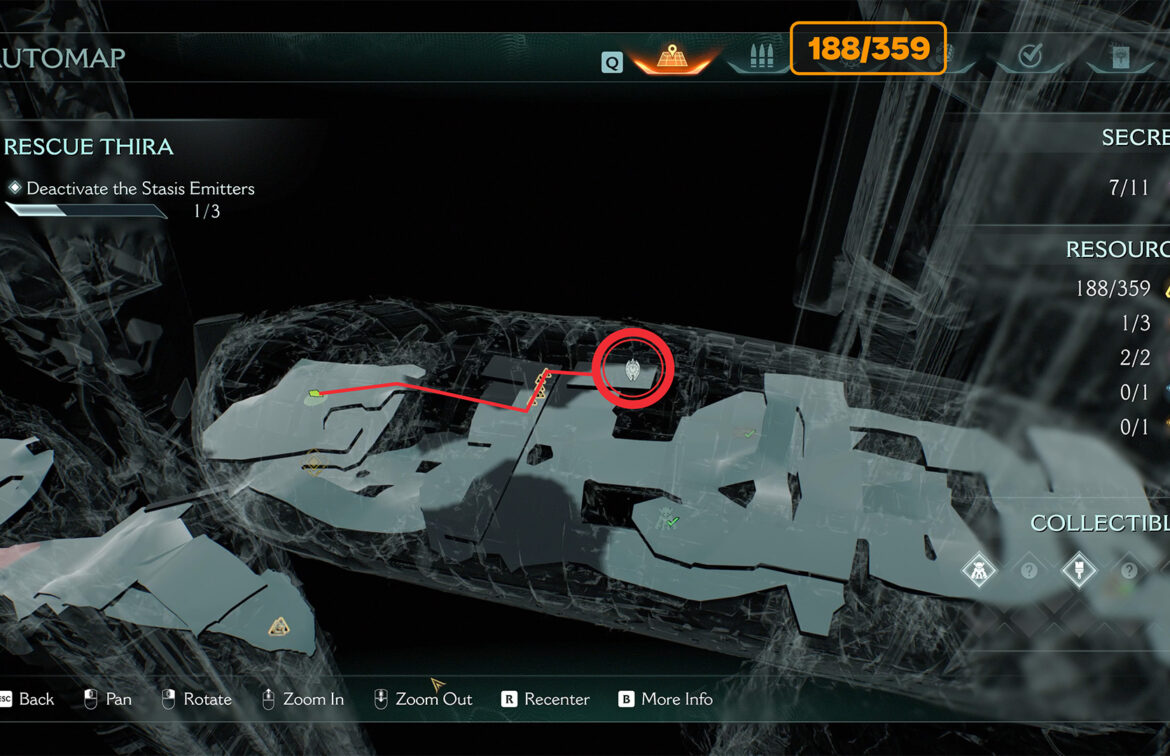
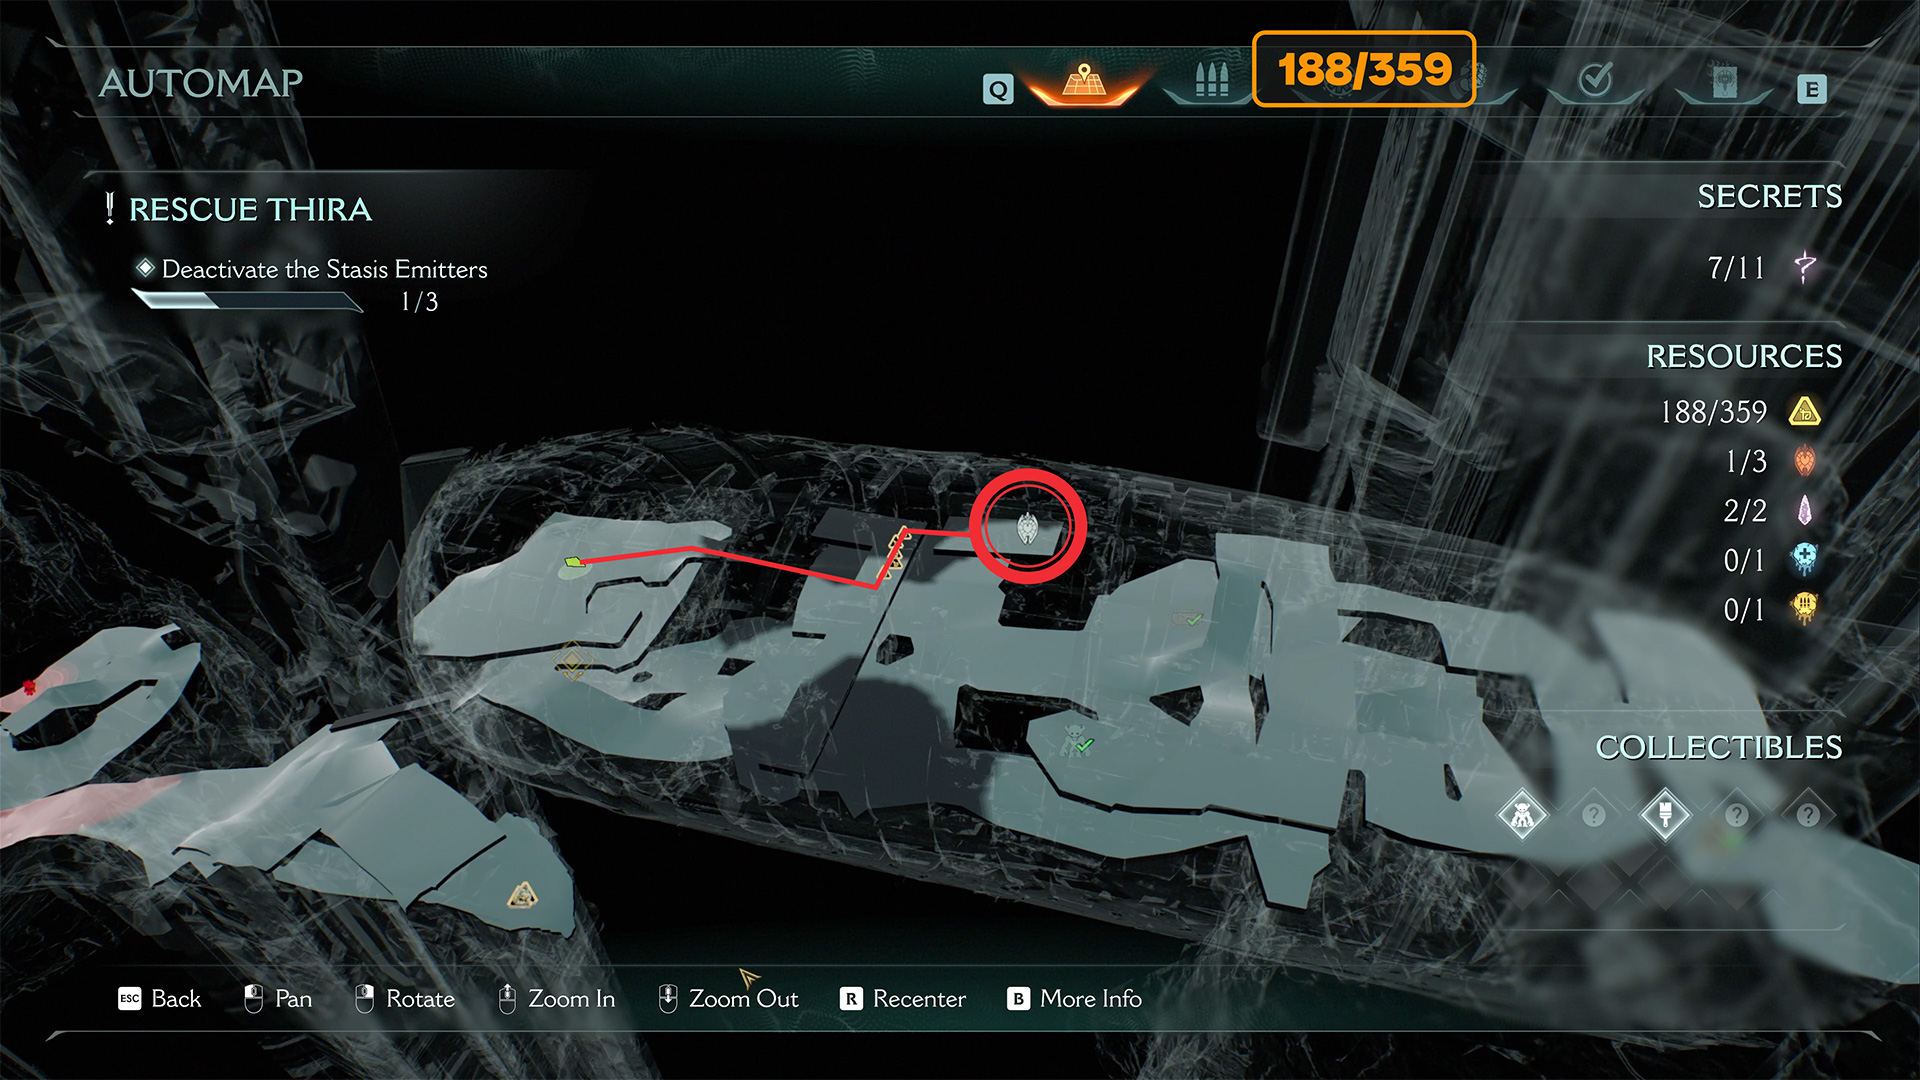
Now in this place you have to see the wall on which you need to jump. This can only be done by accelerating well. As you climb the wall, move to the right. You have to go into a big round room where the accelerator will be in the center. He’ll drop you on the top floor. From this floor, you can jump over the fence and find yourself on the site where the eleventh secret and the Revenant collectible toy are located.
-
- Spire of Nerathul second toy location
-
- You have to climb this wall
-
- Find the accelerator in the center of the room
-
- Jump from the top floor down to the toy
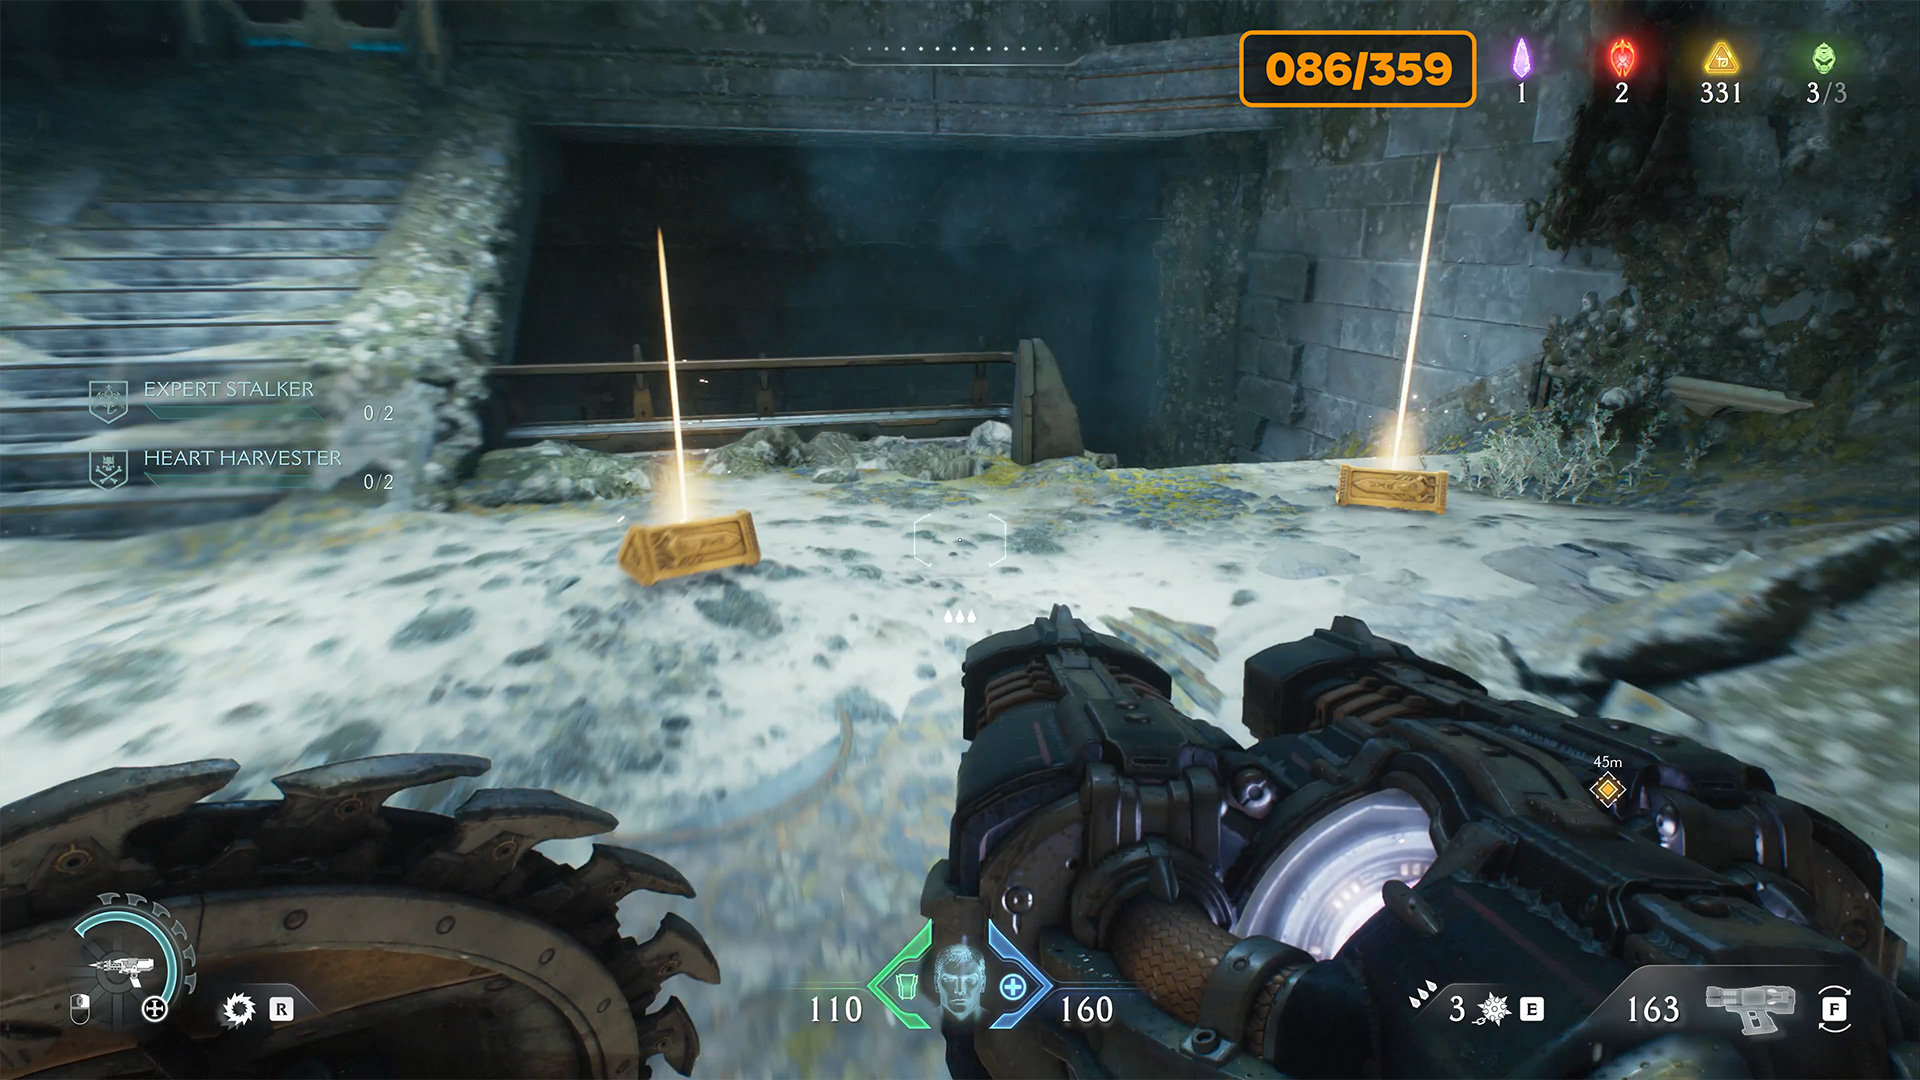
Demonic Essence – Ammo
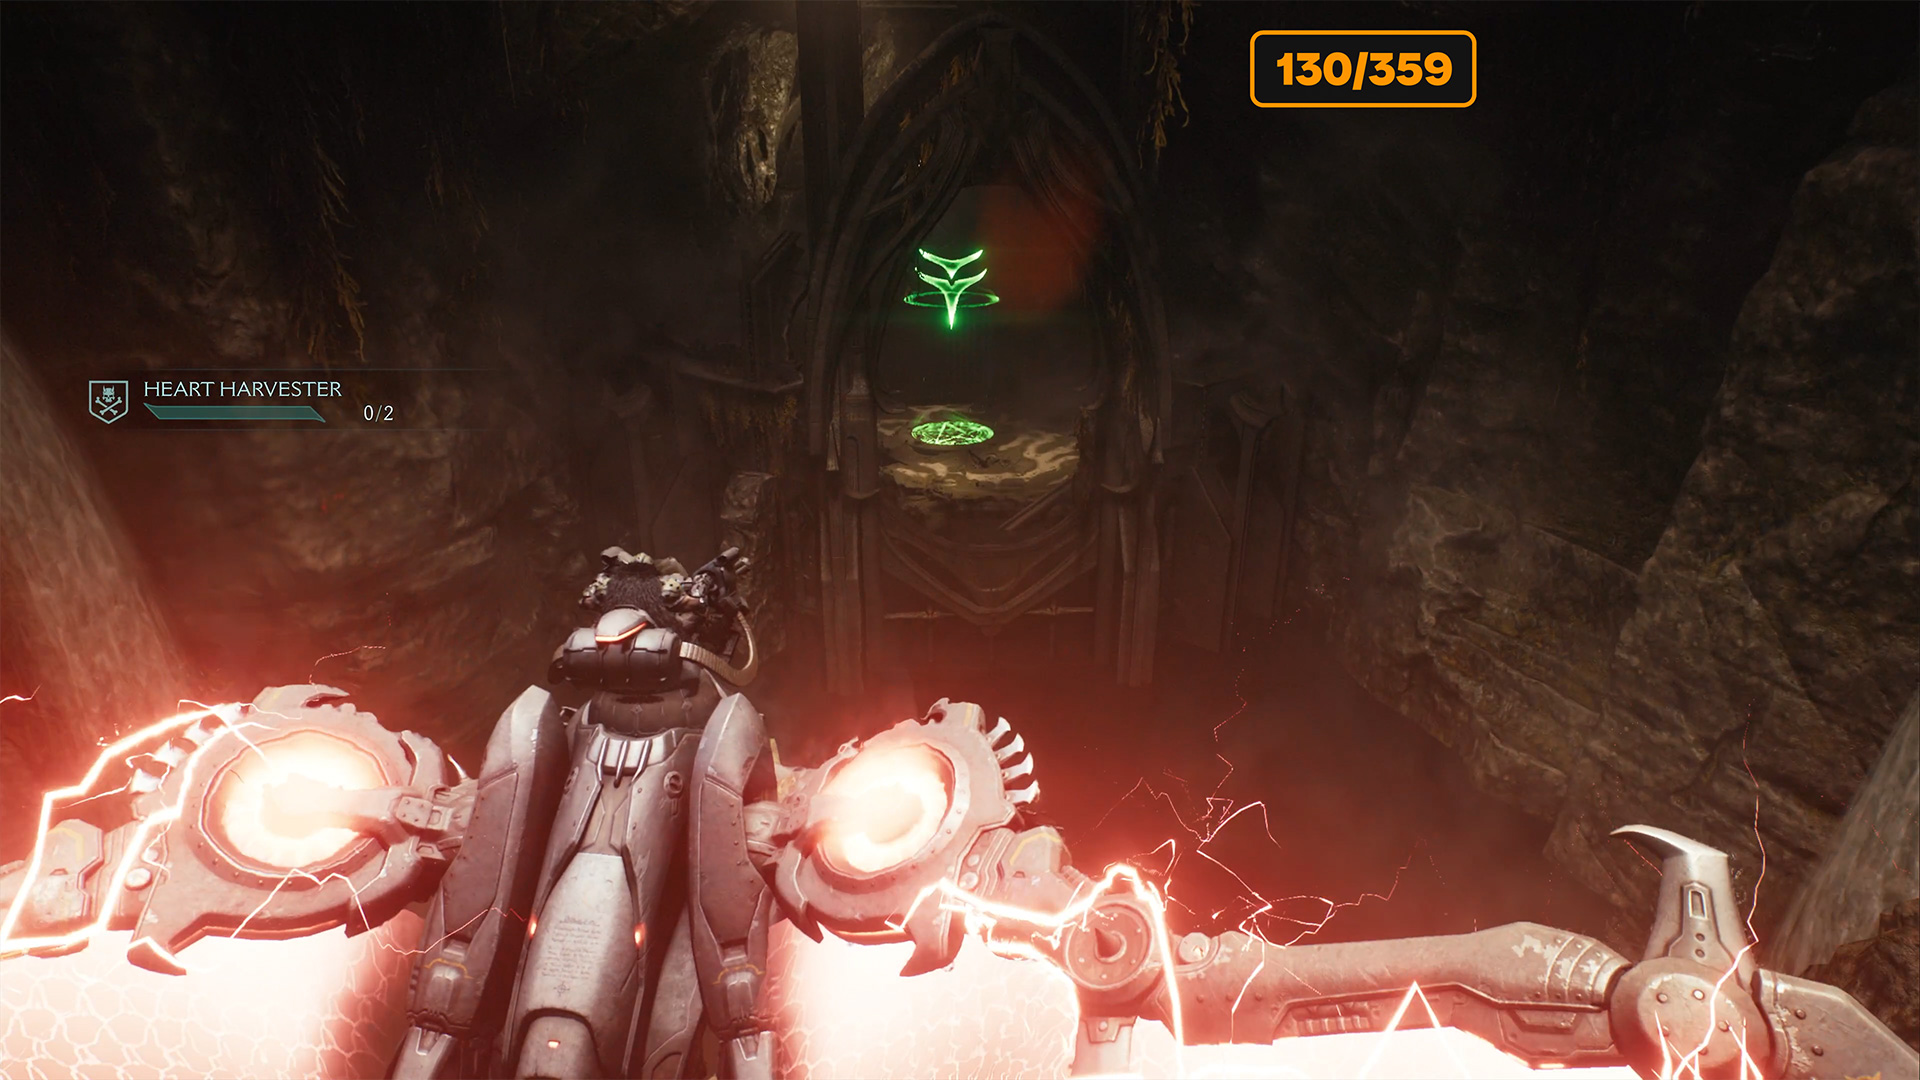
Next, you need to repeat the route, bend it to the upper floor with the help of an accelerator and from there follow the specified route to the yellow marker. Here you have to jump down to the red zone, where the battle awaits you. At the end of the fight, a mini boss will appear. After defeating him, you will get Demonic Essence Ammo.
-
- Demonic Essence Ammo location
-
- Demonic Essence Ammo
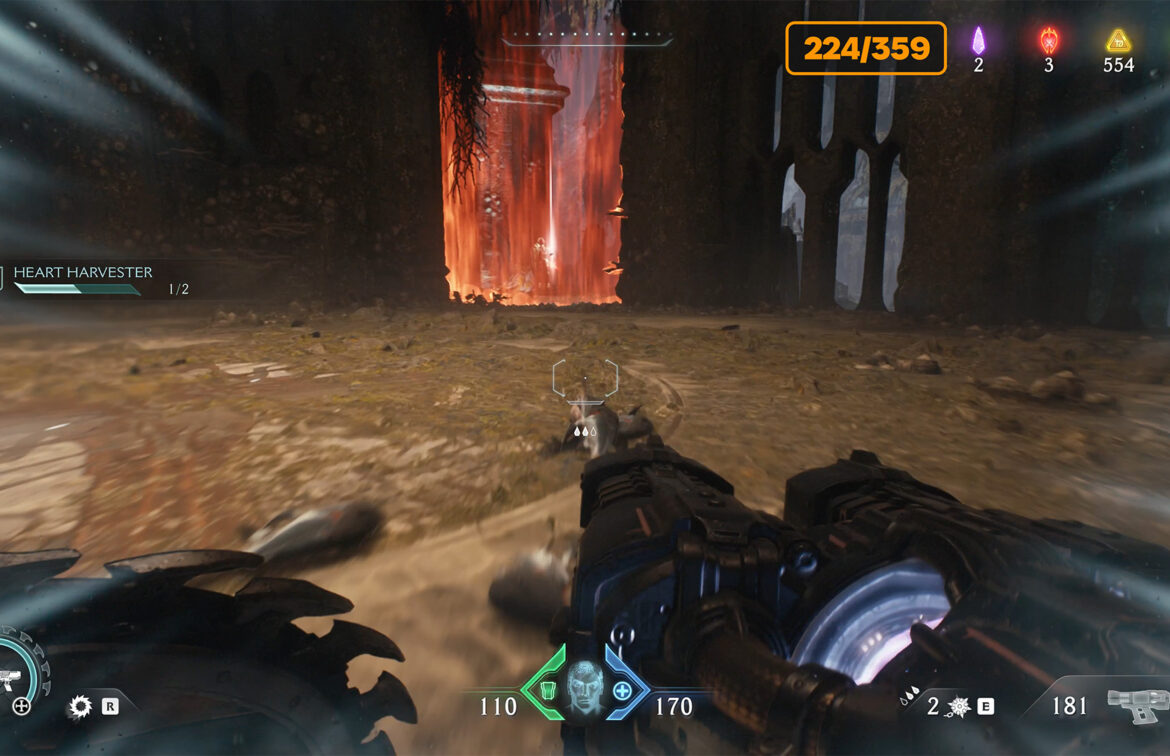
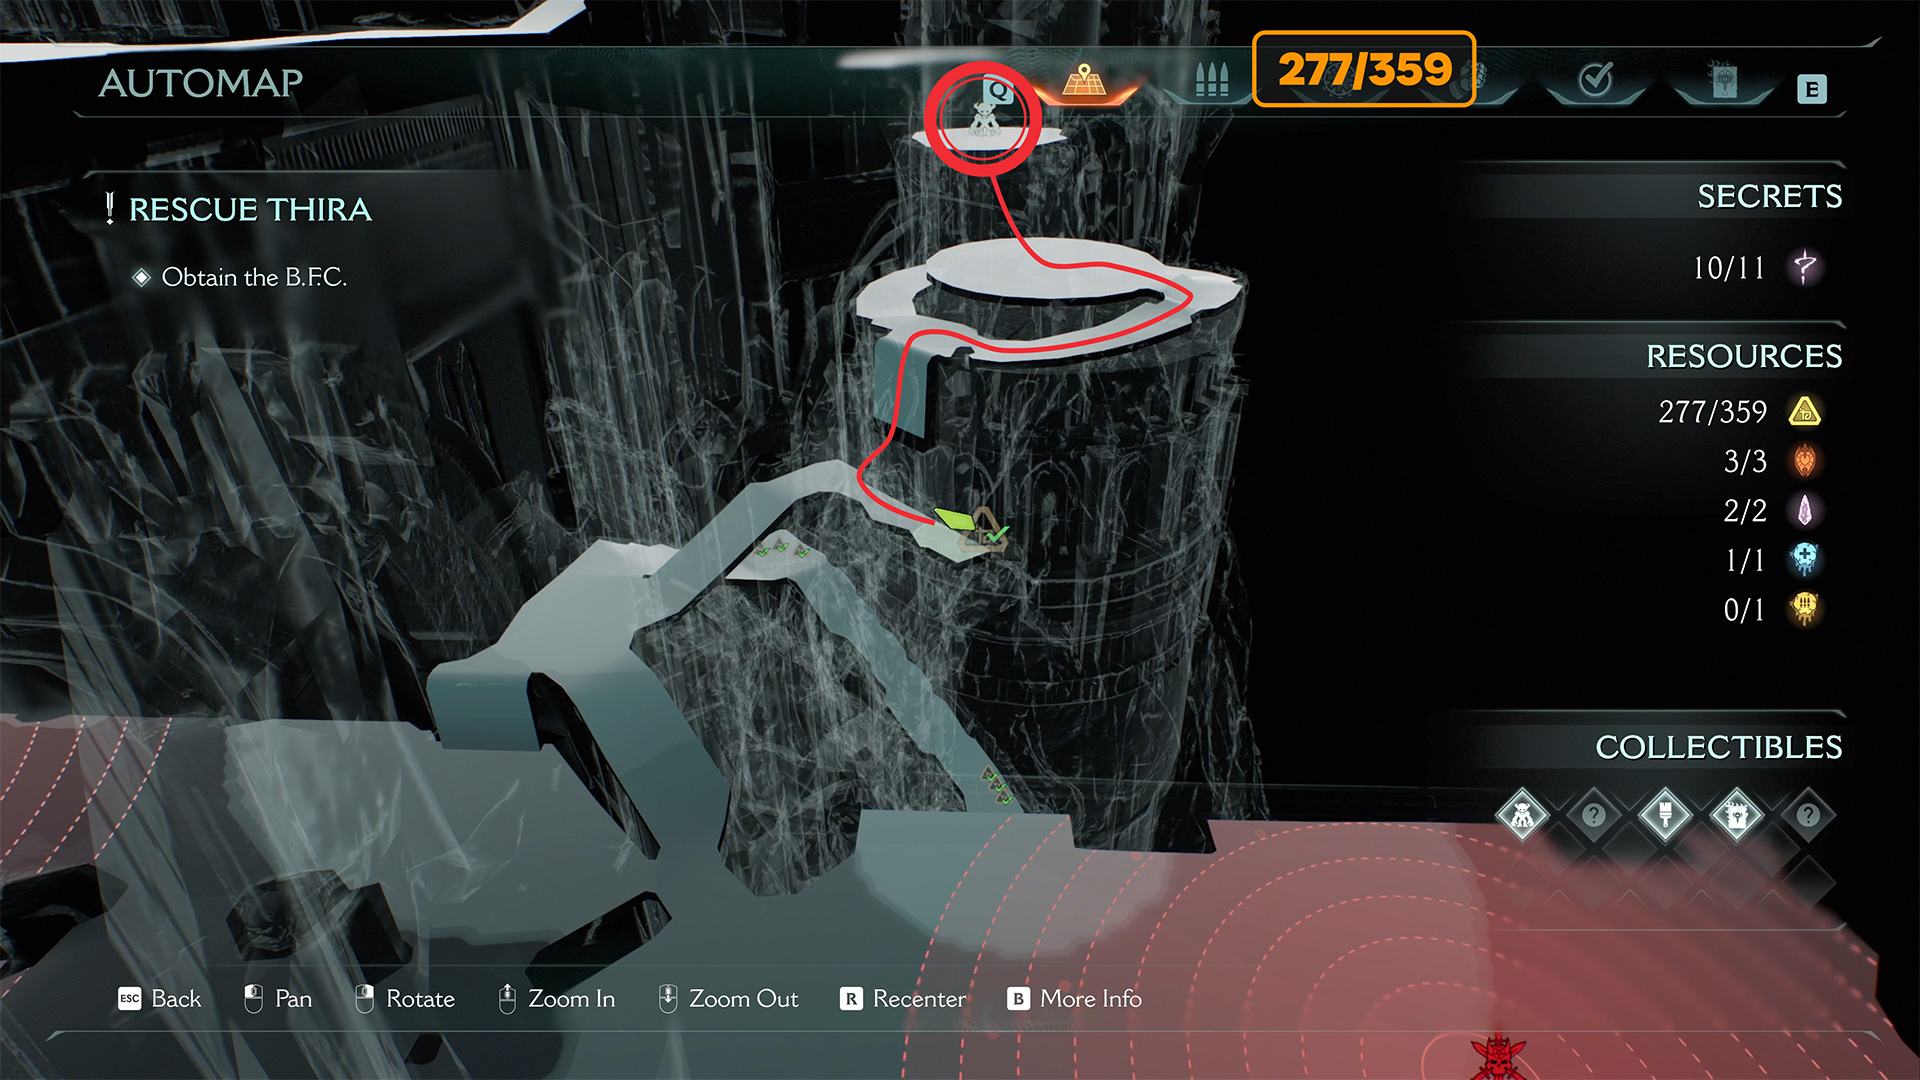
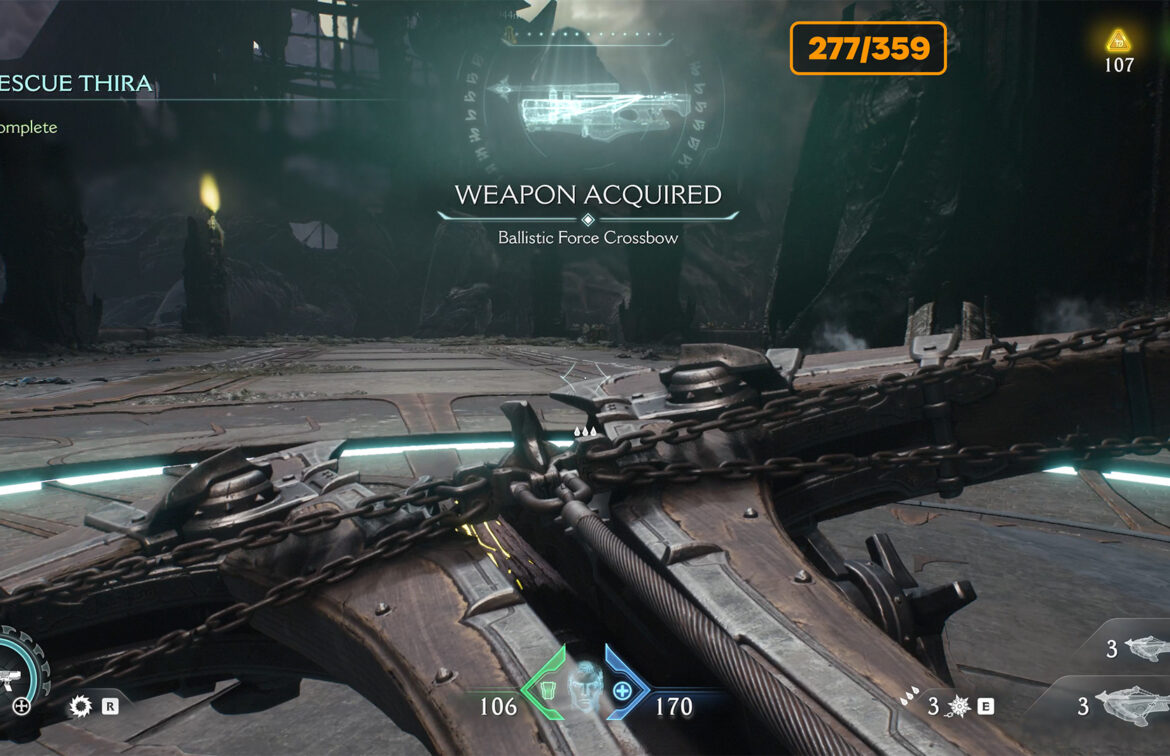
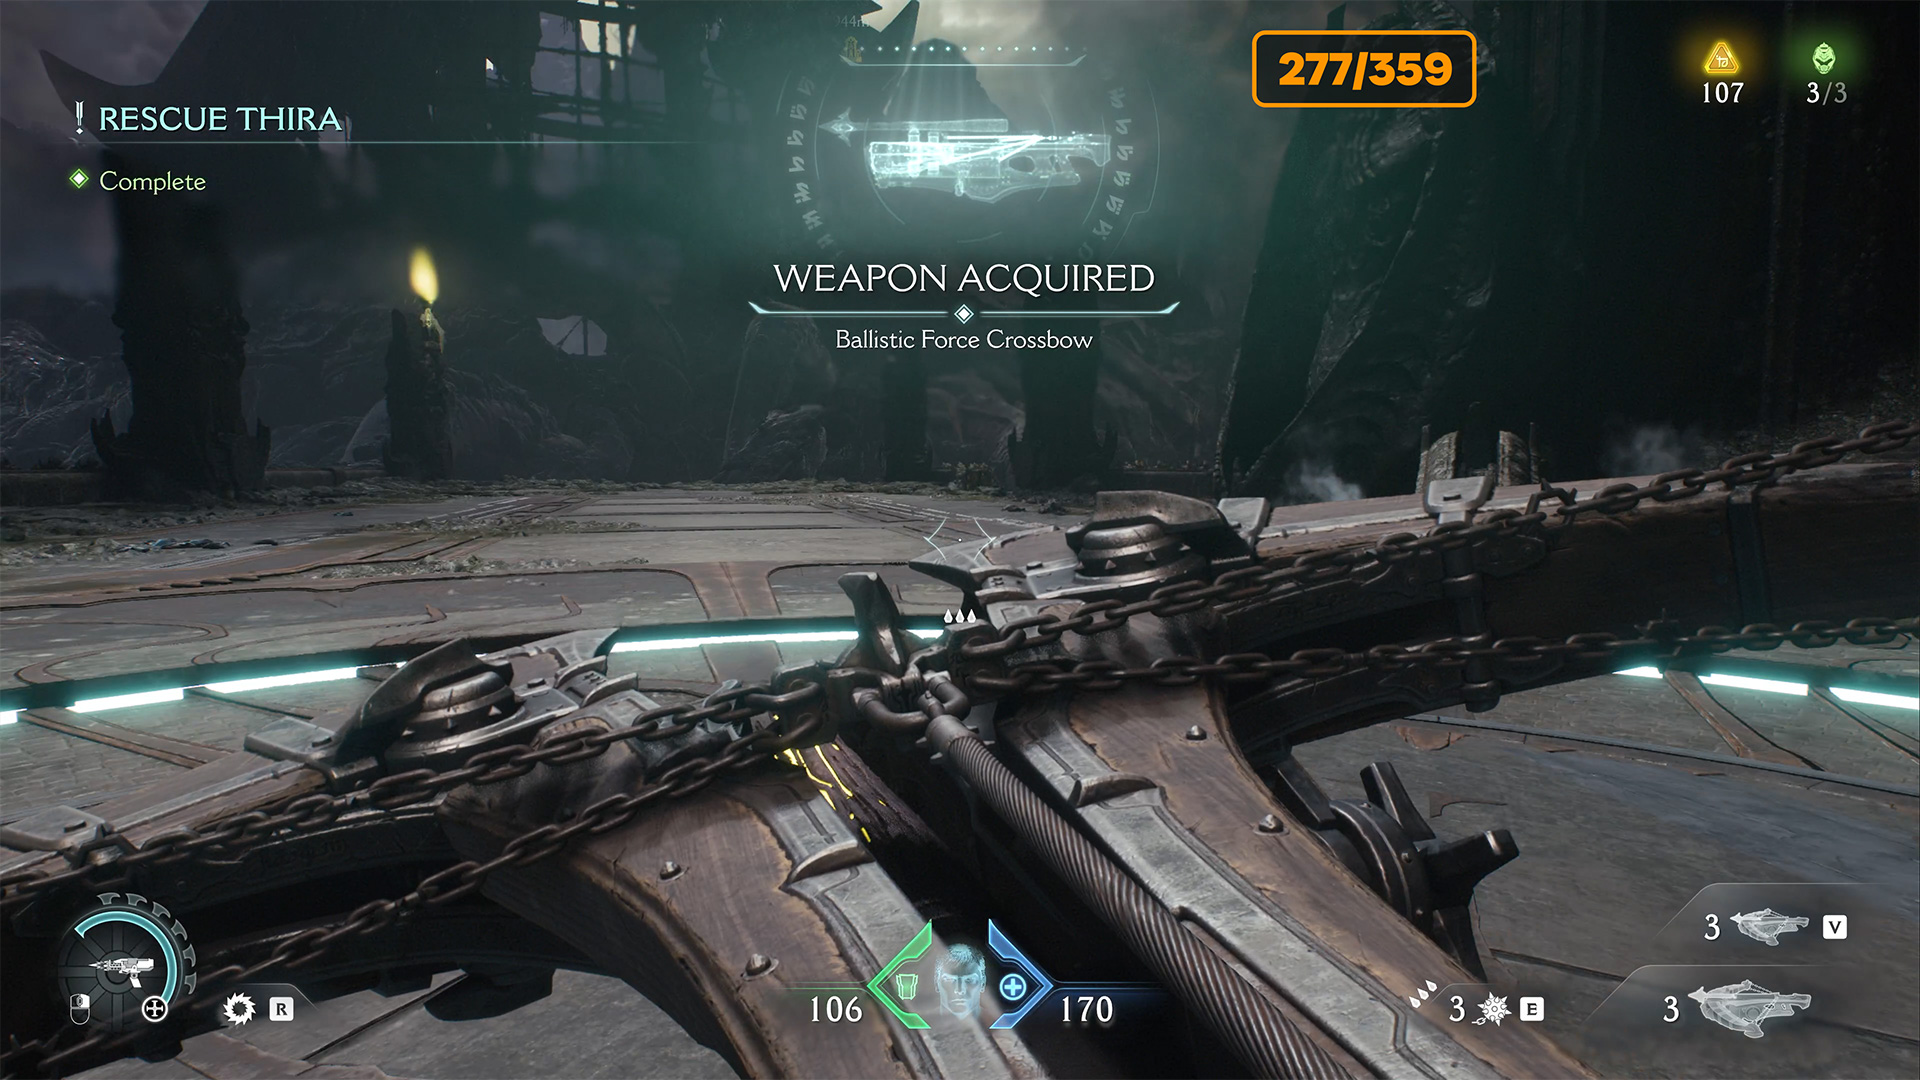
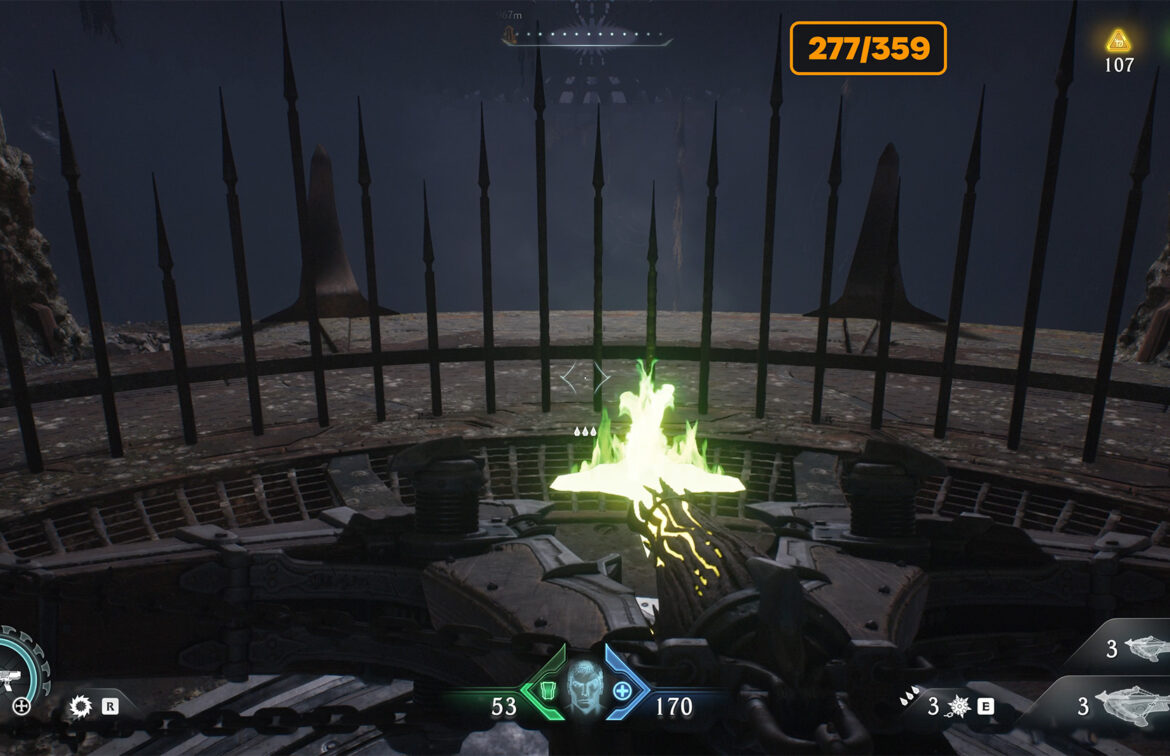
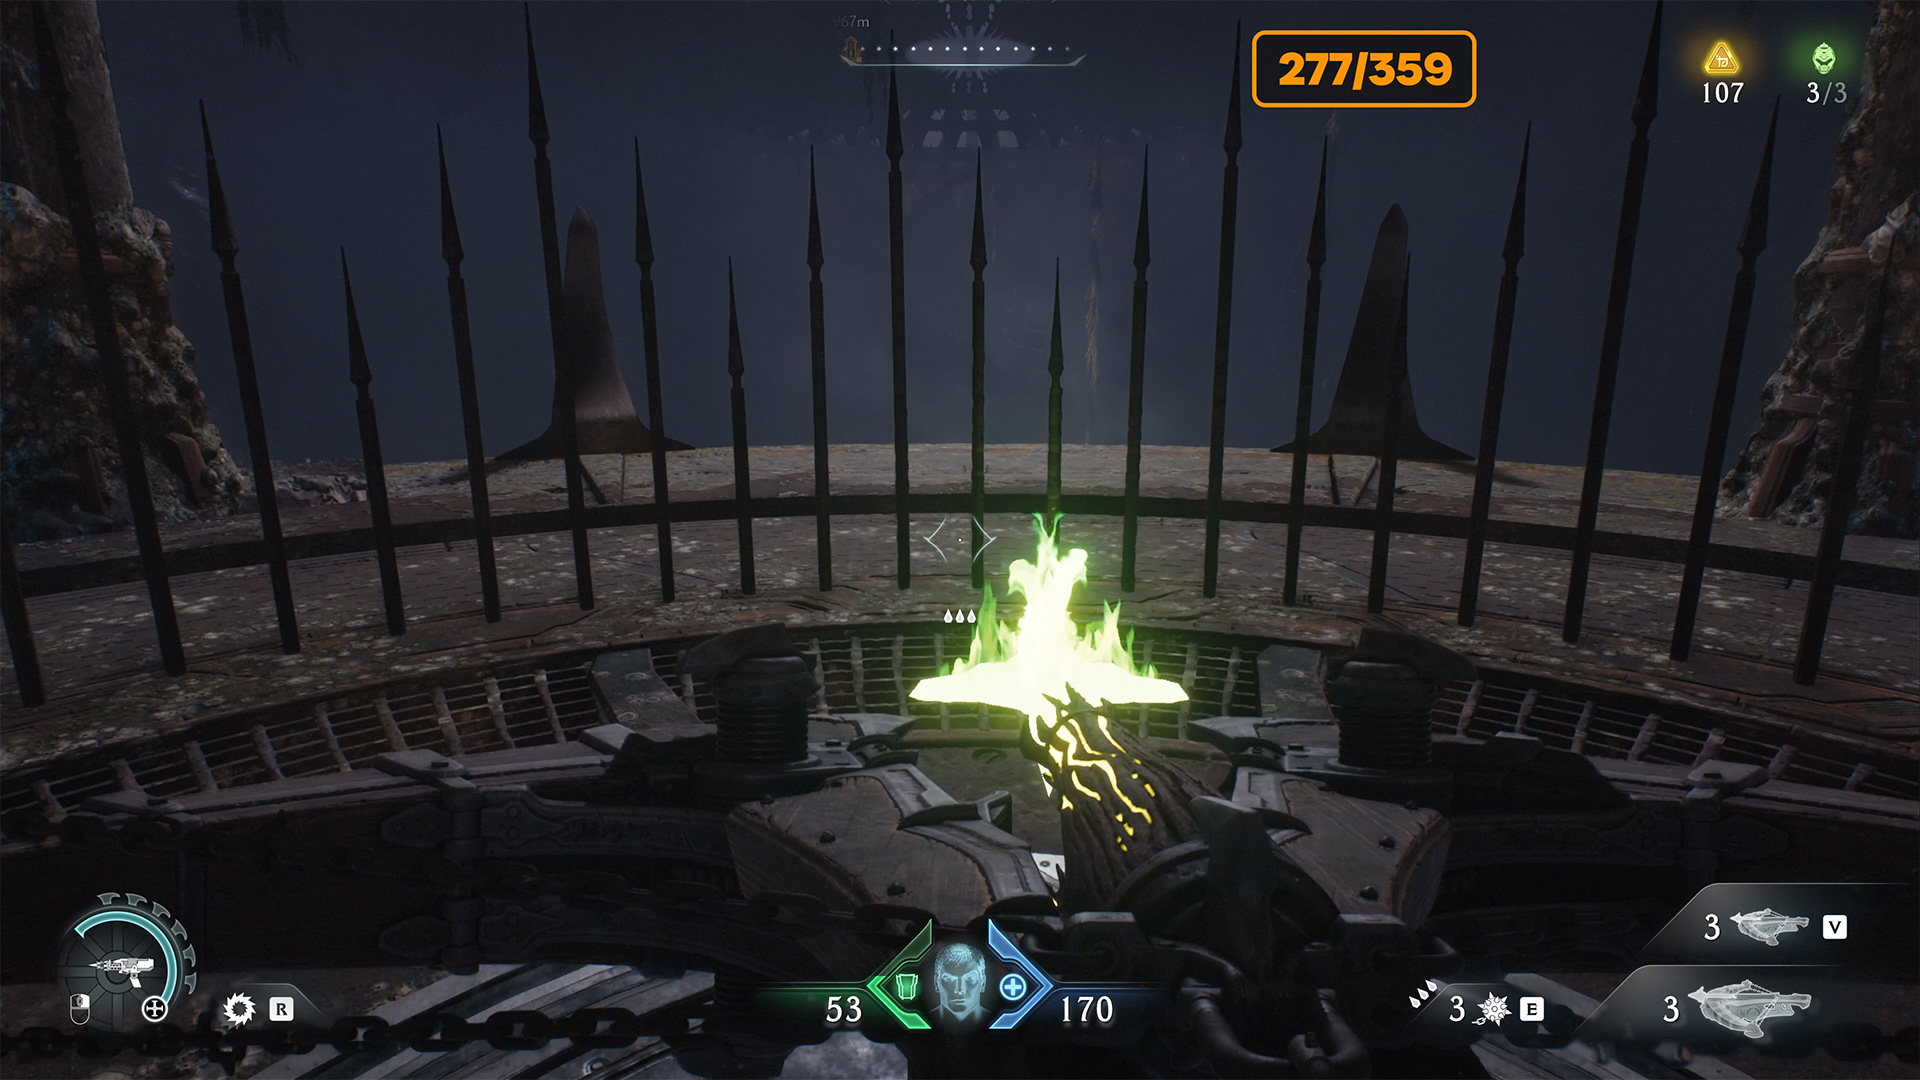
Ballistic Force Crossbow
Further along the plot, you will get an extremely powerful weapon. This will be Ballistic Force Crossbow. Use it to destroy enemies and move on through the plot. The elevator will lift you higher. Confused locations await you here, so be careful.
-
- Ballistic Force Crossbow
-
- Take the elevator to the next stage
Spire of Nerathul hidden gold
Using accelerators, you will find yourself in the place that I show on the map. Be careful and don’t miss it. Here you have to jump from the left onto the lower balcony to get into a secret room where you will find 16 gold and one arrow to Ballistic Force Crossbow.
-
- Spire of Nerathul hidden gold location

-
- You need to jump onto this balcony
-

- Spire of Nerathul hidden gold
How to lower a golden chest
Right next door, you’ll see a golden chest standing on a platform high above. To lower the platform, you need to choose a convenient place and throw the shield into the metal connection that holds the platform. After that, the platform will fall down and you can break the chest to collect 50 gold.
-
- Location of the golden chest hanging high
-
- To lower the platform, throw your shield
-

- Now go up and take your gold
Last gold in this chapter
The last place where you will get gold. Look carefully at the map. You will get here after a few jumps with the help of accelerators. Don’t miss this place. Here you need to walk to the balcony to get 16 gold and one arrow to Ballistic Force Crossbow if you need it.
-
- Location last gold in this chapter
-
- Last gold in this chapter
Spire of Nerathul codex location
At the end of your journey before leaving the chapter, do not forget to pick up the codex page. It is nearby, you don’t need to jump or climb to it, just come, take it and only then go to the end of chapter 14. These are all the collectibles you can find in Spire of Nerathul.
-
- Spire of Nerathul codex location
-
- Spire of Nerathul second codex