I will show you all the key points where you will complete side missions and various activities in Chapter 5 of Raging Valley from the game Ninja Gaiden 4.I would like to remind you that all 31 chests in this chapter, where to find them, and the rewards for opening them are listed in a separate article. So here are only the locations for completing quests, finding important items, passing trials, and the final boss.
There are also four quests available in this chapter:
- Execute the Rampaging Daemons
- Retrieve the Heirloom Knife
- Execute the Troublemaker
- Defeat 20 Tengu (In this chapter, you will encounter only 16 Tengu, so you will be able to complete the quest in the next chapter.)
And, as always, before you start, I recommend watching the video, which contains all the information with visual accompaniment in the game:
Capture first Gourdy
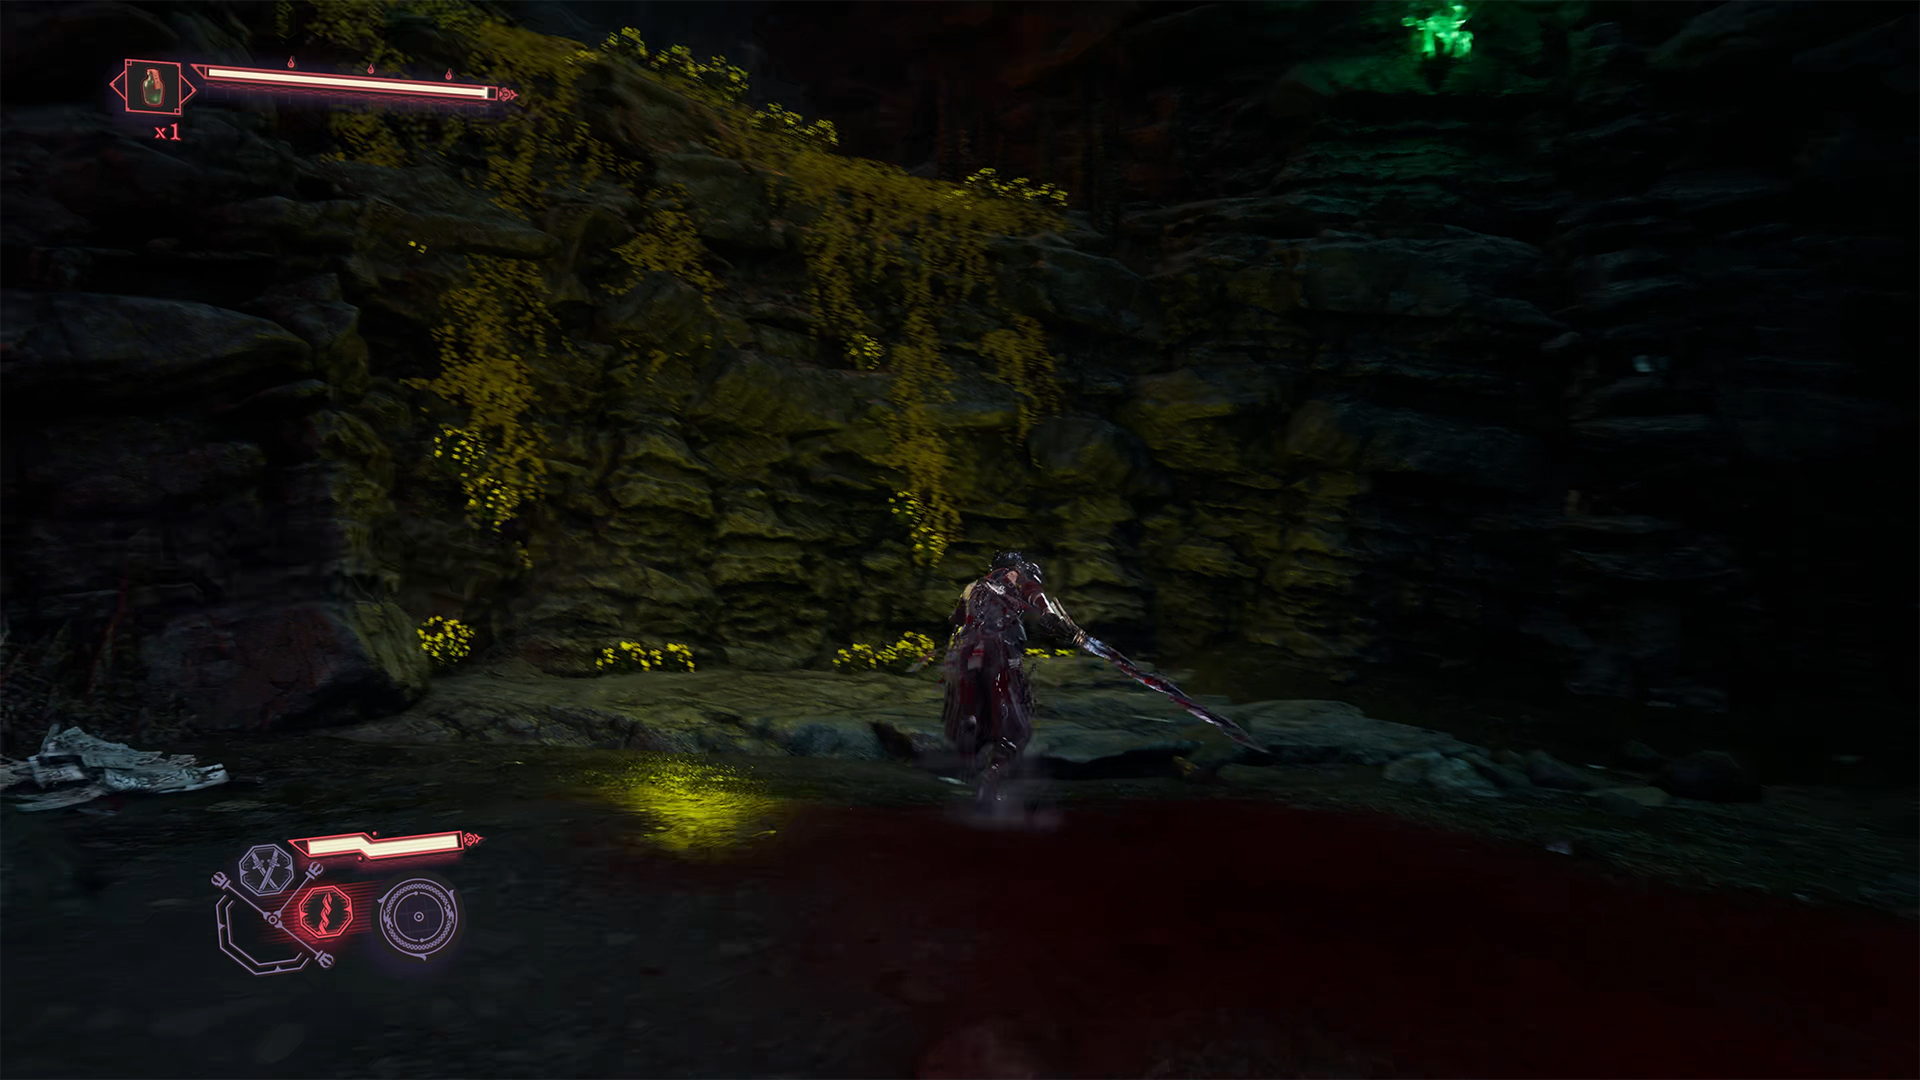
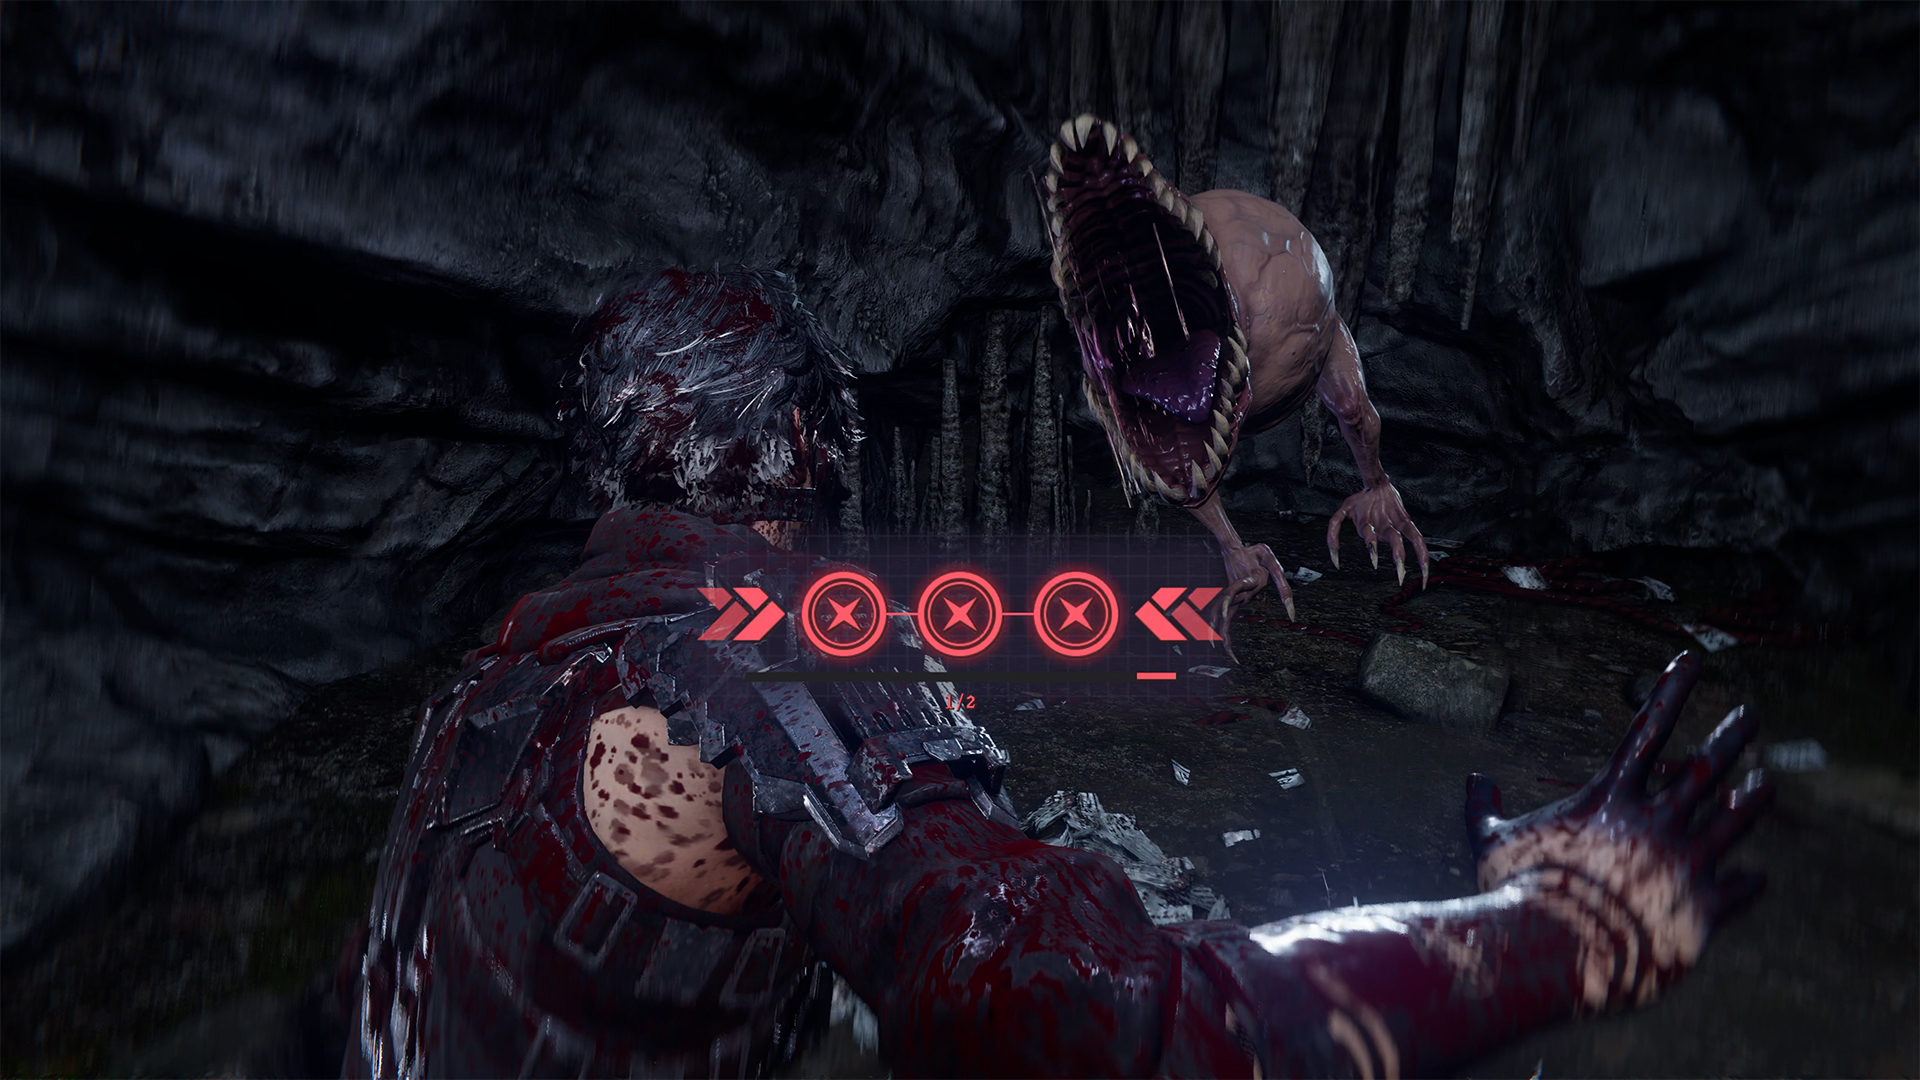
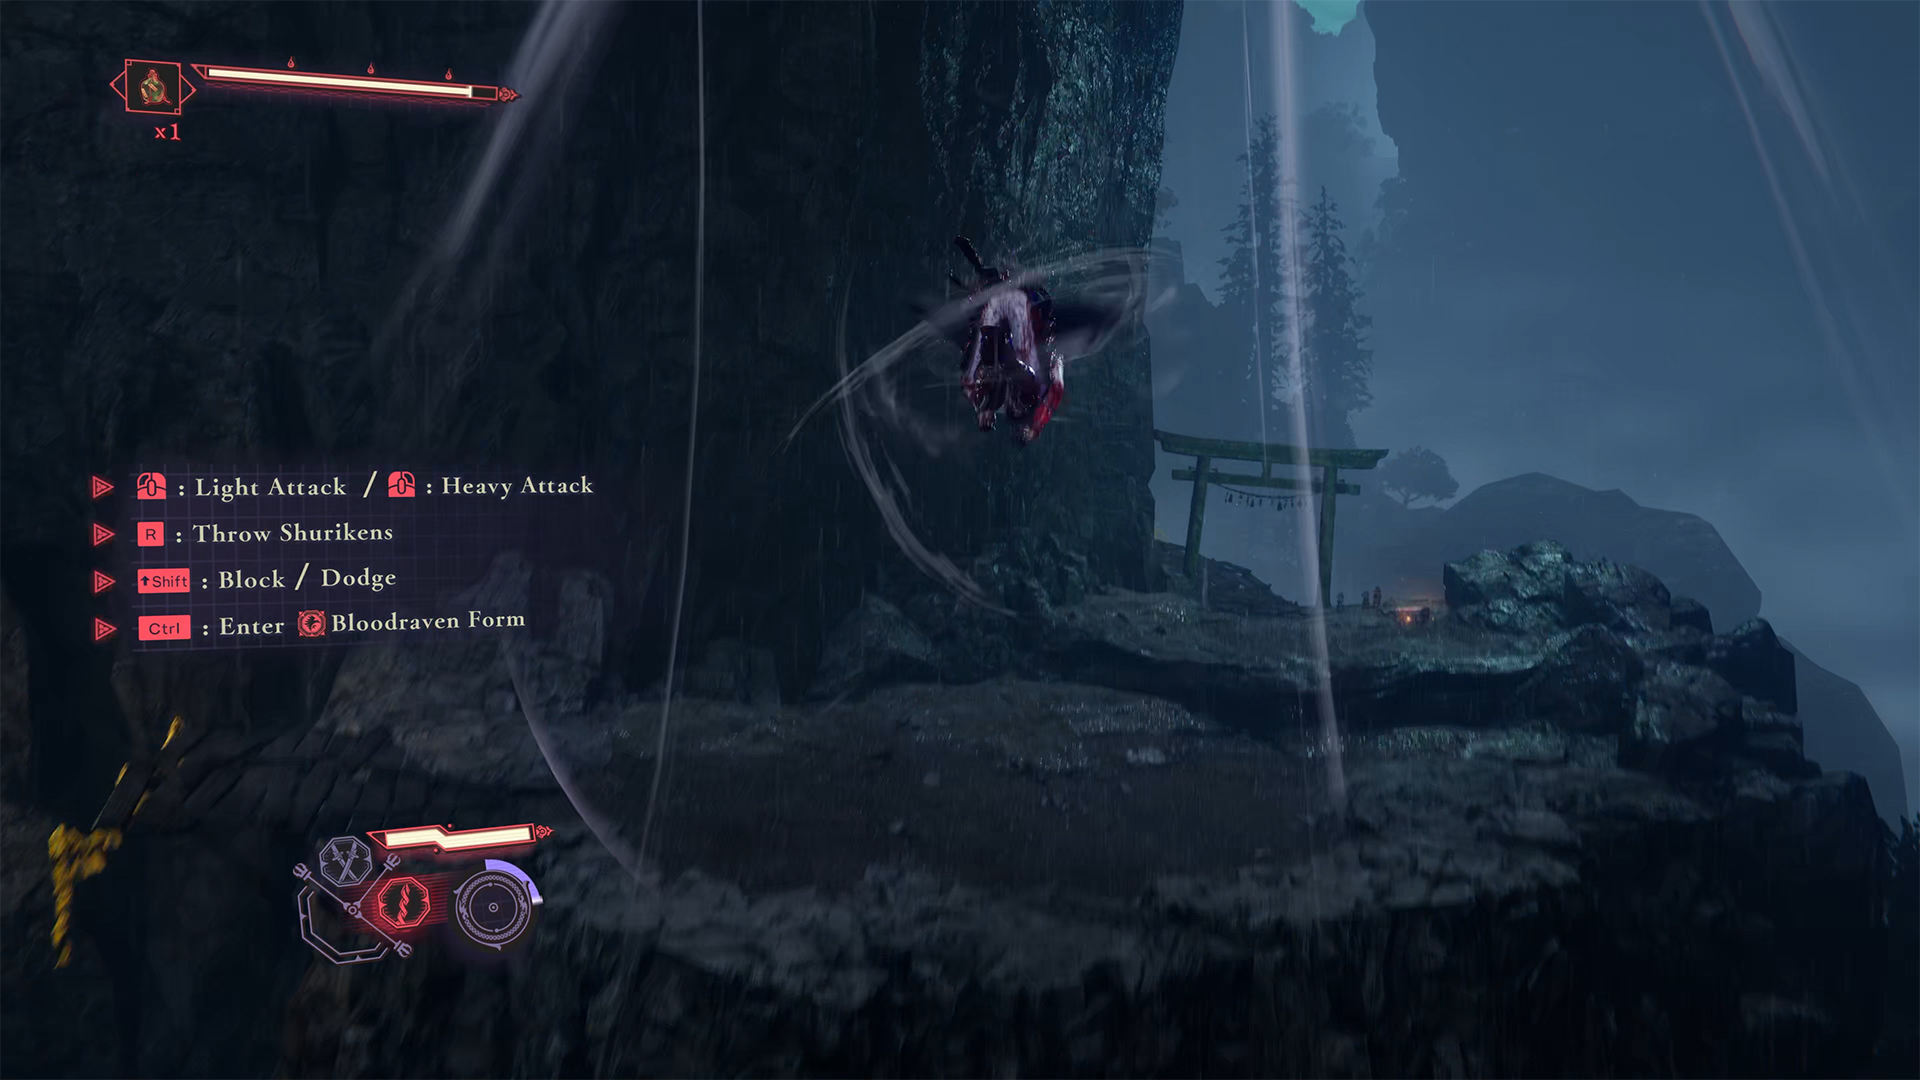
When you enter the cave in this chapter and walk a little, you will come across this location. You will have a battle with an enemy on the platform. After that, turn left and you will see a wall with yellow plants. Climb up and turn left at the fork. Here you need to slip under the stone wall and you will find yourself in the room where Gourdy is located.
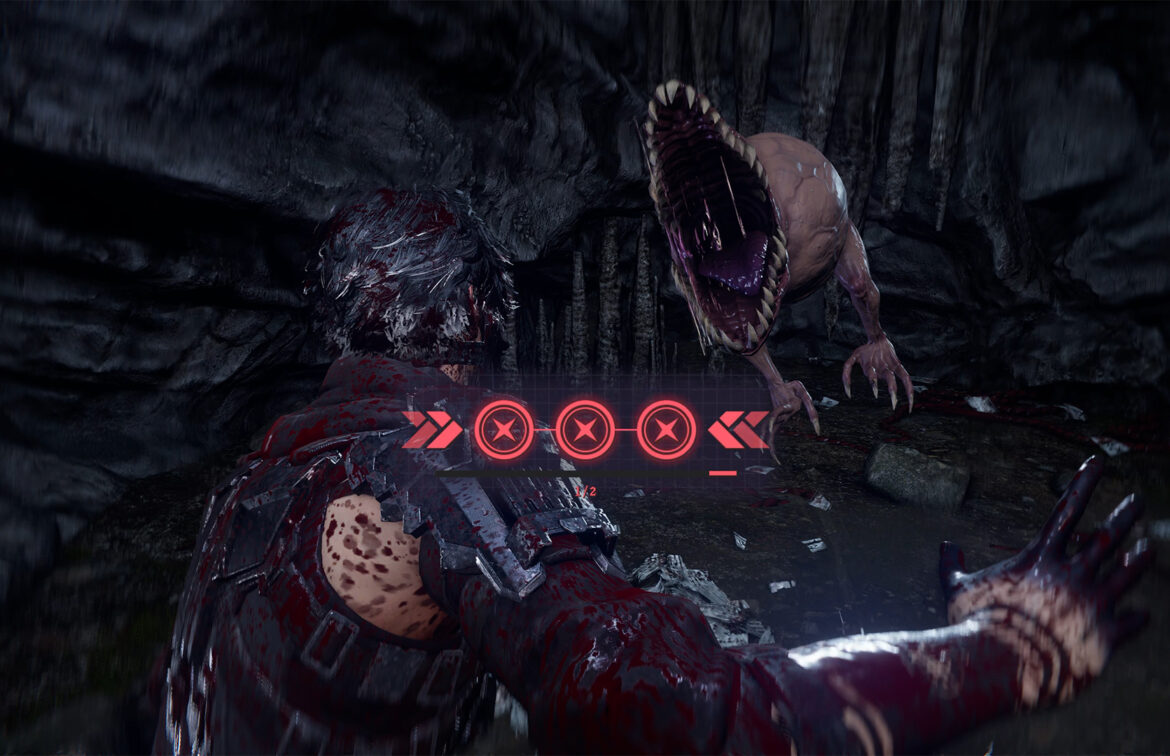
To catch him, you need to complete a mini-task, which consists of pressing the buttons indicated by the game on the screen at the right time. To catch this Gourdy, you need to complete two lines of three buttons each.
-
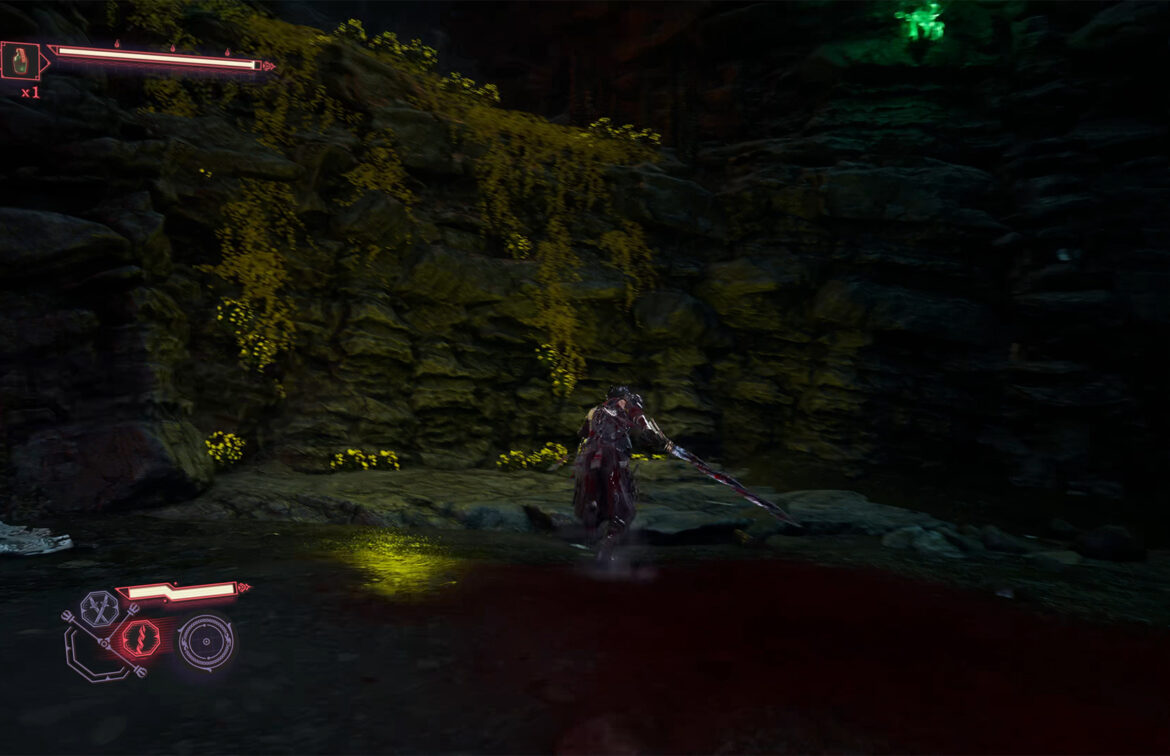
- Wall with yellow dewdrops
-

- Slip under the rock
-
- Capture first Gourdy
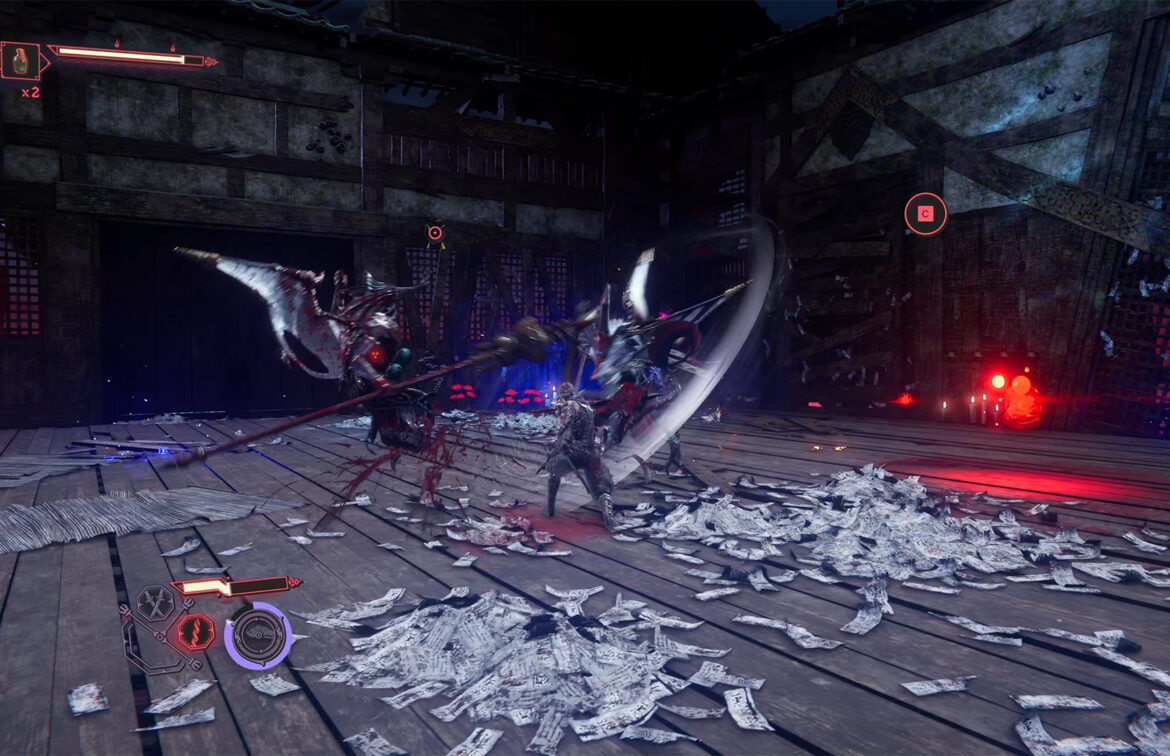
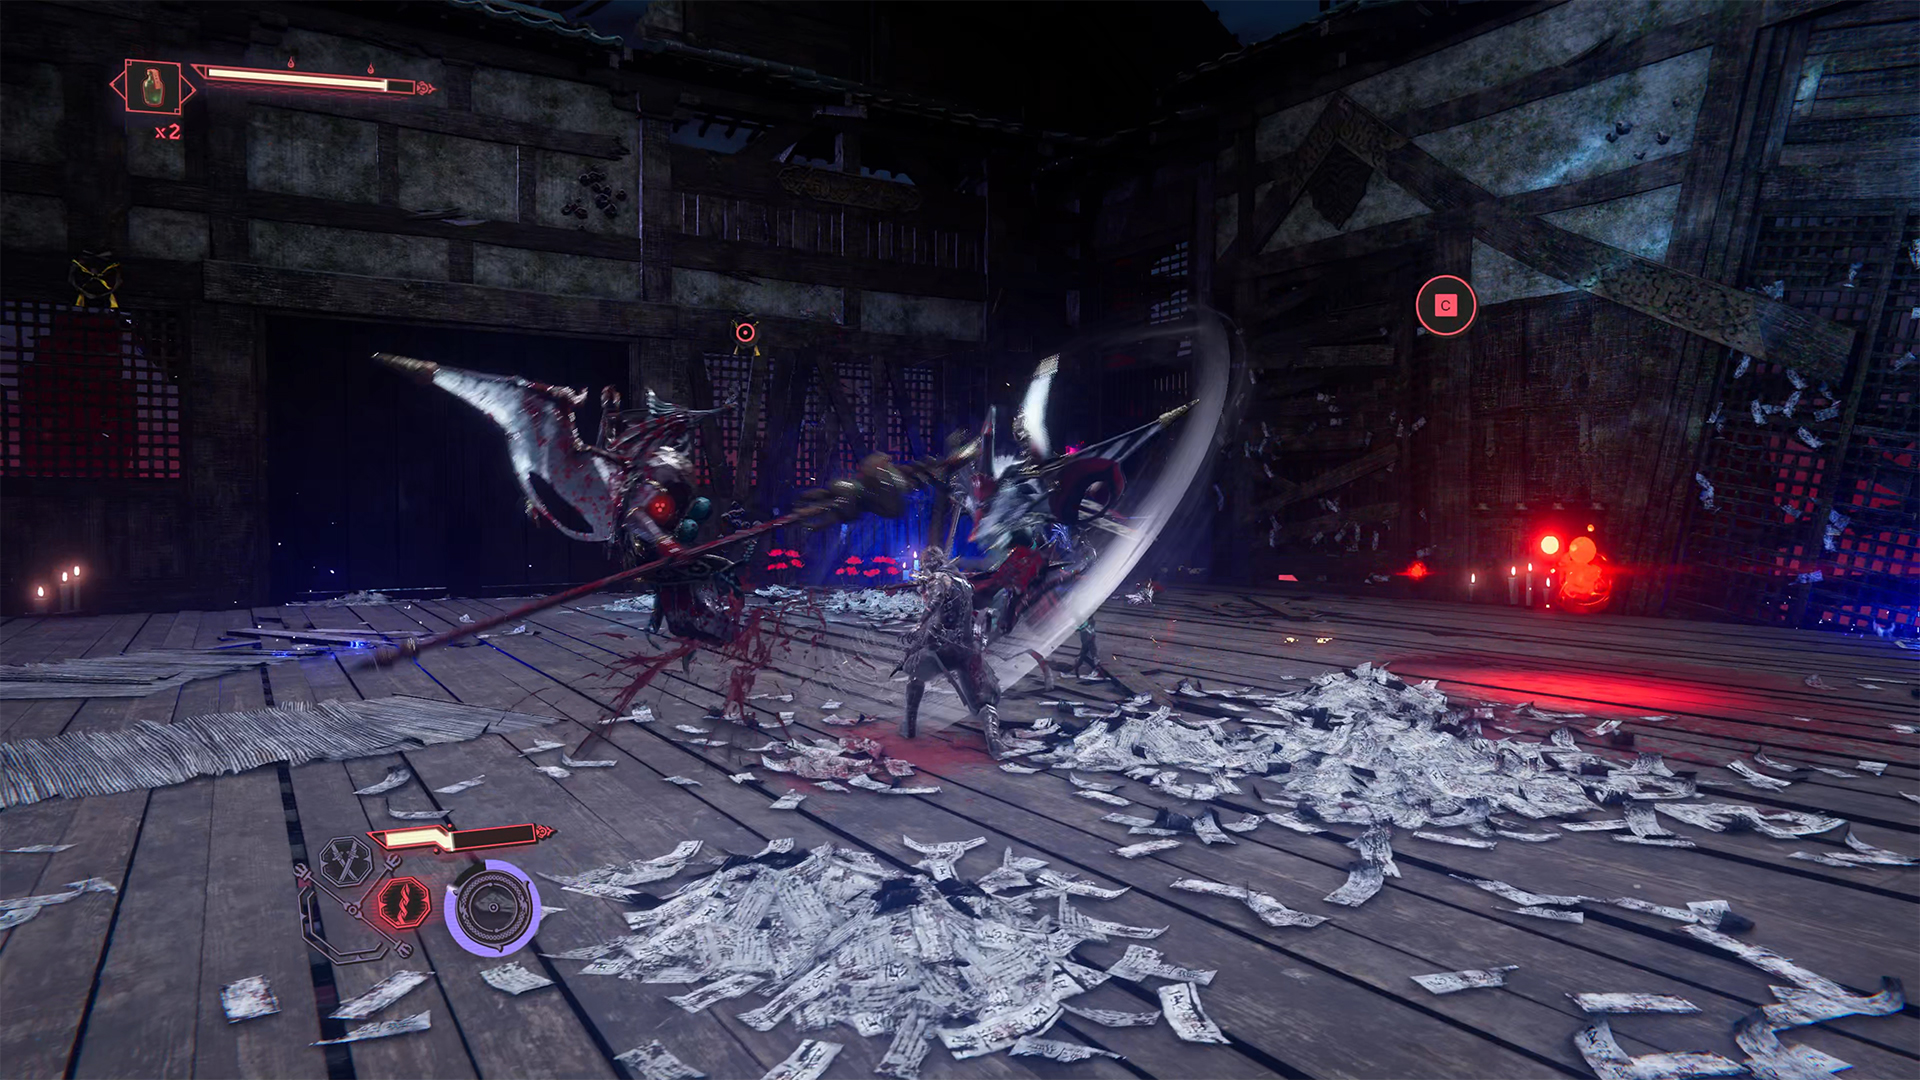
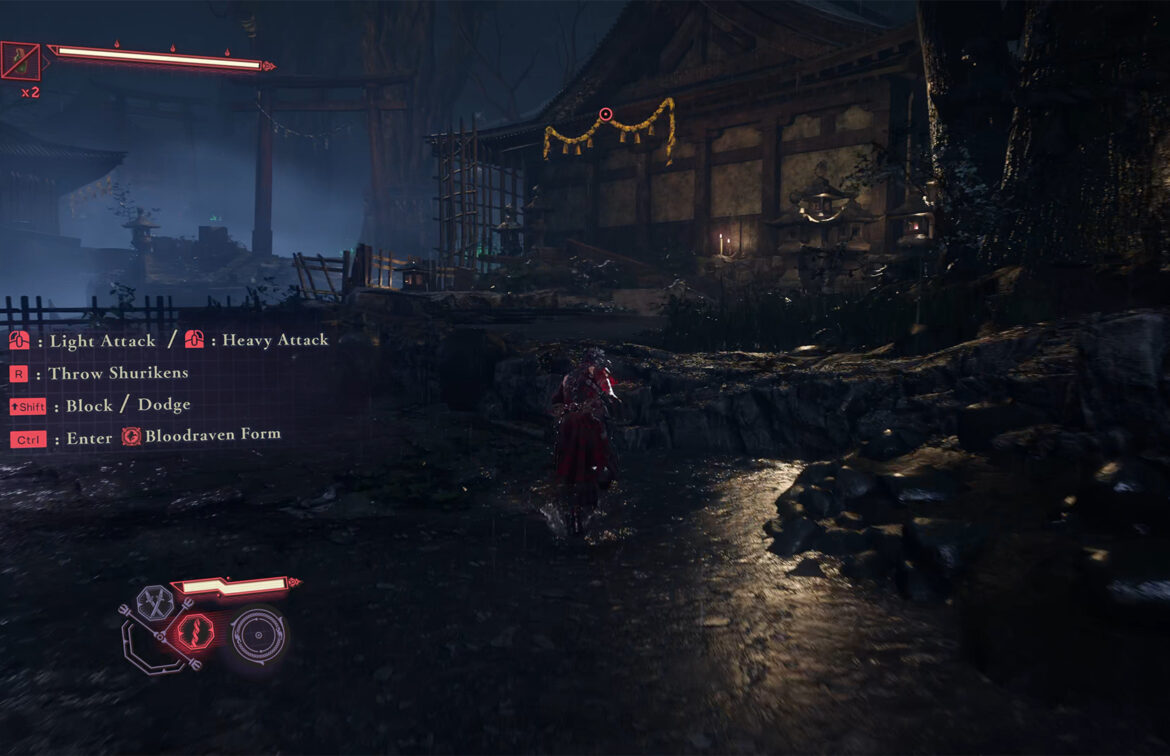
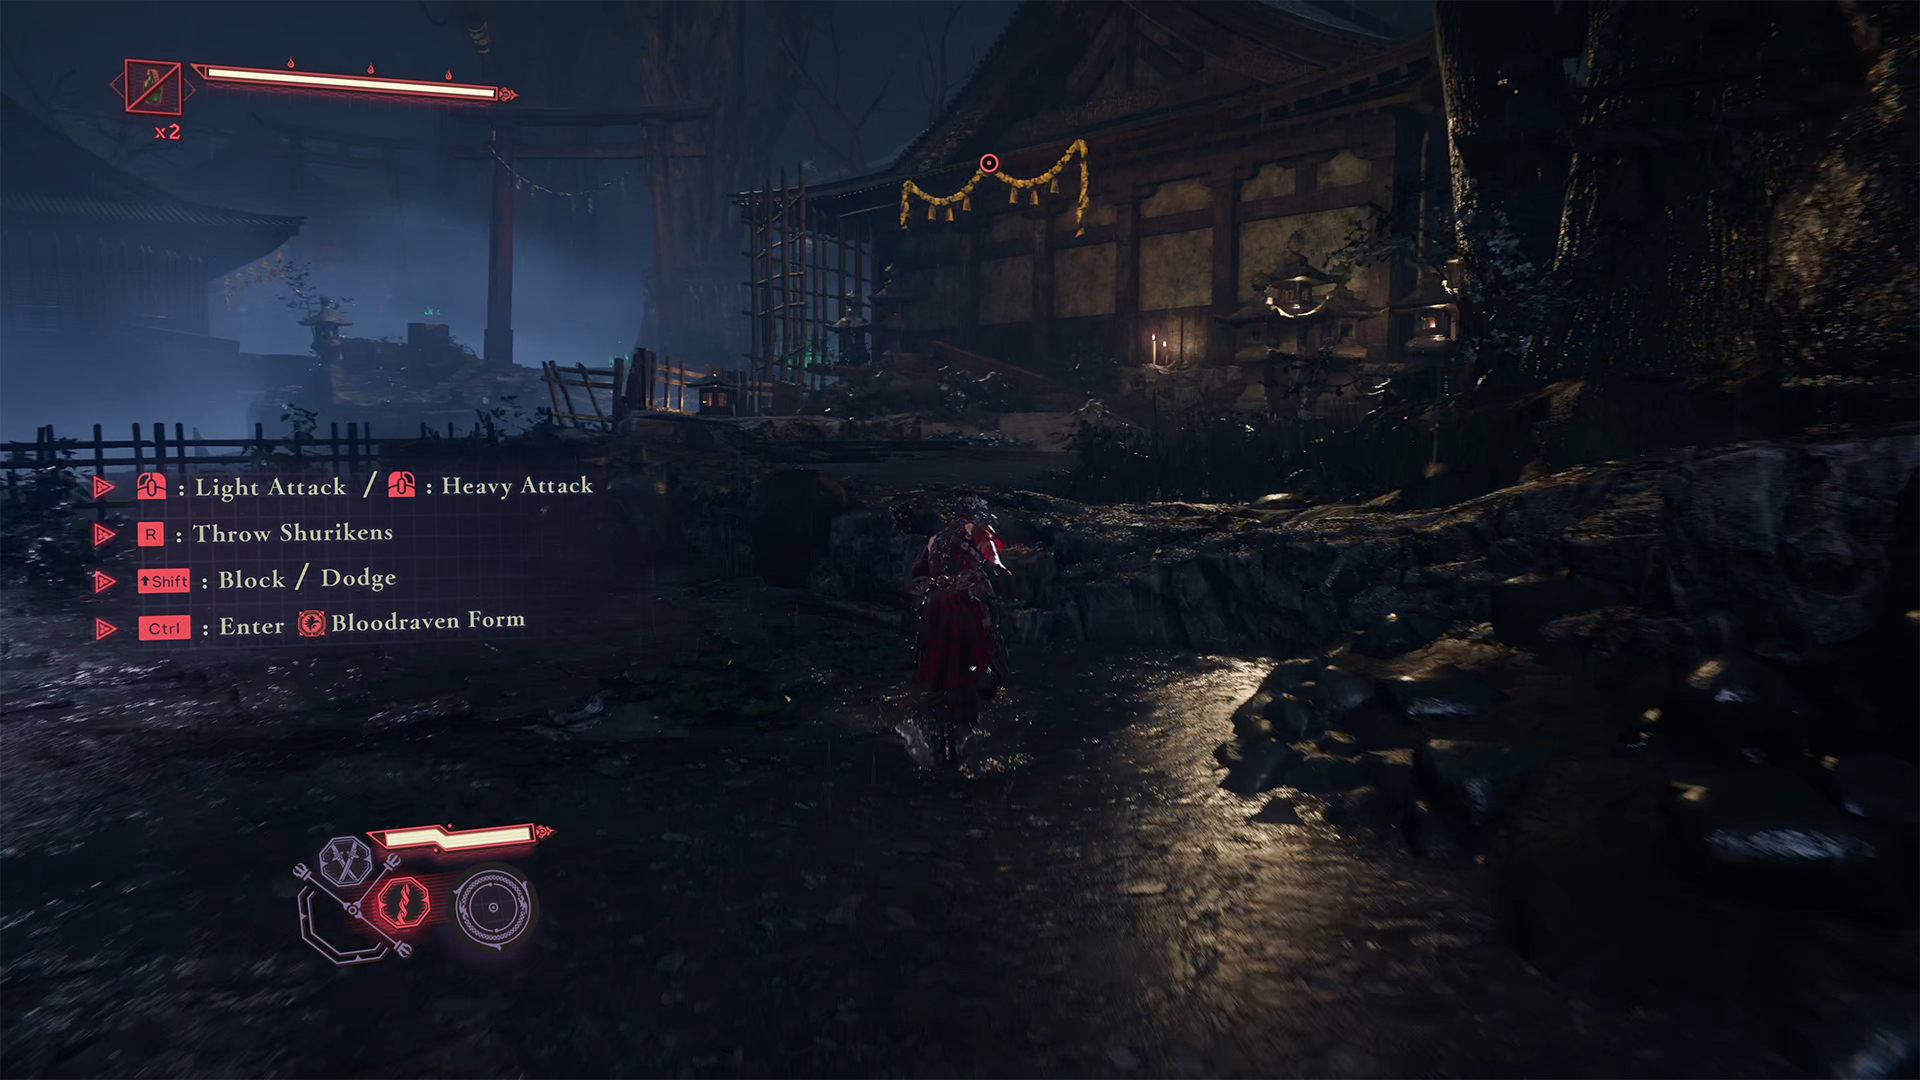
Execute the Troublemaker
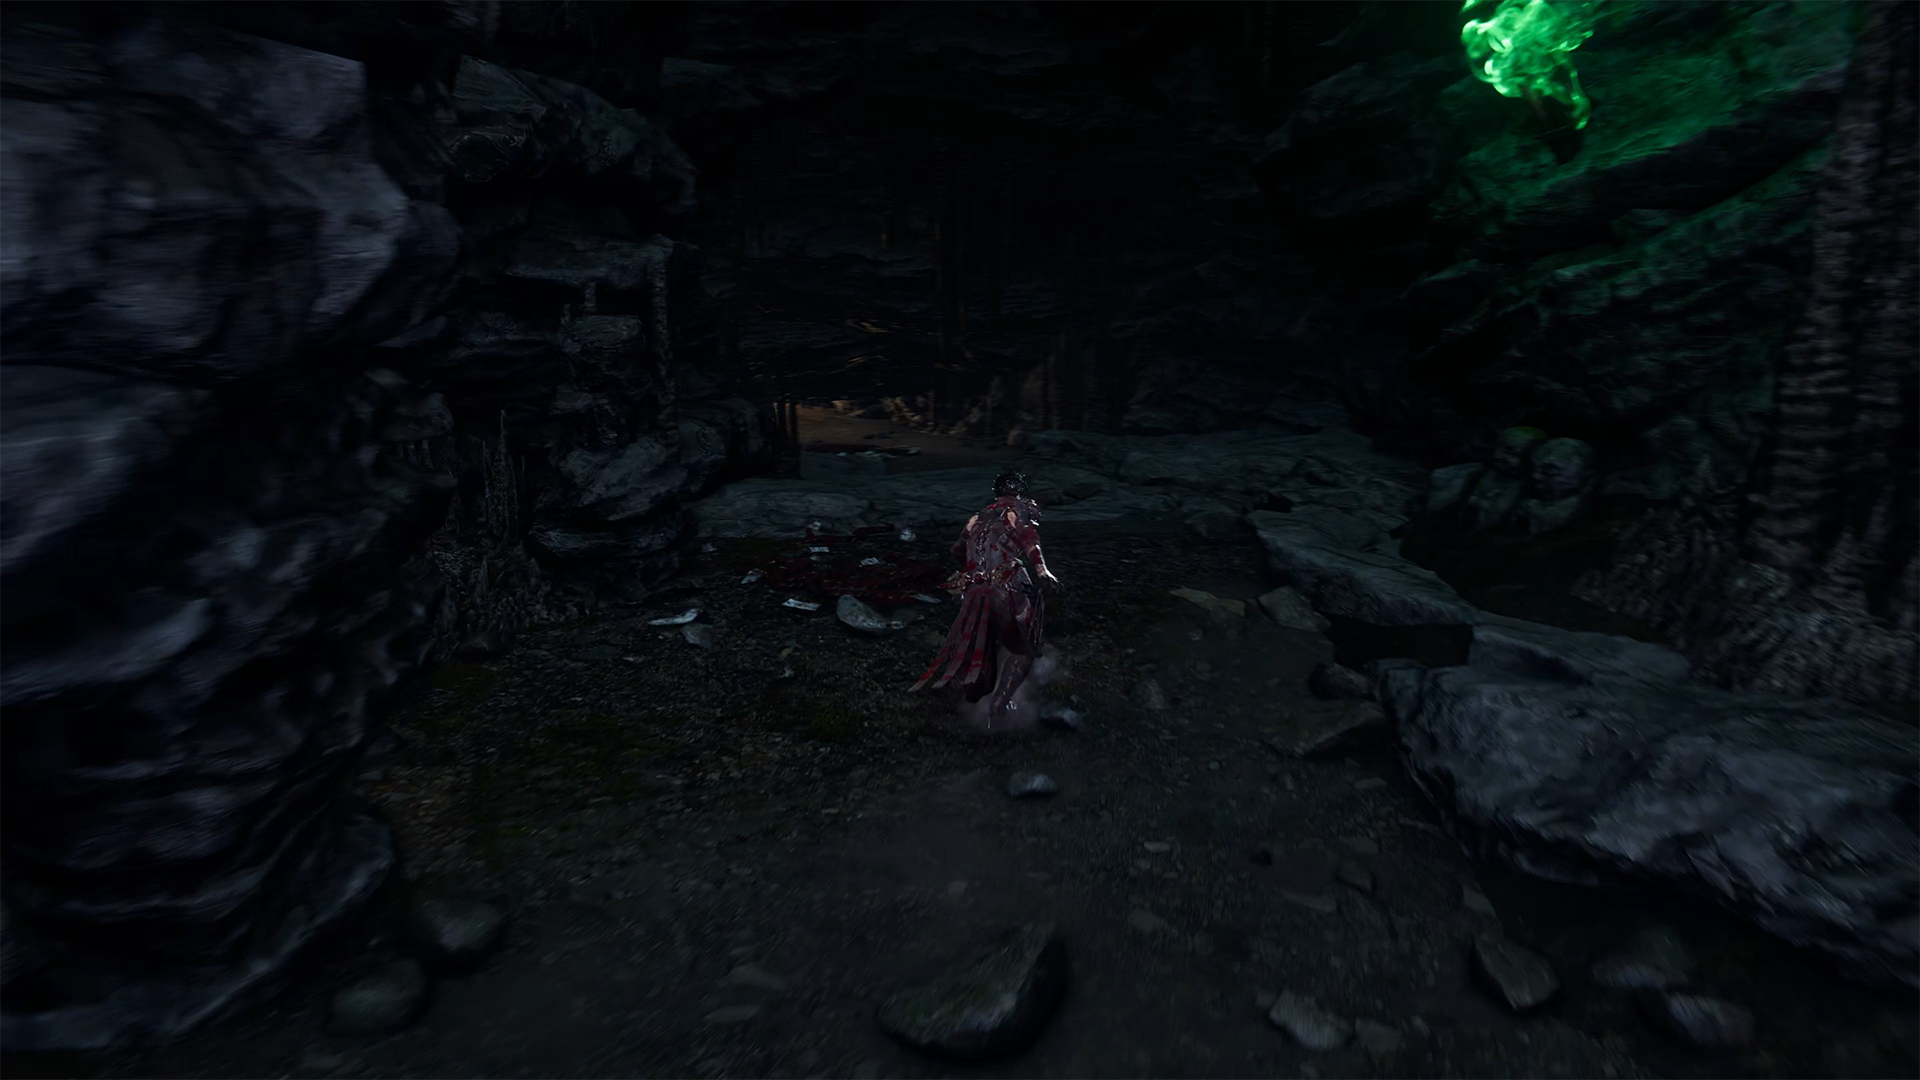
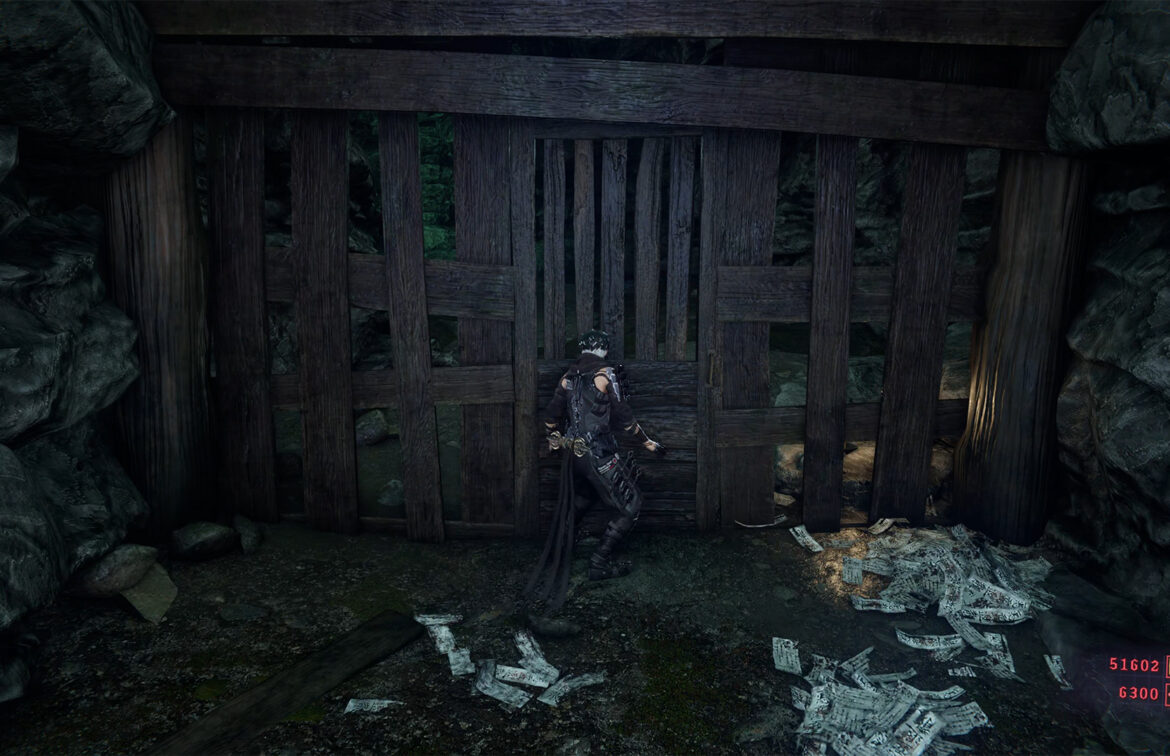
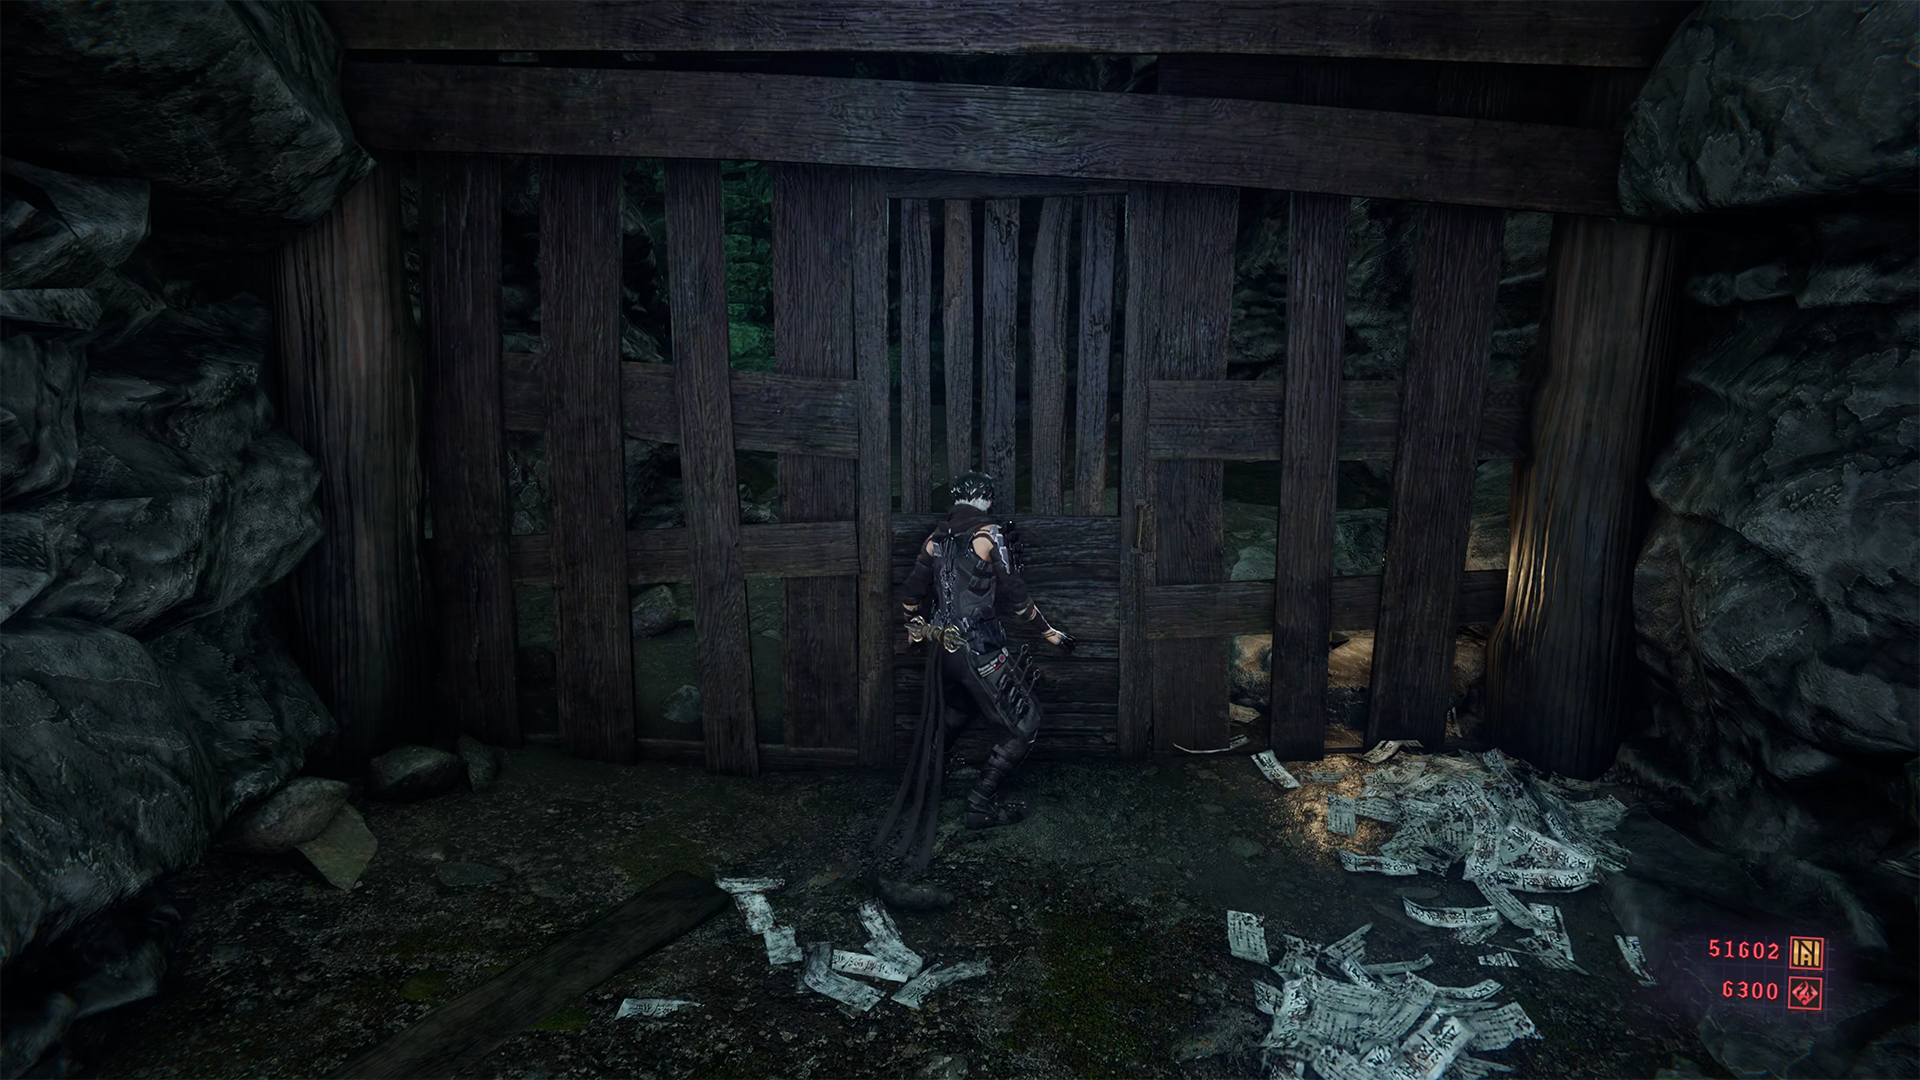
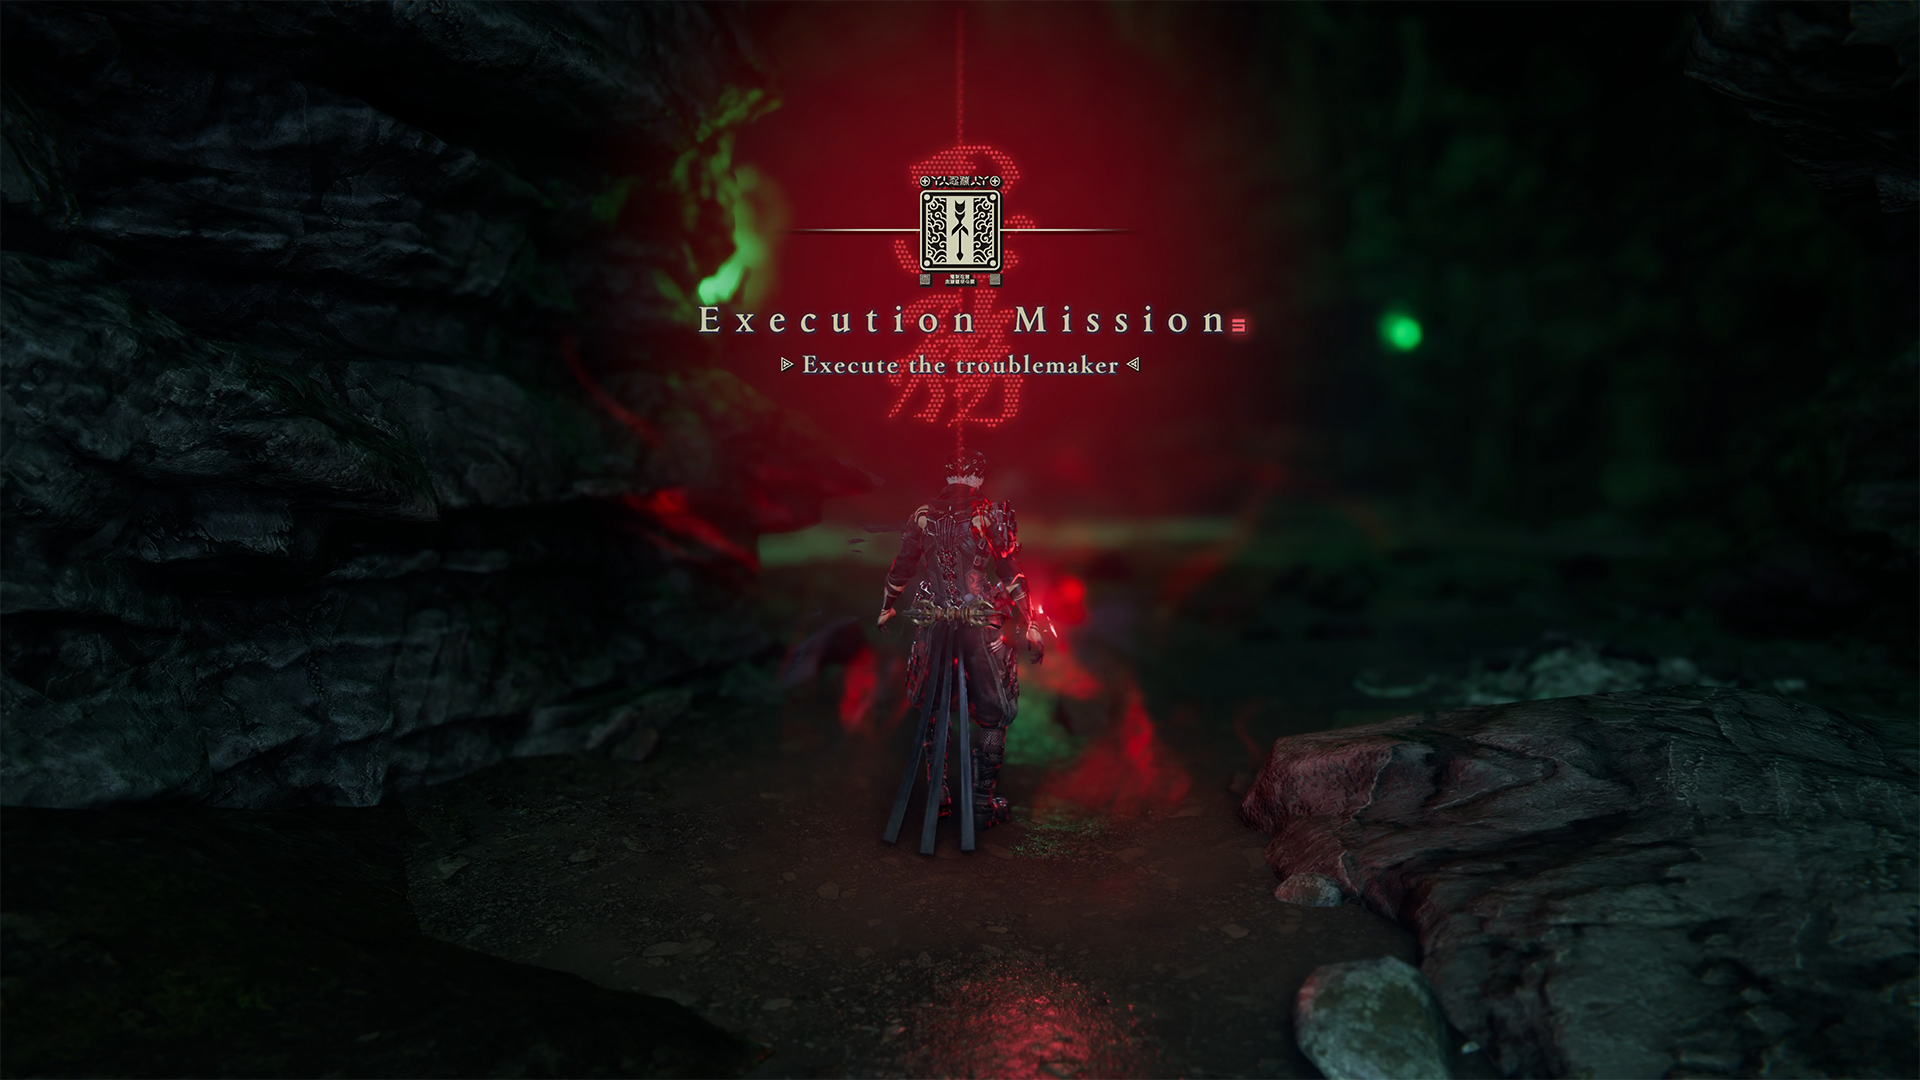
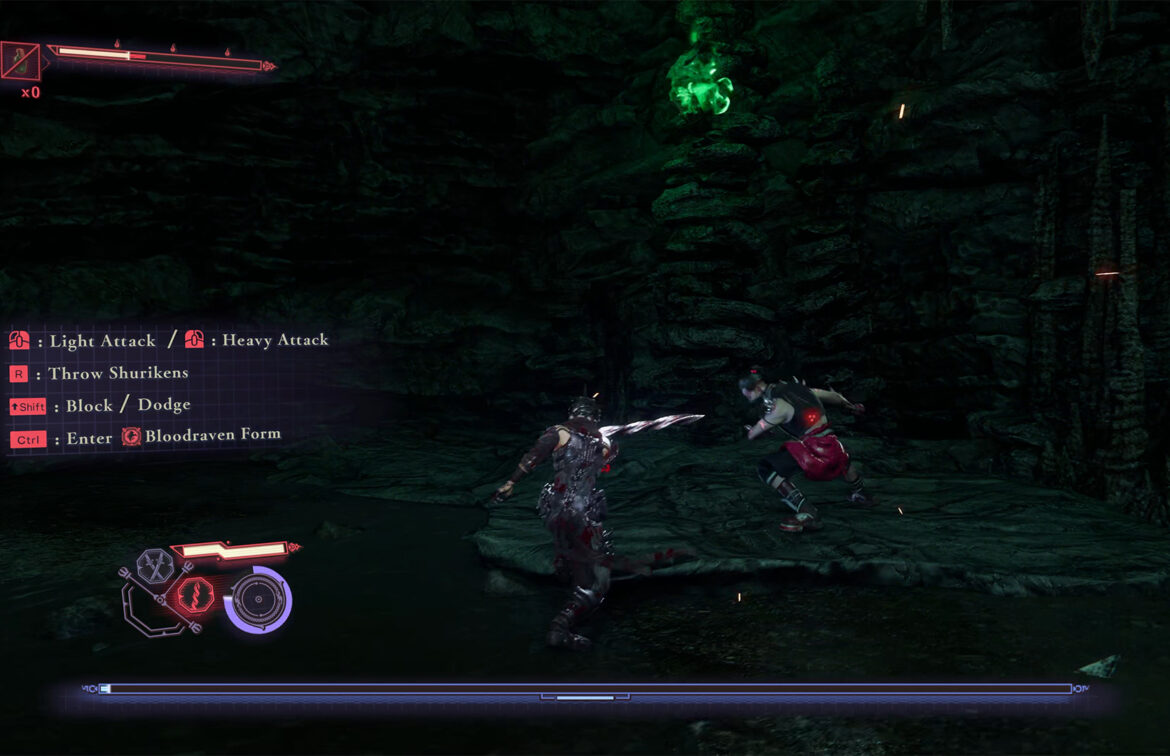
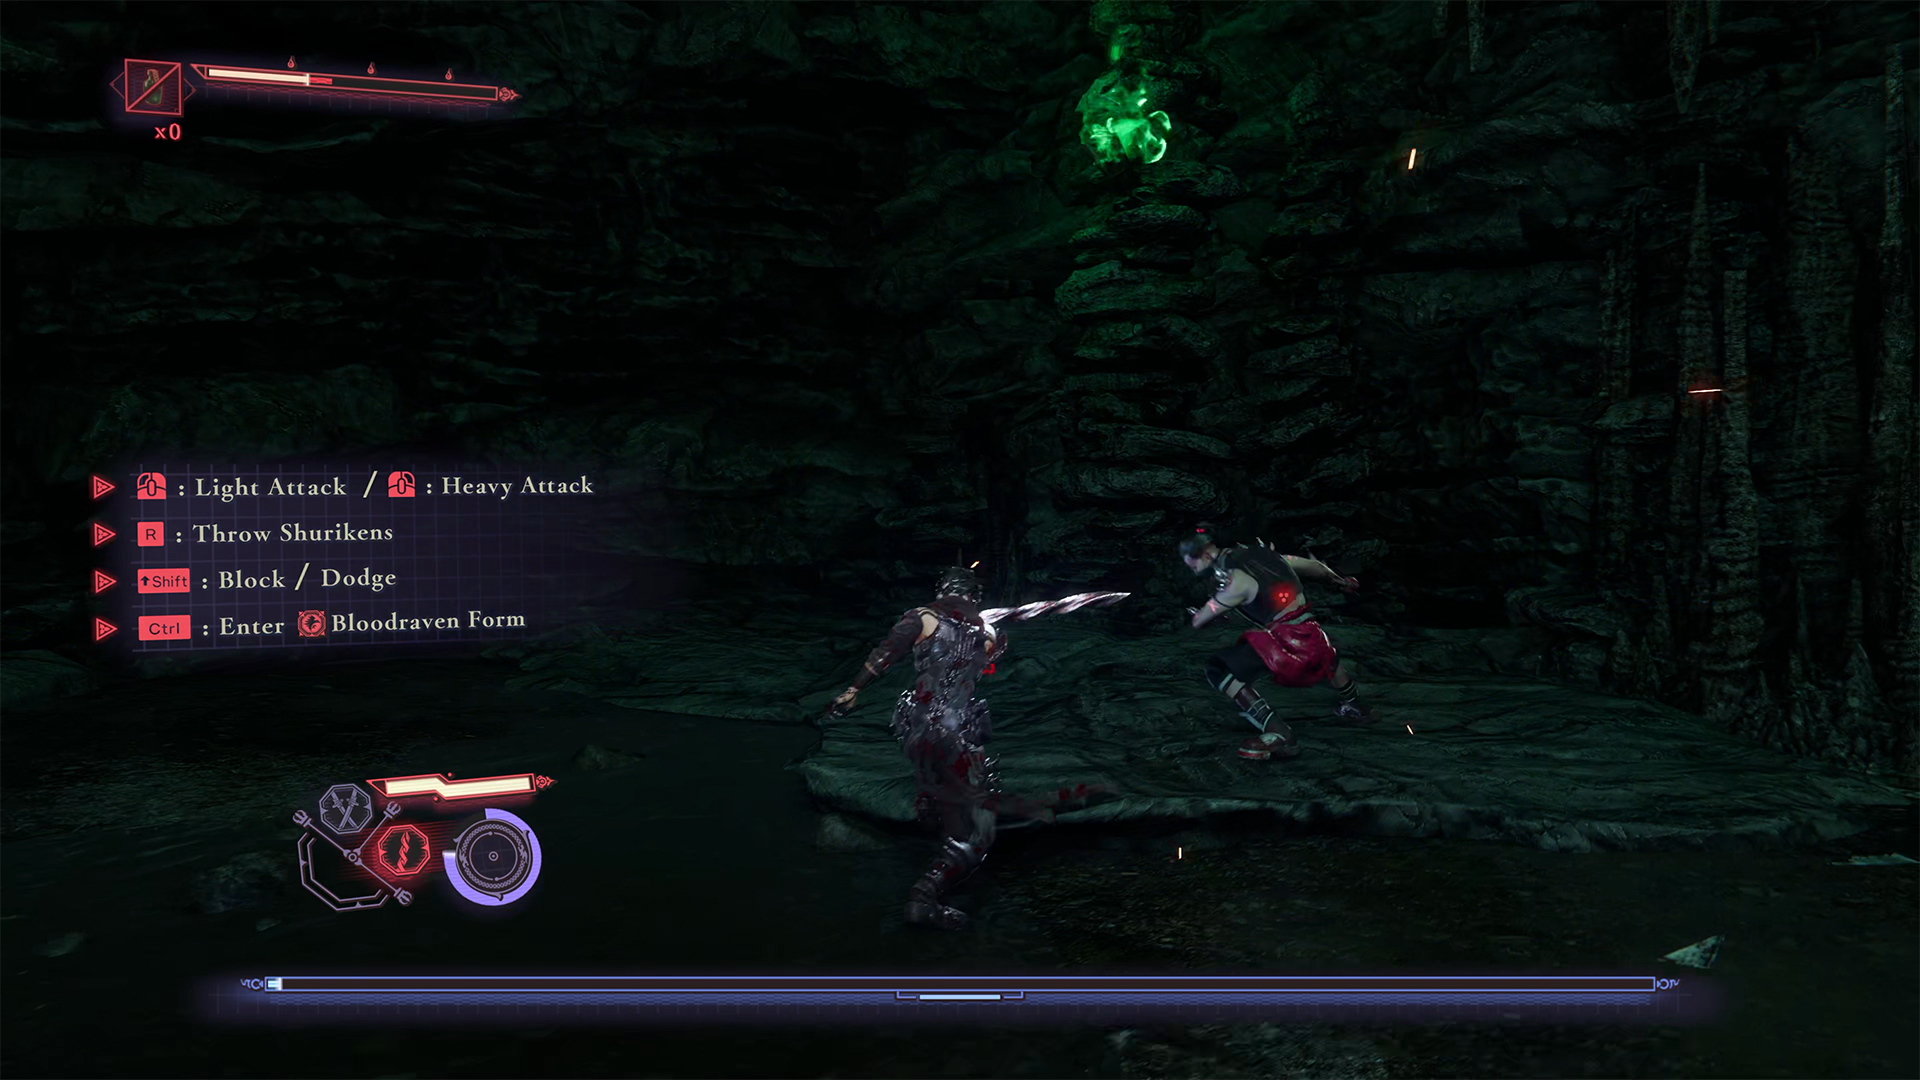
Continue through the story and collect chests until you need to slip under the stone wall again. You will find yourself in a location where there is a chest and a green torch on the wall in front of you. Look to the right of the chest and you will see a wooden door. Open it and go inside. You will find yourself in a cave where you can complete the Execute the Troublemaker quest. You have only one opponent and there are no monsters nearby, but this battle can be quite difficult. It all depends on the difficulty level you are playing the game on.
At the highest level, the battle is extremely difficult, and I would advise you to use Kongou Iron Brew, Senjin War Brew, and Crimson Blood Balm if you find this battle difficult. In Normal mode, the battle will not be a problem for you. Dodge attacks, parry, and counterattack, and soon you will see your opponent defeated. When you complete this quest, you will receive 6,500 NinjaCoin and Kangou Iron Brew.
-
- Enter the location with Troublemaker
-

- Execute the Troublemaker
-
- Battle with Troublemaker
Purgatory Gate Raging Valley
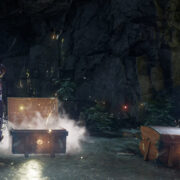
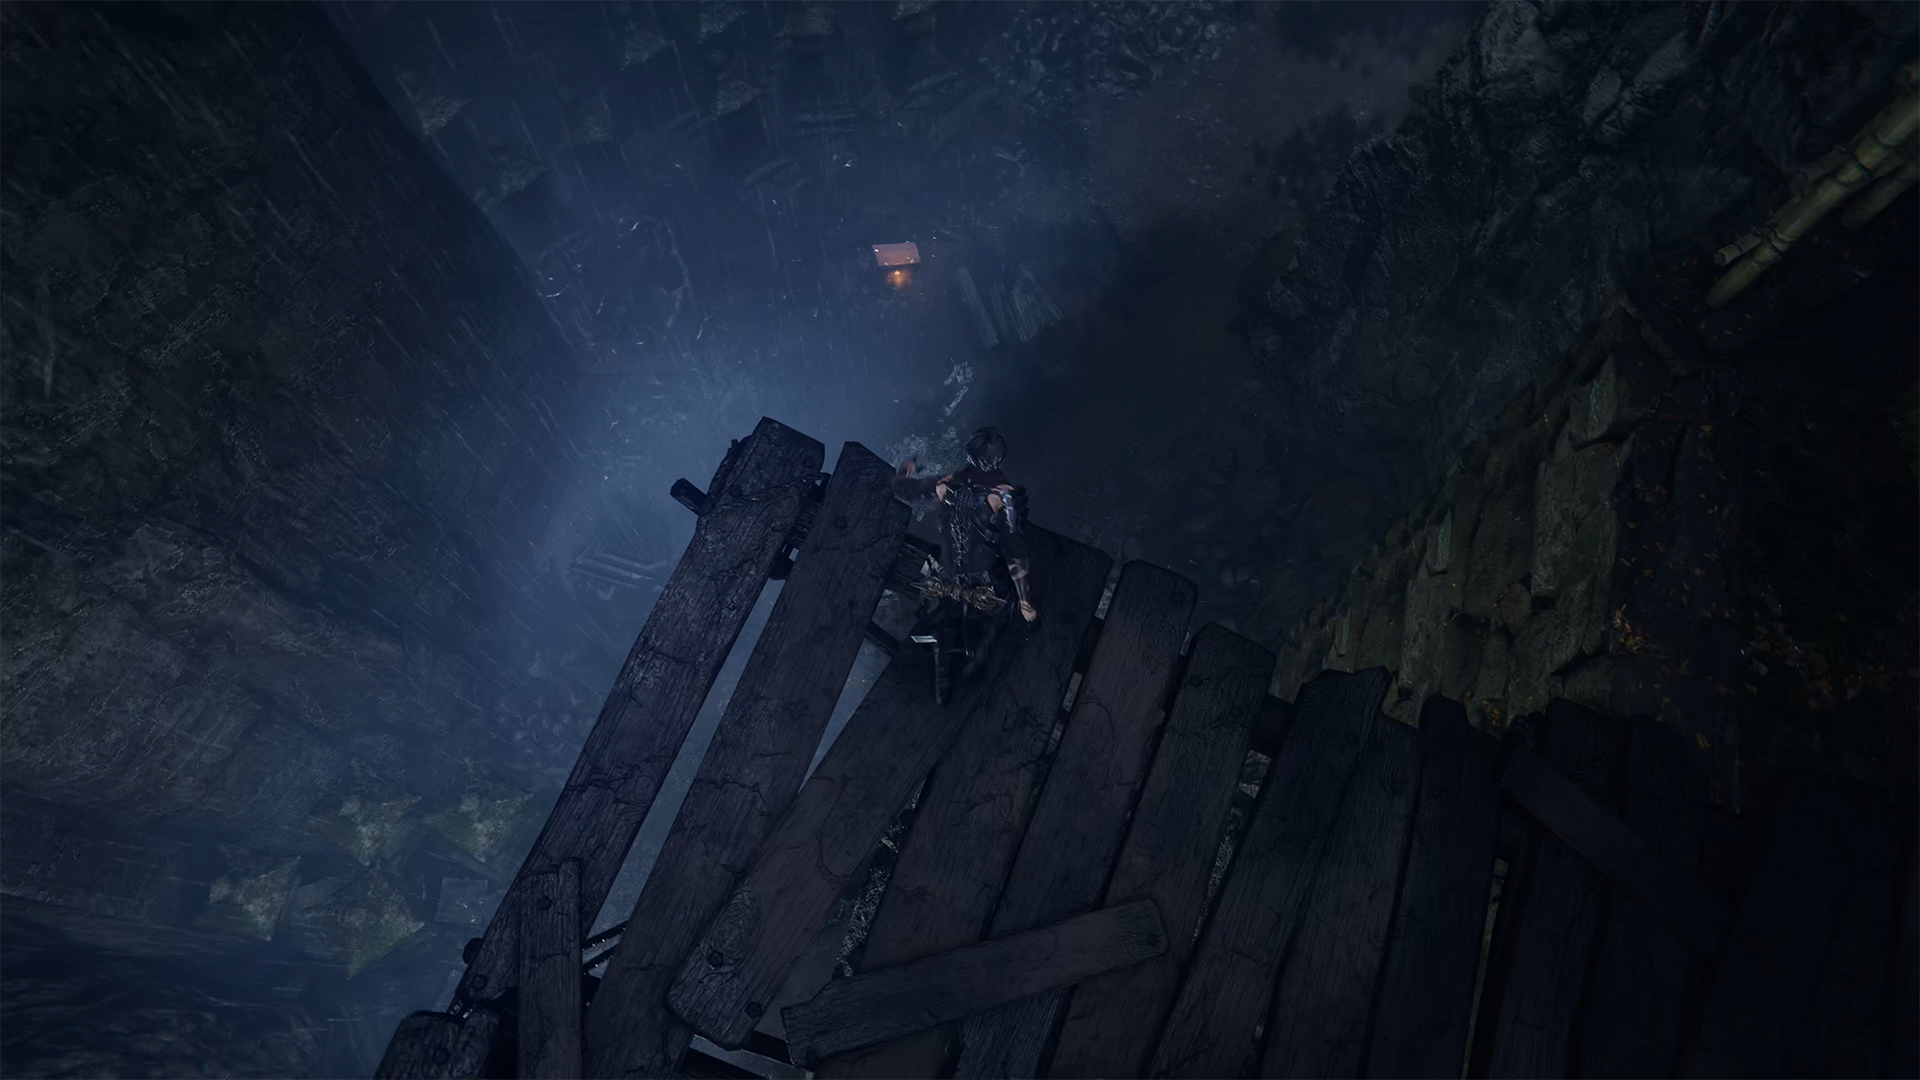
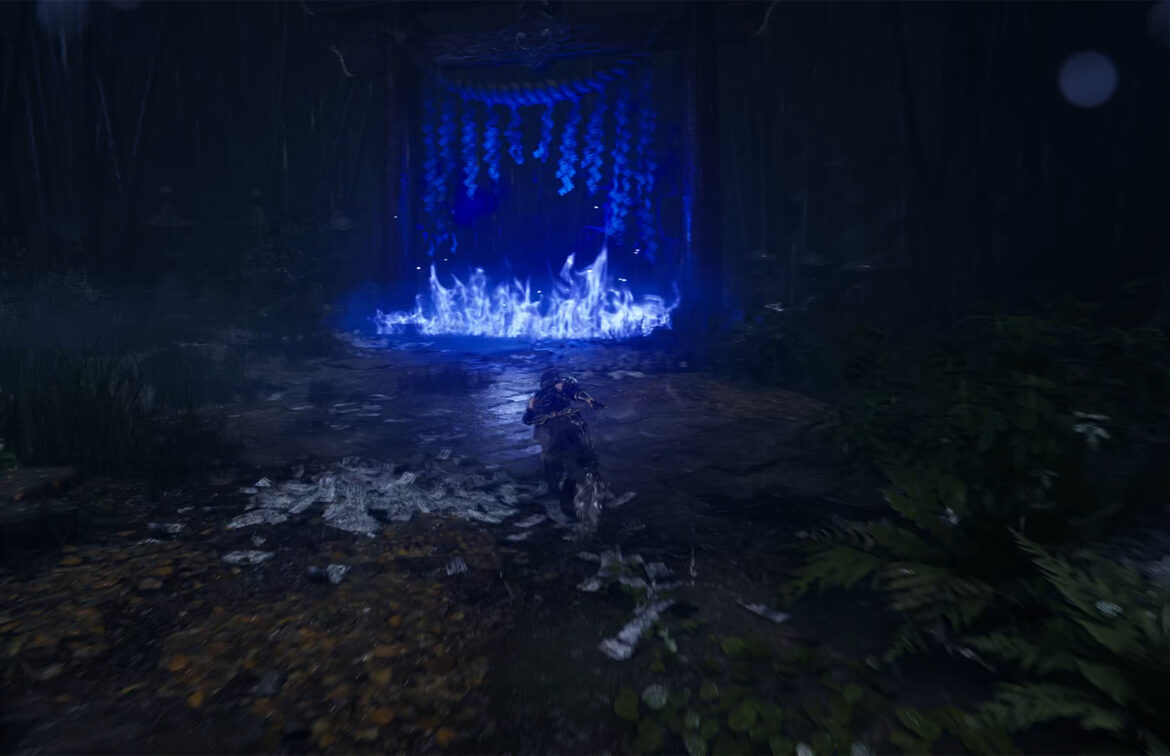
Moving further along the plot, you will find yourself in this place. Here you need to jump to the other side across the gorge, but don’t rush to do so. Look down. There you will see a chest, jump there. Here you will fight enemies. After that, you will be able to open the chest, then find another one a little further. After that, move forward through the gorge and along the way you will see a location where you can complete a trial that will earn you NinjaCoin if you win.
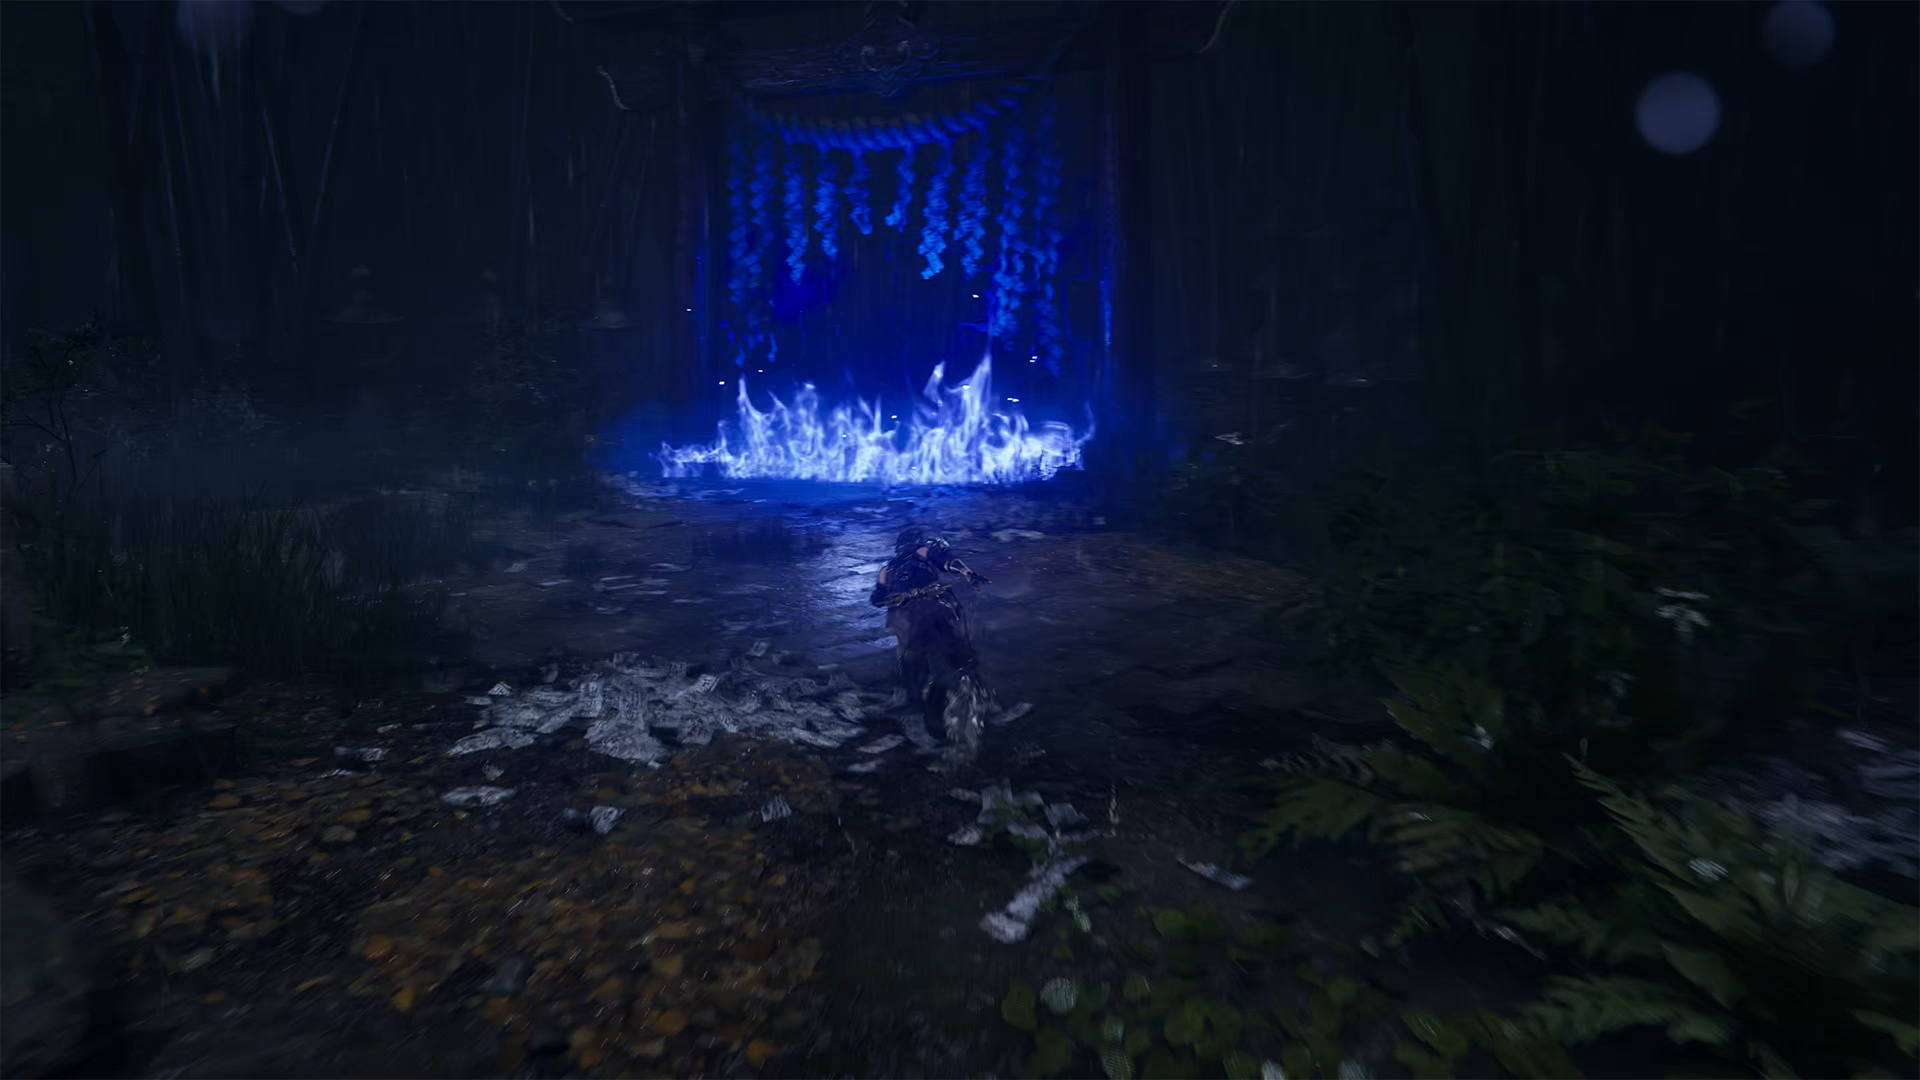
The blue glow of the entrance to Purgatory Gate should already be familiar to you. Everything is the same here, you need to choose the room in which you will take the trial. I’m sure you know this, but I’ll just repeat it again. The more difficult the room you choose, the less health you will have and the greater your reward will be at the end of the battle. Unlike the previous battle, where there was only one enemy, but a difficult one, in this trial you will face many enemies. Therefore, you need to radically change your tactics and, of course, choose a room that you can overcome without significant effort. After all, your task is not just to pass the room, but to earn NinjaCoin.
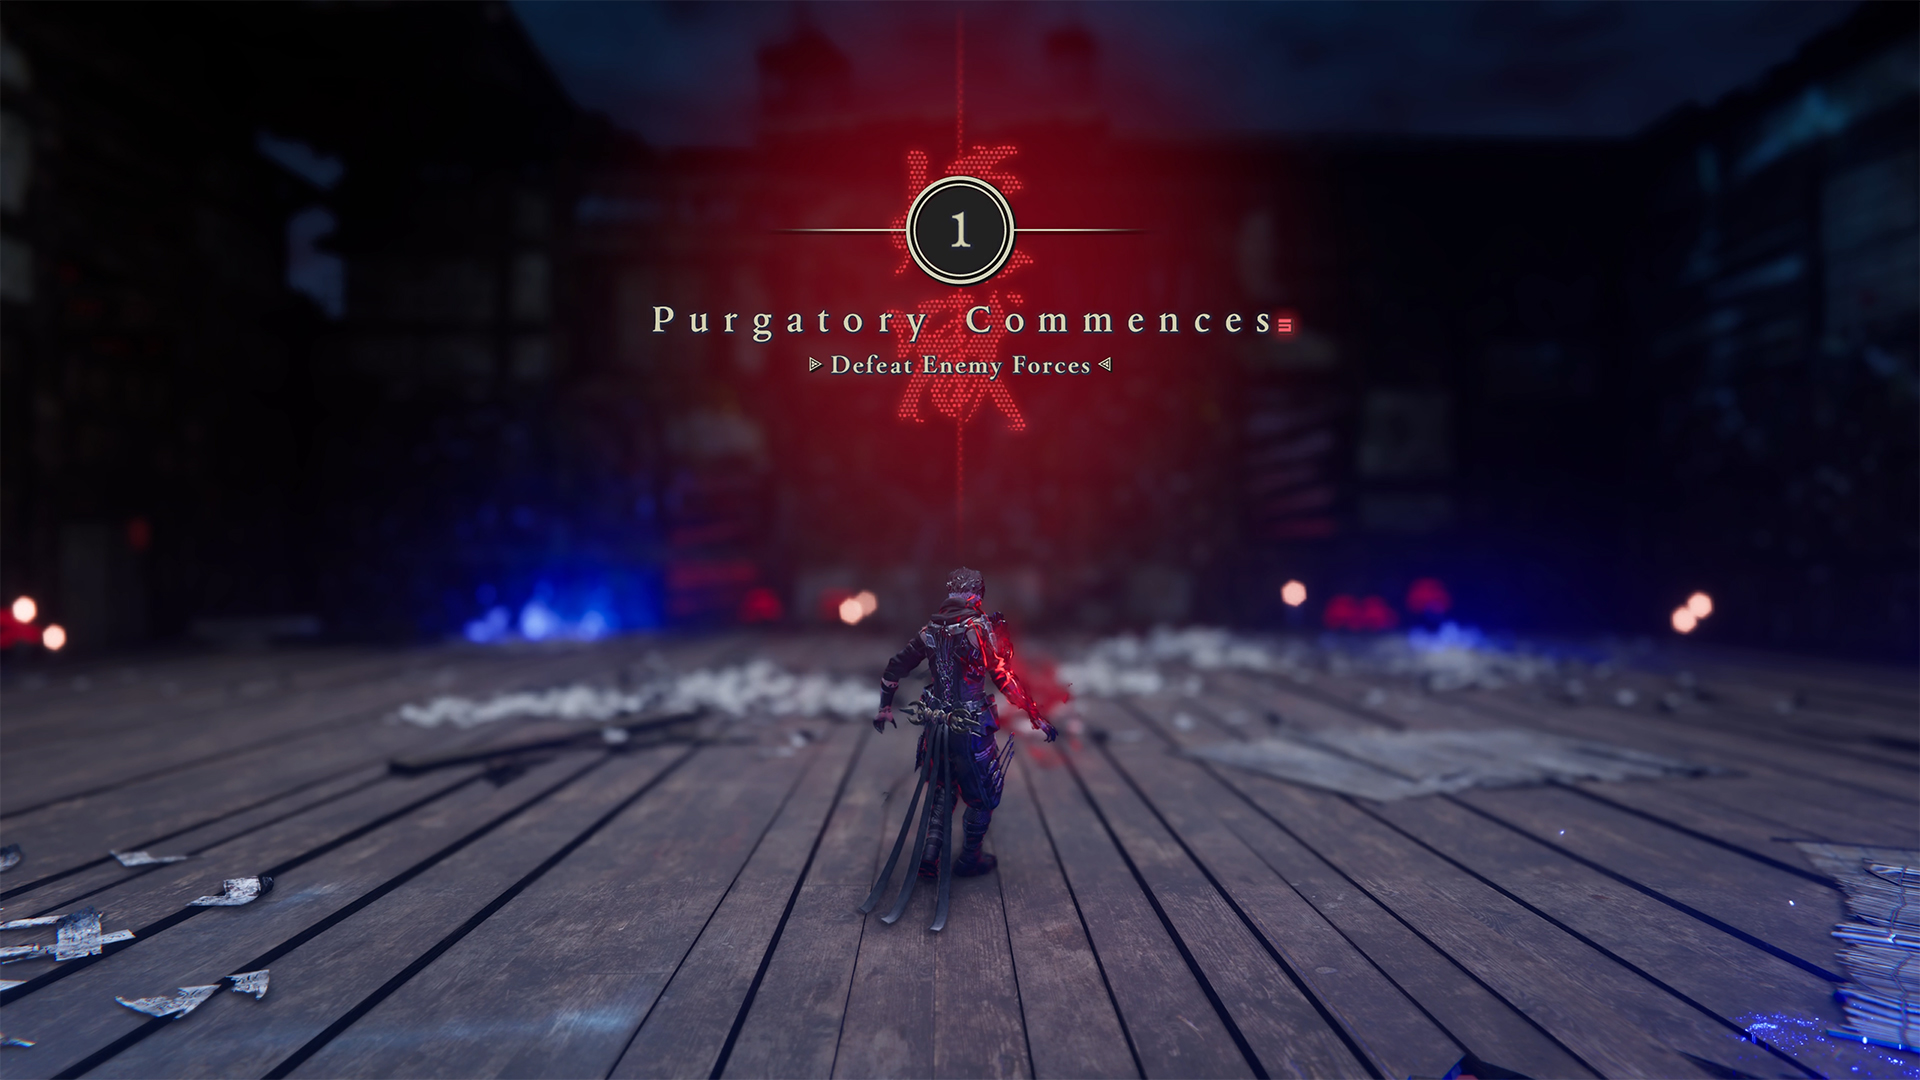
As for the battle itself, as you can see on the screen, you need to move as quickly as possible. Sometimes it is not worth focusing on defeating one opponent. The main thing is to constantly dodge and, of course, try to choose the targets that cause you the most problems. Usually, these are all opponents with long-range attacks. In fact, the battle is very interesting and quite dynamic. After successfully completing it, we receive a reward and move on.
-
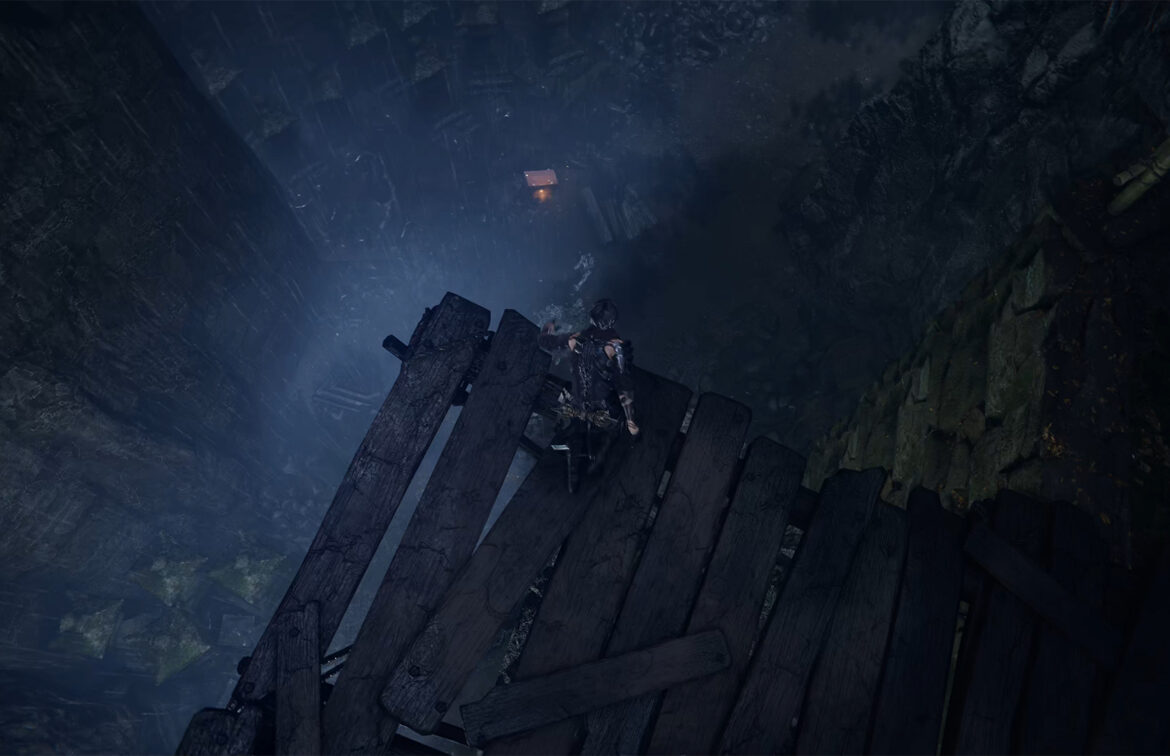
- Jump down to the chest
-
- Purgatory Gate Raging Valley
-
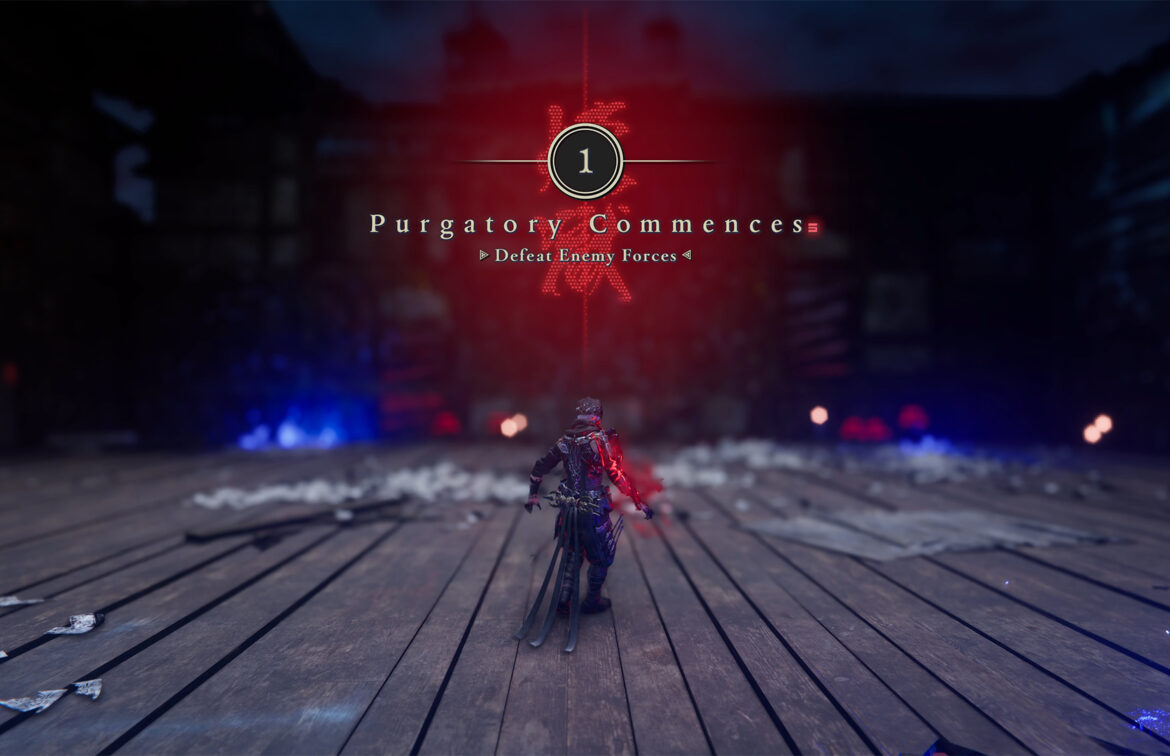
- Start the trial in the room
-
- Battle with opponents
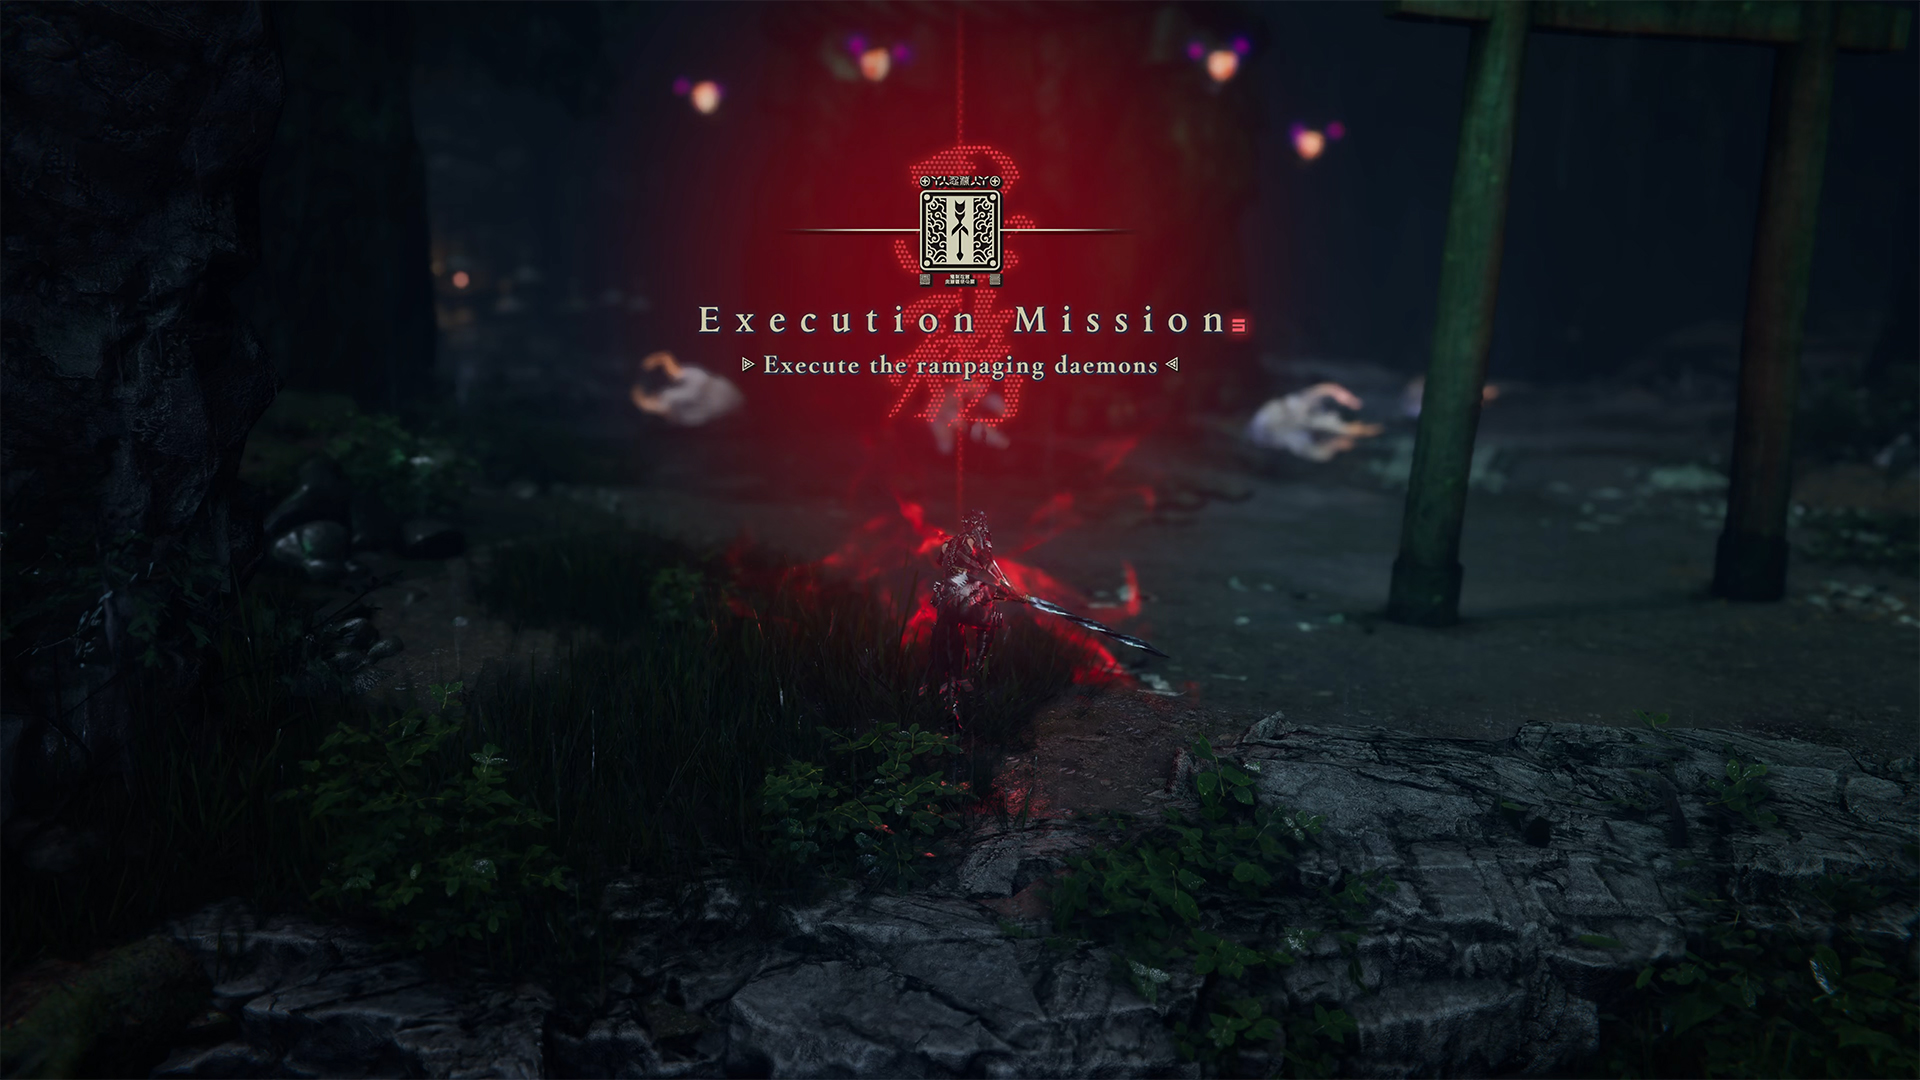
Execute the Rampaging Daemons
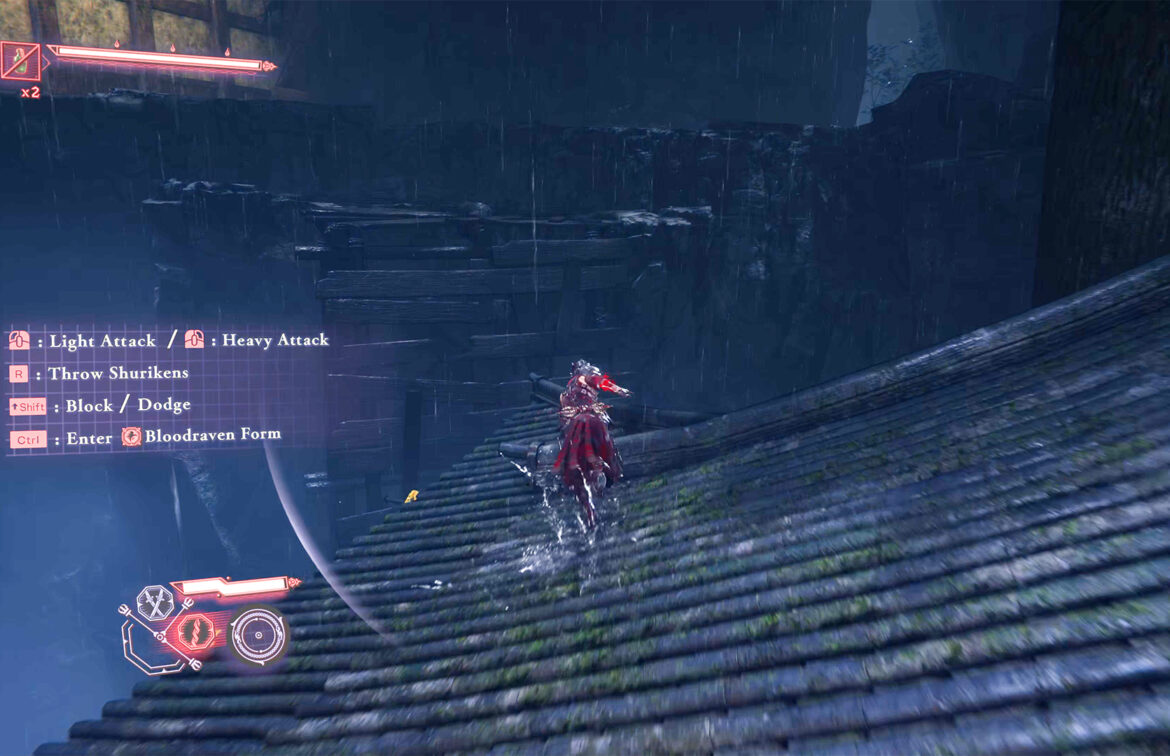
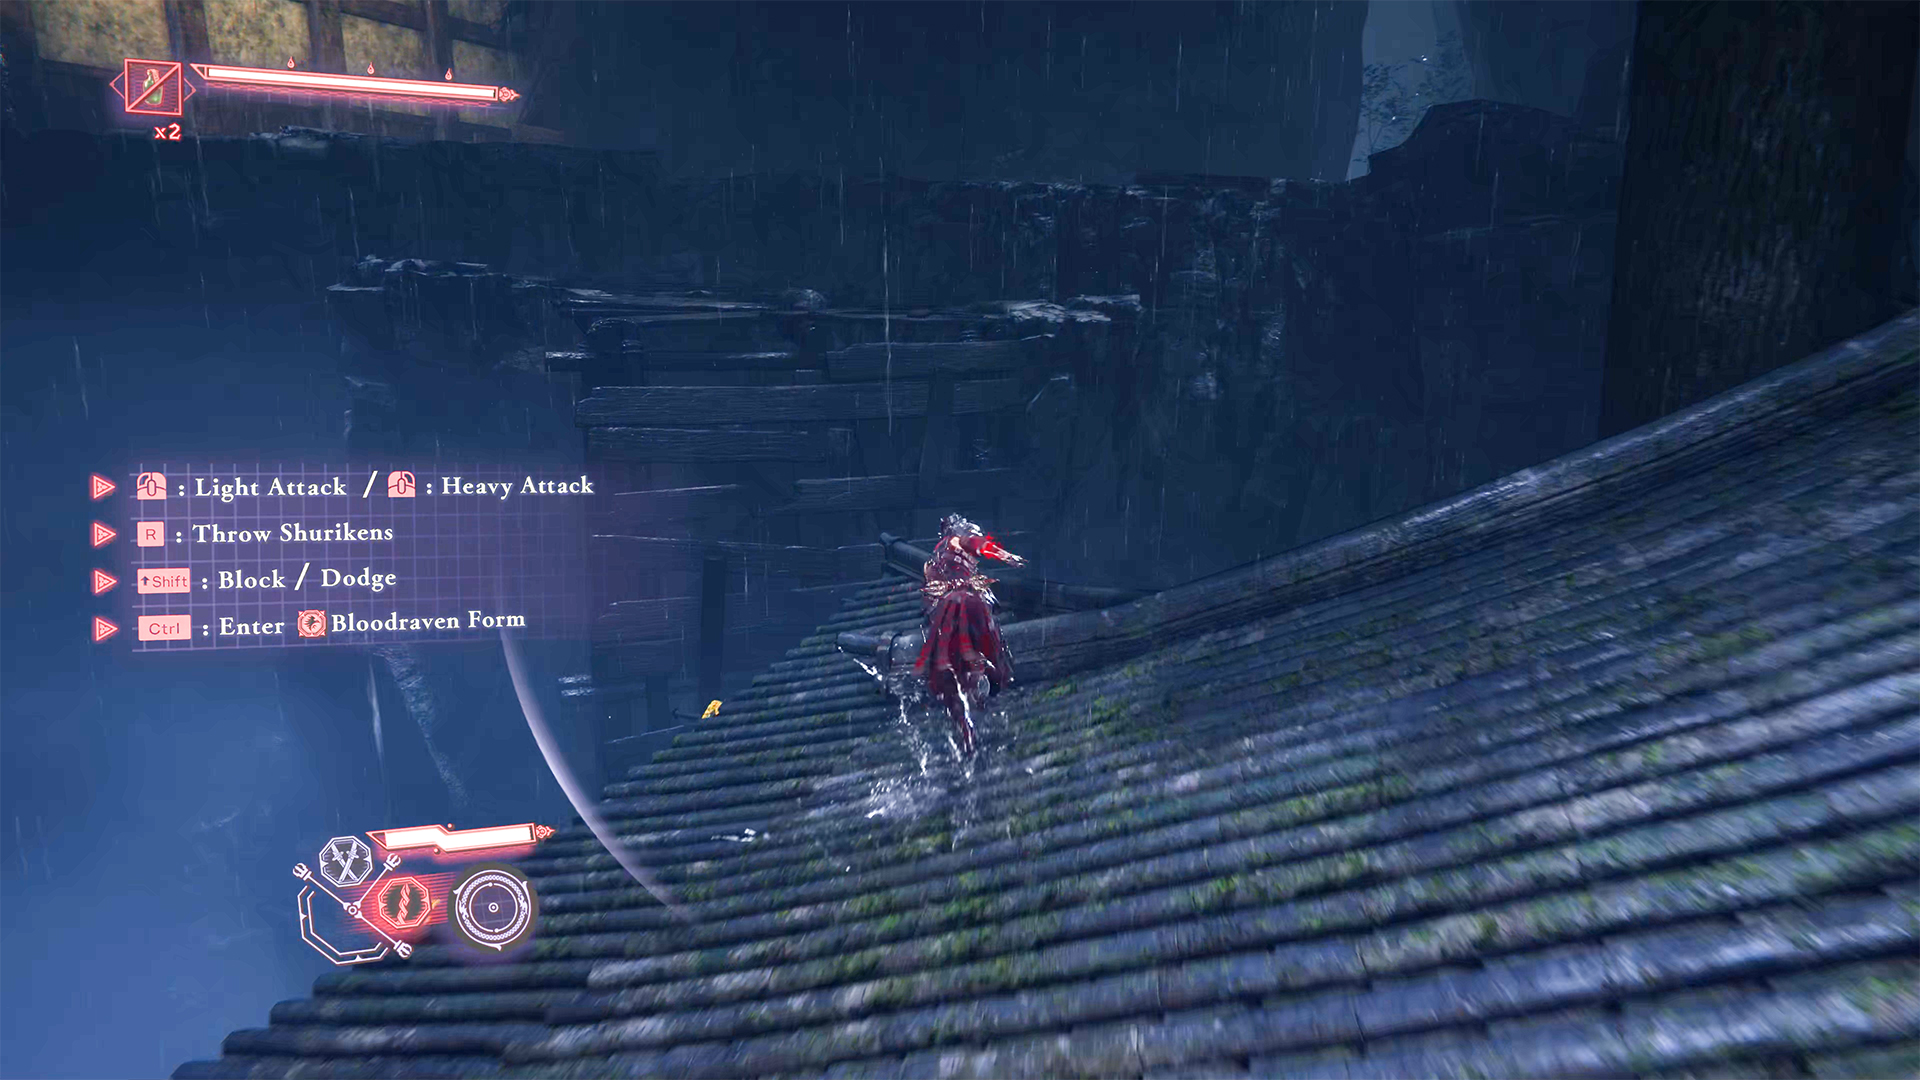
Next, you will reach a very interesting location, which I personally found very interesting to explore. When you reach the houses, turn right and use the Caddis Wire to jump onto the roof of the house. Cross the roof to the other side of the building and jump onto the stone platform. Here, turn right and move forward. In this place, you will see a spot where you need to use Flying Bird Flip to climb higher. On the second floor, you will be able to complete the Execute the Rampaging Daemons quest. This battle should not cause you any problems.
Here you will encounter Enenras and Burabura Lanterns. This is a rather unpleasant group of enemies with long-range attacks that will force you to keep moving, but the good news is that their armor is quite weak, so you will defeat them quickly one after another. The main thing is to dodge in time when the Burabura Lanterns explode and the Enenras shoot at you from a distance. When you complete this quest at the DarkNest Terminal, you will receive the Bat Fang Amulet as a reward.
-
- Jump onto the roof of the building
-
- From the roof to the platform and turn right
-
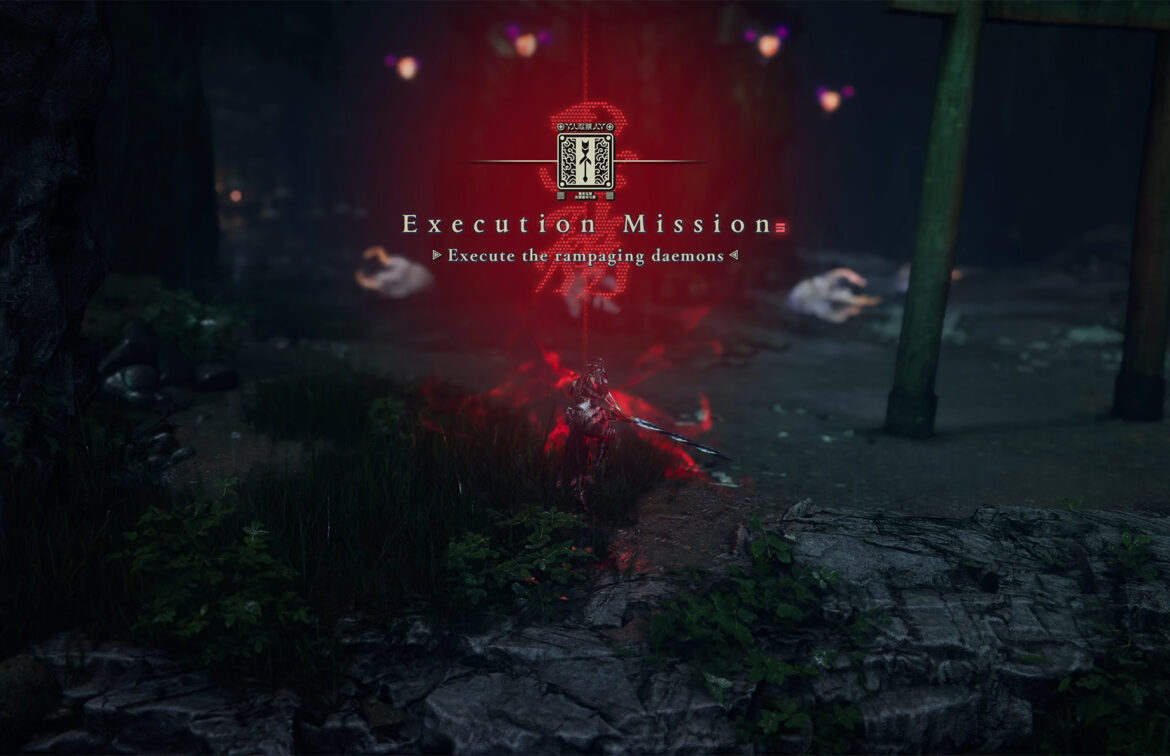
- Execute the Rampaging Daemons
Capture second Gourdy
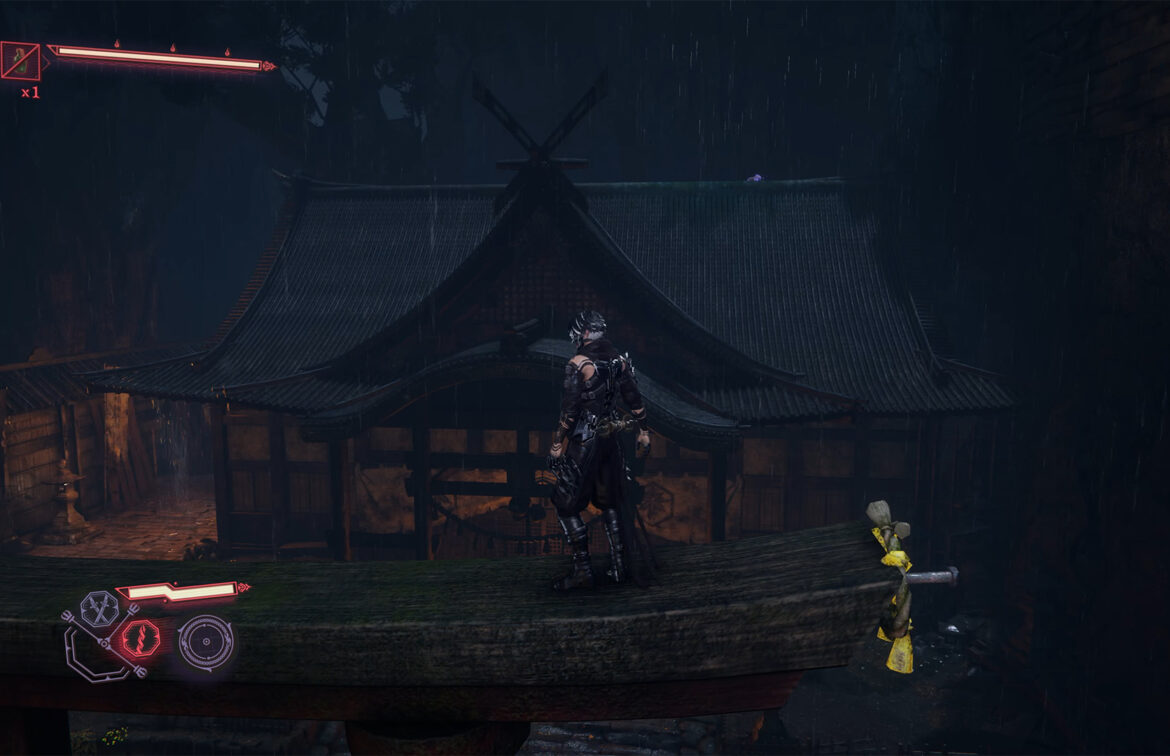
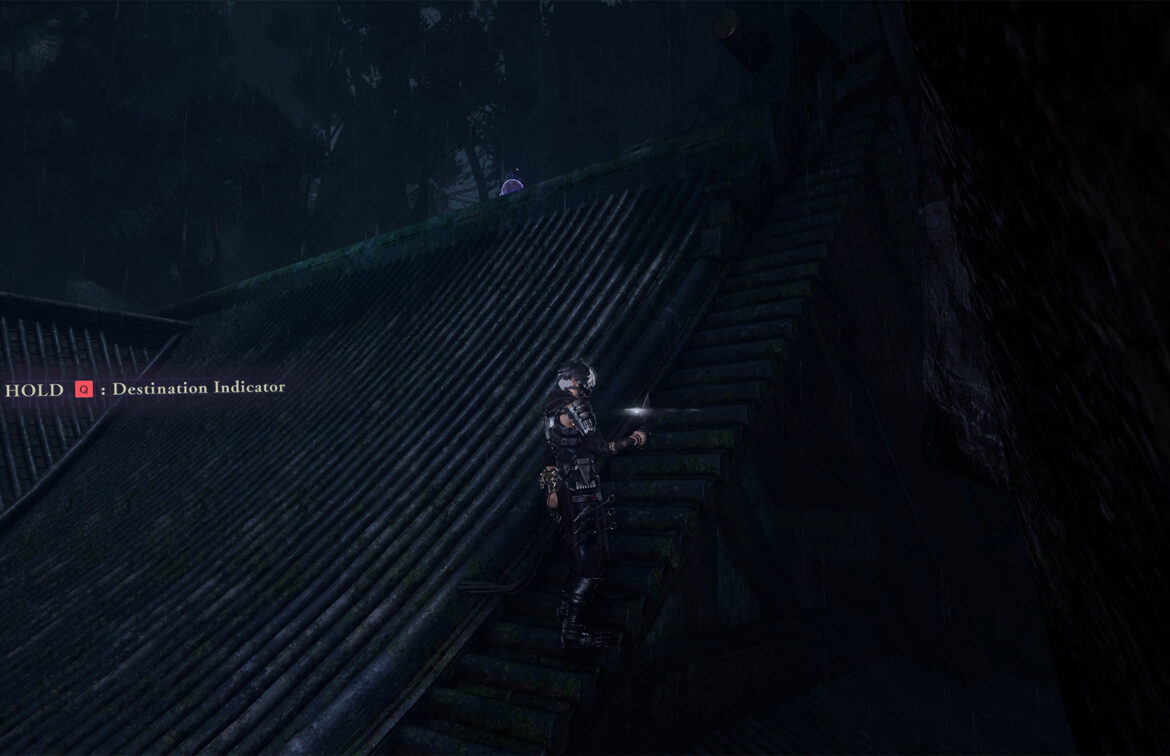
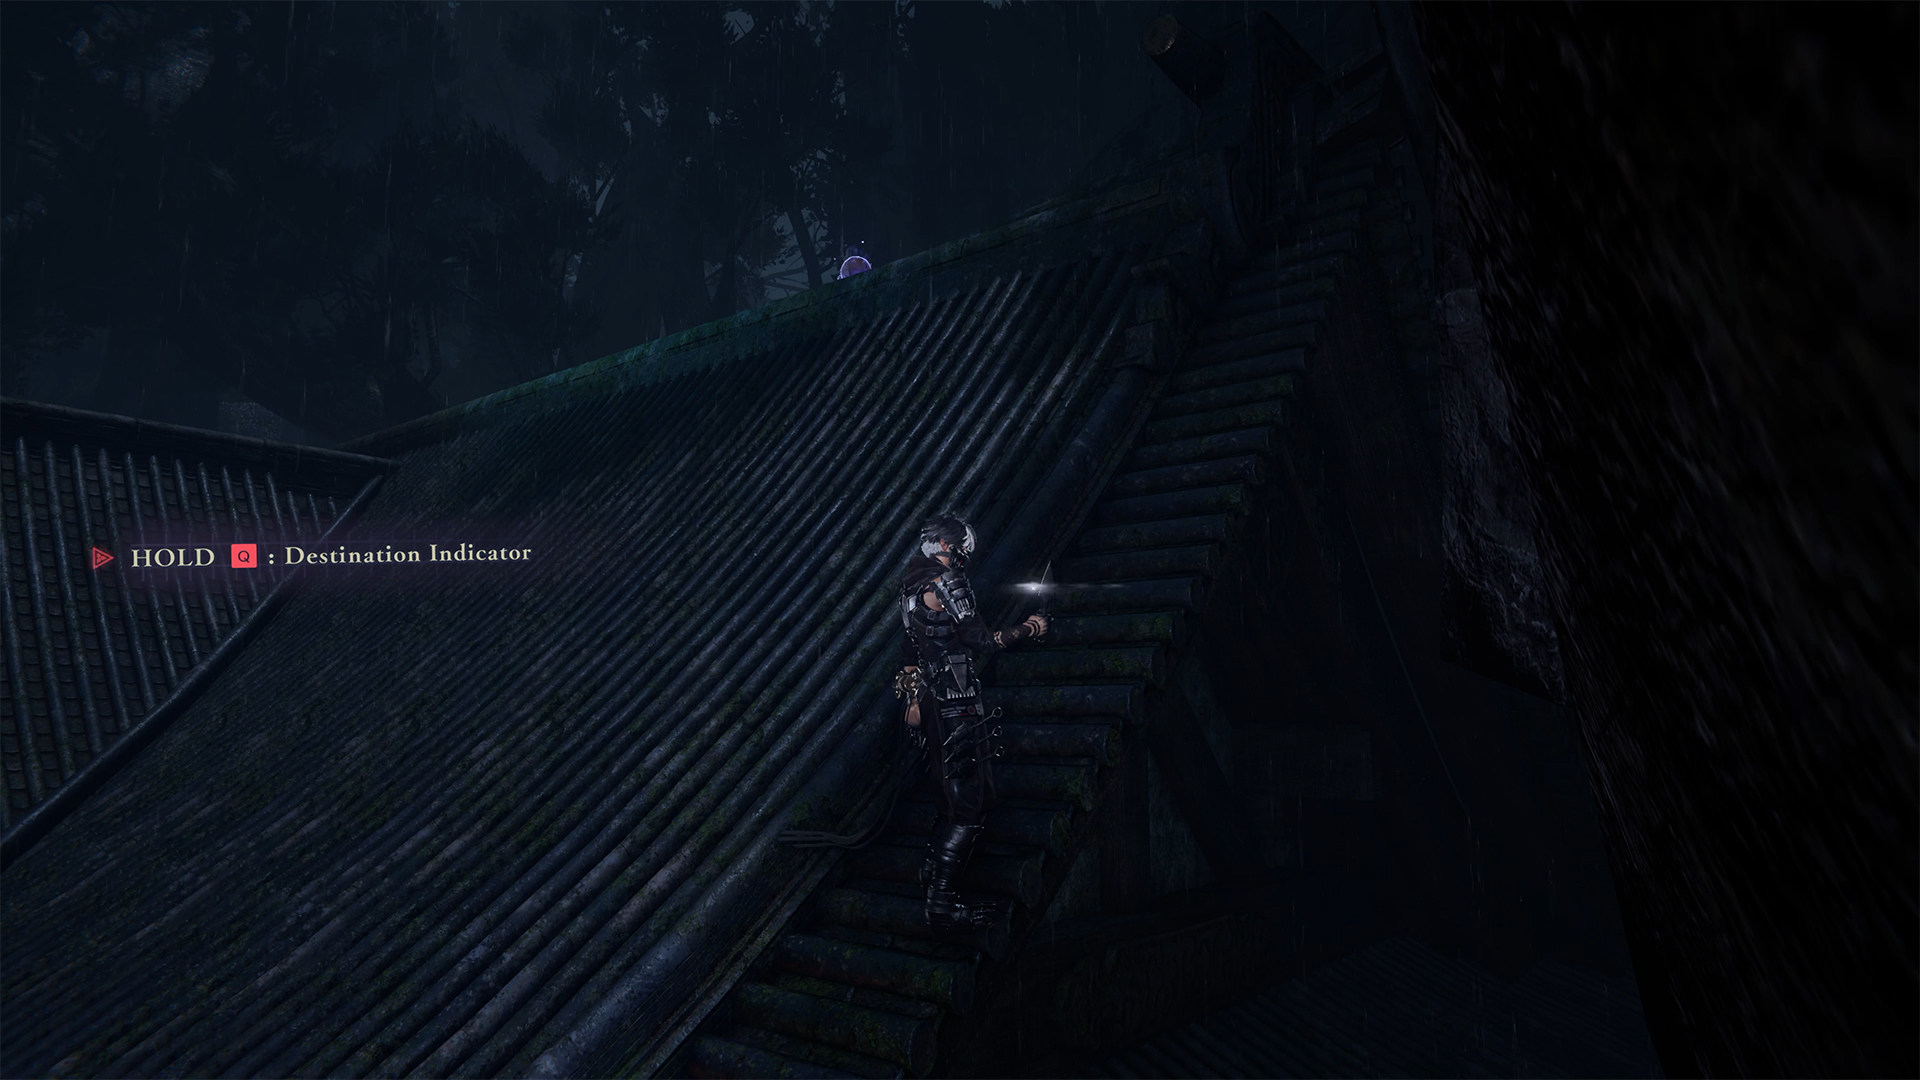
Next, you will collect chests in this location, and then climb the stairs to a large building. There will be large Tori gates near the stairs. Find a convenient position and jump onto these Tori gates using Caddis Wire. If you look ahead, you will see a blue Gourdy walking on the roof of the large building.
You need to jump onto the wall on the right, run along it, and find yourself at the edge of the roof of the large building. From this spot, watch the Gourdy. As soon as he turns his back to you, you can run up and quickly catch him. Otherwise, he will notice you and disappear. Then you will have to start all over again.
-
- Jump onto the Tori gate

-
- Capture second Gourdy
Retrieve the Heirloom Knife
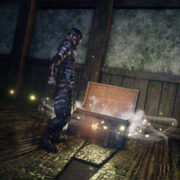
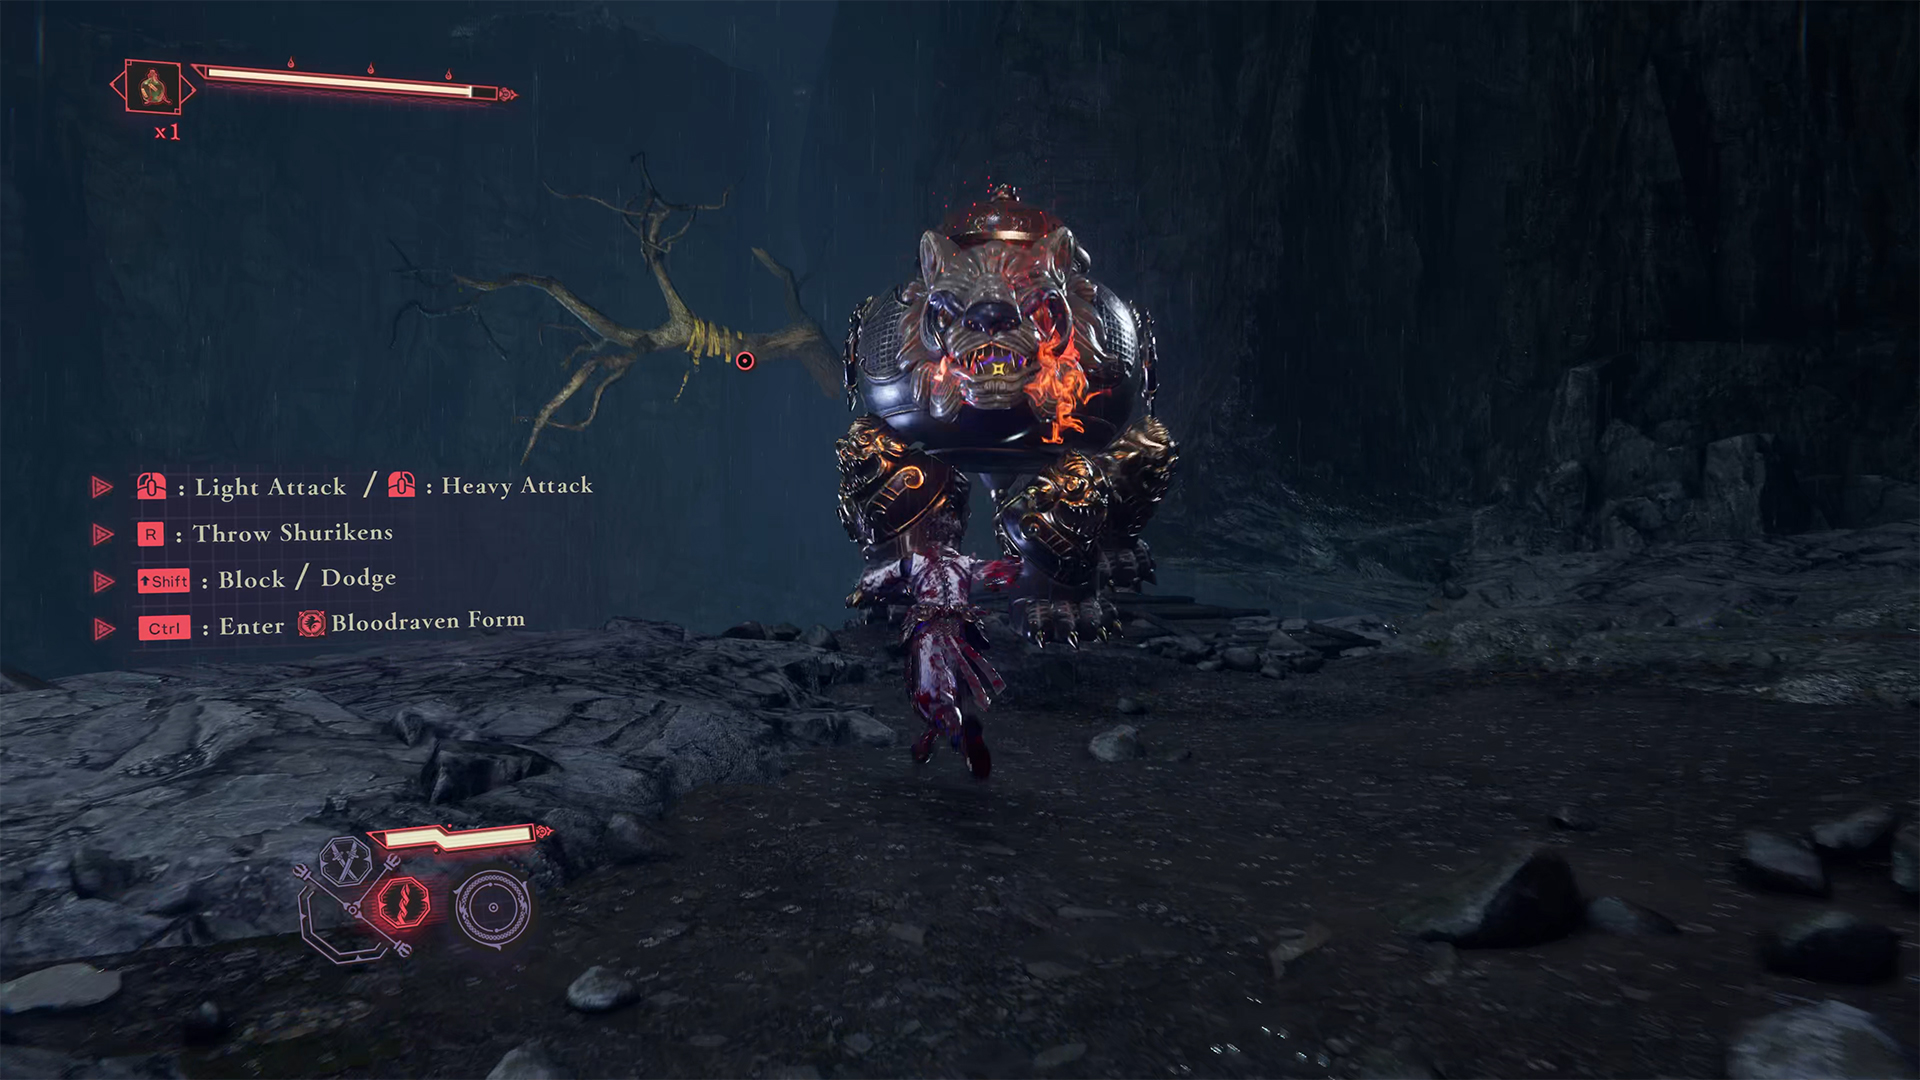
Next, you will encounter a fairly large area with no activities, only chests. Finally, you will need to fly a short distance using the Dragonfly Glider. Ahead of you will be the Tori gate and a chest. You need to turn back at this point. You will see a teapot in the distance shooting fireballs at you. You already know this enemy, so go ahead and defeat it. Behind it, you will find the Heirloom Knife. You need this item to complete the Retrieve the Heirloom Knife quest, so I see no reason not to do so.
-
- After flying with the wind using a glider
-

- Turn around and destroy the fire kettle
-
- Behind it is the Heirloom Knife
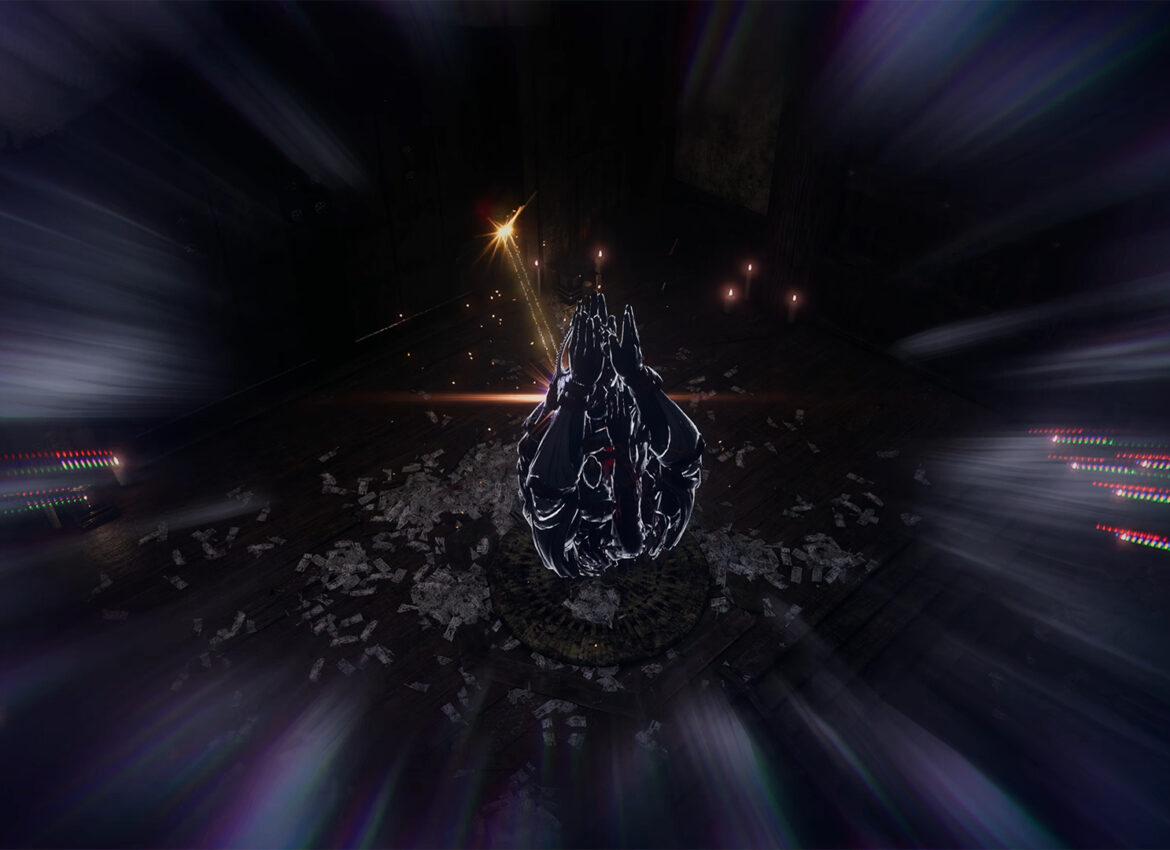
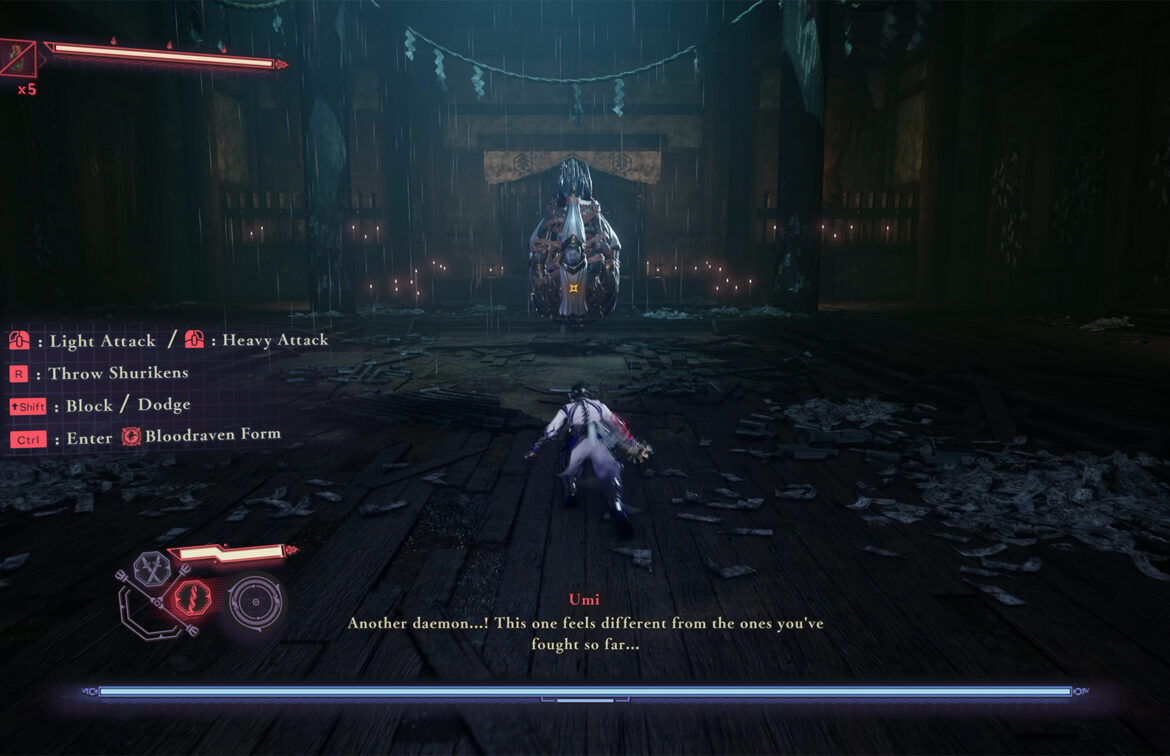
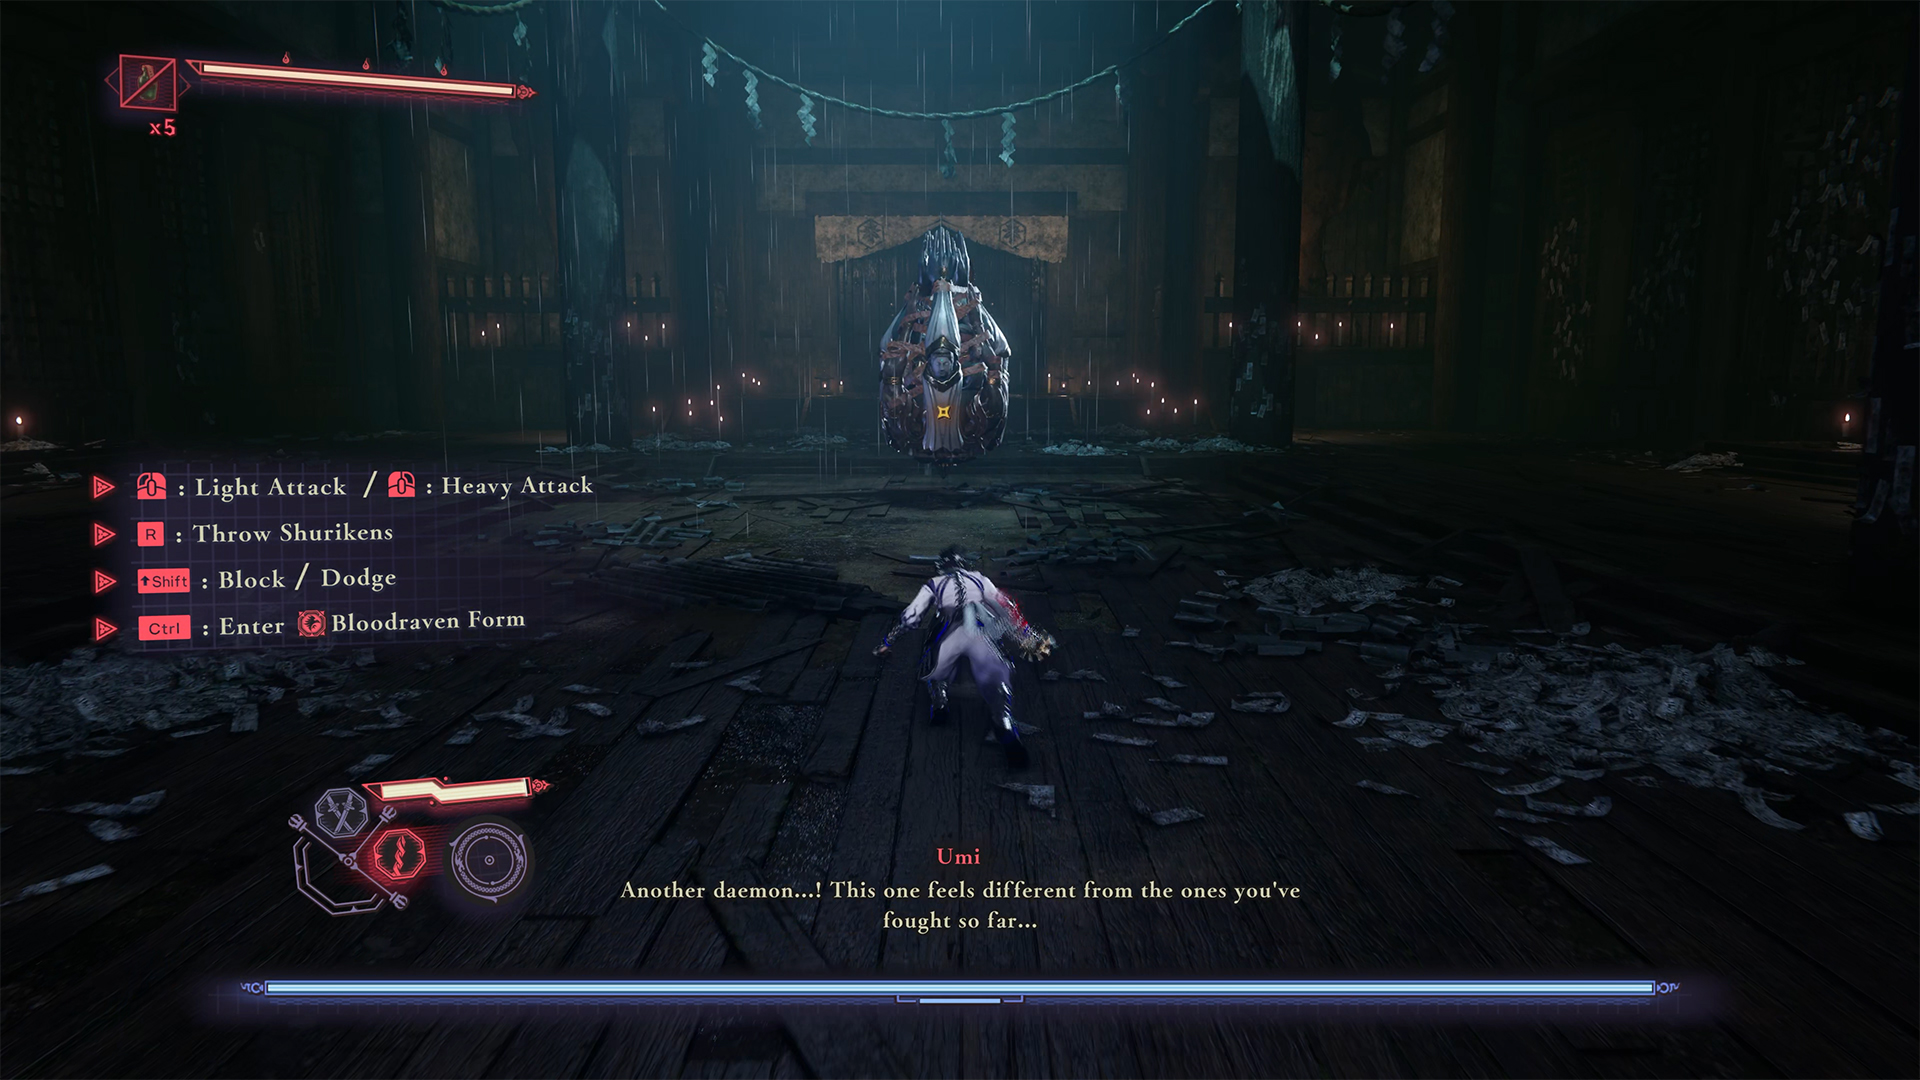
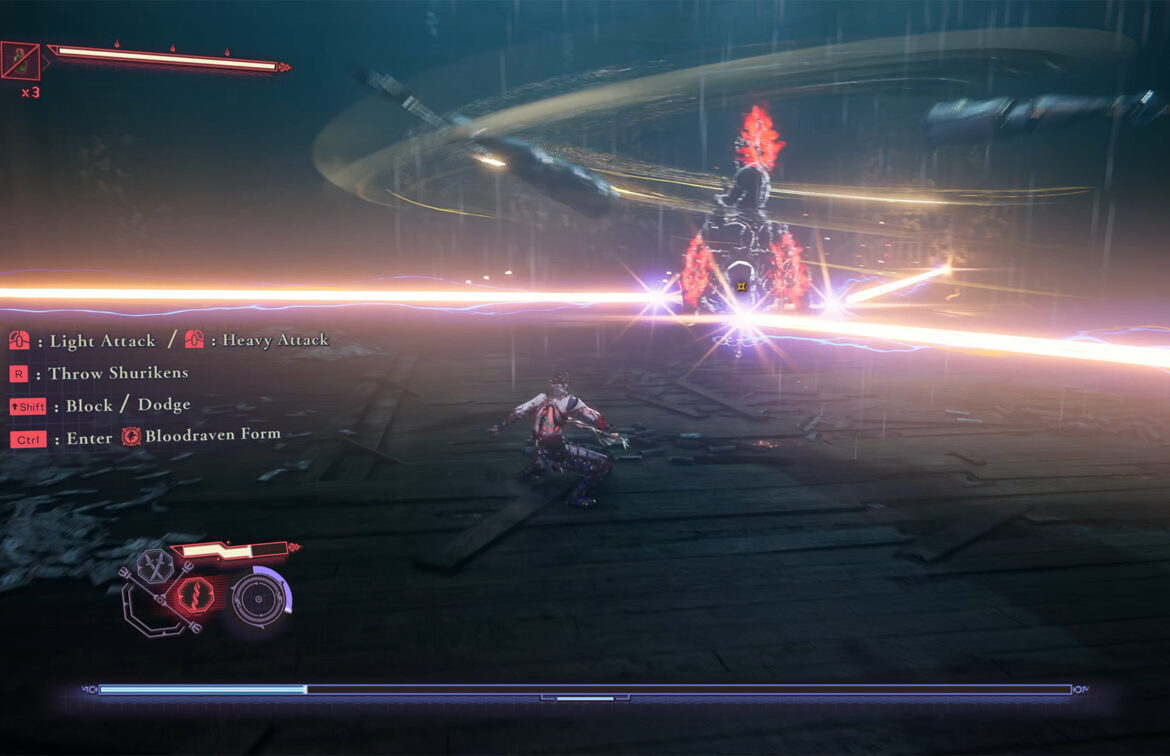
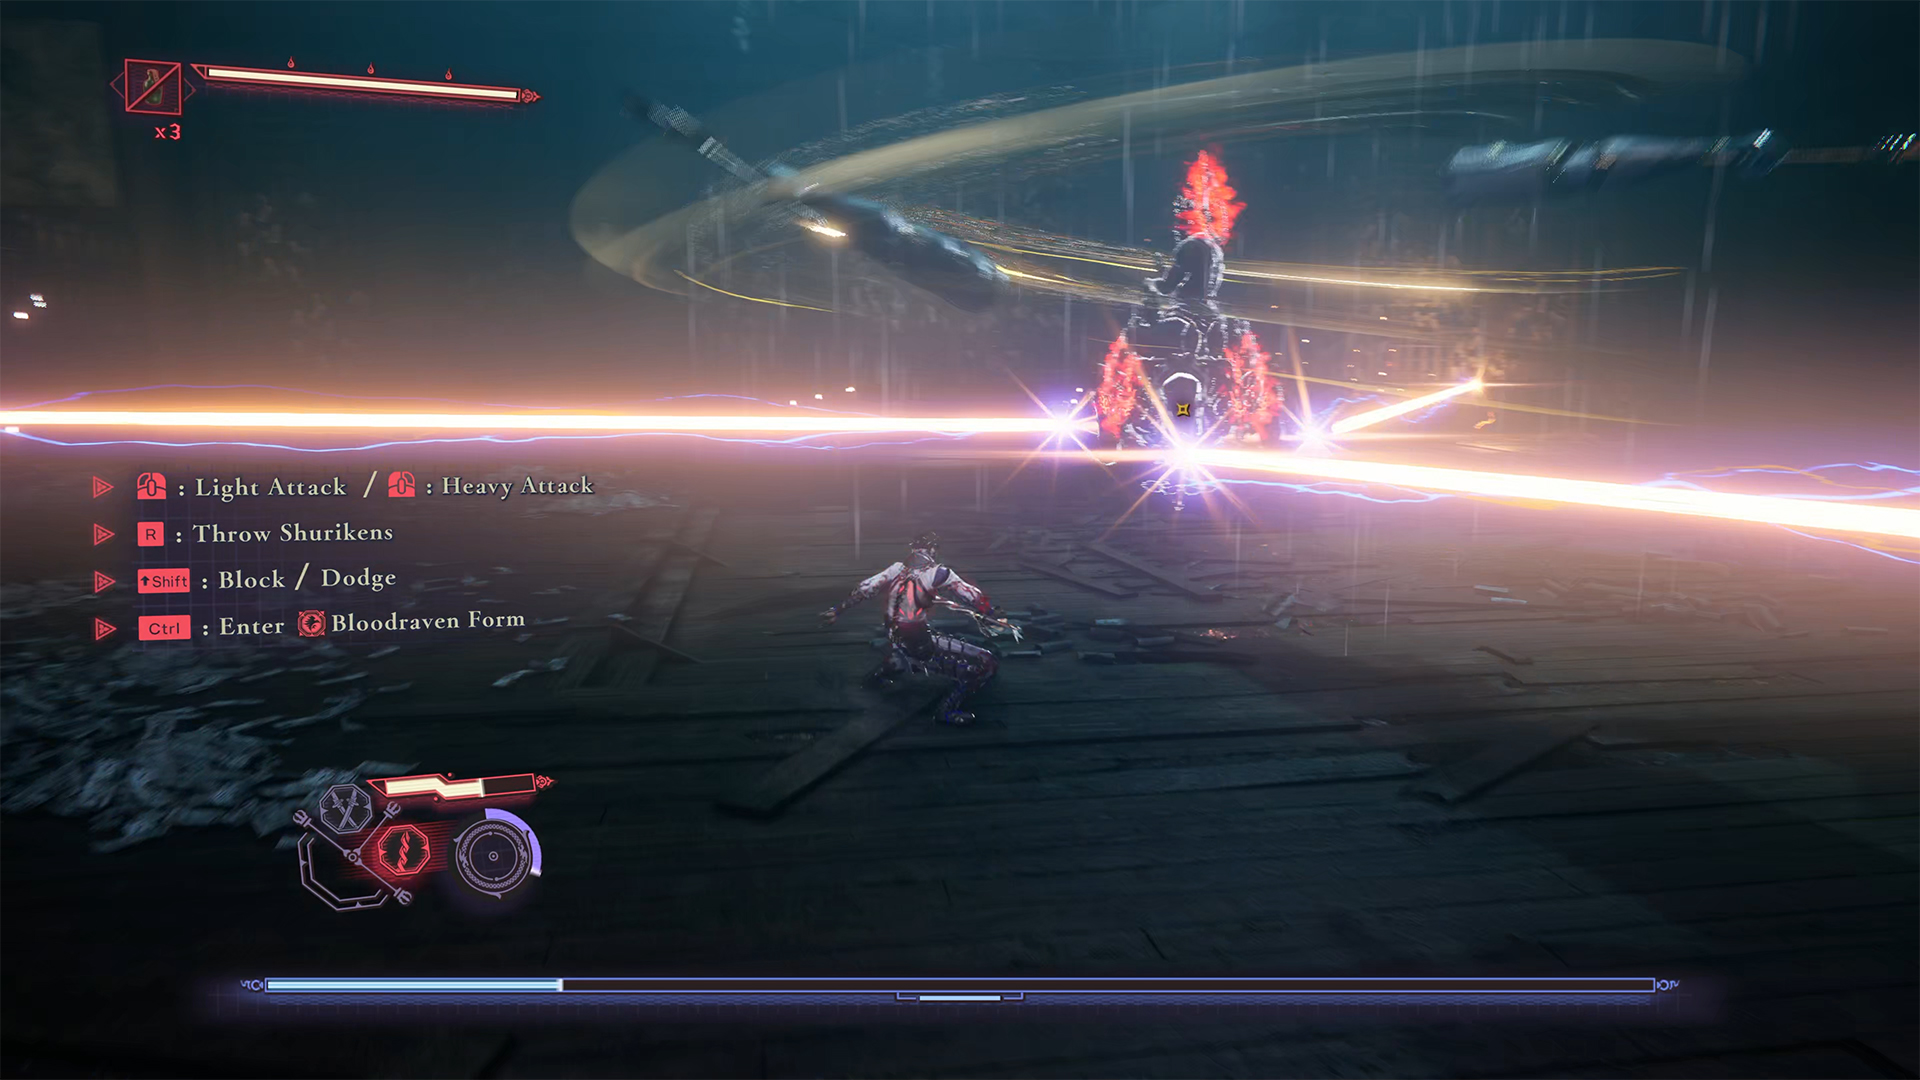
Raging Valley final boss Sanzeon
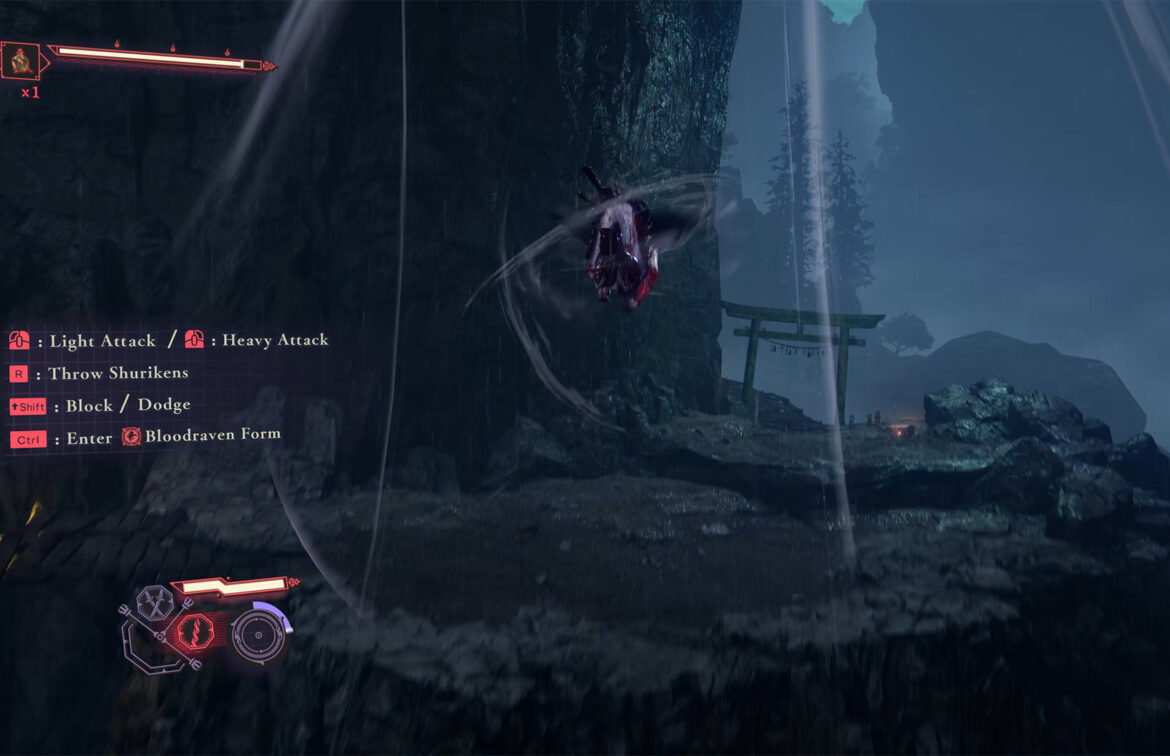
Next, I will tell you how to defeat the final boss in Raging Valley, whose name is Sanzeon. This boss has two phases. The first phase is quite simple. The boss has the shape of folded hands. He constantly tries to shoot you with a laser from a long distance, so you need to constantly monitor his movements and dodge in time. Here, at your discretion, you can block the lasers or dodge them. I prefer the second option. The first phase is quite monotonous. The boss has a single regular laser attack and a triple laser attack, which is more difficult to dodge. There are also shots with several missiles.
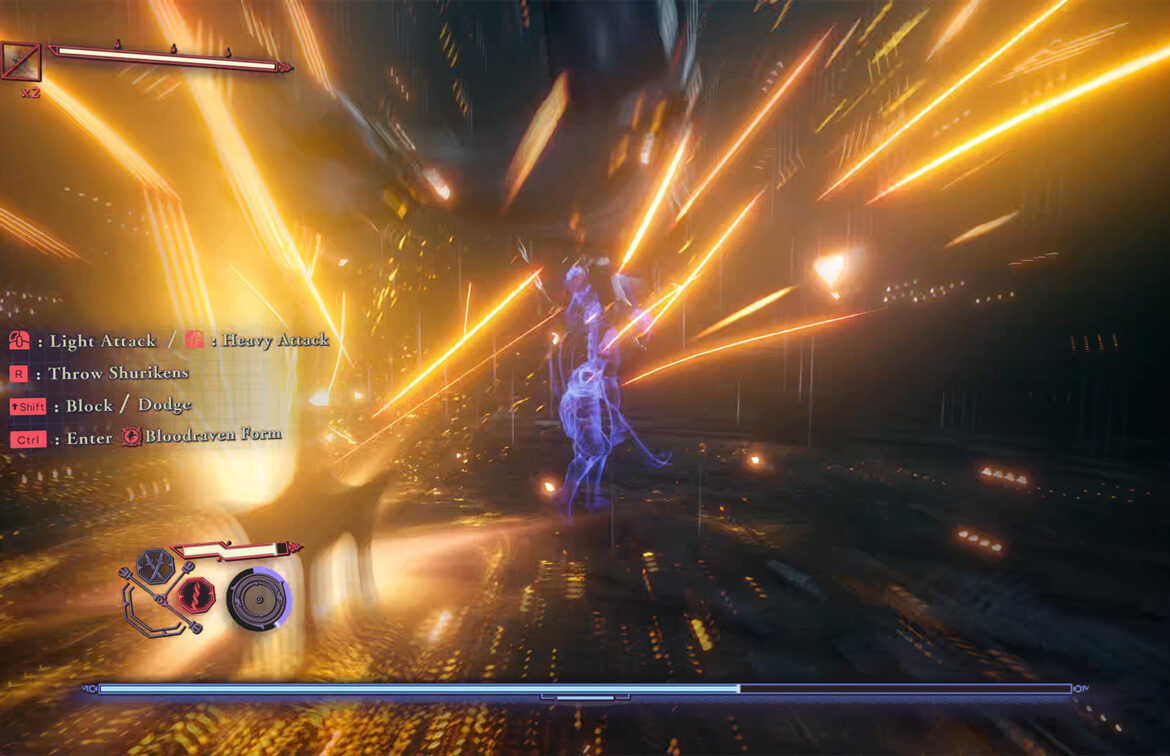
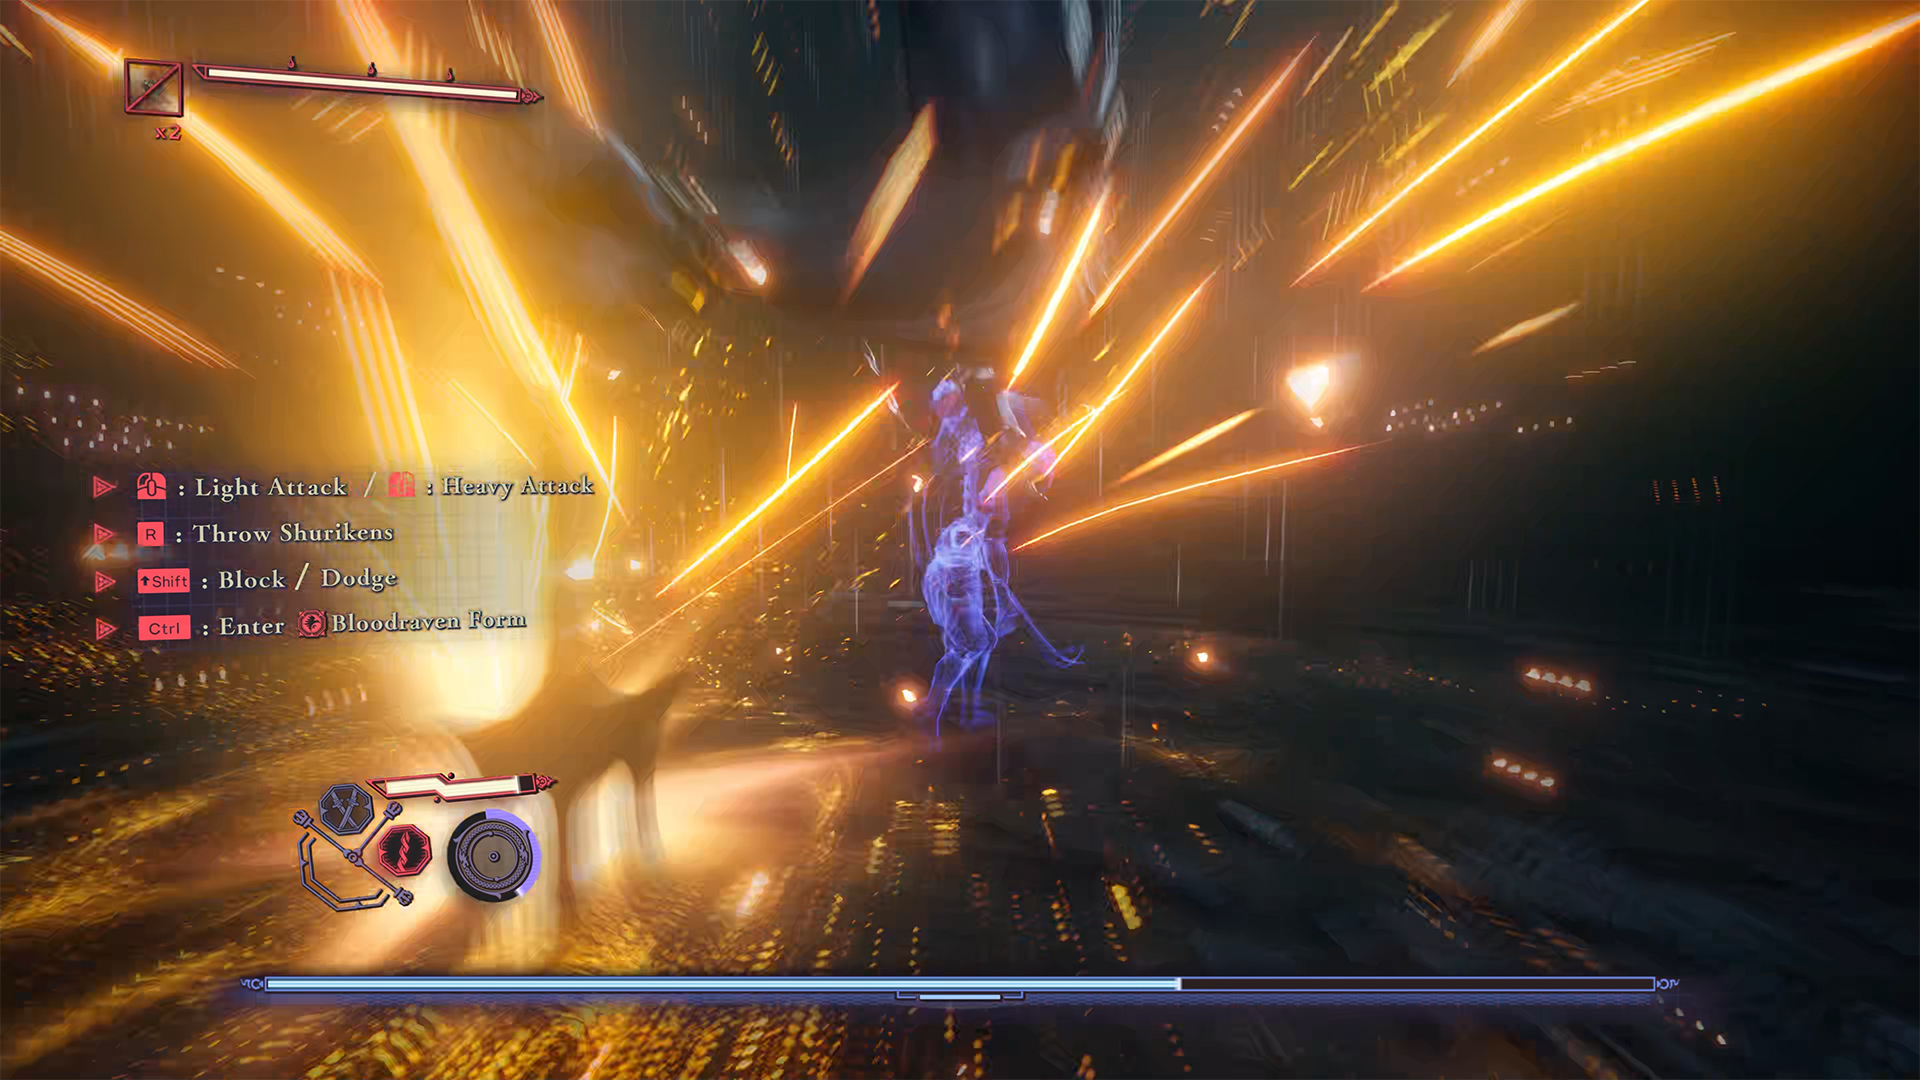
Here, I just run to the side and they don’t hit me. At close range, when the floor glows with round spots, it is important to dodge in time. The boss also sometimes jumps up and falls down, causing damage. This can be blocked or dodged. The second phase is much more difficult. The boss’s arms open up and his arsenal of attacks becomes much richer. As always, you can parry simple attacks and, after a successful parry, use a quick counterattack. Things get pretty tricky when the boss throws his arms at you.
Here you need to be prepared for a protracted defense. At this point, I’m not thinking about attacking at all. The main thing is to survive this barrage of attacks. In most cases, I use dodging. Of course, it doesn’t always work, so you may need a few tries before you’re ready to win. Therefore, I advise you not to use any elixirs in the first few battles. These first battles will be introductory. Of course, if you are an experienced ninja, you can ignore my advice; after all, you know how to control your character.
If you are new to this series of games, don’t try to win on your first try, but focus on studying your opponent’s attacks in order to maneuver successfully and understand when it’s time to use your attacking skills. In the end, Sanzeon and I enjoy both the game and the battle with this opponent. I hope you will feel the same satisfaction after your victory.
-
- Meeting with the final boss Sanzeon
-
- Second phase – defense stage
-
- Moving lasers
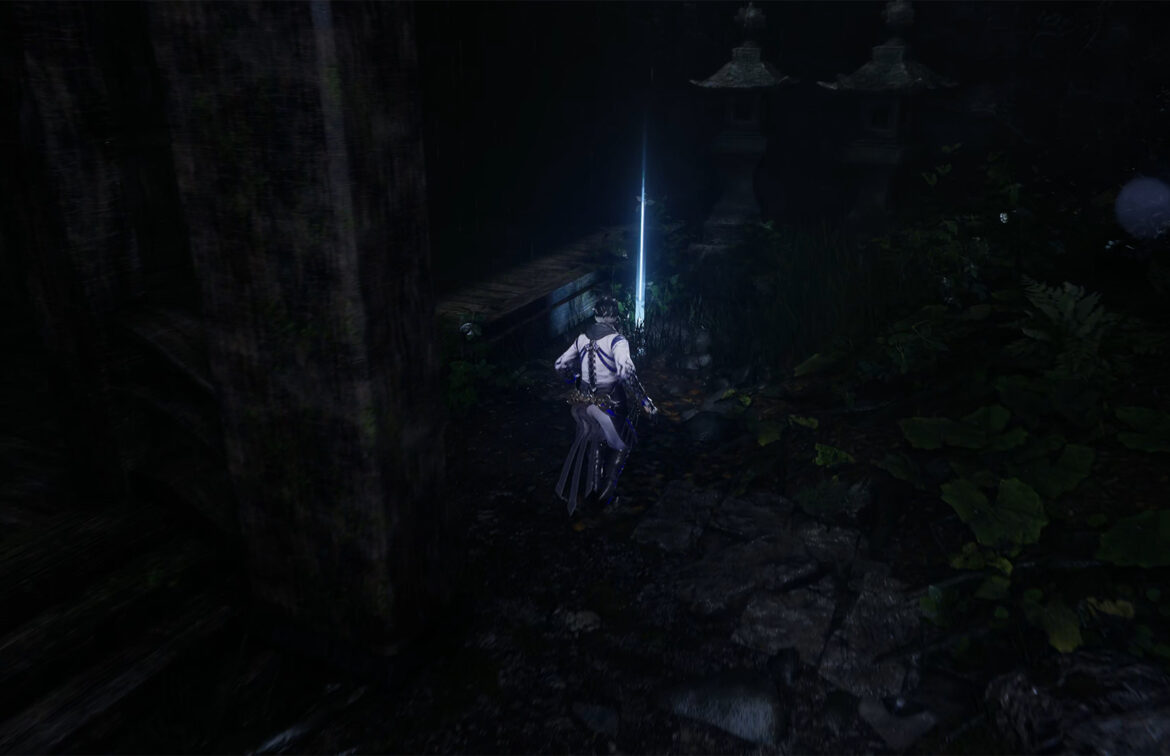
Find the Tengu Offering
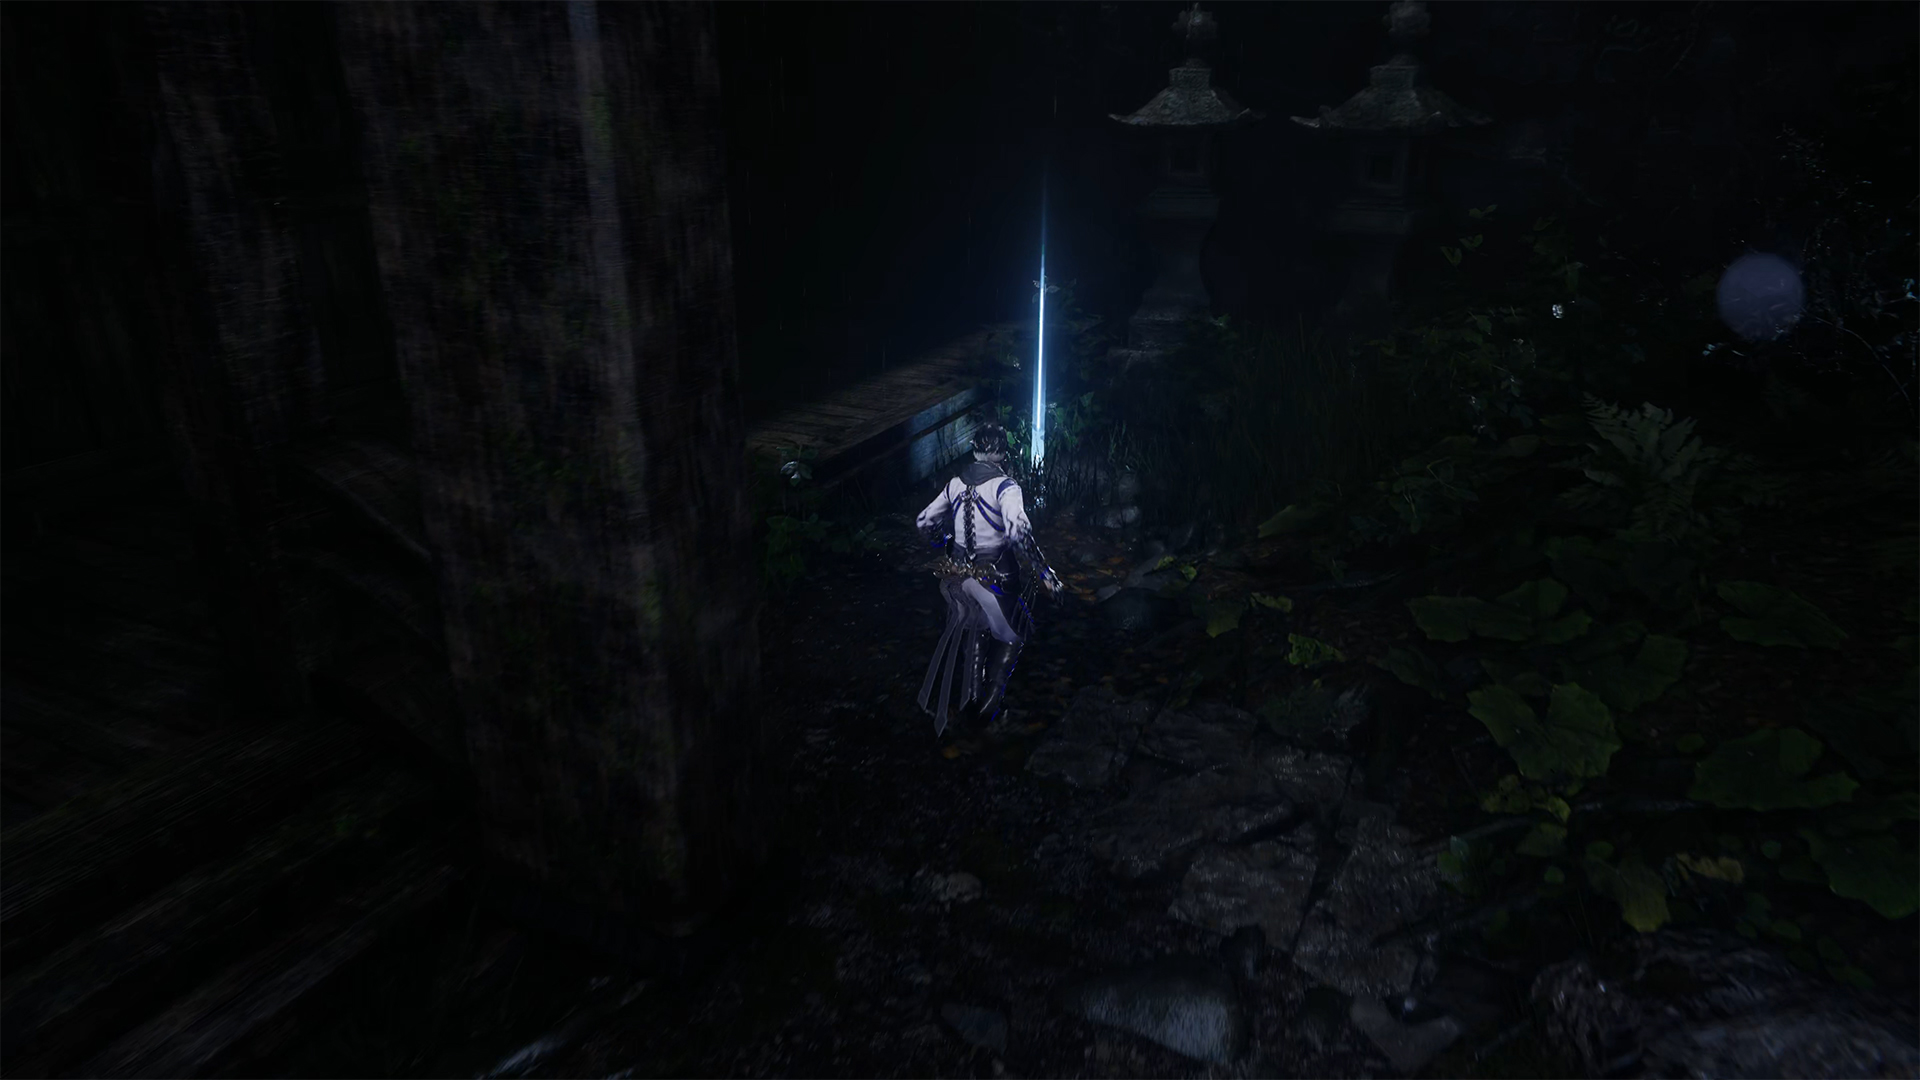
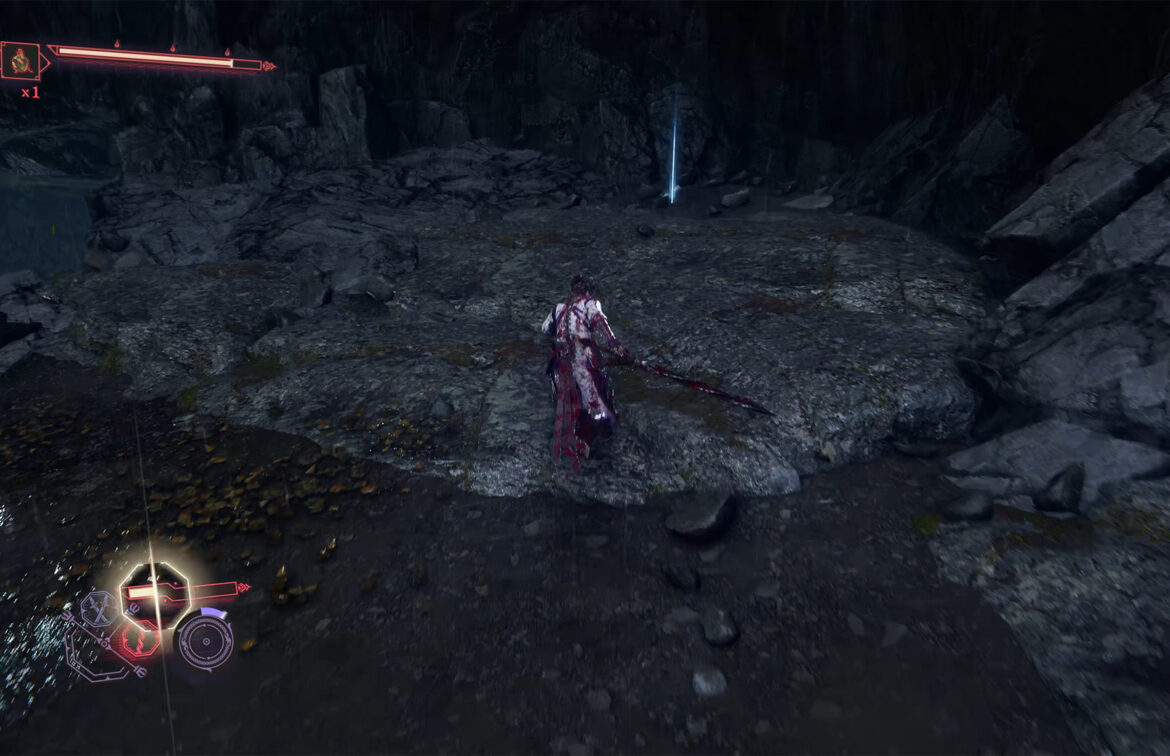
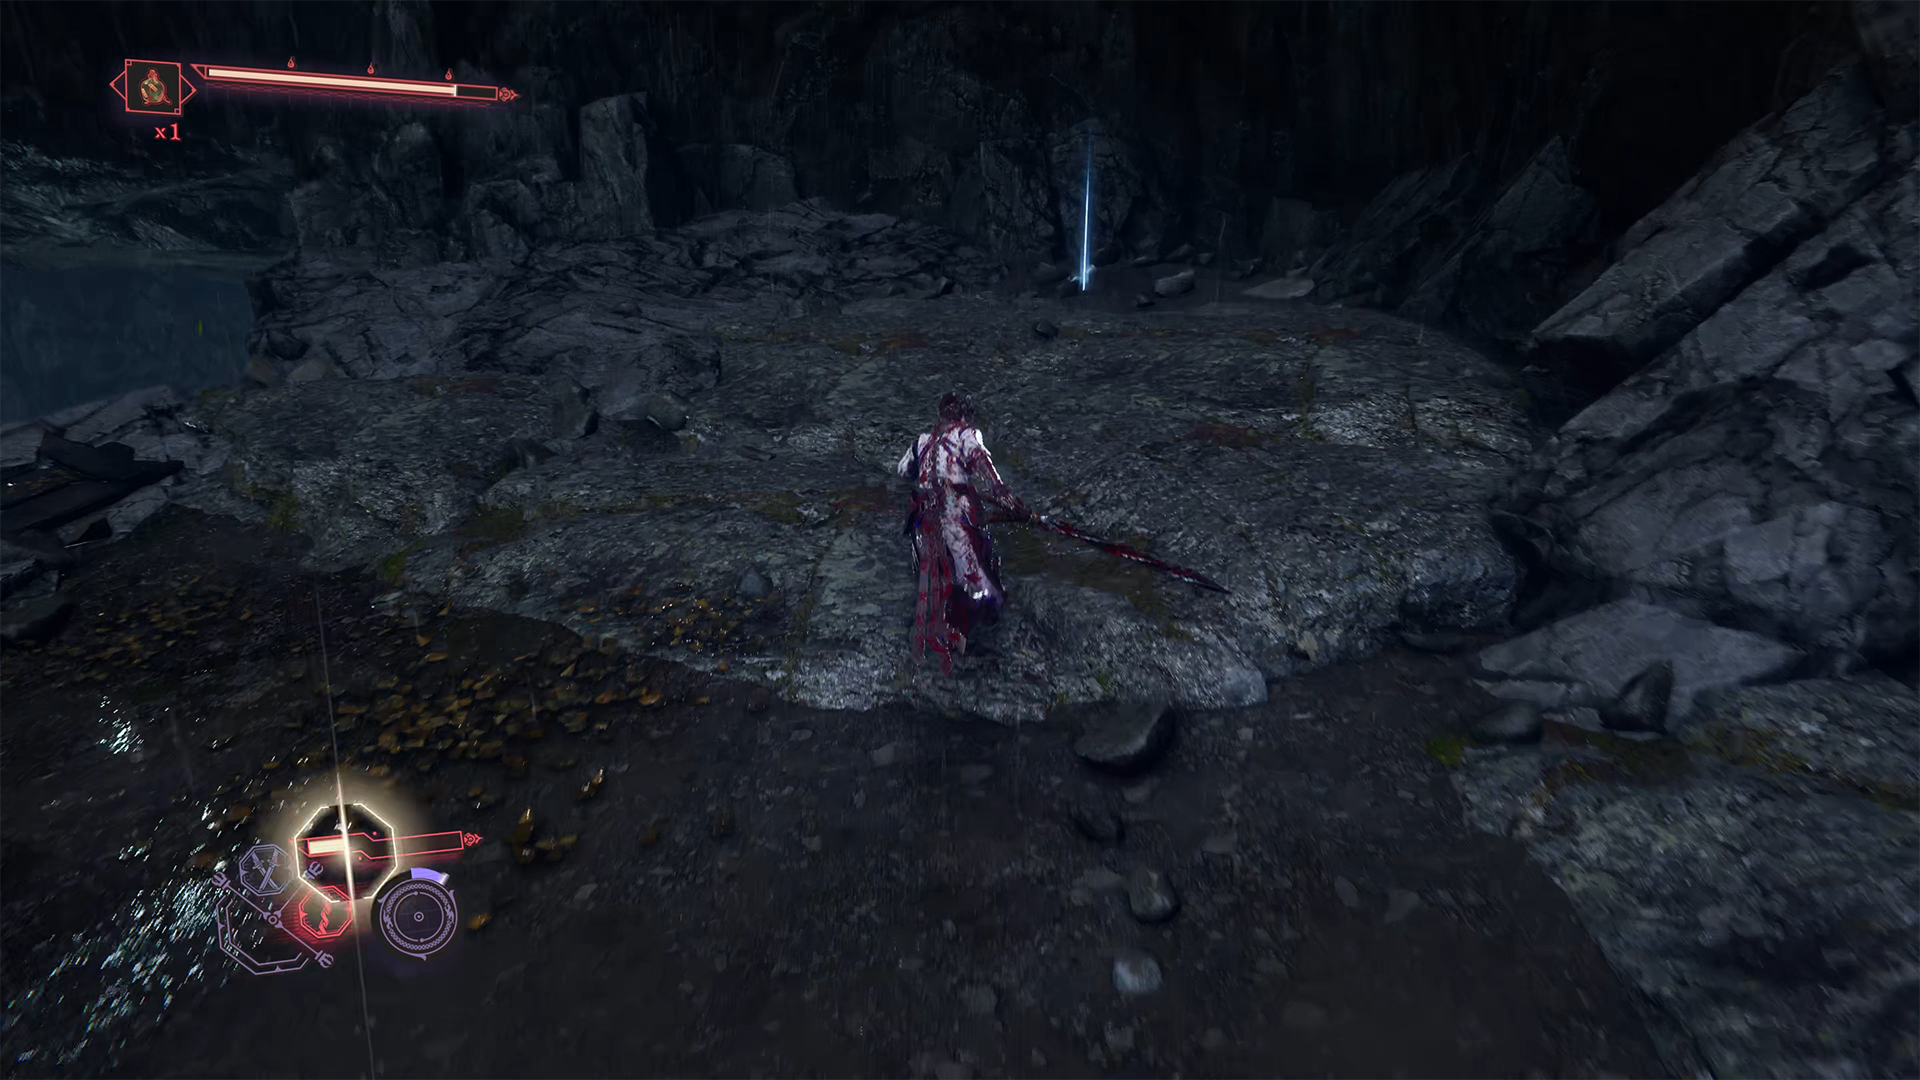
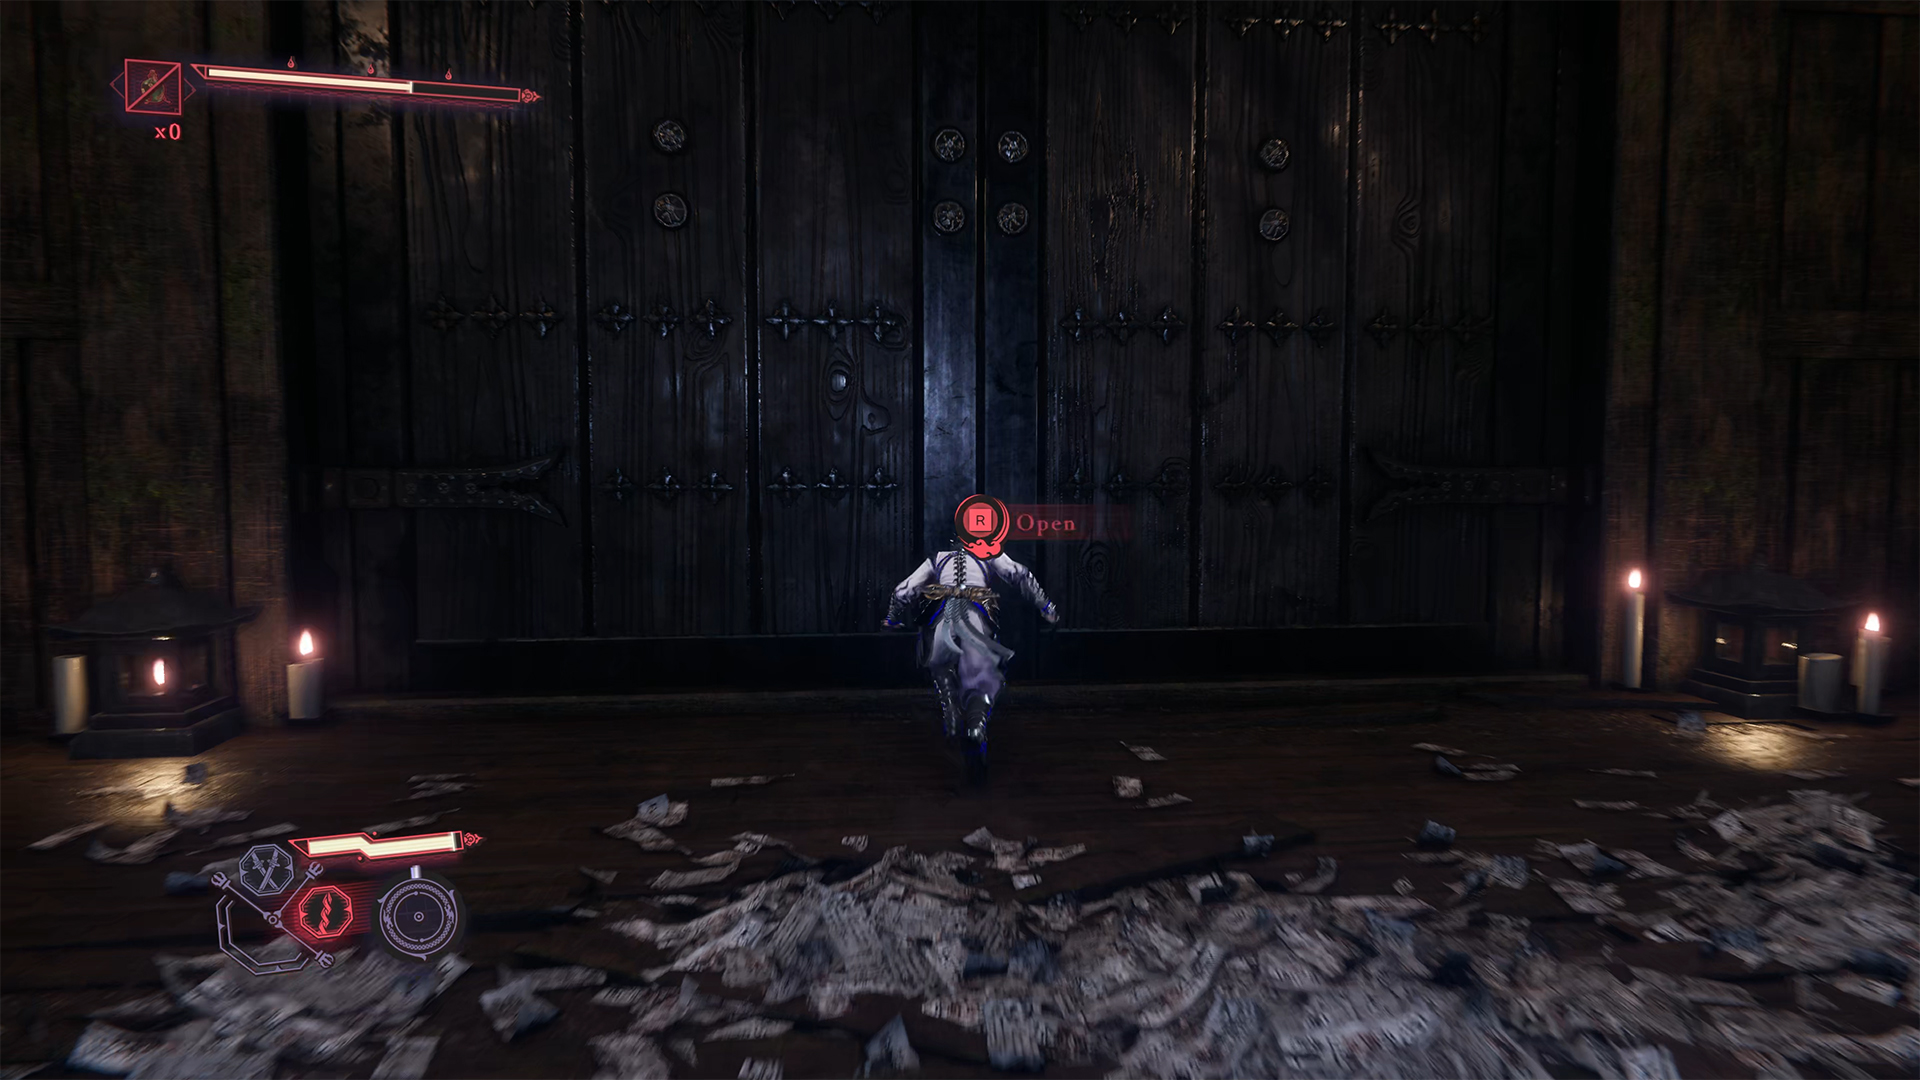
After defeating the final boss Sanzeon, you still have a small task to complete in Chapter 5 of Raging Valley. You need to leave the room where the boss fight took place and turn left. You will see a glowing item on the ground. This is the Tengu Offering. You received the quest to find this item in Chapter 4. And now you can complete it. So, the Find the Tengu Offering quest is complete. That’s all for now.
-
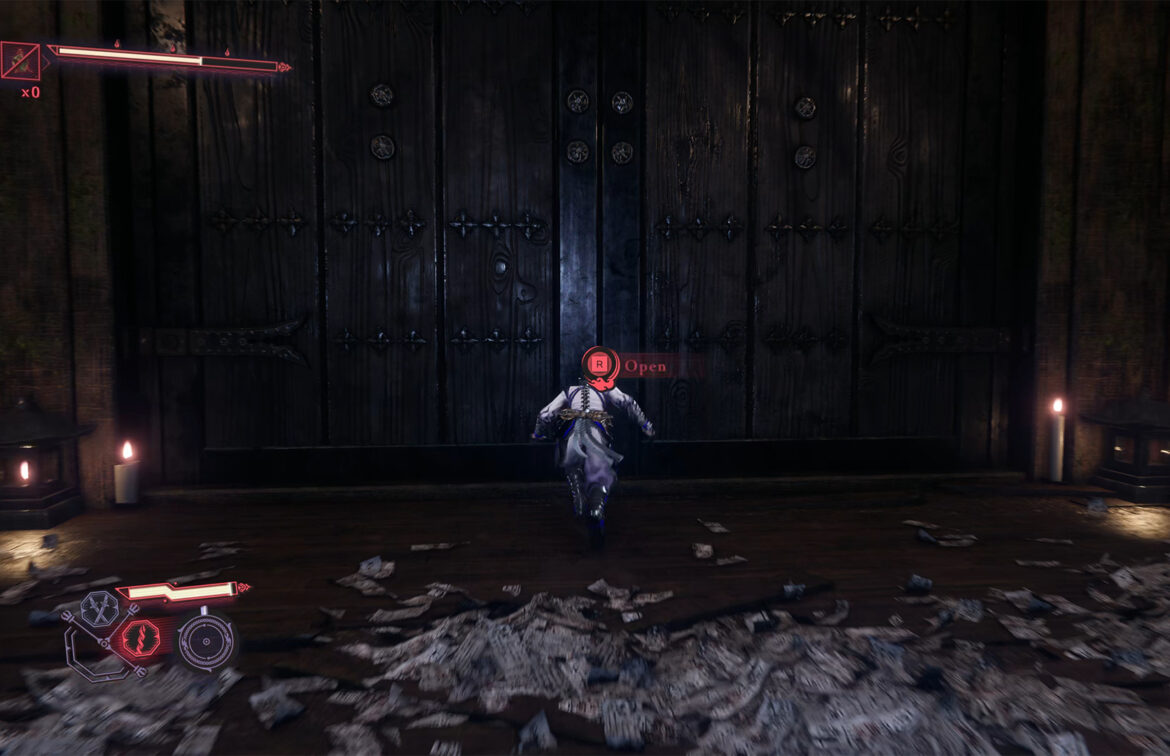
- Open the door after defeating the boss Sanzeon
-
- Turn left and find the Tengu Offering