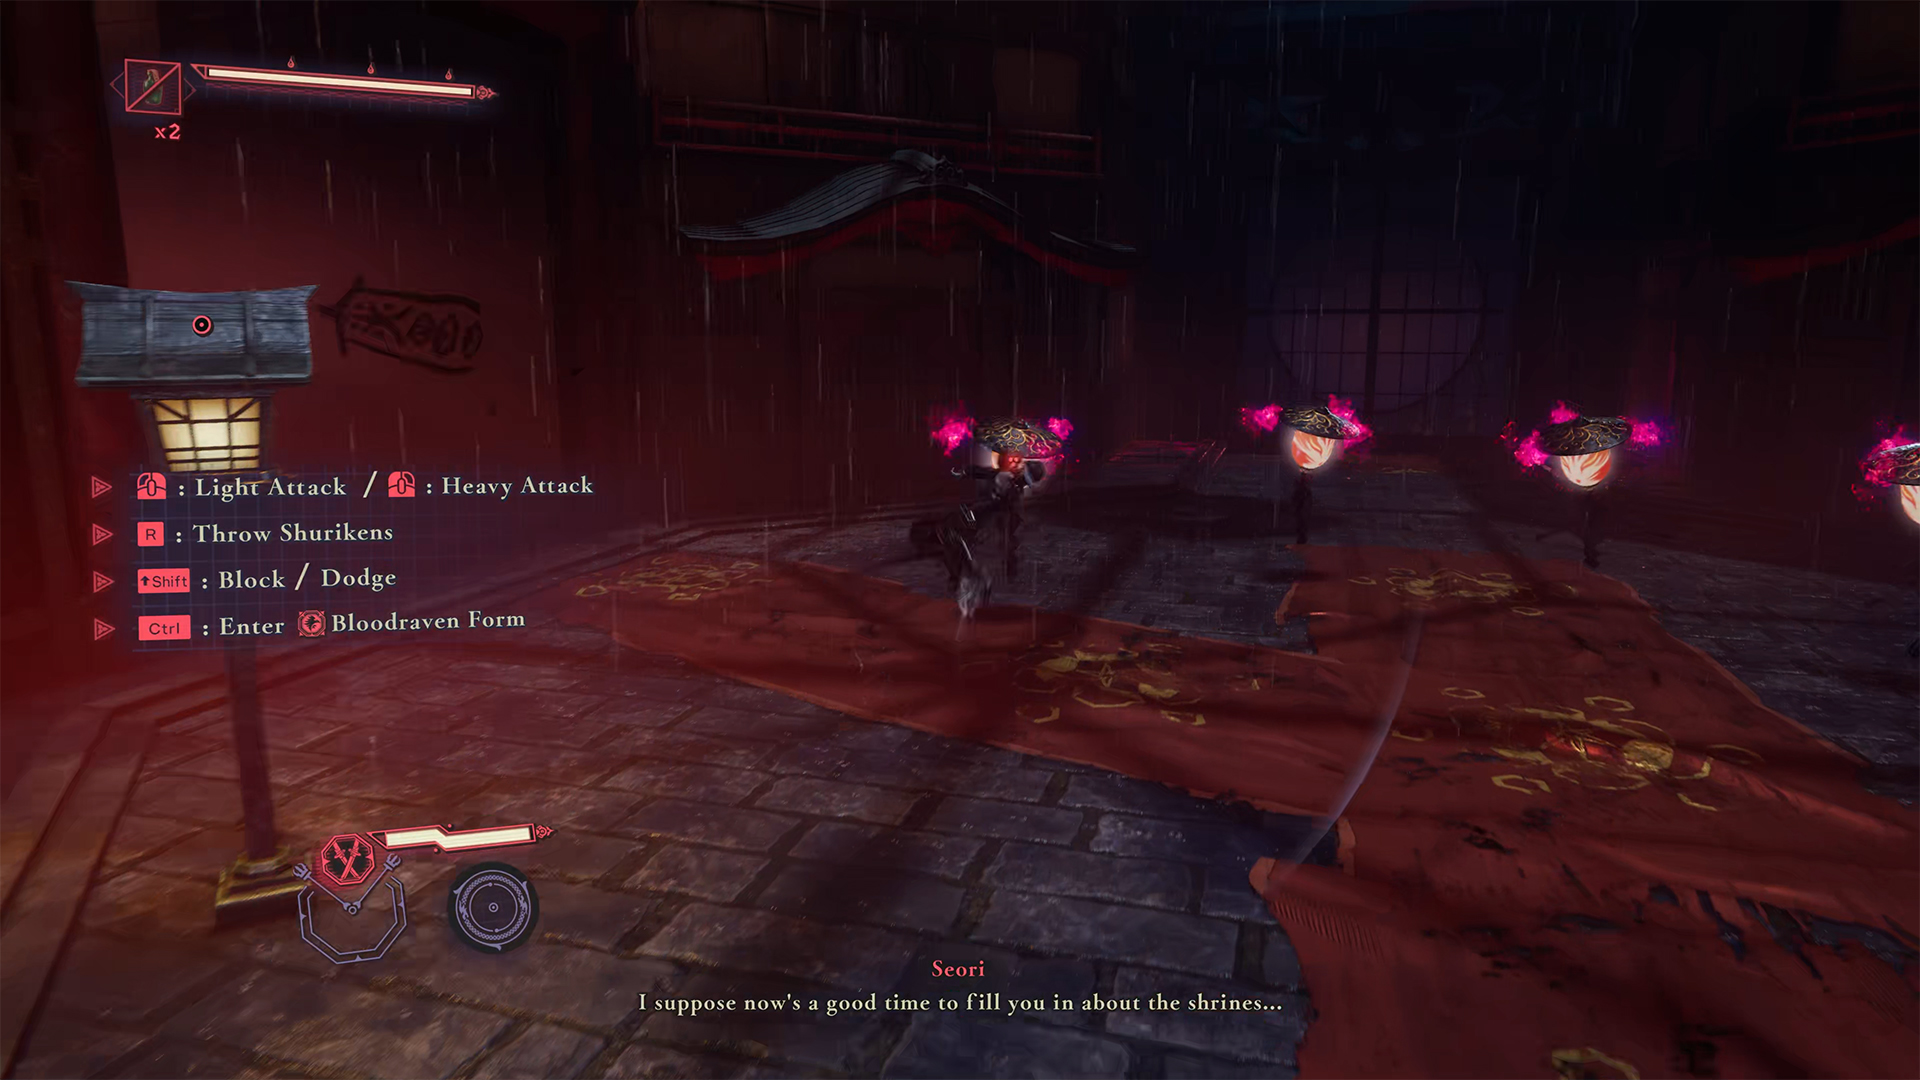
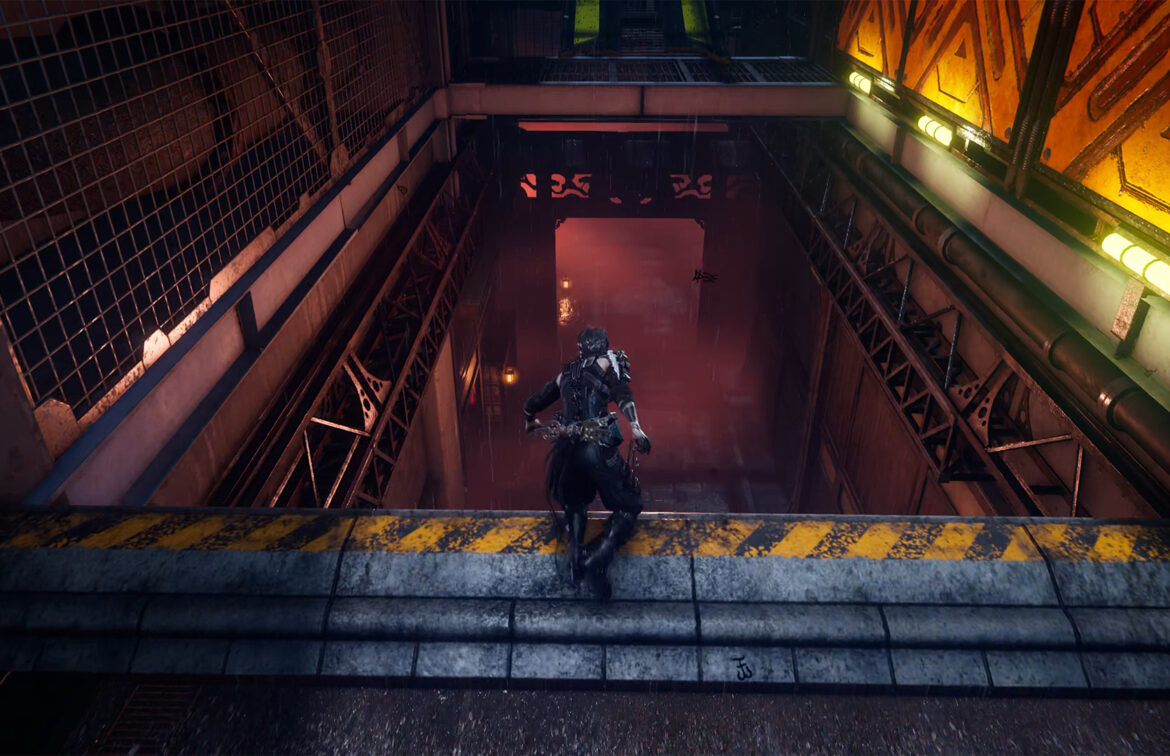
Let’s take a look at Chapter 3 in Ninja Gaiden 4. It’s called Phantom Pleasure Quarter, and it has some unique features. In this chapter, you will encounter interesting opponents and overcome special challenges. I will show you locations where you can complete additional tasks. I will show you where all the chests are hidden, as well as the very important chest with Black Scale. Let’s talk about the available quests and which ones cannot be completed now, and which ones must be completed only in this chapter.
There are also four quests available in this chapter:
- Defeat 10 Burabura Lantern Demons
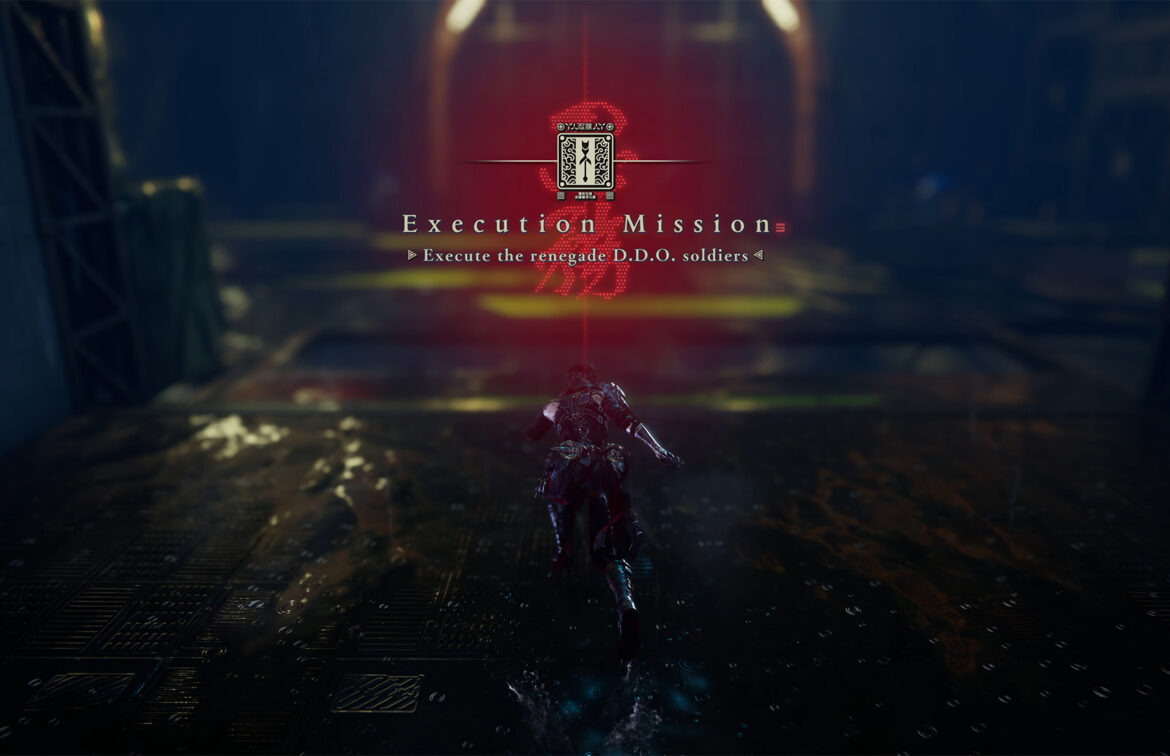
- Execute the Renegade DDO Soldiers
- Find the Rotting Charm
- Execute the Food Thief
And, as always, before you start, I recommend watching the video, which contains all the information with visual accompaniment in the game:
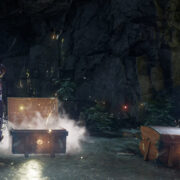
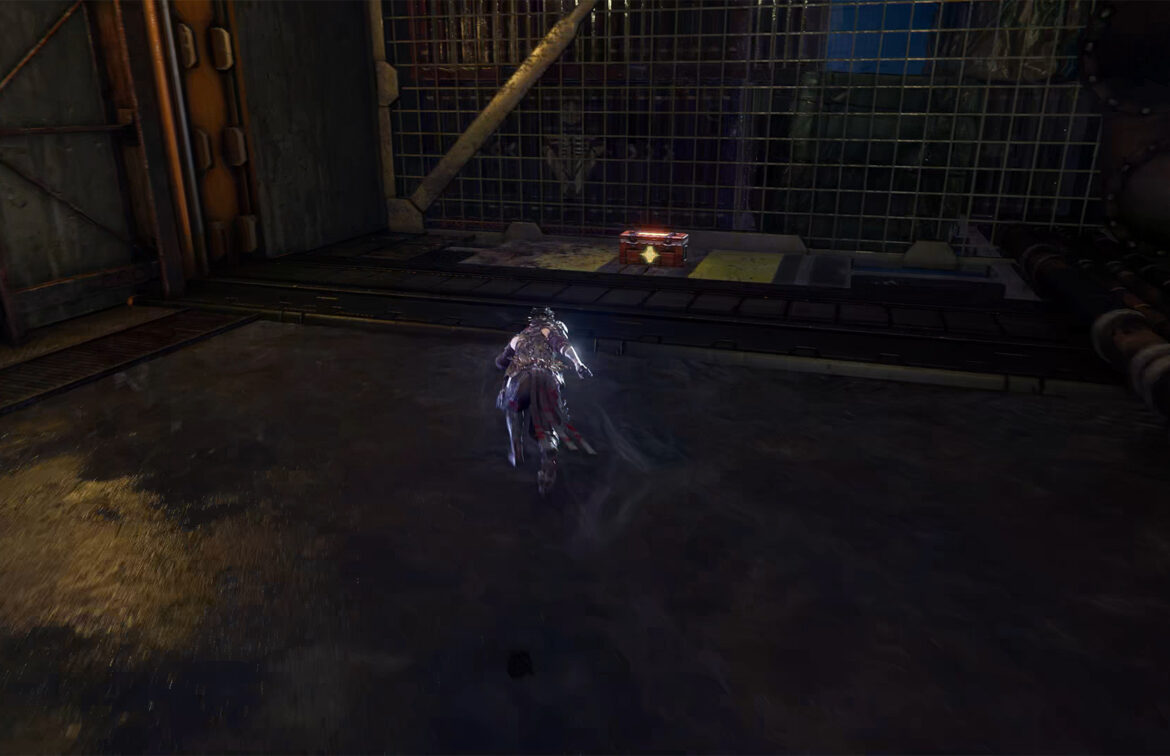
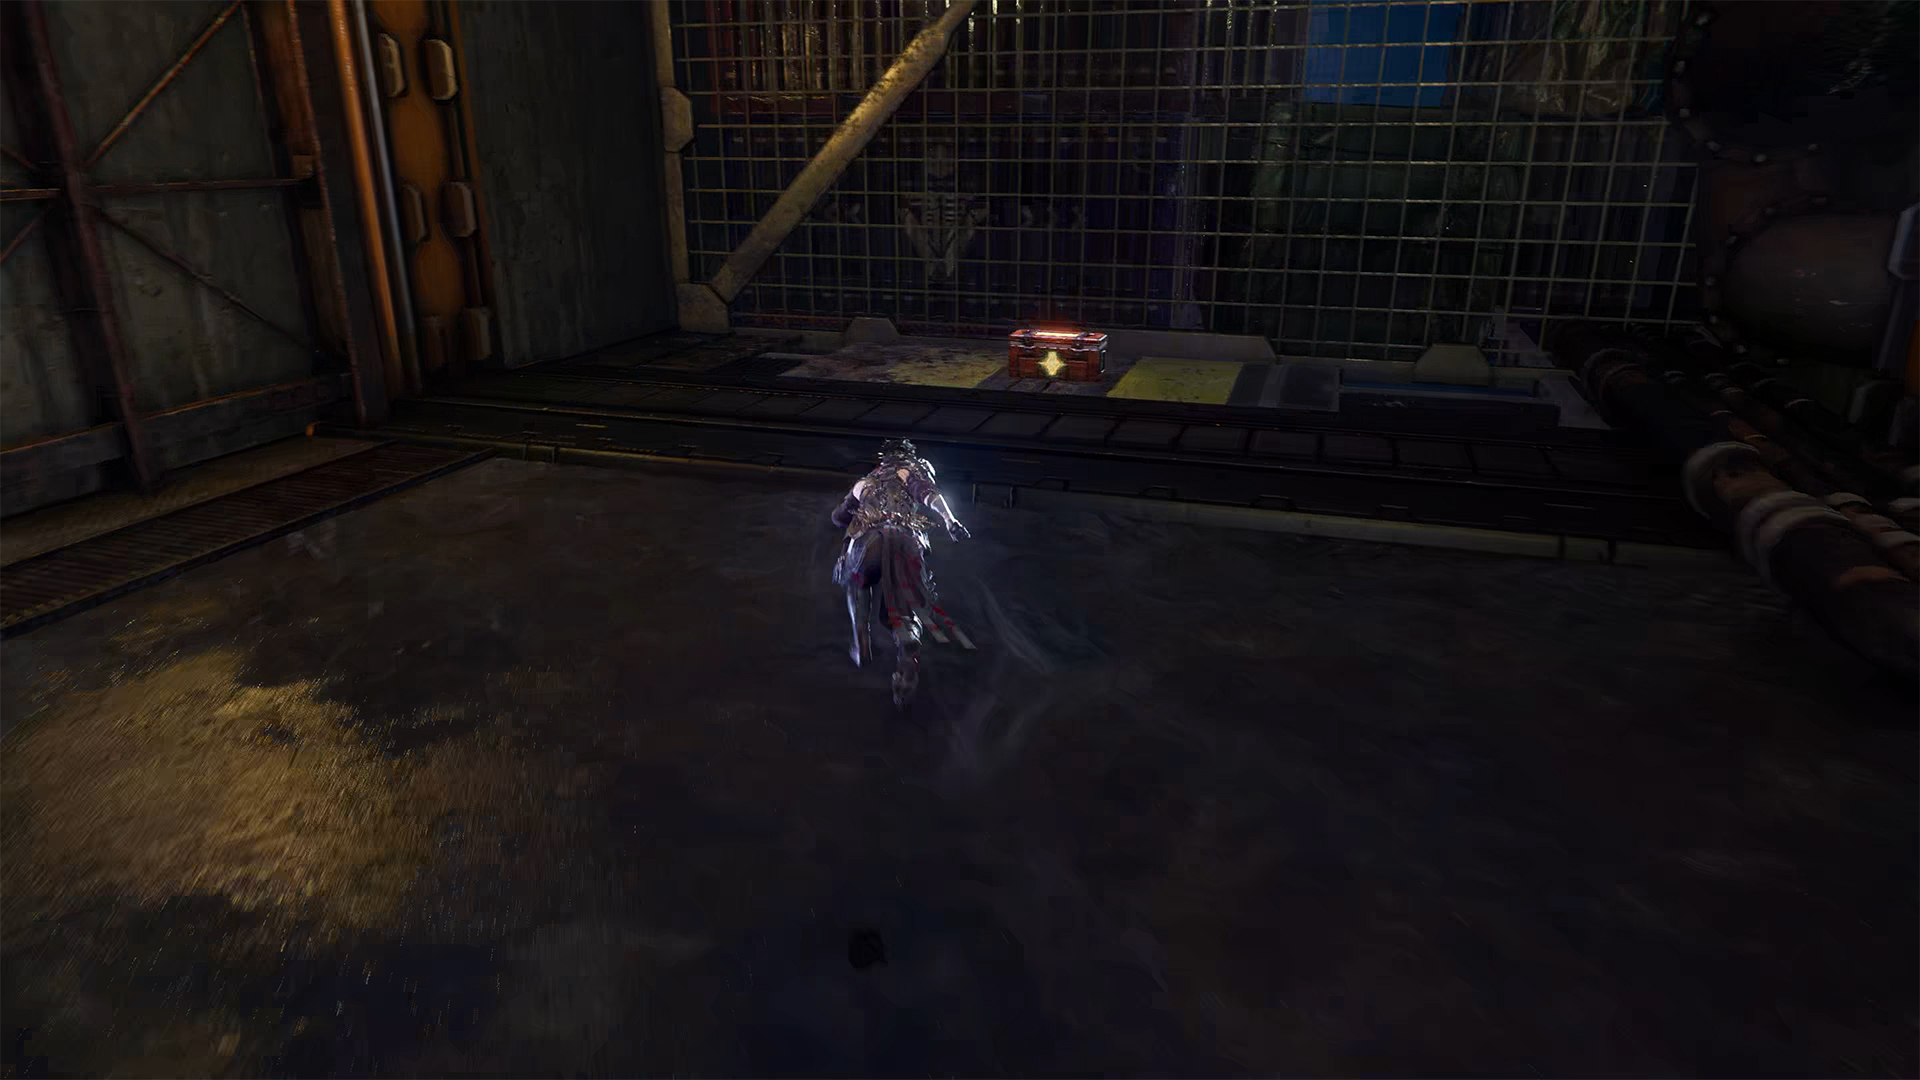
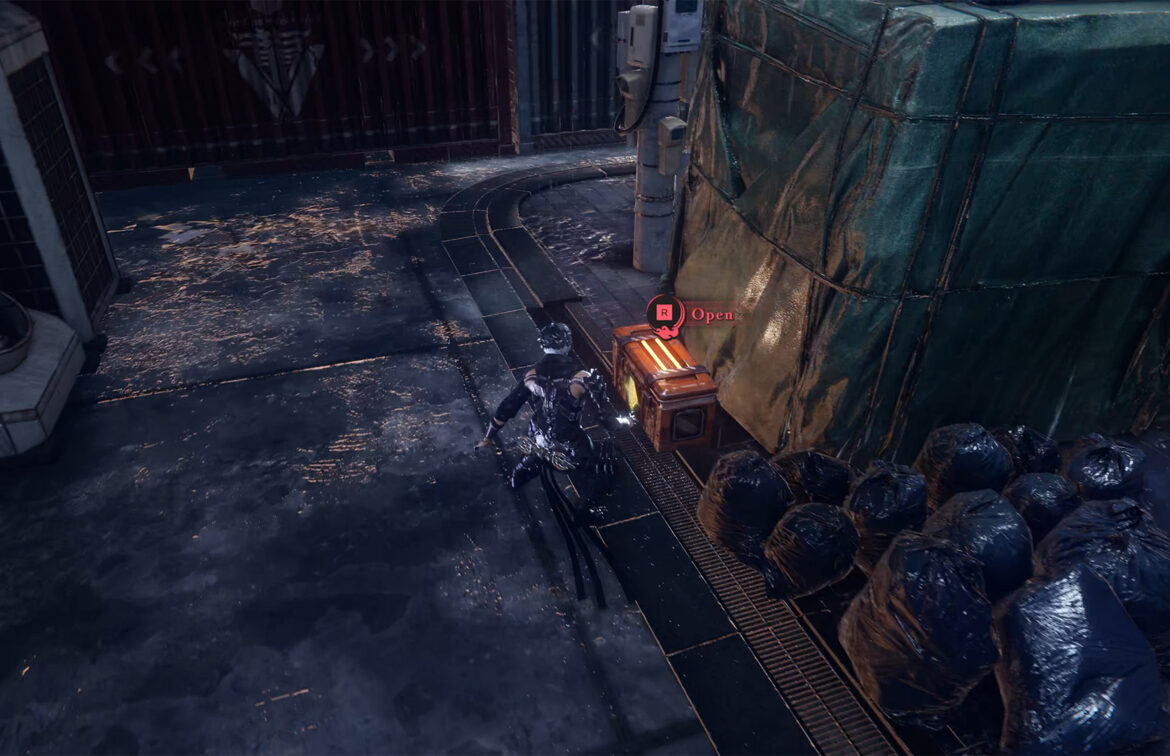
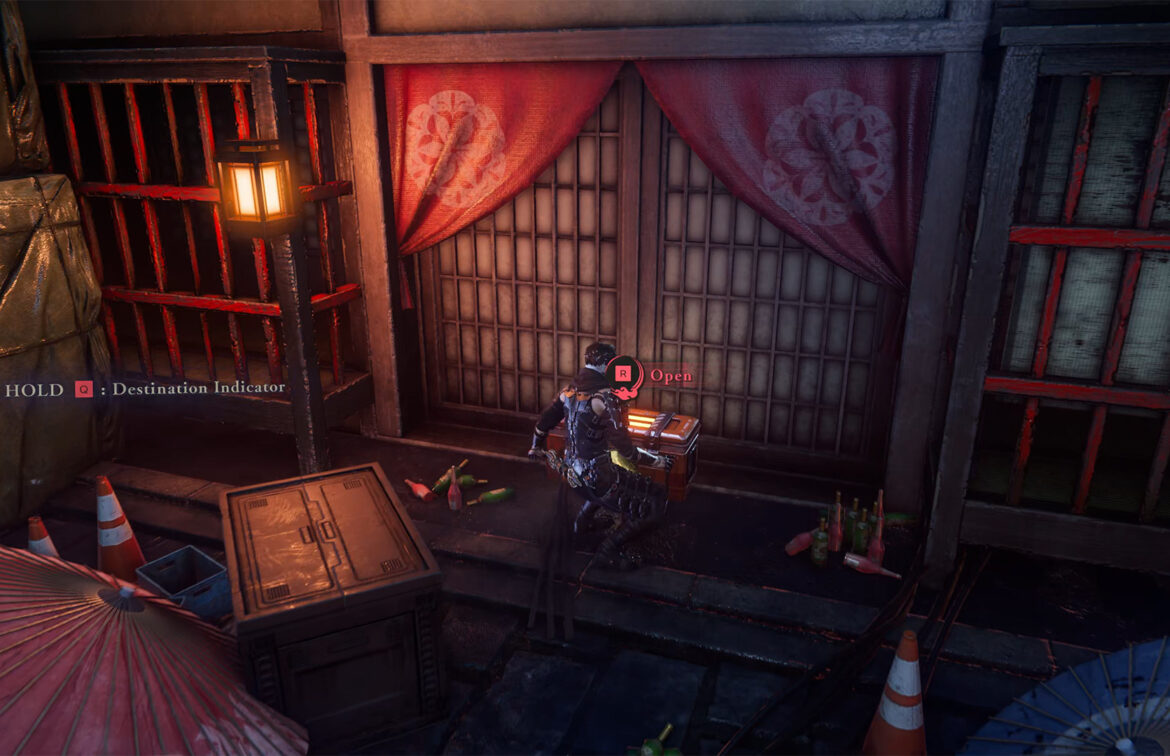
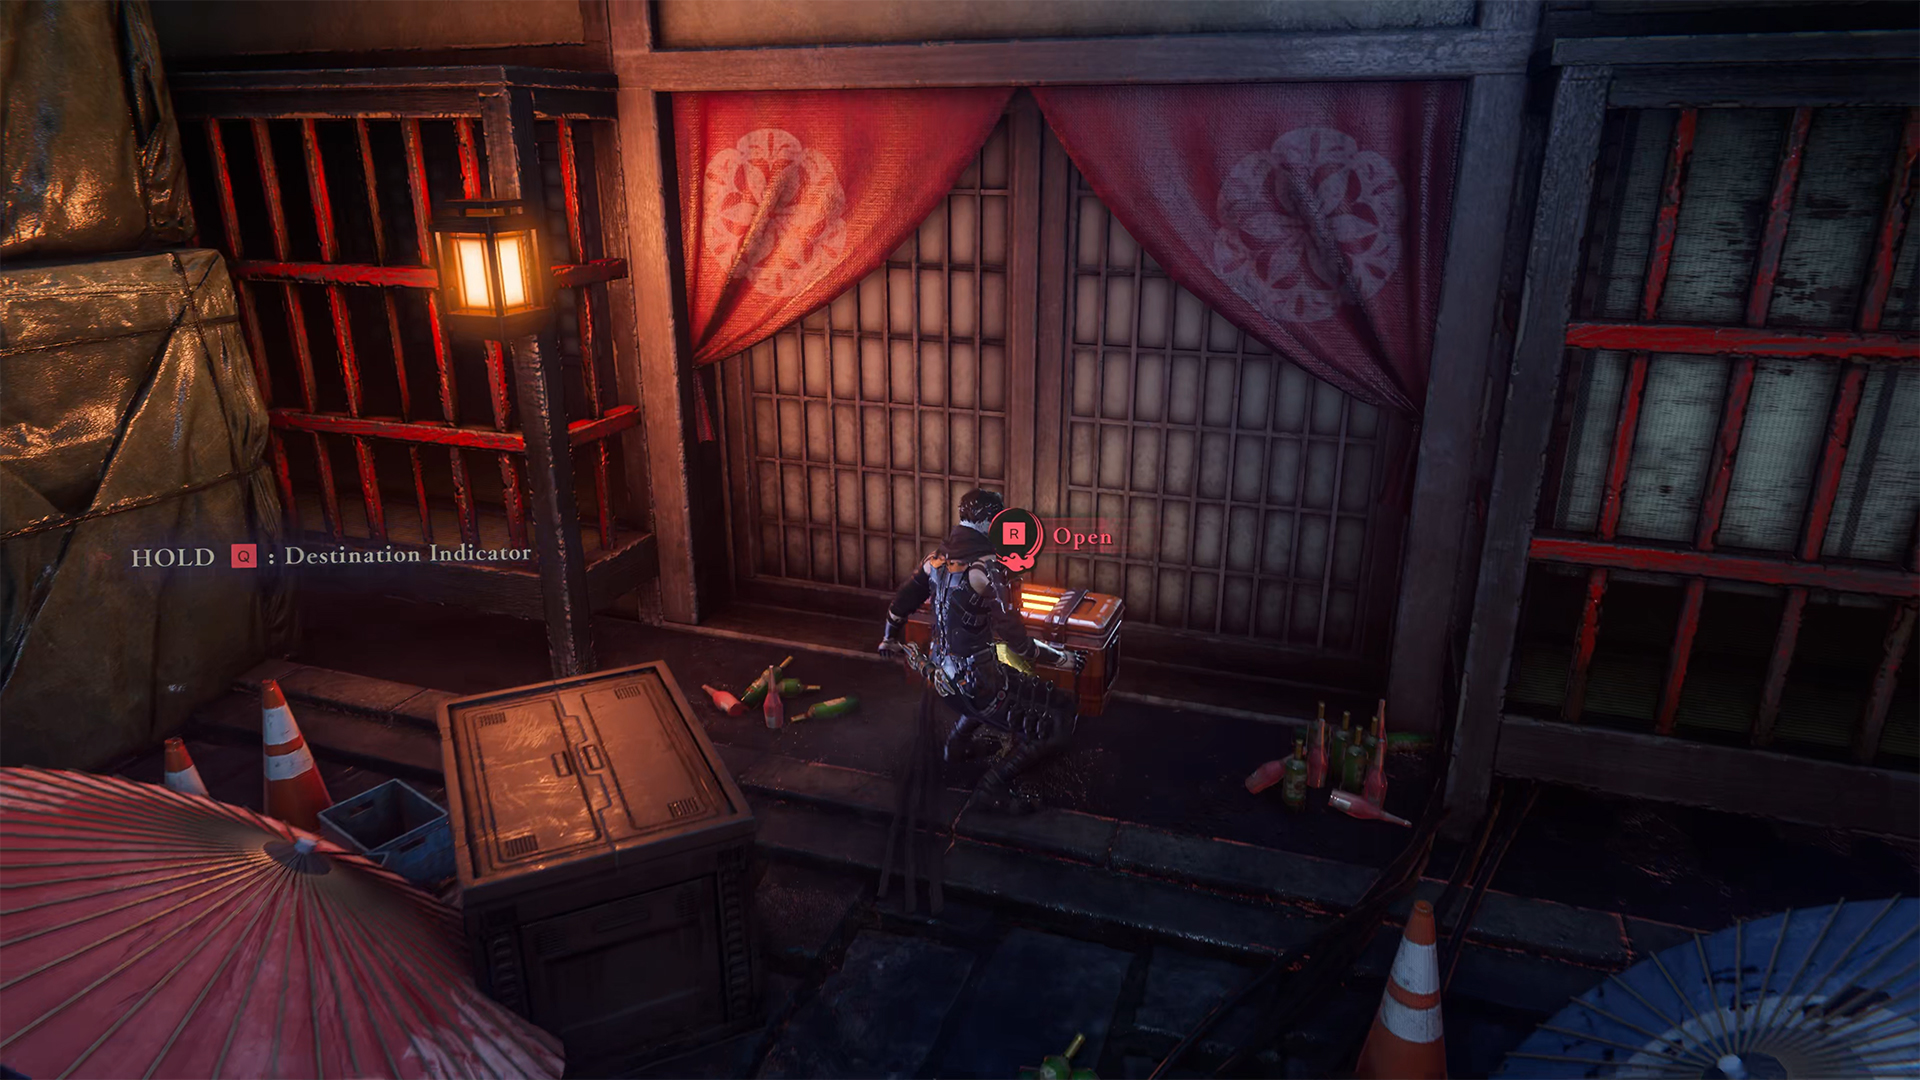
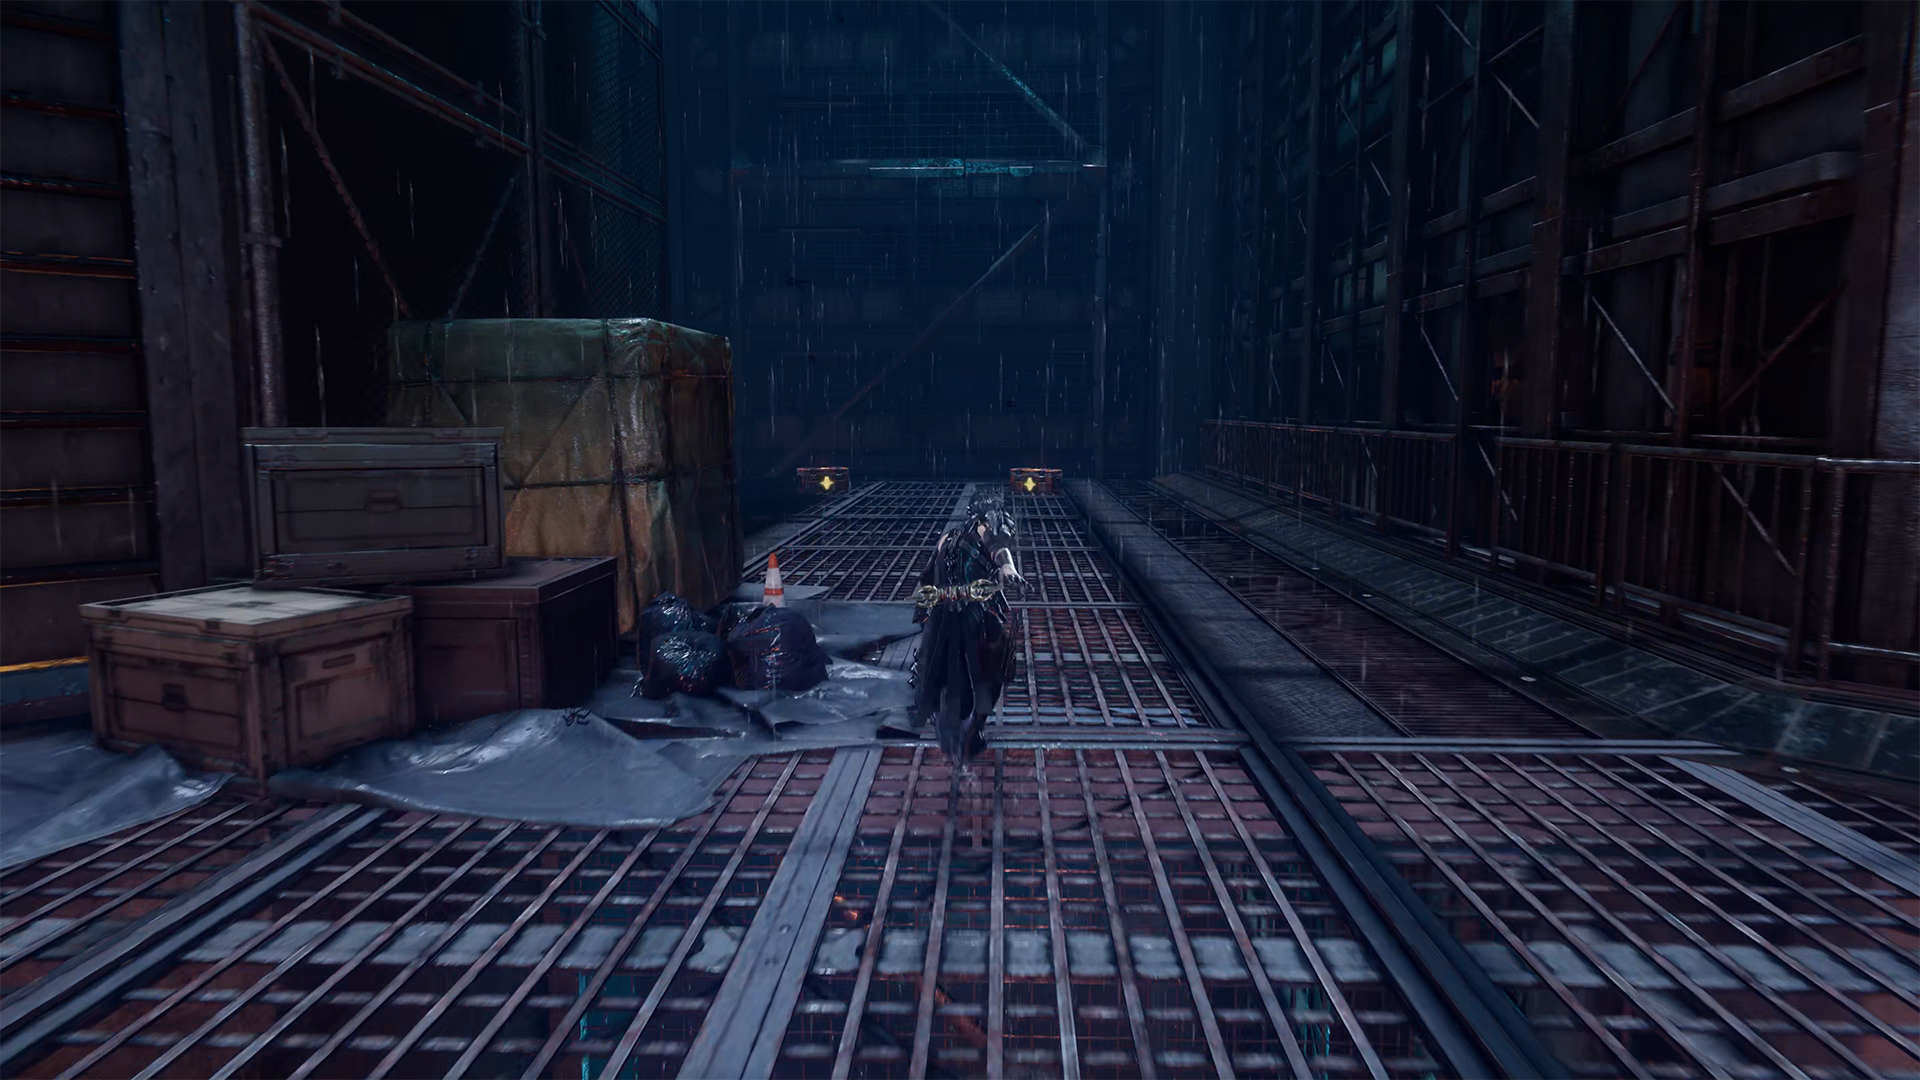
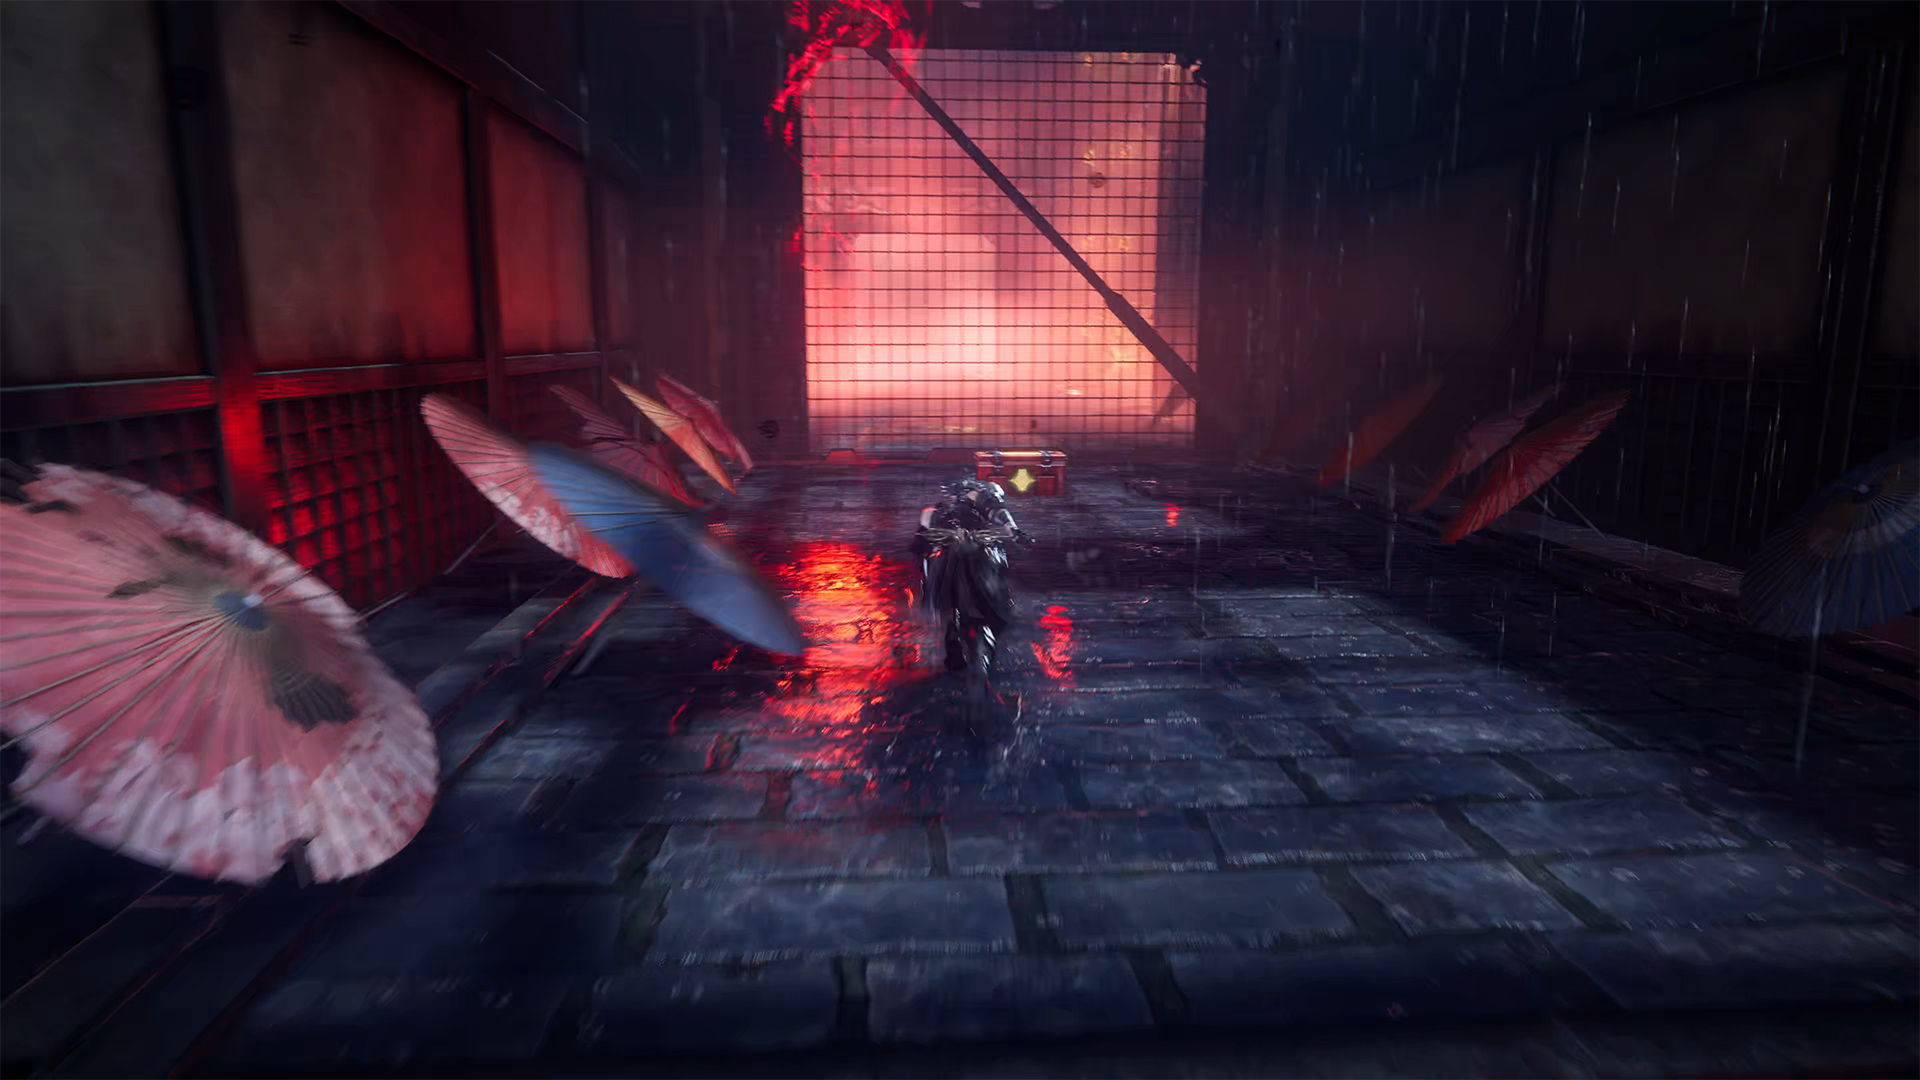
Chest #1 – Life Elixir
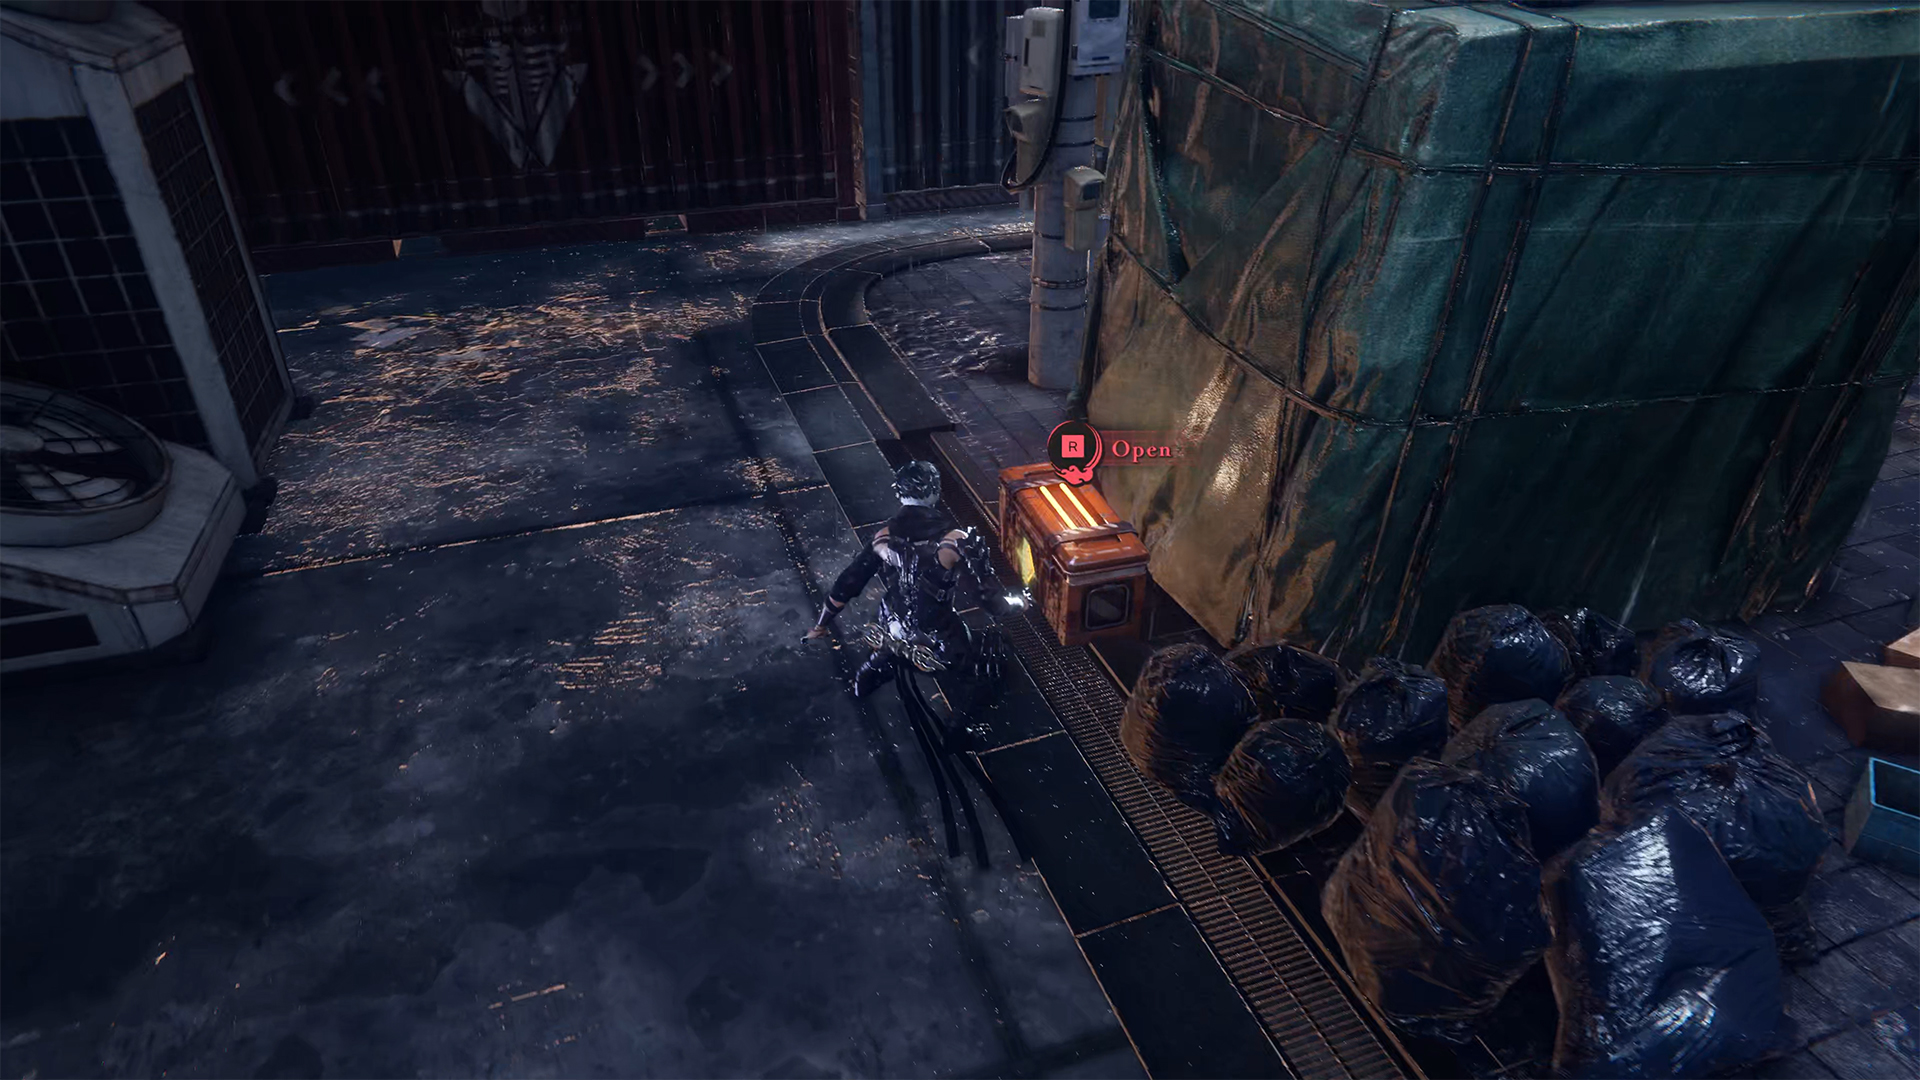
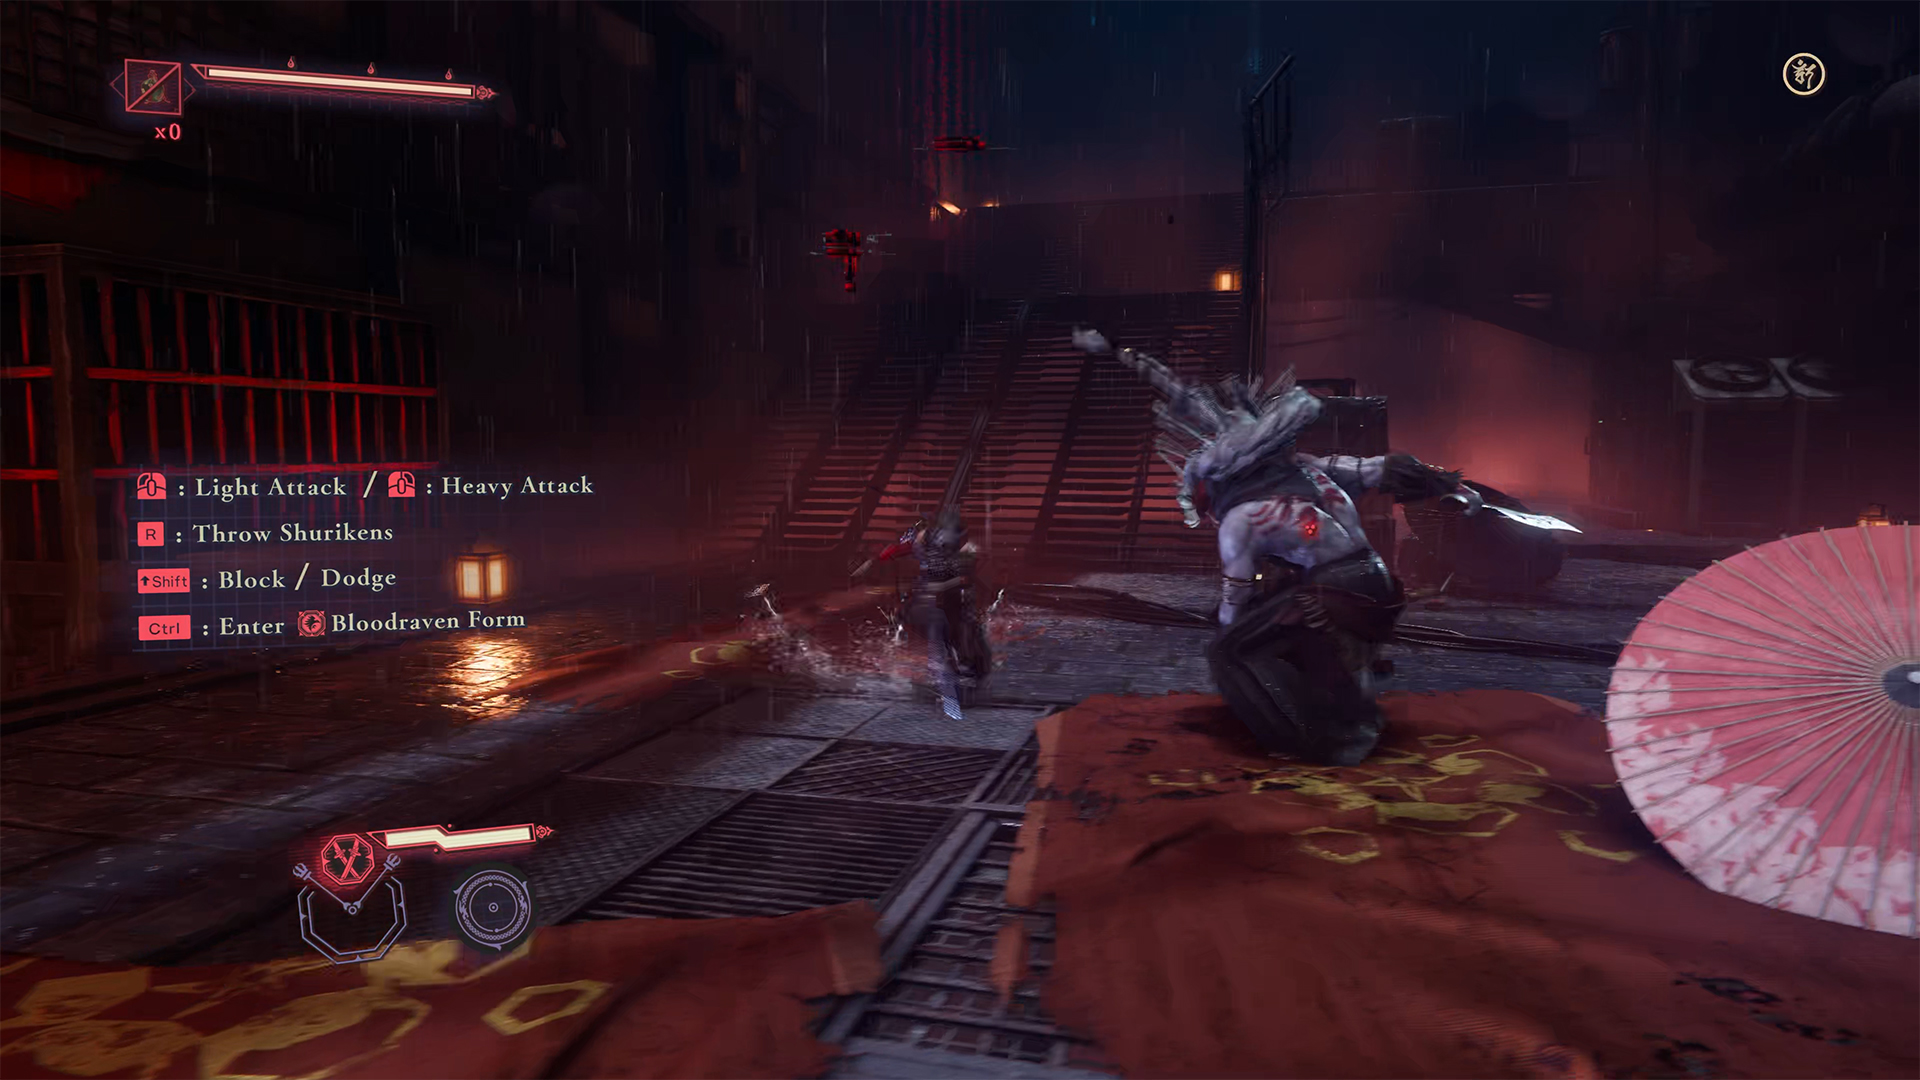
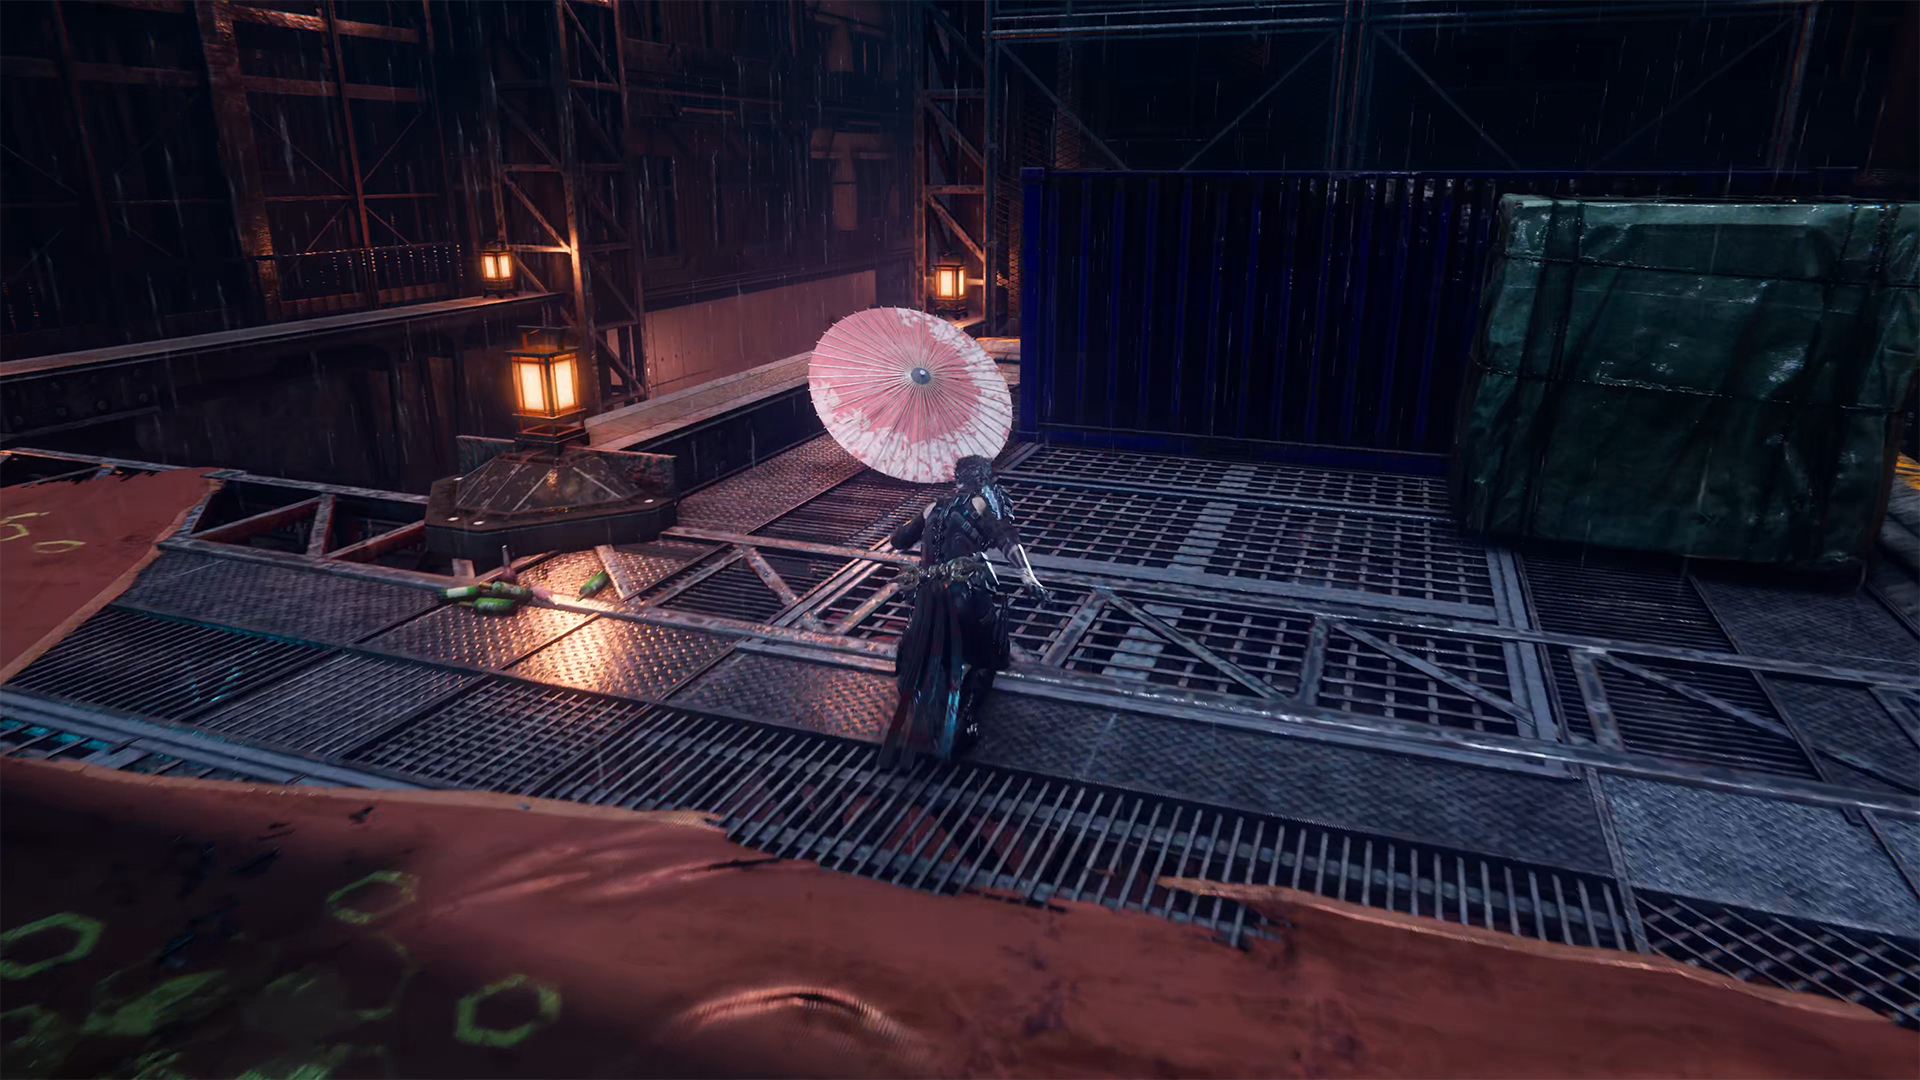
After your first encounter with enemies near the metal containers and defeating them, proceed forward and turn right at the place where you need to climb up to find a chest with a life elixir.
-
- The path to the chest after the battle
-
- The first chest in this chapter
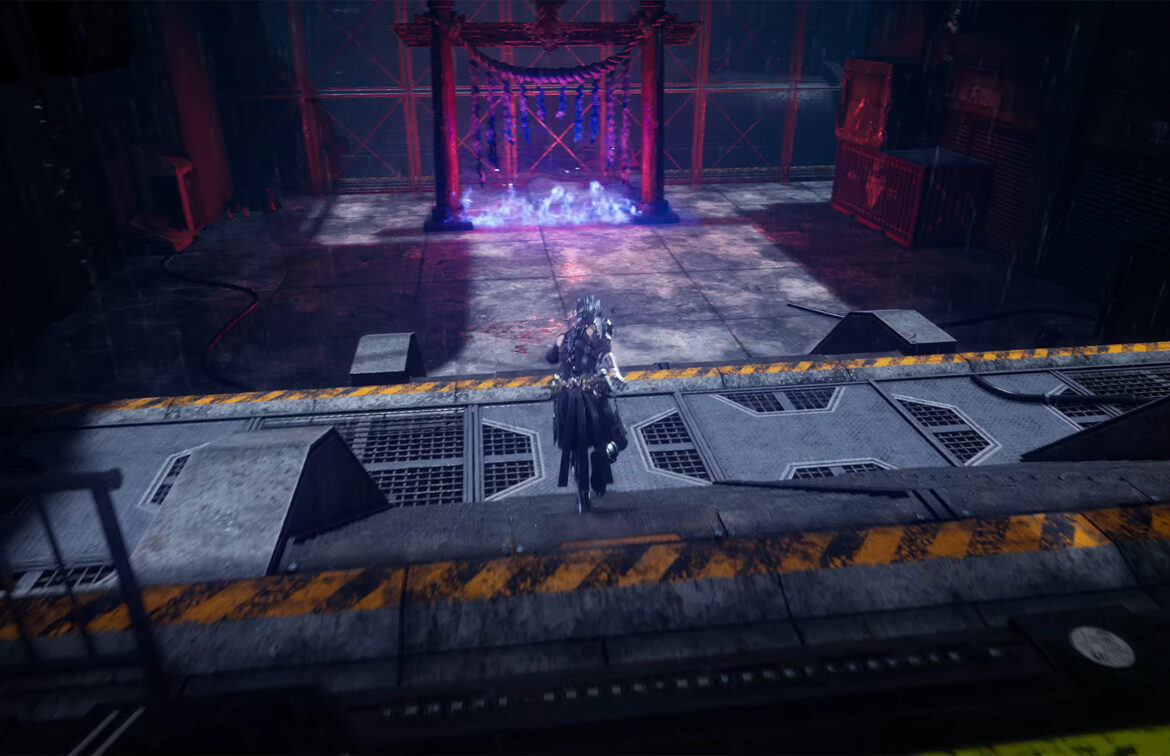
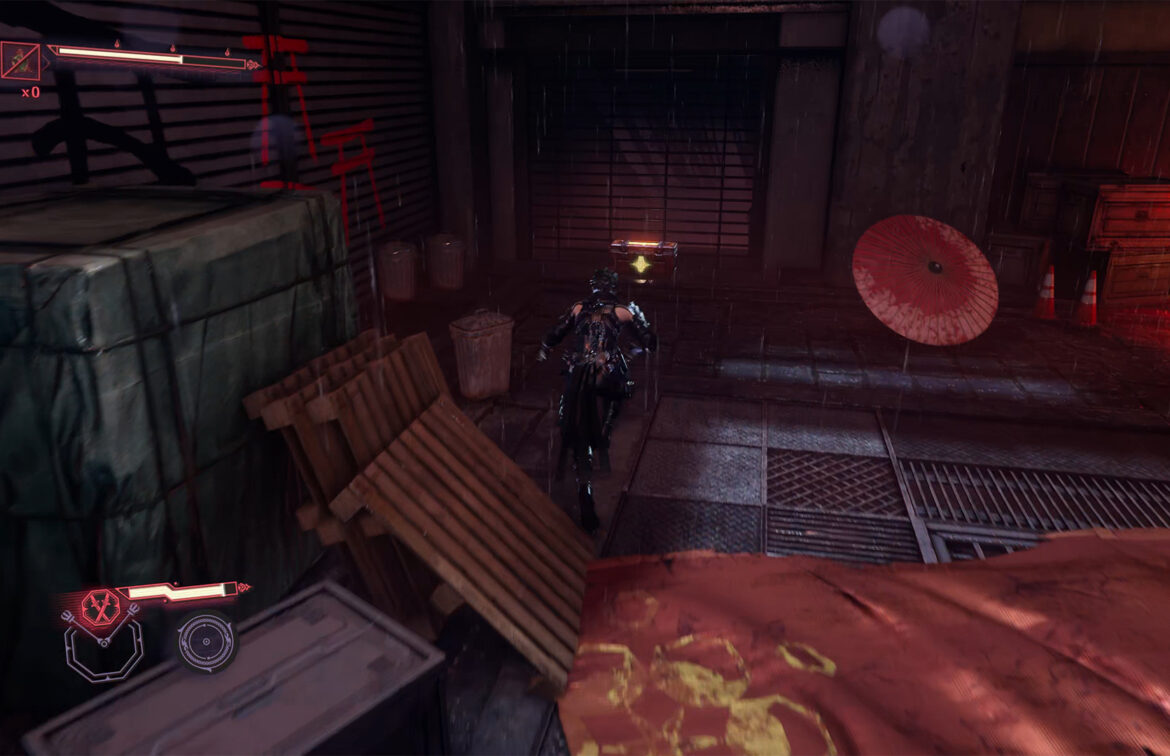
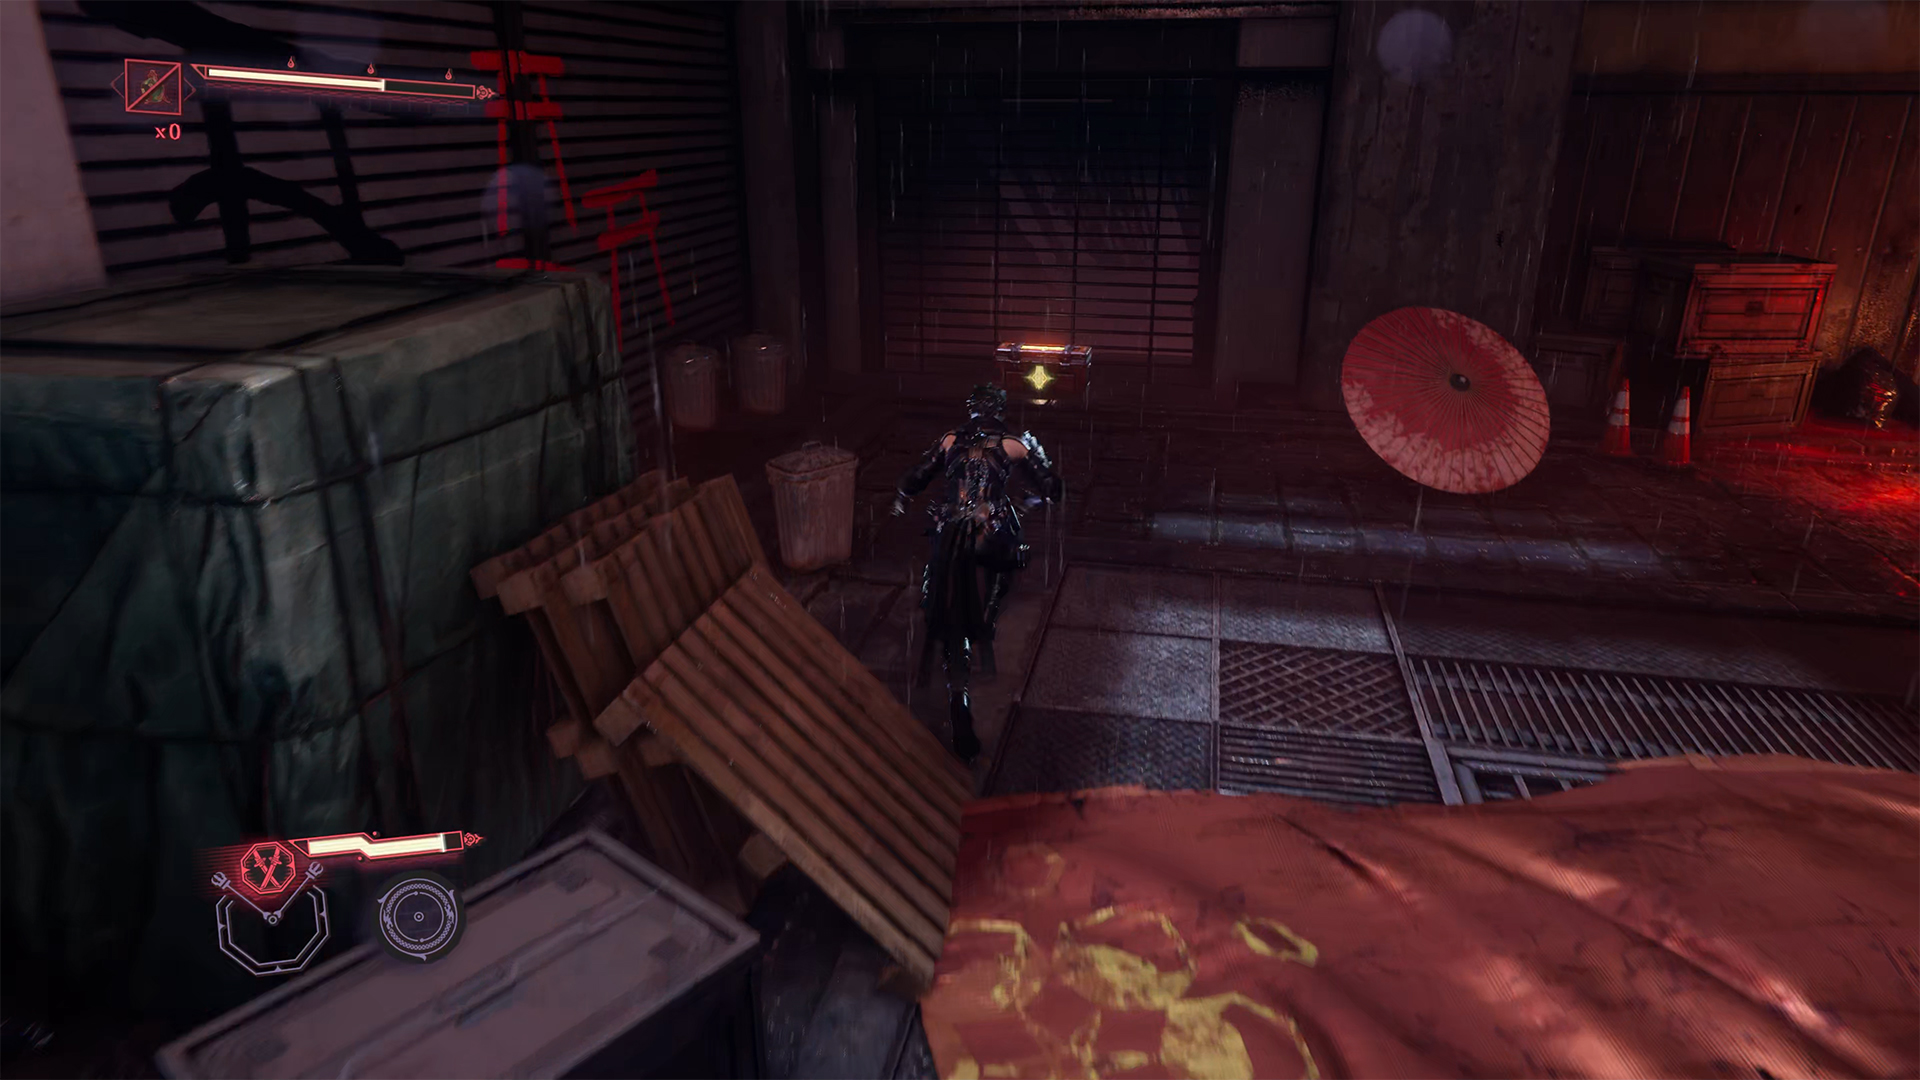
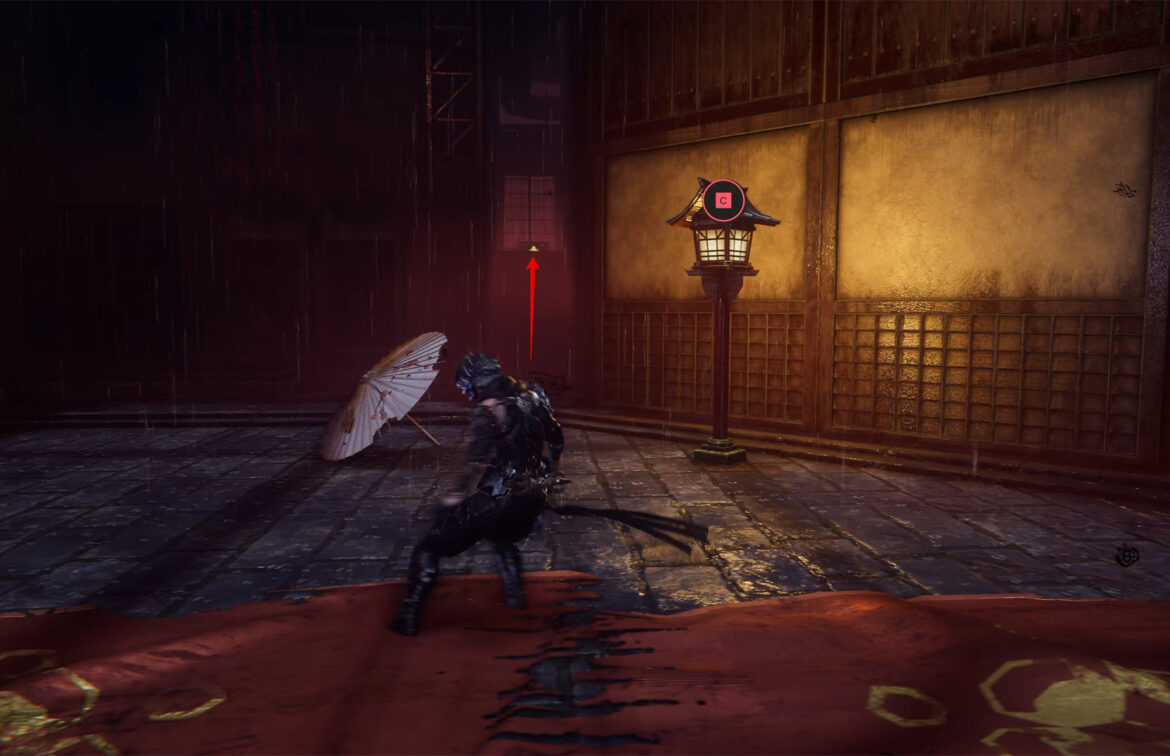
Purgatory Gate + Chest #2
From the second DarkNest Terminal, turn around and follow the route I show you in the video. Ahead, you will find Purgatory Gate, where you will undergo a trial that will earn you a NinjaCoin reward. On the way to Purgatory Gate, you will see a chest. Open it to get the Divine Life Elixir. After this chest, you will find the entrance to a special area on the right.
You should already be familiar with the layout. First, choose the difficulty of the trial. The more difficult the trial, the less health you will have and the more rewards you will receive. Then enter the room, deal with all the enemies, and the reward will be yours.
Next, you will return to the second DarkNest Terminal. Find a crow nearby, and a little further behind it, you will find a chest containing Rejuvenation Elixir. It is easy to miss, so explore this area carefully.
-
- The third chest in the Phantom Pleasure Quarter
-
- Purgatory Gate location
-
- Battle with opponents during the exam
Chest #3 + Kitsune Cortesan
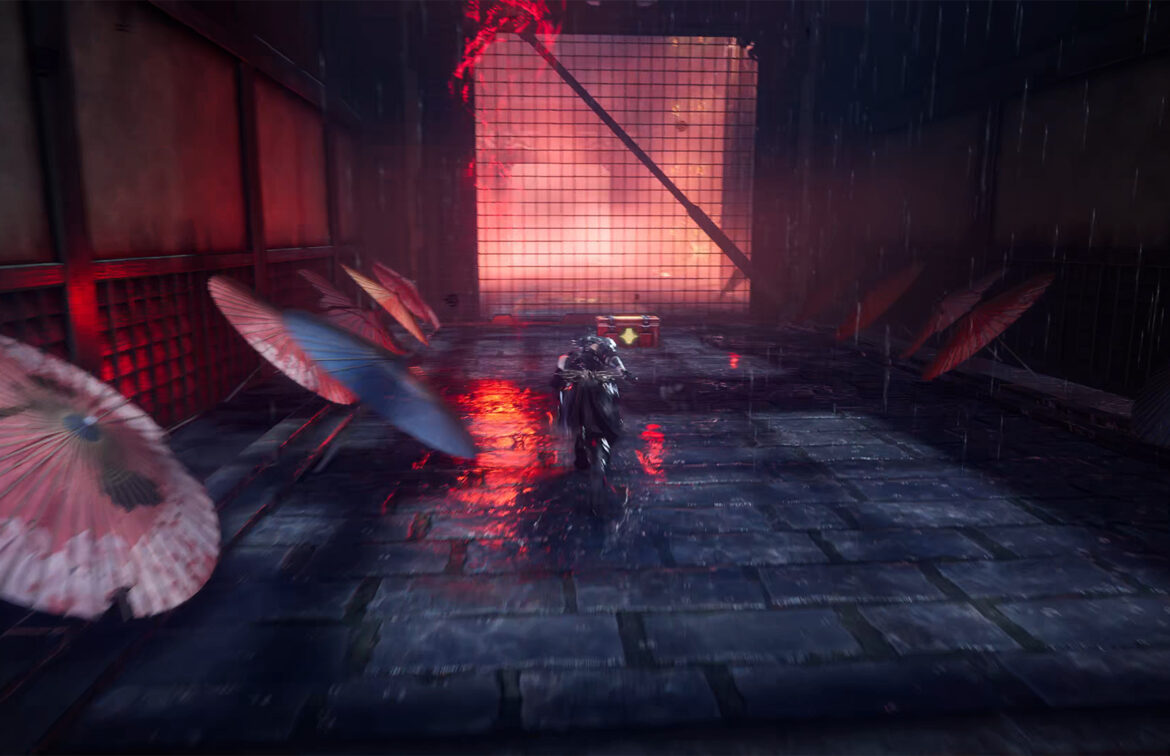
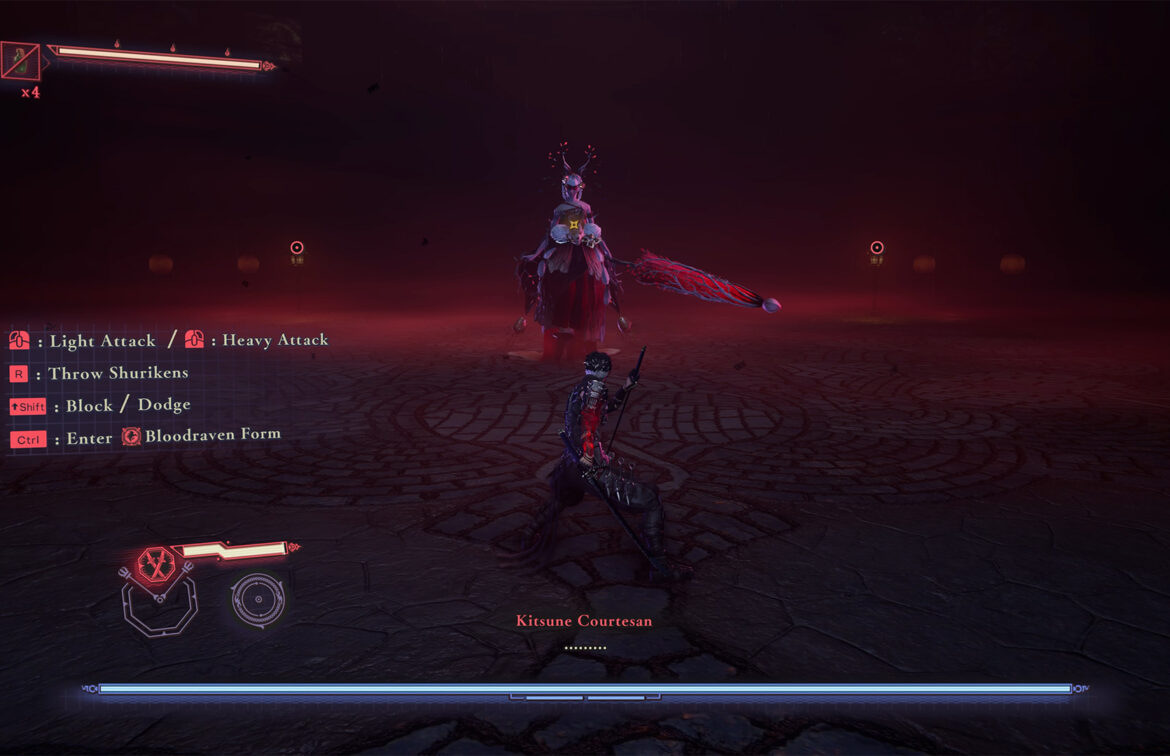
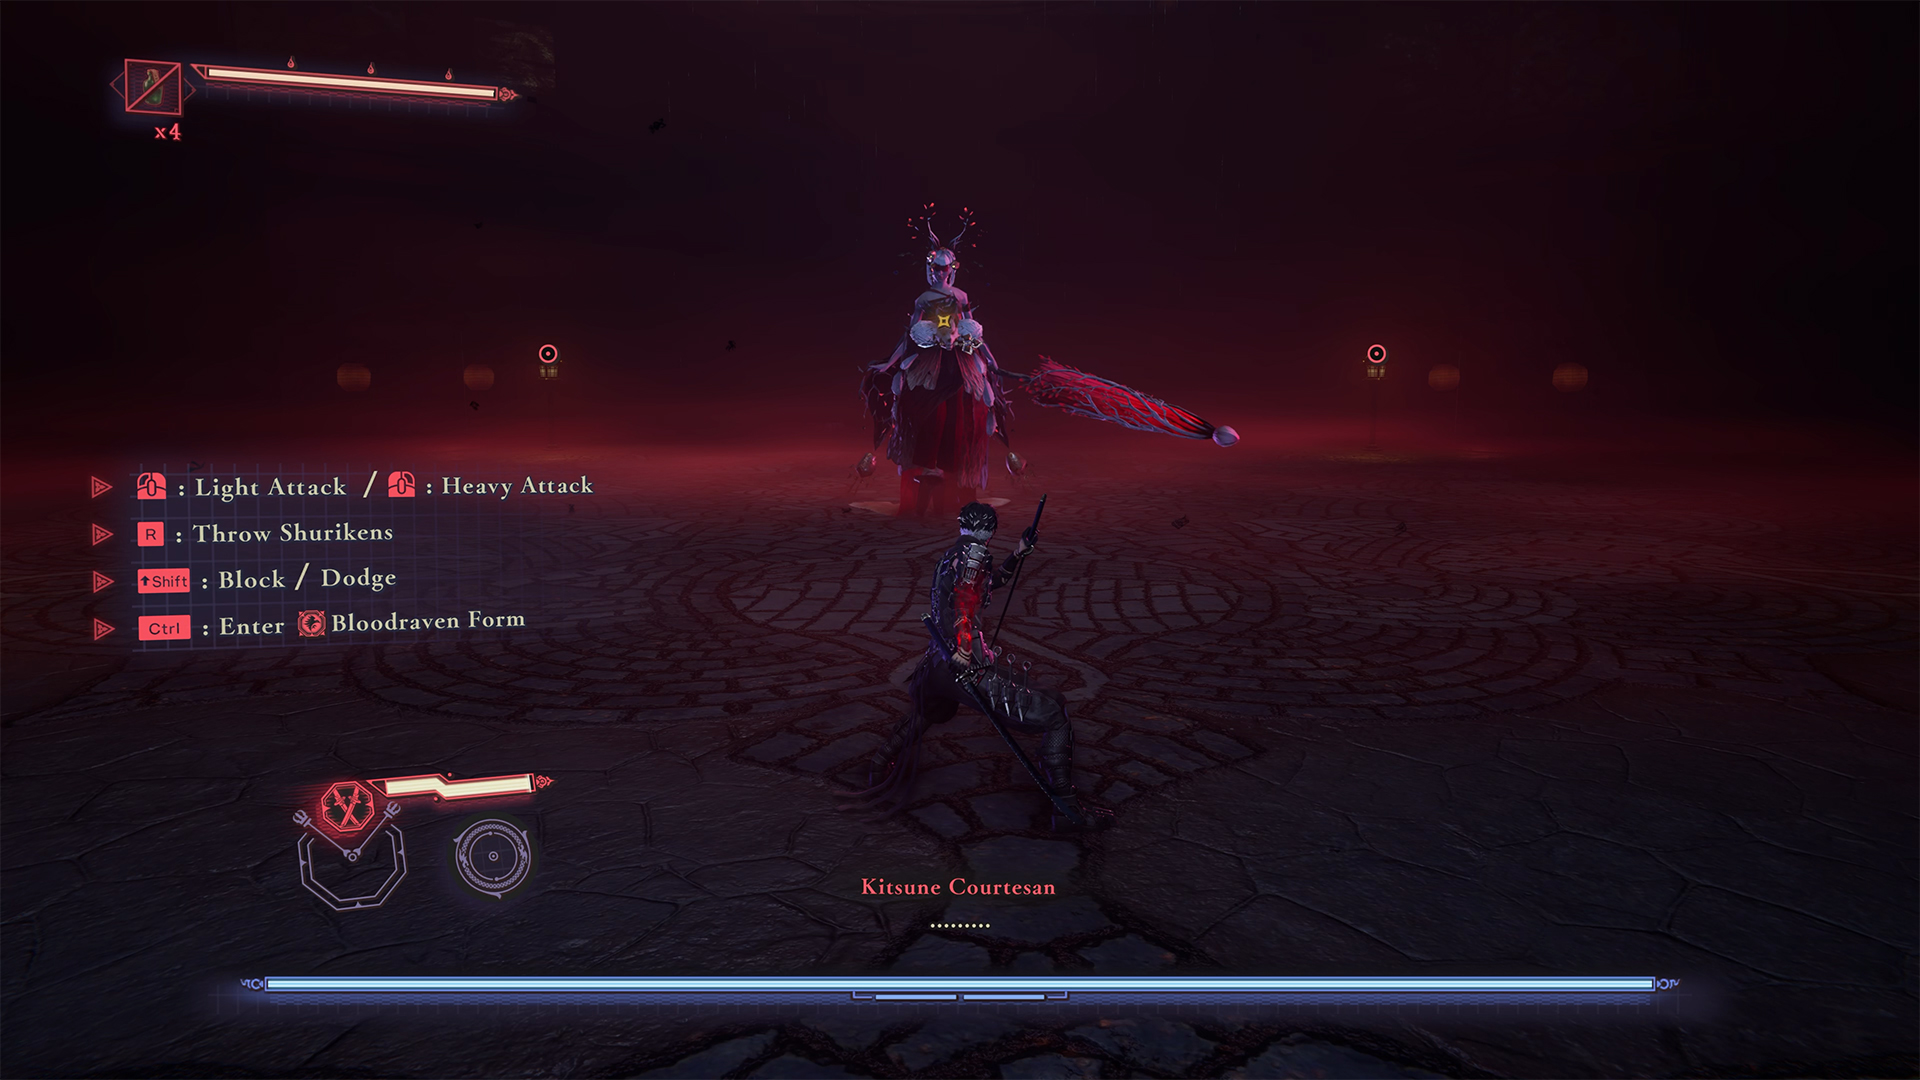
Next, you need to move forward in the story. Prepare well, as a battle with the boss Kitsune Cortesan awaits you ahead. If necessary, replenish your supplies of elixirs, practice your combat skills, and only then move on. You will need to overcome a fairly easy obstacle course, and at the end, you will find the entrance to the temple, where you will encounter the boss. By the way, this encounter and the entire location are very interesting and beautifully drawn; I liked it.
Although Kitsune Cortesan has two stages, I am sure that this battle will not be a problem for you. The boss in this location is quite simple and, despite the aggressive animation of his attacks, has very weak armor. Therefore, your strikes will quickly neutralize the enemy.
-
- 4th chest in the Phantom Pleasure Quarter
-
- First encounter with Kitsune Cortesan
Chest #4 + Oni
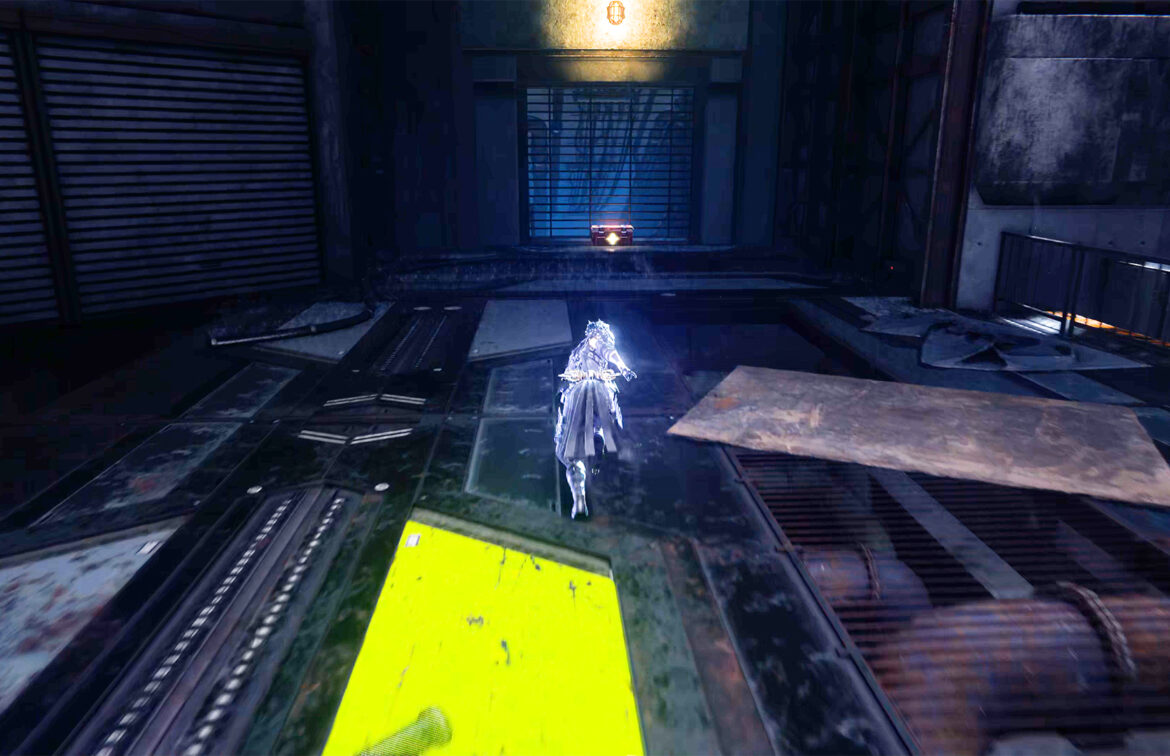
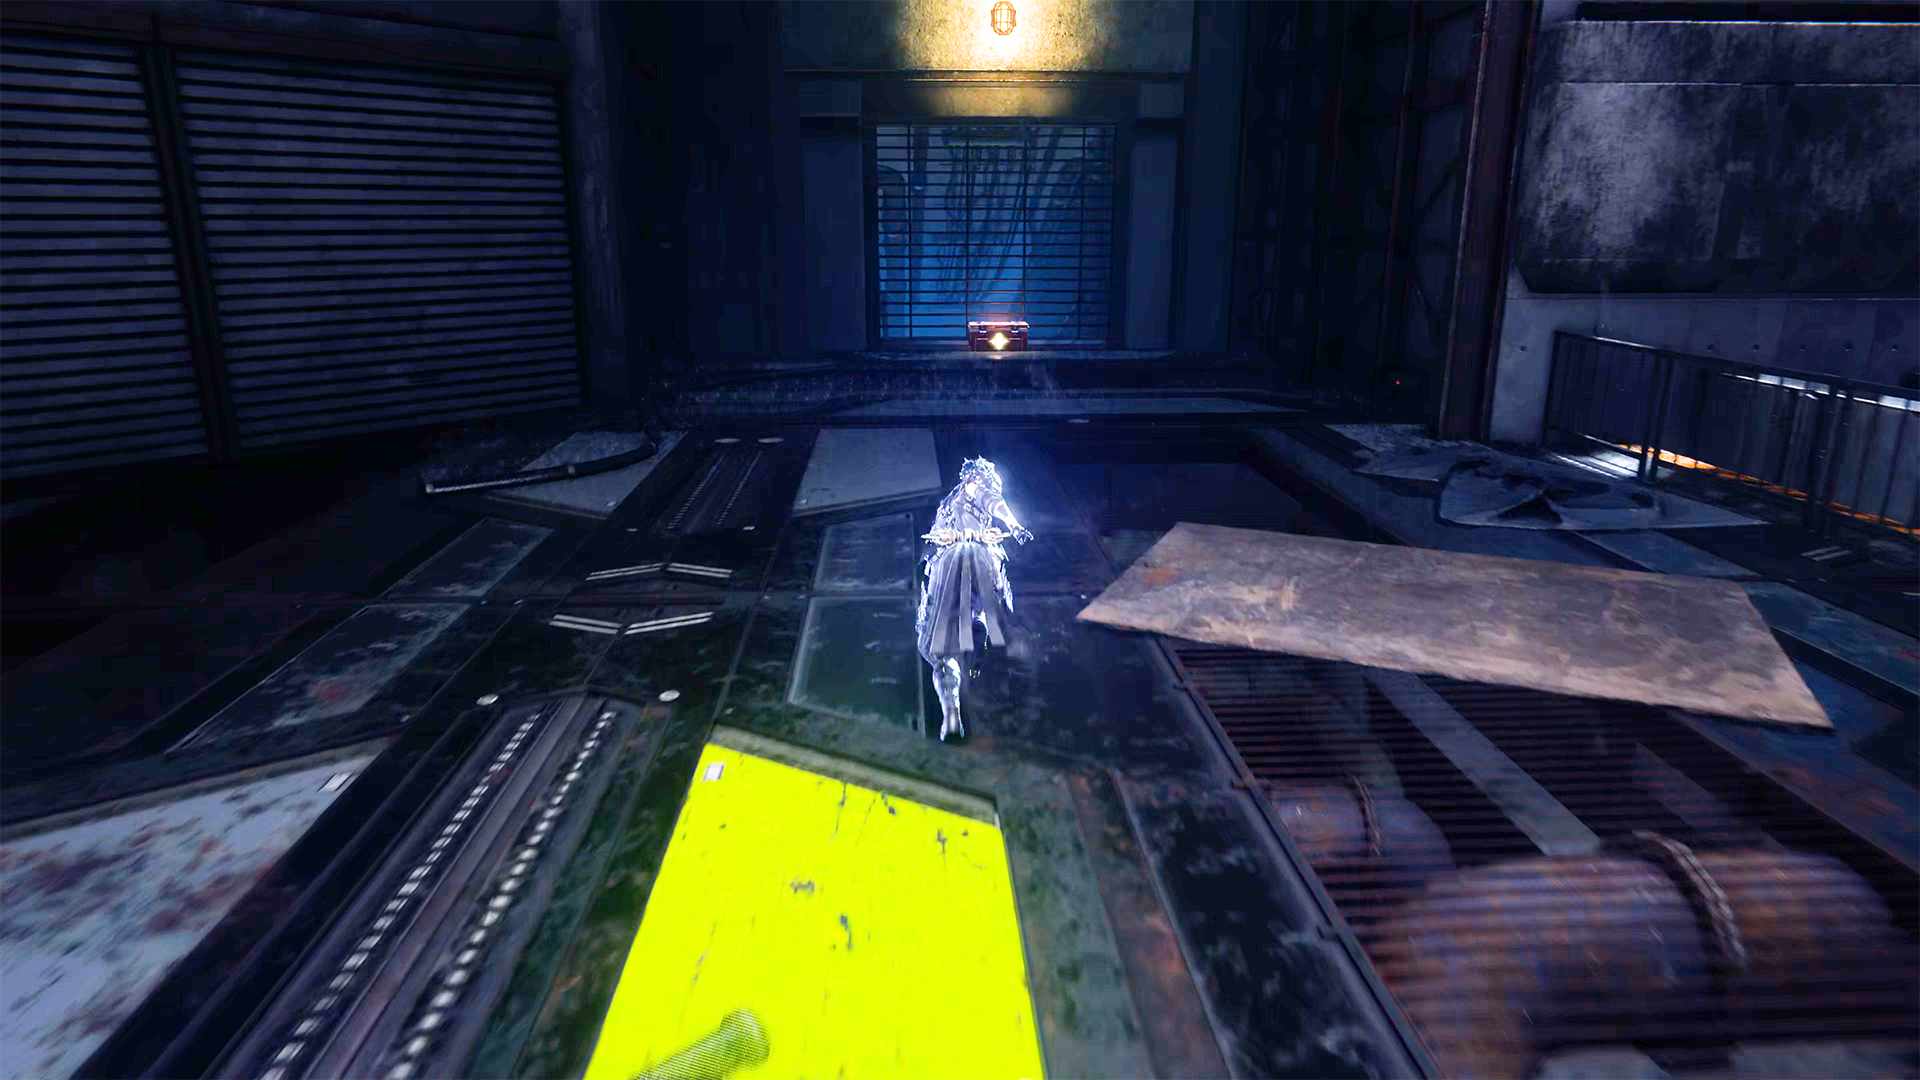
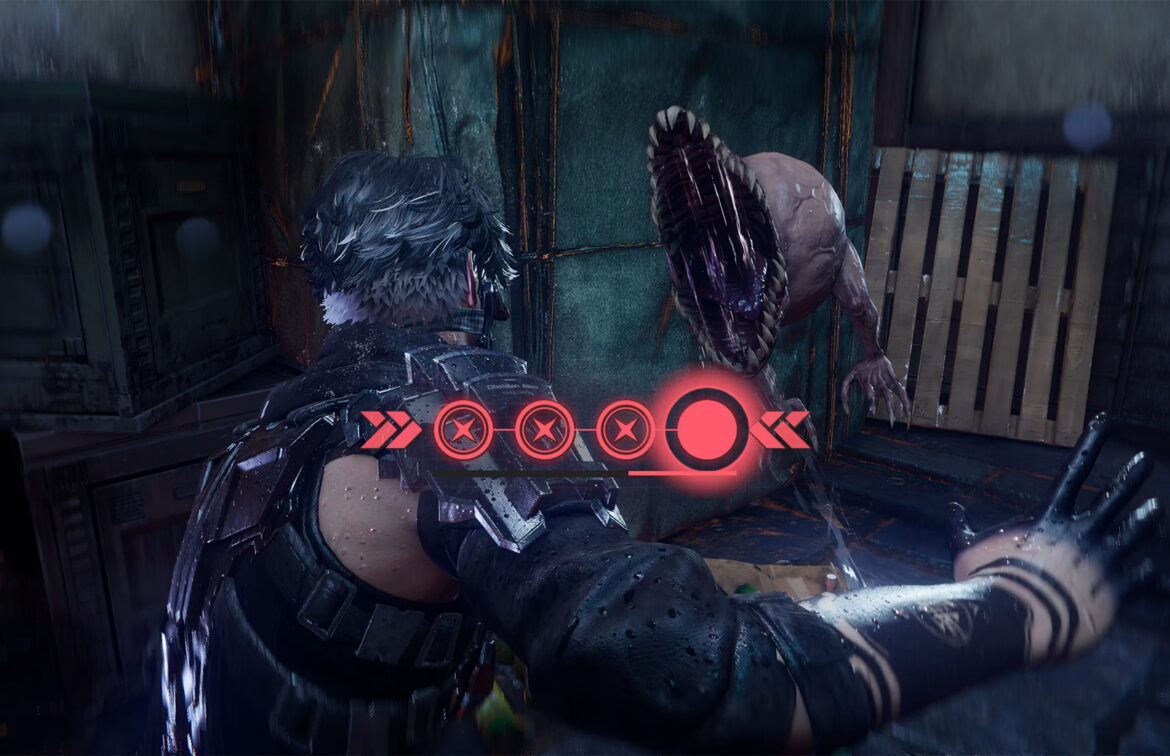
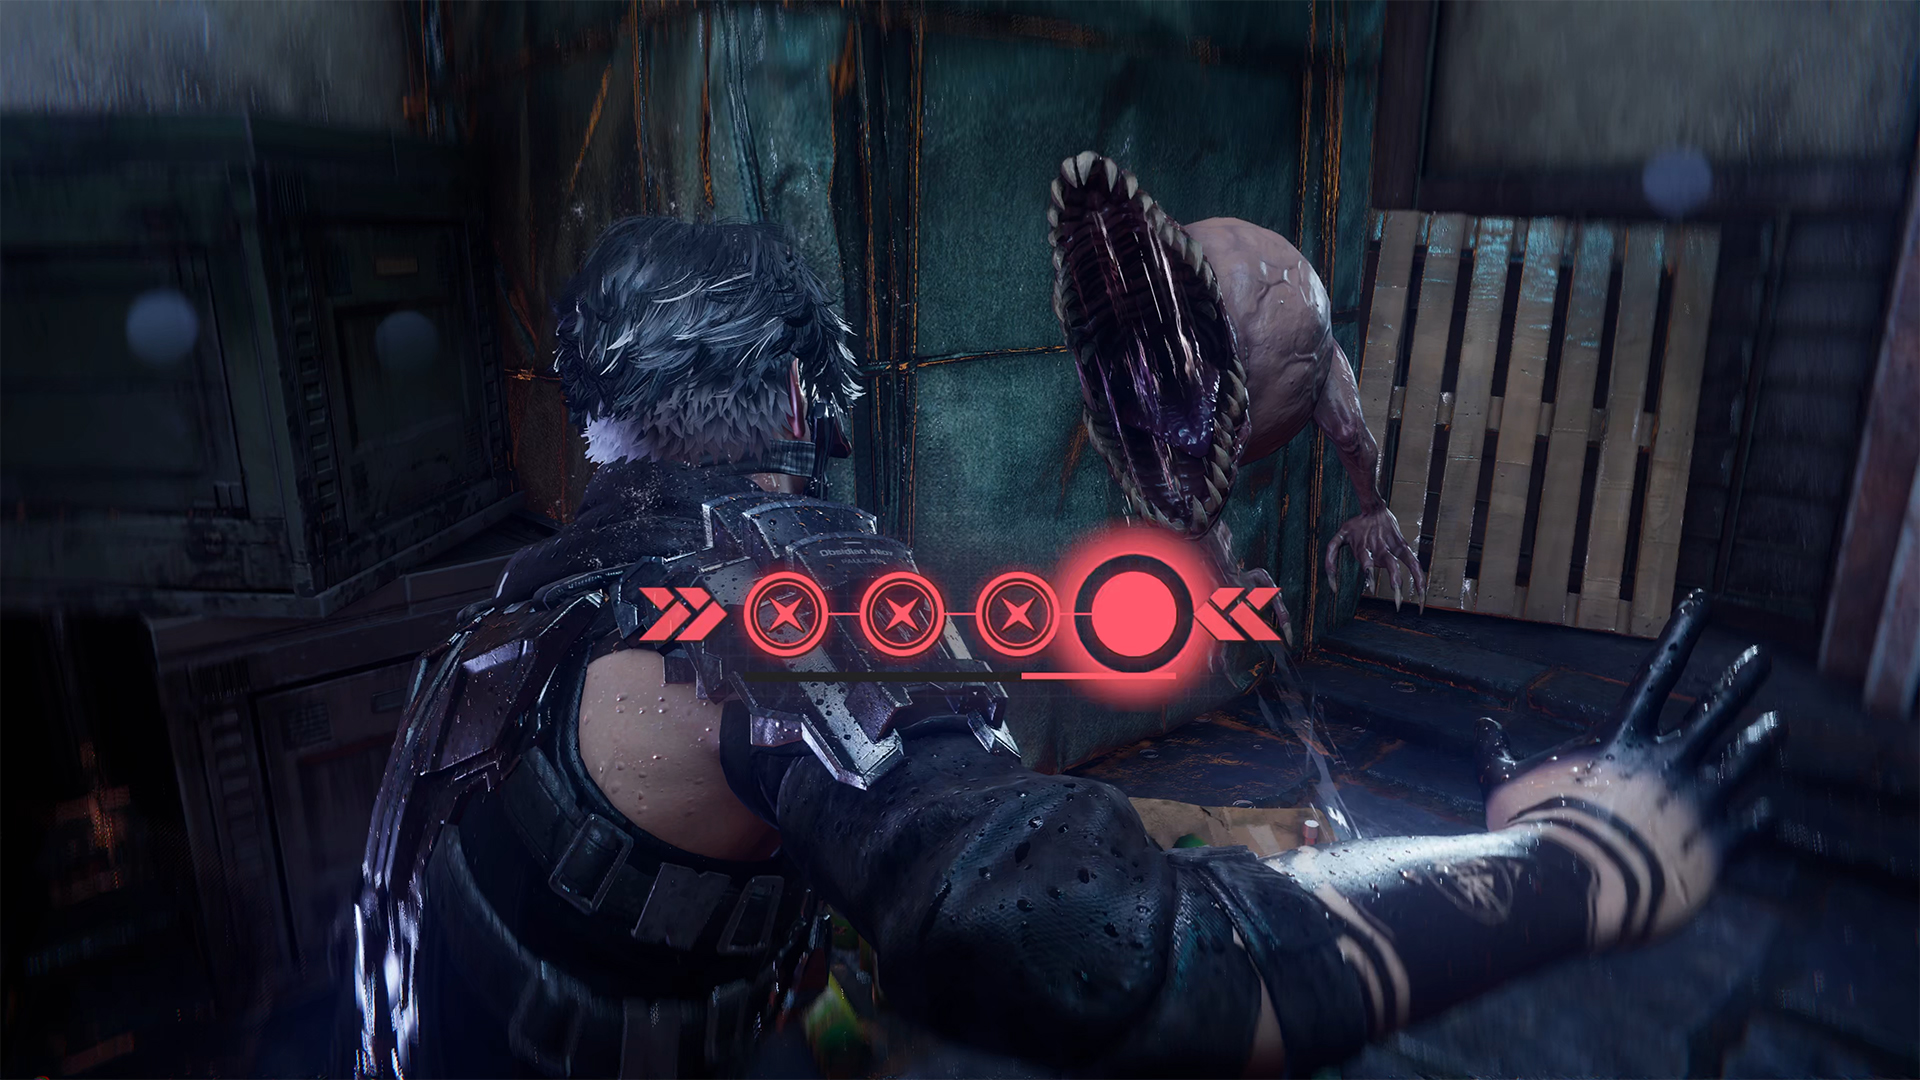
Move forward through the temple. You will be surprised to find that Kitsune Cortesan has not been destroyed by you. But when you try to approach her, she will close the door and you will have to find a way around. Use the yellow walls to jump over the chasm and you will find yourself in a room where you will see a chest in front of you, and a little to the right, a new enemy will be waiting for you.
This is the first Oni on your path. This enemy is unlikely to be a problem for you. After victory, don’t forget to open the chest, where you will find the Life Elixir.
-

- Battle with the enemy Oni
-
- 5th chest in the Phantom Pleasure Quarter
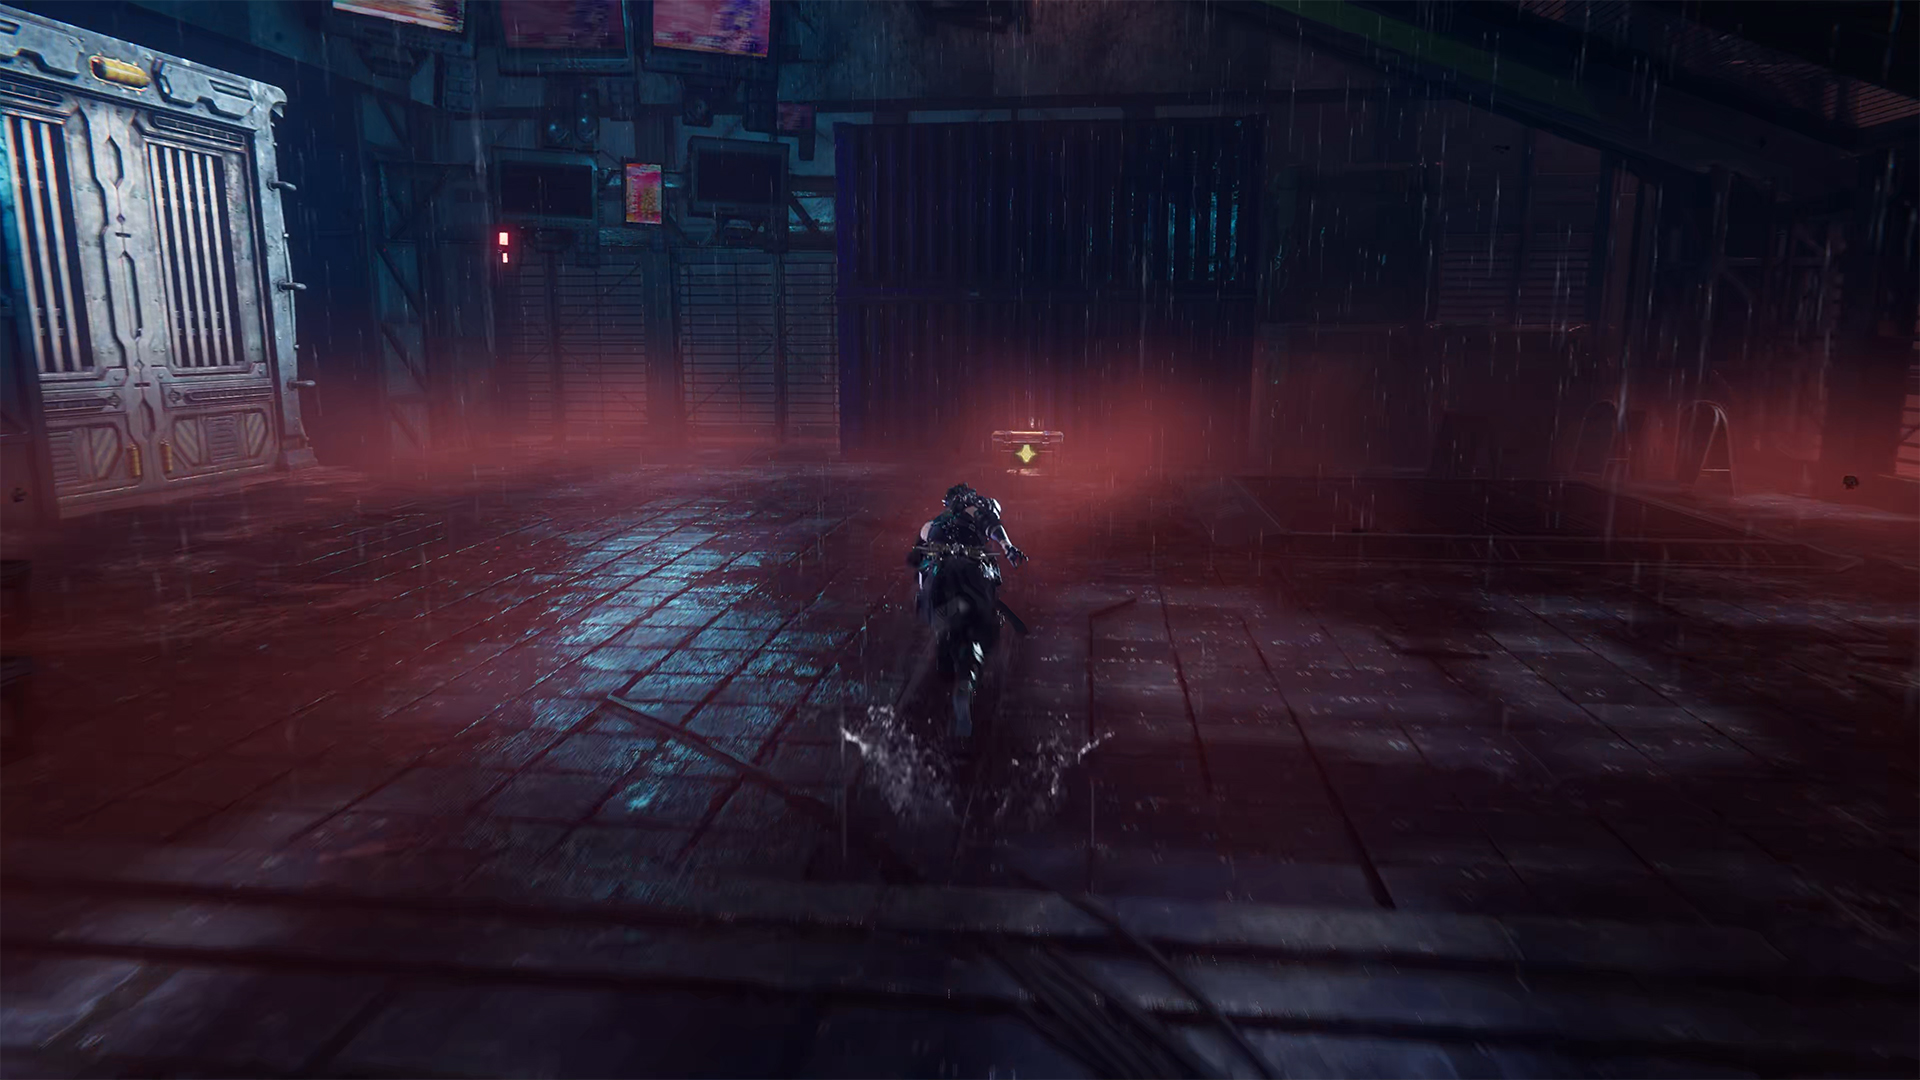
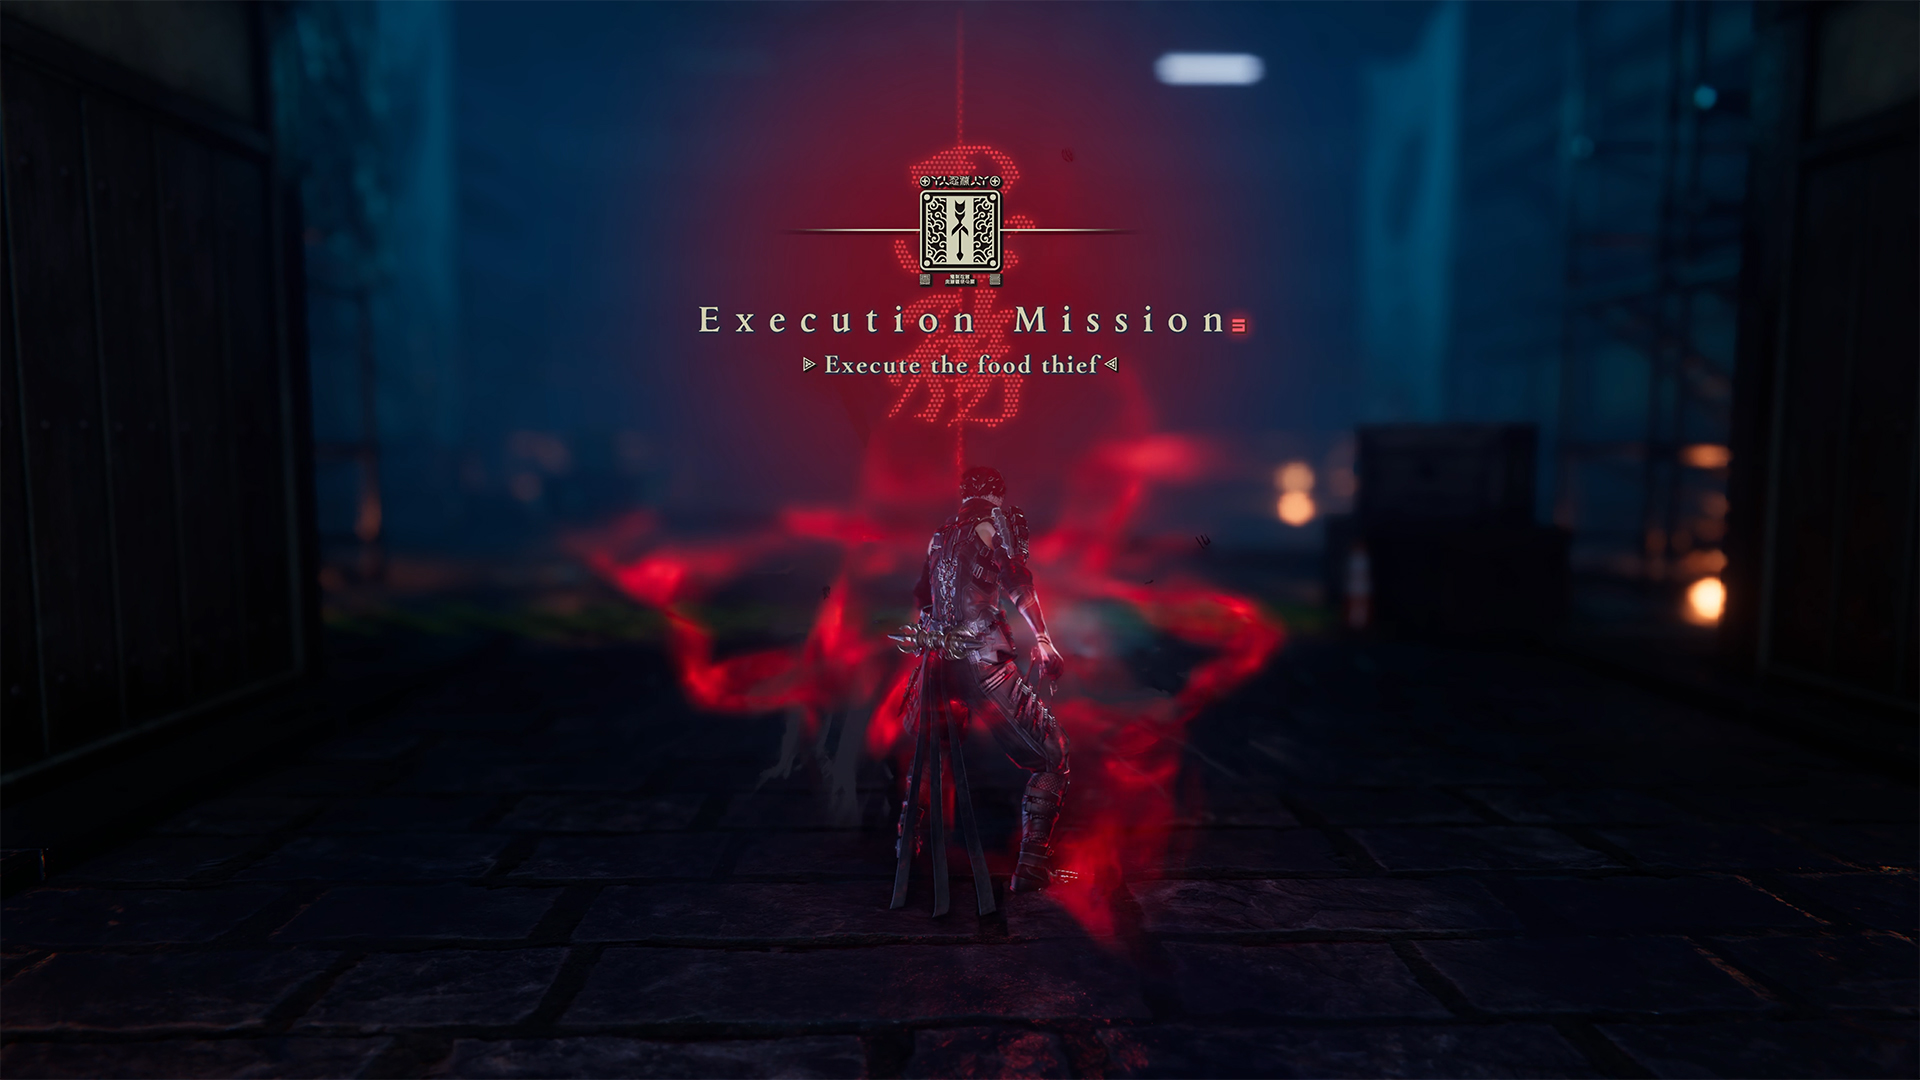
Execute the Food Thief + Chest #5
After that, you will see a staircase. Don’t go there yet. You need to bypass the stairs and go right into the next room. Here you will see a chest ahead of you. Open it to get another Life Elixir. Now turn left, and you will see a closed door in front of you. Open the door. This is the entrance to the location where you will complete the Execute the Food Thief mission.
Only go inside when you are ready for battle. There is only one enemy, and he has no special tricks, but his attacks cause quite a lot of damage. Therefore, you may need several attempts to defeat him. As a reward, you will receive 5,500 NinjaCoin and Senjin War Brew.
-
- 6th chest in the Phantom Pleasure Quarter
-
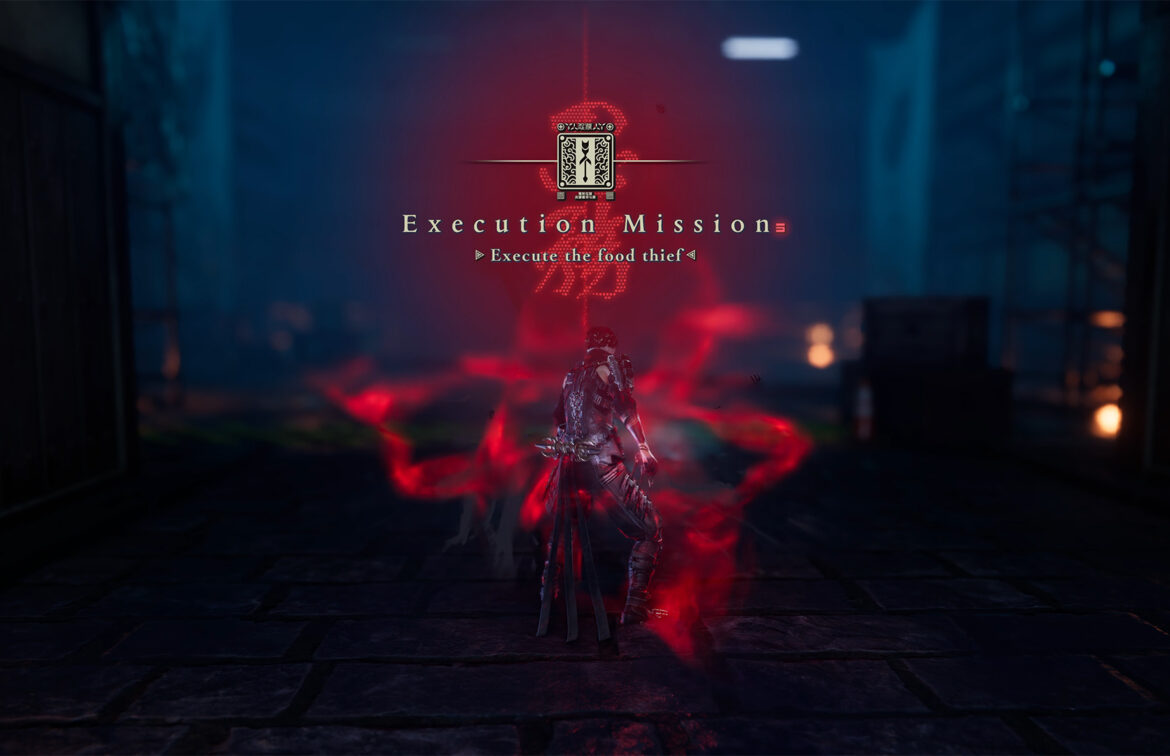
- Execute the Food Thief
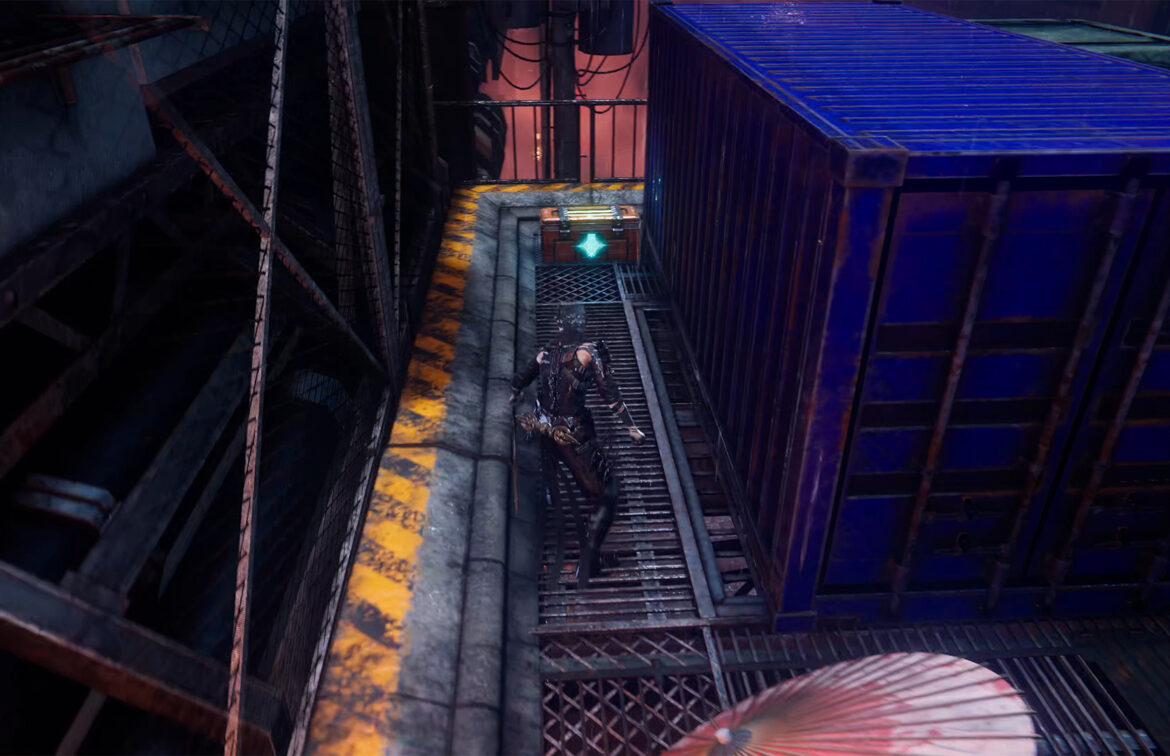
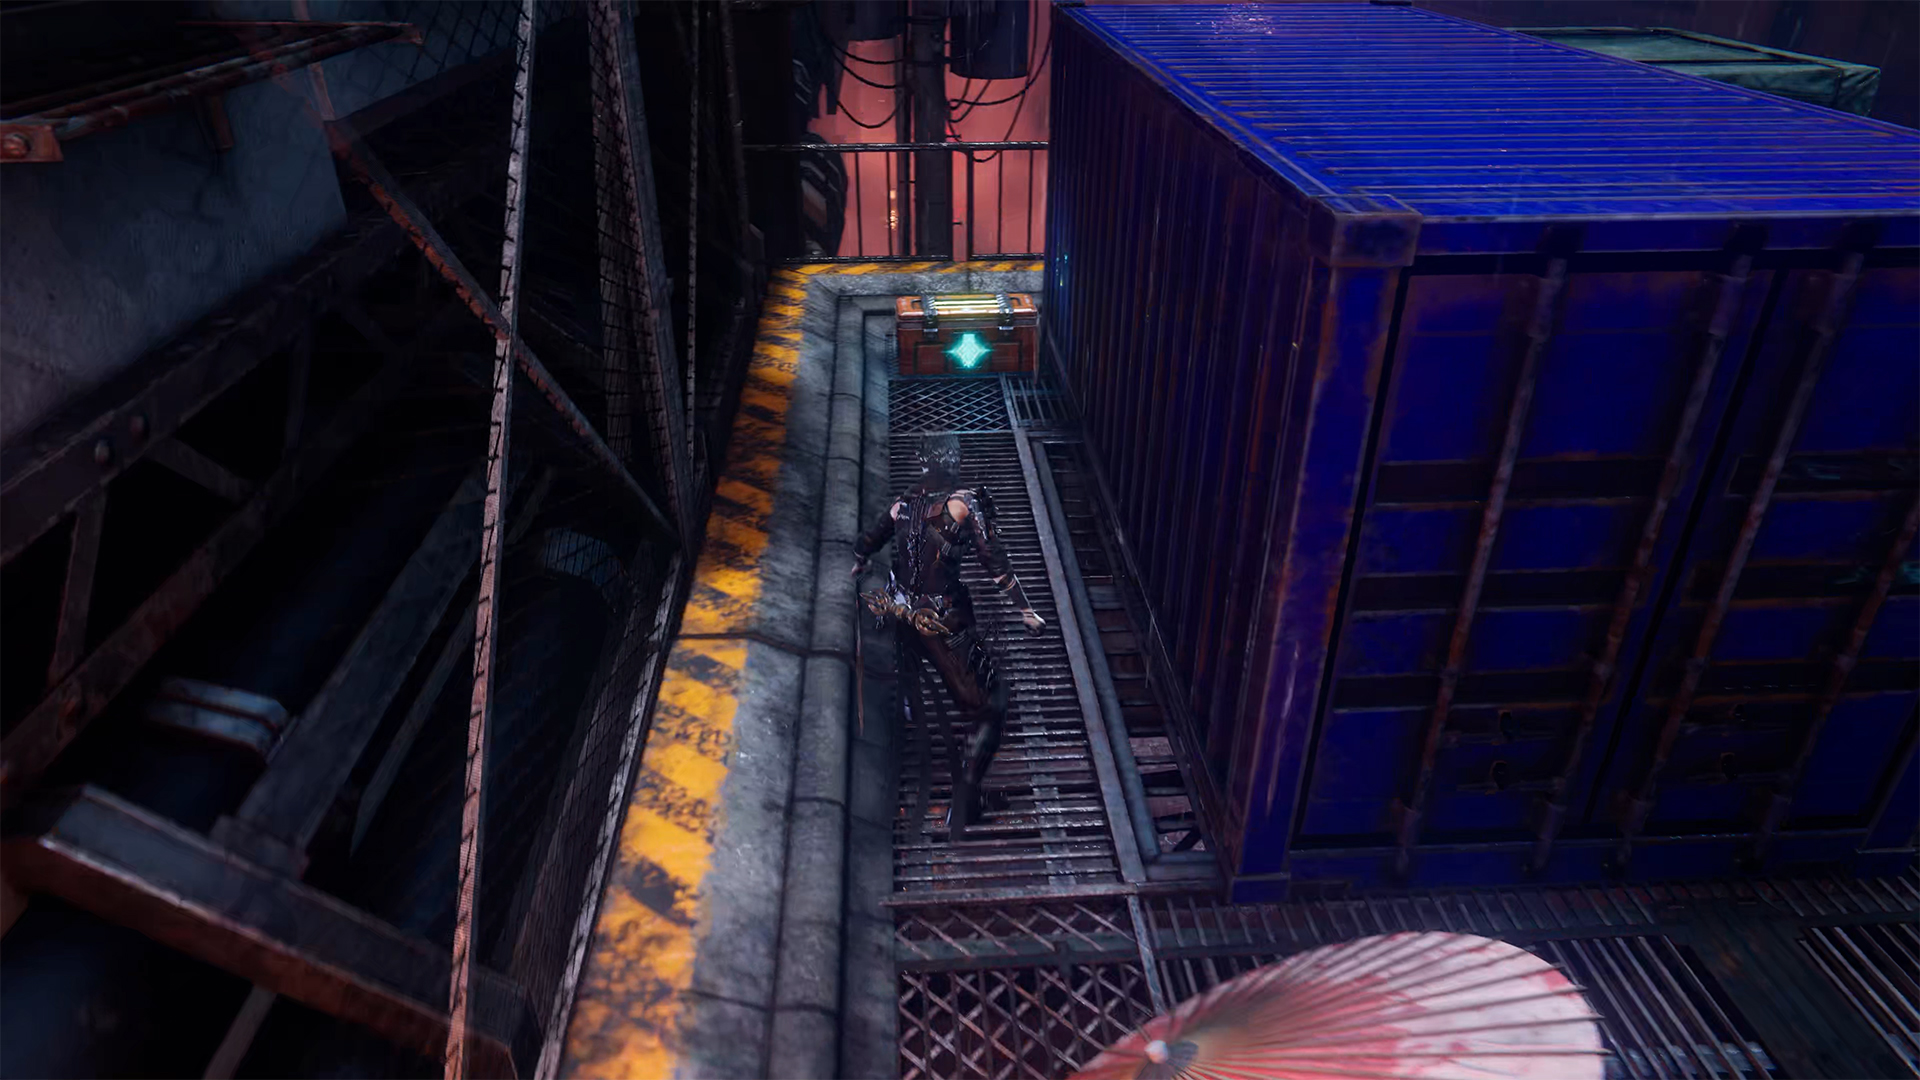
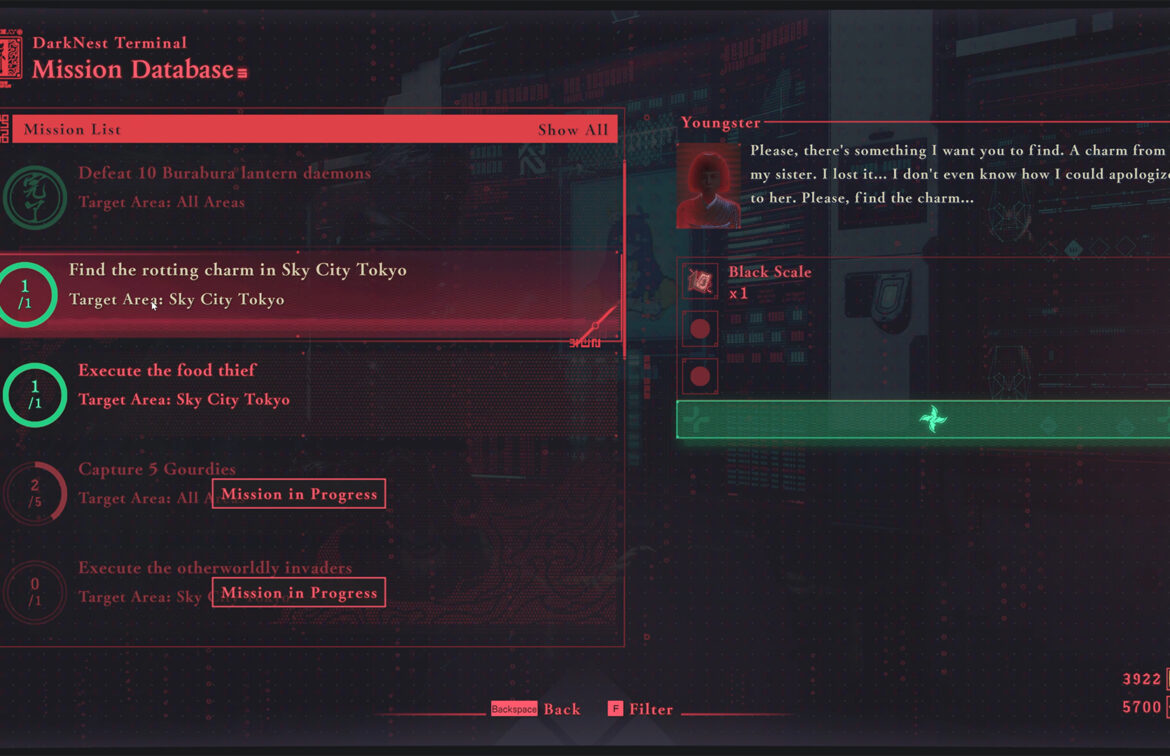
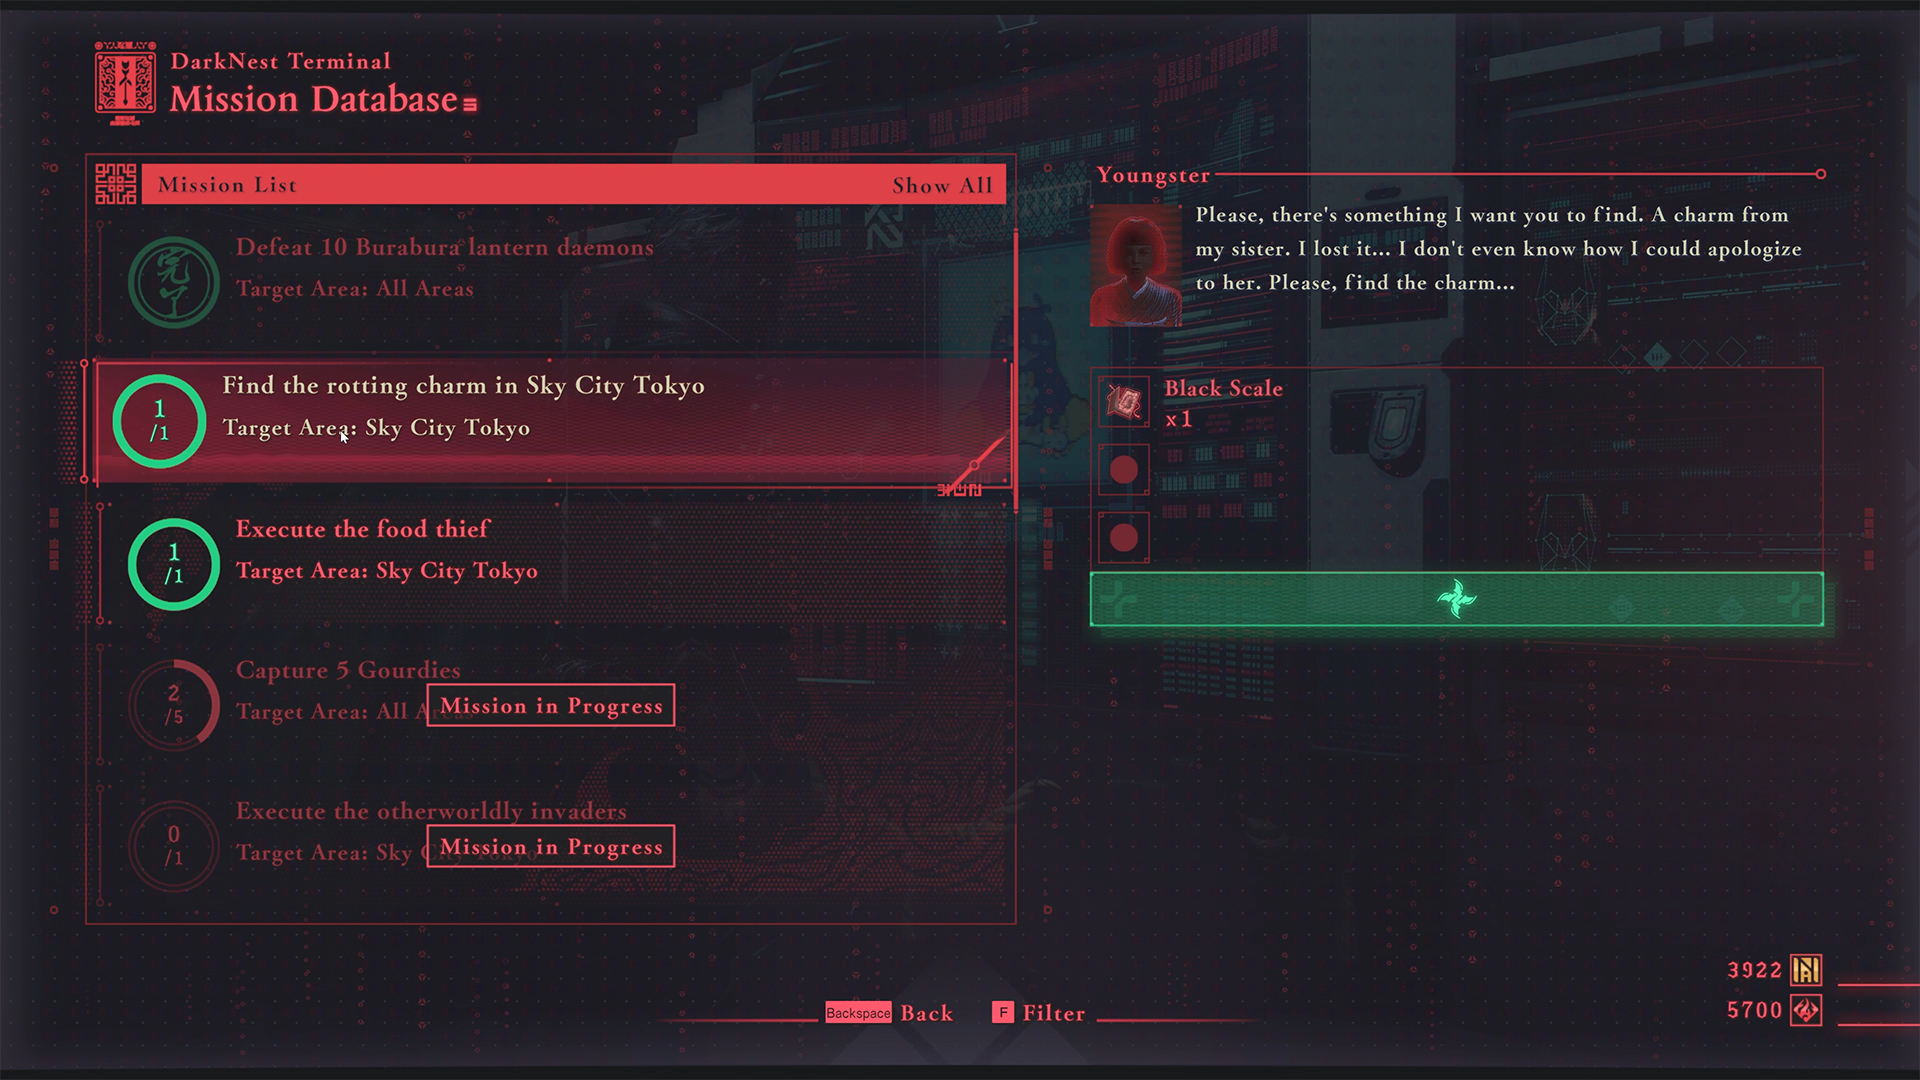
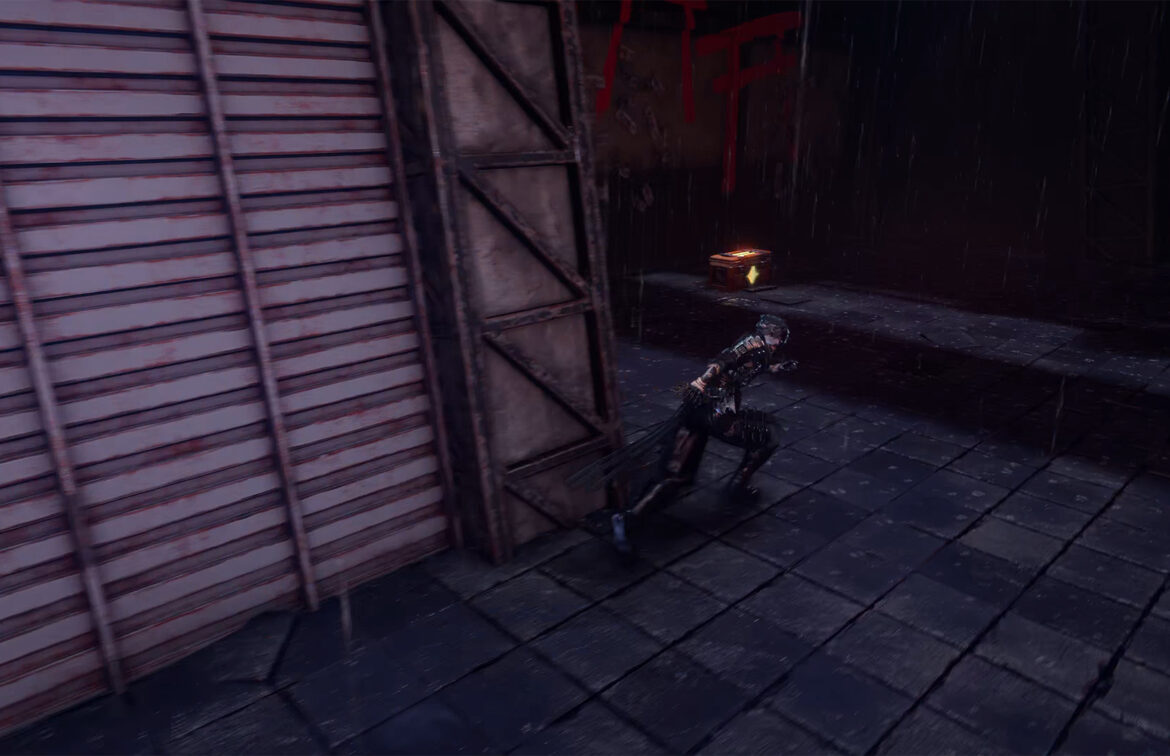
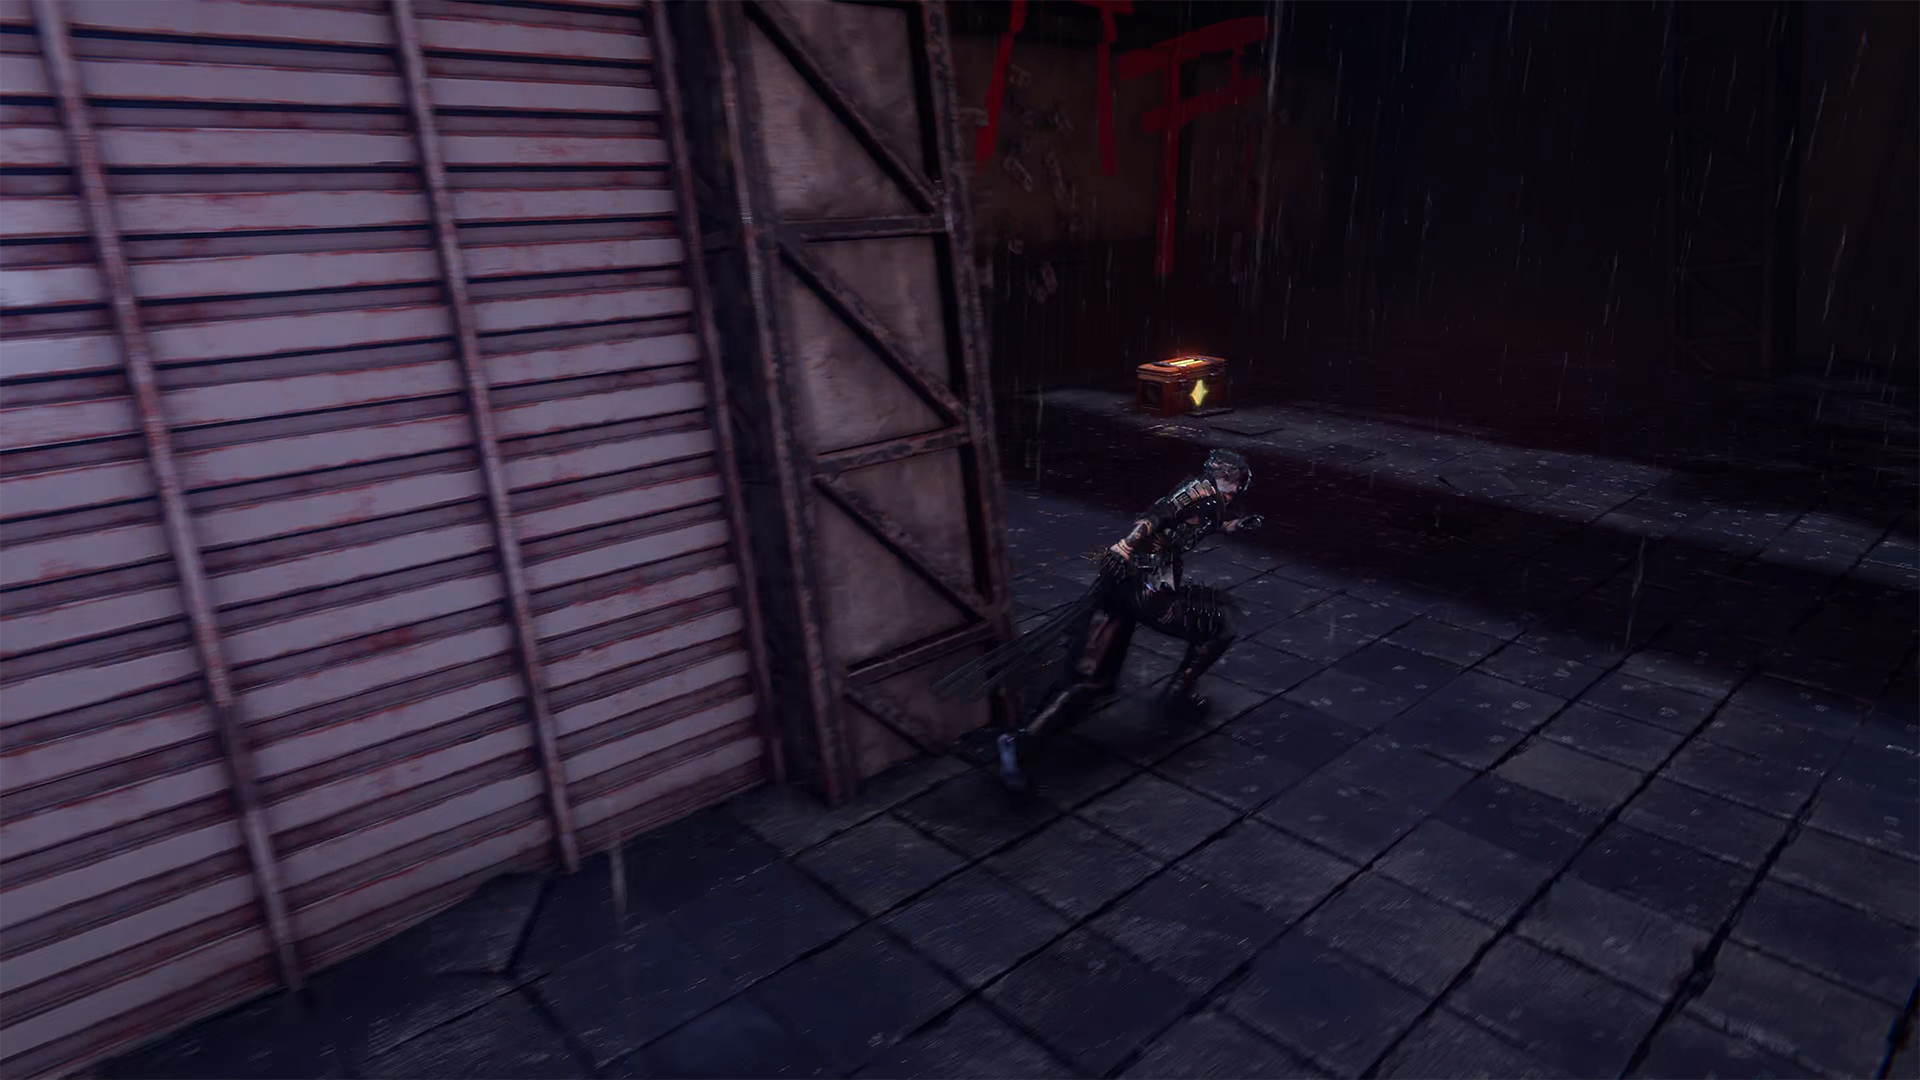
Find the Rotting Charm (Chest #6)
After defeating Food Thief, go back and climb the stairs to the second floor. You will see a platform in front of you and a large blue metal container to your right. Behind it is a chest that hides the Rotting Charm. You need to find this item to complete the Find the Rotting Charm mission. Therefore, it is important not to miss it.
-
- Direction to the chest behind the container
-
- 7th chest with Rotting Charm
Chest #7 – Phantasmal Herb
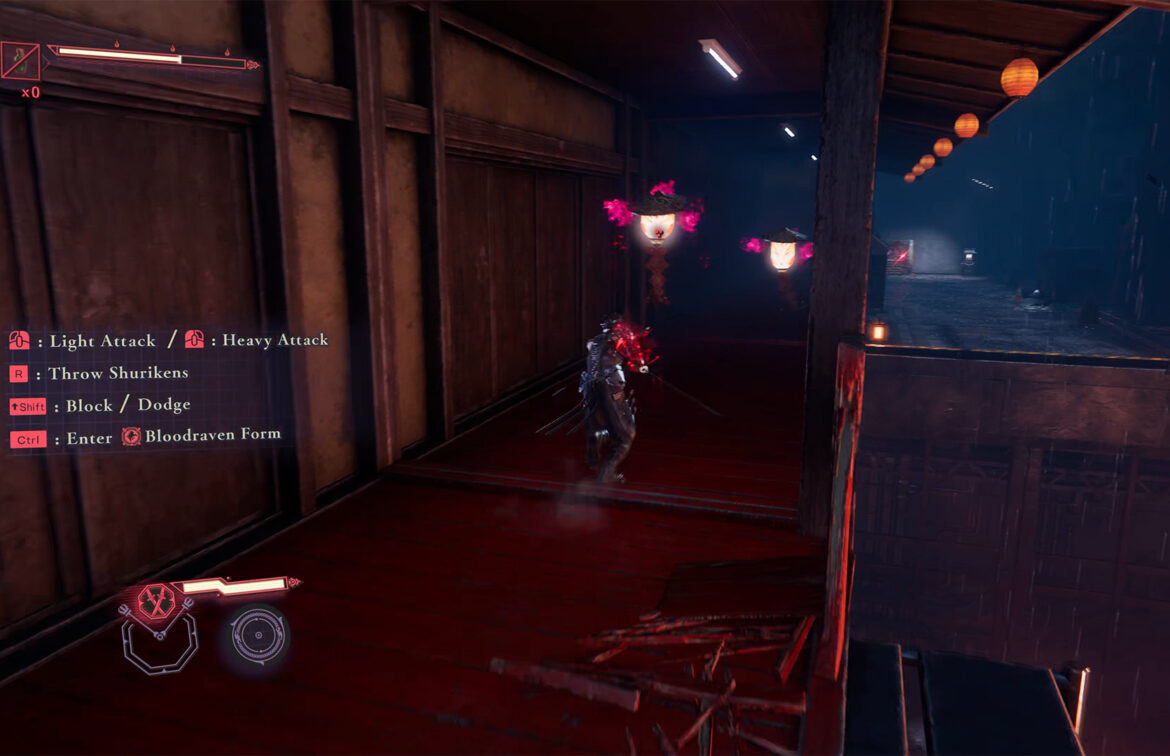
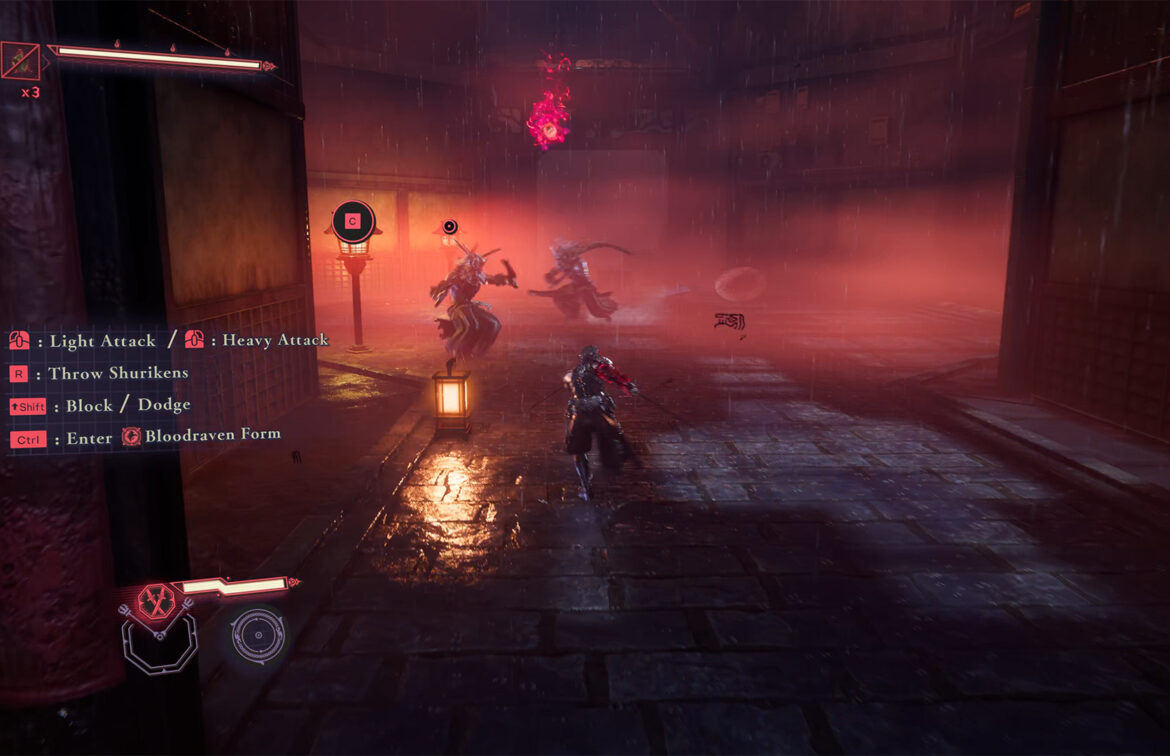
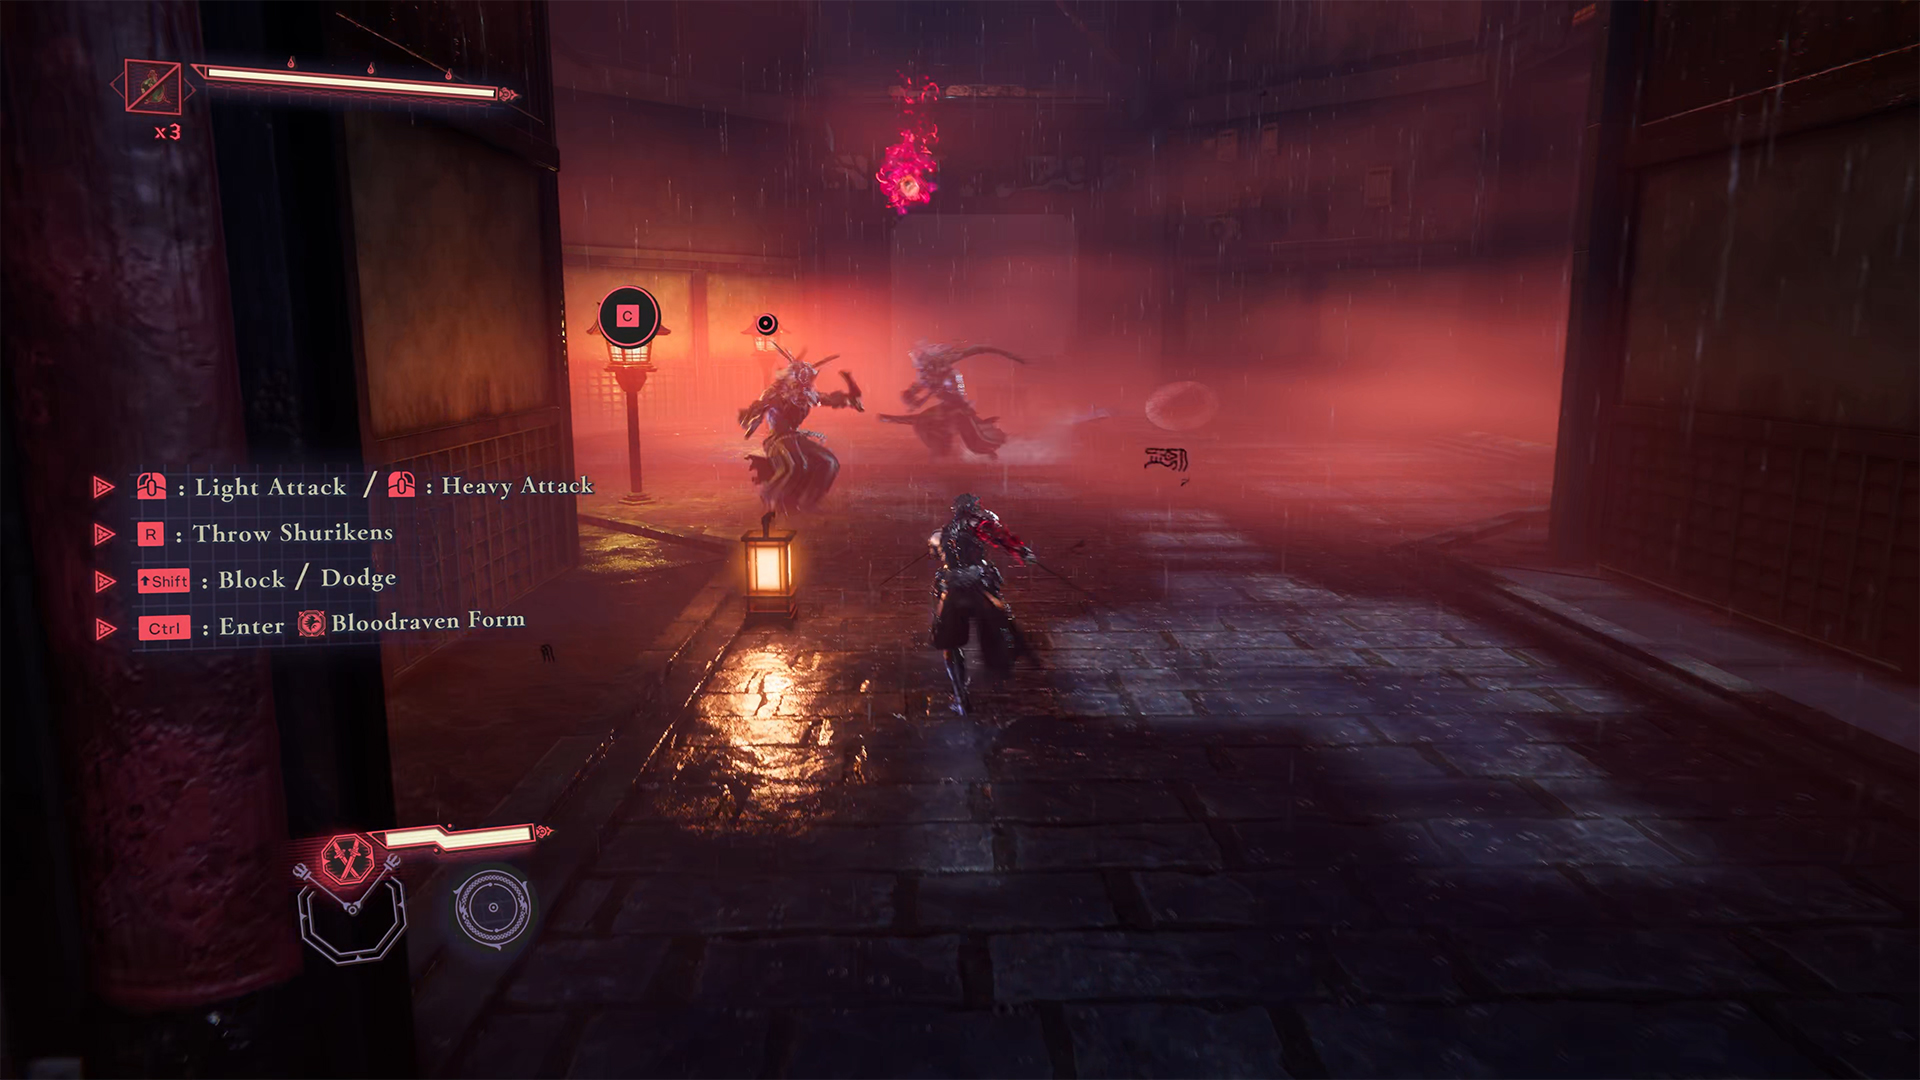
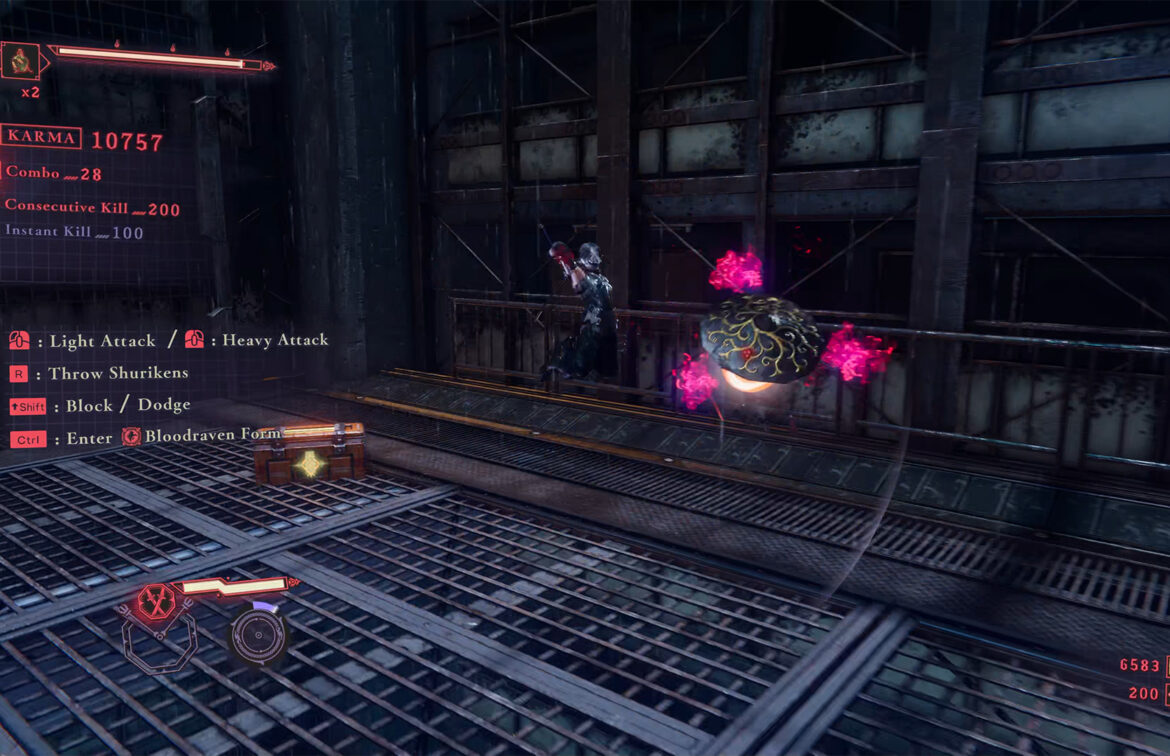
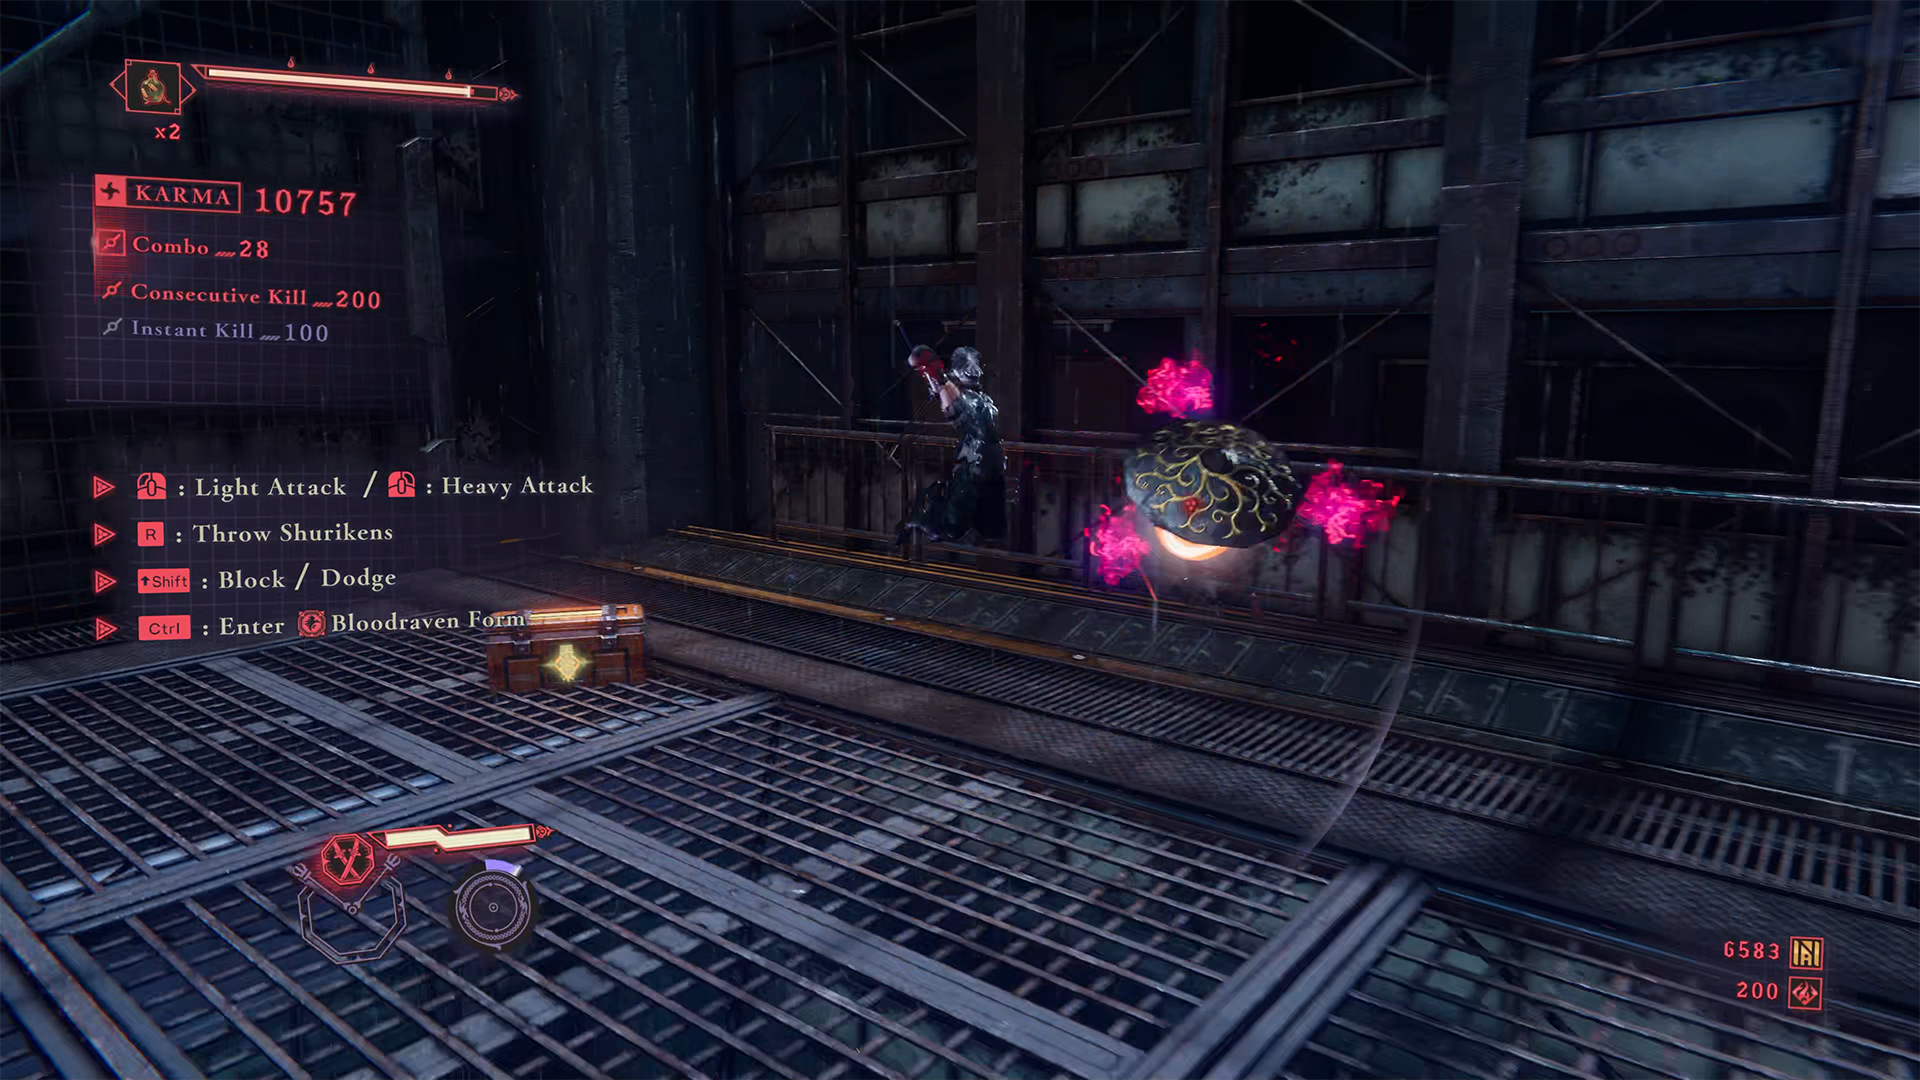
Next, you will encounter a new type of enemy: the Burabura Lantern Demons. This enemy looks like a flying lantern. It is important to know that before dying, the enemy explodes and damages you. After the victory, don’t miss the small niche where the chest with Phantasmal Herb is hidden.
-
- First defeat the Burabura Lantern Demons
-
- Direction to the 7th chest in the niche

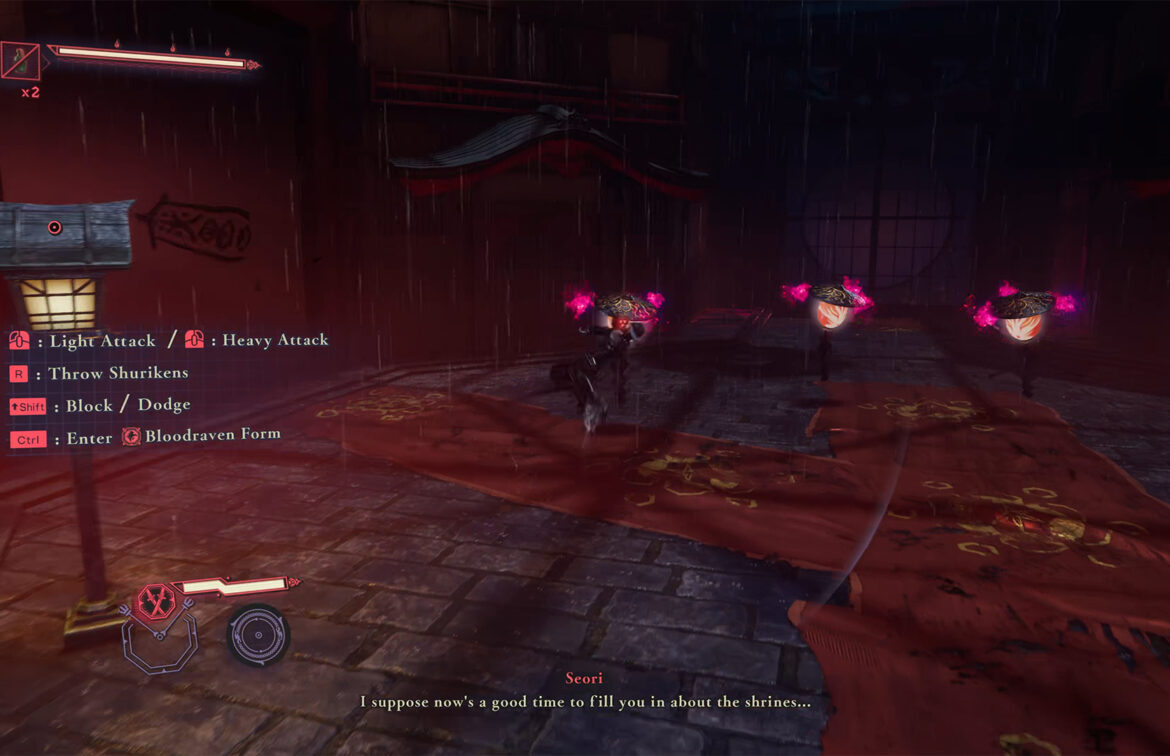
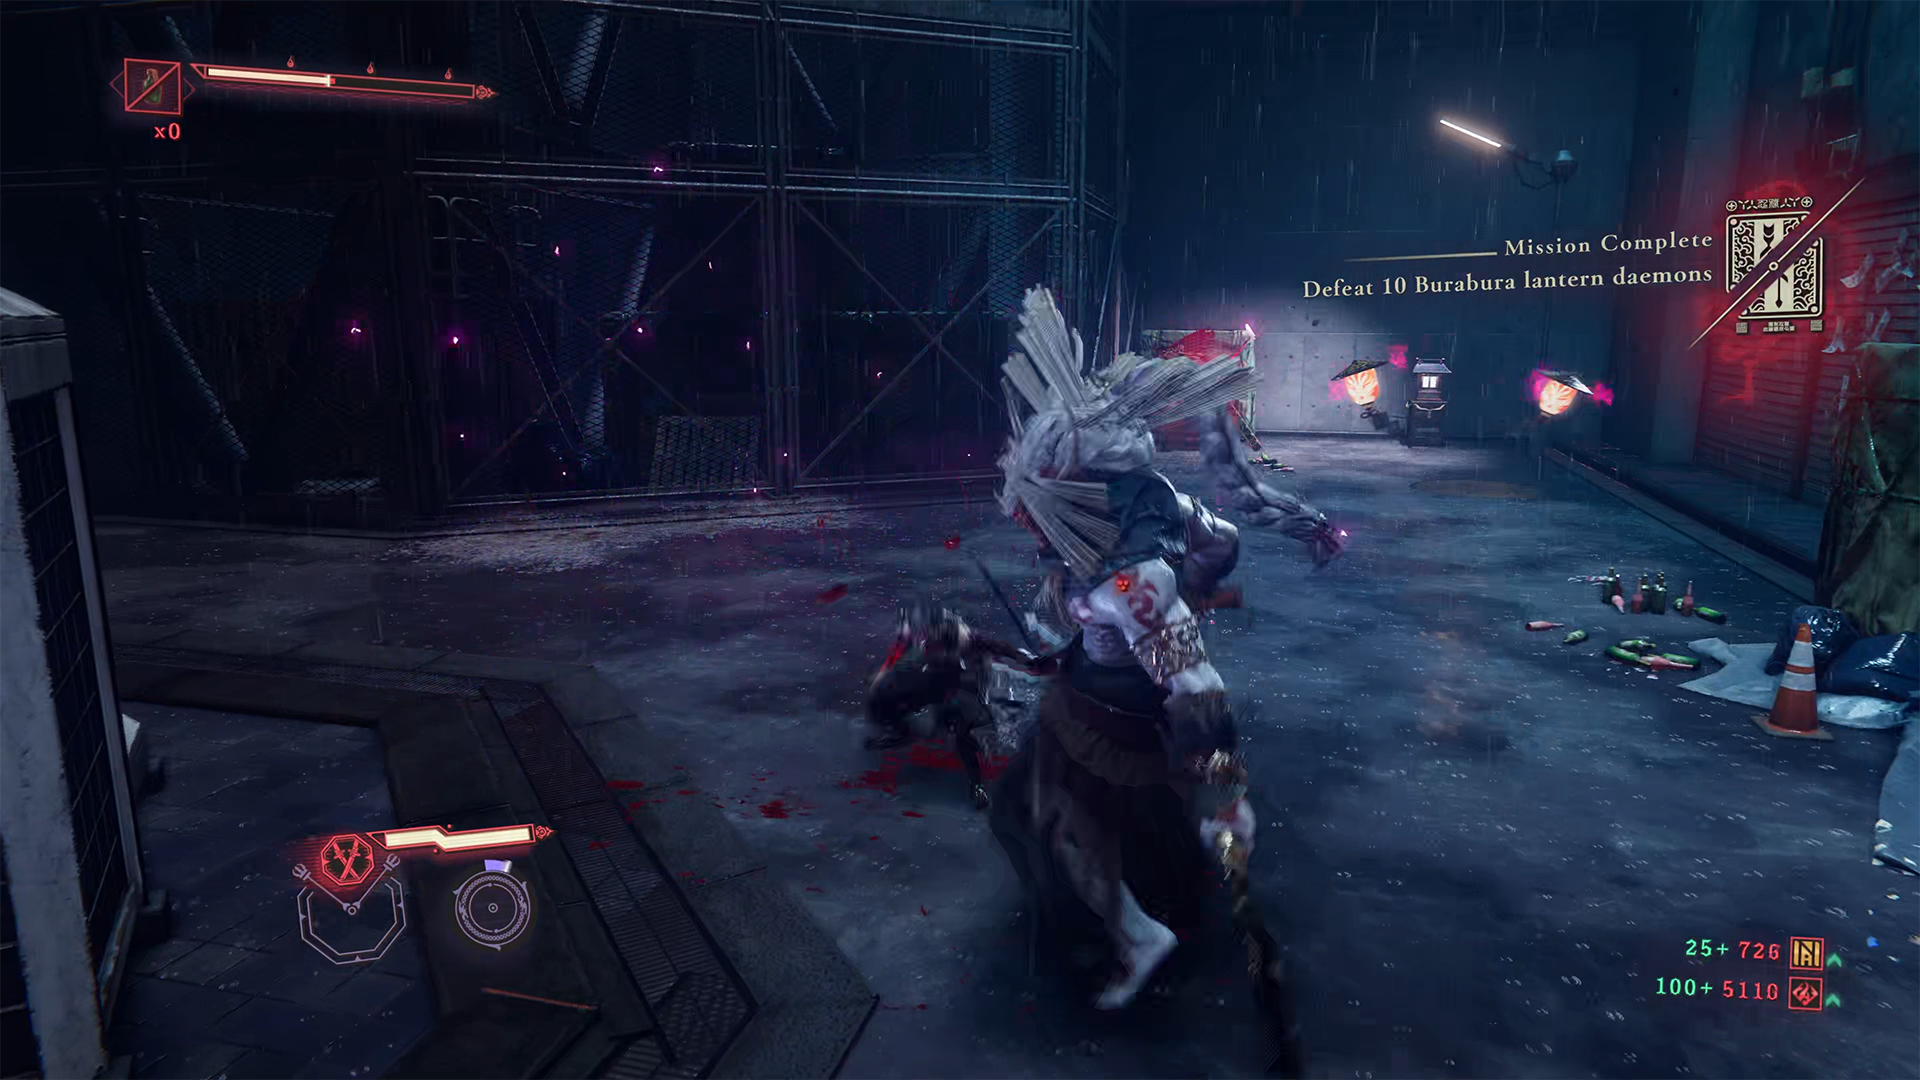
Defeat 10 Burabura Lantern Demons
In the next room, the number of enemies increases. One Oni and several Lantern Demons. After defeating them, climb the yellow ladder, where you will encounter Lantern Demons again on the balcony. Finally, you will reach the third DarkNest Terminal. Near it, there will be another battle with Oni and Lantern Demons. This is where you will complete the quest Defeat 10 Burabura Lantern Demons.
-
- A few more Burabura Lantern Demons

-
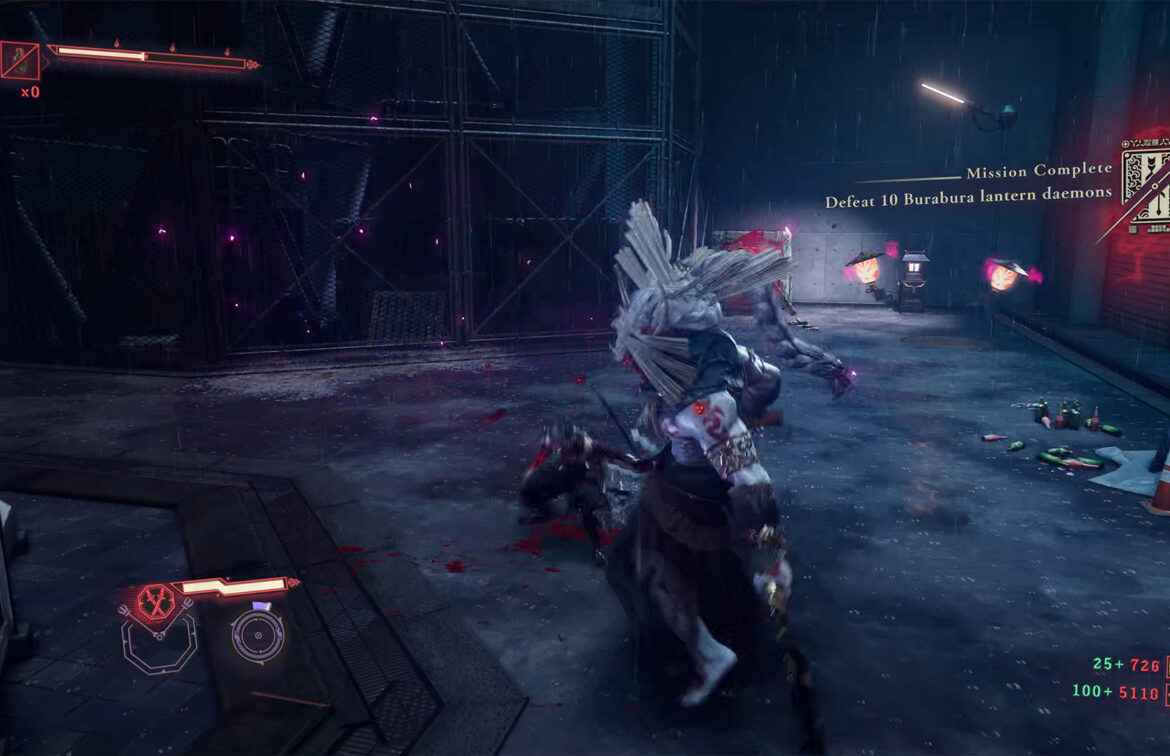
- Defeat 10 Burabura Lantern Demons complete
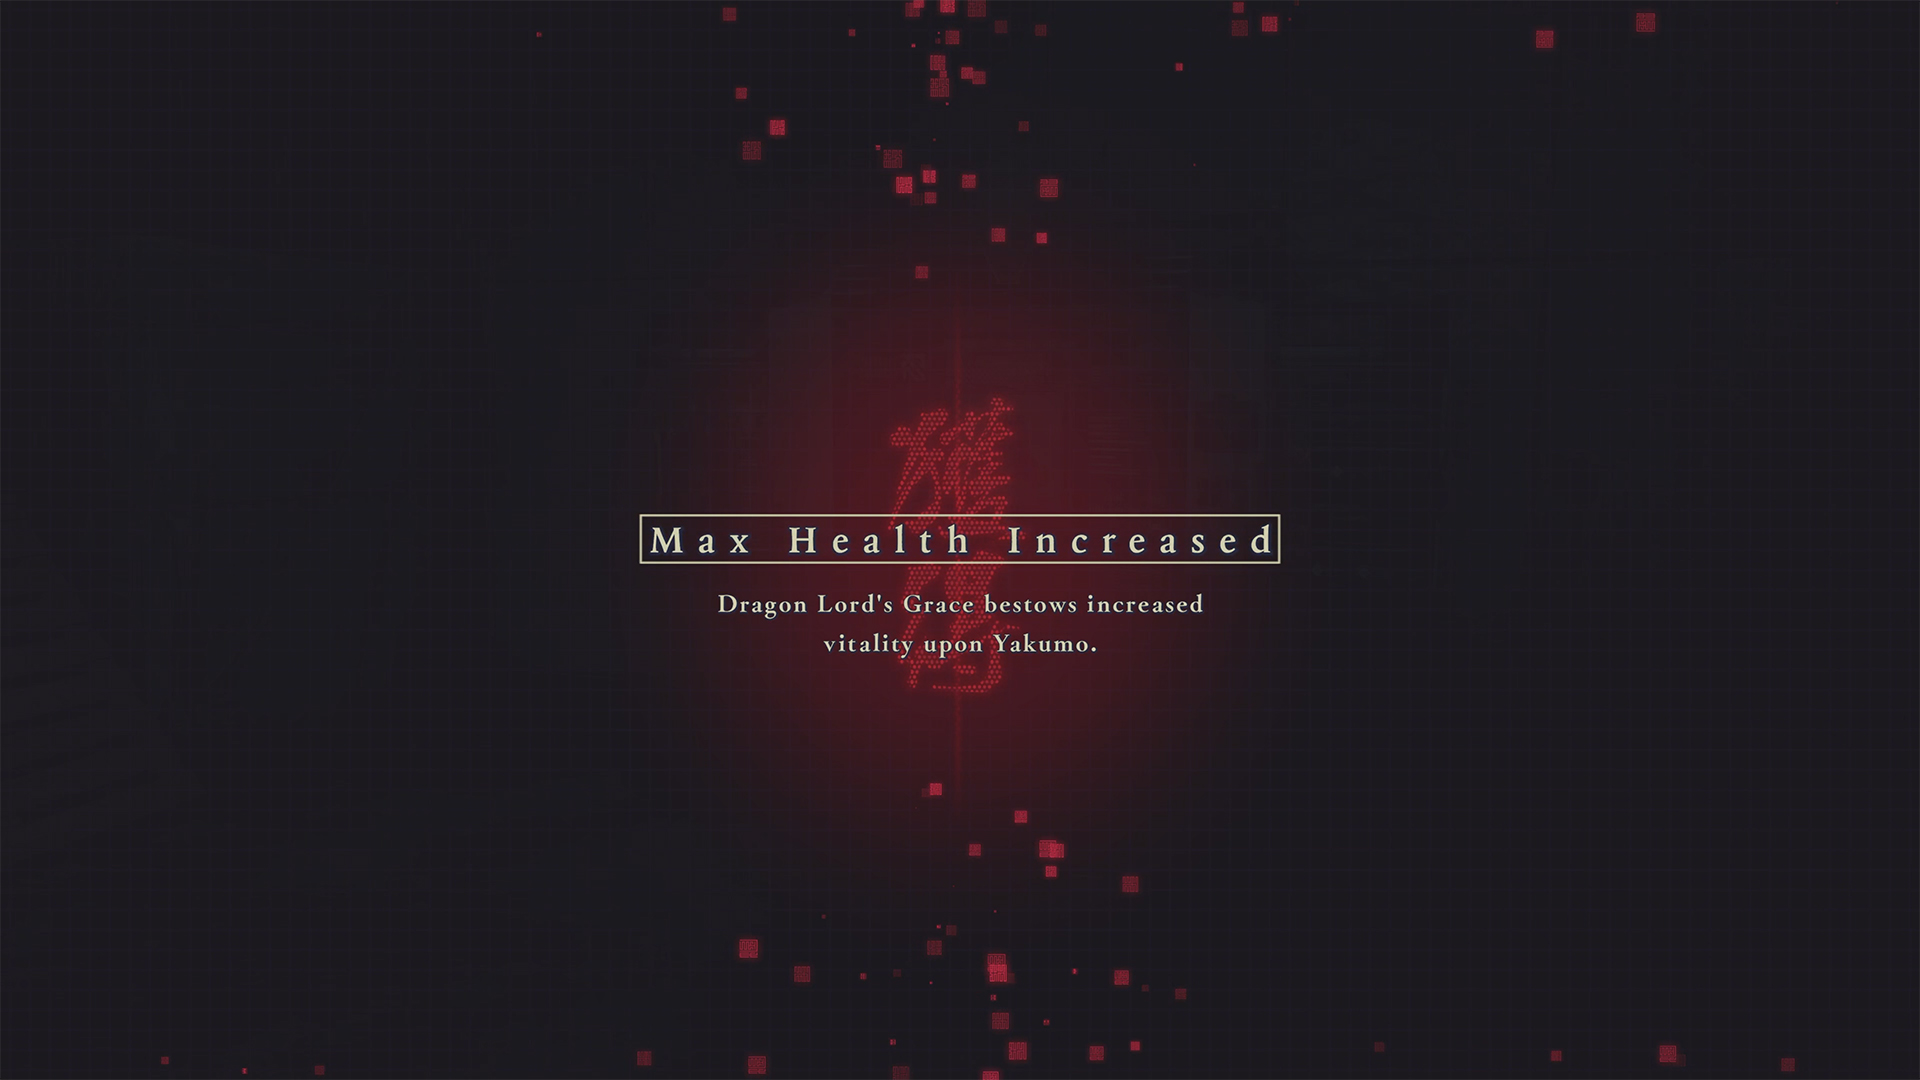
Dragon Lord’s Grace
At this stage, you should have already completed three tasks. I suggest you turn them in and get your reward. Importantly, in addition to NinjaCoin for completing the Find the Rotting Charm mission, you will receive Black Scale. And now you have all the ingredients to get another Dragon Lord’s Grace, which will increase your base health. This is important to do in order to make it easier for yourself to complete the next chapters in Ninja Gaiden 4.
-
- Complete three quests
-

- Receive Dragon Lord’s Grace
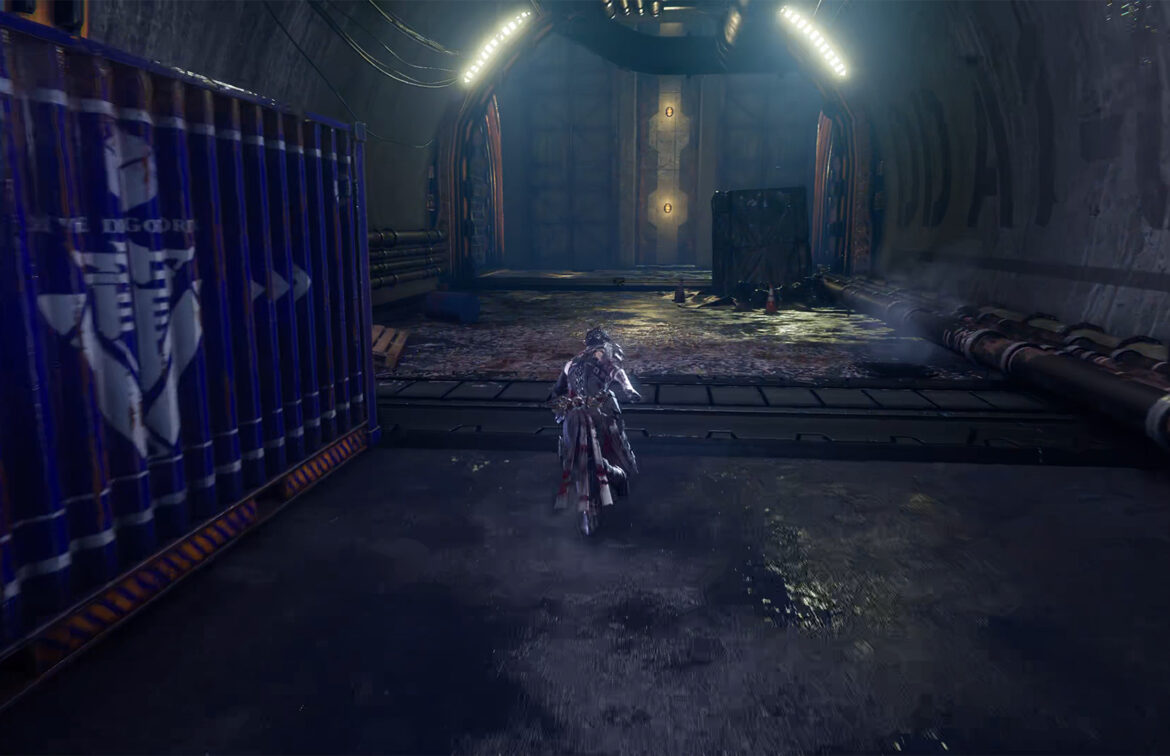
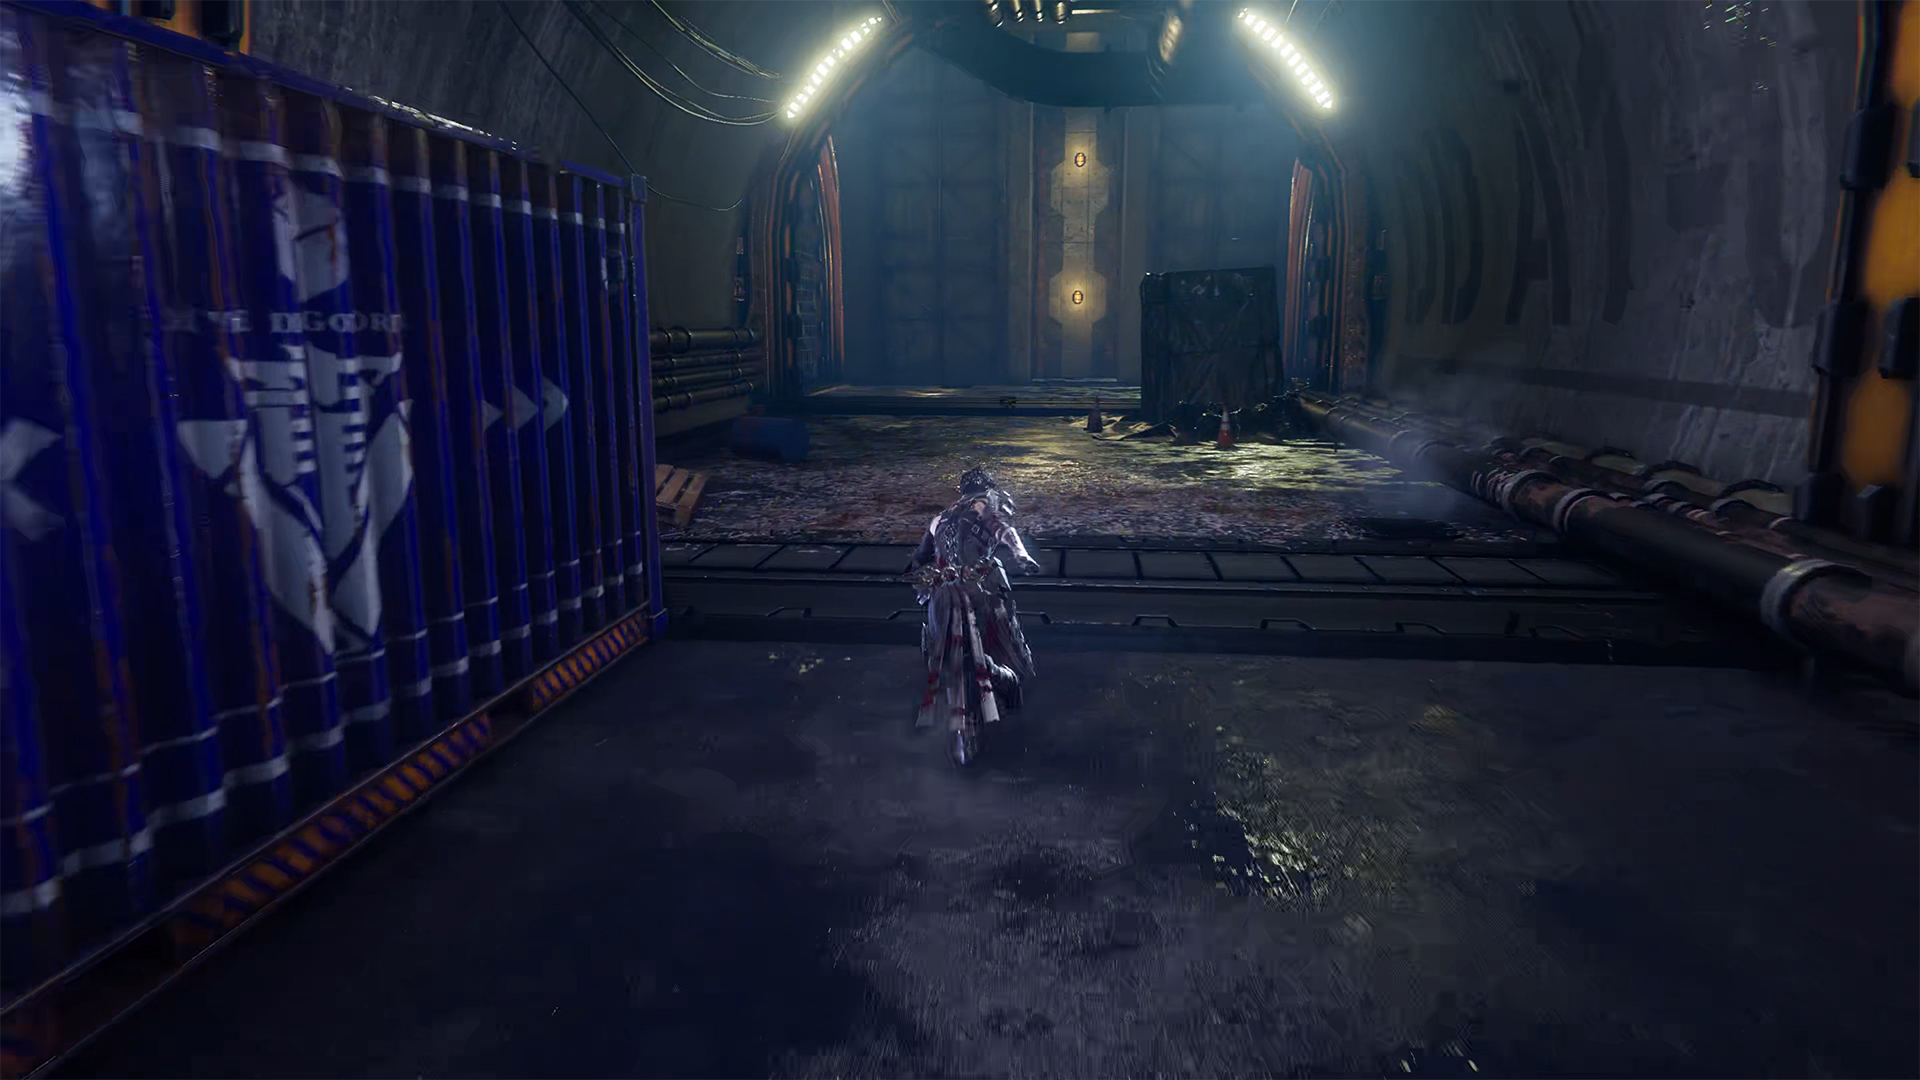
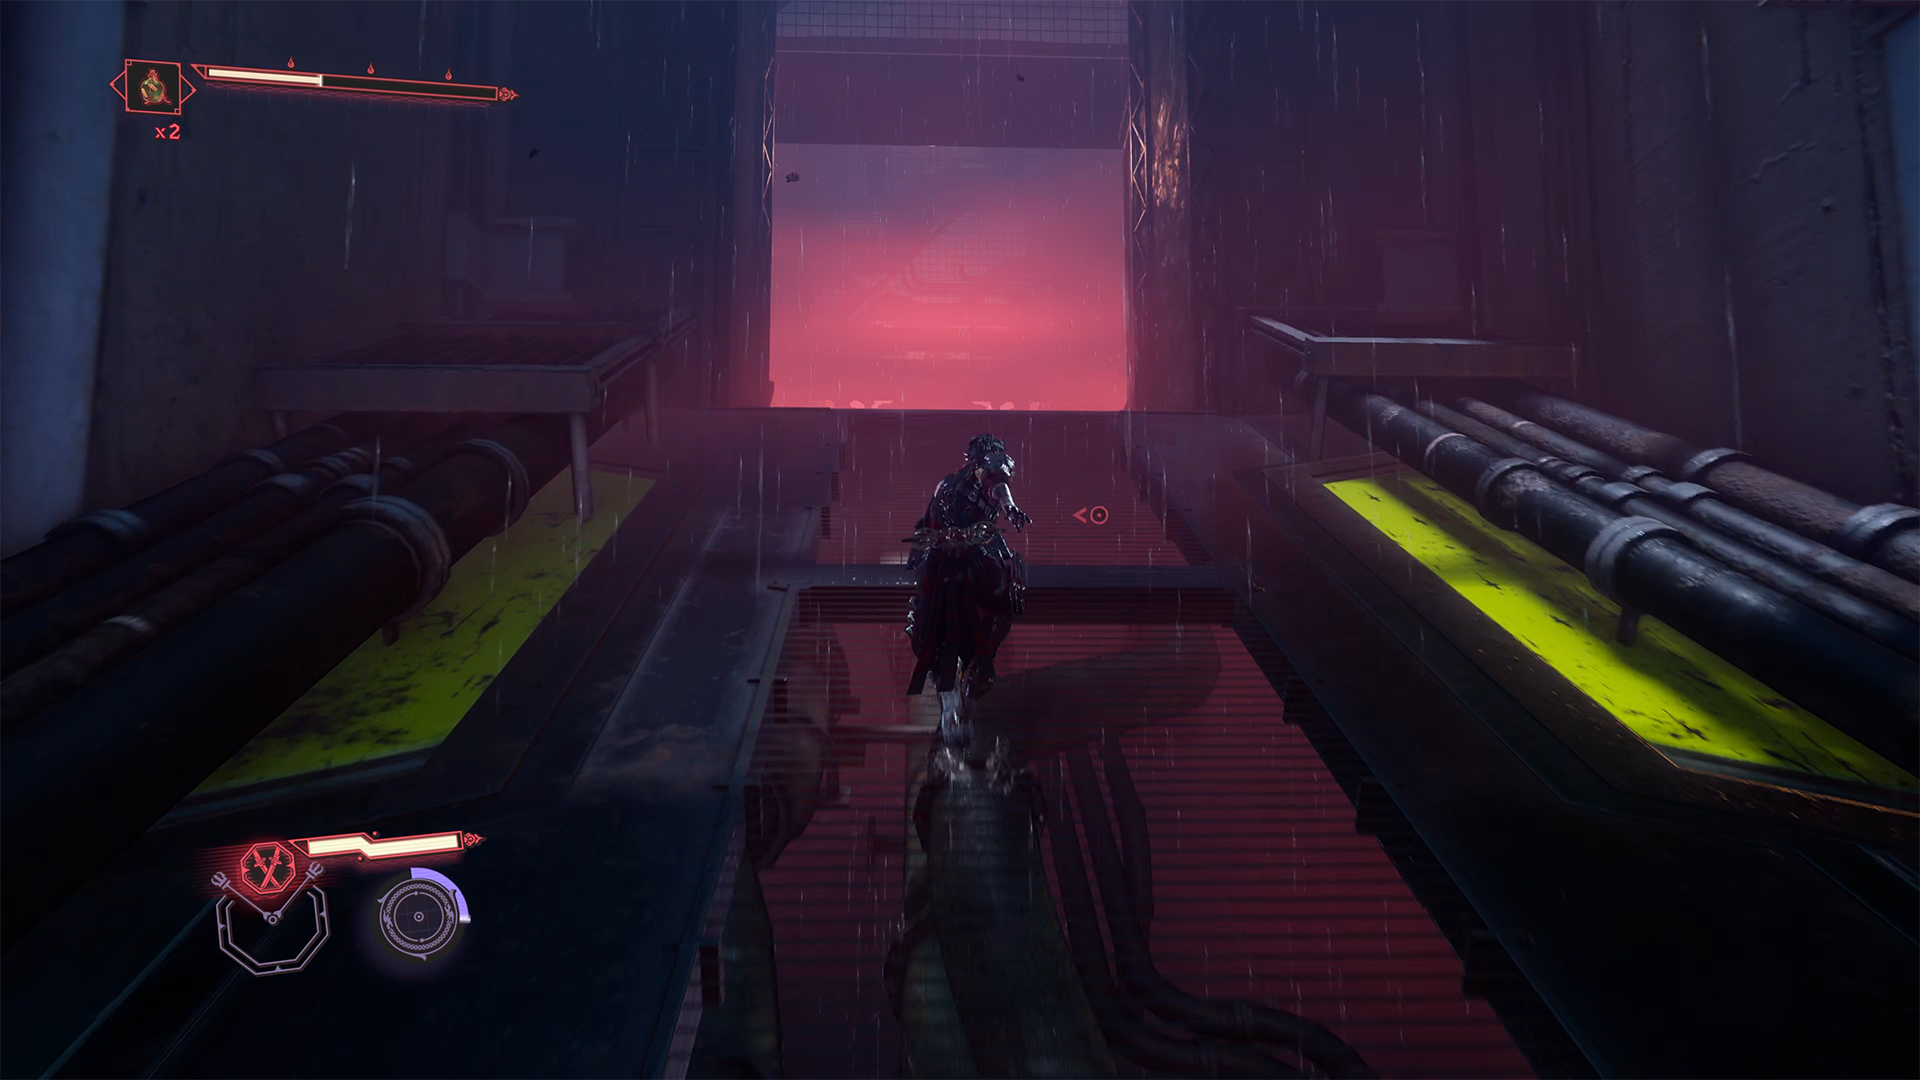
Execute the Renegade DDO Soldiers
Next, move from the third DarkNest Terminal to the yellow wall. According to the plot, you need to go straight, but the items you need are waiting for you below. Therefore, I suggest jumping down. In the first common room, you will see two Oni and several Burabura Lantern Demons. To continue exploring this area, you must first defeat them.
After the victory, turn right. Here you will find a descent to another room. In this room, you will complete the mission Execute the Renegade DDO Soldiers. This is a regular battle with enemies without bosses or complex features. As a reward for completing this task, you will receive 4,500 NinjaCoin. It’s a decent reward, so don’t miss this side quest.
-
- Jump down to complete the quest
-
- The first room with enemies
-
- Execute the Renegade DDO Soldiers

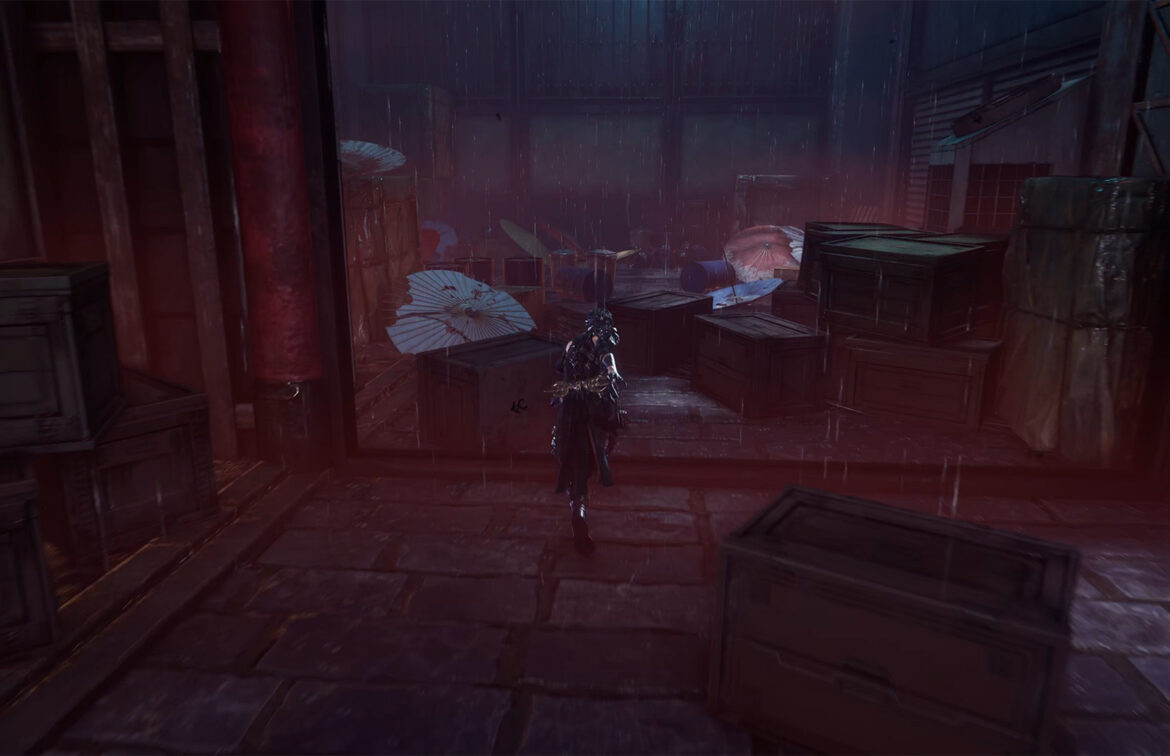
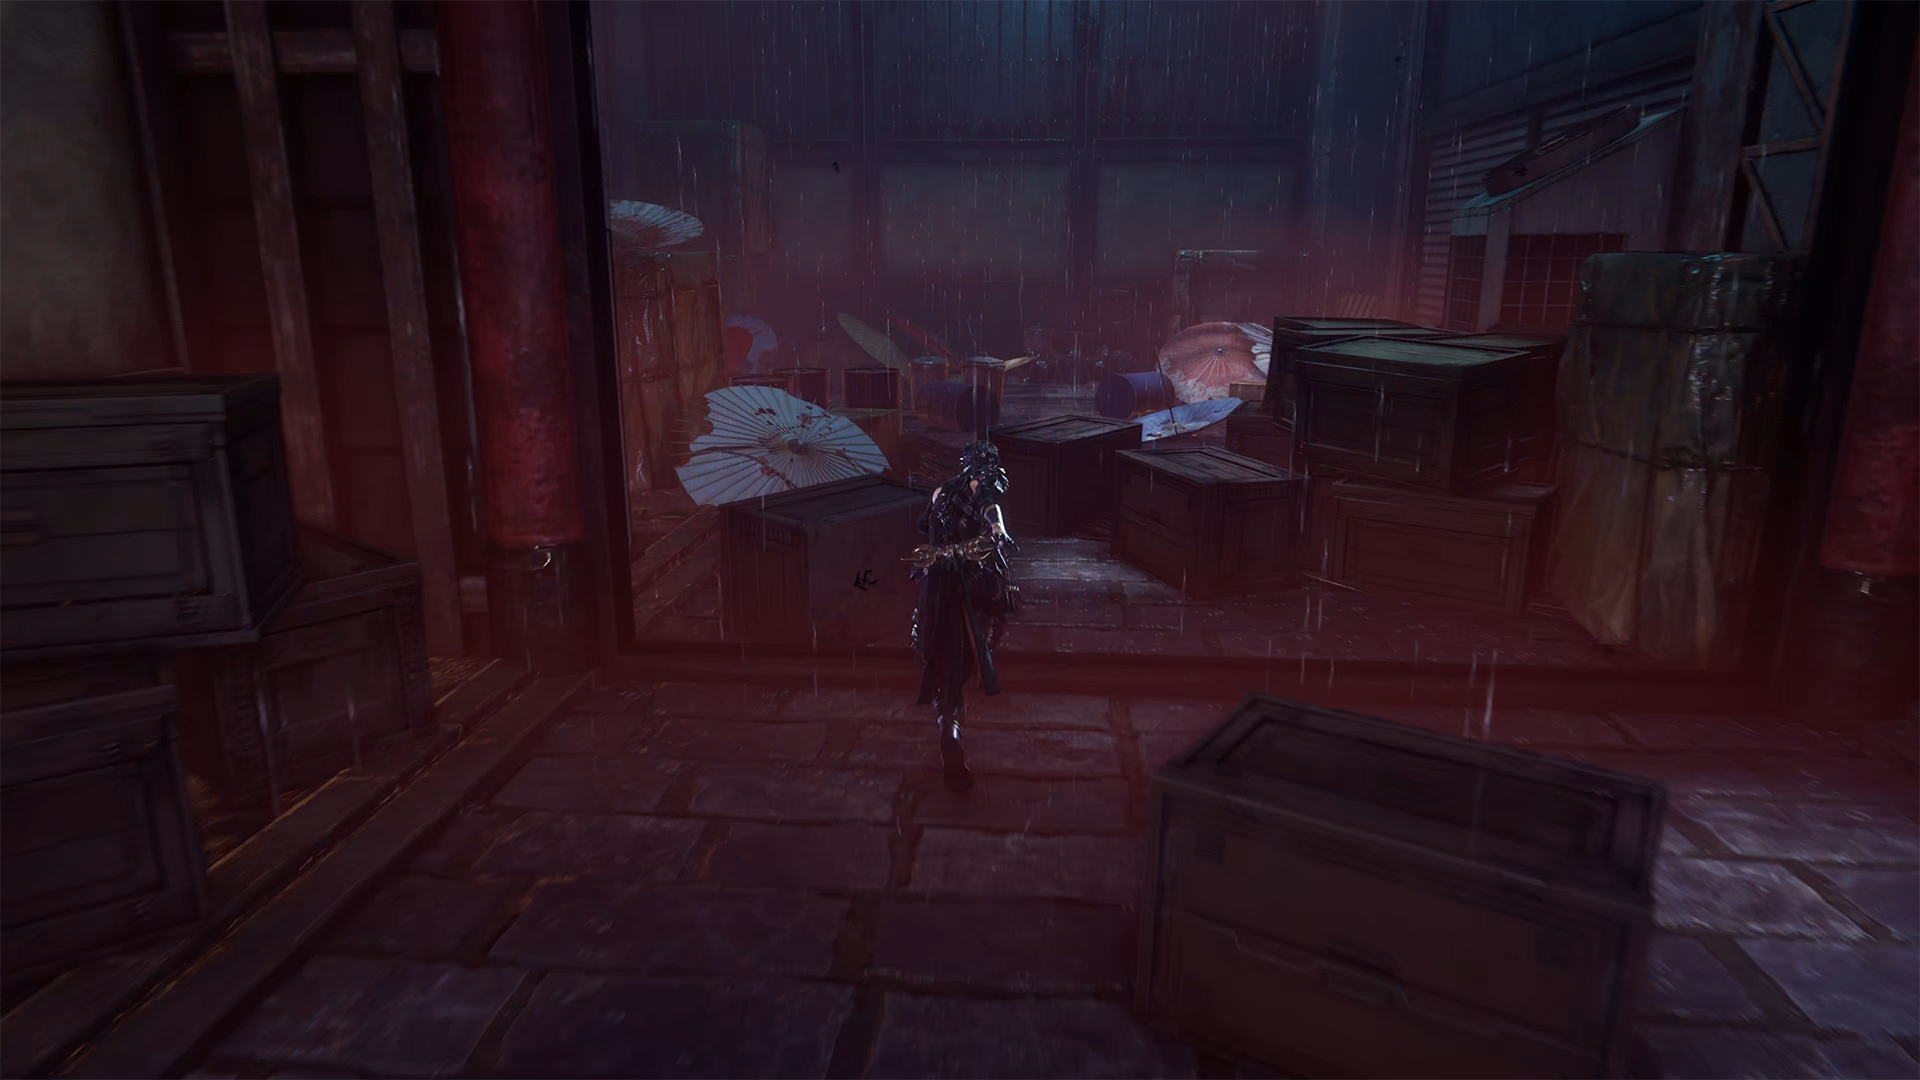
Catch Gourdy + Chest #8
After defeating your enemies, go back to the previous room and turn right. Ahead of you will be a room with lots of different items. Among this junk, you will find a chest. Open the chest to obtain the Divine Life Elixir. In the corner of this room, you will find Gourdy. We need it to complete another quest that you took in the previous chapter.
You need to catch Gourdy to progress the mission, but you can complete and turn it in in the following chapters. To catch Gourdy, you need to win a mini-game by pressing the buttons in the correct order as indicated on the screen.
Since you have completed the last mission in this chapter, I recommend returning to the nearby DarkNest Terminal and turning in the quest to receive your reward. If necessary, you can also replenish your health bar to its maximum.
-

- Go up to the previous room
-
- On the right, find the room with the items
-
- 8th chest in the Phantom Pleasure Quarter
-
- Catch Gourdy in the other corner
Chest #9 + Chest #10
Now go back to the yellow wall you already know and use it to move forward. Move straight ahead. You will see two chests in front of you. But it’s not that simple. When you approach them, enemies will attack you. You are already familiar with them, so you can easily deal with them. After victory, open both chests to get Senjin War Brew and Rejuvenation Elixir. Now you can continue on your way.
-

- The 9th and 10th chests are ahead
-
- But first you have to defeat your enemies
Chest #11 + Chest #12
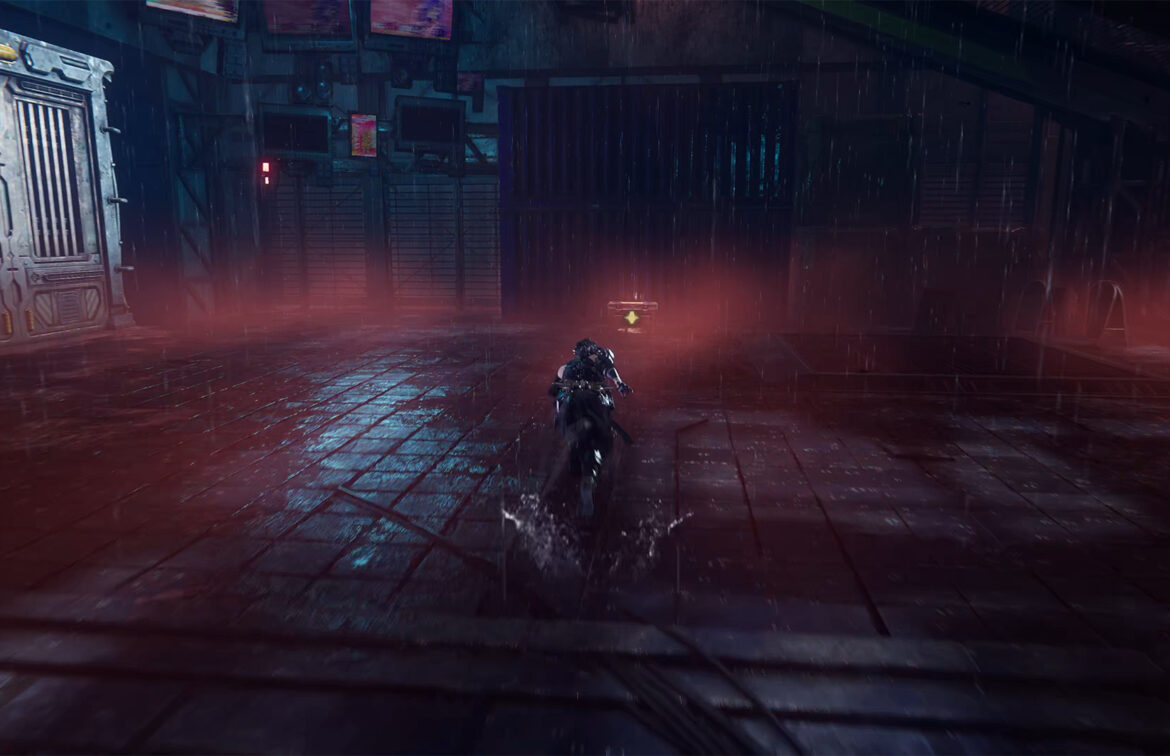
Ahead, you will see a metal beam that you can jump onto, then jump onto the yellow wall and reach the platform. Jump down, but remember that there is no way back. At the bottom, turn right and go around all the large metal containers to find a chest. When you open it, you will find Incense of Rebirth inside.
Proceed to the final boss of this chapter, but before entering the gate that hides the path to the boss, turn right. Here you will find the last chest. Open the chest to obtain the Divine Life Elixir.
-
- 11th chest in the Phantom Pleasure Quarter
-
- 12th chest in the Phantom Pleasure Quarter
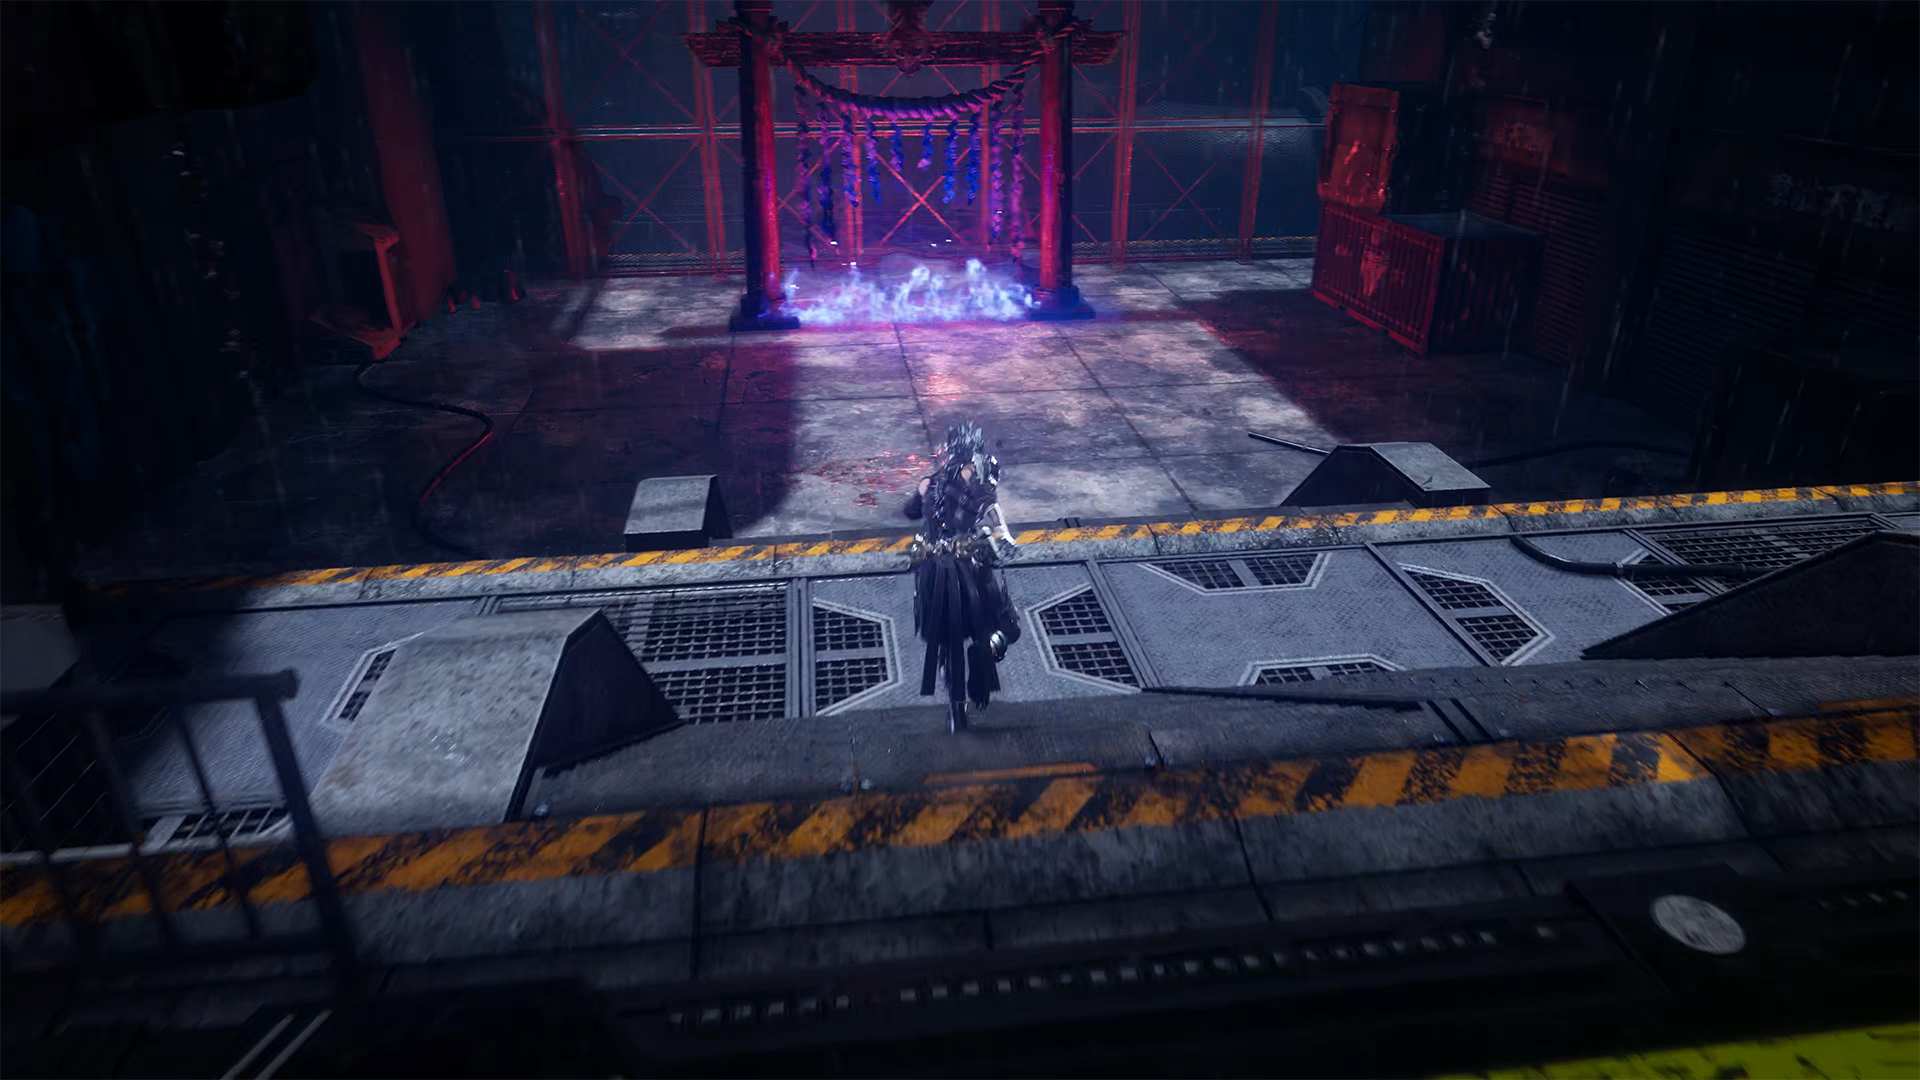
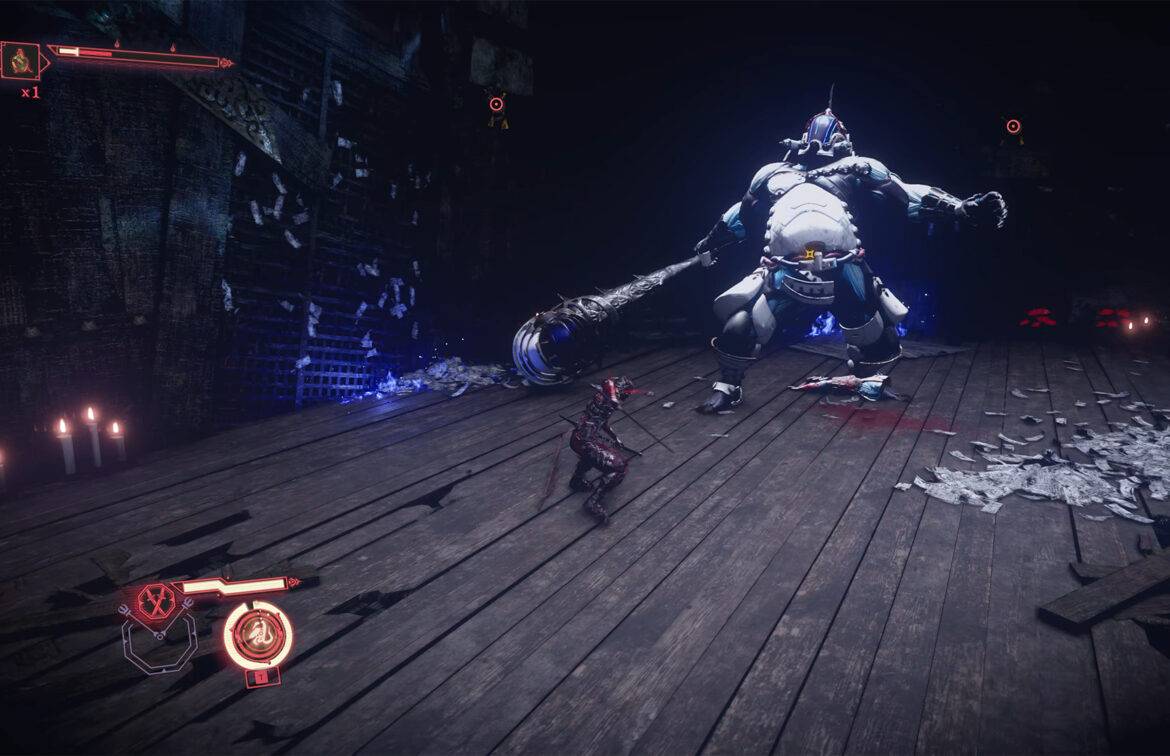
Final Boss – Kitsune Cortesan
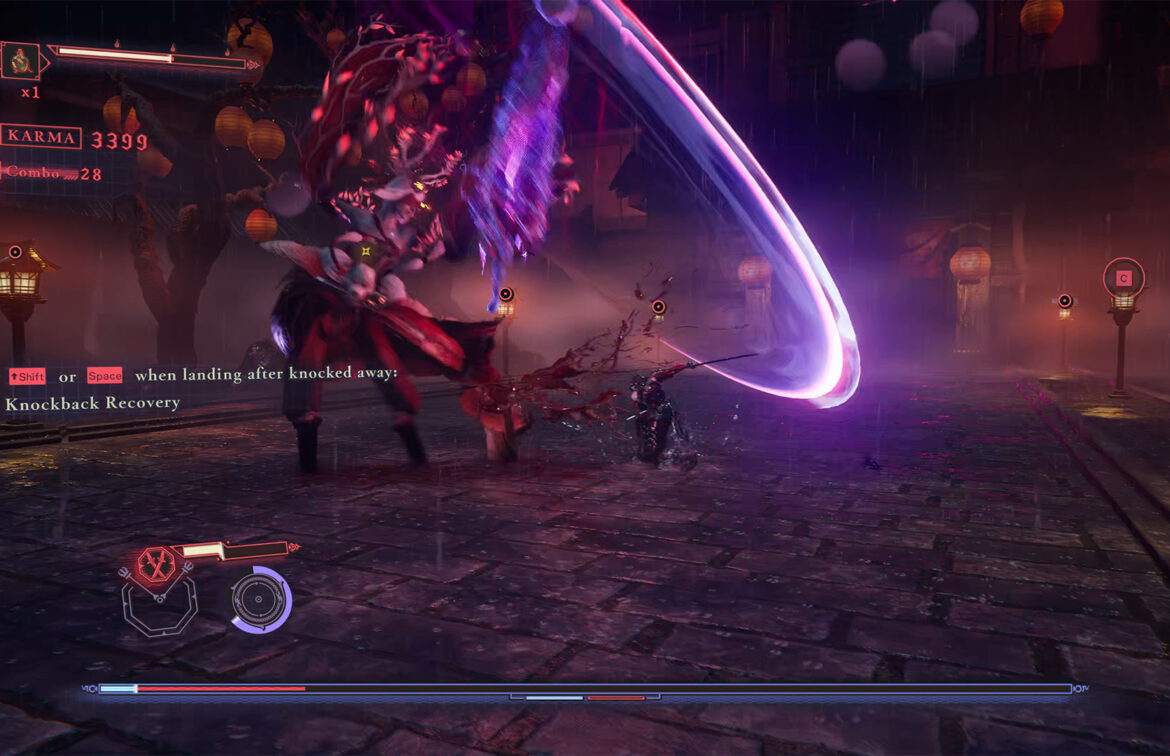
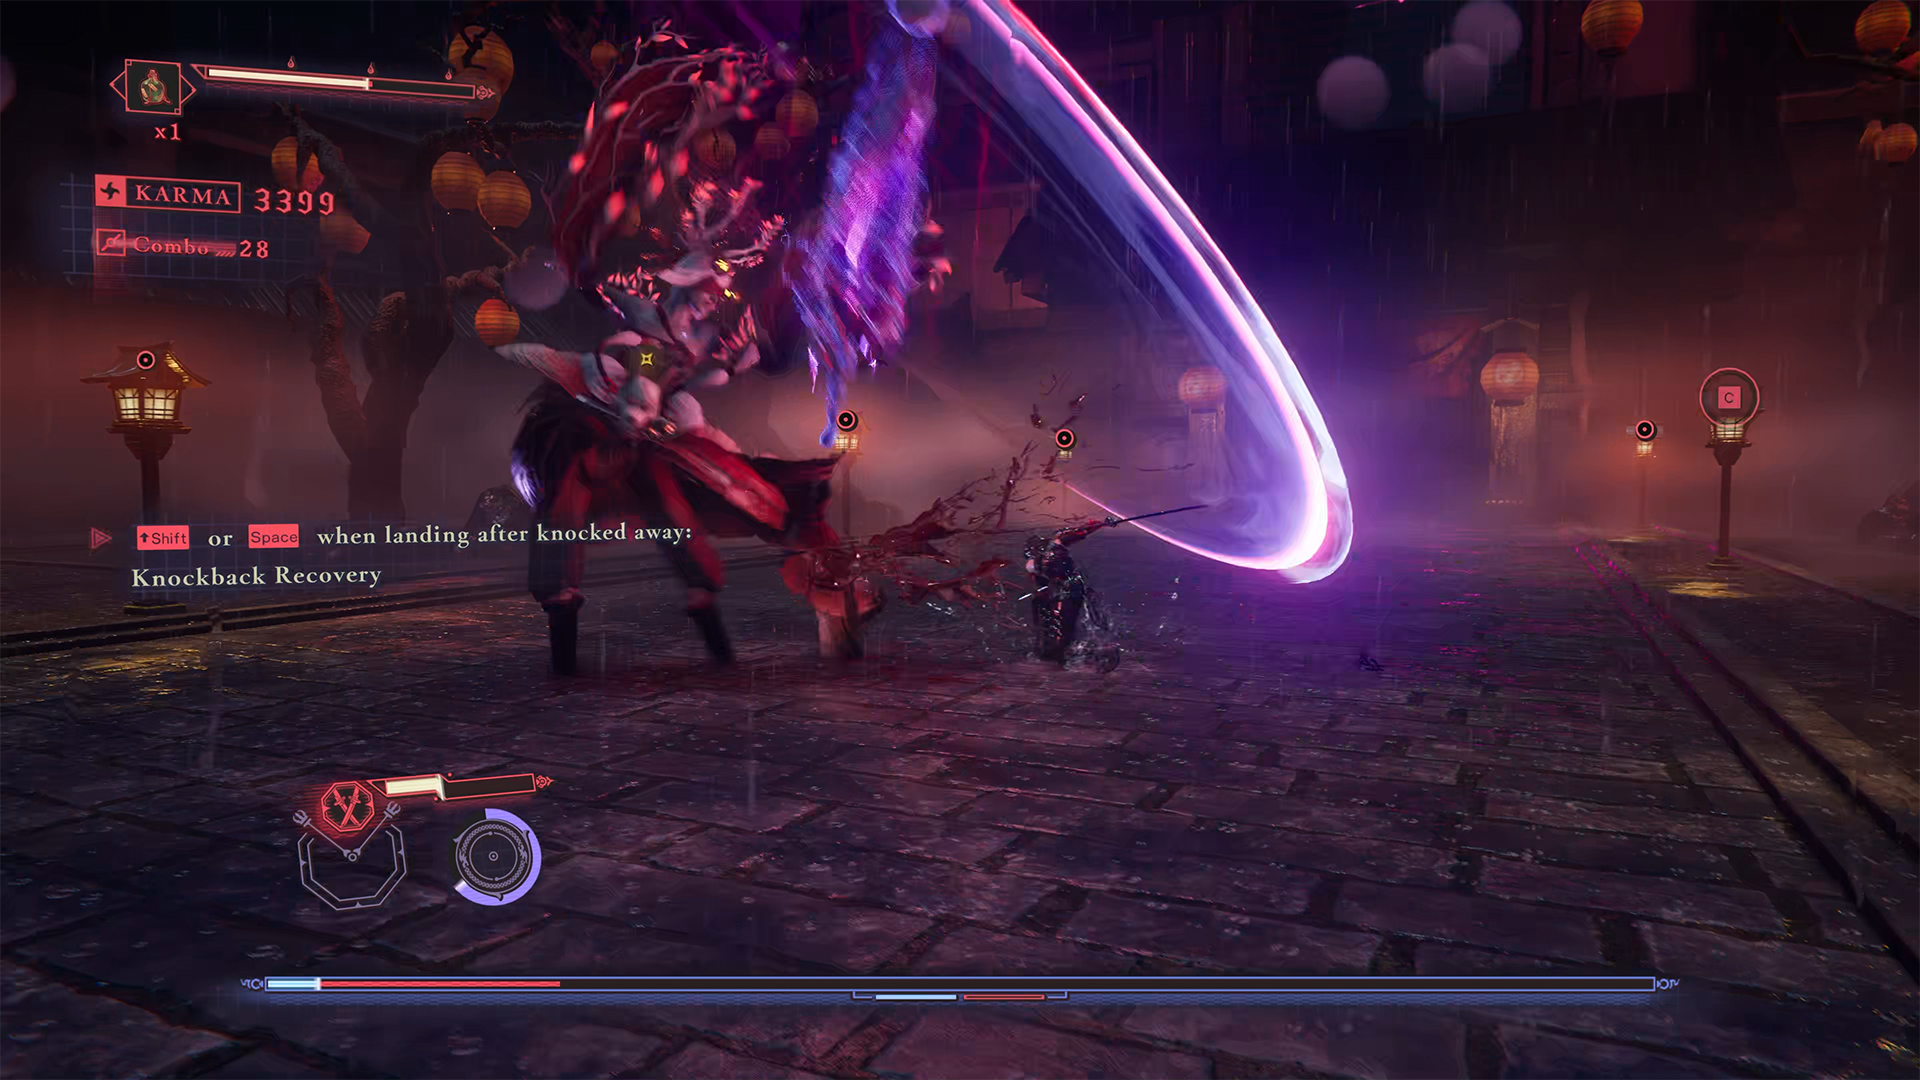
So, you will fight your final battle against Kitsune Cortesan, but this time the battle will be a little more difficult. Your opponent has reinforced armor, and it is difficult to inflict a lot of damage on her. The battle has two phases. Of course, the second phase is a little more difficult than the first. Therefore, I recommend that you spend the first few attempts at the battle in familiarization mode and do not use elixirs. Of course, if during the battle you realize that you can handle the enemy, you can continue.
In general, it is worth noting that all of Kitsune Cortesan’s attacks have the same rhythm, so you can easily adapt to parry a series of light attacks and dodge heavy attacks. A Perfect Parry followed by a Fatal Flash is a great way to stun her for long combos. In the second phase, you can parry her combined umbrella attacks and dodge if necessary. If you’re having trouble with the boss, use Senjin War Brew to make your life a little easier in battle. Use your powerful attacks at the right time and you will defeat this opponent. In any case, don’t despair if you can’t defeat her quickly enough.
You need to study her attacks a little and understand which ones you can parry and which ones you need to dodge. Once you can spot her attacks and react to them in time, the fight will not be difficult for you. After defeating Kitsune Cortesan, you will see a short cutscene and receive a new weapon.
-
- Encounter with the final boss Kitsune Cortesan
-
- Powerful attacks from Kitsune Cortesan
-
- Victory over Kitsune Cortesan
-

- Obtaining new weapons

The next chapter, Chapter 3, is called Pilgrim’s Windswept Path.