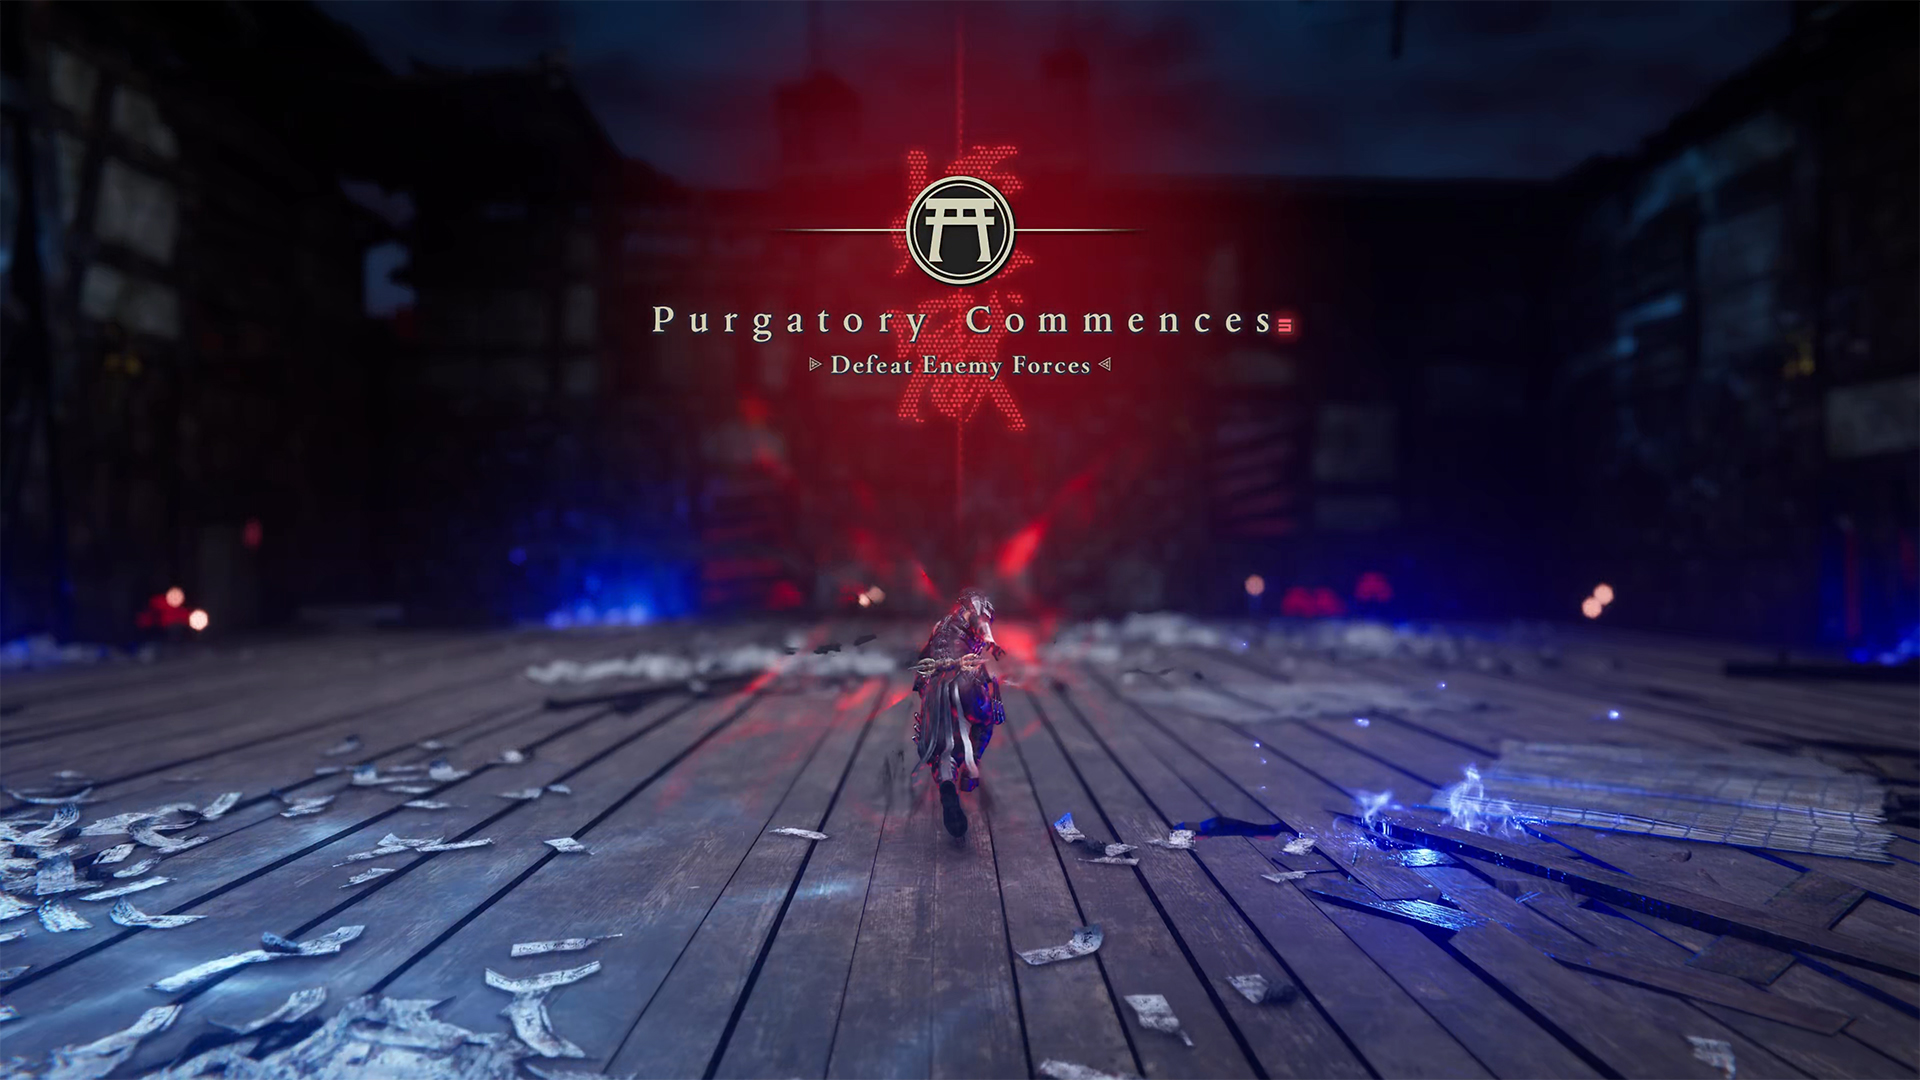
Let’s take a look at Chapter 2 in Ninja Gaiden 4. It’s called Haunted District, and it has some unique features. You’ll spend part of your journey in dynamic motion. In this chapter, I will show you locations where you can complete additional tasks. I will show you where all the chests are hidden, as well as the very important chest with Black Scale. Let’s talk about the available quests and which ones cannot be completed now, and which ones must be completed only in this chapter.
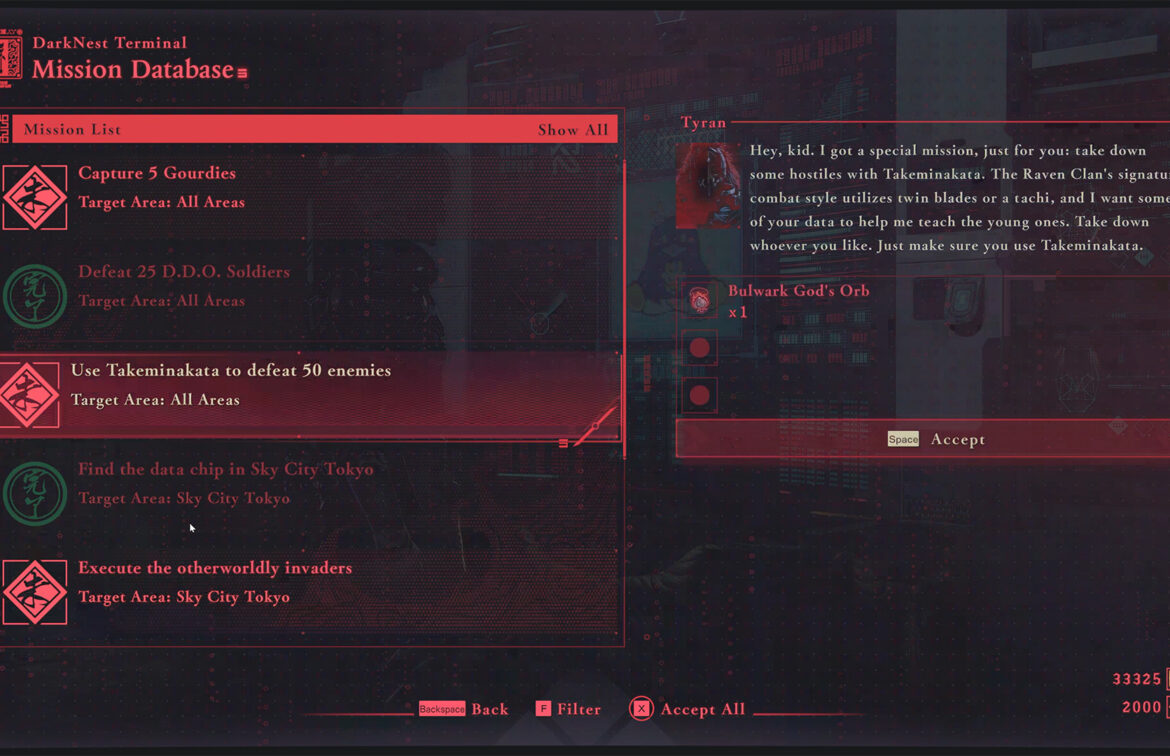
There are also four quests available in this chapter:
- Use Takeminakata to Defeat 50 Enemies
- Capture 5 Gourdies
- Execute the Otherworldly Invaders
- Execute the DDO Bodyguards
And, as always, before you start, I recommend watching the video, which contains all the information with visual accompaniment in the game:
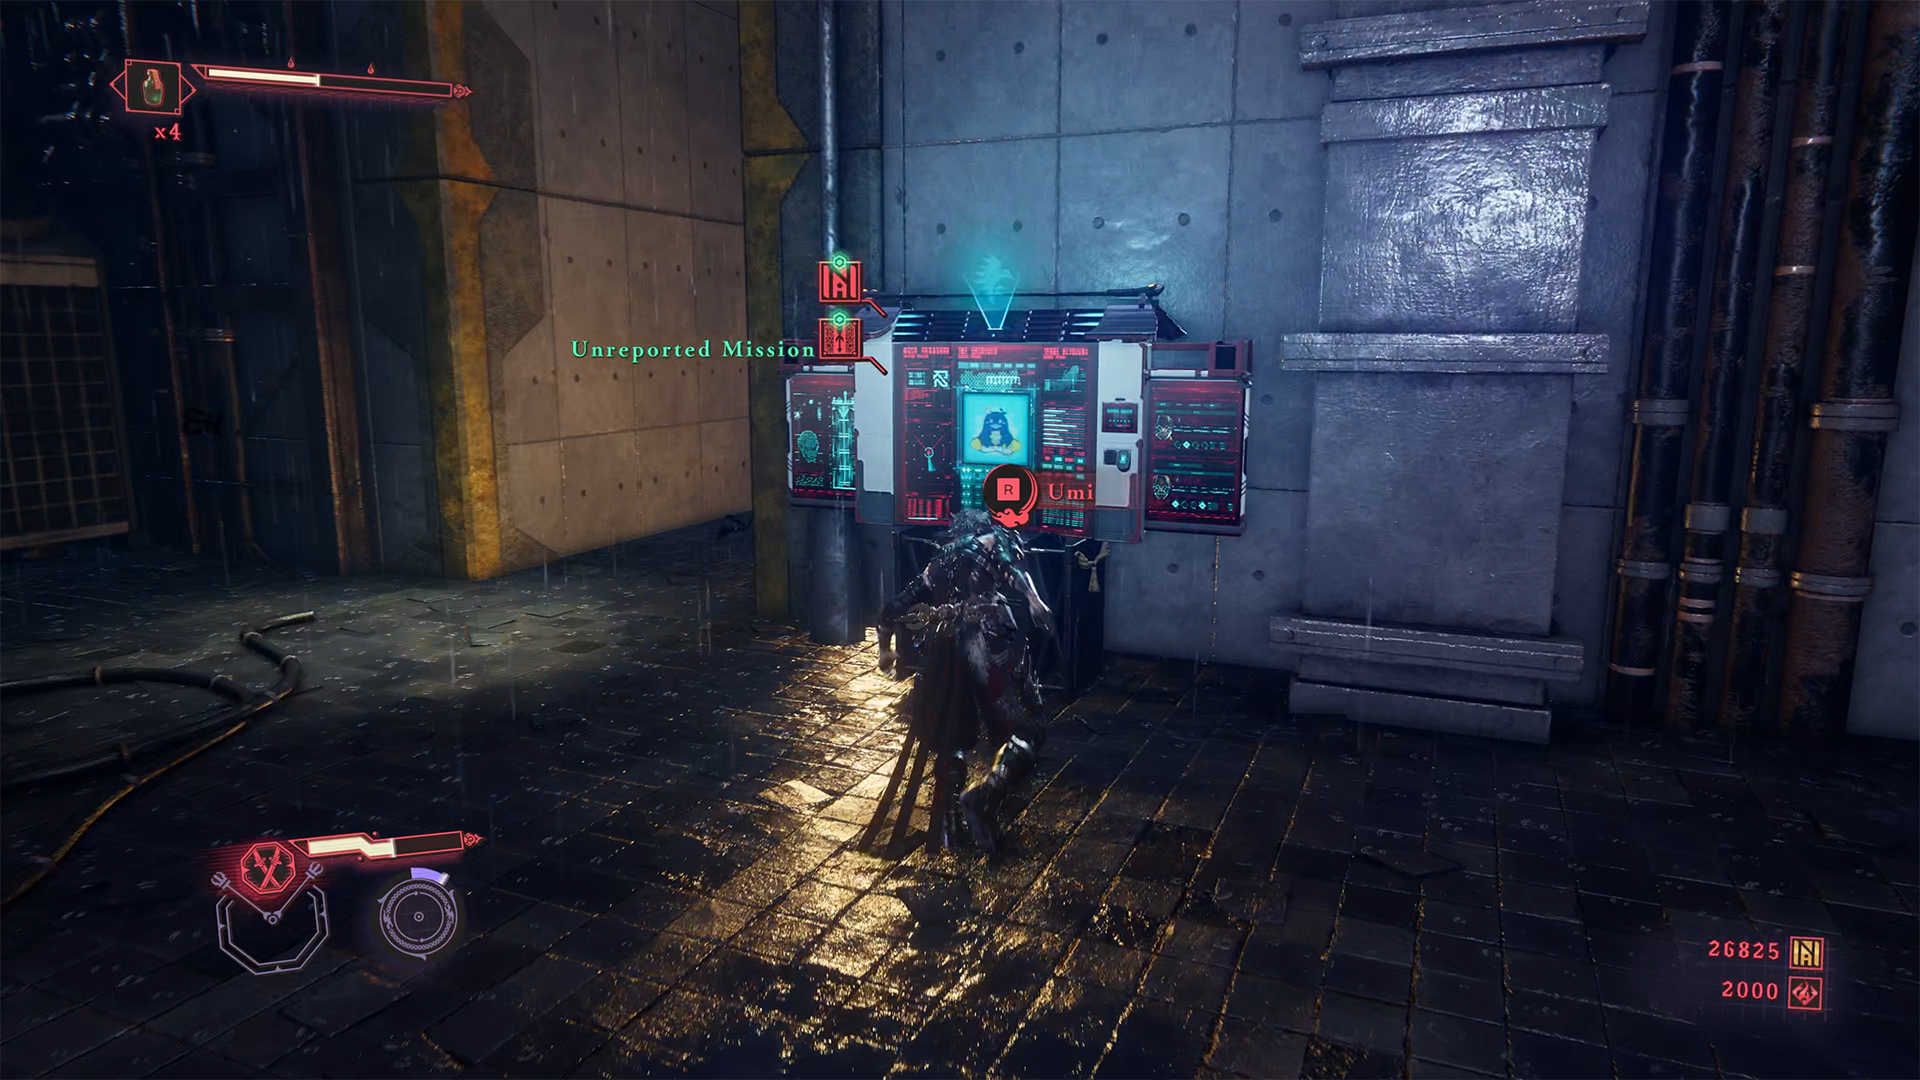
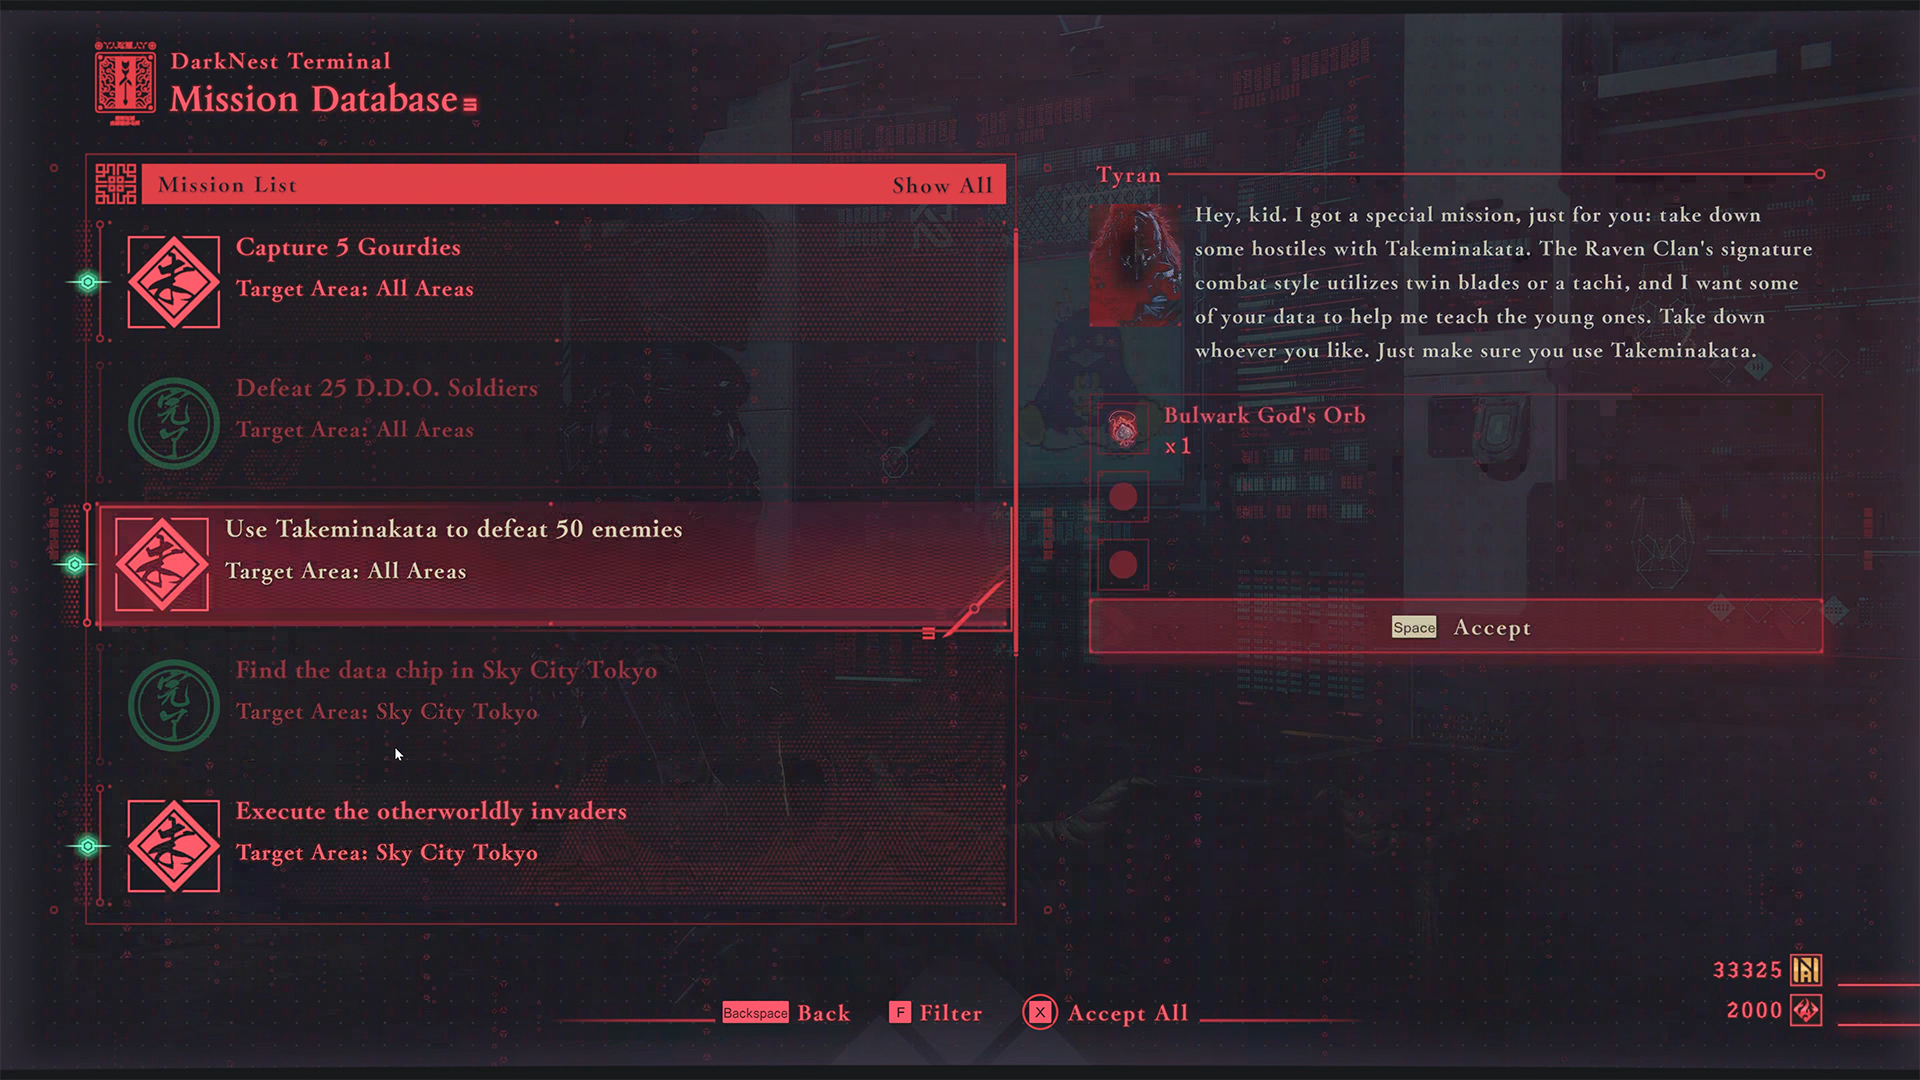
First DarkNest Terminal – quest activation
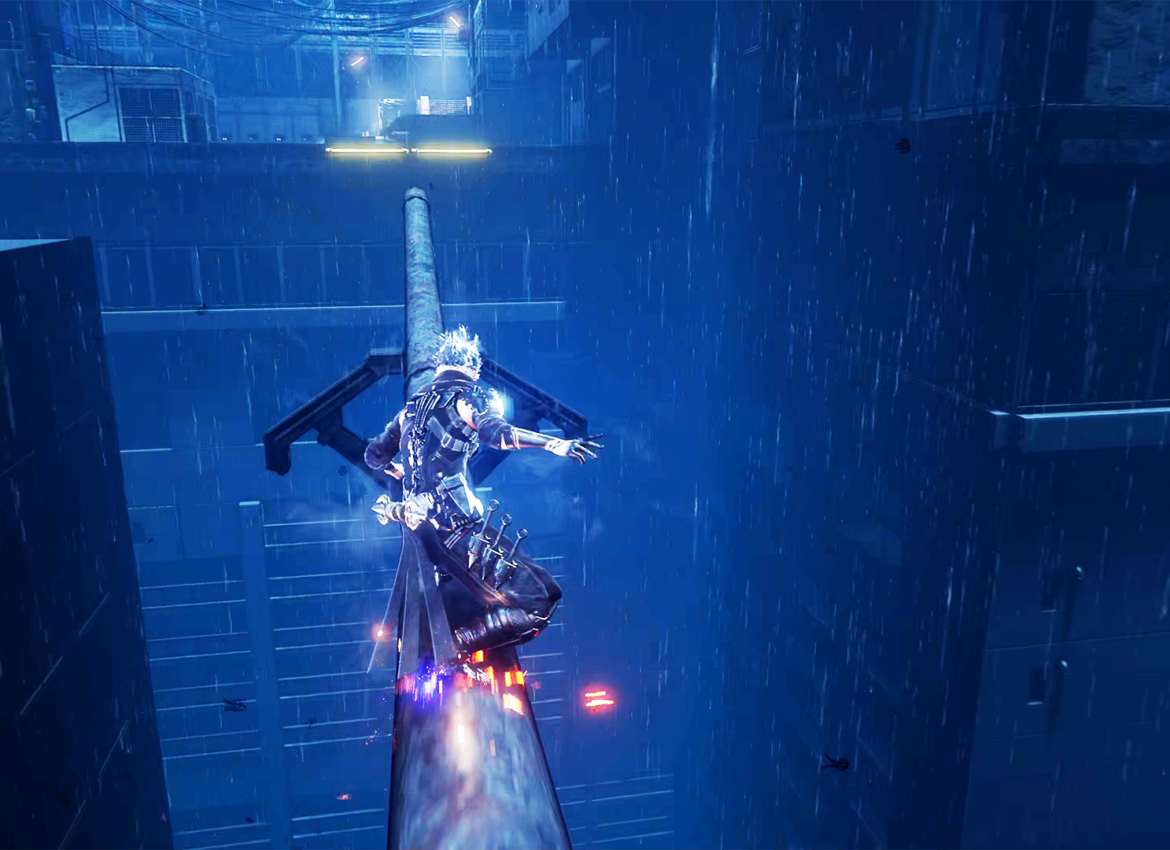
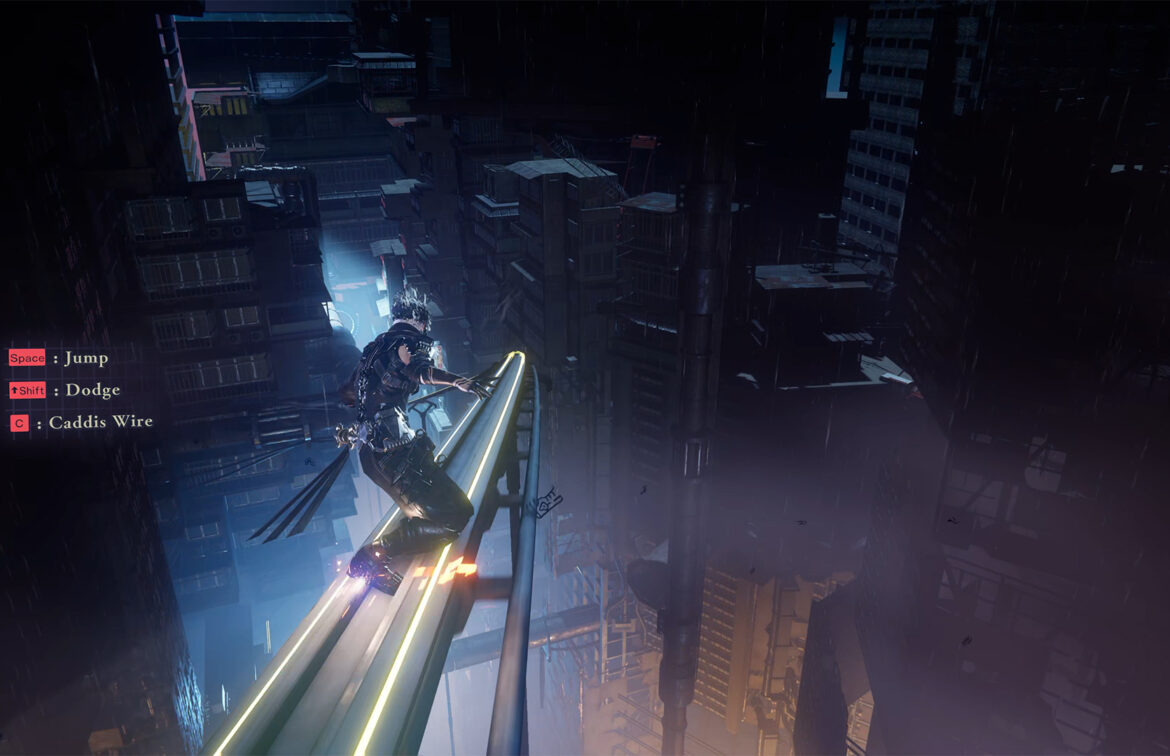
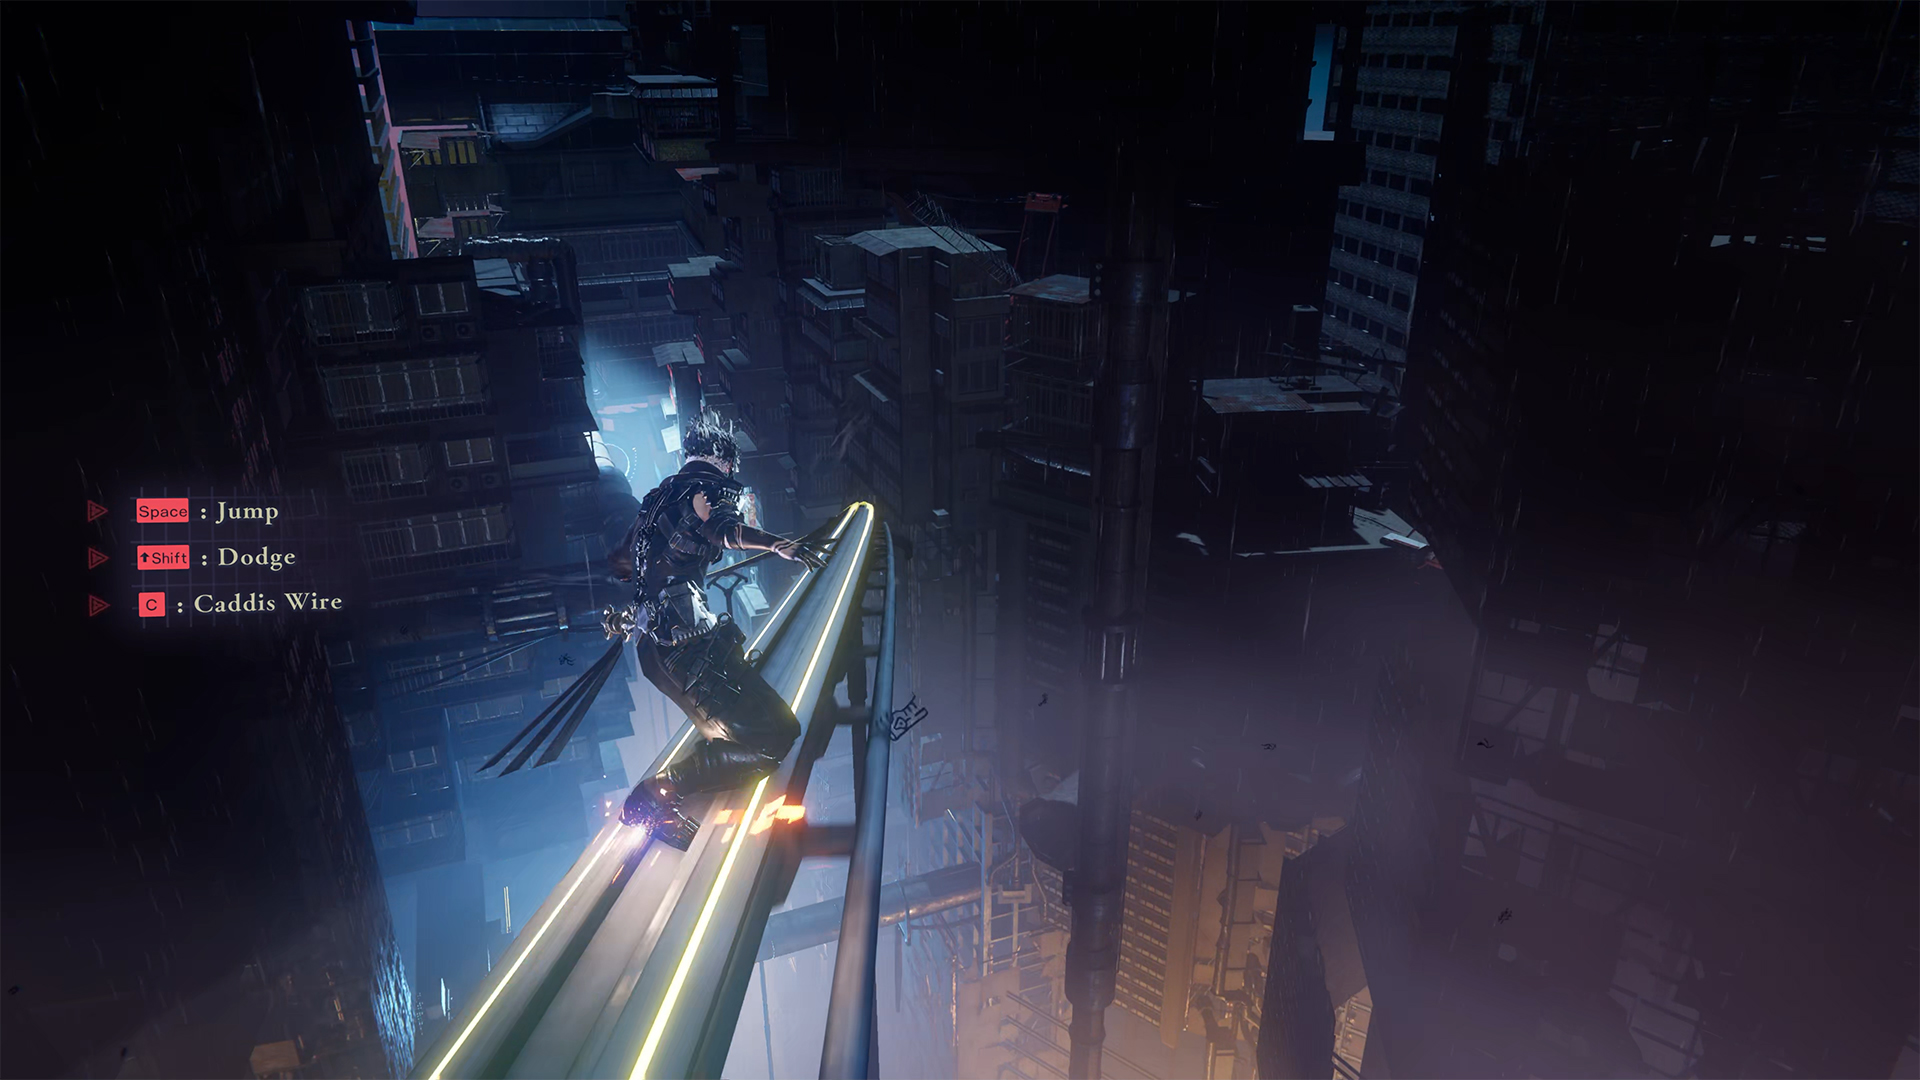
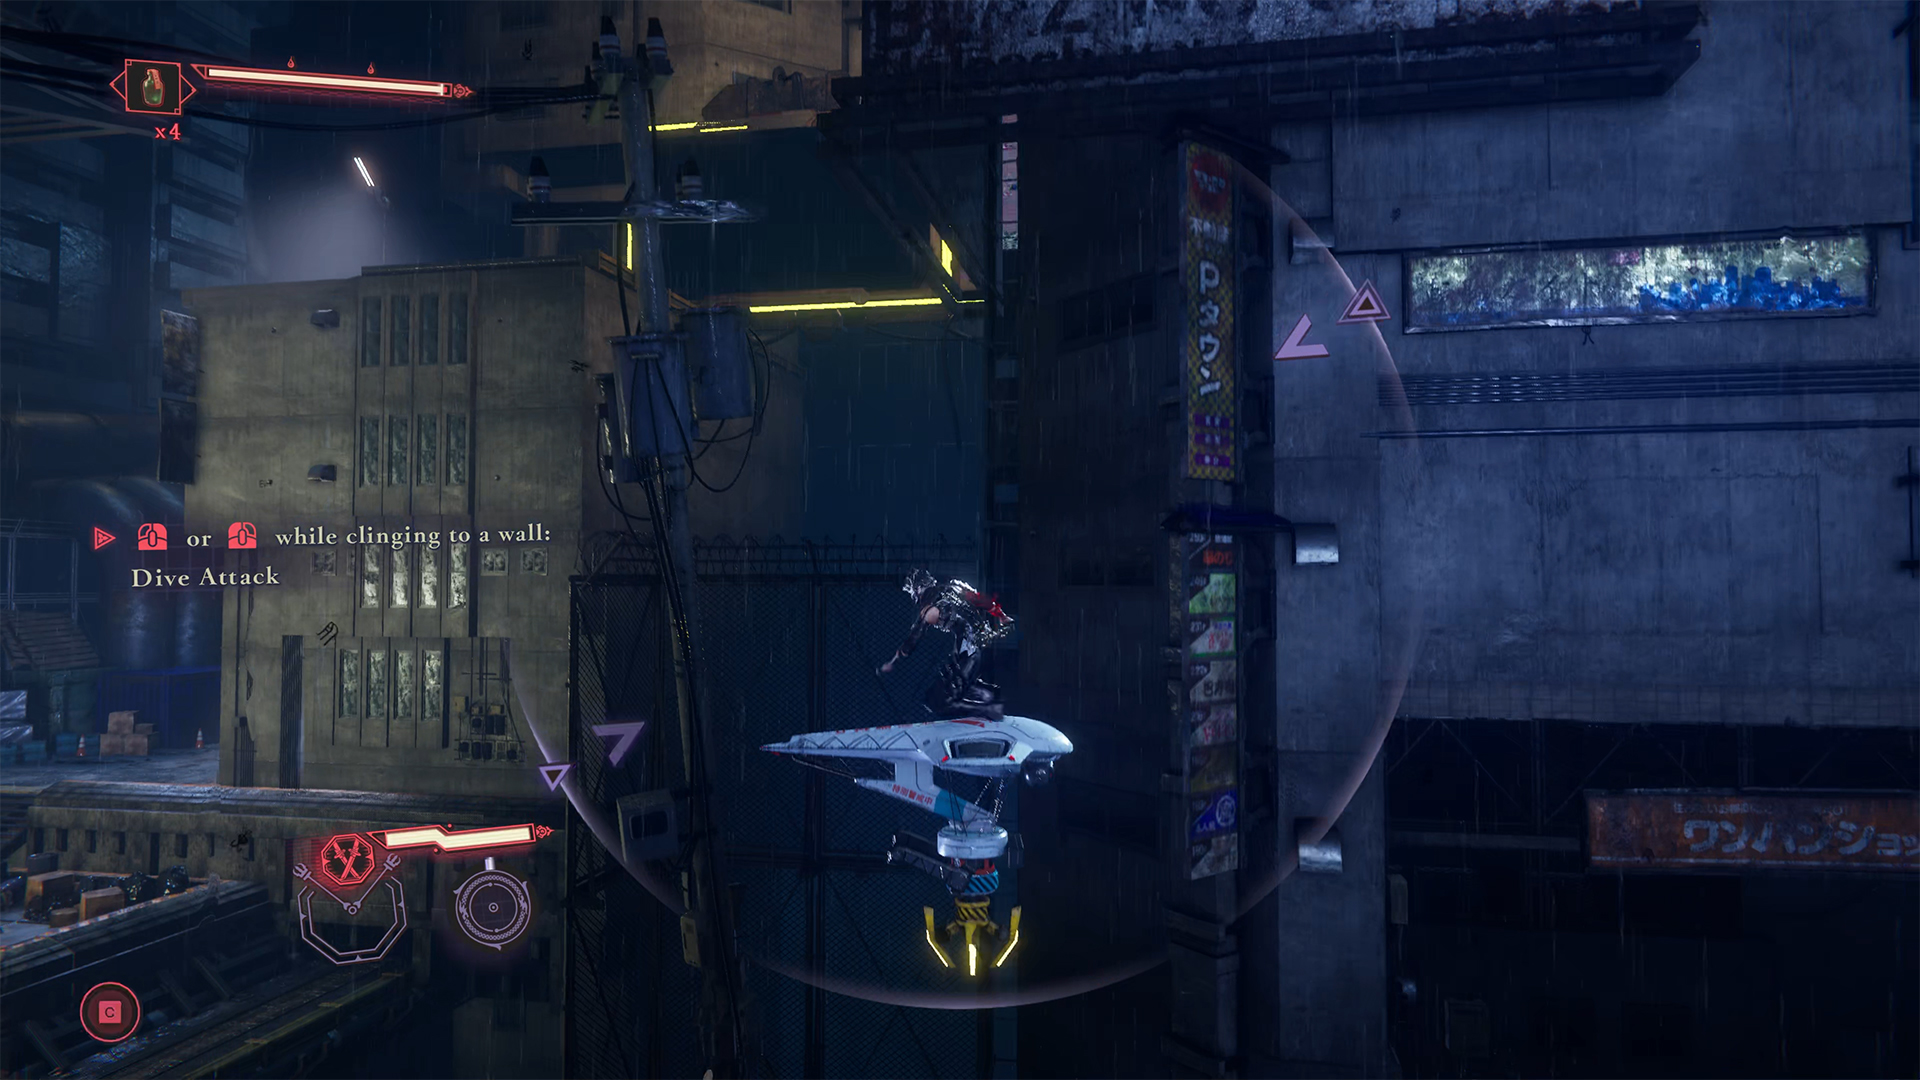
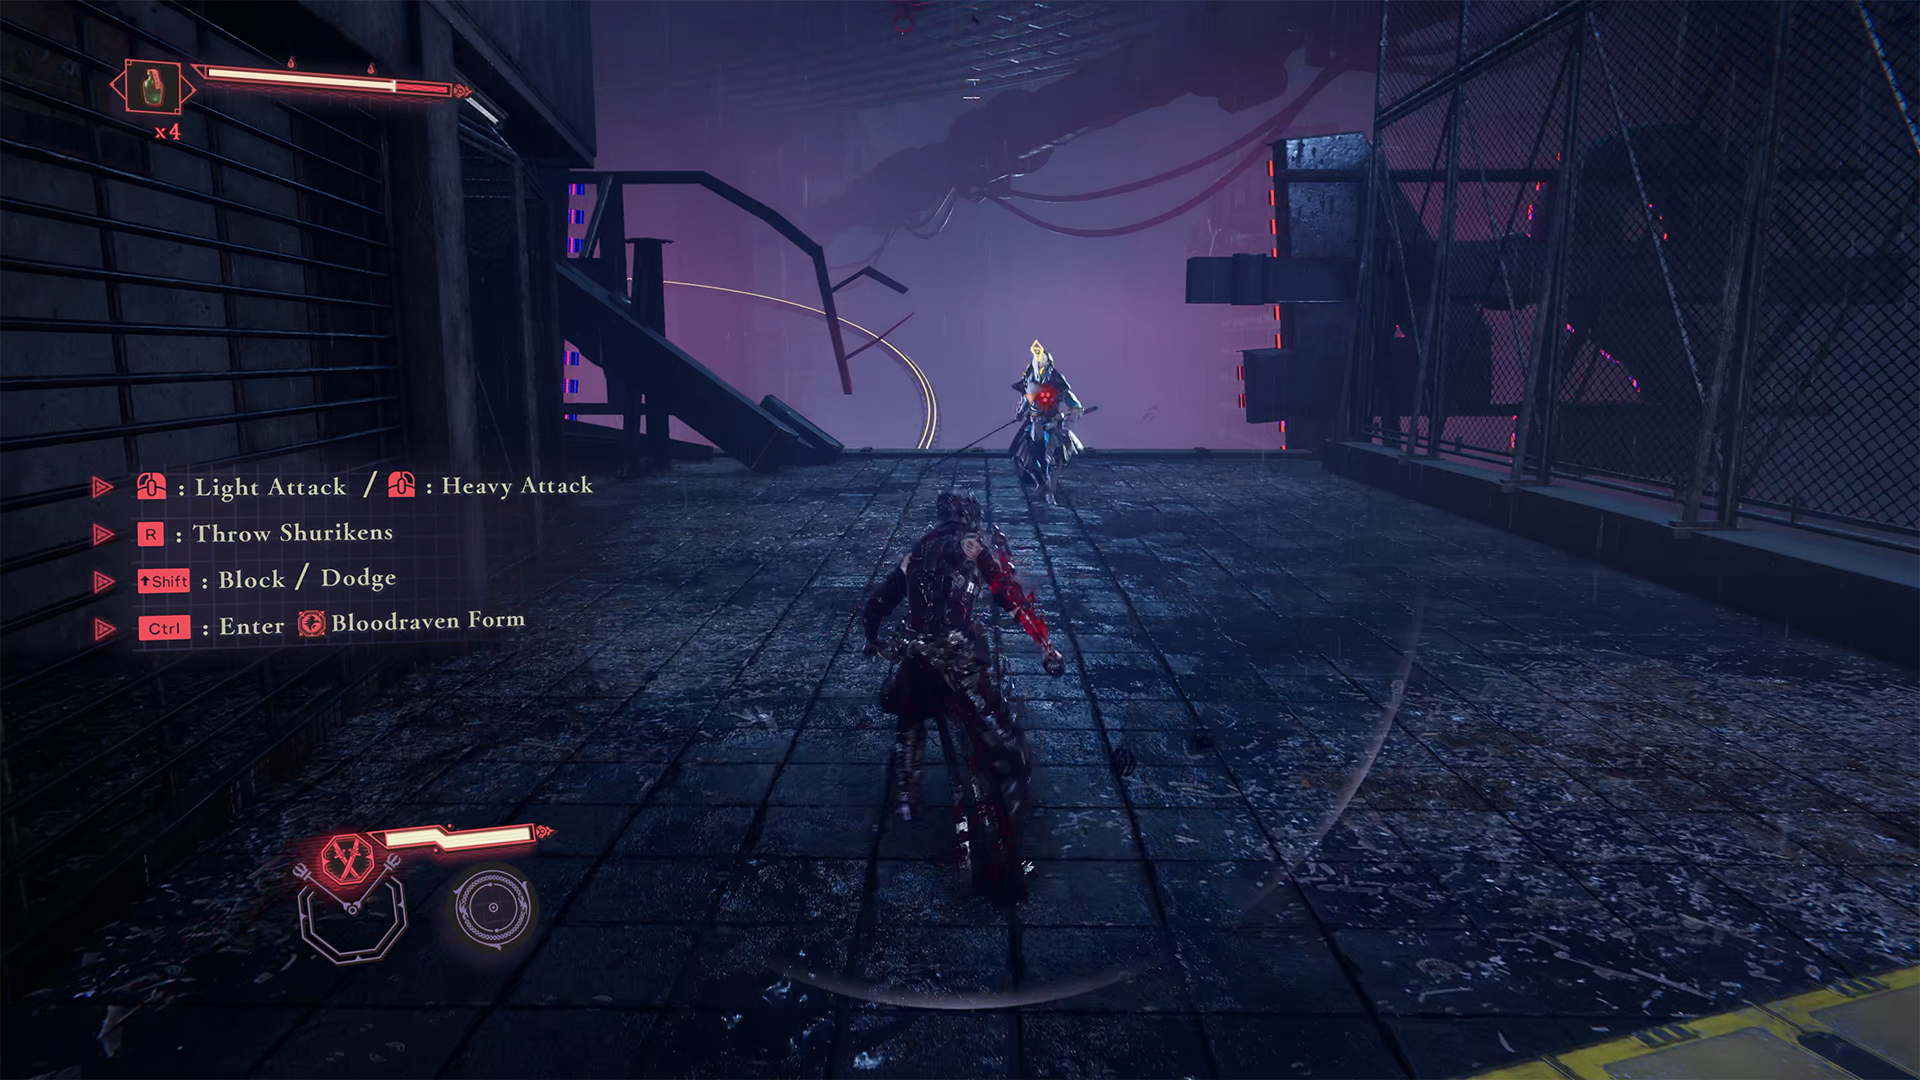
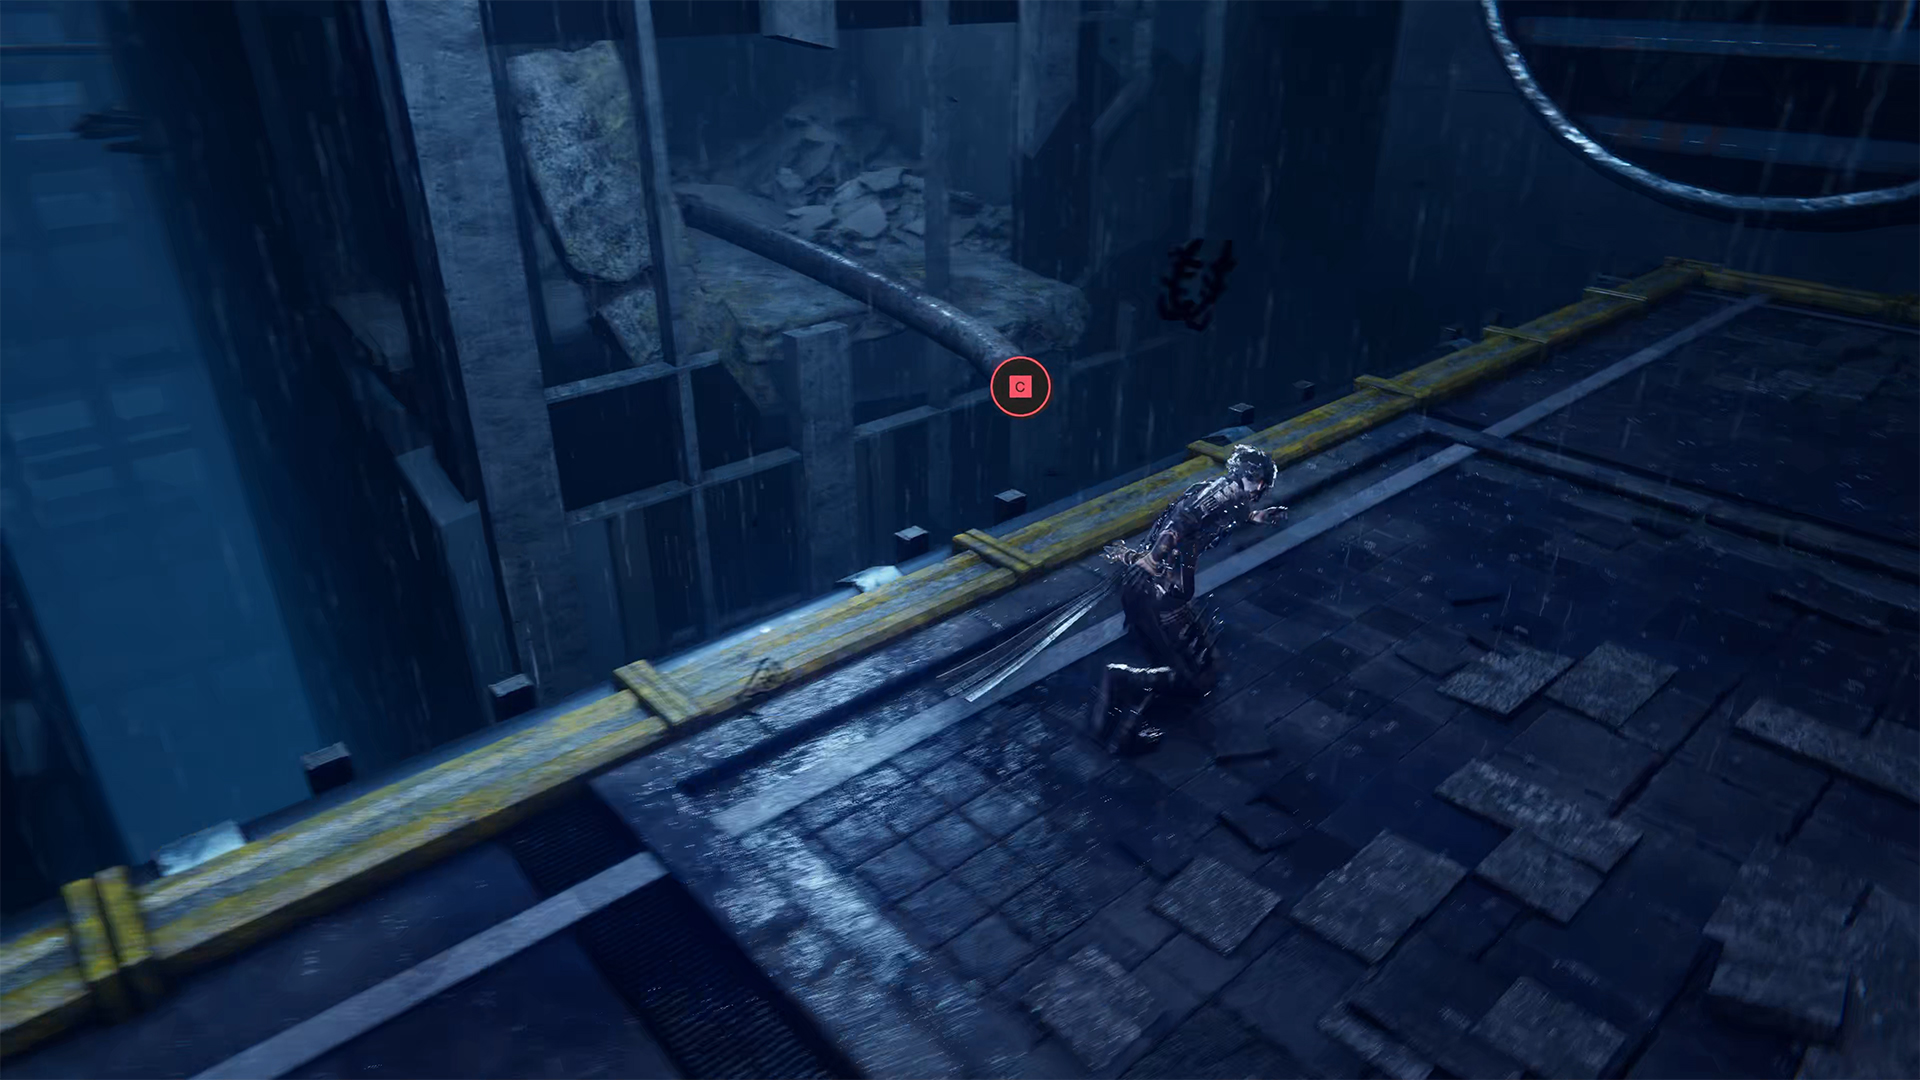
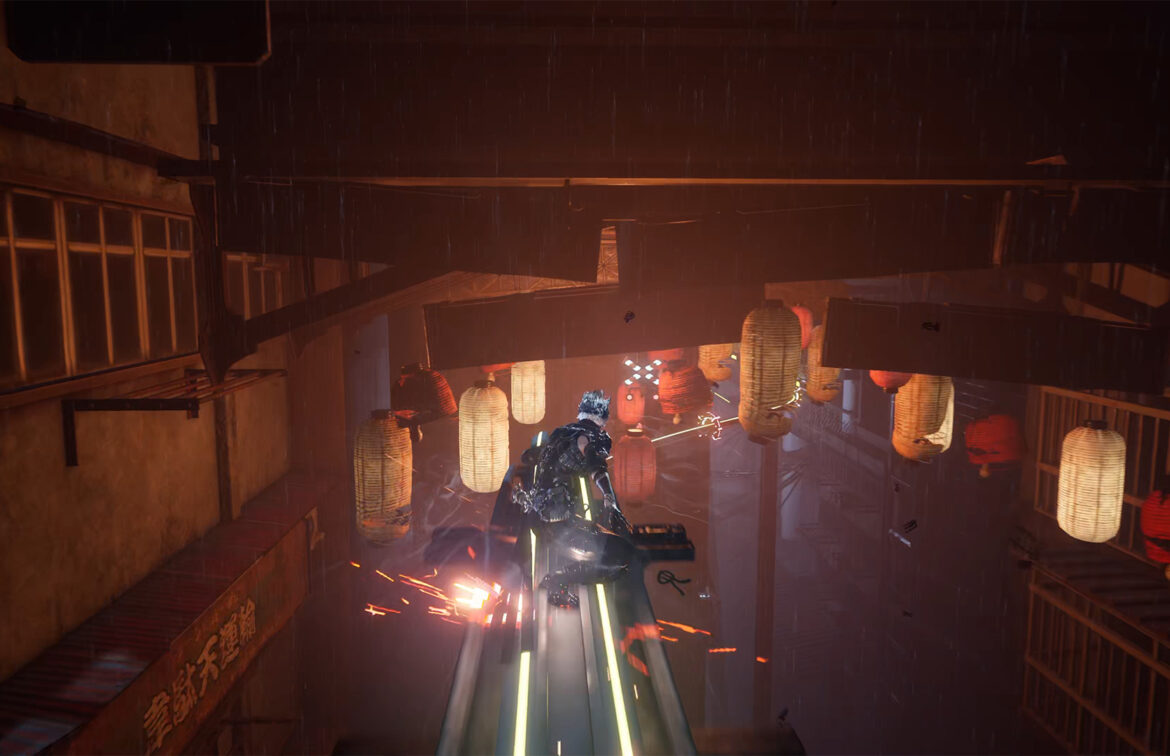
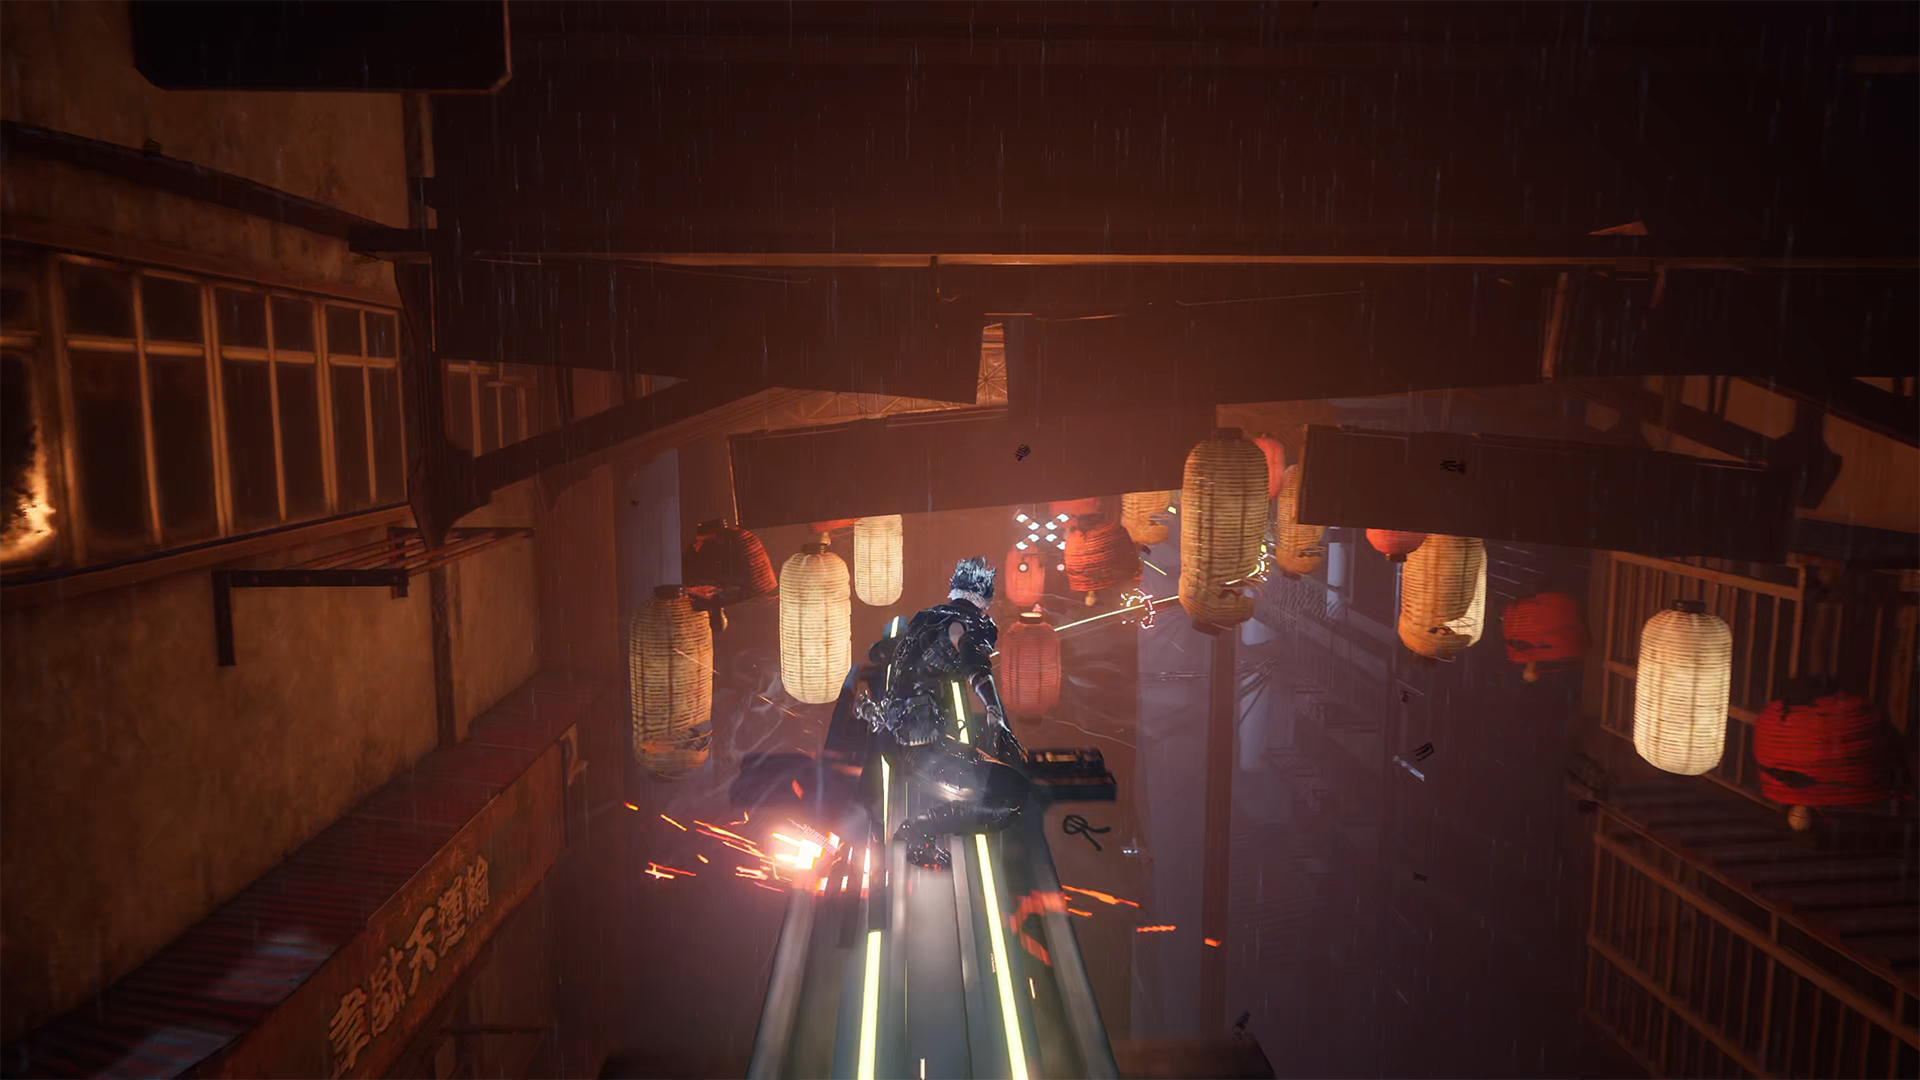
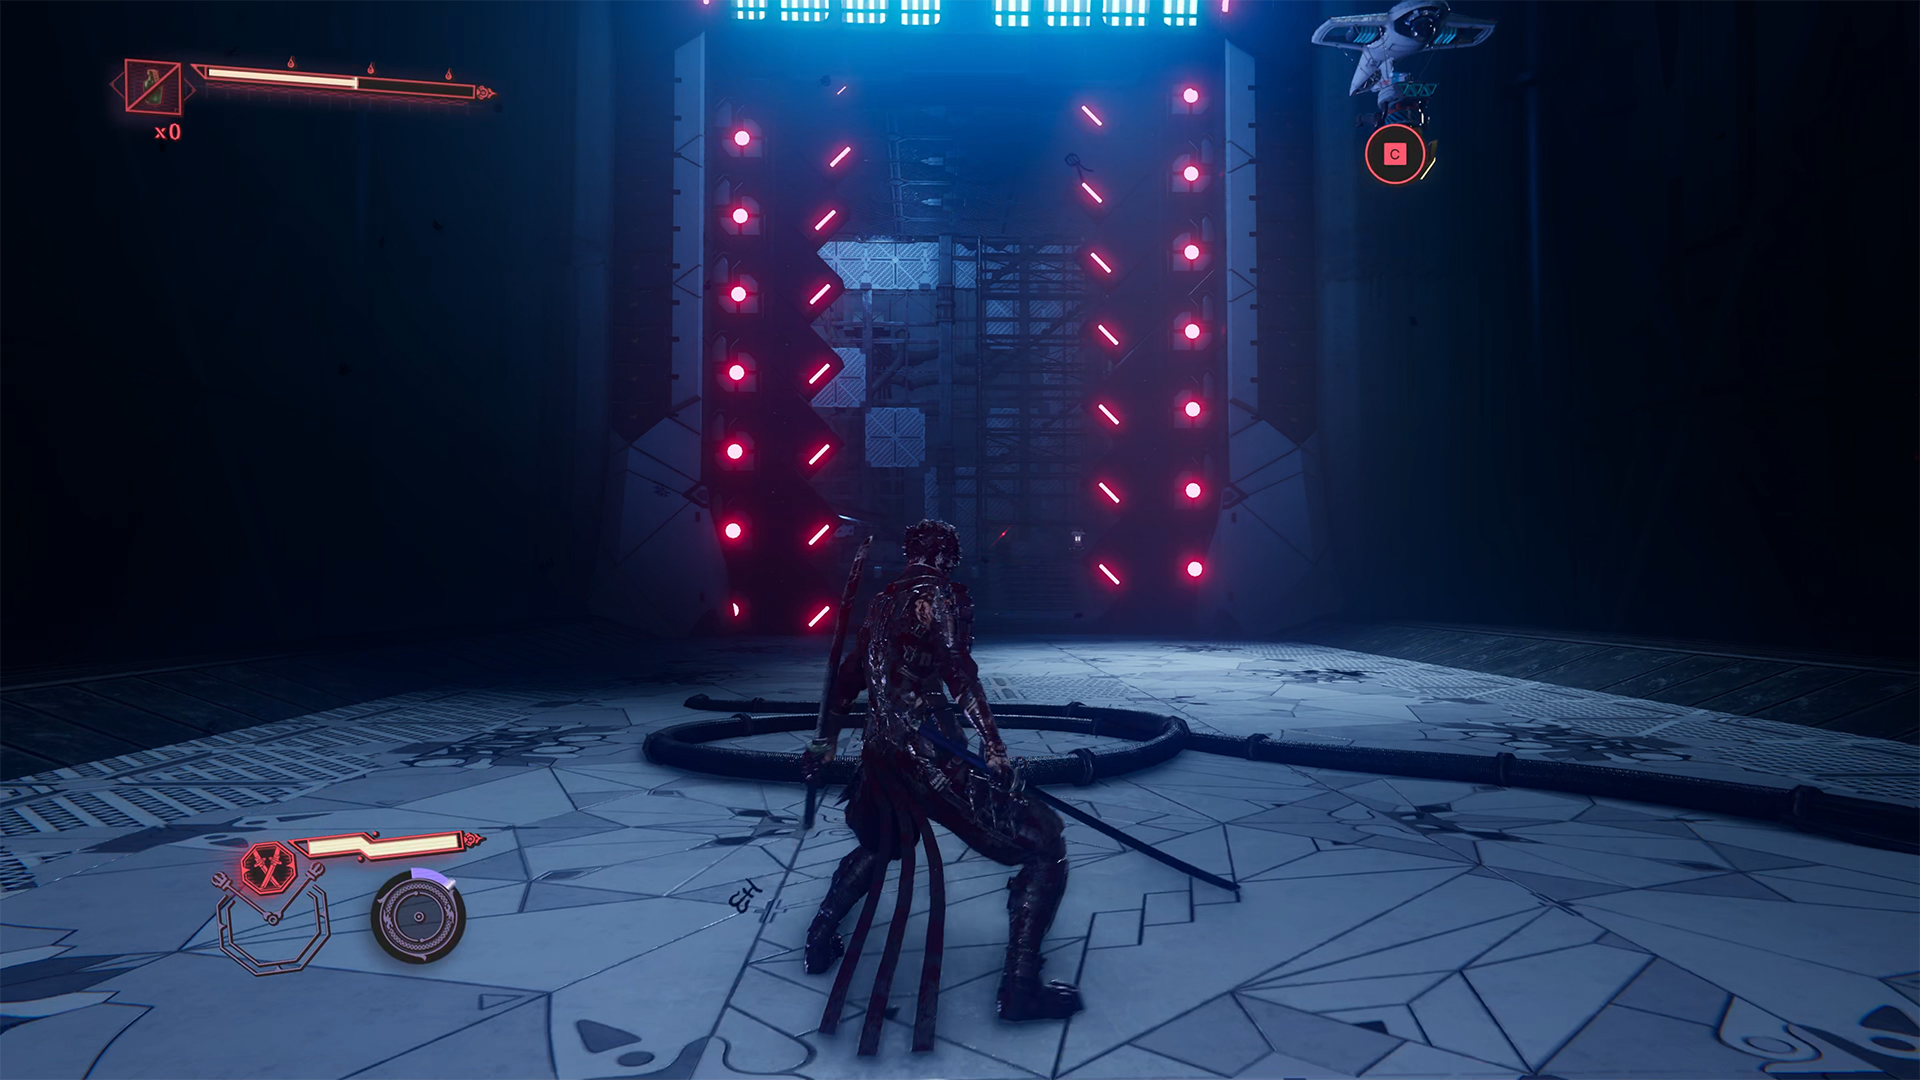
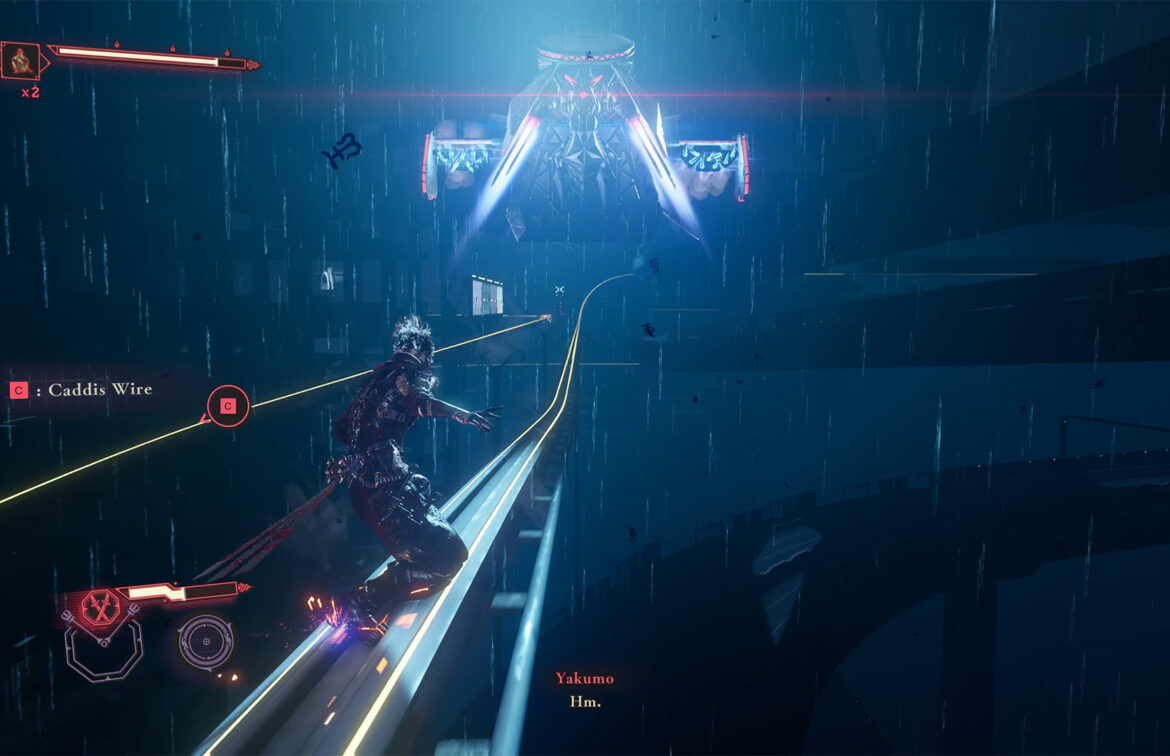
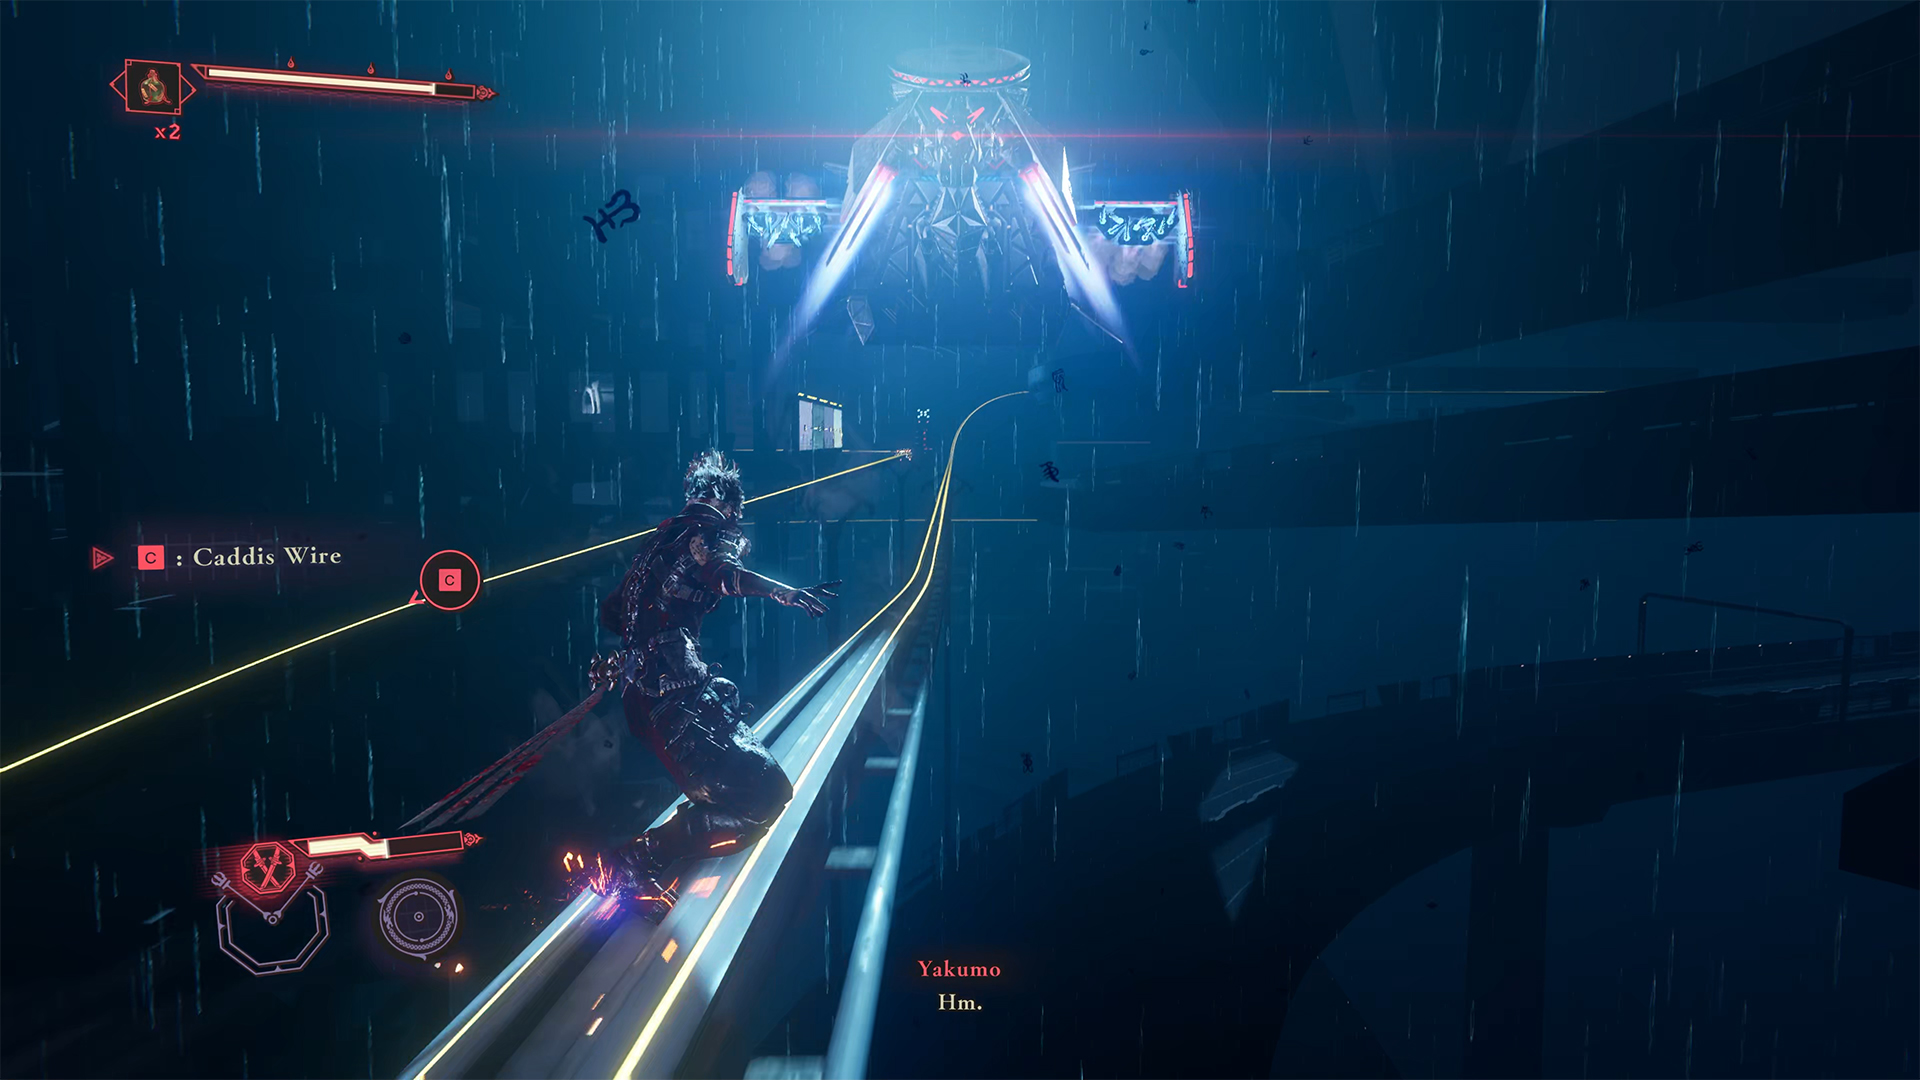
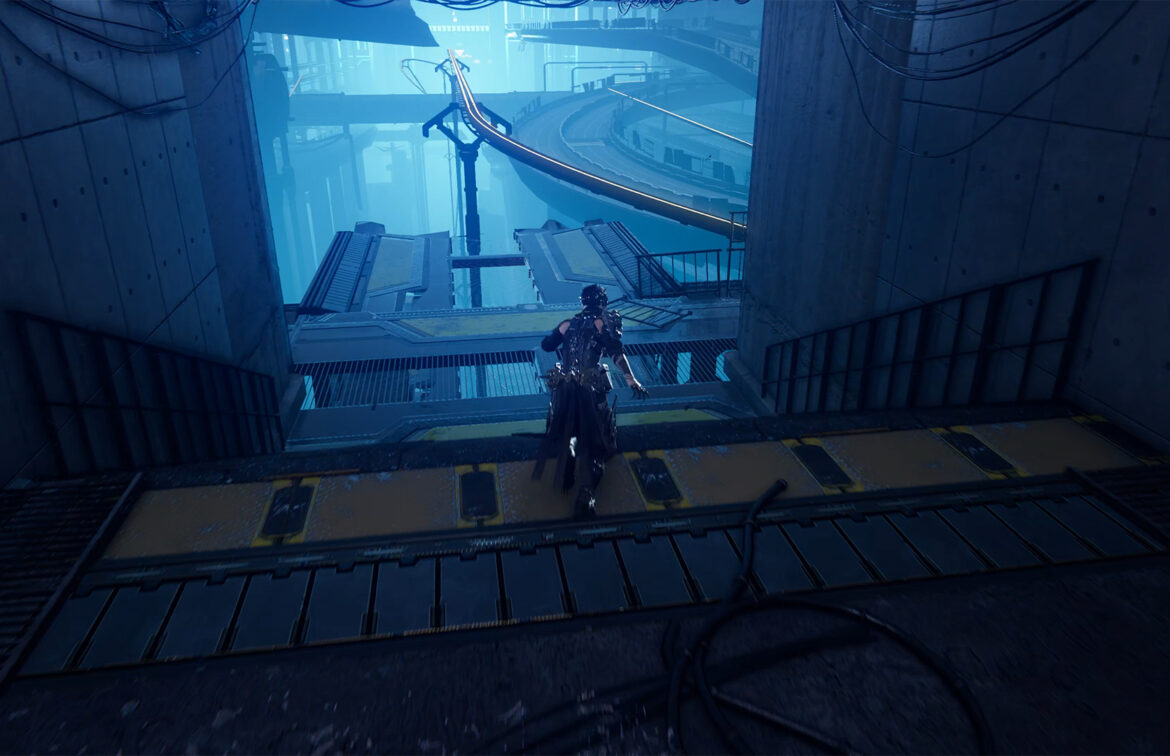
As you know, there is no map in the game, so look carefully at the locations I show you so you don’t miss anything. There are many points of no return in the game until the very end, so it’s worth collecting everything in time. For convenience, use the time stamps in the video — they are labeled. At the start of the chapter, you will run across a long bridge, which will break, and you will jump onto the rails.
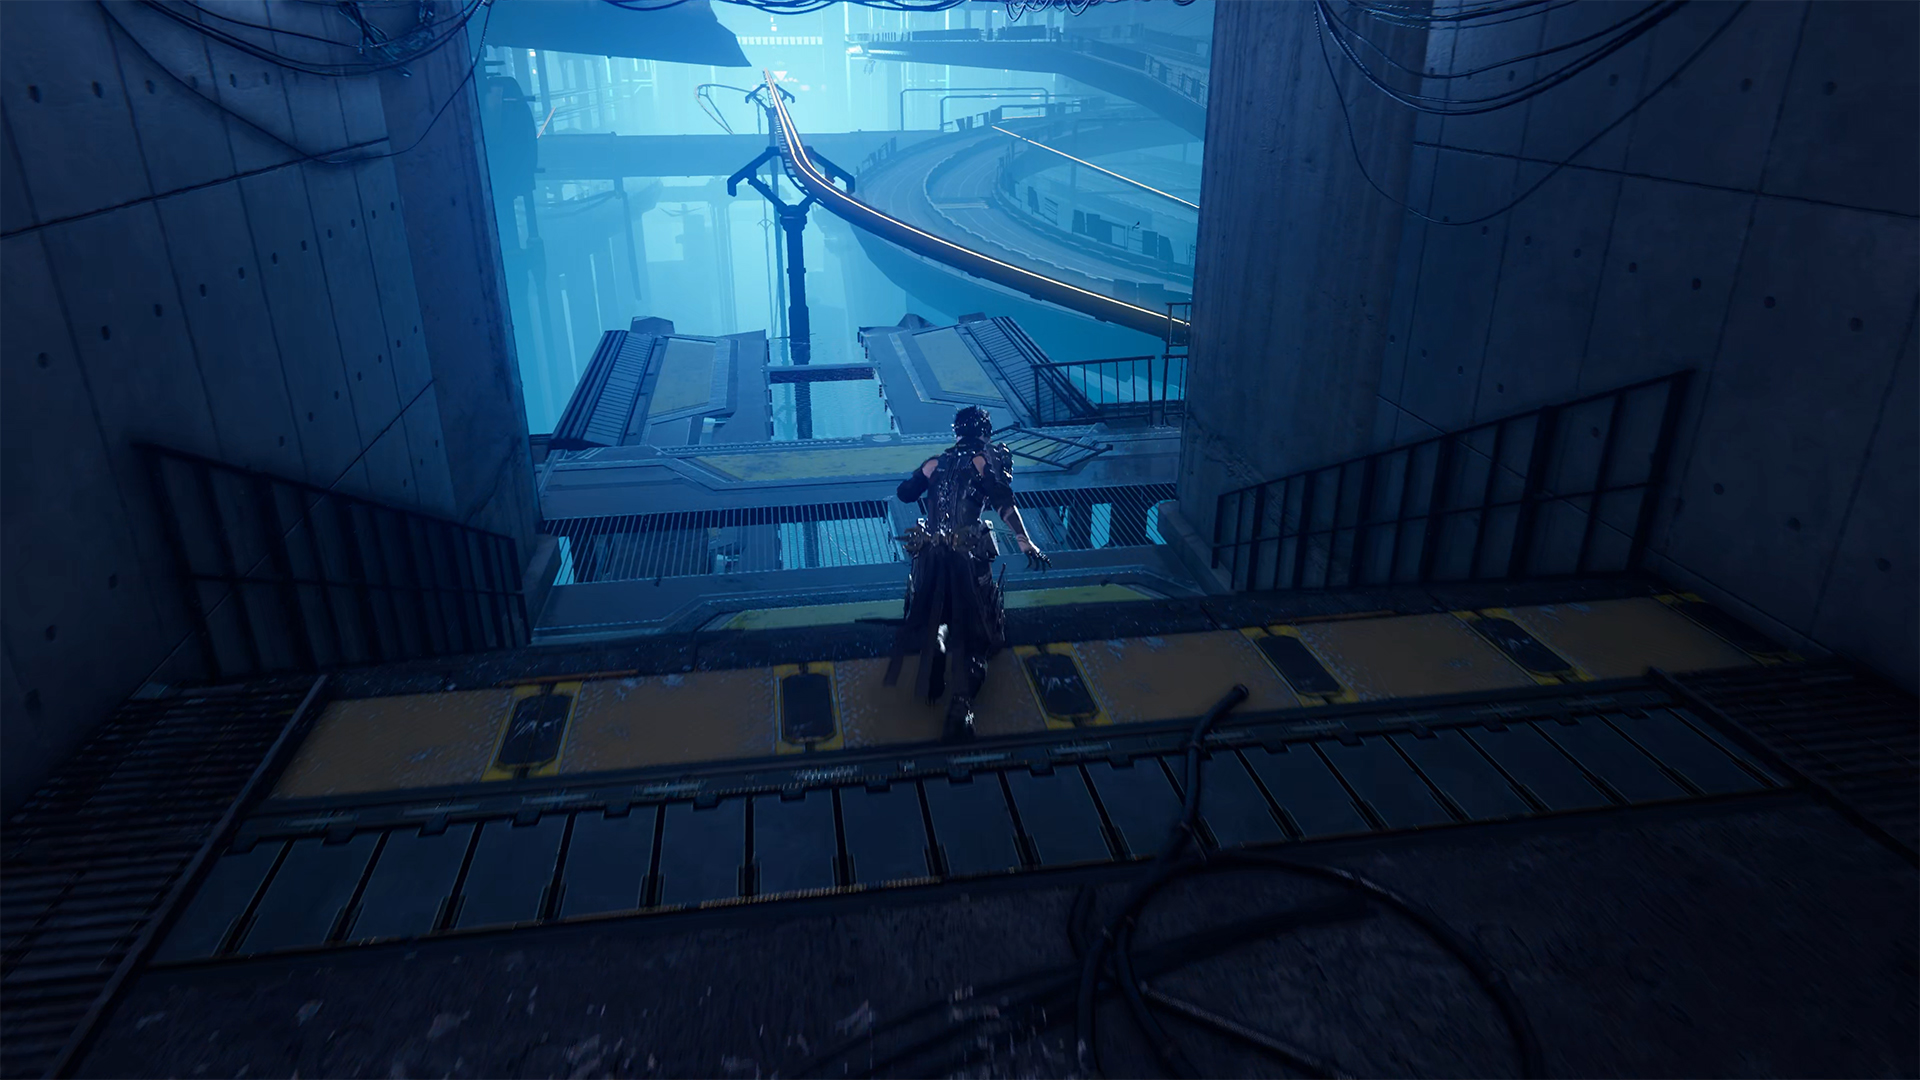
While moving along the rails, you need to jump and dive under obstacles. Don’t worry if you don’t succeed right away. At the end of the rail, after a short battle with an enemy, you will find the first DarkNest Terminal, where you can heal your health. Here you can also activate all the quests available to you in this chapter.
-
- Beginning of the chapter – introduction to the rail
-
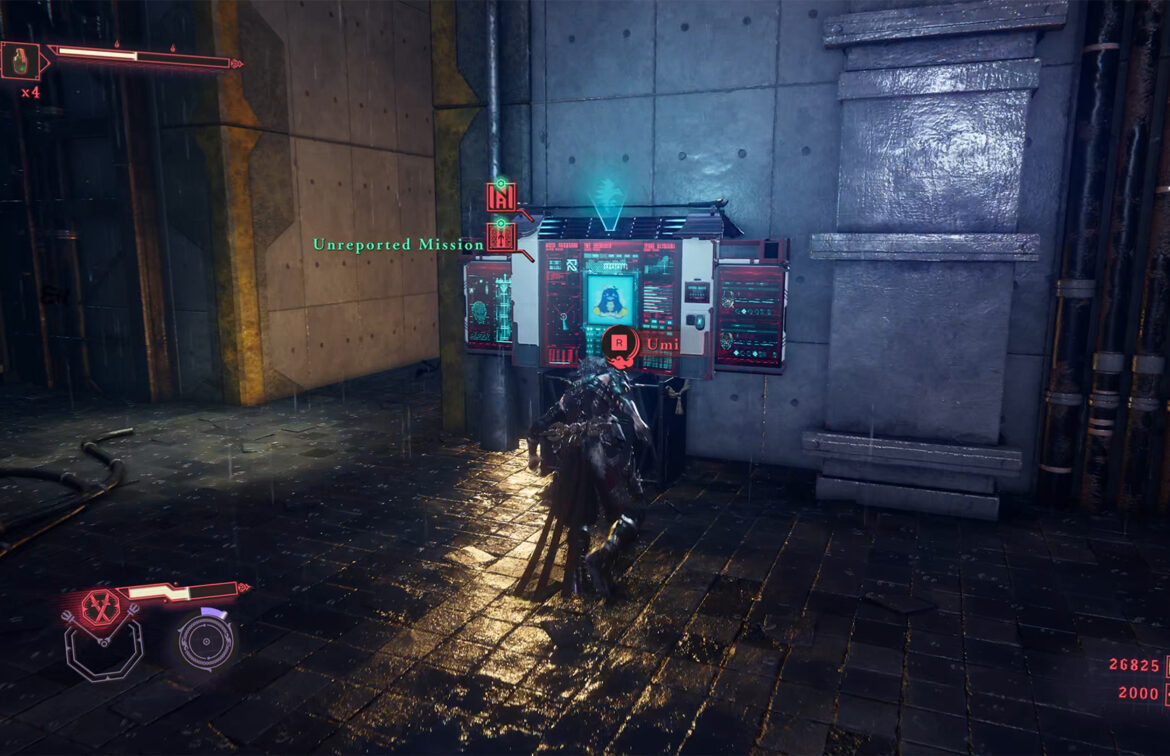
- First DarkNest Terminal
-
- Haunted District Ninja Gaiden 4 Quest
Black Scale location
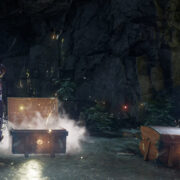
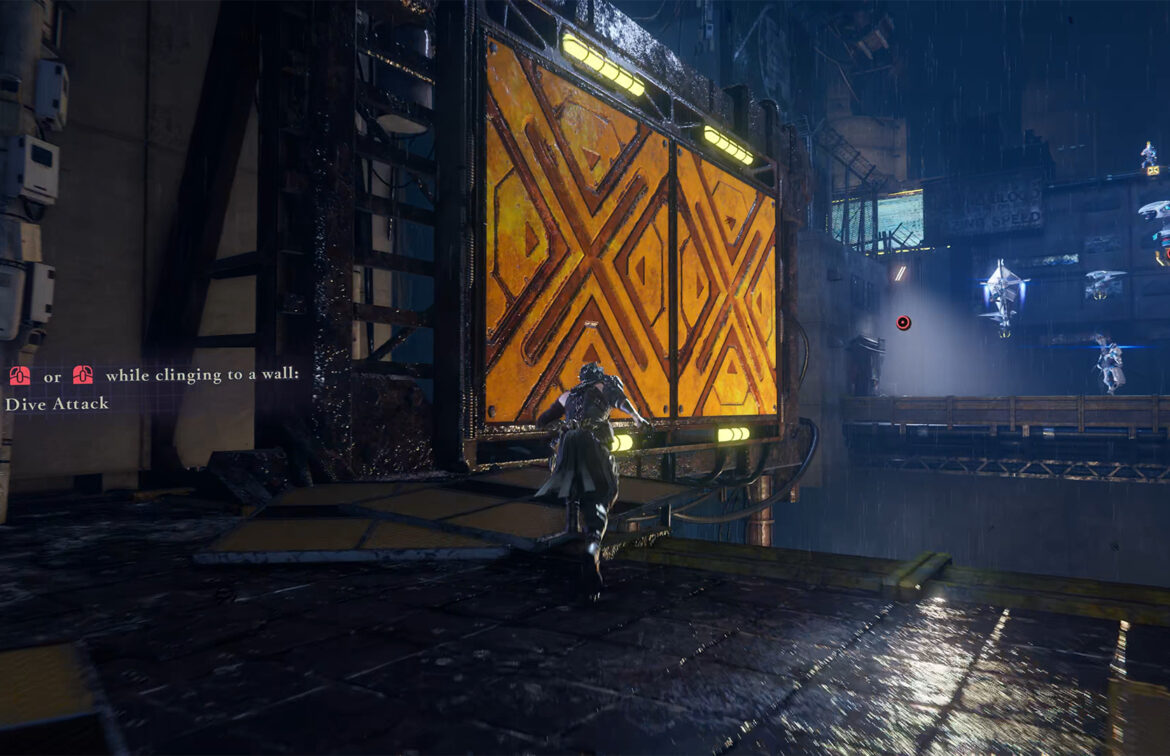
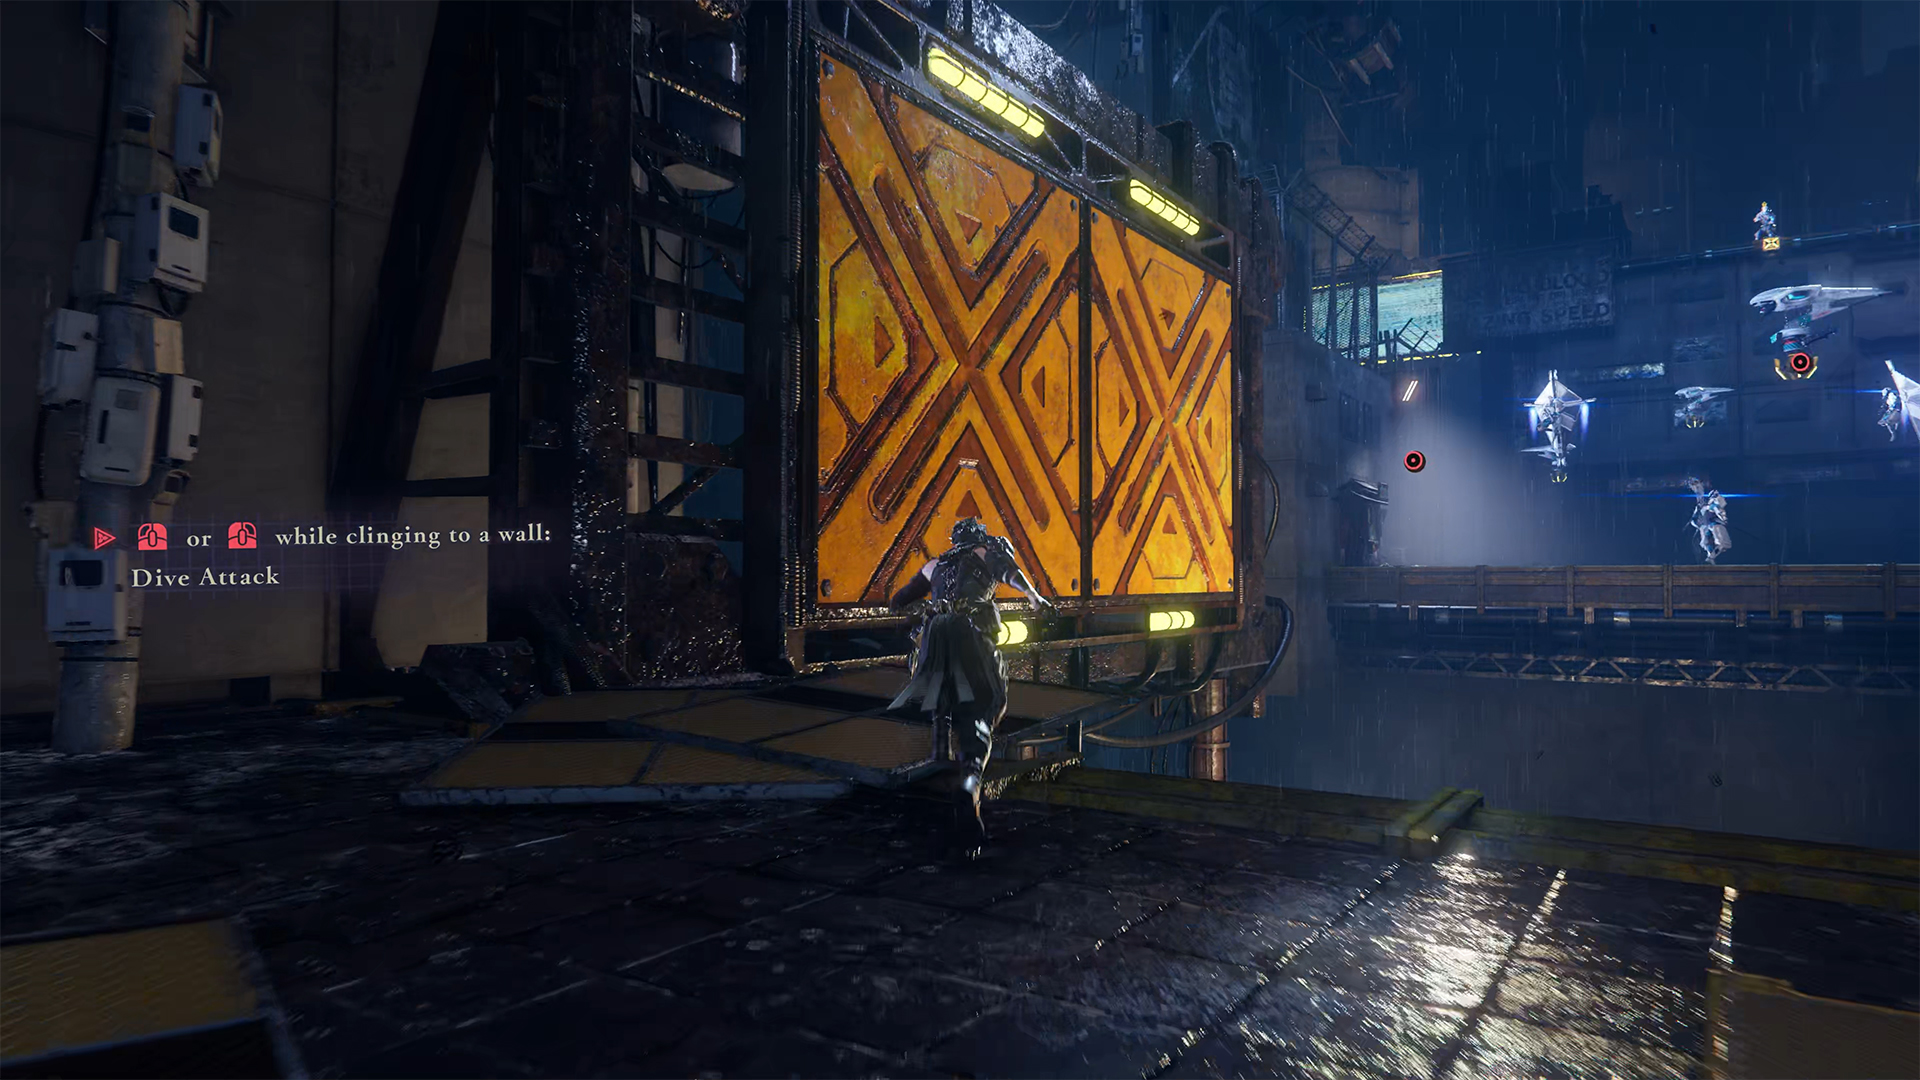
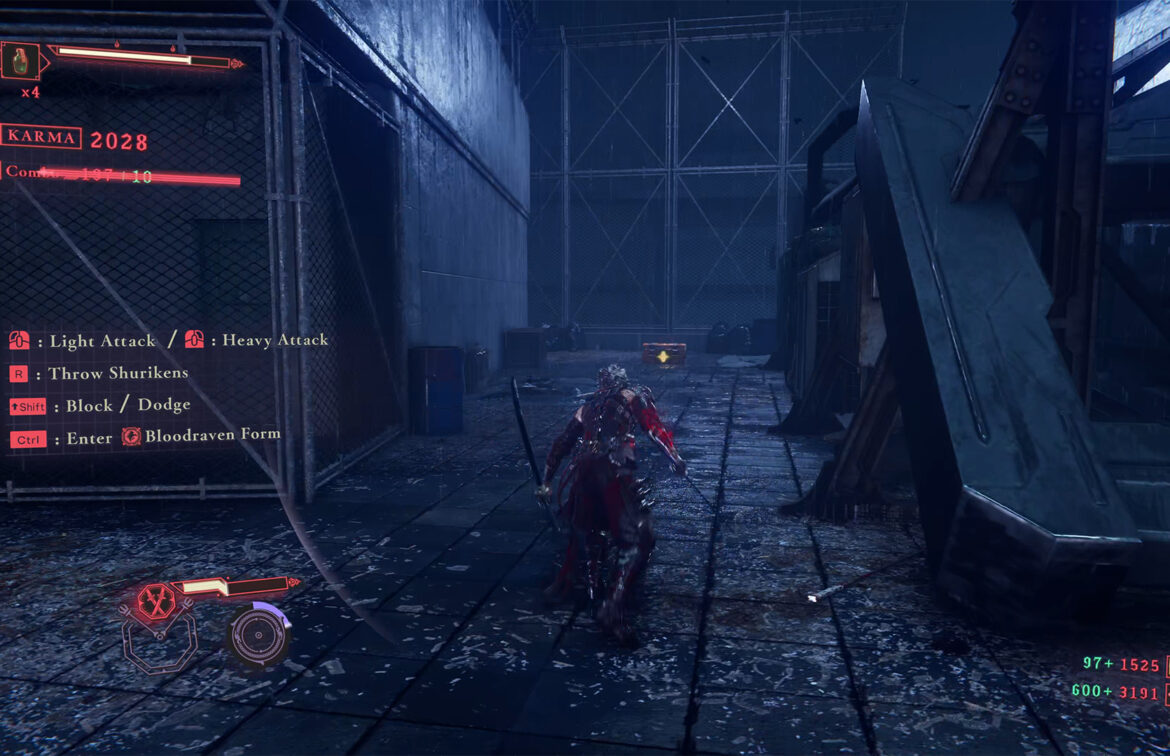
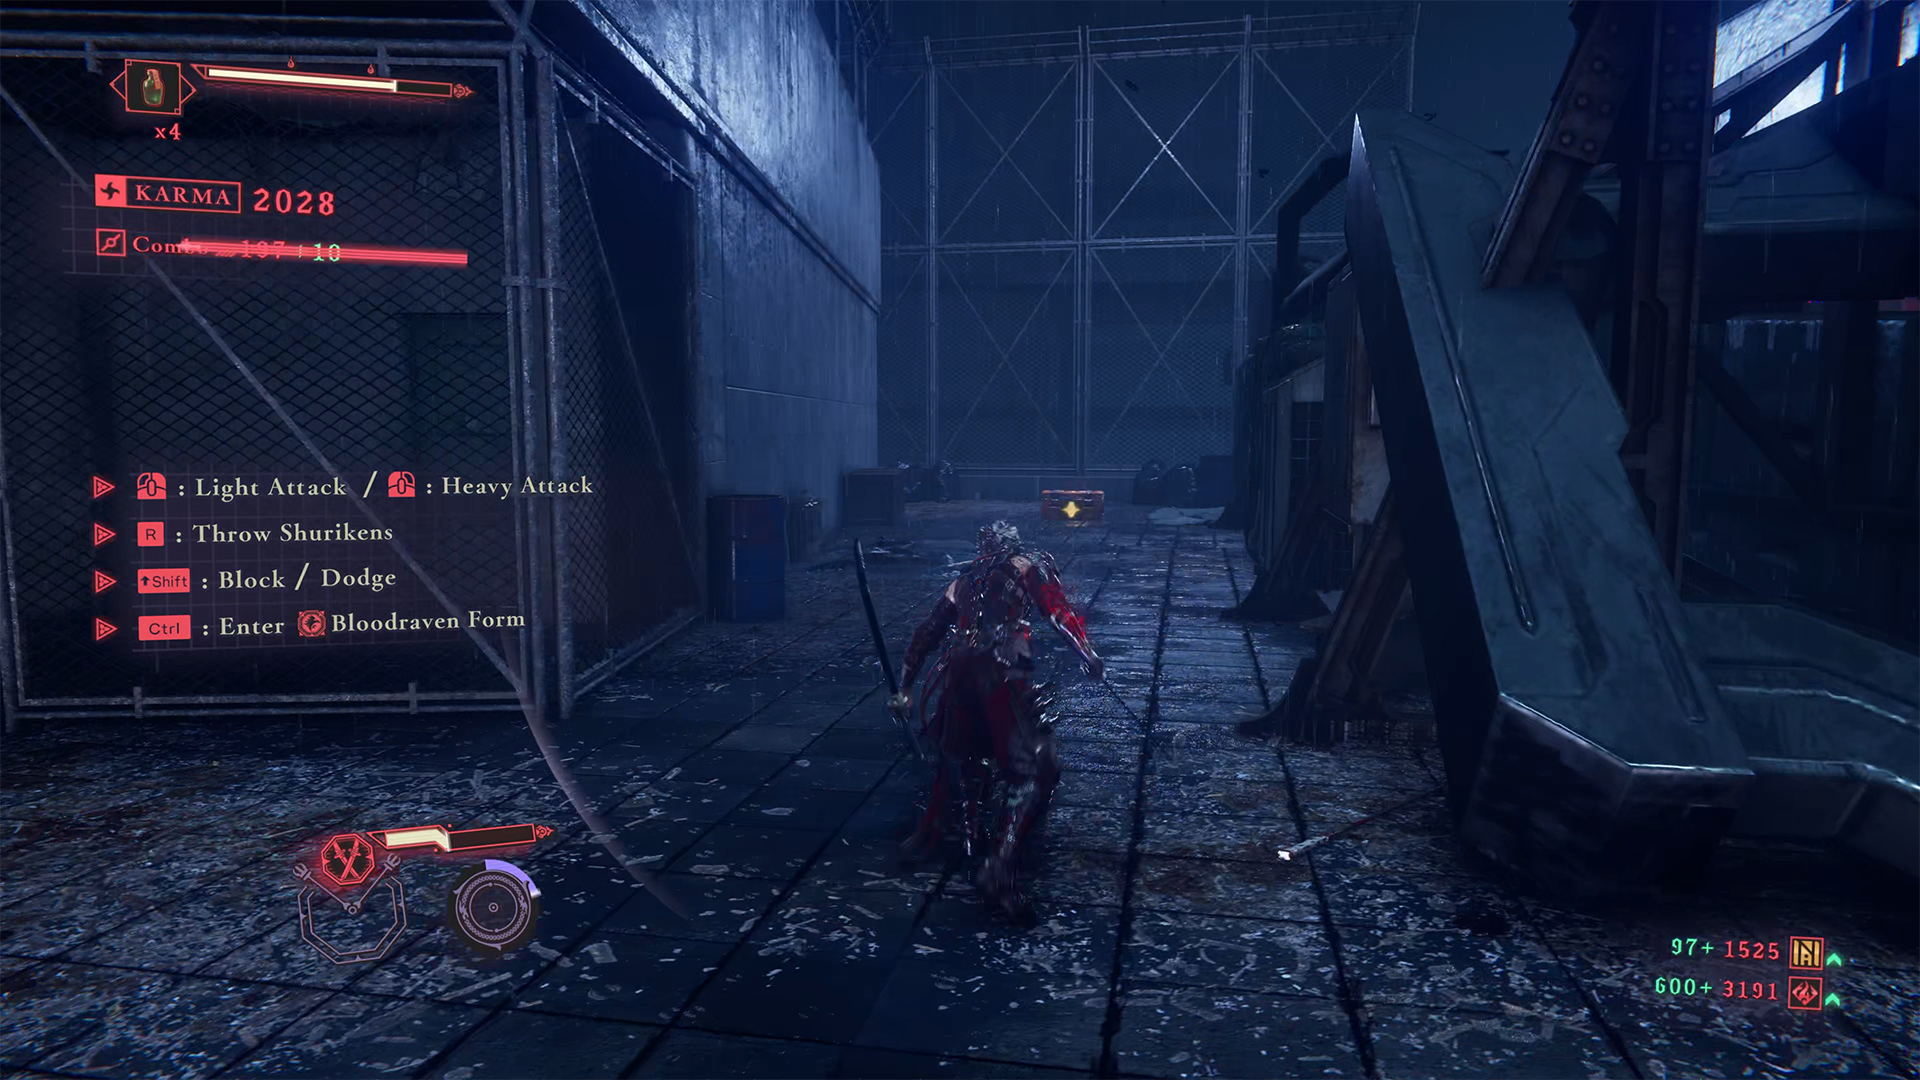
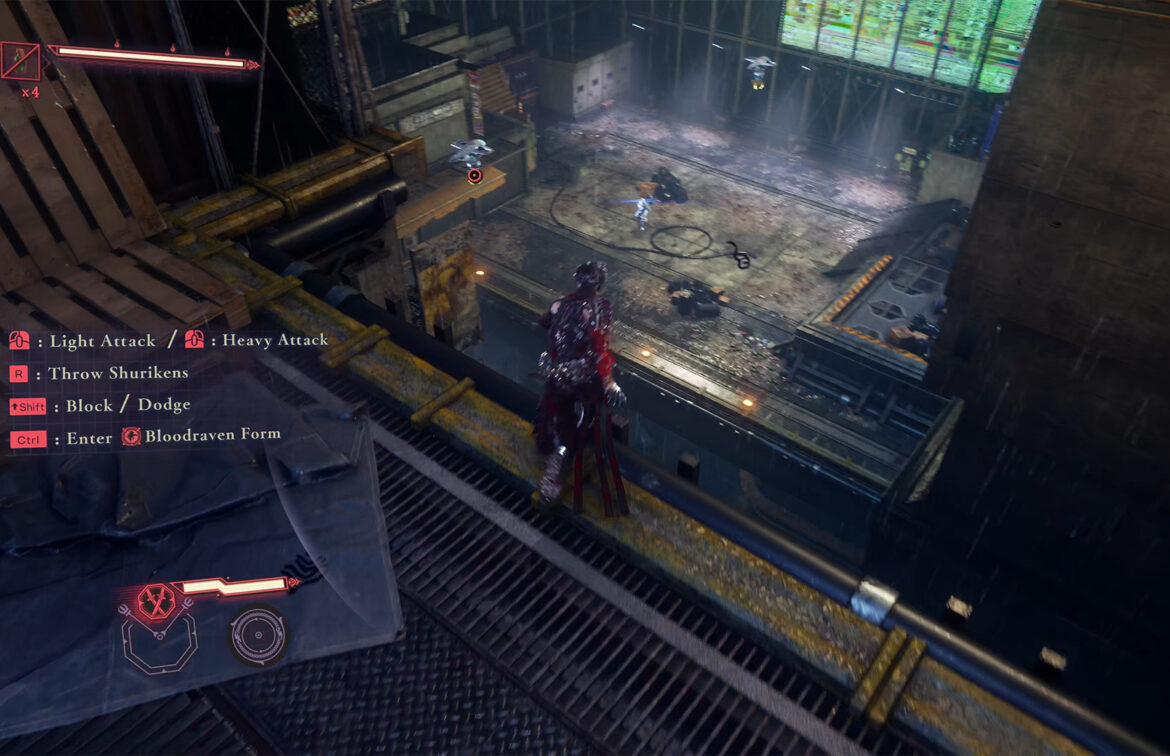
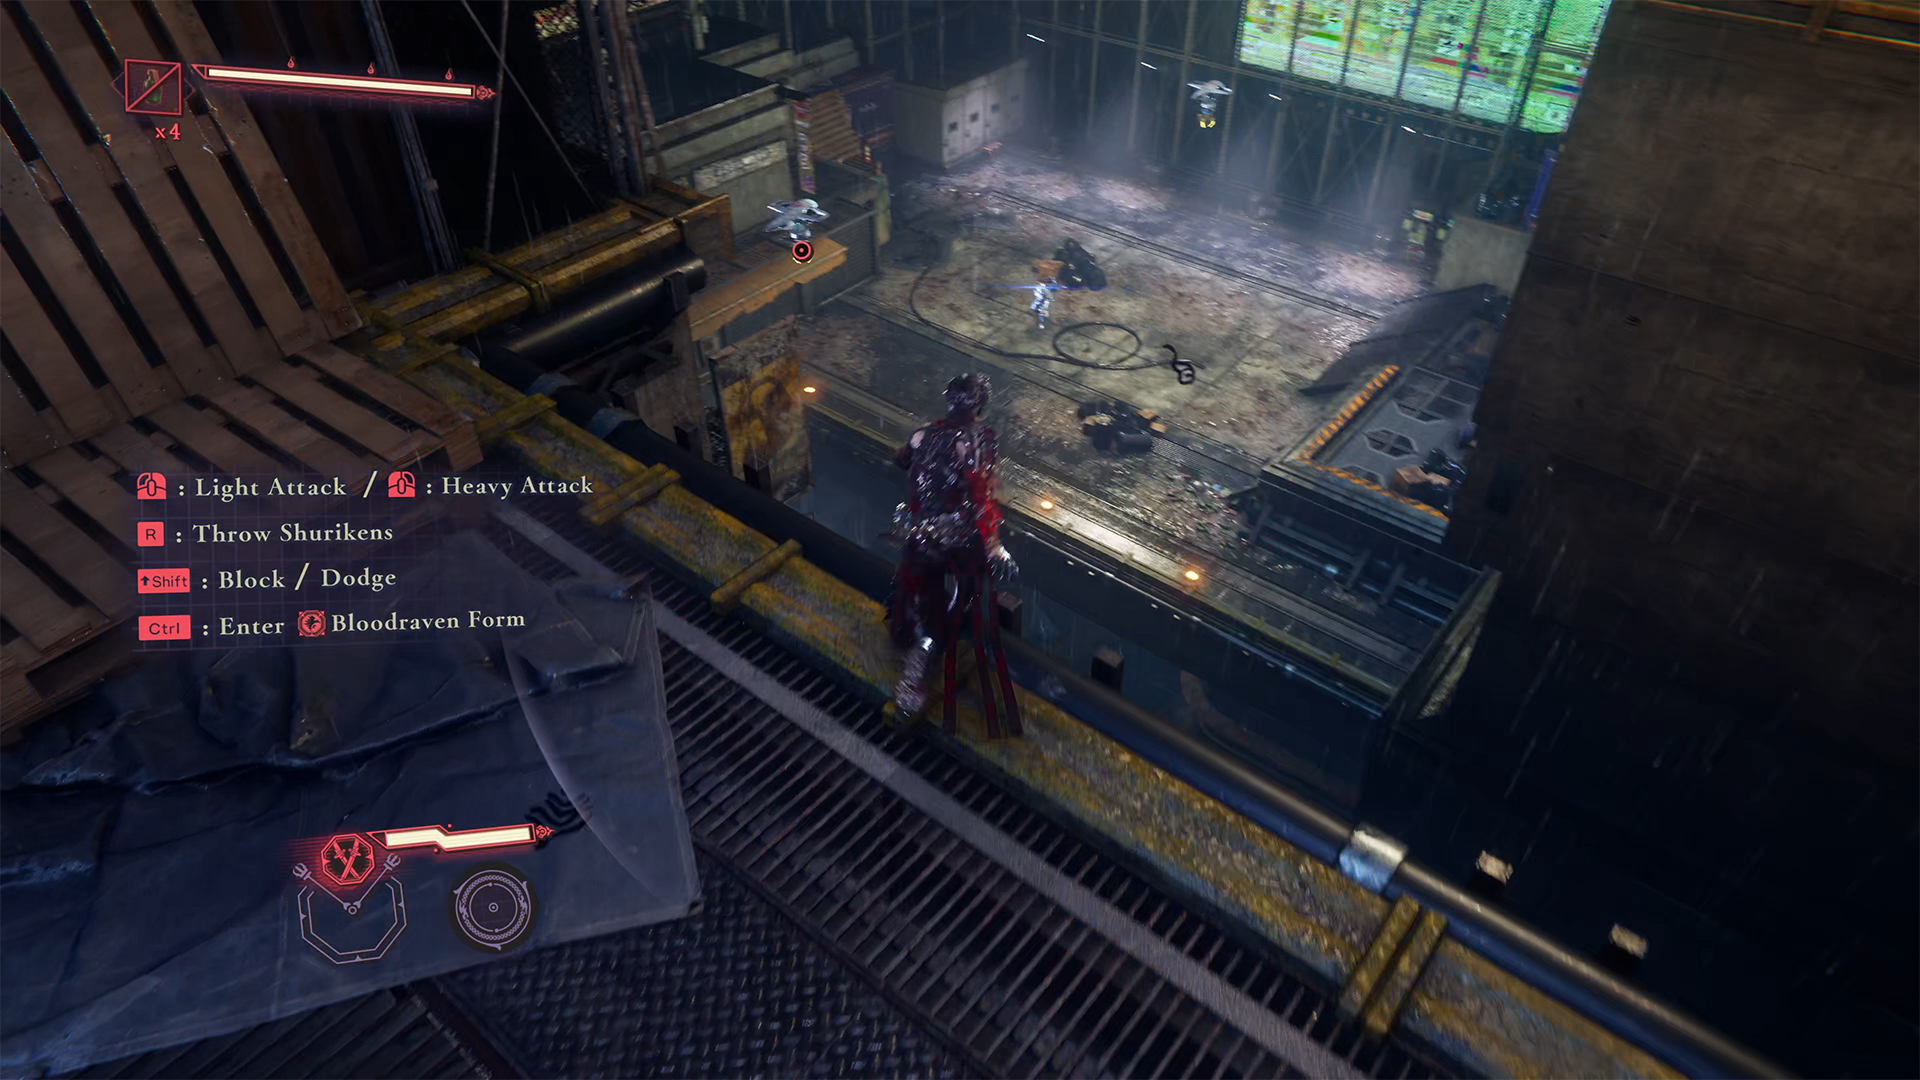
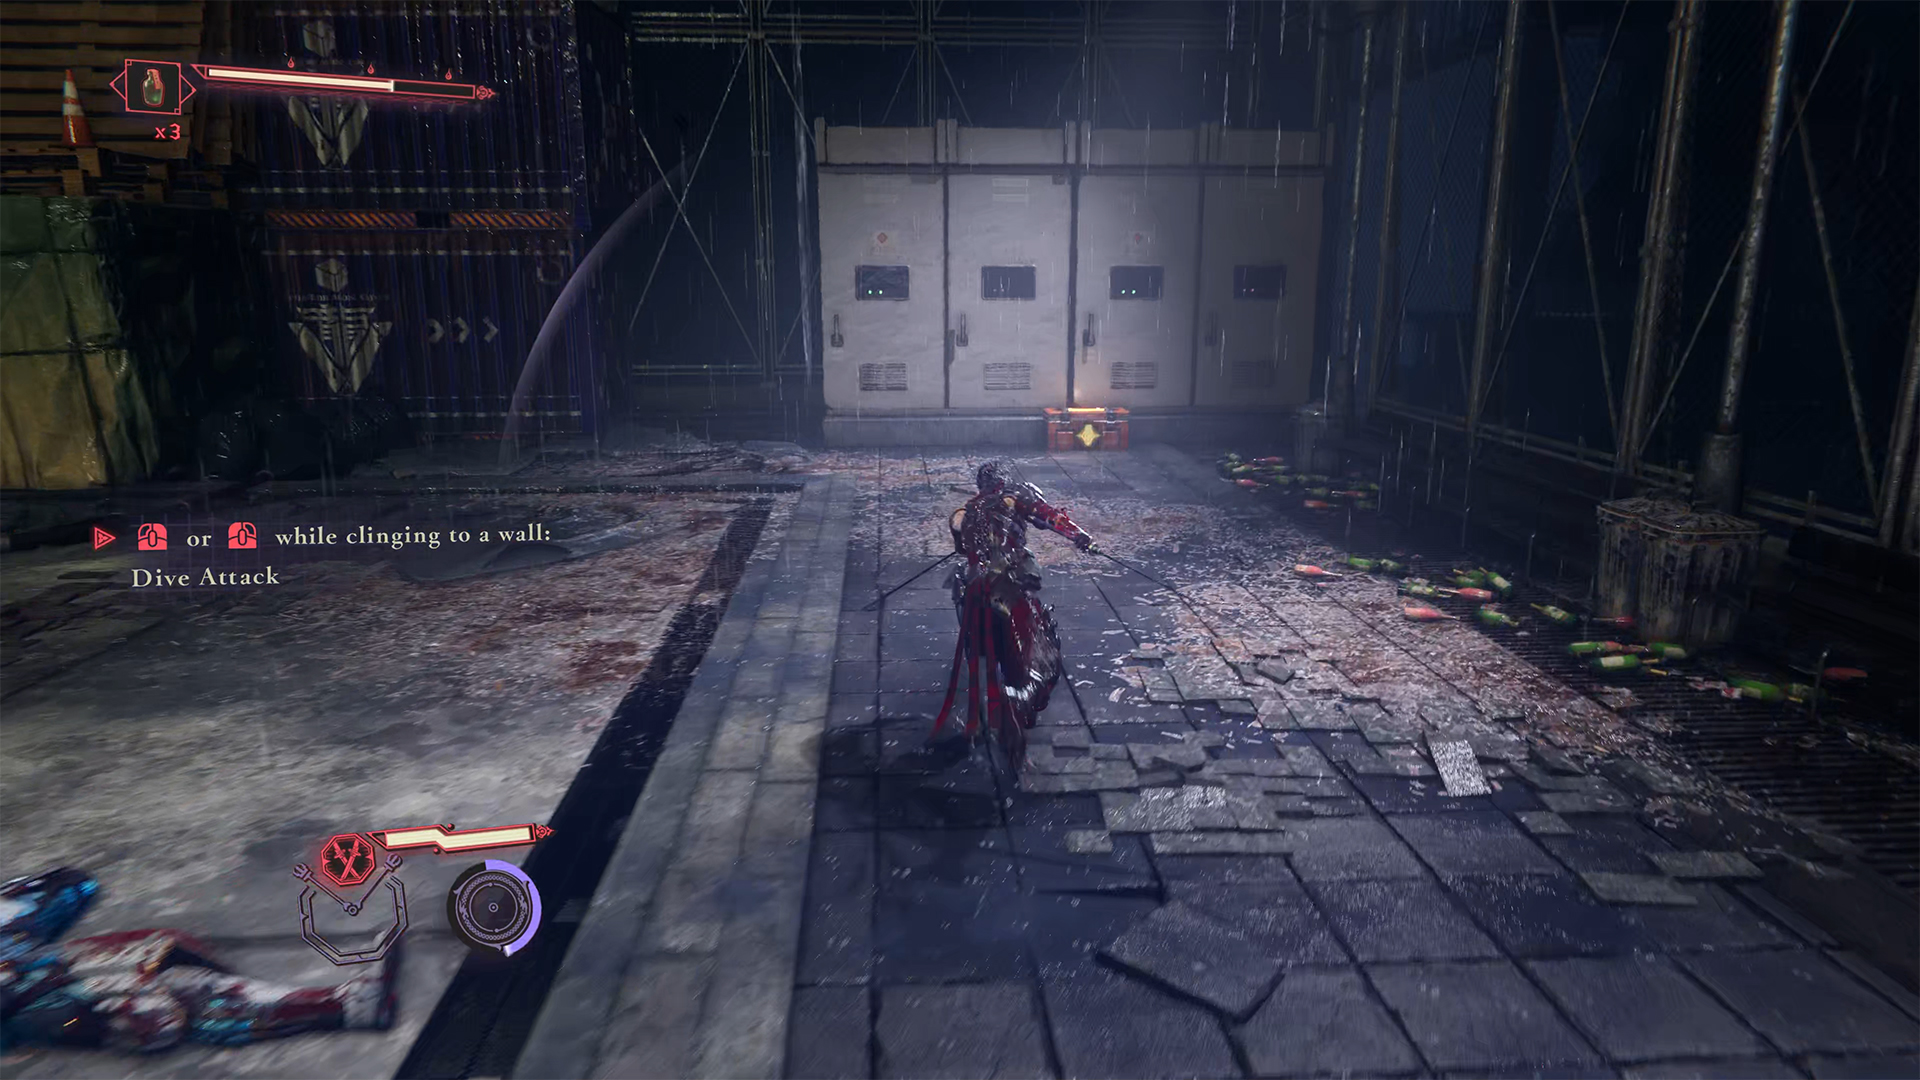
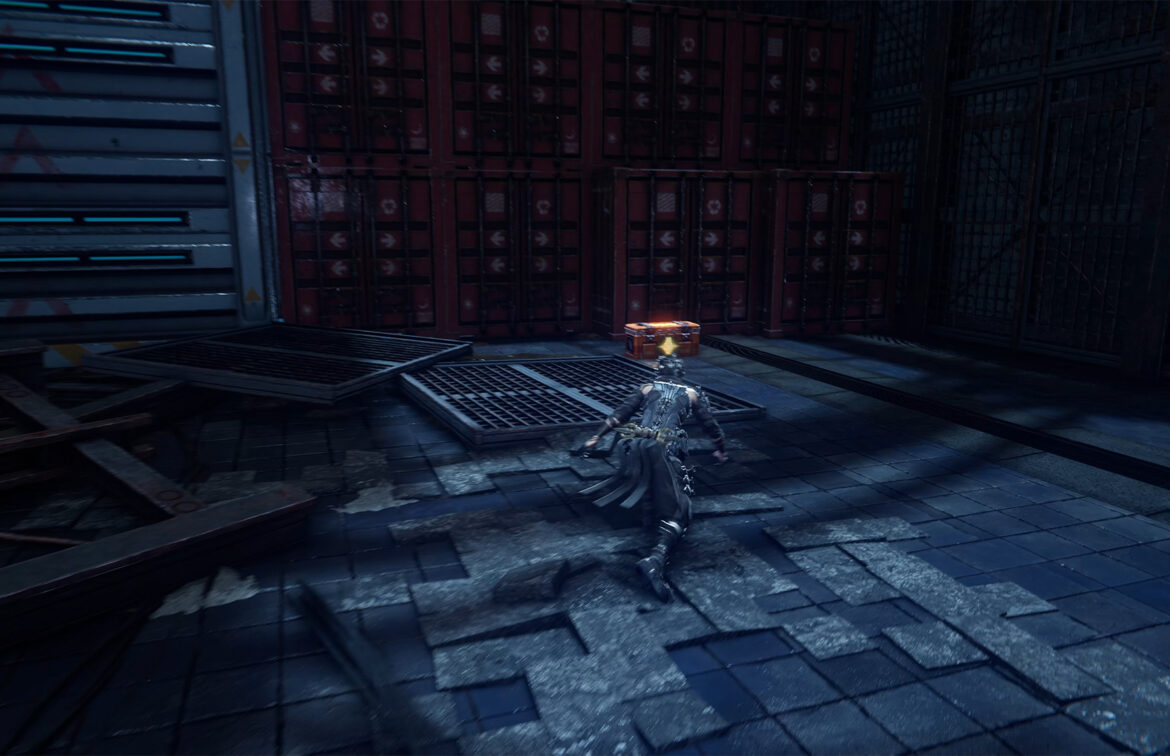
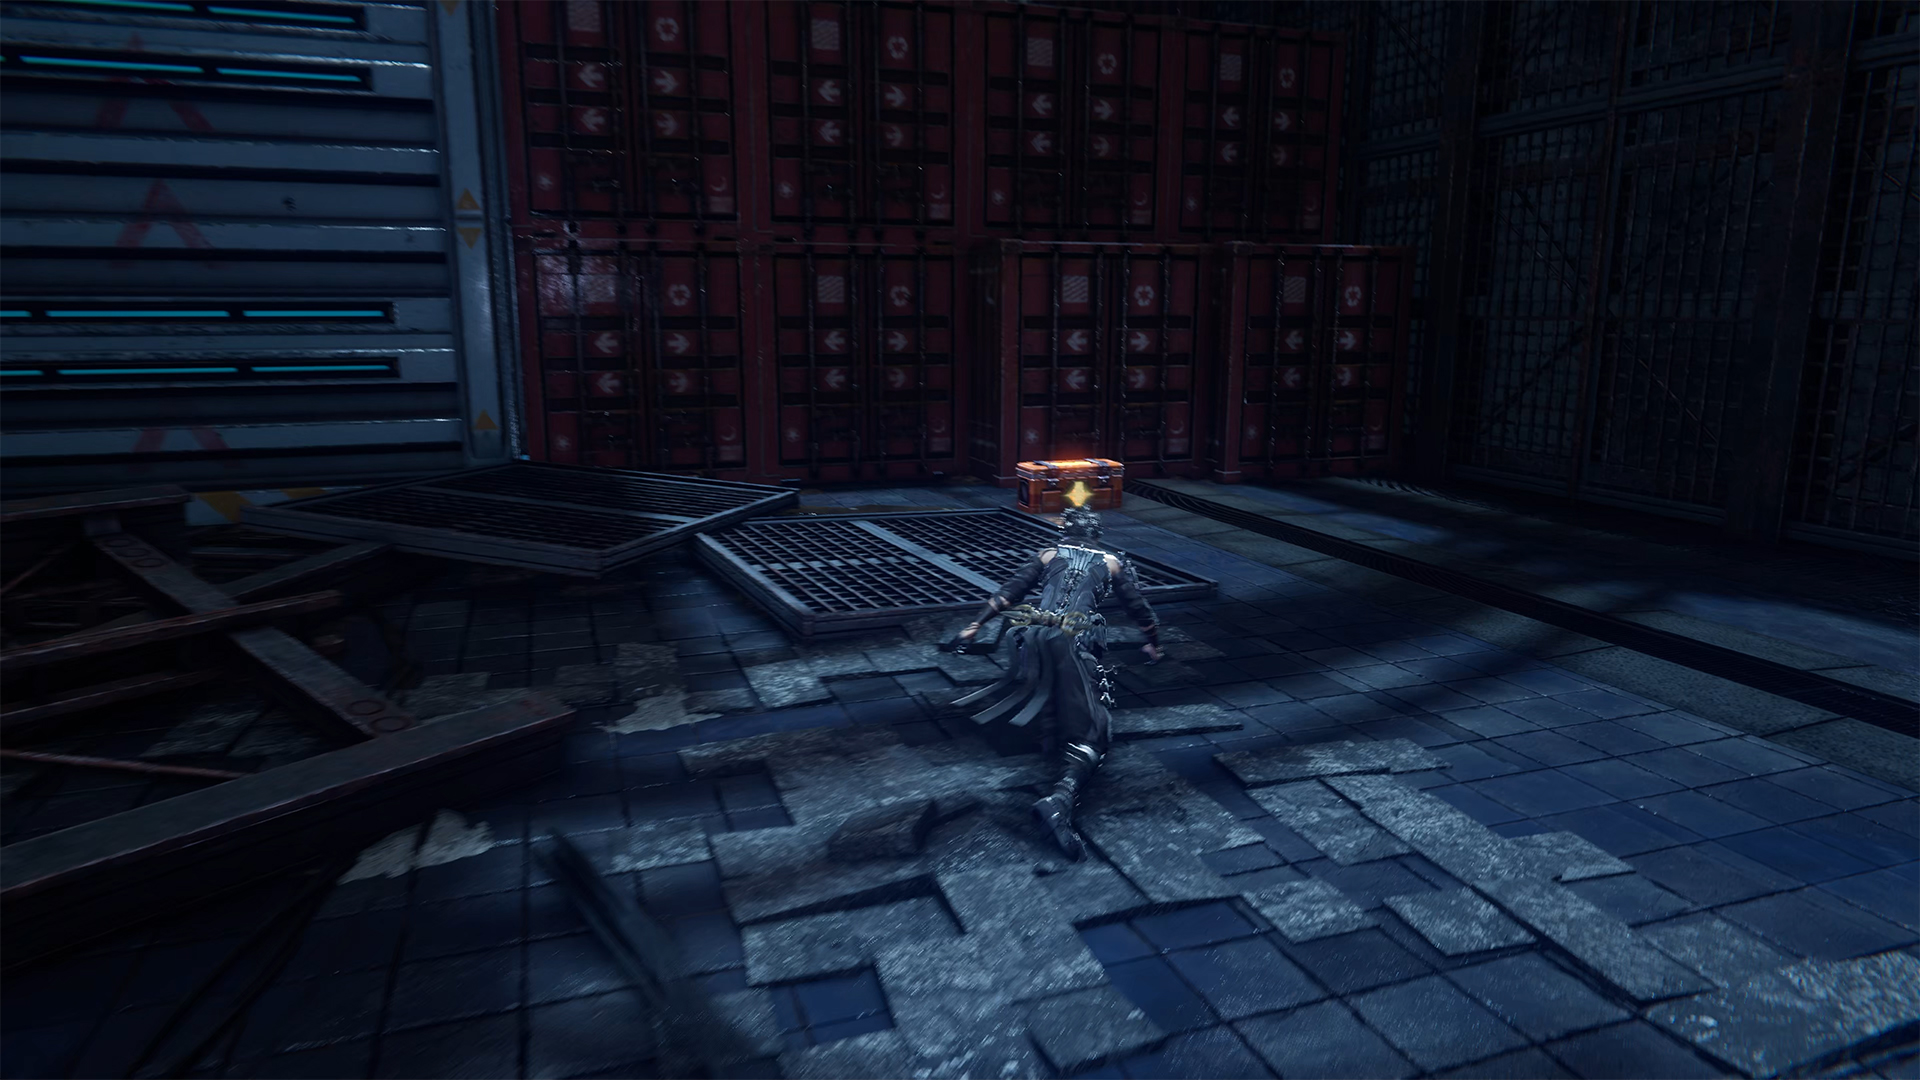
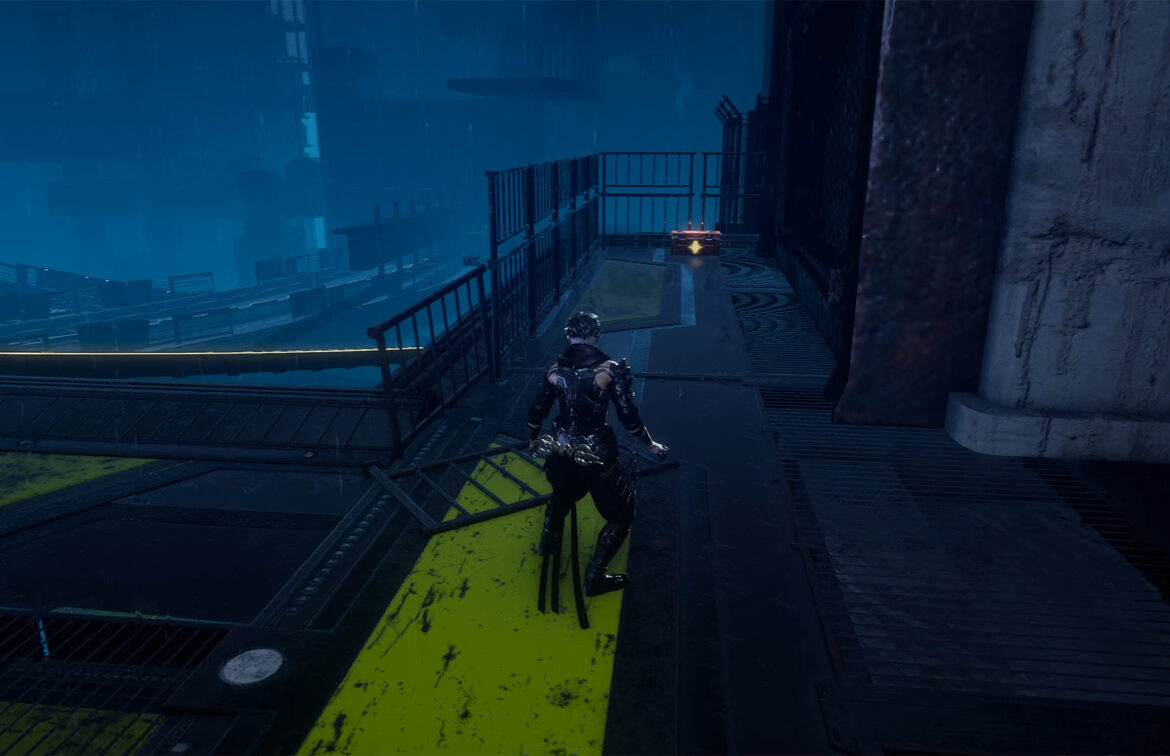
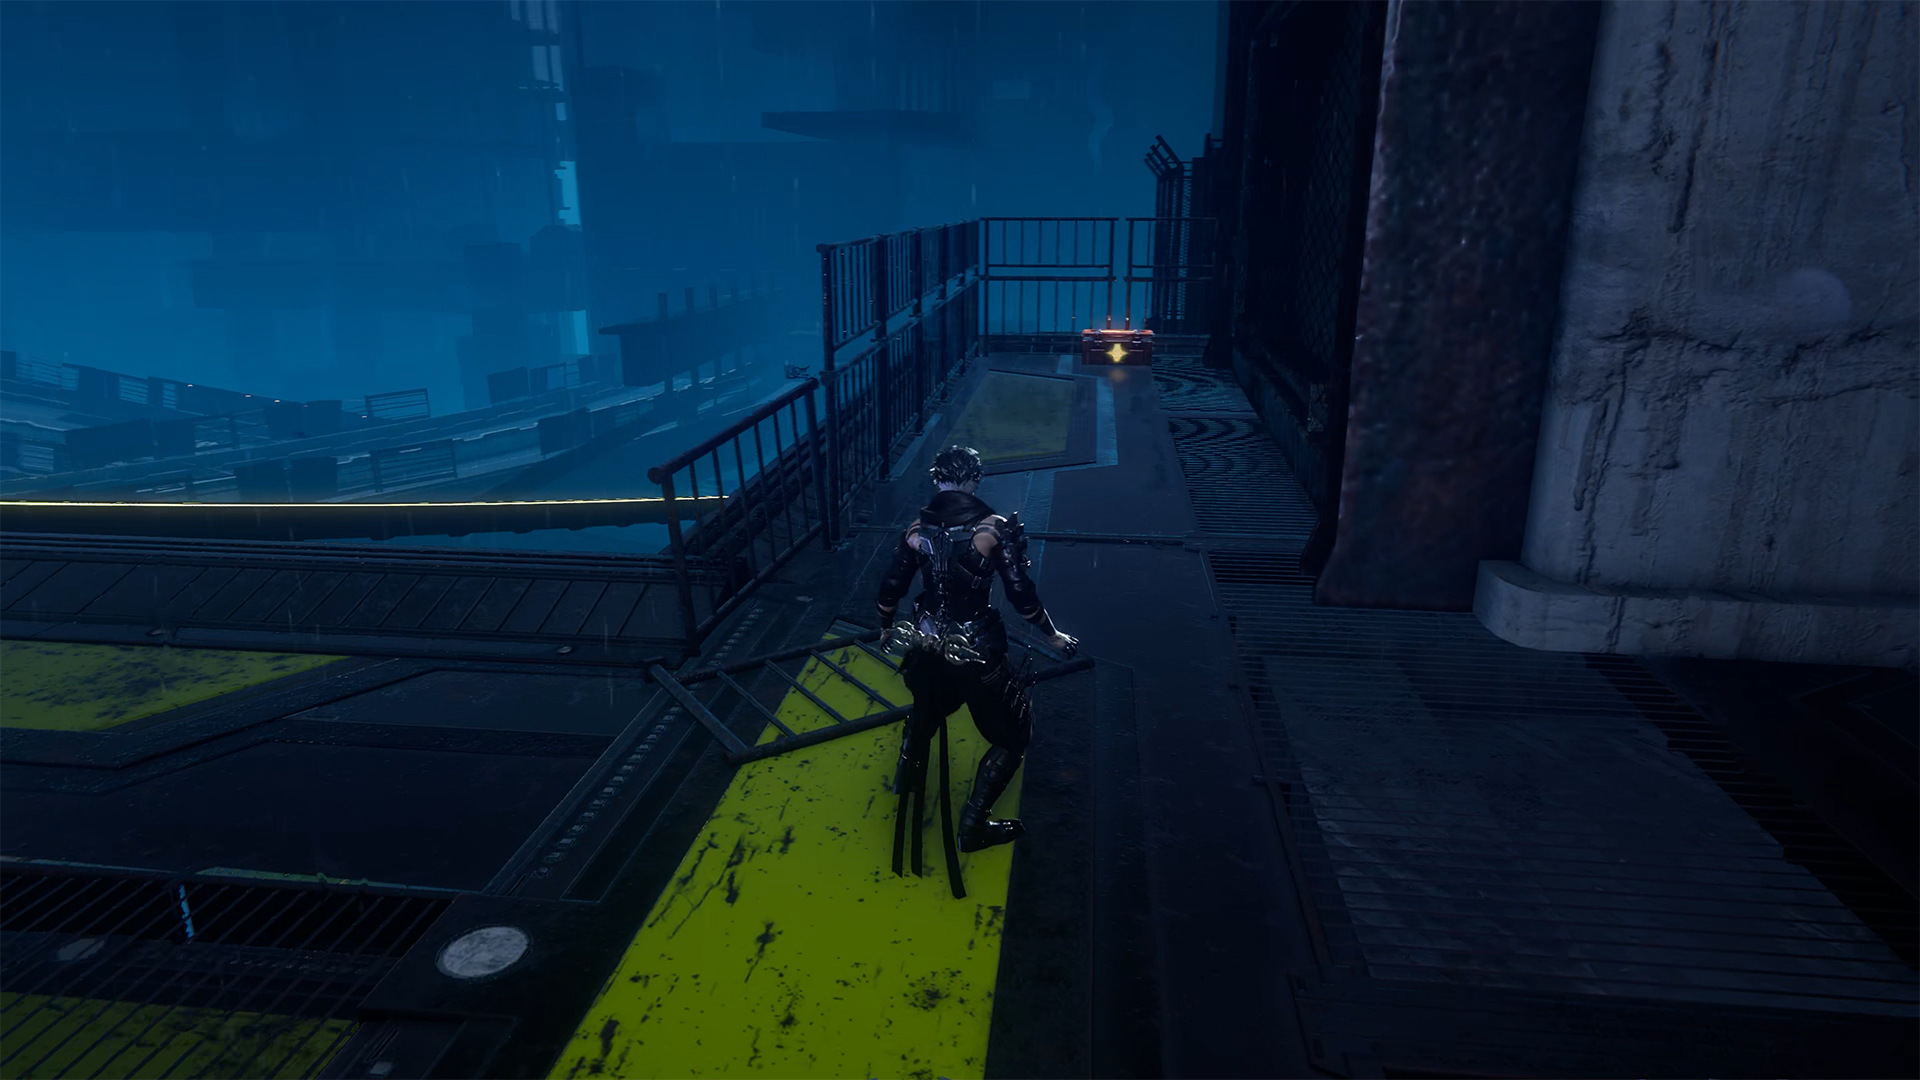
Continue through the story until you reach this location. You will see a yellow wall on the left and drones flying ahead. This is your introduction to aerial targets. You need to run along the wall and use the drone grapple to jump over a huge chasm. Enemies await you in this location, and you must deal with them. Note that there are search drones in the air that you can use to jump and attack enemies in the air.
These search drones do not attack you; they are your allies. After winning in this location, turn right. At the end, there will be one elite enemy, followed by a rail. Do not jump onto the rail under any circumstances, otherwise you will not be able to return here later. After defeating the enemy, open the chest on the left. Here you will find Black Scale.
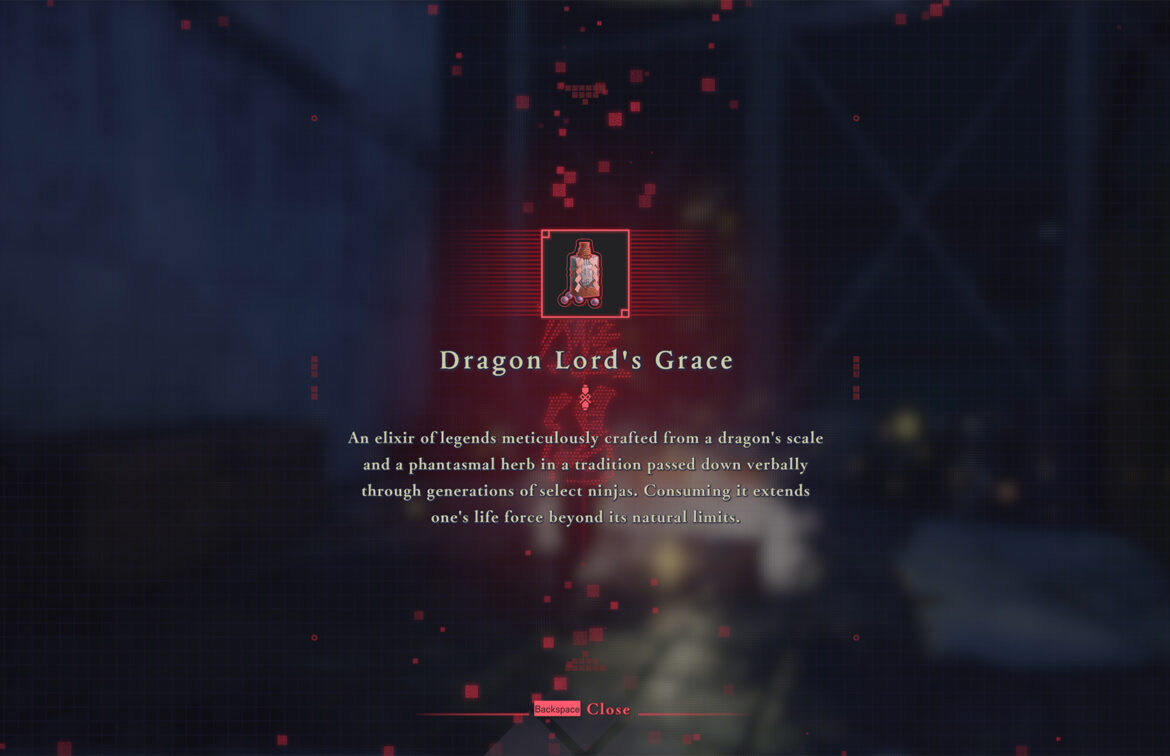
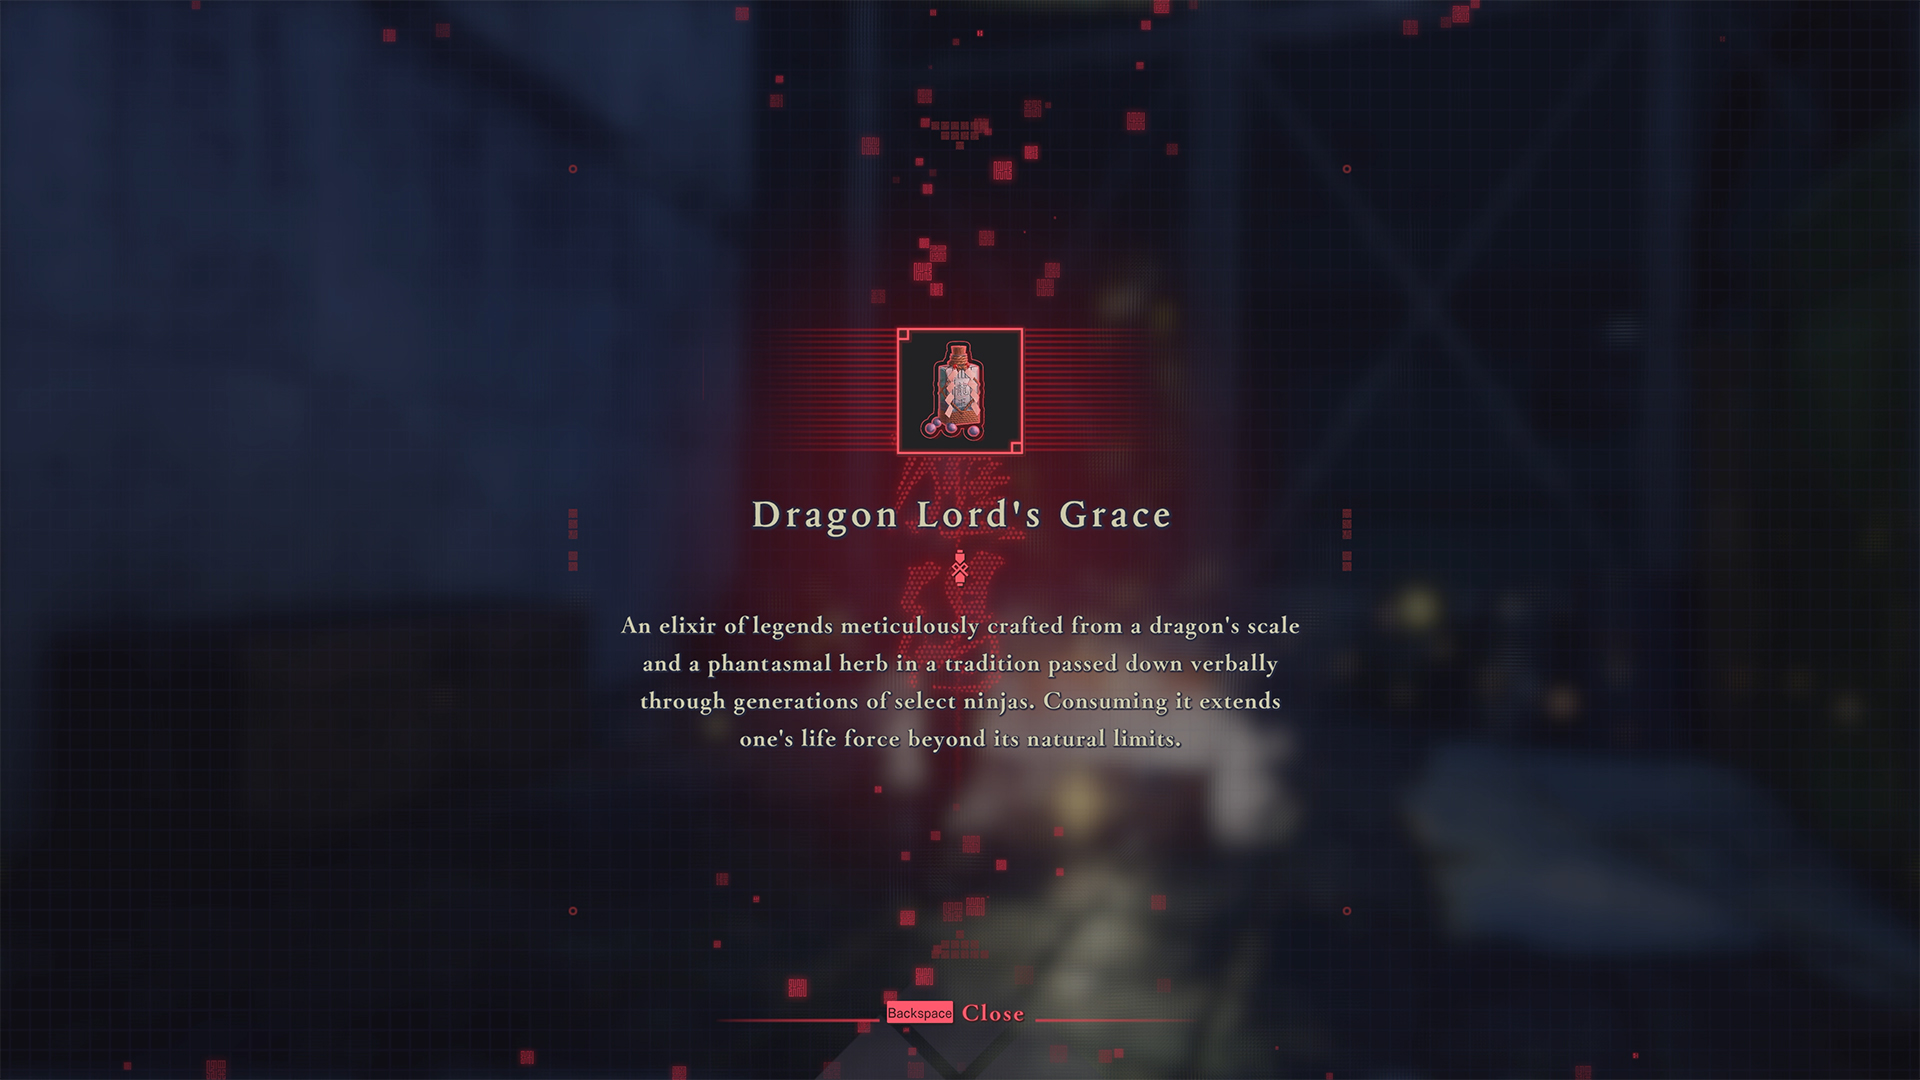
If you completed the Find the Data Chip in Sky City Tokyo quest in the first chapter, you received Phantasmal Herb, and now the game will automatically create Dragon Lord’s Grace for you, which will increase your health.
-
- Yellow wall – marker for understanding
-
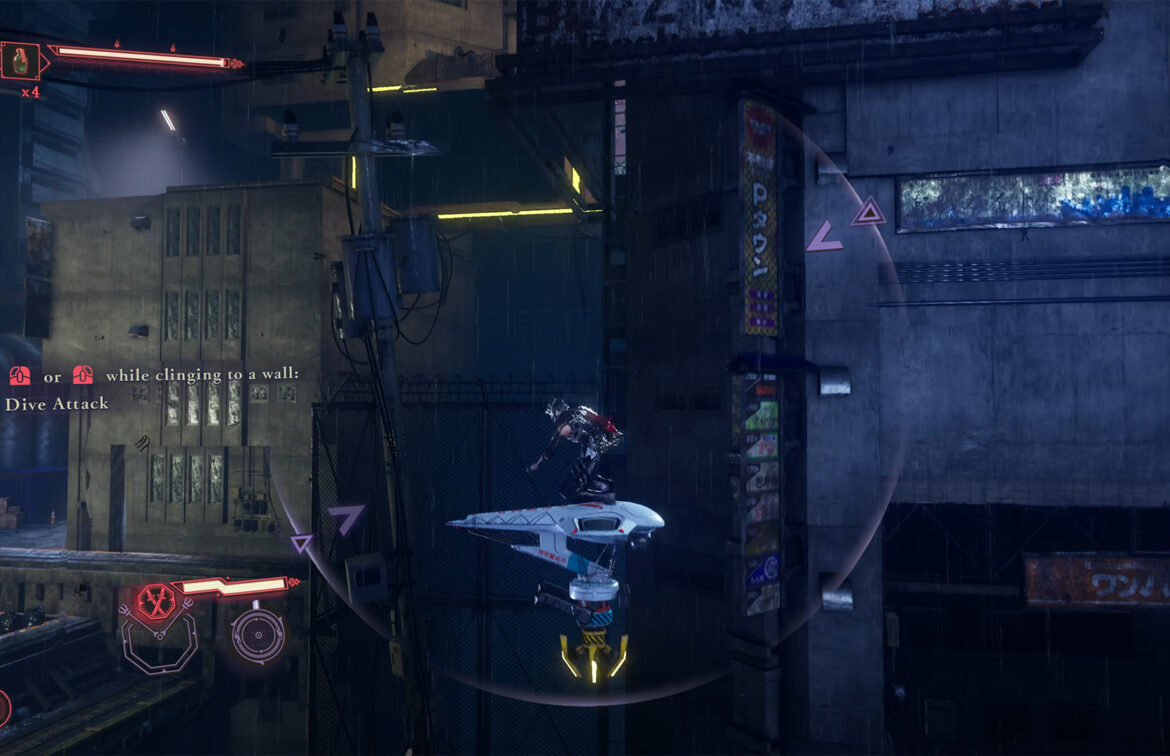
- Jump on a flying drone
-
- Defeat your opponents on this stage
-
- Elite enemy in front of the chest
-
- Chest with Black Scale
-
- Automatic creation of Dragon Lord’s Grace
Two chests with Rejuvenation Elixir
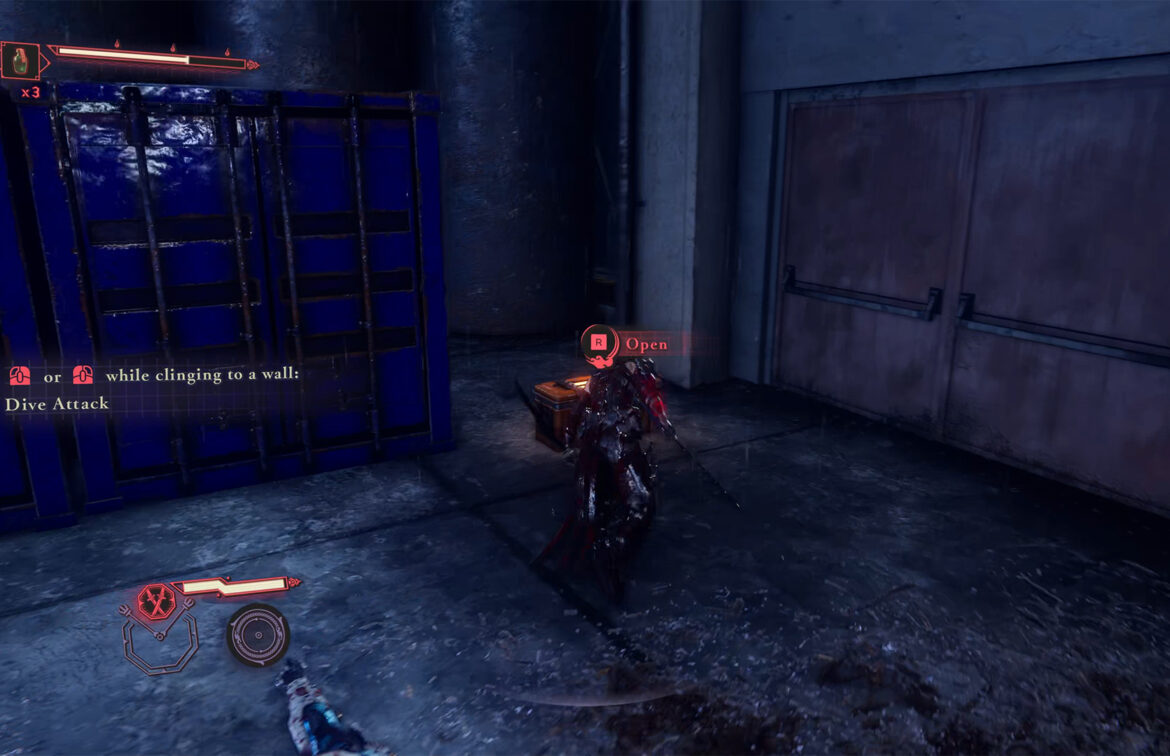
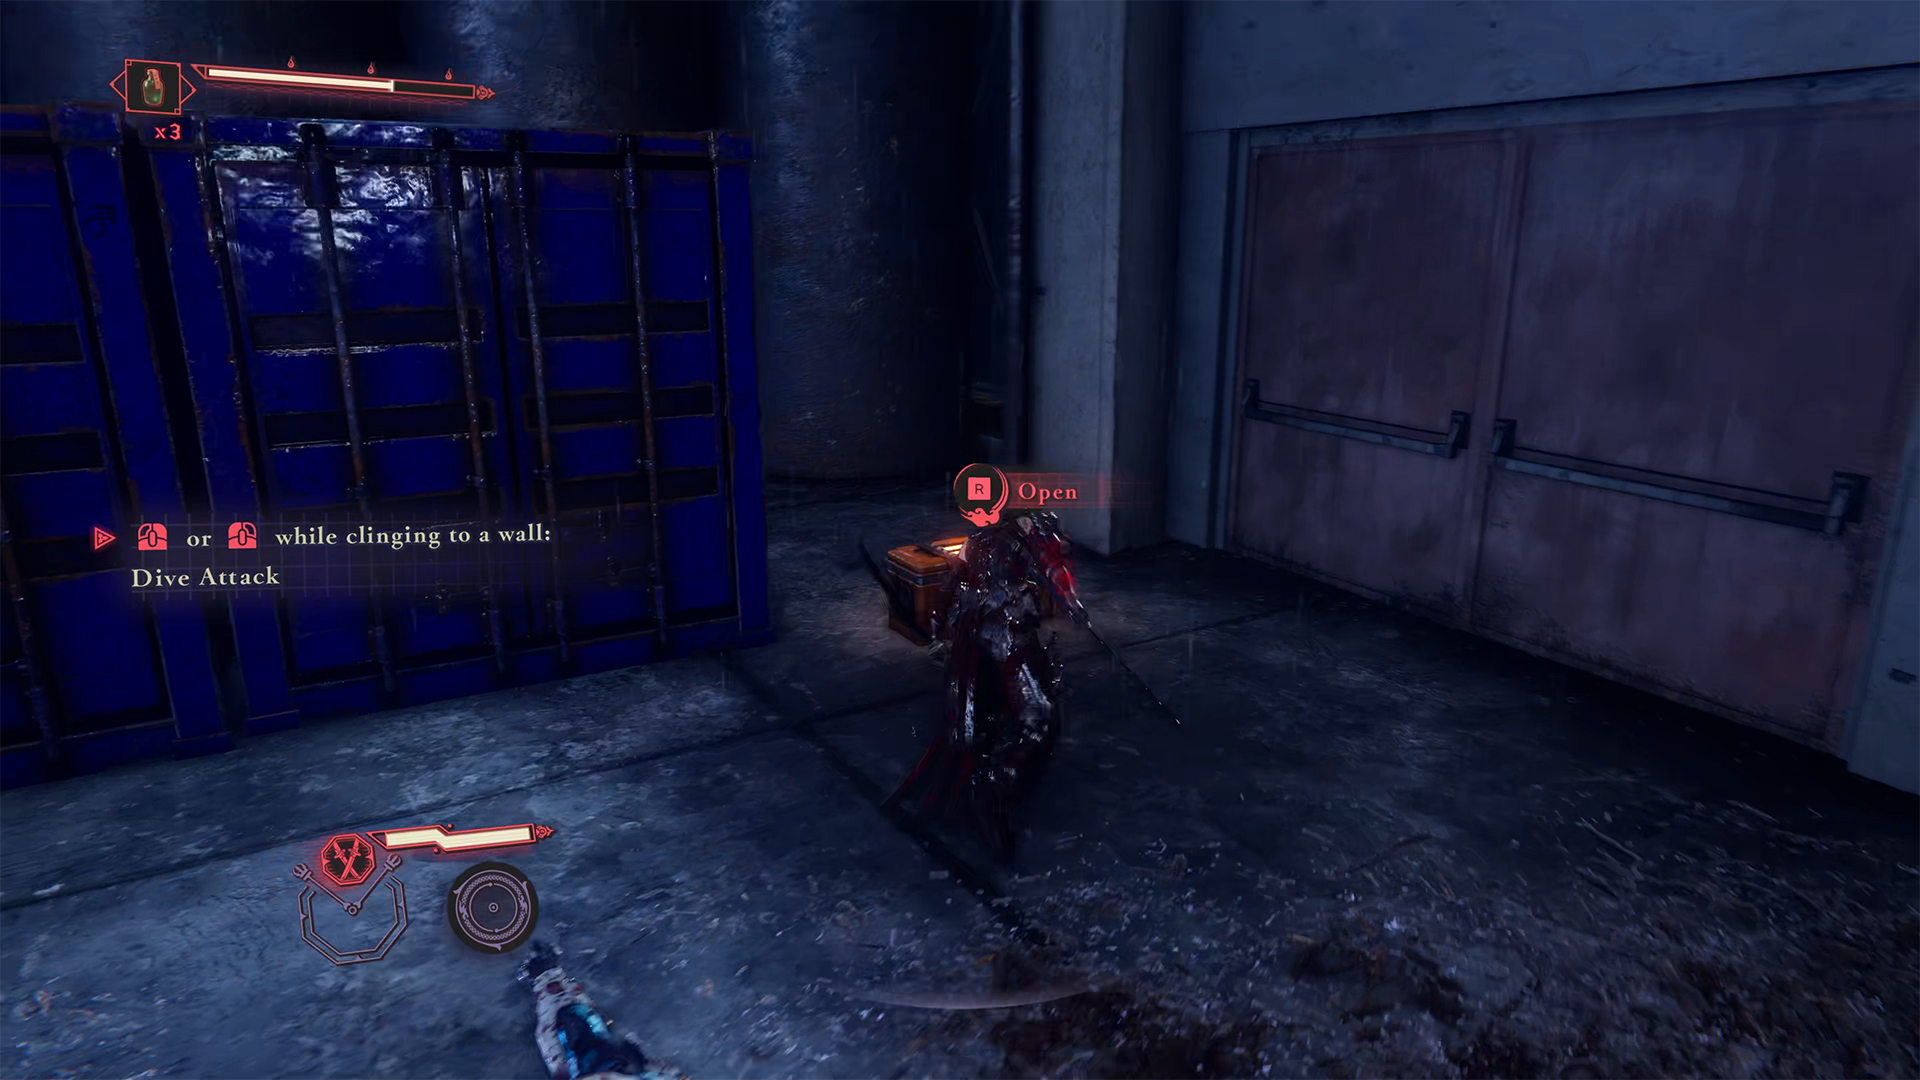
Now turn around and run back to where your first battle with flying drones took place. As you run forward, you will see a chasm, and further on there will be an area with enemies. Use your grappling technique to jump into this location. Here you must defeat all enemies. I recommend dealing with the enemies flying in the air first, and then destroying the ground targets.
You will find two chests in this area. The first one will be near metal cabinets that look like electrical panels. The second chest is in the other corner of the location, behind a large blue metal container. Each chest contains a Rejuvenation Elixir, a useful item that you shouldn’t miss. After that, you need to return to the place where the first battle with flying drones took place.
-
- Find the platform over the chasm
-
- First chest with Rejuvenation Elixir
-
- Second chest with Rejuvenation Elixir
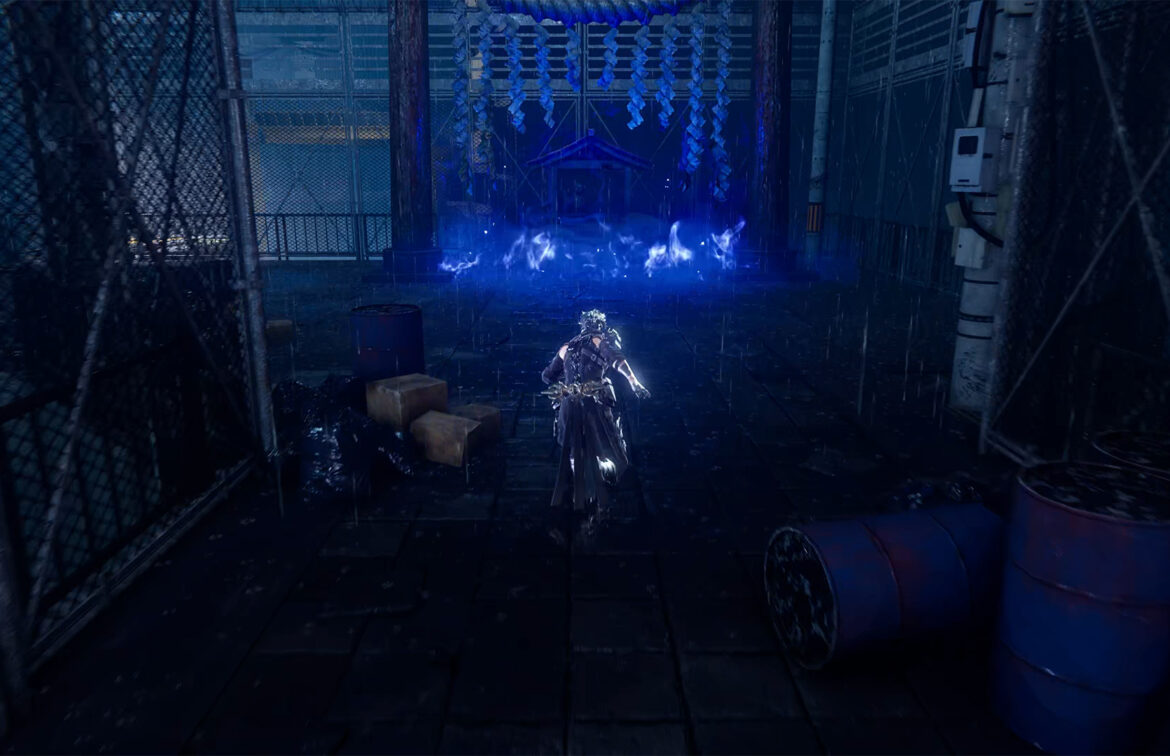
Purgatory location
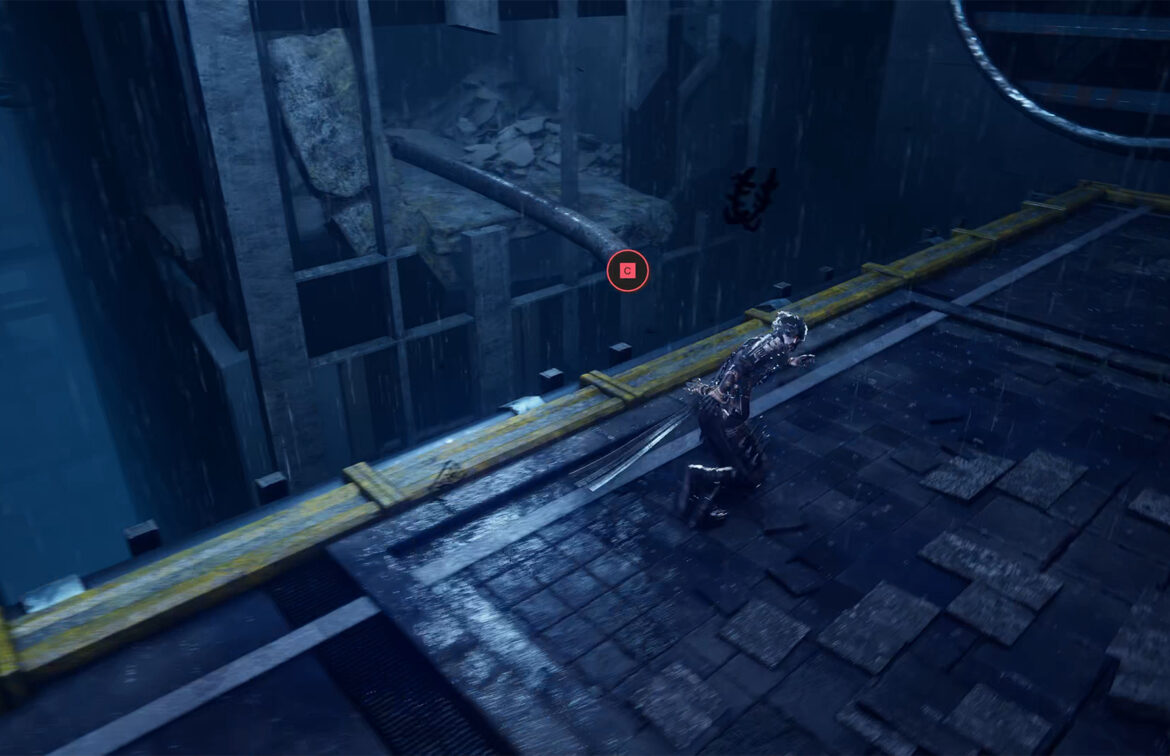
At this point, go behind the blue metal containers, as I show you in the video. Here you will see an opportunity to jump onto the old rail. This is the path to the location where you can pass the Purgatory trial and earn some NinjaCoin and coins to buy Weapon Skills.
Upon entering, you will be asked to choose a room for the trial. Before you choose the room with the biggest reward, you should know that upon entering each room, a certain amount of health will be taken away from you and you will not be able to replenish it with an elixir. Your health will decrease for the entire duration of this trial. Accordingly, the less health you have, the more difficult it will be for you to deal with enemies.
And the enemies are more difficult in the room with the better reward, so think carefully, considering your character control skills, which room suits you best. Of course, you can skip this trial, it is not mandatory. But only if the price of your victory, the potions used, is more expensive than the reward received.
-
- The beginning of the path to Purgatory
-
- Entrance to Purgatory

-
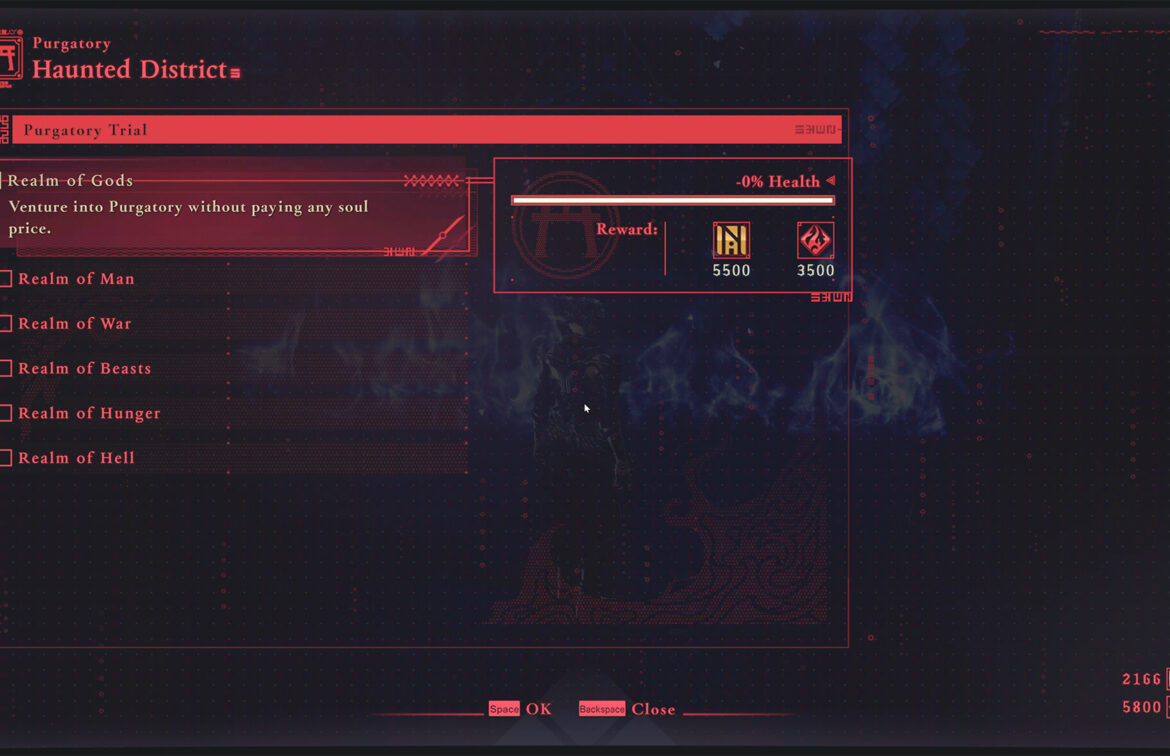
- Difficulty and reward settings

-
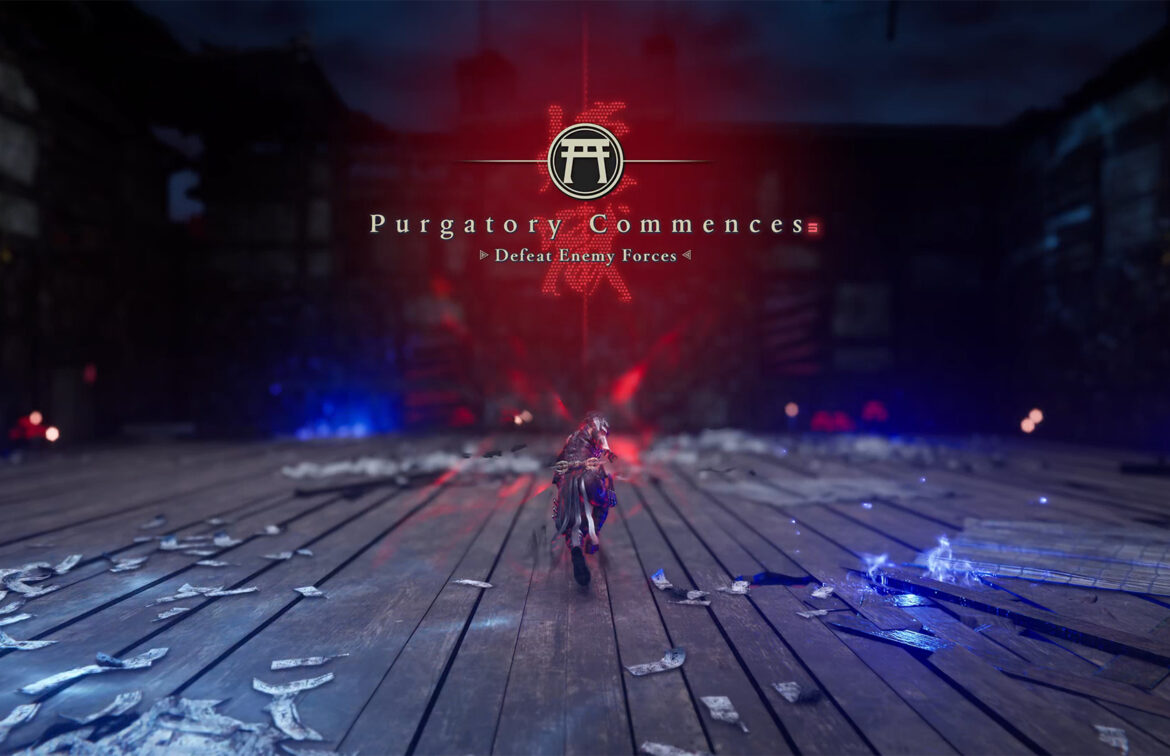
- The beginning of Purgatory
Second DarkNest Terminal – Execute the DDO Bodyguards
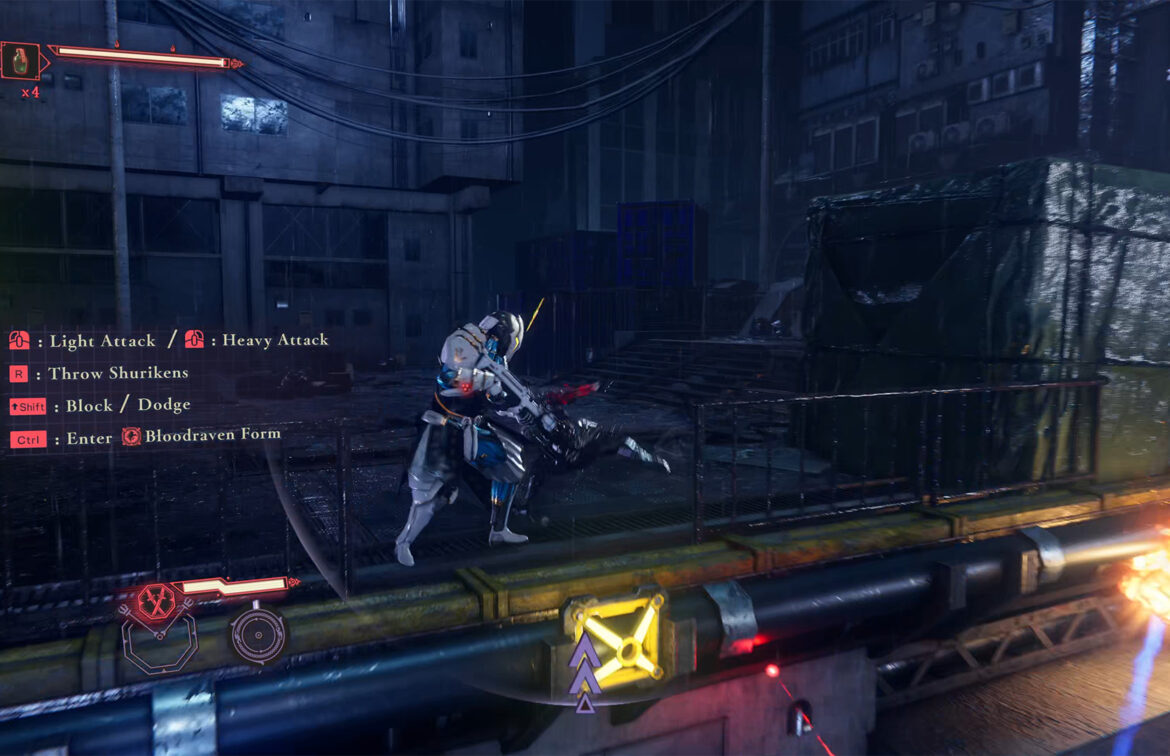
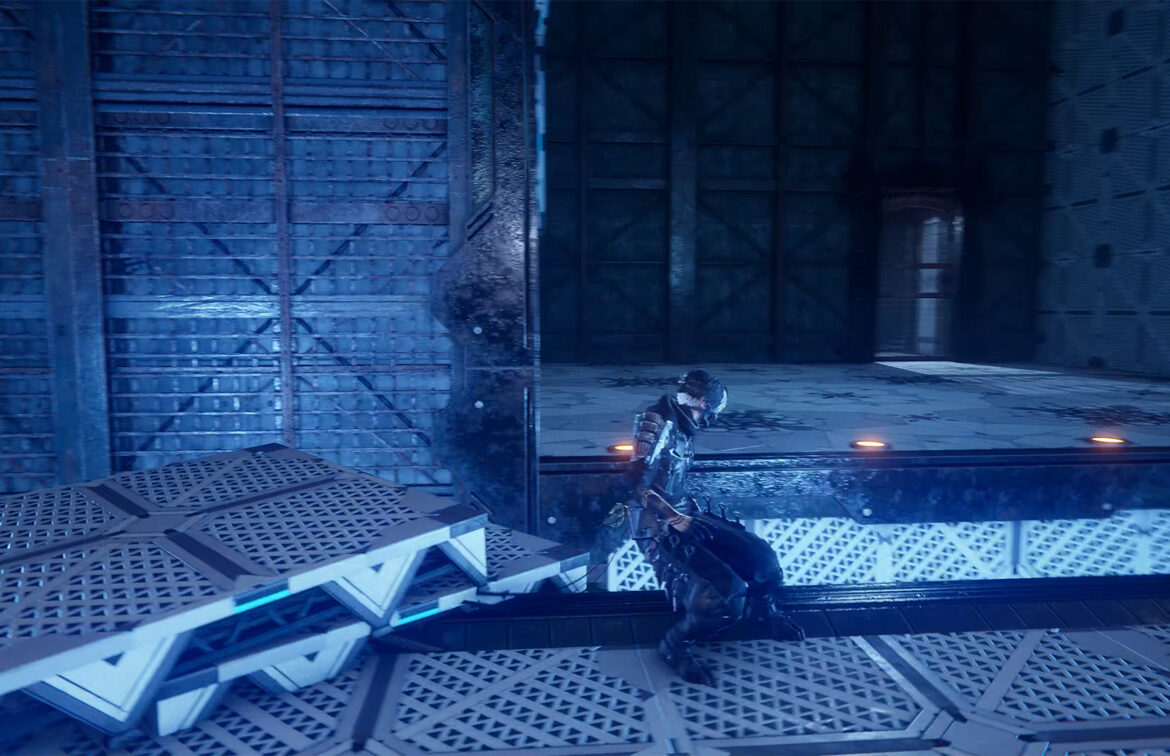
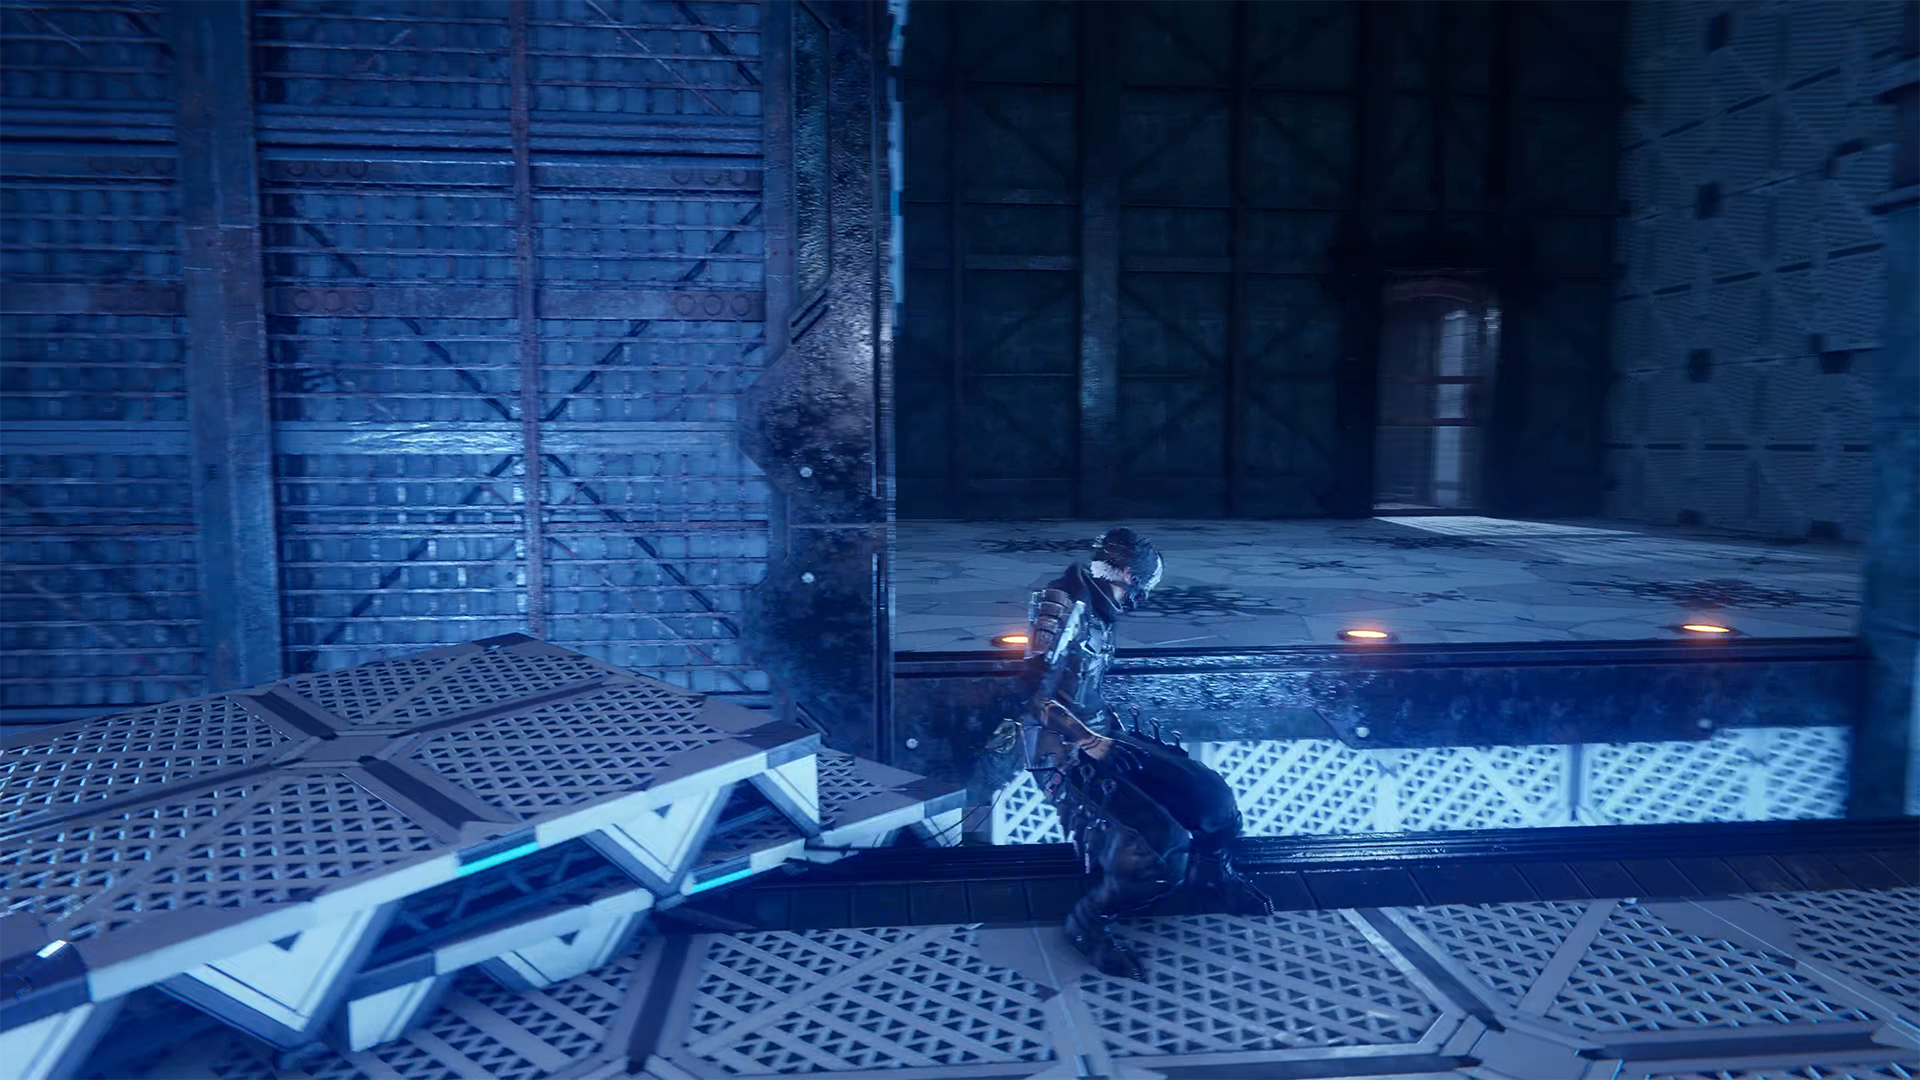
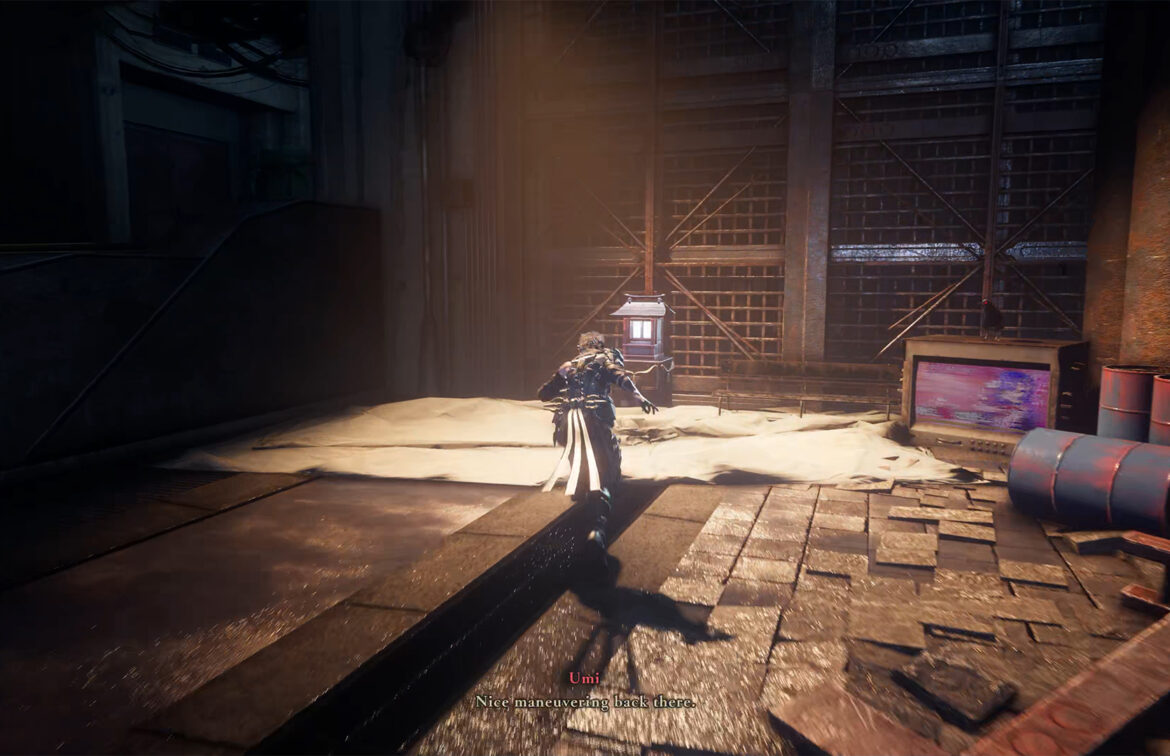
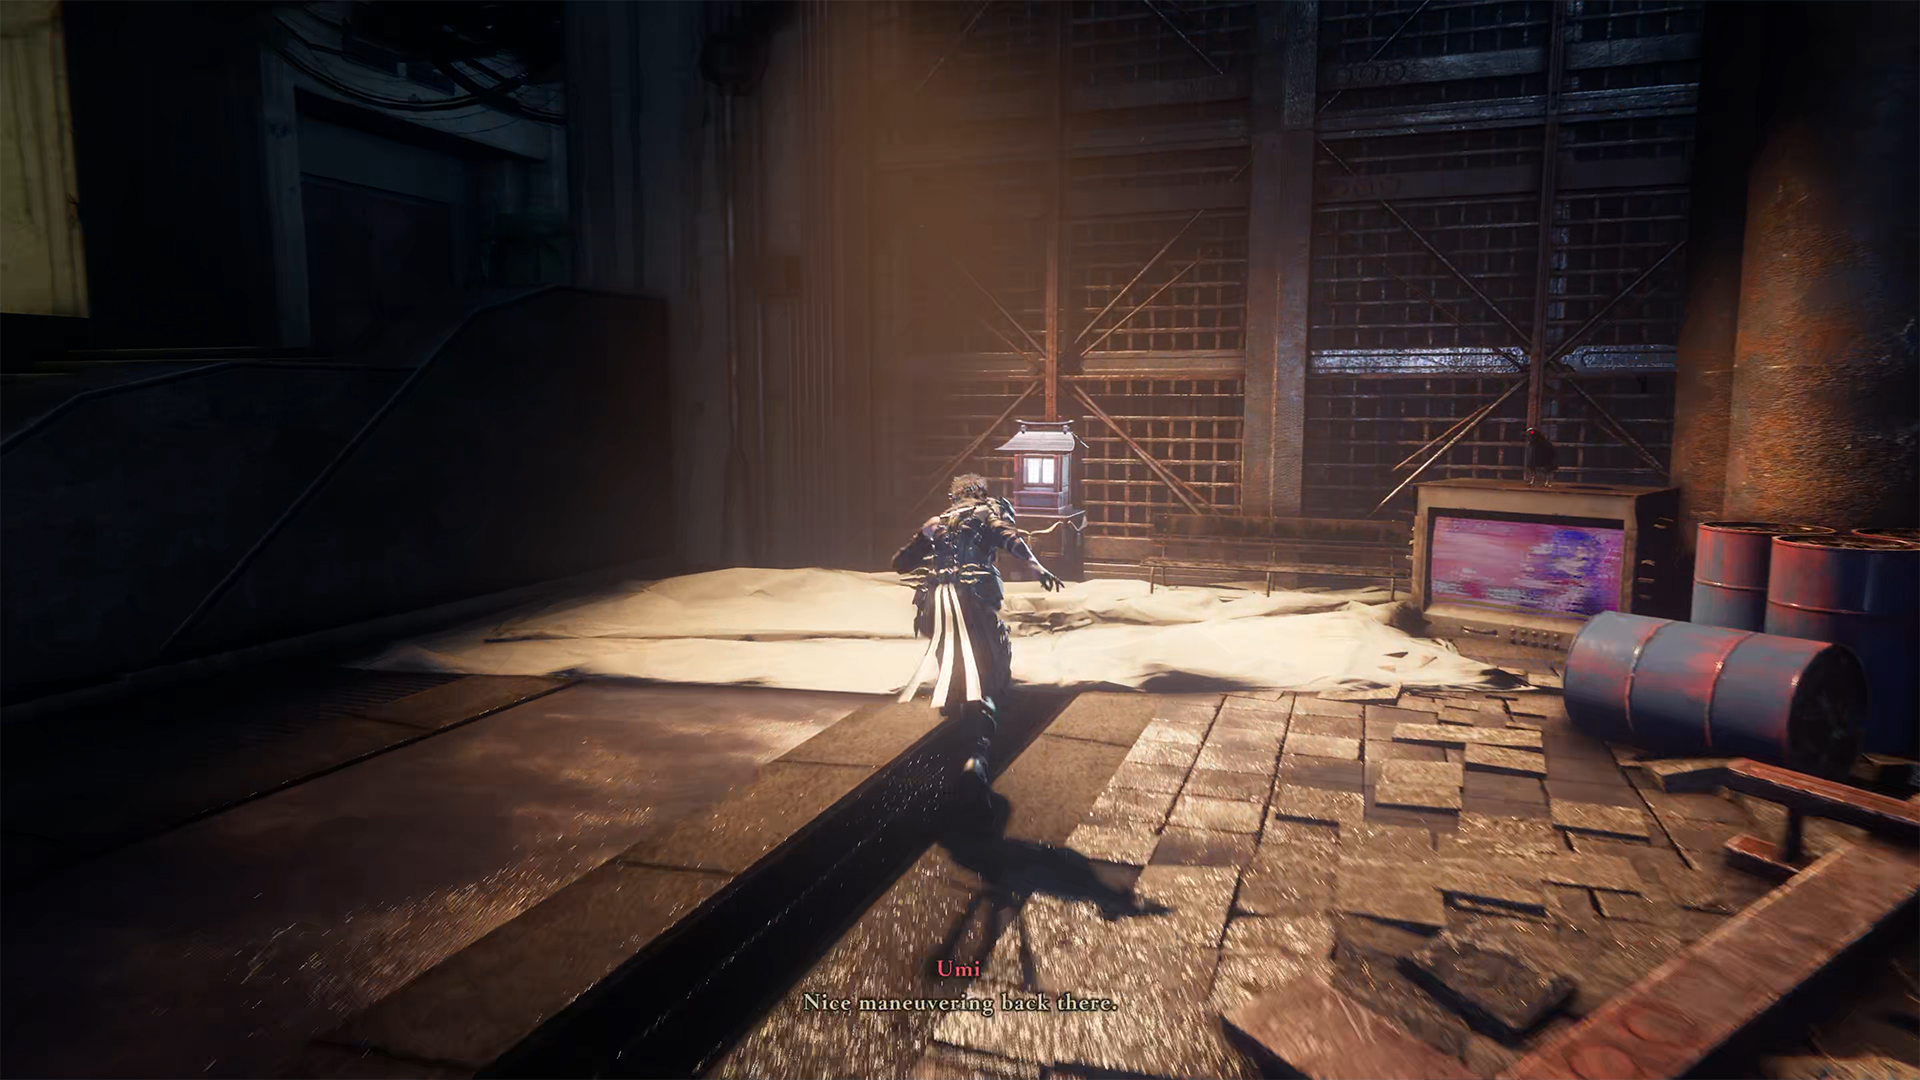
Now you can move on. Jump onto the rail next to the chest where you found the Black Scale. This path will lead you to the second DarkNest Terminal. Before you reach it, you will have to fight a large number of enemies, and then a large gate with red neon lights will open, and you will find yourself in a room with the DarkNest Terminal and a raven that helps you learn combat skills.
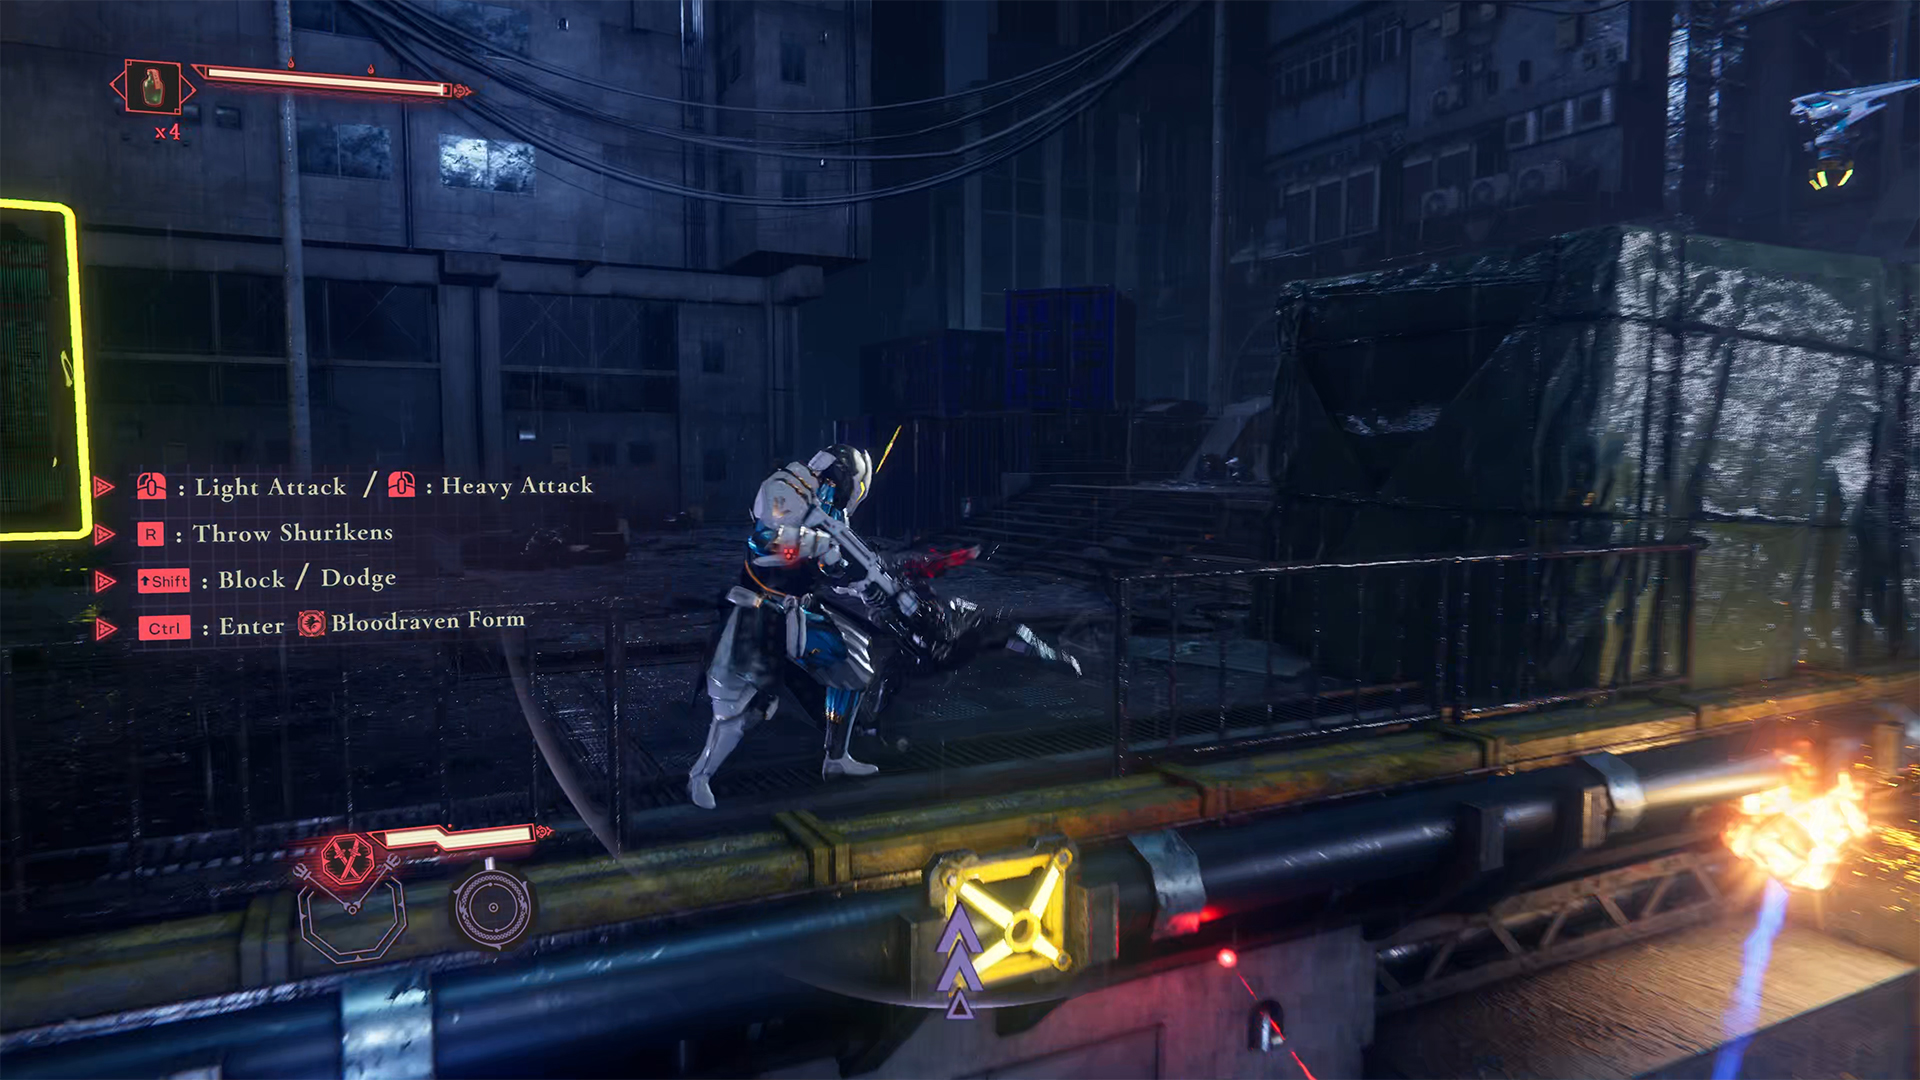
Use the Flying Bird Flip to climb to the second floor. Here you will see a closed door. We will return to it later. First, turn around and jump into the other room next to it. This is the path to the place where you can complete the Execute the DDO Bodyguards quest. Here you need to follow a simple linear path until you find yourself in a room with many enemies. To successfully complete the mission, first try to destroy the enemies in the air who are shooting, and only then the targets on the ground. As a reward for this task, you will receive 3,500 NinjaCoins.
The Execute the Otherworldly Invaders mission is also completed in this location, but even if you accept this quest, you will only be able to complete it on your second playthrough of this chapter after the finale. So for now, just ignore this quest. The time will come when you can complete it. For now, it is not available to you.
-
- Jump onto the rail
-
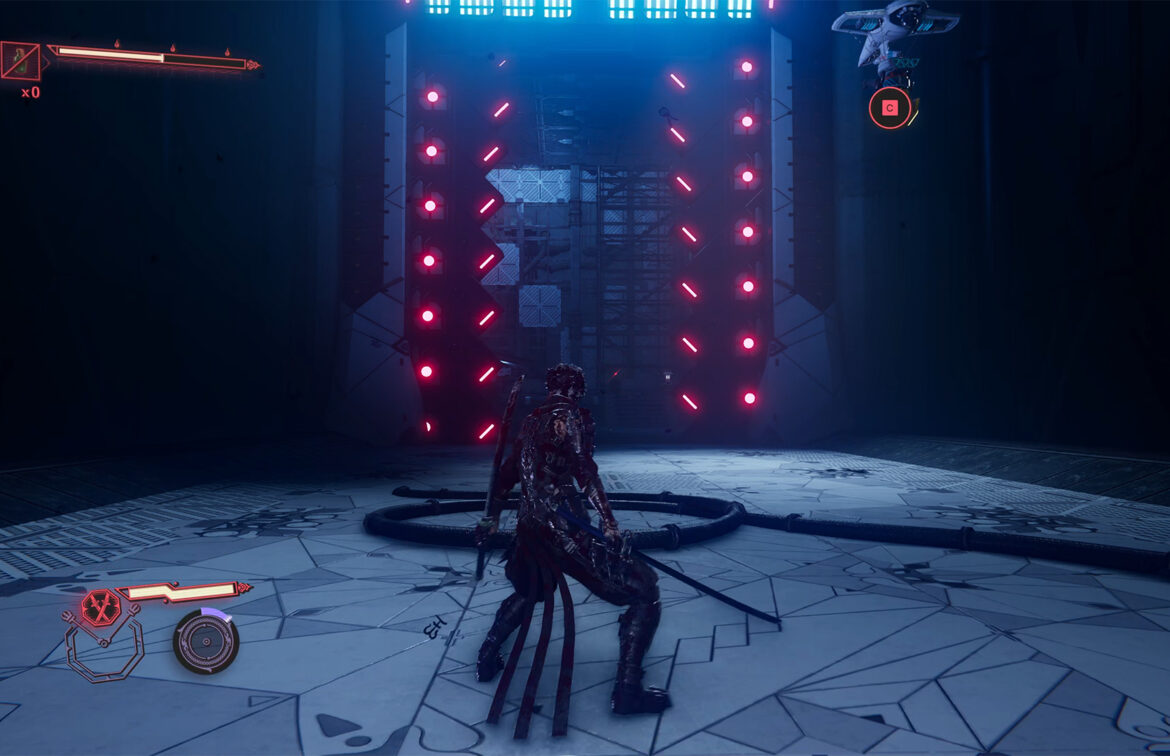
- The large gate you must enter
-
- The path to completing the mission
-
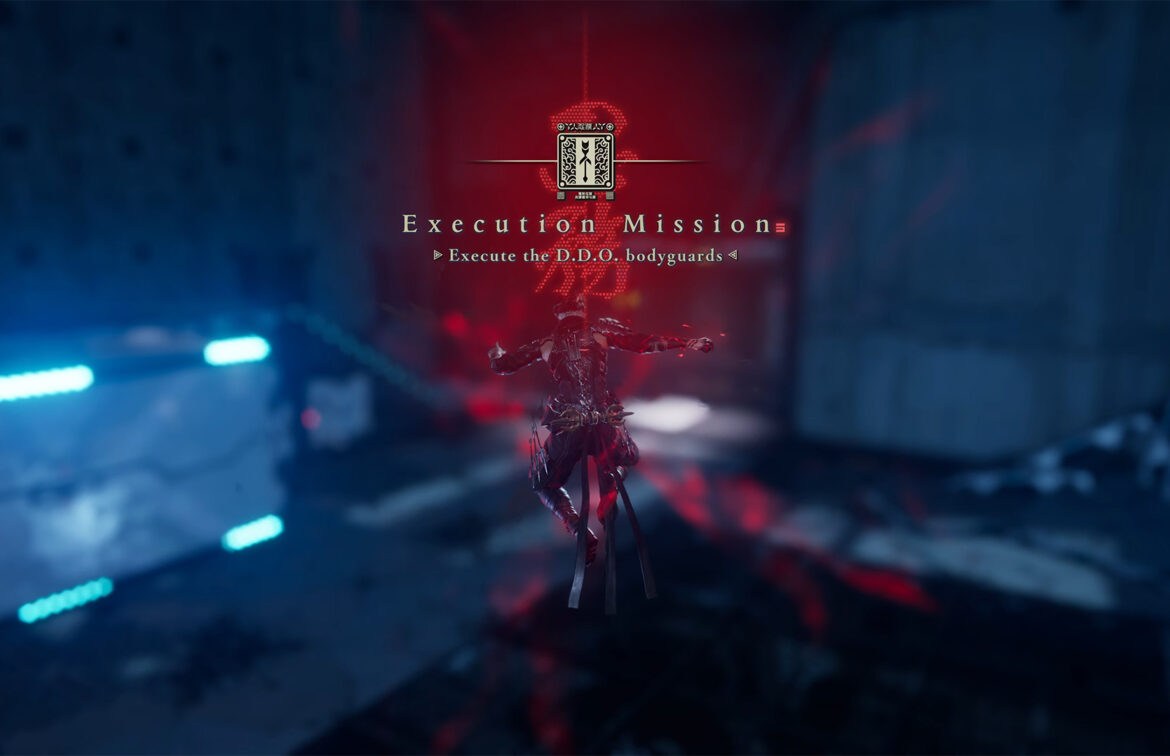
- Start Execute the DDO Bodyguards

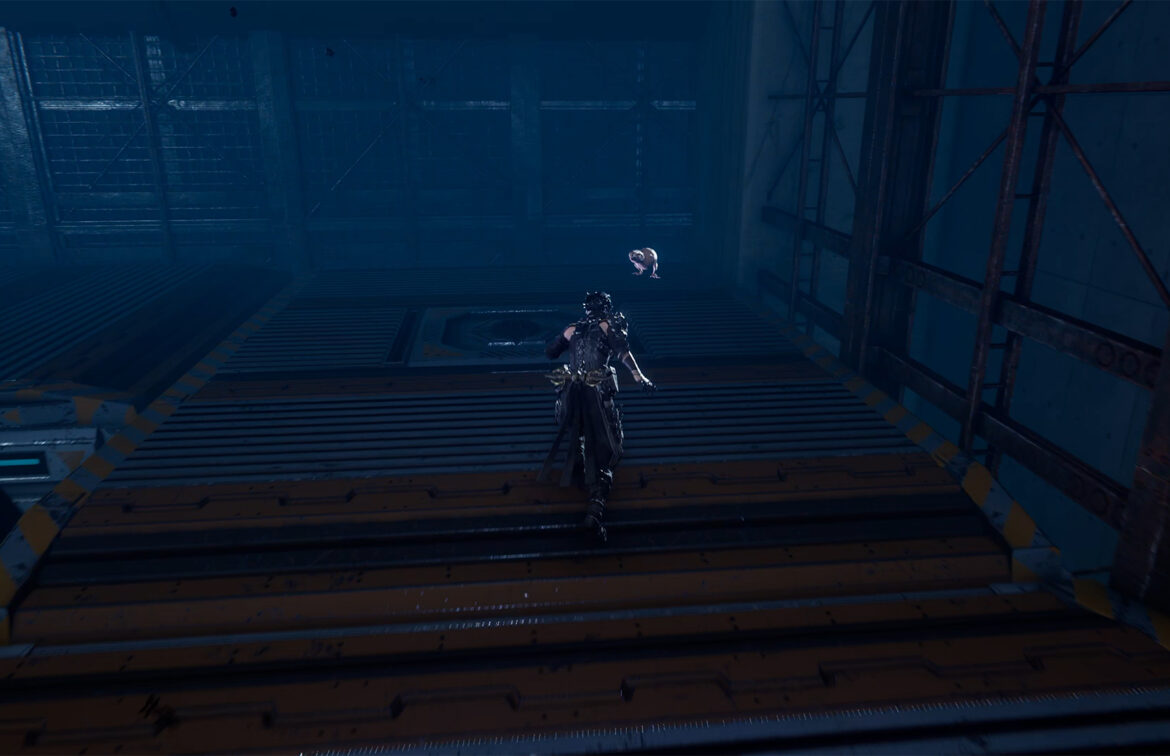
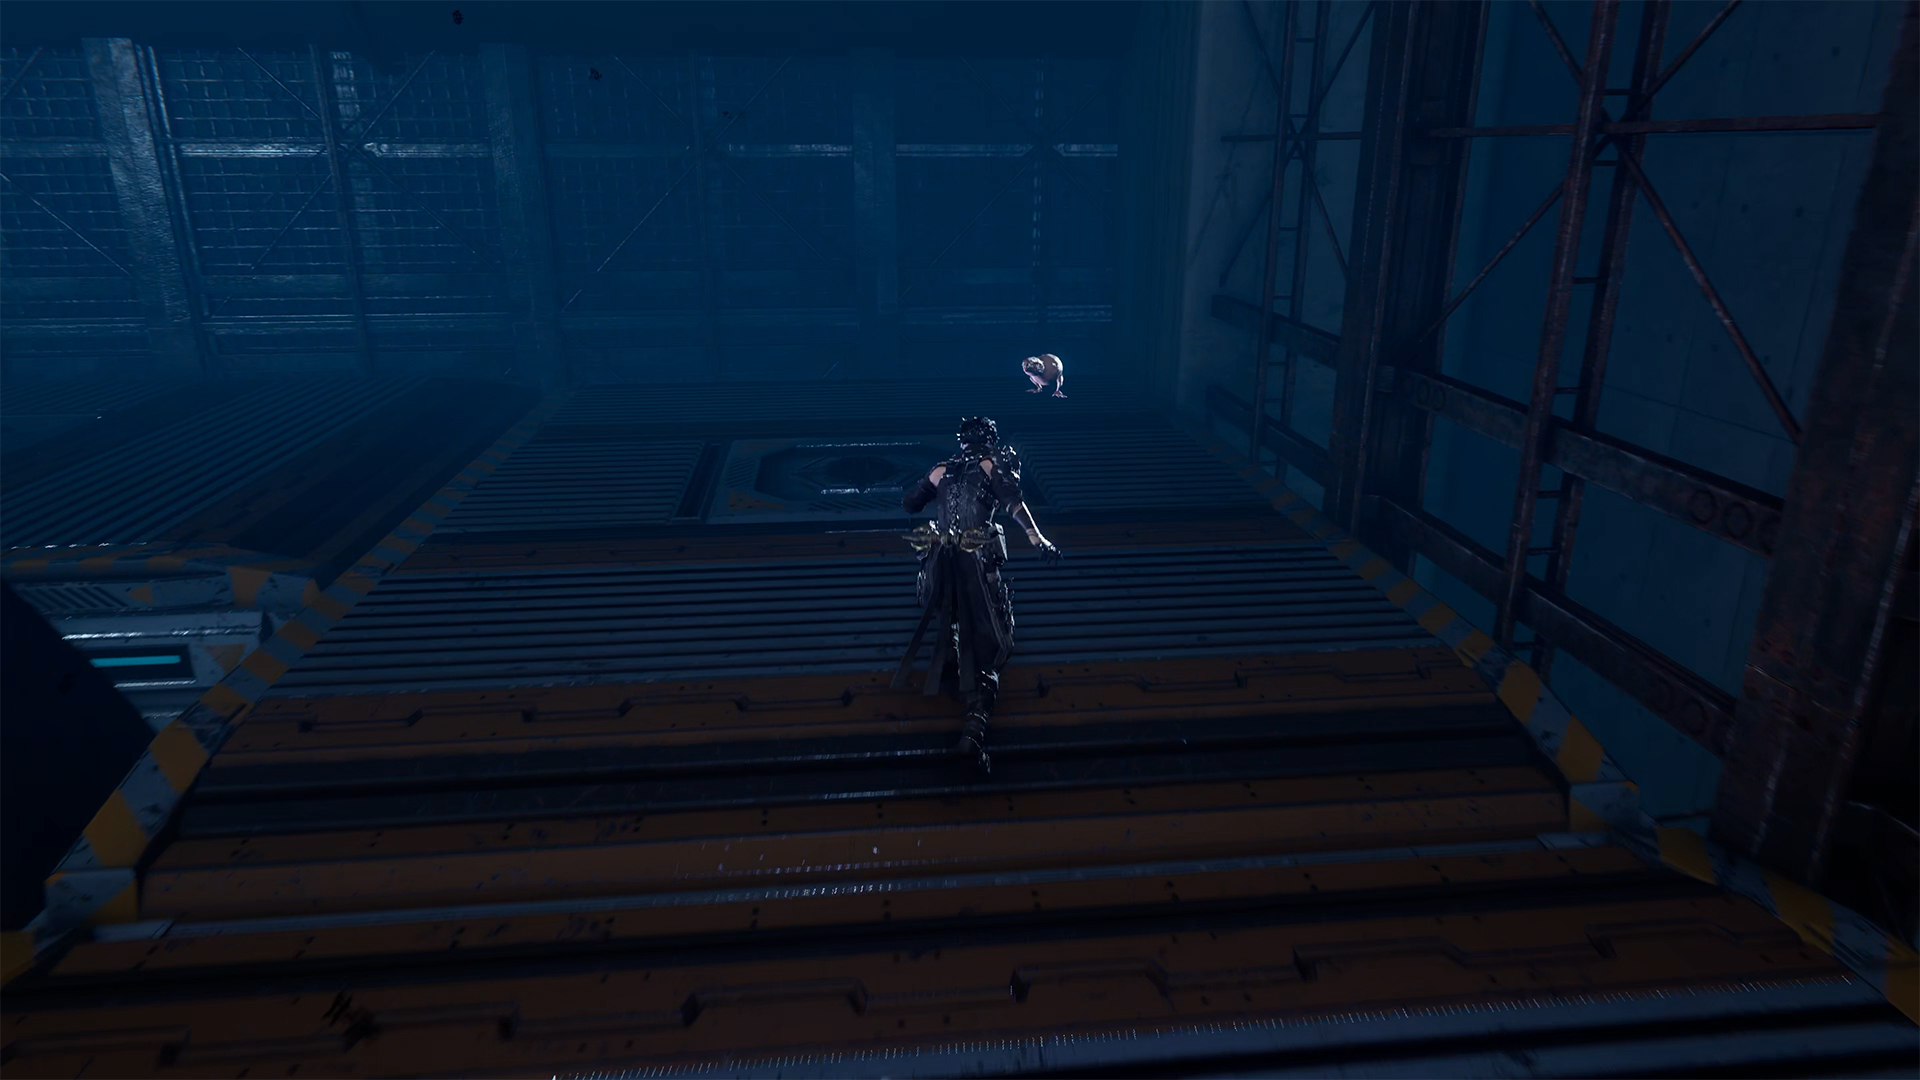
Third DarkNest Terminal – Catch the Gourdy
Return to the closed doors I mentioned earlier and continue with the storyline. You will find yourself back on the tracks. This path to the third DarkNest Terminal is a little more difficult. Along the way, you will see flying drones dropping obstacles onto the tracks. You can use your kunai to knock down these turrets. But if you don’t succeed, don’t worry.
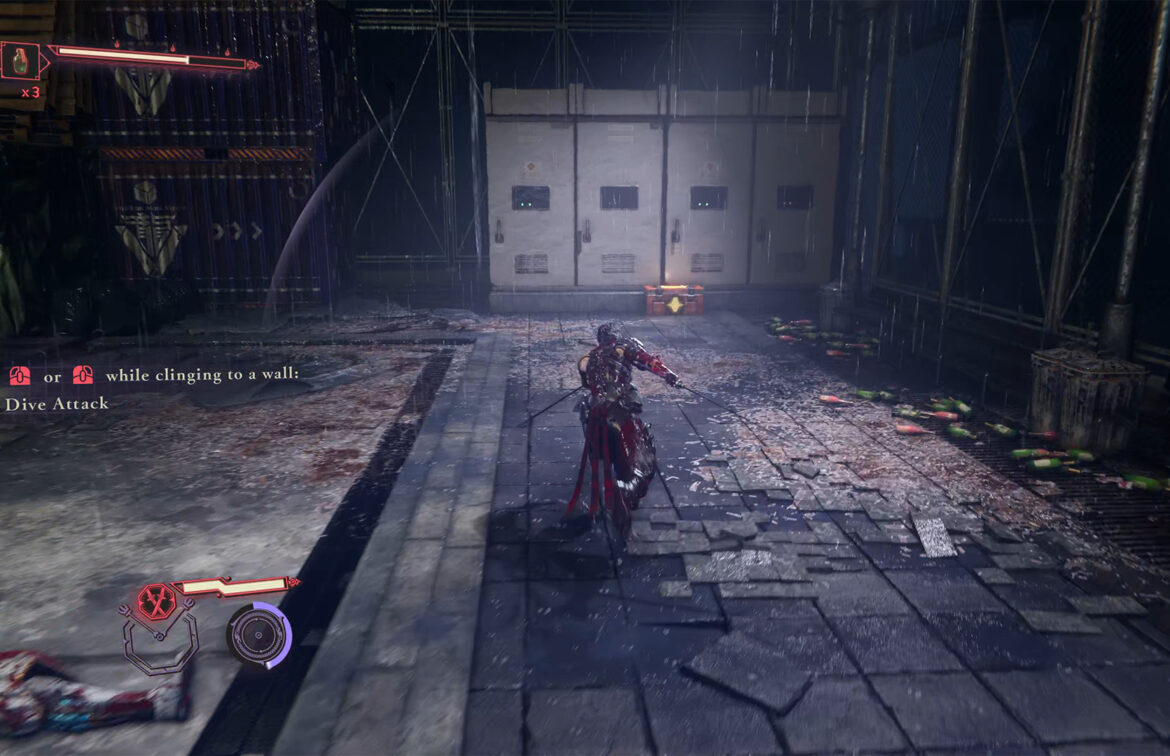
Even if you take damage from the obstacles, you will recover your health at the DarkNest Terminal, which will be accessible immediately after the rails without any enemies. In this room, turn right. Here you will find a chest. After that, jump on the metal containers to catch the gourdy. There is only one gourdy in the Haunted District. In the new quest, you need to catch 5 of them.
This will be done in the following chapters, but it is important not to miss it. To successfully catch the gourdy, you need to complete a mini-game consisting of two tasks by pressing the specified buttons.
-
- Rail to the third DarkNest Terminal
-
- Third DarkNest Terminal
-
- Chest to the right of the terminal
-
- Catch the Gourdy on the container
Final boss – DDO Proto Goliath
By this point, you will also automatically complete the Use Takeminakata to Defeat 50 Enemies quest and receive 2,000 NinjaCoin and Crimson Blood Pellets for this mission. Now proceed to the final rail. Look to the right near the entrance to the rail to find a chest. Now you can jump onto the final rail, which will take you to the final boss of this chapter. You are already familiar with the path along the rail.
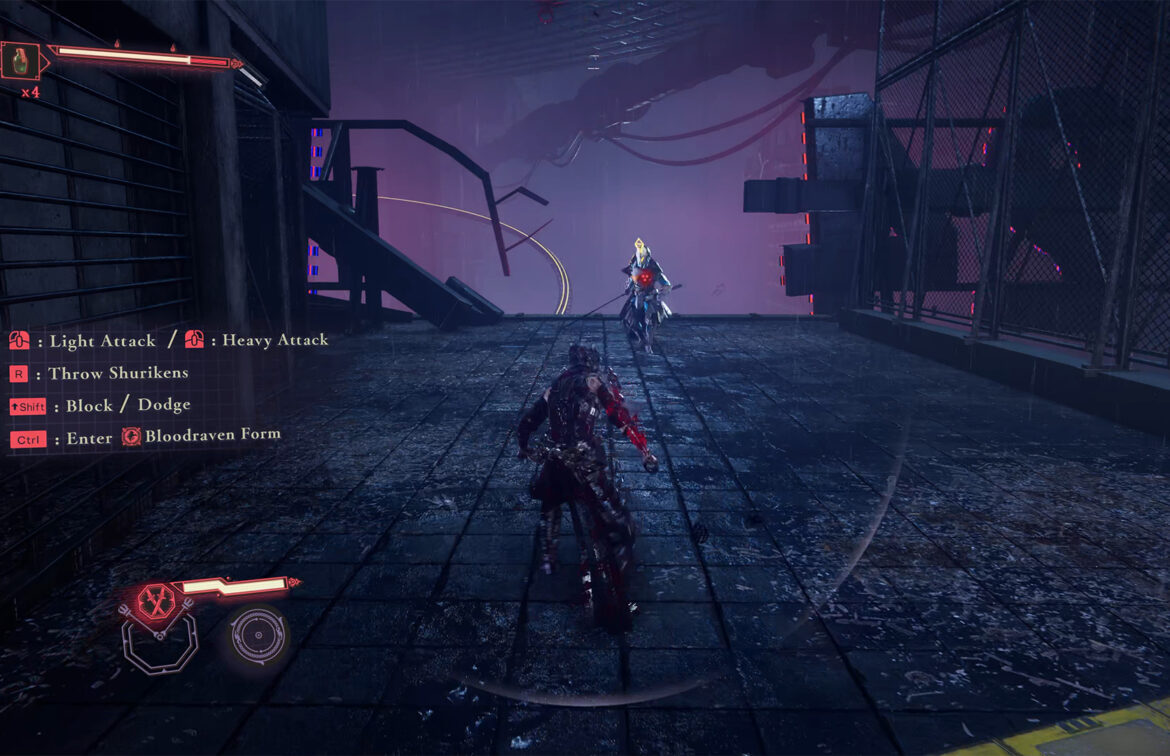
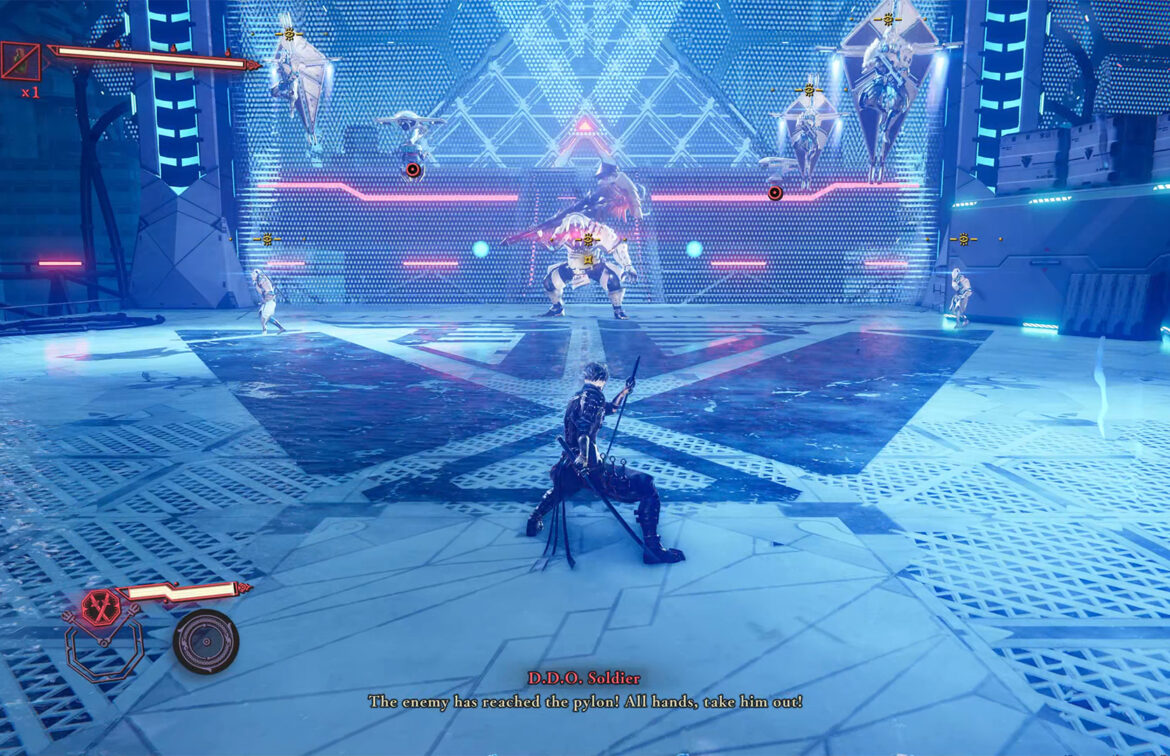
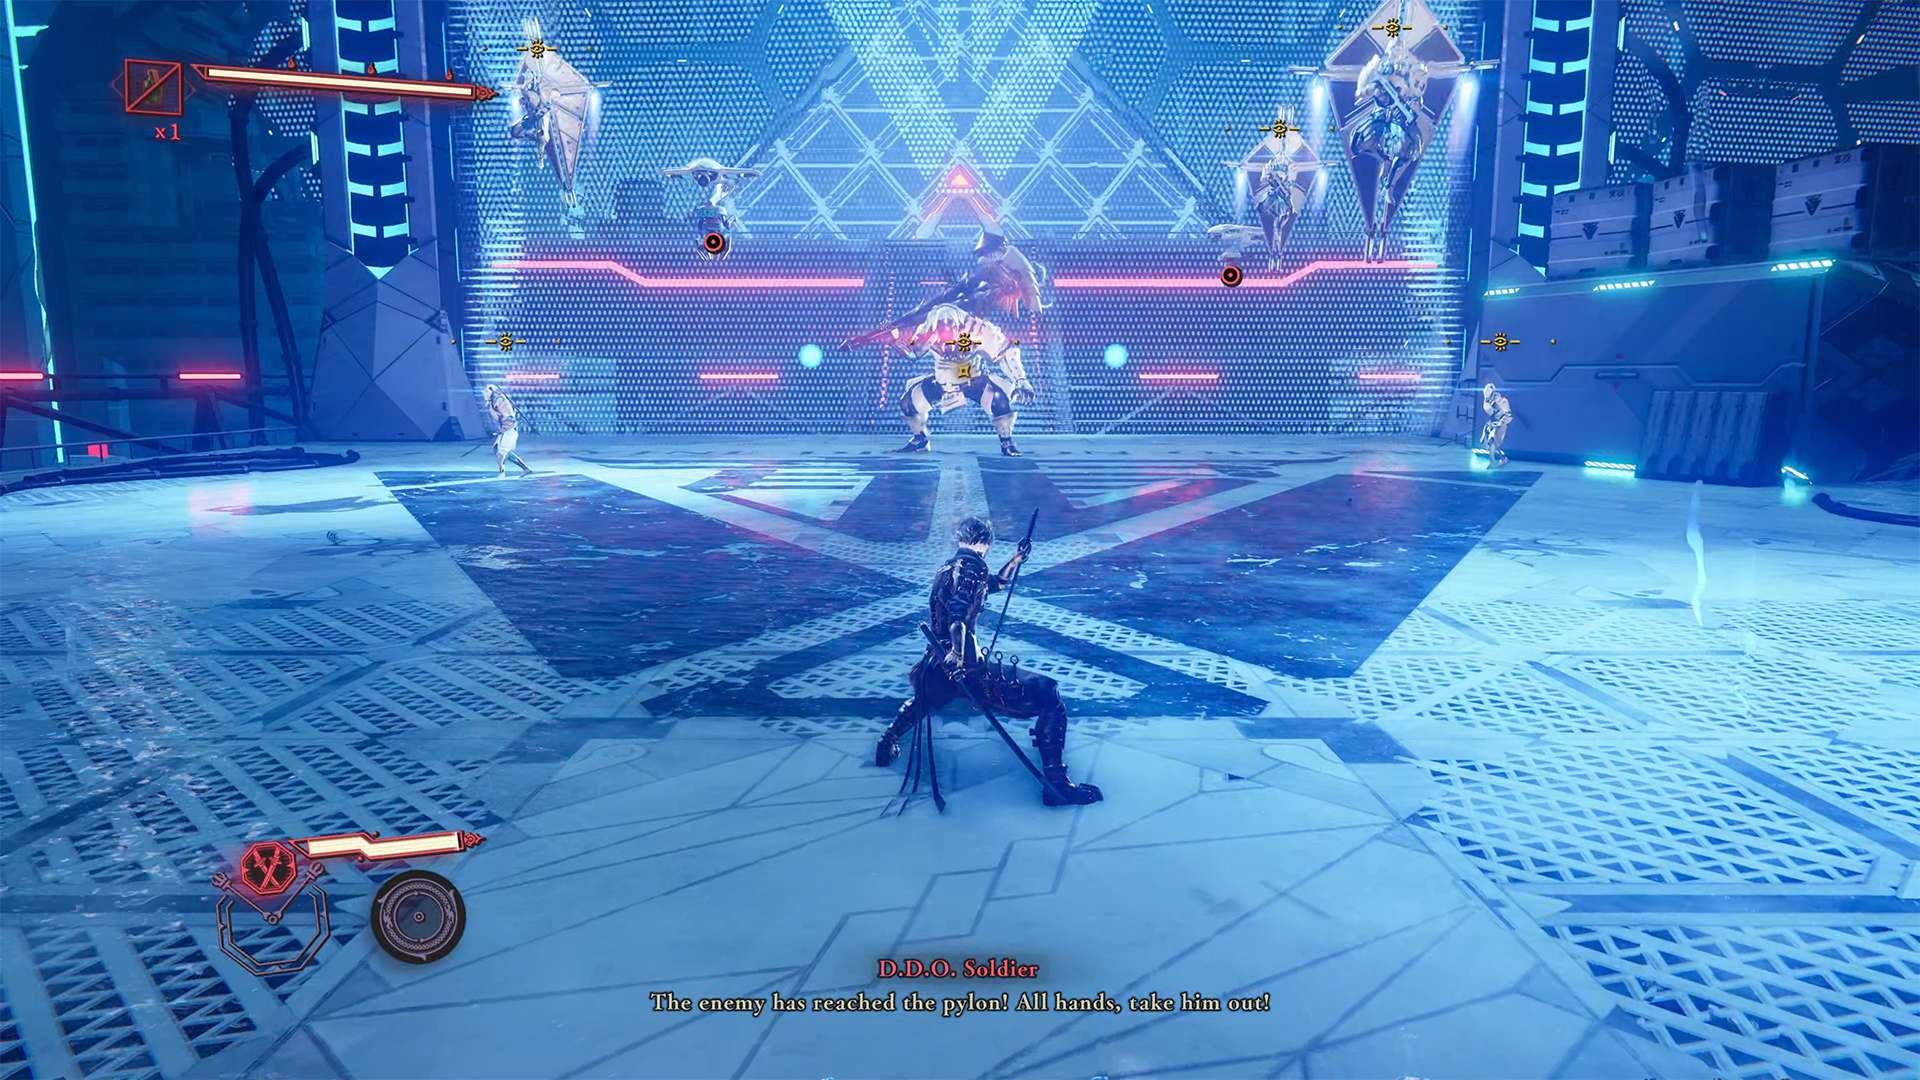
The only thing to note here is that you need to be more careful and avoid taking damage from obstacles, because you will not be able to heal your health ahead. Try to navigate this last rail as skillfully as possible, especially since it is not difficult and you already have some experience. The final boss, DDO Proto Goliath, is surrounded by other enemies. First, destroy the air targets, then deal with the weaker enemies so they don’t get in your way.
When you are left alone with the boss, you will realize that he is not that difficult. He only has one health bar. Proto Goliath moves slowly, so you can deal a lot of damage between his attacks. You can dodge his powerful attacks or try to interrupt them using the Blood Raven stance. You can easily block his normal attacks. I’m sure you can handle this enemy. After winning, the game will introduce you to a new skill that will be available to you in berserk mode.
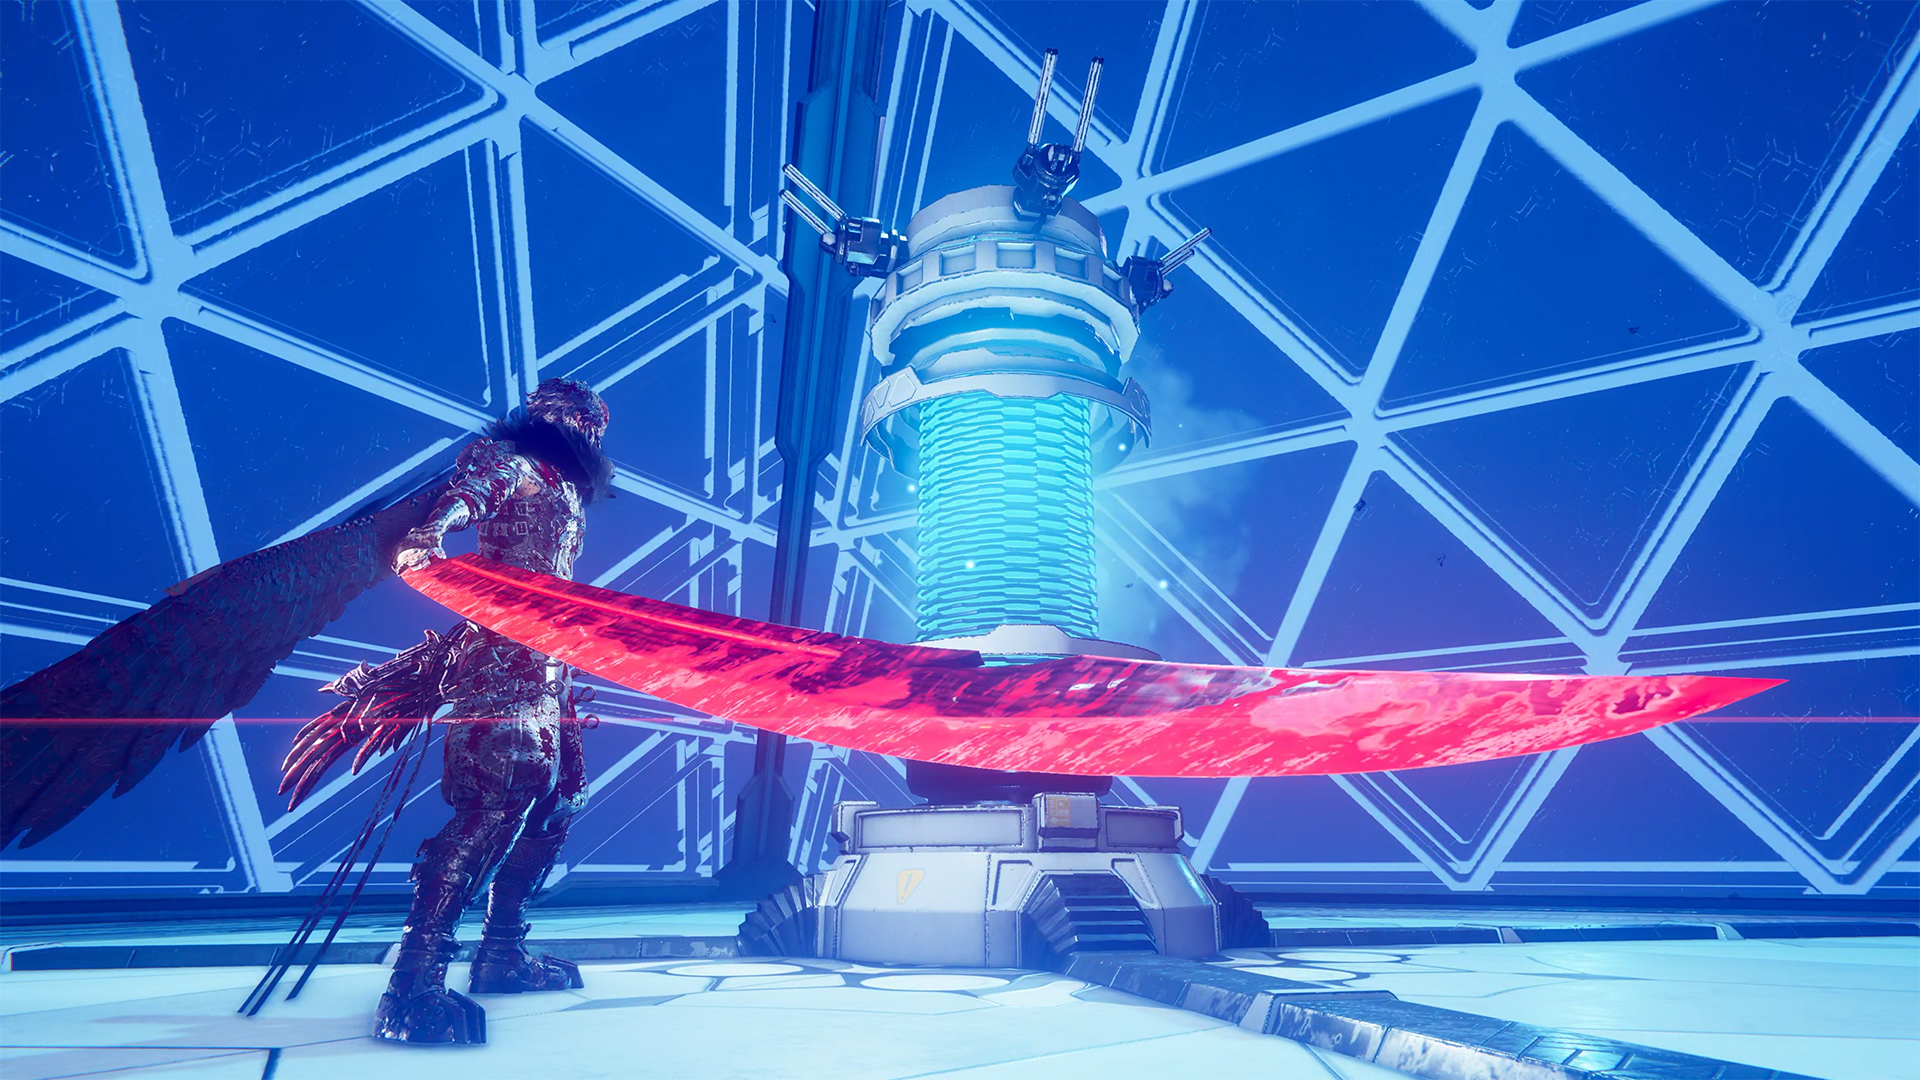
It is a wide-range attack. To successfully defeat the enemies that will appear after the boss, get closer to them, because although the Bloodbath Slaughter skill has a wide range, it is not unlimited. After that, you will break the pylon and the chapter will be complete.
-
- The path to the final rail
-
- A chest to the right of the entrance to the rail
-
- Final boss DDO Proto Goliath
-
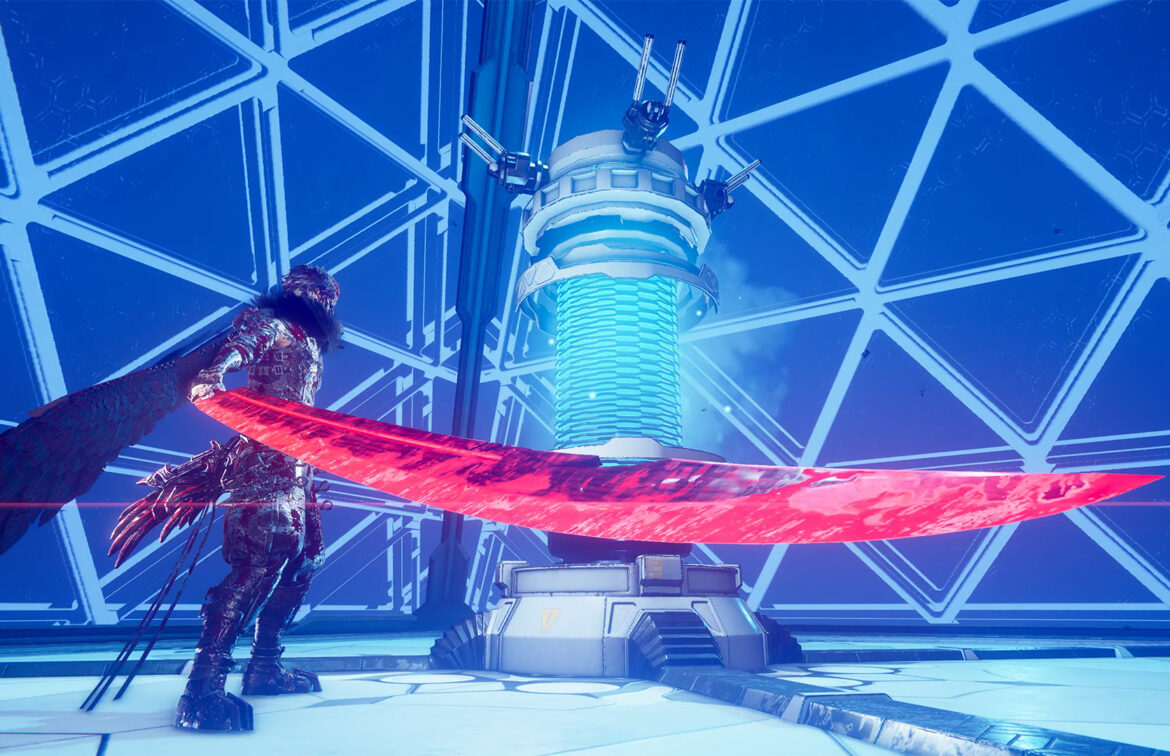
- Destruction of the pylon after victory
Next, I recommend moving on to Chapter 3, called Phantom Pleasure Quarter.