Here are the Chapter 15 collectibles! Continue our journey through Doom The Dark Ages. We will be reviewing all of the collectibles in Chapter 15: City of Ry’uul. Also, I recommend reading Chapter 14 Spire of Nerathul. You will need to find all the hidden locations in order to complete your mission.
For me, the most interesting chapter is Ancestral Forge. As a result of this guide, you will complete Chapter 15 – City of Ry’uul 100% and receive:
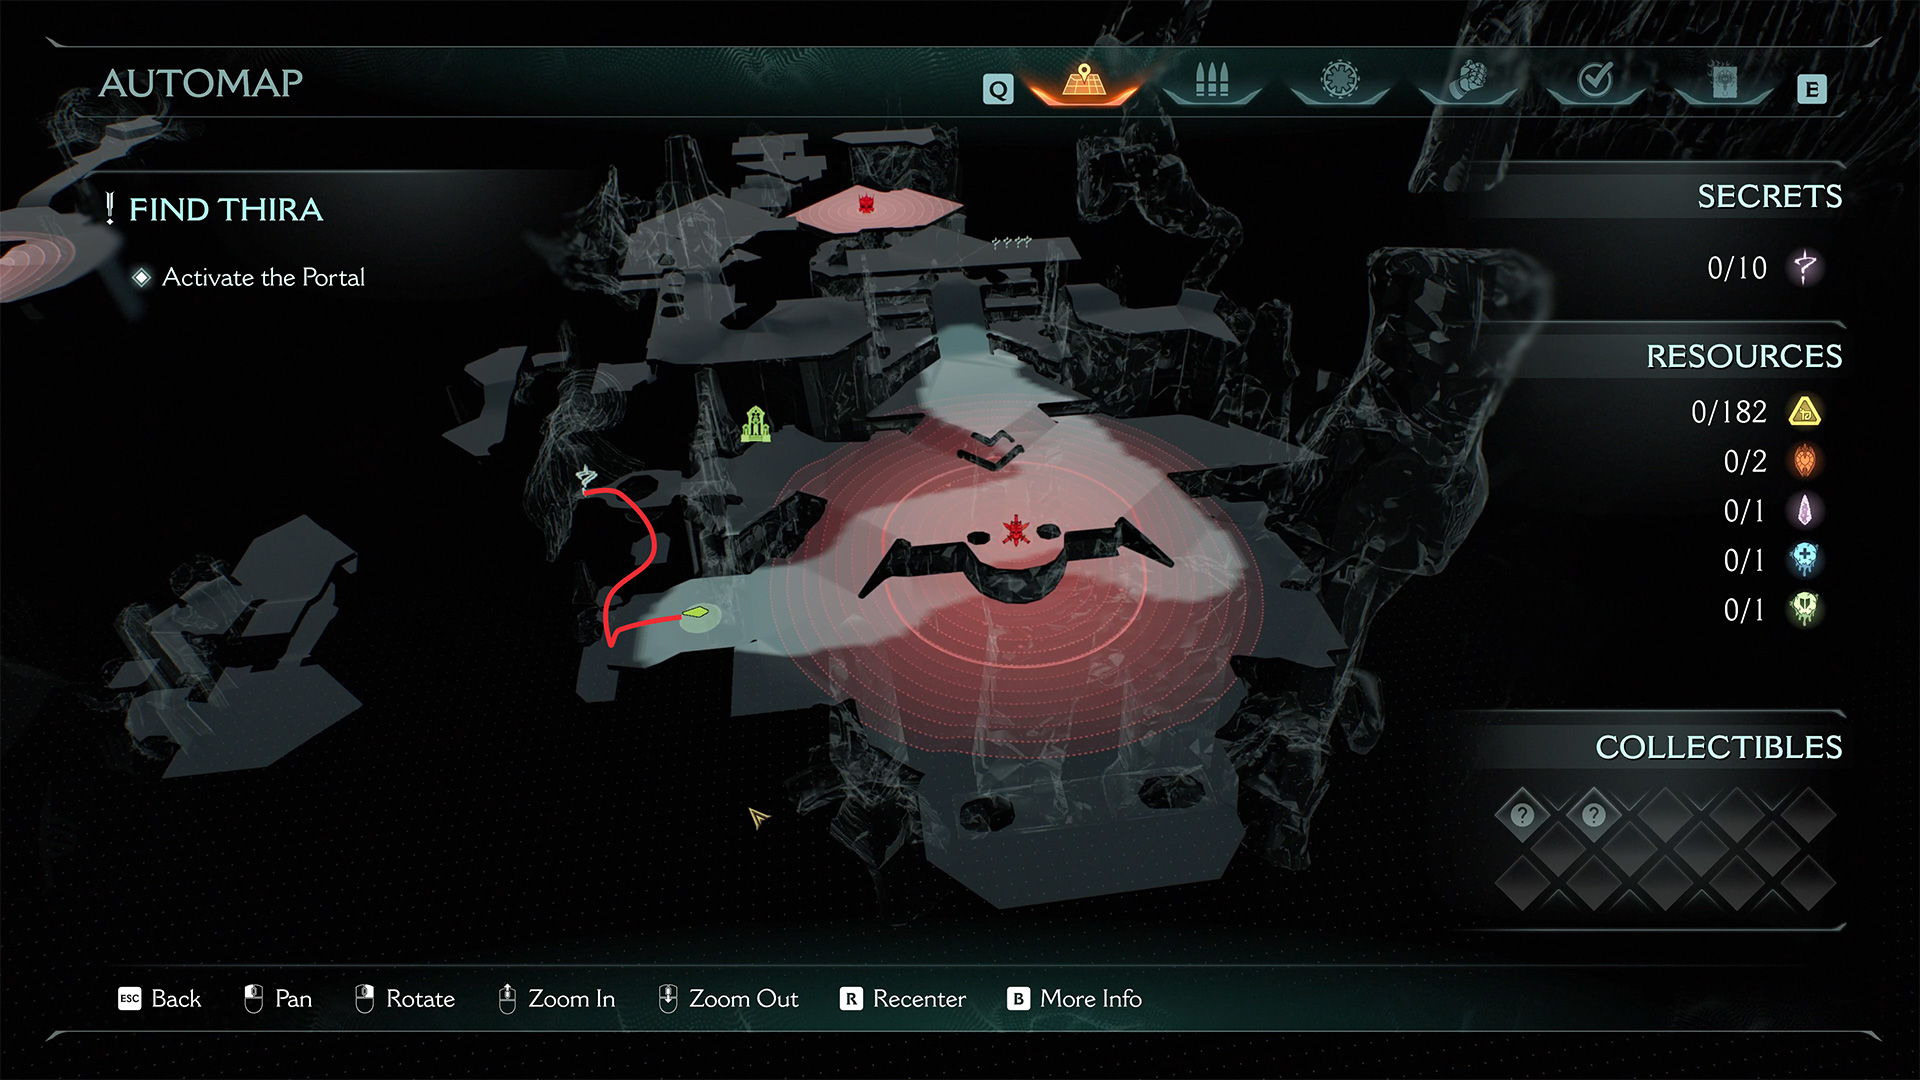
- Gold: 182
- Ruby: 2
- Wraithstone: 1
- Demonic Essence – Health: 1
- Demonic Essence – Armor: 1
- Secrets: 10
- Codex Entries: 1
- Collectible Toys: 1
- Quests: 3
I also recommend watching the video if you don’t want to search for all the collectibles mentioned in this article. The video shows everything briefly and clearly:
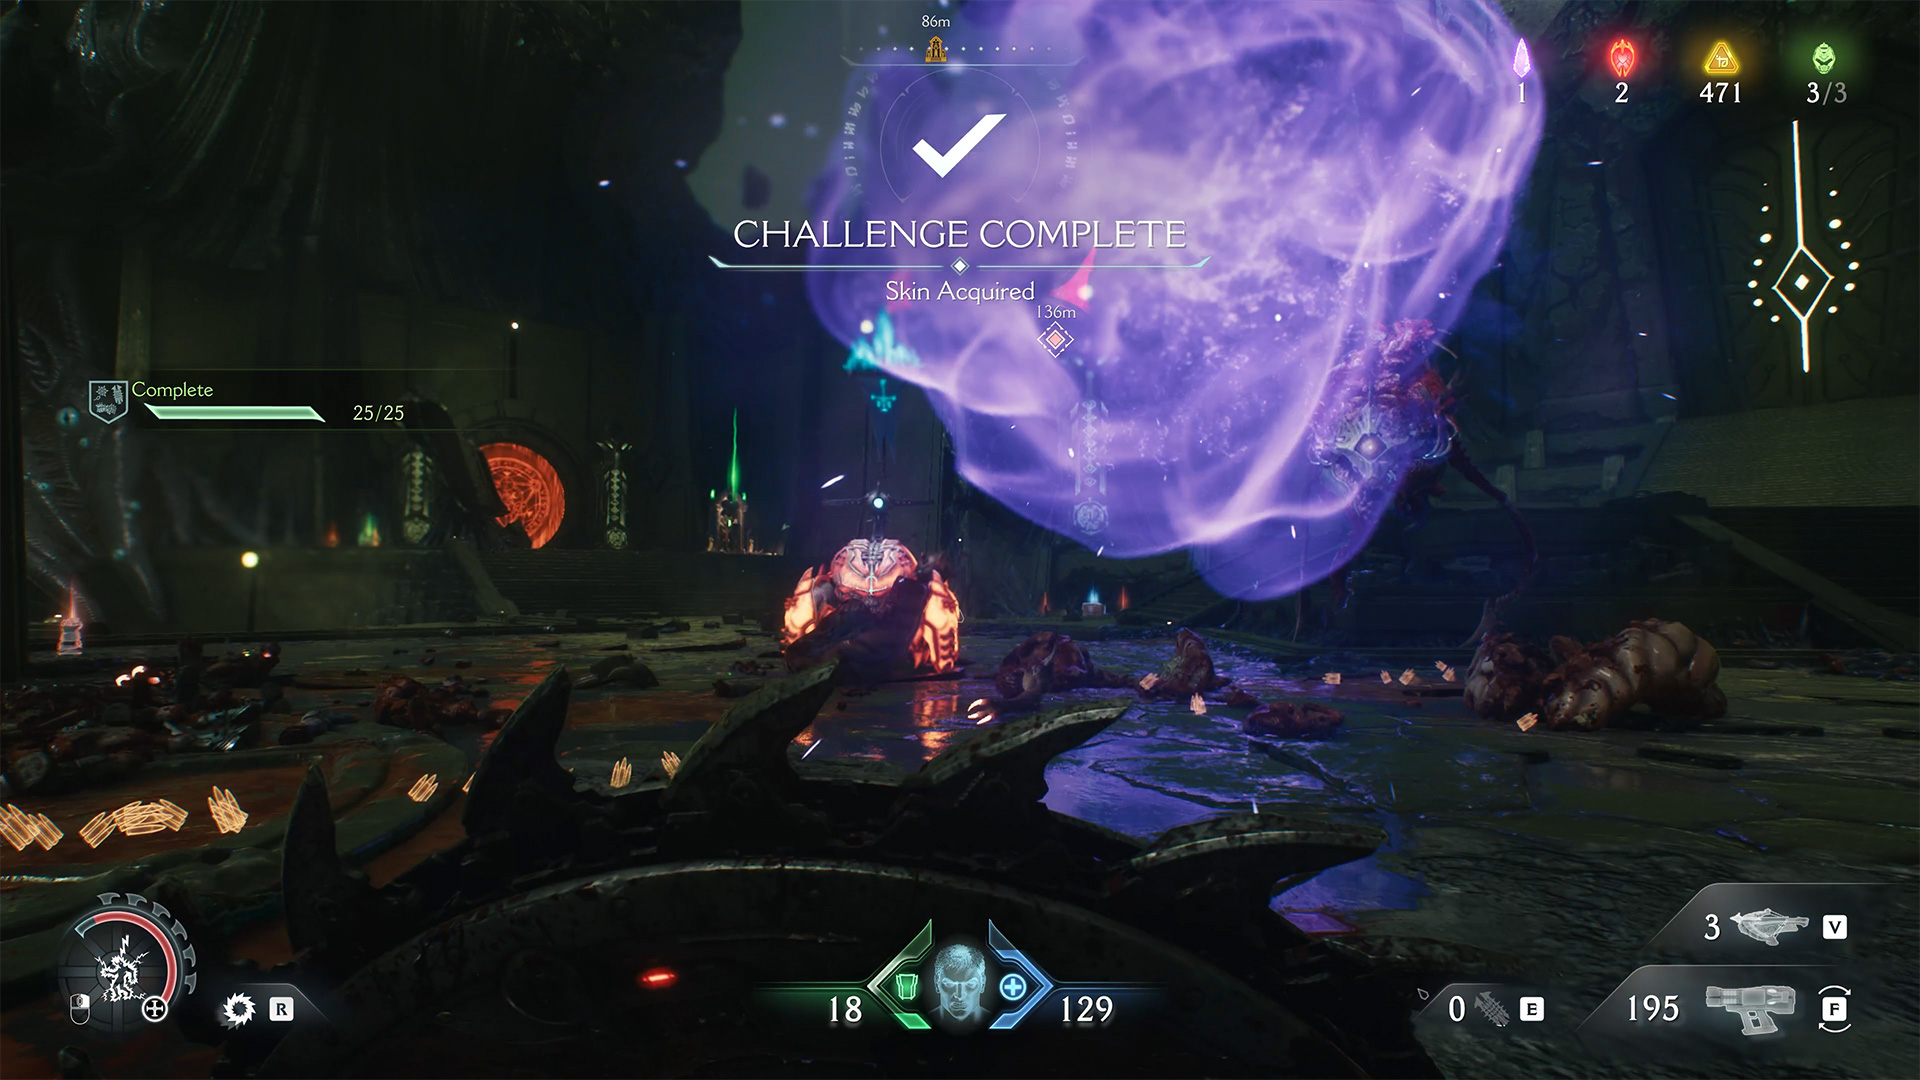
Heads Up challenge Doom Dark Ages
Let’s examine all the challenges available to you in City of Ry’uul. The first one is called Heads Up. To complete this challenge, you need to block the green attacks of the Cacodemons monster three times with your shield. It looks like a flying brain. You will encounter this monster several times throughout the chapter.
-

- Heads Up challenge Doom Dark Ages

-

- Heads Up challenge complete
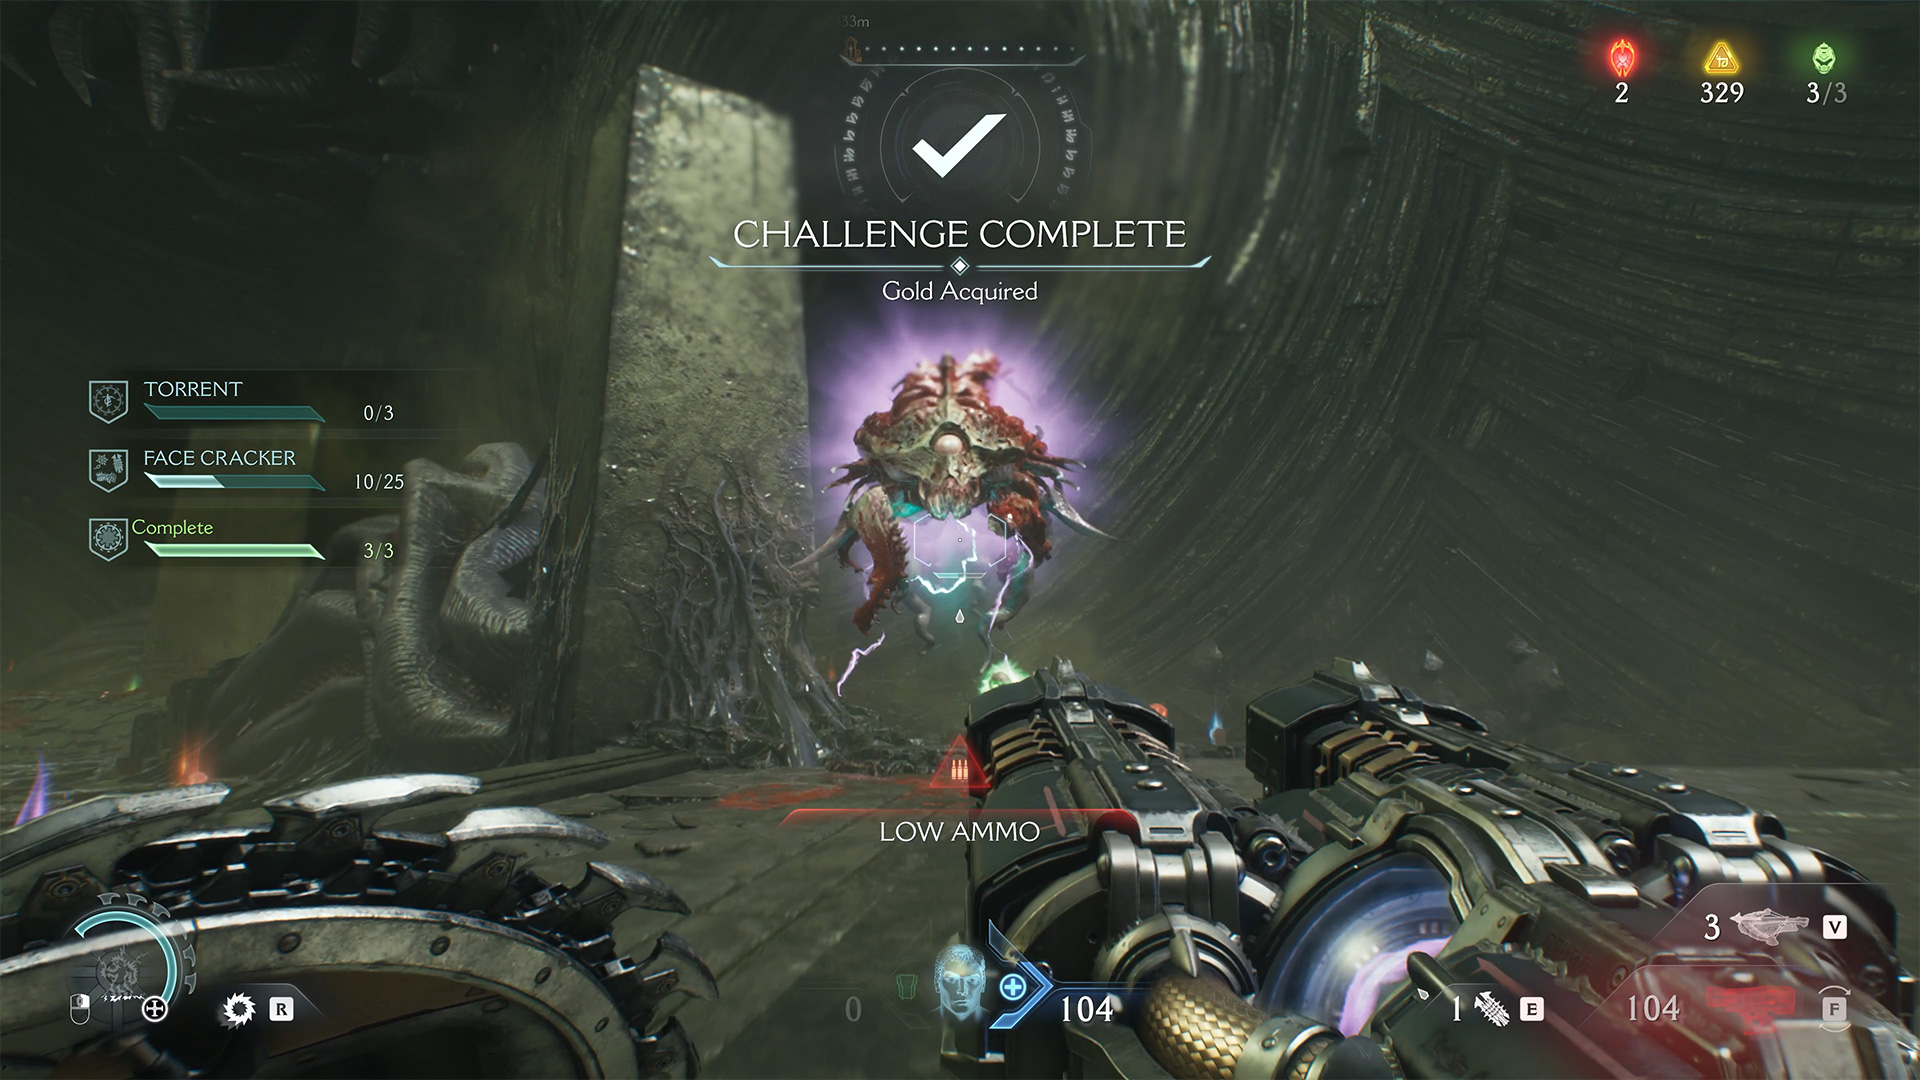
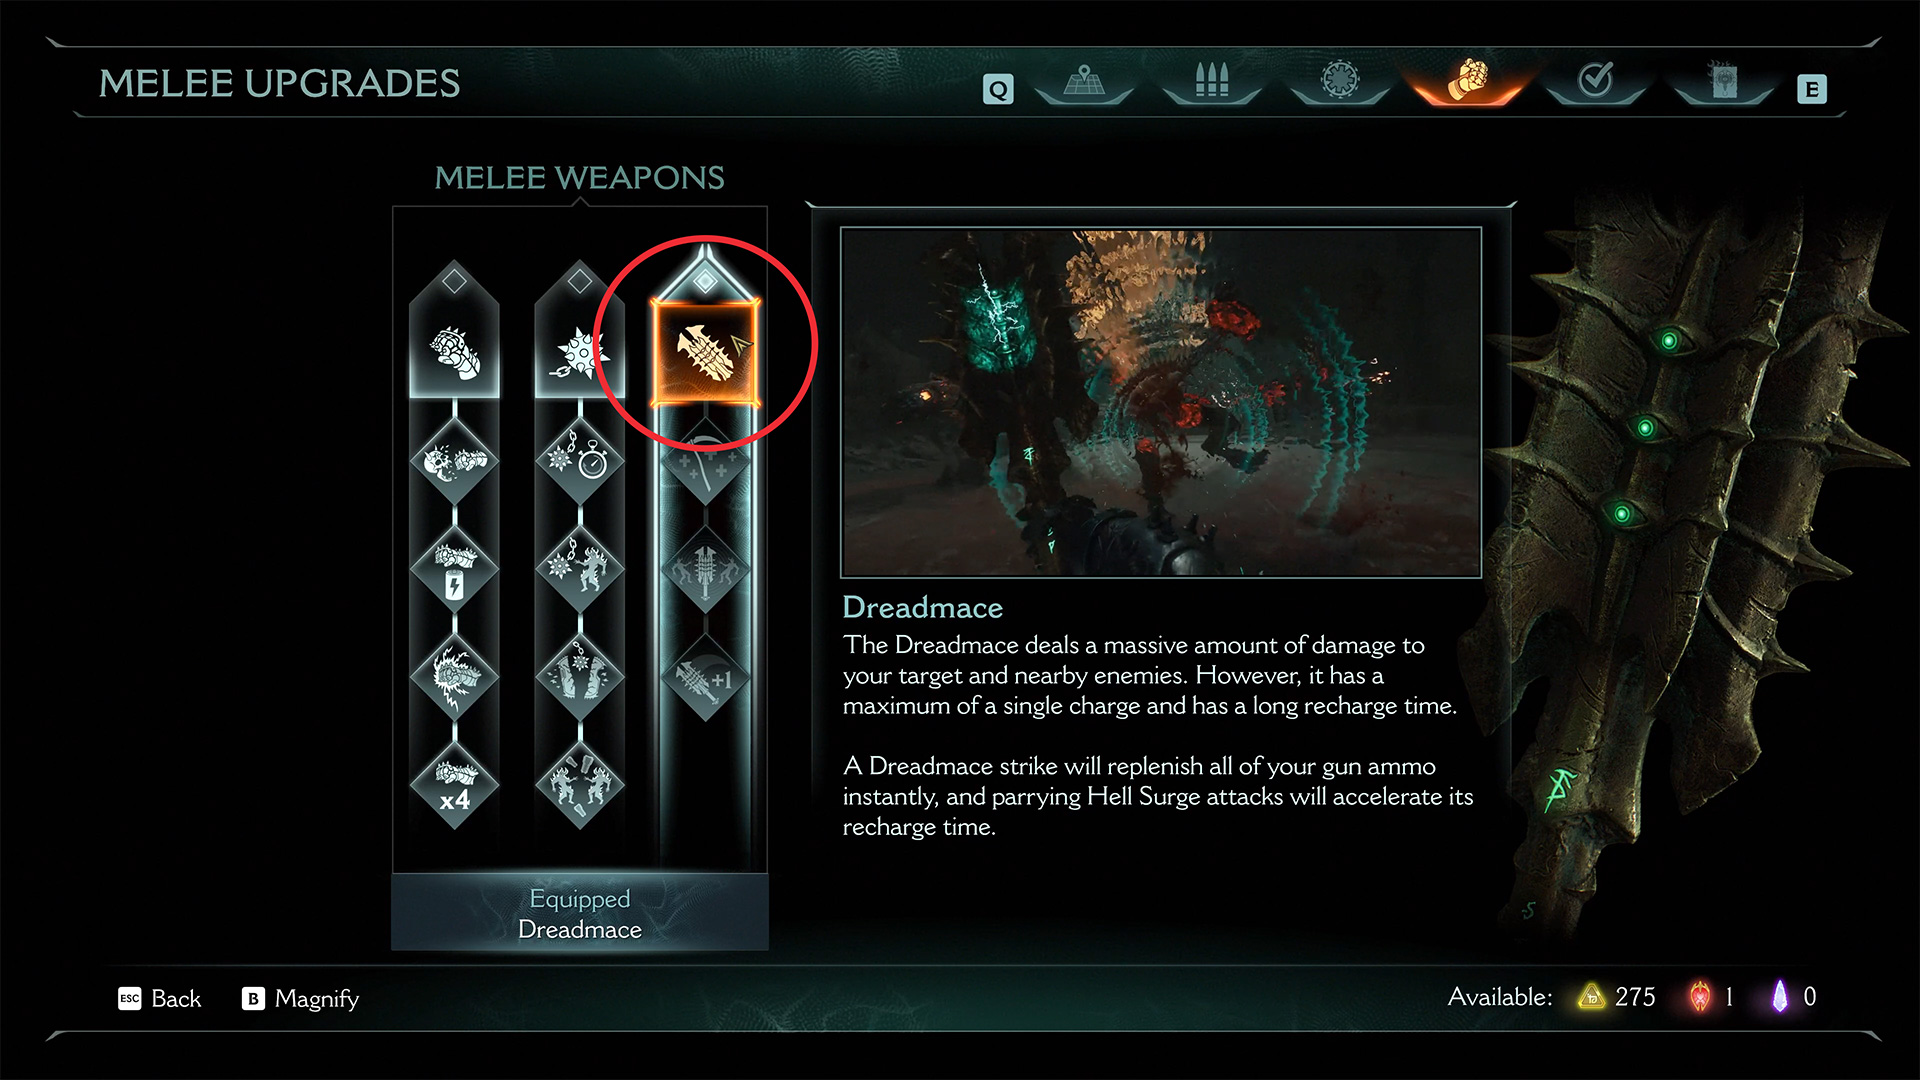
Face Cracker challenge Doom
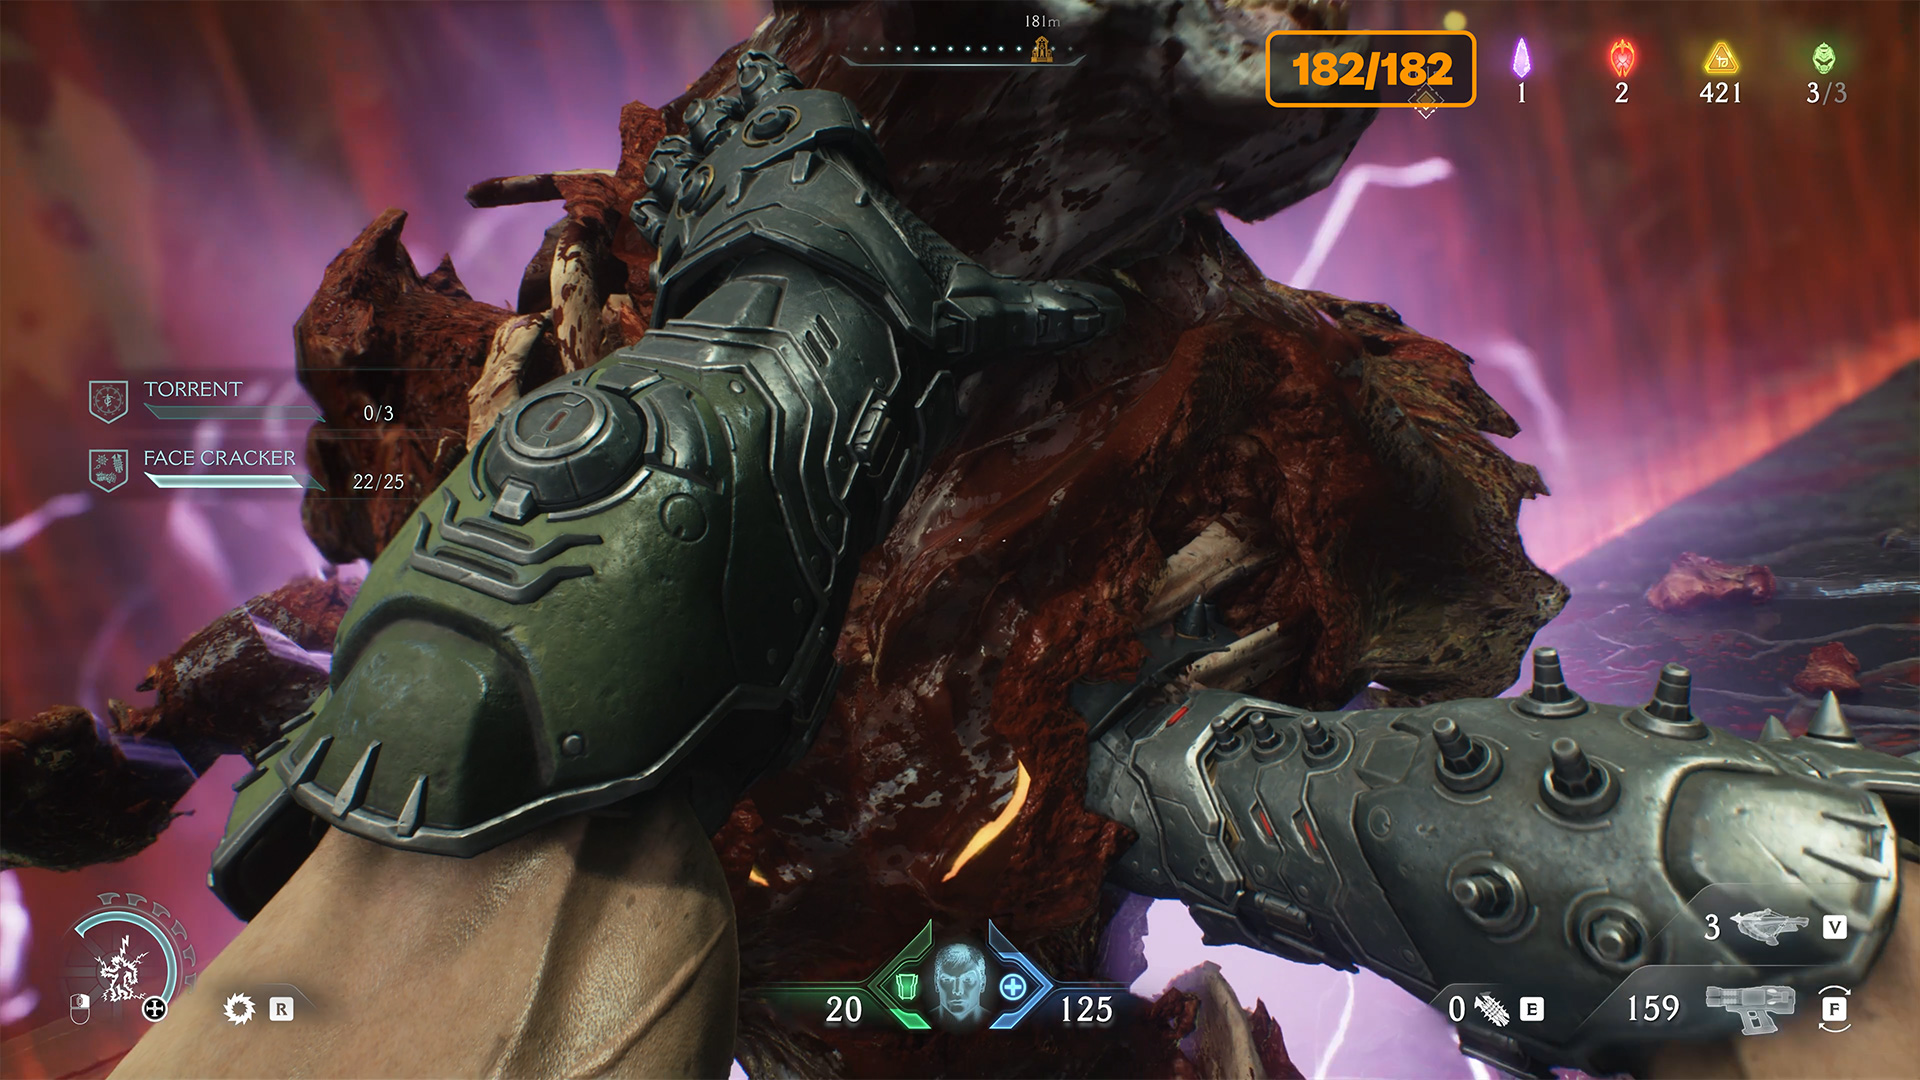
The second challenge is Face Cracker. In this chapter, you will receive the final melee weapon, called the Dreadmace. Unlike the previous weapon, the Dreadmace has only one charge instead of three. But the special feature of this weapon is the enormous damage it inflicts on the enemy. This weapon can also damage several enemies standing nearby. To complete the challenge, you need to damage the enemy 25 times.
-

- Set Dreadmace in settings
-

- Face Cracker challenge complete
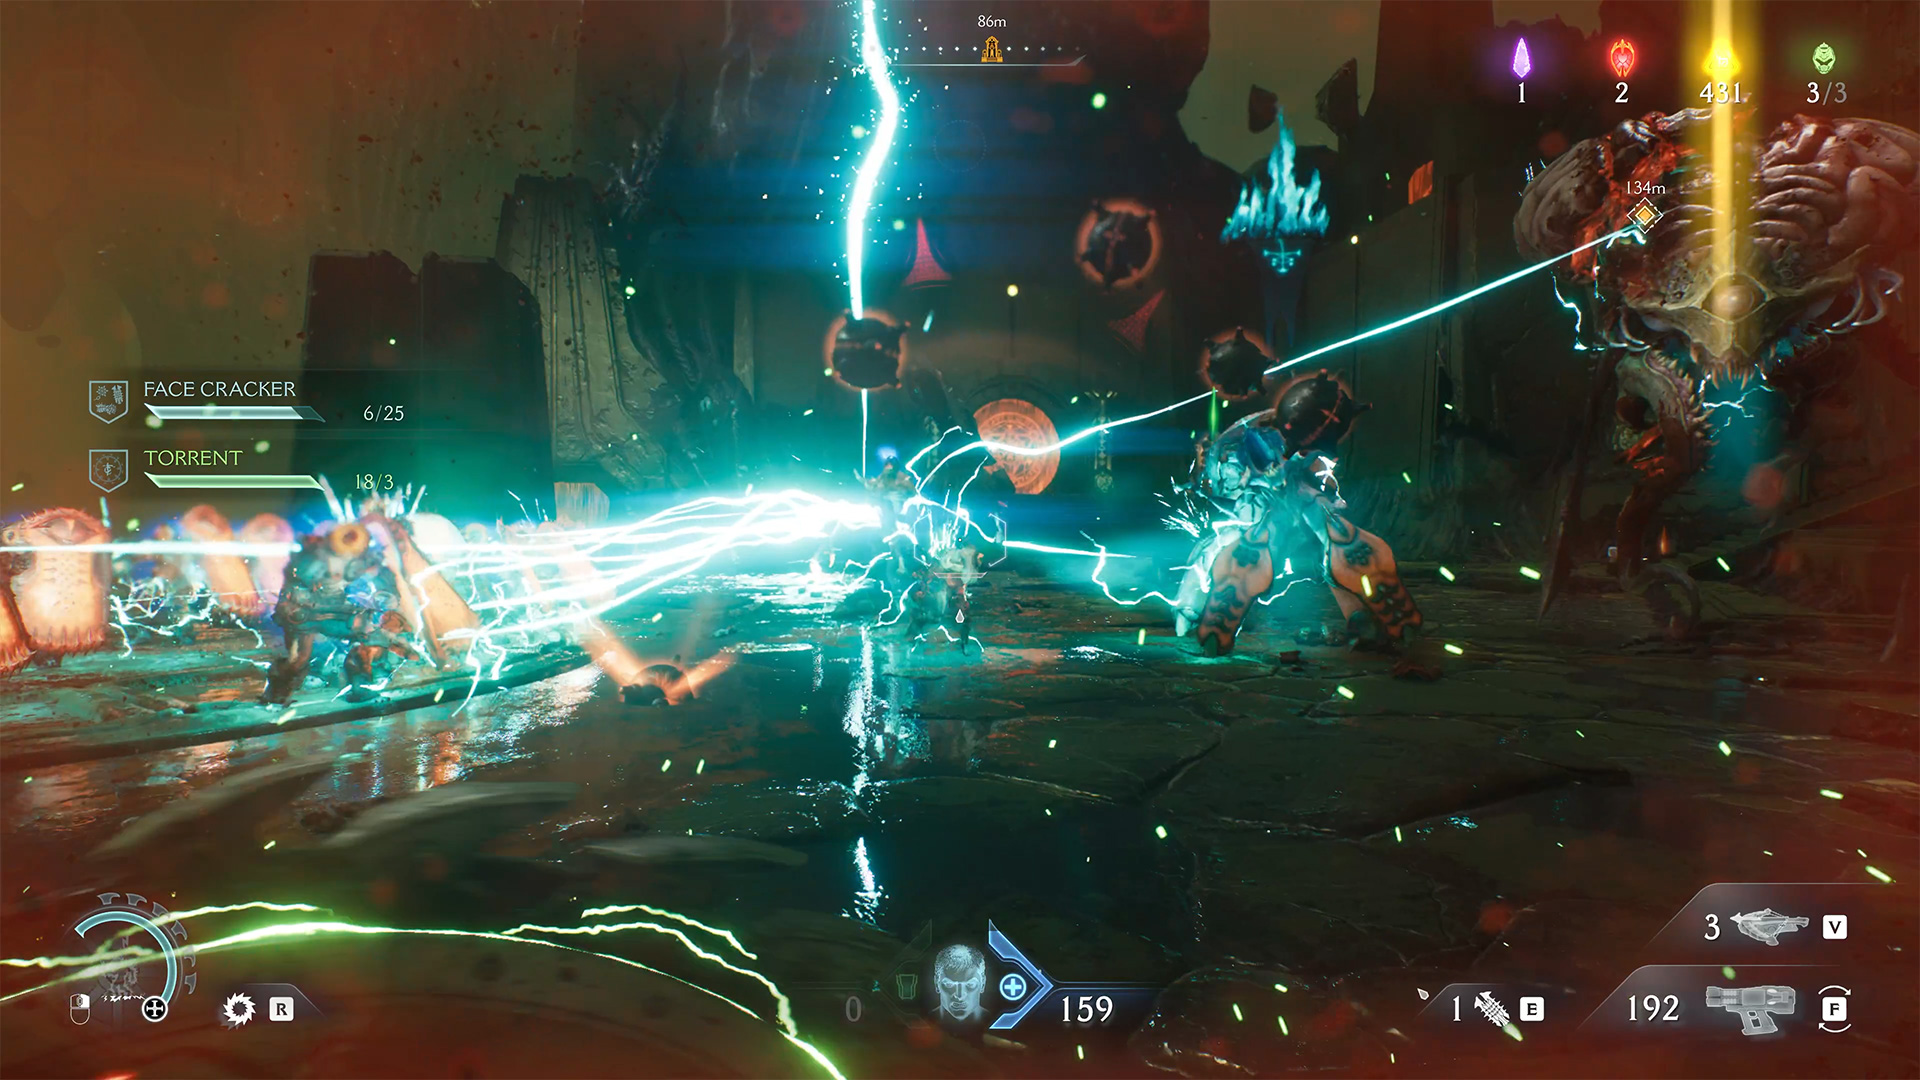
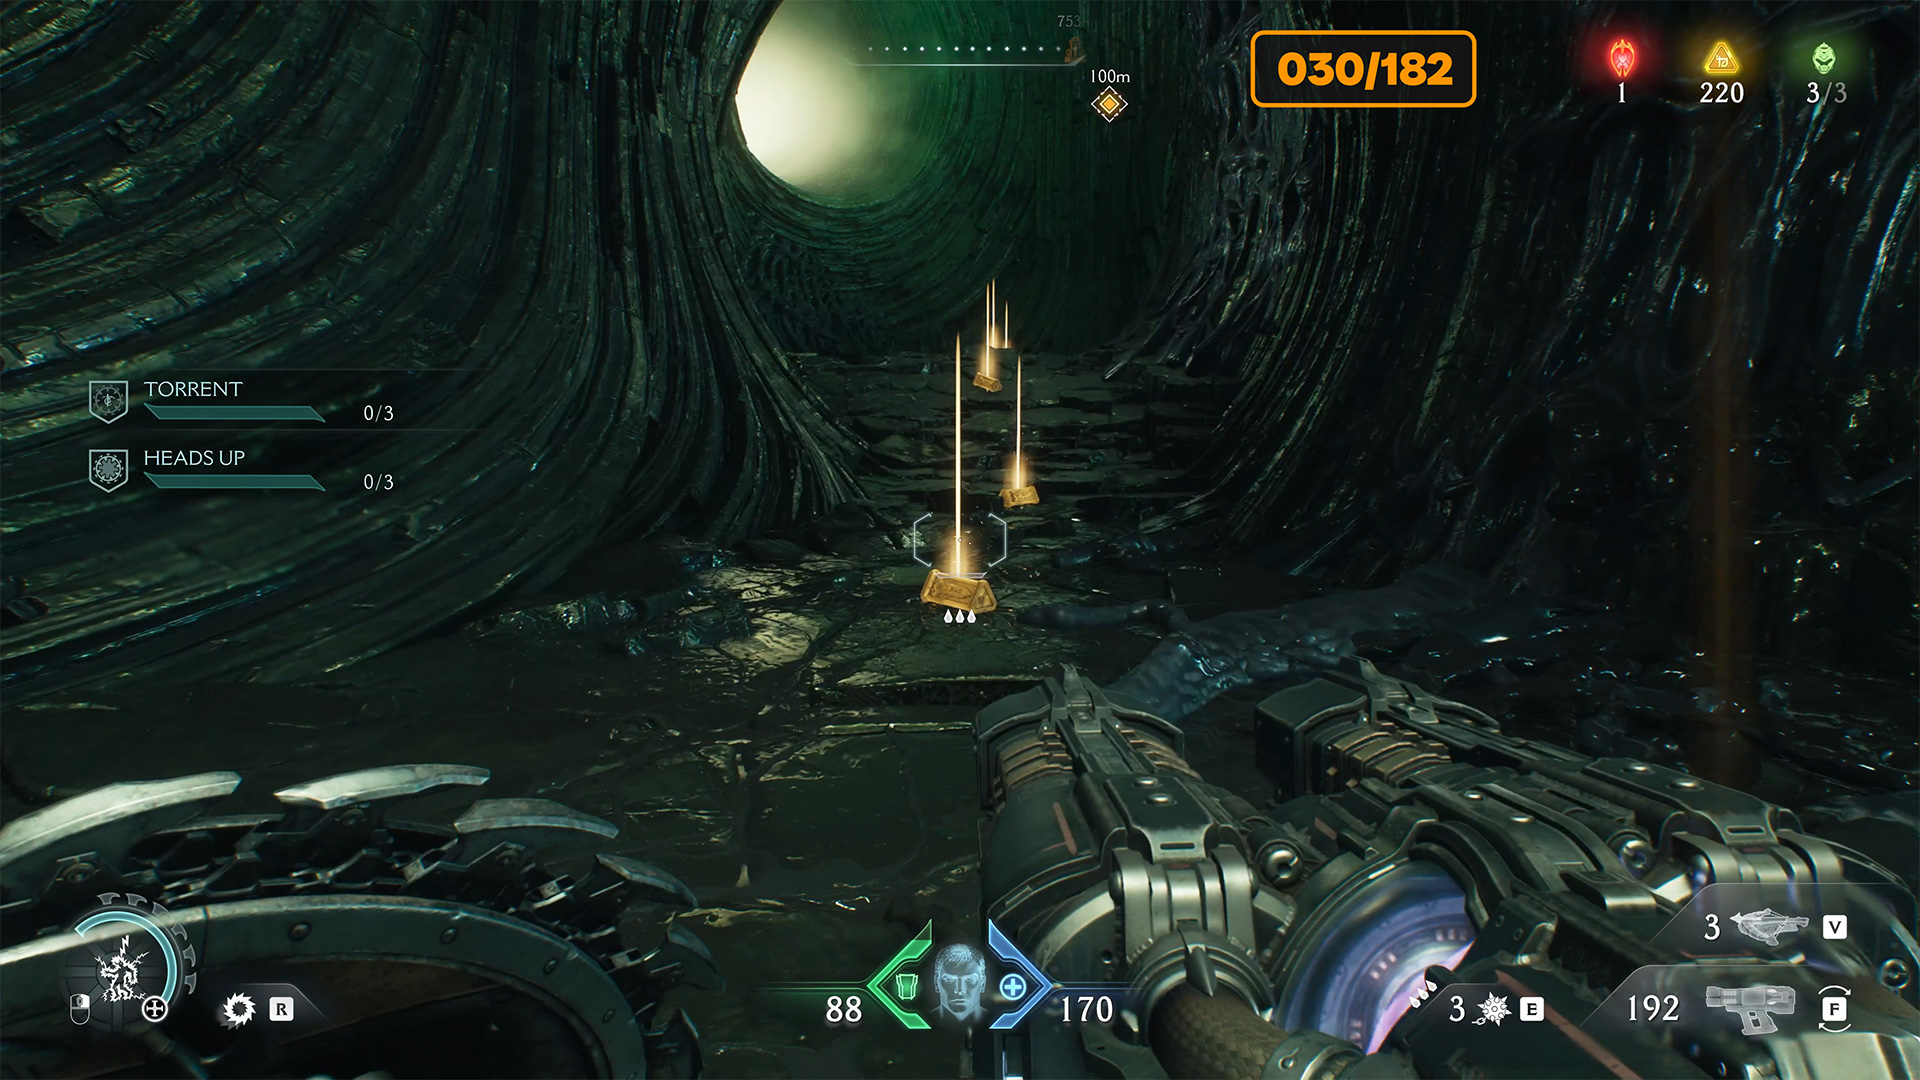
Torrent challenge Doom Dark Ages
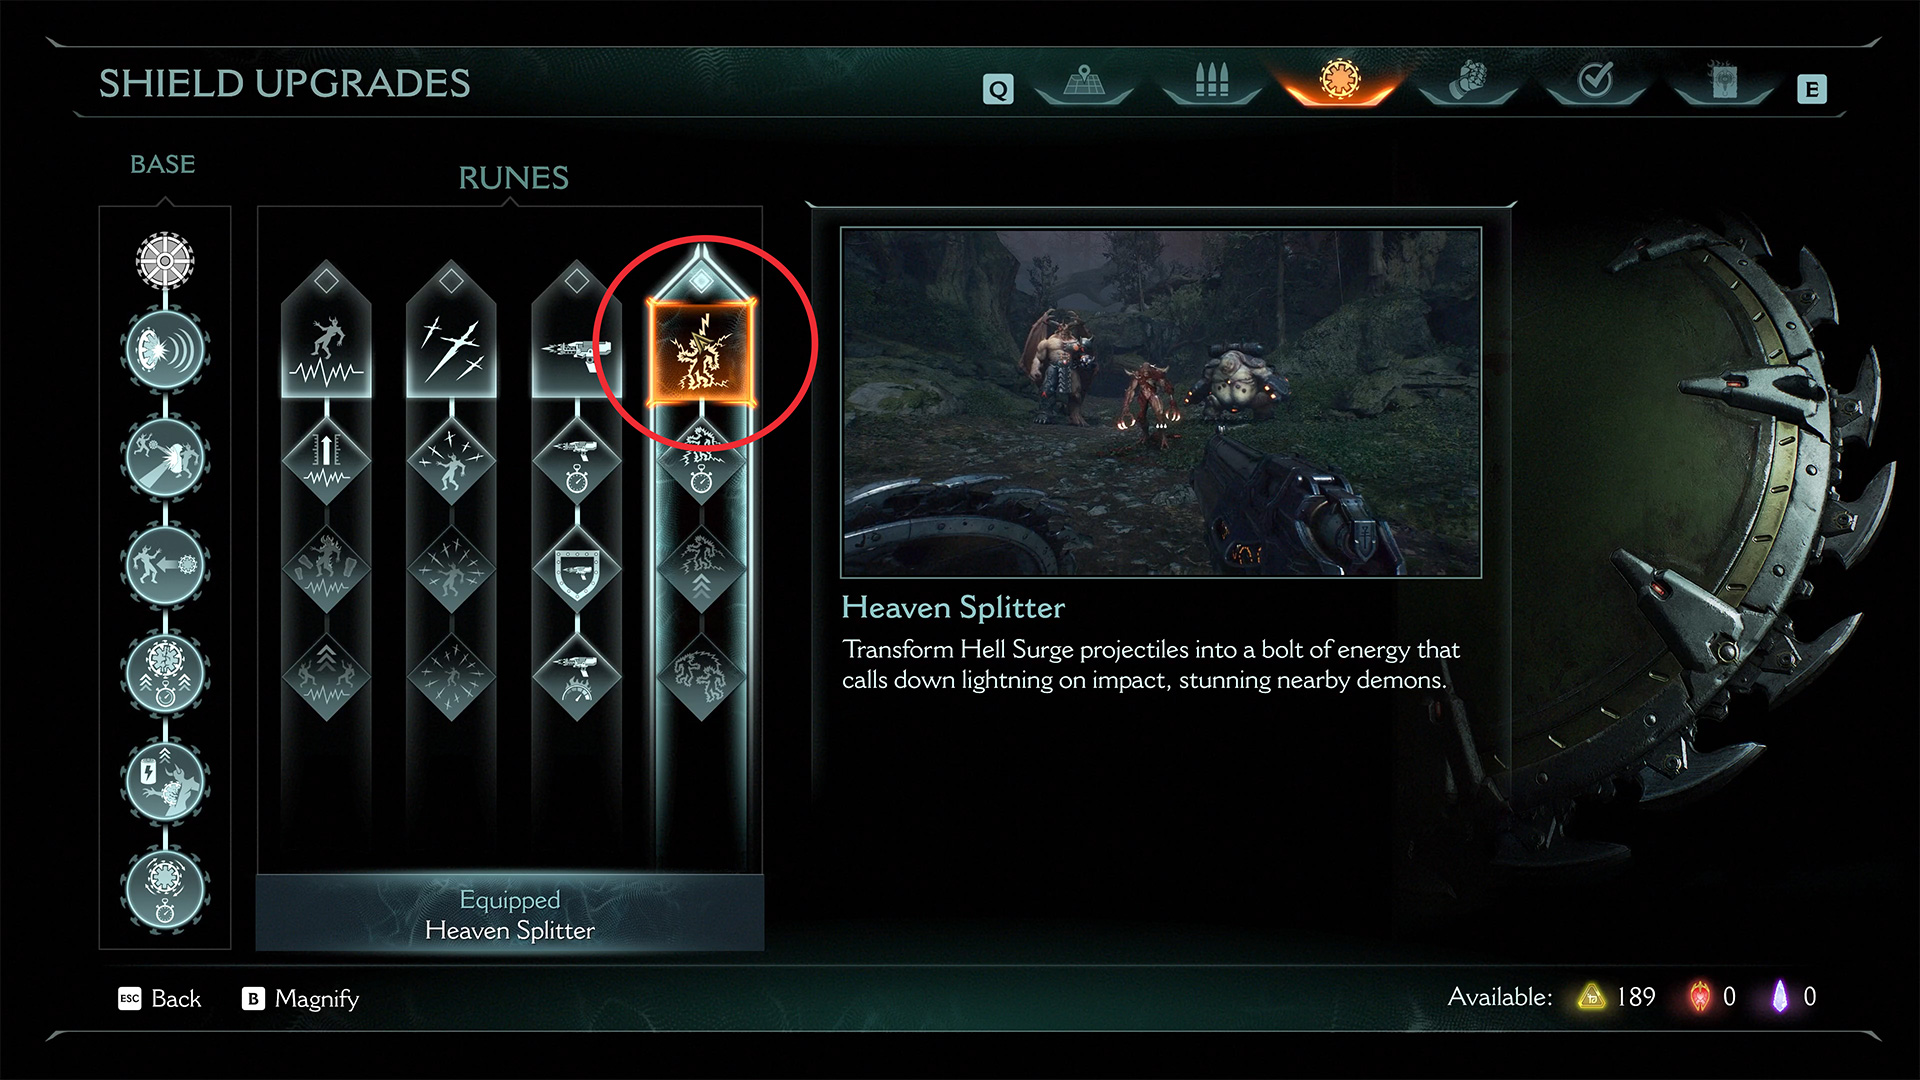
The third Torrent challenge. You need to activate the last rune you received for your Heaven Splitter shield. When repelling the enemy’s green attacks, you need to shock 8 or more opponents at once. In the last battle, you will have a lot of opponents and you will easily complete this quest there.
-

- Be sure to activate the fourth rune
-

- Torrent challenge Doom Dark Ages
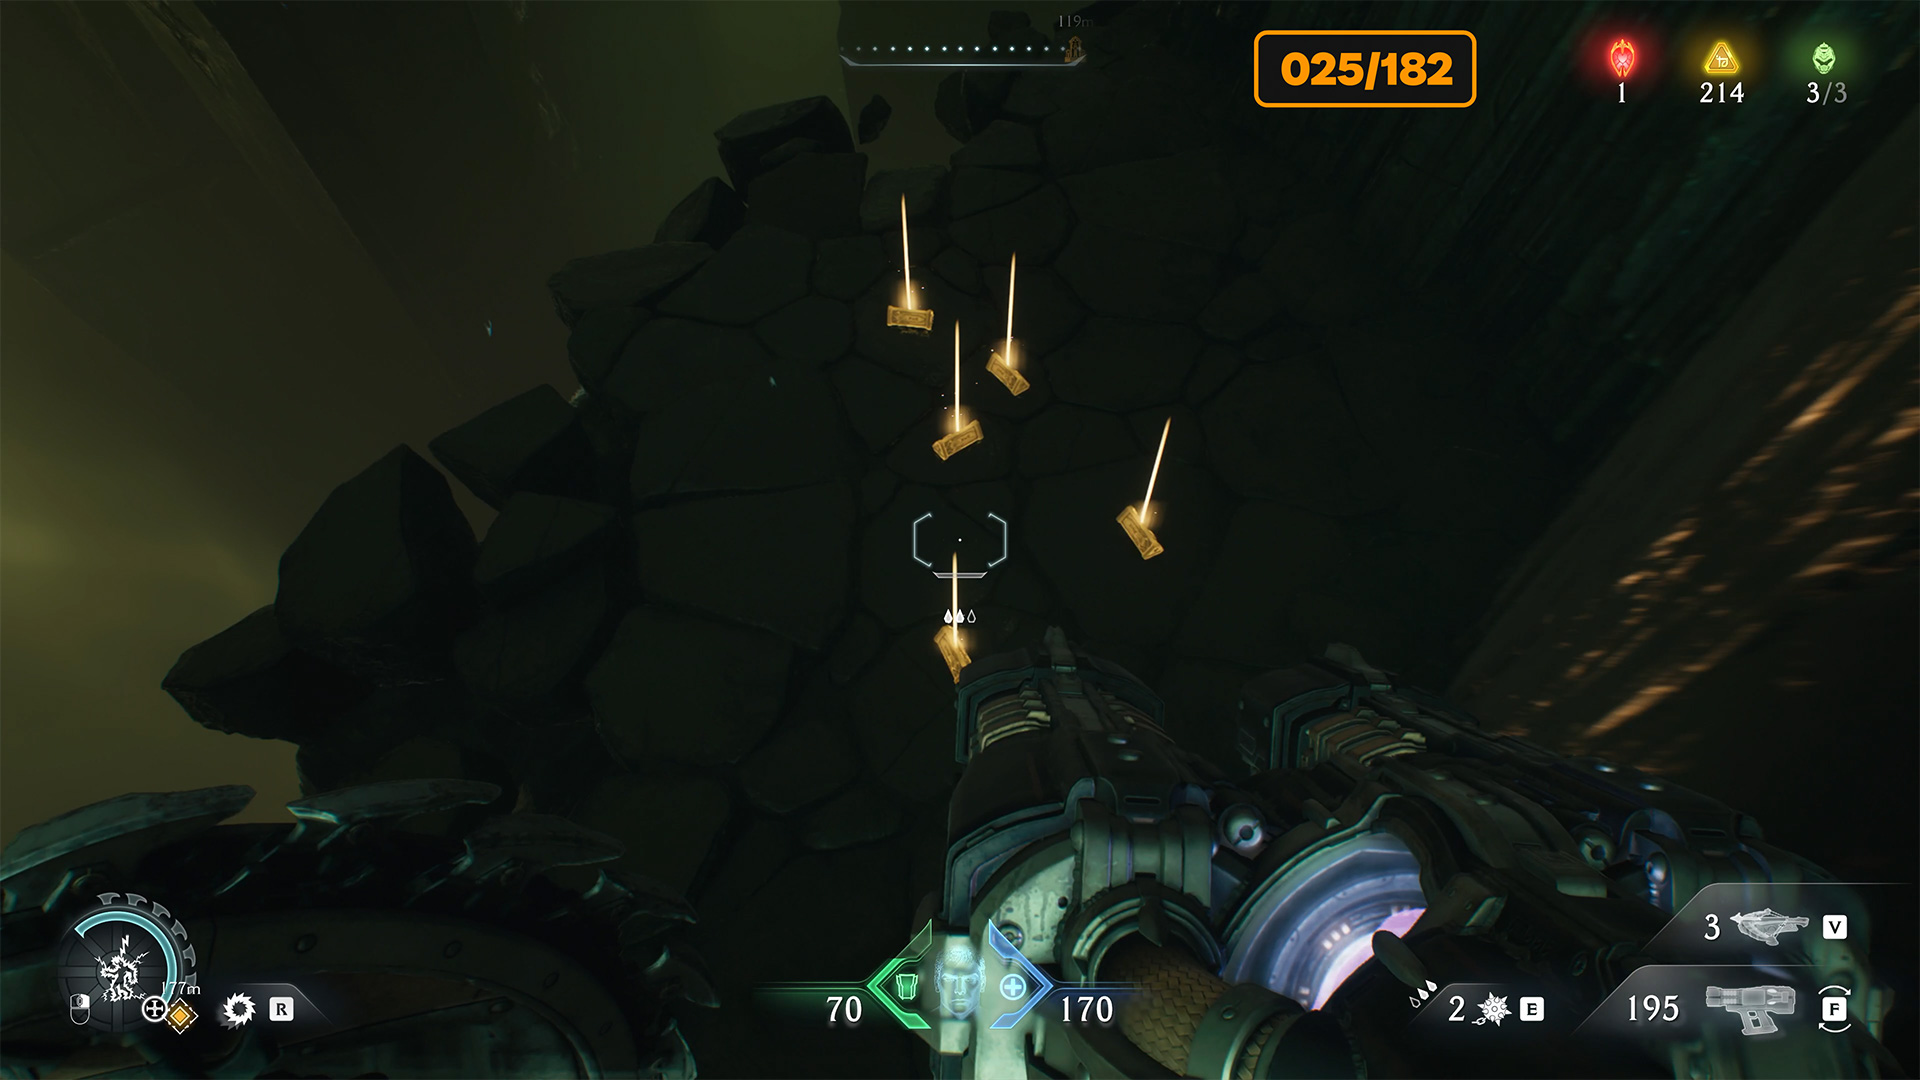
City of Ry’uul gold
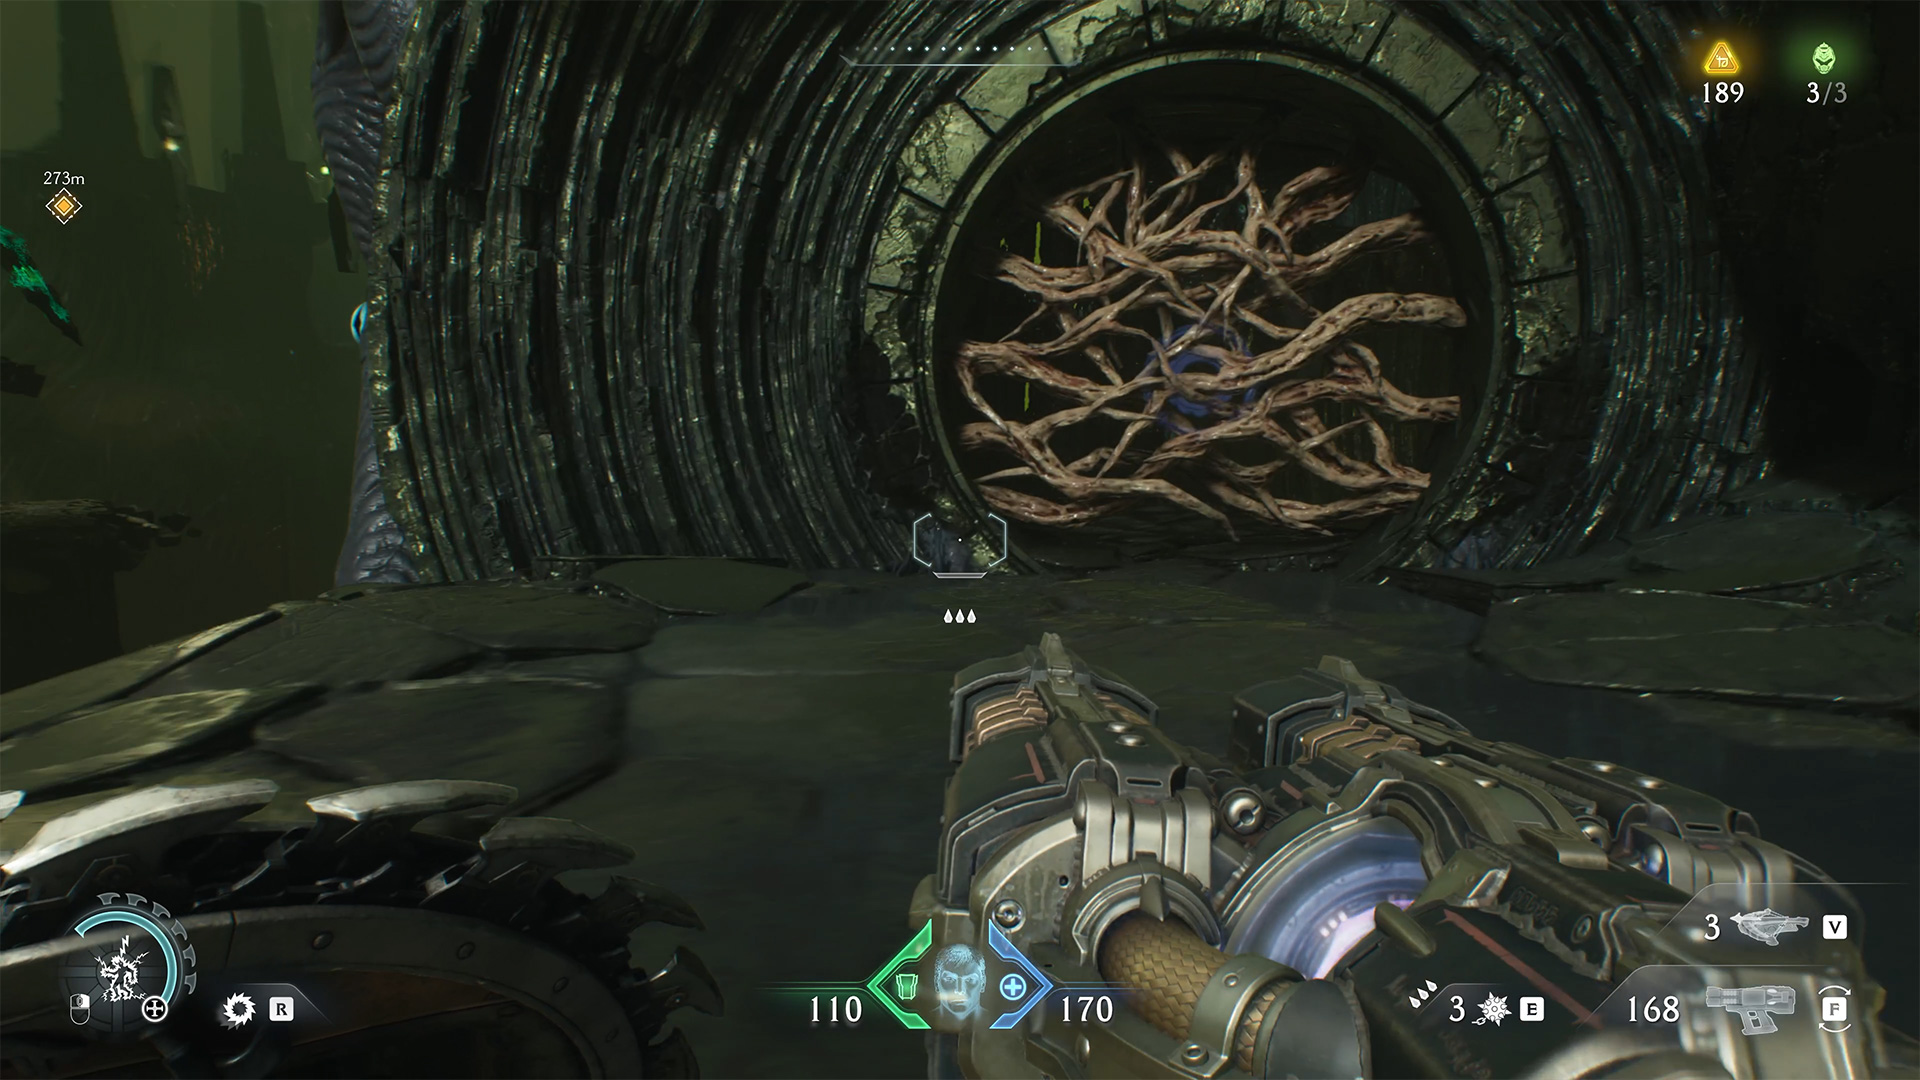
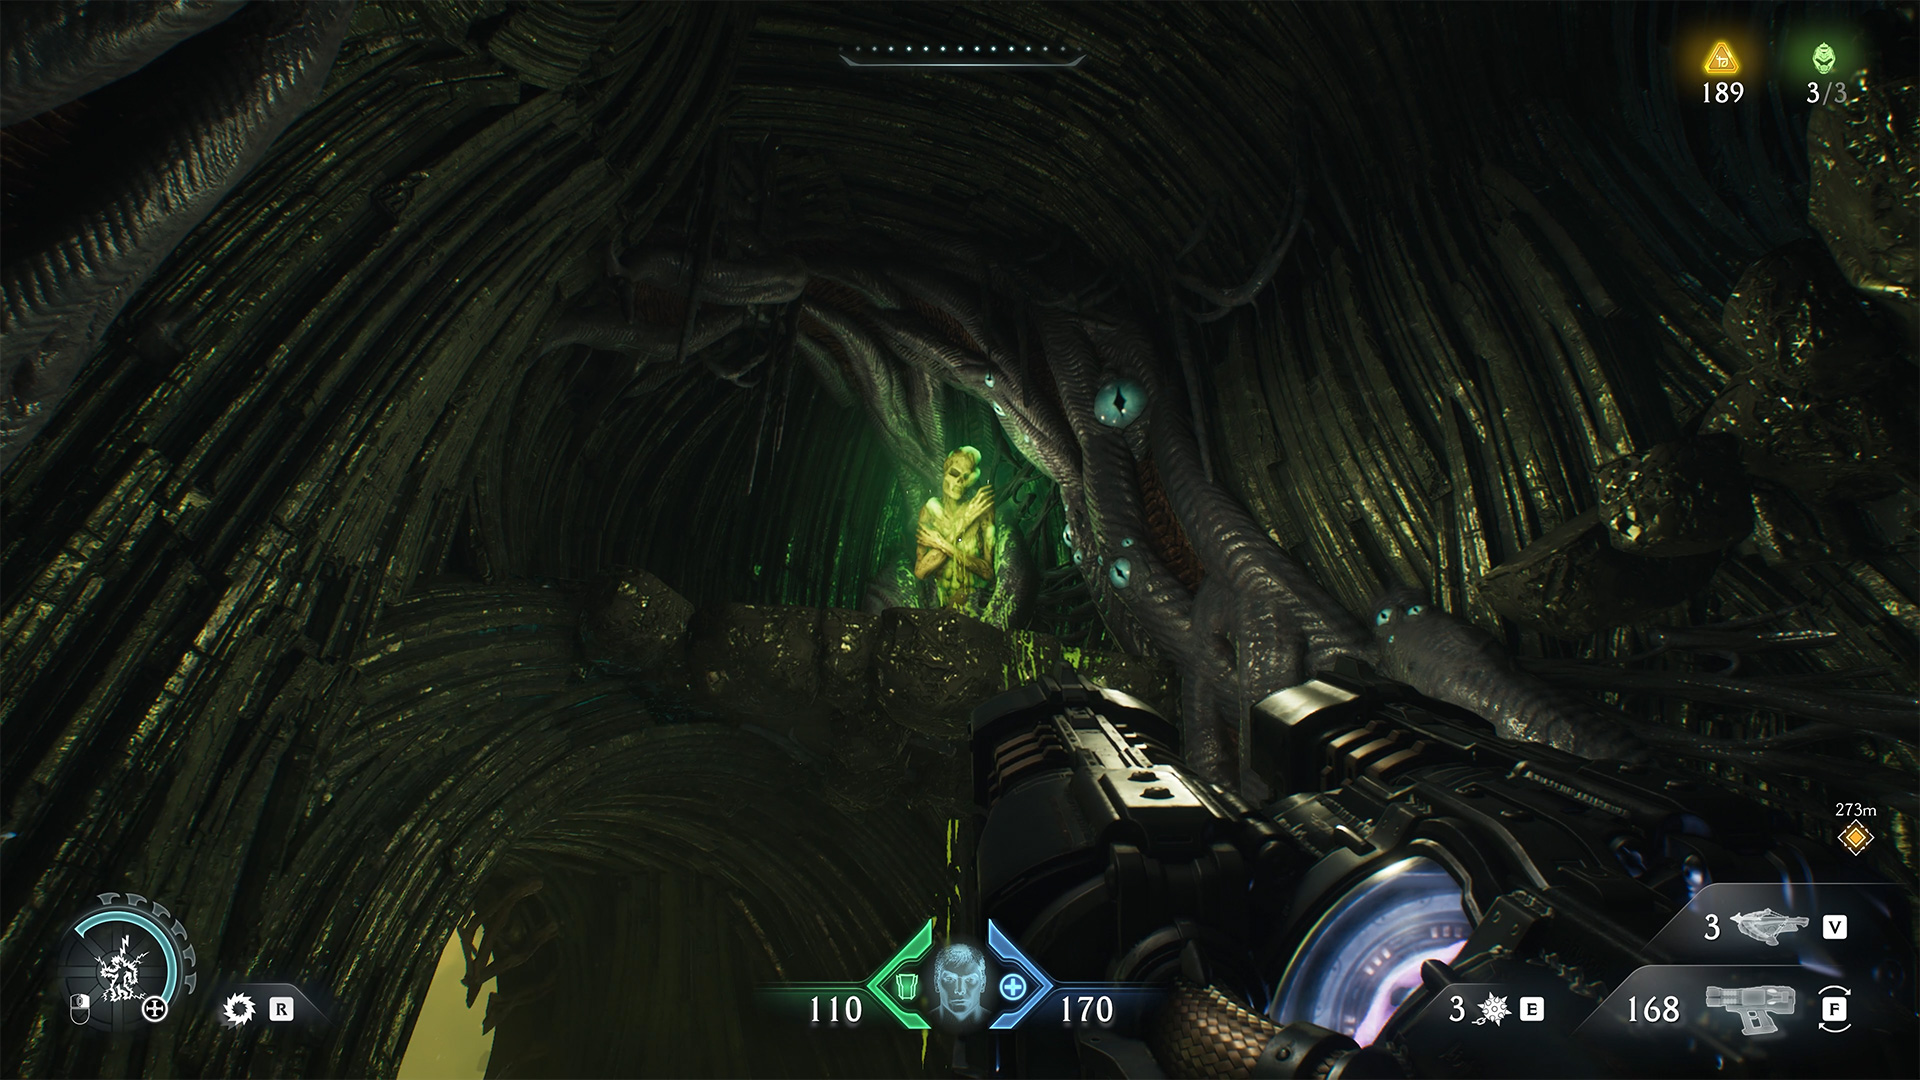
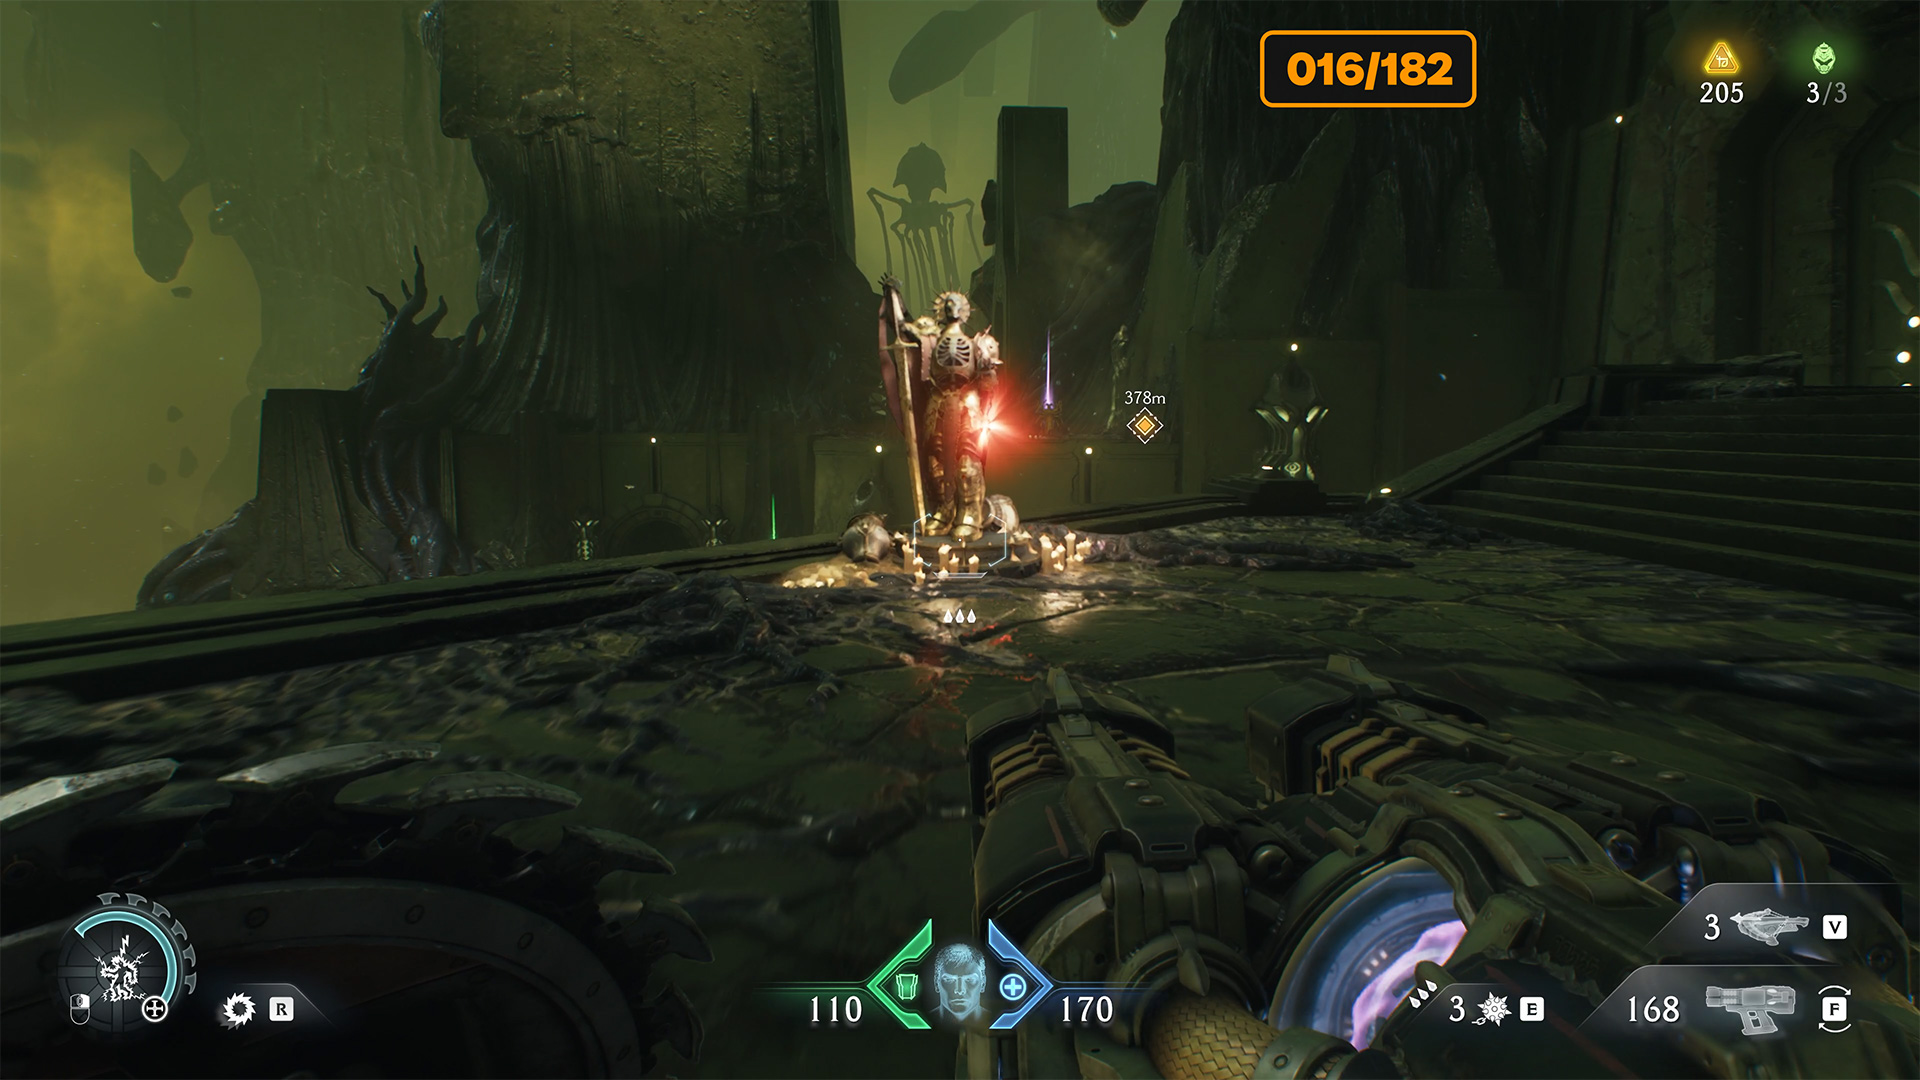
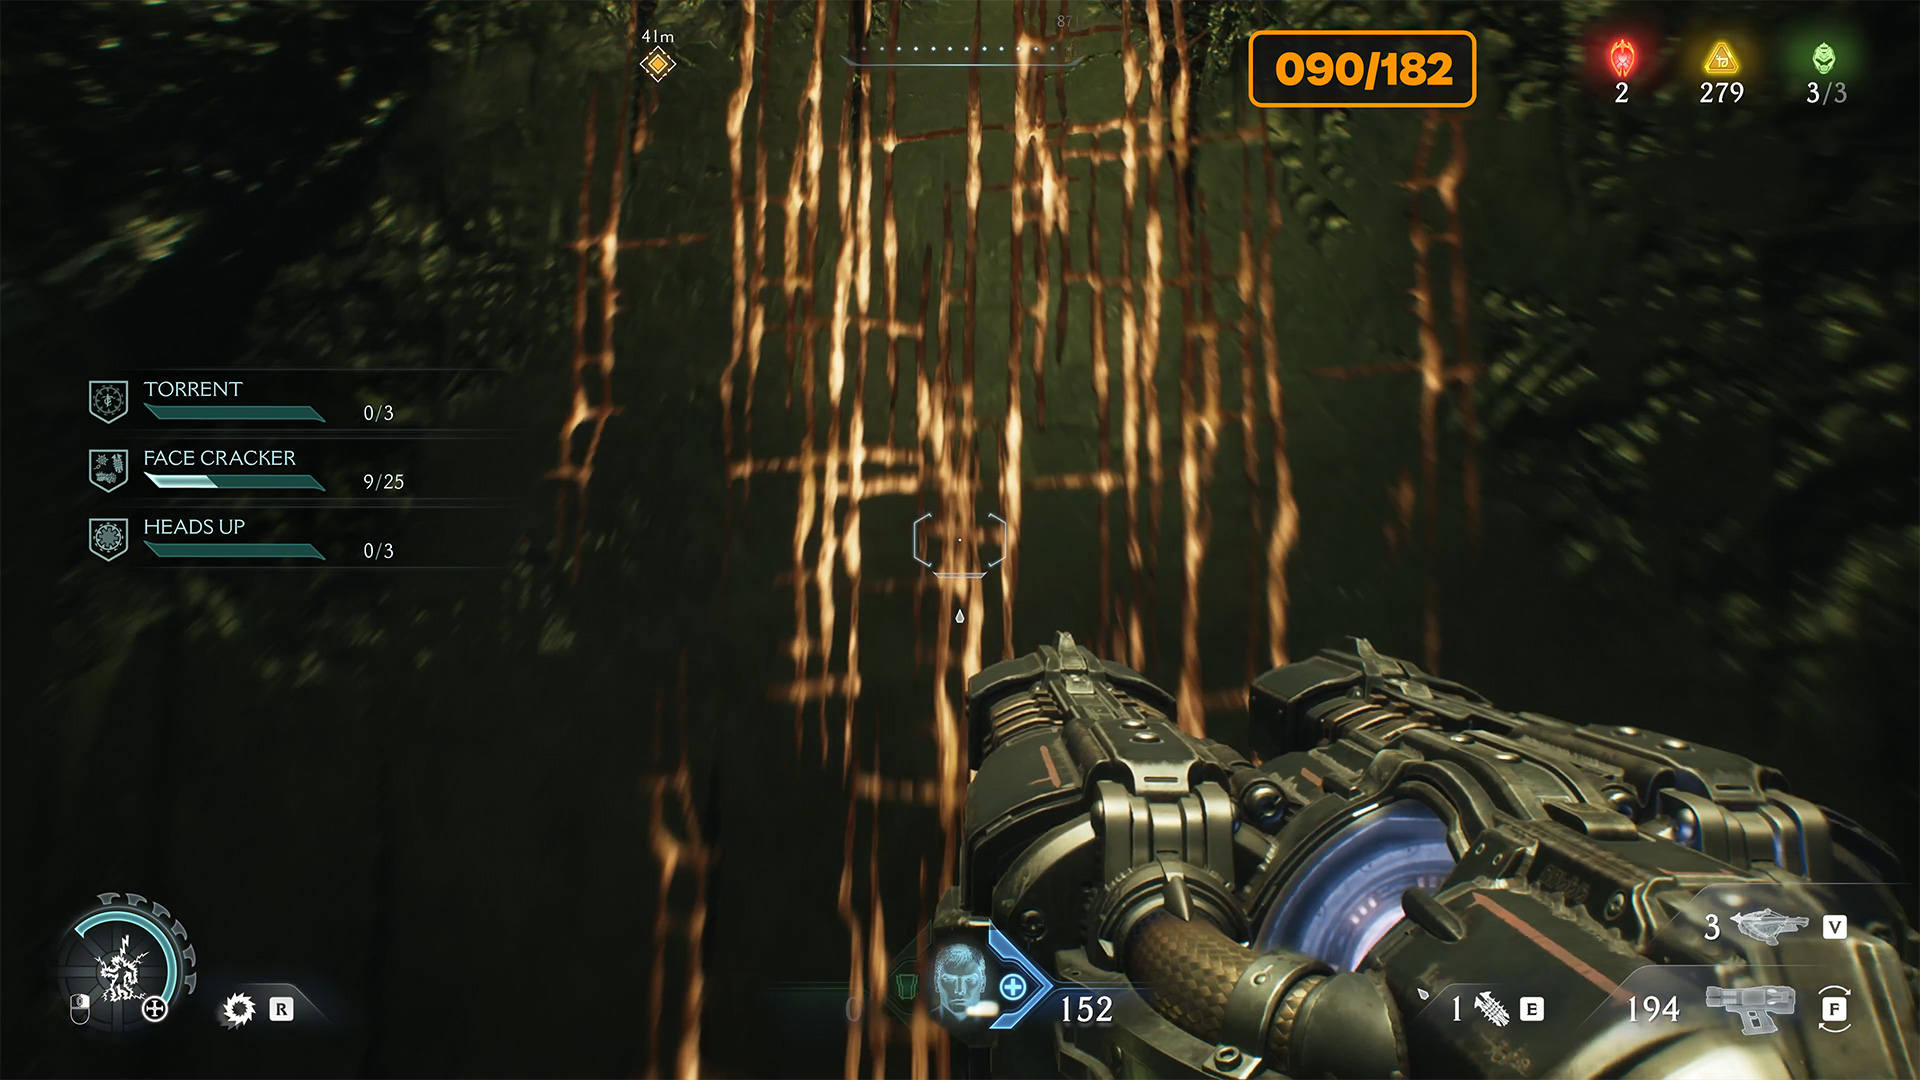
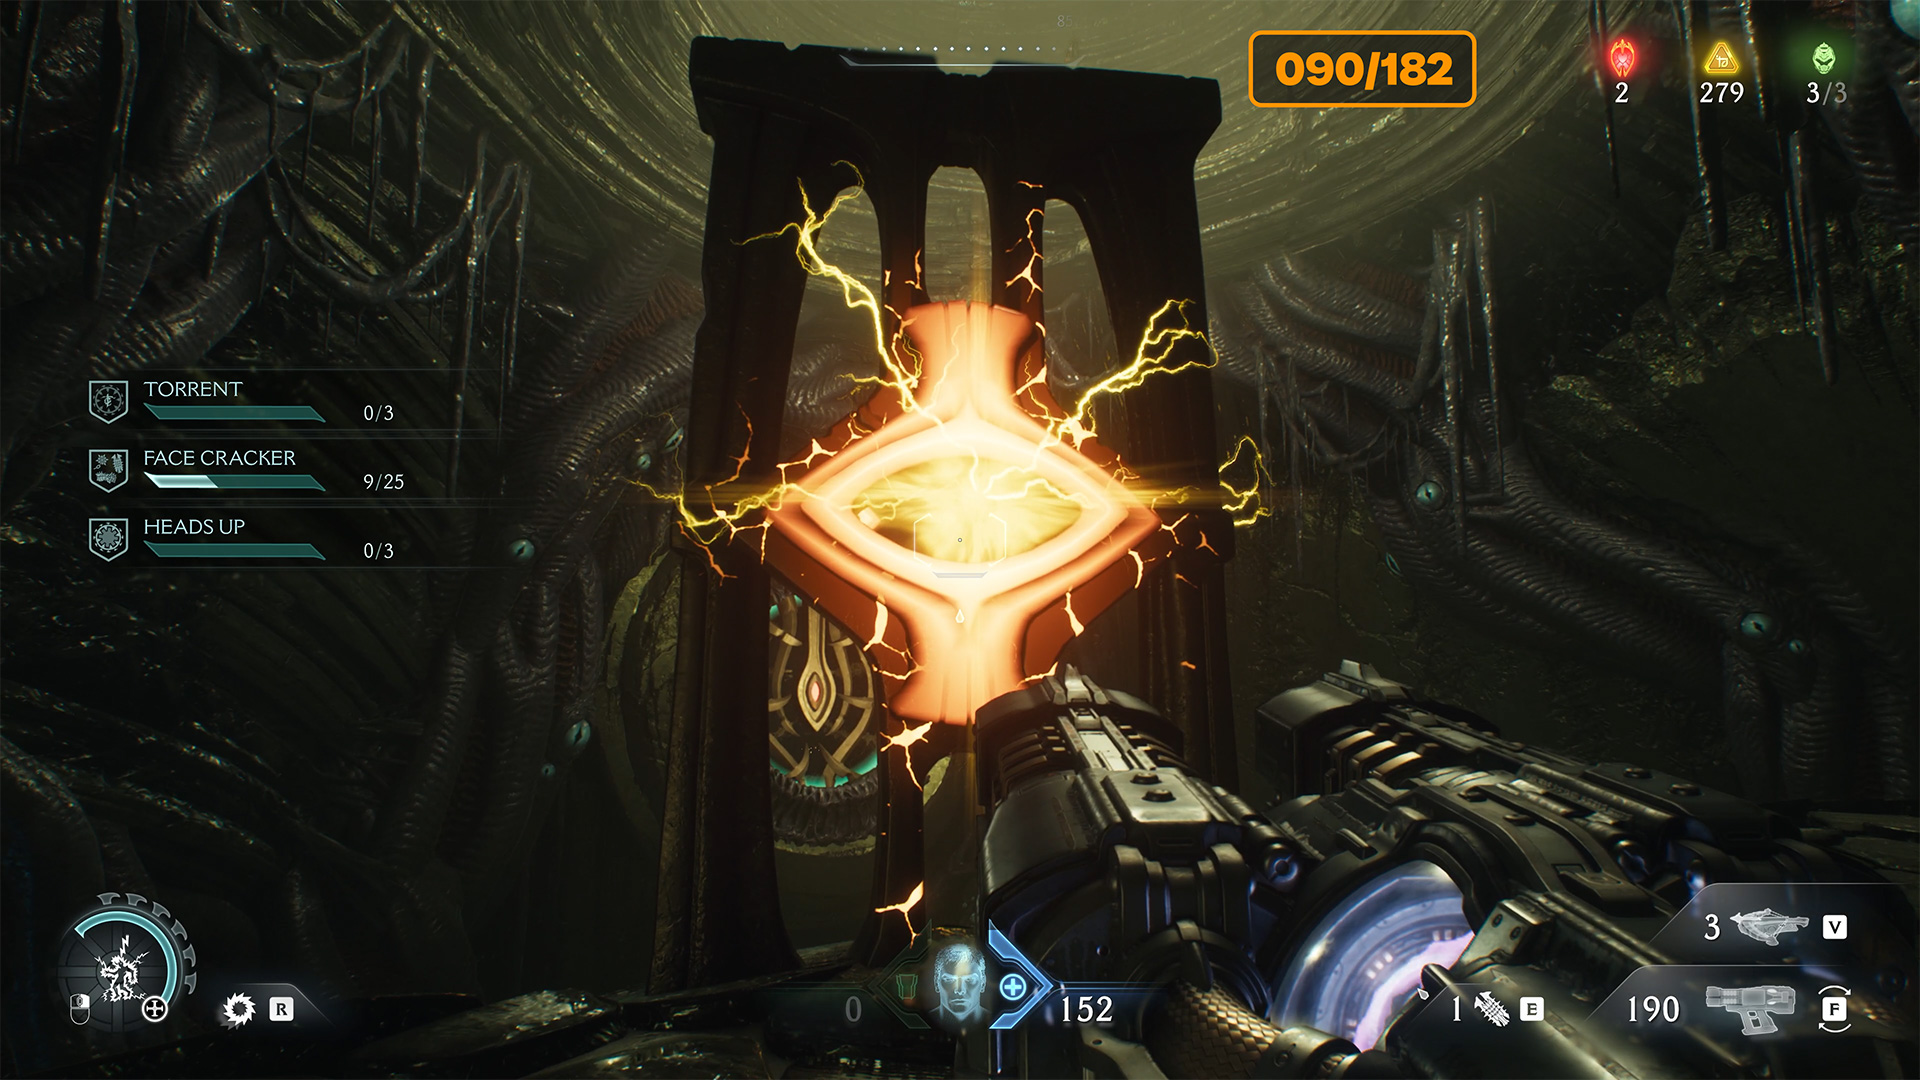
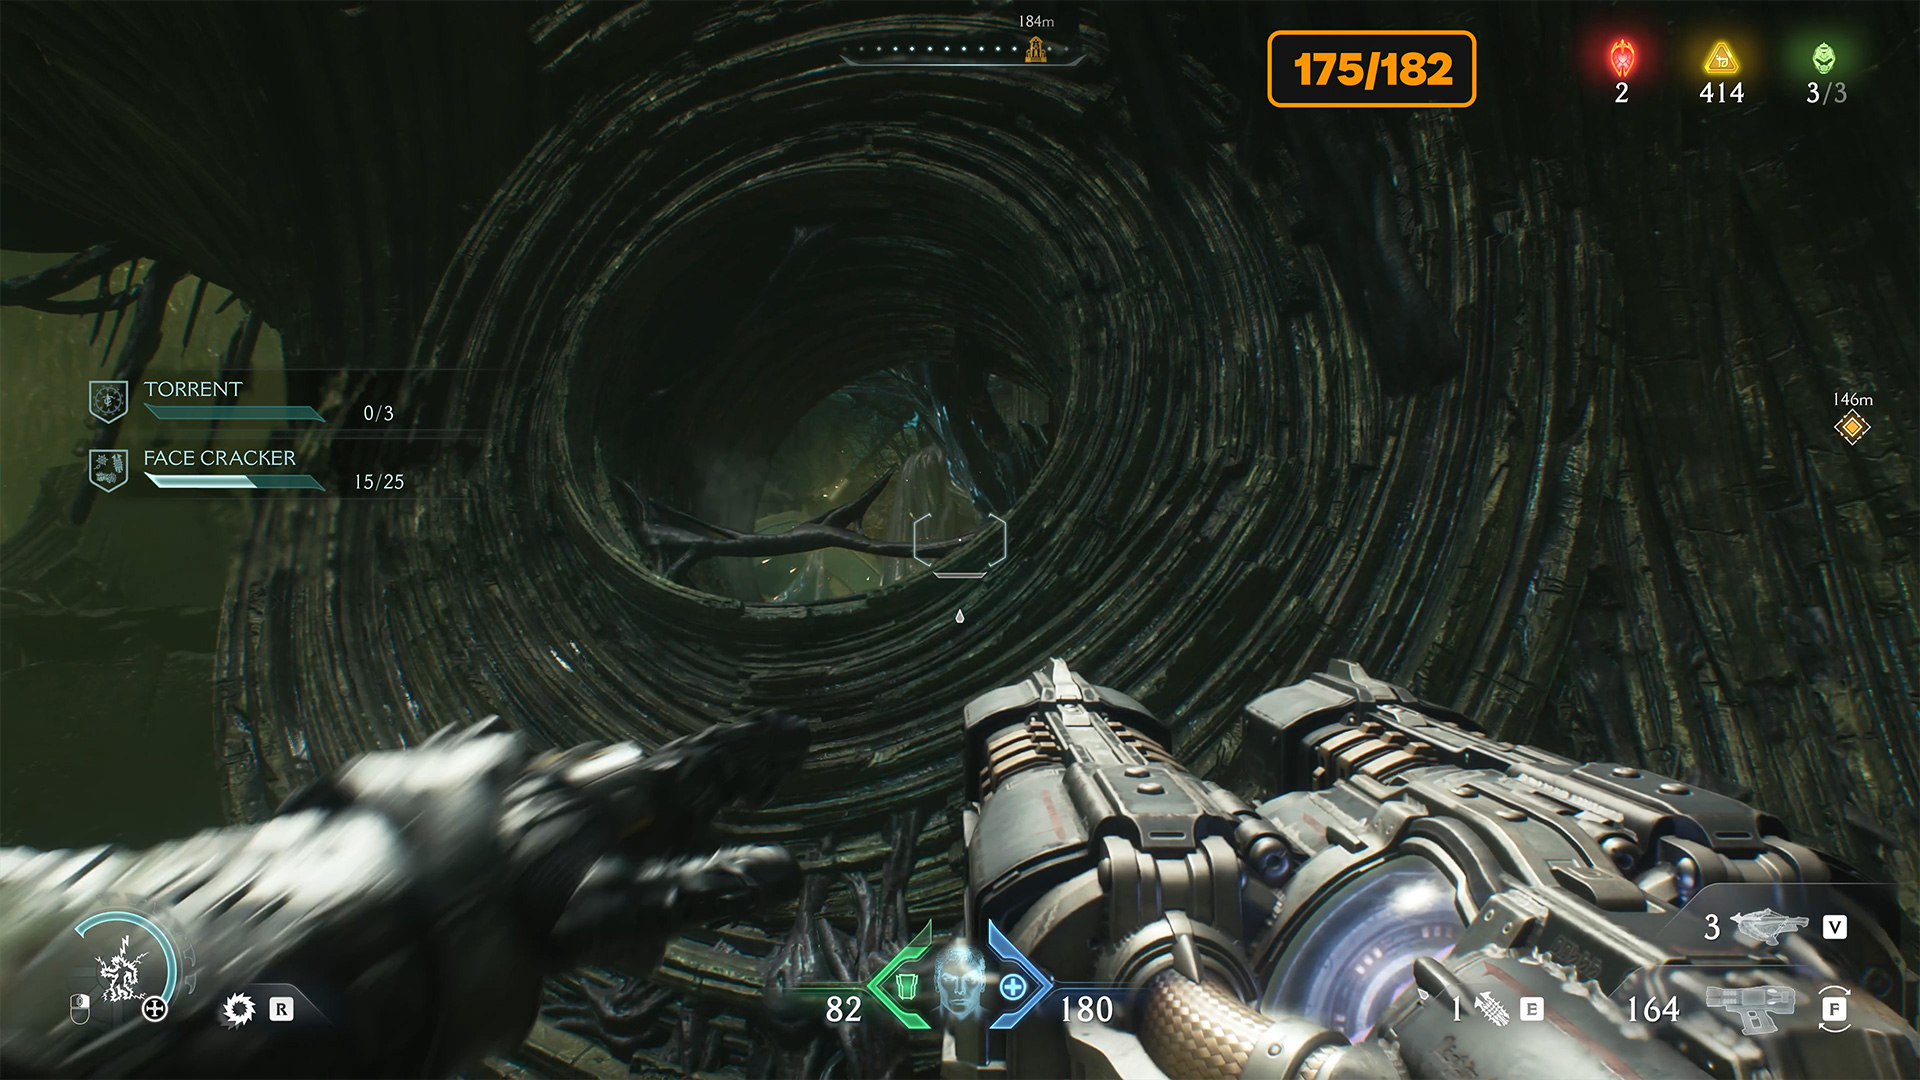
When you see the first green ring in front of you, which you need to break through using Shield Charge, don’t rush to do so. Instead, jump down onto the ledge, where you will see thorny bushes on the right that you can break through. Inside, find the green statue, throw your shield at it, and fly after it to climb higher.
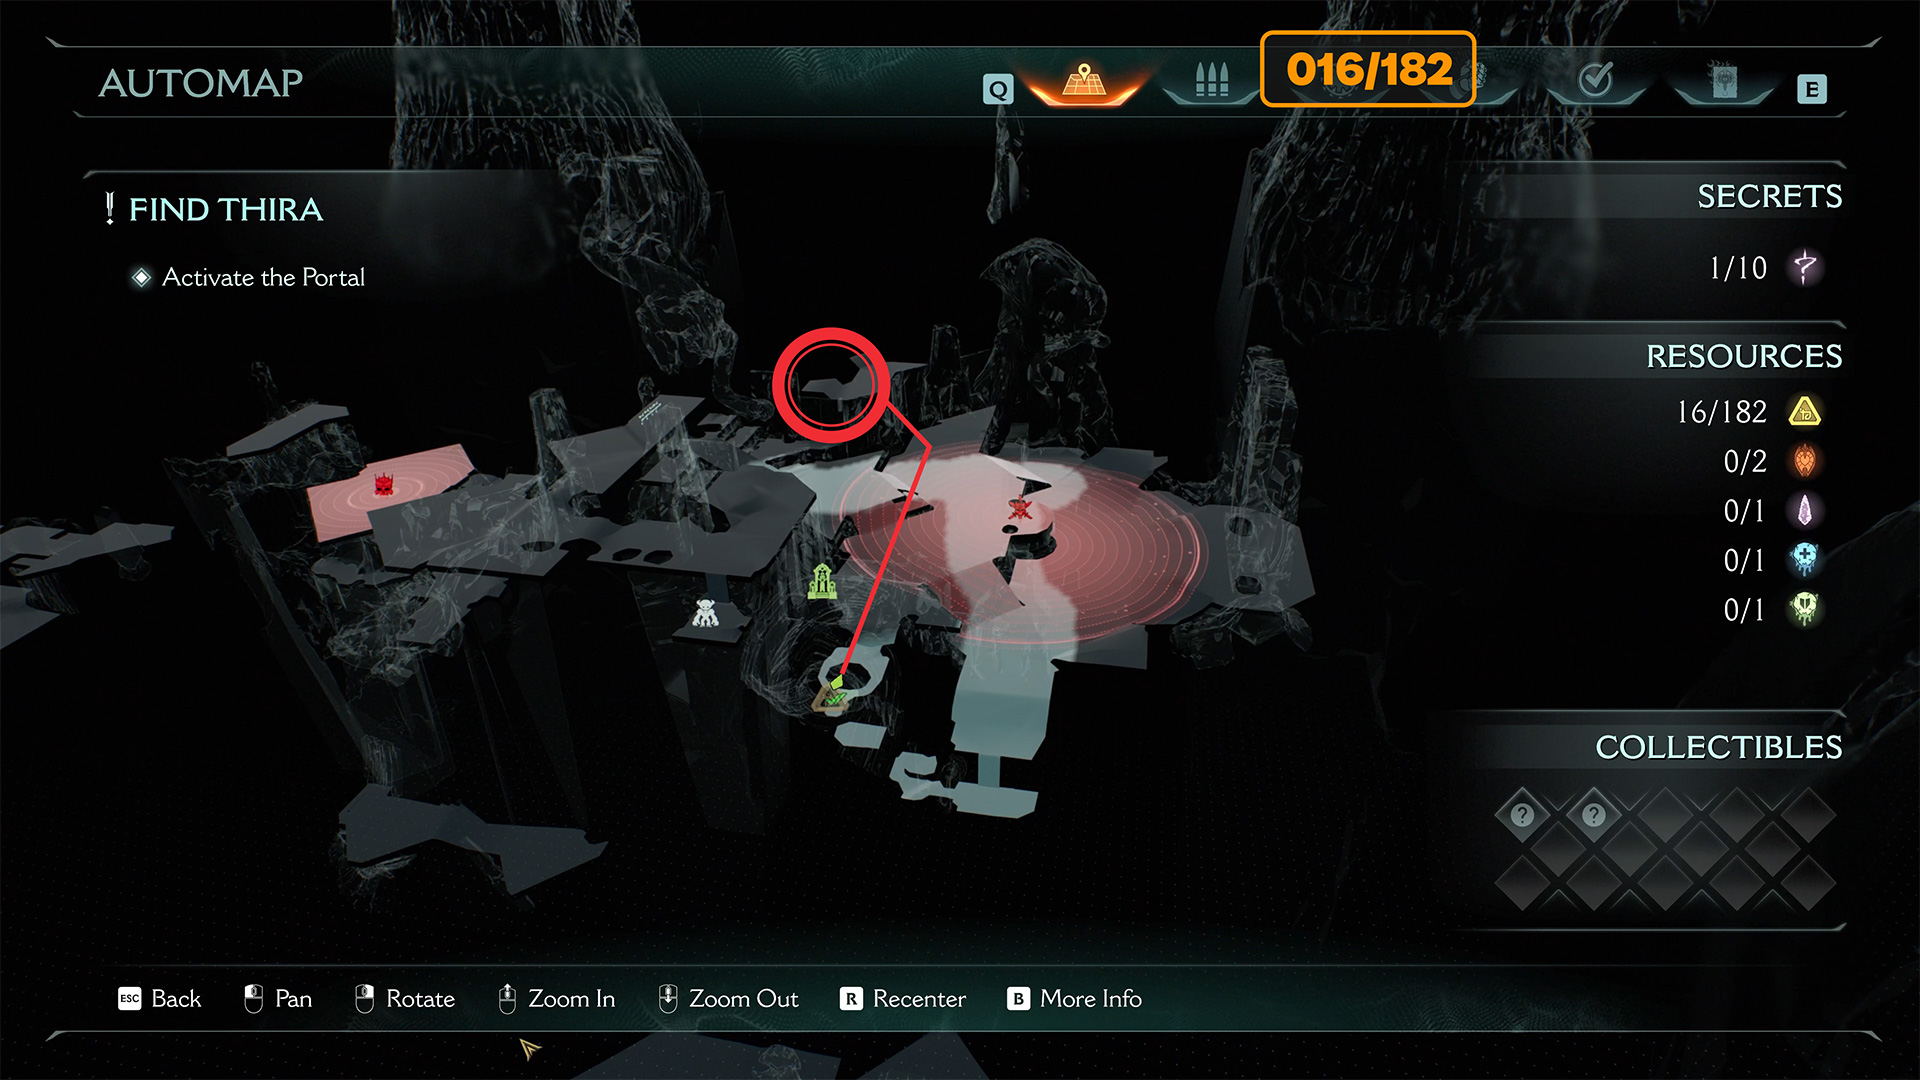
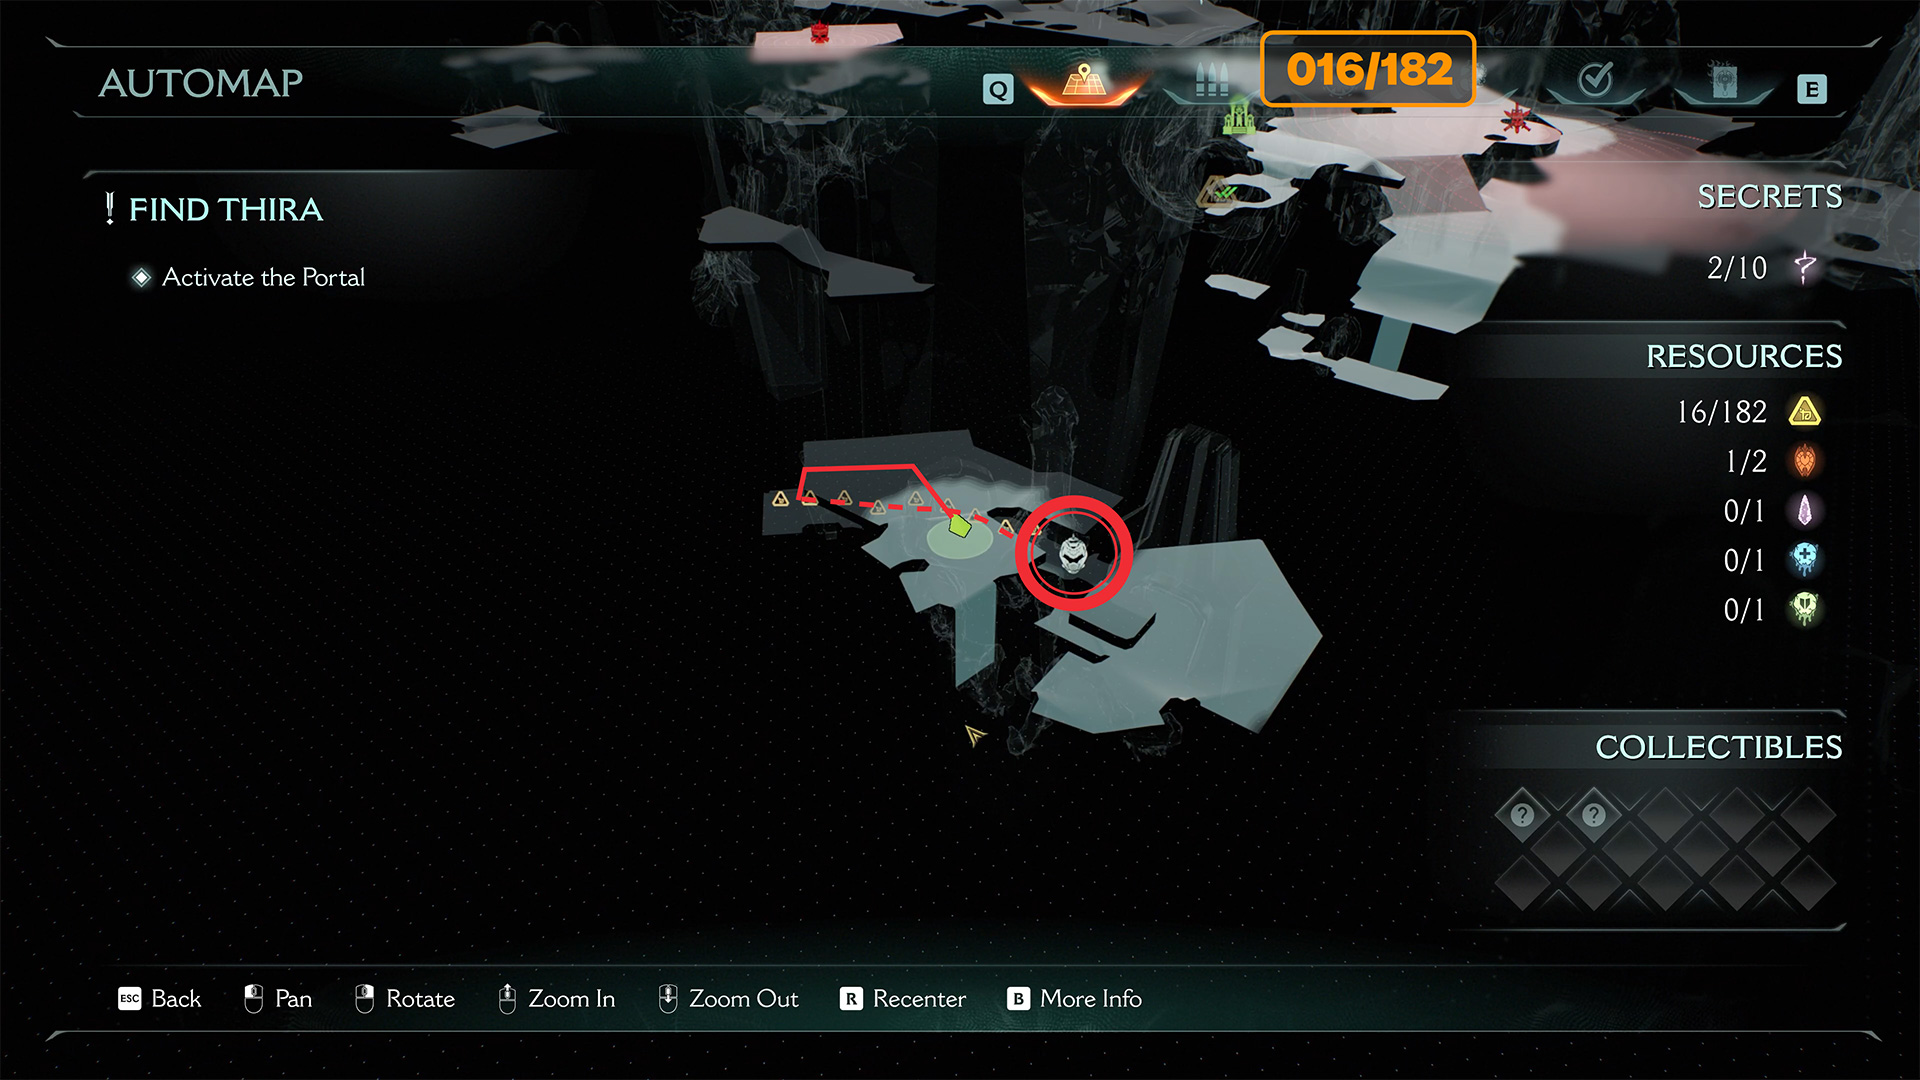
From there, jump onto the platform, where you will find an elevator that will take you even higher, and here you will find 16 gold and the first secret.
-

- City of Ry’uul gold location
-

- Break through the thorny undergrowth to proceed
-

- Find the green statue inside
City of Ry’uul ruby
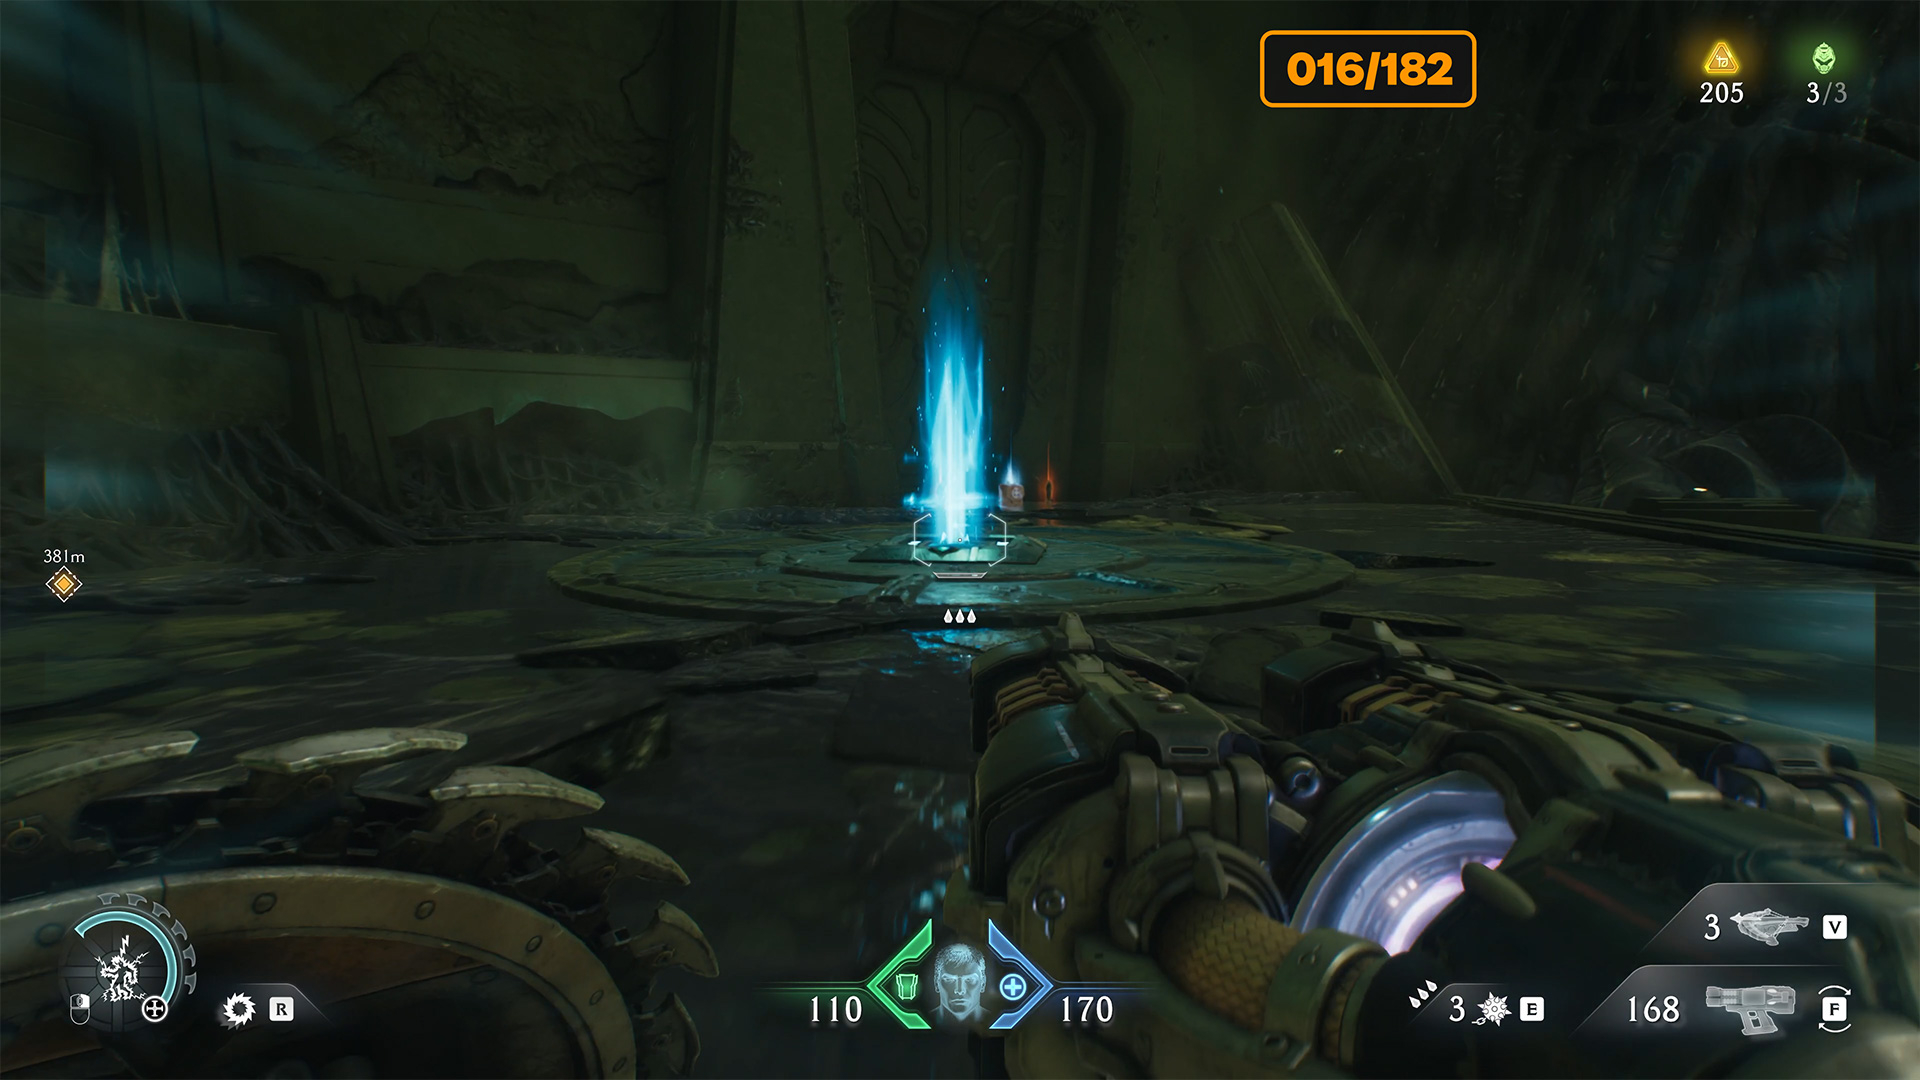
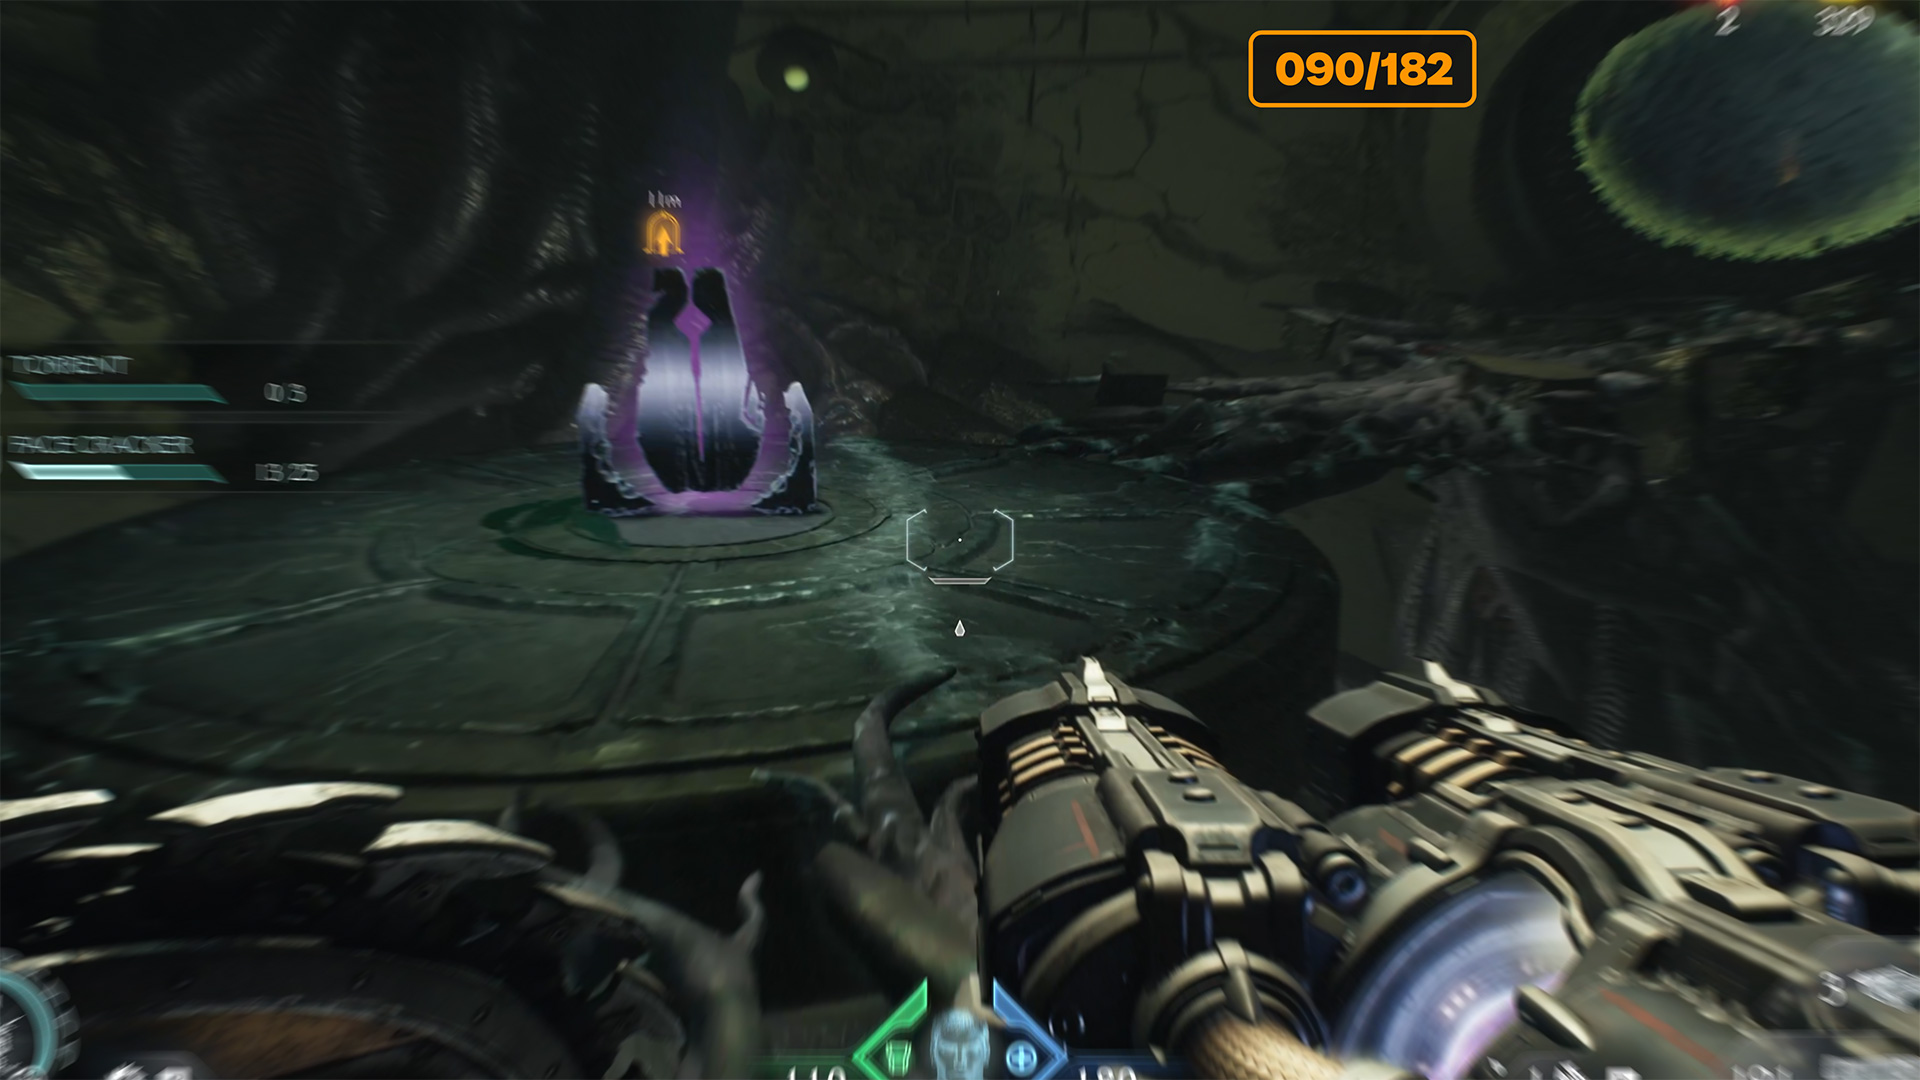
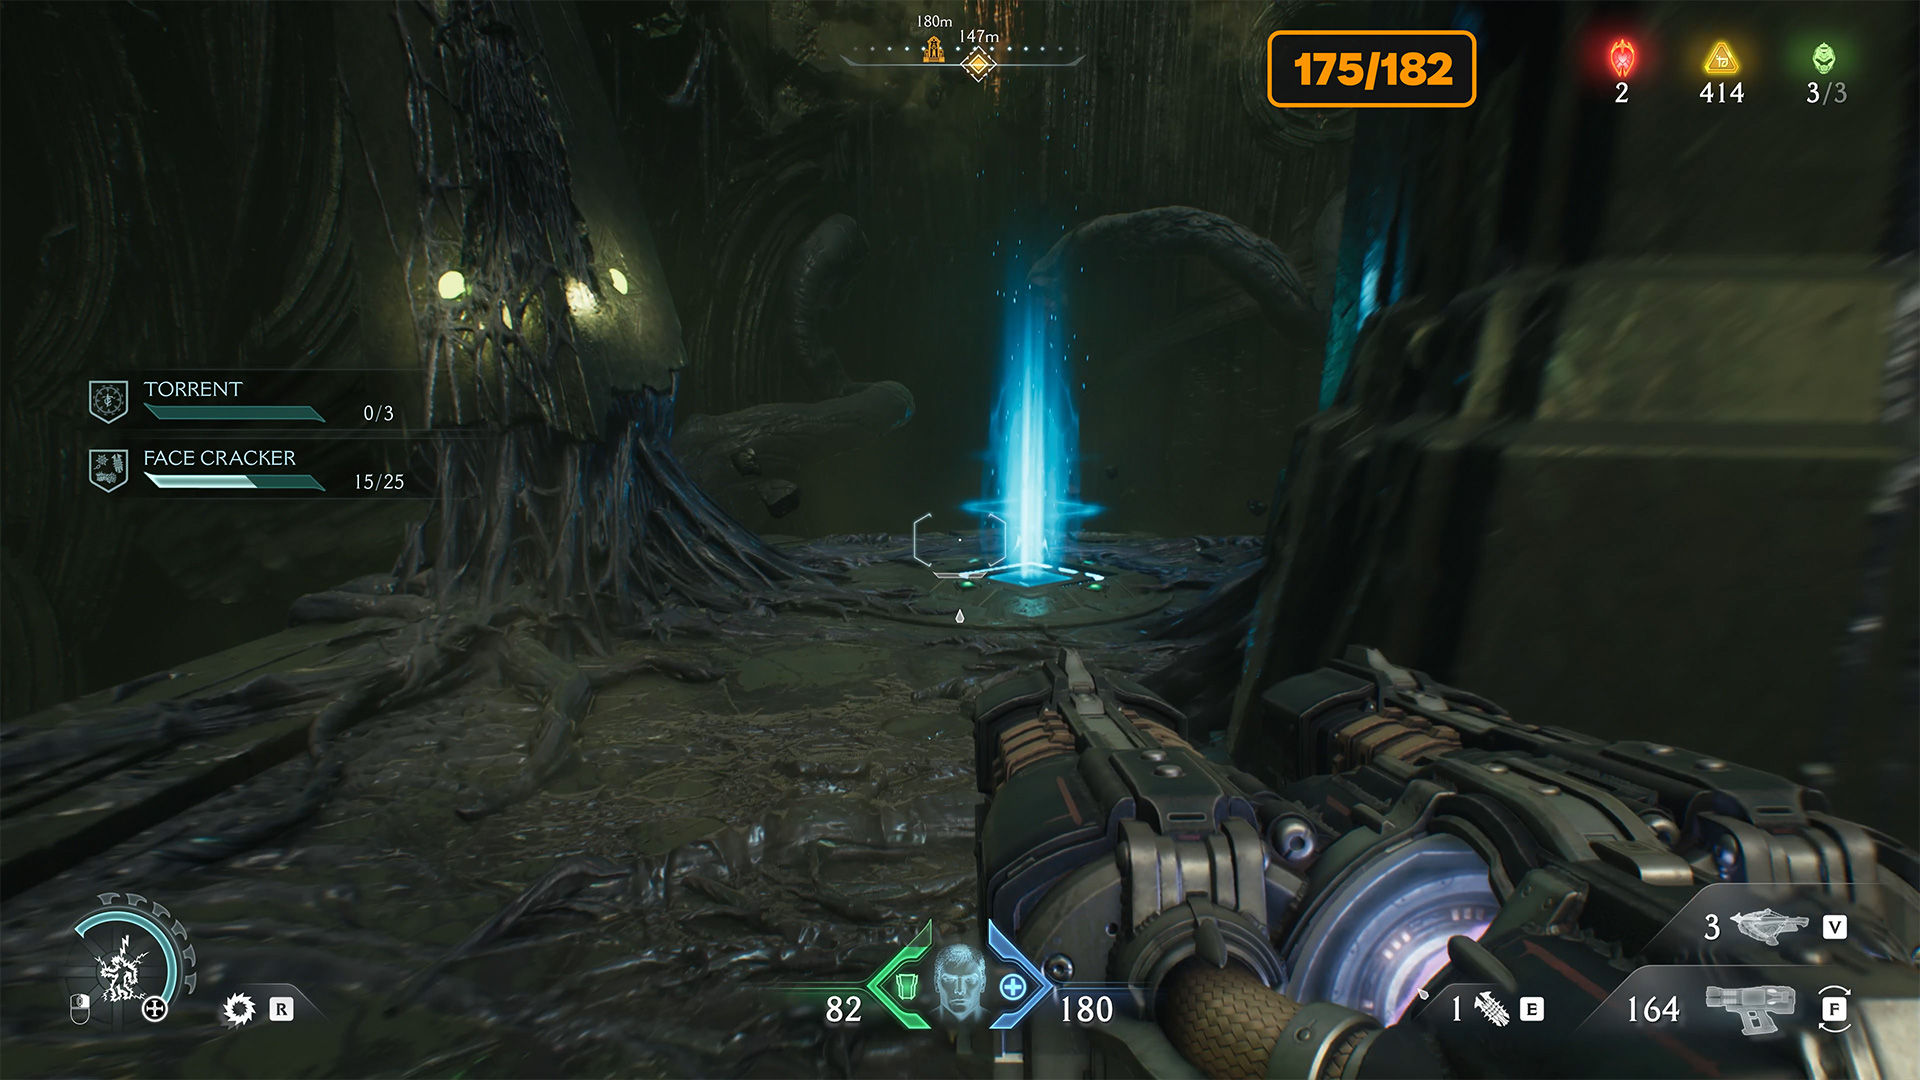
Next, you will have a series of gradual routes that begin where the previous one ends. So, after you find 16 gold, you will see a structure in front of you that holds a purple stone. You need to approach it and interact with the stone. This action will activate the accelerator ahead.
Now you need to go straight ahead and not turn anywhere. Ahead, you will see this accelerator. It is quite a long way away. Just run through the room and you will reach the accelerator, which will throw you up to the second floor. Here is the second secret. Now turn the camera to see the statue with the ruby. All you have to do is walk up and take the ruby.
-

- City of Ry’uul ruby location
-

- Activate and find the accelerator
-

- City of Ry’uul ruby
City of Ry’uul Life Sigil location
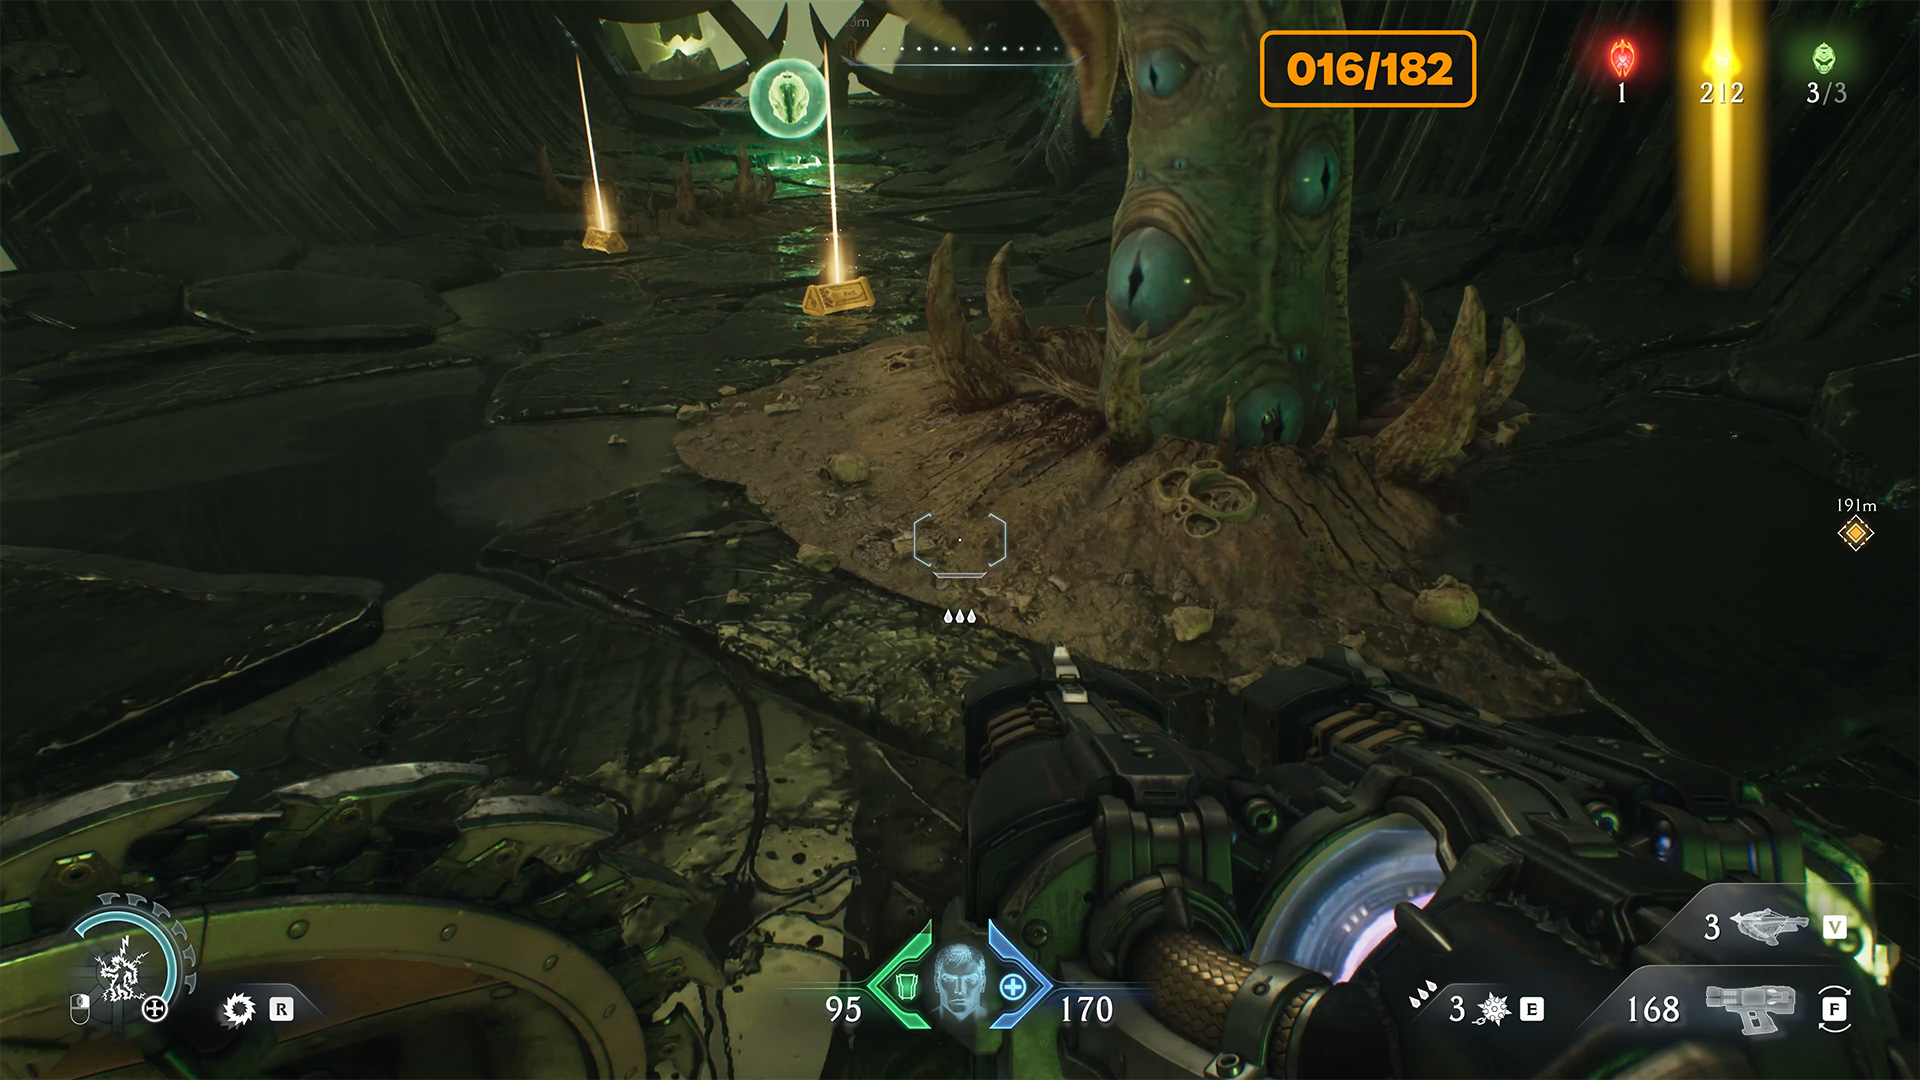
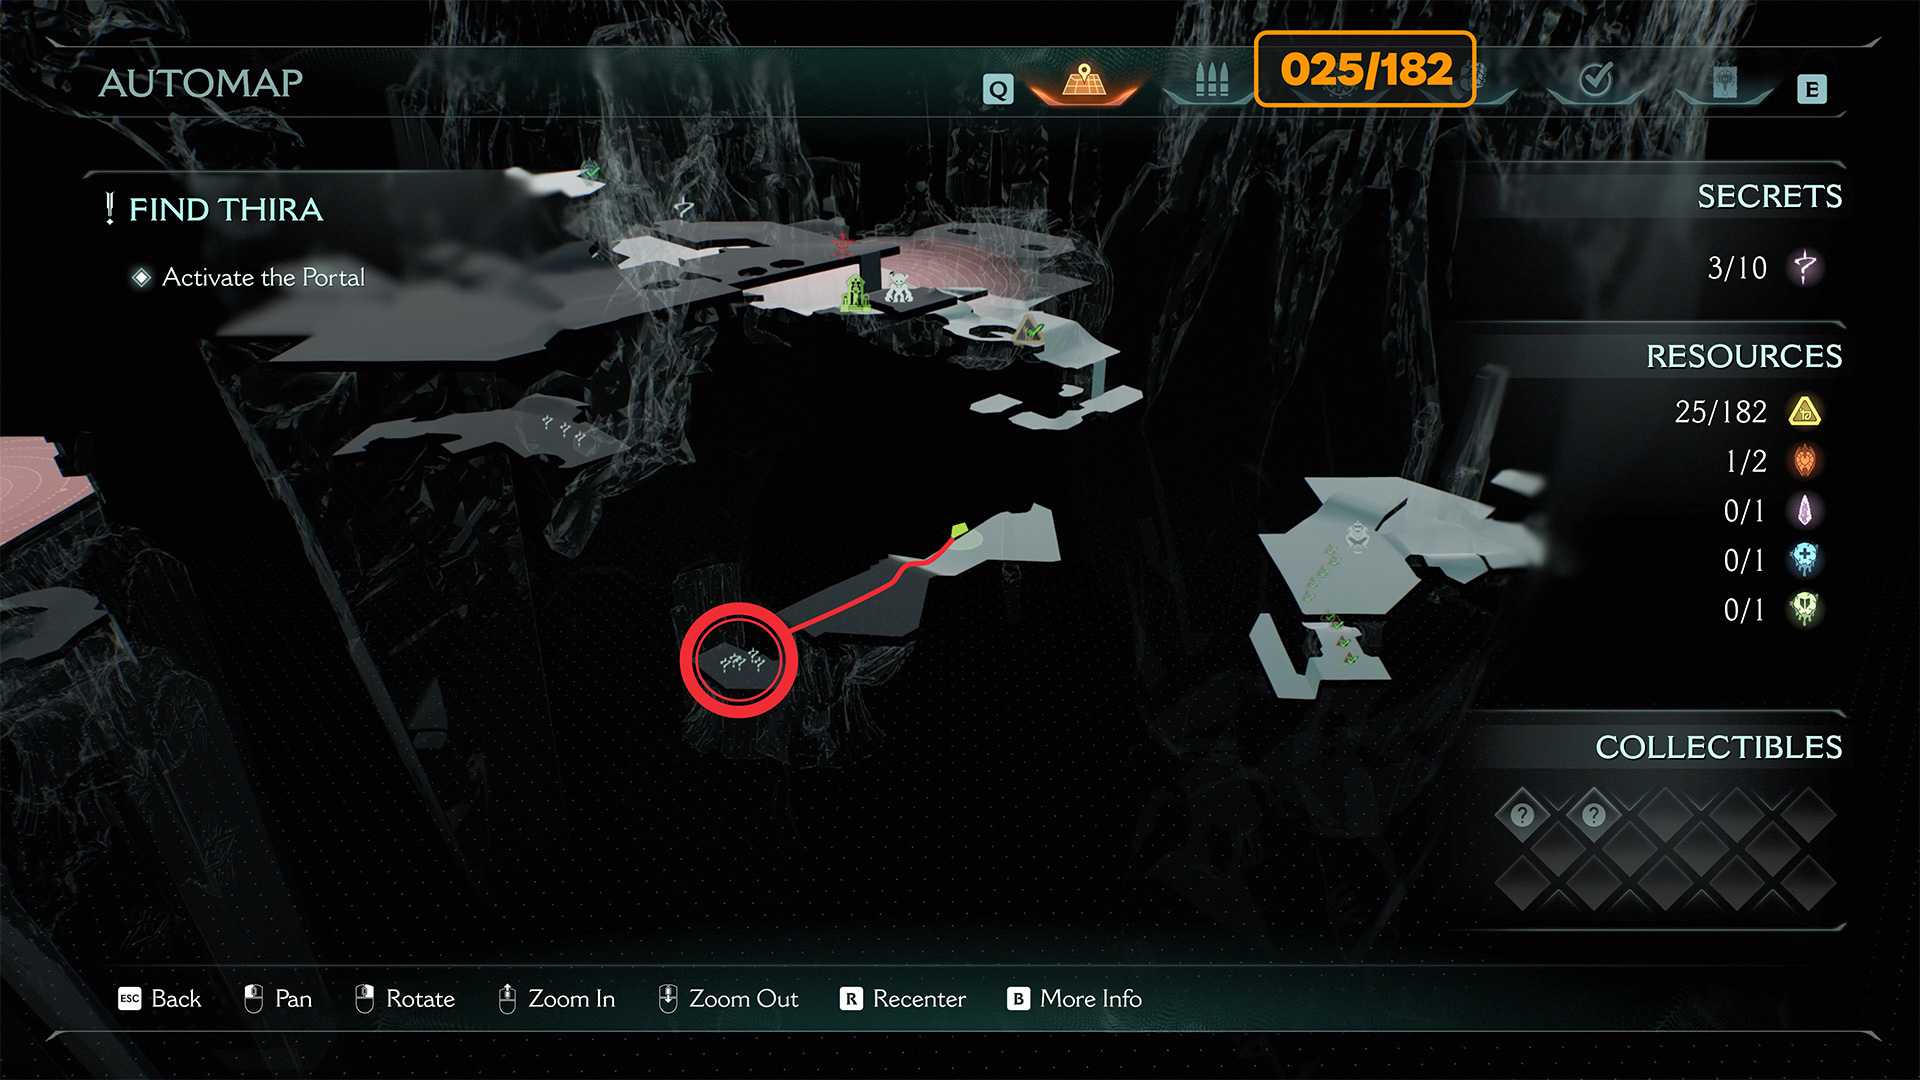
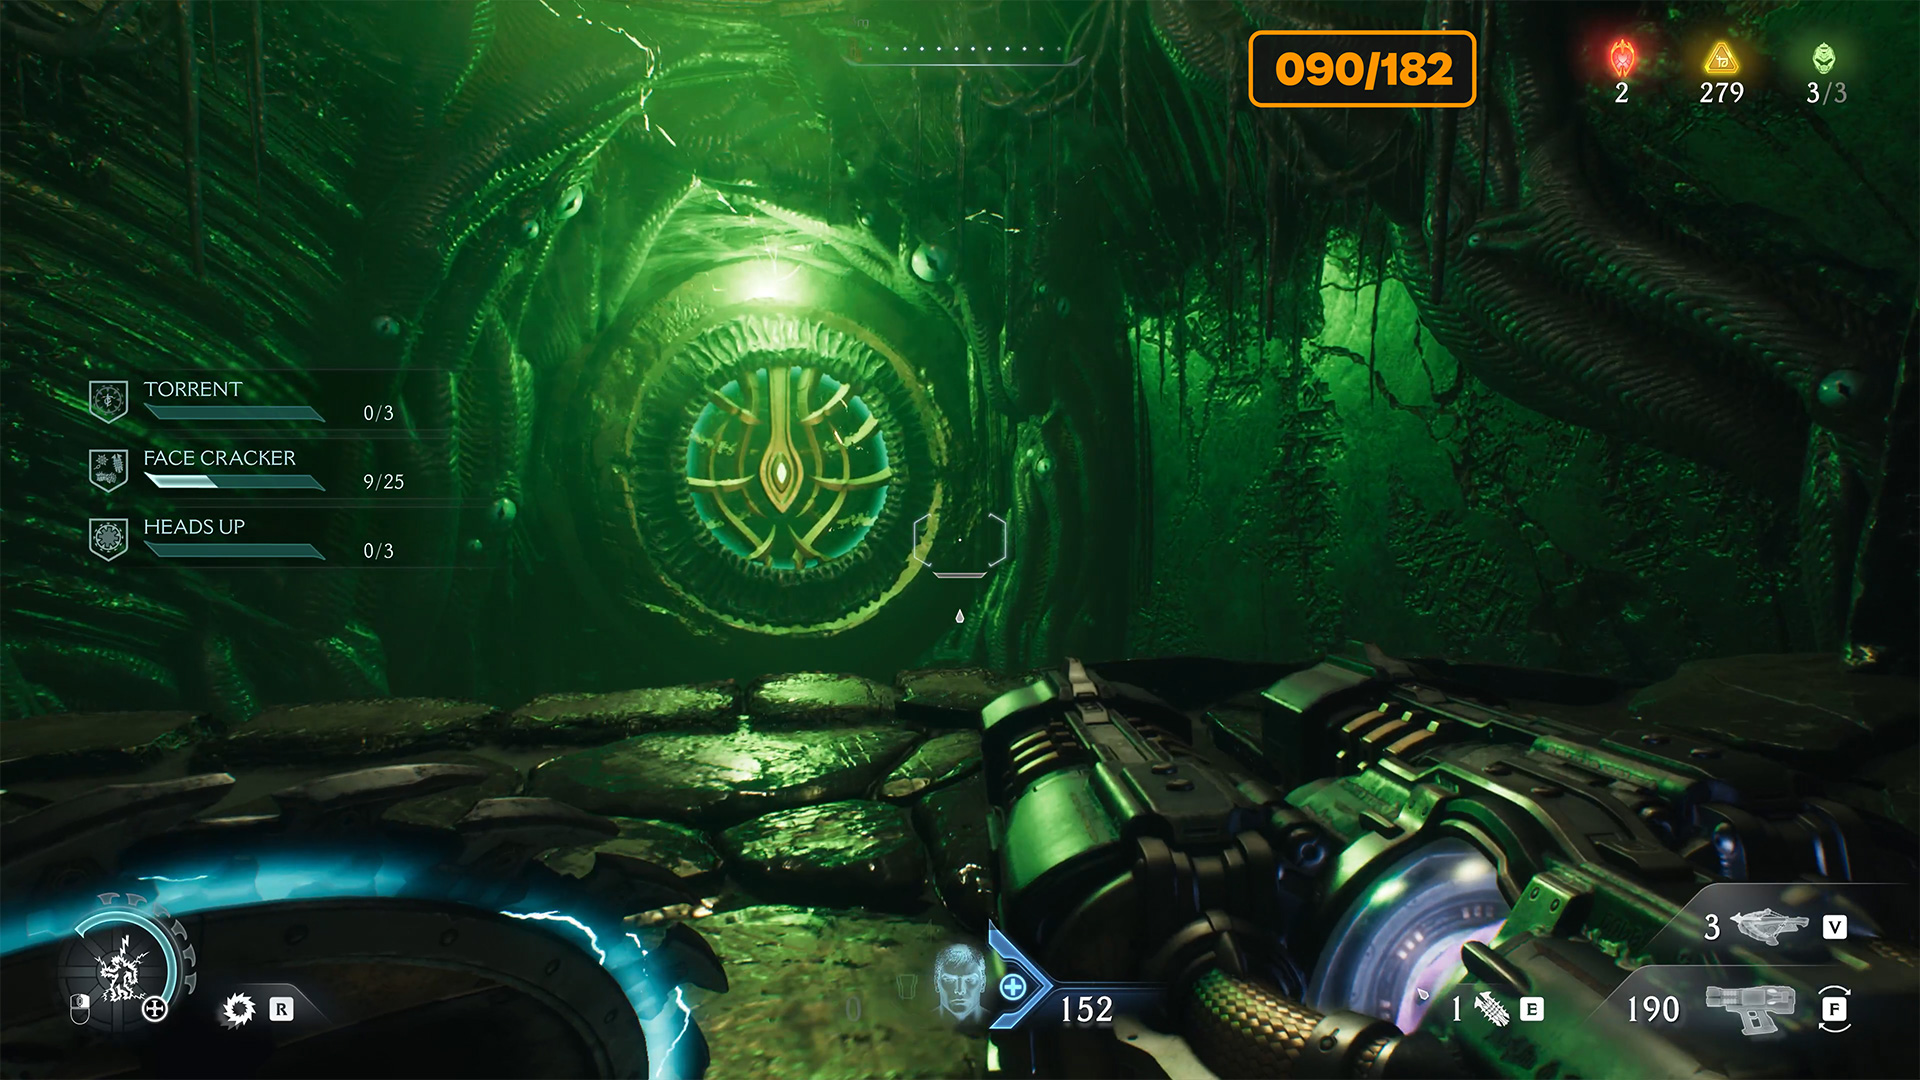
After using the first green ring for Shield Charge, you will see the second one shortly afterwards. Before using it, turn left in front of the ring and jump down onto the ledge. Here you will find a golden path with 9 gold coins. This path will lead you to the third secret and the first Life Sigil. Be careful on the road, watch out for tentacles jumping out of the ground.
-

- City of Ry’uul Life Sigil location
-

- City of Ry’uul gold and Life Sigil
City of Ry’uul gold award
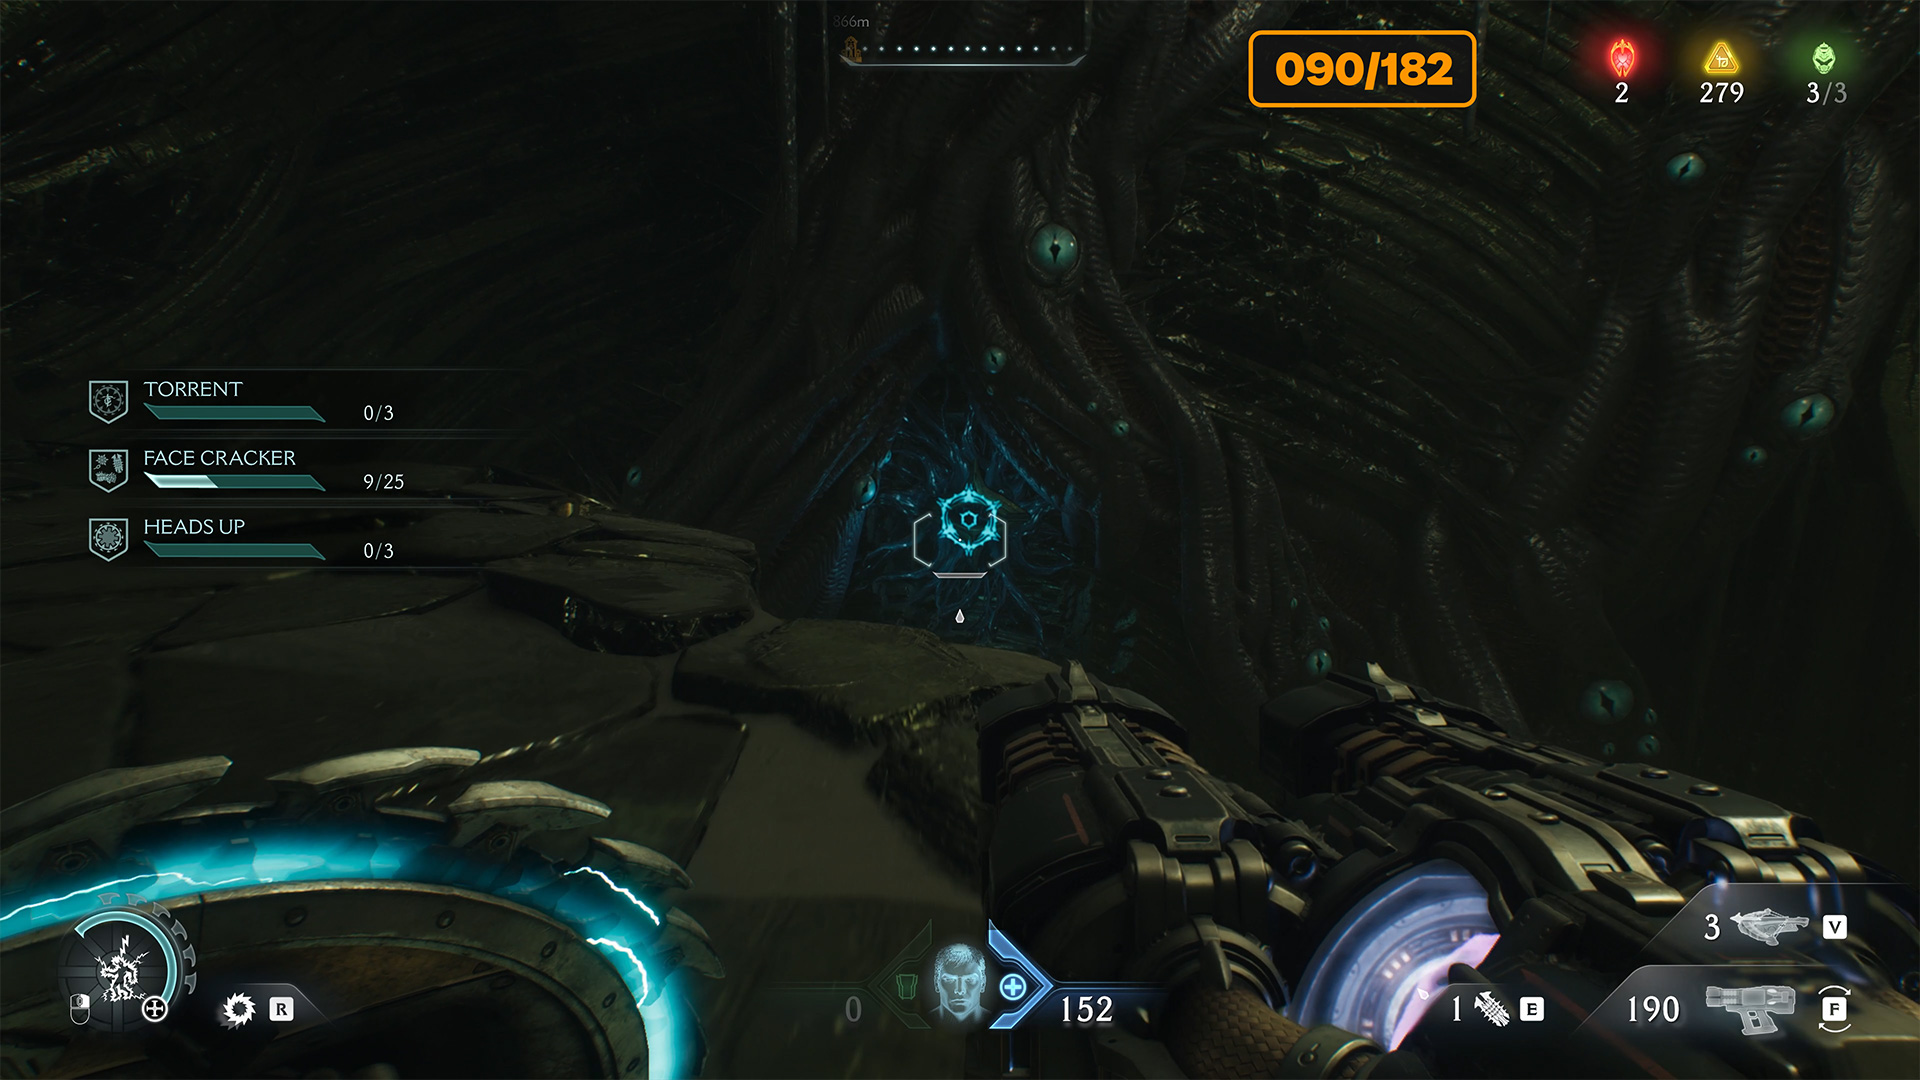
Next, you need to pass through the second green ring. The next part of your journey will be the third green ring. Ignore it again and follow the route I drew on the map to jump onto the ledge and find 5 gold coins here.
-

- City of Ry’uul gold award location
-

- City of Ry’uul gold award
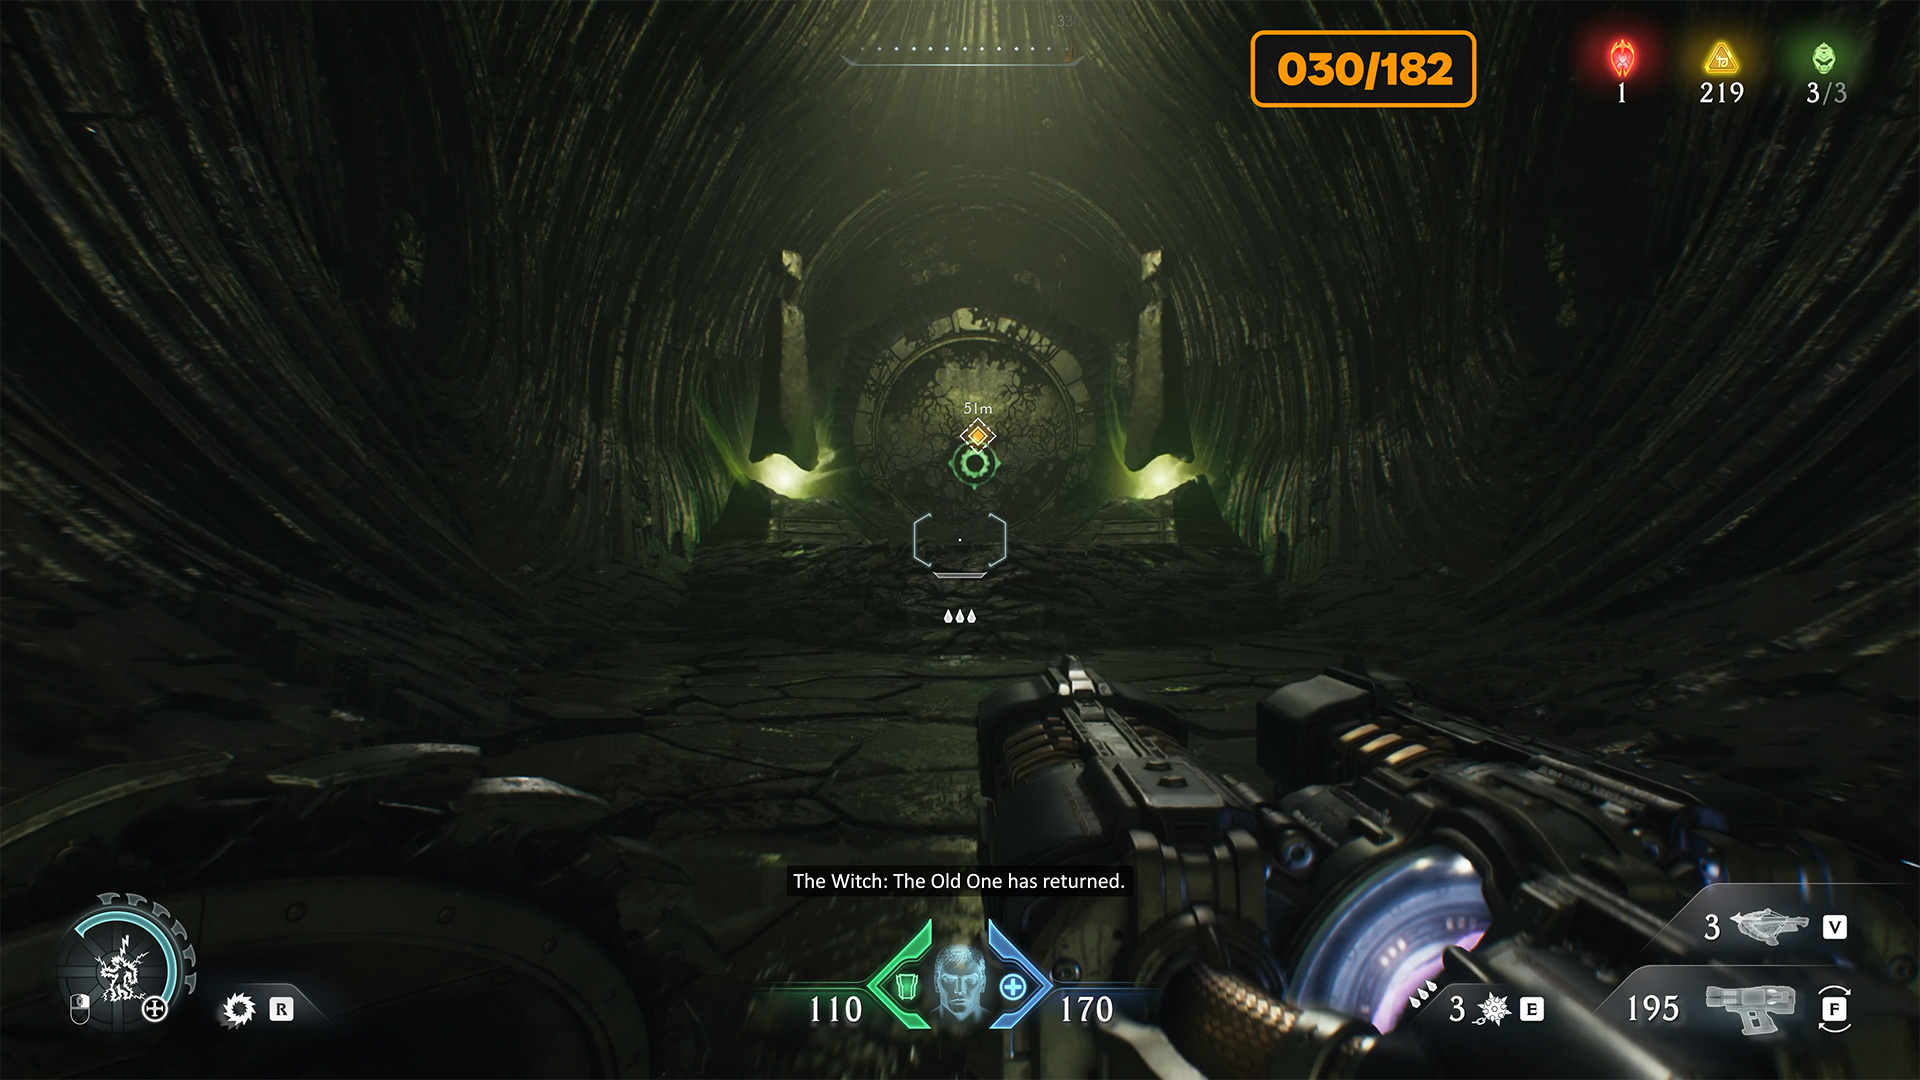
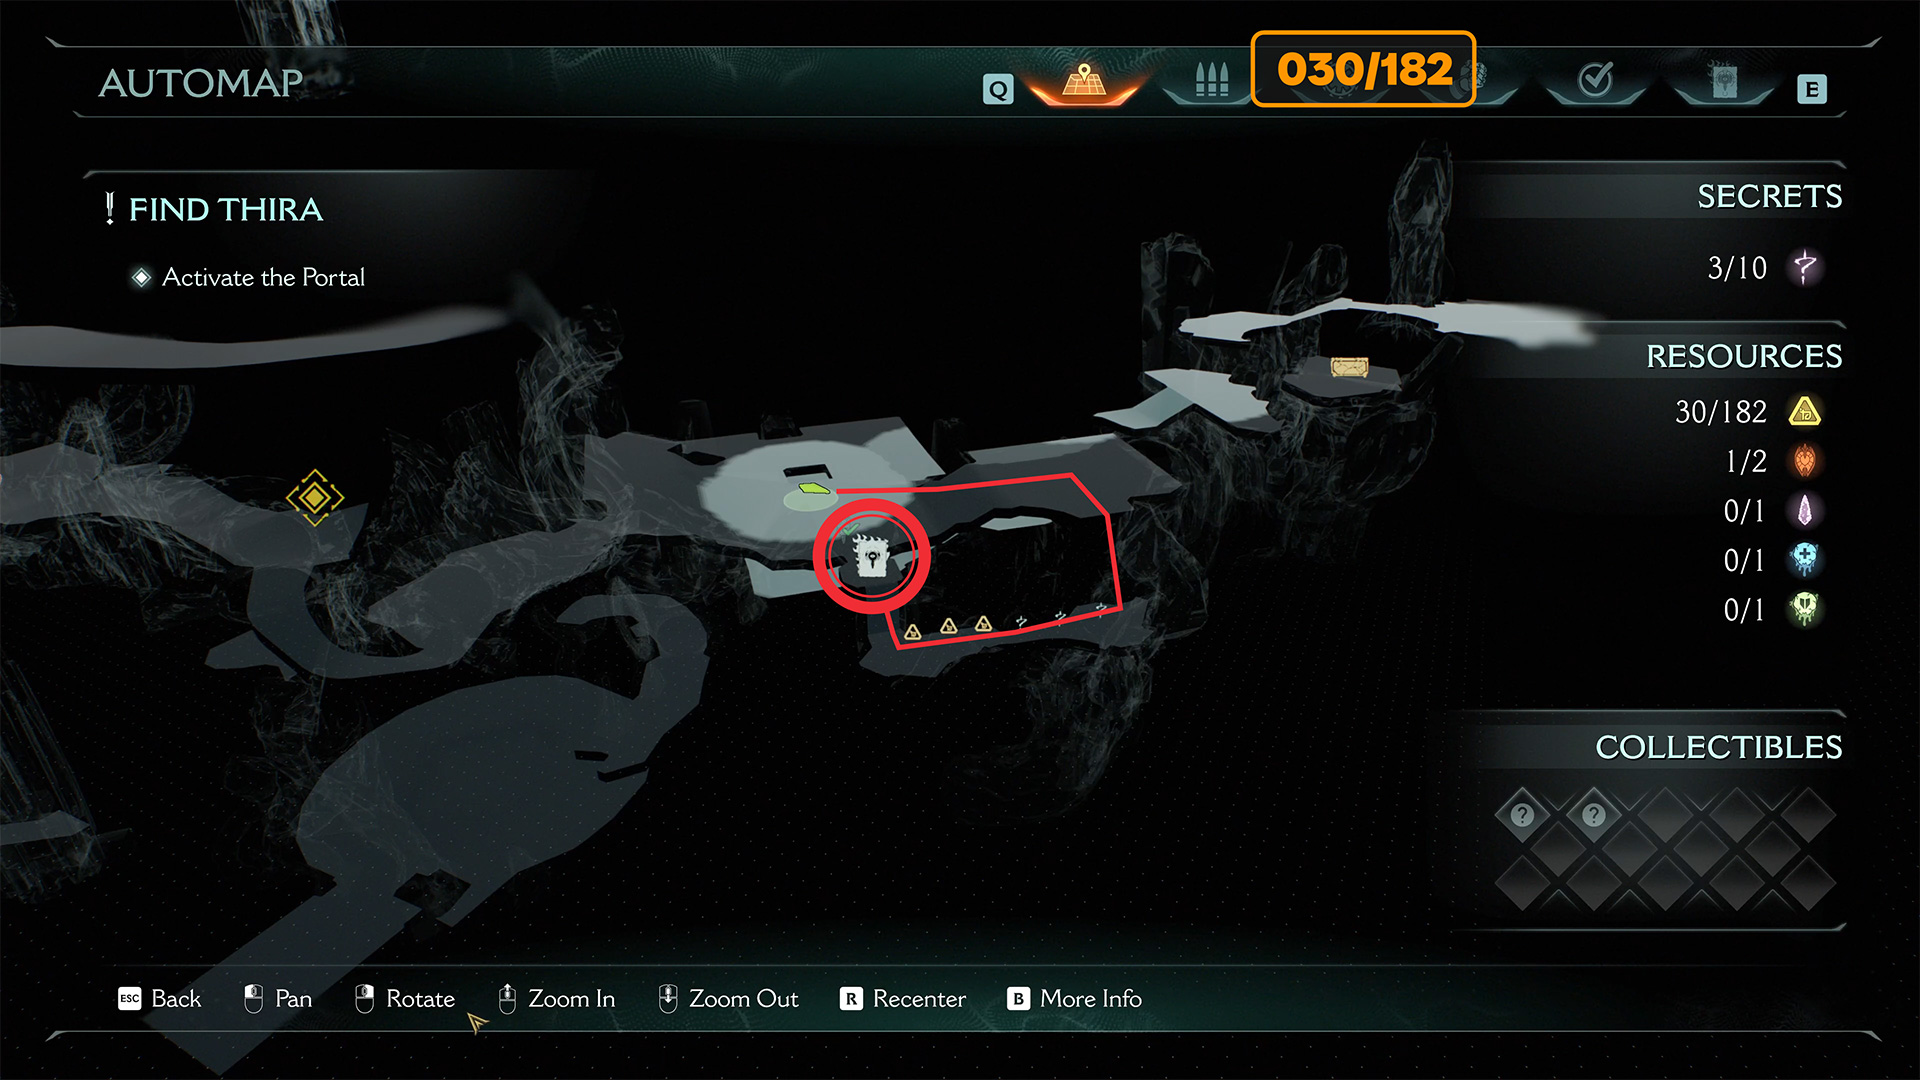
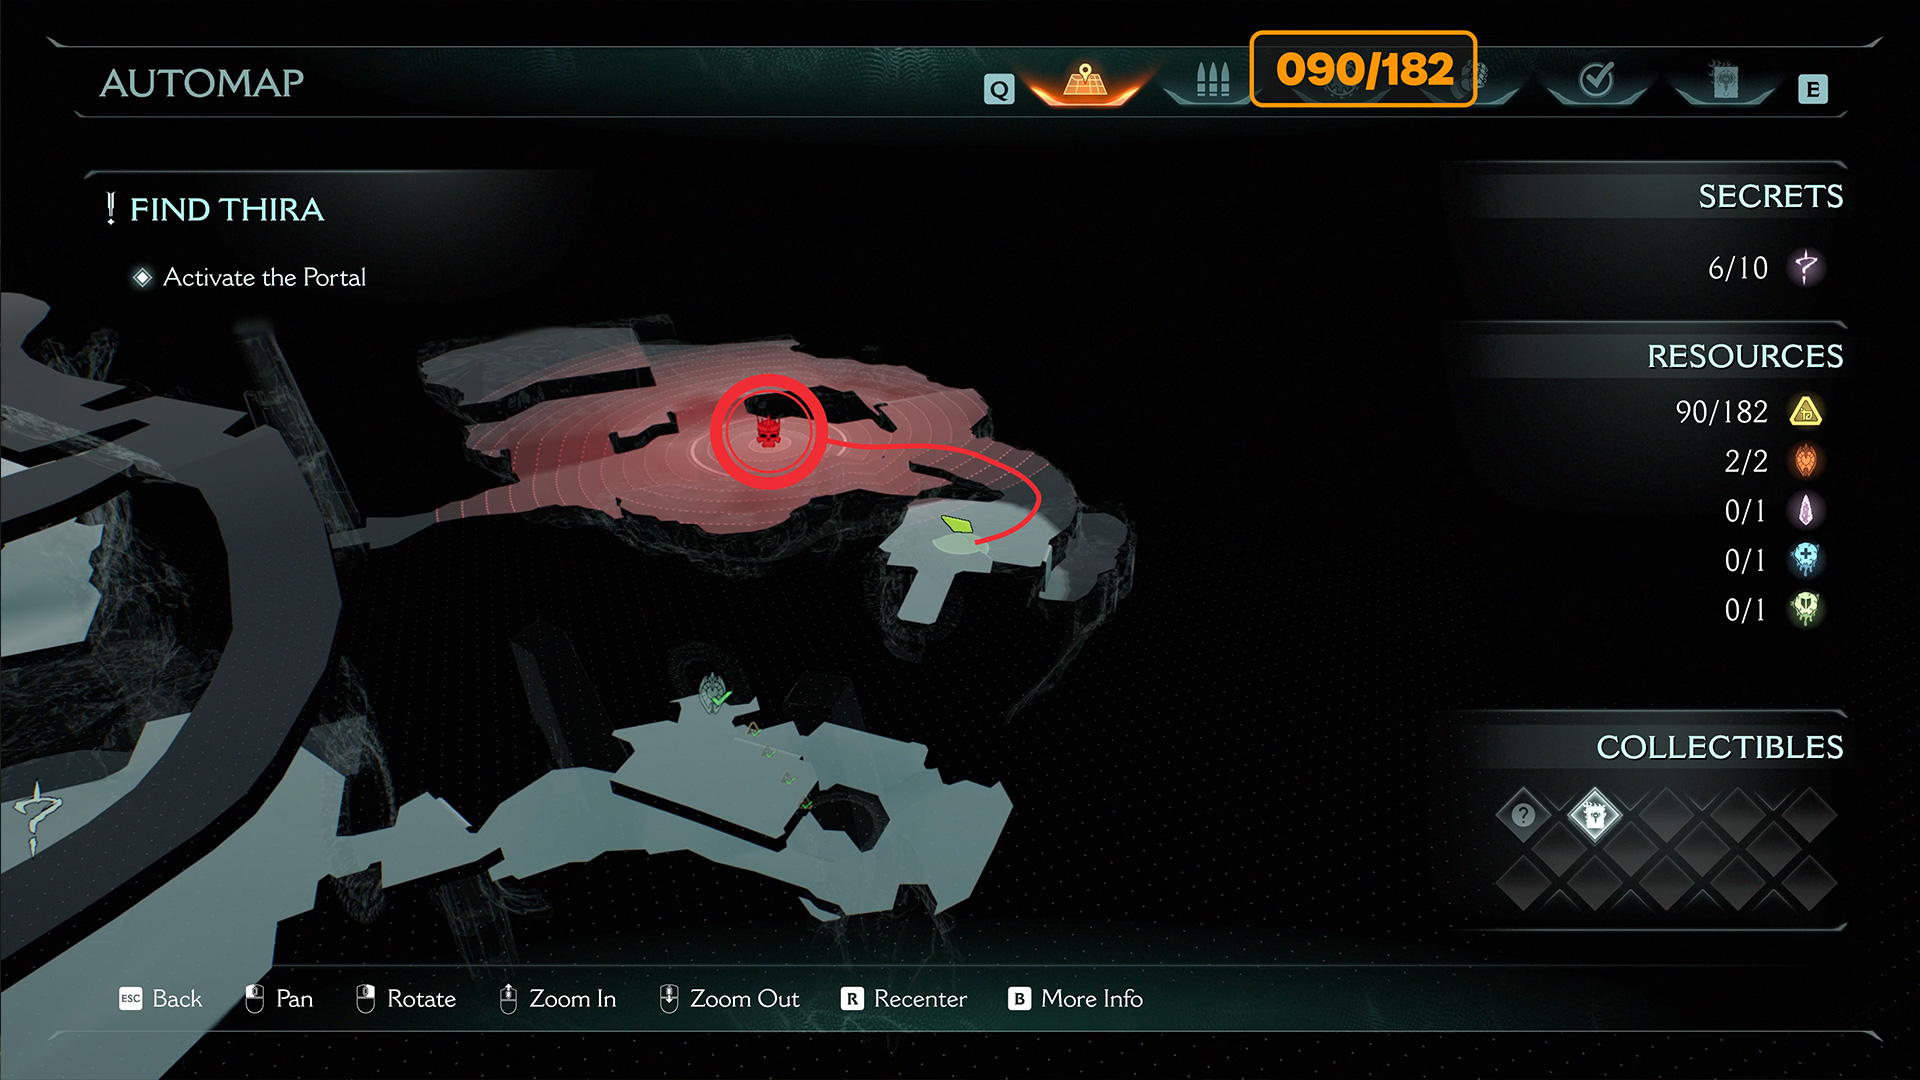
City of Ry’uul point no return
Continue on your way, moving forward until you reach the point of no return. It is marked with a yellow door on the map. I will show you what it looks like in the game in the video. Next, you will have a battle with monsters. Feel free to continue following the storyline until you reach the accelerator, which will throw you to the second floor through a hole in the ceiling.
-

- City of Ry’uul point no return
Doom City of Ry’uul codex
After that, follow the route I show you on the map. Here you can jump down onto the balcony. You will see a path of gold coins here. This is where the fourth secret is located. Collect these 6 gold coins and at the end you will see a wall that you can climb up. Here you will find a page of the codex. It is the only one in the City of Ry’uul.
-

- Doom City of Ry’uul codex location
-

- The path to the code page is paved with gold
-

- Doom City of Ry’uul codex
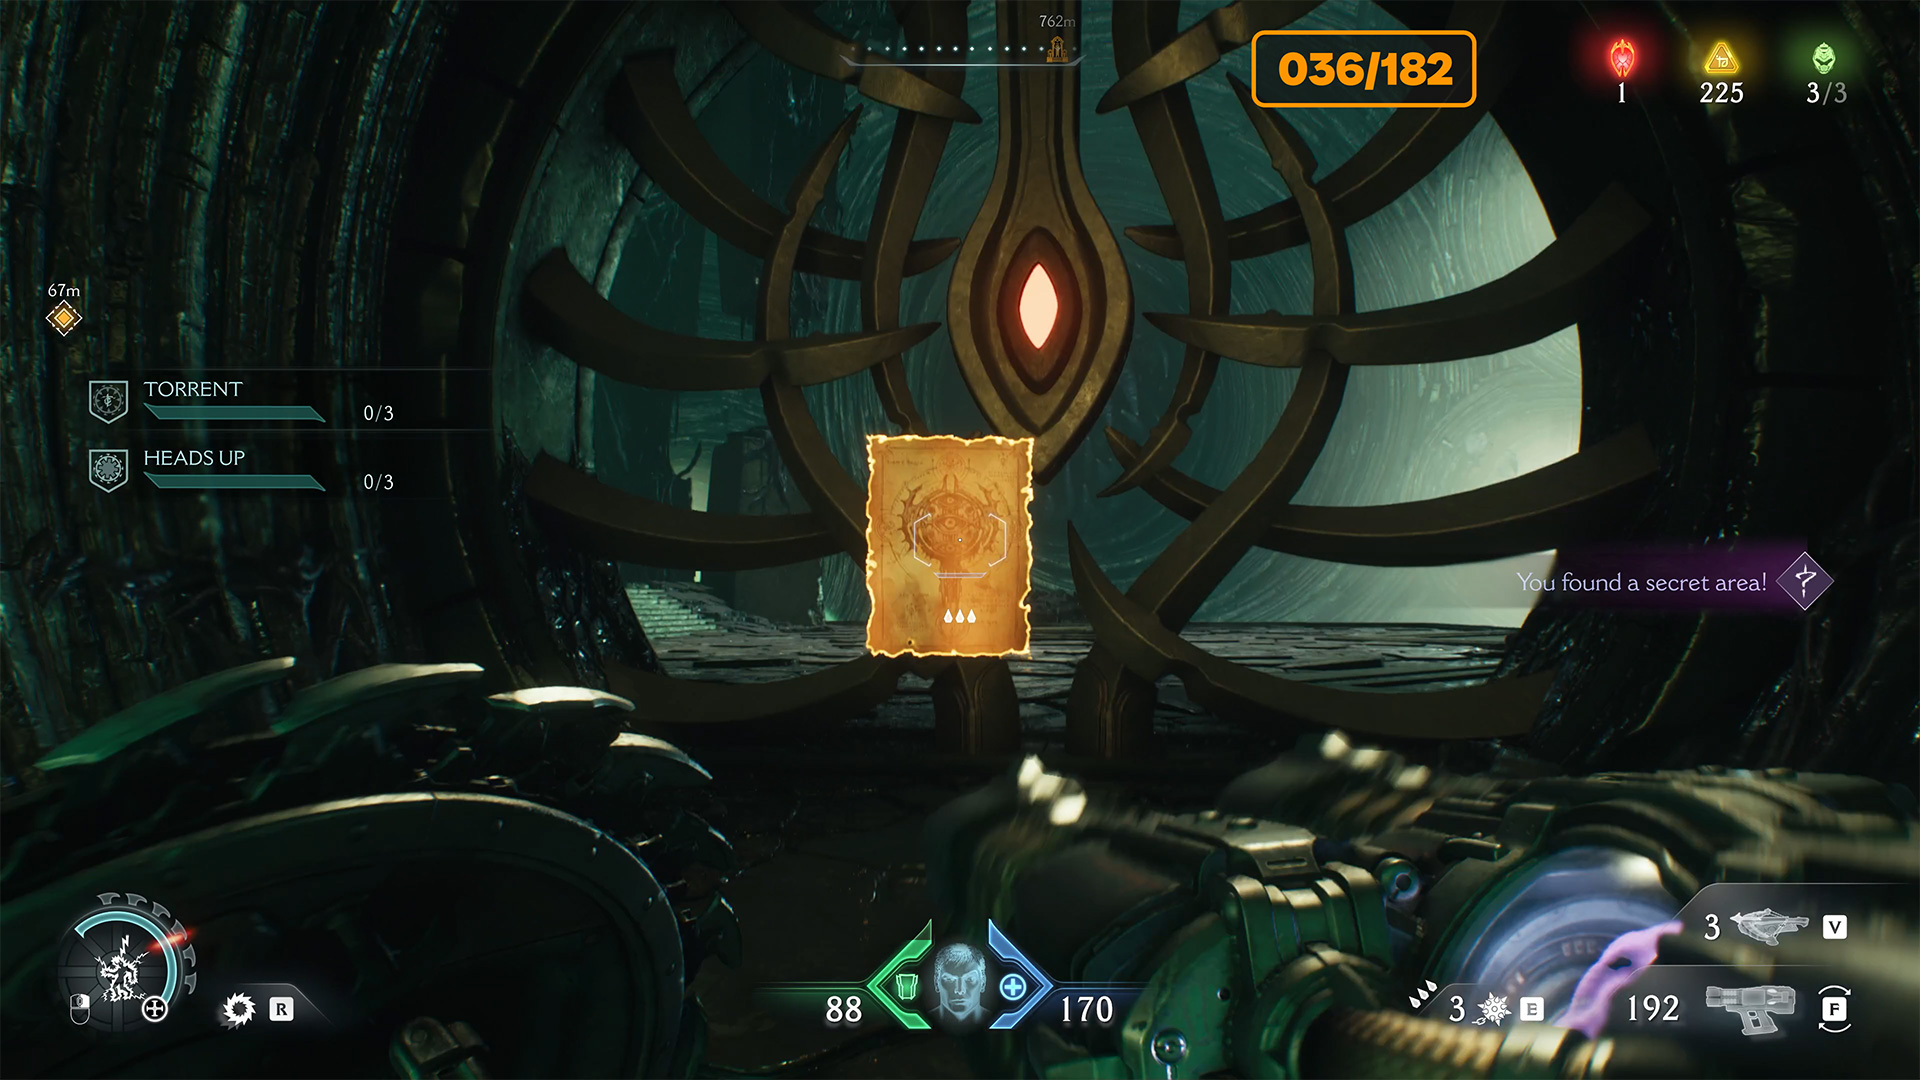
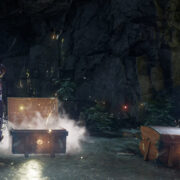
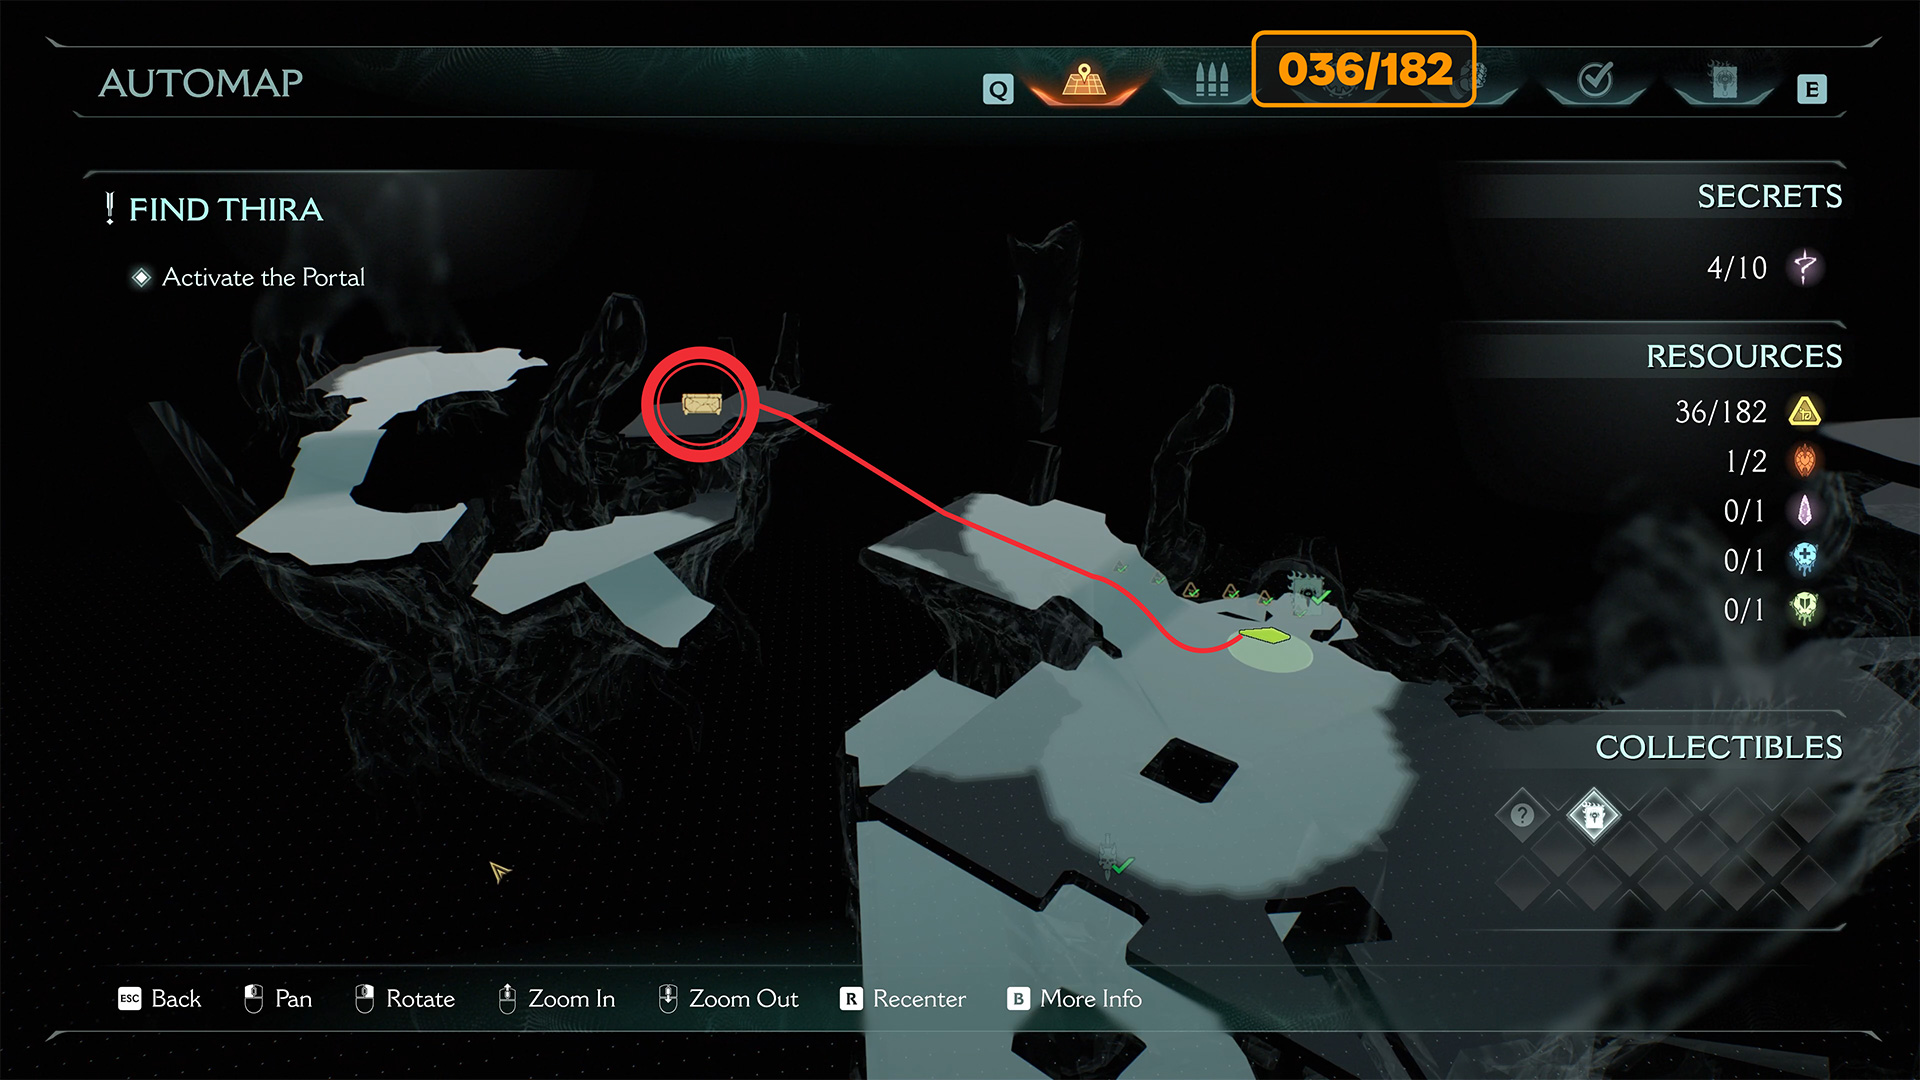
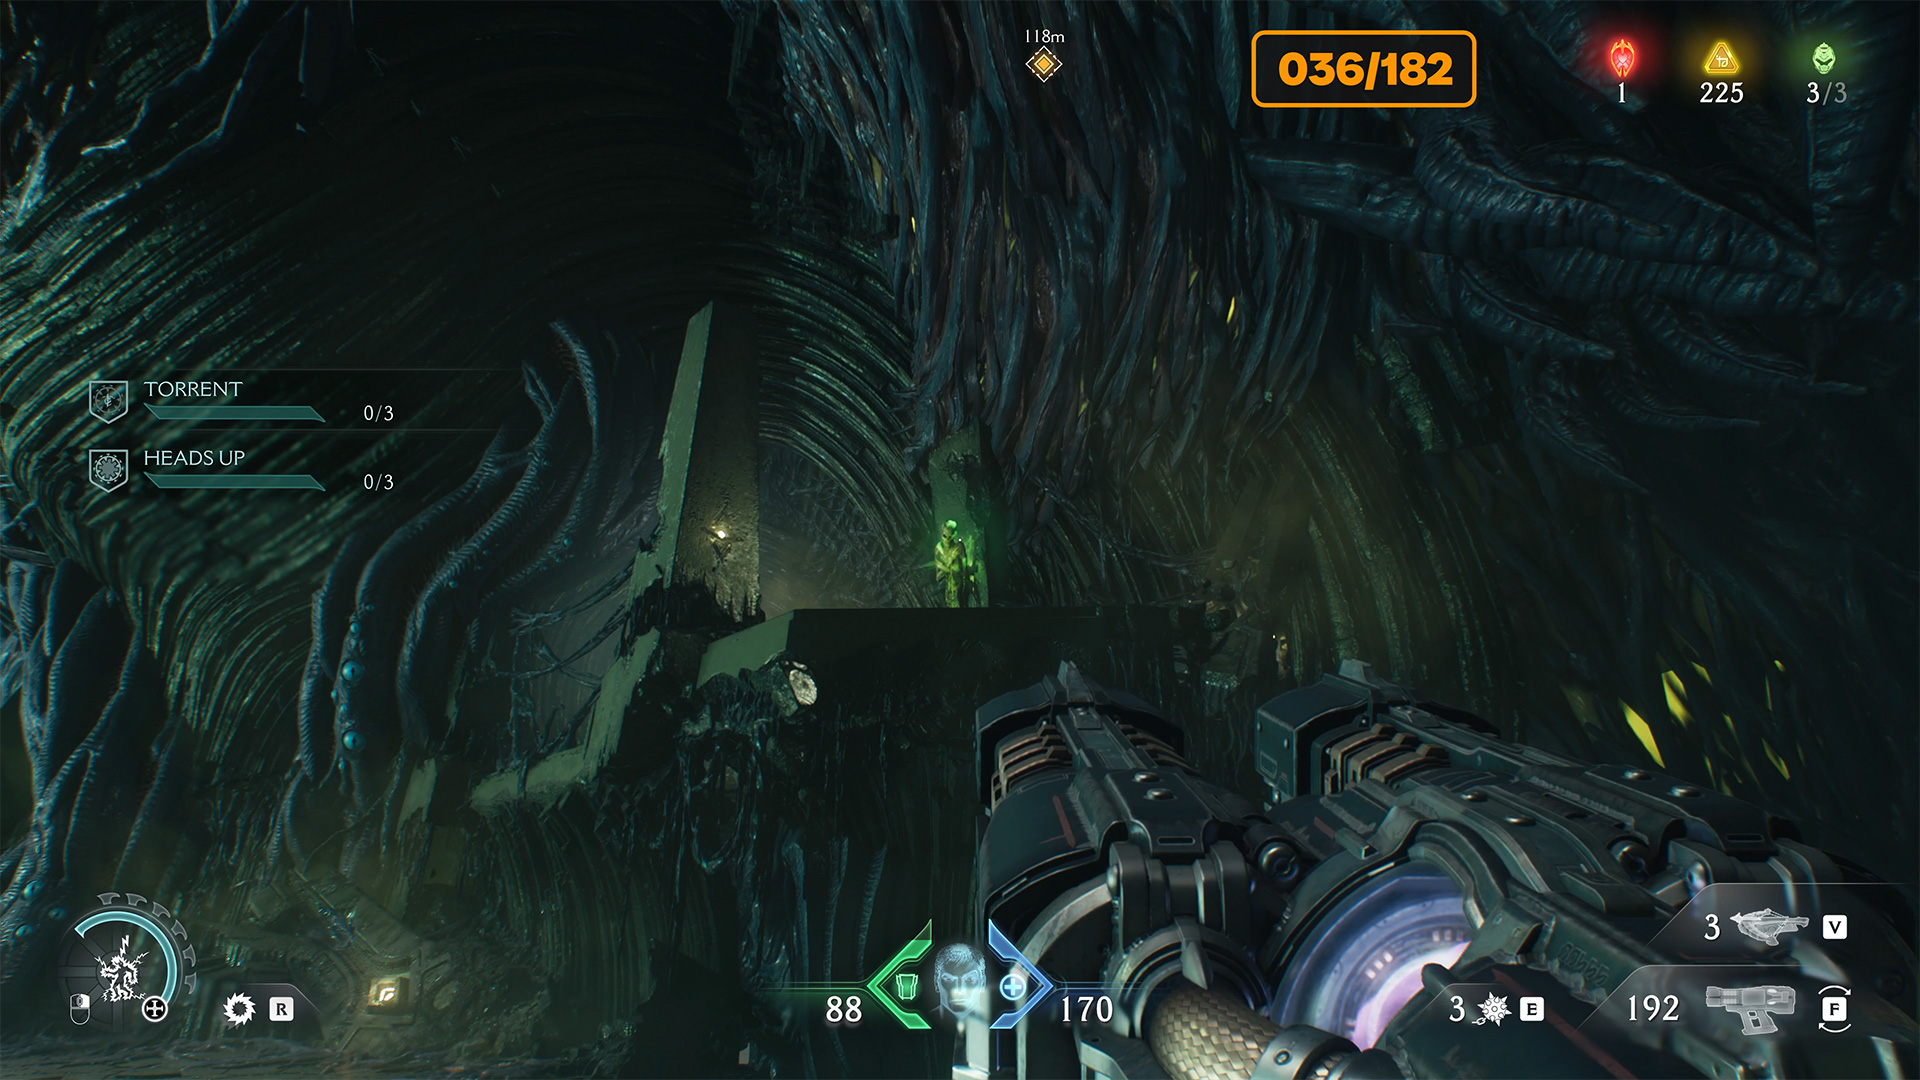
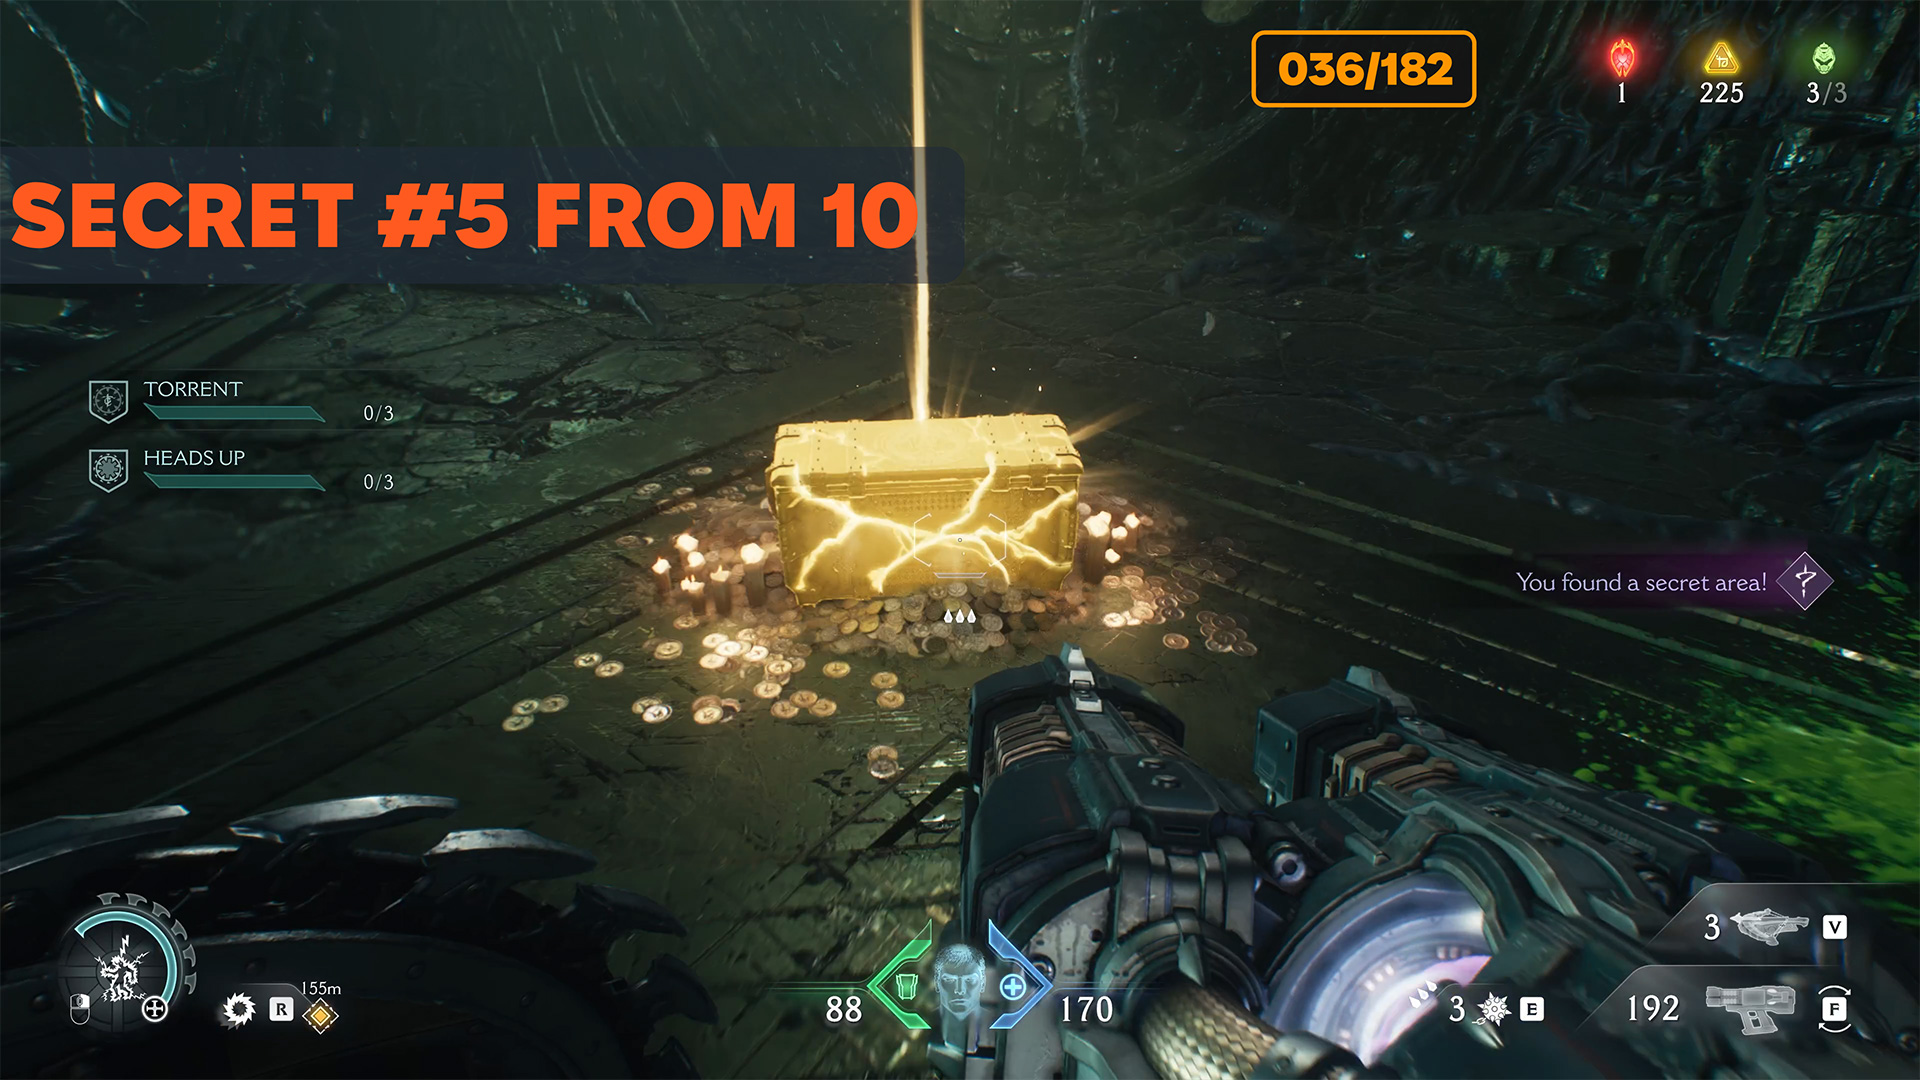
City of Ry’uul gold chest
The next route on the map will lead you to the fifth secret. Follow the route I am showing you. Ahead, you will see a green statue. You need to throw your shield at it and then fly after the shield. This will lead you to the secret and the golden chest. Break the chest to get 50 gold.
-

- City of Ry’uul gold chest location
-

- The green statue on the edge of the abyss
-

- City of Ry’uul gold chest
Dreadmace Doom Dark Ages
Later in the story, you will receive the Dreadmace and the Face Cracker challenge will become available to you. After receiving the weapon, try to complete it as soon as possible; don’t put it off until the last battle.
-

- Dreadmace Doom Dark Ages
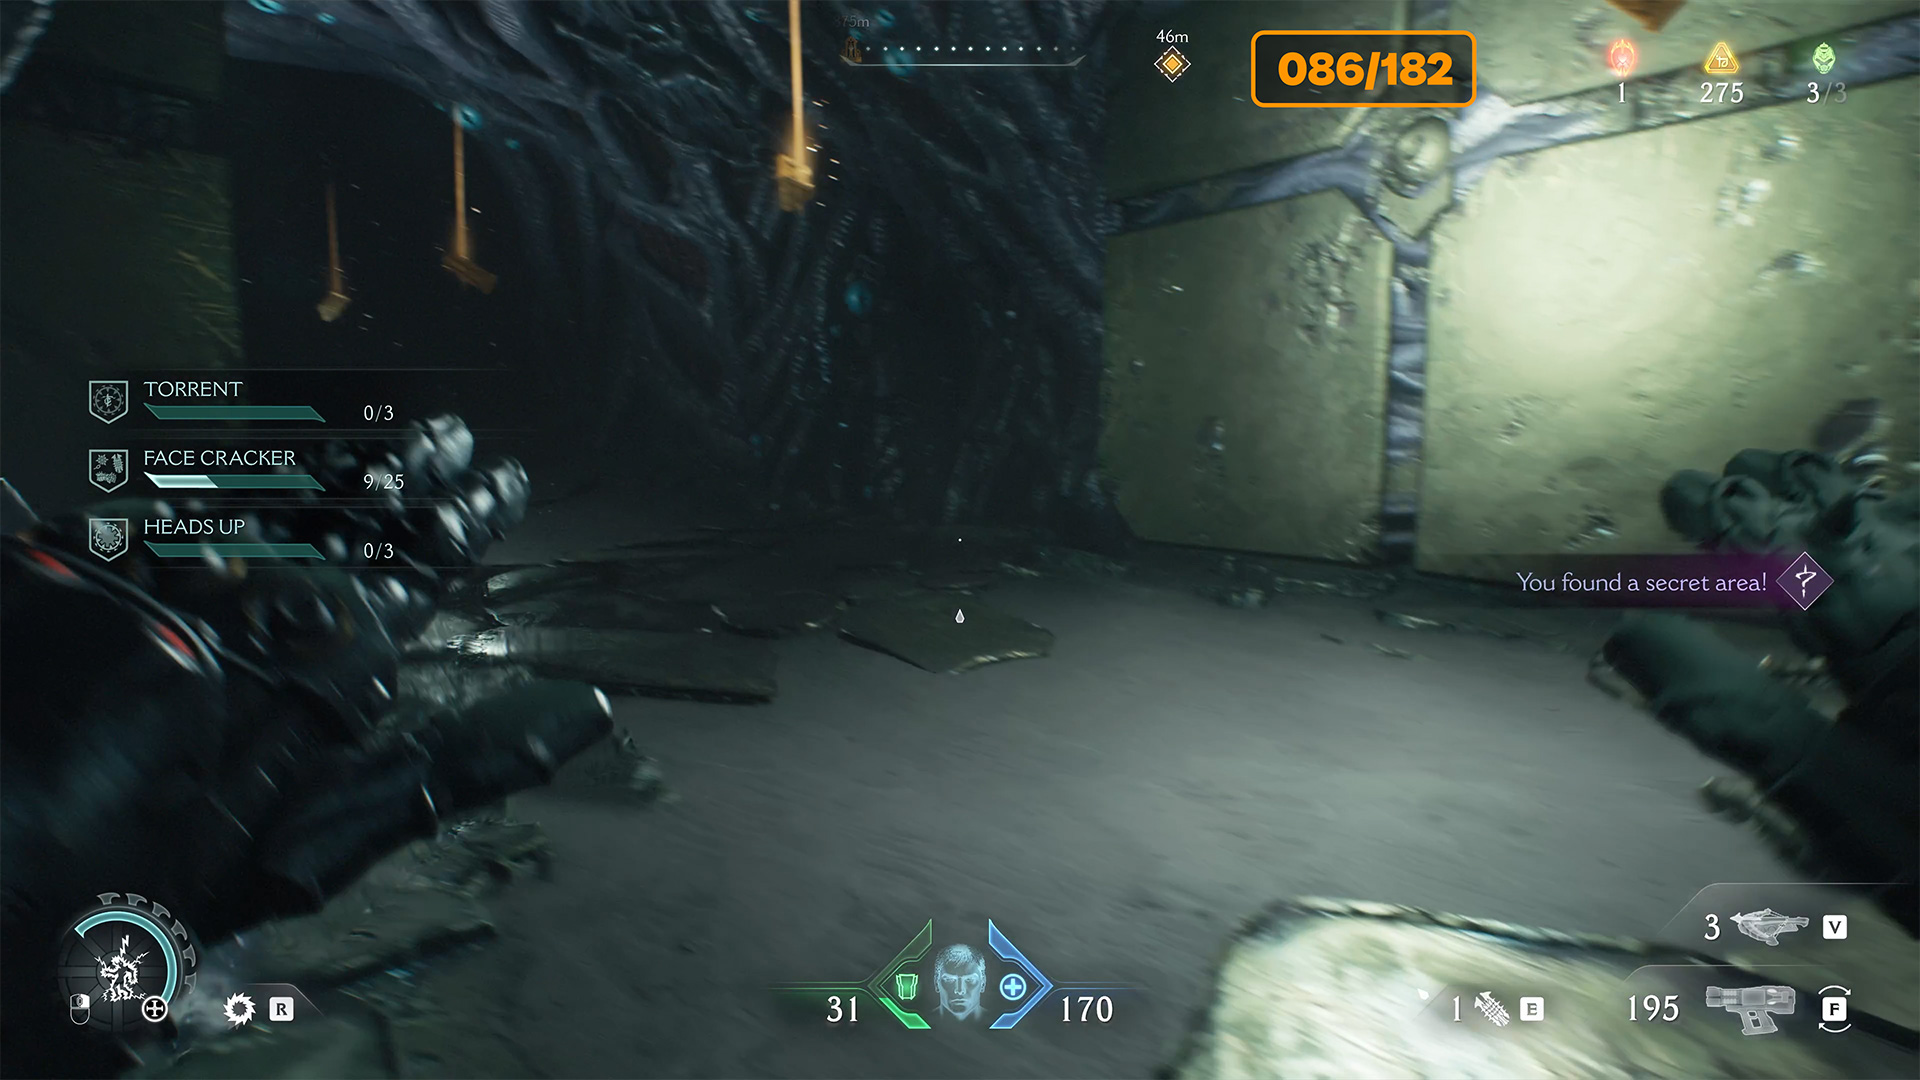
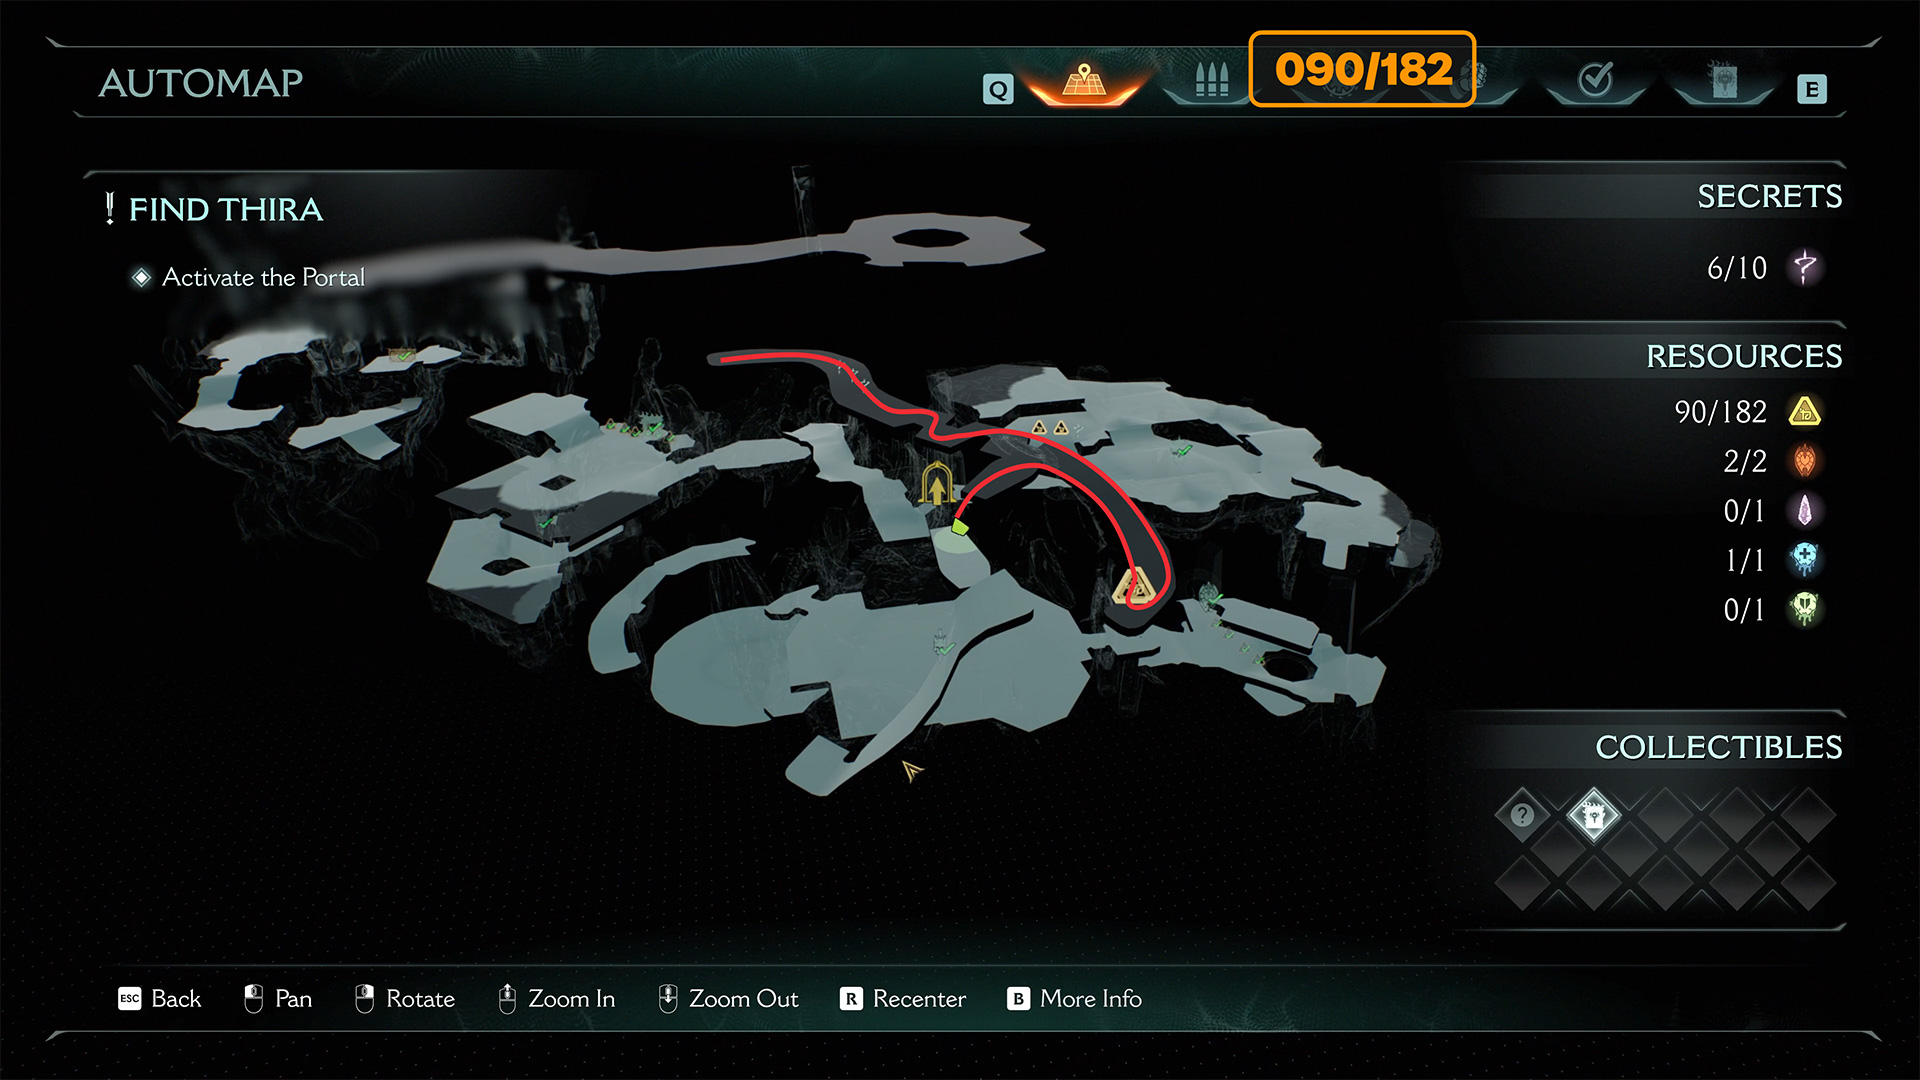
City of Ry’uul Doom ruby
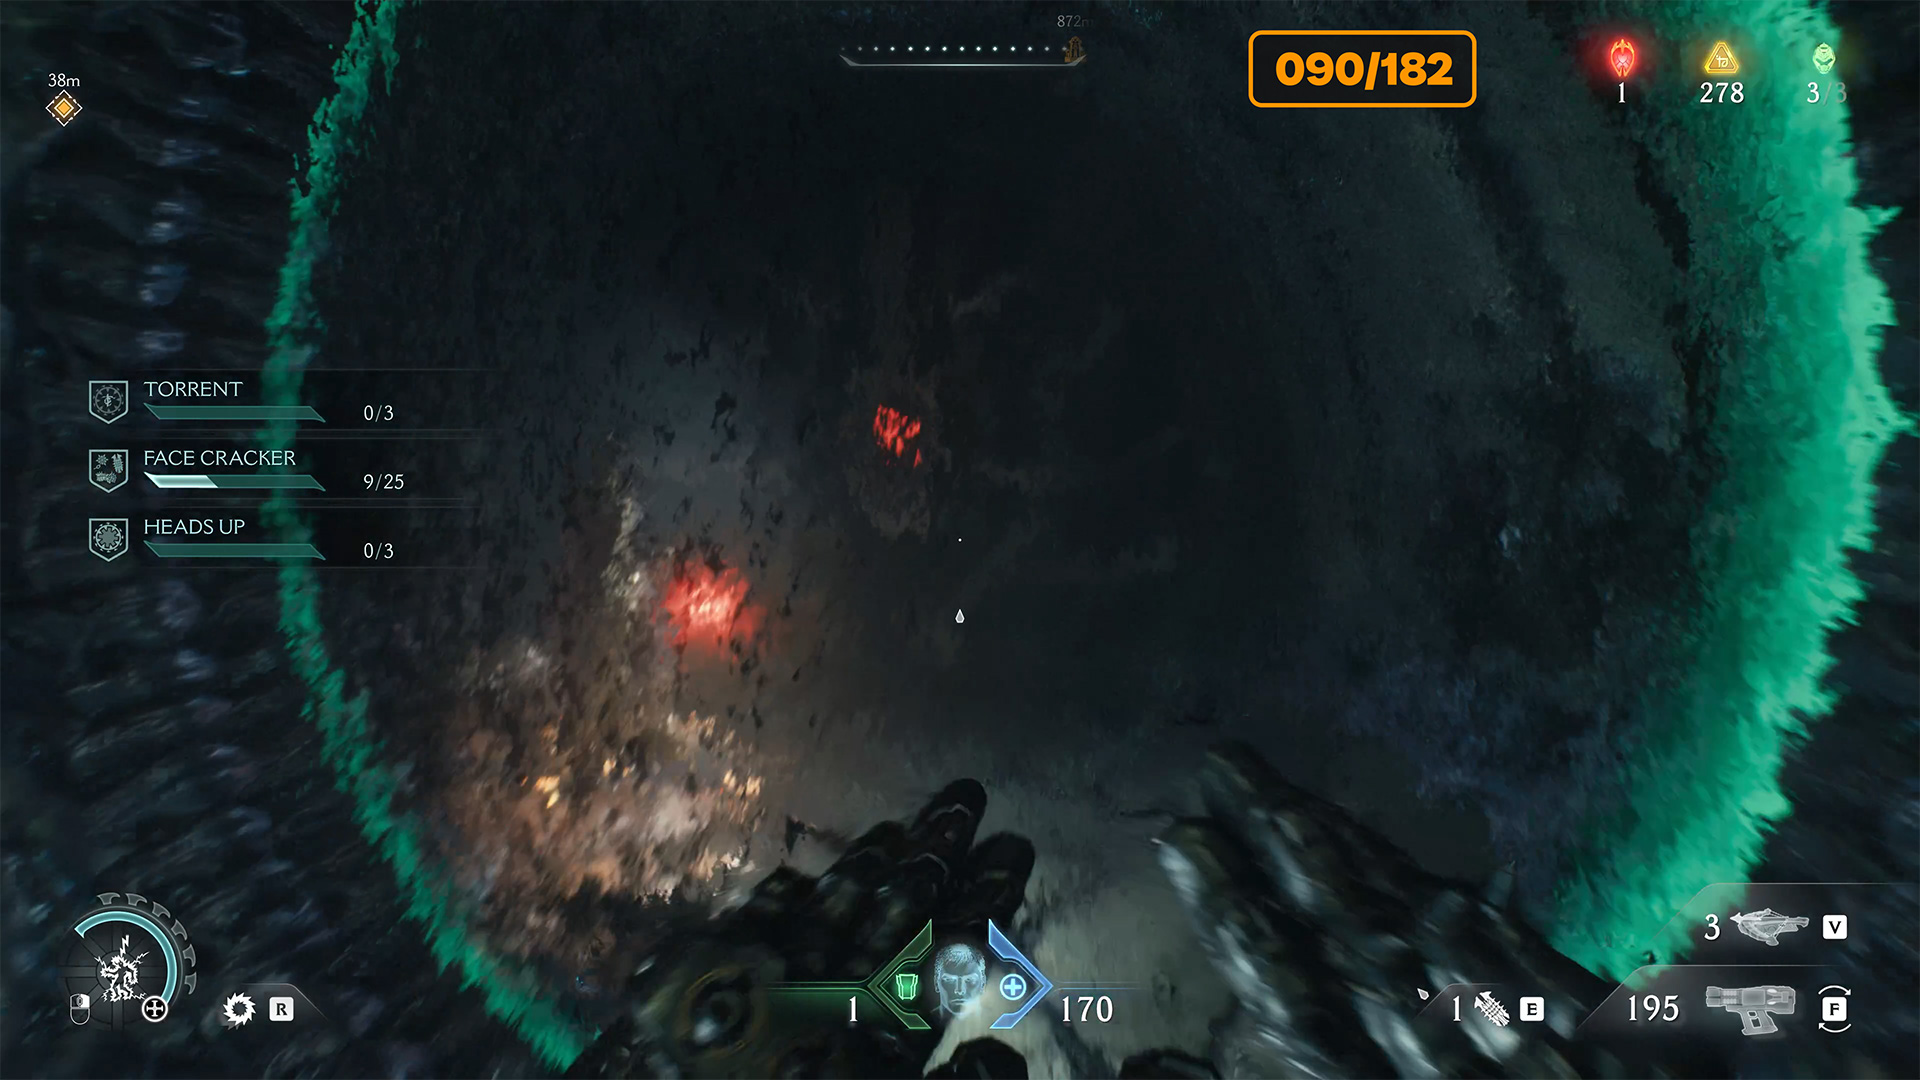
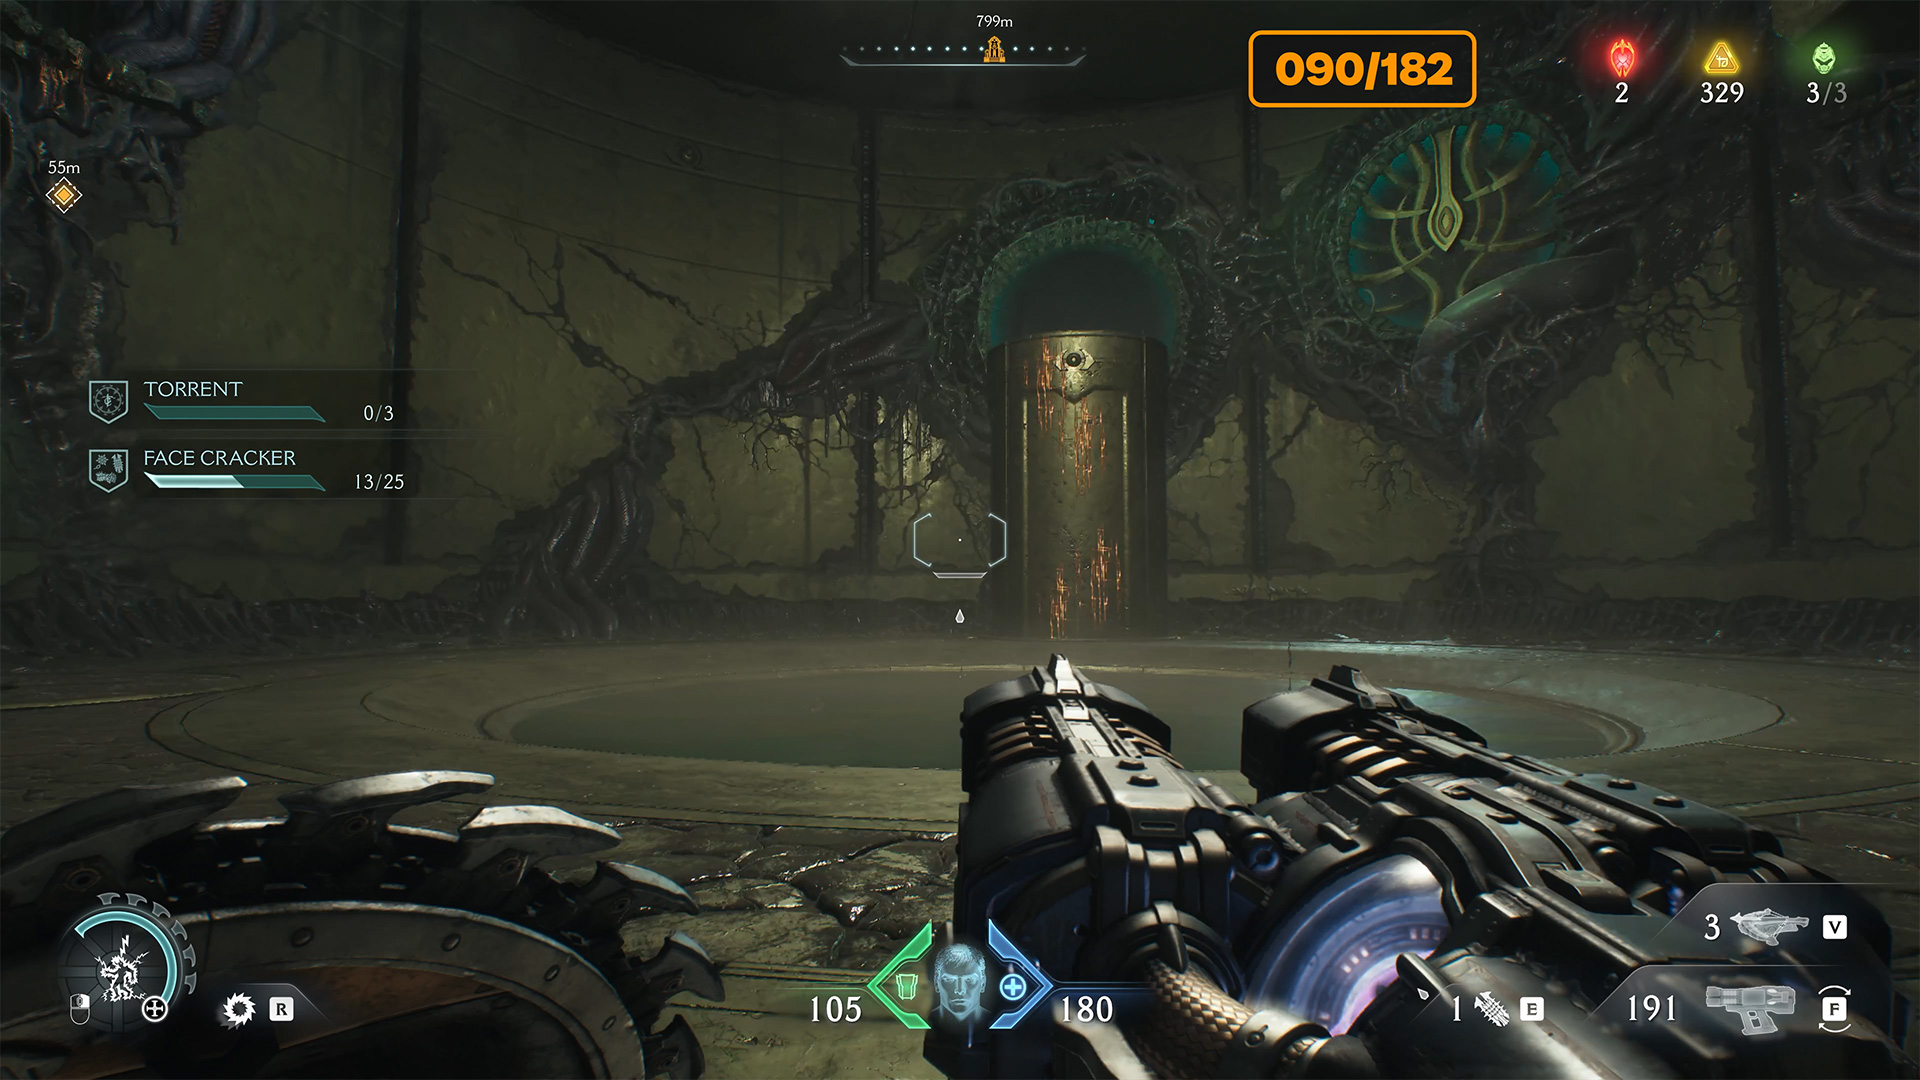
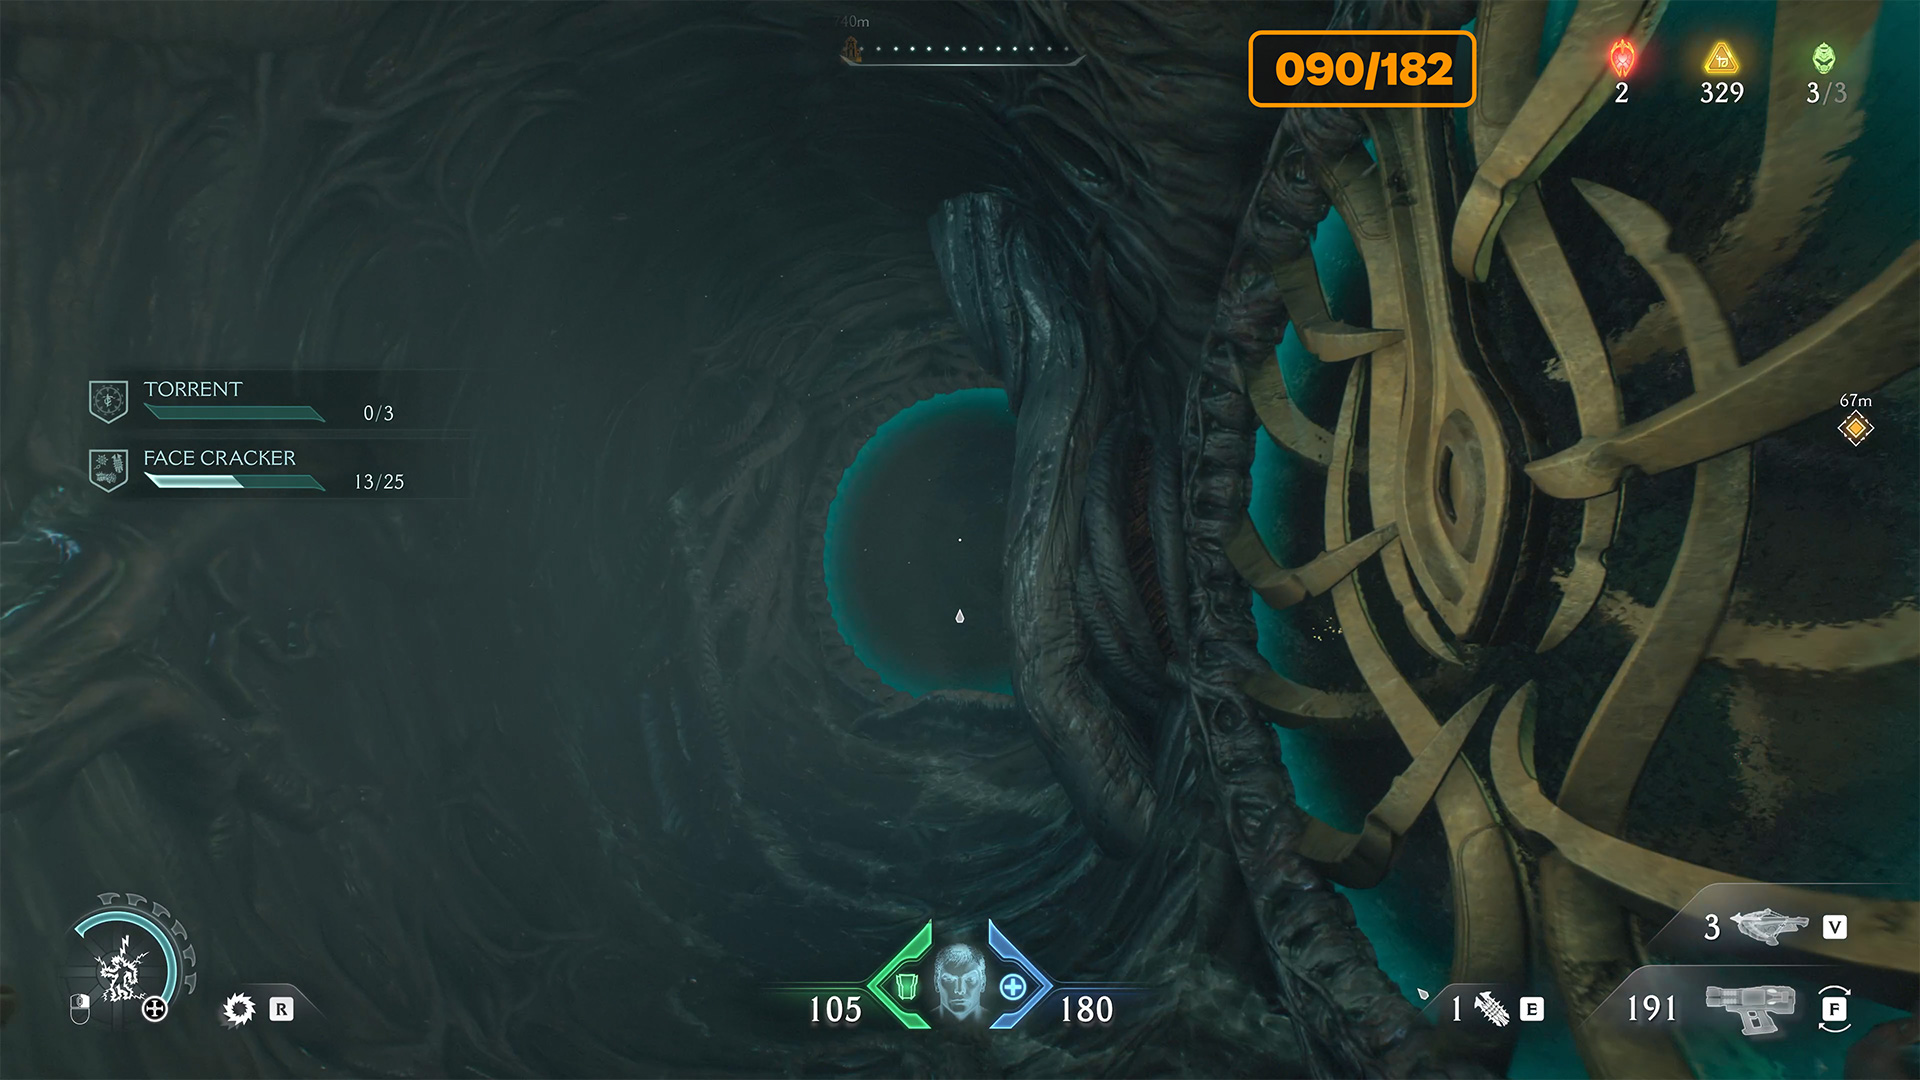
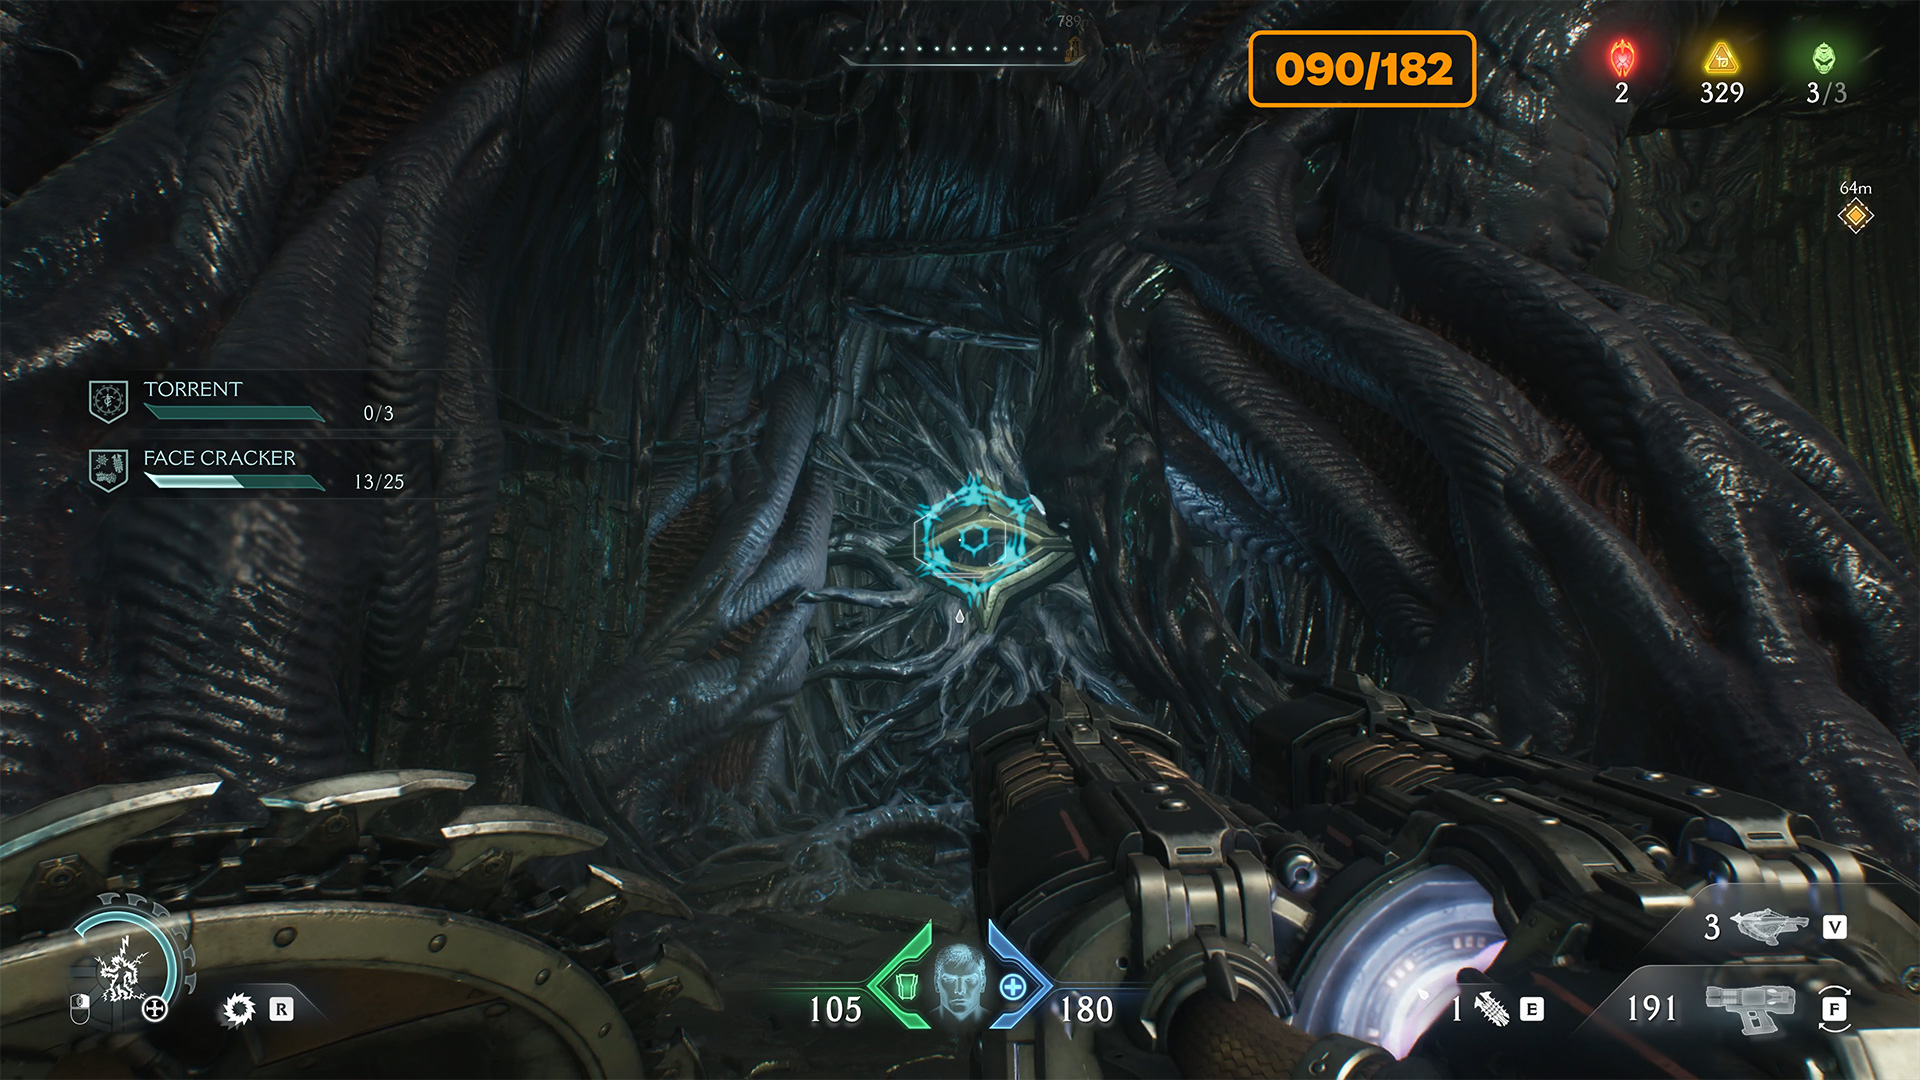
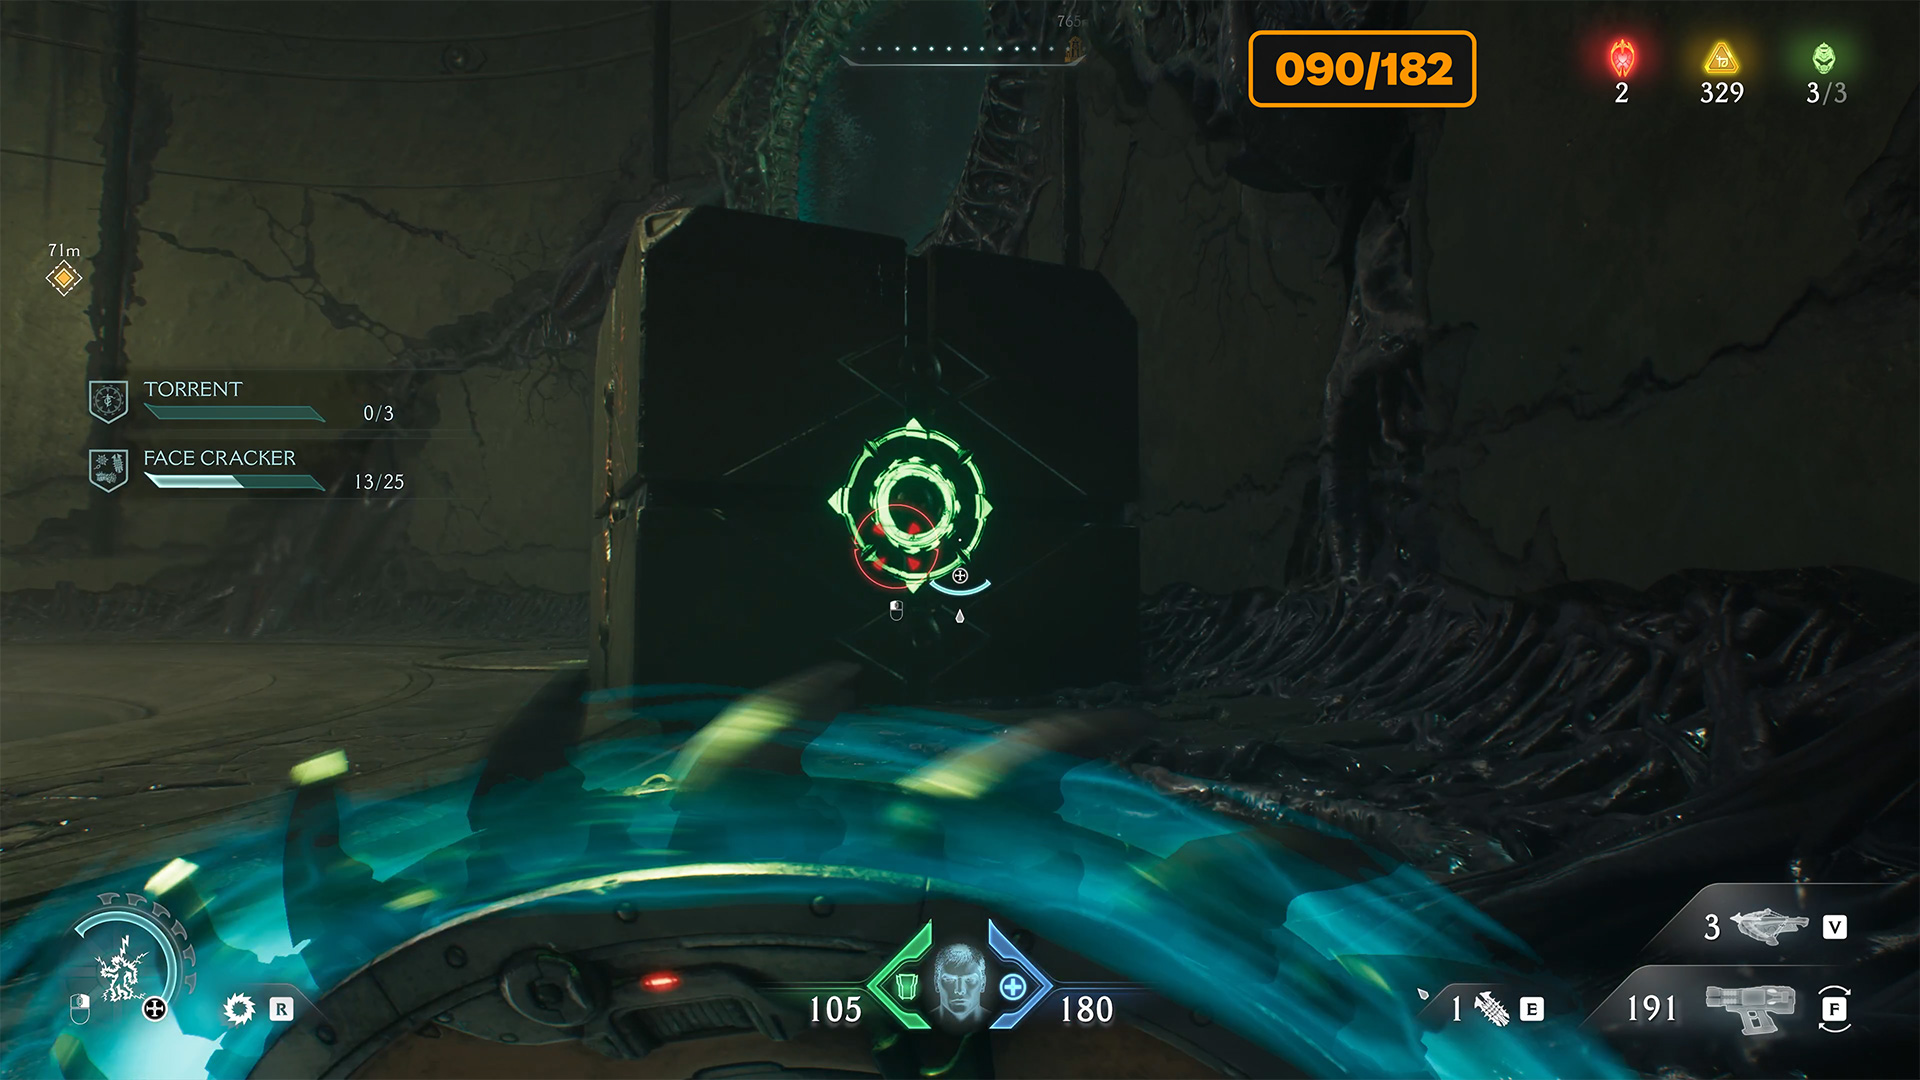
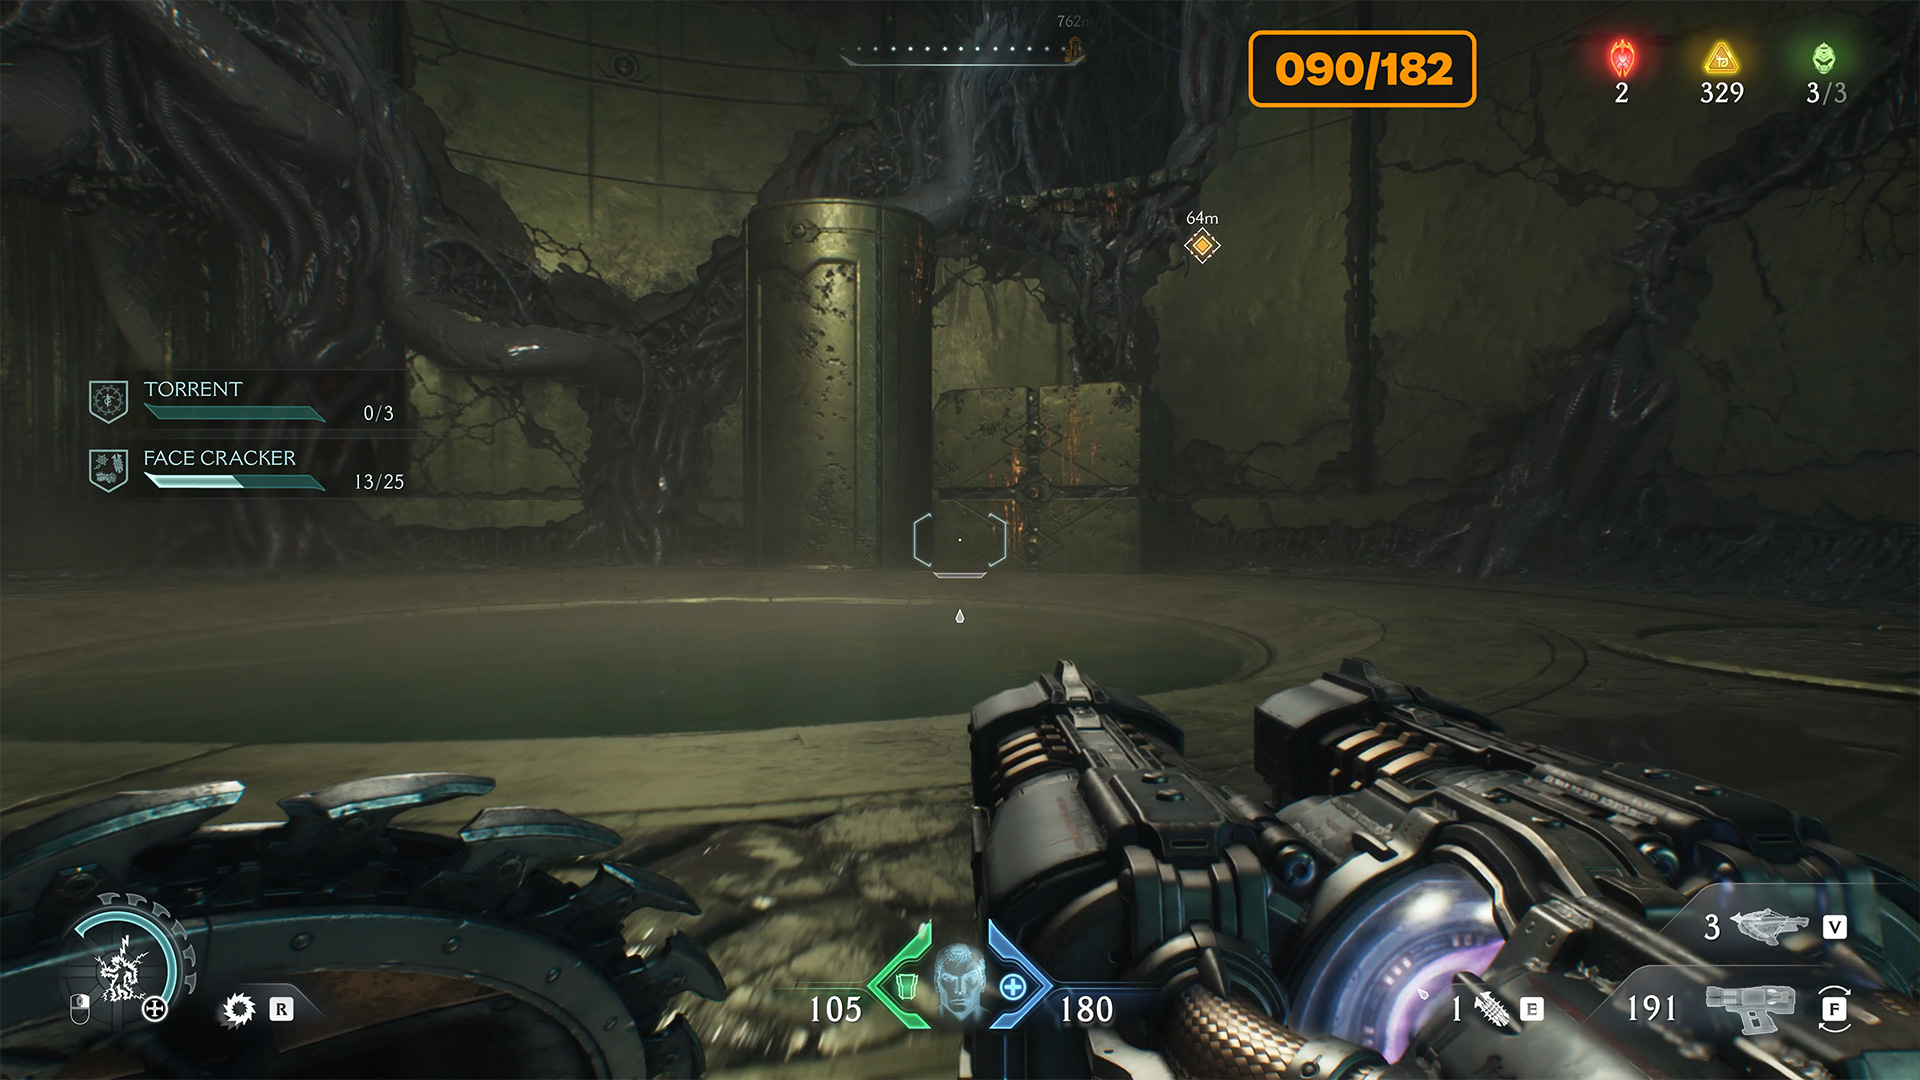
The next room is very interesting. Let’s stop here for a moment. You can see a ruby behind the closed door. You should also see a blue mechanism. When you throw your shield into this mechanism, a platform will rise up to your right. Underneath it, you will find a hole filled with water.
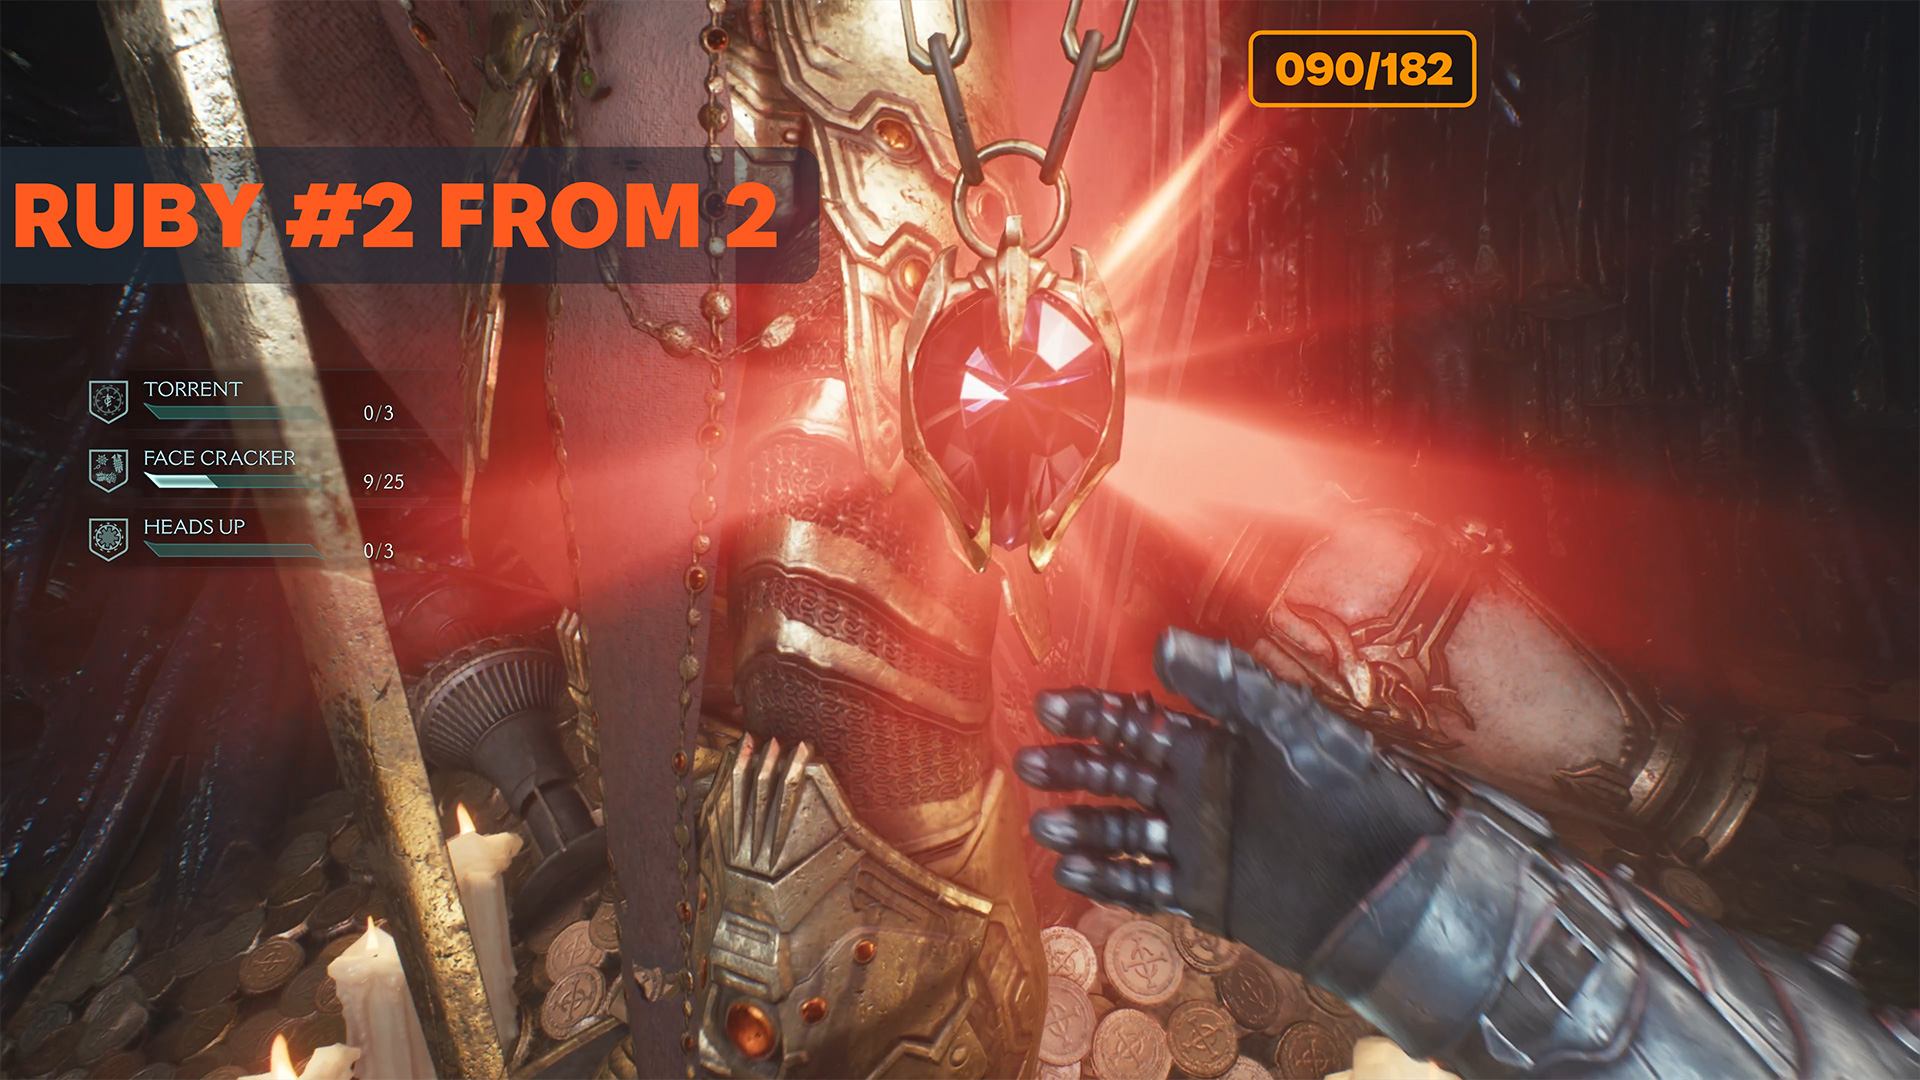
Dive into this hole. There will be 4 gold coins there. Swim forward underwater. Be careful, platforms extend from the sides and can harm you. Eventually, you will swim to the entrance of the room where the statue with the ruby is located.
-

- City of Ry’uul Doom ruby location
-

- Blue mechanism to raise the platform
-

- Pit with water under the platform
-

- Gold and traps under the water
-

- Exit to the secret room
-

- City of Ry’uul Doom ruby
Stuck after dreadmace? Solution here
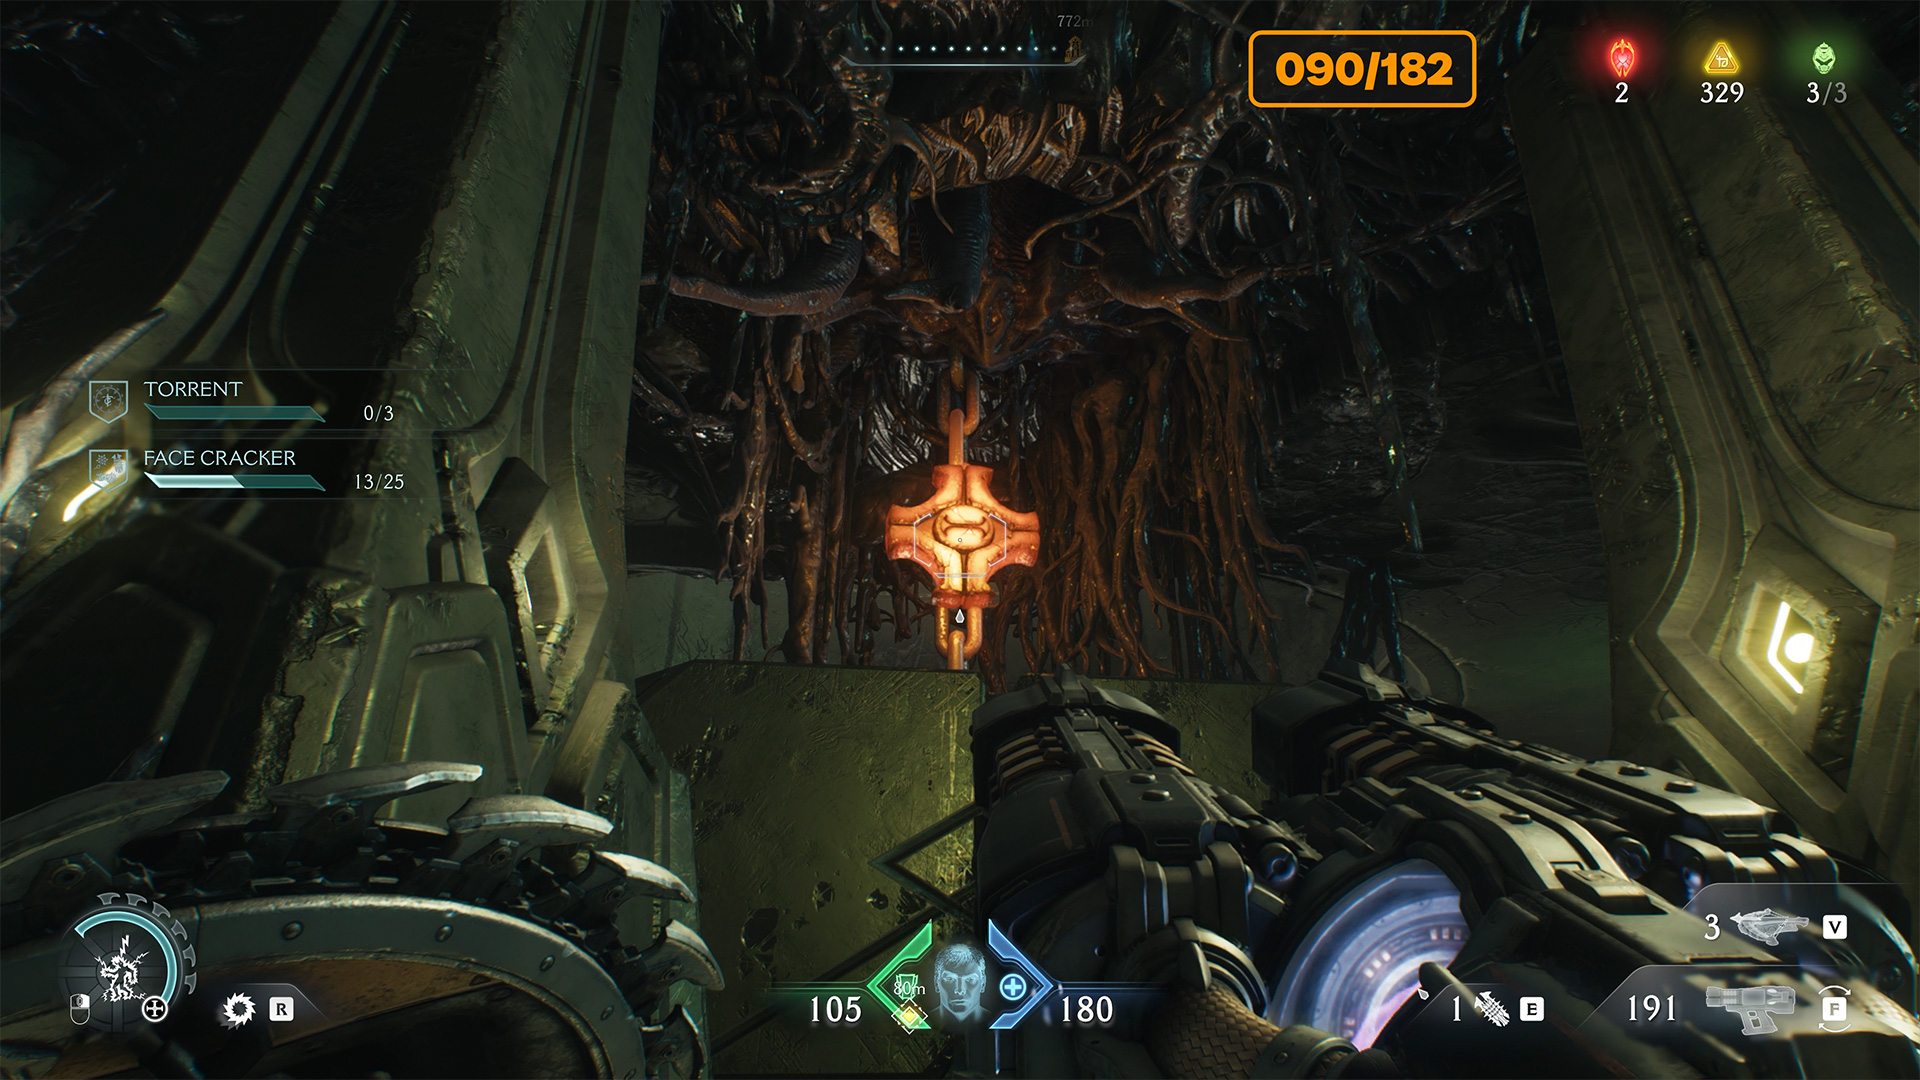
Now you will return to the previous room. Now you need to stand on the platform and only then throw the shield into the blue mechanism. You will rise along with the platform. Turn around and you will see that you can climb onto the balcony along the wall.
There is a peculiar element here that activates when you take the correct position. Throw the shield through this element, it will break, and you will see that the passage ahead will be cleared. Now you need to throw the shield into the blue mechanism again to raise the platform. Wait for the platform to rise and use it to cross the cleared passage.
-

- Activate the blue mechanism while standing on the platform
-

- Climb onto the platform and climb onto the wall
-

- Get into the correct position to activate the element
-

- Throw the shield to unlock the passage
-

- Activate the blue mechanism again
-

- Use the platform to move forward

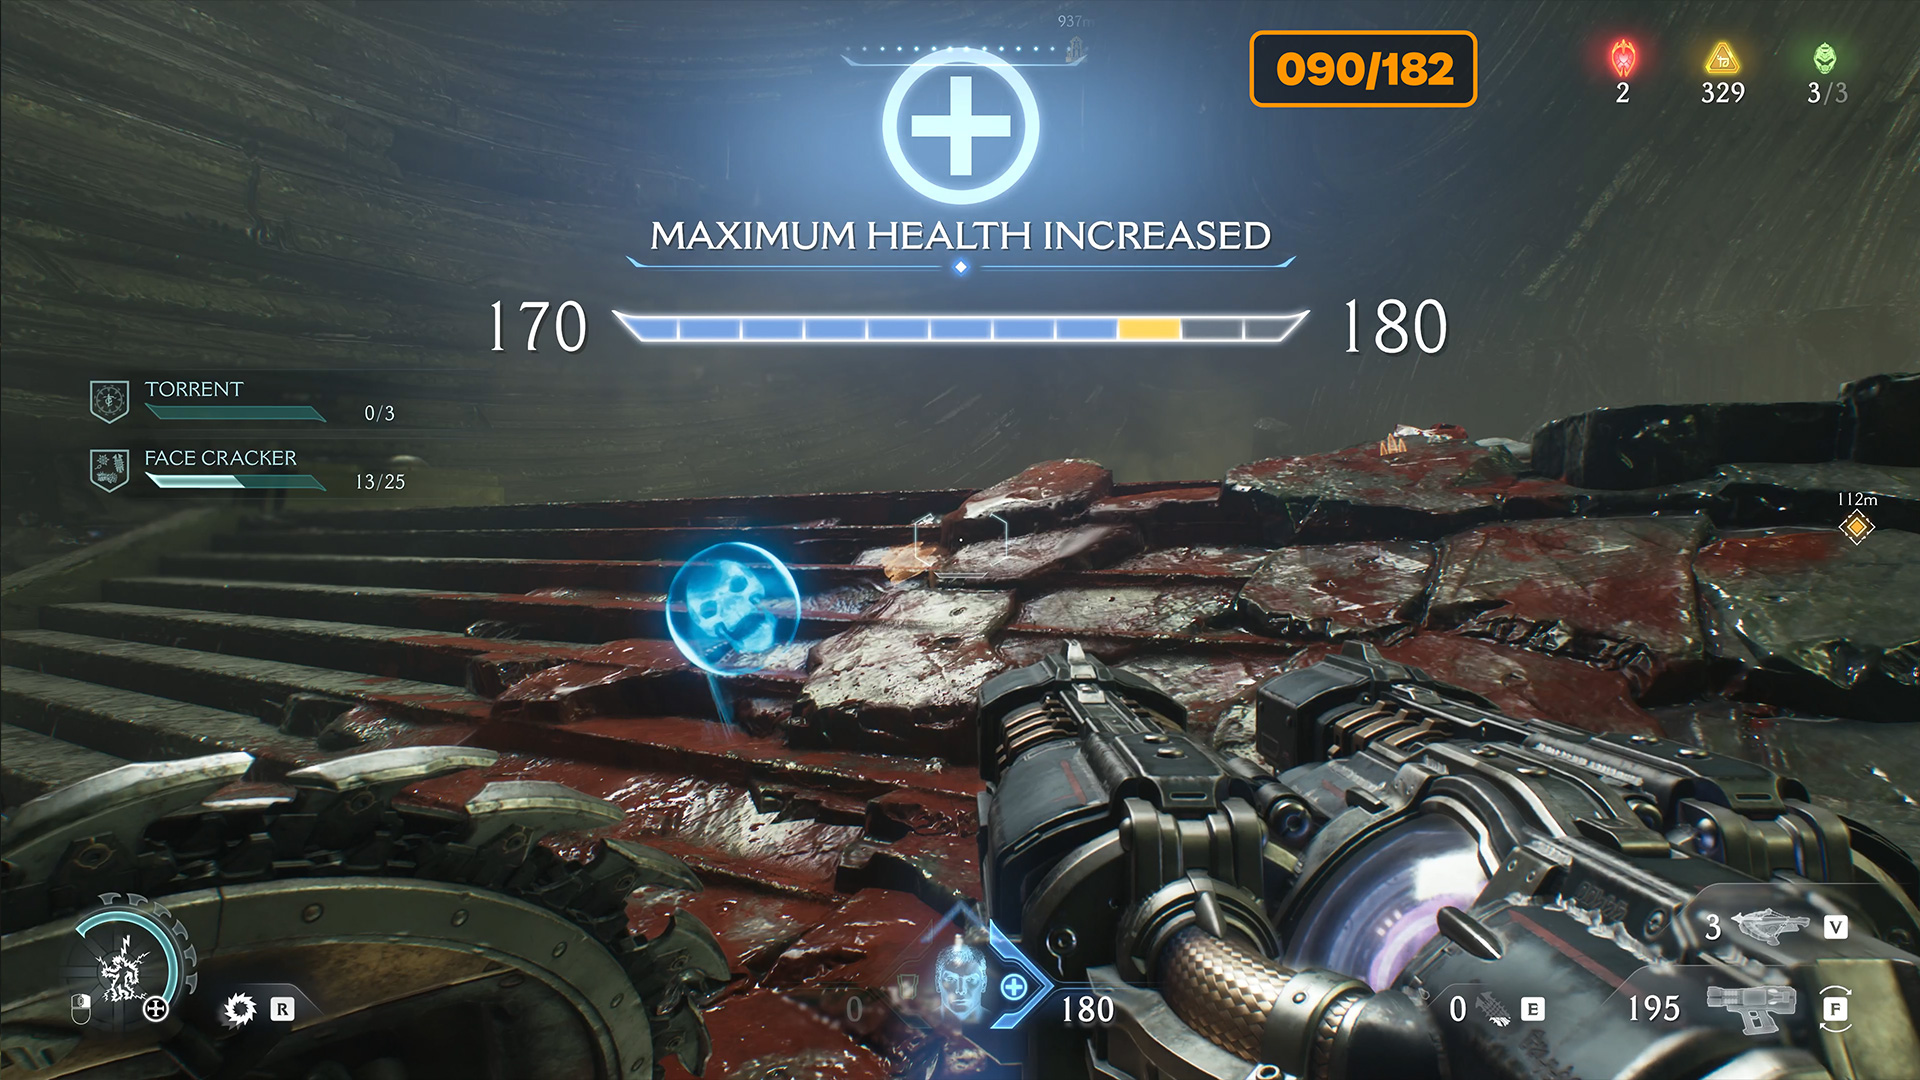
City of Ry’uul Demonic Essence Health
Next, you will enter a room where a big battle awaits you. In this red zone, you will encounter Cacodemon for the first time. You need him to complete the Heads Up challenge. Do it here, don’t put it off until later. At the end of the battle, when you defeat the mini-boss, you will automatically receive Demonic Essence – Health.
-

- City of Ry’uul Demonic Essence Health location
-

- City of Ry’uul Demonic Essence Health
City of Ry’uul puzzle
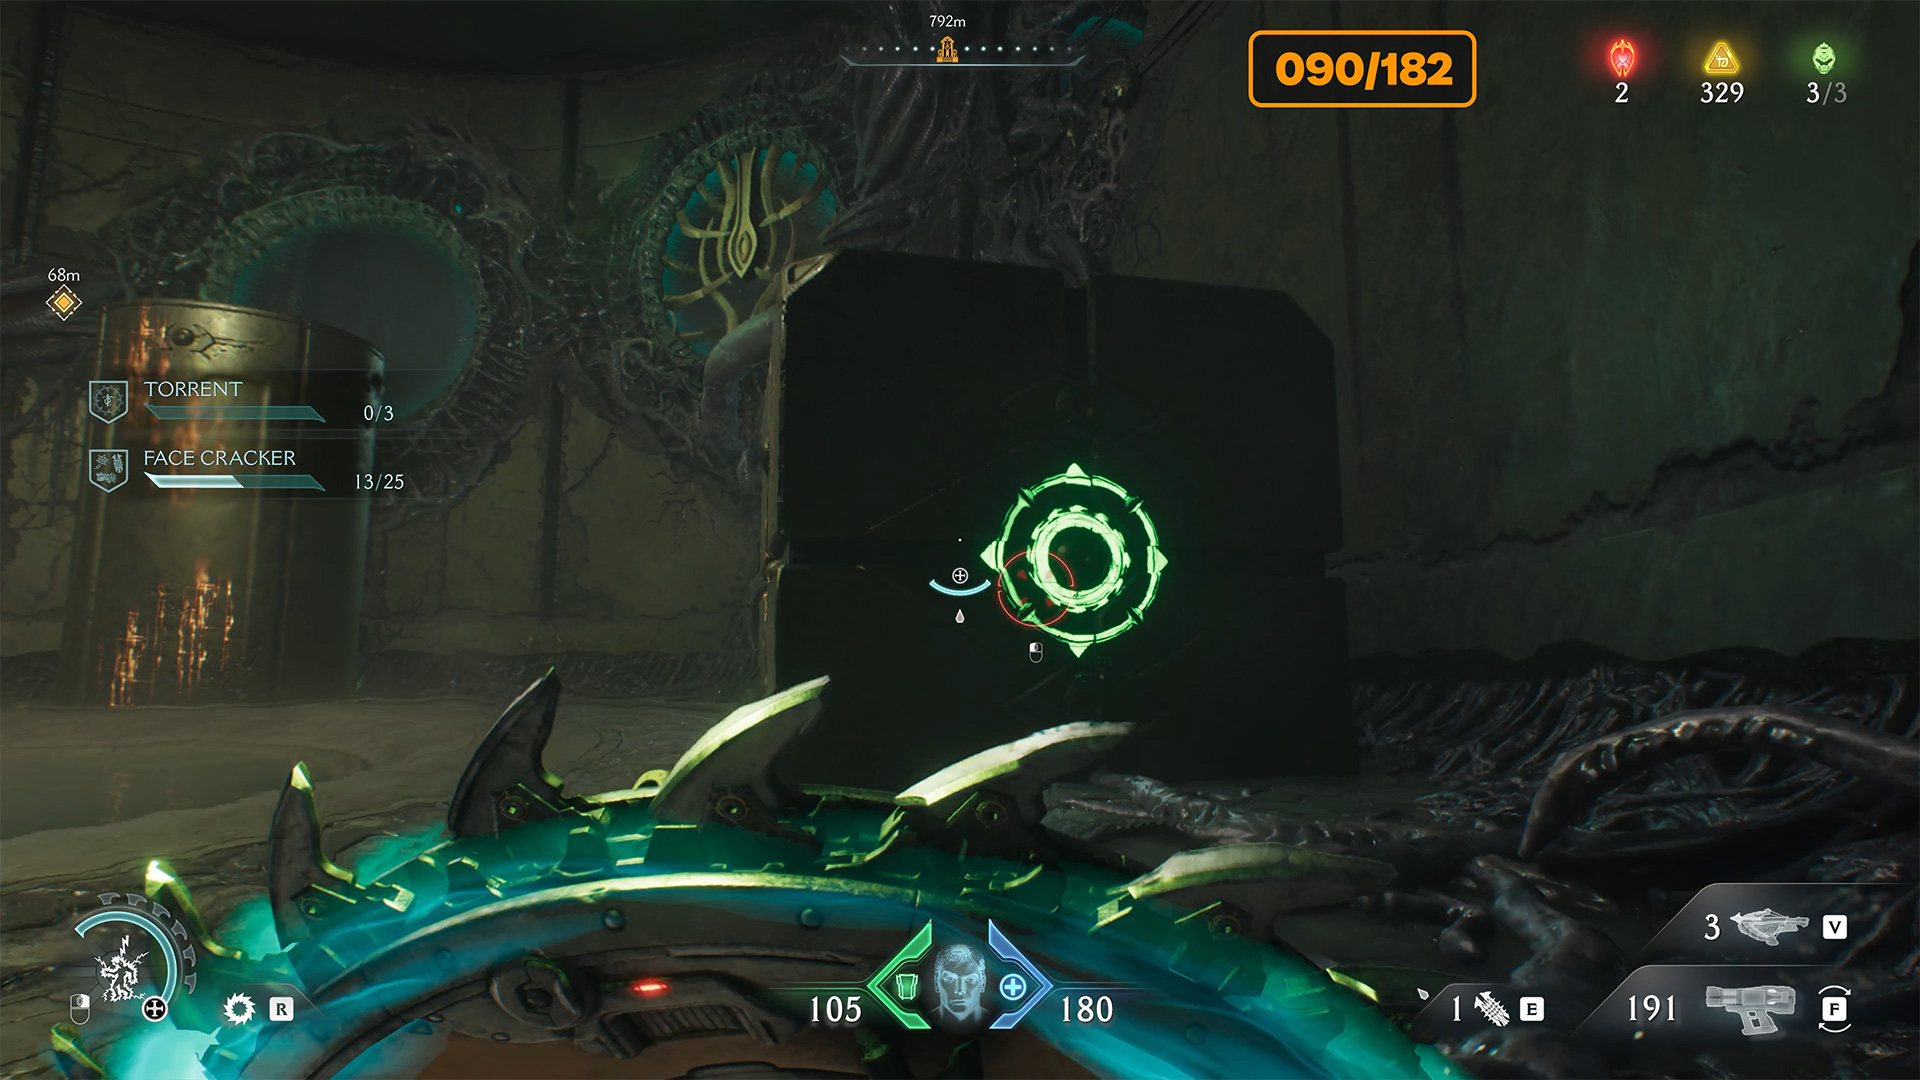
Next, you will find yourself in a room with a difficult puzzle, which I will help you solve. As soon as you enter the room, you will see that one pillar is lowering and the other is rising. So we know that they can be moved. To do this, you need to find the blue mechanism and throw the shield at it. After that, the pillar that sank into the ground will rise again.
Run to this pillar, it has distinctive markings, and you can climb up it. Here you will find a passage into a hole filled with water. Swim through this water tunnel until you find yourself in a room. Here you should see a metal connection that holds the container in a suspended state. Throw the shield to break this connection, the container will fall down, and you should jump after it back into the room. Now you can push the container part of the way and it will stop near the pillar.
Now you need to lower it underground. Find the blue mechanism and throw the shield at it again. The pillar will lower and the other one will rise. Now go to the container and push it again so that it reaches the pillar. Now, using the container and the pillar, you can exit this room.
-

- Enter the room with the puzzle
-

- Find the blue mechanism
-

- Climb up the metal column
-

- Swim through the tunnel filled with water
-

- Break the metal connection
-

- Push the container the first time
-

- Activate the blue mechanism again
-

- Push the container the second time
-

- Use the container and the column to exit
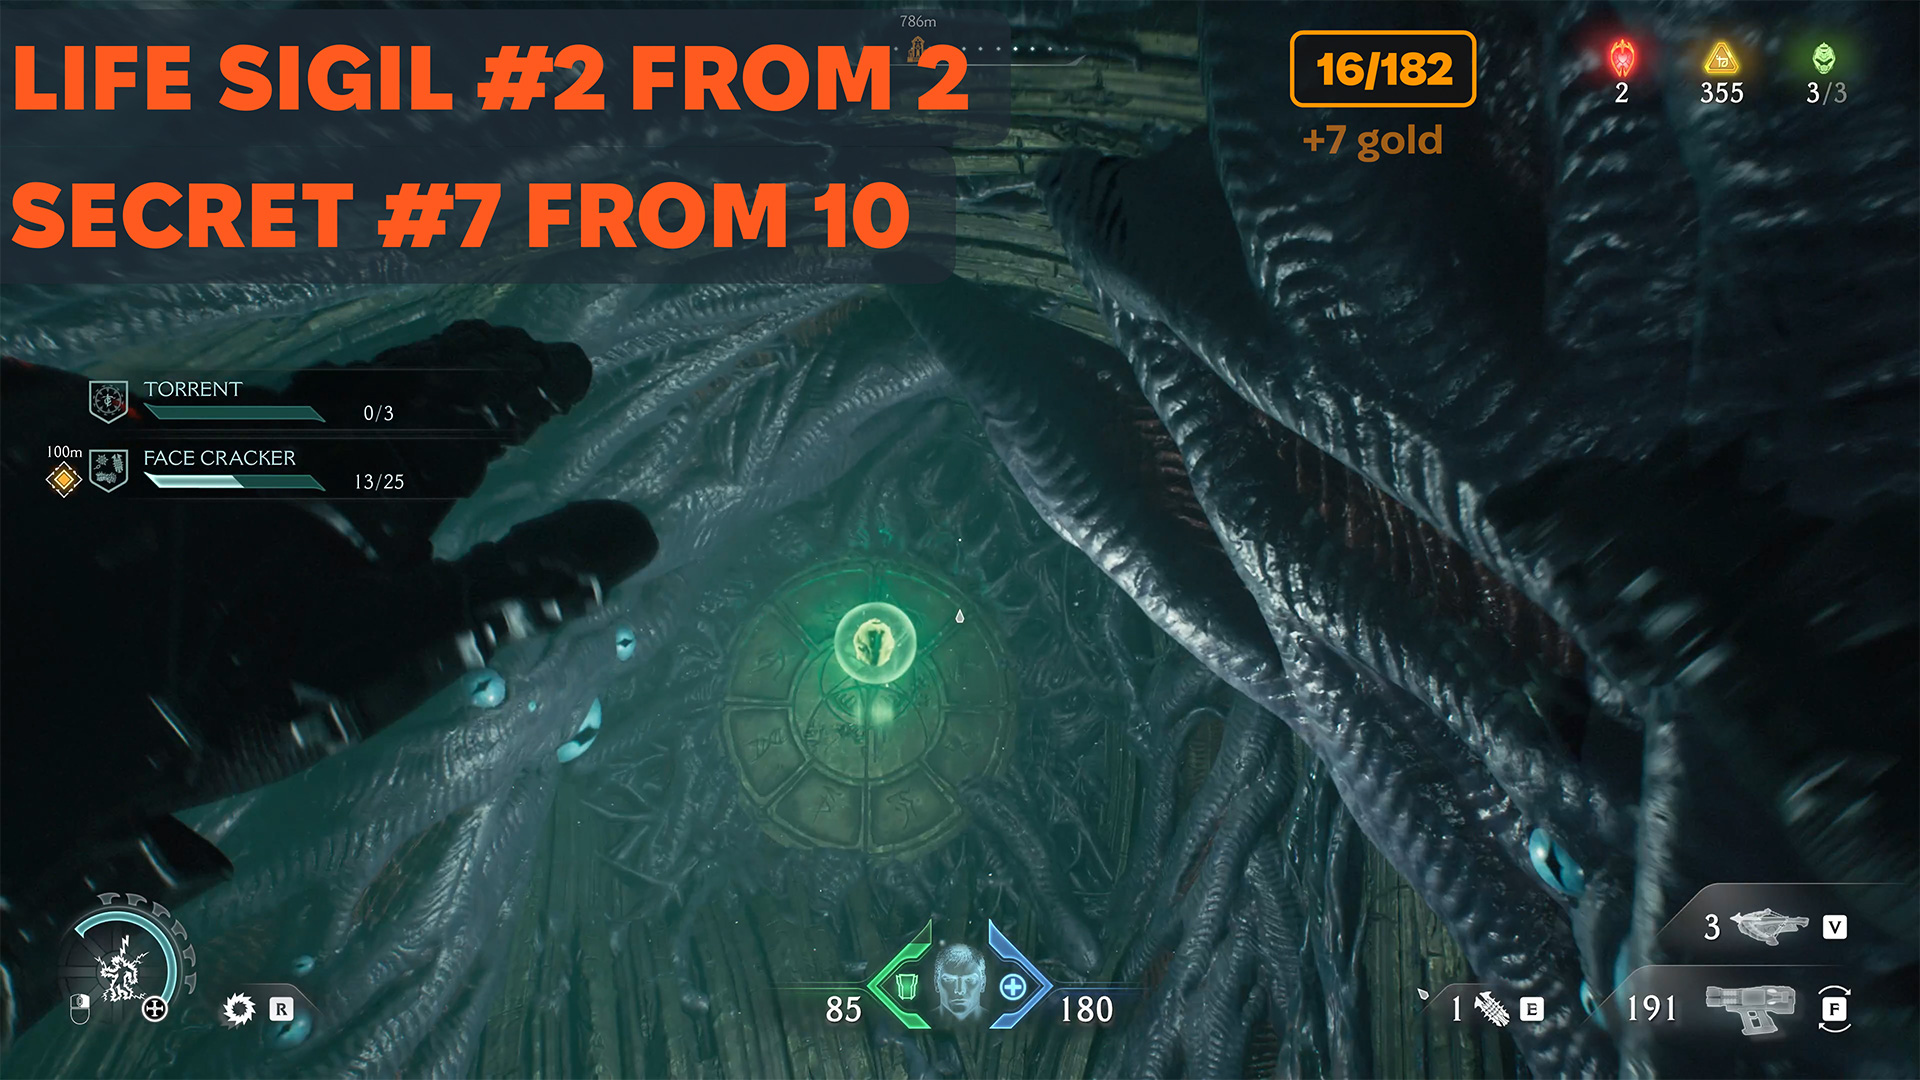
City of Ry’uul underwater Life Sigil
Next, you will see another purple stone that activates the elevator. You will return to it later. First, you need to go through the water tunnel. Right at the entrance, you will receive 3 gold coins. Swim to the right to get another 16 gold coins. Now turn around and swim to the other end of the tunnel, through the underwater flamethrowers. Here you will find 7 gold coins, the seventh secret, and the second and last Life Sigil.
-

- City of Ry’uul underwater Life Sigil location
-

- Ignore the purple stone and go to the right
-

- City of Ry’uul underwater Life Sigil
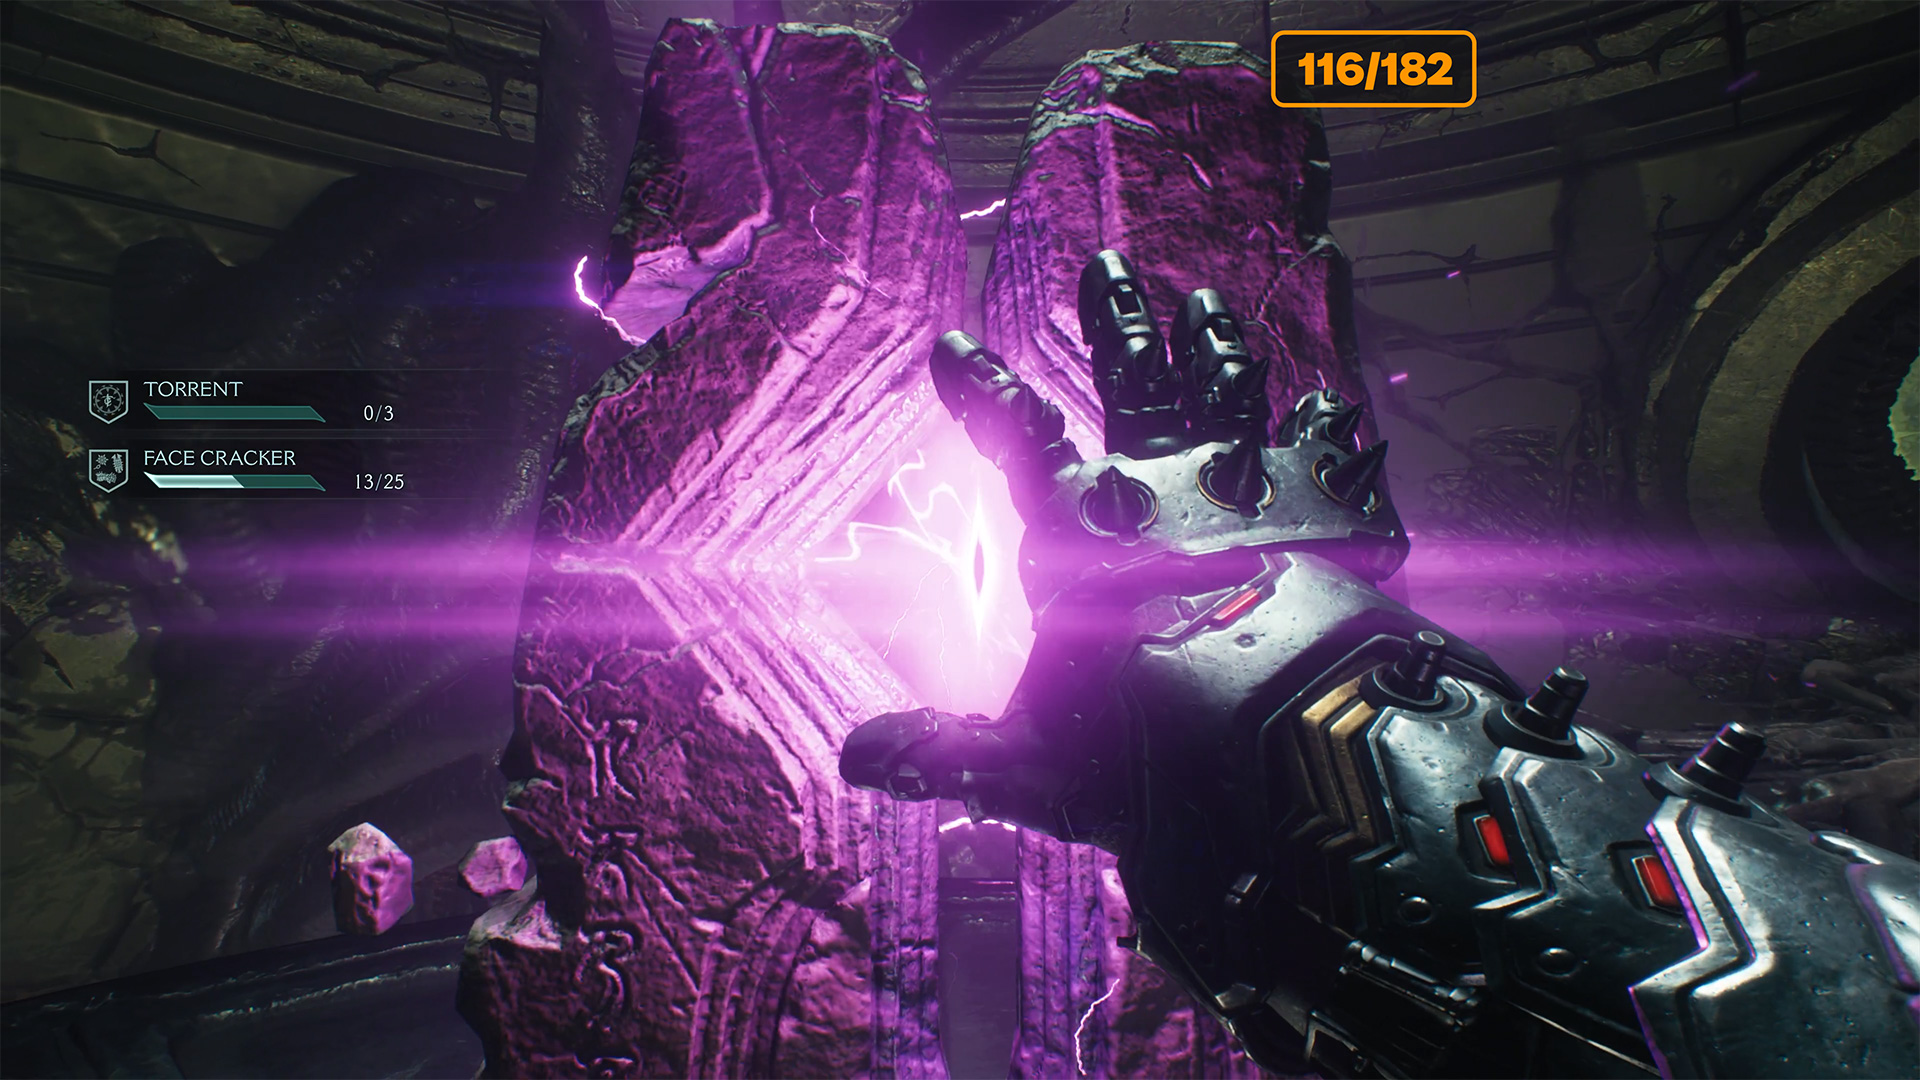
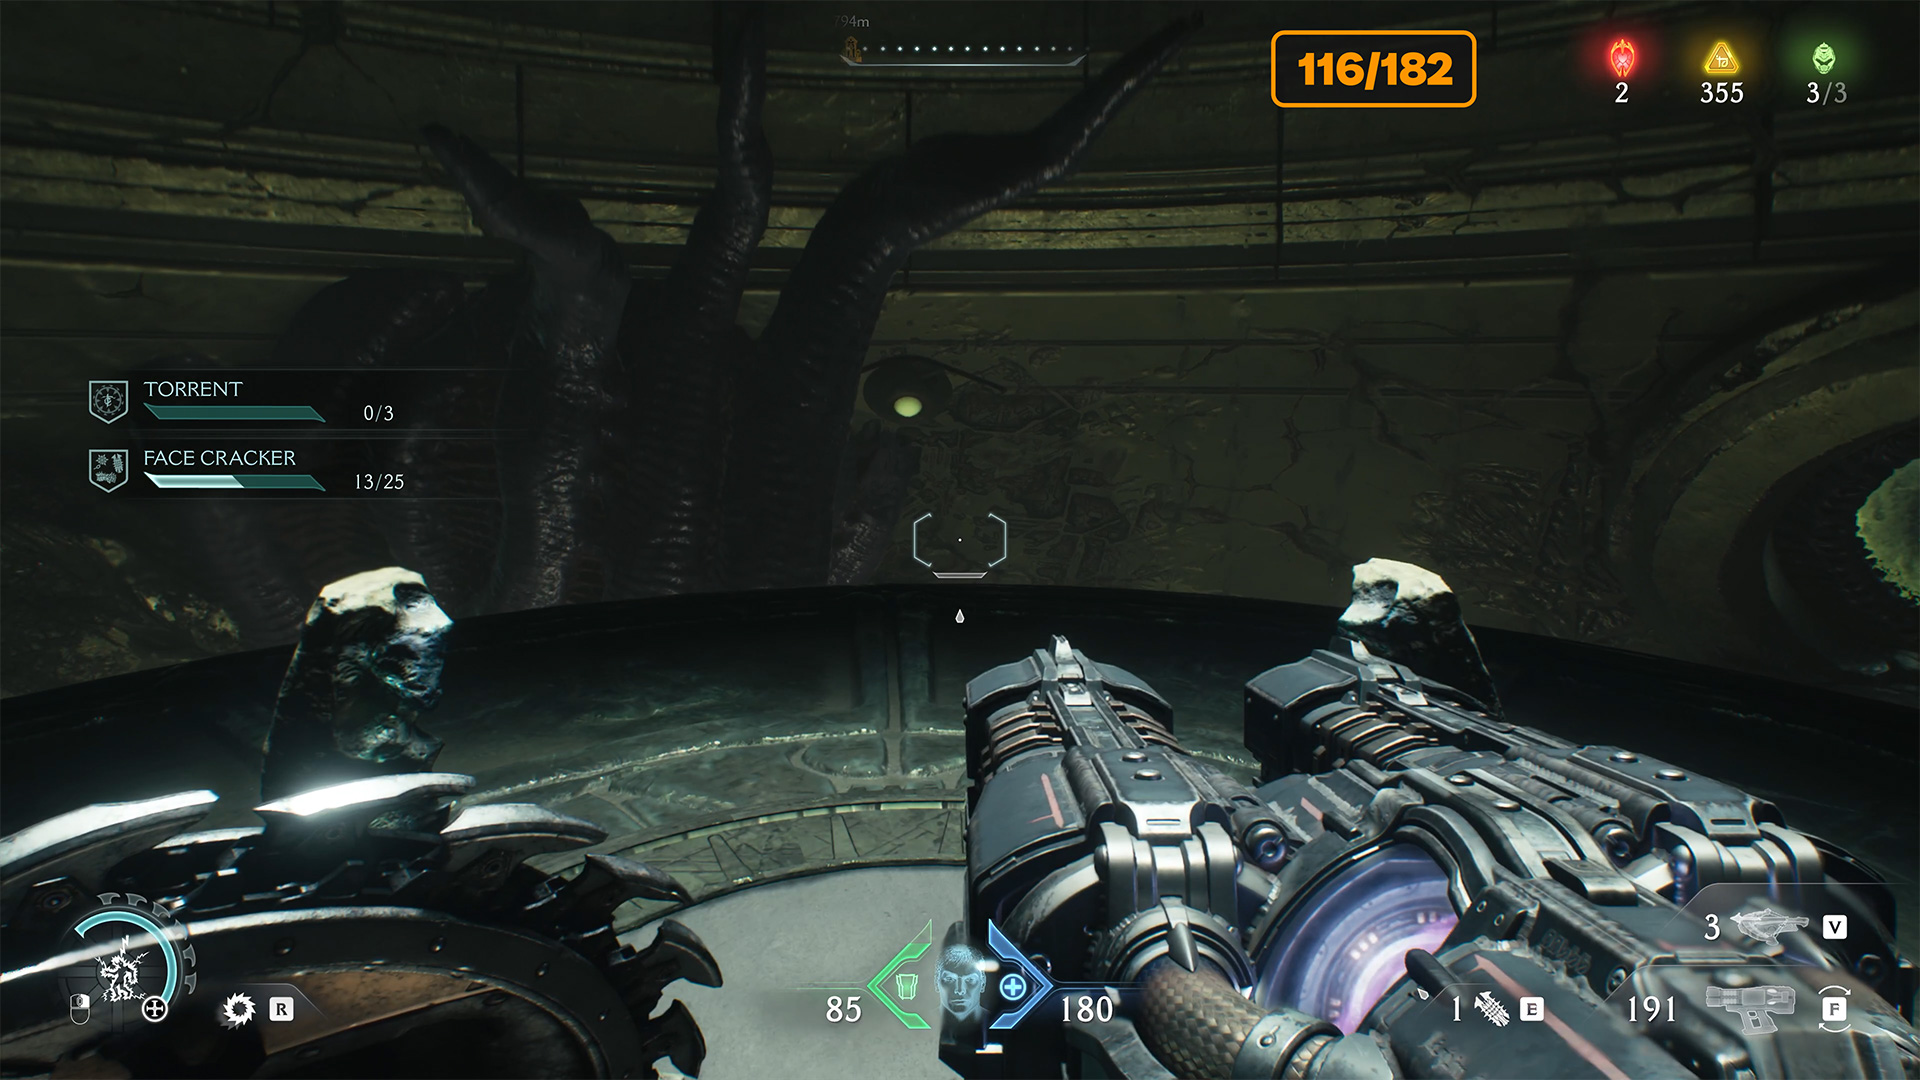
Activation of the purple stone
Now you need to return to the purple stone you saw earlier. Activate this stone and the elevator you are standing on will start moving upward. This is the route that the developers have devised for this location.
-

- Activation of the purple stone
-

- This activates the elevator that will lift you up
City of Ry’uul golden chest
As you move forward, monsters will start attacking you. After defeating them all, don’t forget to jump to the ledge below on the right. Here you will find the eighth secret and a golden chest. Break the chest to get 50 gold. Next, the location will be a little confusing, so pay close attention to what I’m going to show you.
-

- City of Ry’uul golden chest location
-

- City of Ry’uul golden chest
City of Ry’uul gold bar
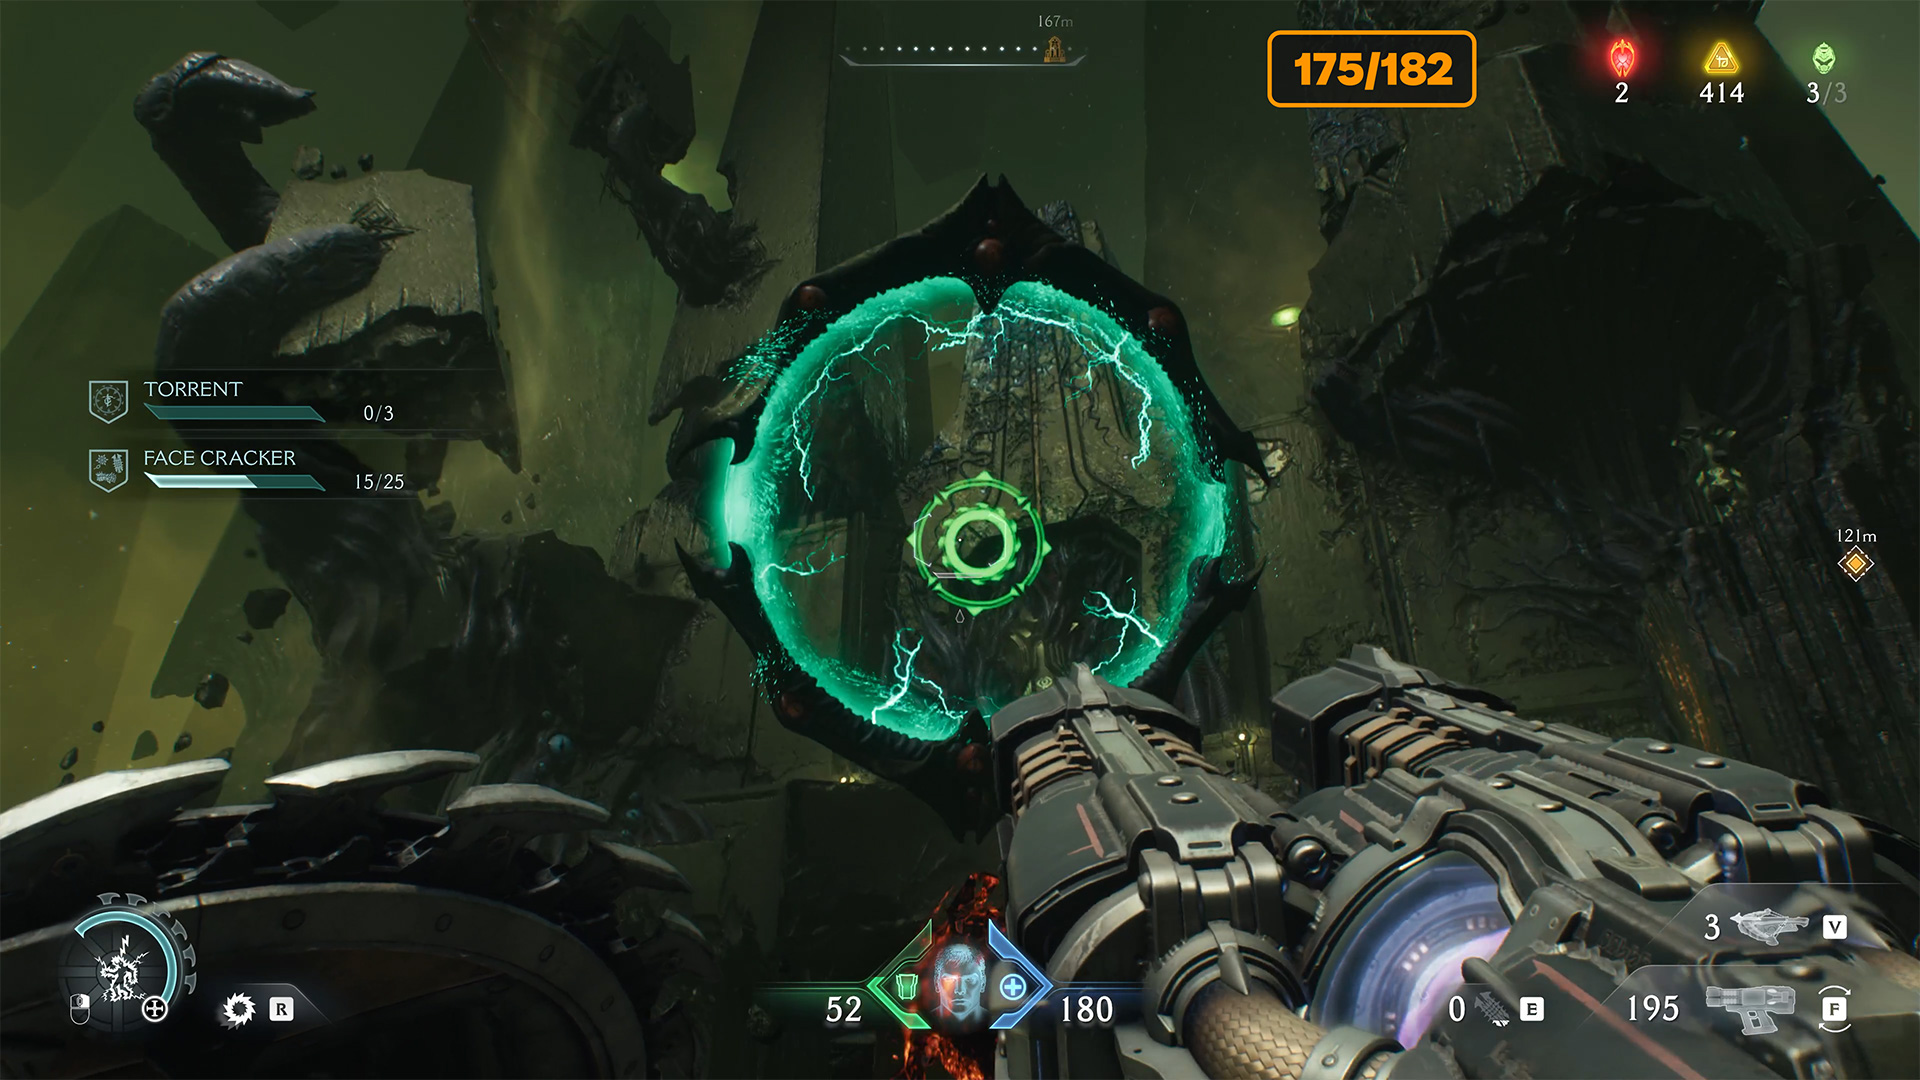
Next, you will see another green ring in front of you, which you must jump over using Shield Charge. You will not reach the platform ahead, but will fall down. Don’t worry, this is intentional and everything is going according to plan. This is the area below that you need to explore. Here you can collect 6 gold coins along the way.
-

- City of Ry’uul gold bar location
-

- Shield Charge through the green circle
-

- City of Ry’uul gold bar
City of Ry’uul gold found
Next, climb up the wall. Turn around and jump onto the platform ahead. After walking a short distance, you will see another wall on your left. You need to jump to it and climb up it. Here you will find 3 gold coins. It’s a small treasure, but a necessary one.
-

- City of Ry’uul gold found location
-

- Jump to the other side
-

- City of Ry’uul gold found
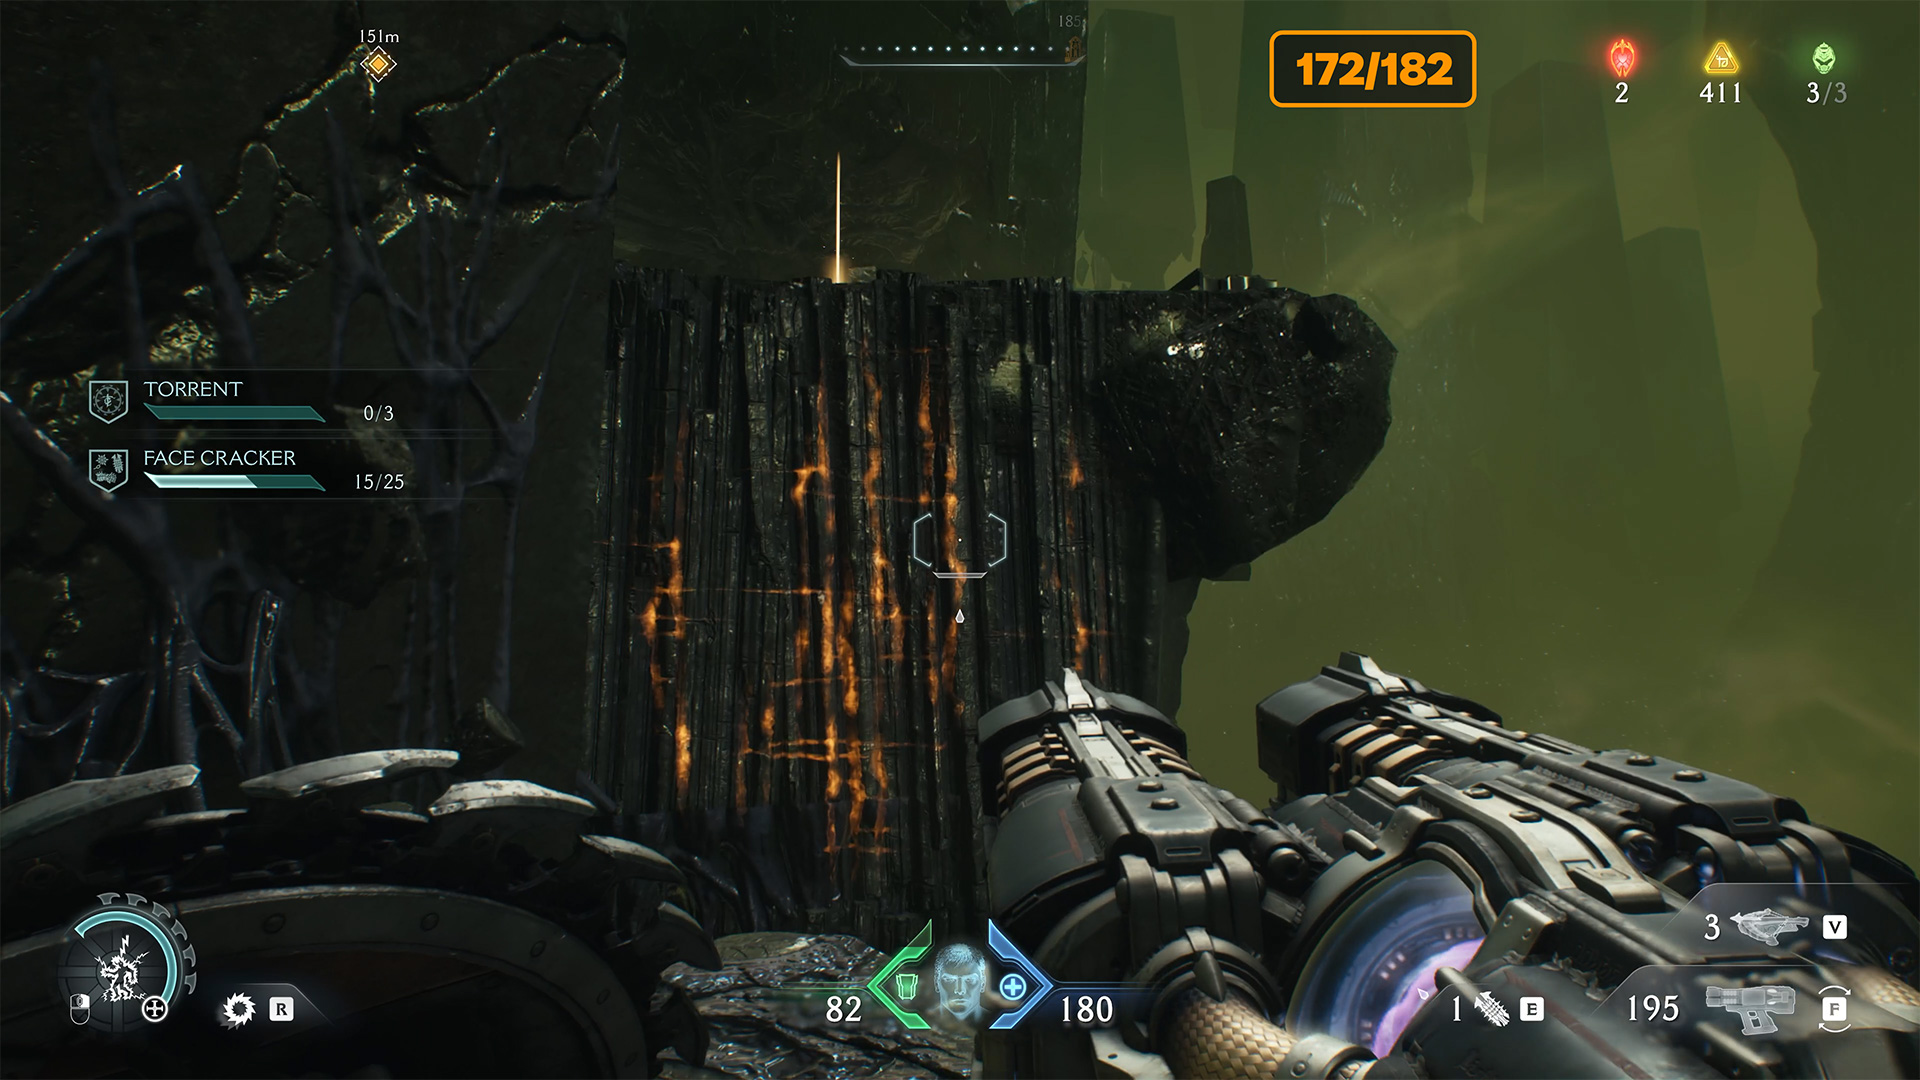
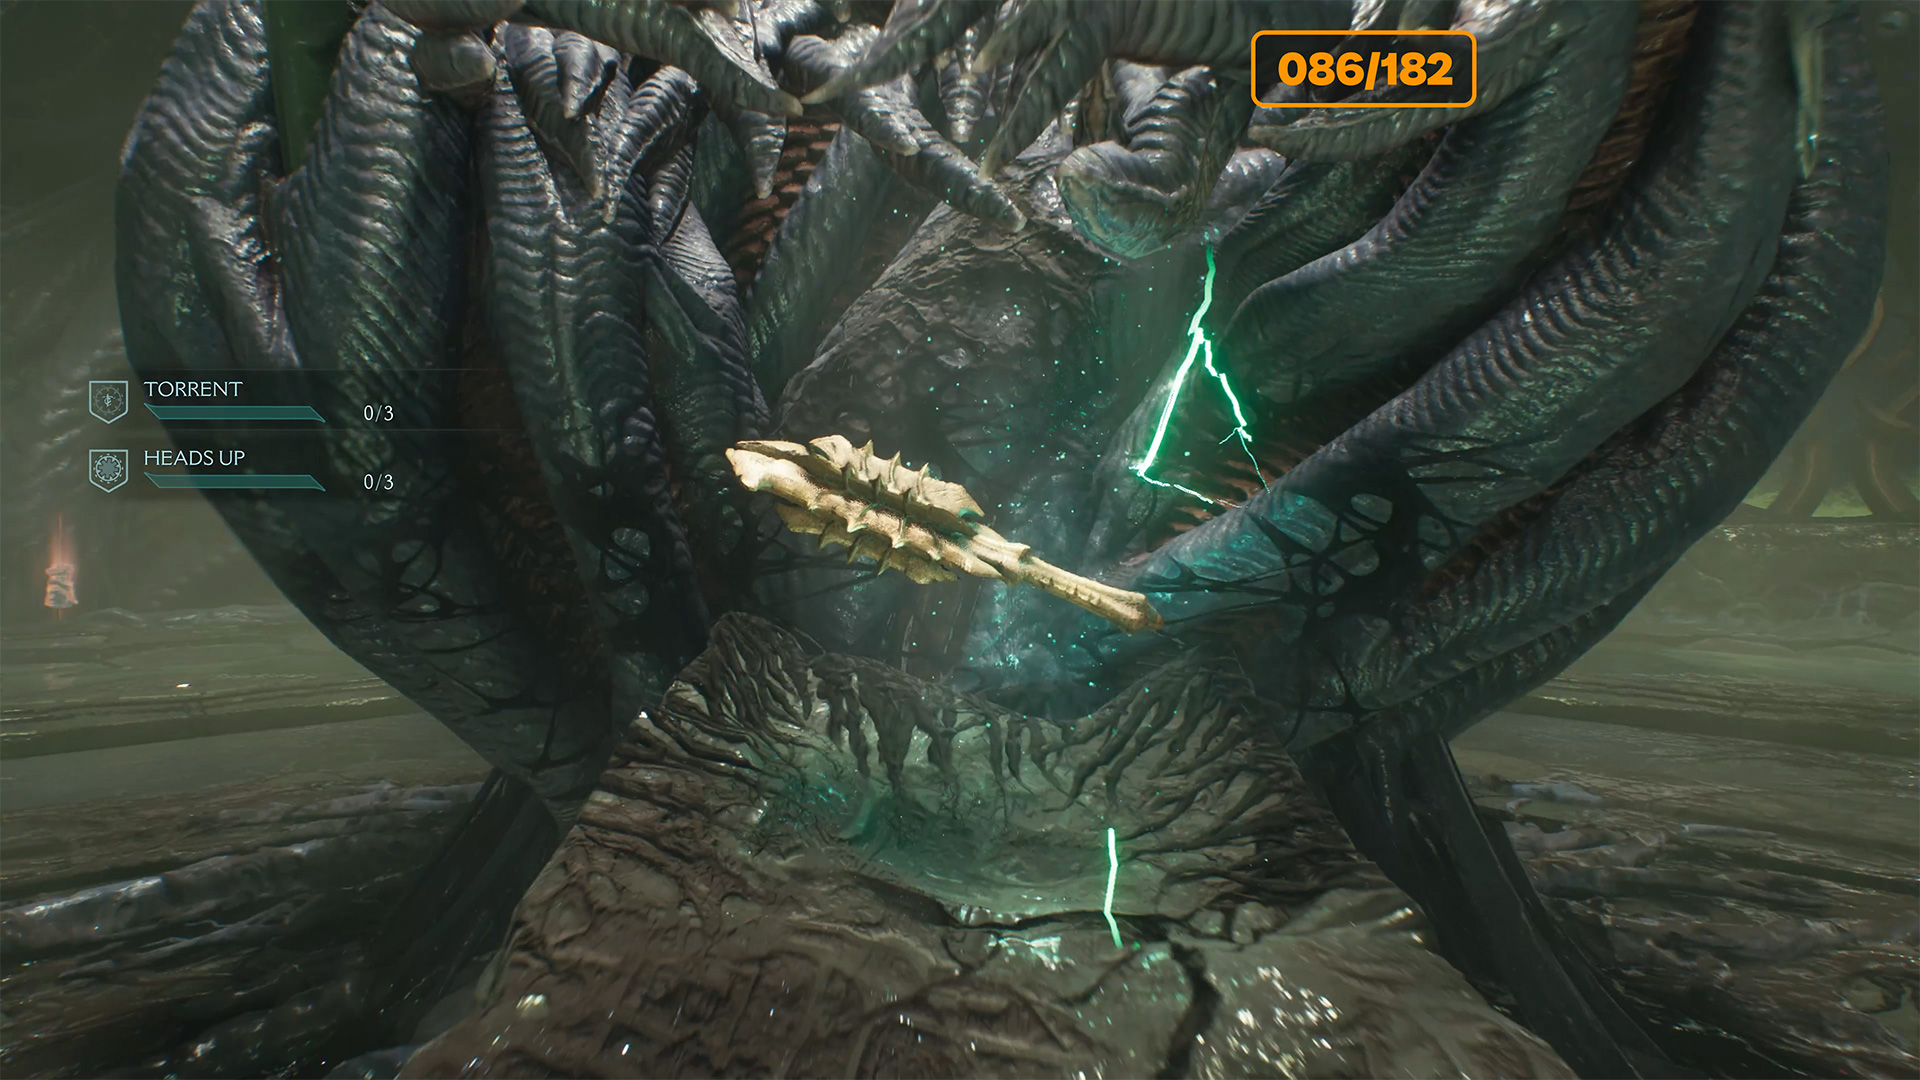
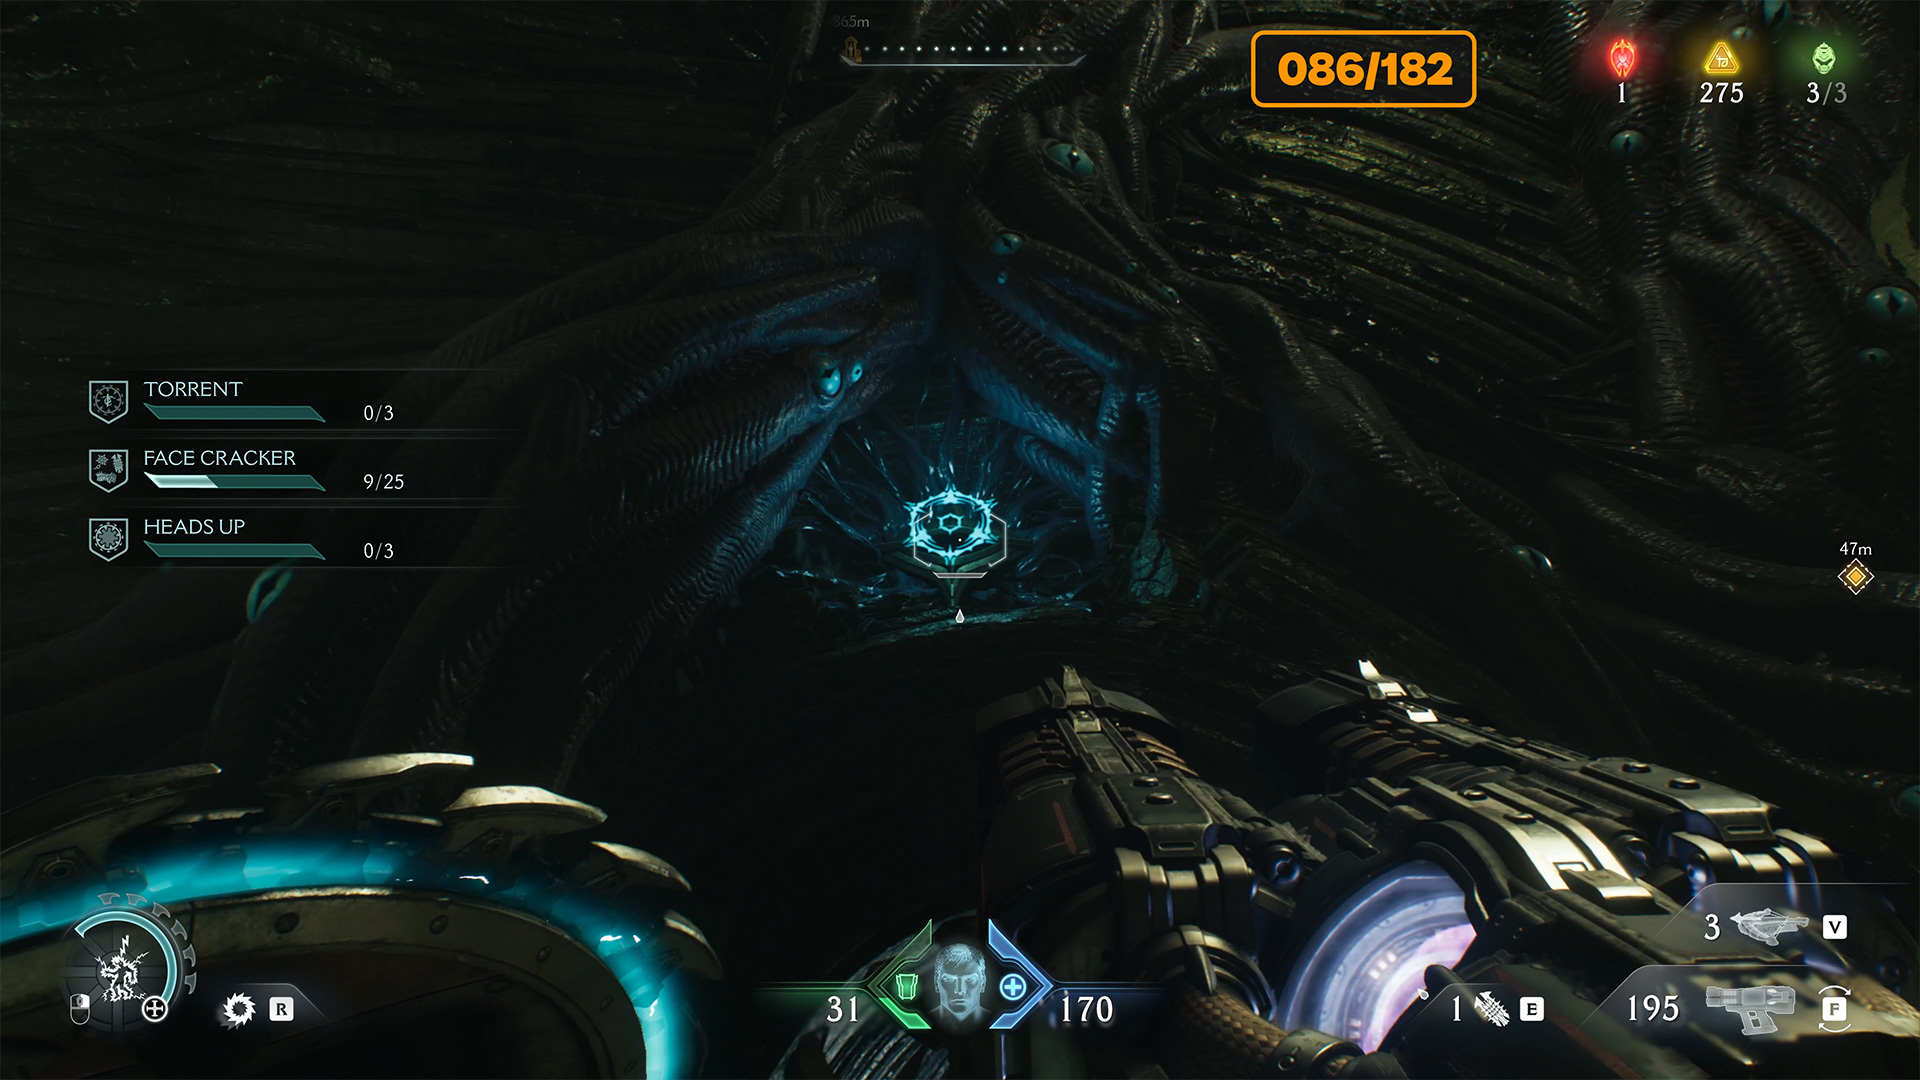
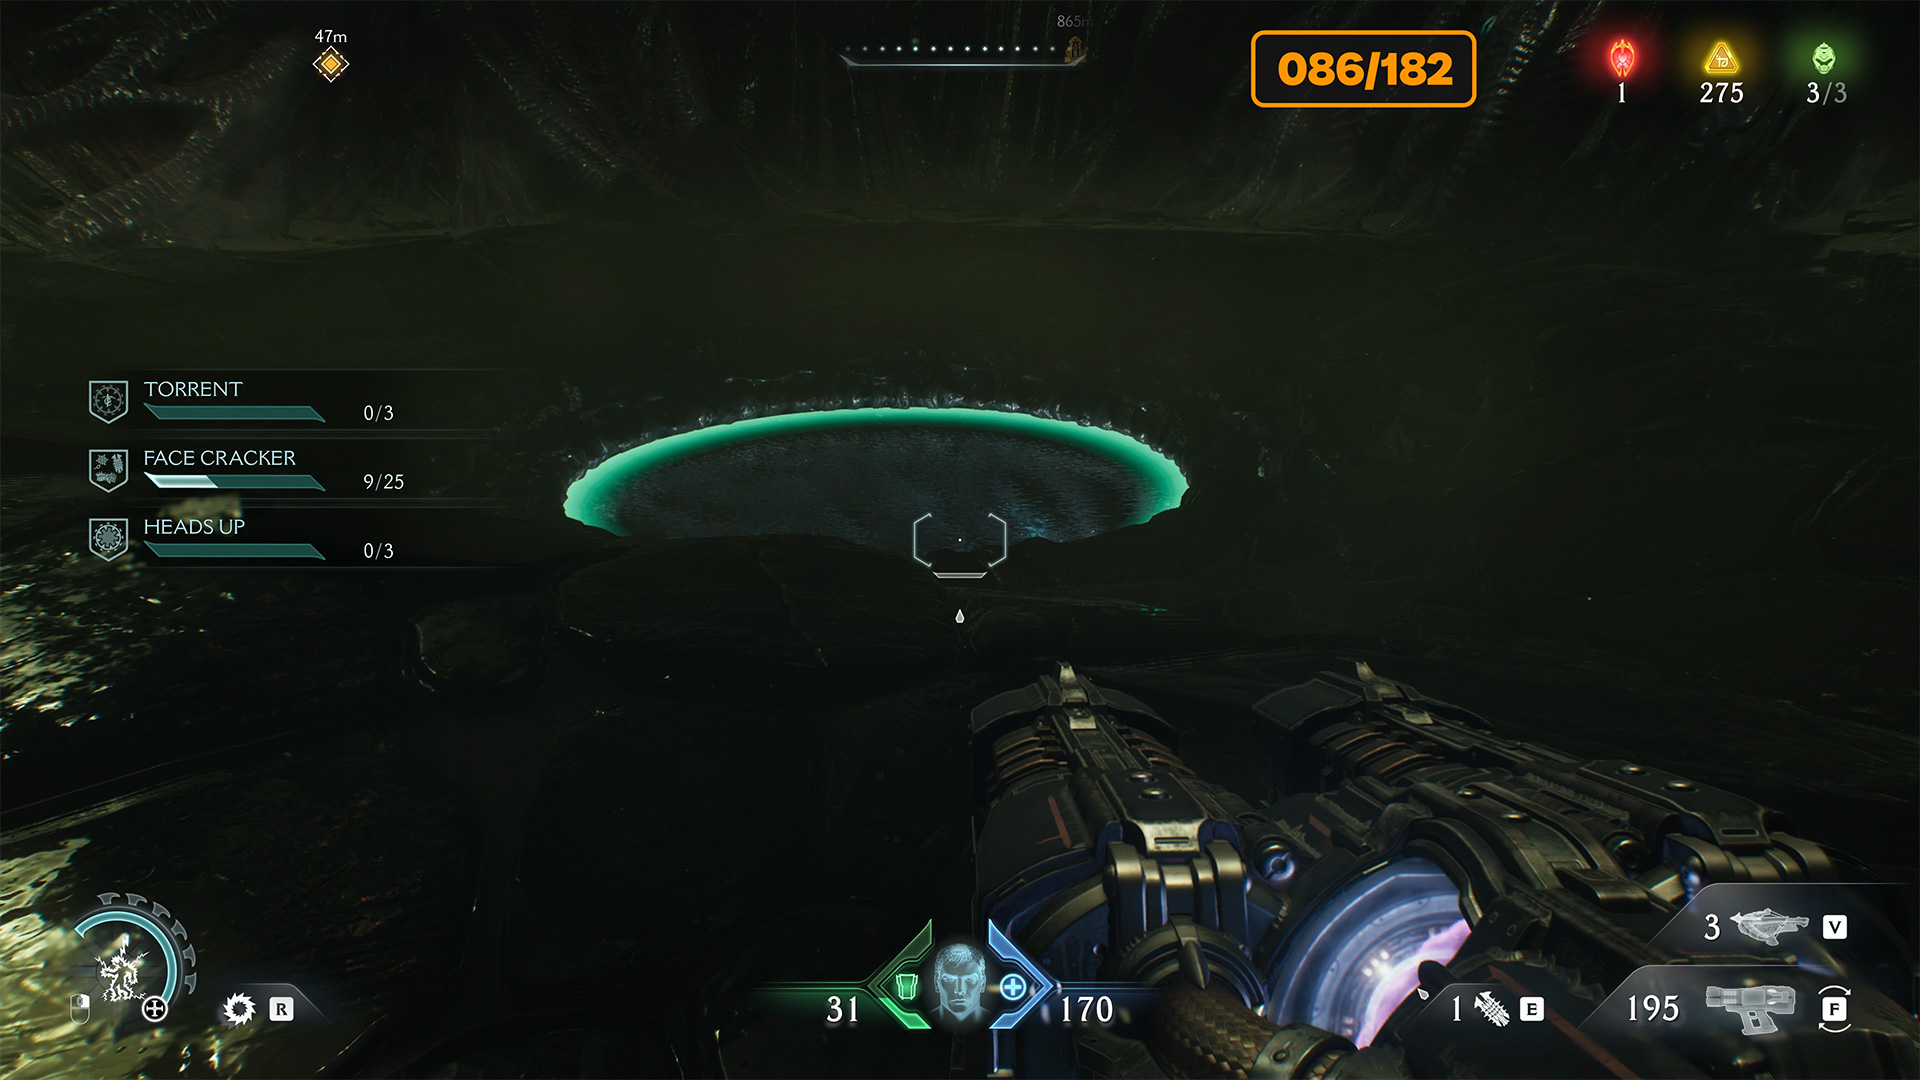
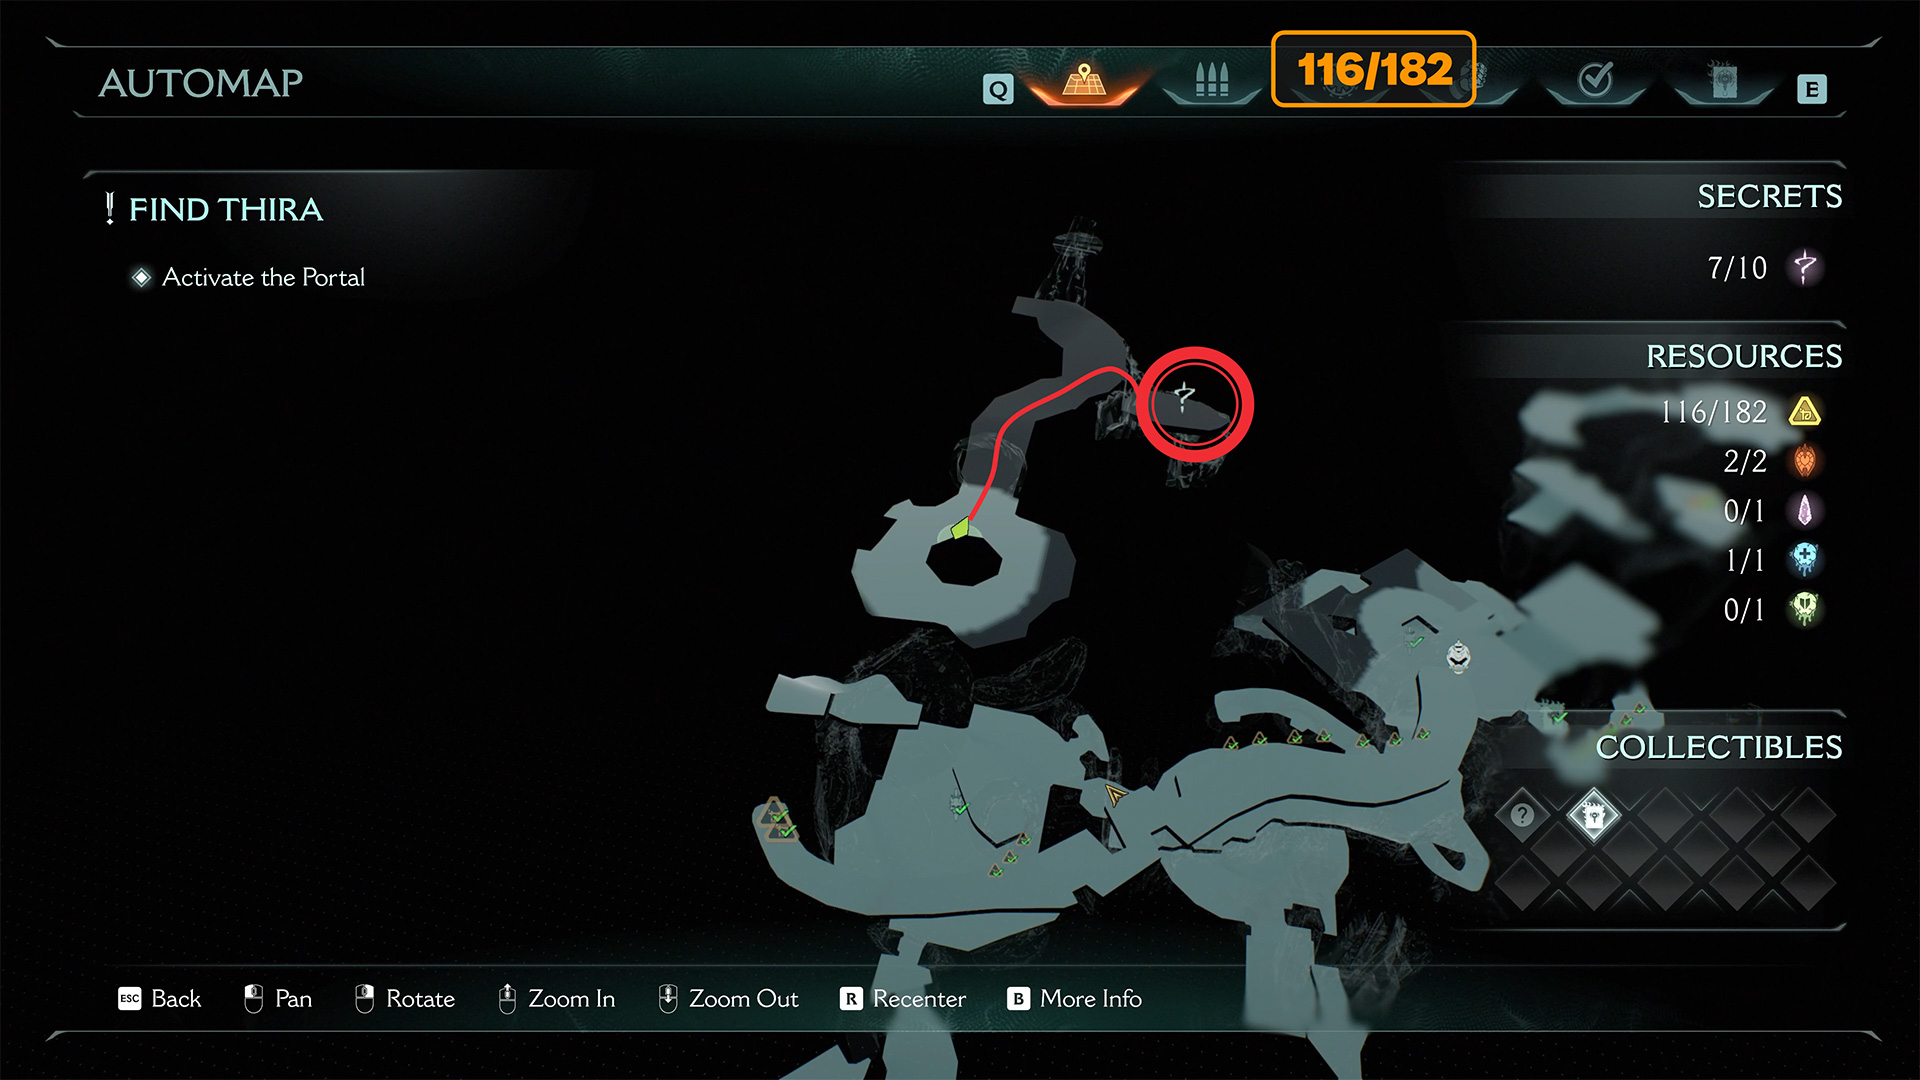
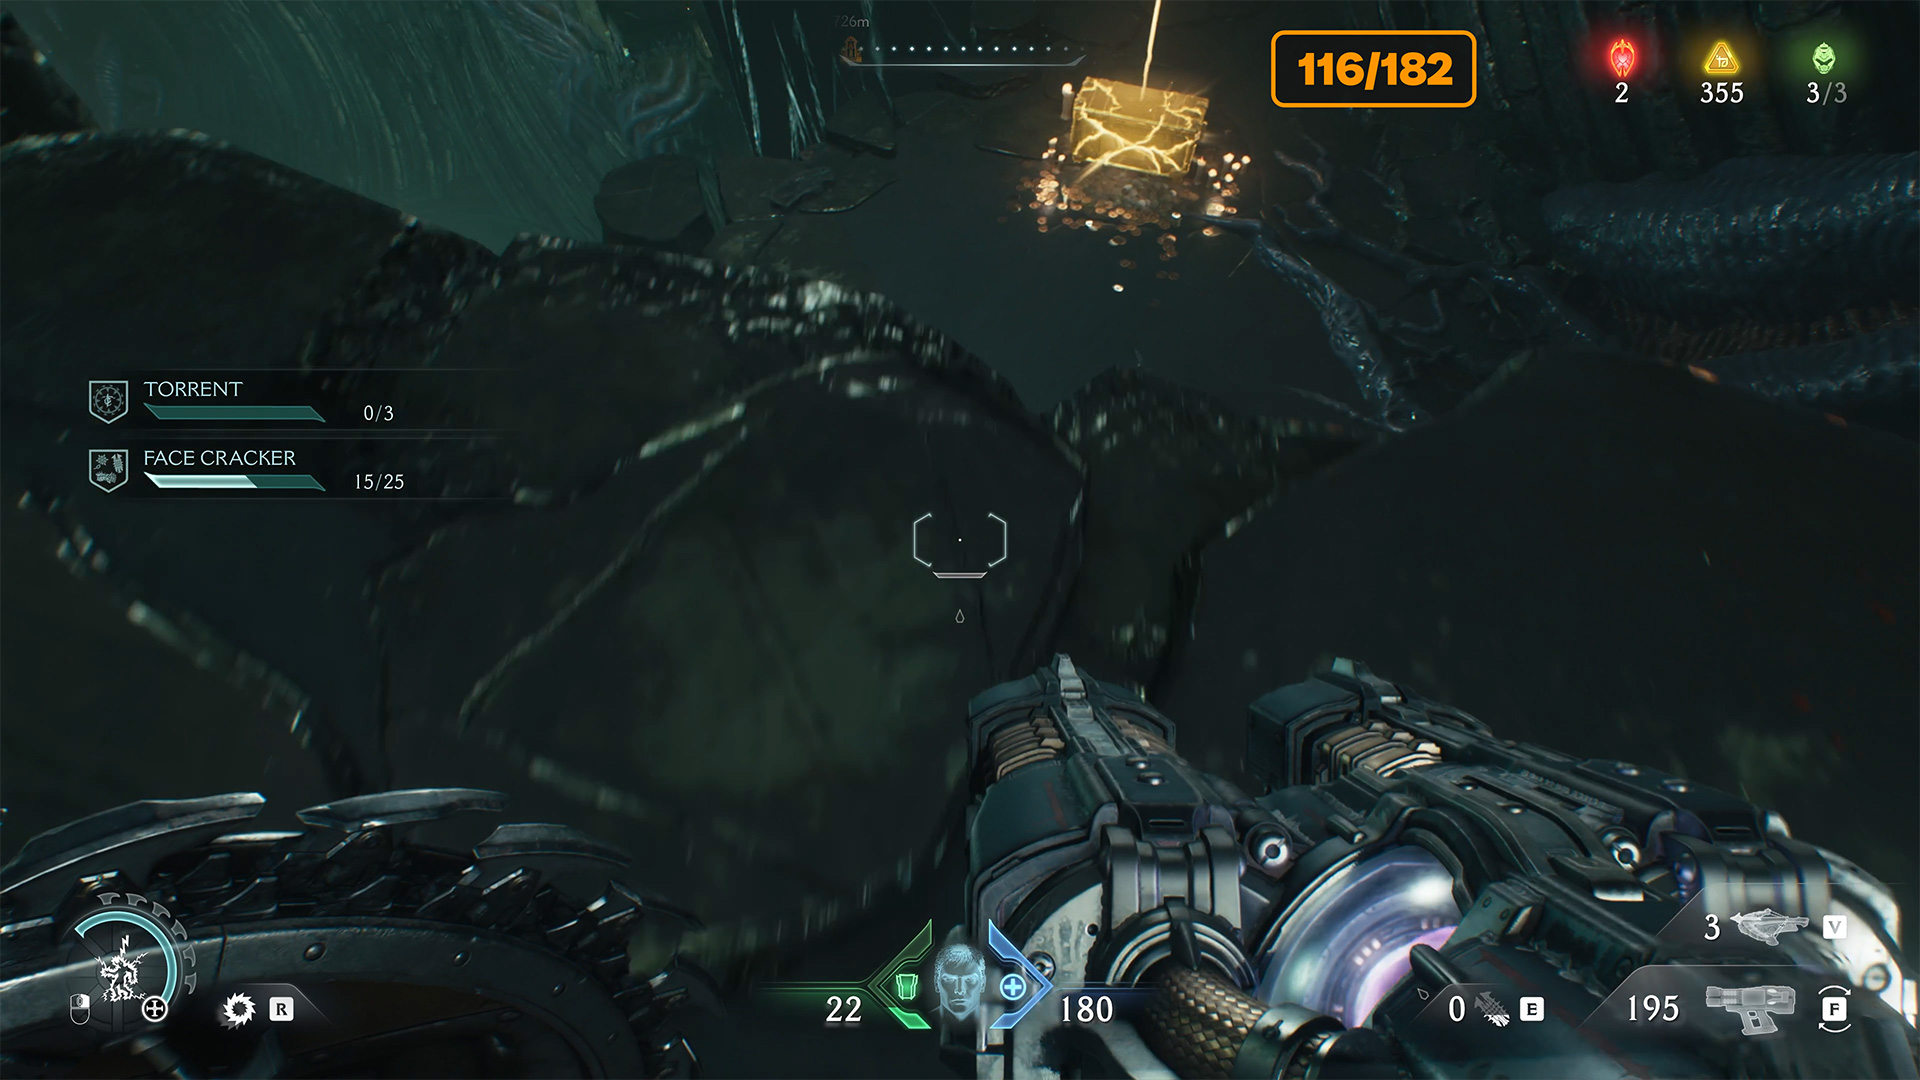
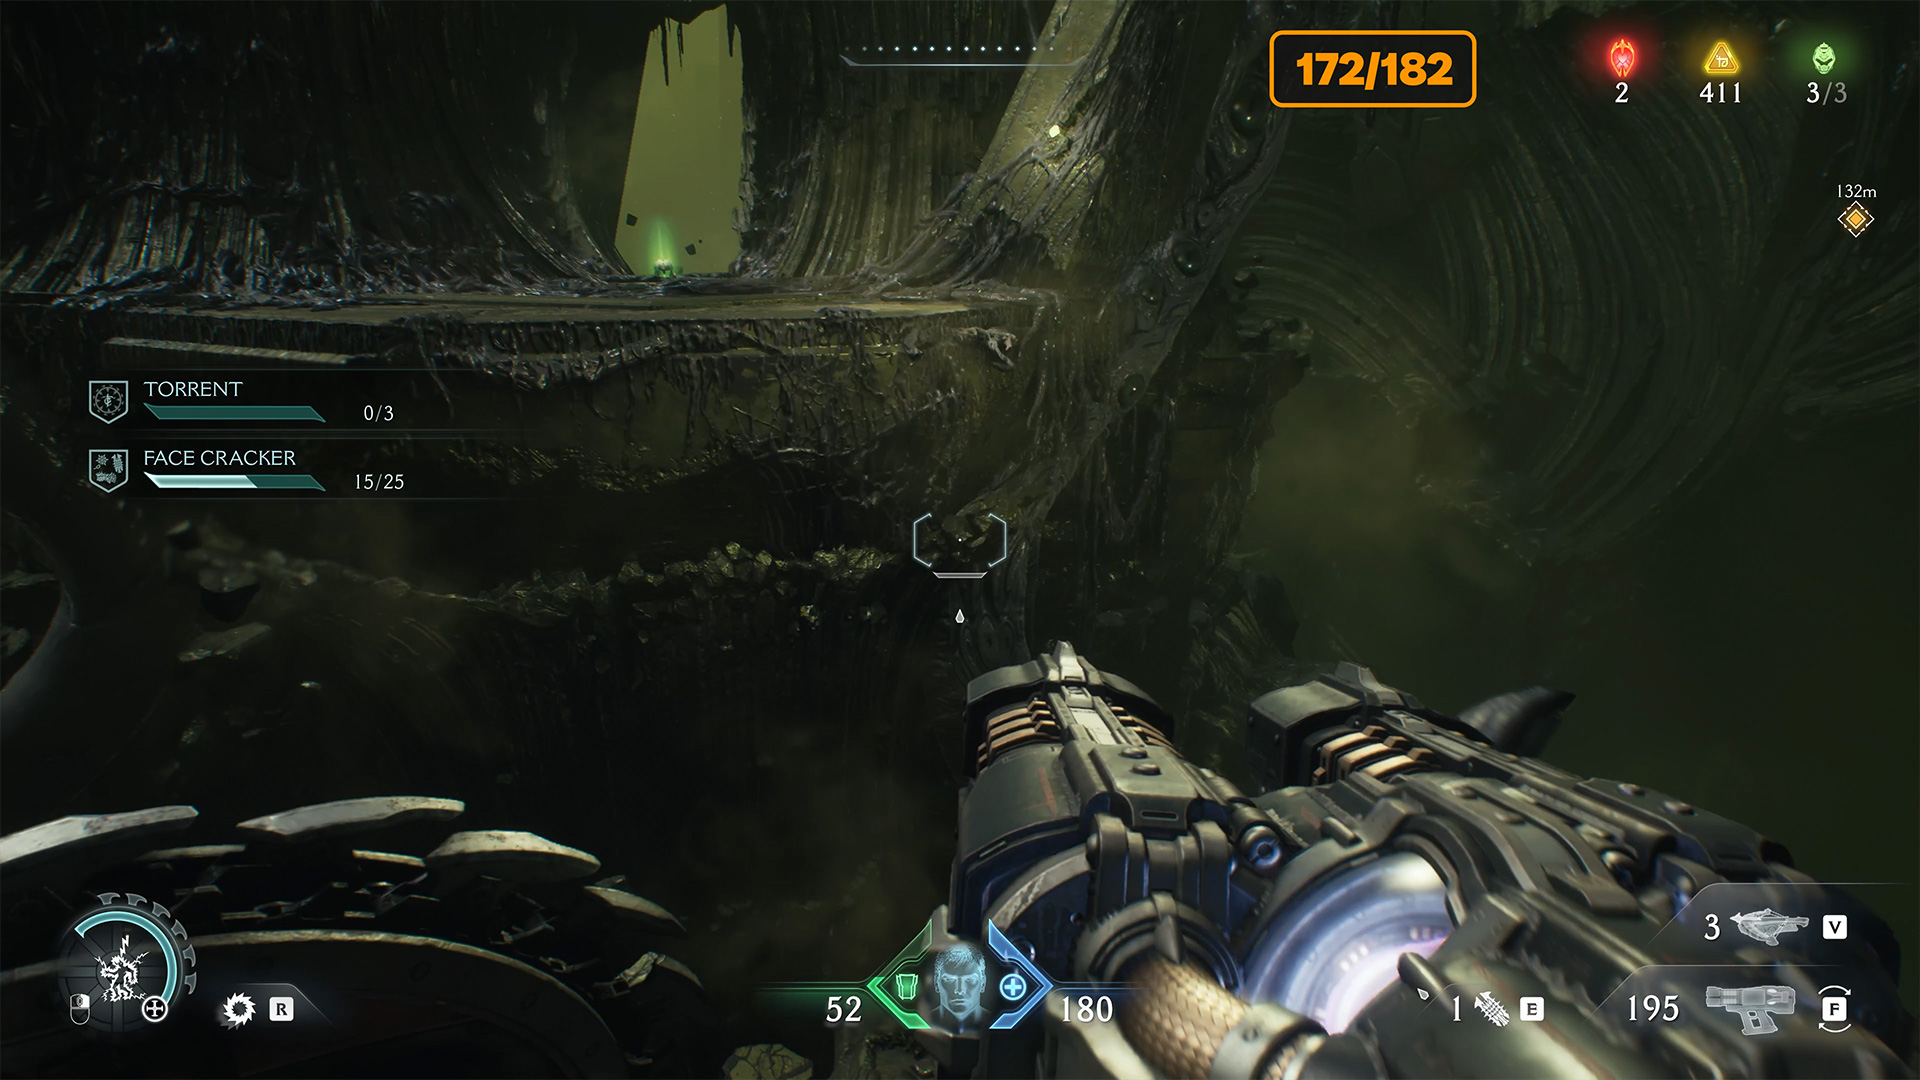
City of Ry’uul how to climb up
It took me a long time to climb to the top. I found the accelerator, but it didn’t work. In the end, I threw my shield into the hole you see on the screen. There is a blue mechanism deep inside that activates the accelerator. I’m sure there is a more convenient place to activate the accelerator.
-

- Throw the shield into this hole
-

- The accelerator on the second floor will be activated
City of Ry’uul gold item
Surprisingly, another battle awaits you at the top. After winning, go to the place where the green ring is located. I have marked this place on the map, and using Shield Charge, you will fly to another platform where you can collect 4 gold coins.
-

- City of Ry’uul gold item location
-

- Another green circle for Shield Charge
-

- City of Ry’uul gold item

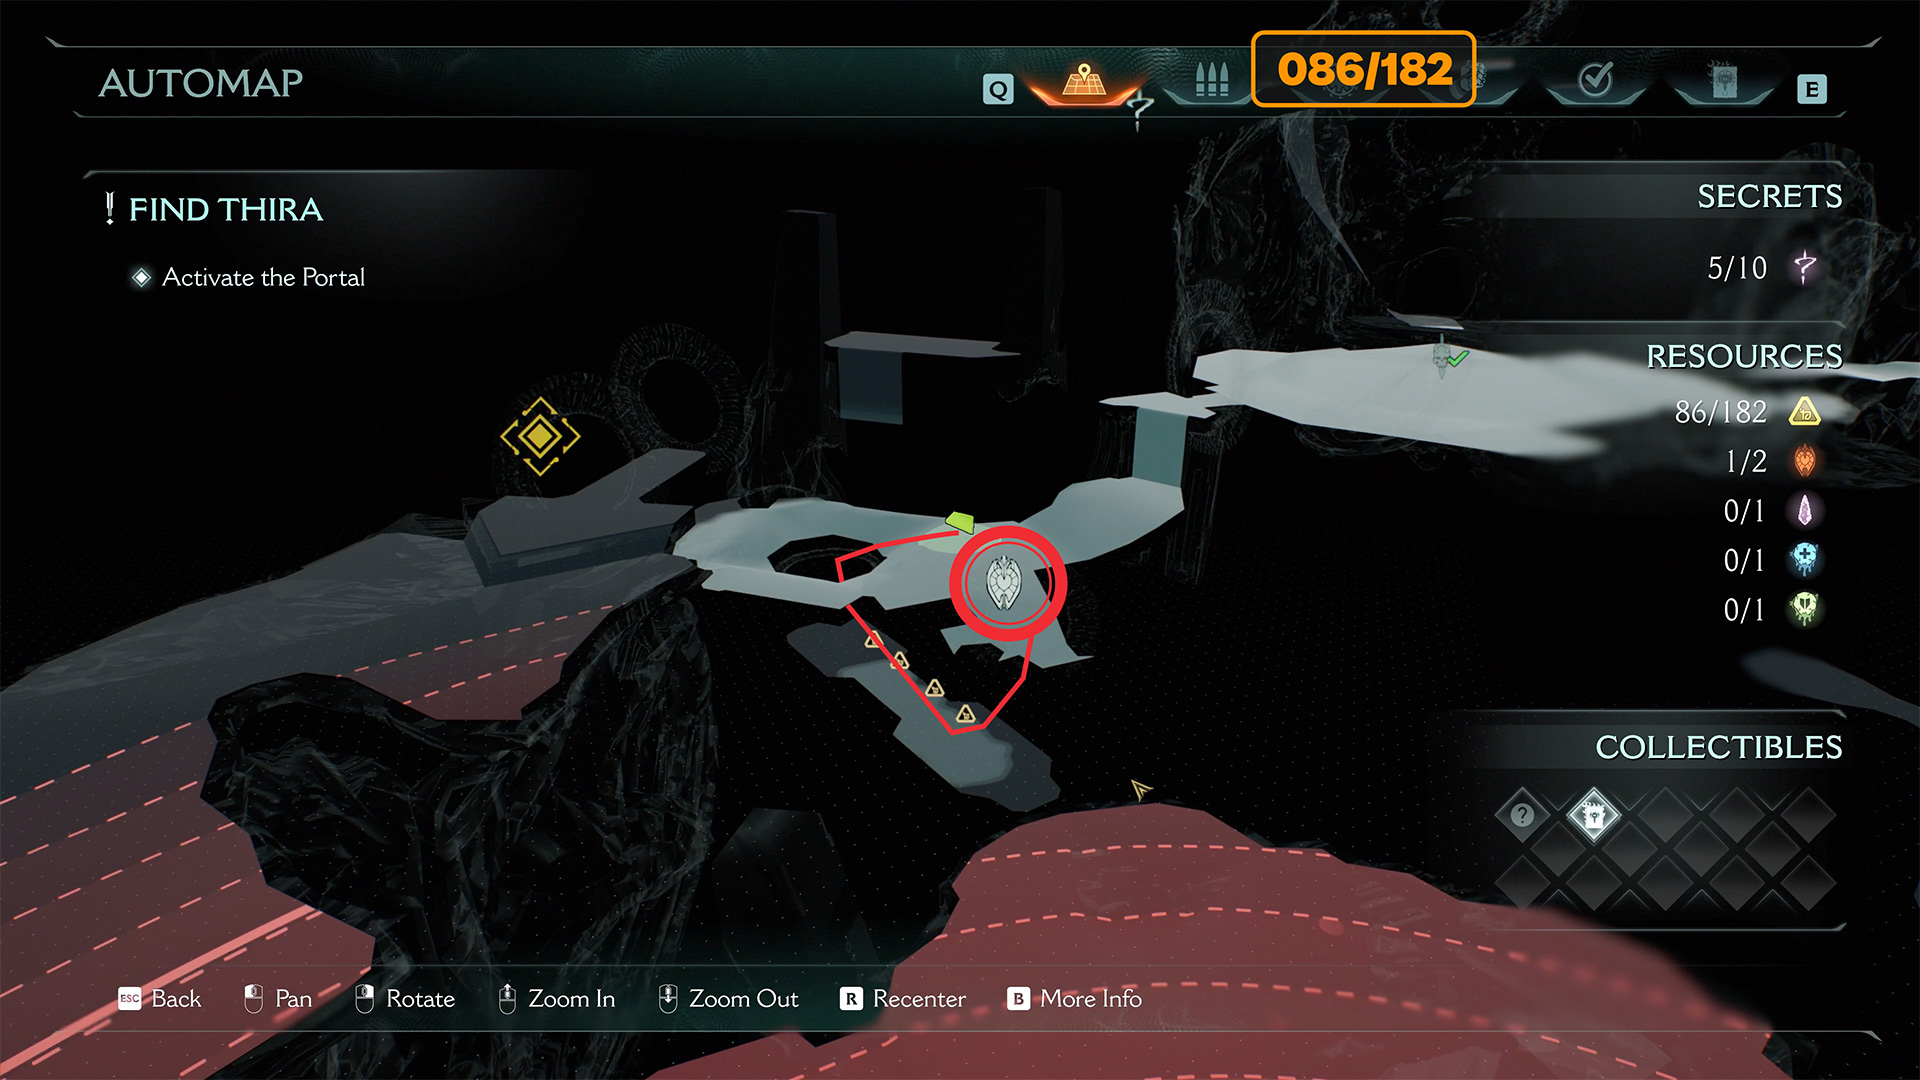
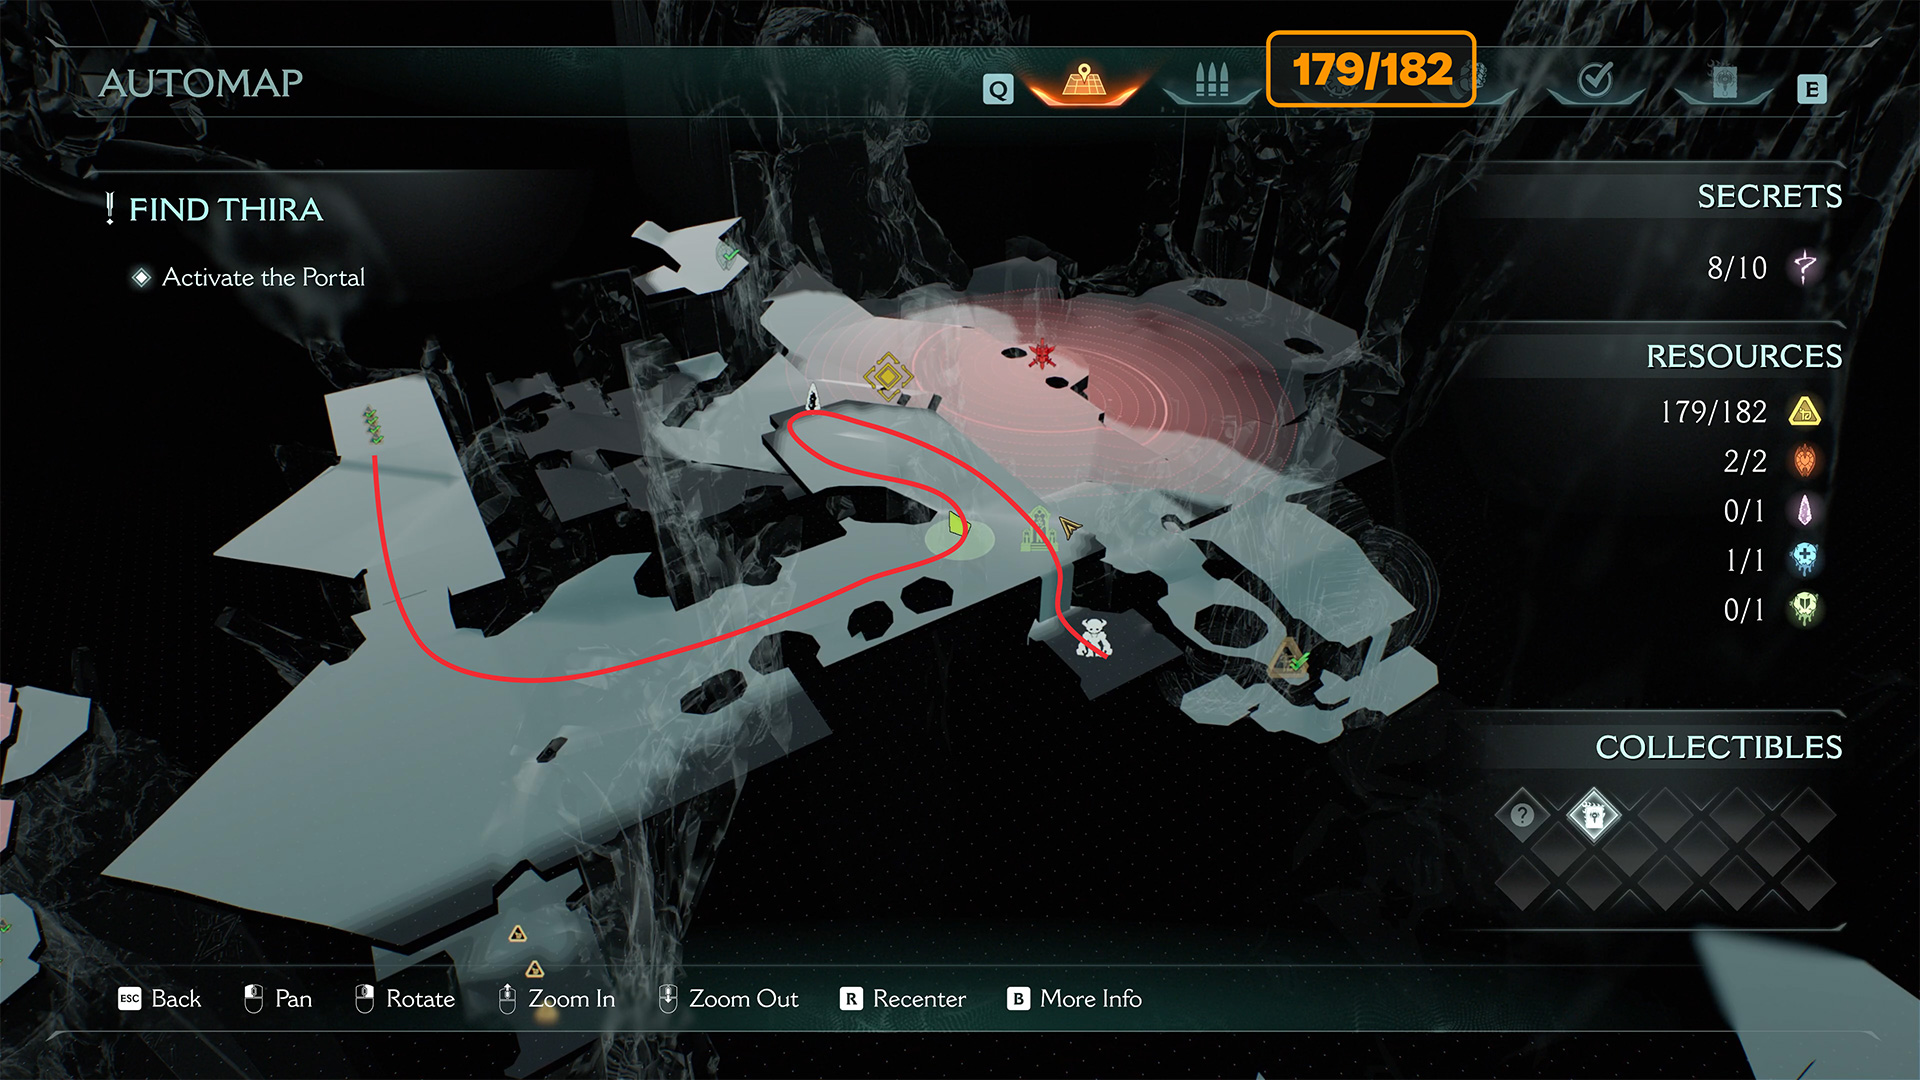
City of Ry’uul wraithstone and City of Ry’uul toy
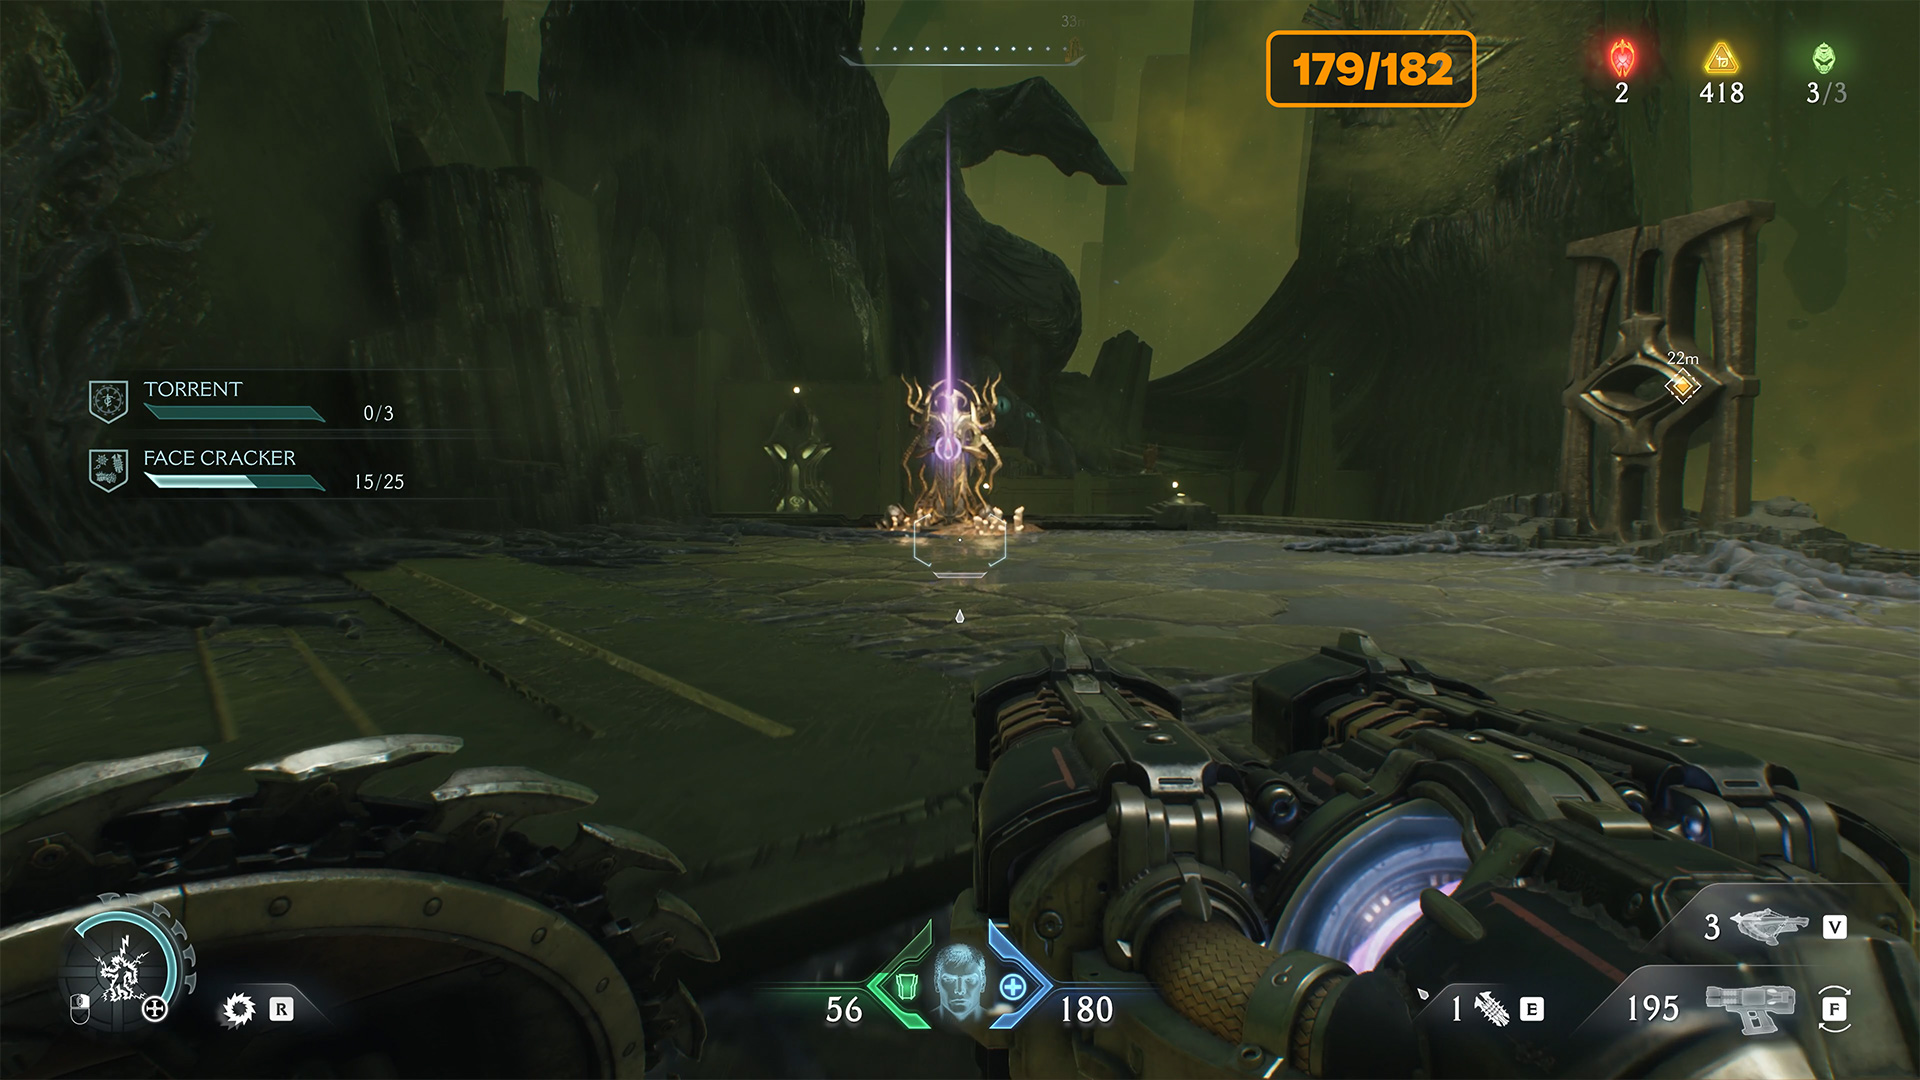
Next, you have several options. I decided to take the Wraithstone and the collectible toy first. You can see the route to do this on the screen. From the previous gold, you need to run and simply pick up the Wraithstone in the open space. The continuation of the storyline is nearby, but don’t rush to complete it.
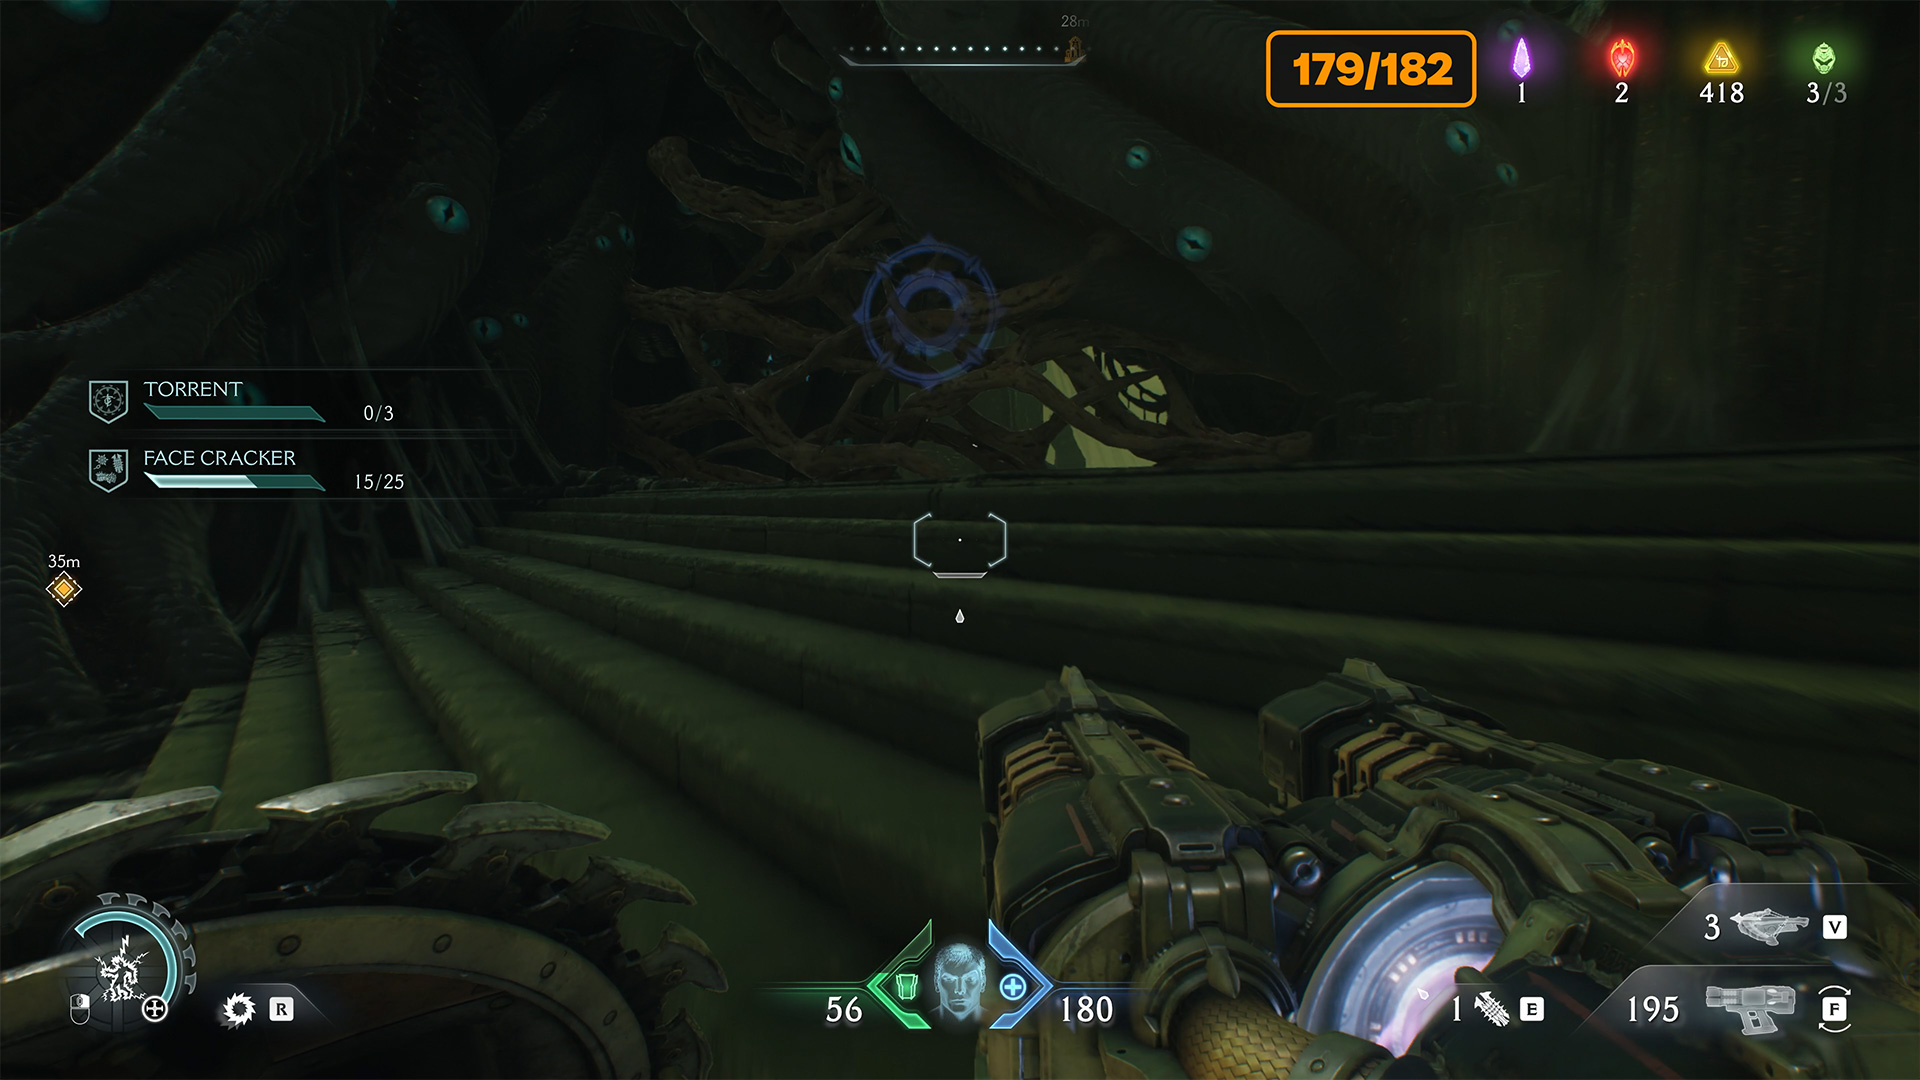
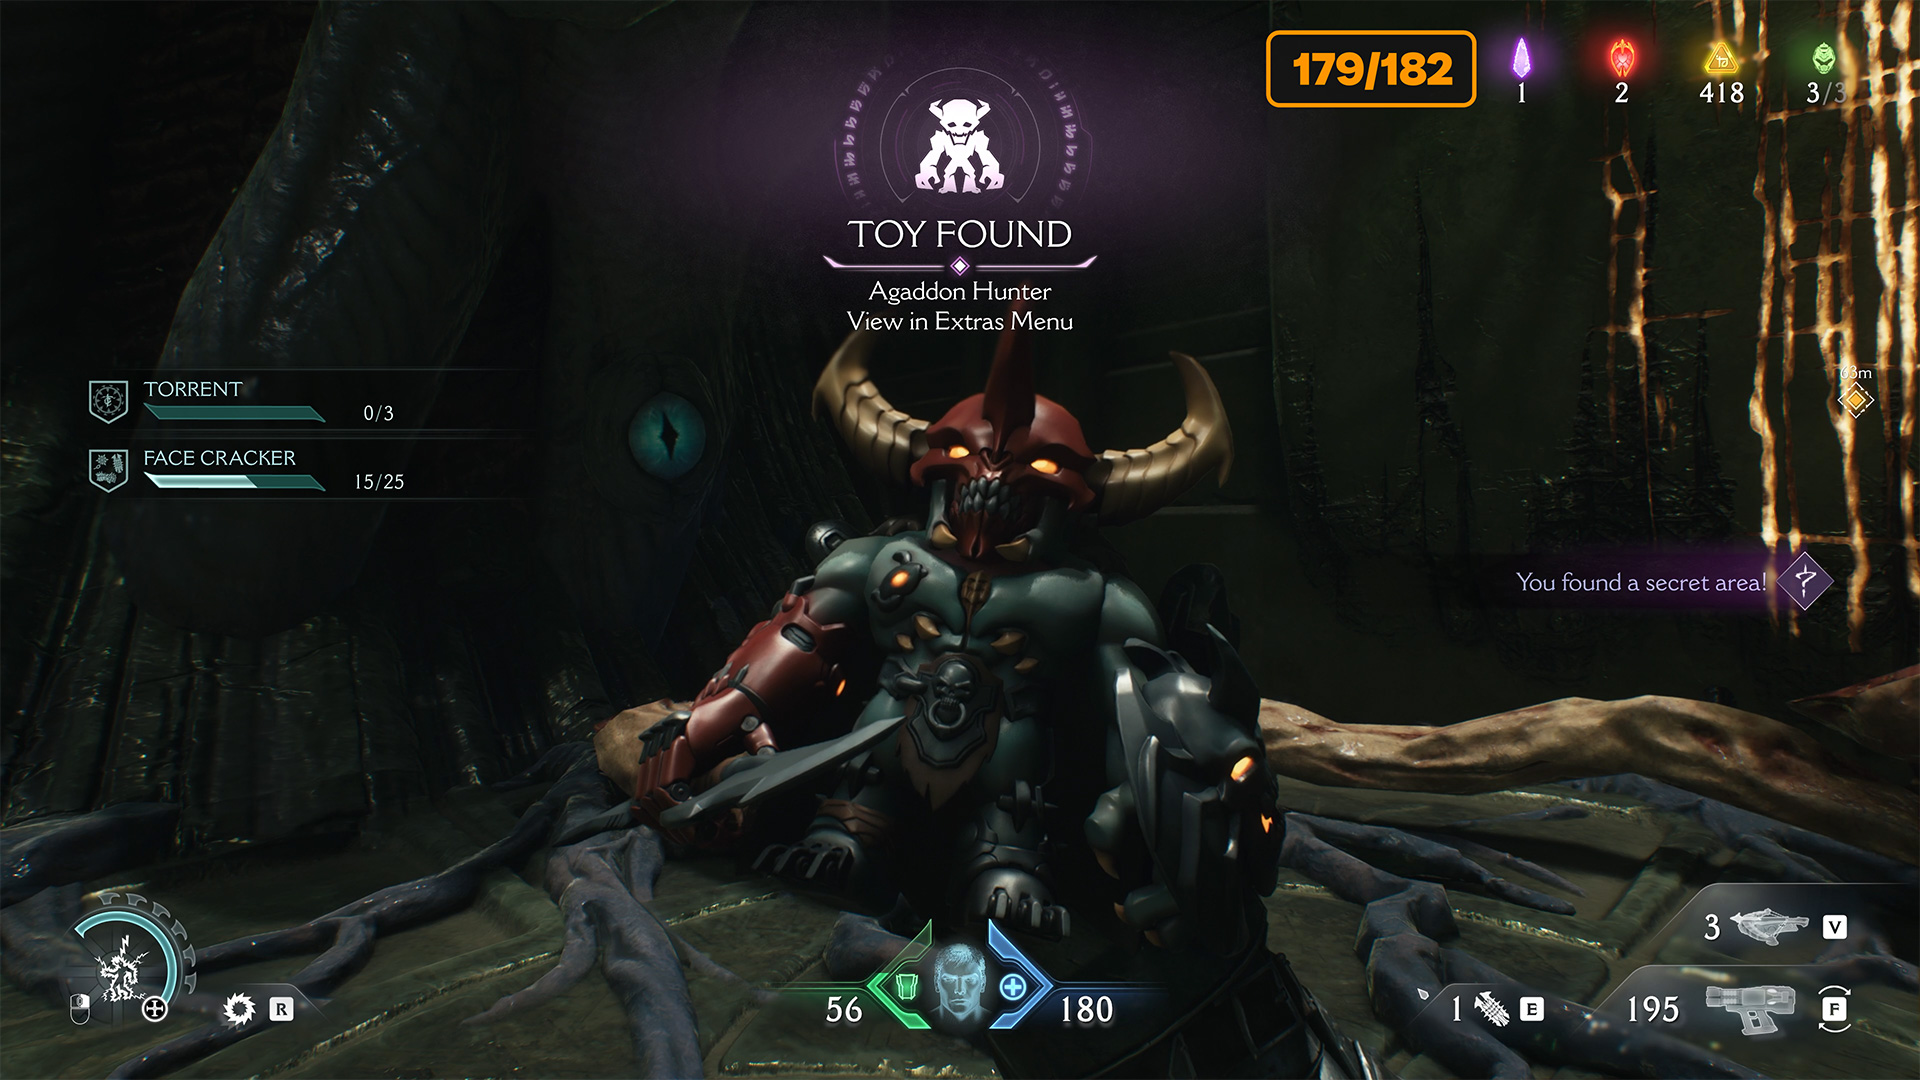
Go back, and you will see a passage blocked by thorny plants. Break through this barrier, and you will fall onto a ledge below, where you will find the Agaddon Hunter collectible toy.
-

- City of Ry’uul wraithstone and toy location
-

- City of Ry’uul wraithstone
-

- For these thorns Agaddon Hunter collectible toy
-

- City of Ry’uul toy
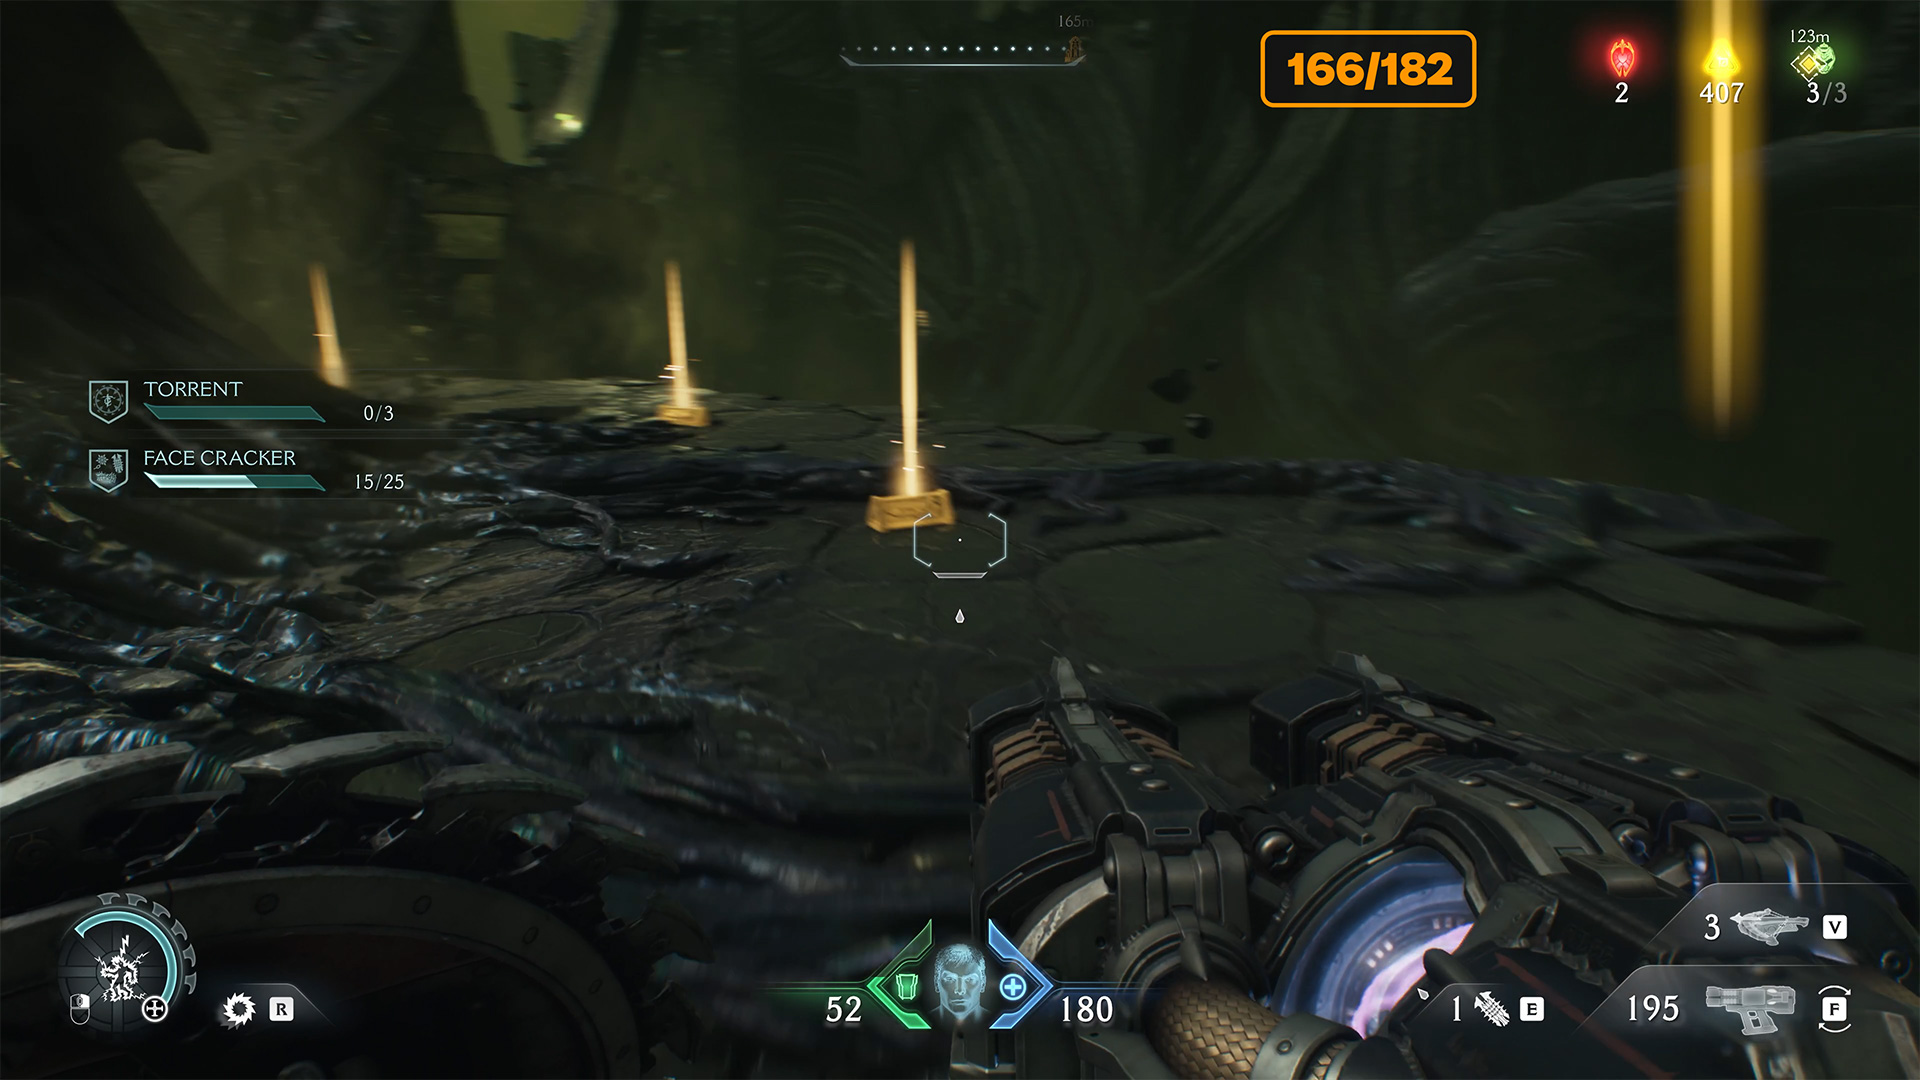
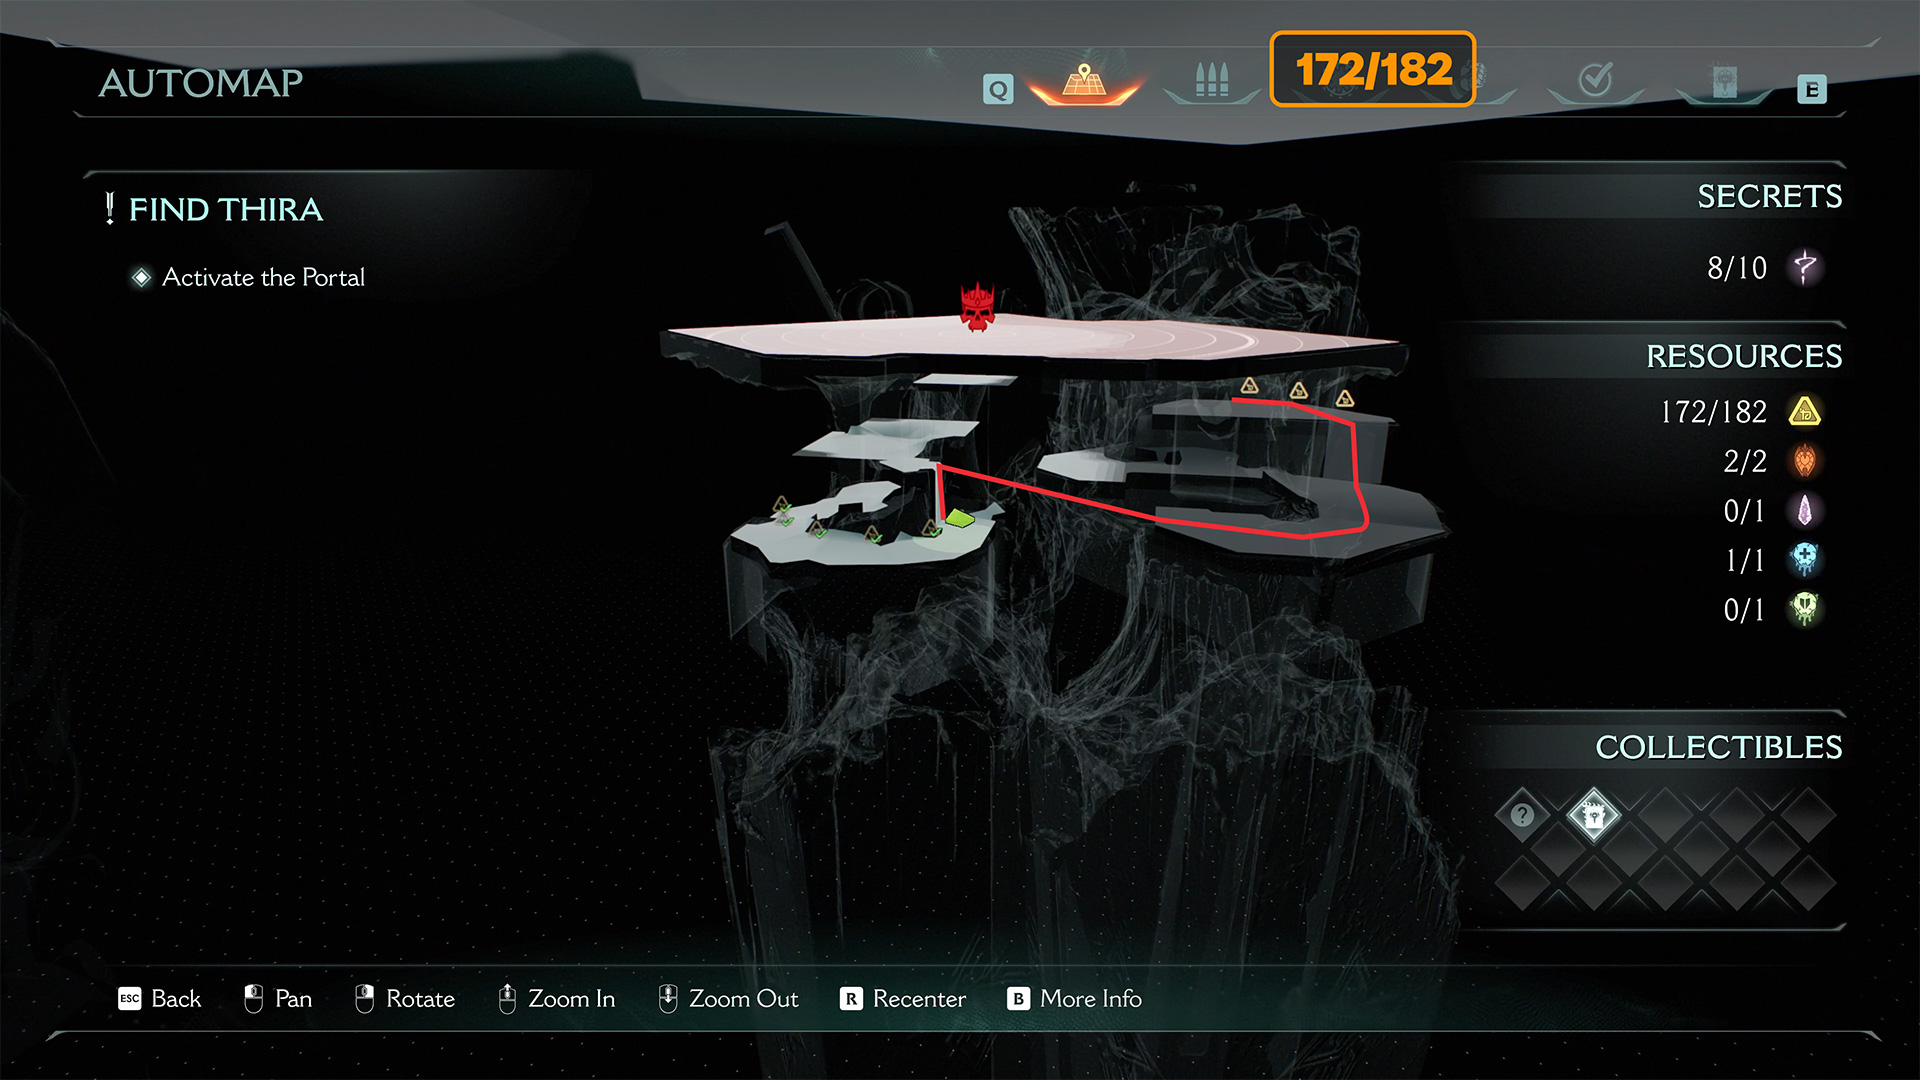
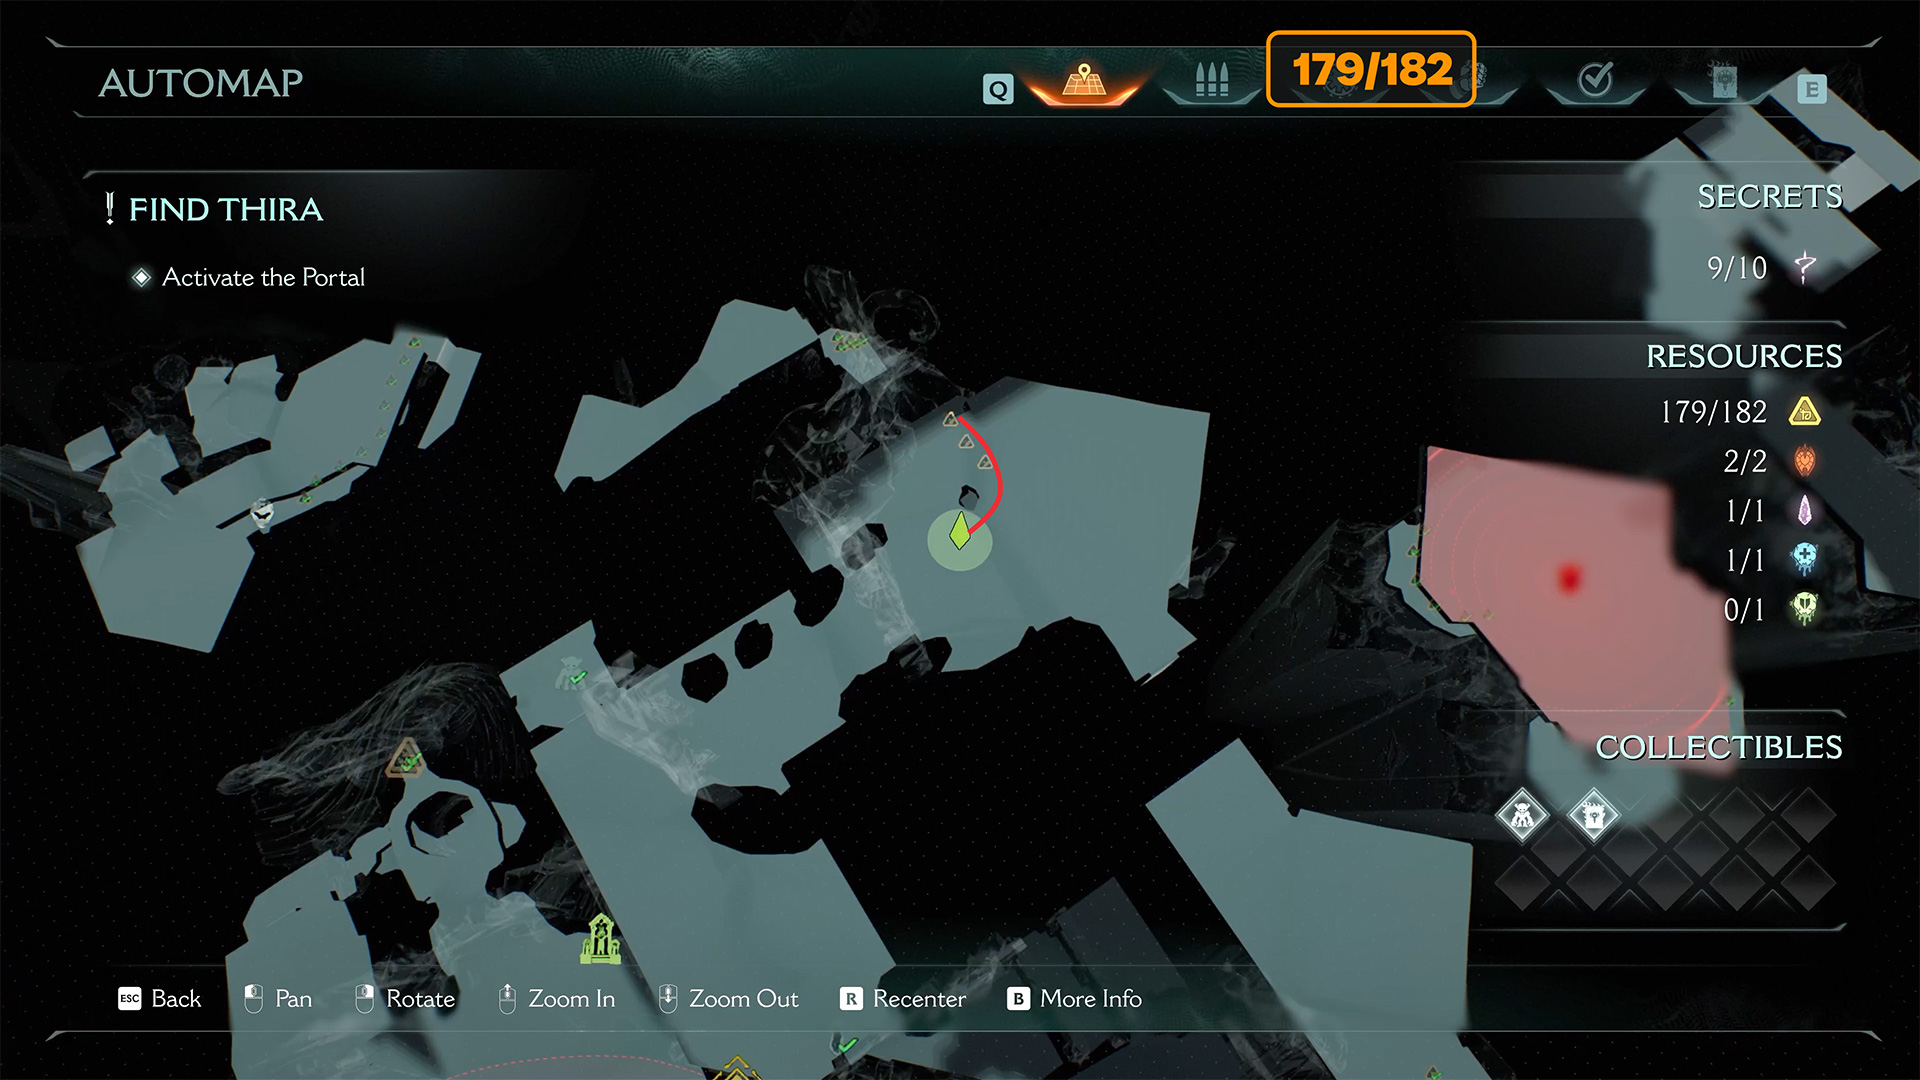
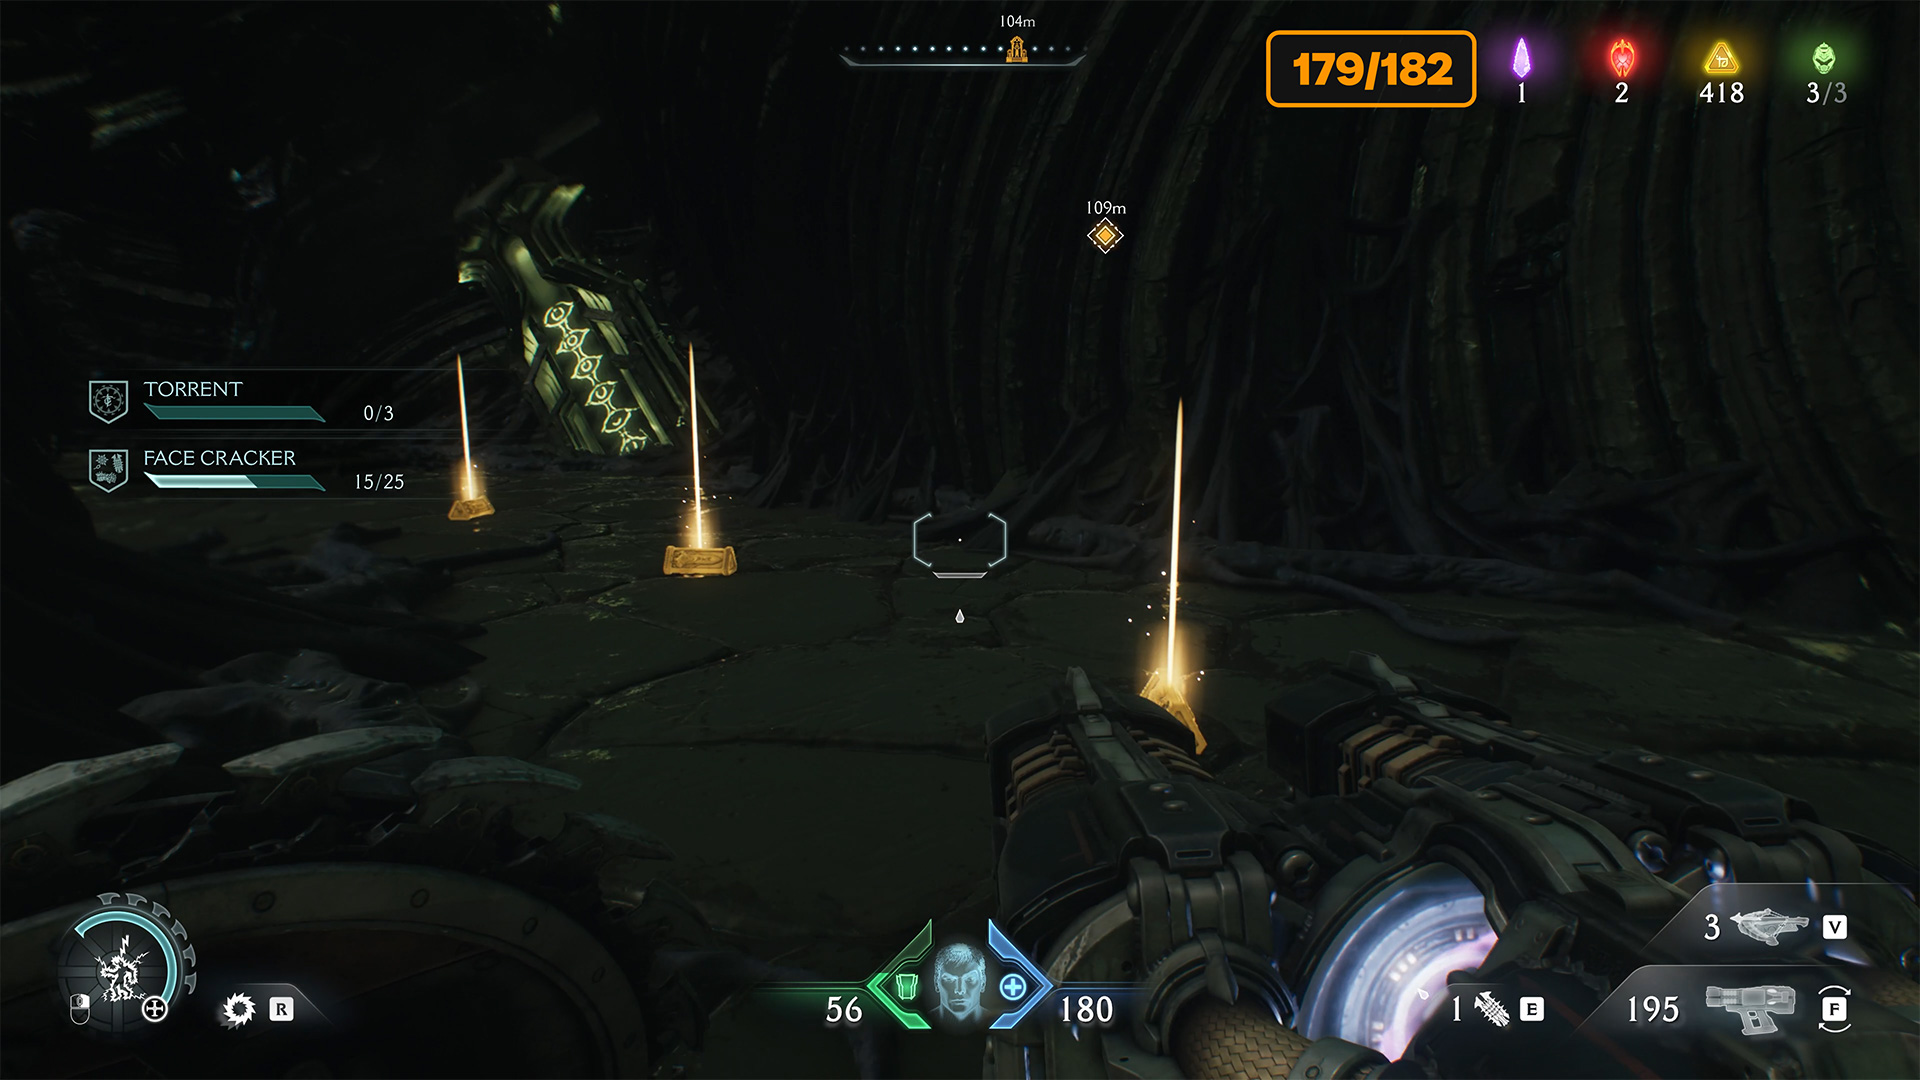
City of Ry’uul last gold
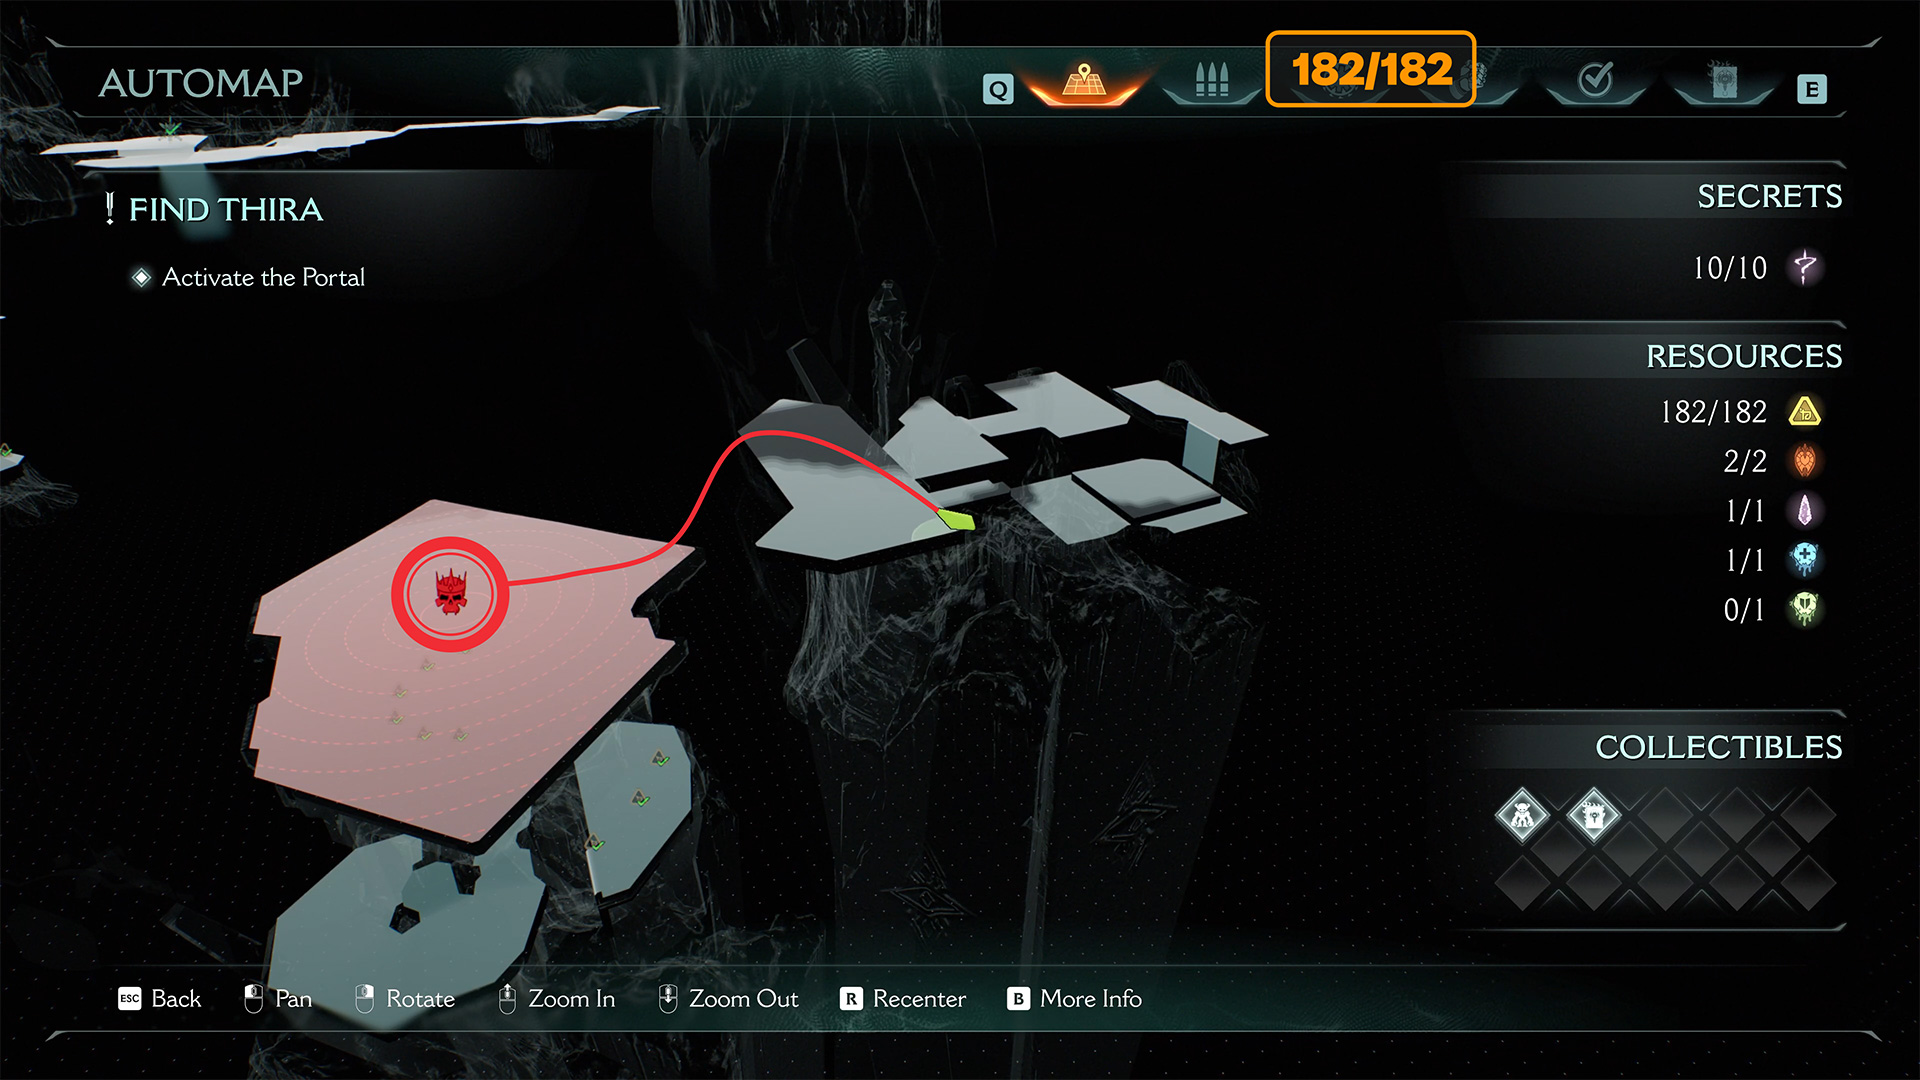
Now open the map and find the three gold coins that are nearby and that you haven’t picked up yet. Go to this place, where you will need to jump down onto the ledge and turn around. Only then will you see these three gold coins. Pick them up, and this will be the last gold in the City of Ry’uul. At this point, you should have collected all 182 coins.
-

- City of Ry’uul last gold location
-

- City of Ry’uul last gold
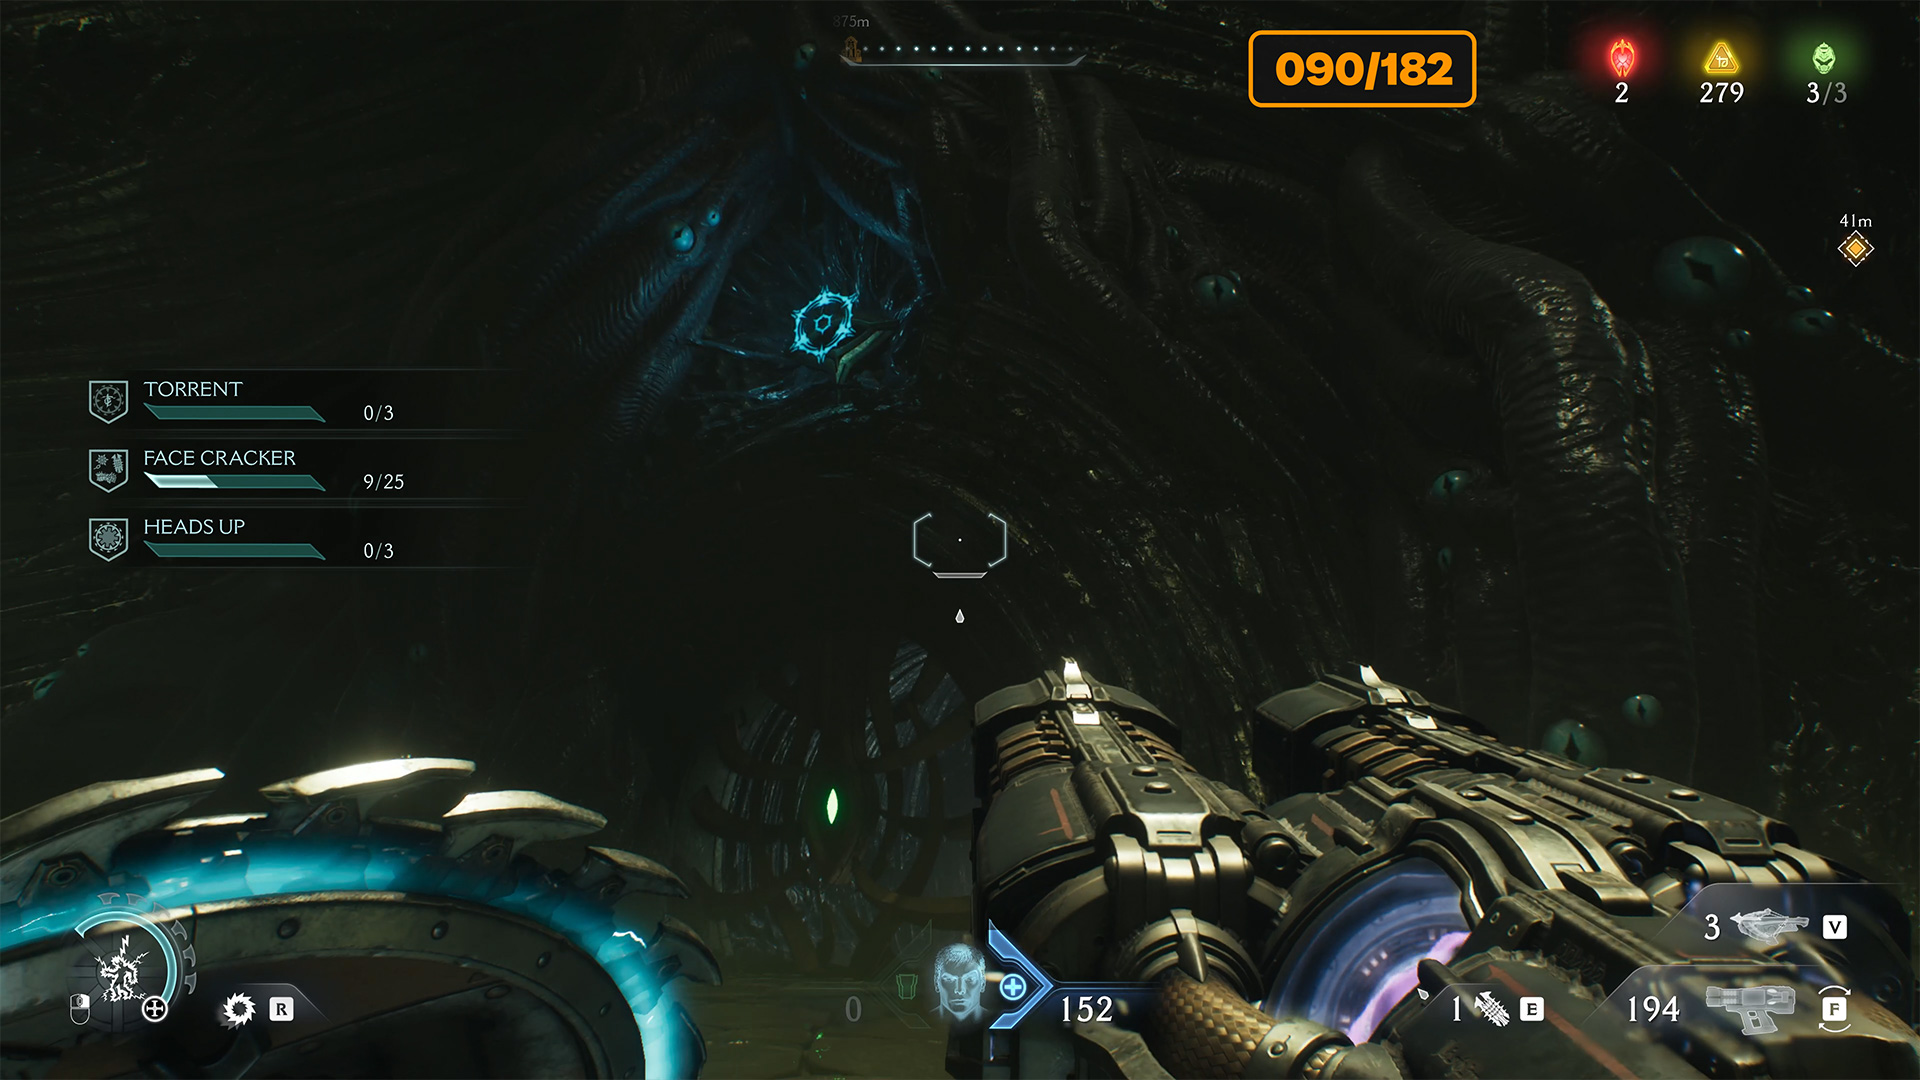
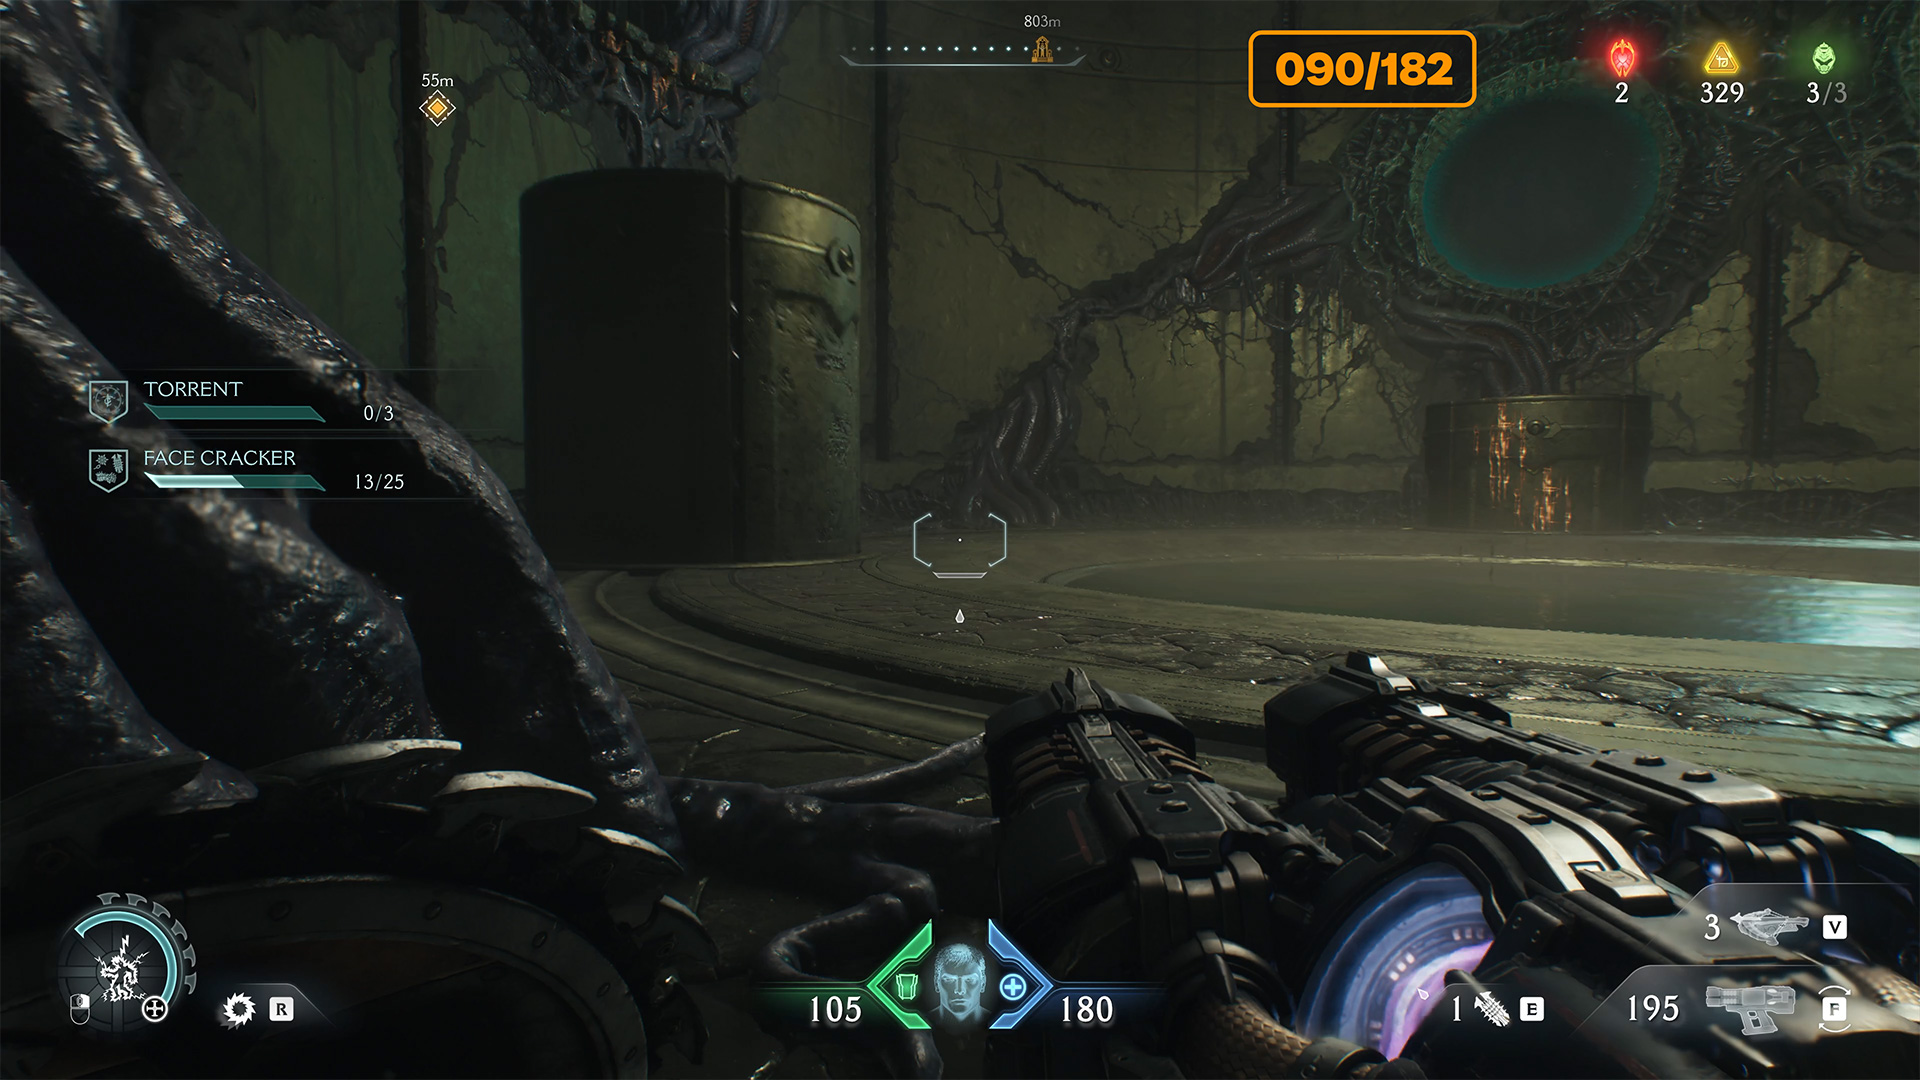
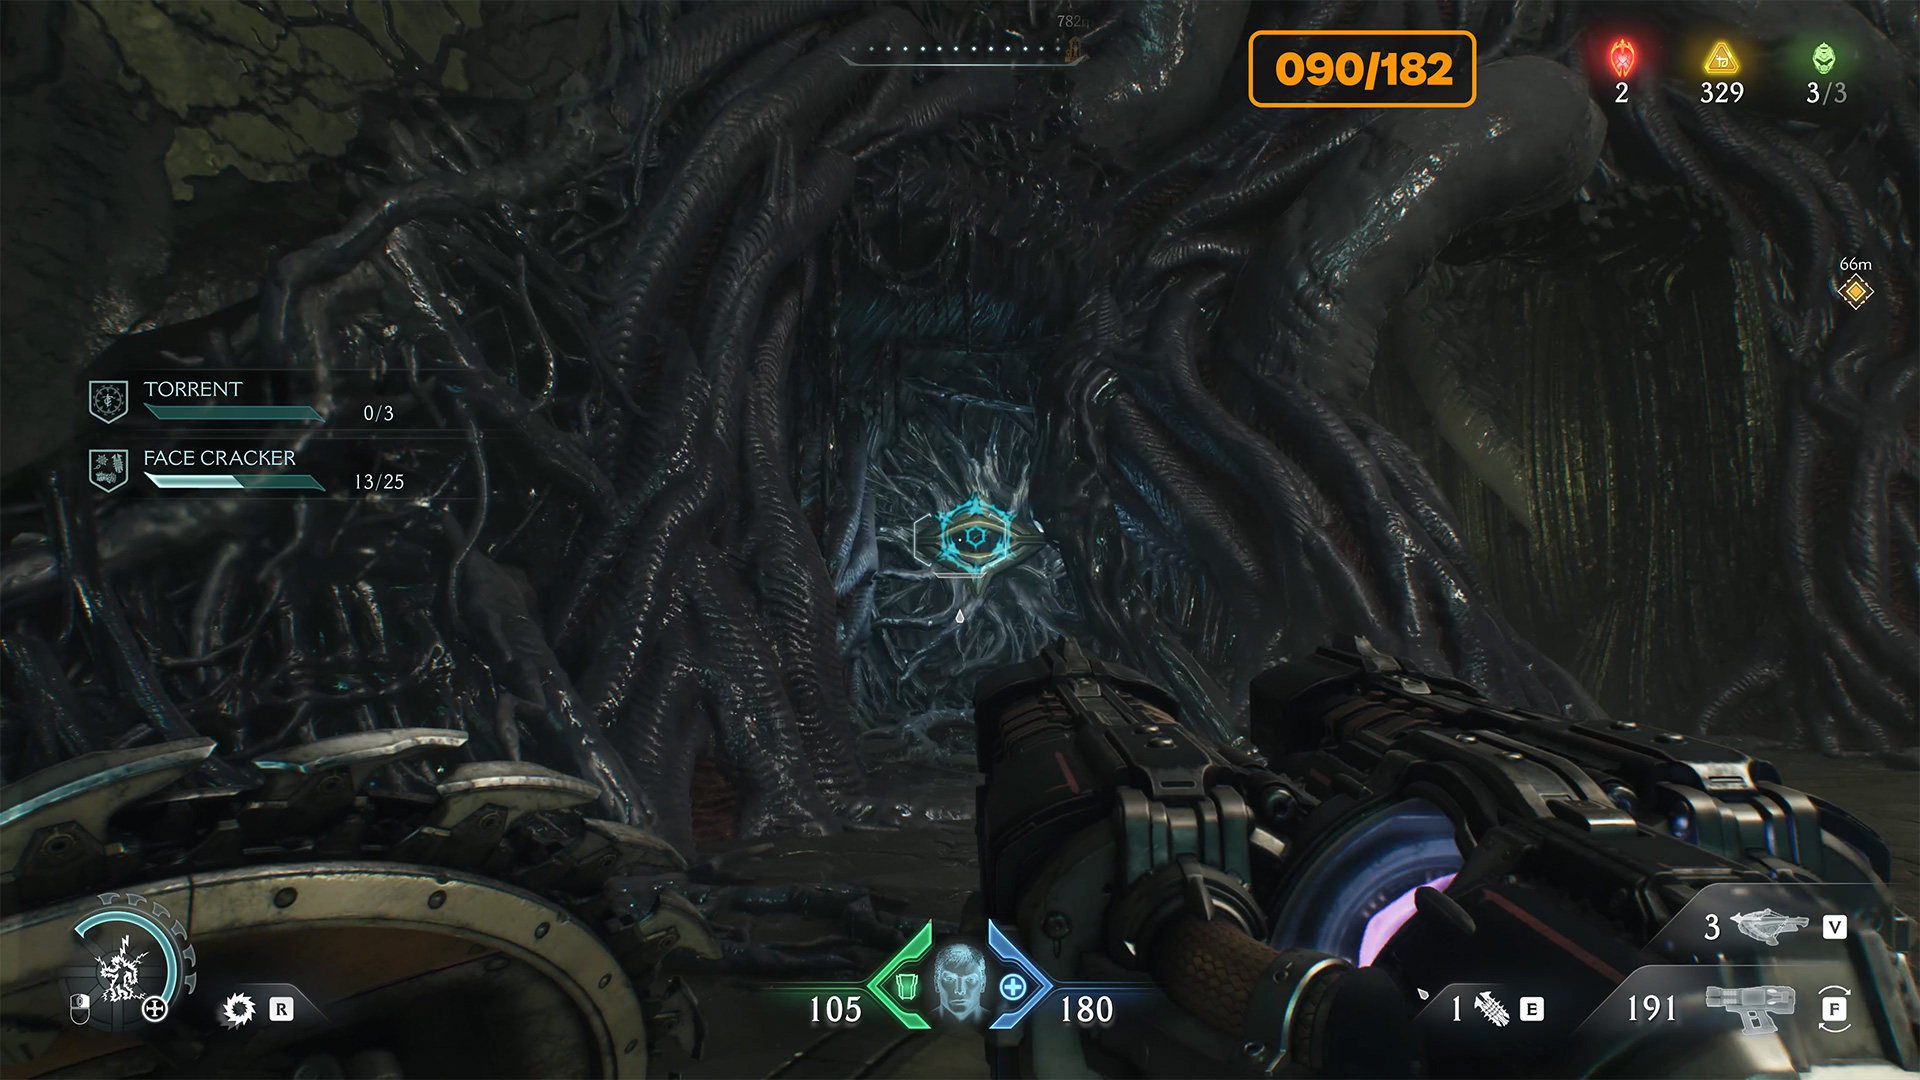
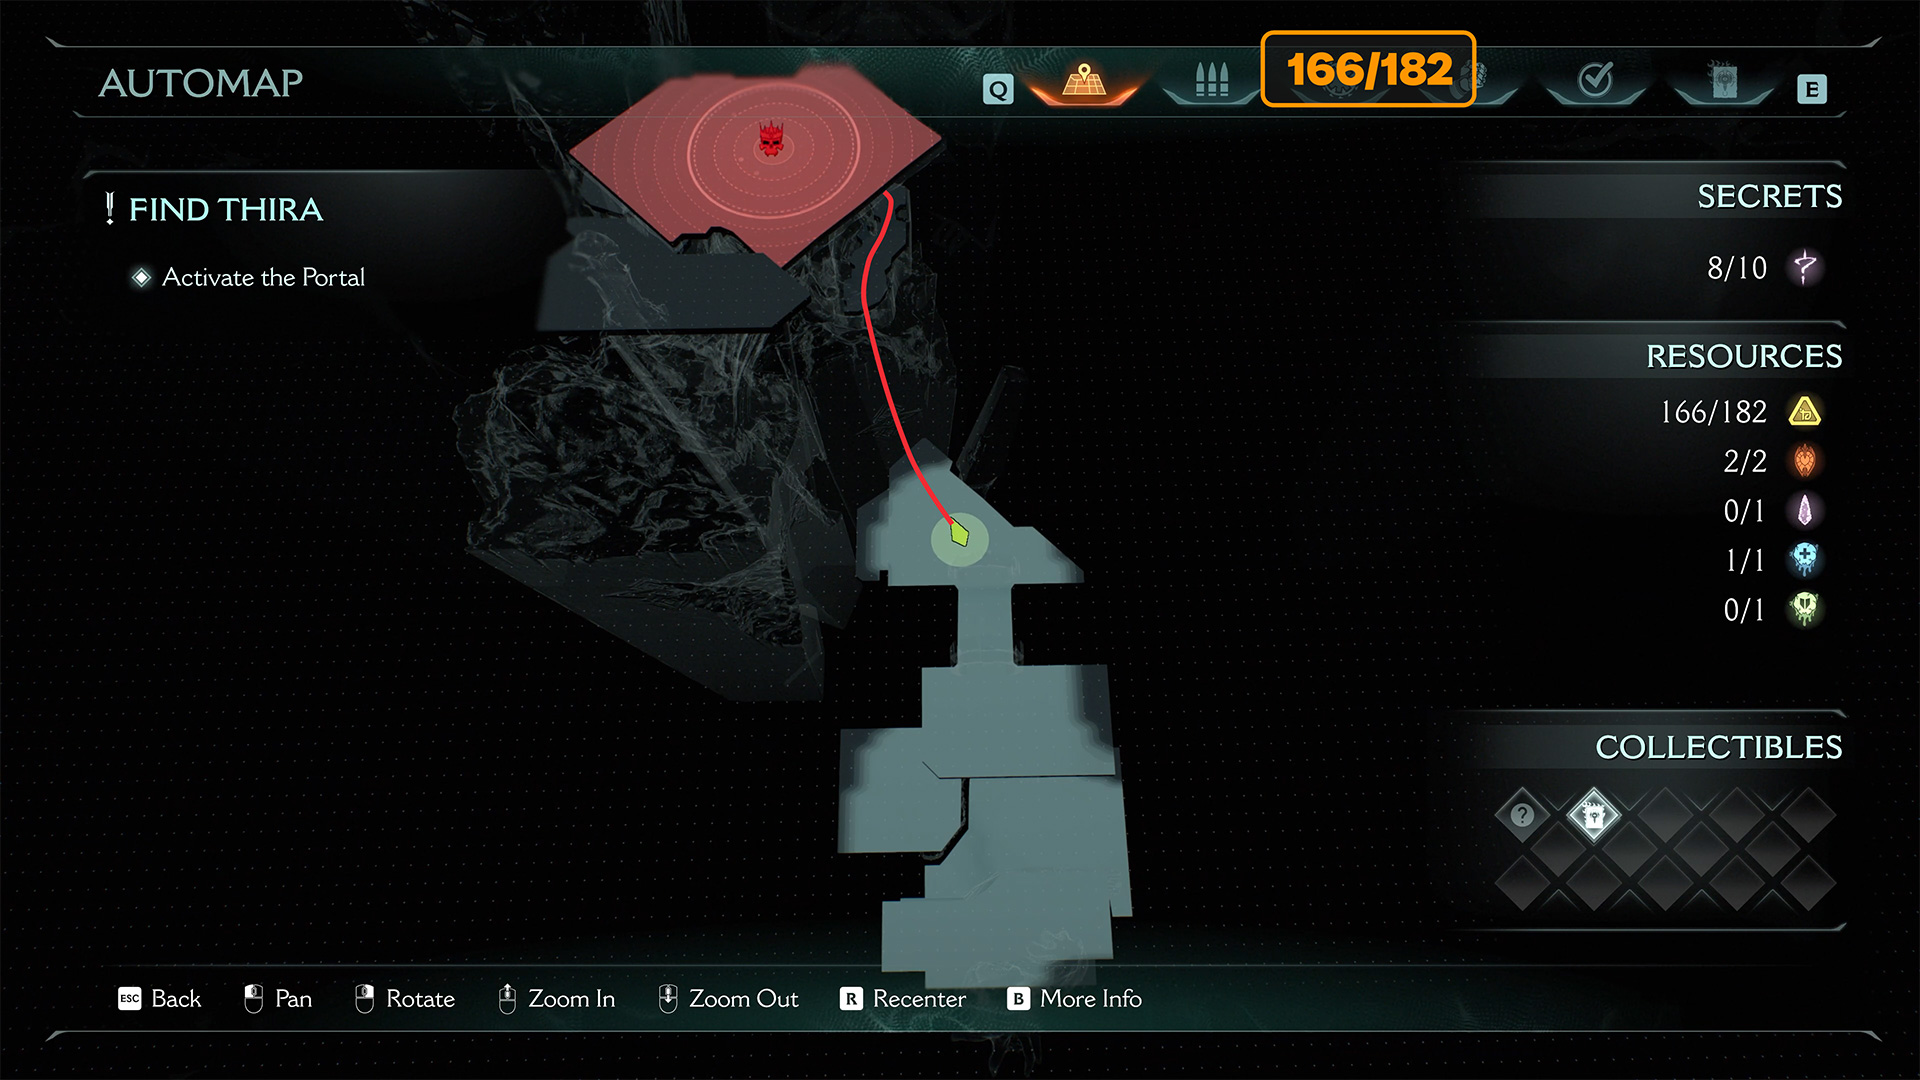
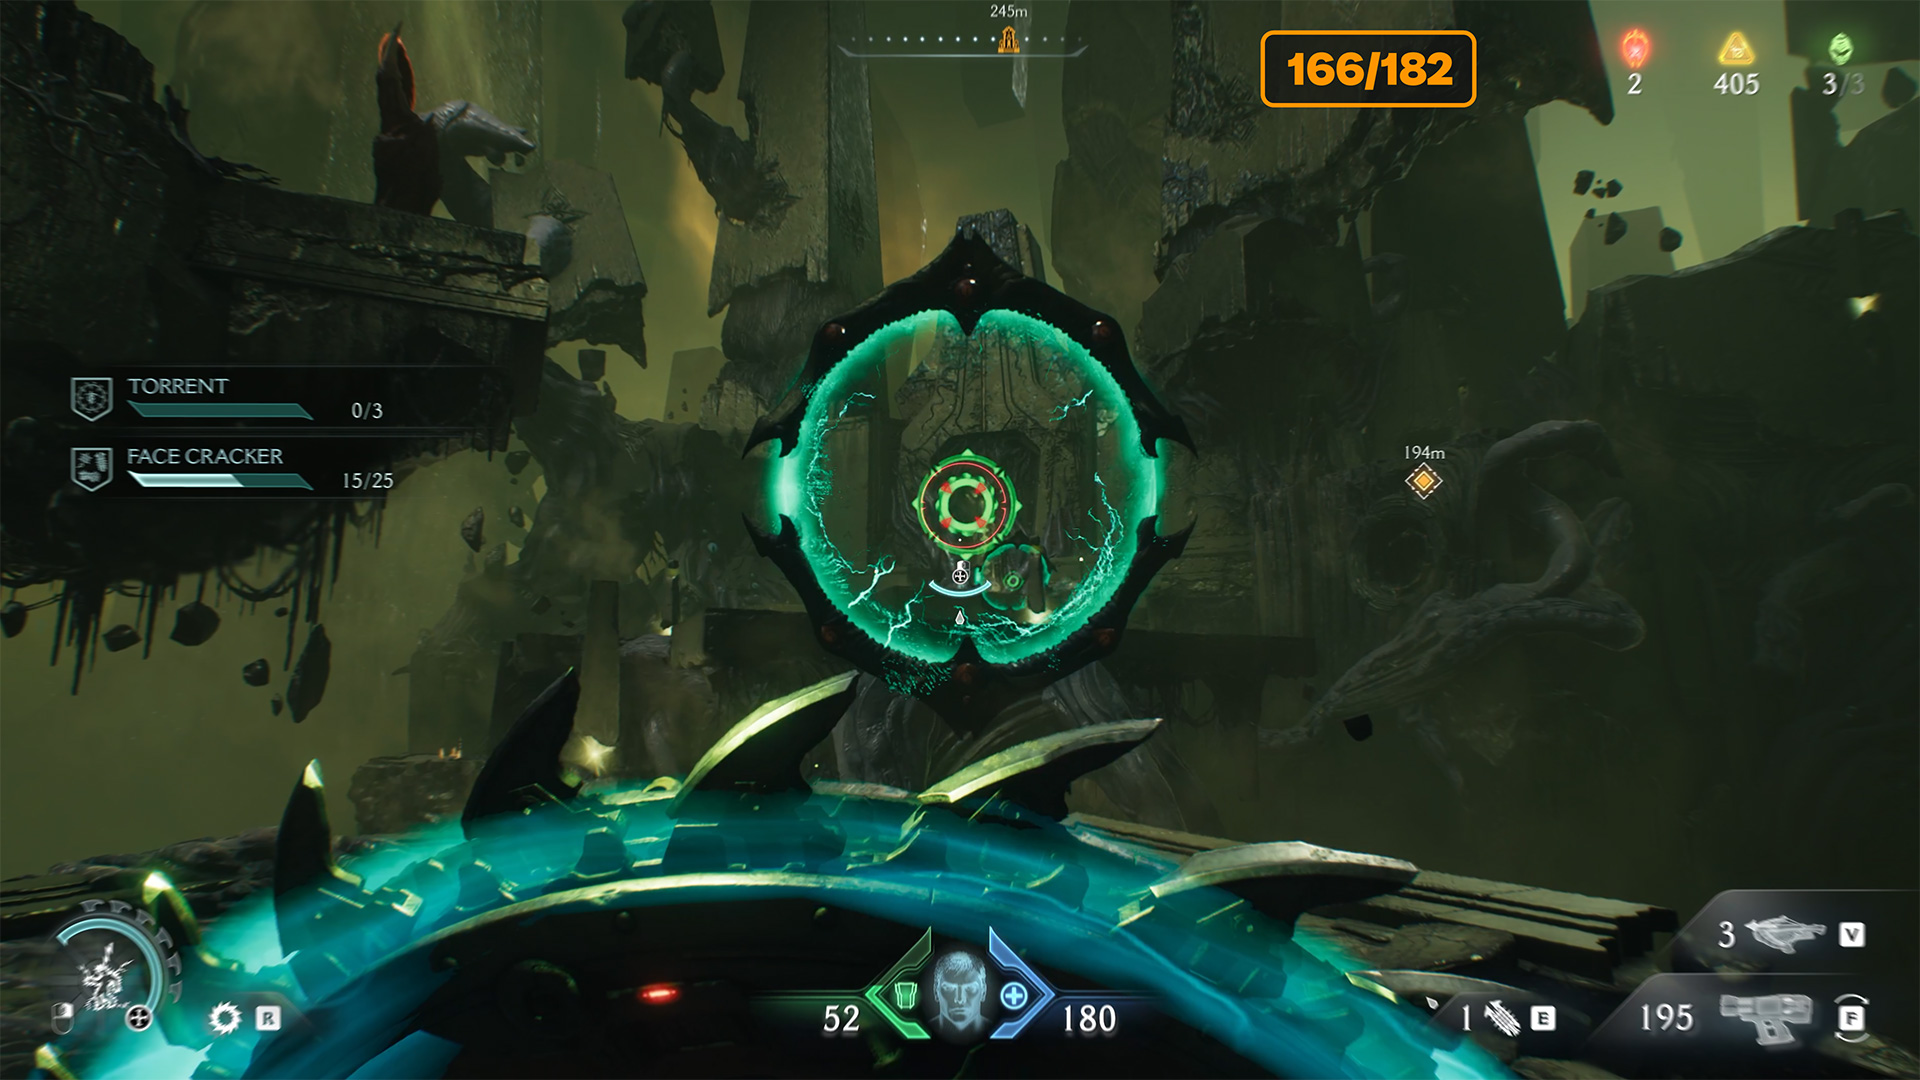
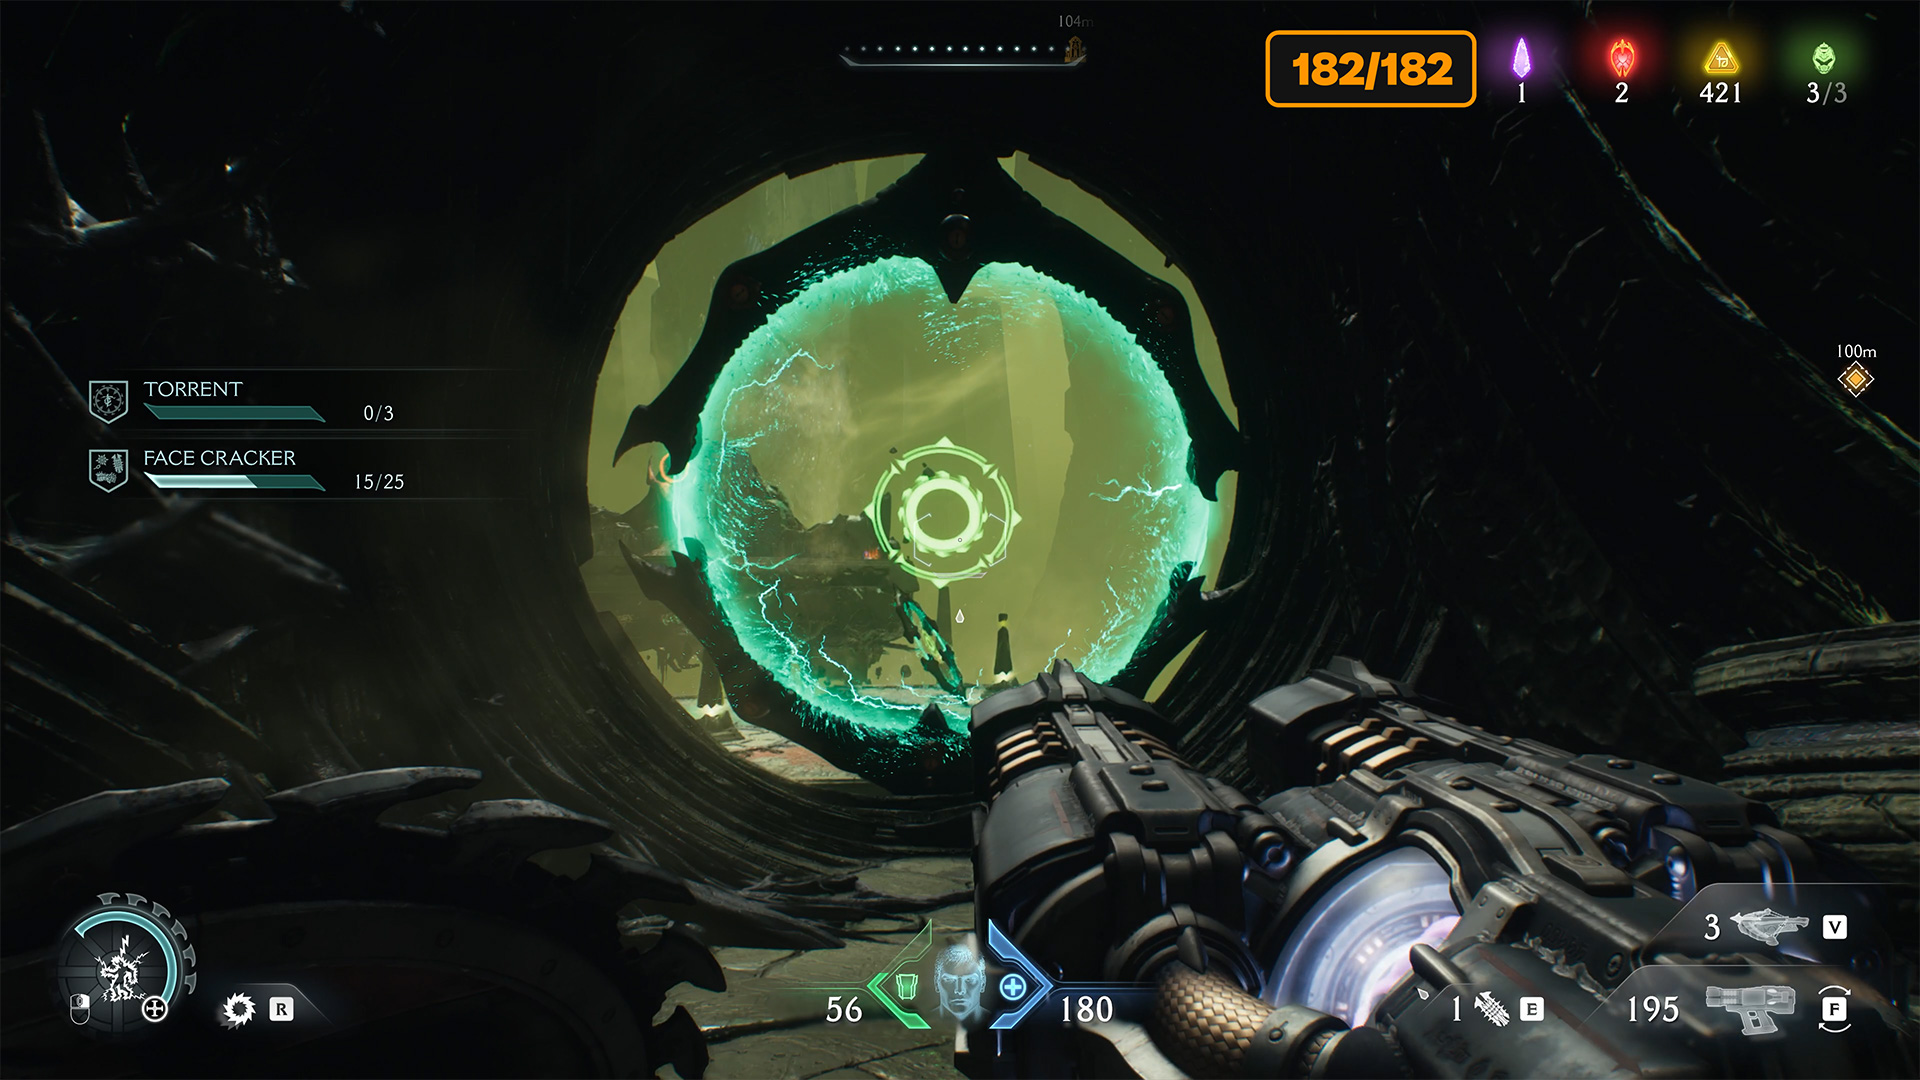
Doom City of Ry’uul Gore Nest
Ahead, you will see a green ring. Use it and fly to the platform where Gore Nest is located. Now you need to break Gore Nest and defeat all the monsters that start appearing. When you break Gore Nest, you will fly to another platform where the battle will take place.
-

- First Shield Charge to Gore Nest
-

- Doom City of Ry’uul Gore Nest
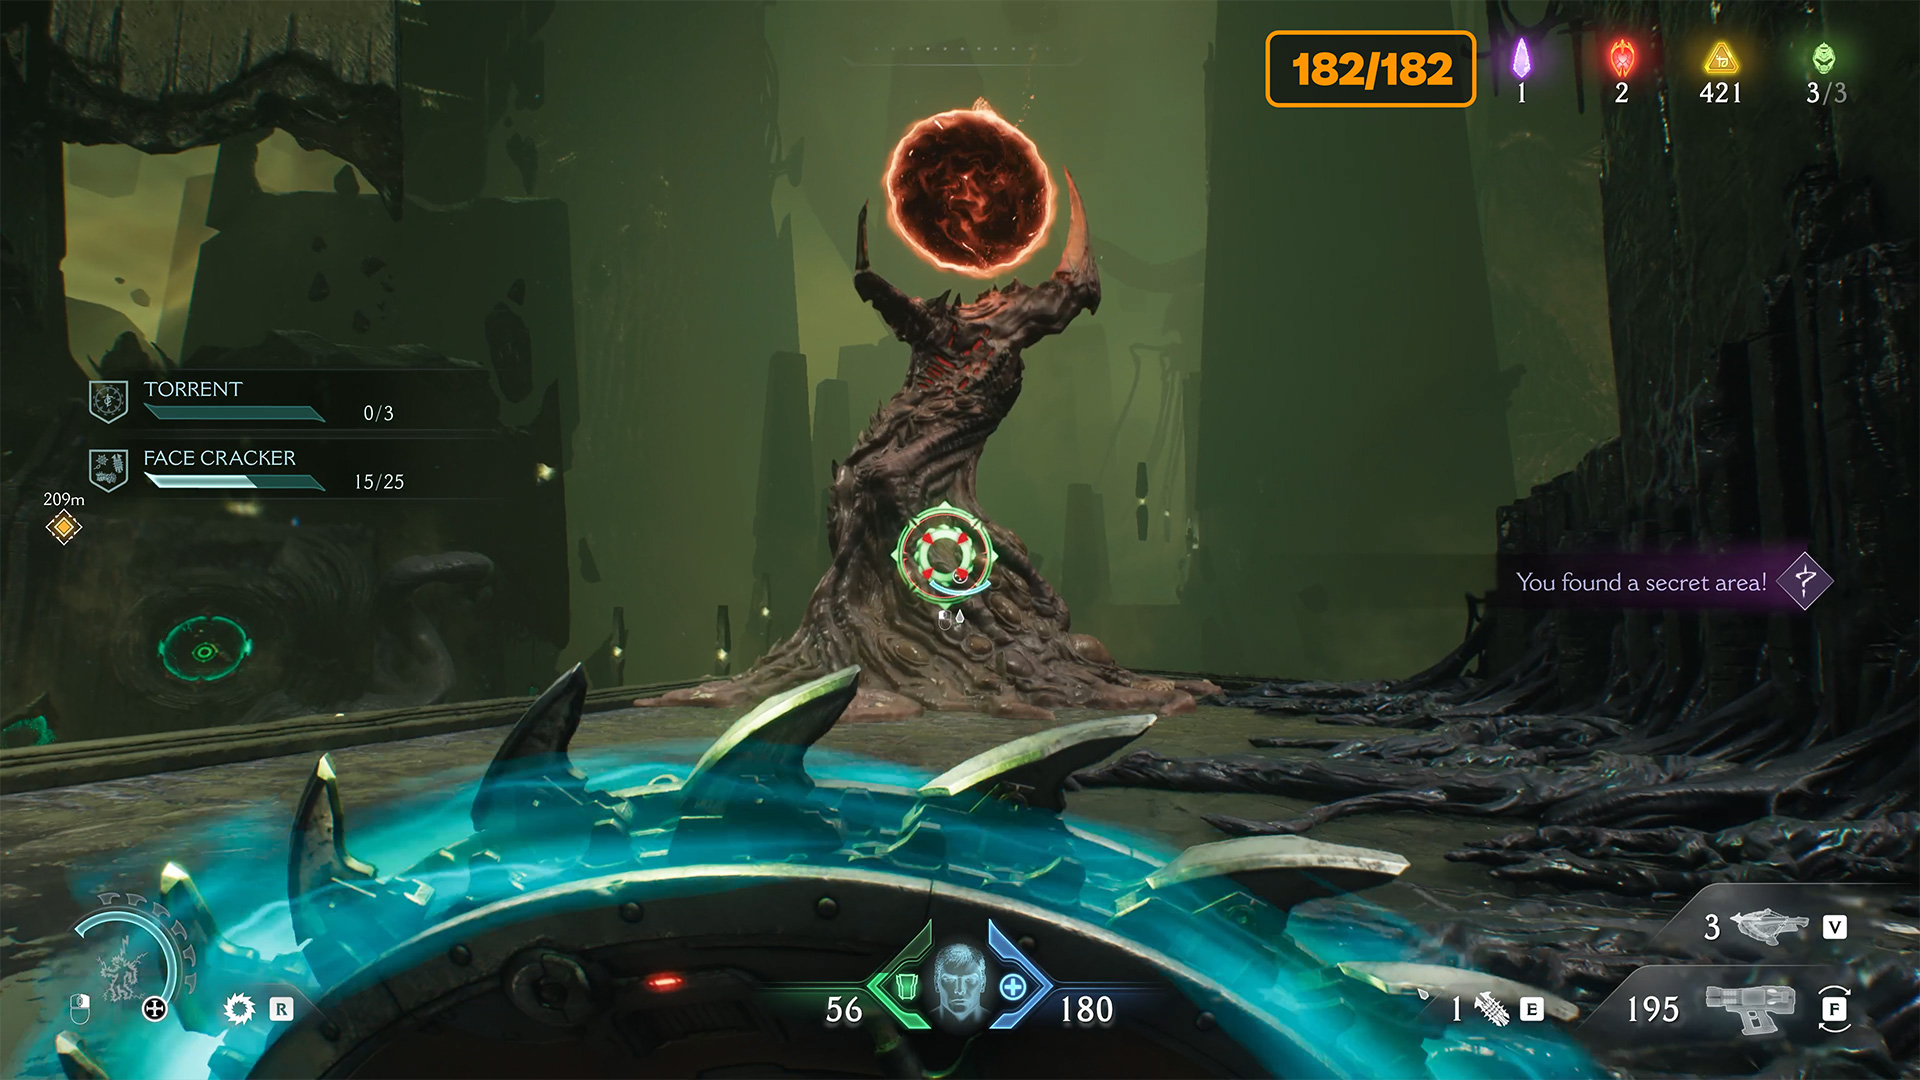
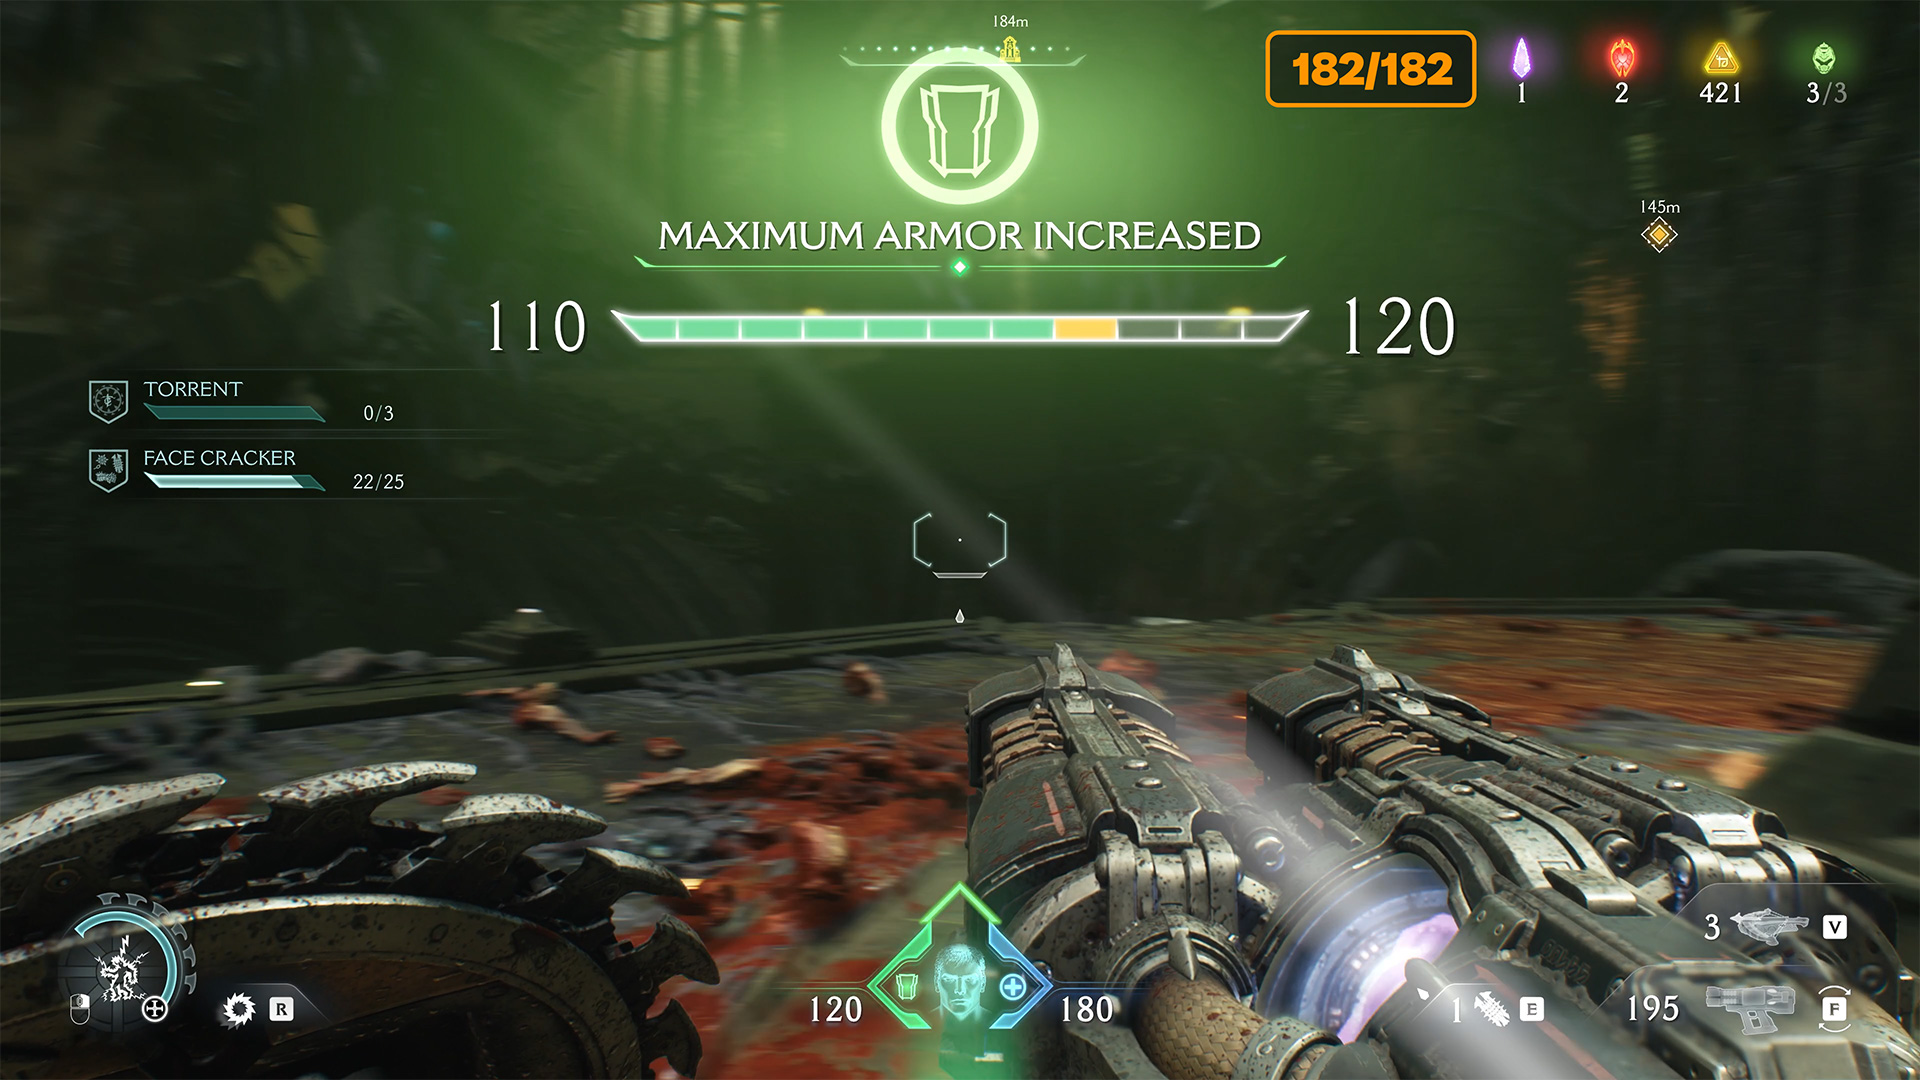
City of Ry’uul Demonic Essence Armor
At the end of the battle, a mini-boss will appear. After victory, you will automatically receive Demonic Essence Armor. These are all the collectibles you can find in Chapter 15 of City of Ry’uul.
-

- City of Ry’uul Demonic Essence Armor location
-

- Defeat the mini boss for a reward
-

- City of Ry’uul Demonic Essence Armor