If you miss even one, you’ll have to go through the whole chapter again: here are all the collectibles from Chapter 7 in 5 minutes! We continue our journey through Doom: The Dark Ages. Today, we will review all the collectibles that you can find in Chapter 7 – Siege Part 2. I also recommend reviewing Chapter 6 Siege Part 1. All the hidden locations you need to complete the mission 100%.
As a result of this guide, you will complete Chapter 7 – Siege Part 2 100% and receive
- Gold: 183
- Ruby: 2
- Demonic Essence – Health: 1
- Secrets: 9
- Codex Entries: 1
- Collectible Toys: 1
- Quests: 2
I also recommend watching the video if you don’t want to search for all the collectibles mentioned in this article. The video shows everything briefly and clearly:
Challenge Roundhouse
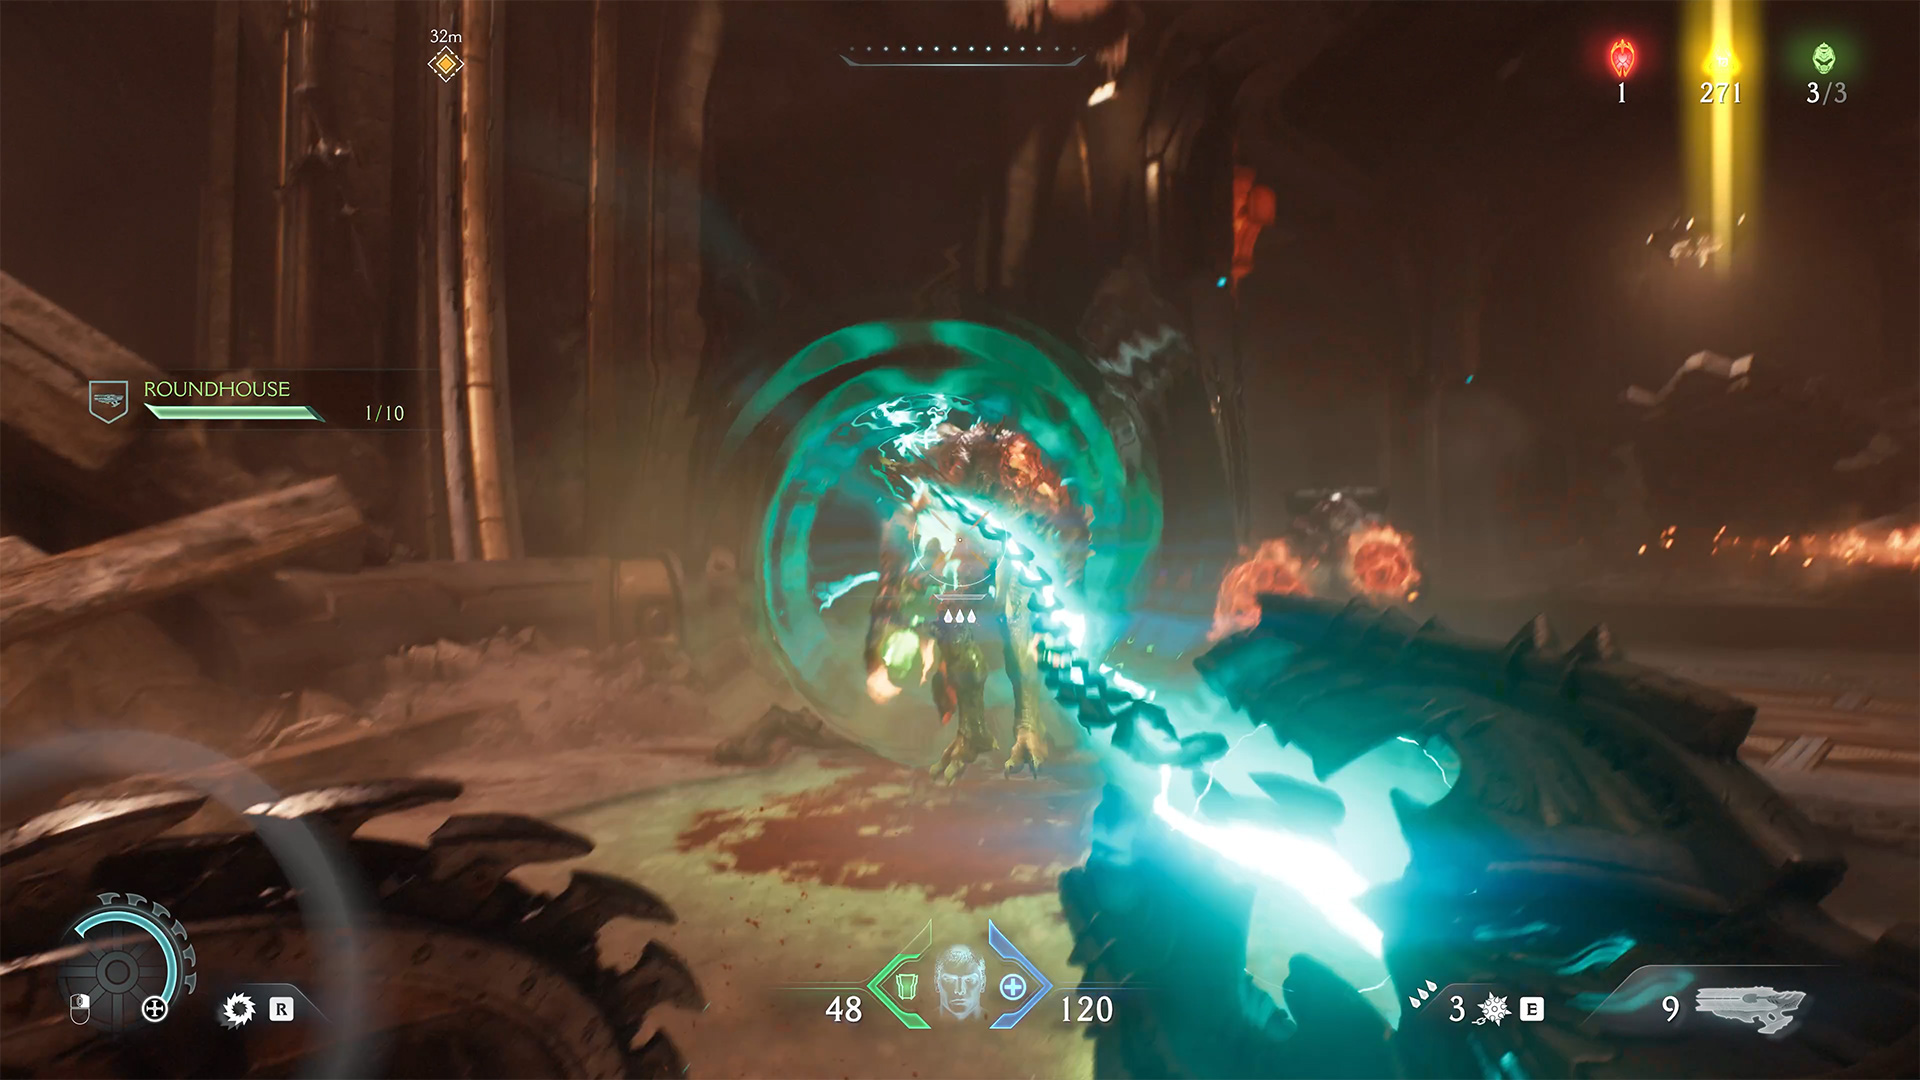
There are two challenges available to you in this chapter. First is called Roundhouse, and it’s very simple. You need to hit your opponent 10 times with a full-charge chainshot. This is easy to do, even if you don’t use this weapon. Just equip it for the quest.
-

- Shot with a loaded Chainshot
-

- Challenge Roundhouse completed
Challenge Exterminator
The second challenge is called Exterminator, and it is much more difficult to complete. Here, you need to kill three or more fodder demons with a single shield throw 5 times. Fodder demons consist of Imps, Zombies, and regular soldiers. Line up three of them in a row and throw your shield to kill them, a total of five times. If you find a good spot, you can farm it by restarting your checkpoint if you want.
-

- Throwing a shield at a group of enemies

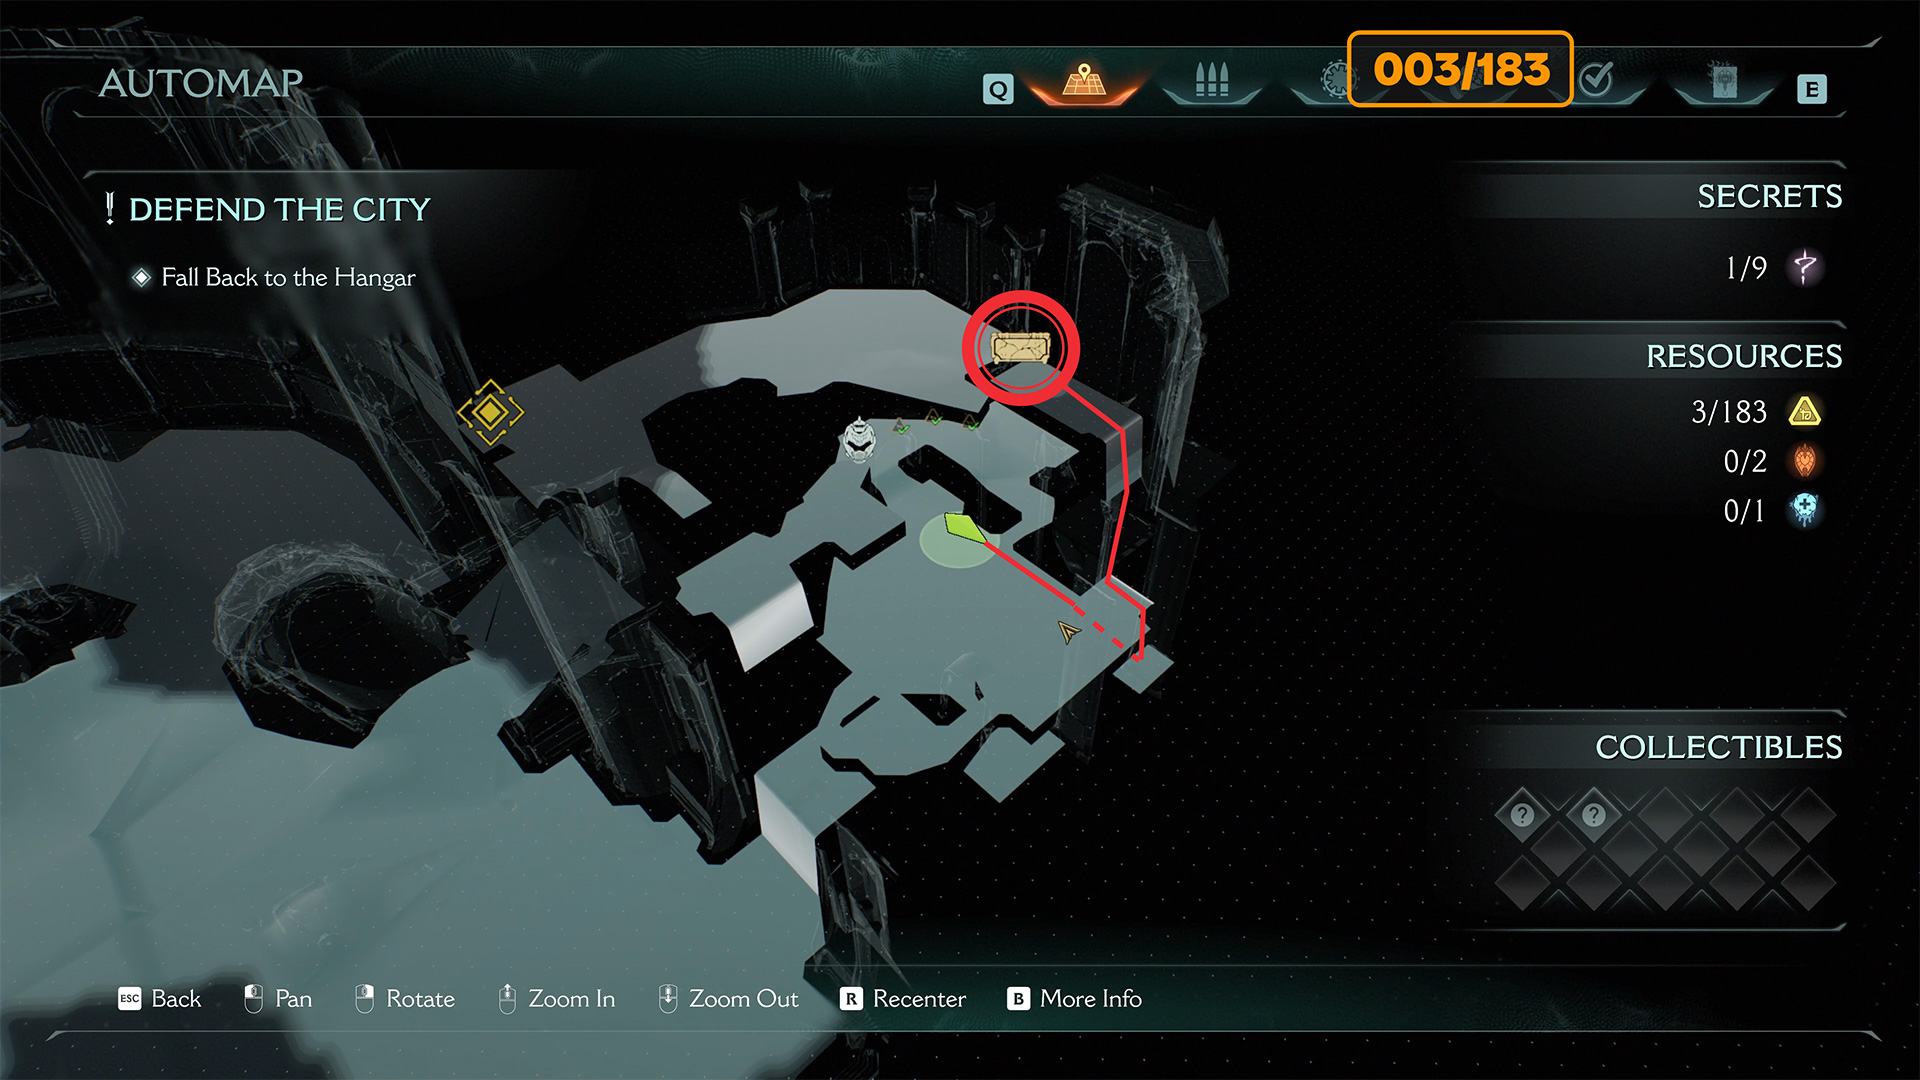
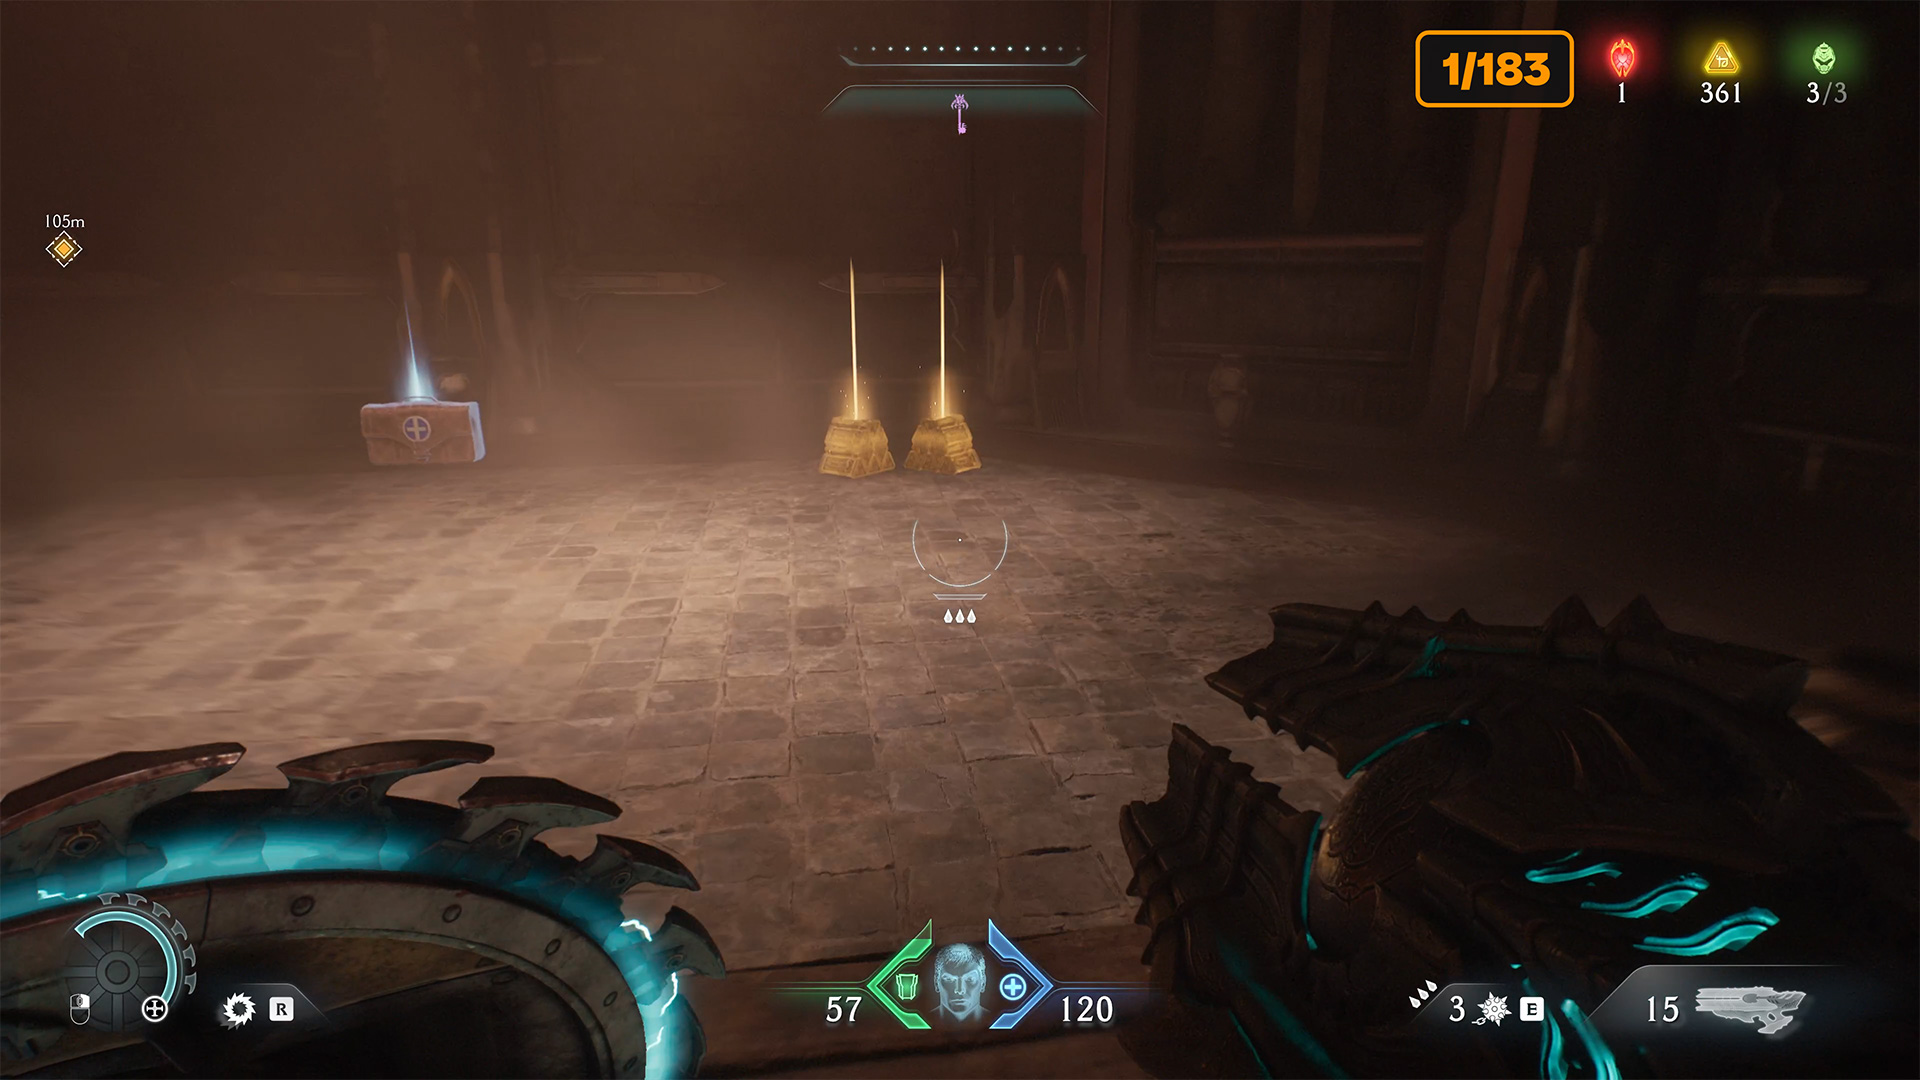
Secret #1 from 9 + 3 gold (003/183) + Life Sigil #1 from 3
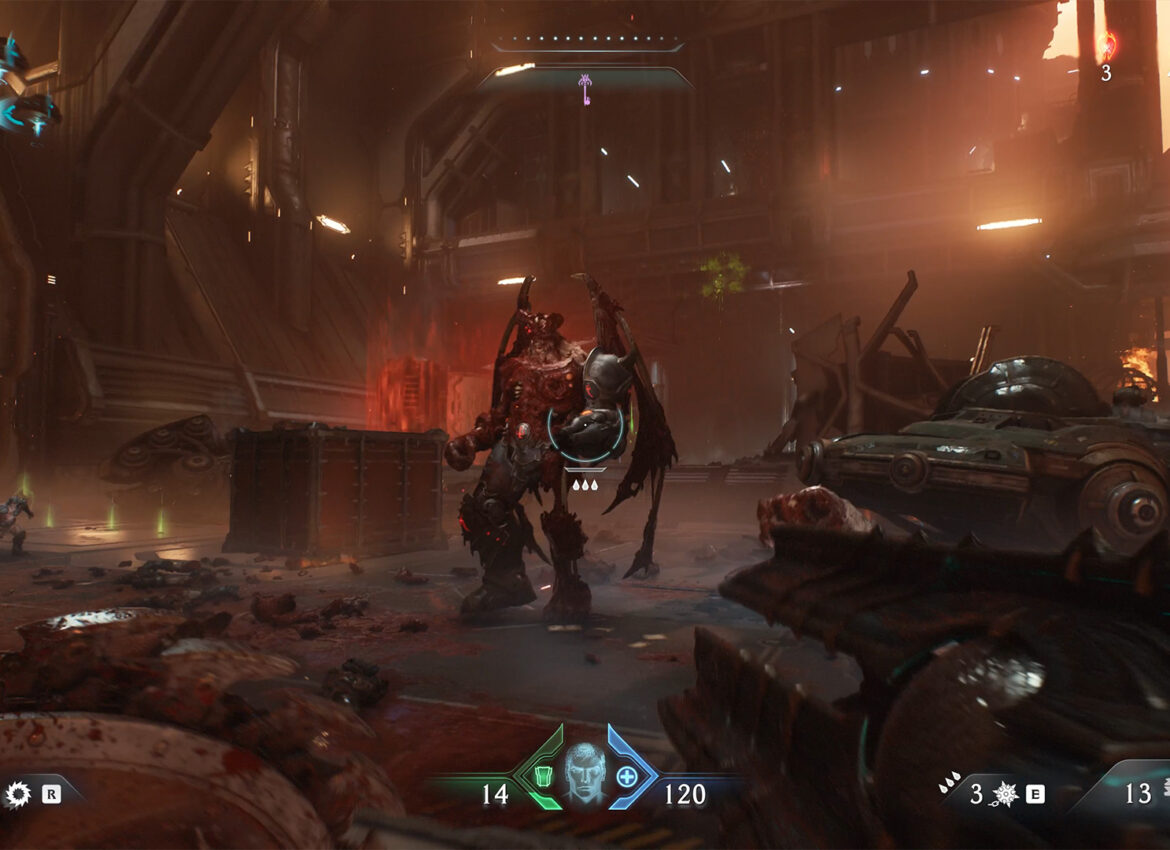
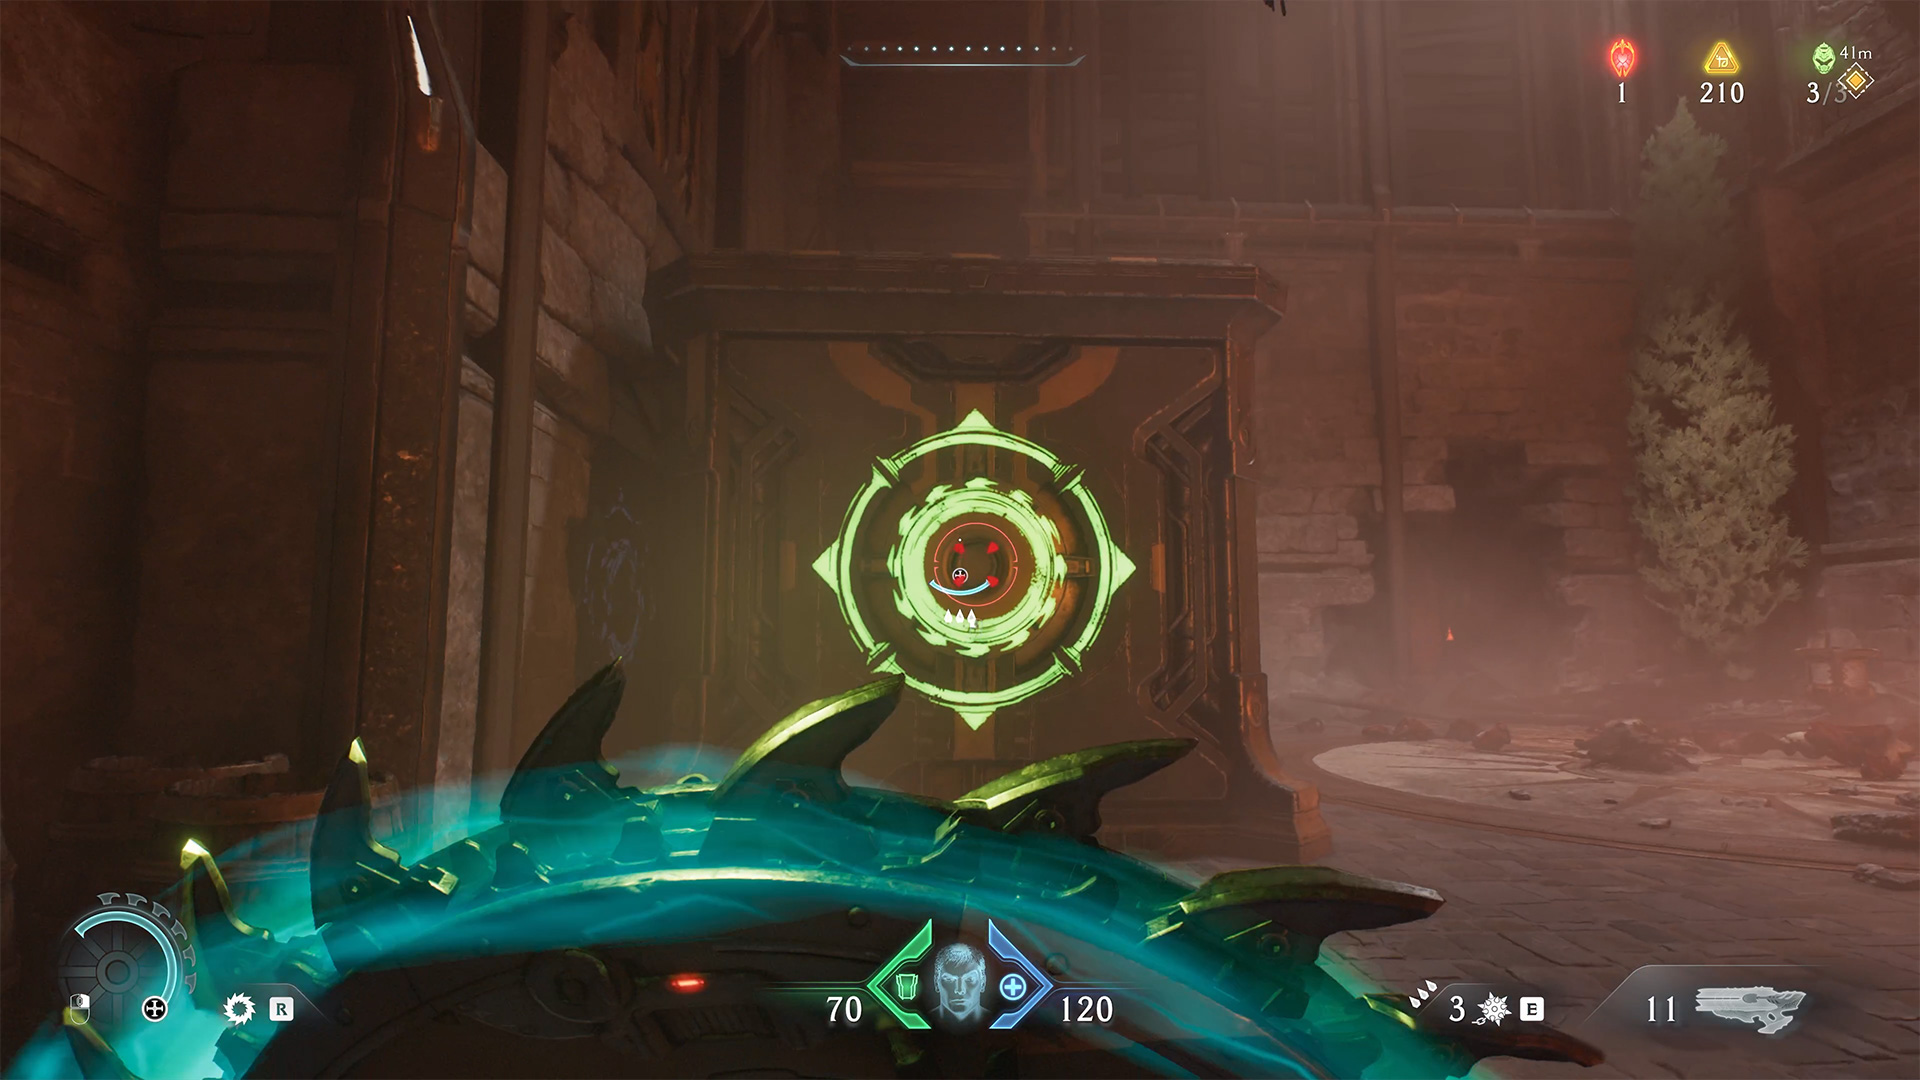
At the beginning of the chapter, you will need to use the turret to kill the Titan Demon. After that, you will need to climb the wall on the left and break the barrier. Inside, there will be a demon that you will need to defeat. You will see a container in front of you. Go to the left of the container and you will see that it can be pushed. When the container moves, you will see one that can be broken to find the first secret, three gold coins, and a life sigil.
-

- The way to the secret room
-

- You need to push the container
-

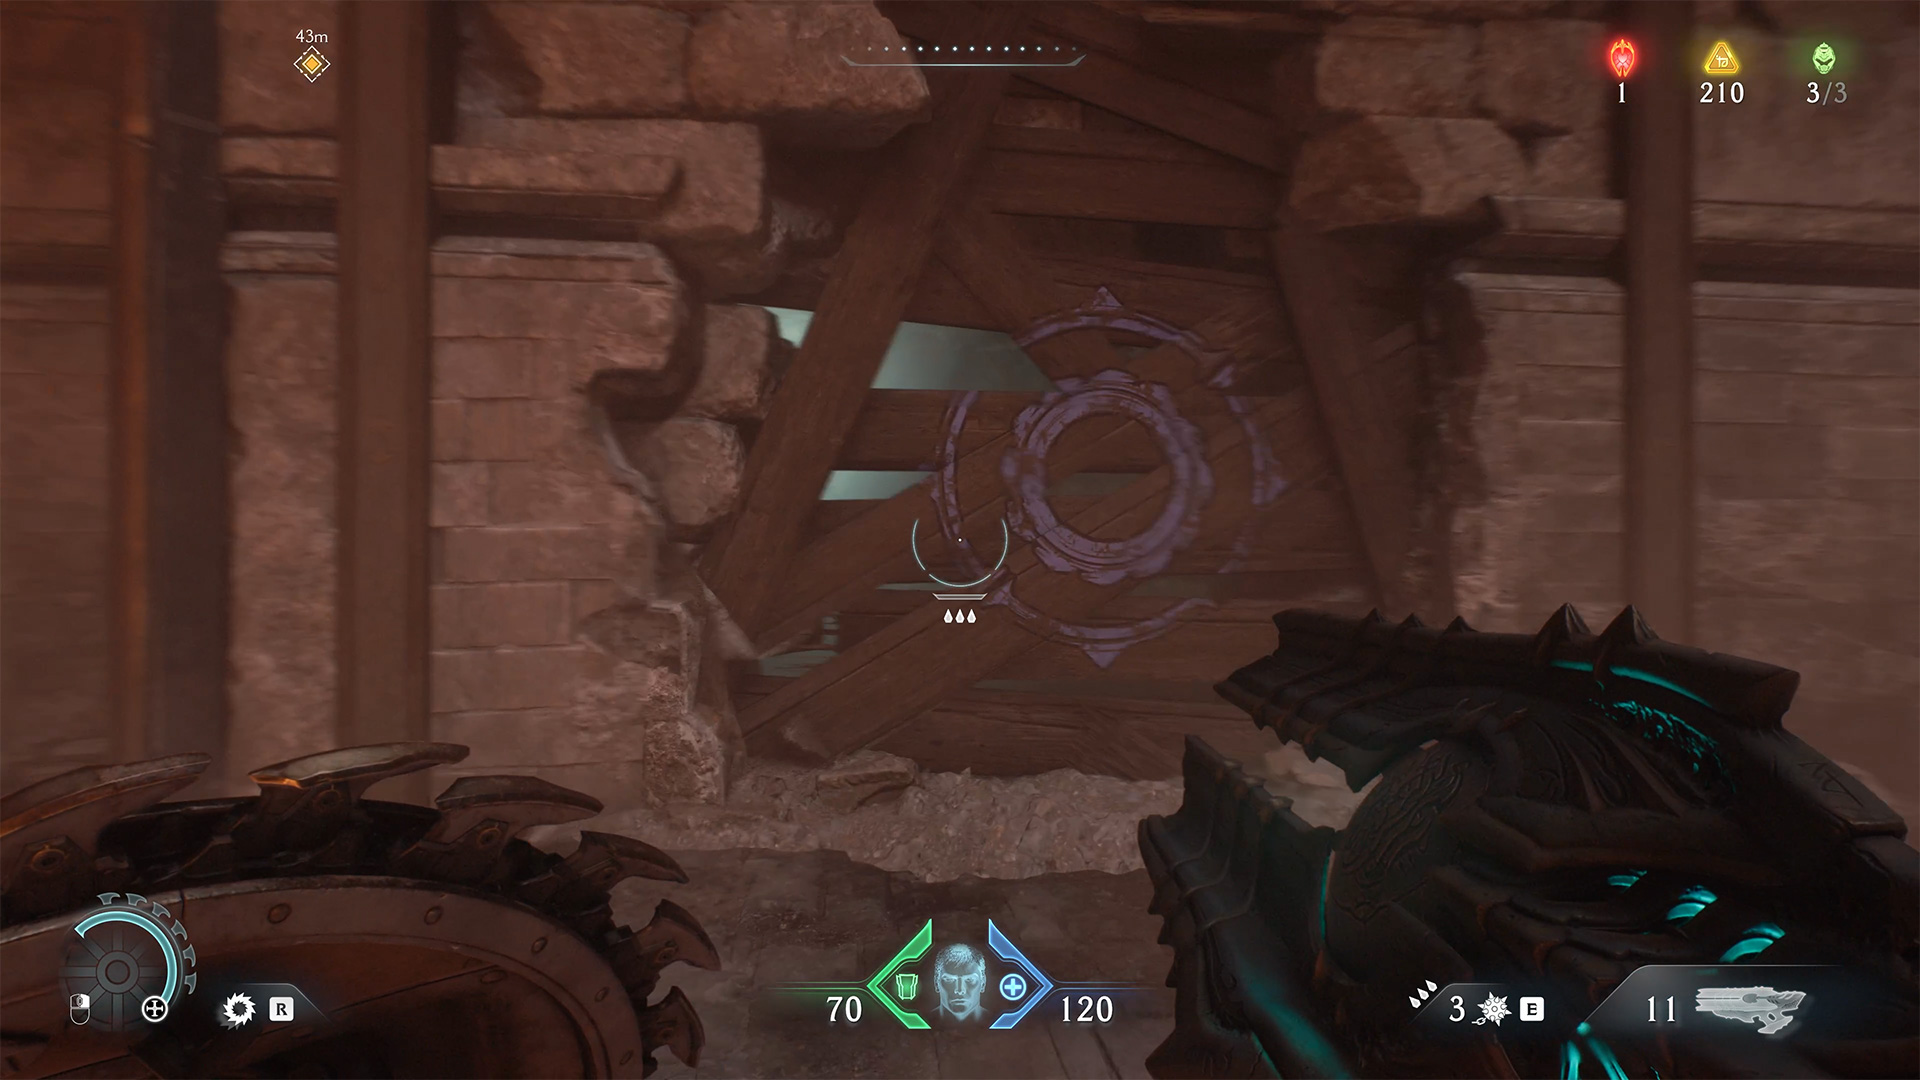
- And break down the barrier to the secret room
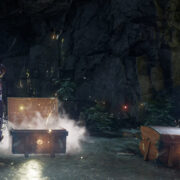
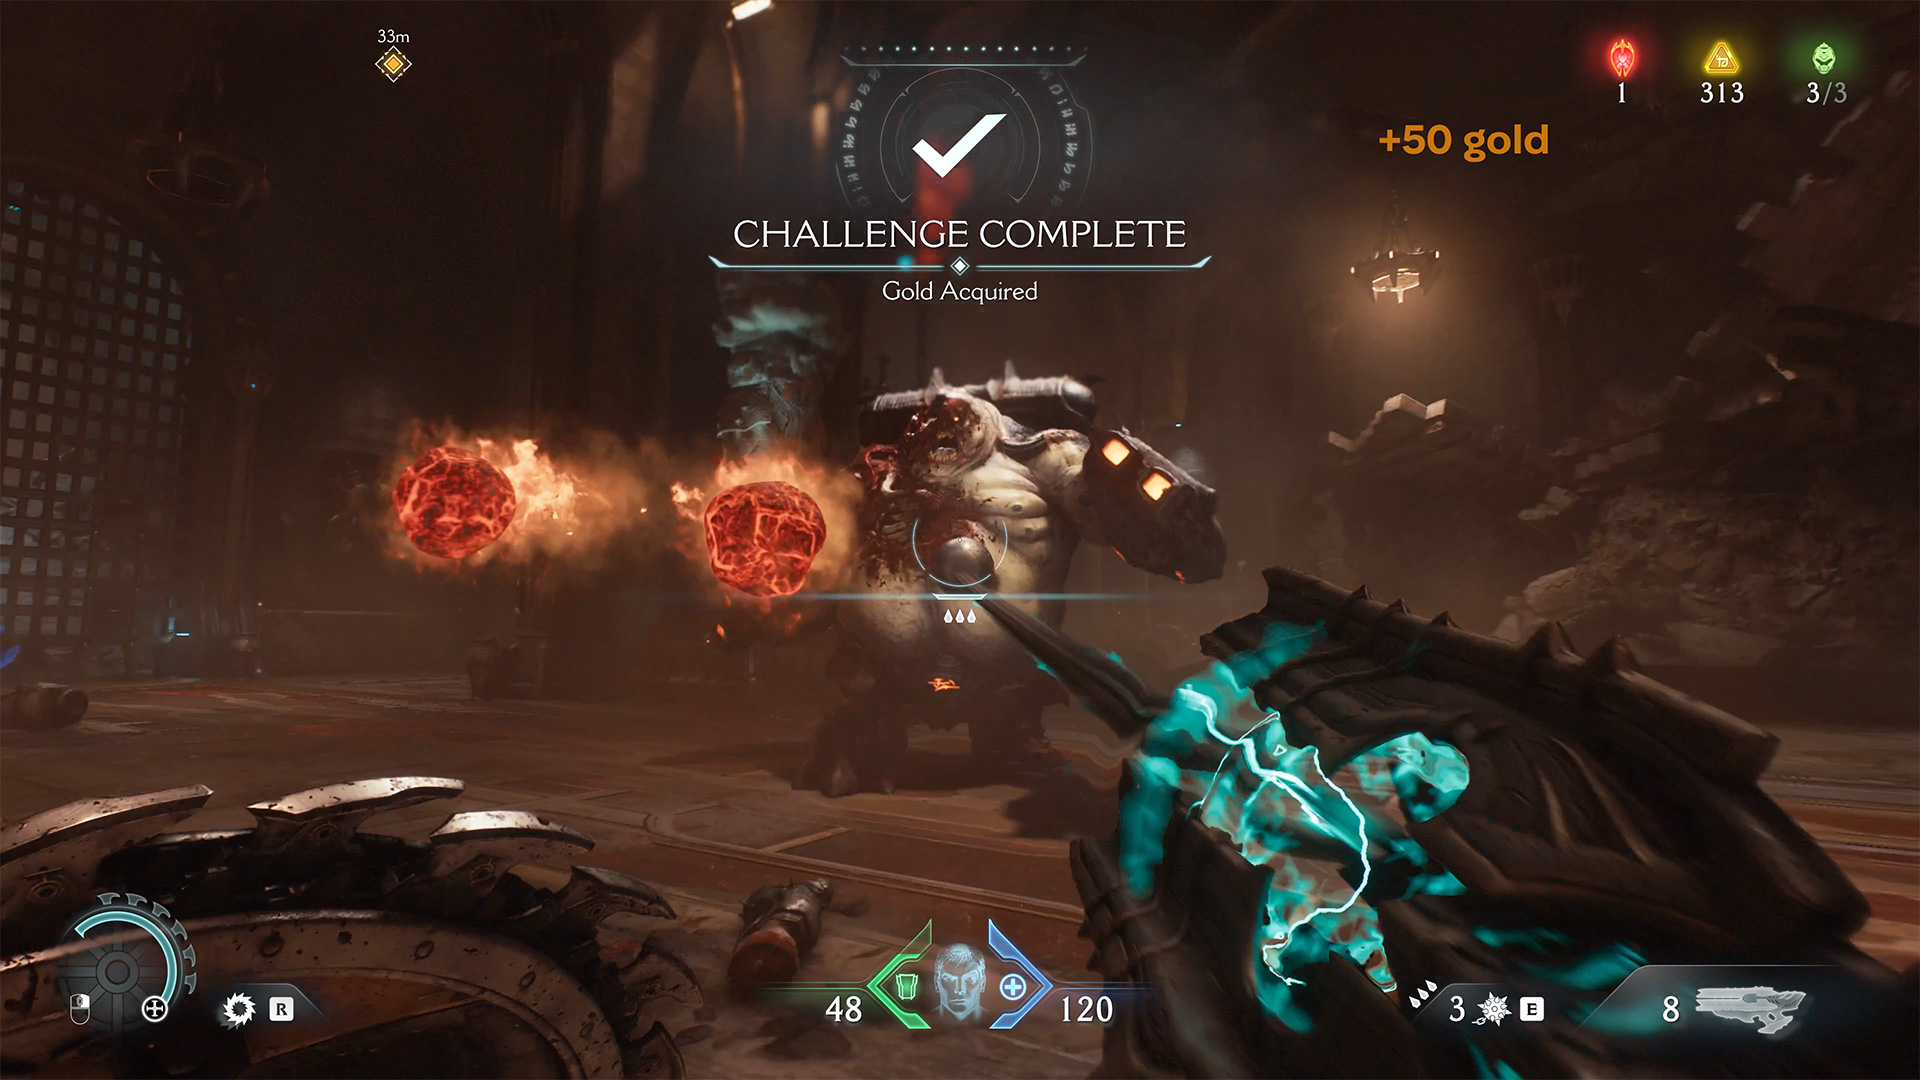
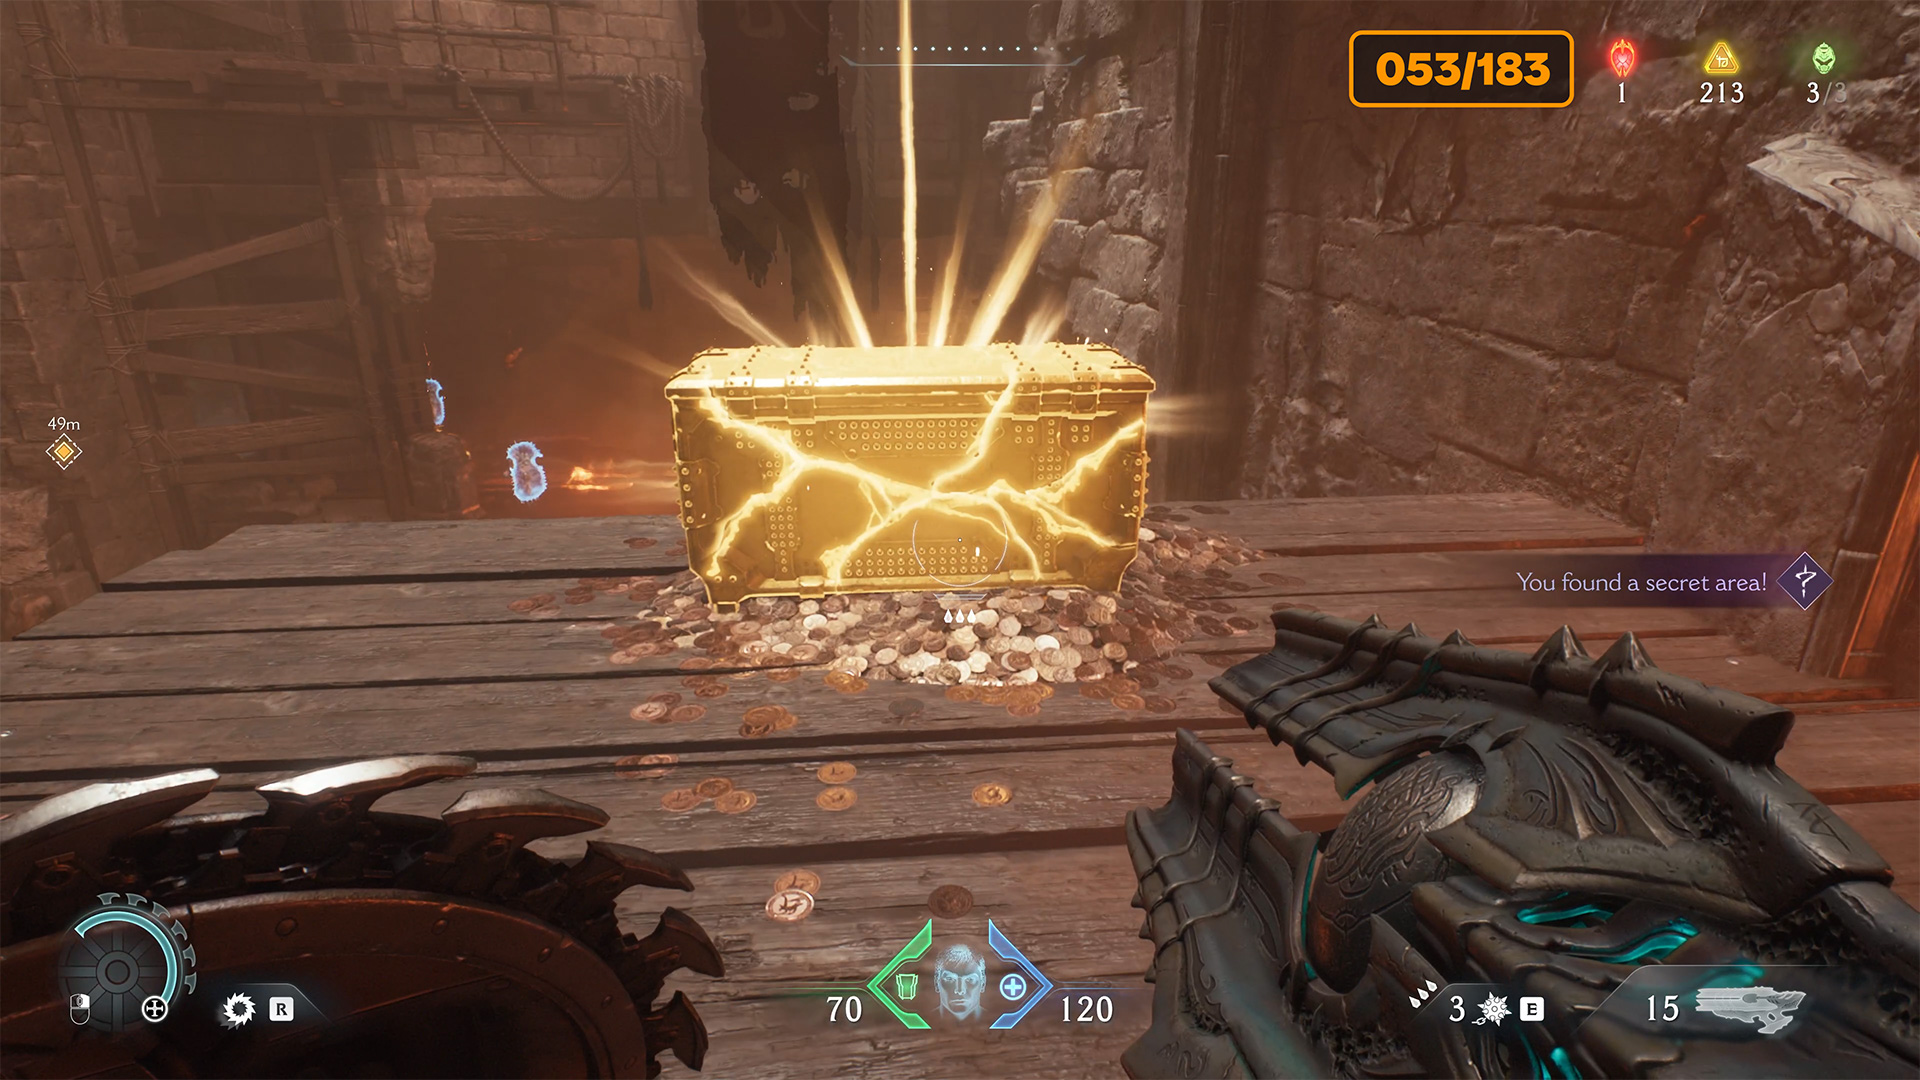
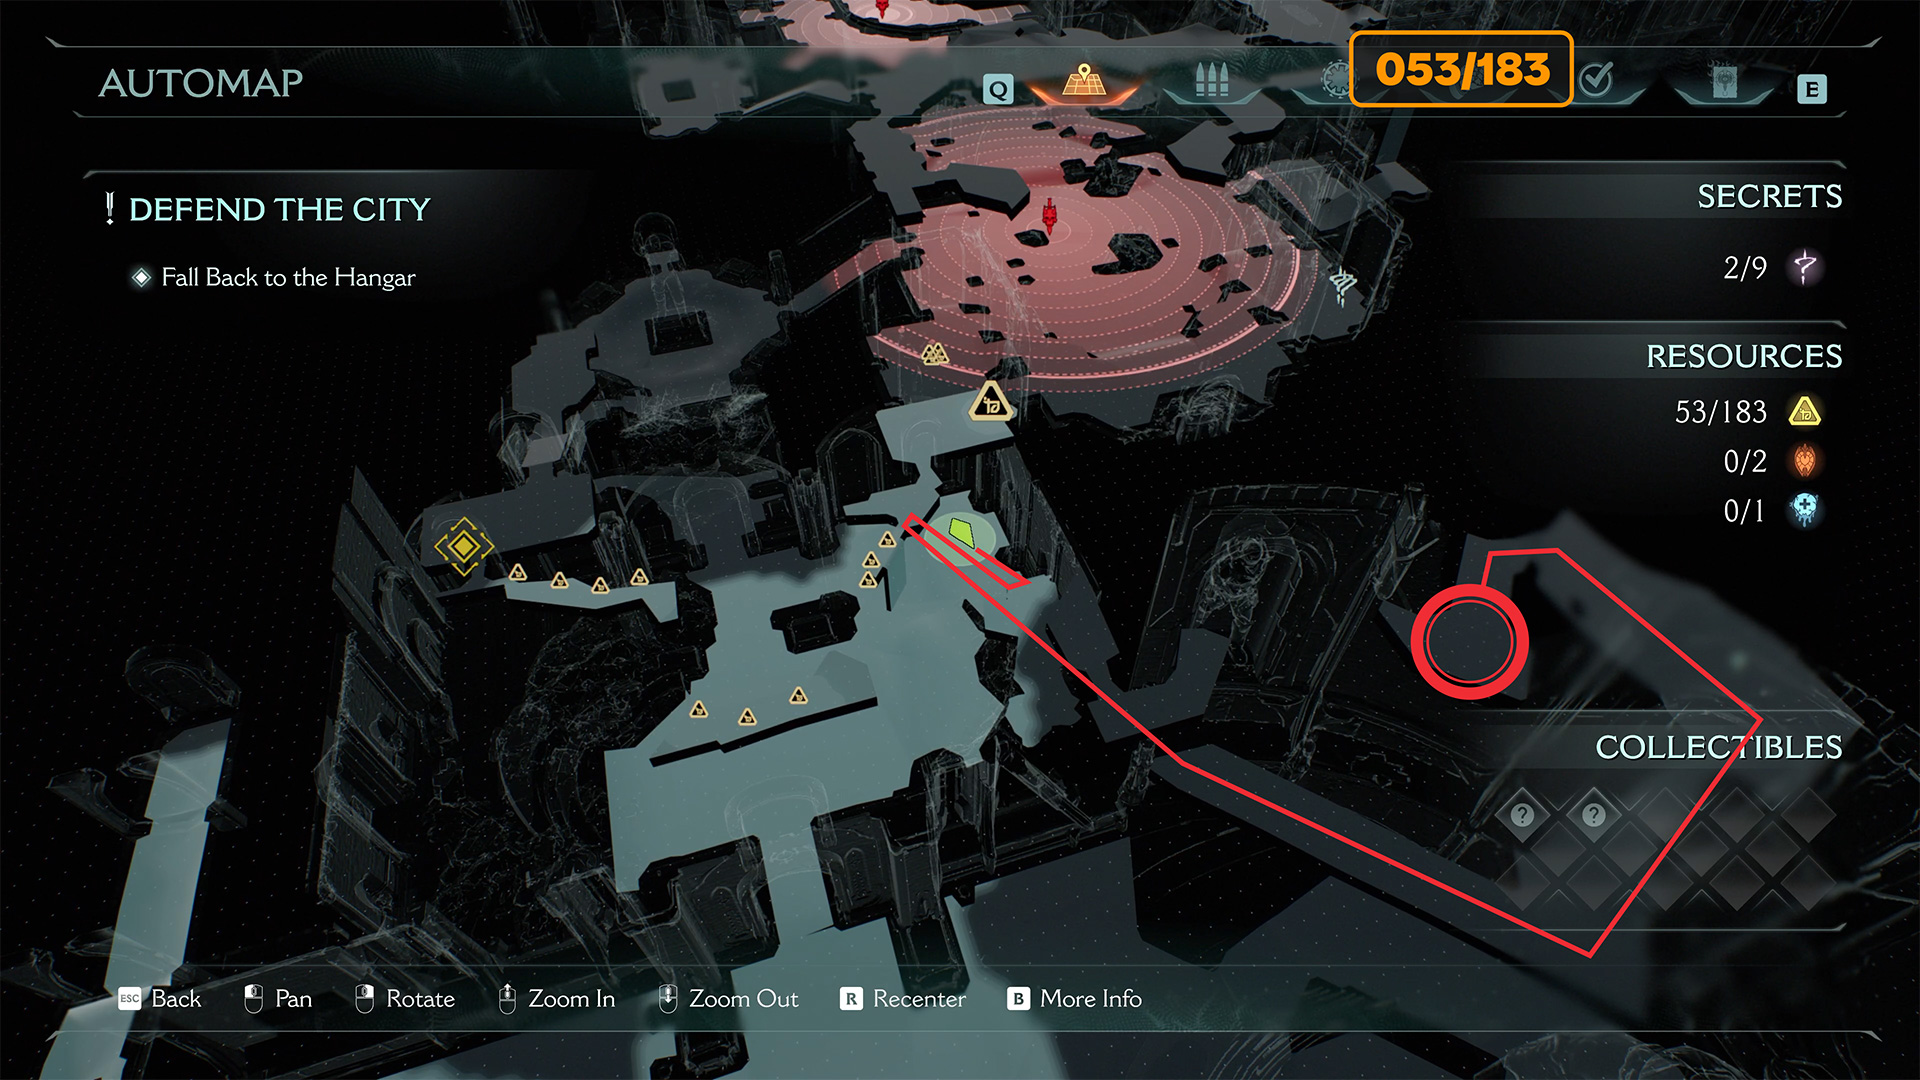
Secret #2 from 9 + 50 gold (053/183)
Now you need to go back to the container you pushed, climb up the wall, then turn around, and you will see another wall and climb up. Here, on the platform, you will find the second secret and a chest, which will give you 50 gold. When you break it open.
-

- The way to the second secret location
-

- A chest containing 50 gold coins
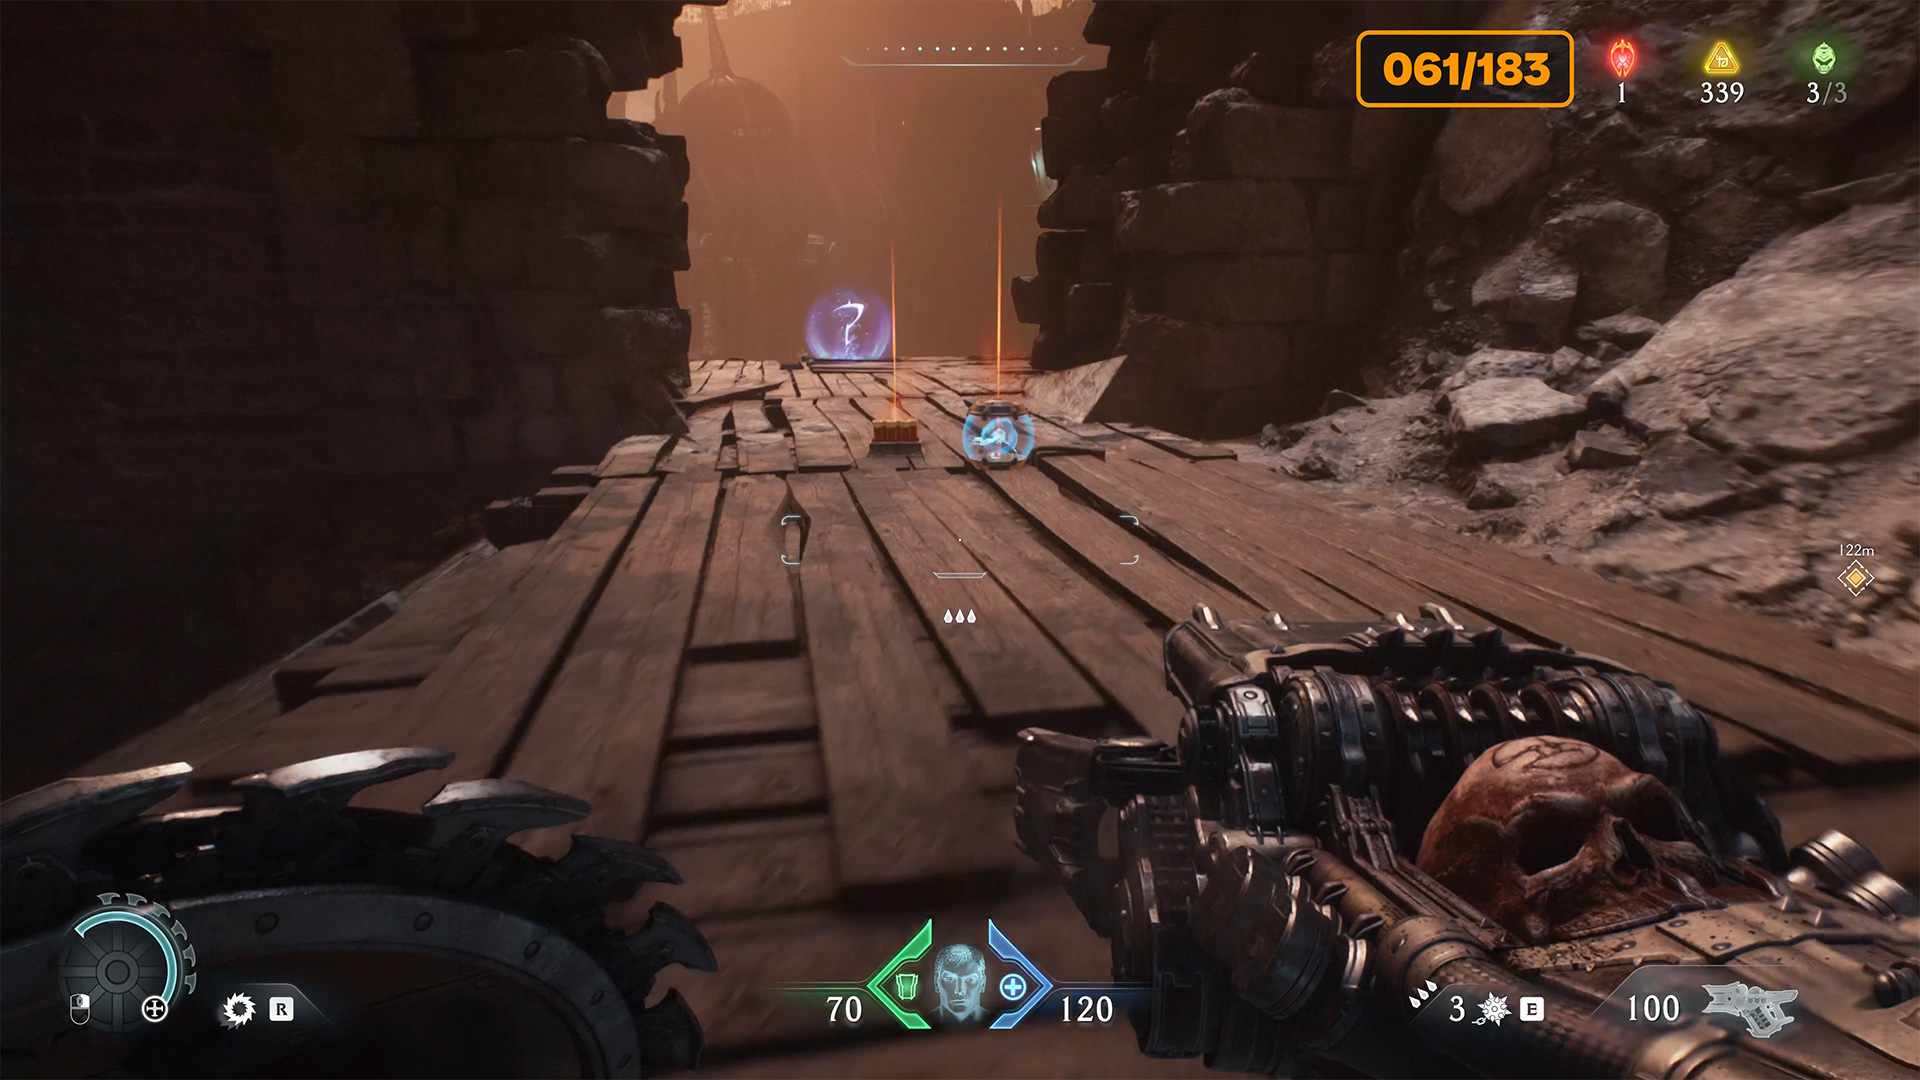
Secret #3 from 9 + 8 gold (061/183) + toy Pinky Rider
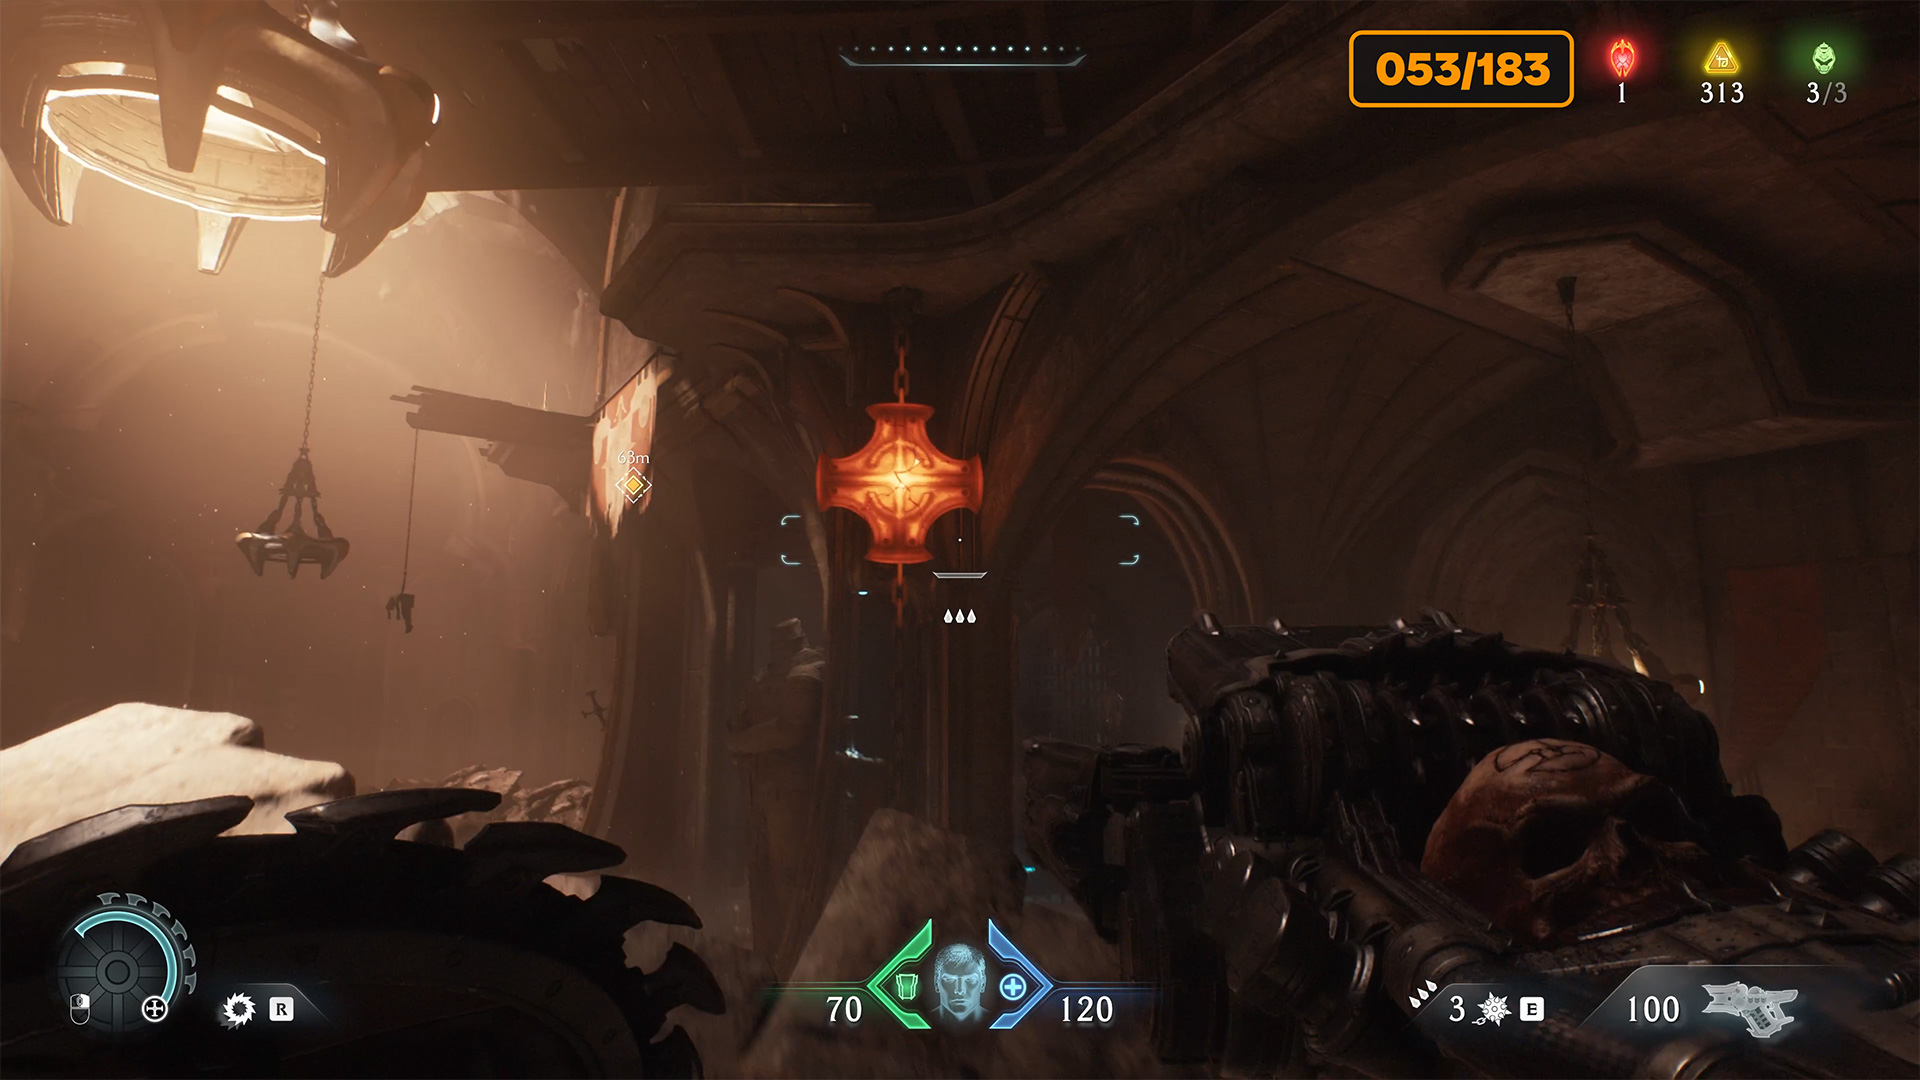
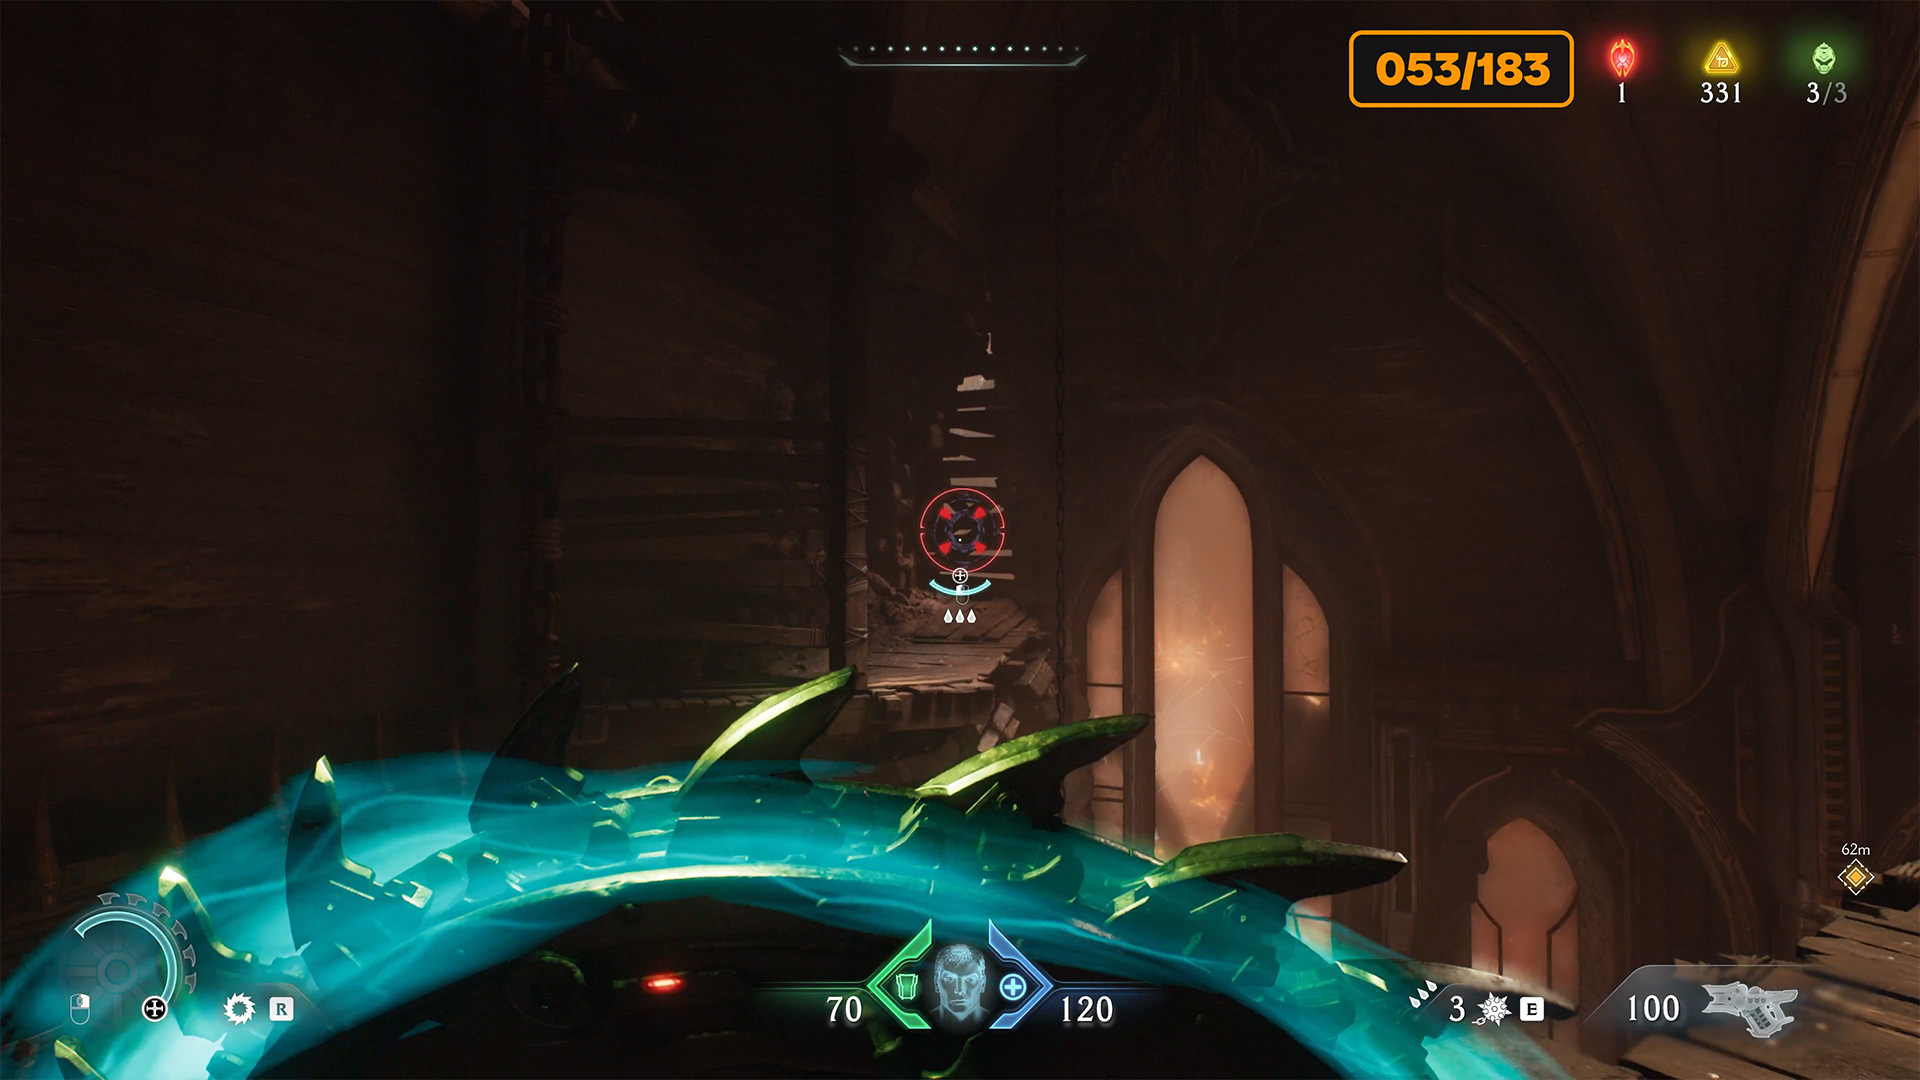
The next location with items you need to collect has a fork in the road. So, let’s collect everything gradually. First, you need to climb up the wall and turn around. You will see a metal cross where you can throw your shield. Do this and a wooden shield will drop in front of you, which you can climb on to get even higher. Let’s call this place the checkpoint. We will return to it later. Now turn around again. Far ahead, on the other side of the chasm, you will see a wooden barrier. you need to break it.
This will allow you to jump over the chasm. In this area, move to the left, where you will find a wall that you can climb to get higher. Here, you will find the third secret area. Pick up eight gold coins on the ground and finally find the Pinky Rider collectible toy on the balcony.
-

- The path to a secret place with a toy
-

- Break an object to climb higher
-

- Break the barrier over the abyss
-

- Get a collectible toy
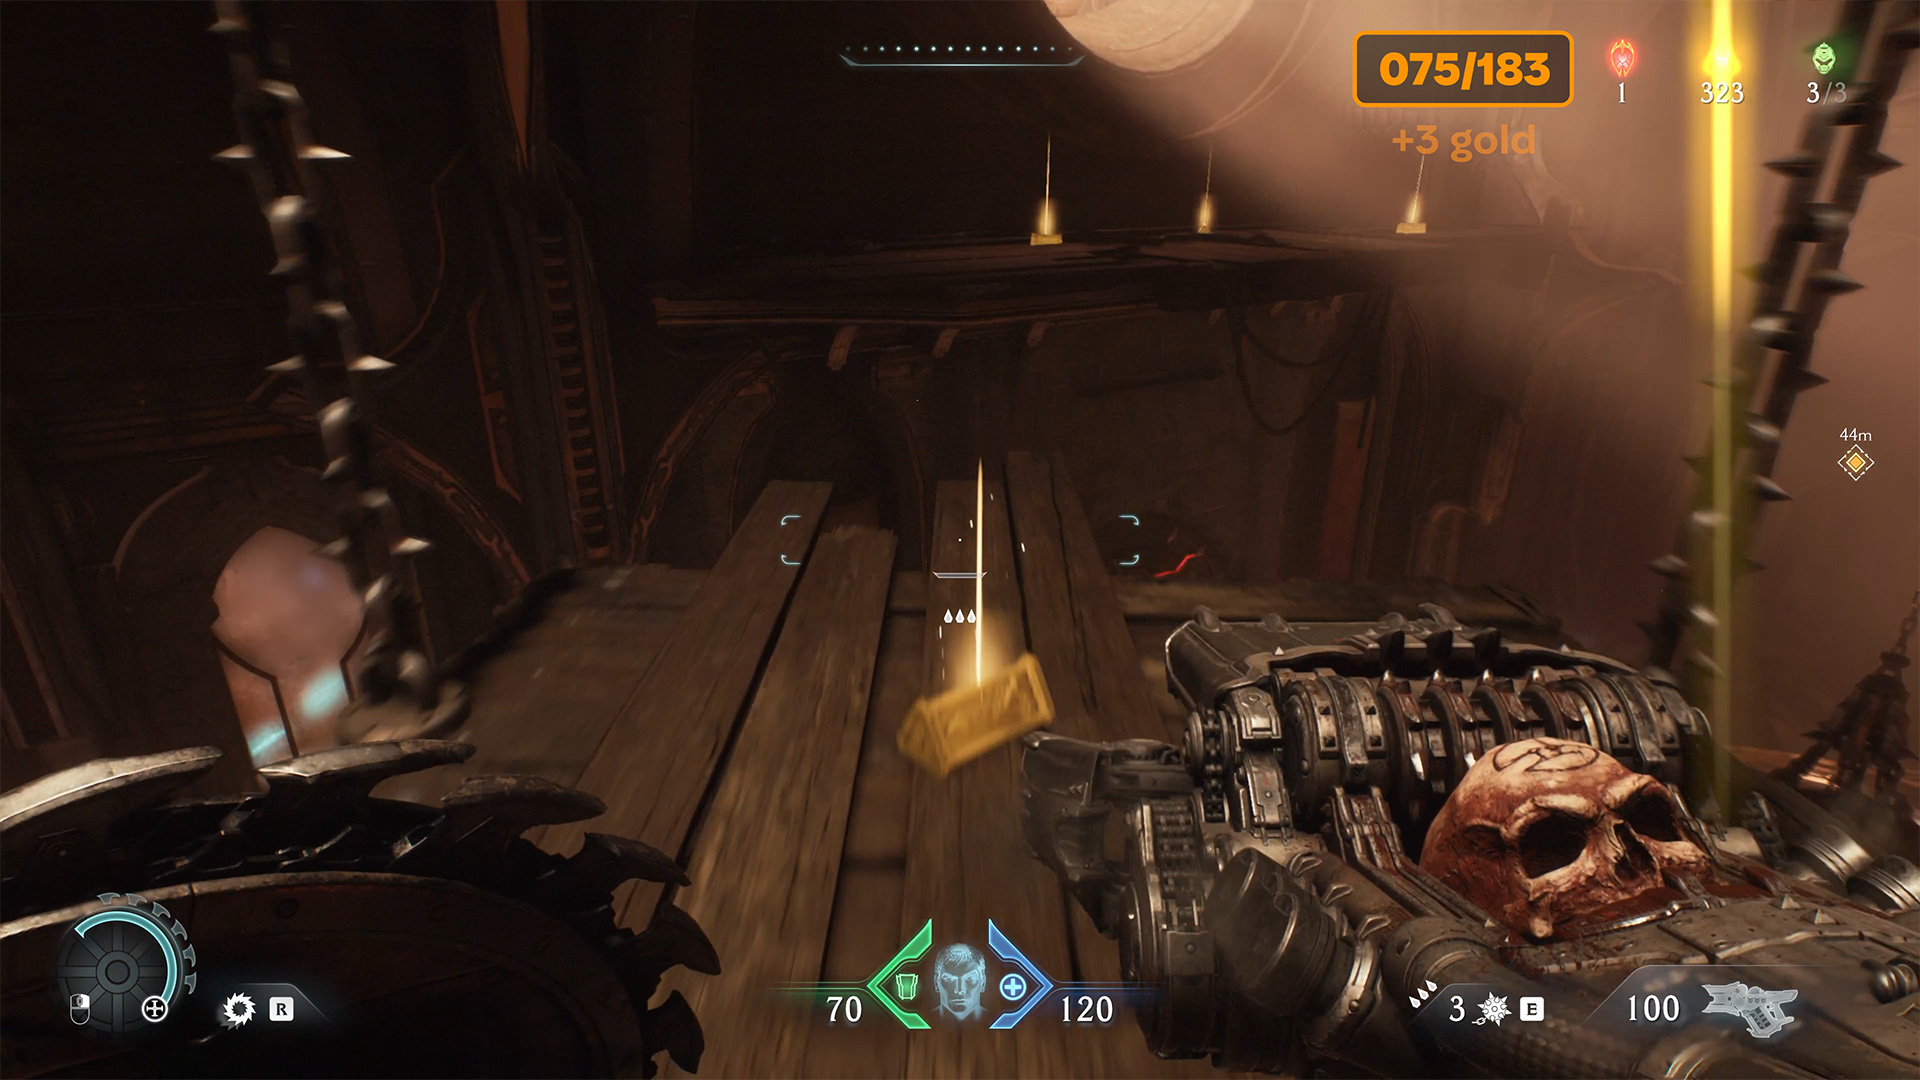
18 gold (079/183)
Now go back to the checkpoint we talked about earlier. There is a room in front of you. Go inside to find eight gold coins, leave the room and go to the right. Pick up three gold coins and jump over to the balcony ahead. Here you will find another three gold coins, then jump across the large space again and pick up four gold coins. This is the exit to the next area.
-

- The route from gold to the next room

-

- Collecting gold on the balcony
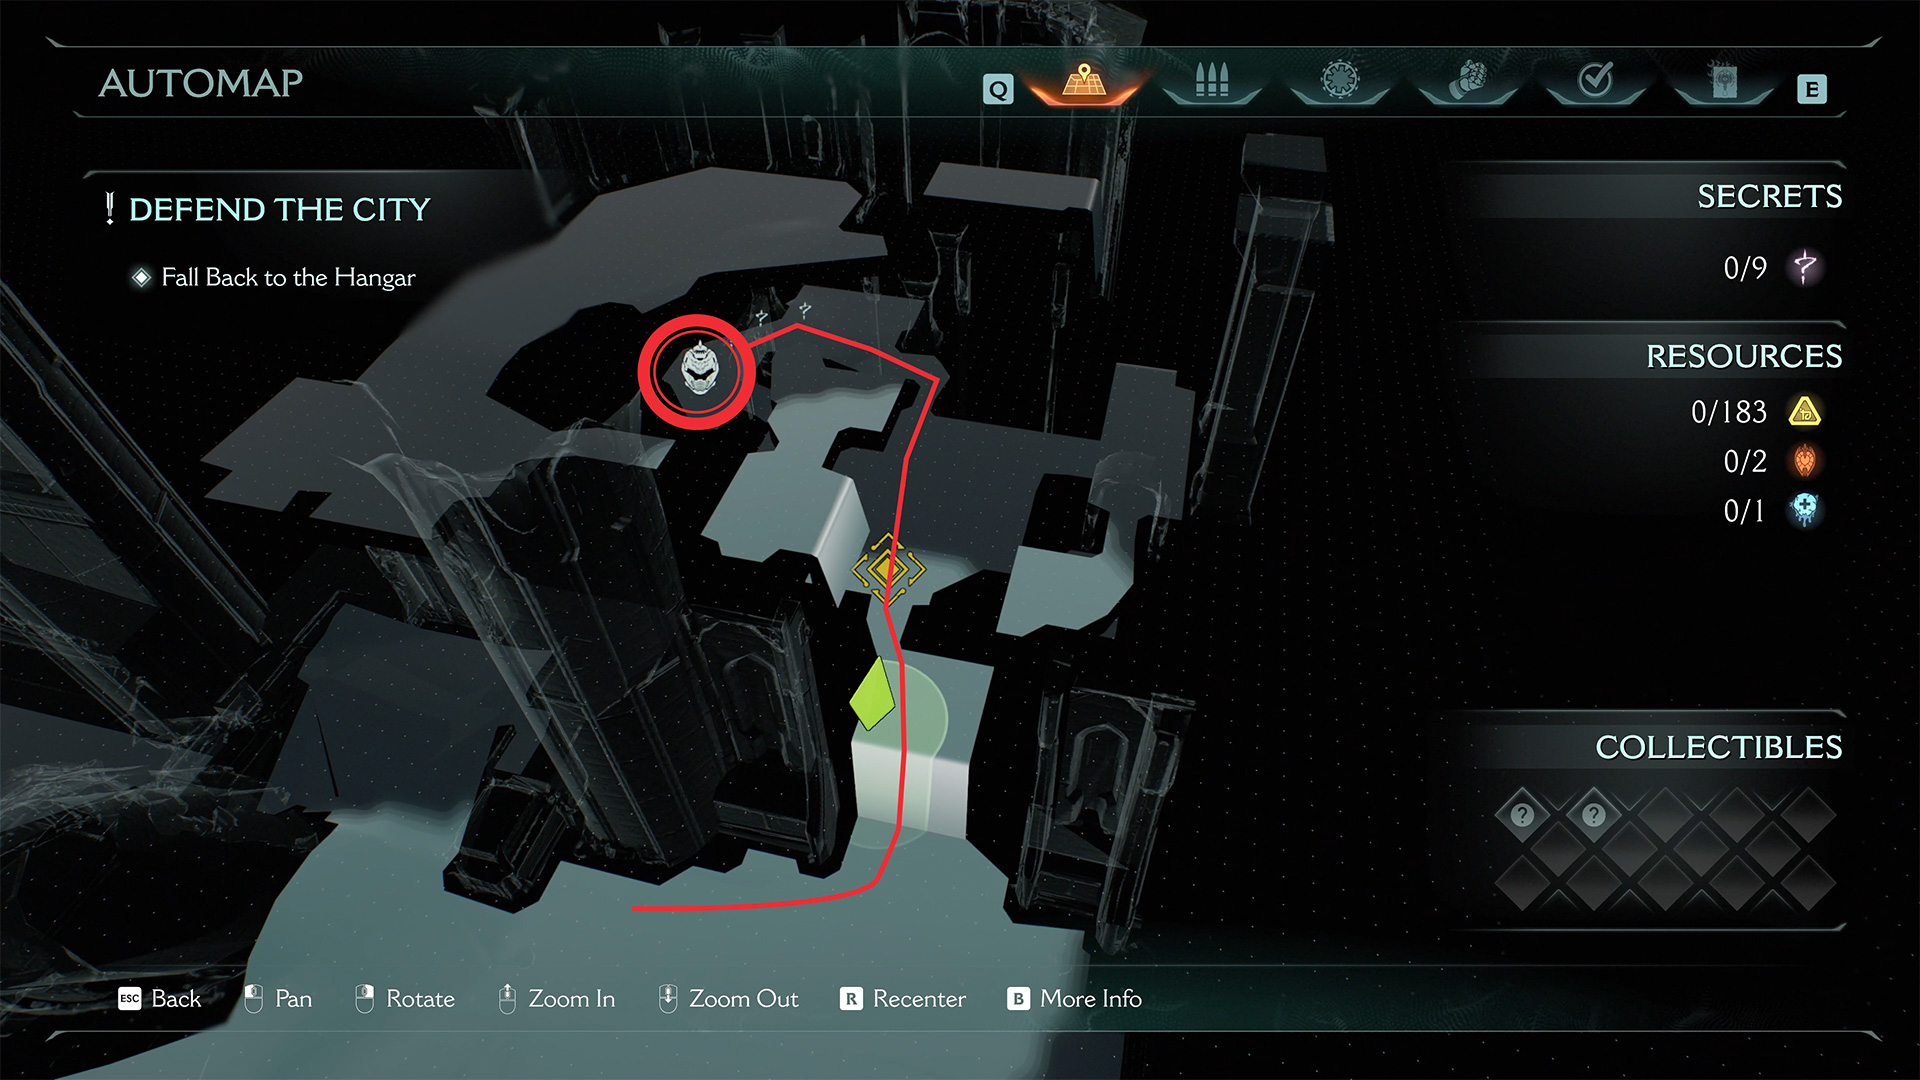
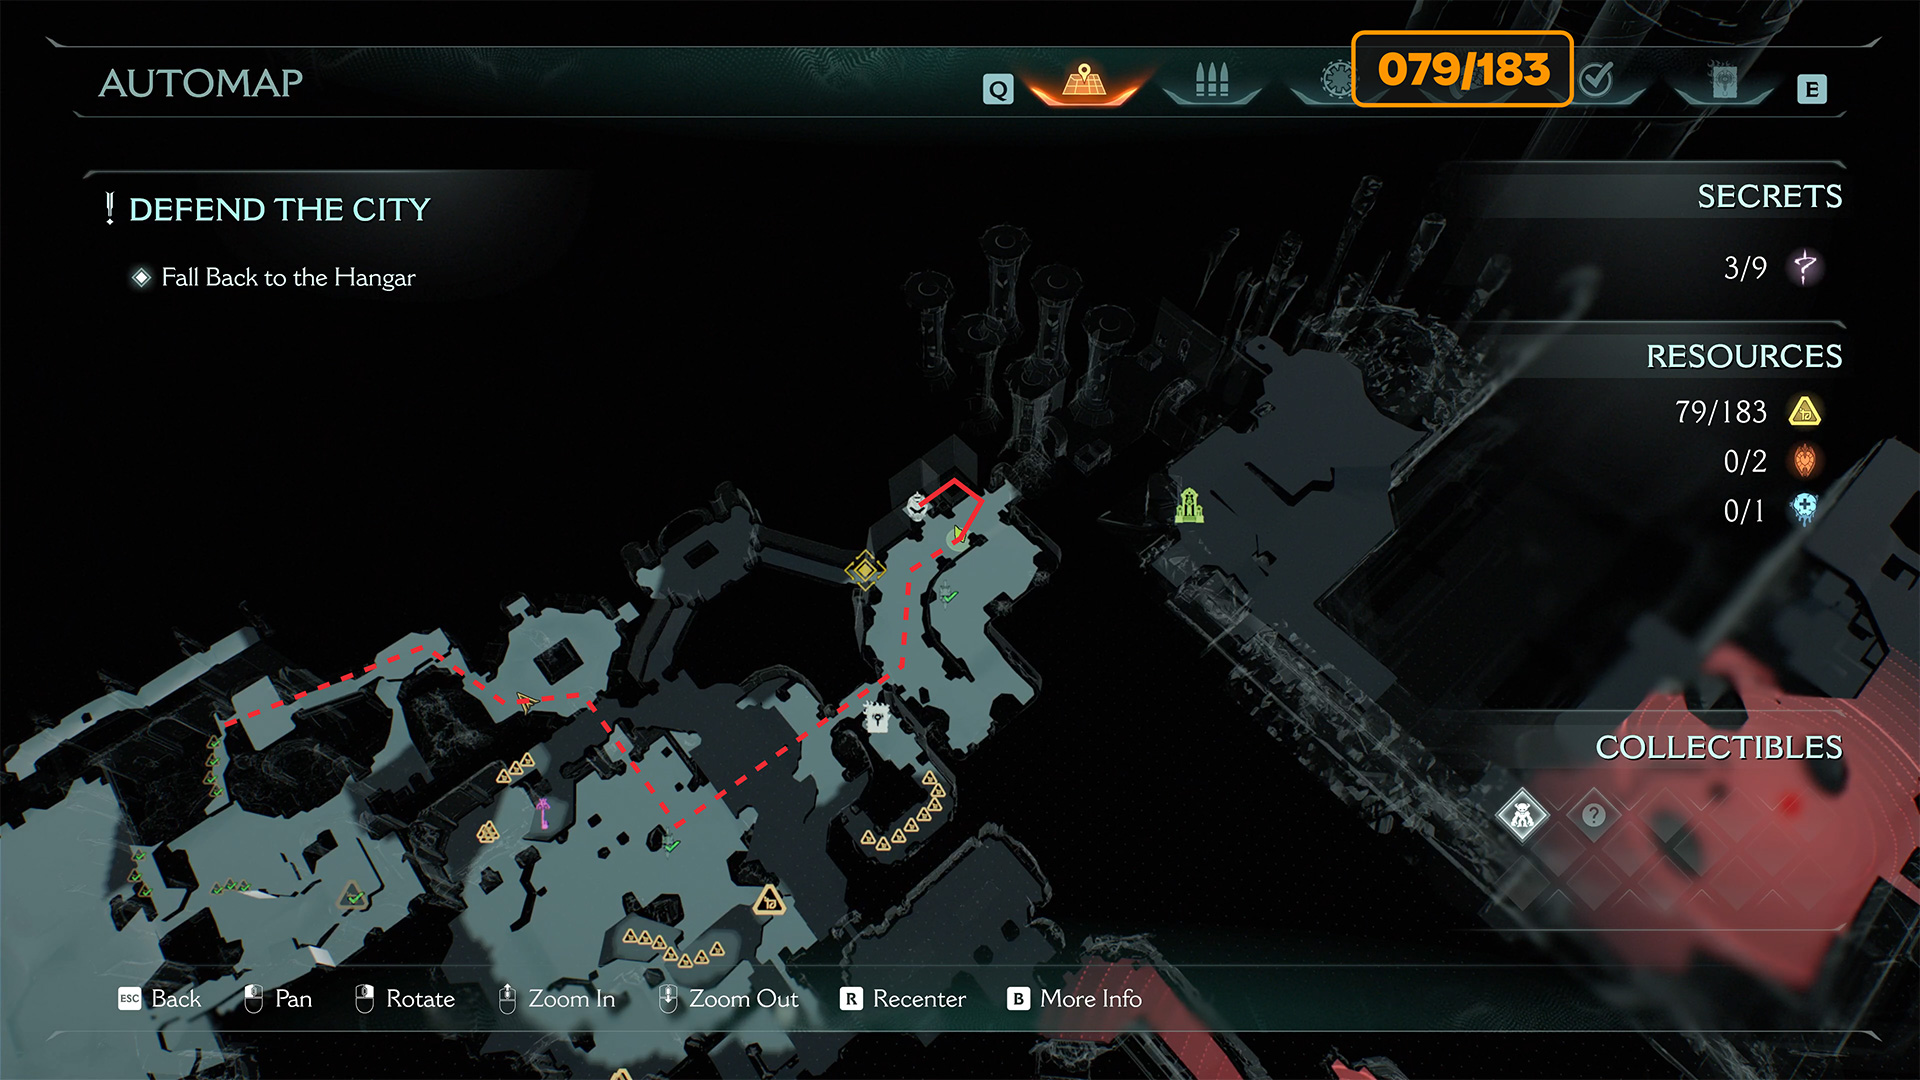
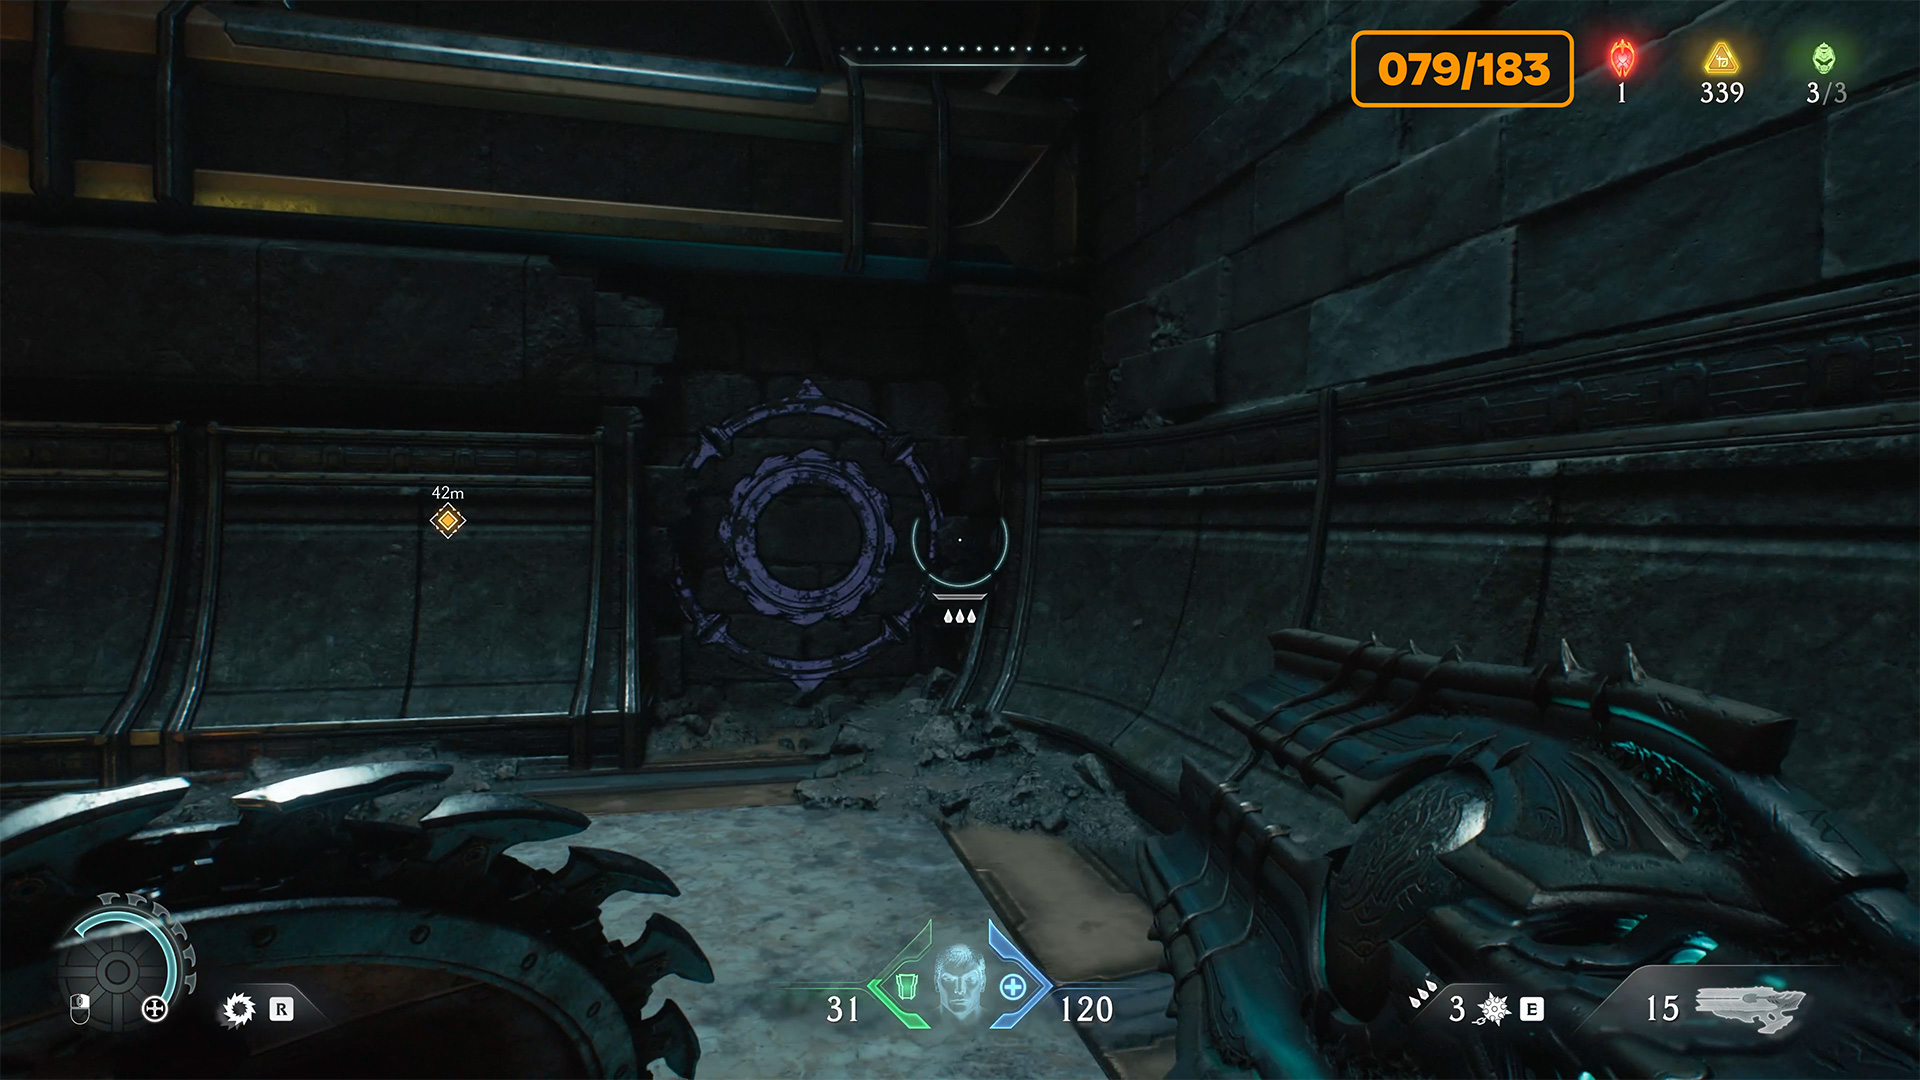
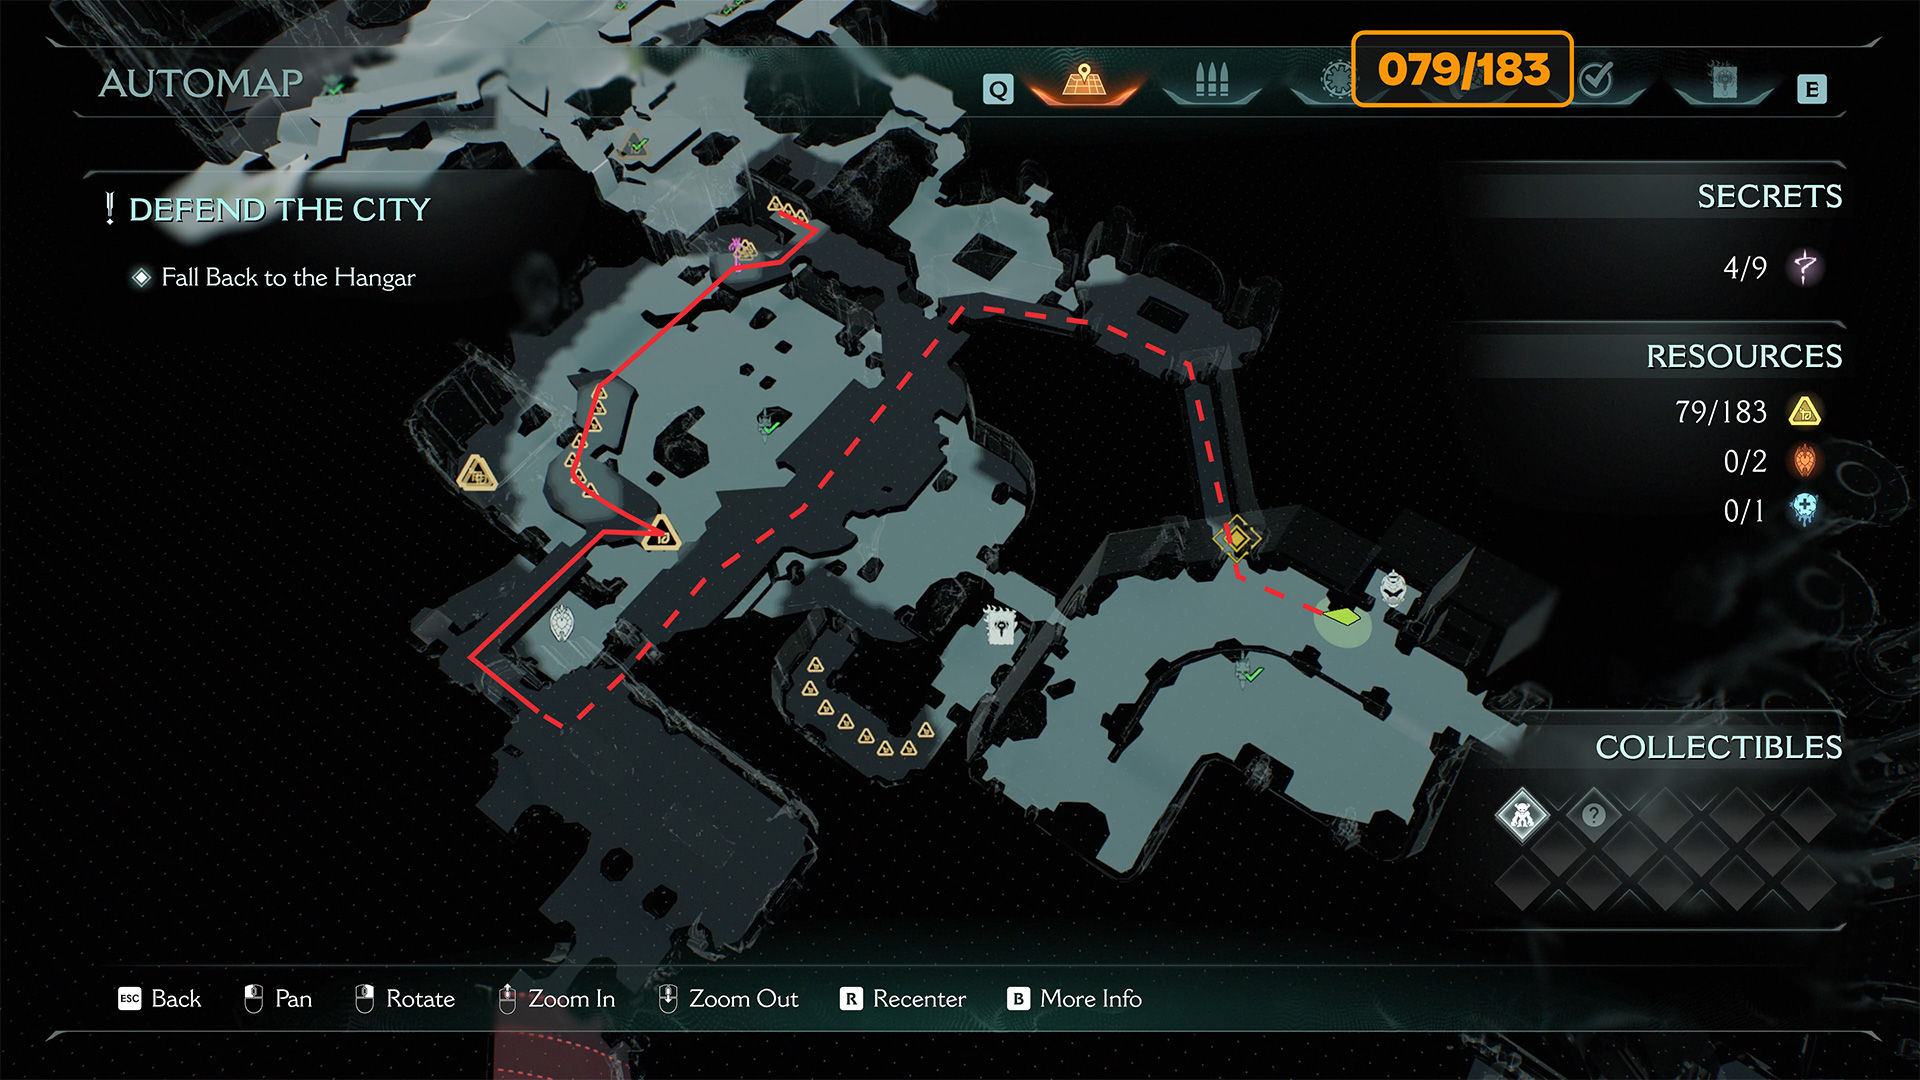
Secret #4 from 9 + Life Sigil #2 from 3
Once you have collected everything here, let’s move on. Next, follow the long route and ignore all the items you see as they are not yet available to you. Go to the location marked on map, break the barrier and you will find the fourth secret and the life Sigil inside.
-

- We skip all the items and go to the final destination
-

- Barrier to access the secret with Life Sigil
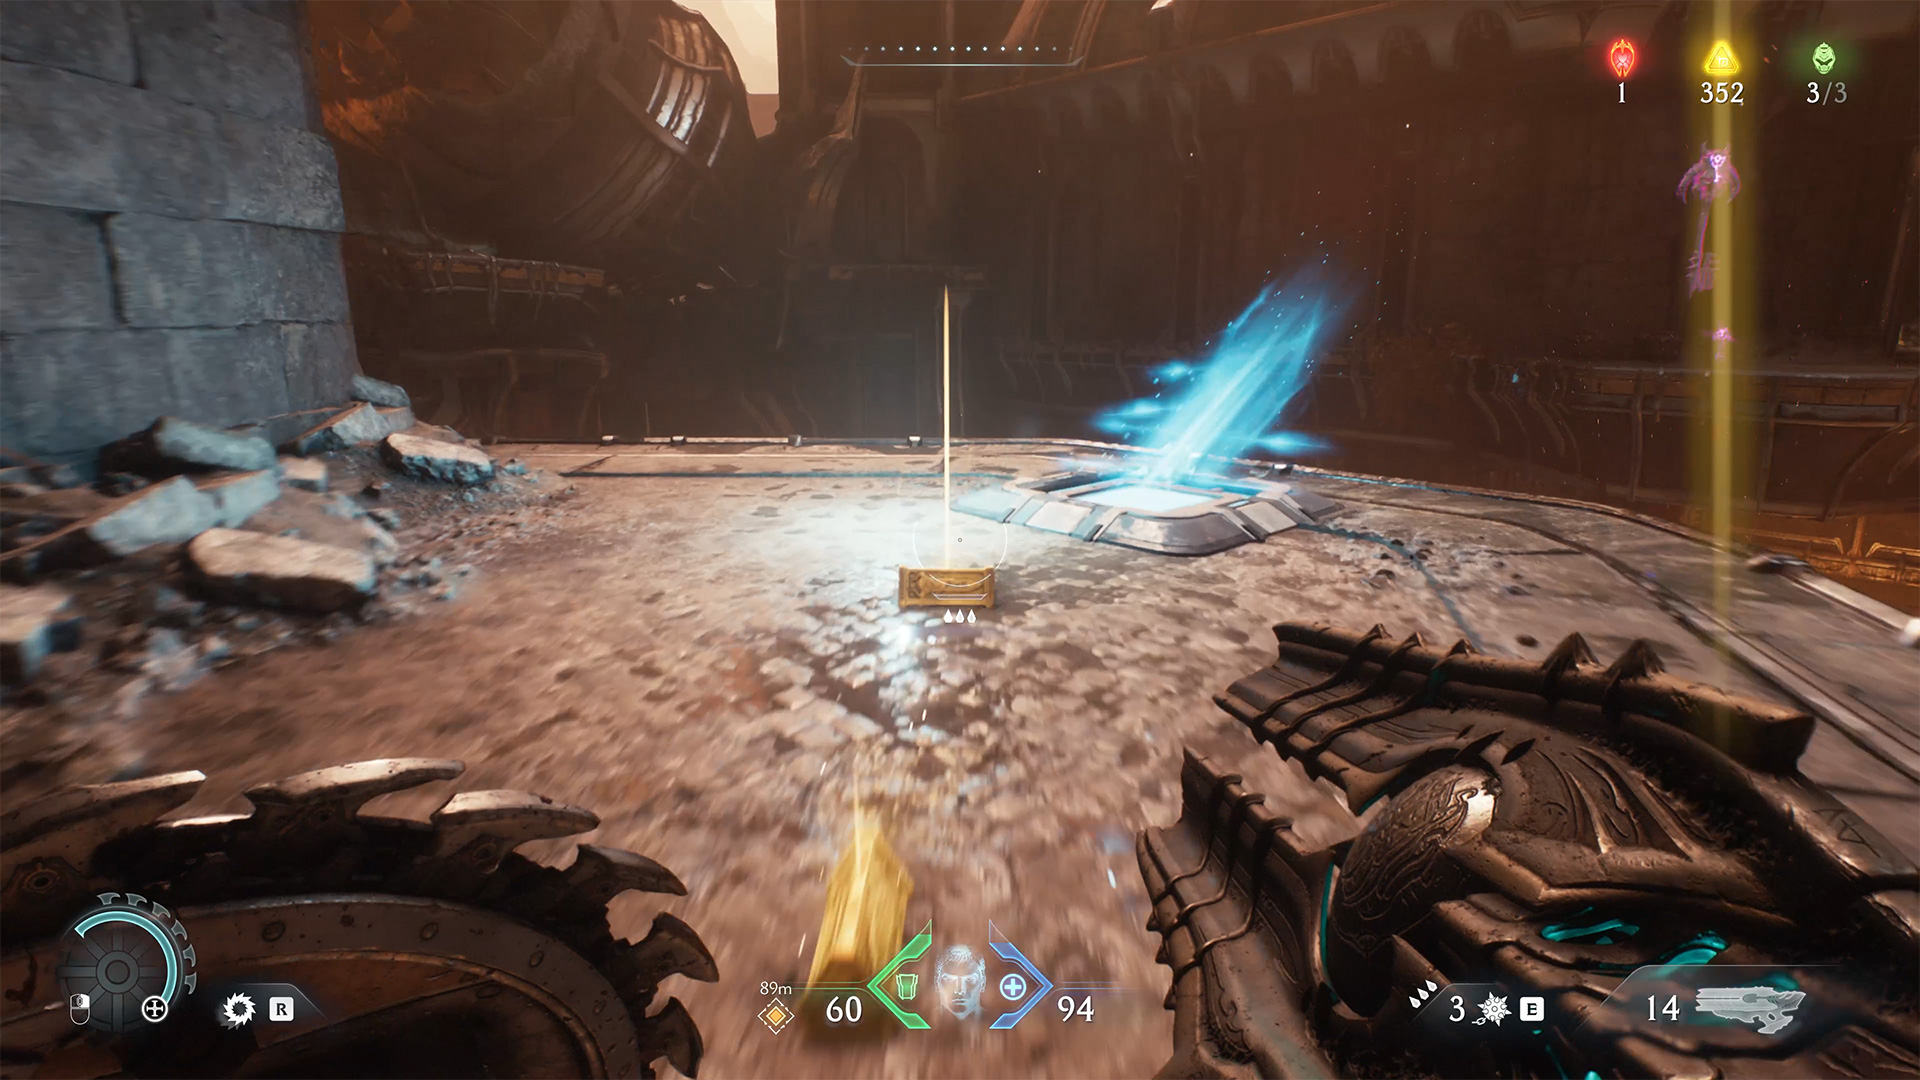
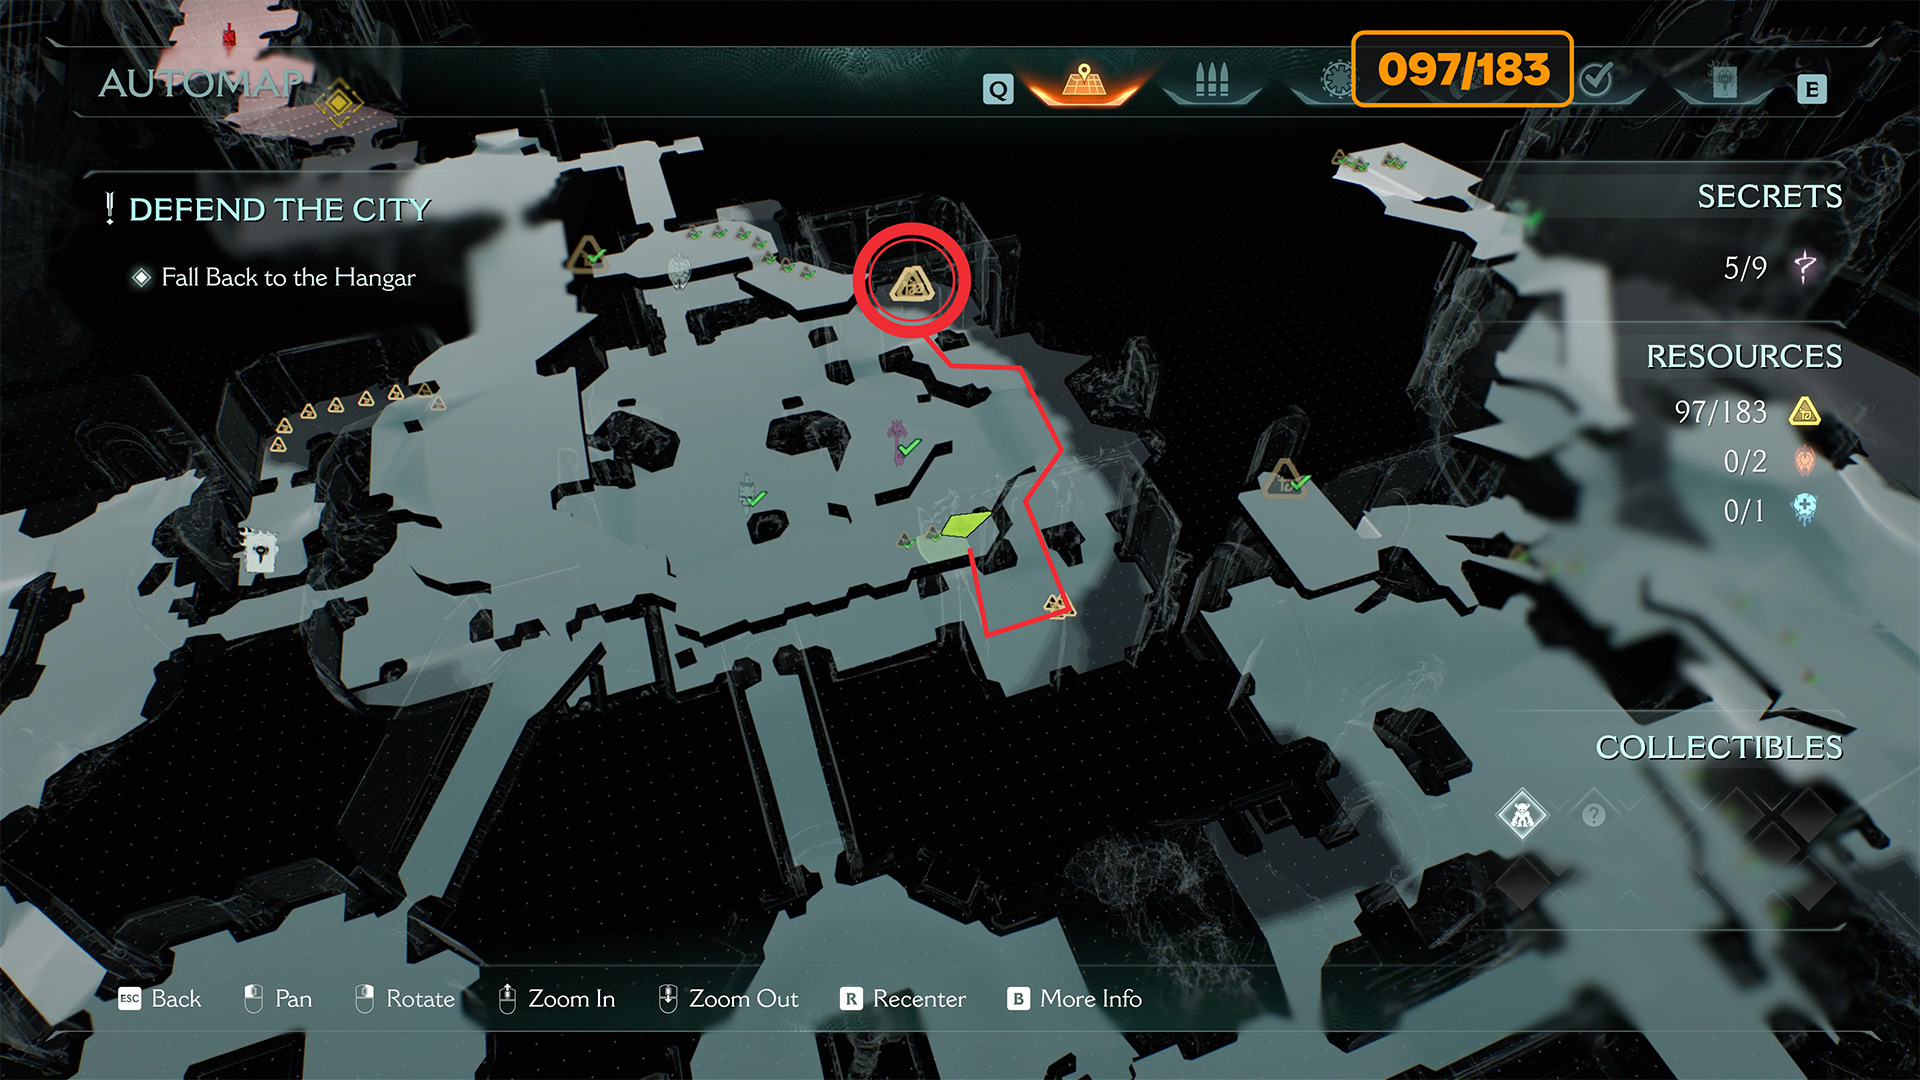
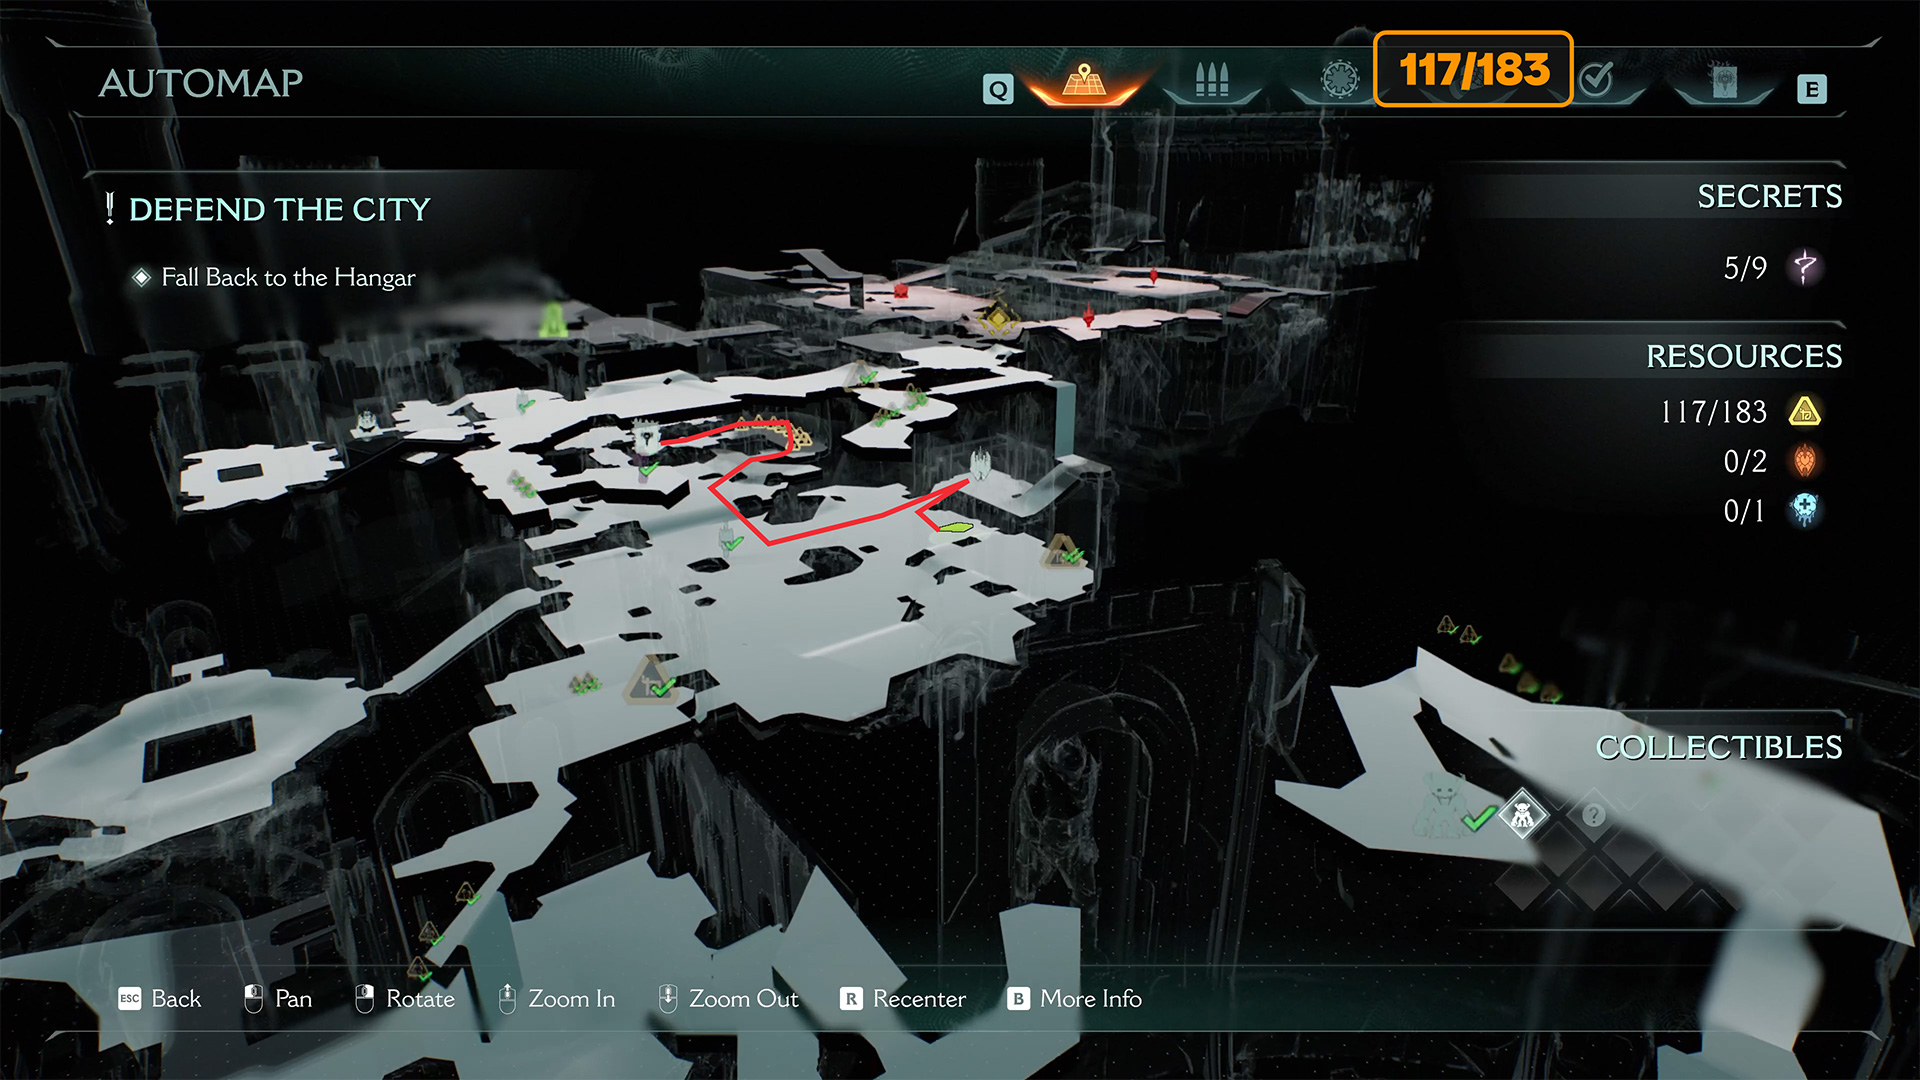
Secret #5 from 9 + 18 gold (097/183) + Secret key
Now let’s go collect all the missing items. The dotted line marks the route you take yourself. The solid line shows what will be shown in the video. Break the barrier, go inside, and you will find the fifth secret. Pick up eight gold coins on the right, turn around, and move forward. On the way to the accelerator, you will find seven gold coins. The accelerator will throw you to the other side, where you will pick up a secret key. You will need it later. Now move forward again and turn left in the room. Where you will find three gold coins.
-

- Now let’s gather everything we missed
-

- Passage to the accelerator
-

- Let’s fly to get the secret key
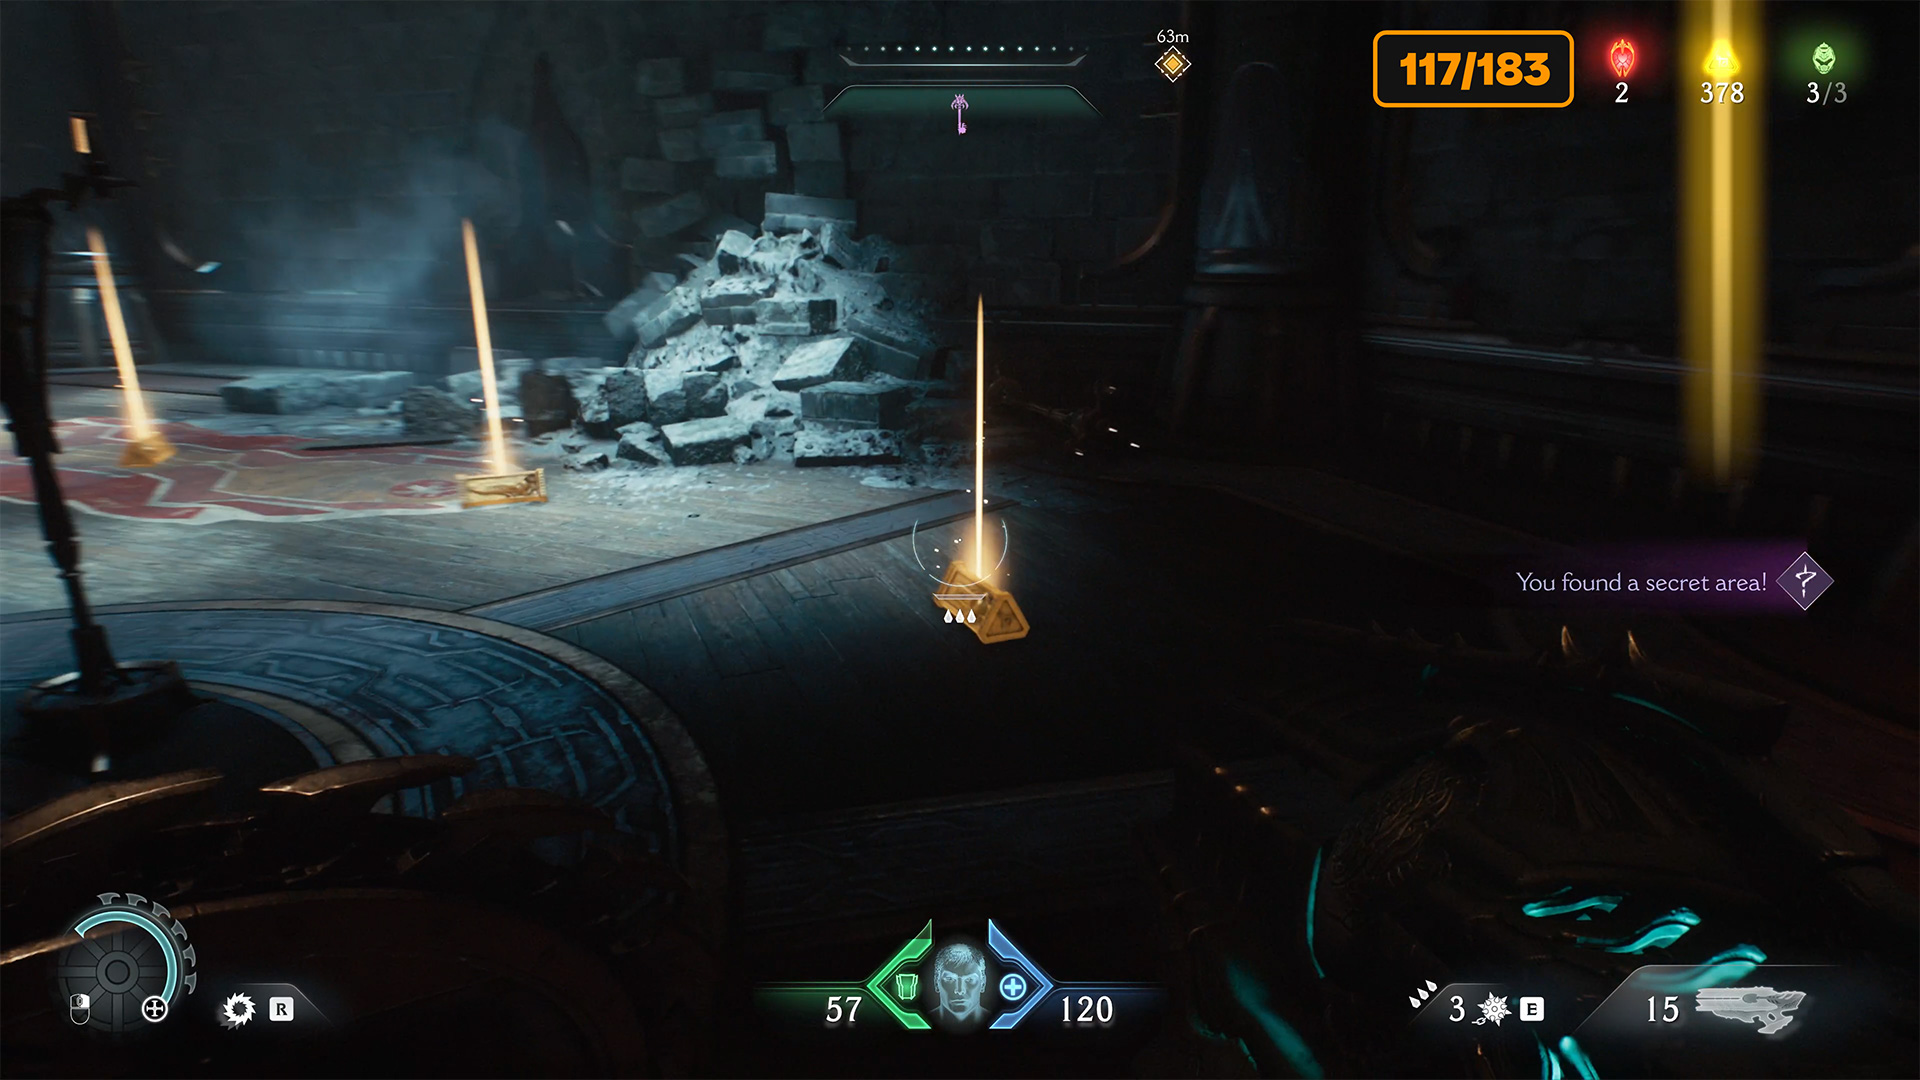
20 gold (117/183)
Jump down from this spot. In the center of the room, you will find four gold coins. This room was previously closed to you. Now go to the other side, where there was another locked room. Now it is unlocked, and inside you will find 16 gold coins. You should recognize this place, you have been here before, but all the rooms with items were locked to you.
-

- Two rooms that were previously closed
-

- Here we take 16 gold
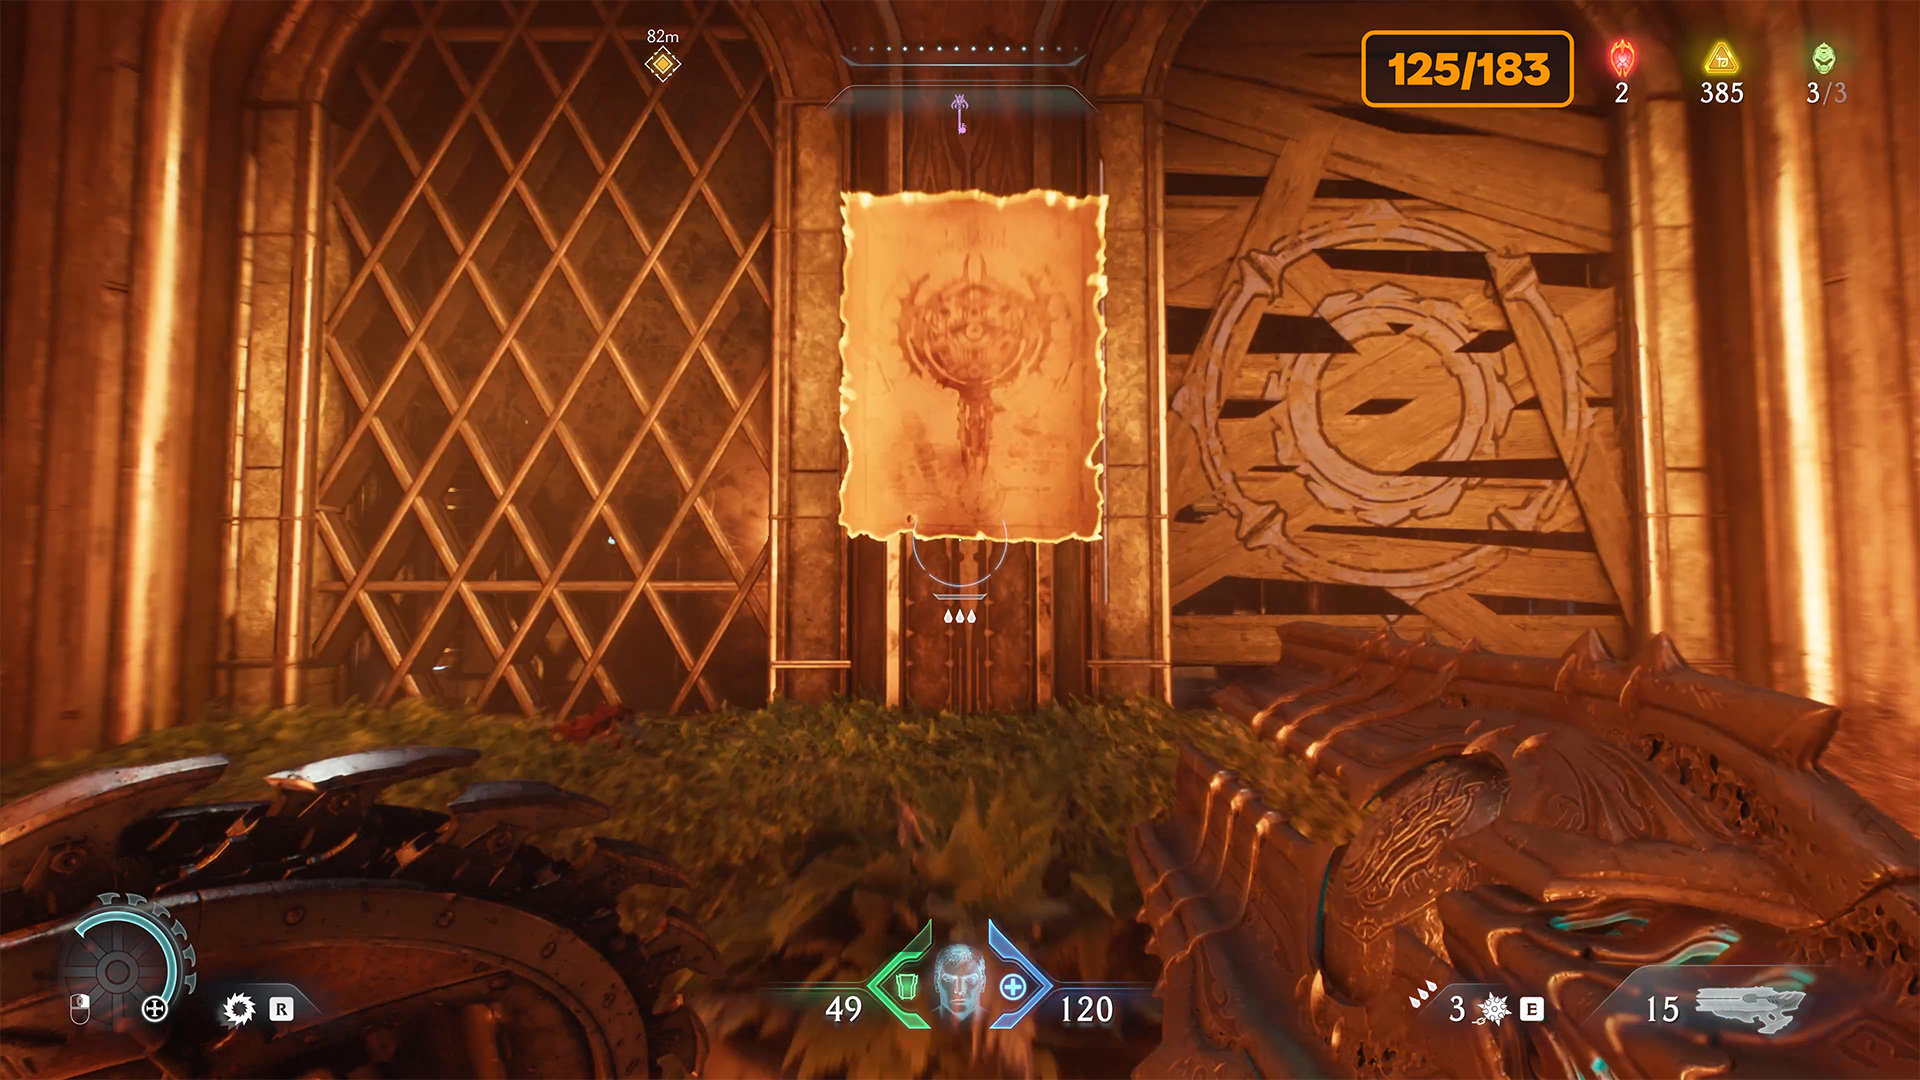
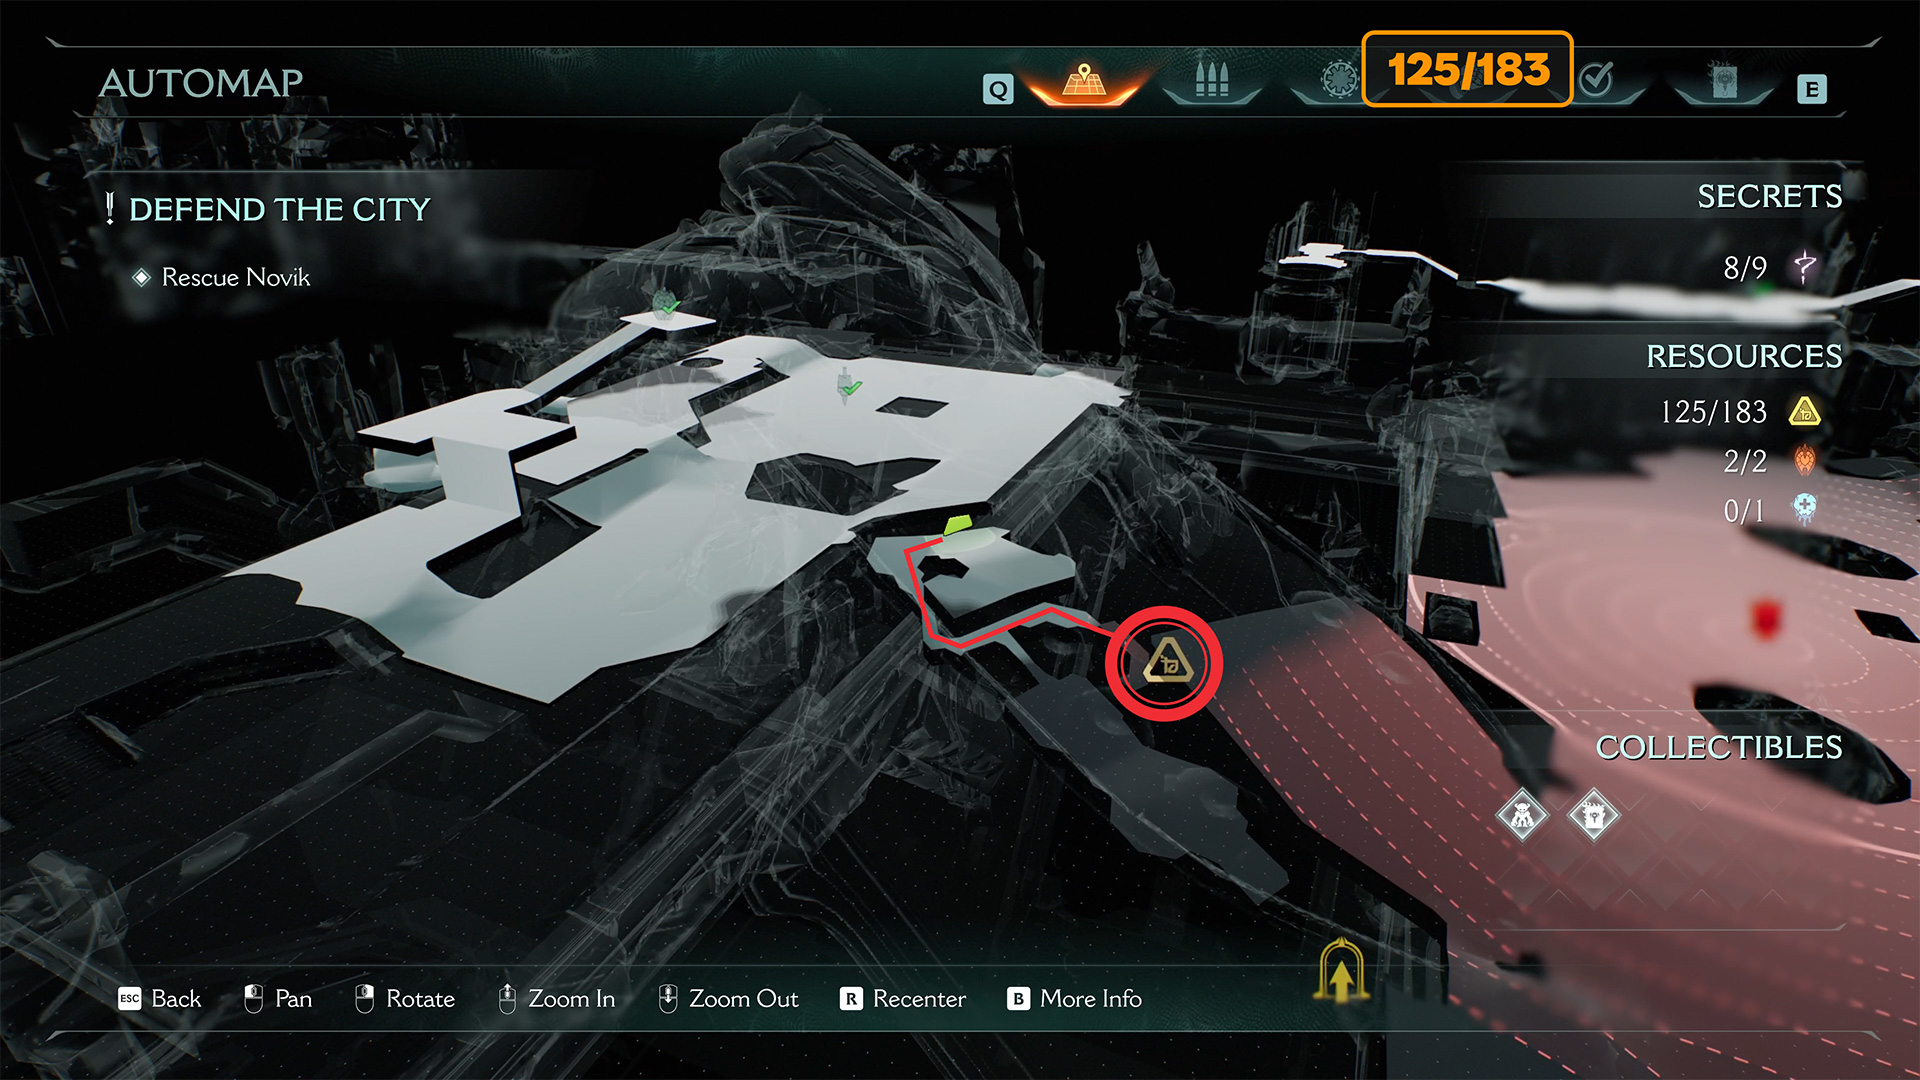
Secret #6-7 from 9 + Ruby #1 from 2 + 8 gold (125/183) + Codex Page
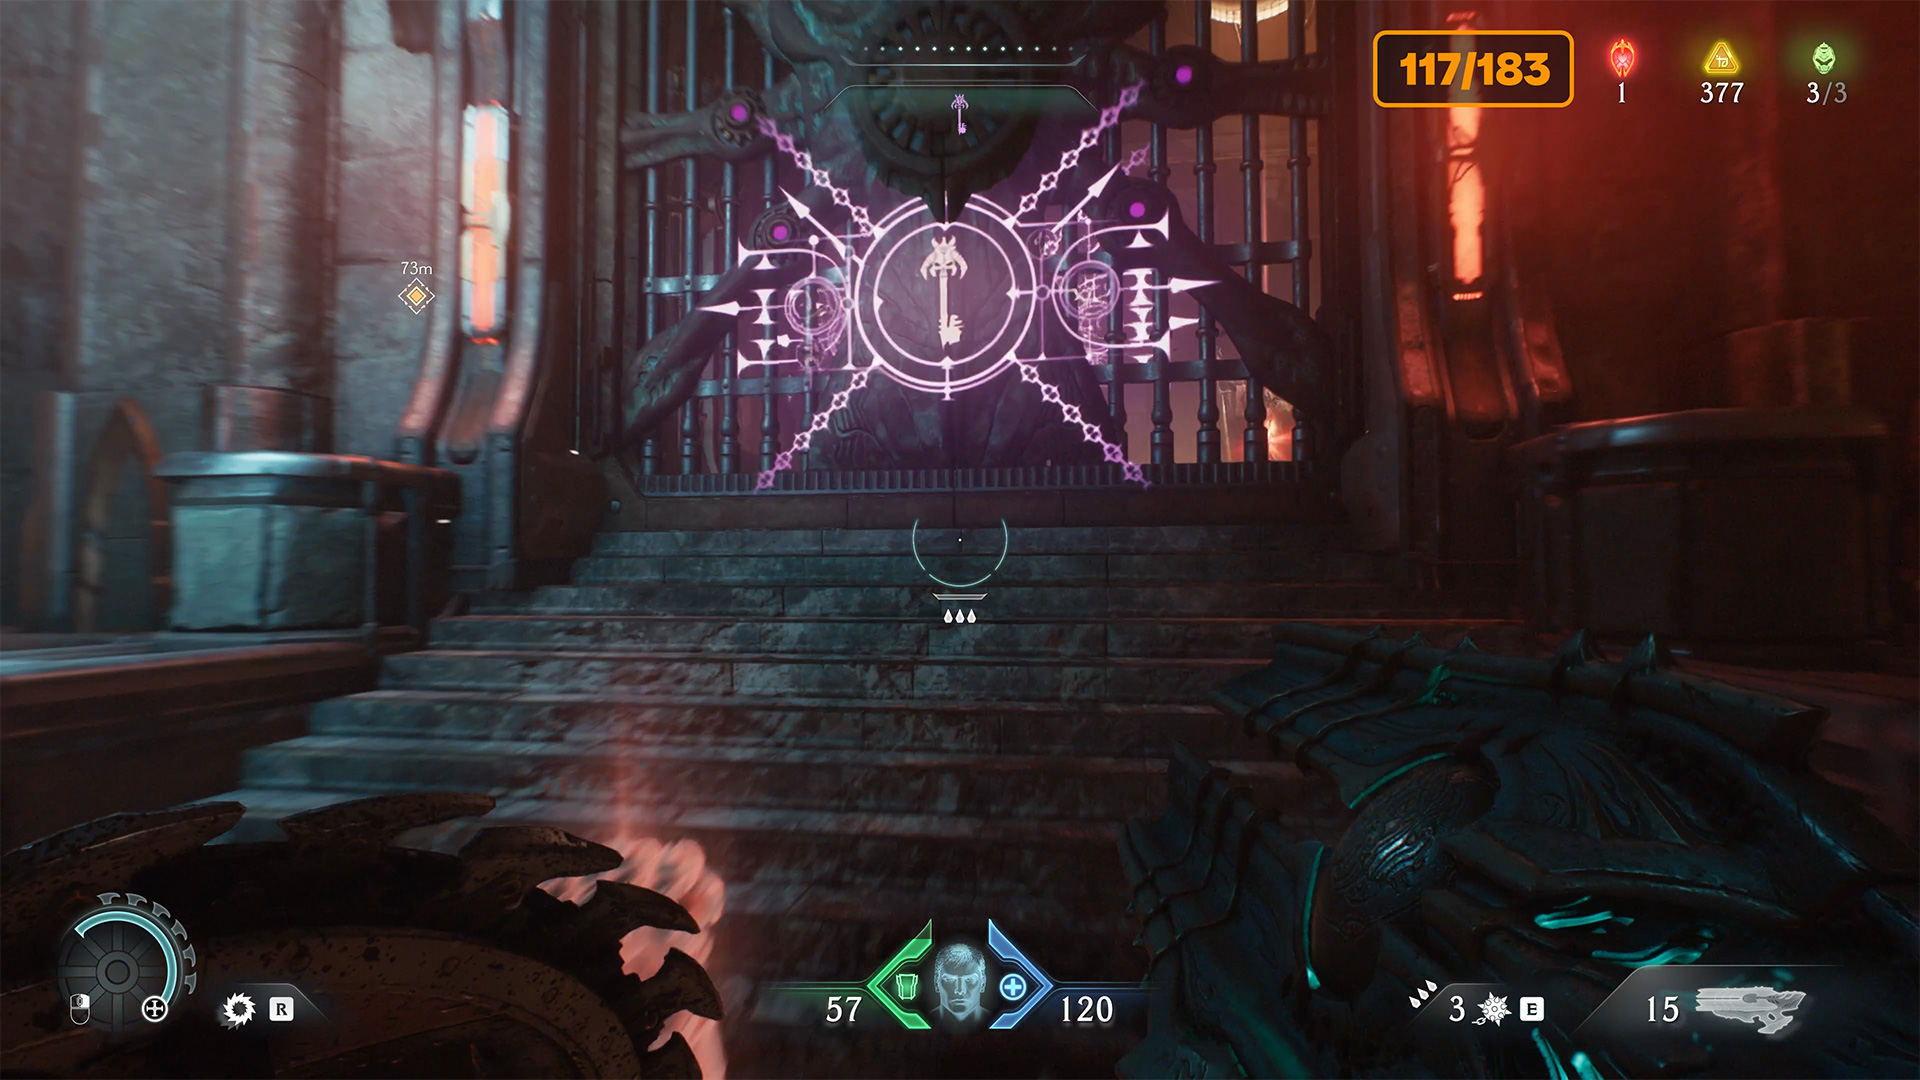
Now, leave this room, and to your right, you will see a locked room. You already have the purple secret key. That will give you access inside. Approach the door, it will open automatically, and inside you will find the sixth secret and be able to get the first Ruby of this chapter. Now, go to the central room and move to the next locked door, it will also open automatically. Behind the door is the seventh secret. You will collect eight gold coins on the floor and take a page from the Codex at the end.
-

- The complicated path to awards
-

- The first closed purple door
-

- Ruby behind the purple door
-

- The second closed purple door
-

- Behind the purple door, gold
-

- At the end of the codex page
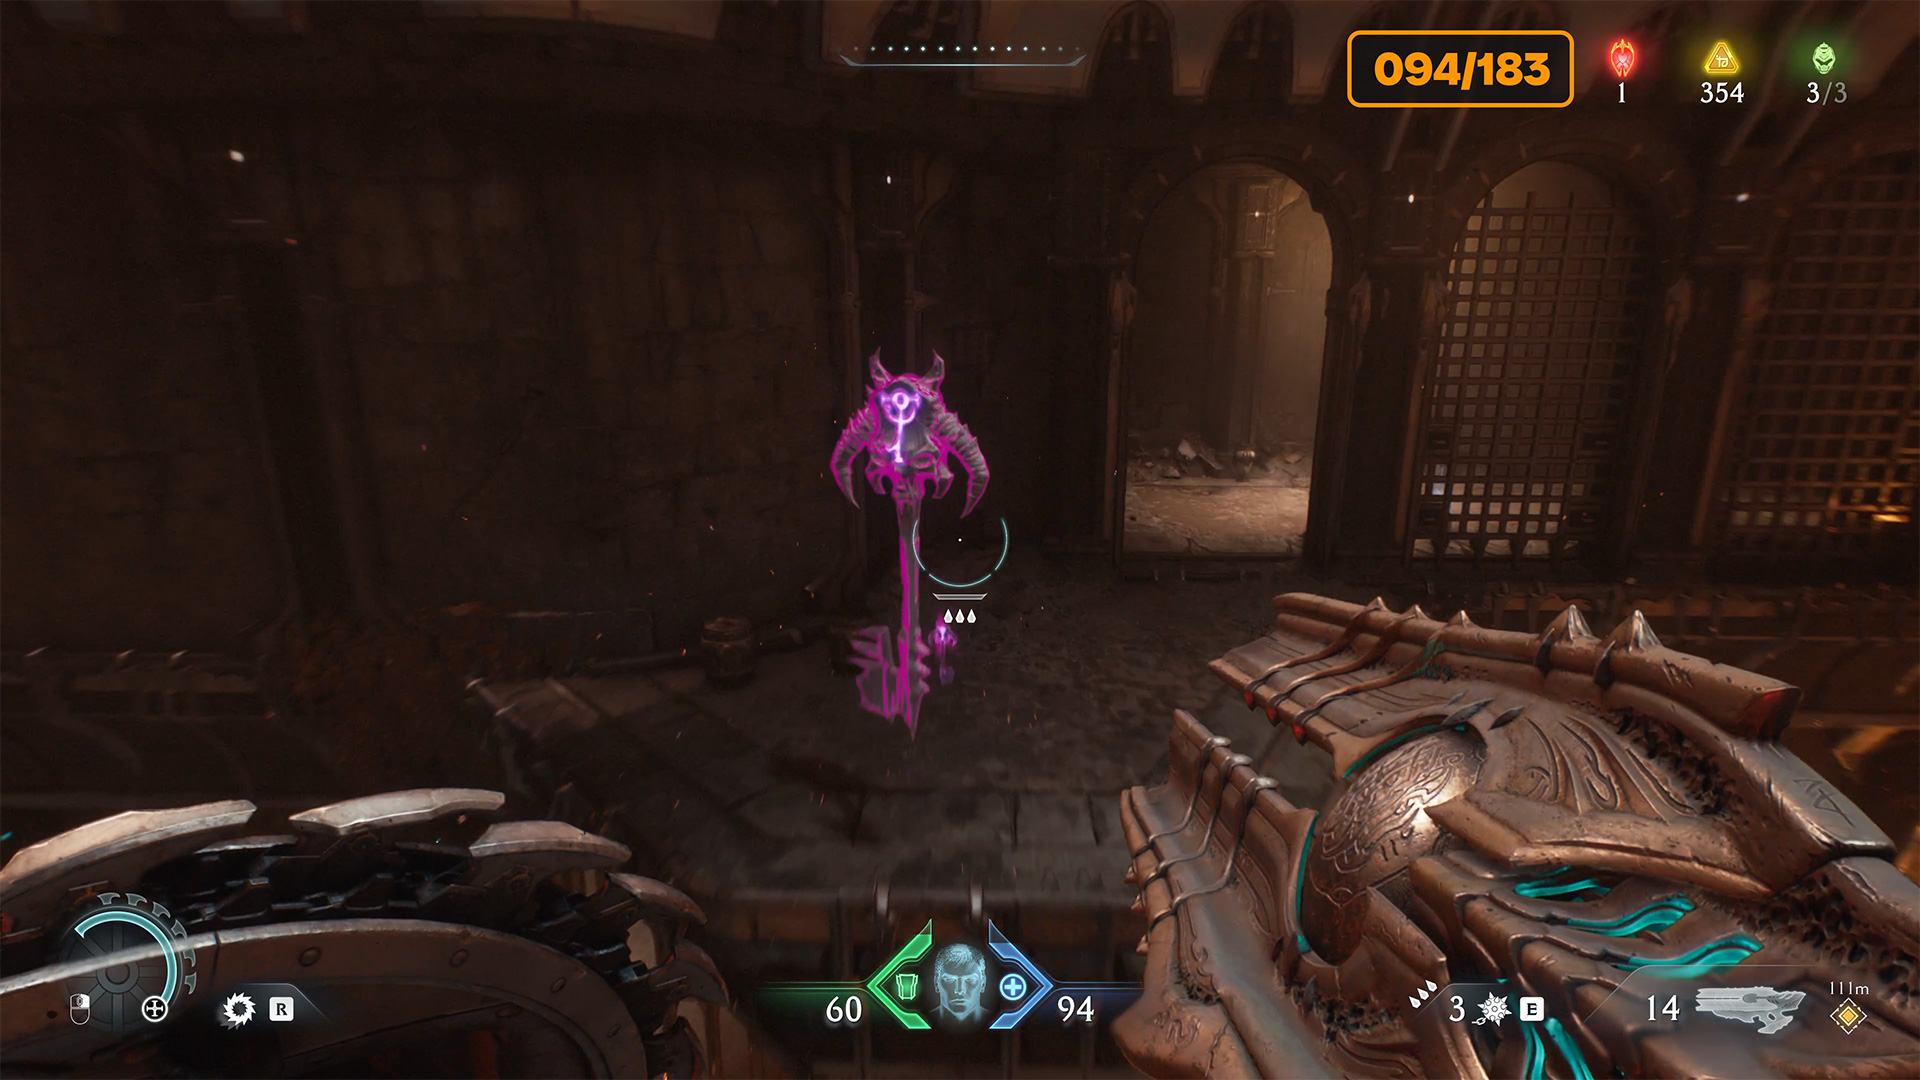
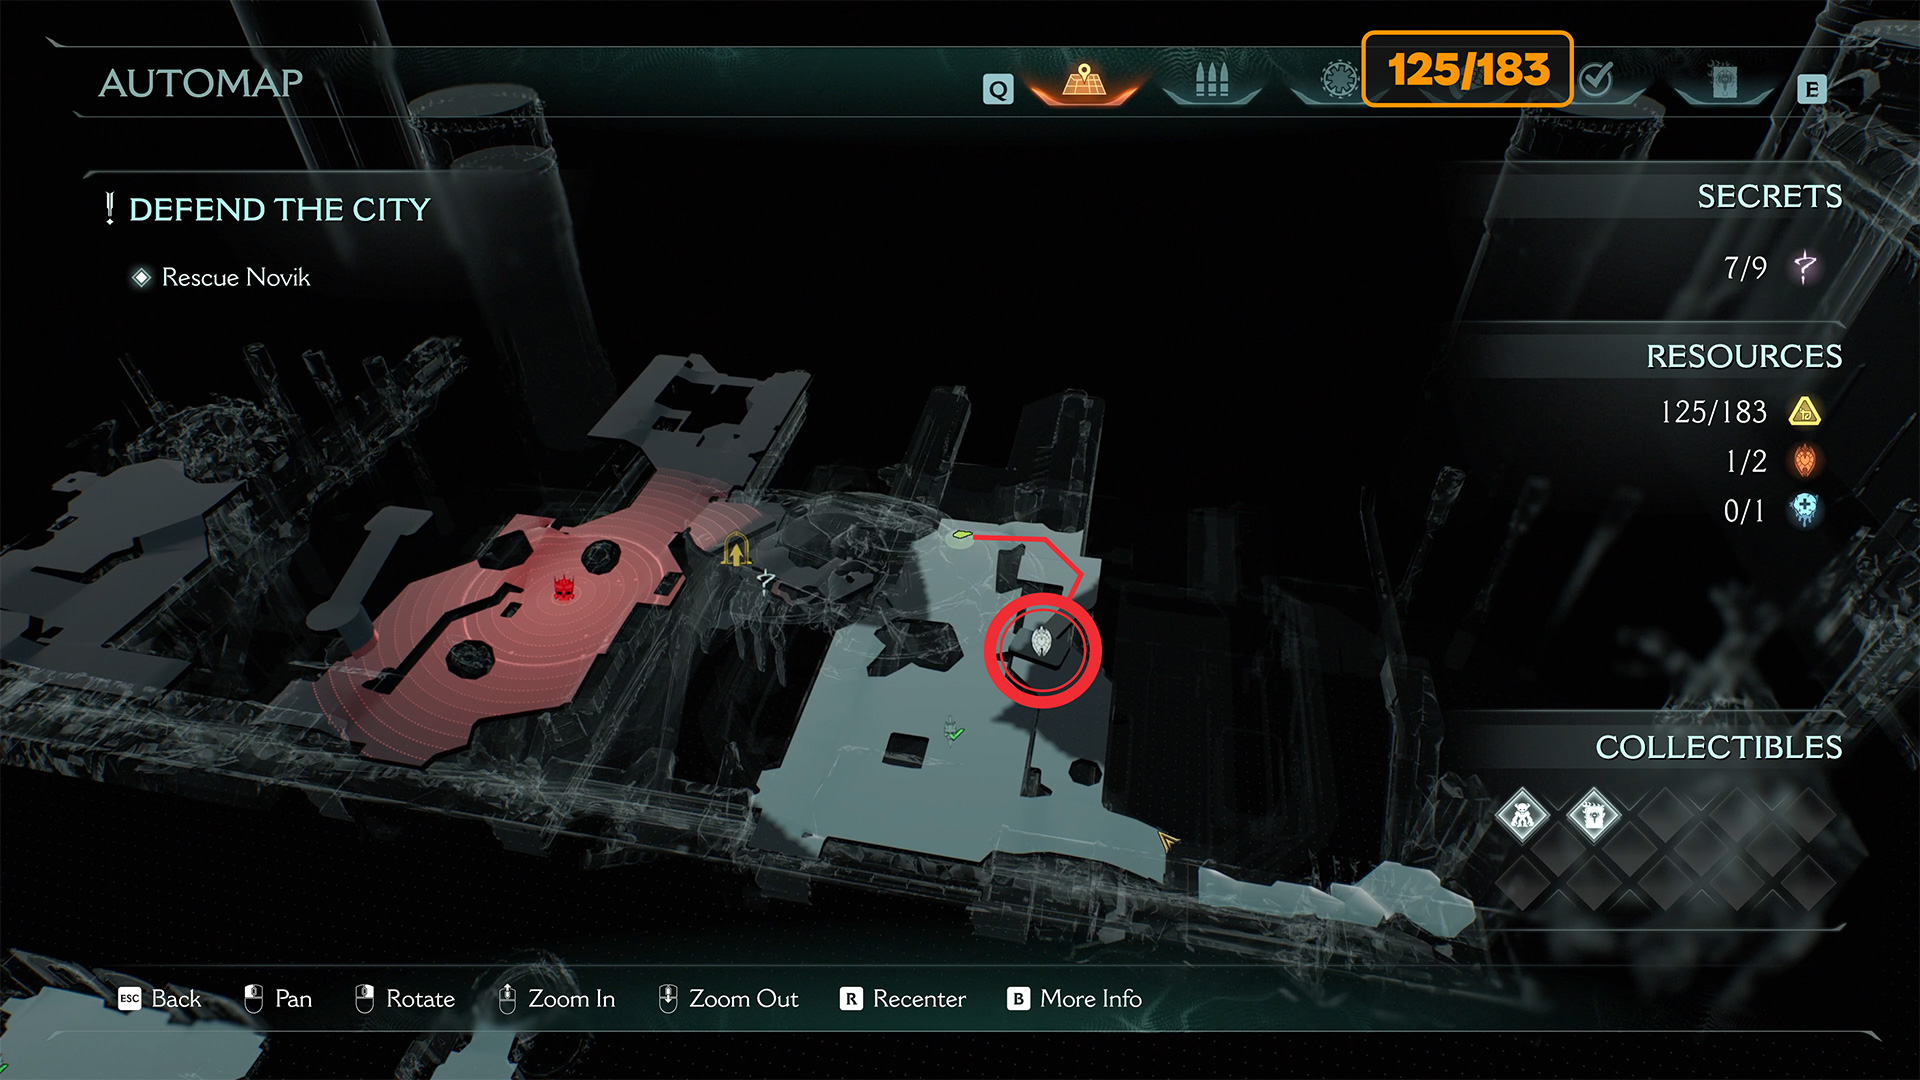
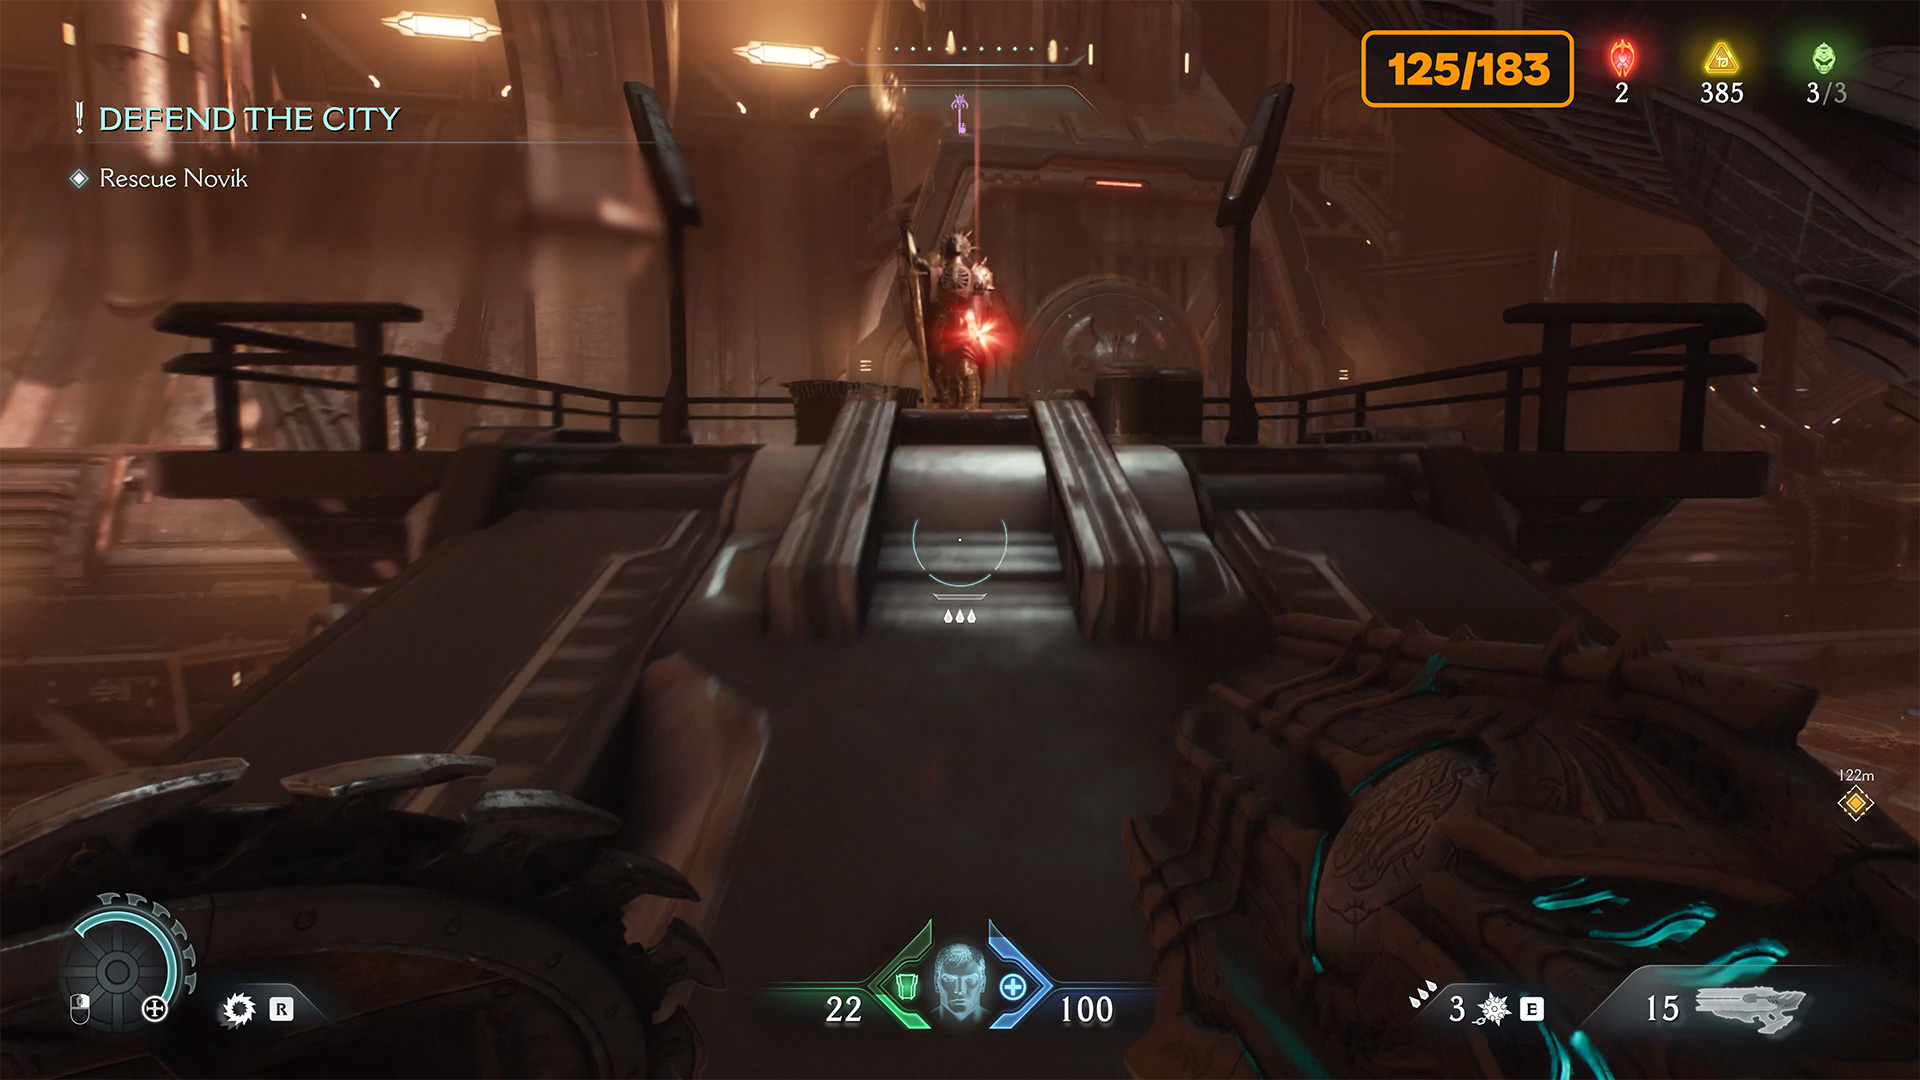
Secret #8 from 9 + Ruby #2 from 2
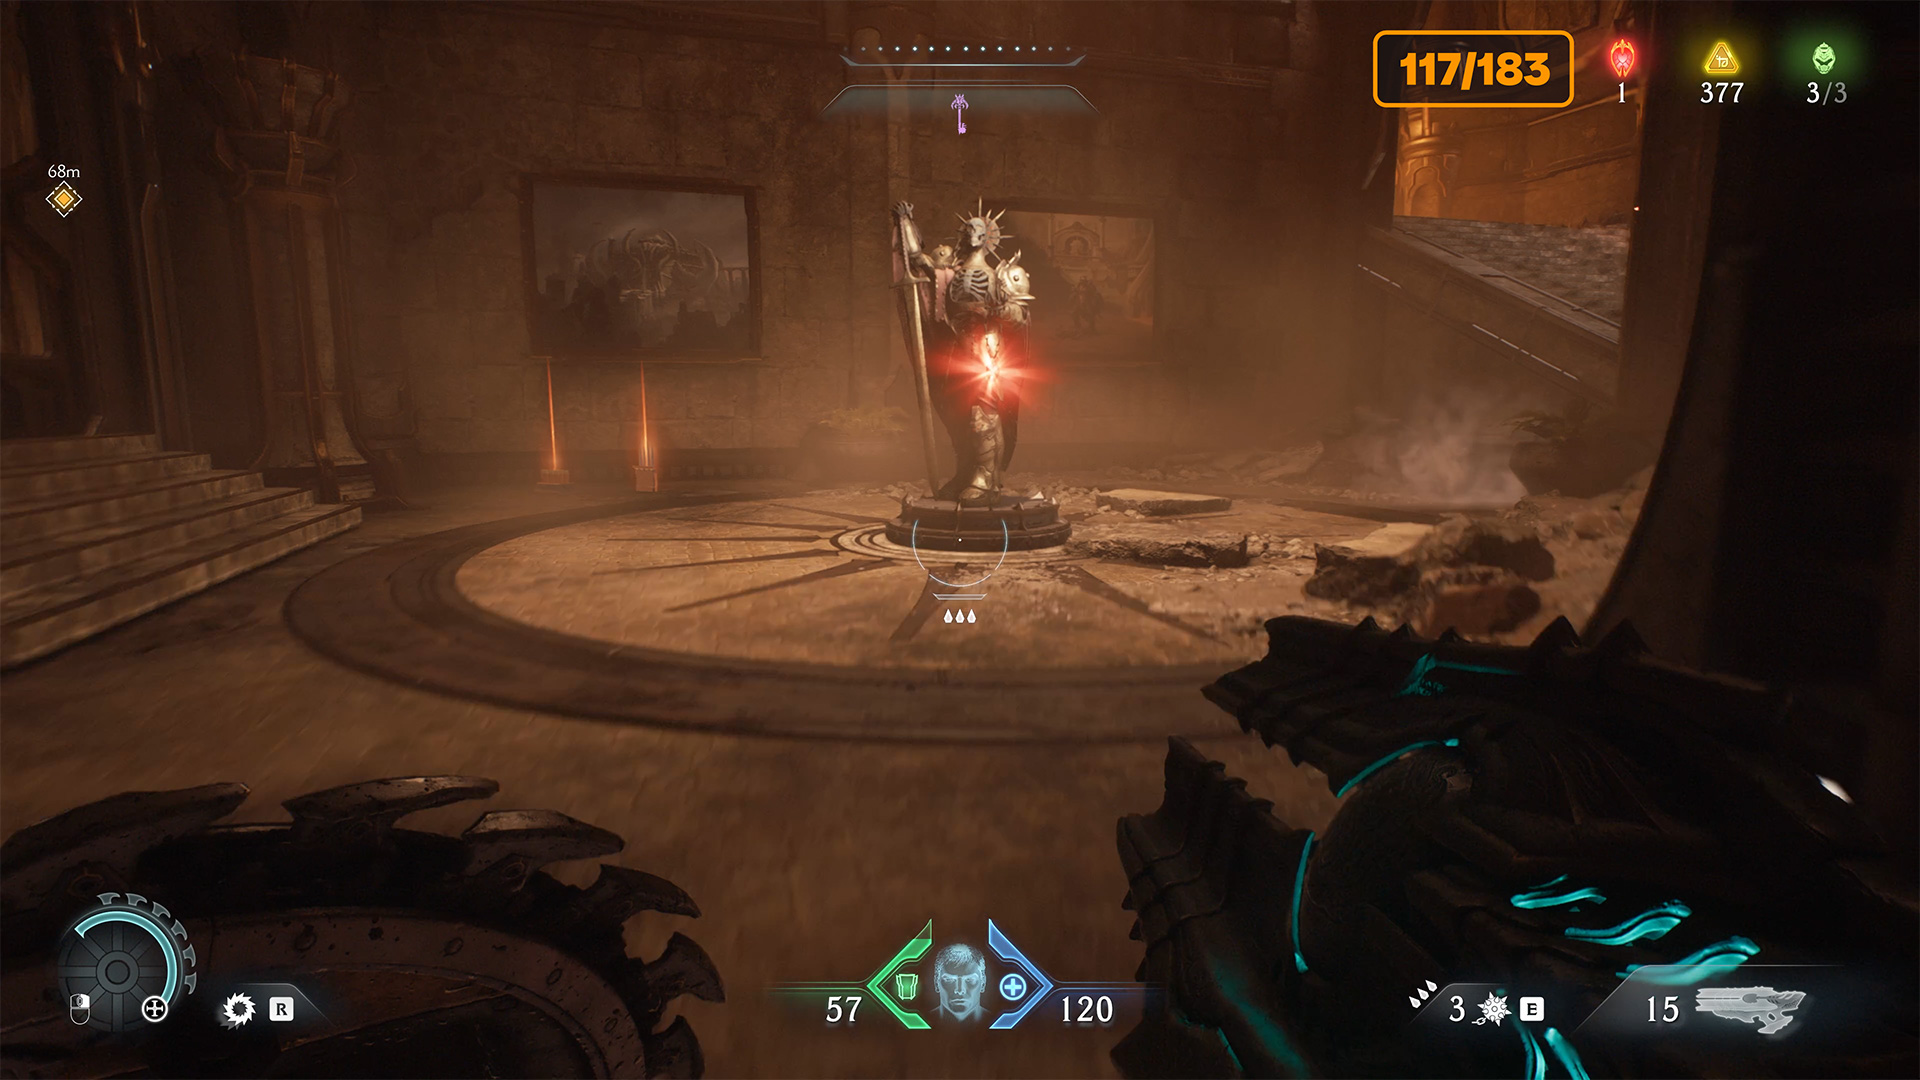
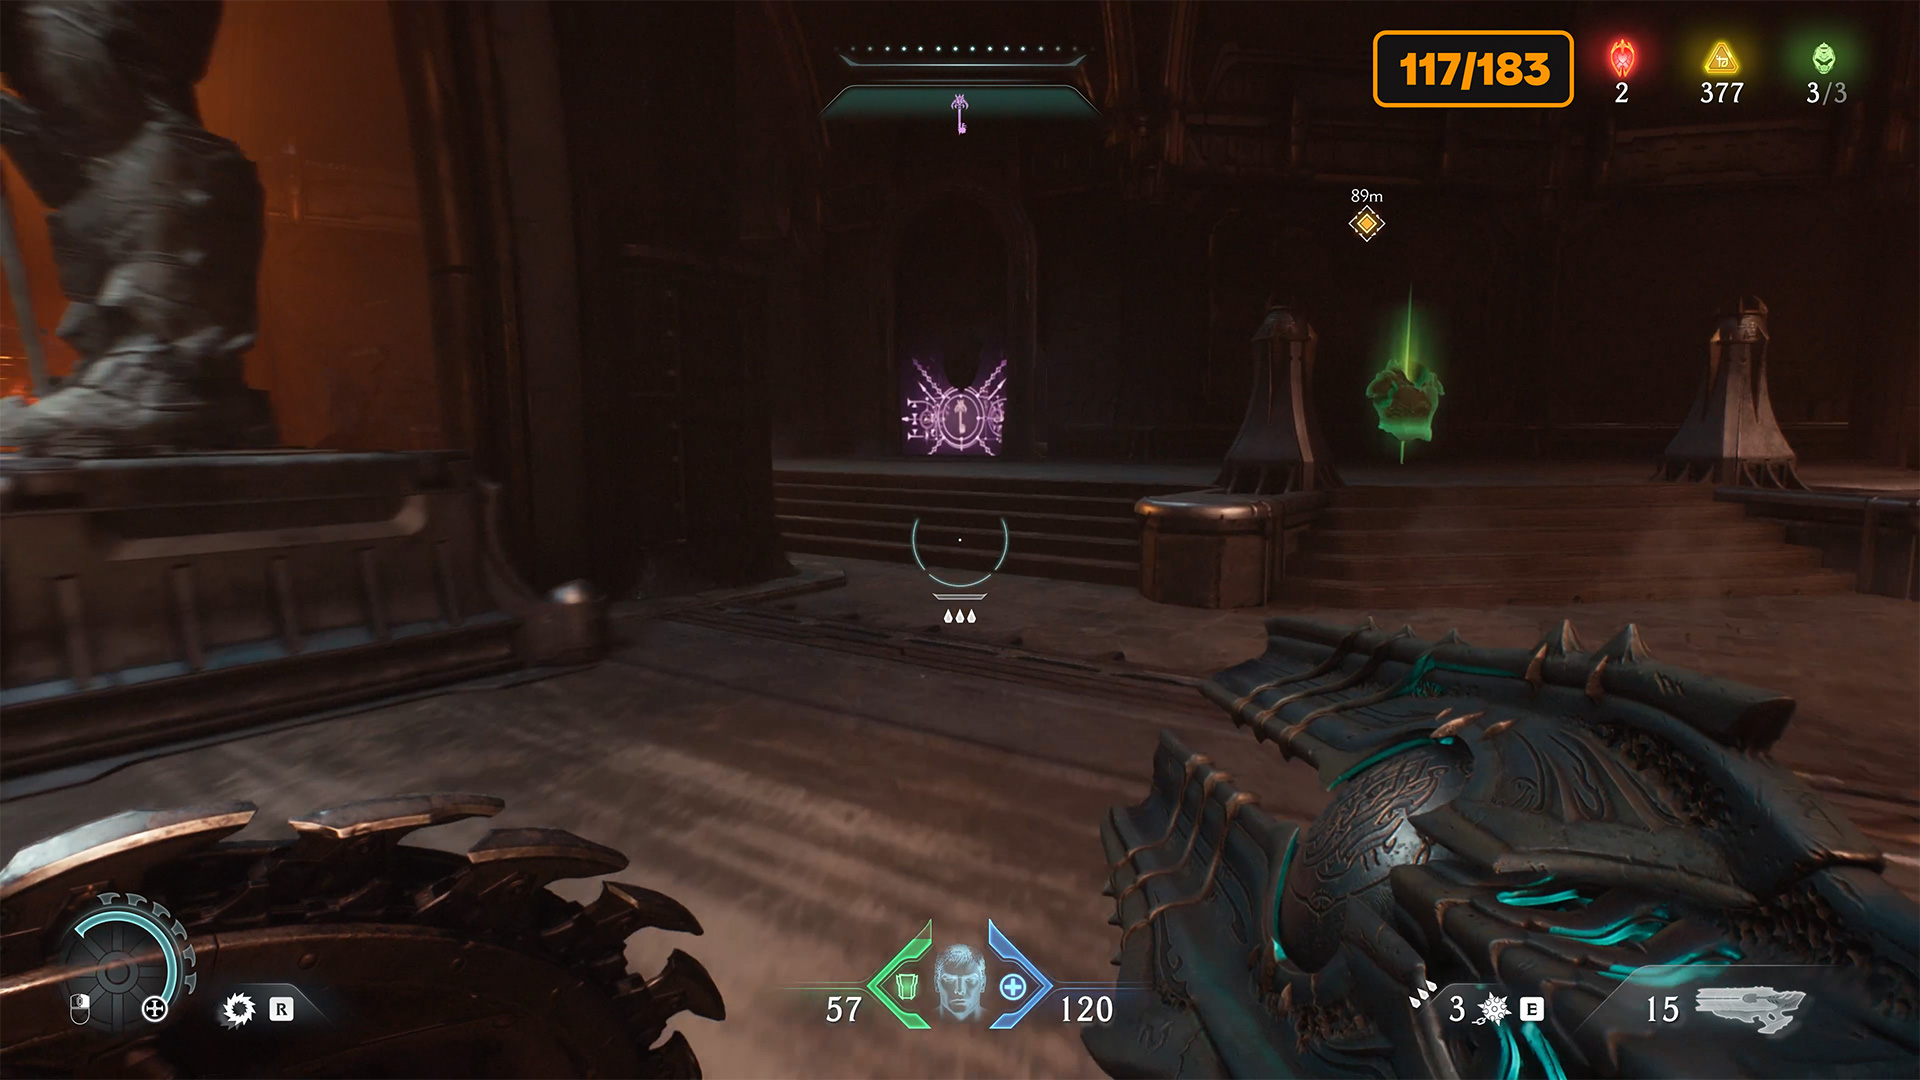
Continue following the storyline until you reach a room with a large alien saucer in the center, according to the storyline, you will need to enter it. Don’t rush to do so. Near this location, there is a route that will lead you to the eighth Secret and the second Ruby in this chapter. Just look carefully at the map and find this location. It is important not to miss it and not to enter the UFO until you have collected the ruby.
-

- The path to the second ruby in this chapter
-

- Take the second ruby
8 gold (133/183)
Now go into the UFO wreckage. Once you’re inside, look at the map to see the route. There will be a small branch where you will find eight gold bars. Take them at the beginning because you will not be able to return here. Later in the story, you will jump out of the UFO onto the platform, and this place will become inaccessible.
-

- The path to gold inside a UFO
-

- Climb on this secret to get the gold

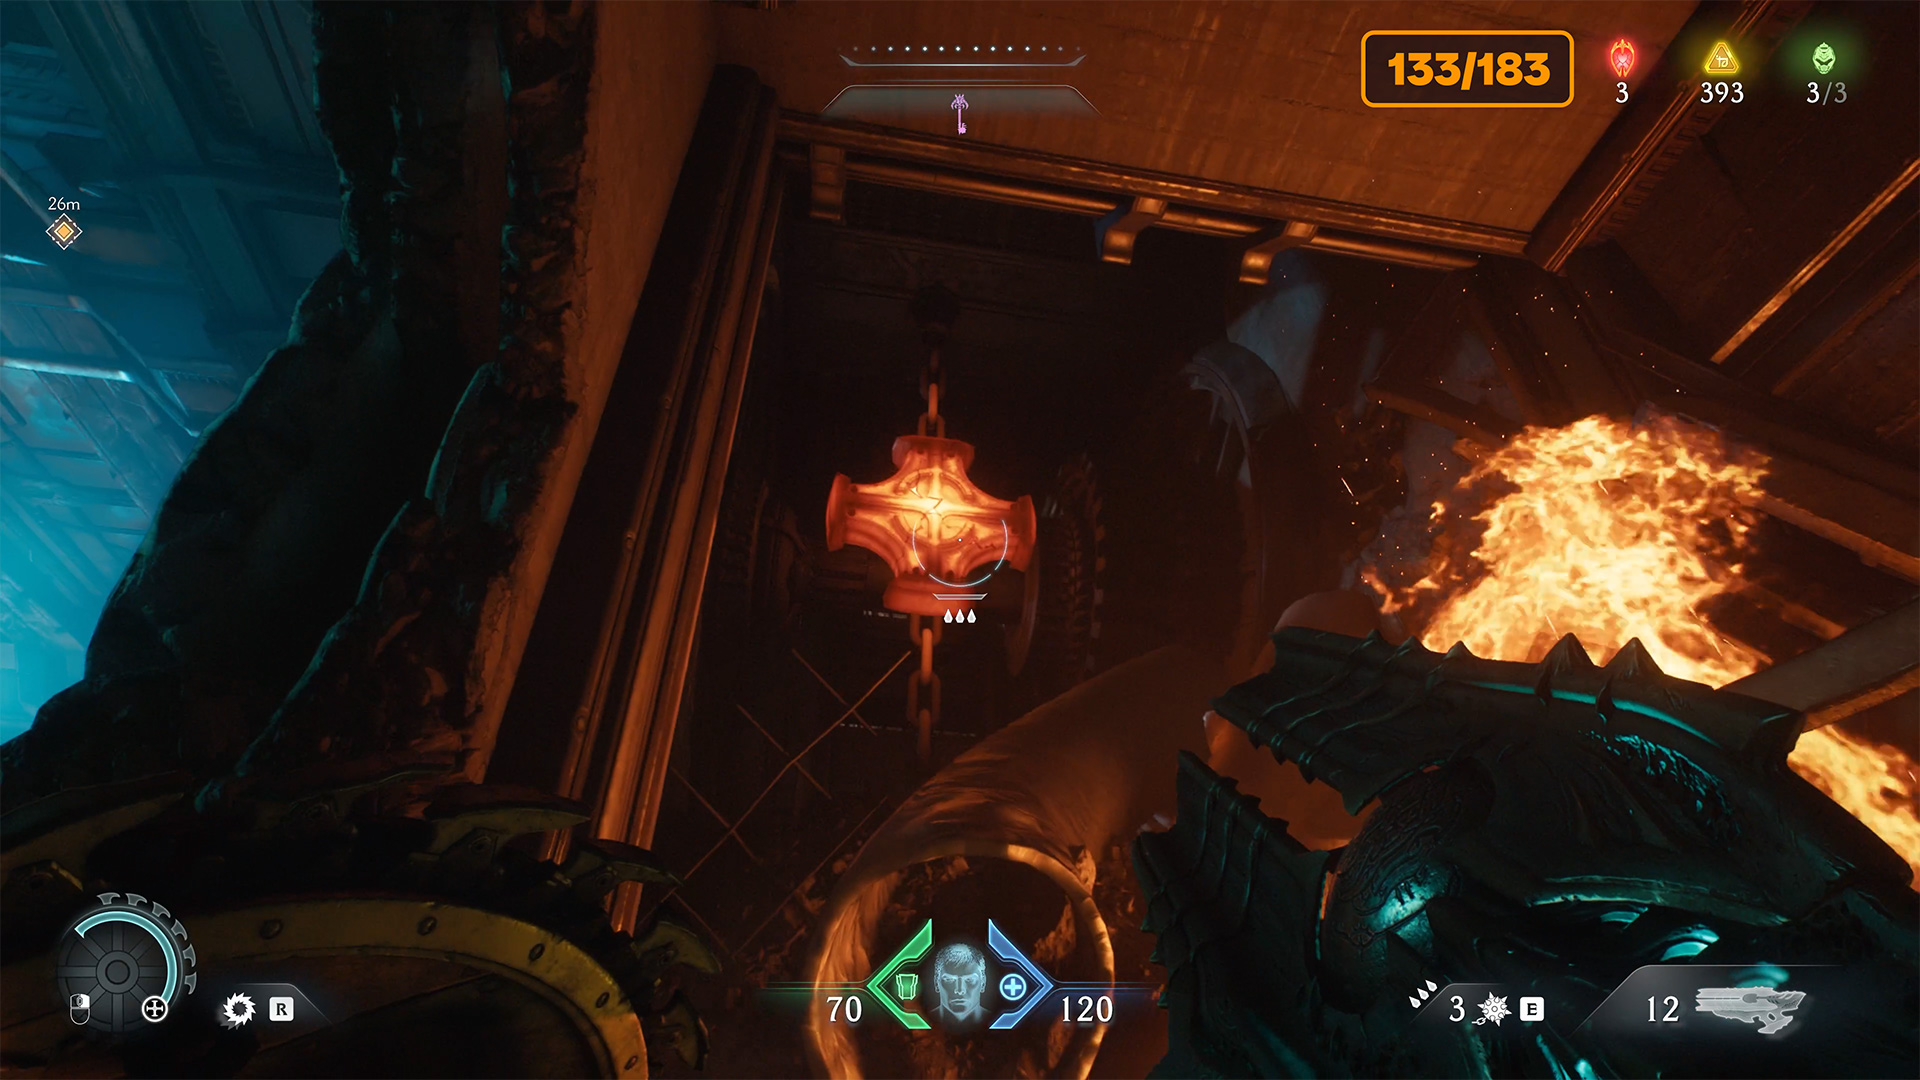
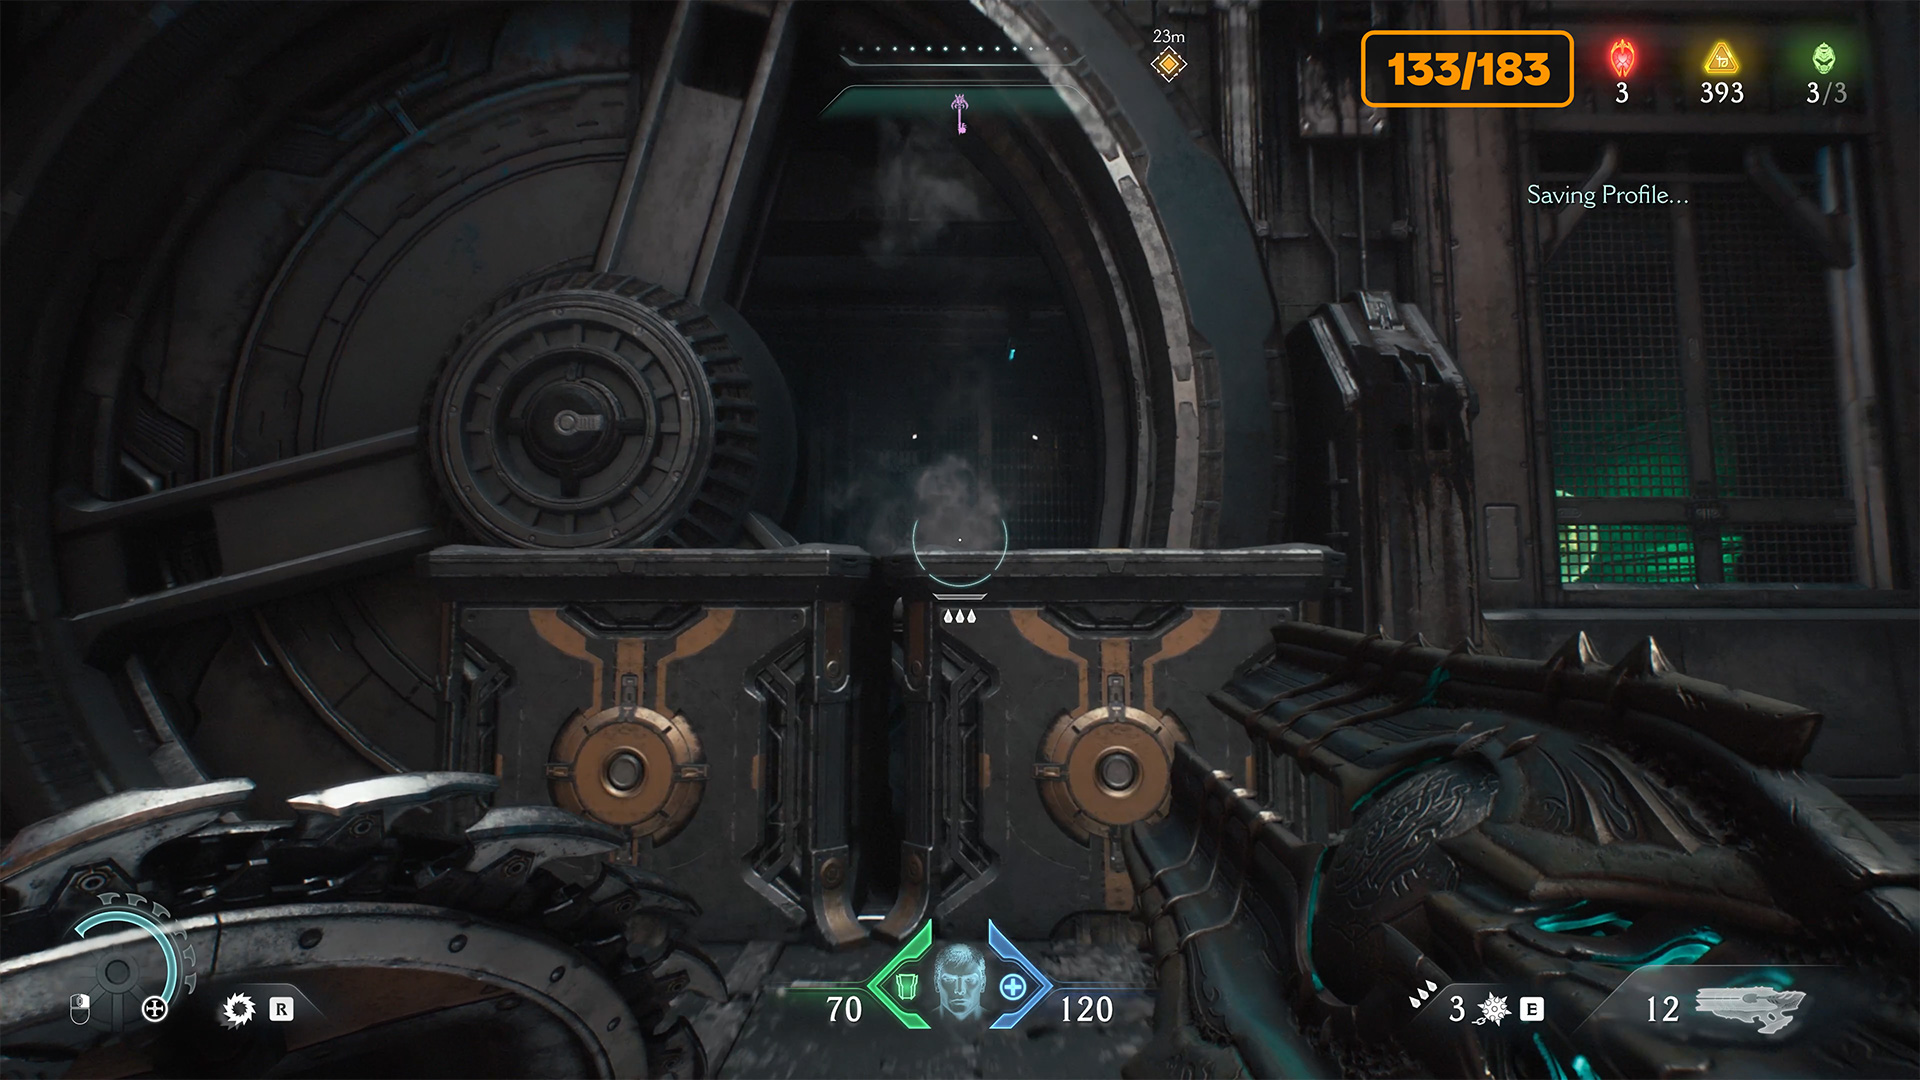
Secret #9 from 9 + Life Sigil #3 from 3 + 50 gold (183/183)
In front of you is a small area with a tricky puzzle. You see 50 gold coins high up on the platform on the map, but you can’t get there right now. Climb up the wall, find an object to throw your shield at, then go back, and you will see that the fan blades have turned. And opened a passage to the last night’s secret area, where you will find the life sigil. Now go outside, and you will see that the platform with 50 gold has descended. Approach it from the side and collect your reward.
-

- The correct route in this place

-

- Break this object with a shield
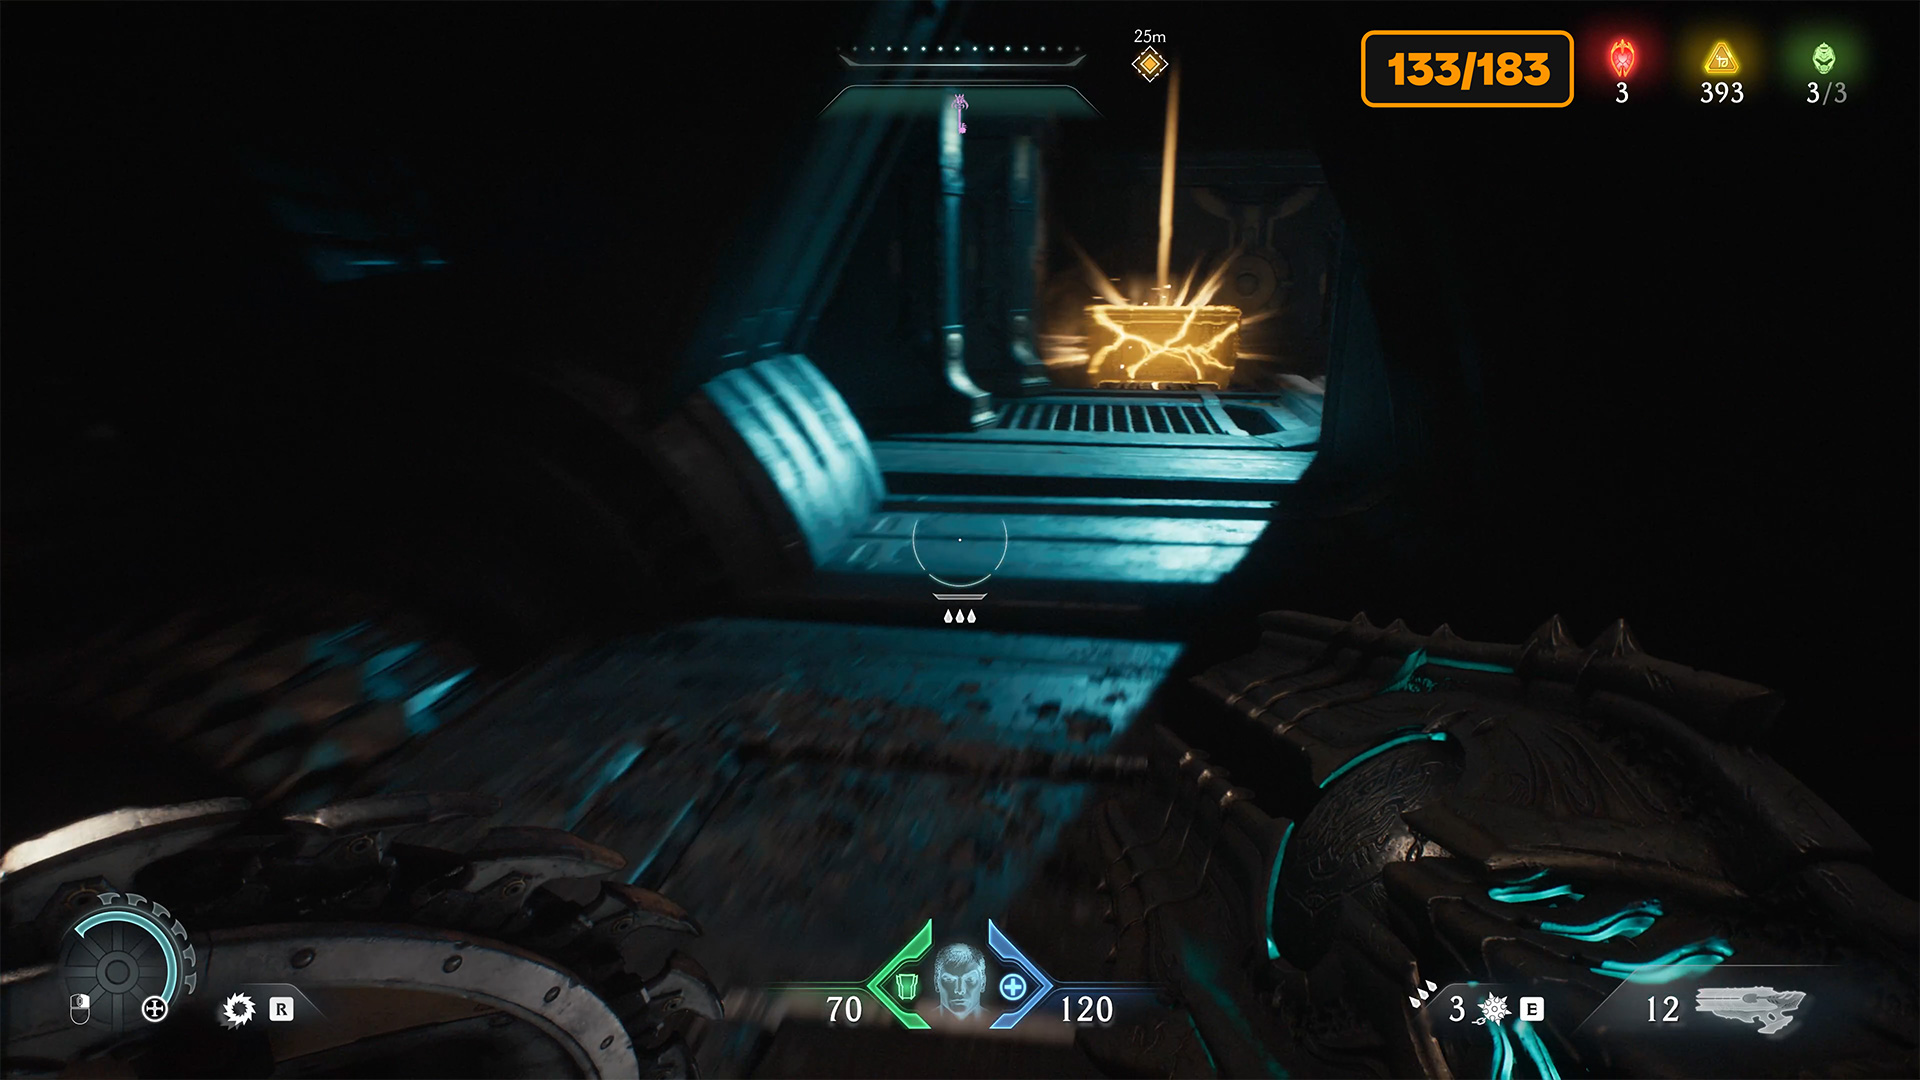
-

- The secret lies in Life Sigil
-

- Hidden 50 gold
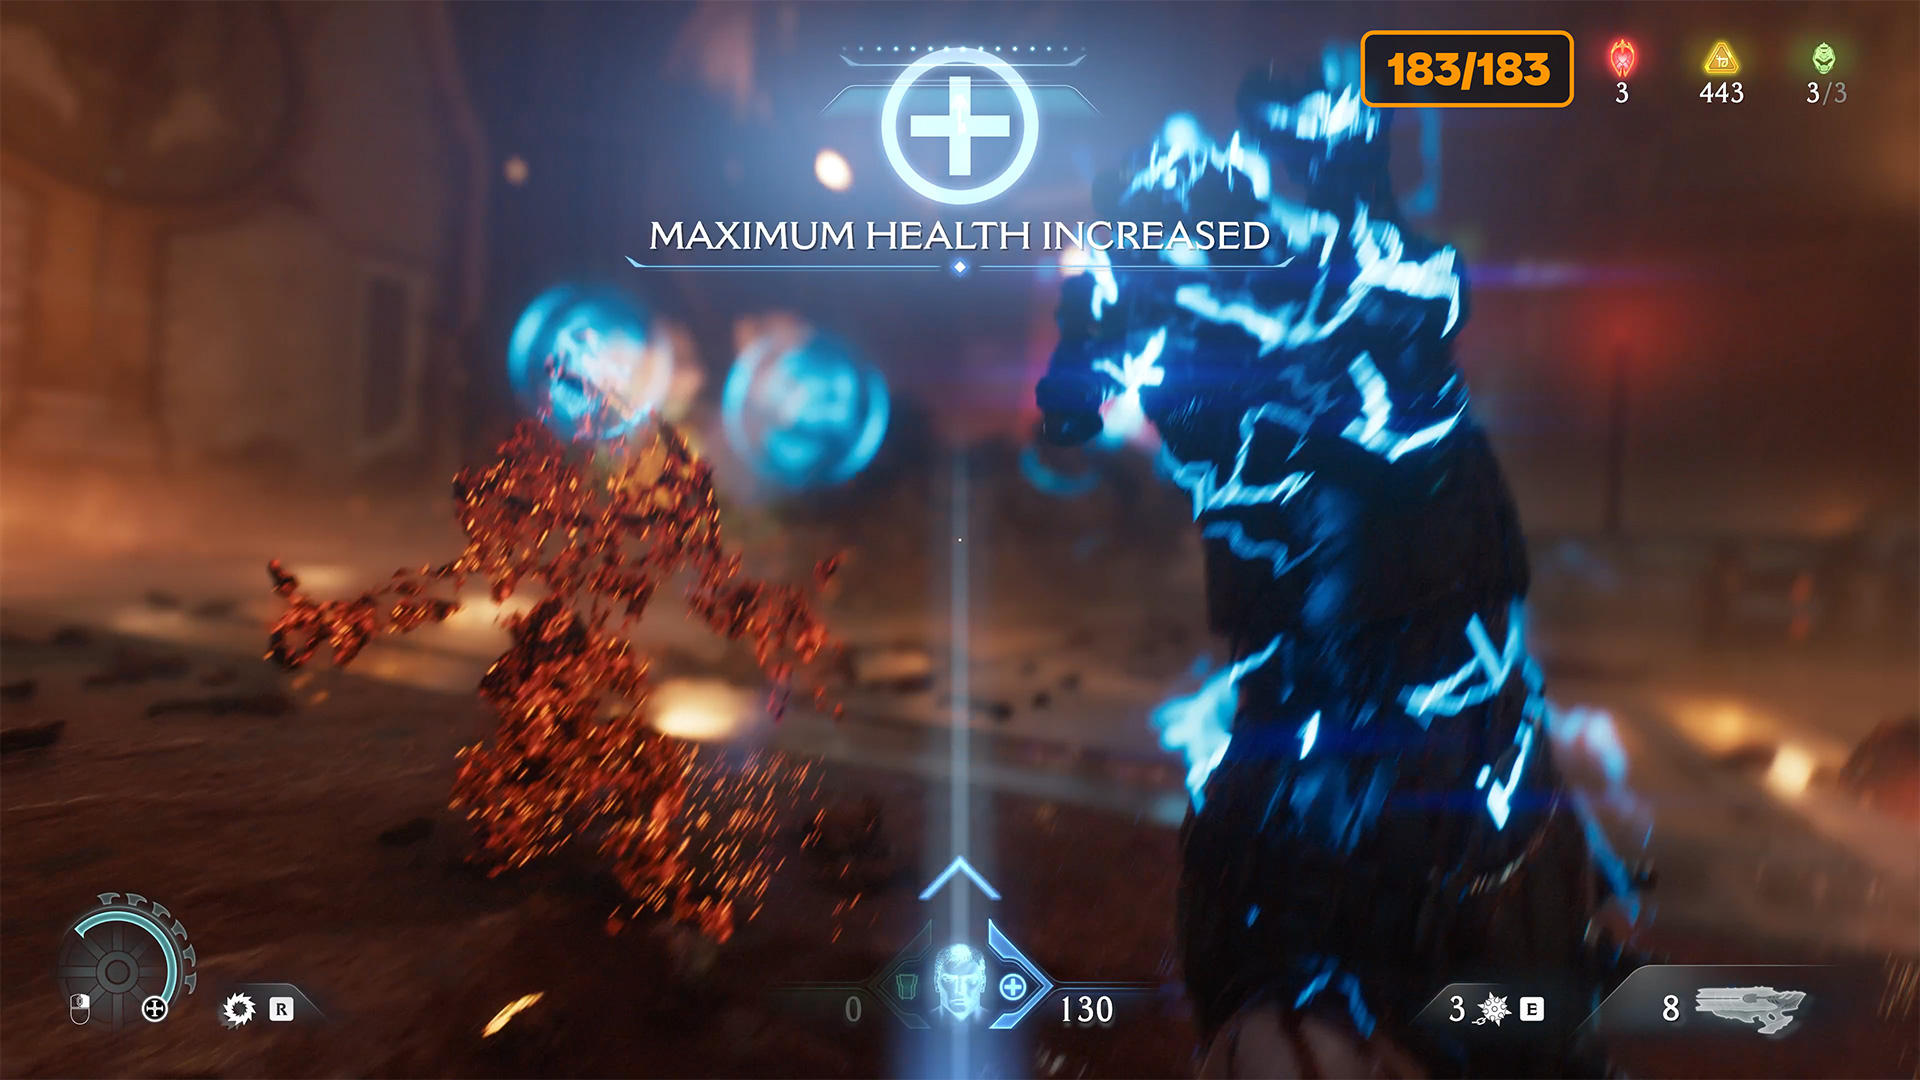
Demonic Essence – Health
You will receive the last item, Demonic Essence – Health, when you defeat the main enemy of this chapter. If you found this video useful, please like it and subscribe to the channel. Also, check our reviews of other chapters of Doom in the Dark Ages.
-

- The site of the final battle

-

- Demonic Essence – Health in this chapter