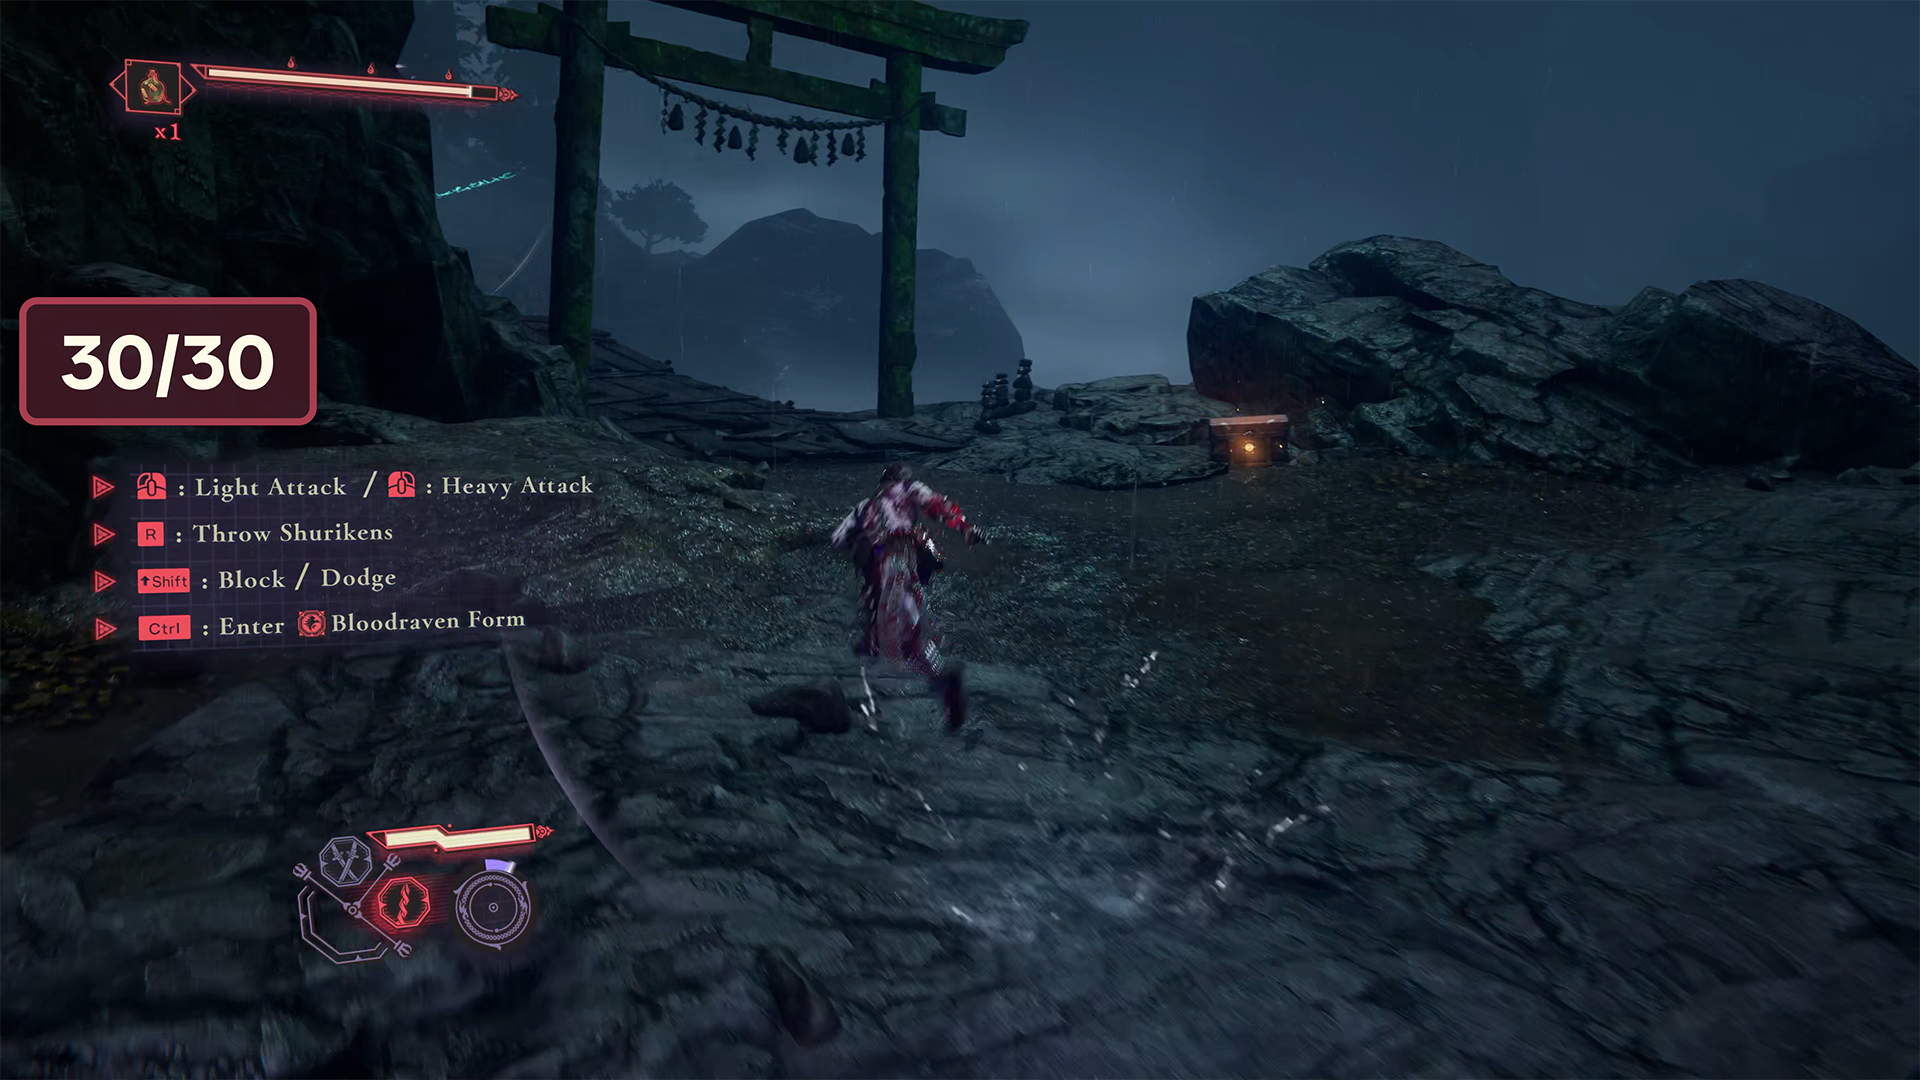
I found quite a few chests in Chapter 5 of Raging Valley. As many as 30. So I decided to make a separate video about the chests to show their locations and rewards. I hope you find this guide useful. All other quests and missions are covered in separate articles. Here we will only discuss the chests.
So, as usual, I recommend watching the video first for those who prefer visual material.
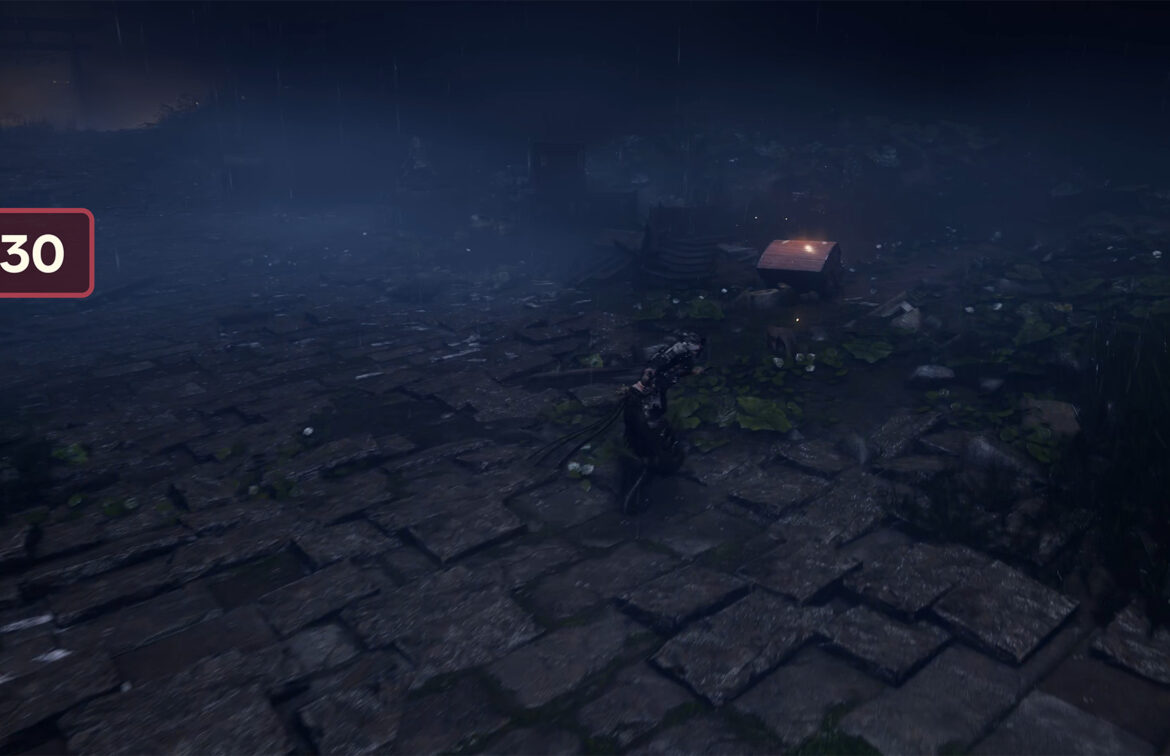
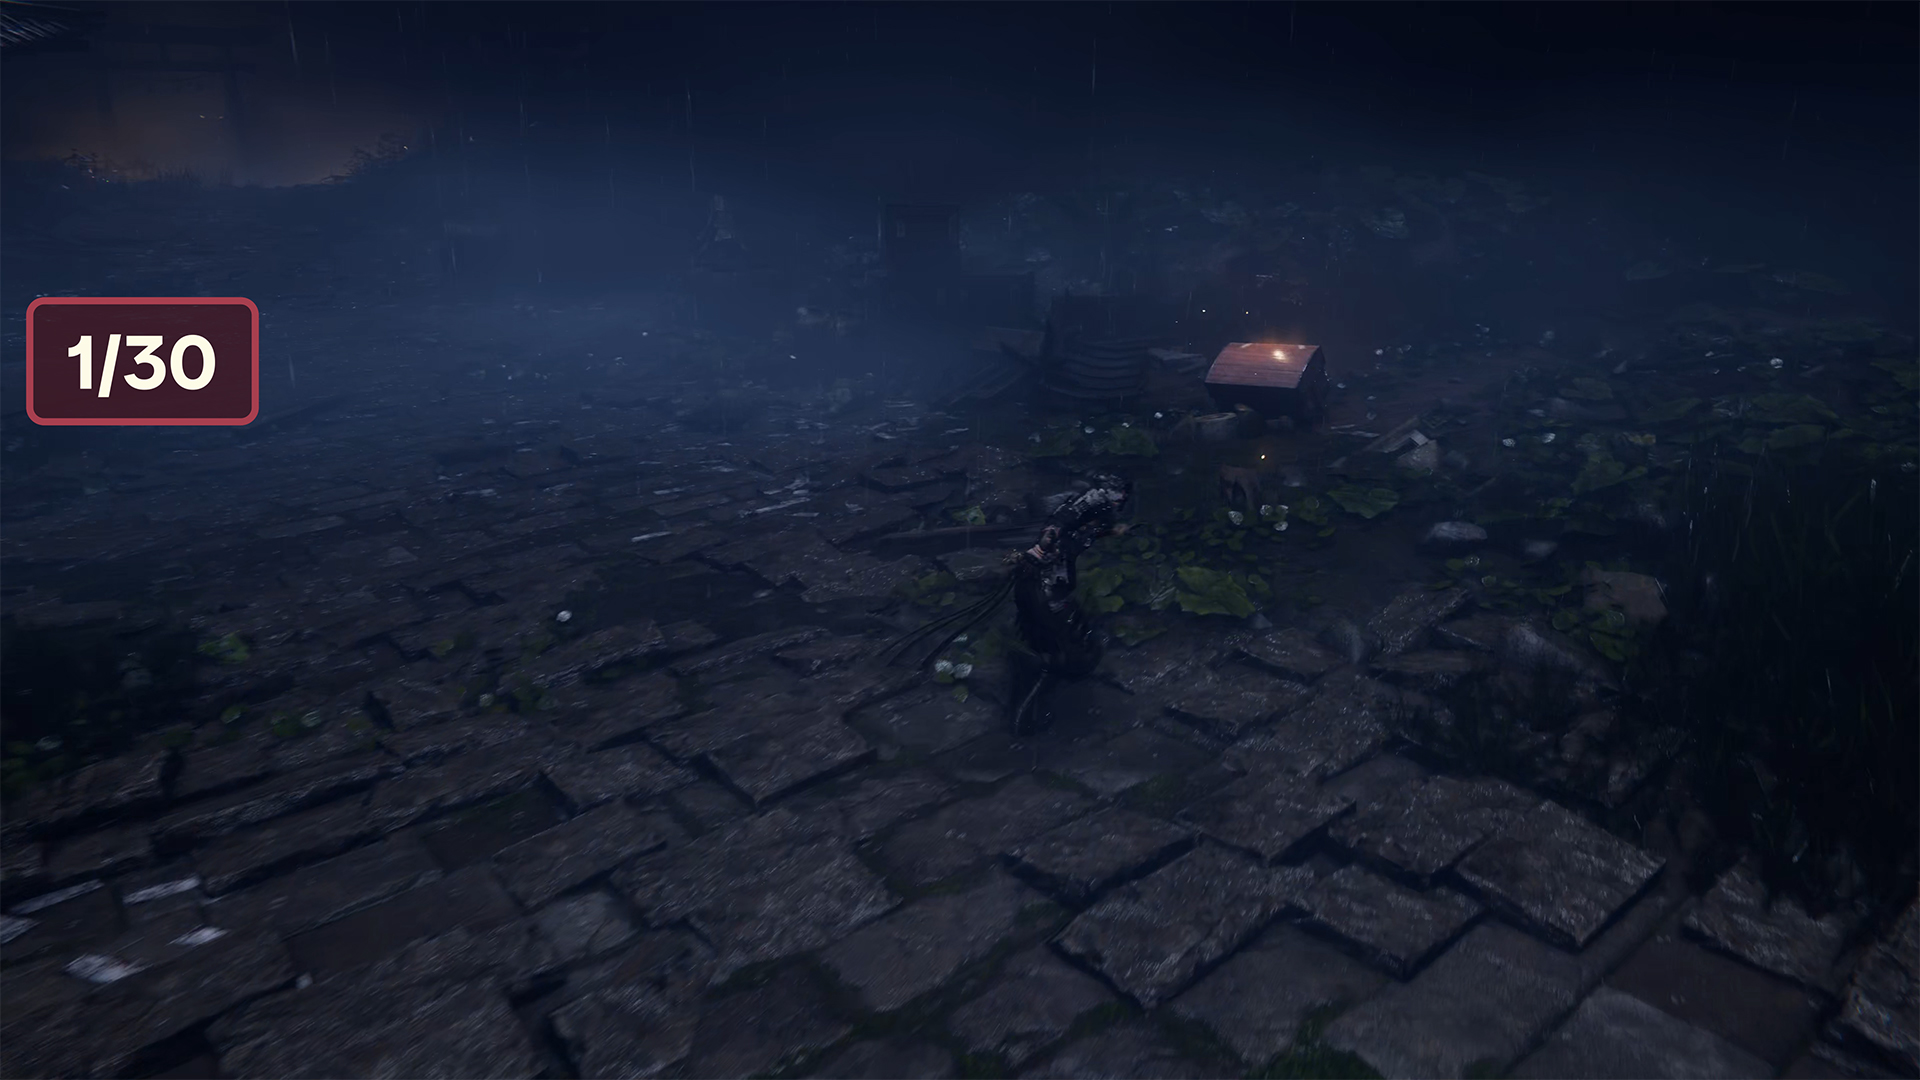
Chest #1-Life Elixir ➤ Chest #2-Life Elixir
The first chest is at the beginning of the chapter, turn right to open it. Then walk forward a few meters and you will see the second chest on the left. Open it to get the Life Elixir.
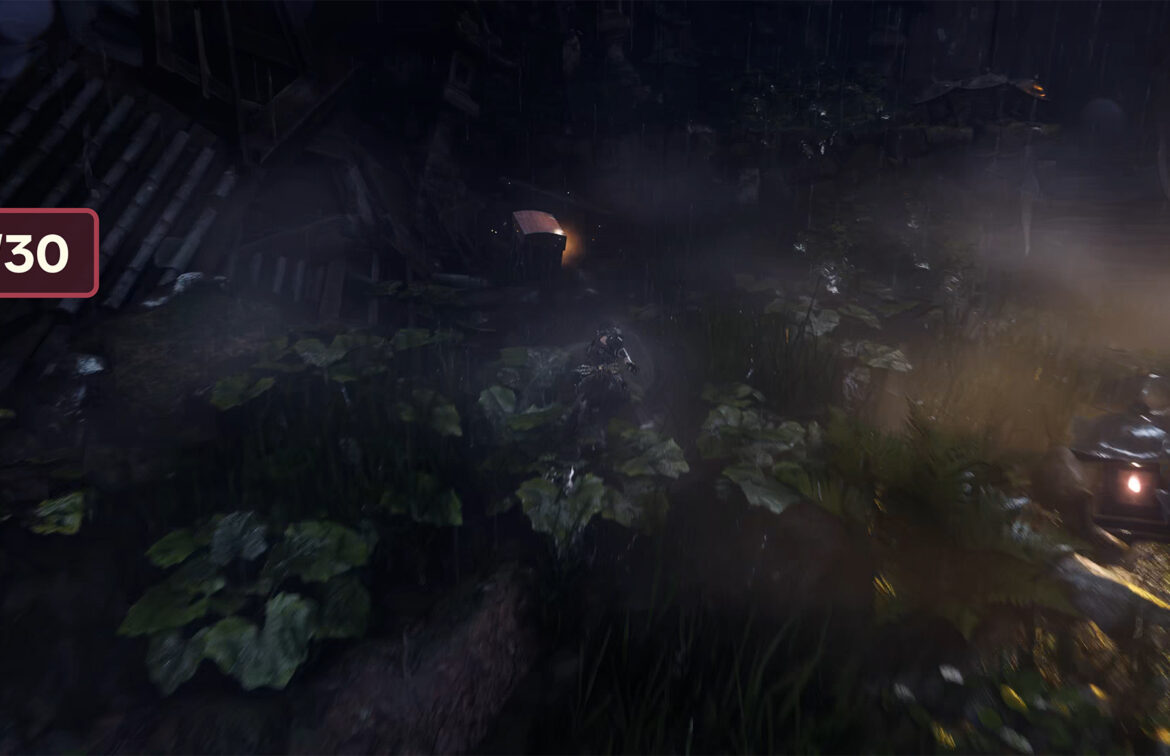
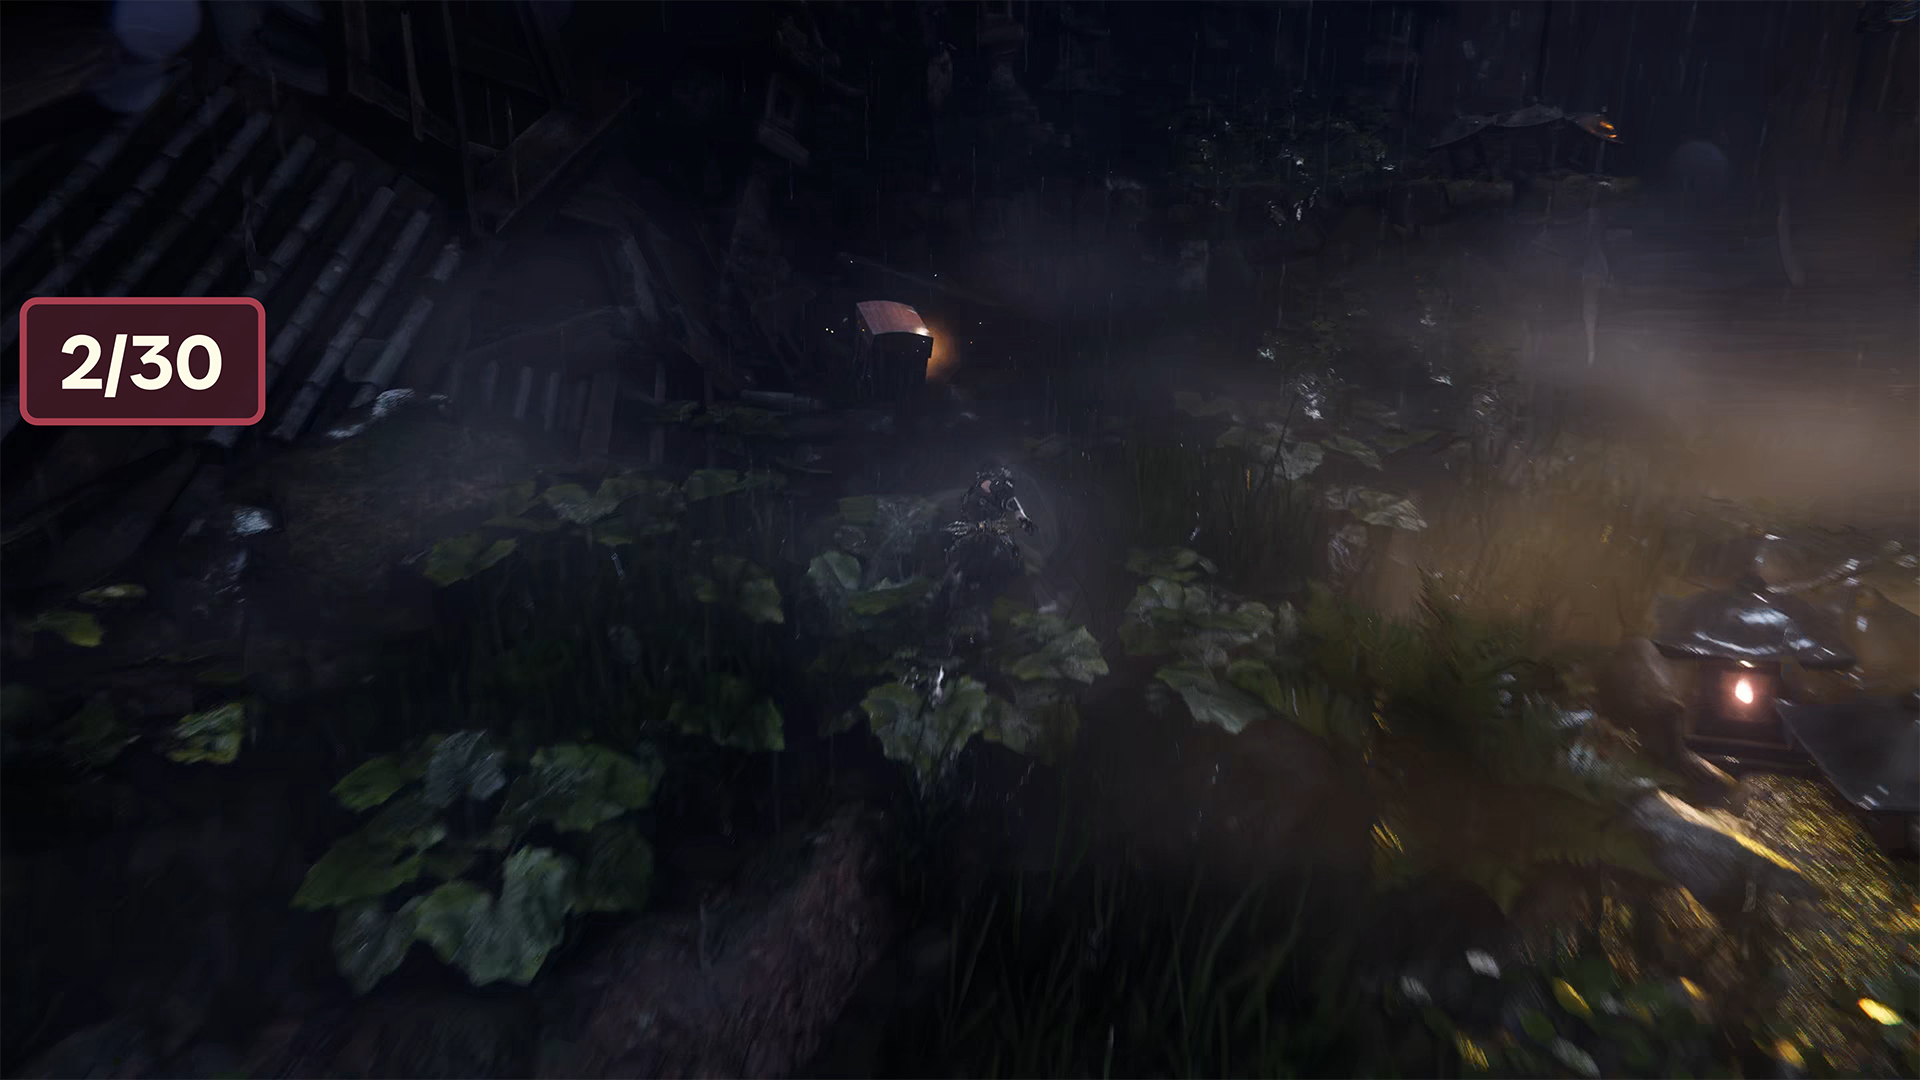
Chest #3-Life Elixir
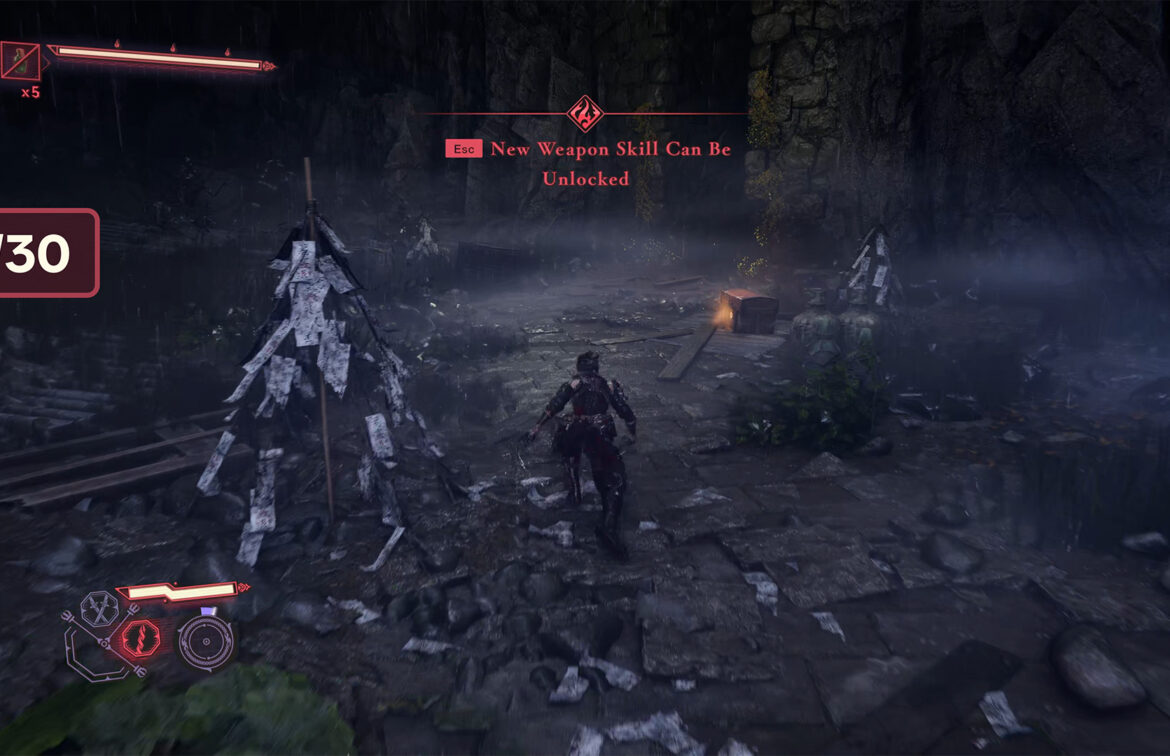
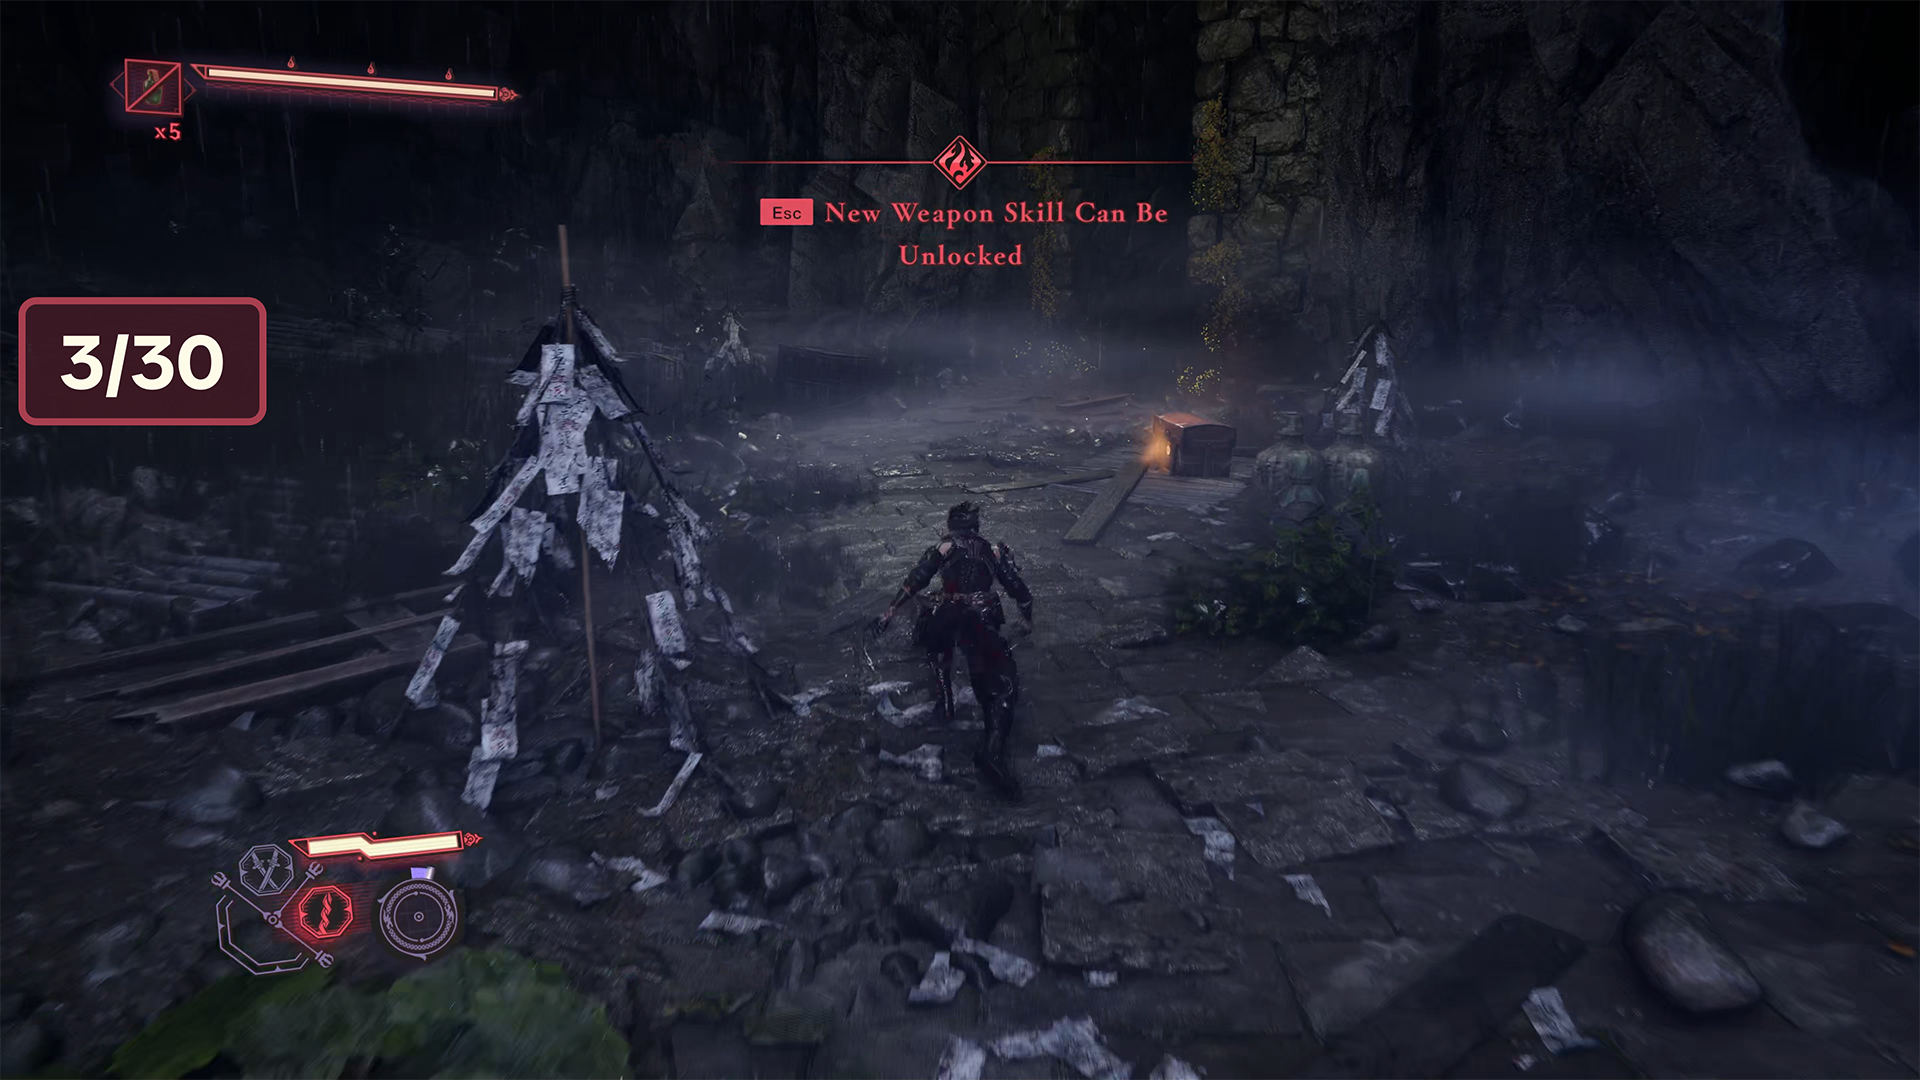
Next, you will find yourself near this place. Here, you can try to jump over it, or you can step onto this platform, which will break beneath you. Choose the option you like best. Once you are at the bottom, you need to deal with the enemies that are lurking here, and then move forward to find the third chest, which also contains Life Elixir.
Chest #4-Life Elixir
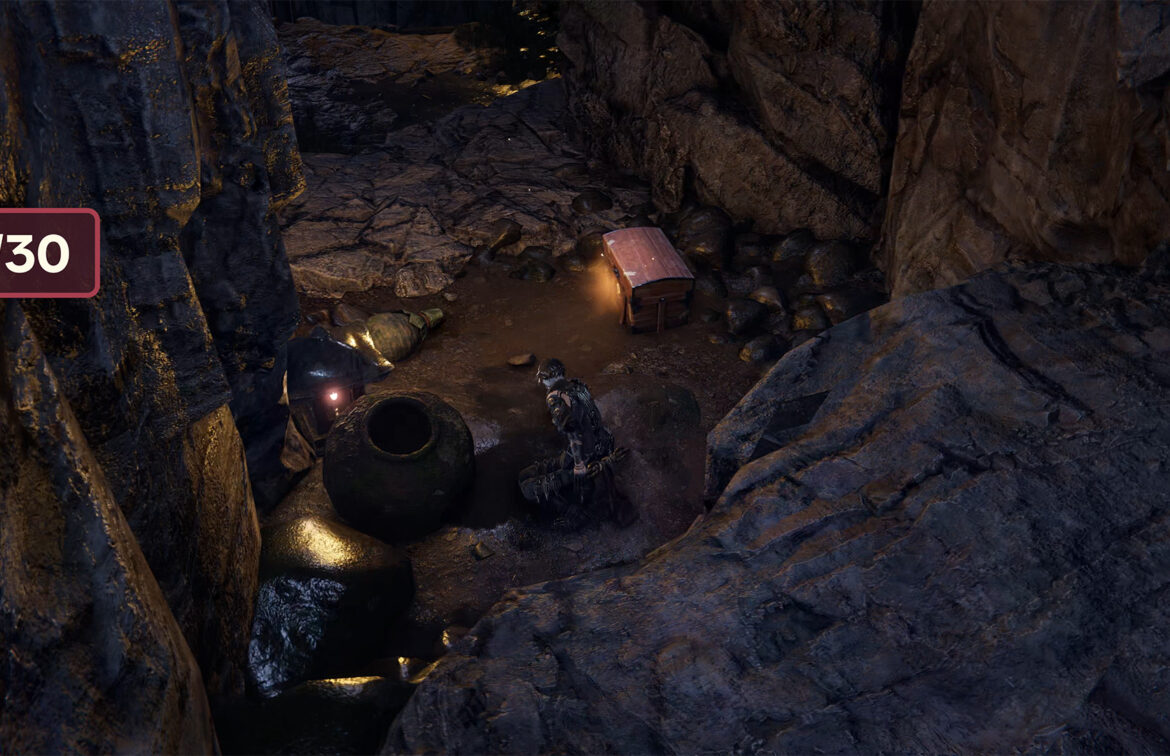
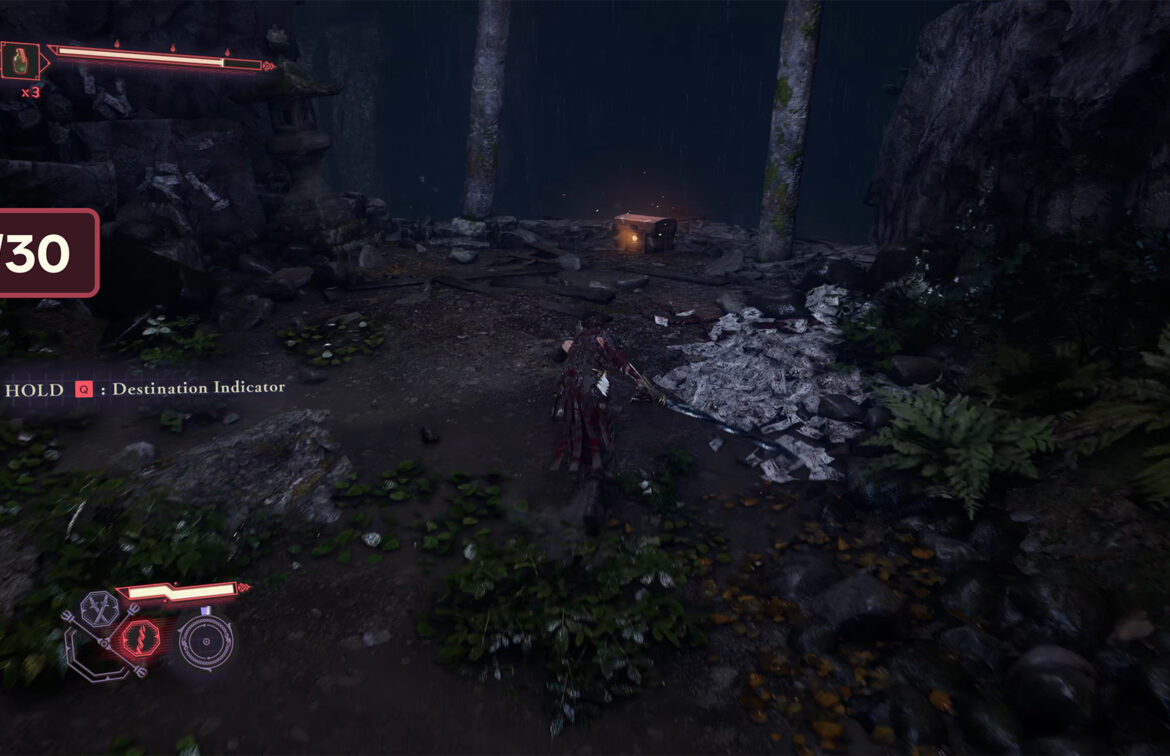
Now, using Flying Bird Flip, you need to climb up. Before you move on, don’t forget that you need to turn around and go to the place where you fell down. There is a chest there. There will be no obstacles or enemies along the way. Just follow the route I show you to open the fourth chest and get the Life Elixir.
-
- chest #1 in Raging Valley
-
- chest #2 in Raging Valley
-
- chest #3 in Raging Valley
-
- chest #4 in Raging Valley

Chest #5-Life Elixir
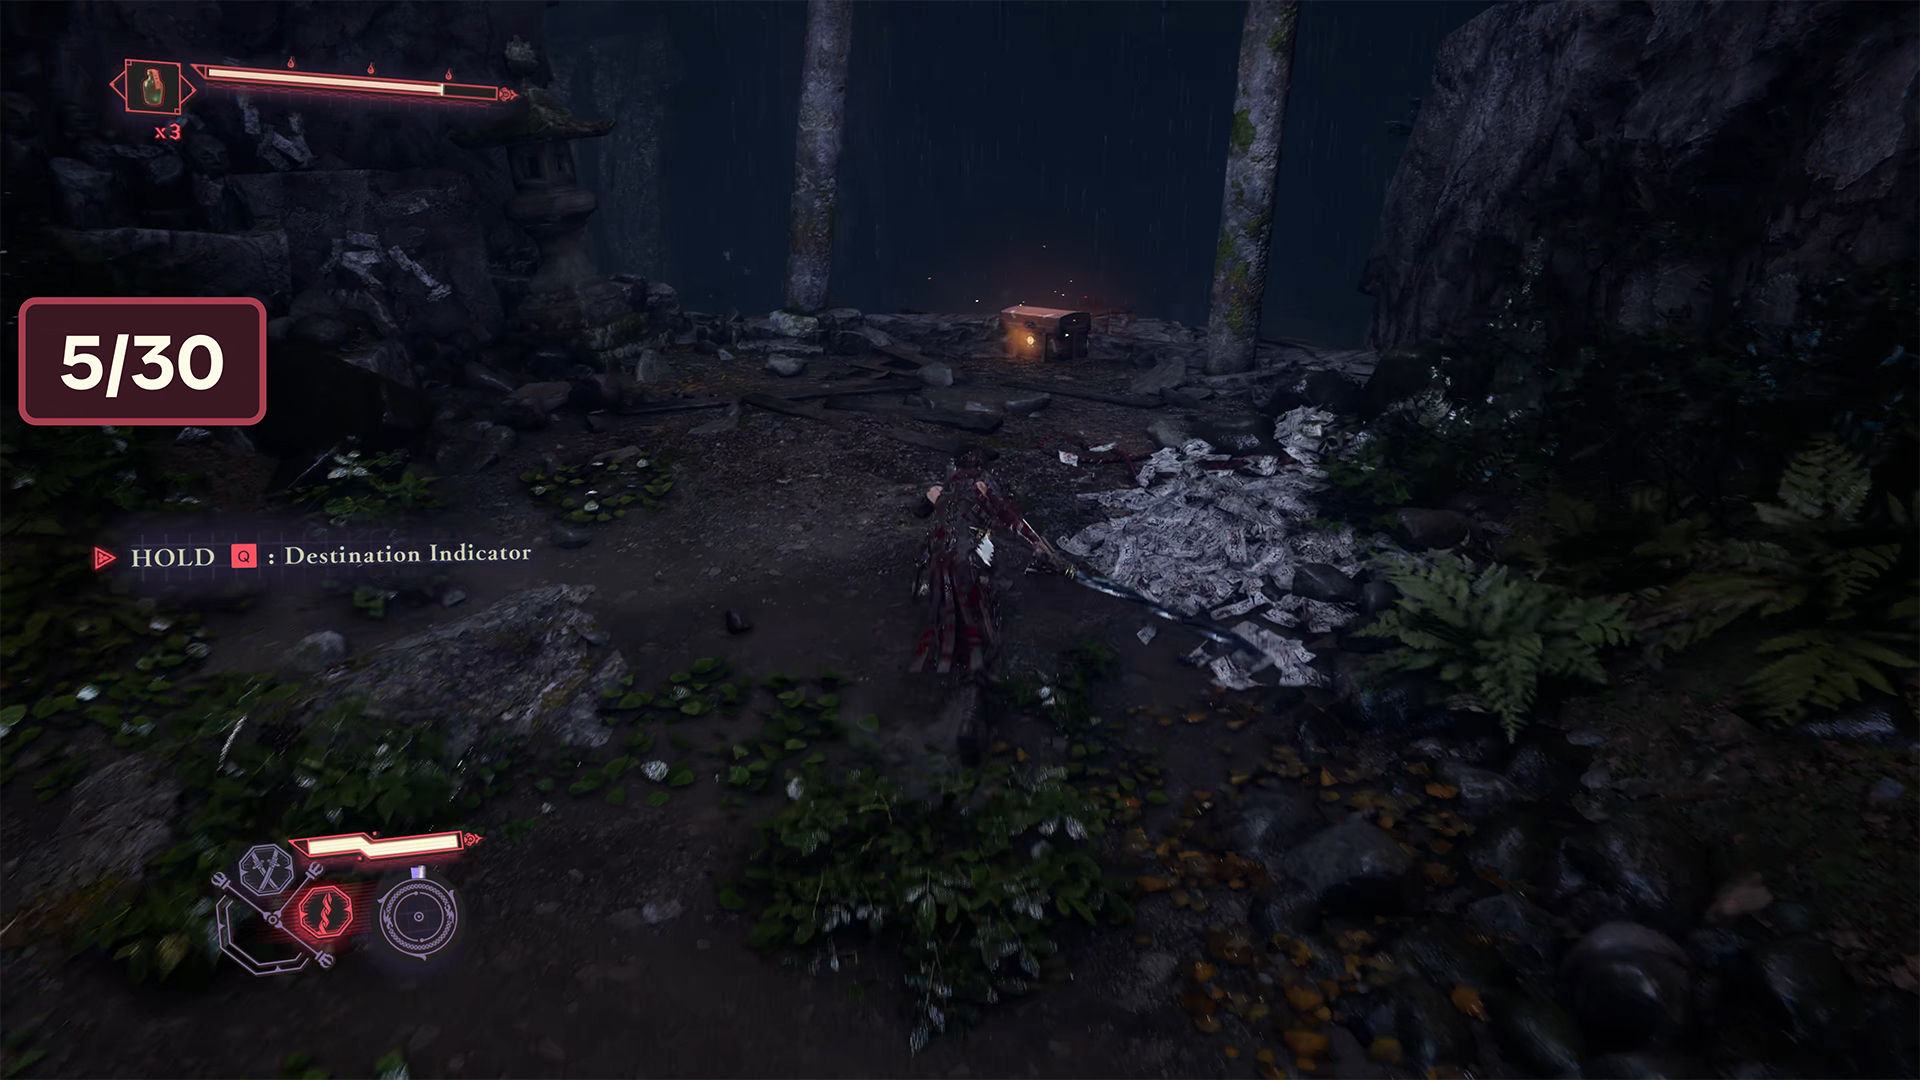
Next, I will show you the characteristic points that you need to note in order to understand that you are moving towards the fifth chest. You need to jump over the pillars several times, run along the wall, jump to the other pillar, and then jump back onto the pillar. Now you can get out into the open area, where you will be met by enemies. After defeating them, look to the right. There you will find a chest with Life Elixir.
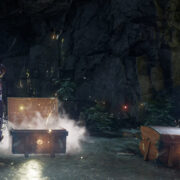
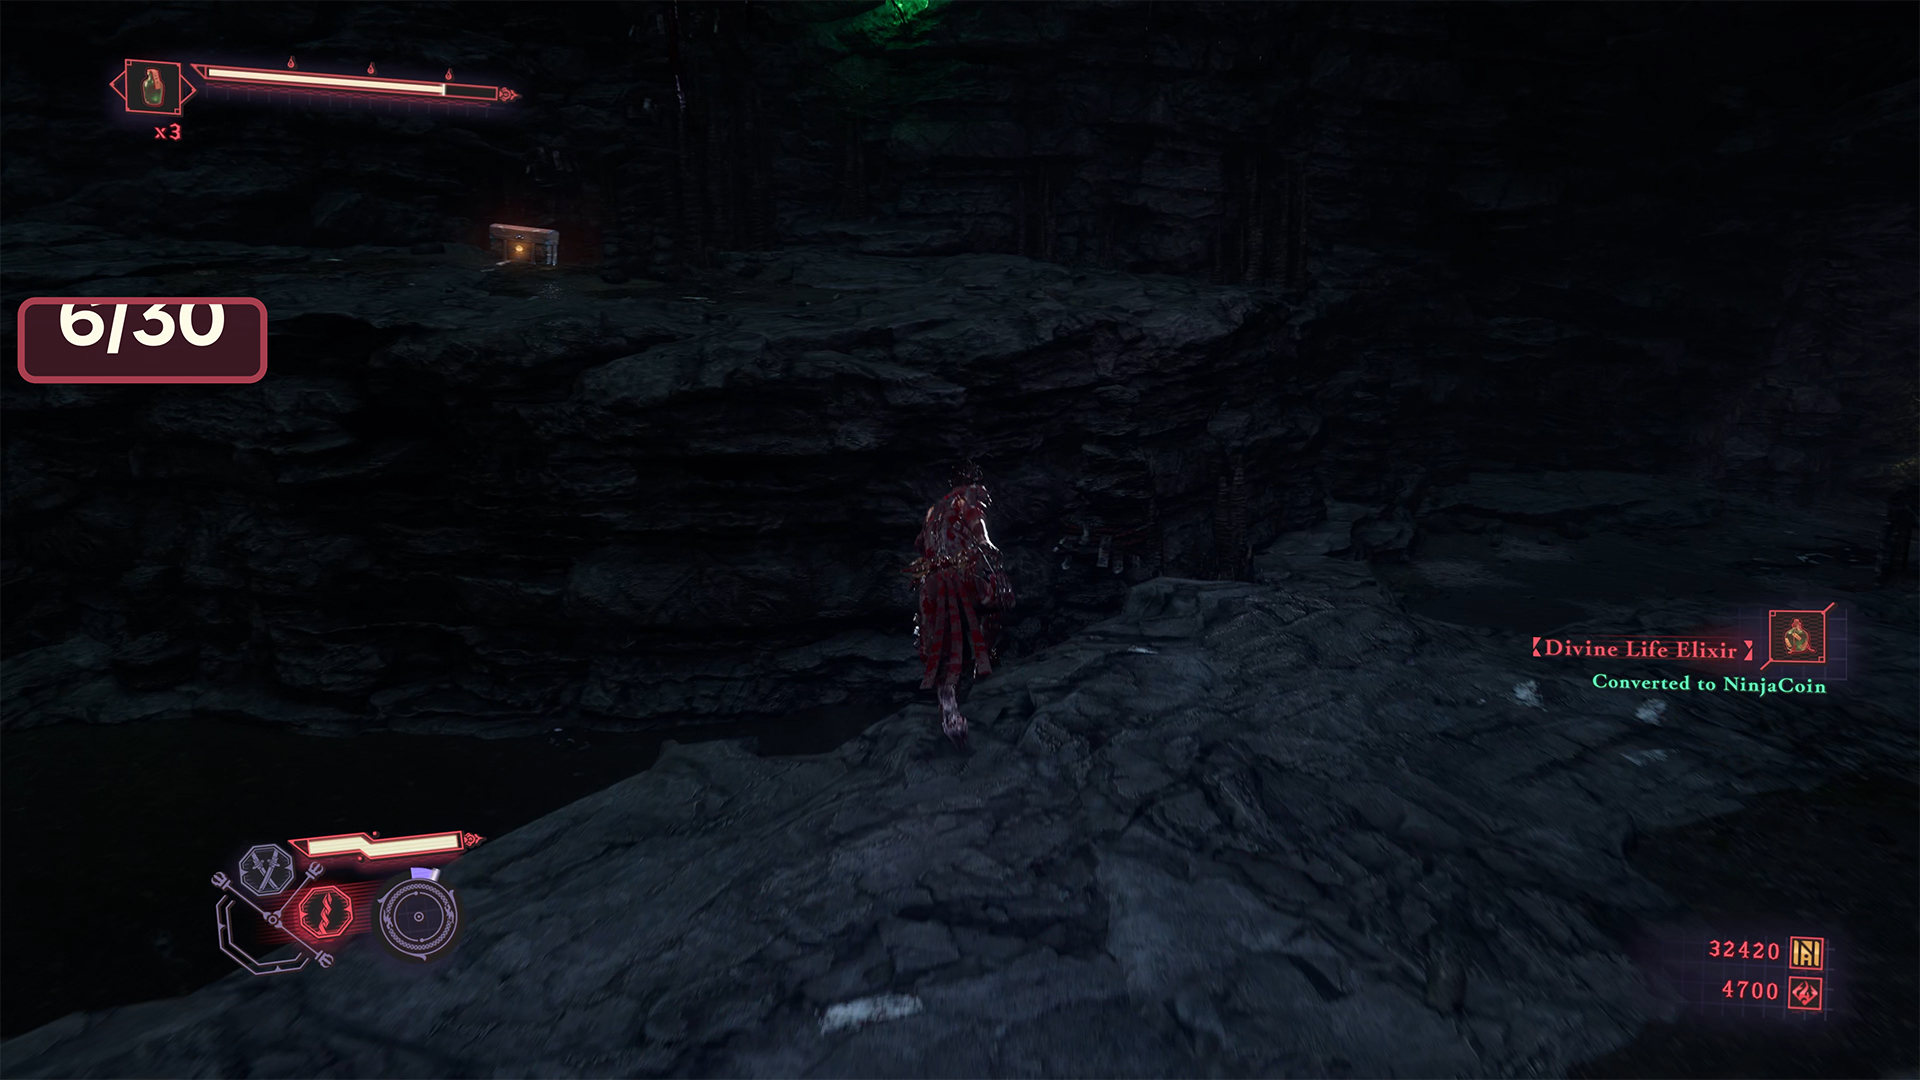
Chest #6-Divine Life Elixir ➤ Chest #7-Crimson Blood Pellets
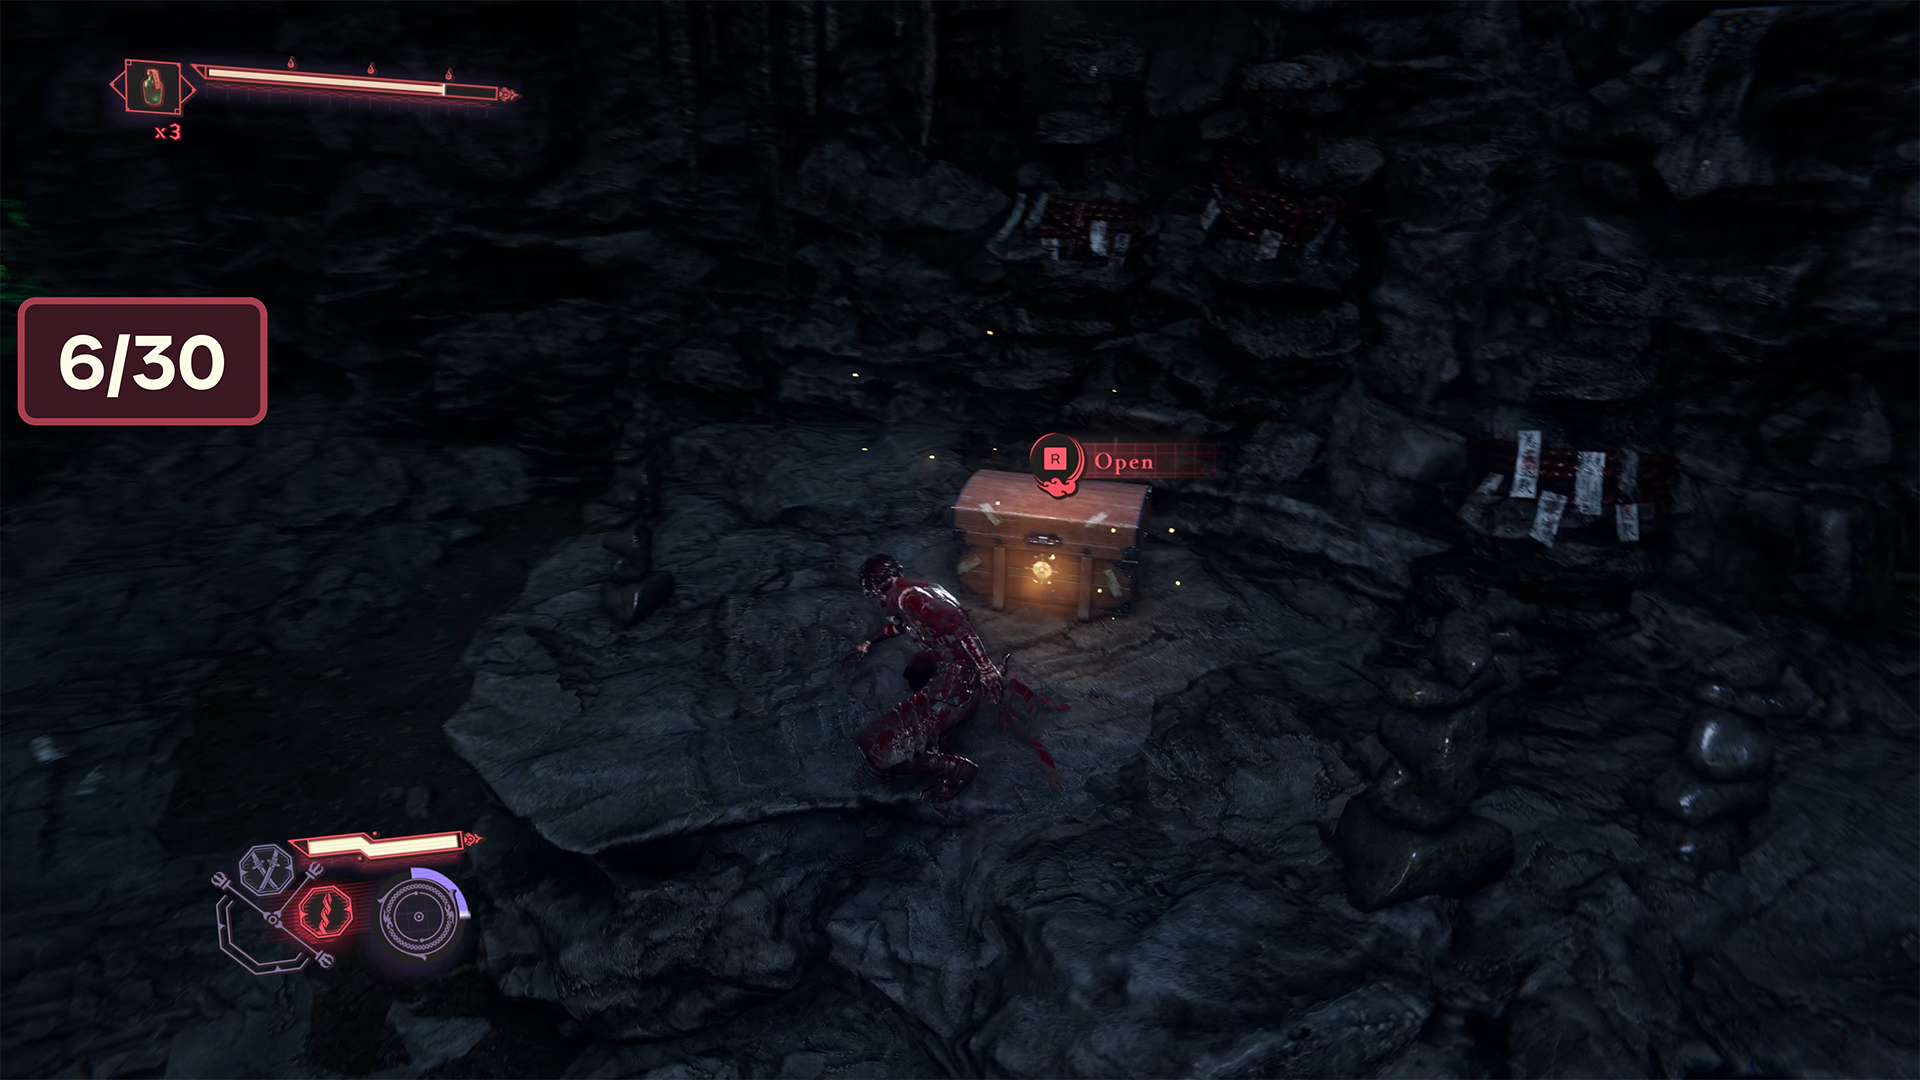
Continue forward through the story and you will enter a beautiful cave. A distinctive feature of this place is the water under your feet. You definitely won’t miss this place. Here you will have a small skirmish with enemies. There are two chests in this cave. So jump onto the raised platform on the left to open the sixth chest containing Divine Life Elixir. Then turn left from this chest. This will be the seventh chest. Inside, you will find Crimson Blood Pellets.
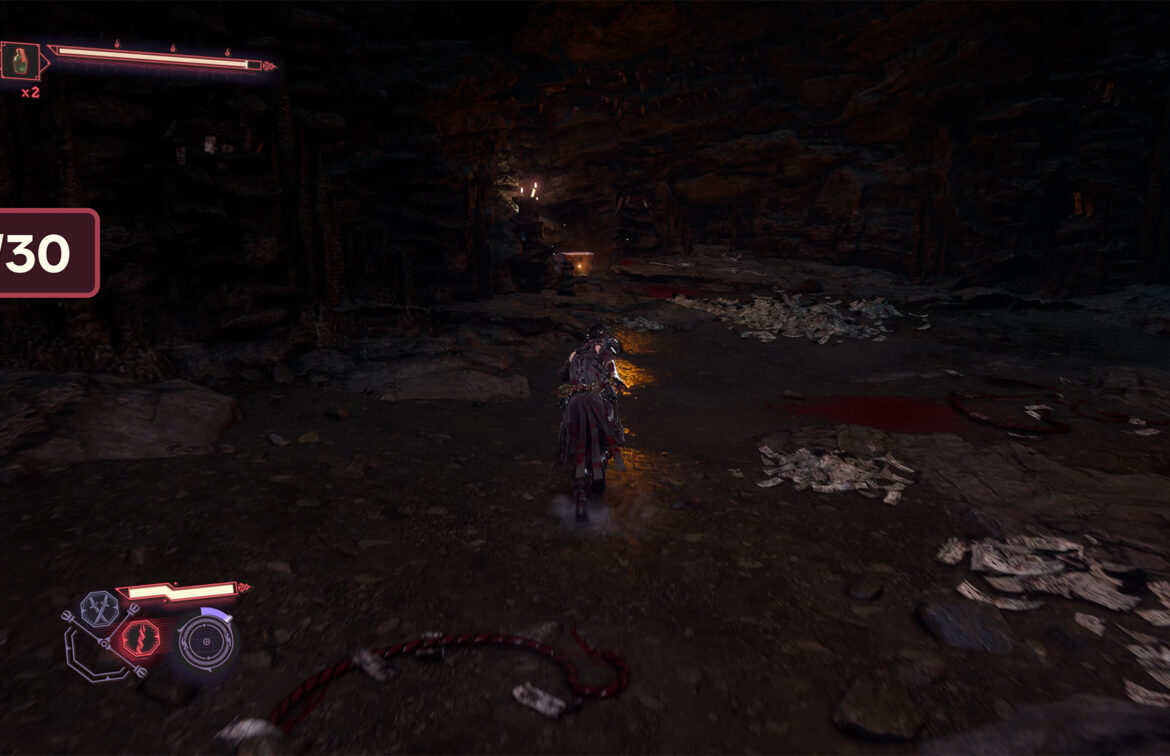
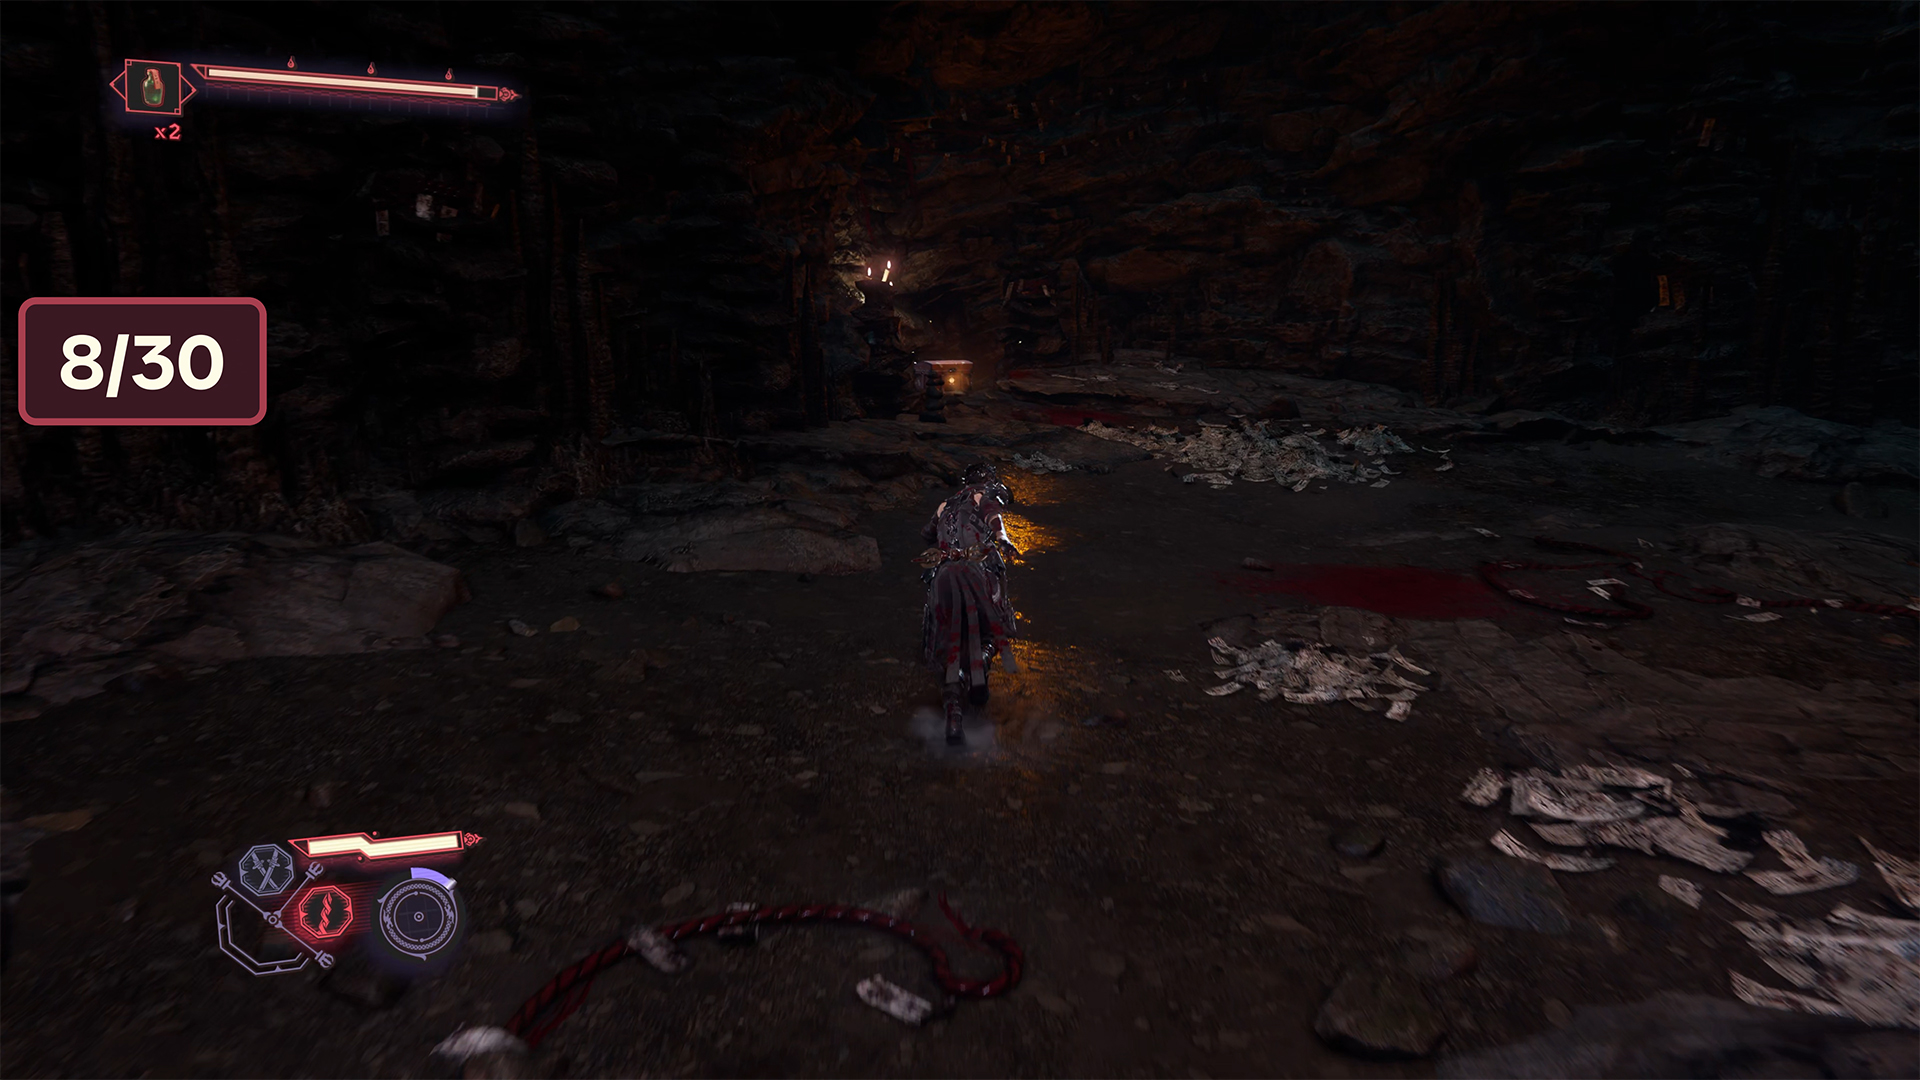
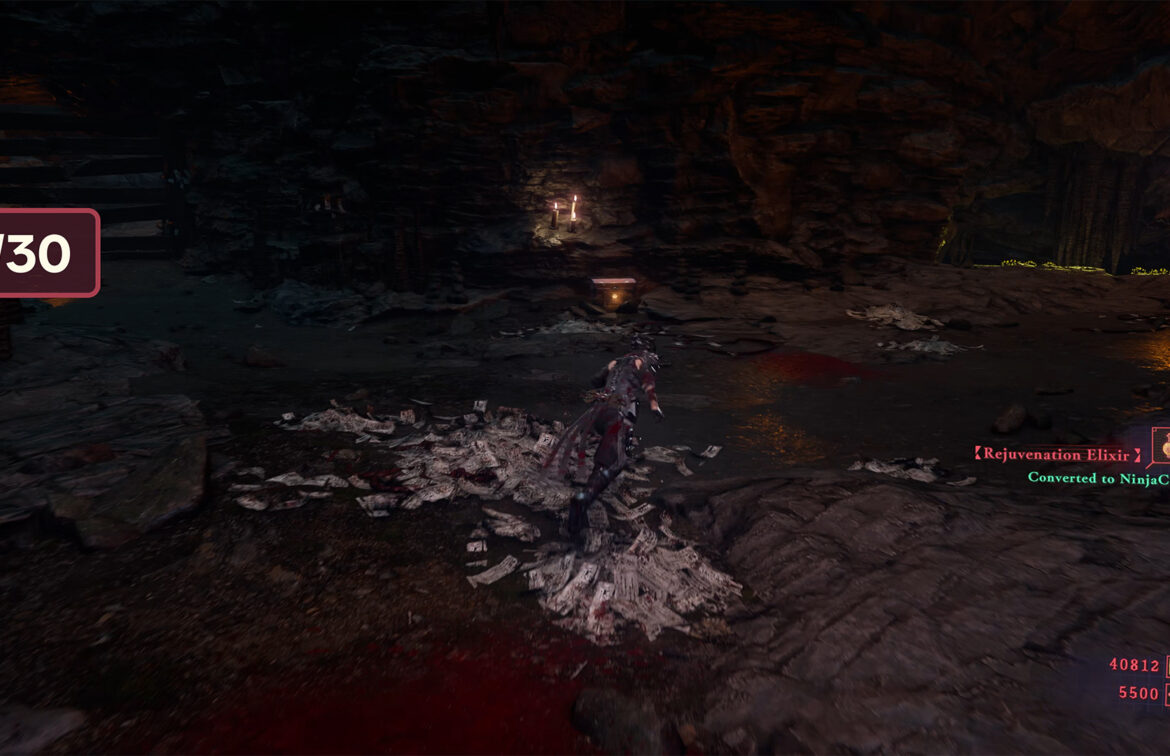
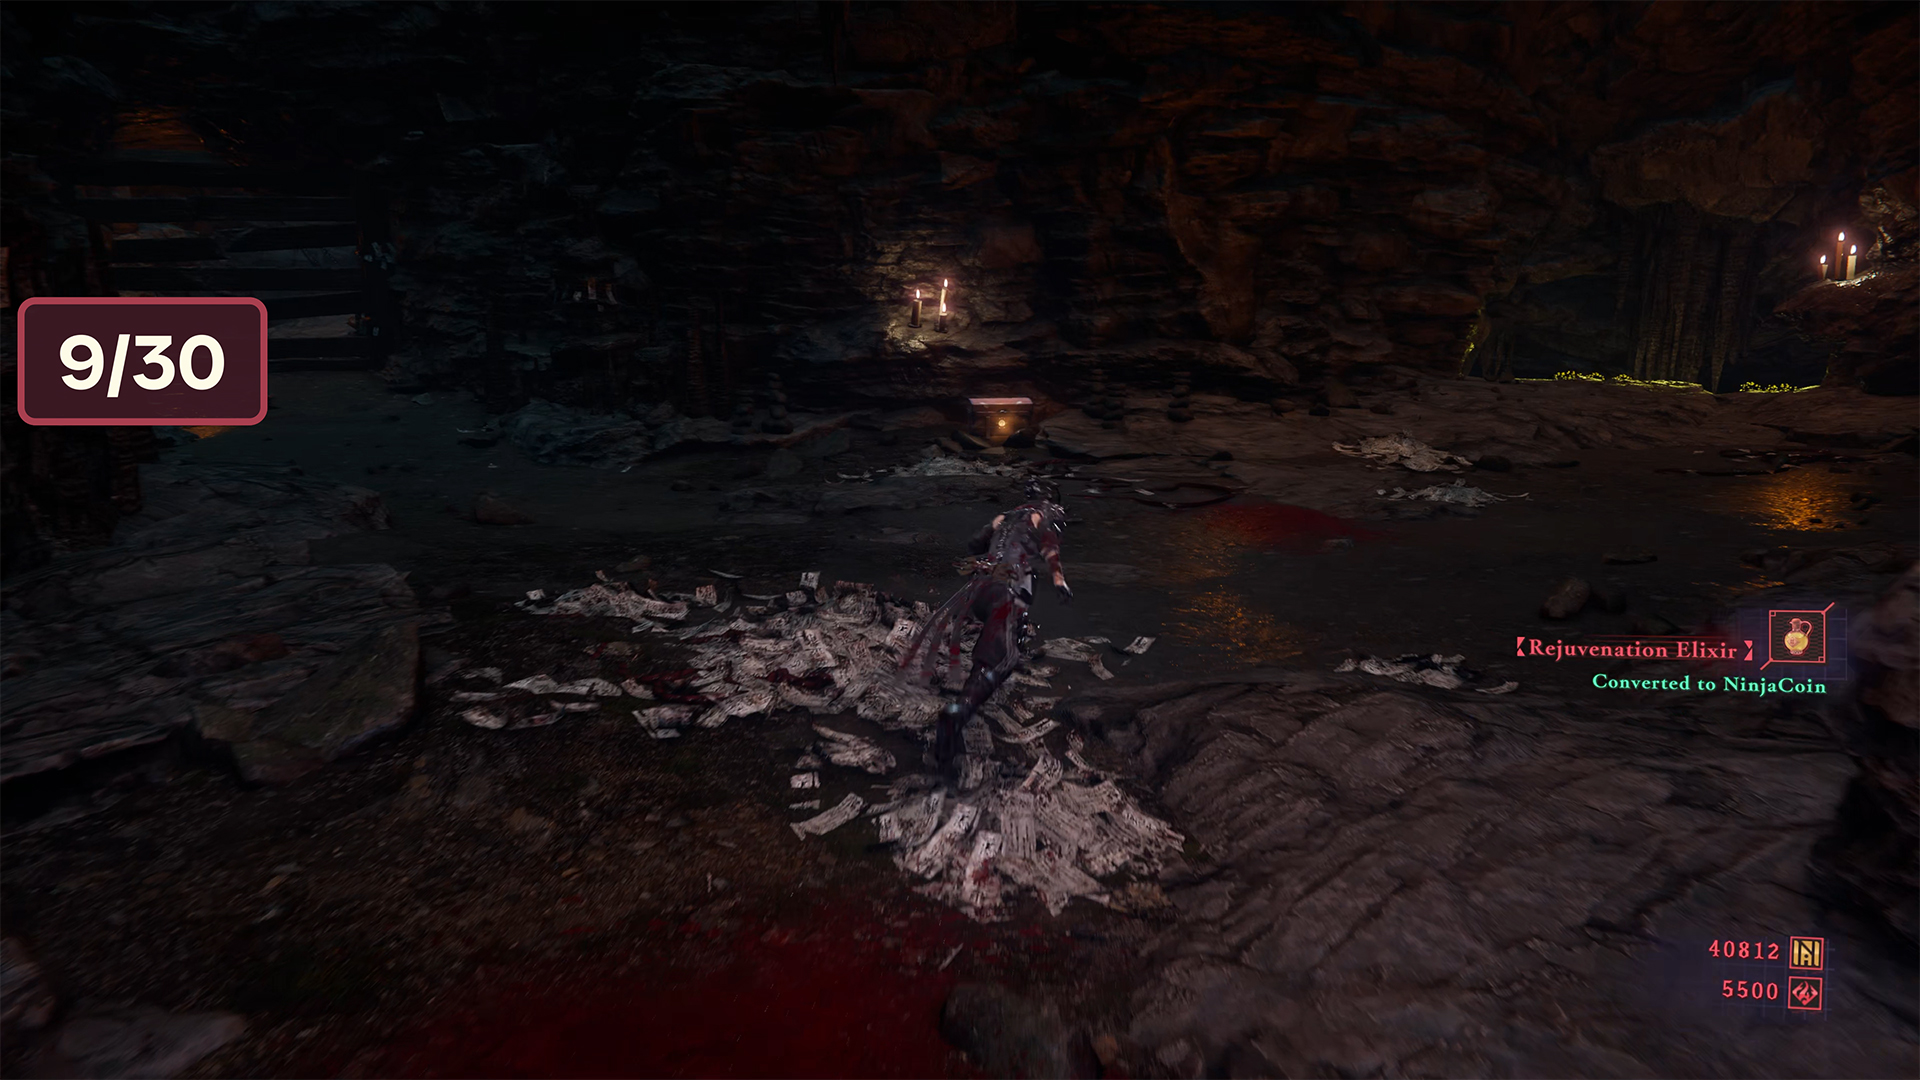
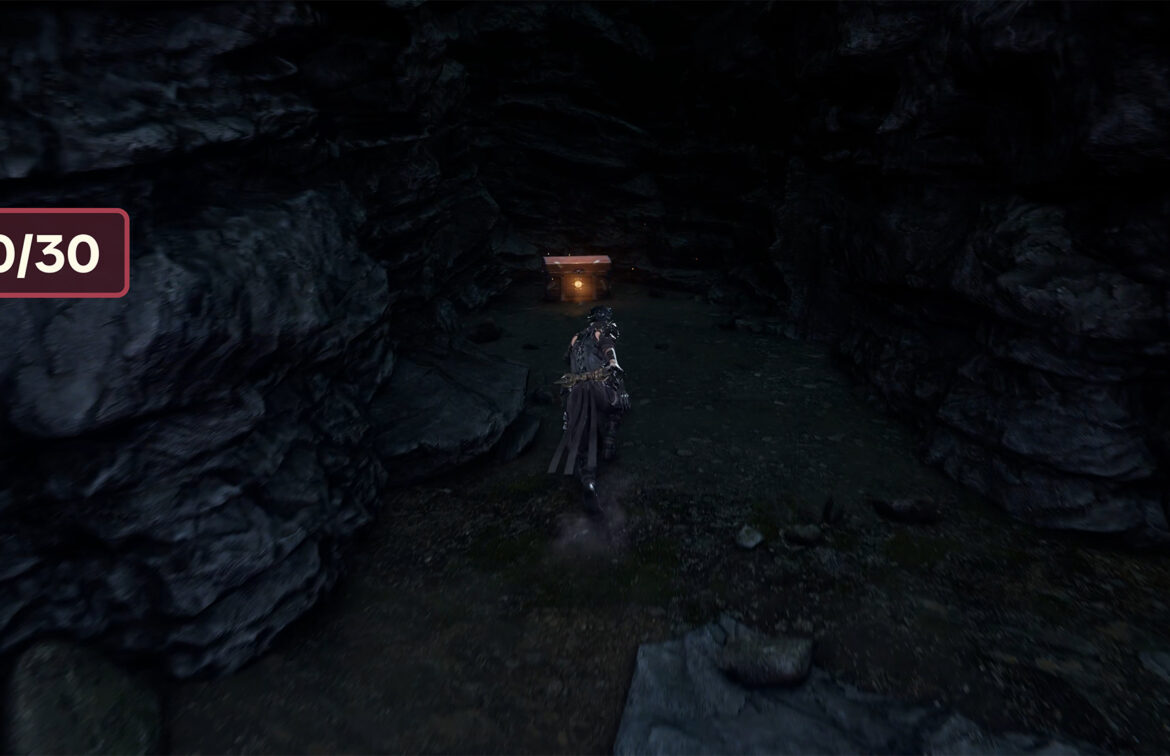
Chest #8-Rejuvenation Elixir ➤ Chest #9-Crimson Blood Balm
Continuing onward, you will need to slip under the rock and you will find yourself in a room with enemies. Ahead of them, you can see the eighth chest. First, defeat the enemies, then open the chest to get the Rejuvenation Elixir. After that, turn around and you will see the ninth chest in front of you. Open it to get the Crimson Blood Balm.
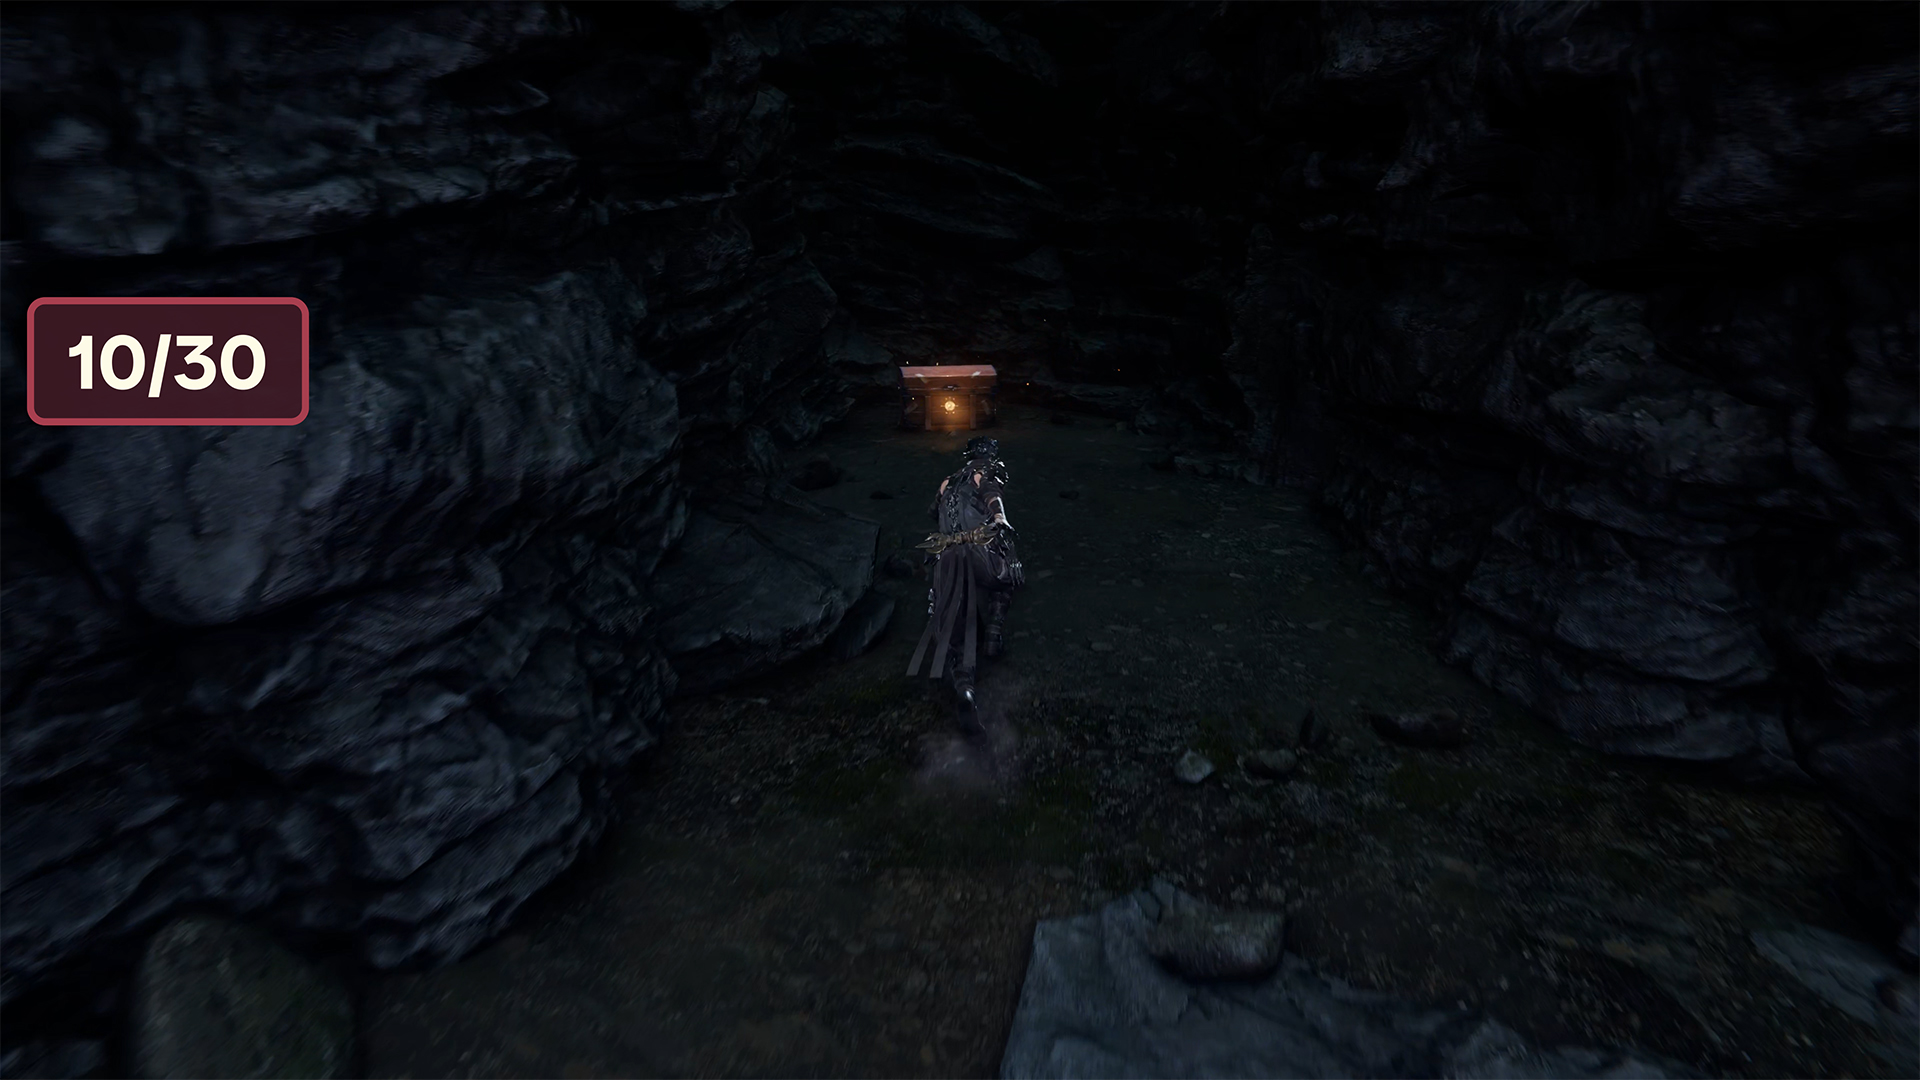
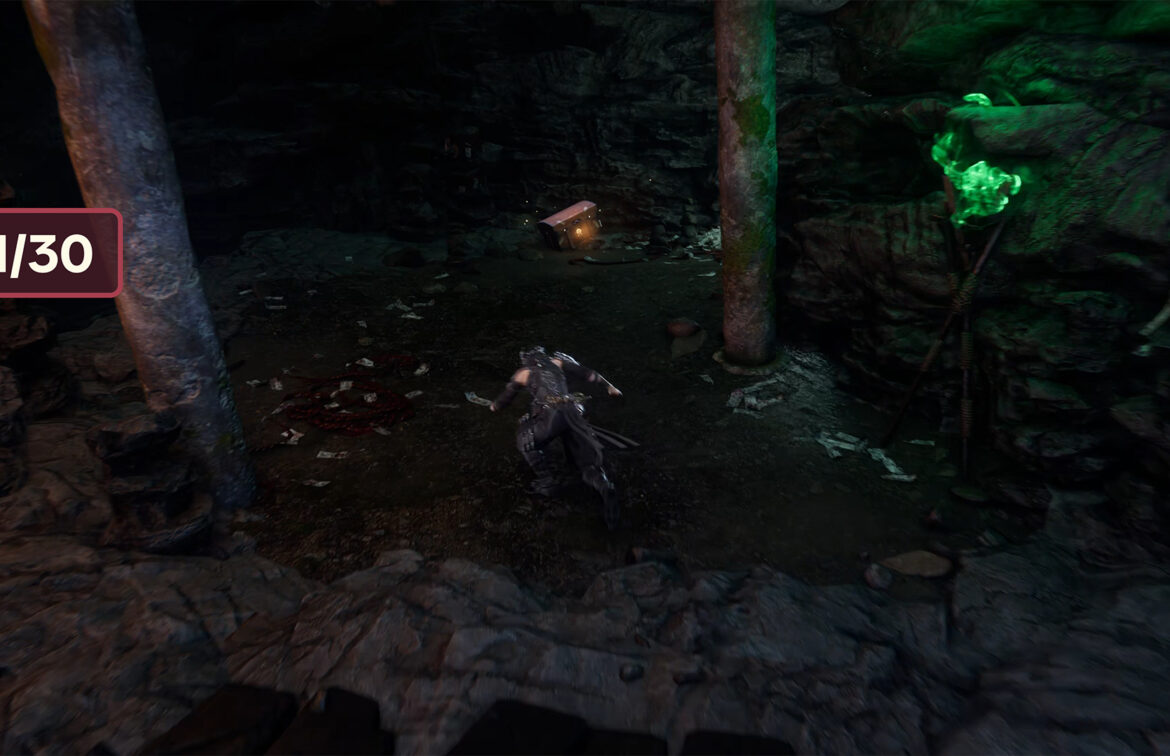
Chest #10-Kongou Iron Brew
Next, you will jump onto a pole, then onto a wall, and finally end up on a platform with green torches. Here you will battle enemies. After winning, turn left. You will see a wall with yellow plants. Climb this wall and turn right at the fork ahead. After walking a little further, you will again encounter two aggressive lanterns. After defeating them, turn left. Here is a small niche where the tenth chest is located. Open it to get Kongou Iron Brew.
-
- chest #5 in Raging Valley
-
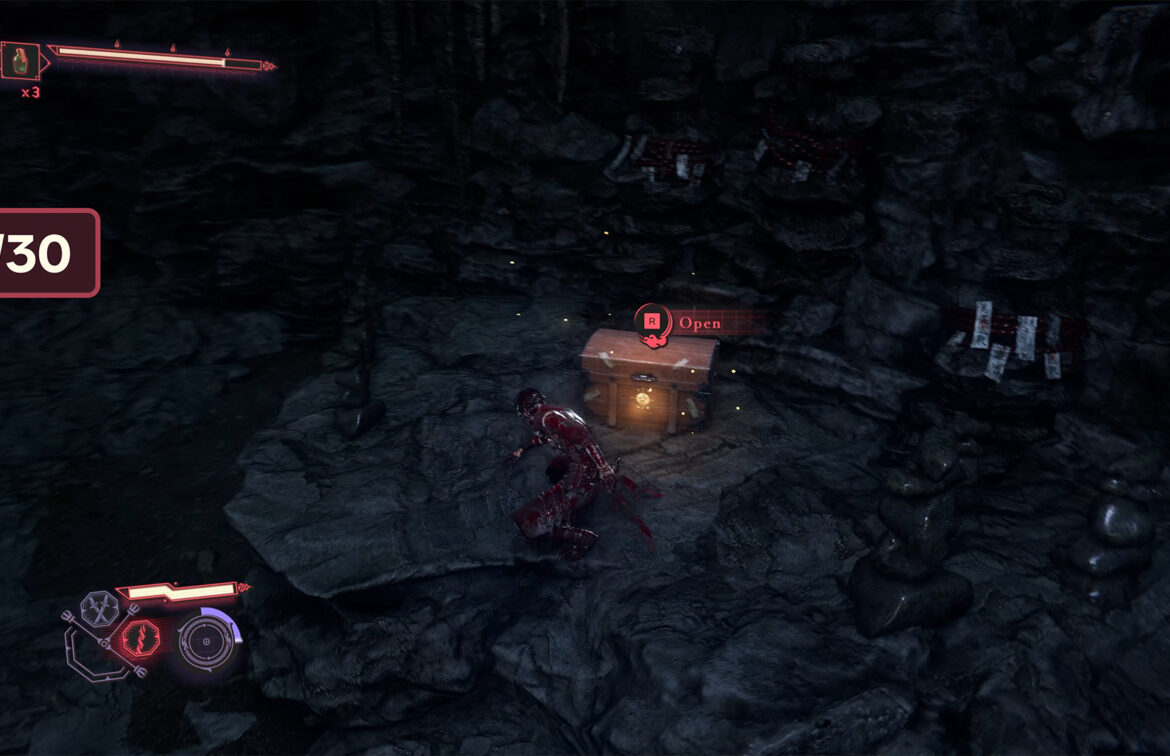
- chest #6 in Raging Valley
-
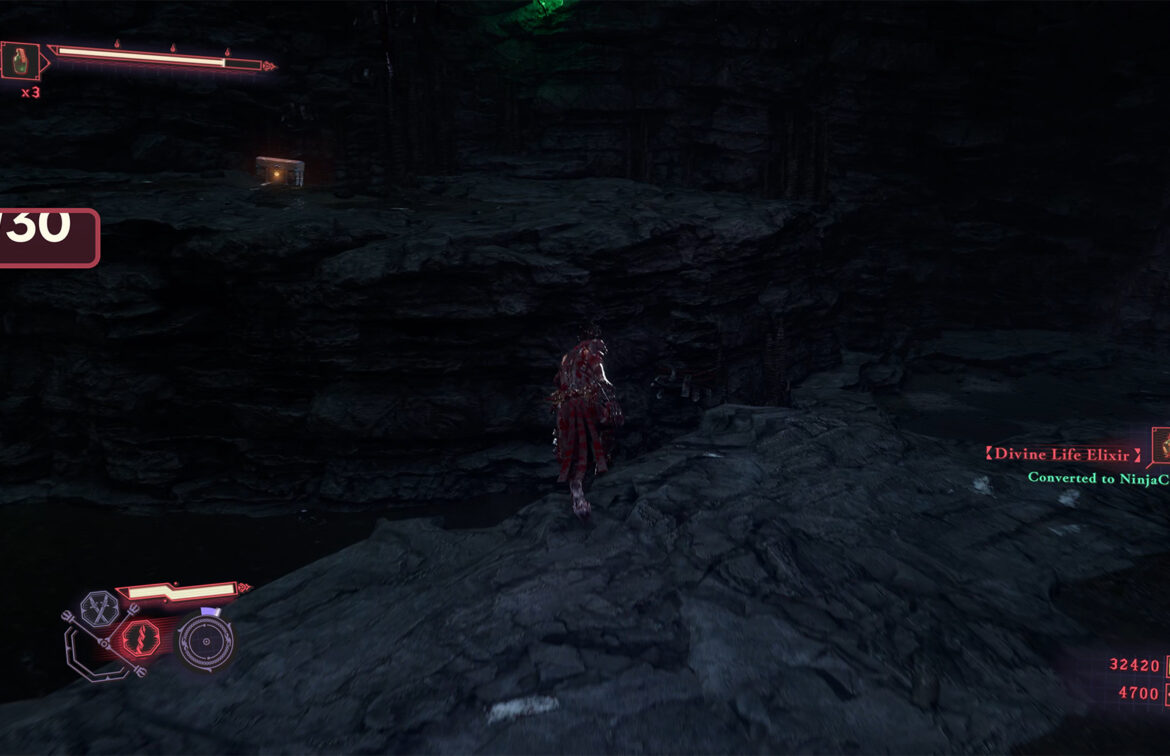
- chest #7 in Raging Valley
-
- chest #8 in Raging Valley
-
- chest #9 in Raging Valley
-
- chest #10 in Raging Valley
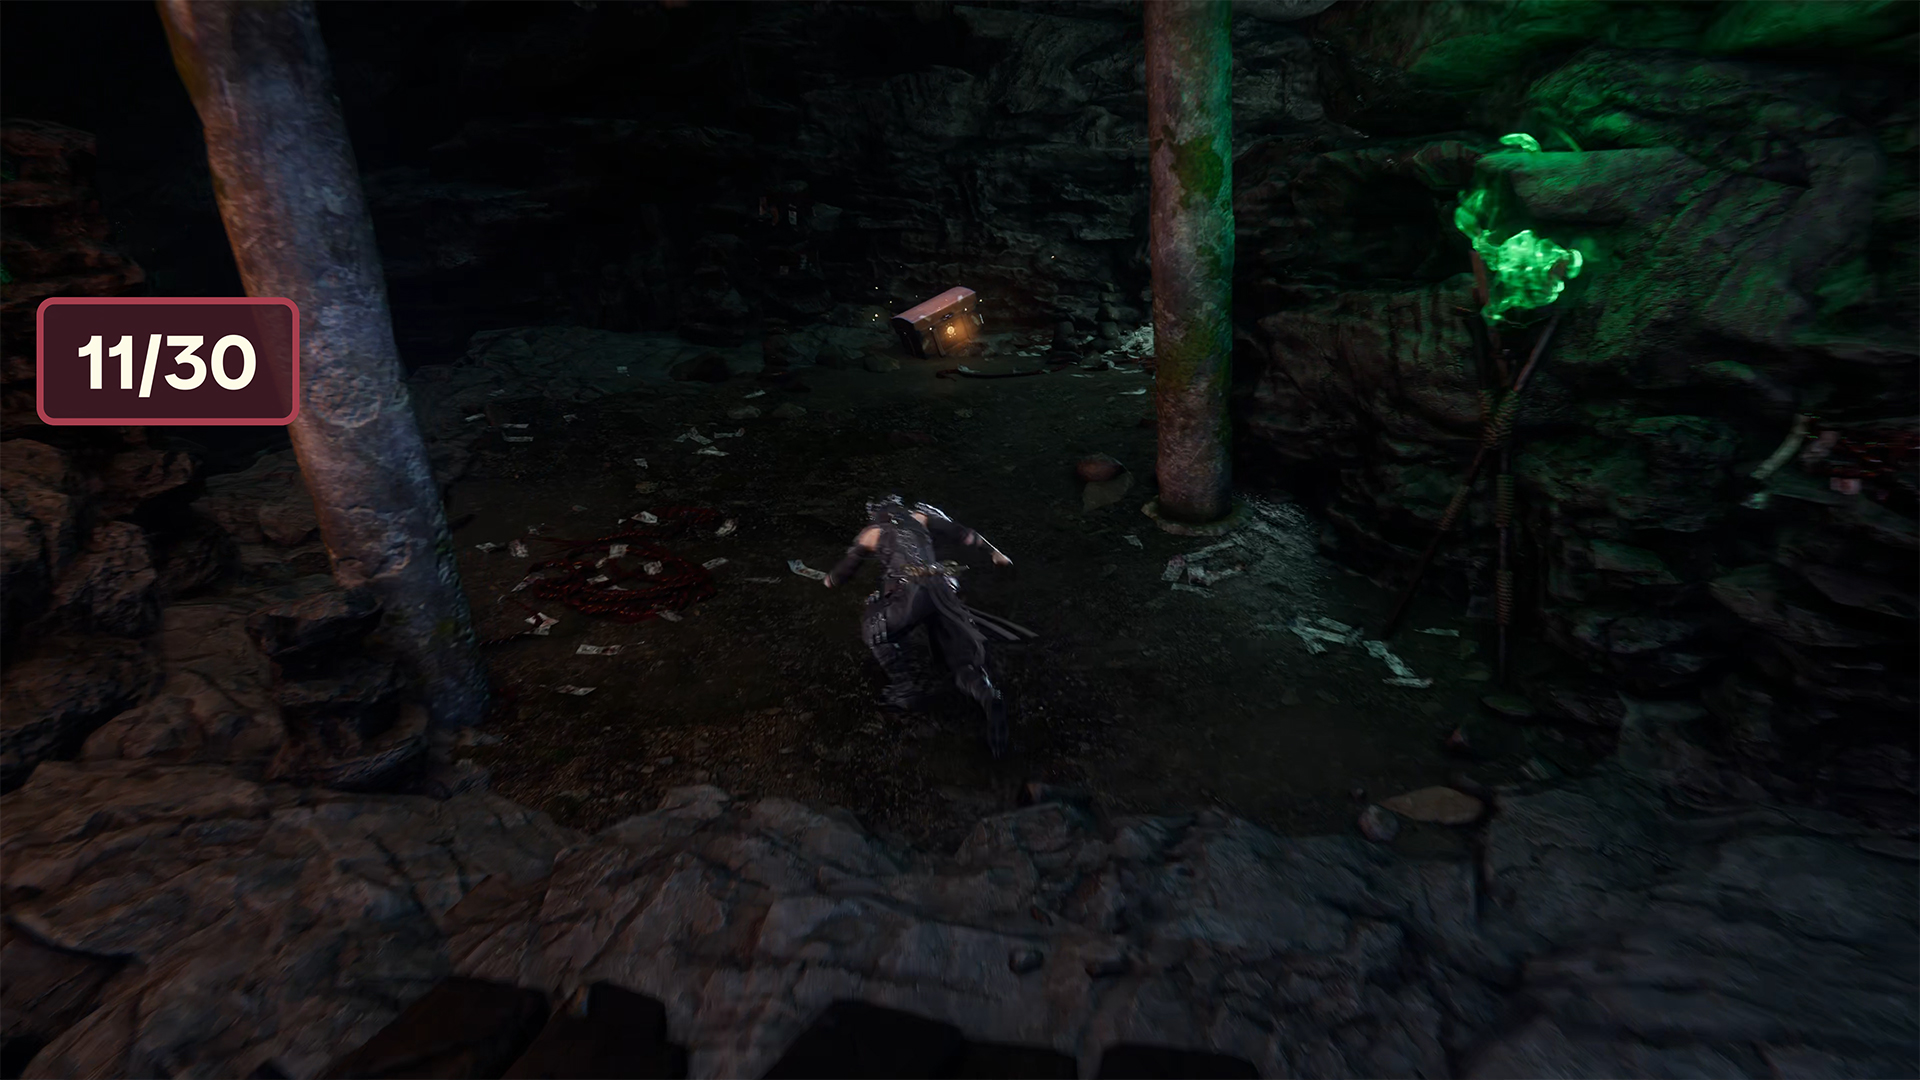
Chest #11-Divine Life Elixir
Moving on, you will soon have to slip under the rock again. After that, you will find yourself in a room with a chest in front of you. Just move straight ahead and you will see it. Open the eleventh chest to get the Divine Life Elixir.
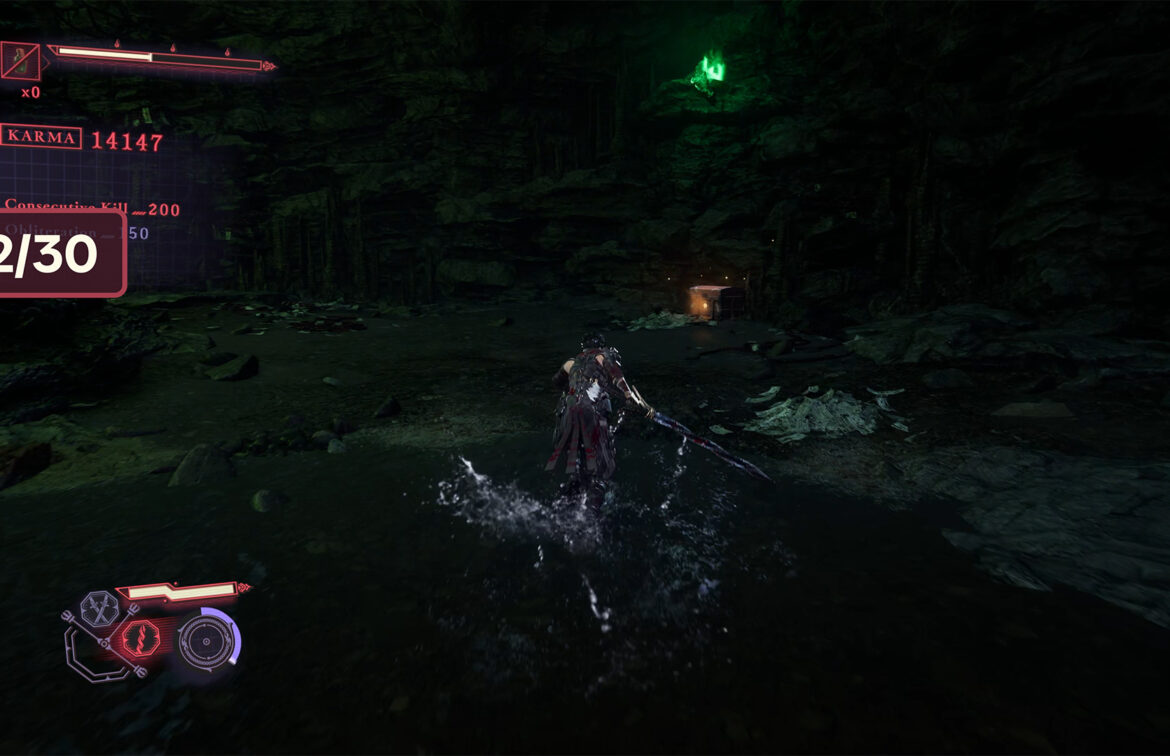
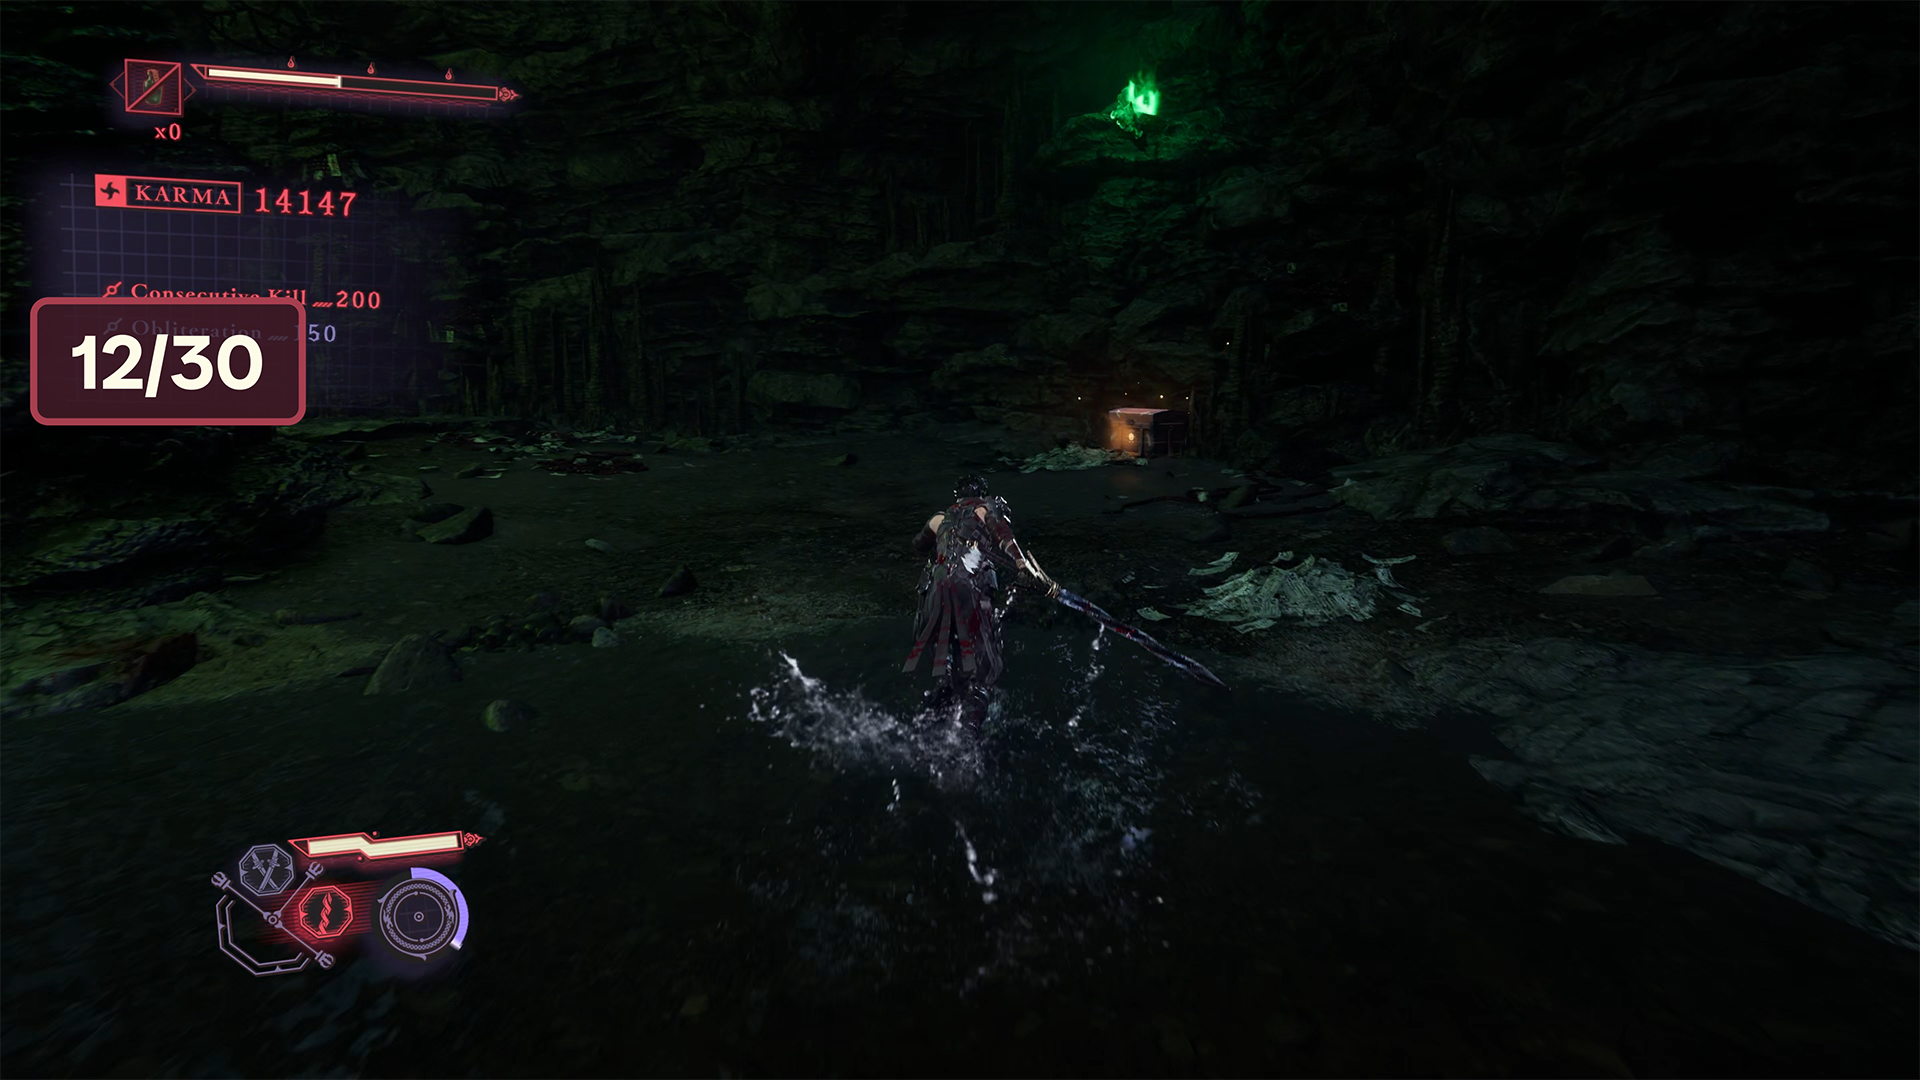
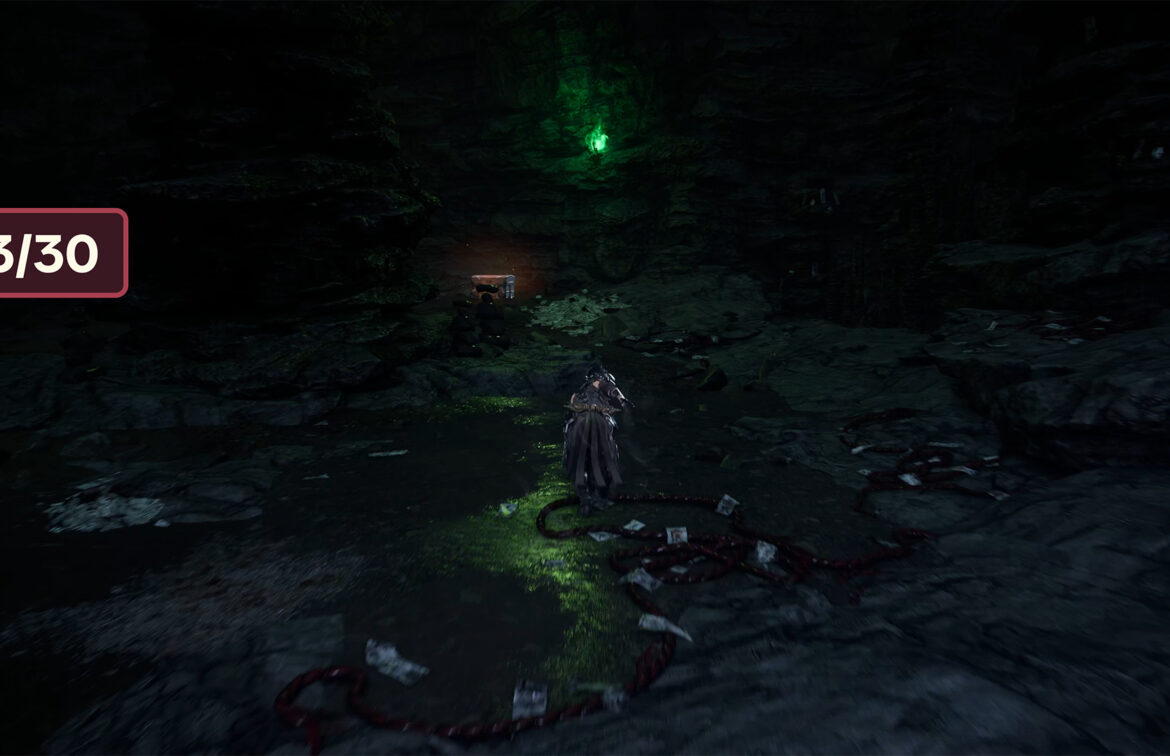
Chest #12-Life Elixir ➤ Chest #13-Incense of Rebirth
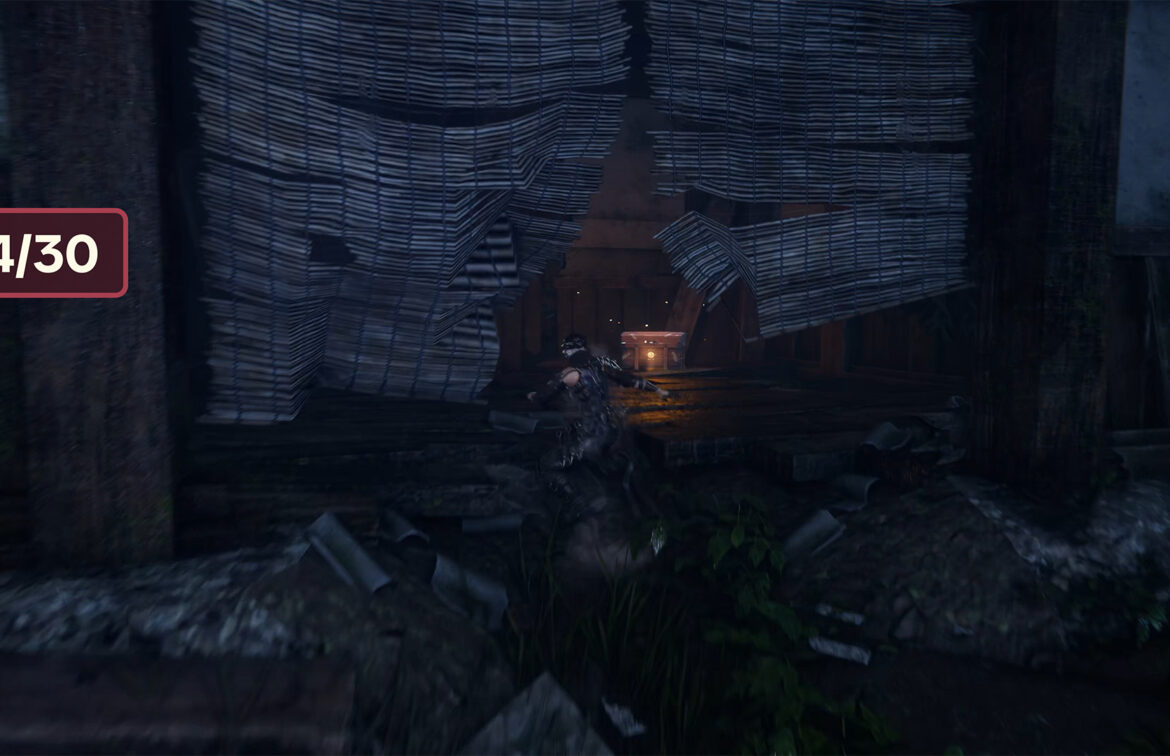
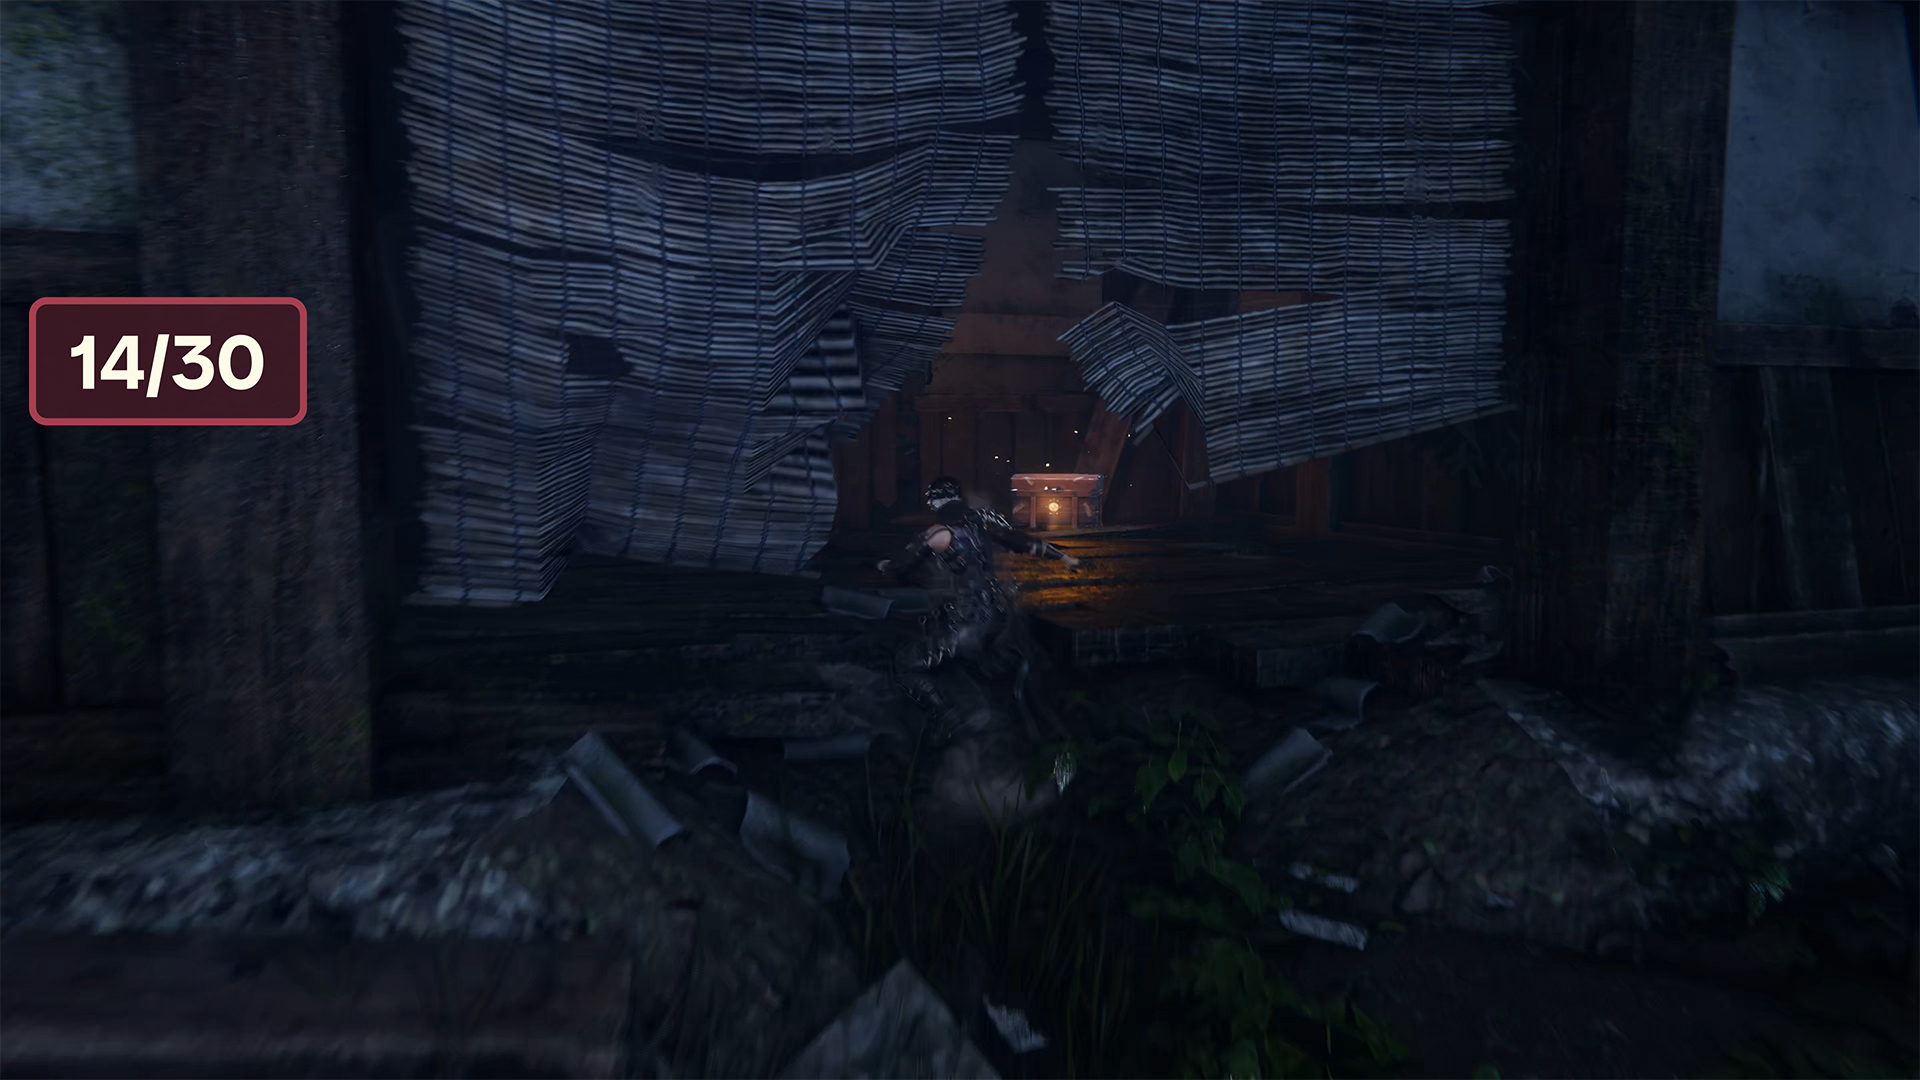
After the last chest, turn left and go forward. You will see a large wooden closed door in front of you. Open it to move to the next location. Of course, there will also be enemies here that you must destroy. After victory, look around carefully. The twelfth chest will be near the wall, not far from the green torch. Open it to get the Life Elixir. After that, turn right and go to another green torch. Here, on a small hill, you will see the thirteenth chest. Inside, you will find the Incense of Rebirth.
Chest #14-Kongou Iron Brew
After DarkNest Terminal, you will move forward along the route I am showing you. You will encounter small groups of enemies here. On the right, you will see a high wall with a yellow rope at the top. Jump there. Then you will see monsters coming out of the building on the right, which you must defeat. After the battle, go inside this building and you will see the fourteenth chest there. Inside the chest will be Kongou Iron Brew.
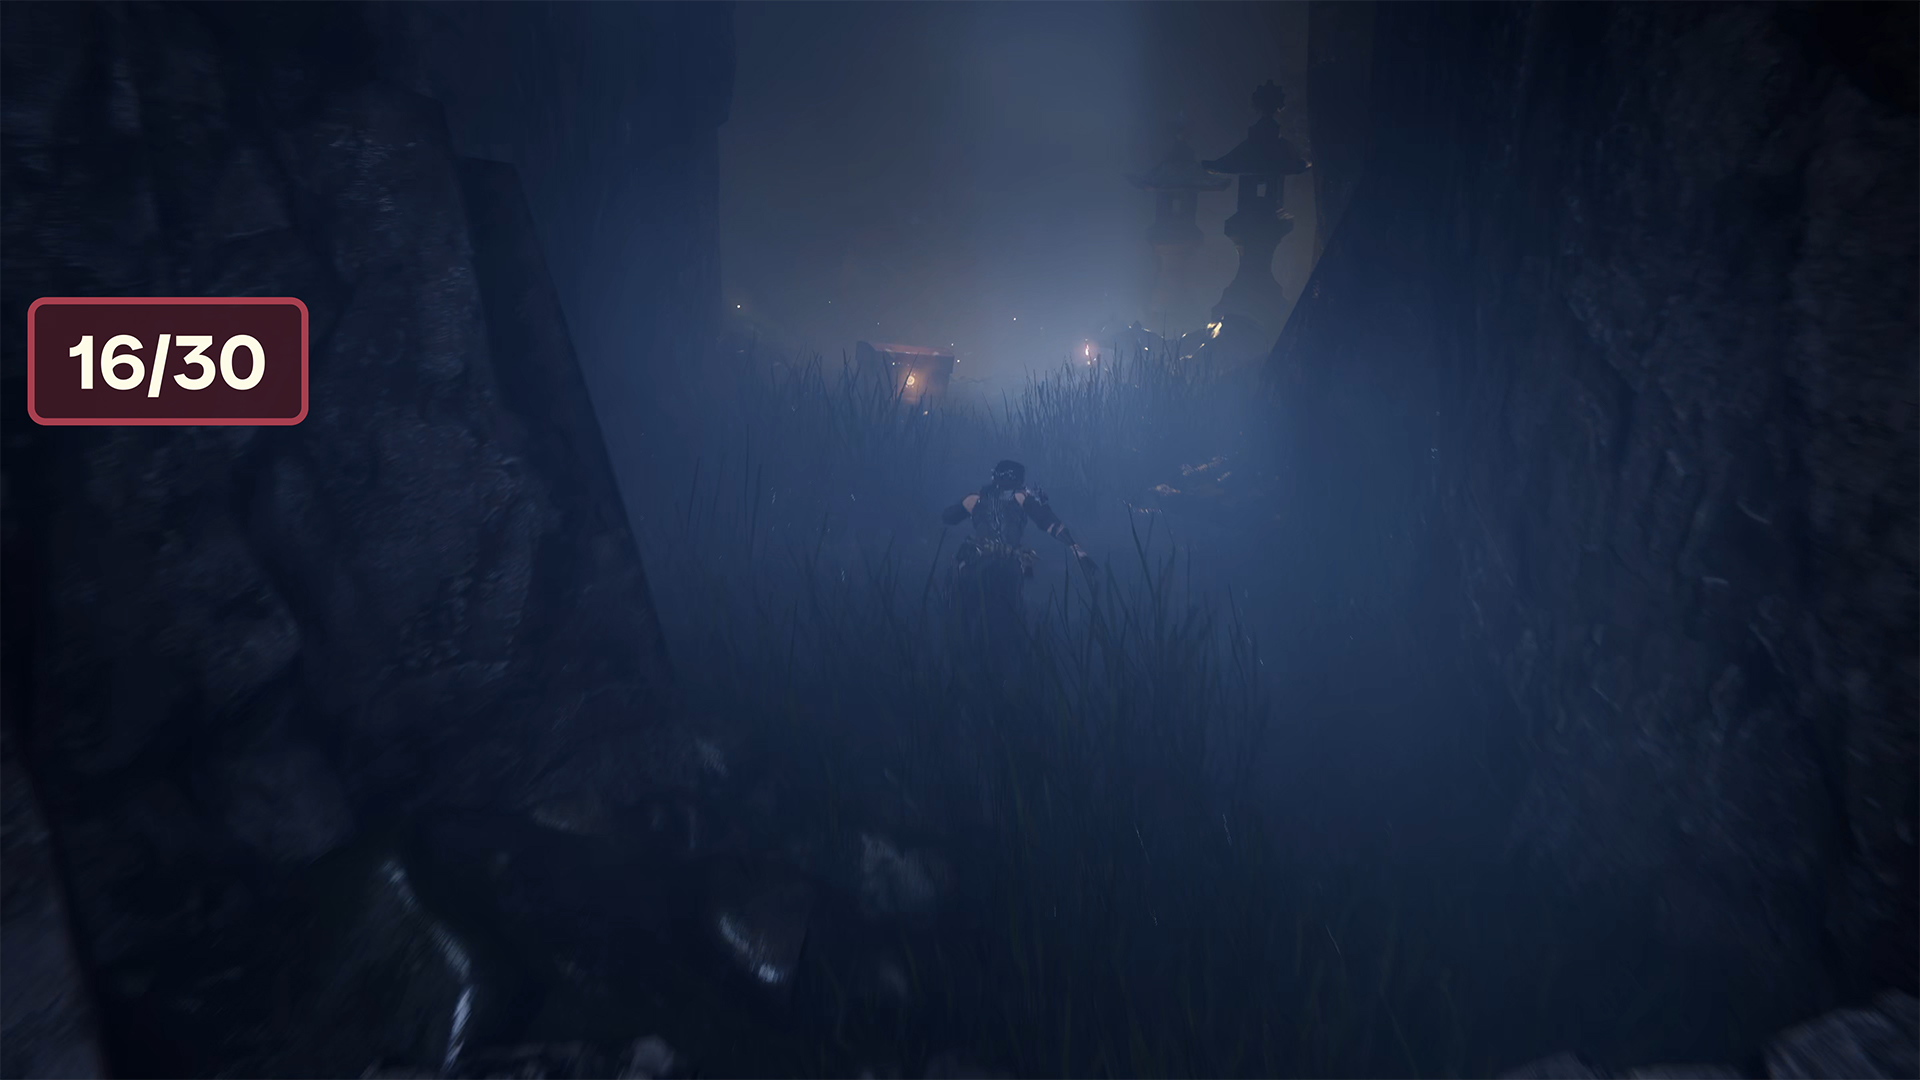
Chest #15-Senjin War Brew ➤ Chest #16-Divine Life Elixir
Moving forward, you will now see that you need to jump to the other side of the chasm. But look down. Right below you is the fifteenth chest. Jump down, deal with the enemies, and open the chest containing Senjin War Brew. After that, go to the left, where you will find a room with the next sixteenth chest. Inside the chest is the Divine Life Elixir. Now you can leave this ravine and return to the place where you jumped down from above.
-
- chest #11 in Raging Valley
-
- chest #12 in Raging Valley
-
- chest #13 in Raging Valley

-
- chest #14 in Raging Valley
-
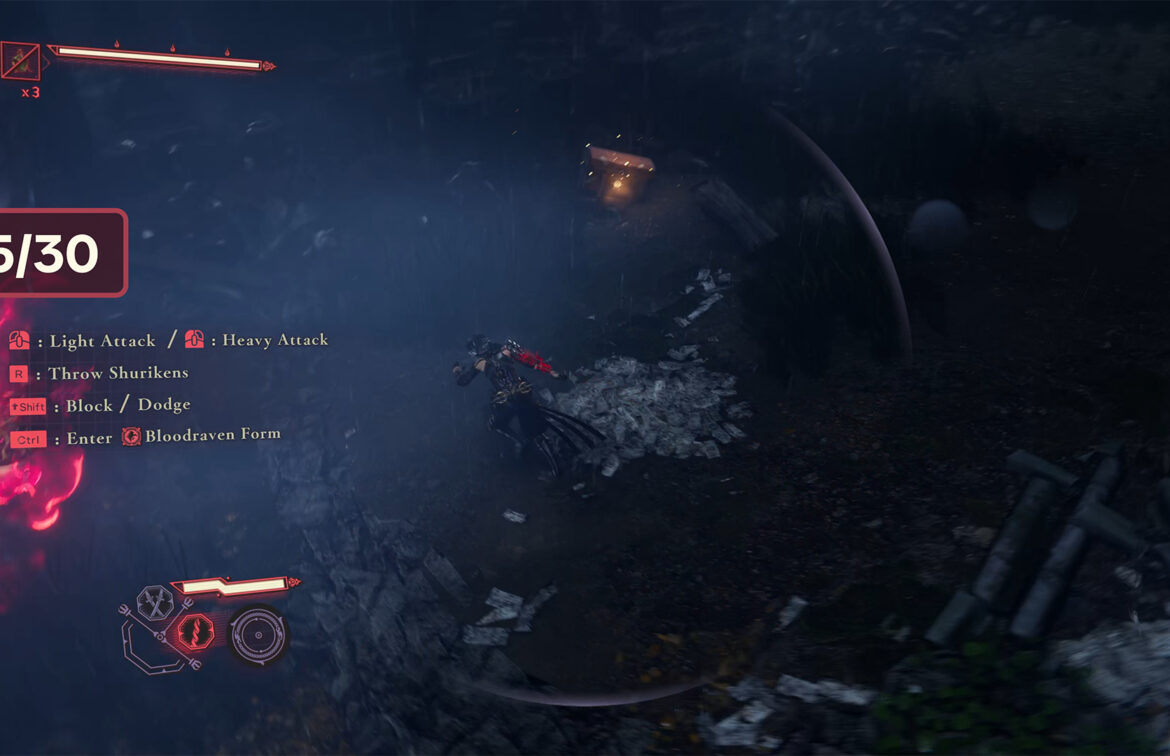
- chest #15 in Raging Valley

-
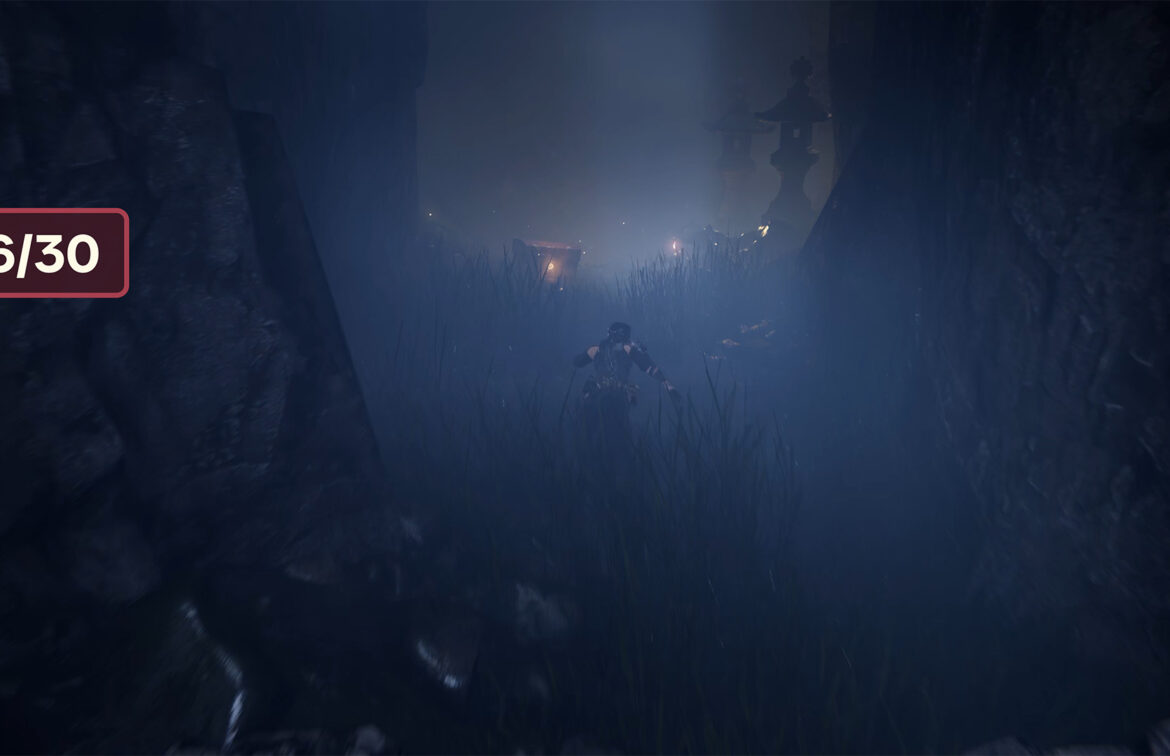
- chest #16 in Raging Valley
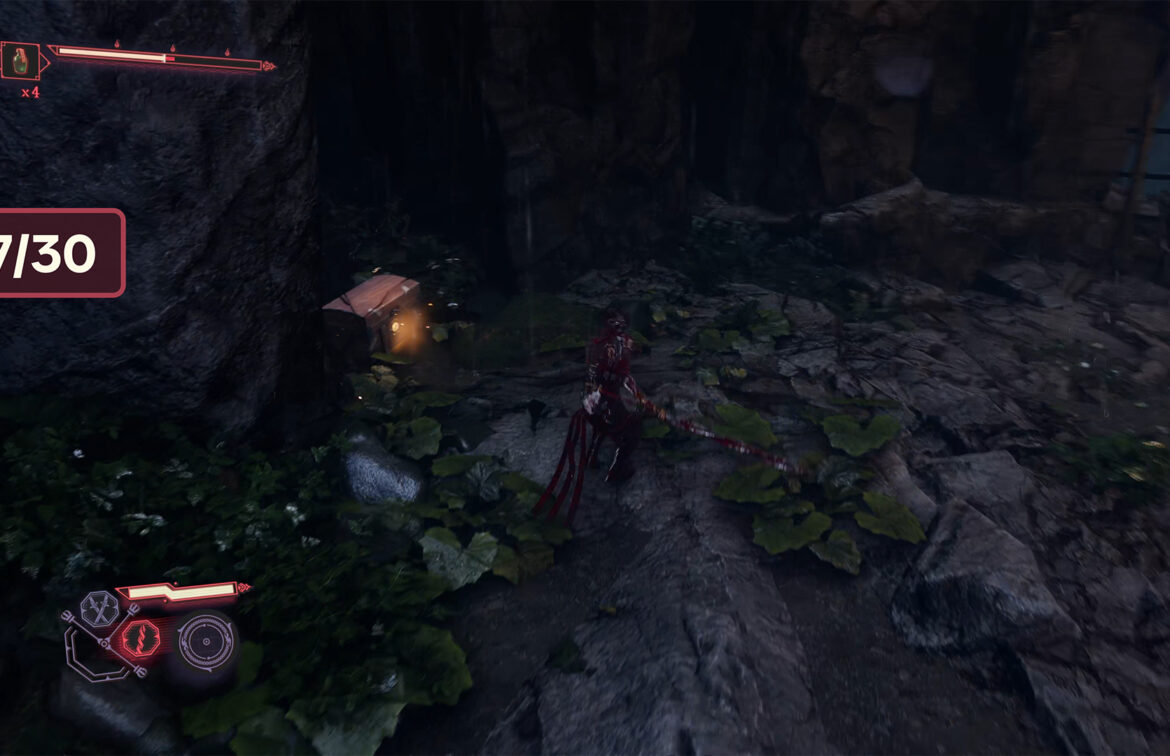
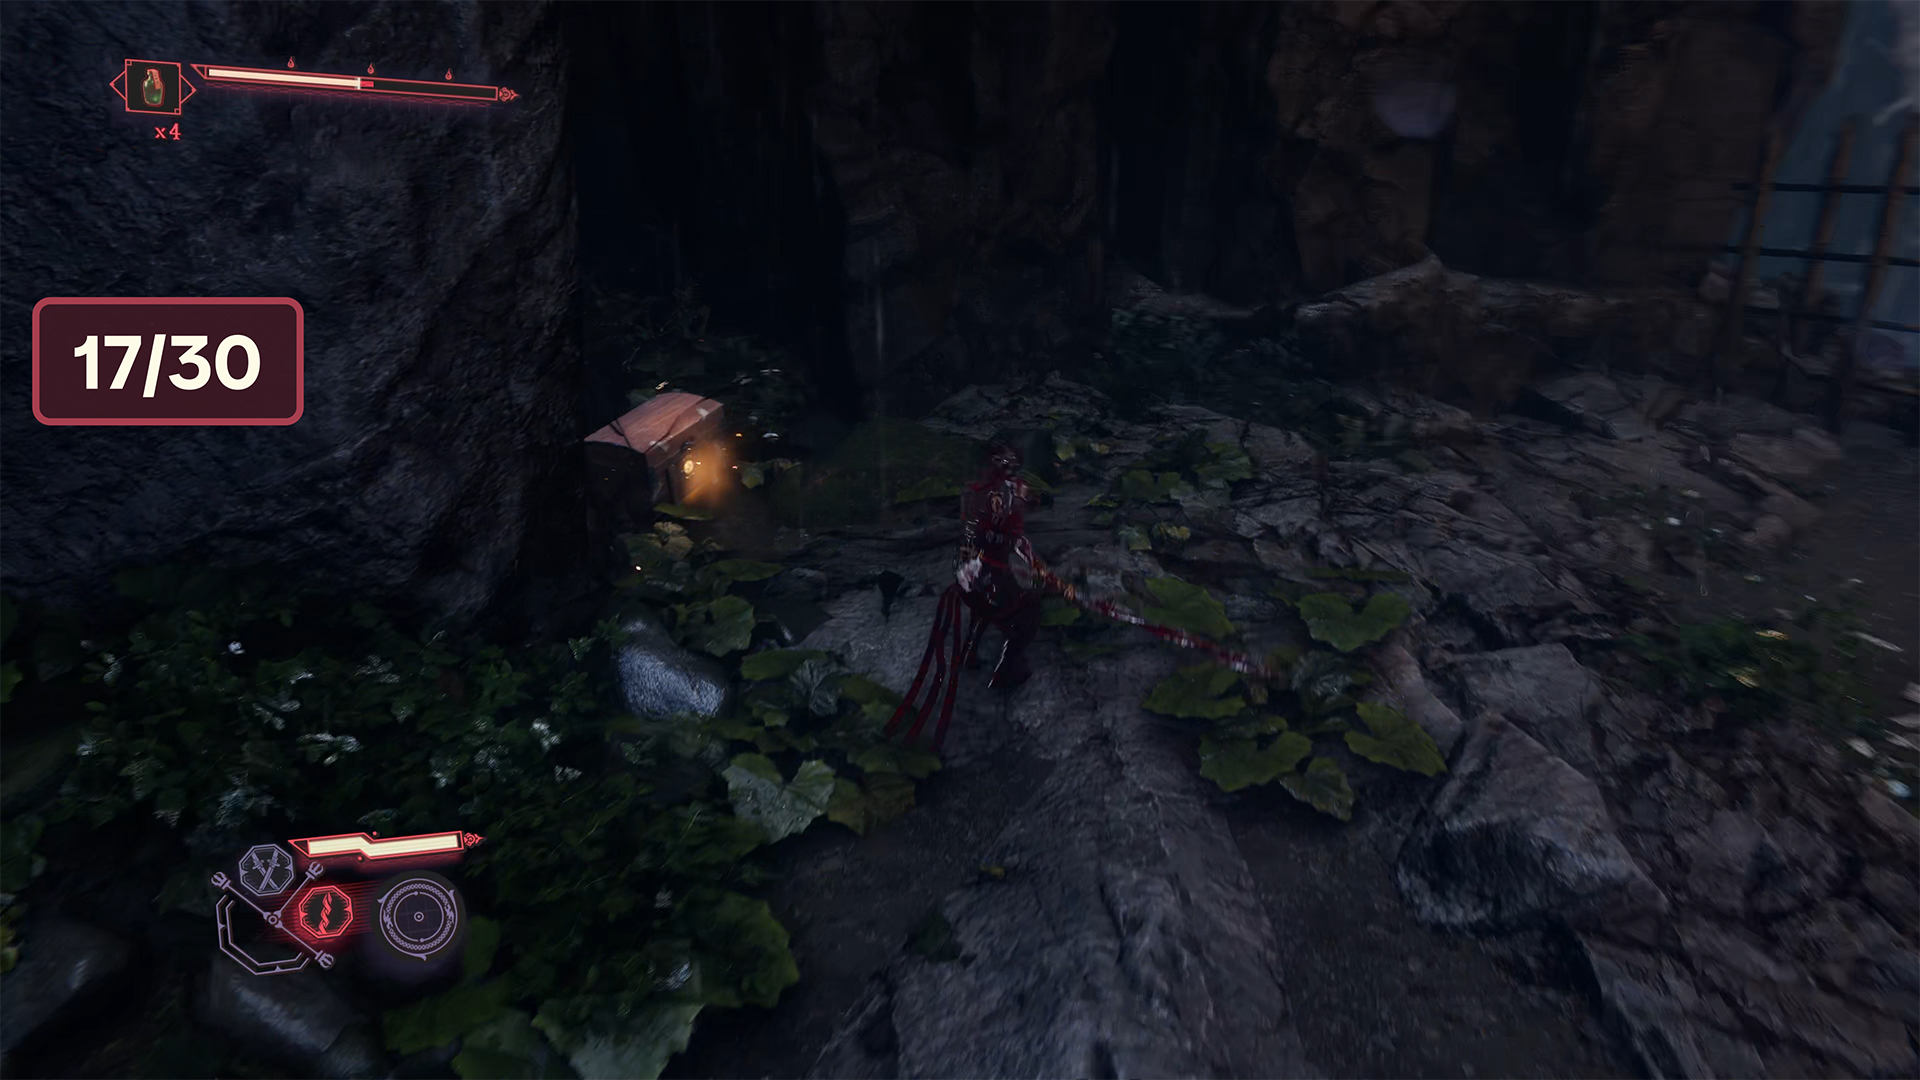
Chest #17-Life Elixir
When you proceed further and overcome all obstacles, you will reach an area where you will encounter the first Oni in Raging Valley. The seventeenth chest is located nearby. After the battle, explore the area thoroughly so you don’t miss it, as it is easy to overlook. Inside the chest, you will find a Life Elixir.
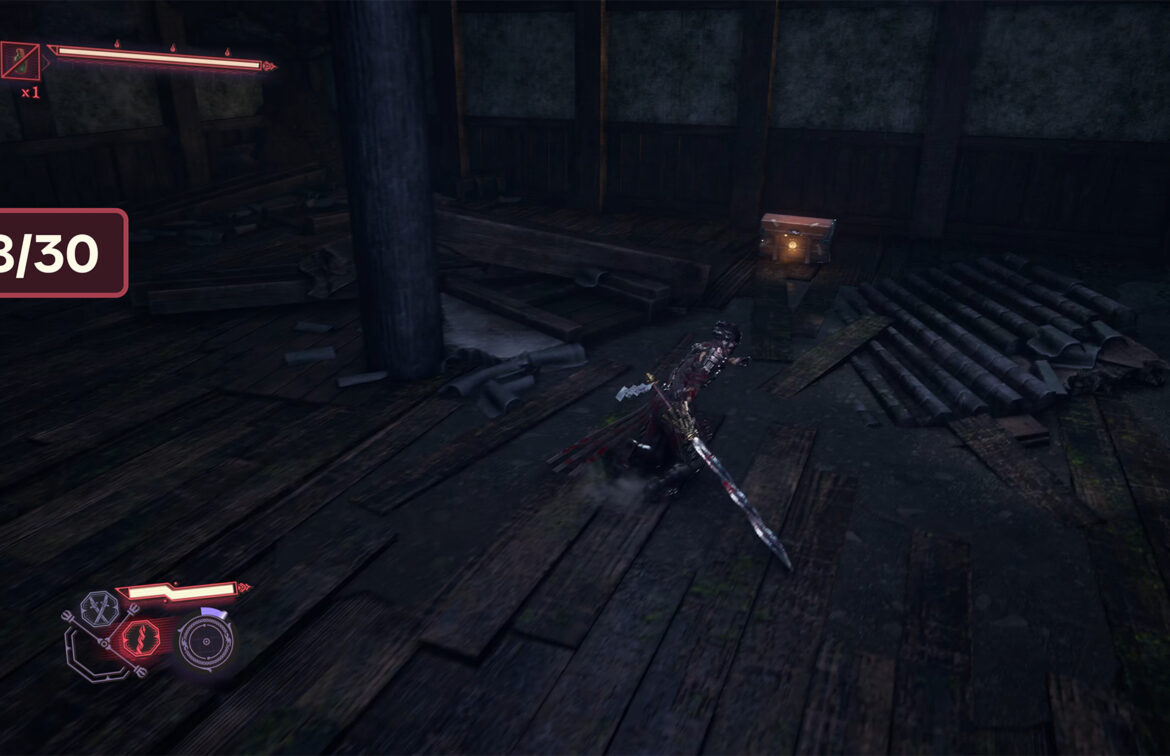
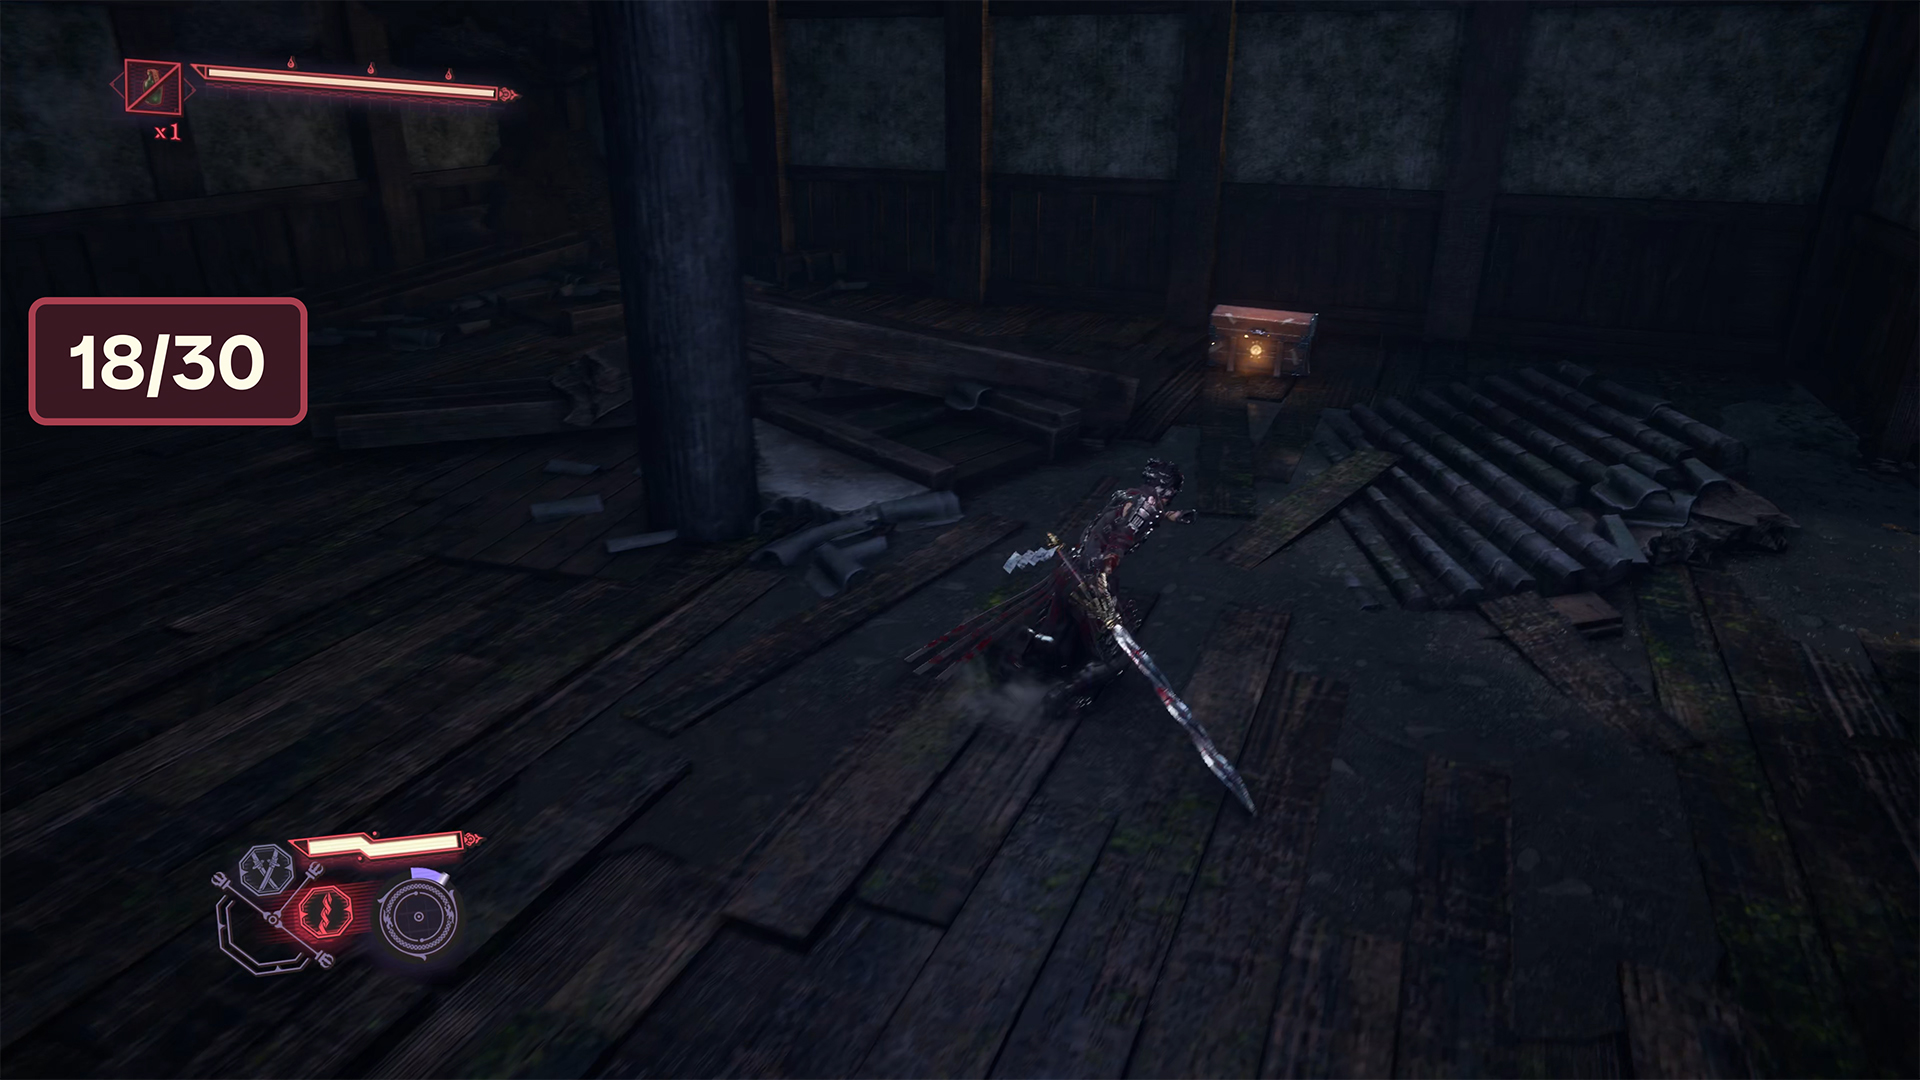
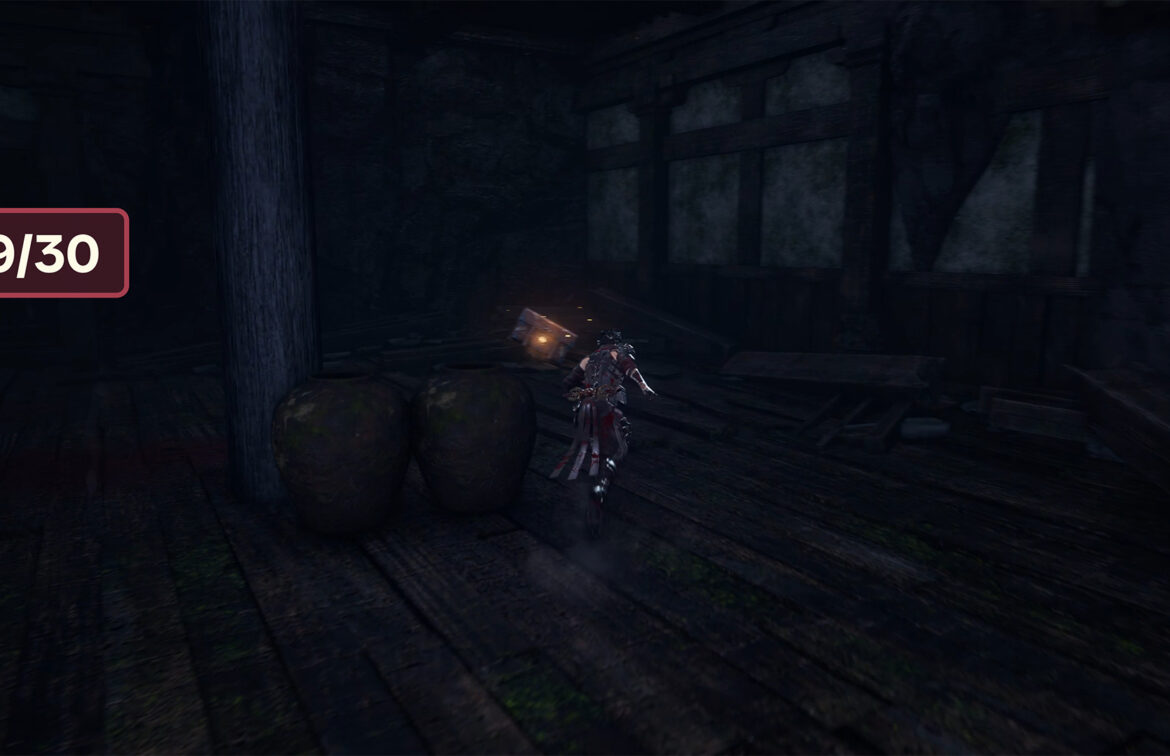
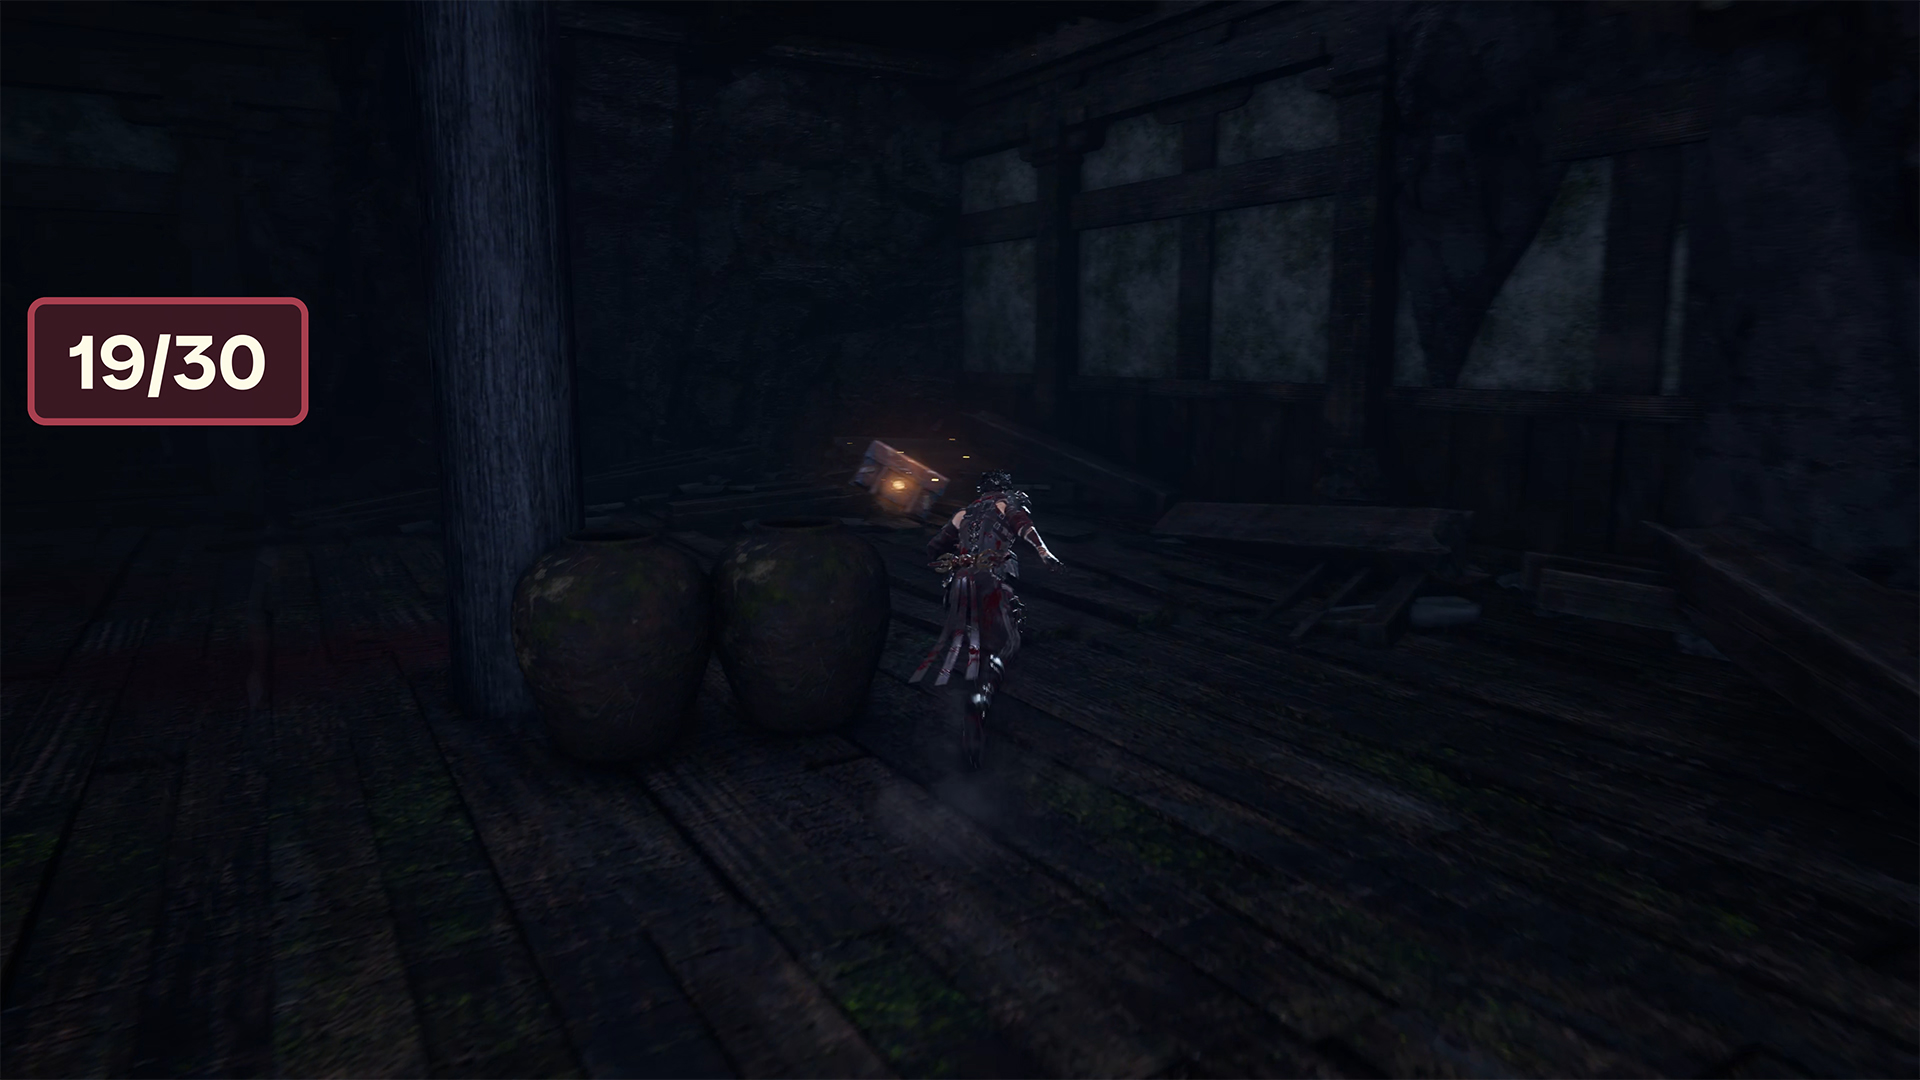
Chest #18-Life Elixir ➤ Chest #19-Crimson Blood Pellets
Next, you will find yourself in an interesting location that resembles a village. After completing the side quests, you will find yourself on the roof of a building with a hole in it. Jump inside the building. Here you must defeat your enemies, and then you will be able to open the eighteenth chest with Life Elixir and the nineteenth chest with Crimson Blood Pellets.
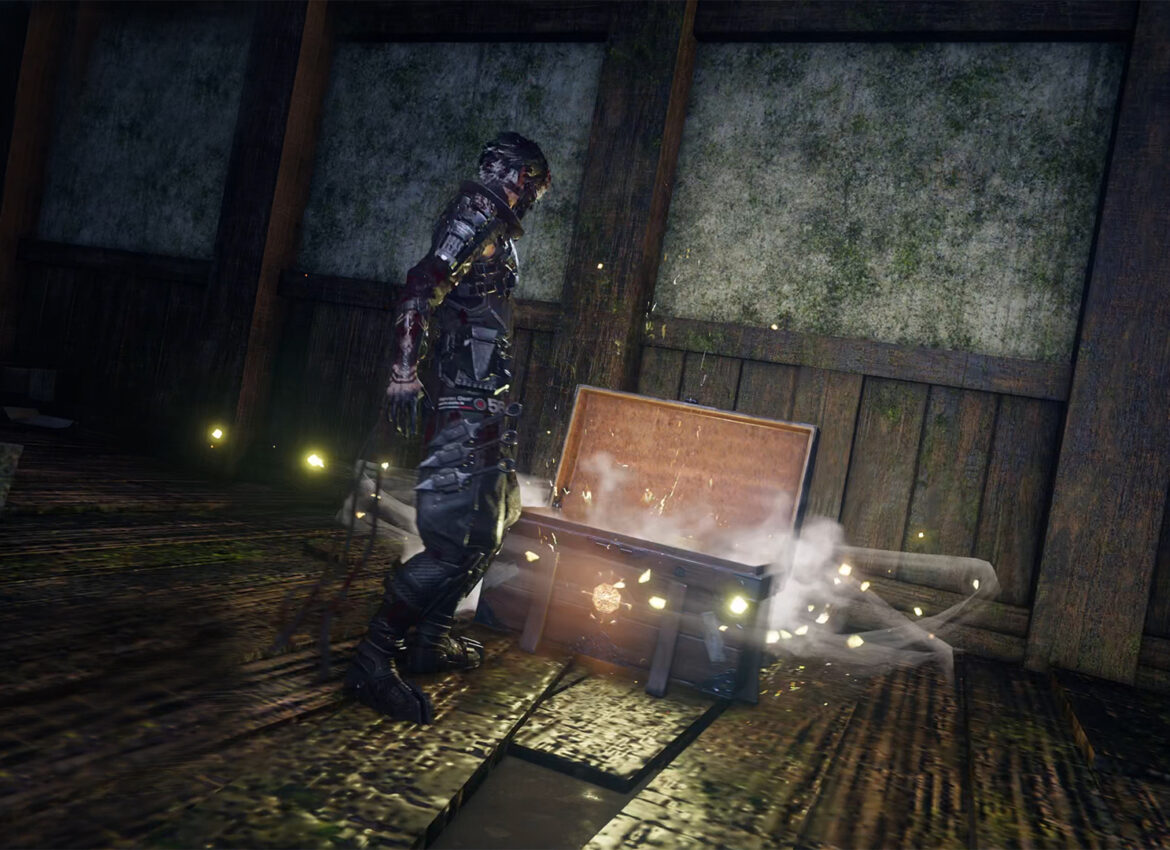
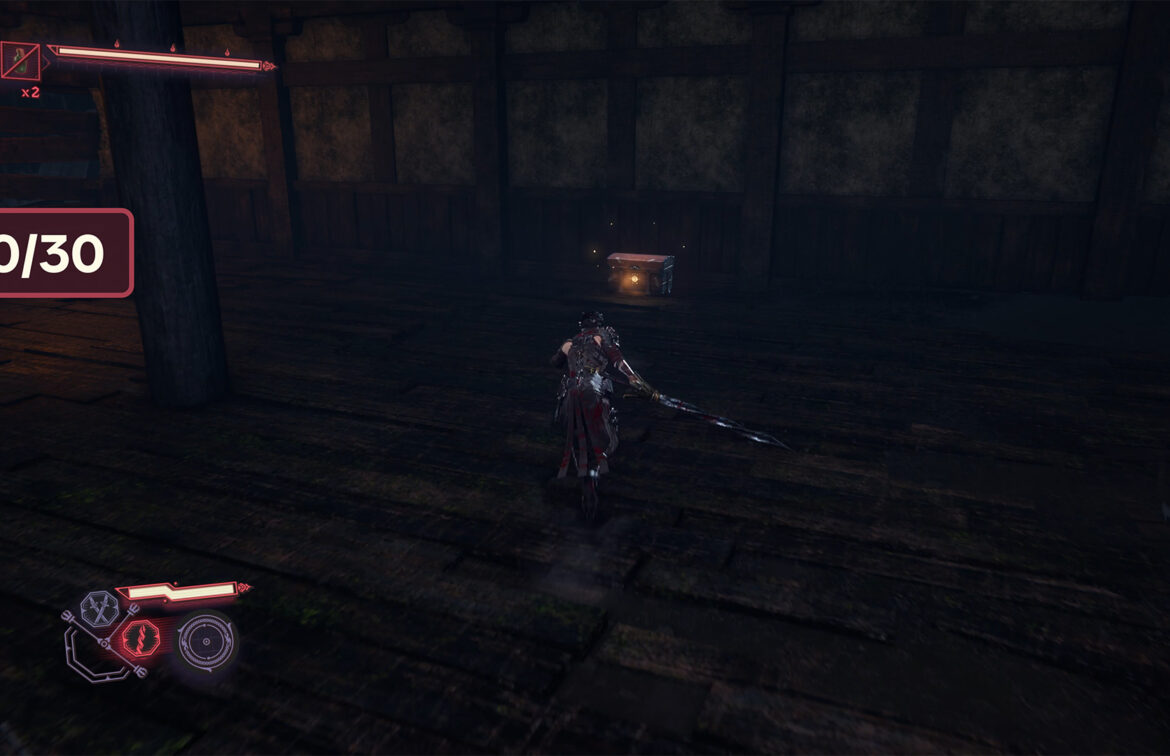
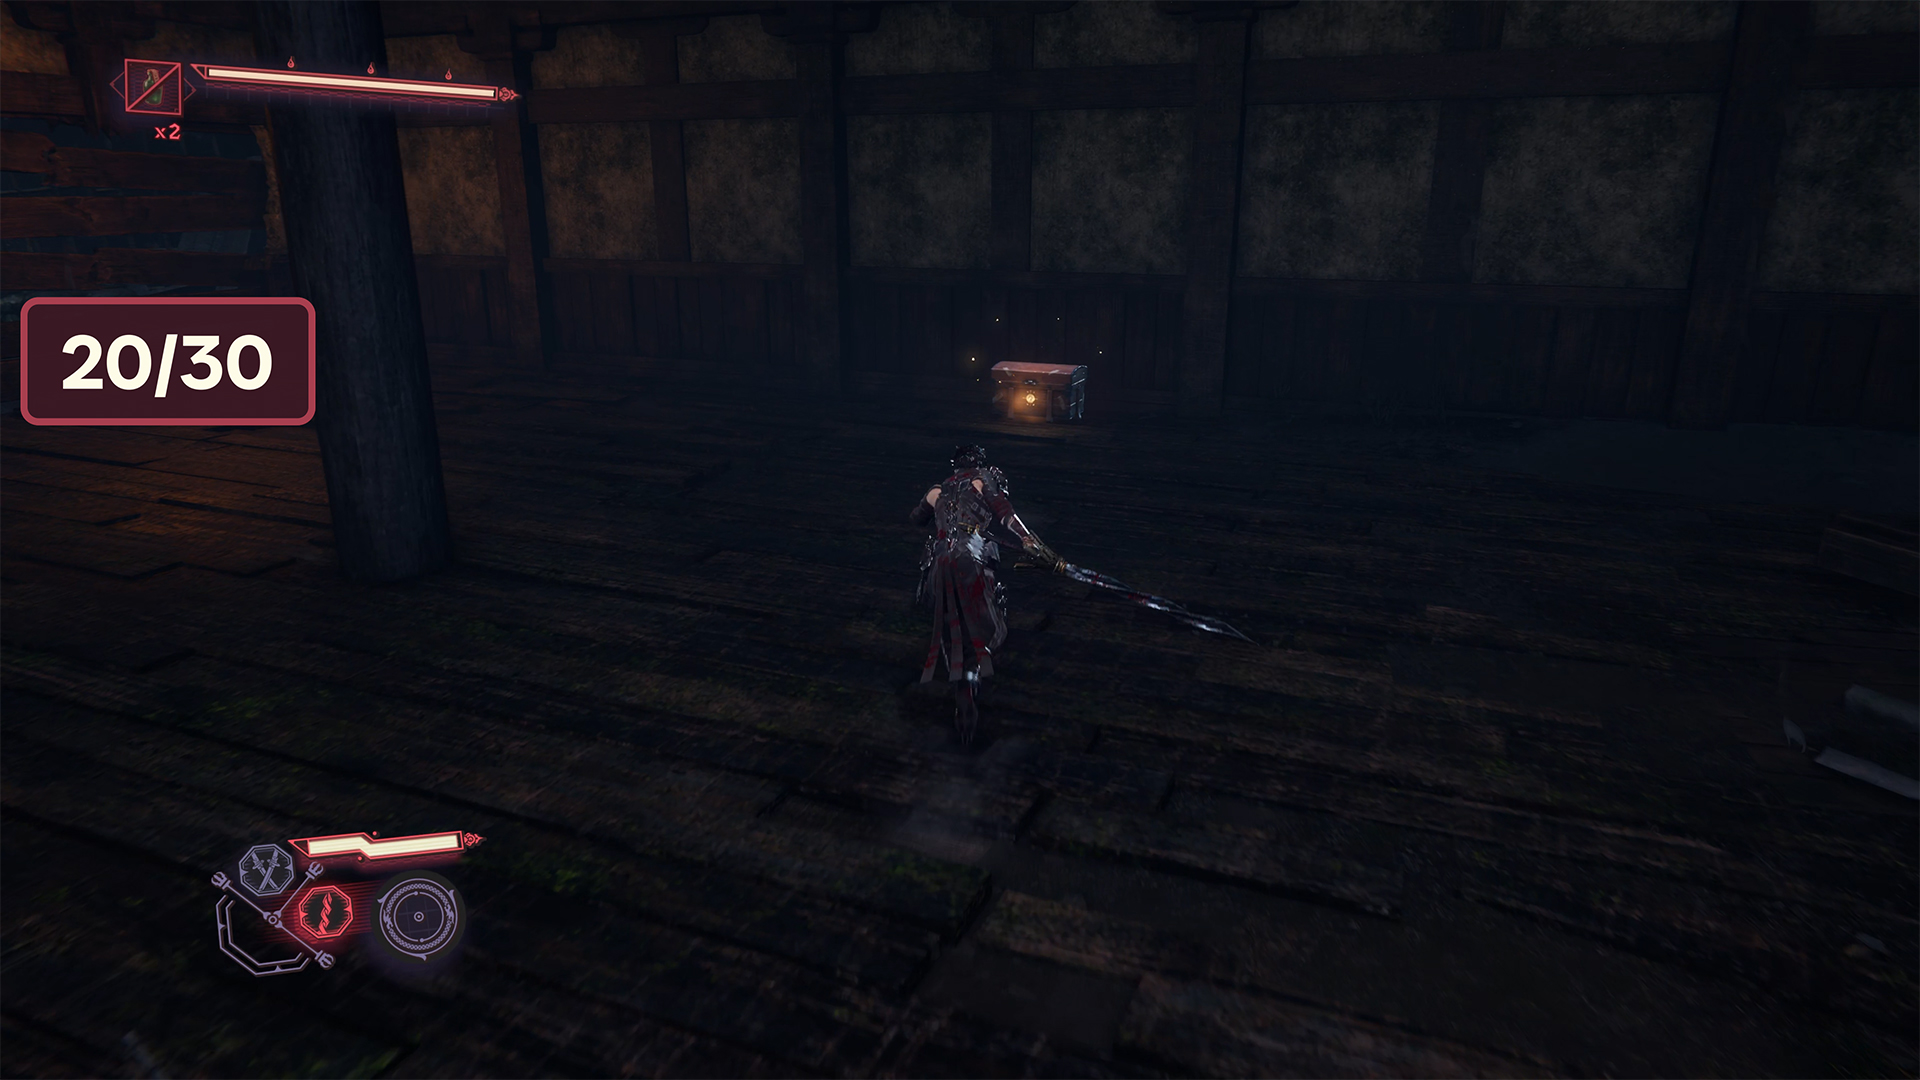
Chest #20-Kongou Iron Brew
When you exit this building, use your Caddis Wire to reach the roof of another building. Tengu is walking here, and if you jump onto the roof in time, you can assassinate him without engaging in direct combat. After that, jump back into the hole in the roof. There will be one enemy waiting for you inside the building, so you can quickly deal with him and open the twentieth chest to get Kongou Iron Brew.
-
- chest #17 in Raging Valley
-
- chest #18 in Raging Valley
-
- chest #19 in Raging Valley
-
- chest #20 in Raging Valley
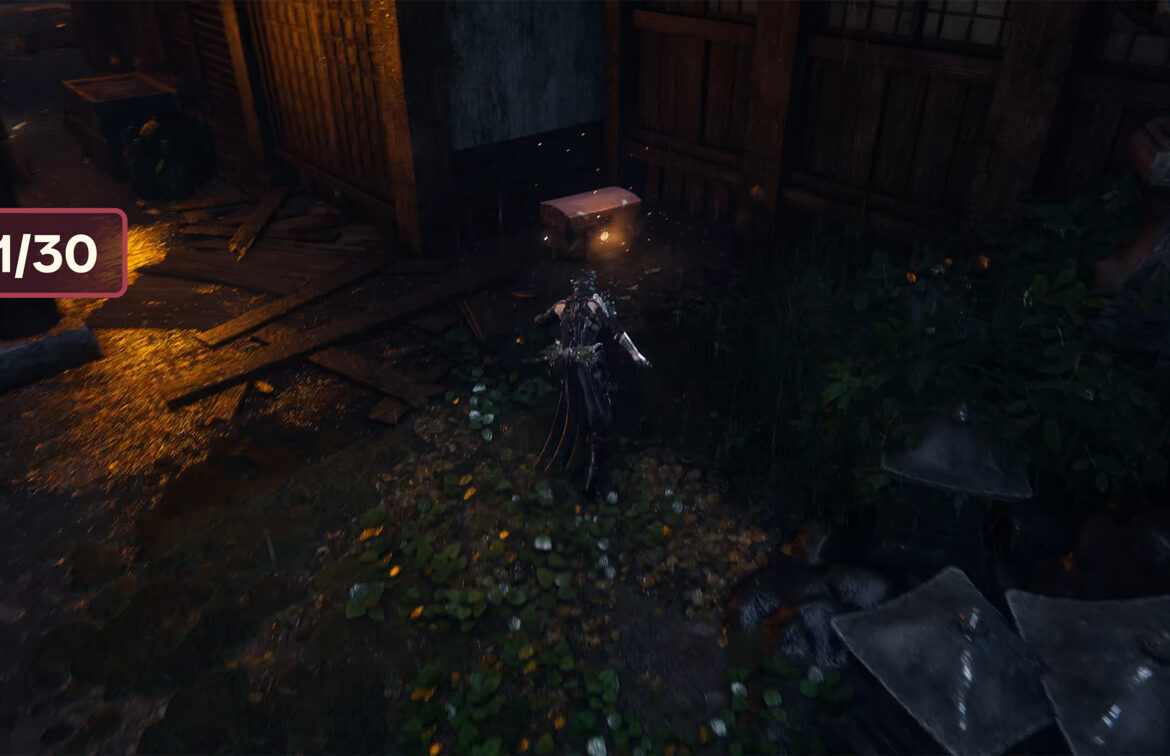
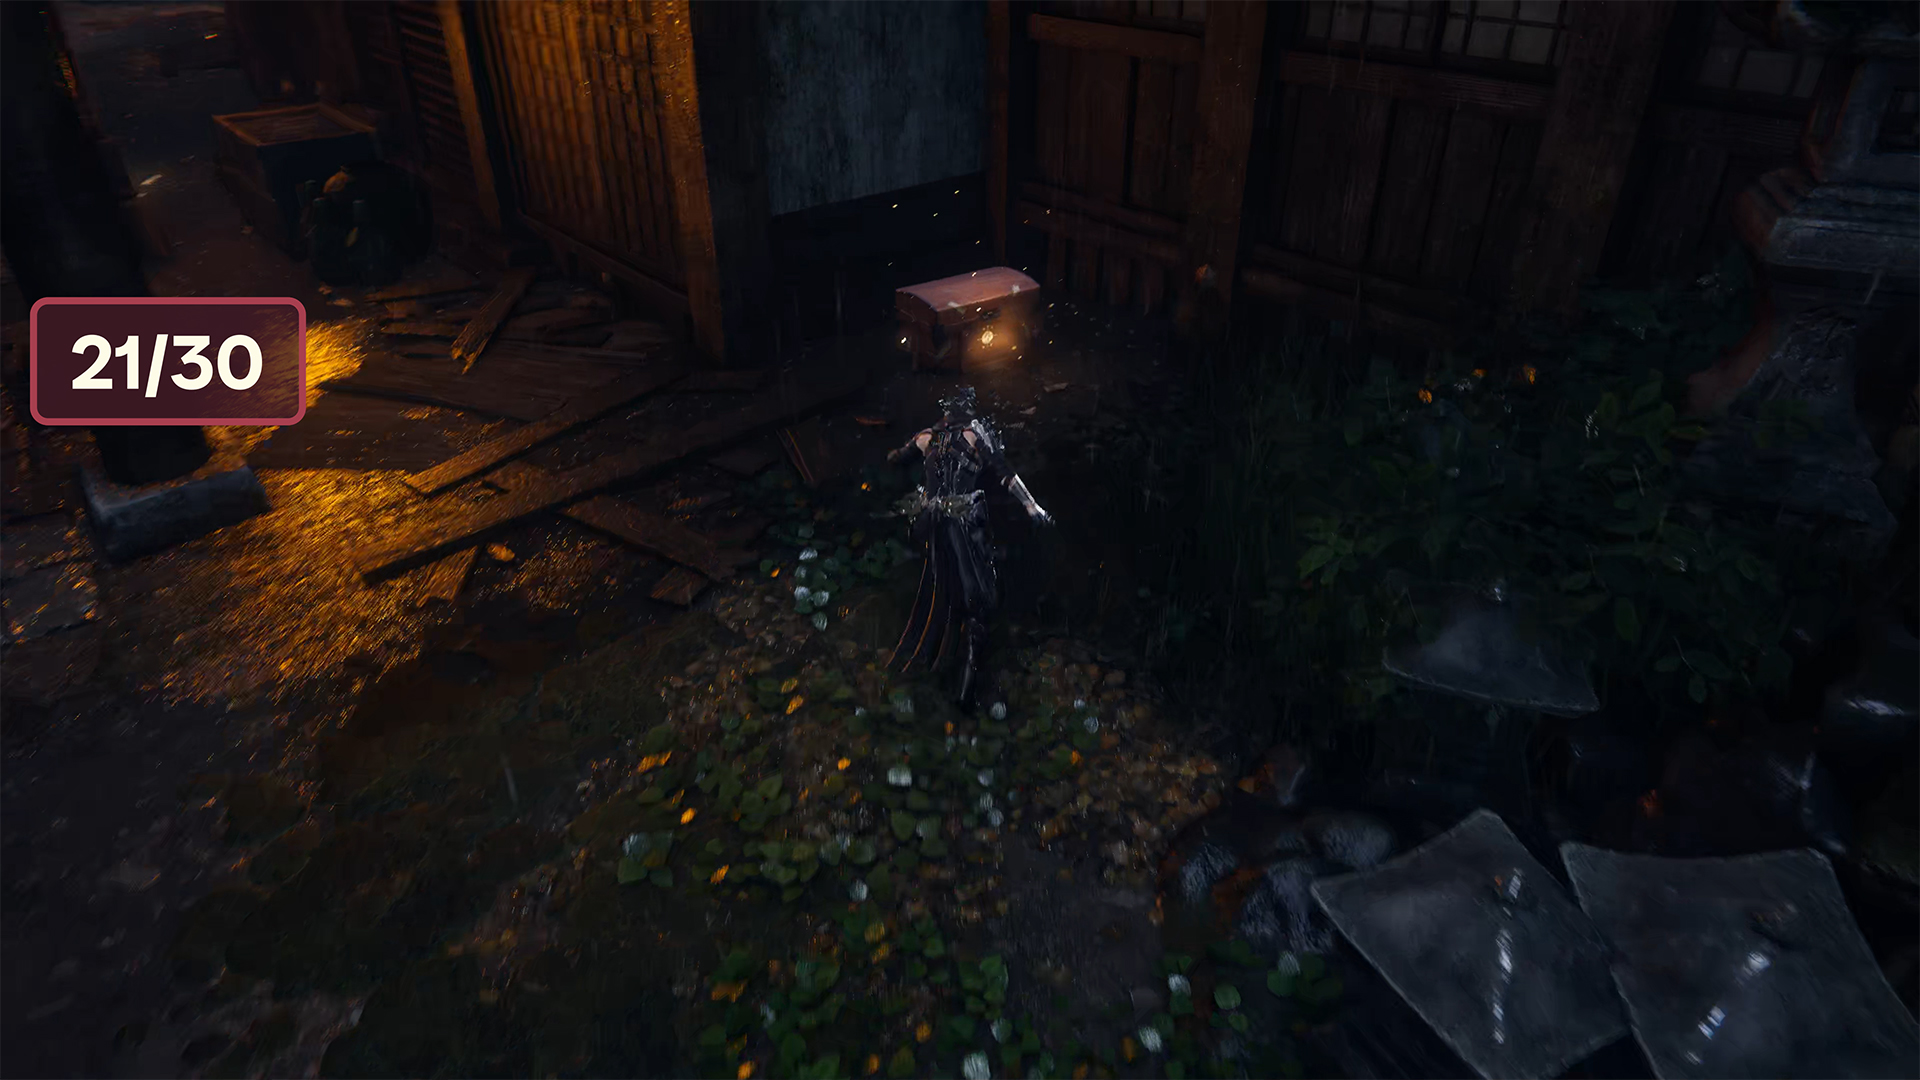
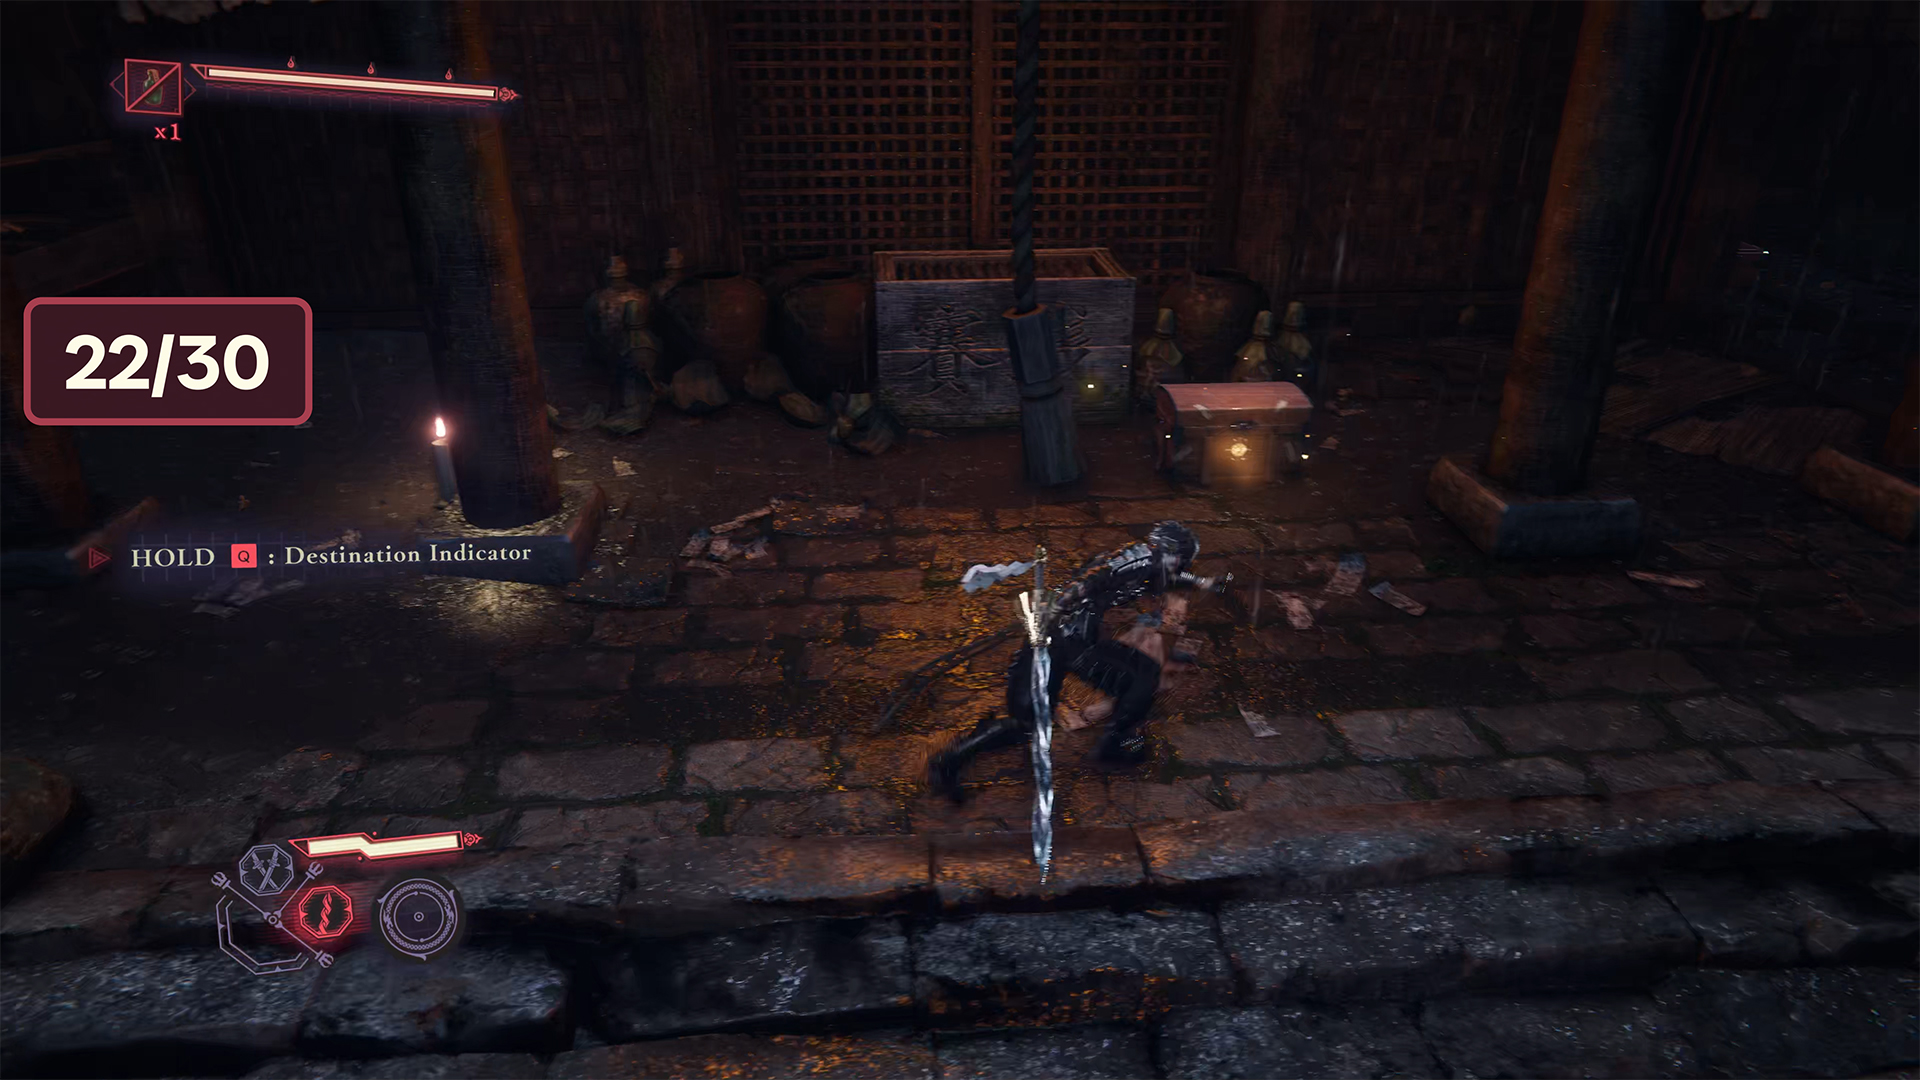
Chest #21-Rejuvenation Elixir ➤ Chest #22-Incense of Rebirth ➤ Chest #23-Ashen Pipe
Next comes a very interesting part of the investigation, which is incredibly easy to miss. Ahead of you will be a large building, and there are many interesting things waiting for you there. First, go to the right corner of the building. Here you will find the twenty-first chest and the Rejuvenation Elixir inside. After that, return to the central entrance. Here you will see a hanging tassel. You need to hit this tassel and you will see the twenty-second chest appear on the right. Open it to get the Incense of Rebirth.
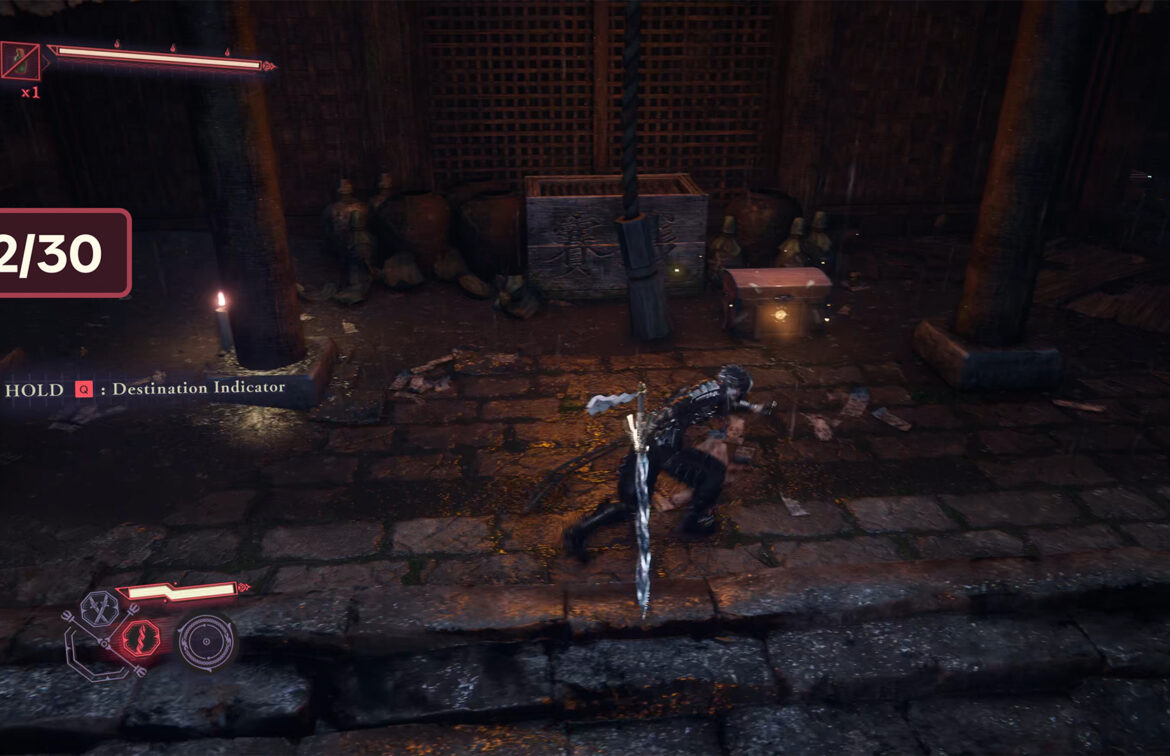
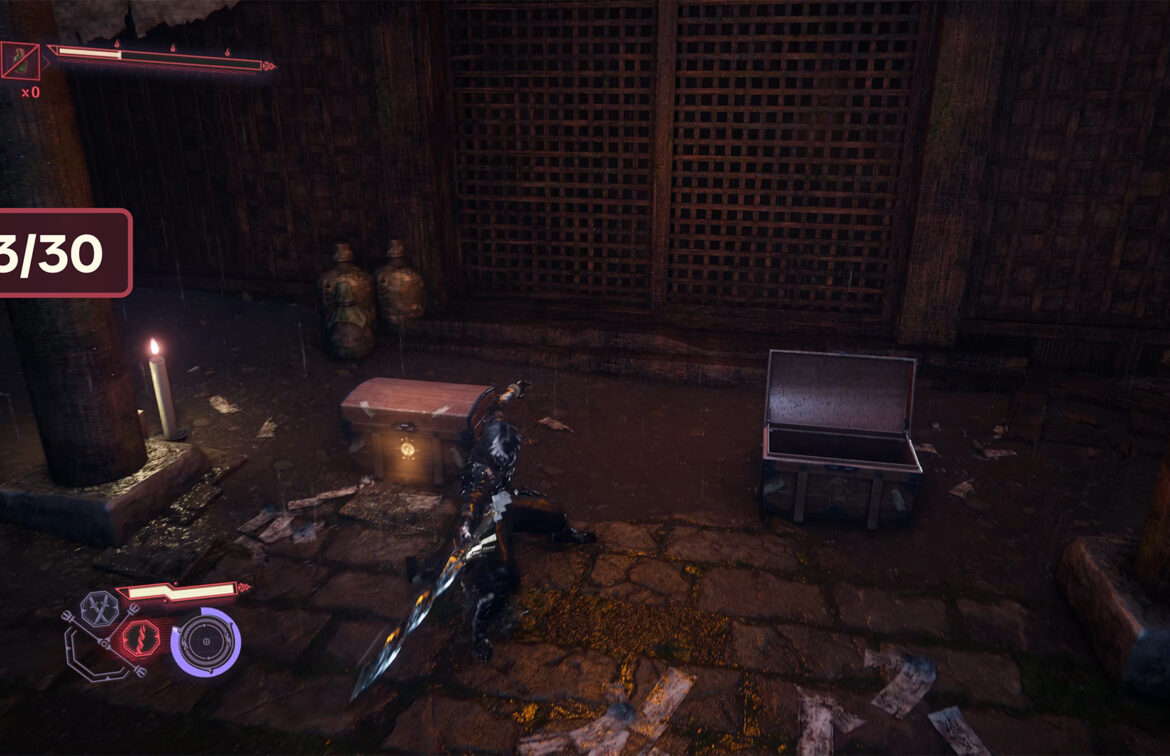
Then hit the tassel again and this time enemies will appear. These will be aggressive Lichats. After defeating them, repeat the action, and after hitting the tassel, you will summon two Oni. Hit the tassel again, and two Tengu leaders will appear. Finally, hit the tassel again to reveal your twenty-third chest on the left. Inside is a very useful item, the Ashen Pipe.
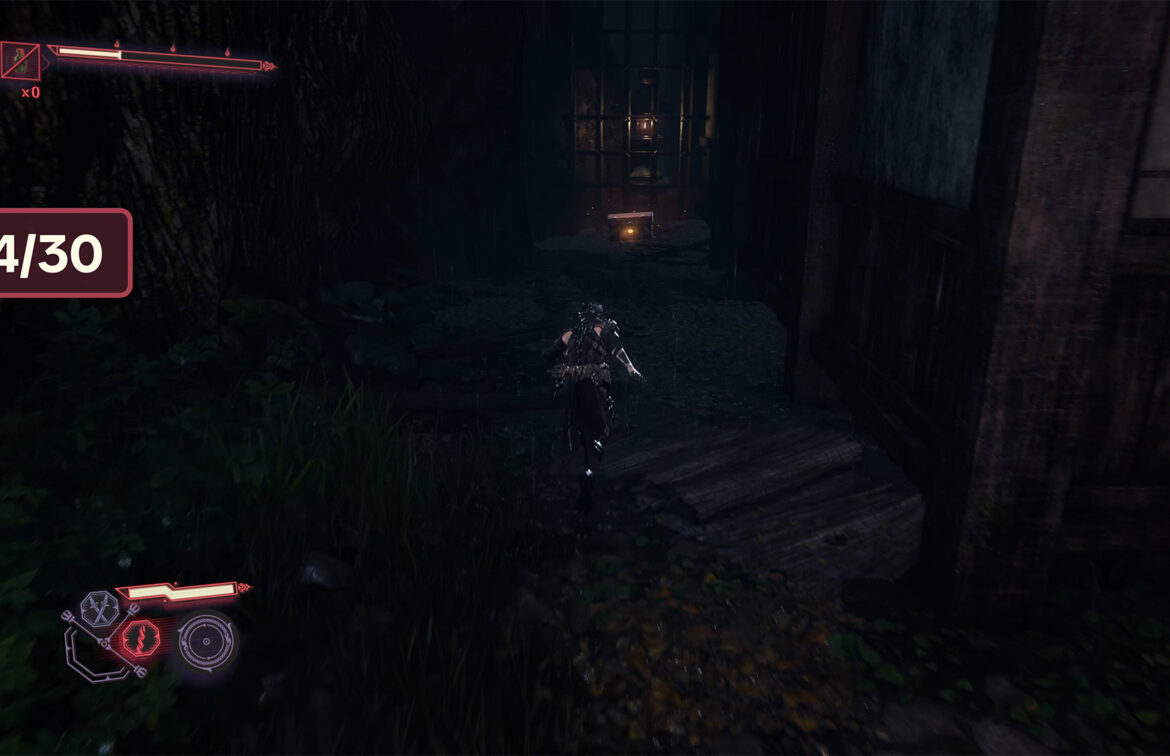
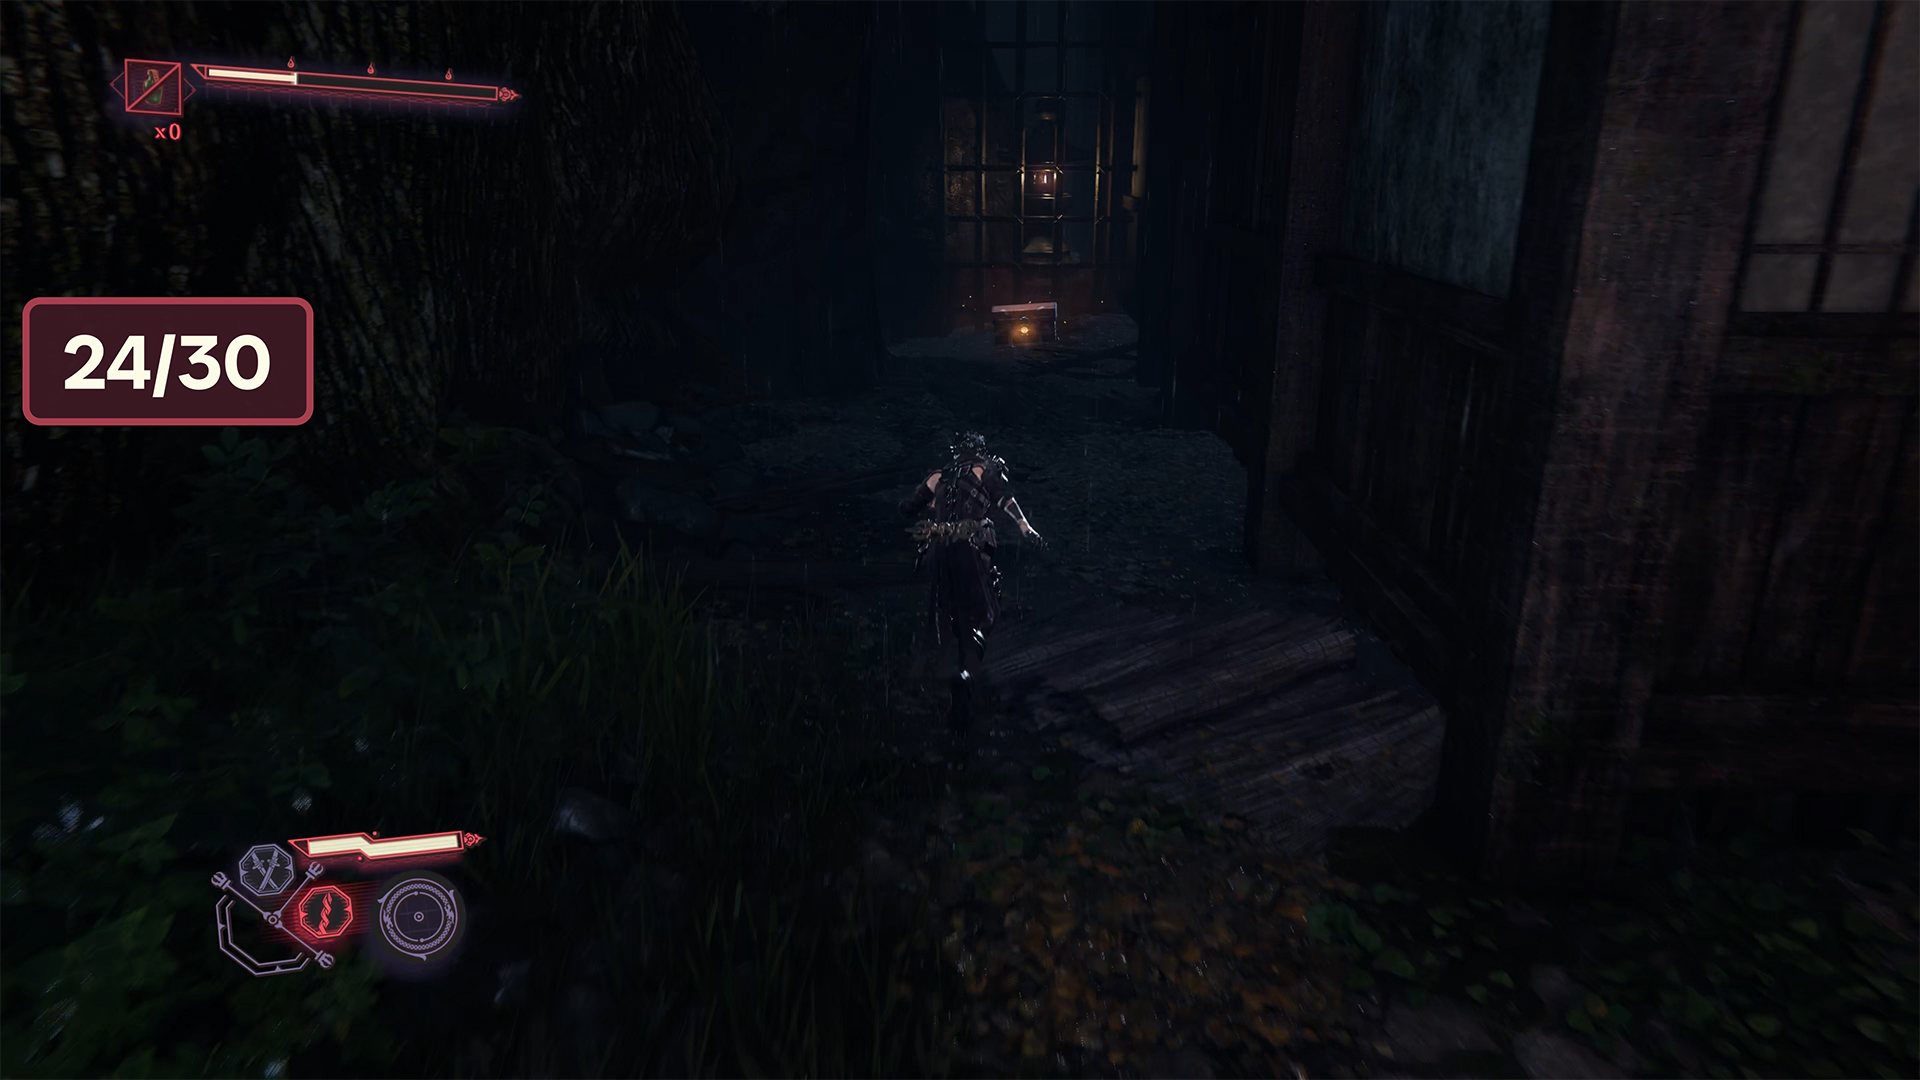
Chest #24-Life Elixir
After that, go to the left behind the large building where enemies will be standing, unless you have already destroyed them. At the end of the building, look to the right. You will see a narrow space with the twenty-fourth chest at the end. Open it and you will receive a Life Elixir.
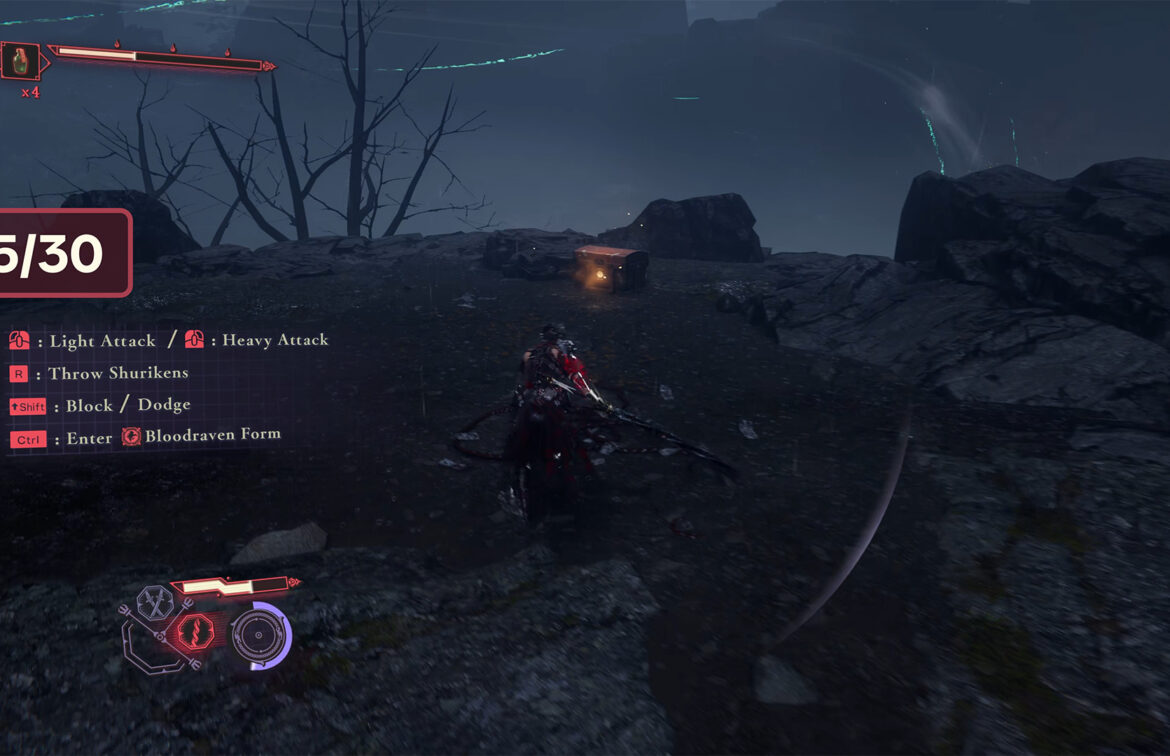
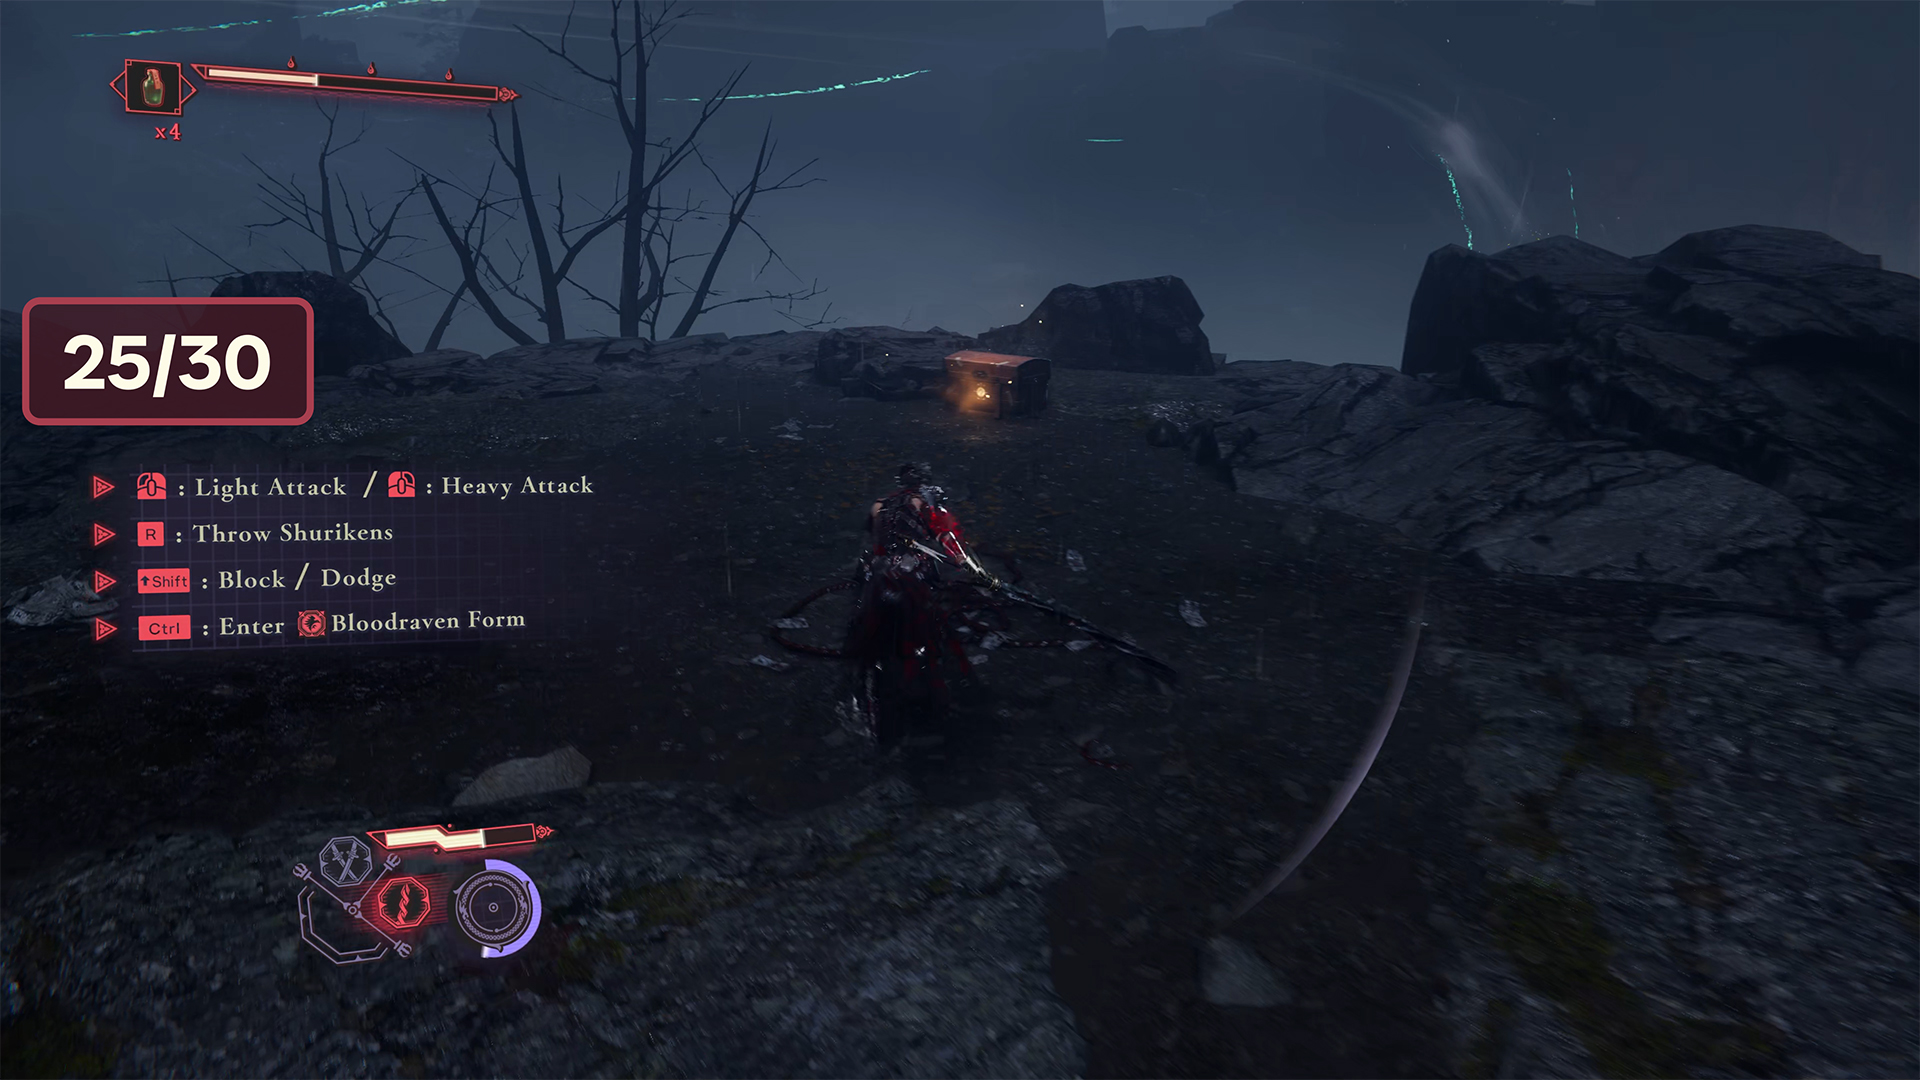
Chest #25-Divine Life Elixir ➤ Chest #26-Incense of Rebirth
Advance through the story until you encounter a new enemy. It will be a large teapot that spits fireballs. After defeating this enemy, you need to move forward and jump down. There you will see the Armored Sickle and the twenty-fifth chest behind it. Be careful when opening it, because there is another teapot on the right that will throw fire at you.
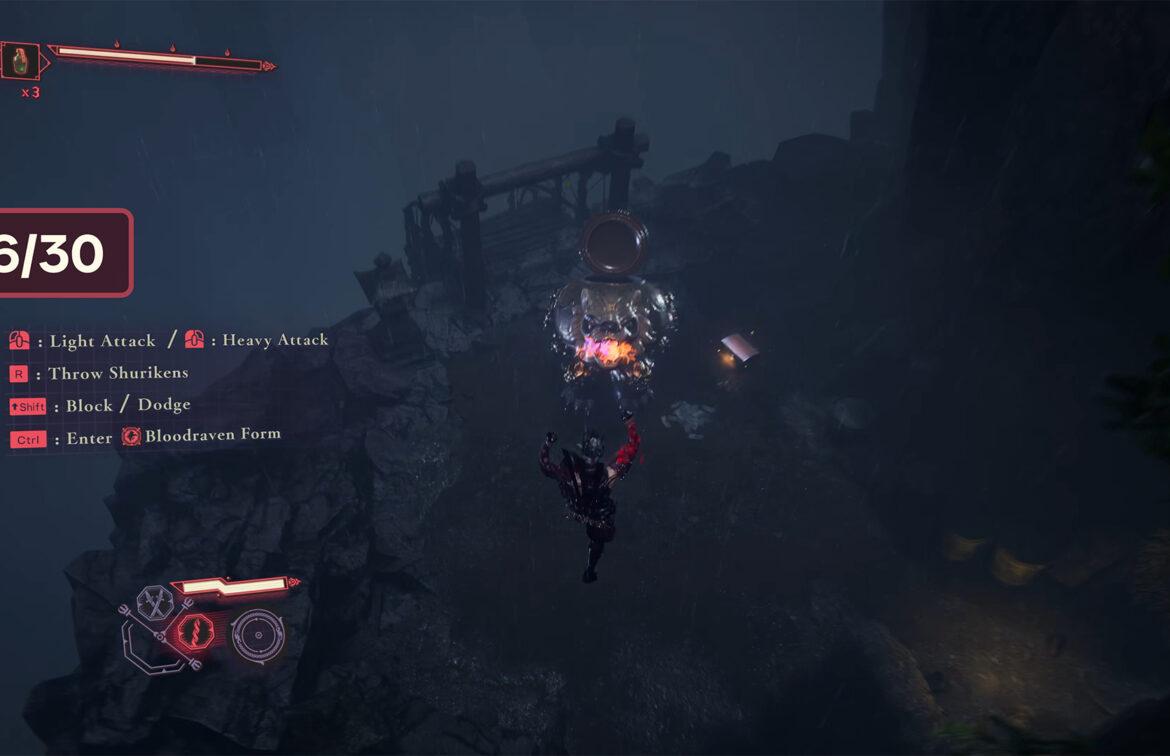
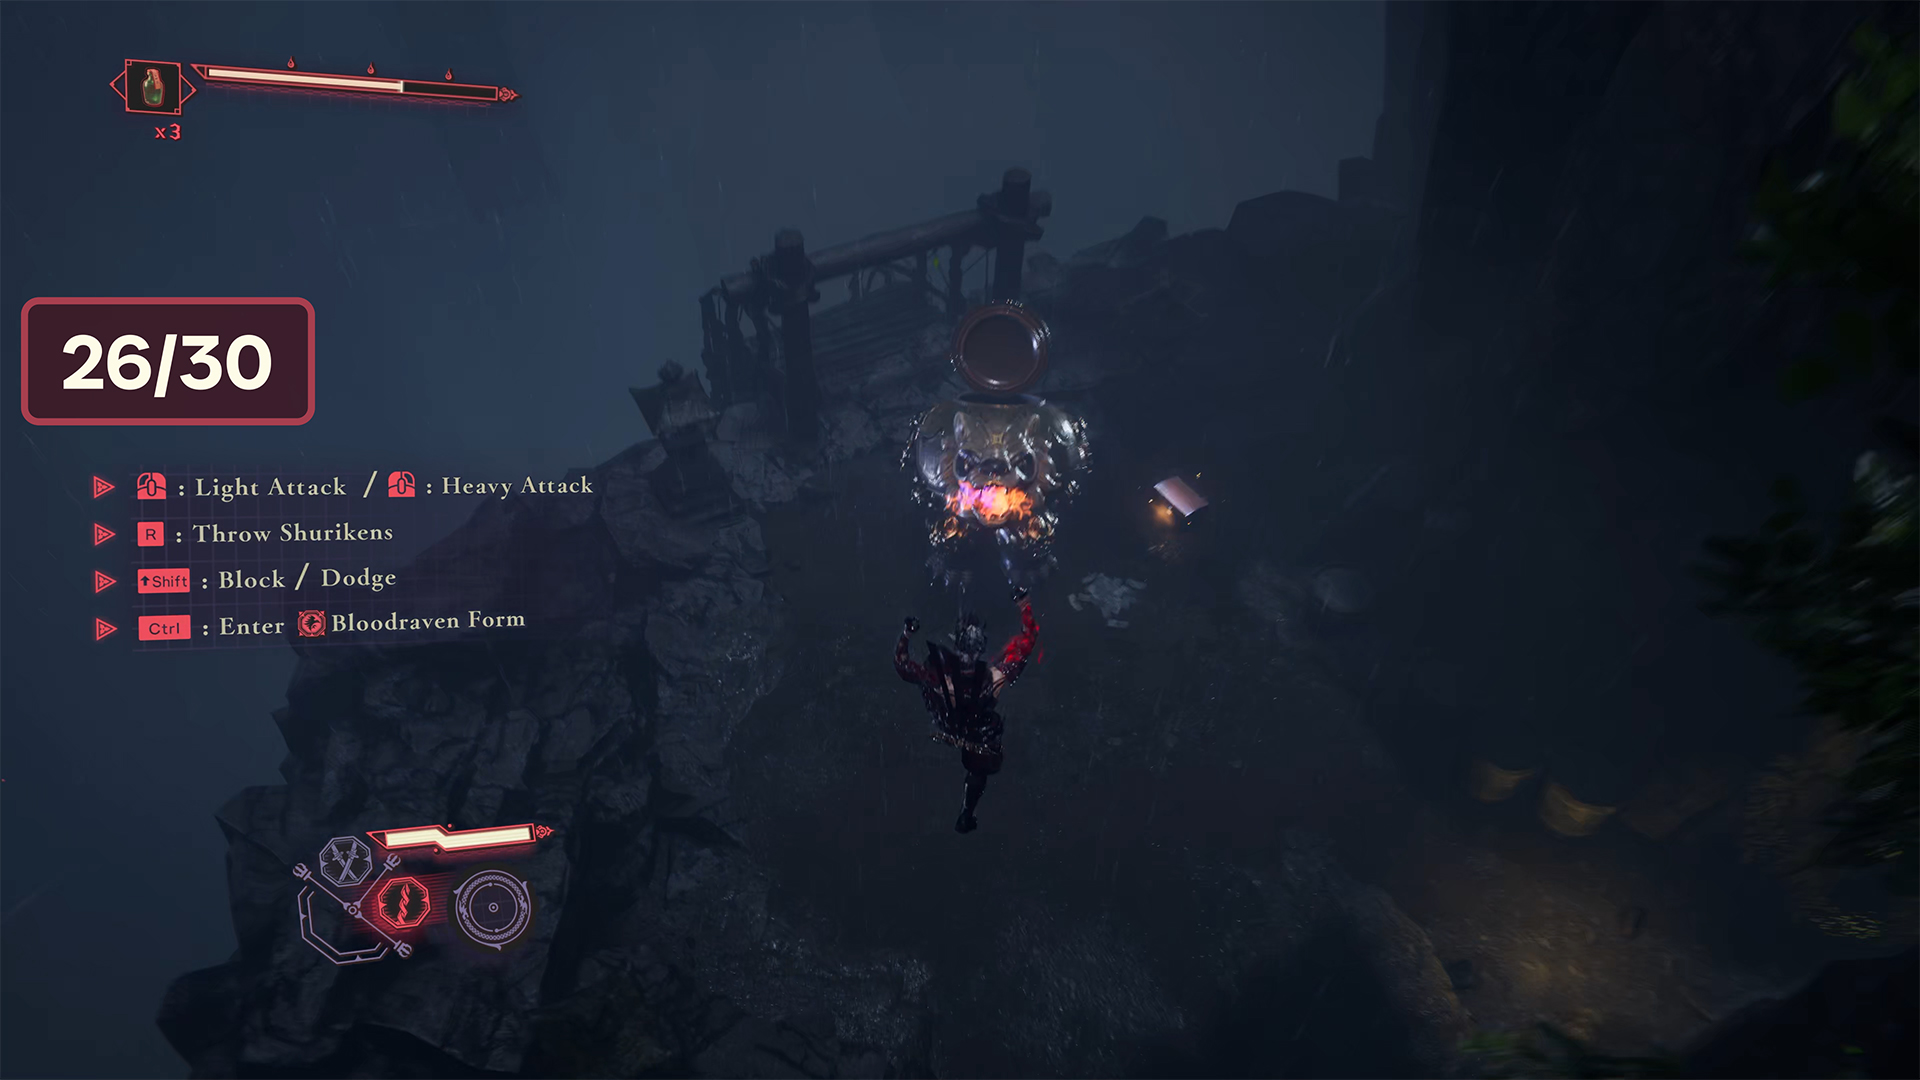
You should deal with it before opening the chest so that it doesn’t get in your way. In the chest, you will find the Divine Life Elixir. After that, you should look down from this place and see a platform below where another teapot is located. Next to it is the twenty-sixth chest. Jump there and neutralize the enemy. From the chest, you will receive Incense of Rebirth.
-
- chest #21 in Raging Valley
-
- chest #22 in Raging Valley
-
- chest #23 in Raging Valley

-
- chest #24 in Raging Valley
-
- chest #25 in Raging Valley
-
- chest #26 in Raging Valley
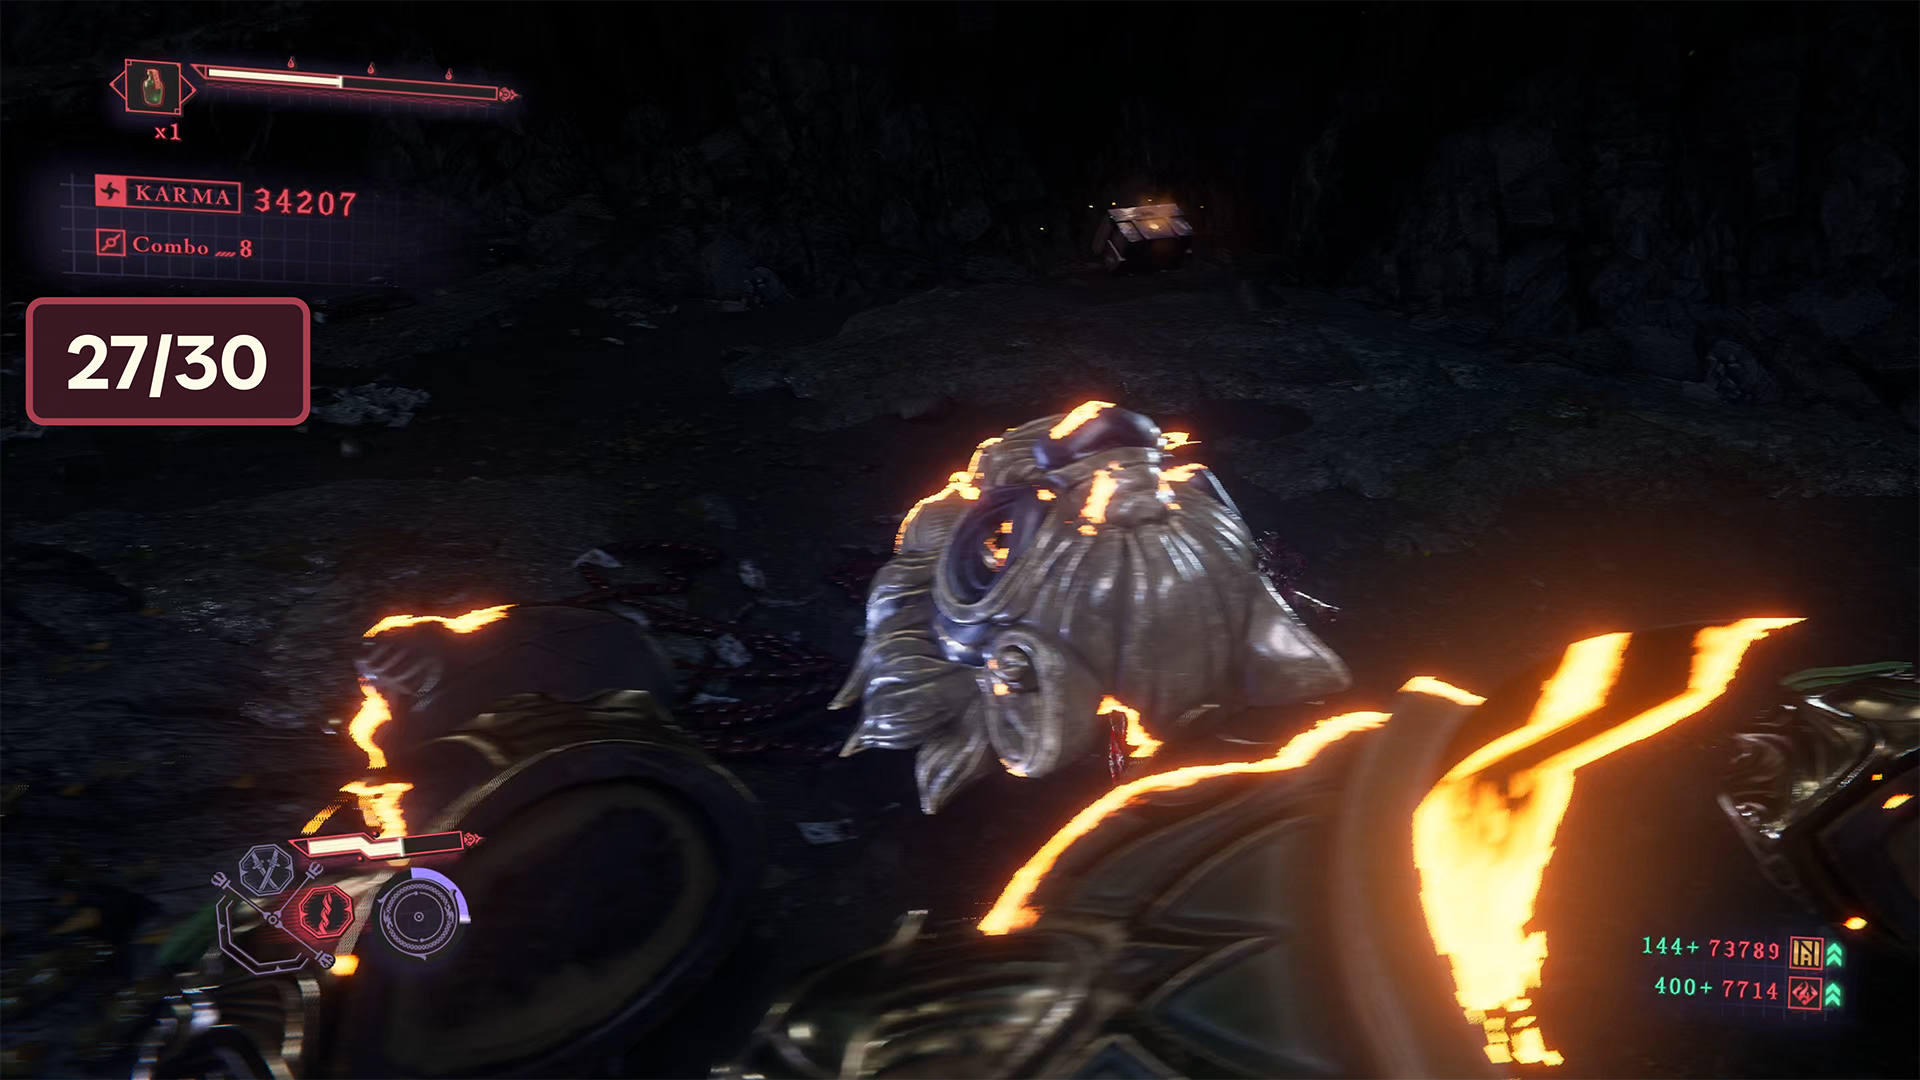
Chest #27-Rejuvenation Elixir
A rather difficult path lies ahead of you. You need to jump over obstacles to reach another teapot that is shooting fireballs at you. First, carefully make your way to the enemy, then you need to destroy this burning teapot. Next to it, you will find the twenty-seventh chest. Inside is the Rejuvenation Elixir.
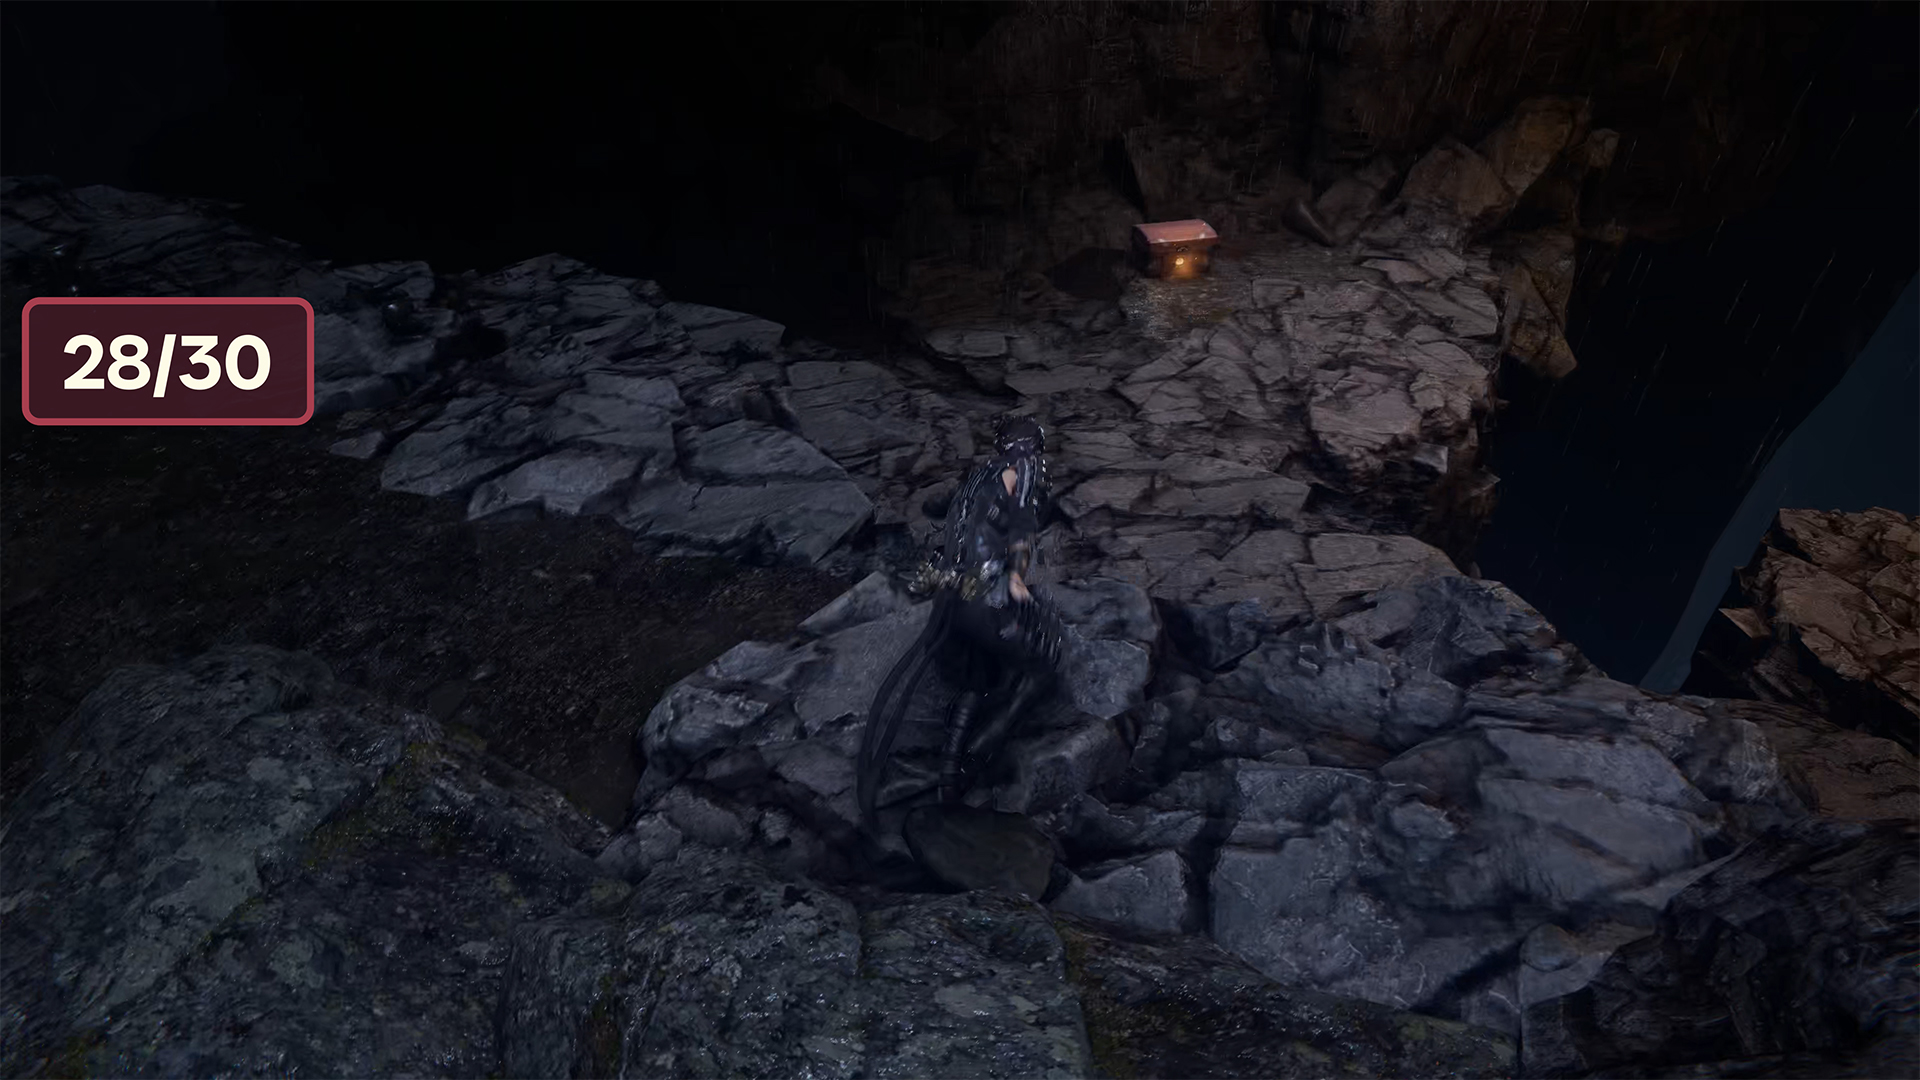
Chest #28-Crimson Blood Pellets
Next, you will need to use your Dragonfly Glider. Fly with the wind and dodge the rocks to avoid damage. After a fairly long flight, you will land on a rocky area where you will find the twenty-eighth chest. Open it to obtain Crimson Blood Pellets.
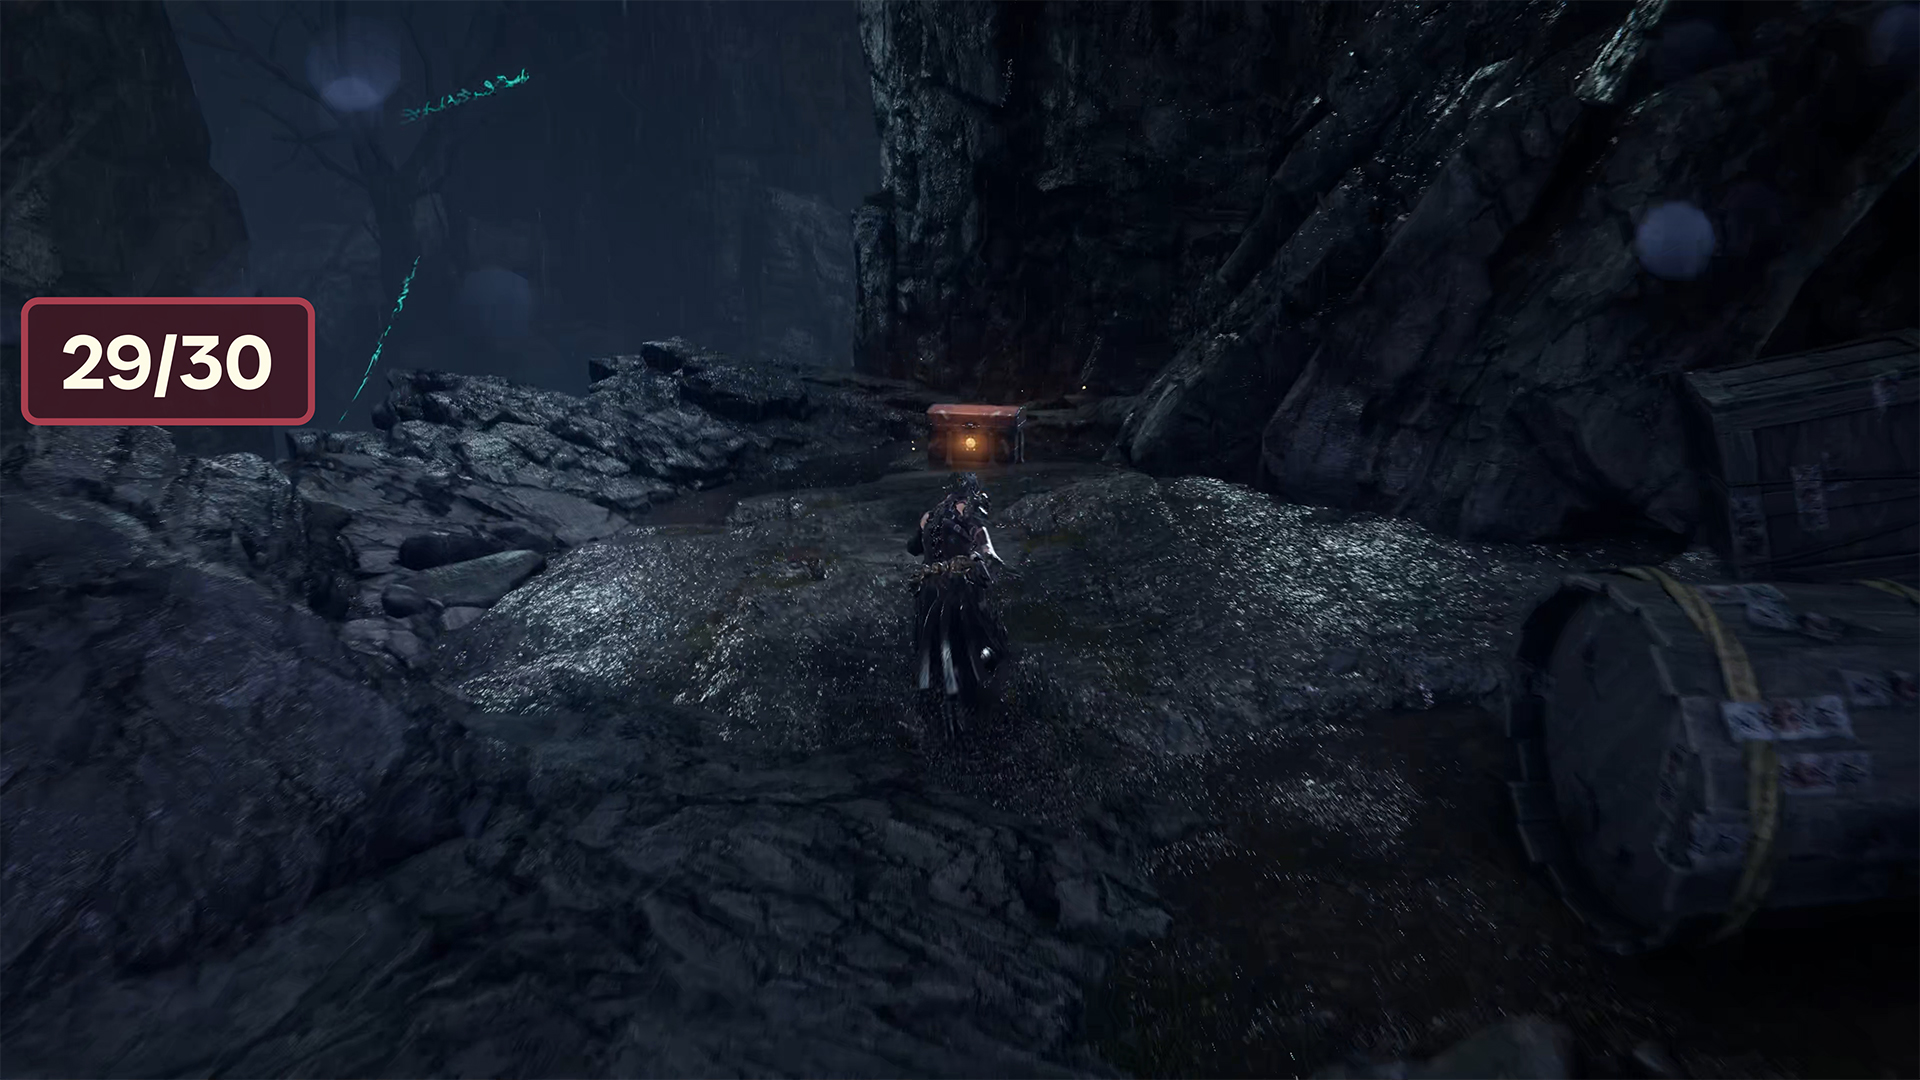
Chest #29-Crimson Ring
Next is a very important chest that is easy to miss. When you reach the bridge with the Torii Gate at the far end, turn right without crossing the bridge and jump onto the pole using Caddis Wire. The route is clear from there; keep going until you reach the platform. The twenty-ninth chest is located here. Inside is the very useful Crimson Ring, which I recommend equipping immediately.
Chest #30-Divine Life Elixir
After you find the Crimson Ring, you fly on a glider and fight Tengu on the platform, after which you can open the chest and get the Divine Life Elixir. You won’t miss this place because it’s not hidden.
Chest #31-Senjin War Brew
Move forward, and when you use your Dragonfly Glider again to fly a short distance, you will find yourself on a platform where the thirtieth chest is located. There are no enemies here, so open the chest immediately to get Senjin War Brew.
-

- chest #27 in Raging Valley
-
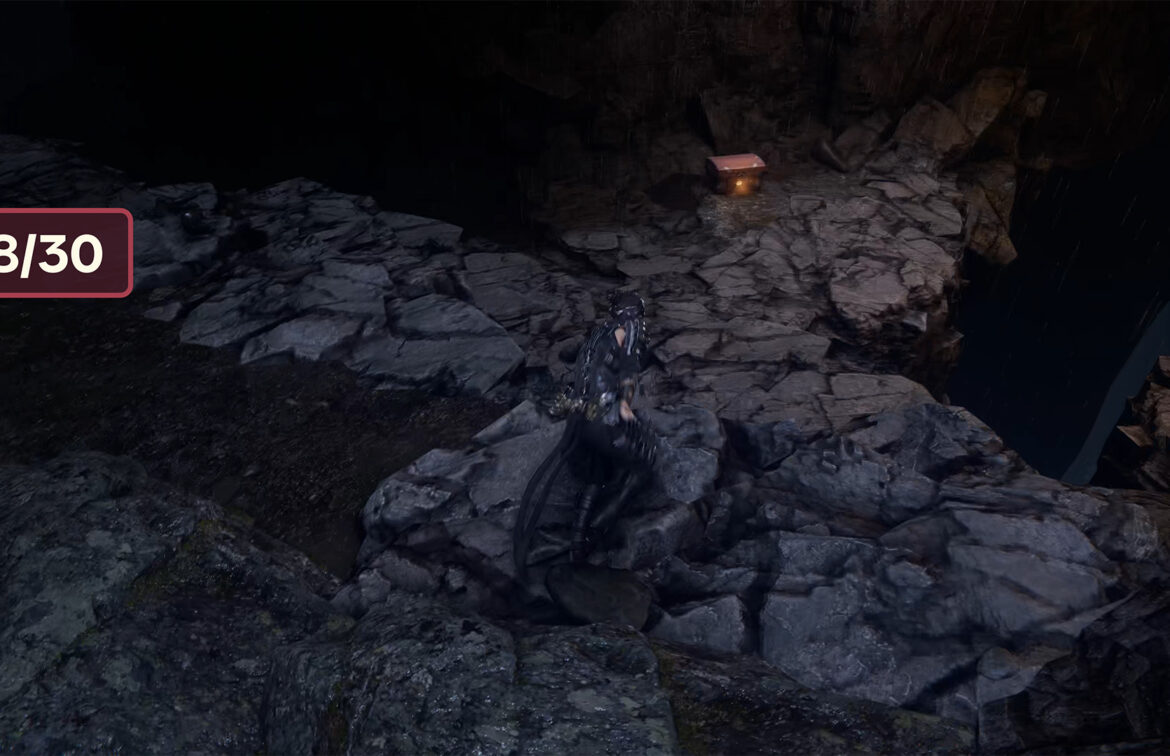
- chest #28 in Raging Valley
-
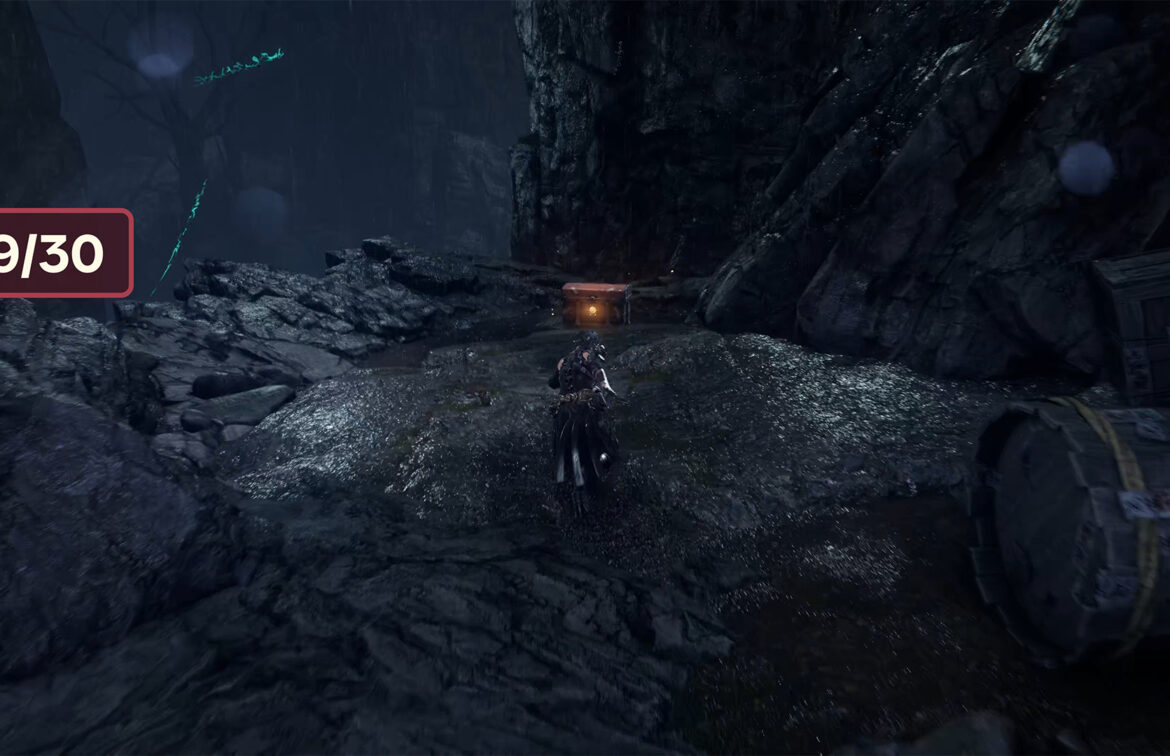
- chest #29 in Raging Valley
-

- chest #31 in Raging Valley